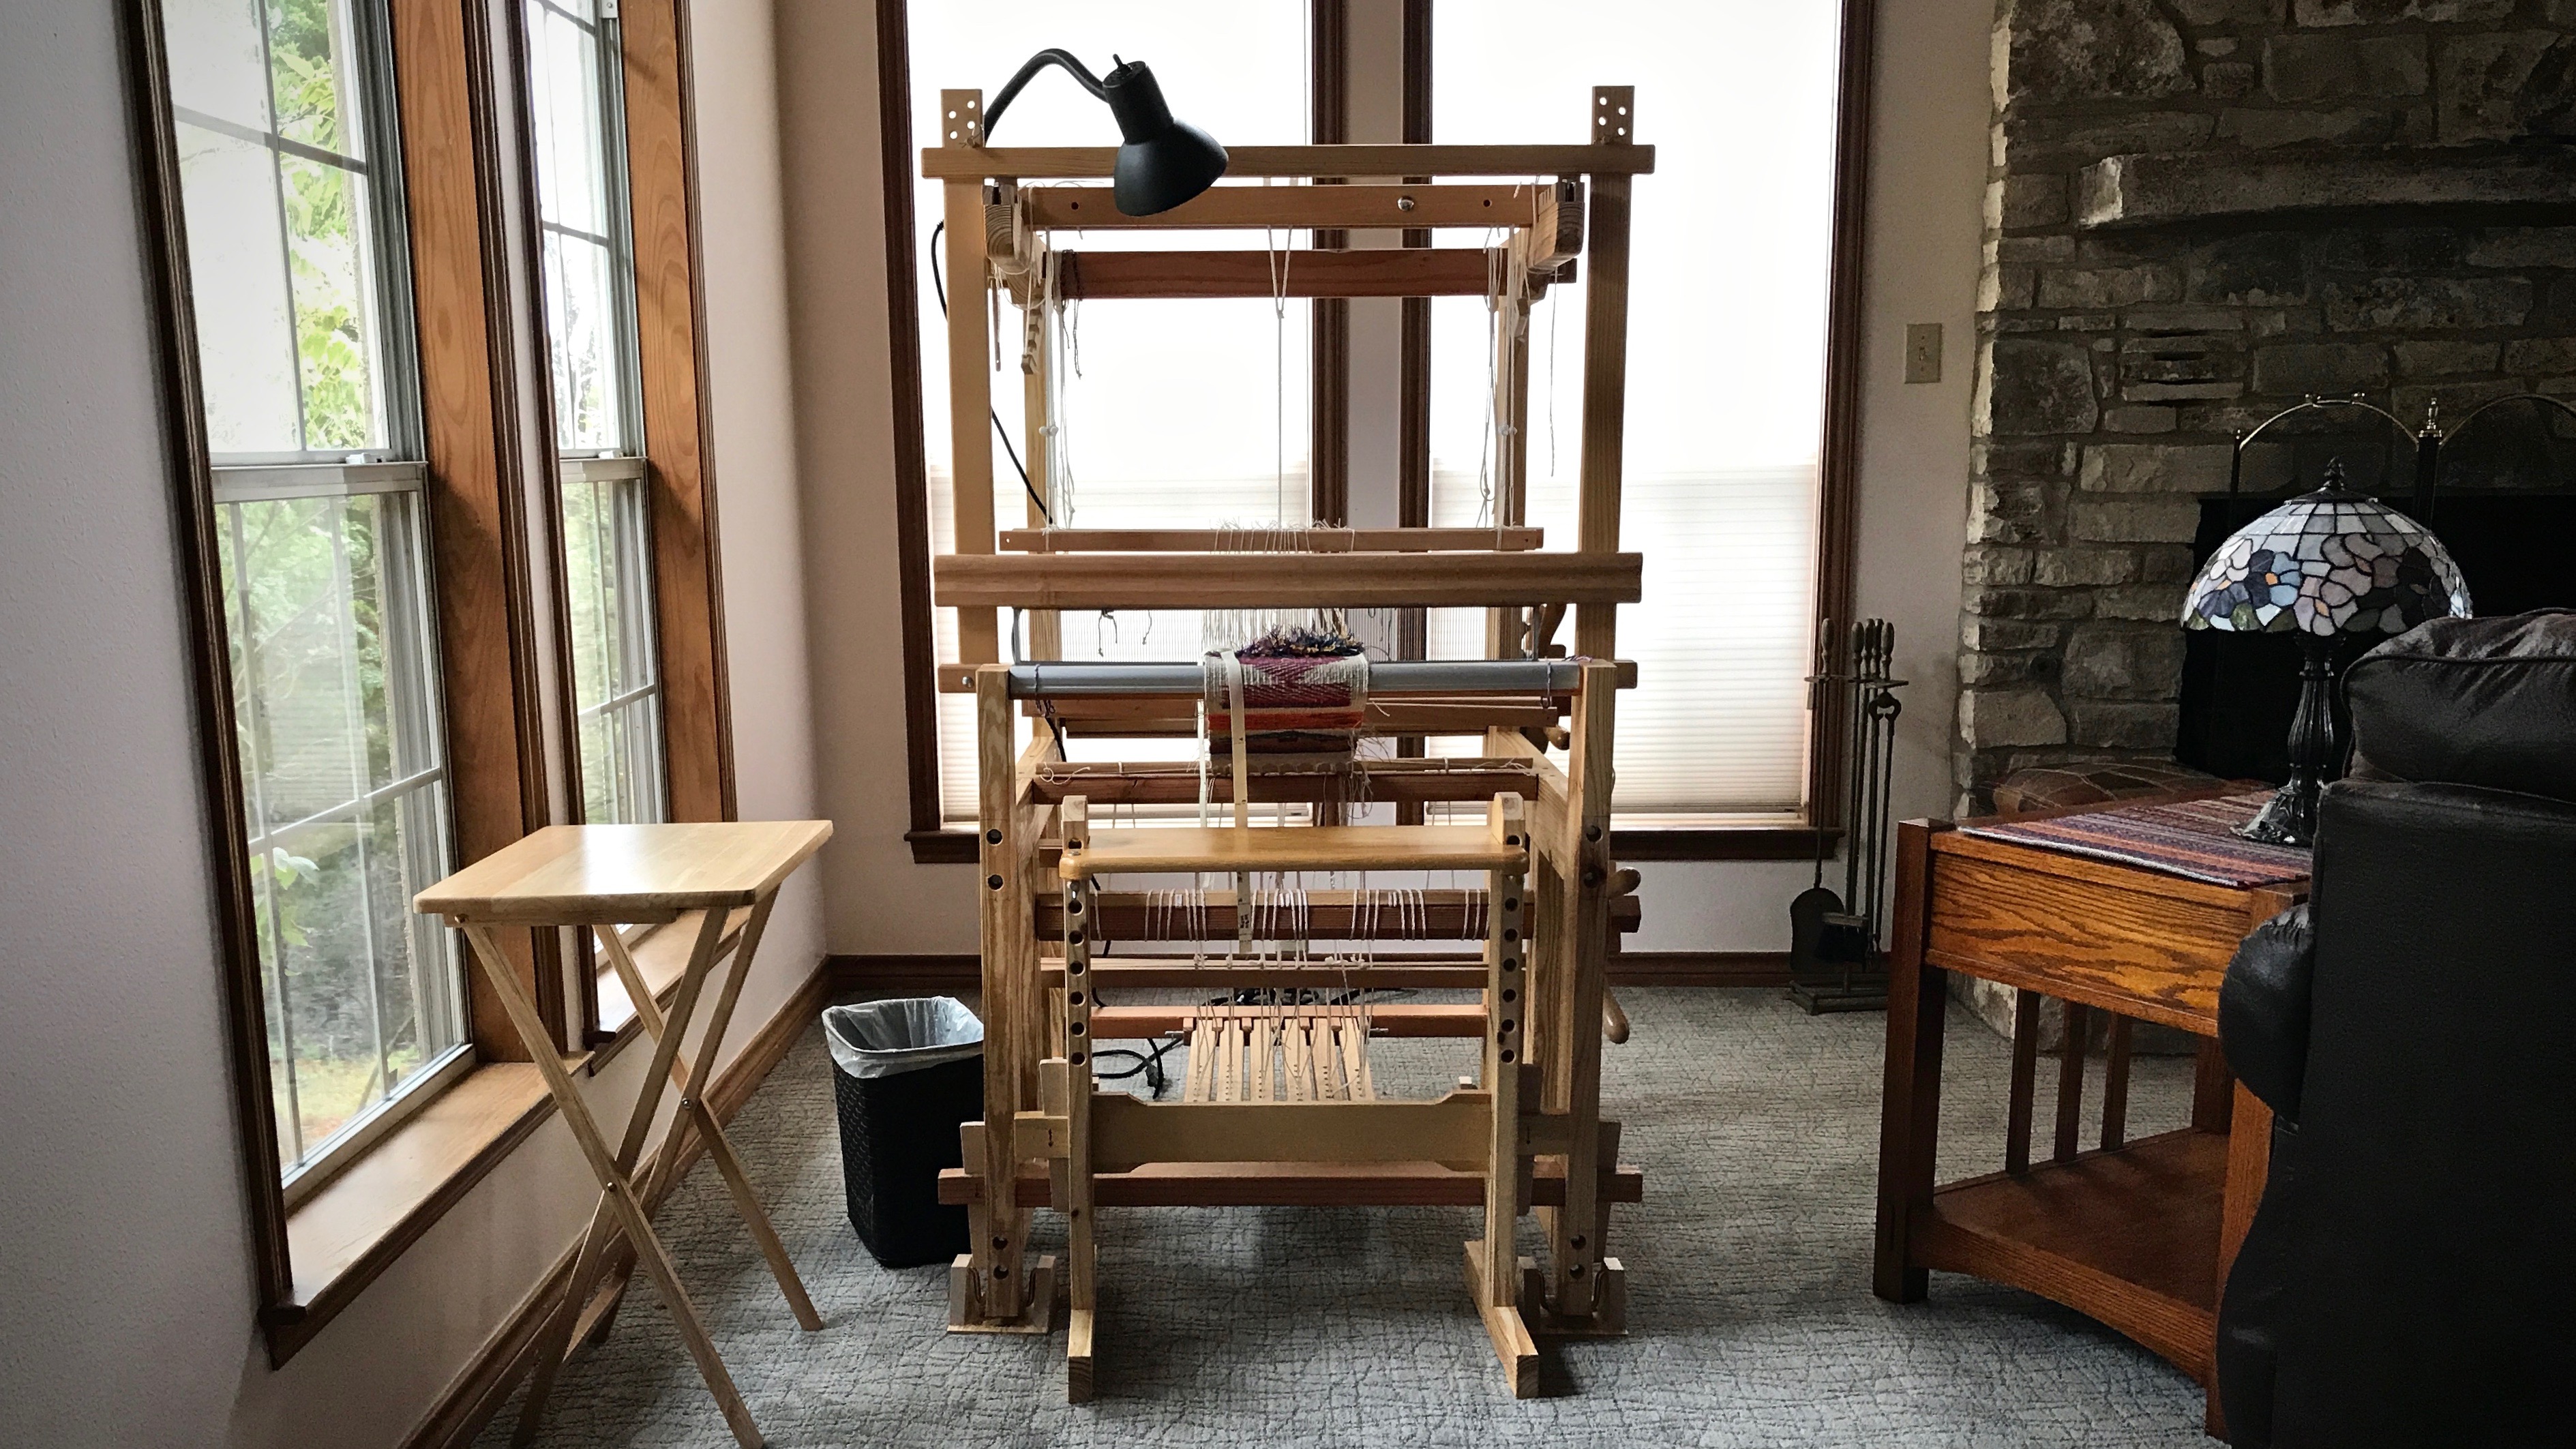
This loom doesn’t get first priority. This sweet little loom is at our Texas hill country getaway. Usually there are several fixer-upper projects to be done around the place. But I’m glad the loom is there. It calls to me to come and sit down, to get absorbed in linen threads and colors. The loom is a resting place for me. A place where ideas take shape and new dreams begin.
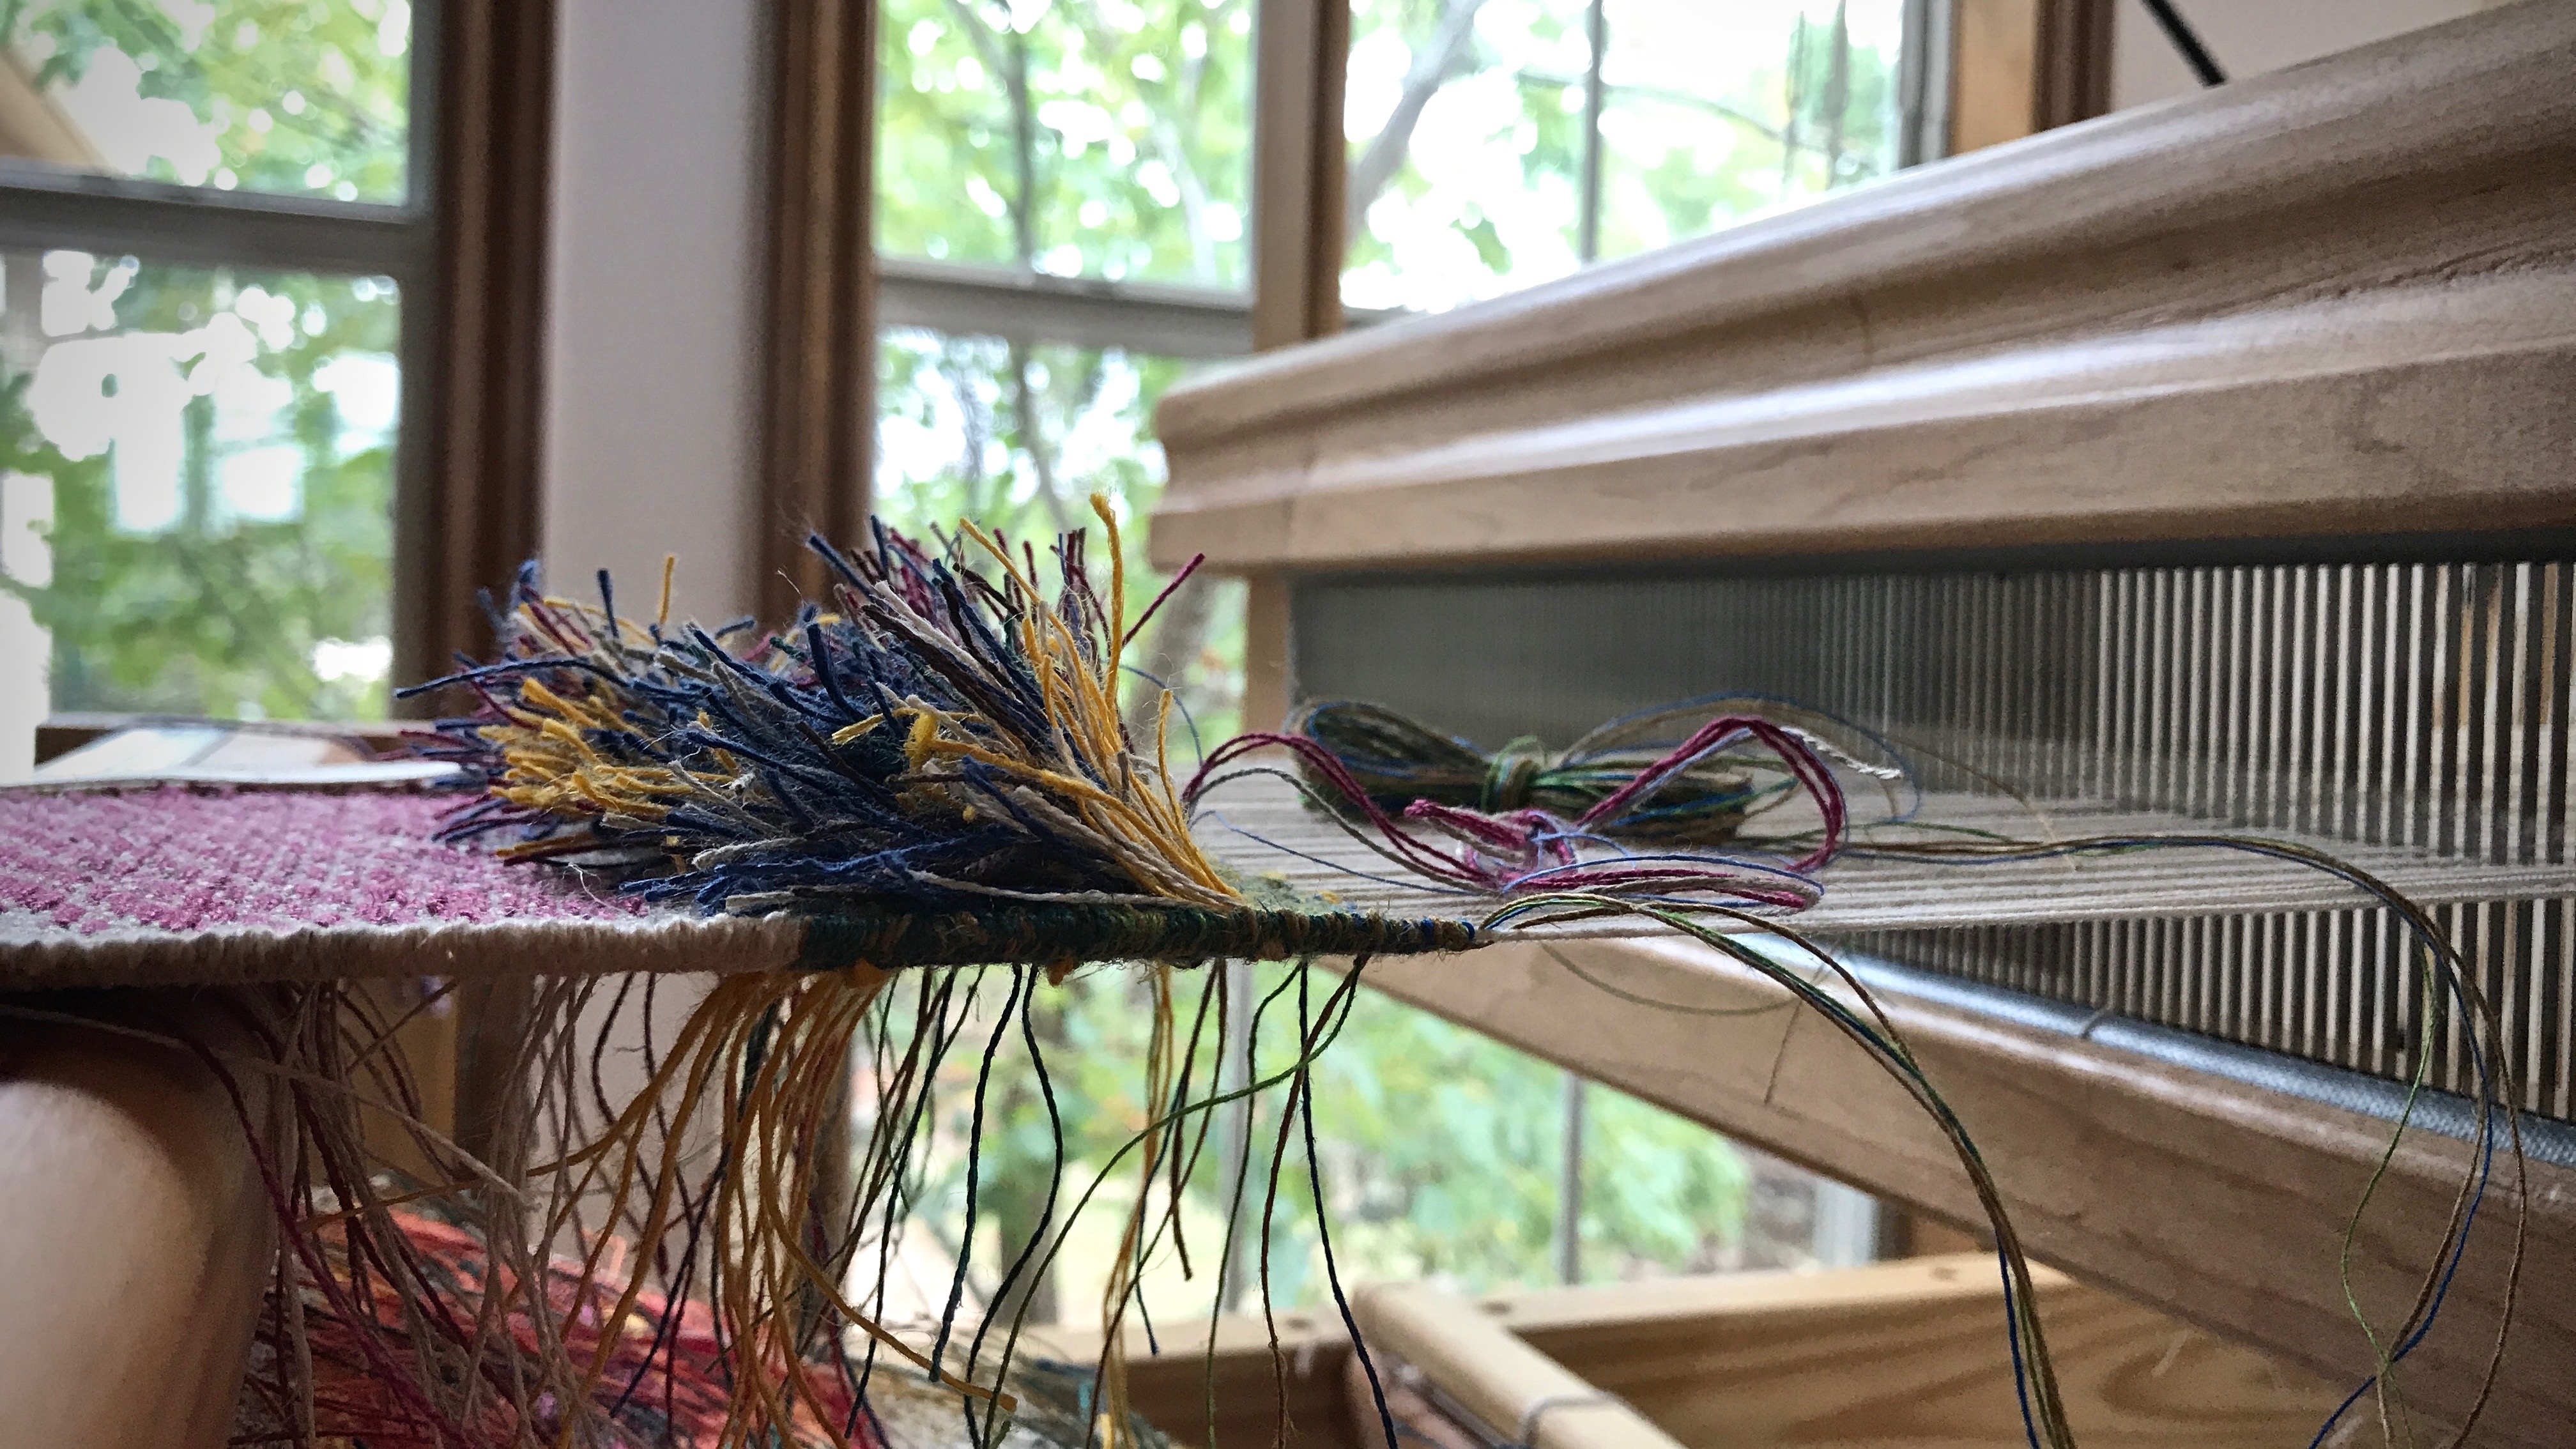
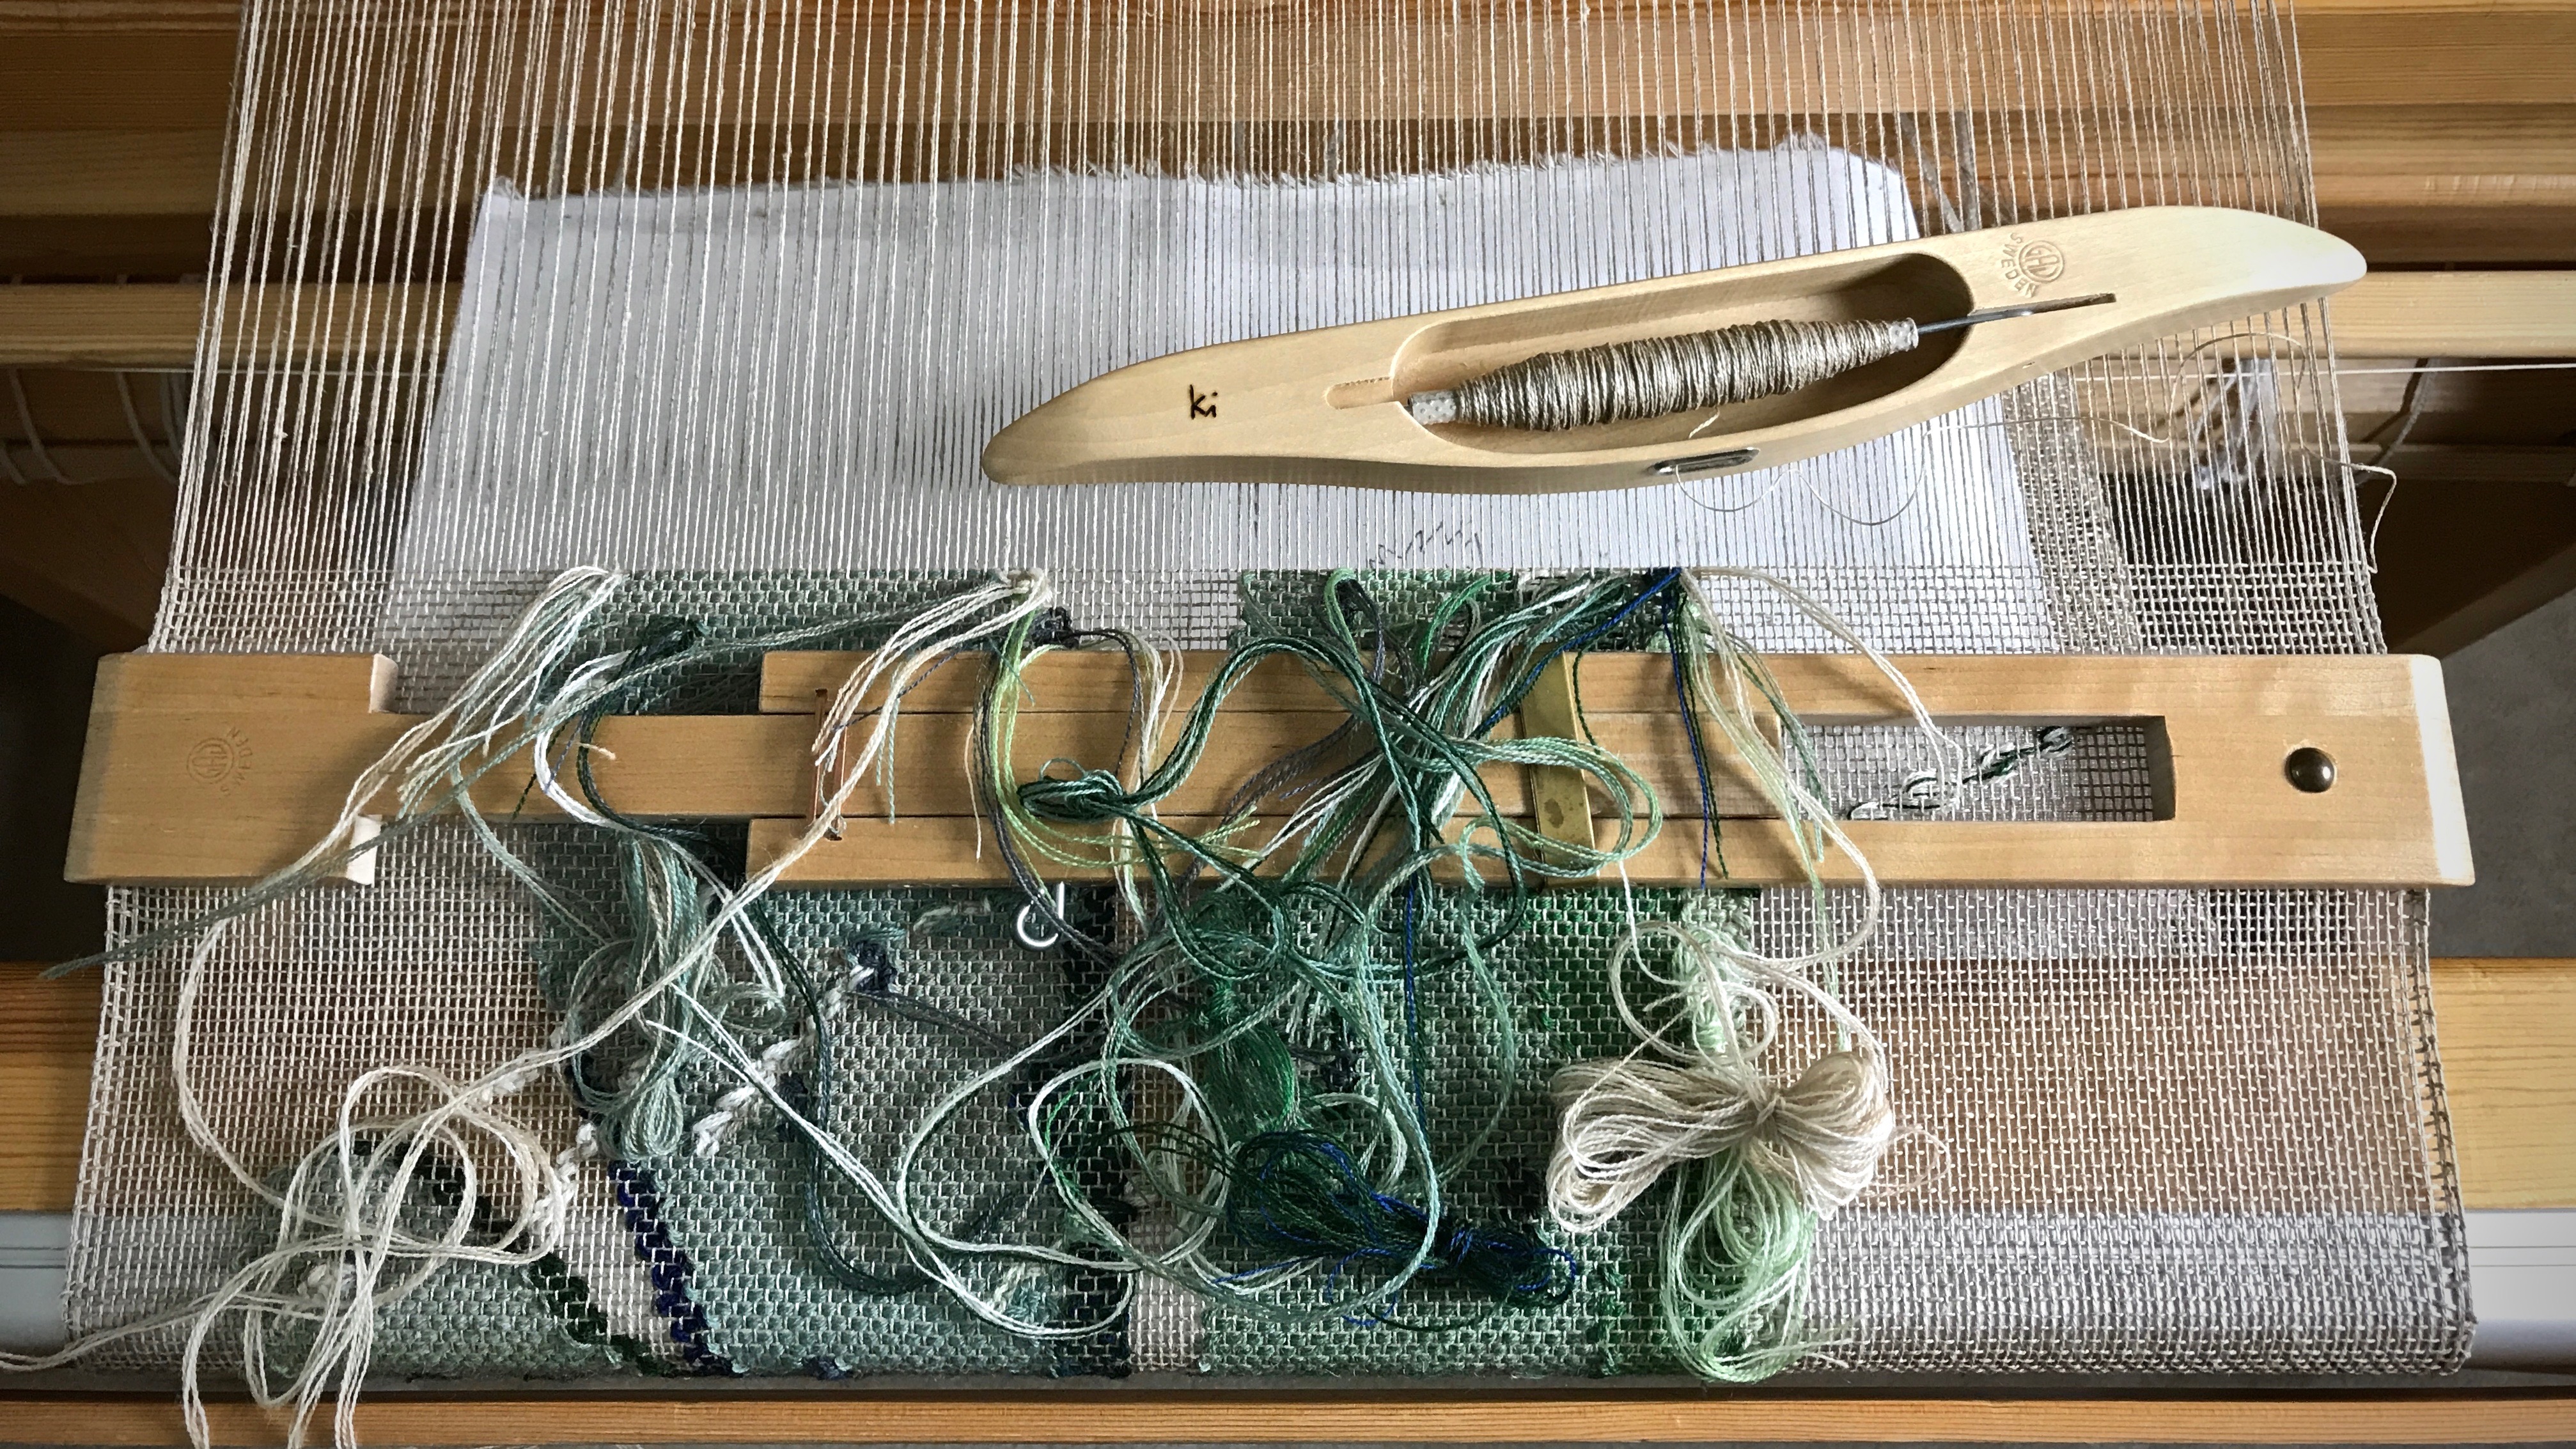
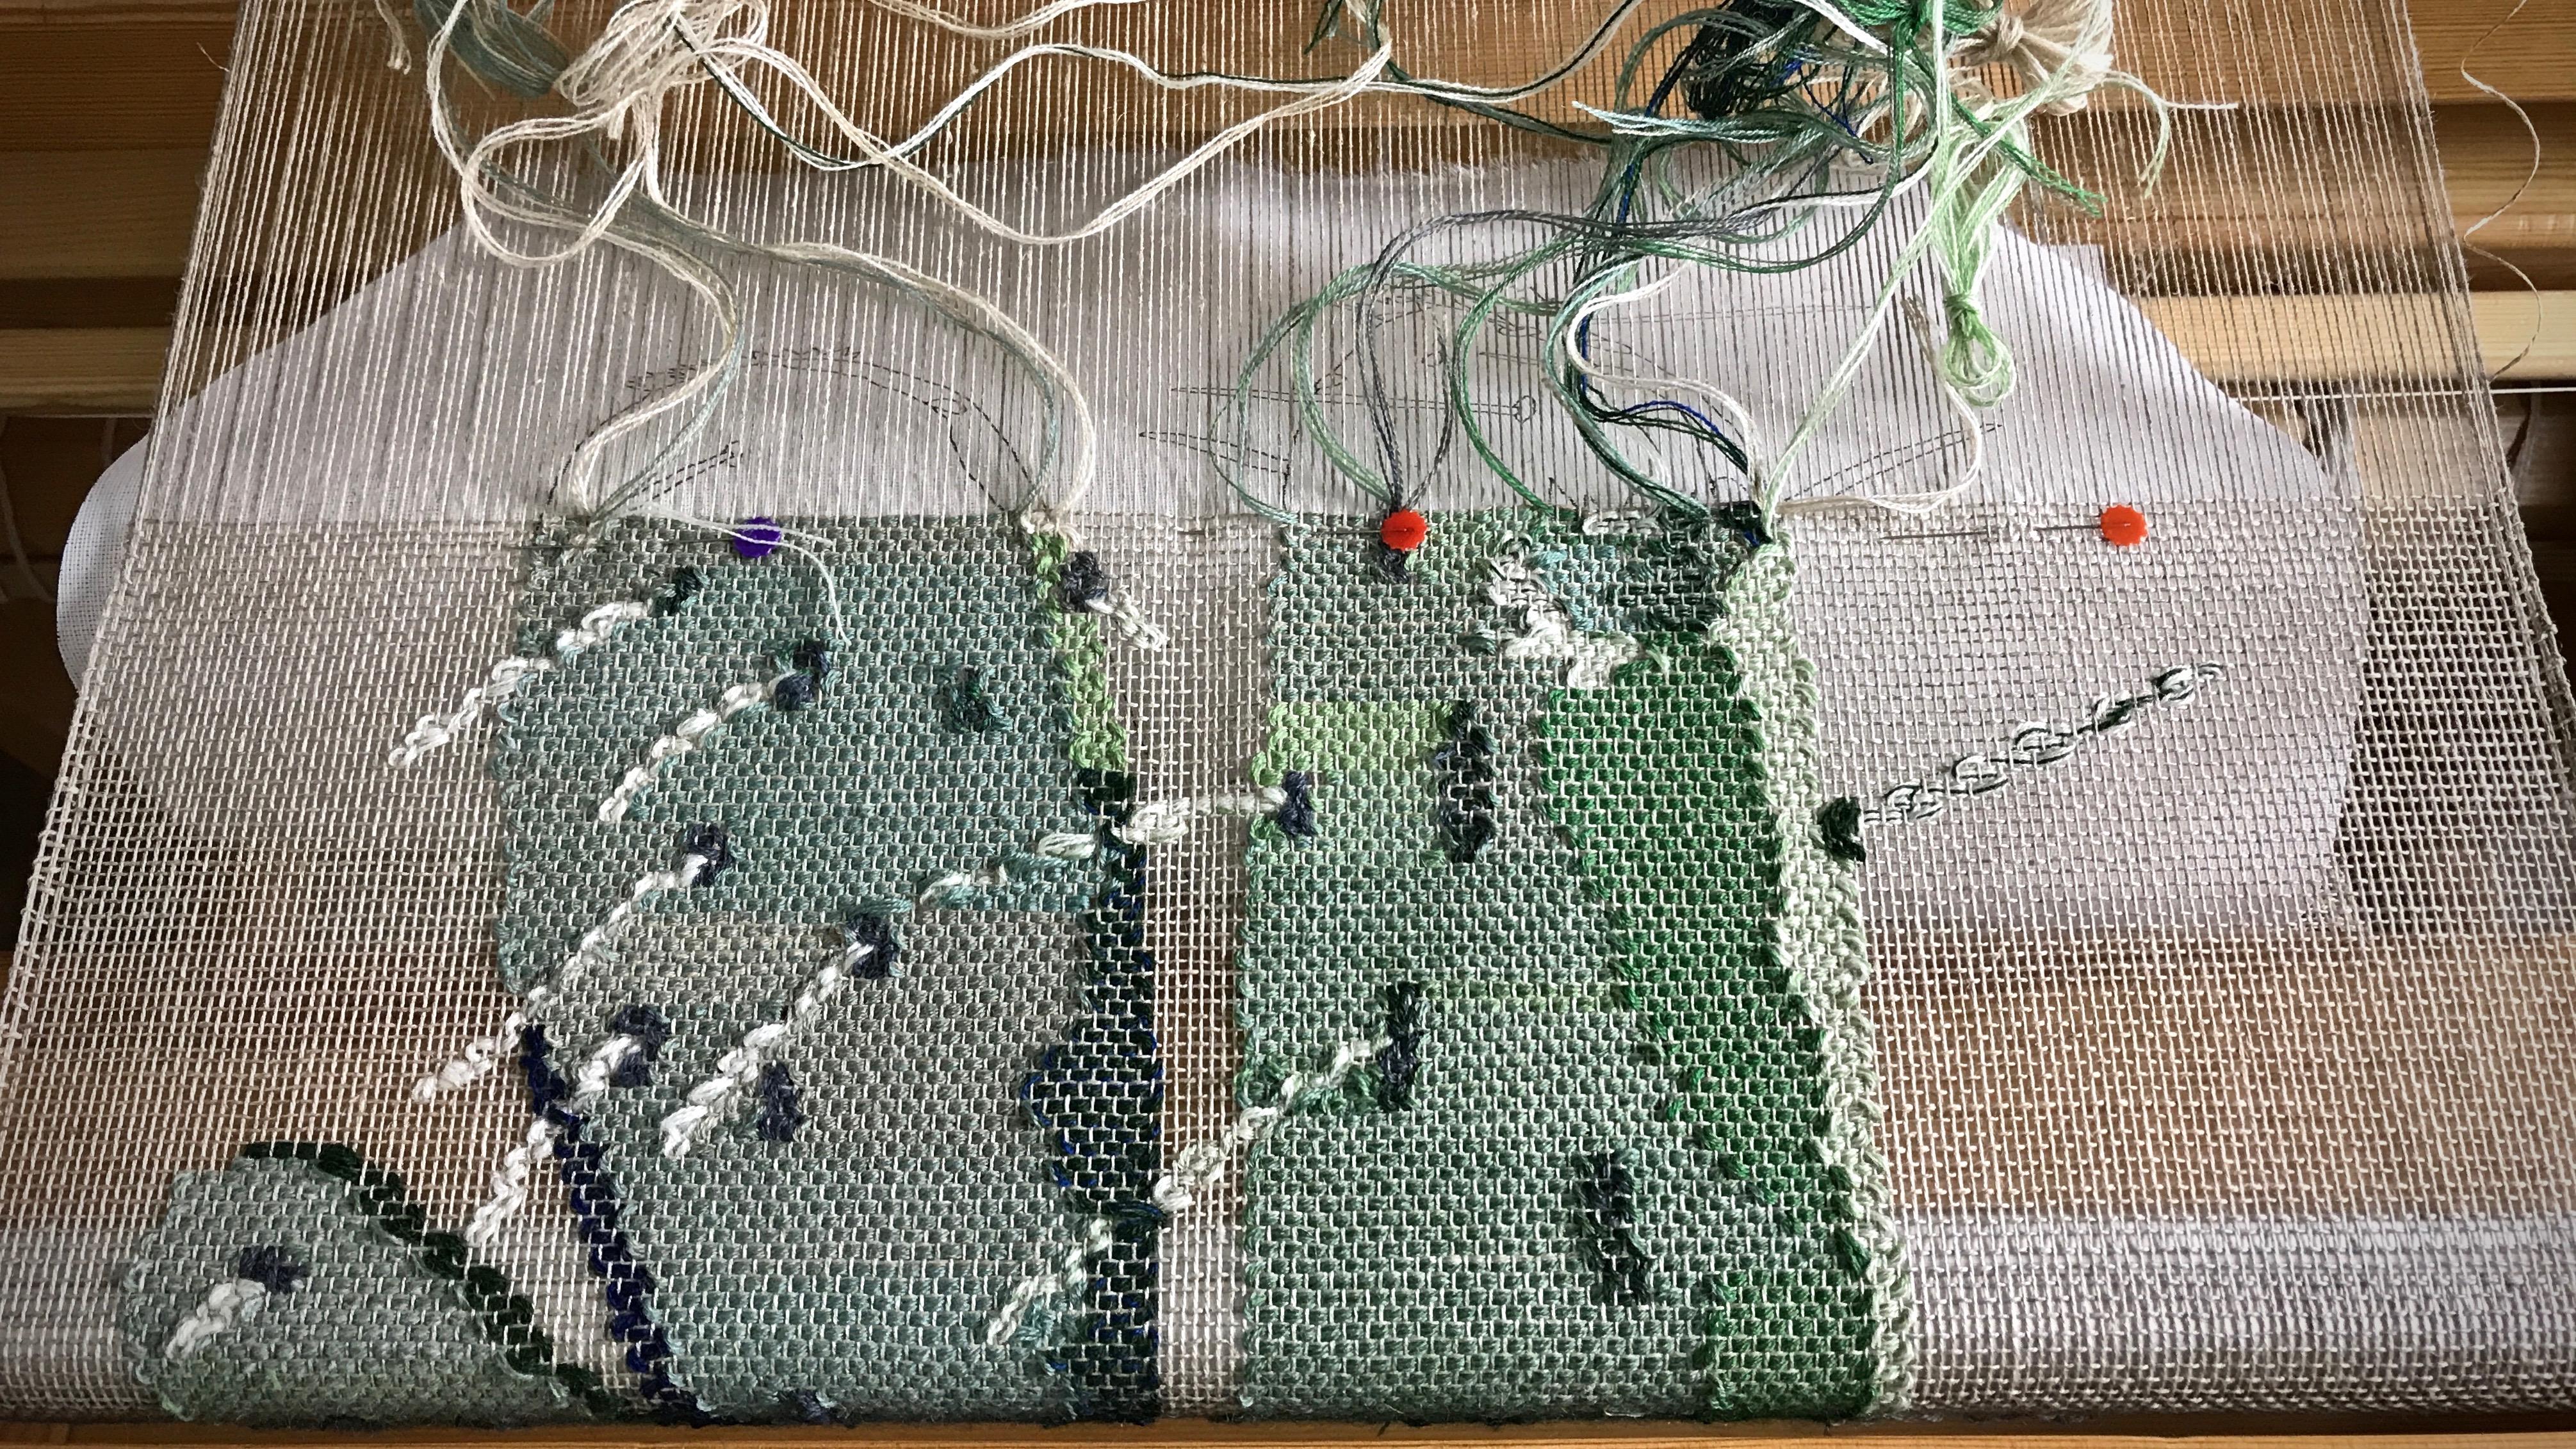
Sweet little loom sits in a corner of the living room beckoning me to come and rest for a while.Green weftbutterfly weaves the background. A yellow bundle, not seen, hangs under the warp and is added here and there for the “dots” in the green. Rya butterflies are in assorted combinations of colors. All linen.
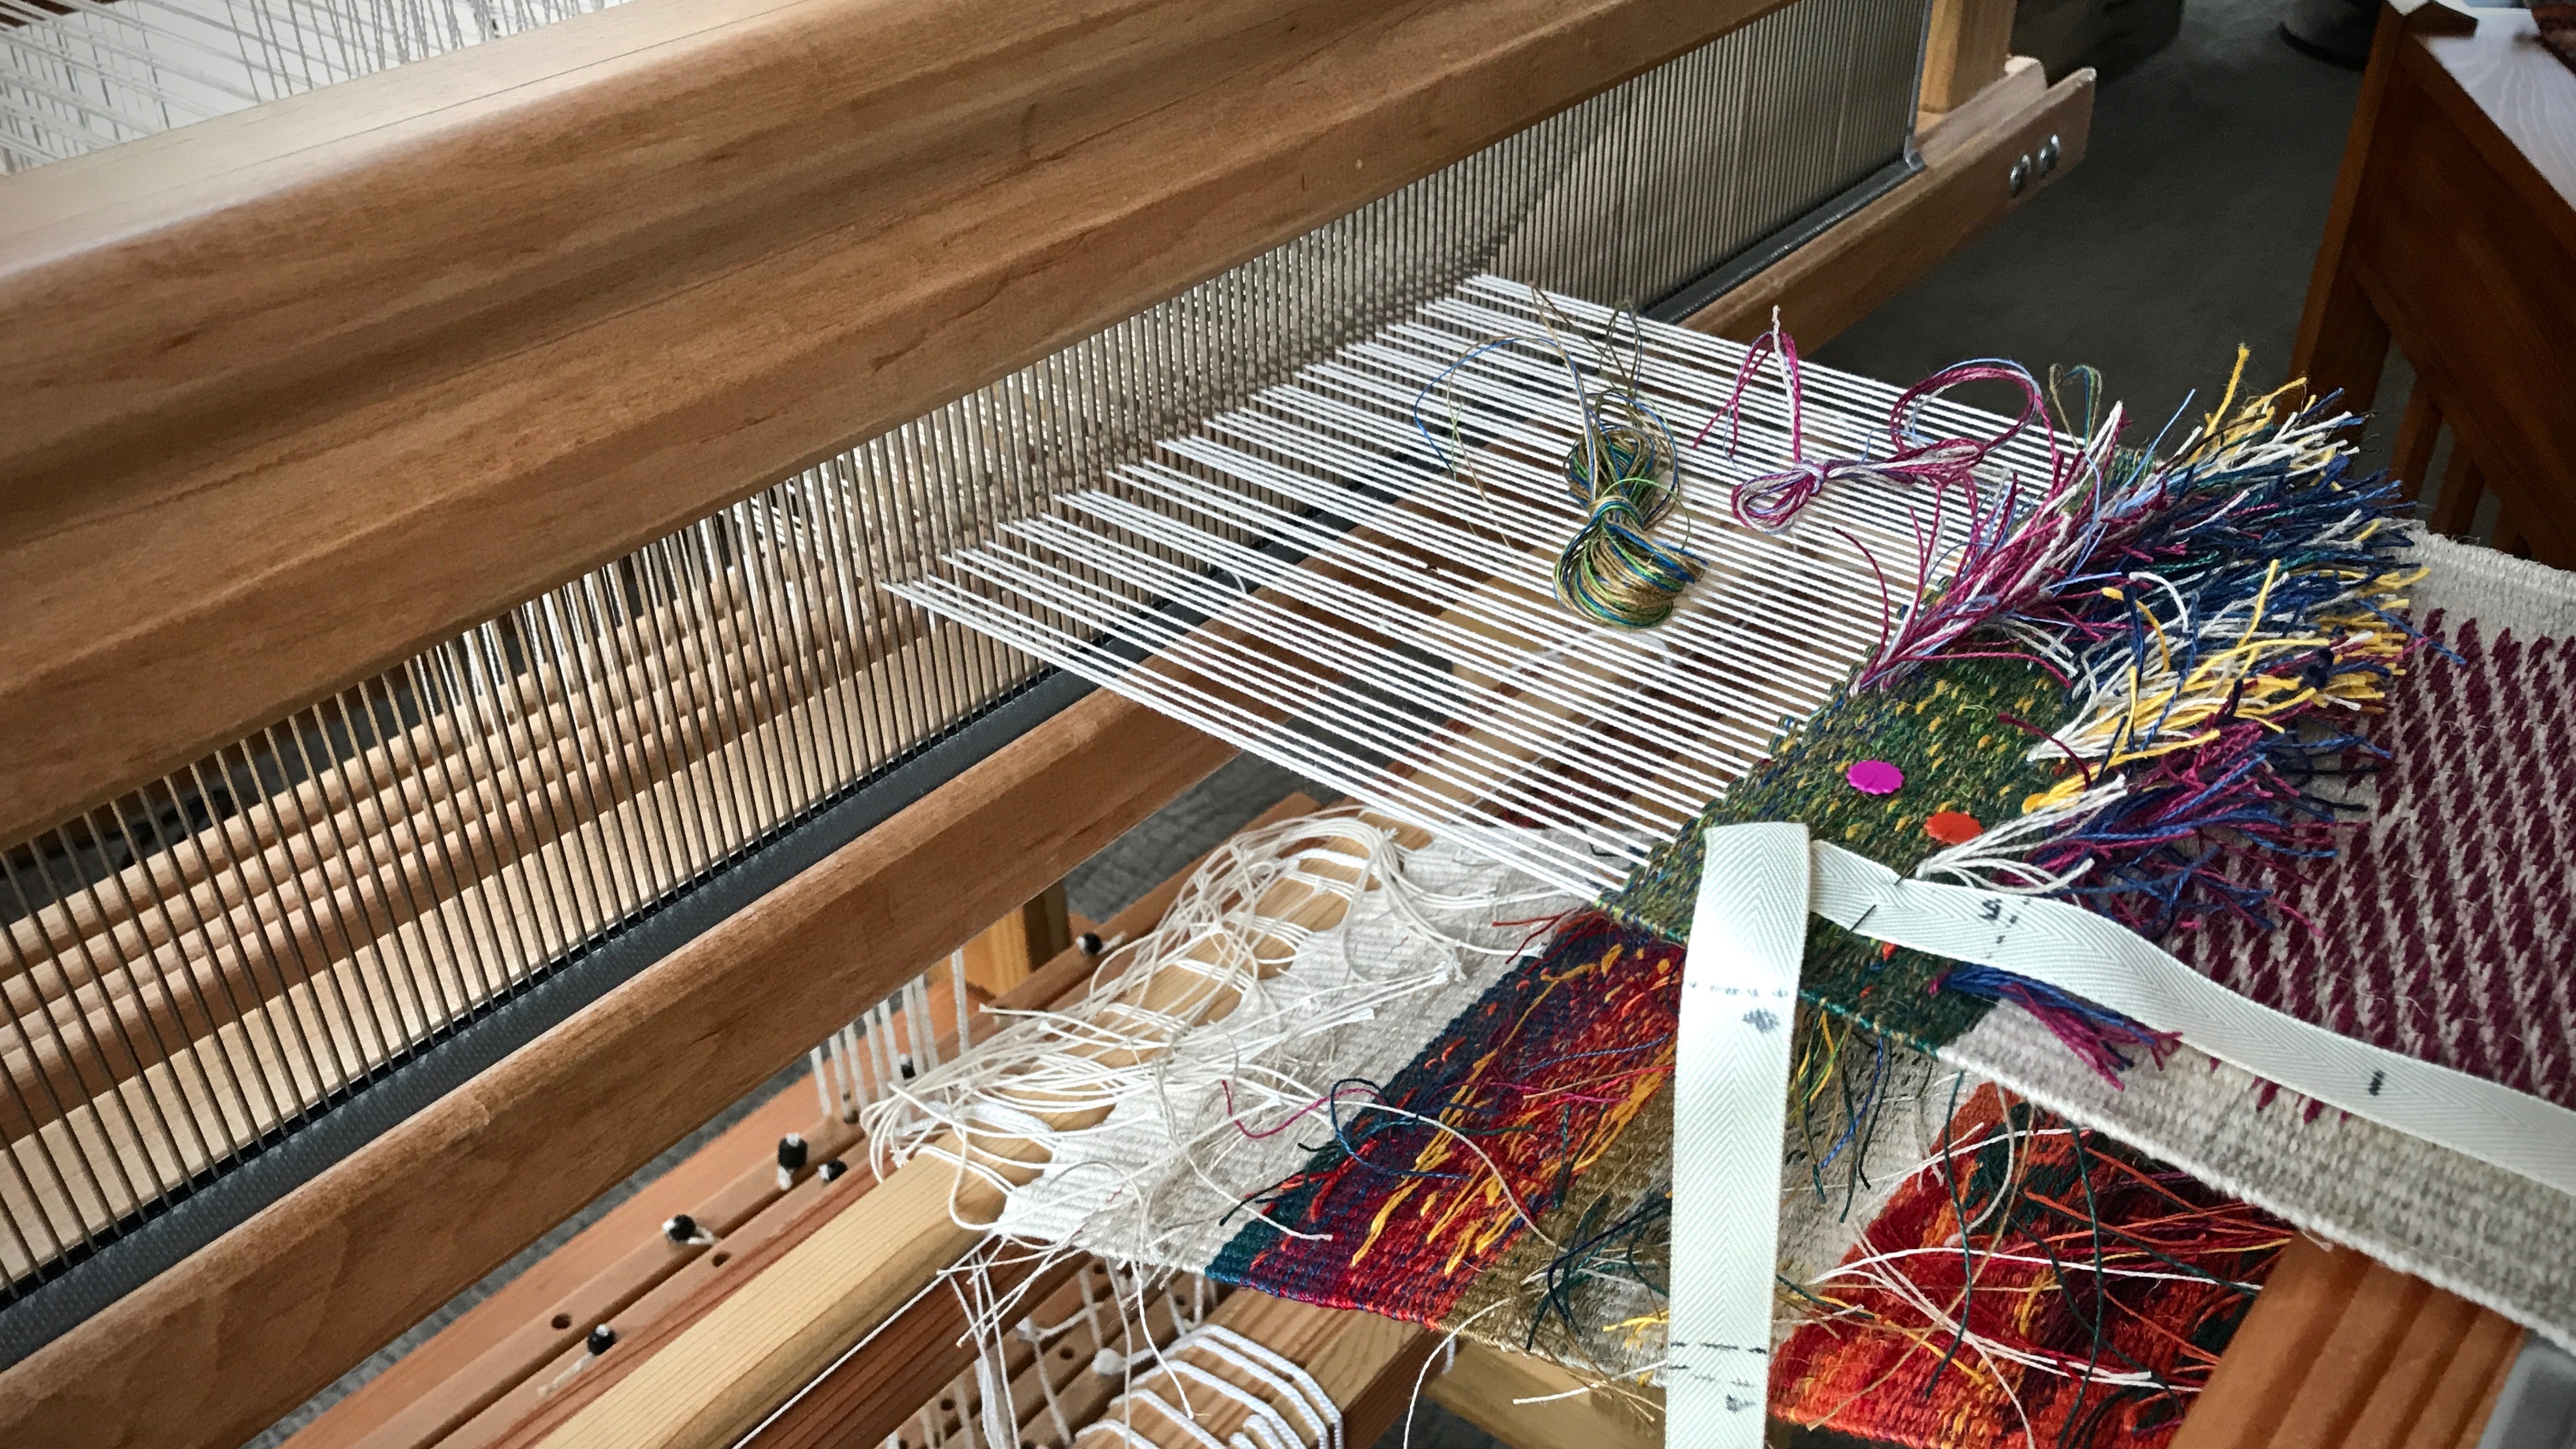
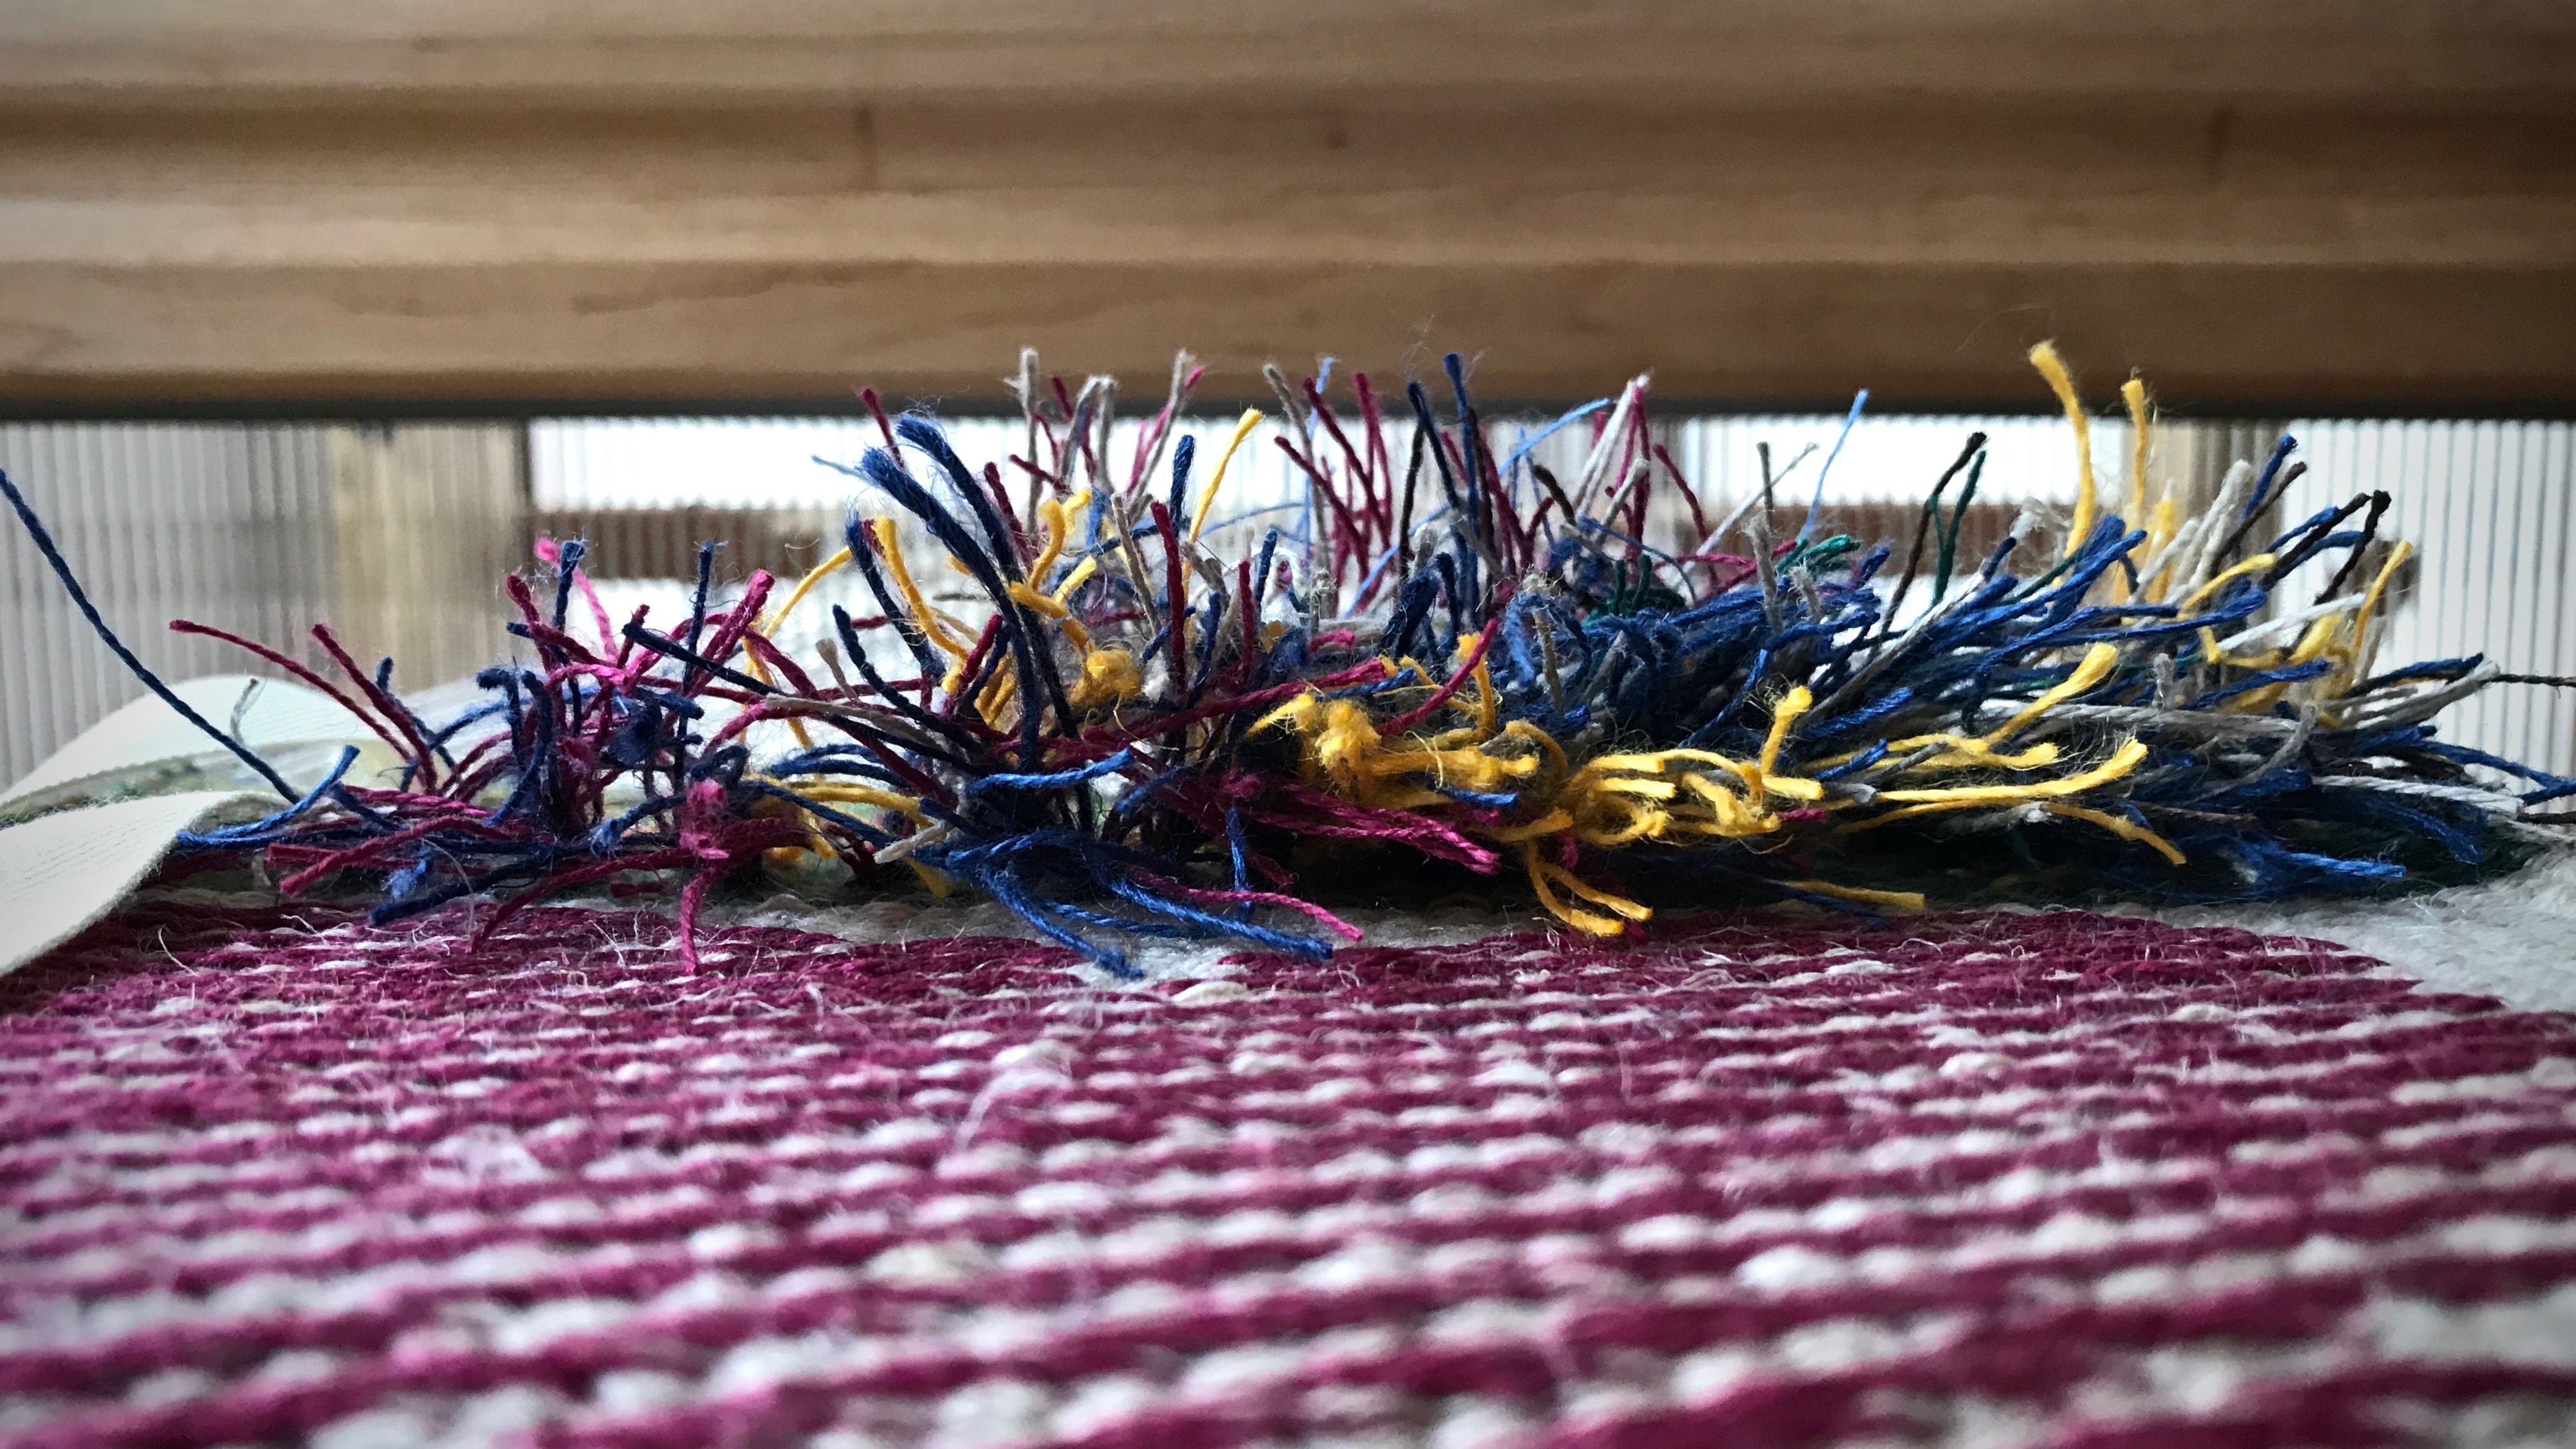
I’m at the rya section of this tapestry and inlay sampler. It is a fun exercise in creativity. The rya knots are tied using a continuous weft bundle. After a few rows are woven I clip the loops that are formed, and trim them down a little to shape the pile.
Explosion of linen threads. Several sizes and types of linen are combined in the rya butterflies that are used to make the rya knots.Weaving from the front means that all the loose inlay weft tails, and spliced wefts, are hanging down on the back.
Make time for rest. We need periods of rest built into the rhythm of our lives. Intentional rest acknowledges our human limitations and inadequacy, which leads us to put our trust in the Lord. And that is where the best hopes and dreams get their start.
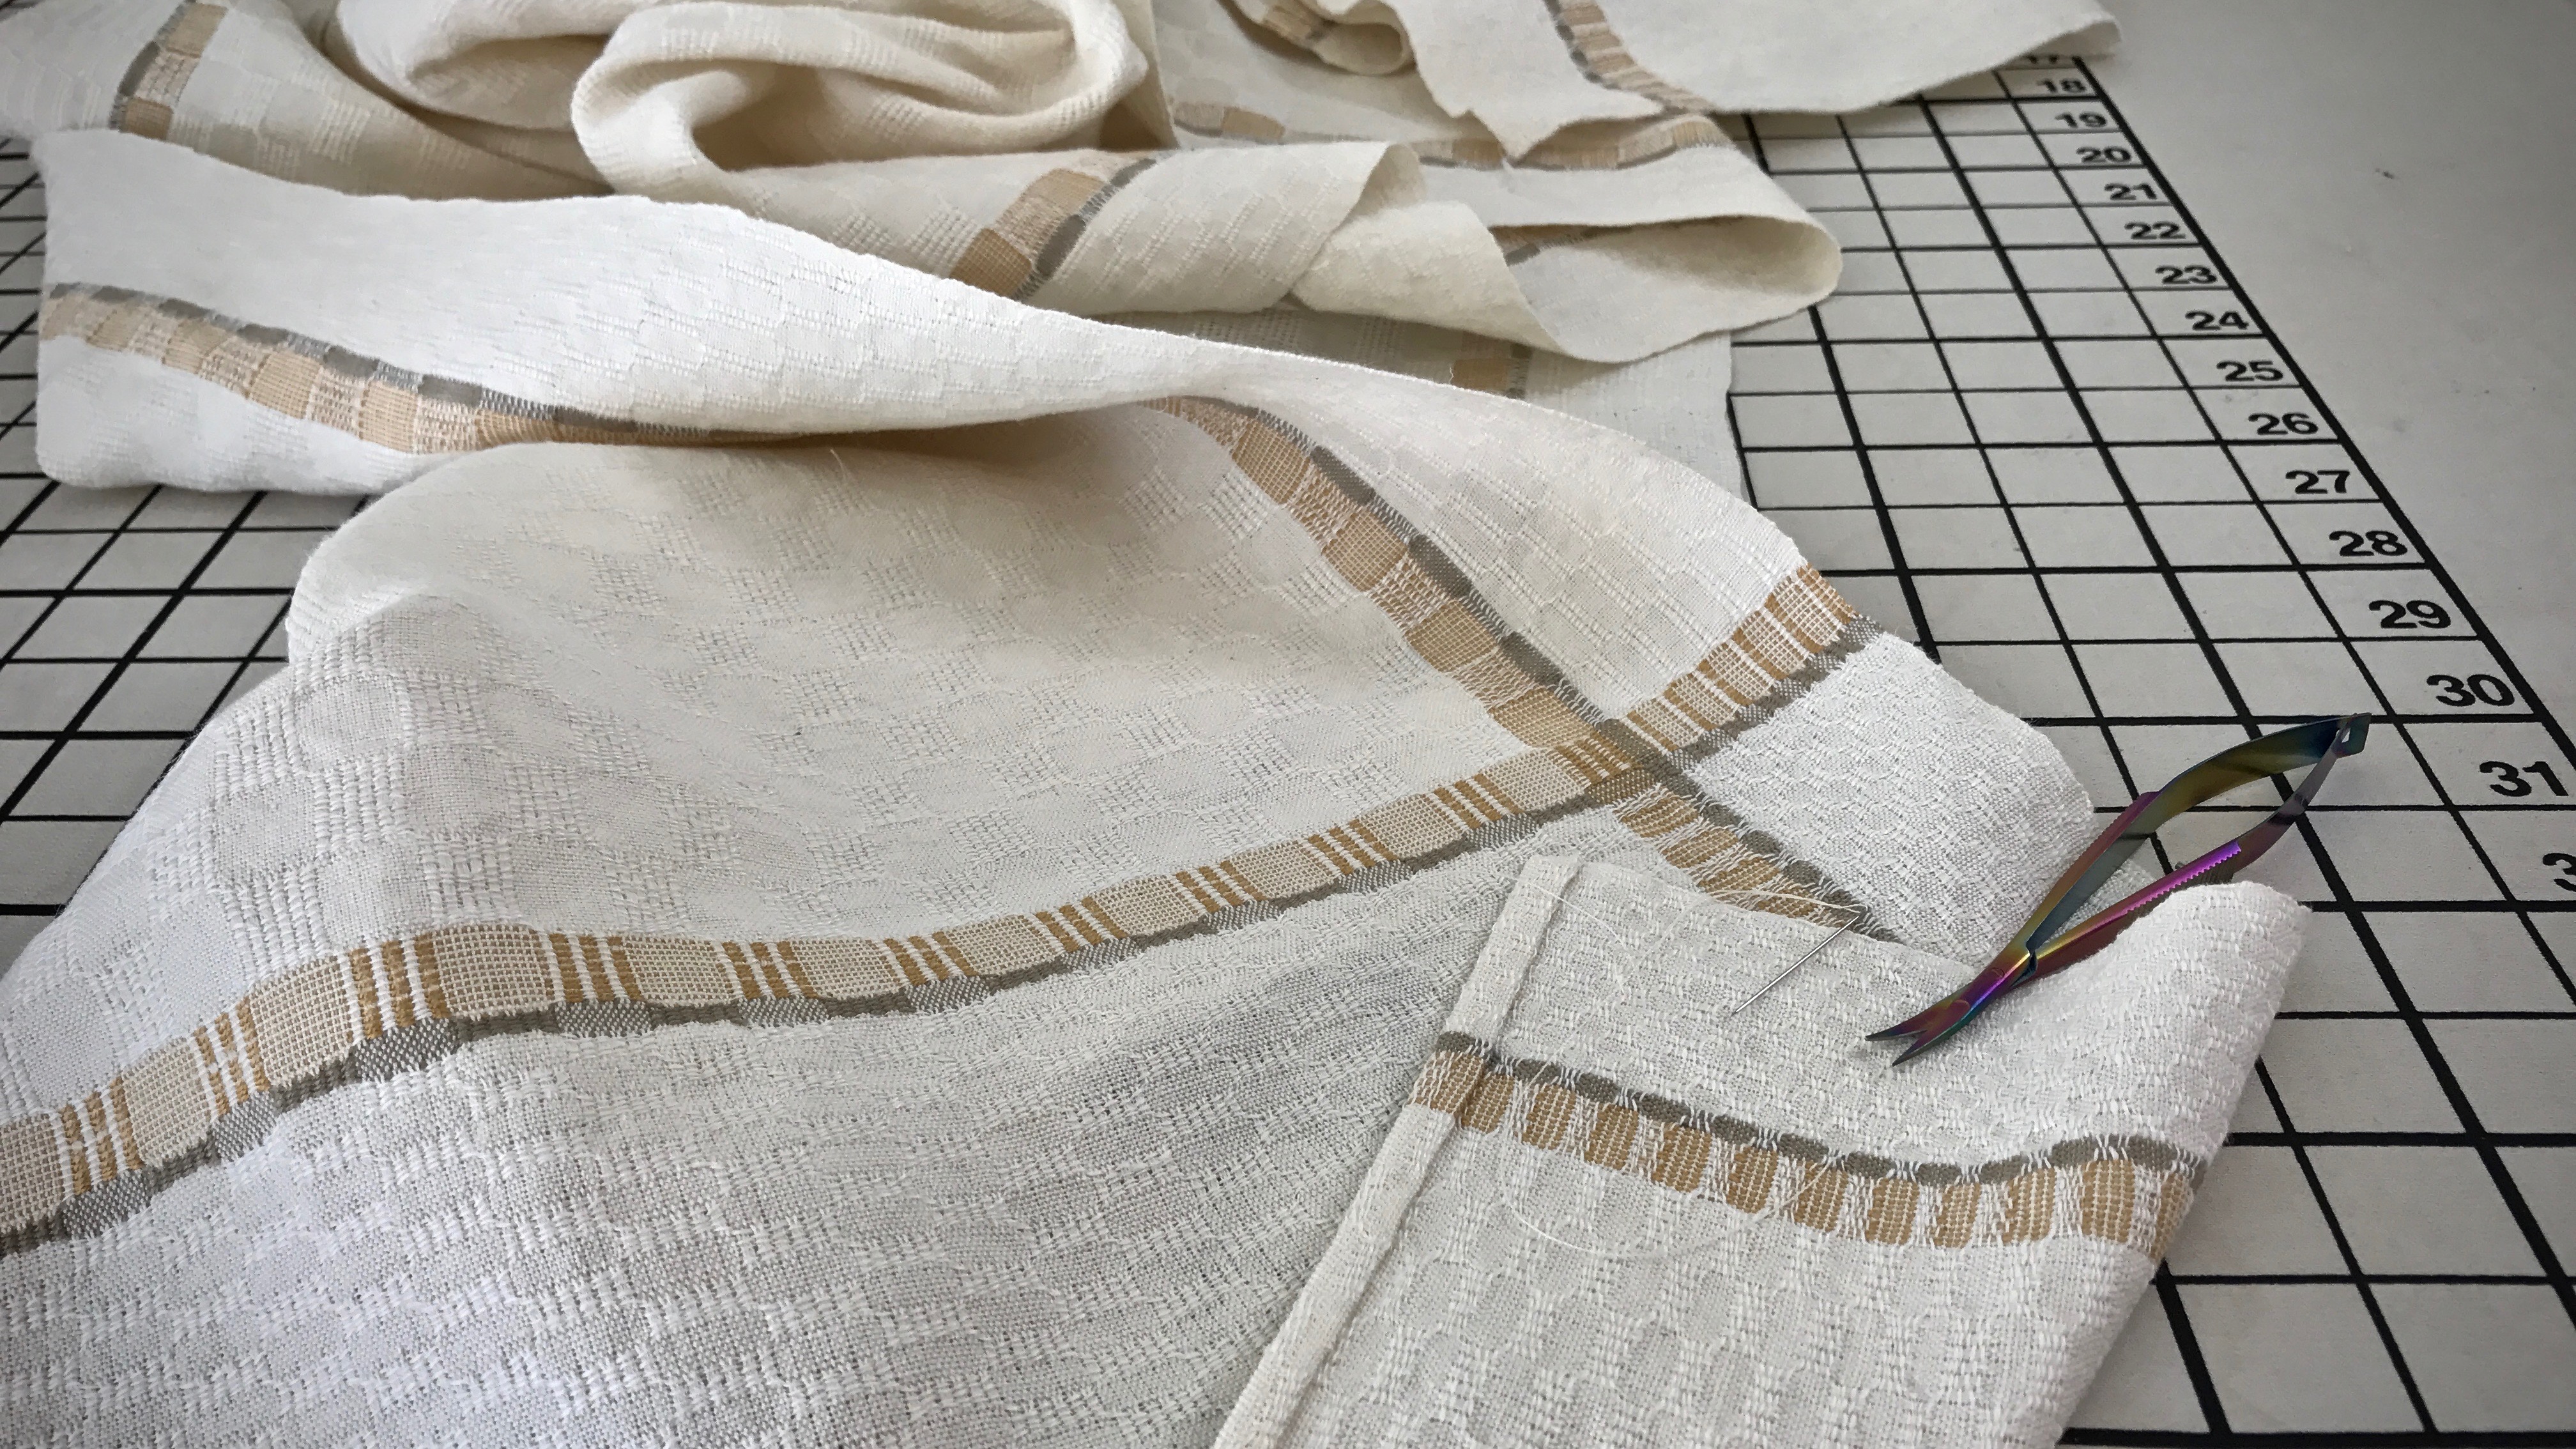
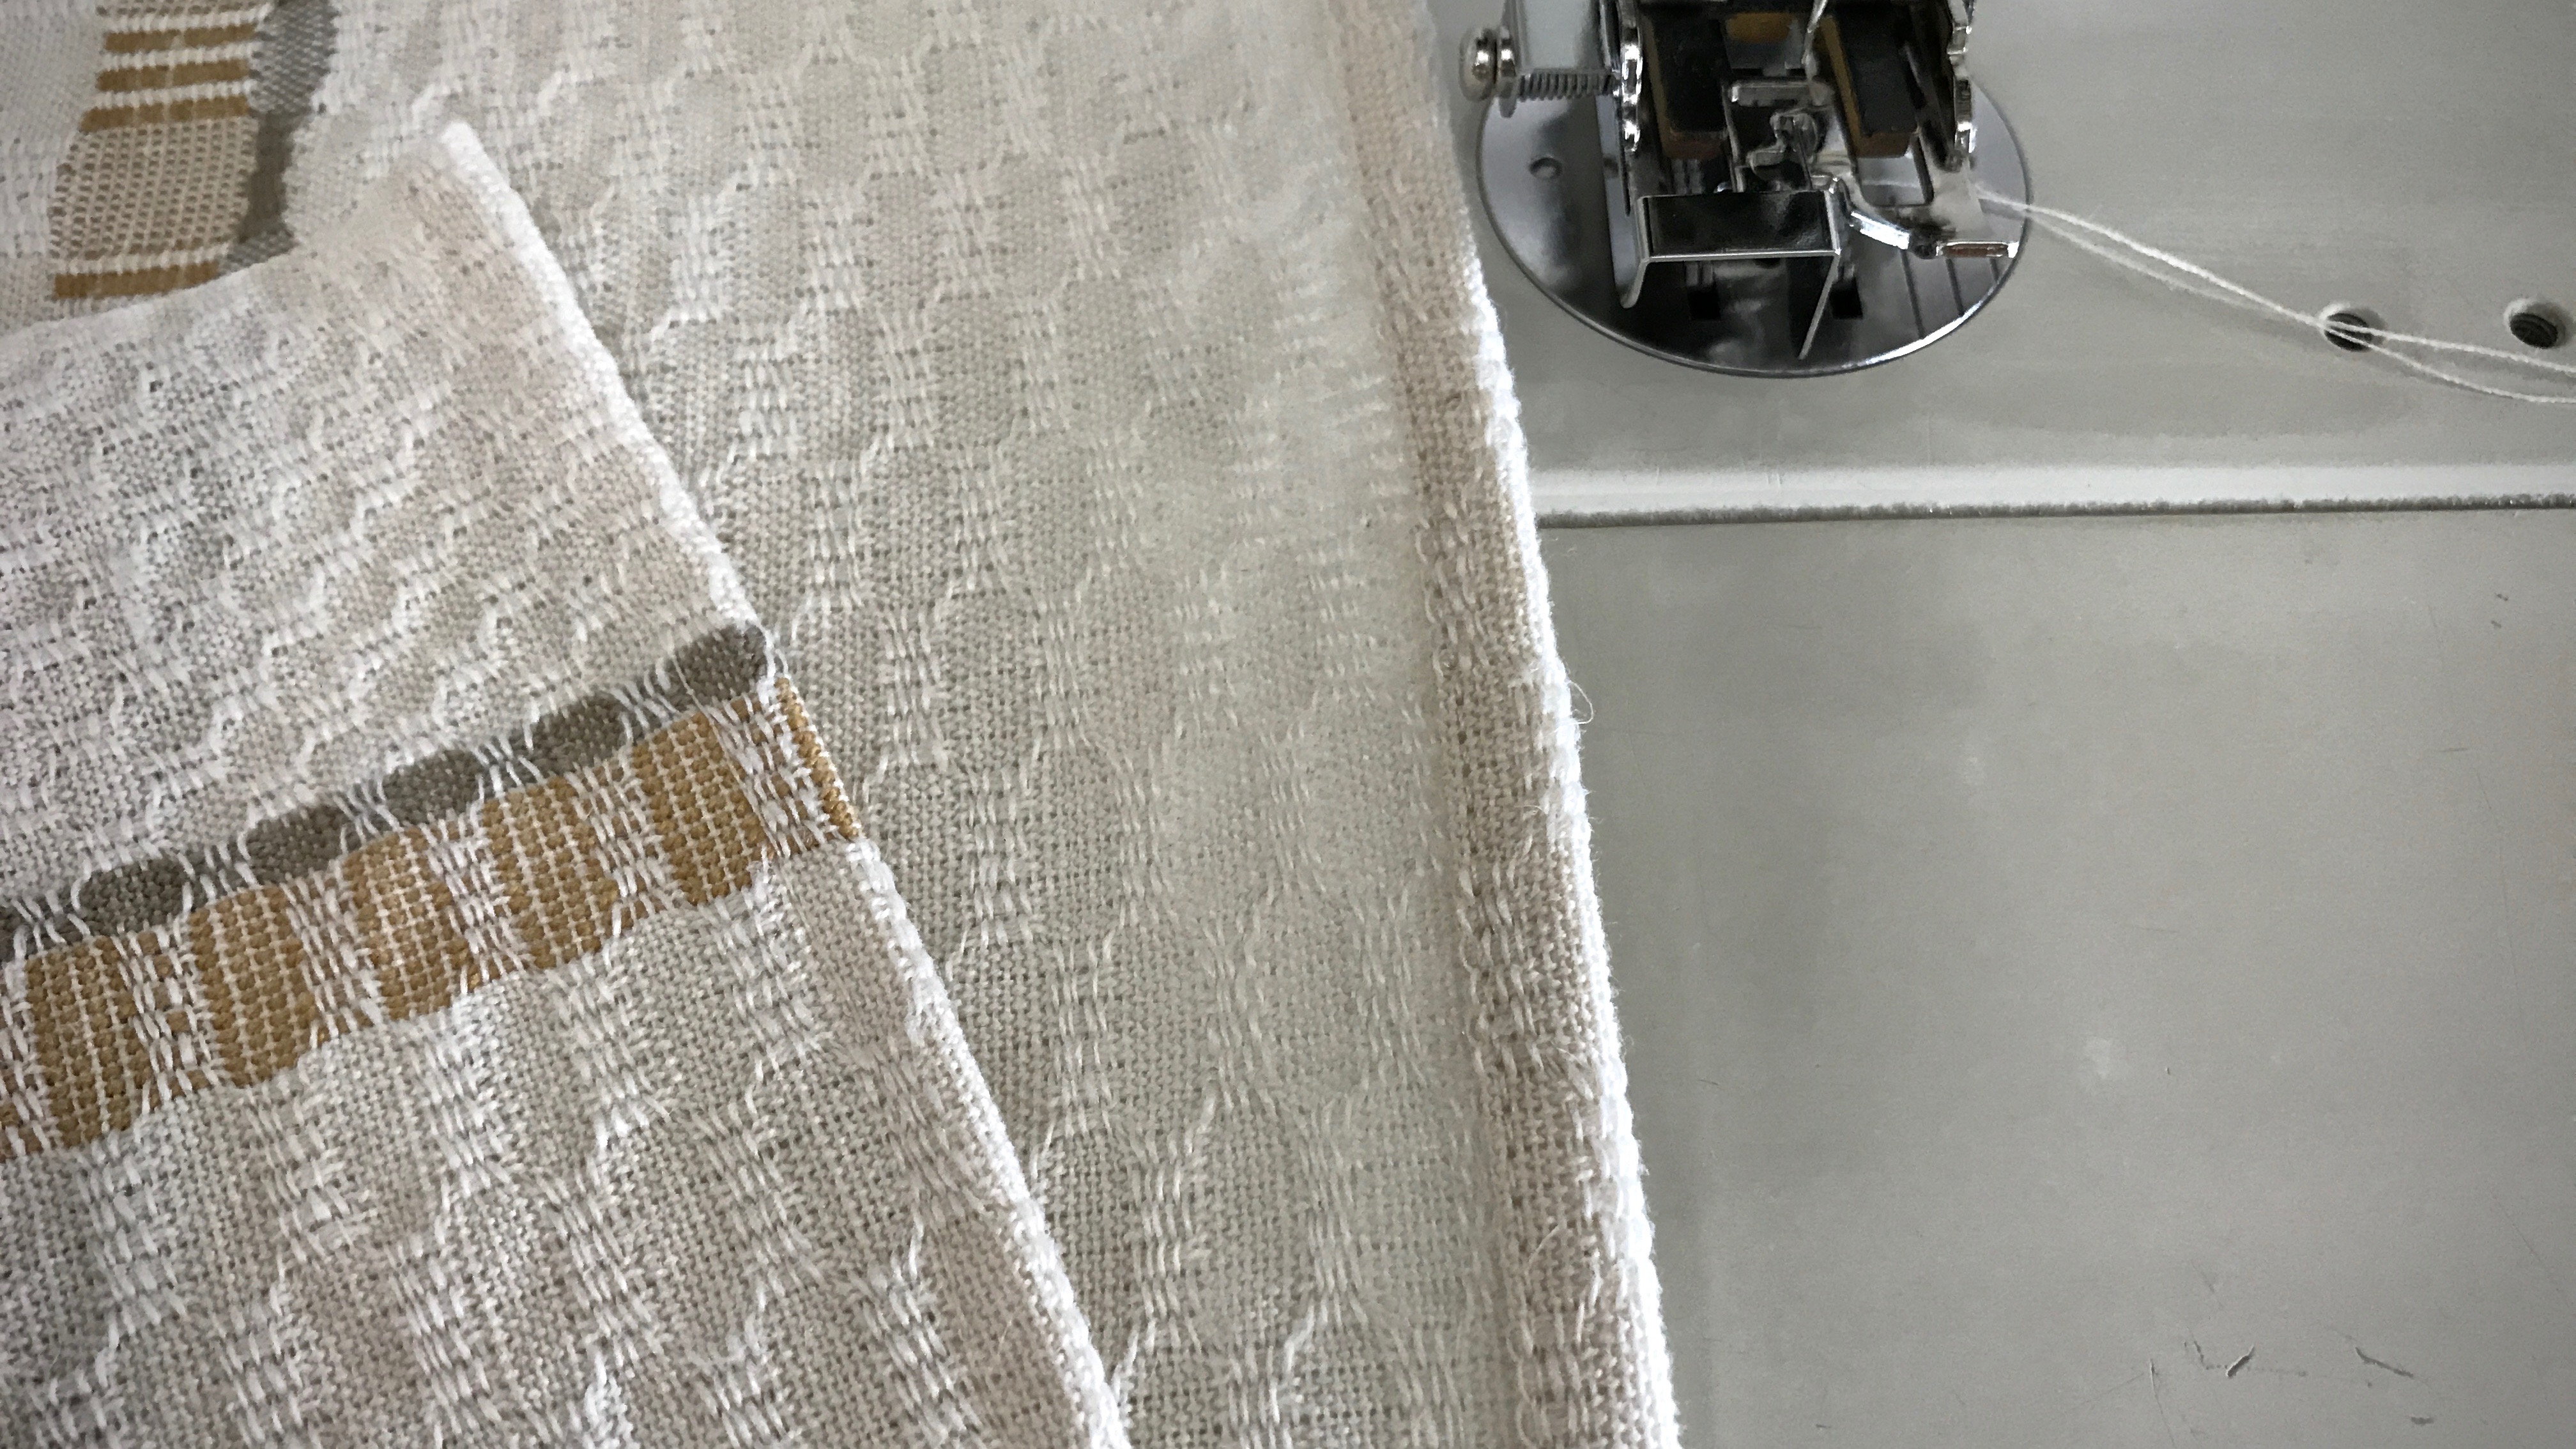
Hems shouldn’t be noticed. At least, not at first glance. I don’t want the stitching of the hem to detract from the overall handwoven quality. Decorative items, like this table runner, deserve a hand-stitched hem. But for functional pieces, like these tea towels, I stitch the hems on my trusty old Bernina sewing machine. This ensures the durability I want for something that will be thrown in the washer and dryer again and again.
Long M’s and O’s table runner is hemmed by hand using an invisible hem stitch.
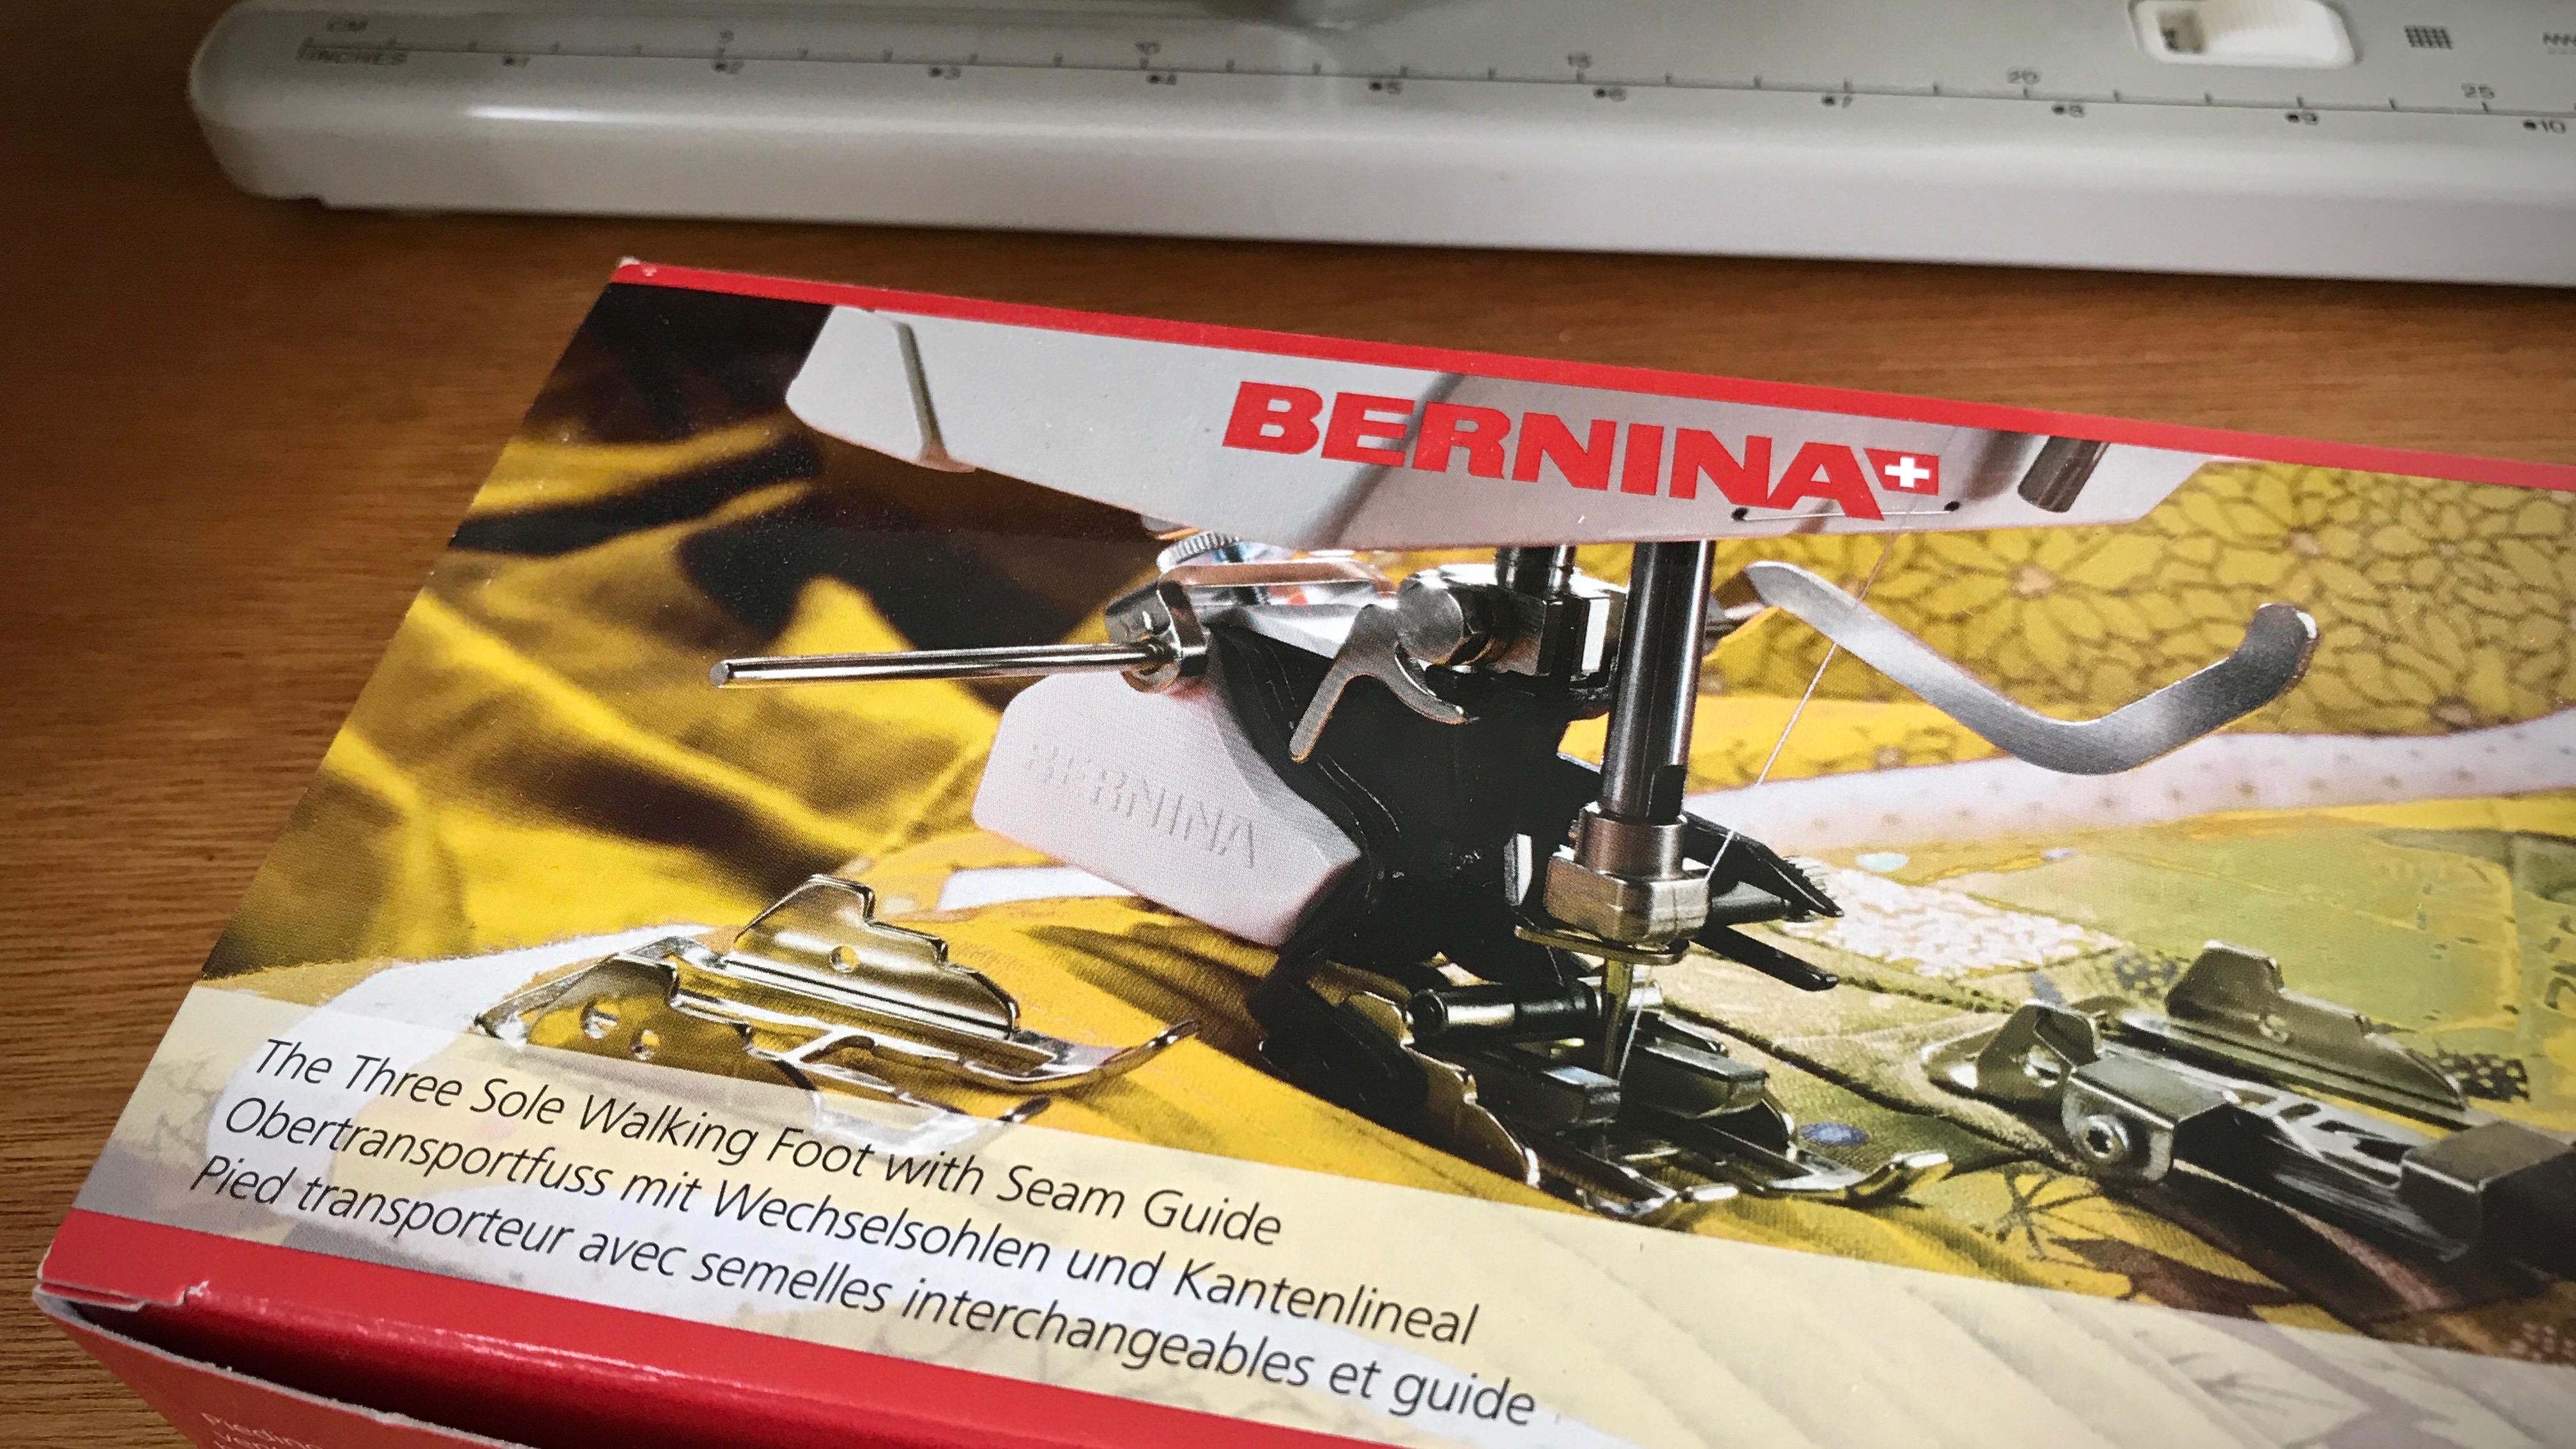
Last year I purchased a Bernina walking foot through my local Bernina repairman. It was one of the best sewing investments I have made. (Don’t be fooled by off-brand “Bernina compatible” products.) The advantage of a walking foot is that it evenly feeds layers of fabric, which is especially useful for sewing handwoven fabric. And for the towel hem, it means the top of the hem won’t become skewed and slanted as you sew, like it might with a regular sewing machine foot.
Bernina Three Sole Walking Foot with Seam Guide. The walking foot stays on my Bernina sewing machine almost all the time.
One of the three sole plates that comes with the Bernina walking foot is a sole for edge stitching. This works beautifully for stitching a narrow hem on lighter-weight fabric, like these airy cotton and linen towels.
My process for a machine-stitched narrow hem
Turn and press the 1/4″ hem twice. Hold the folded edge in place with small fabric clips.
Small fabric clips hold the folded and pressed towel hem in place, in preparation for stitching the hem.
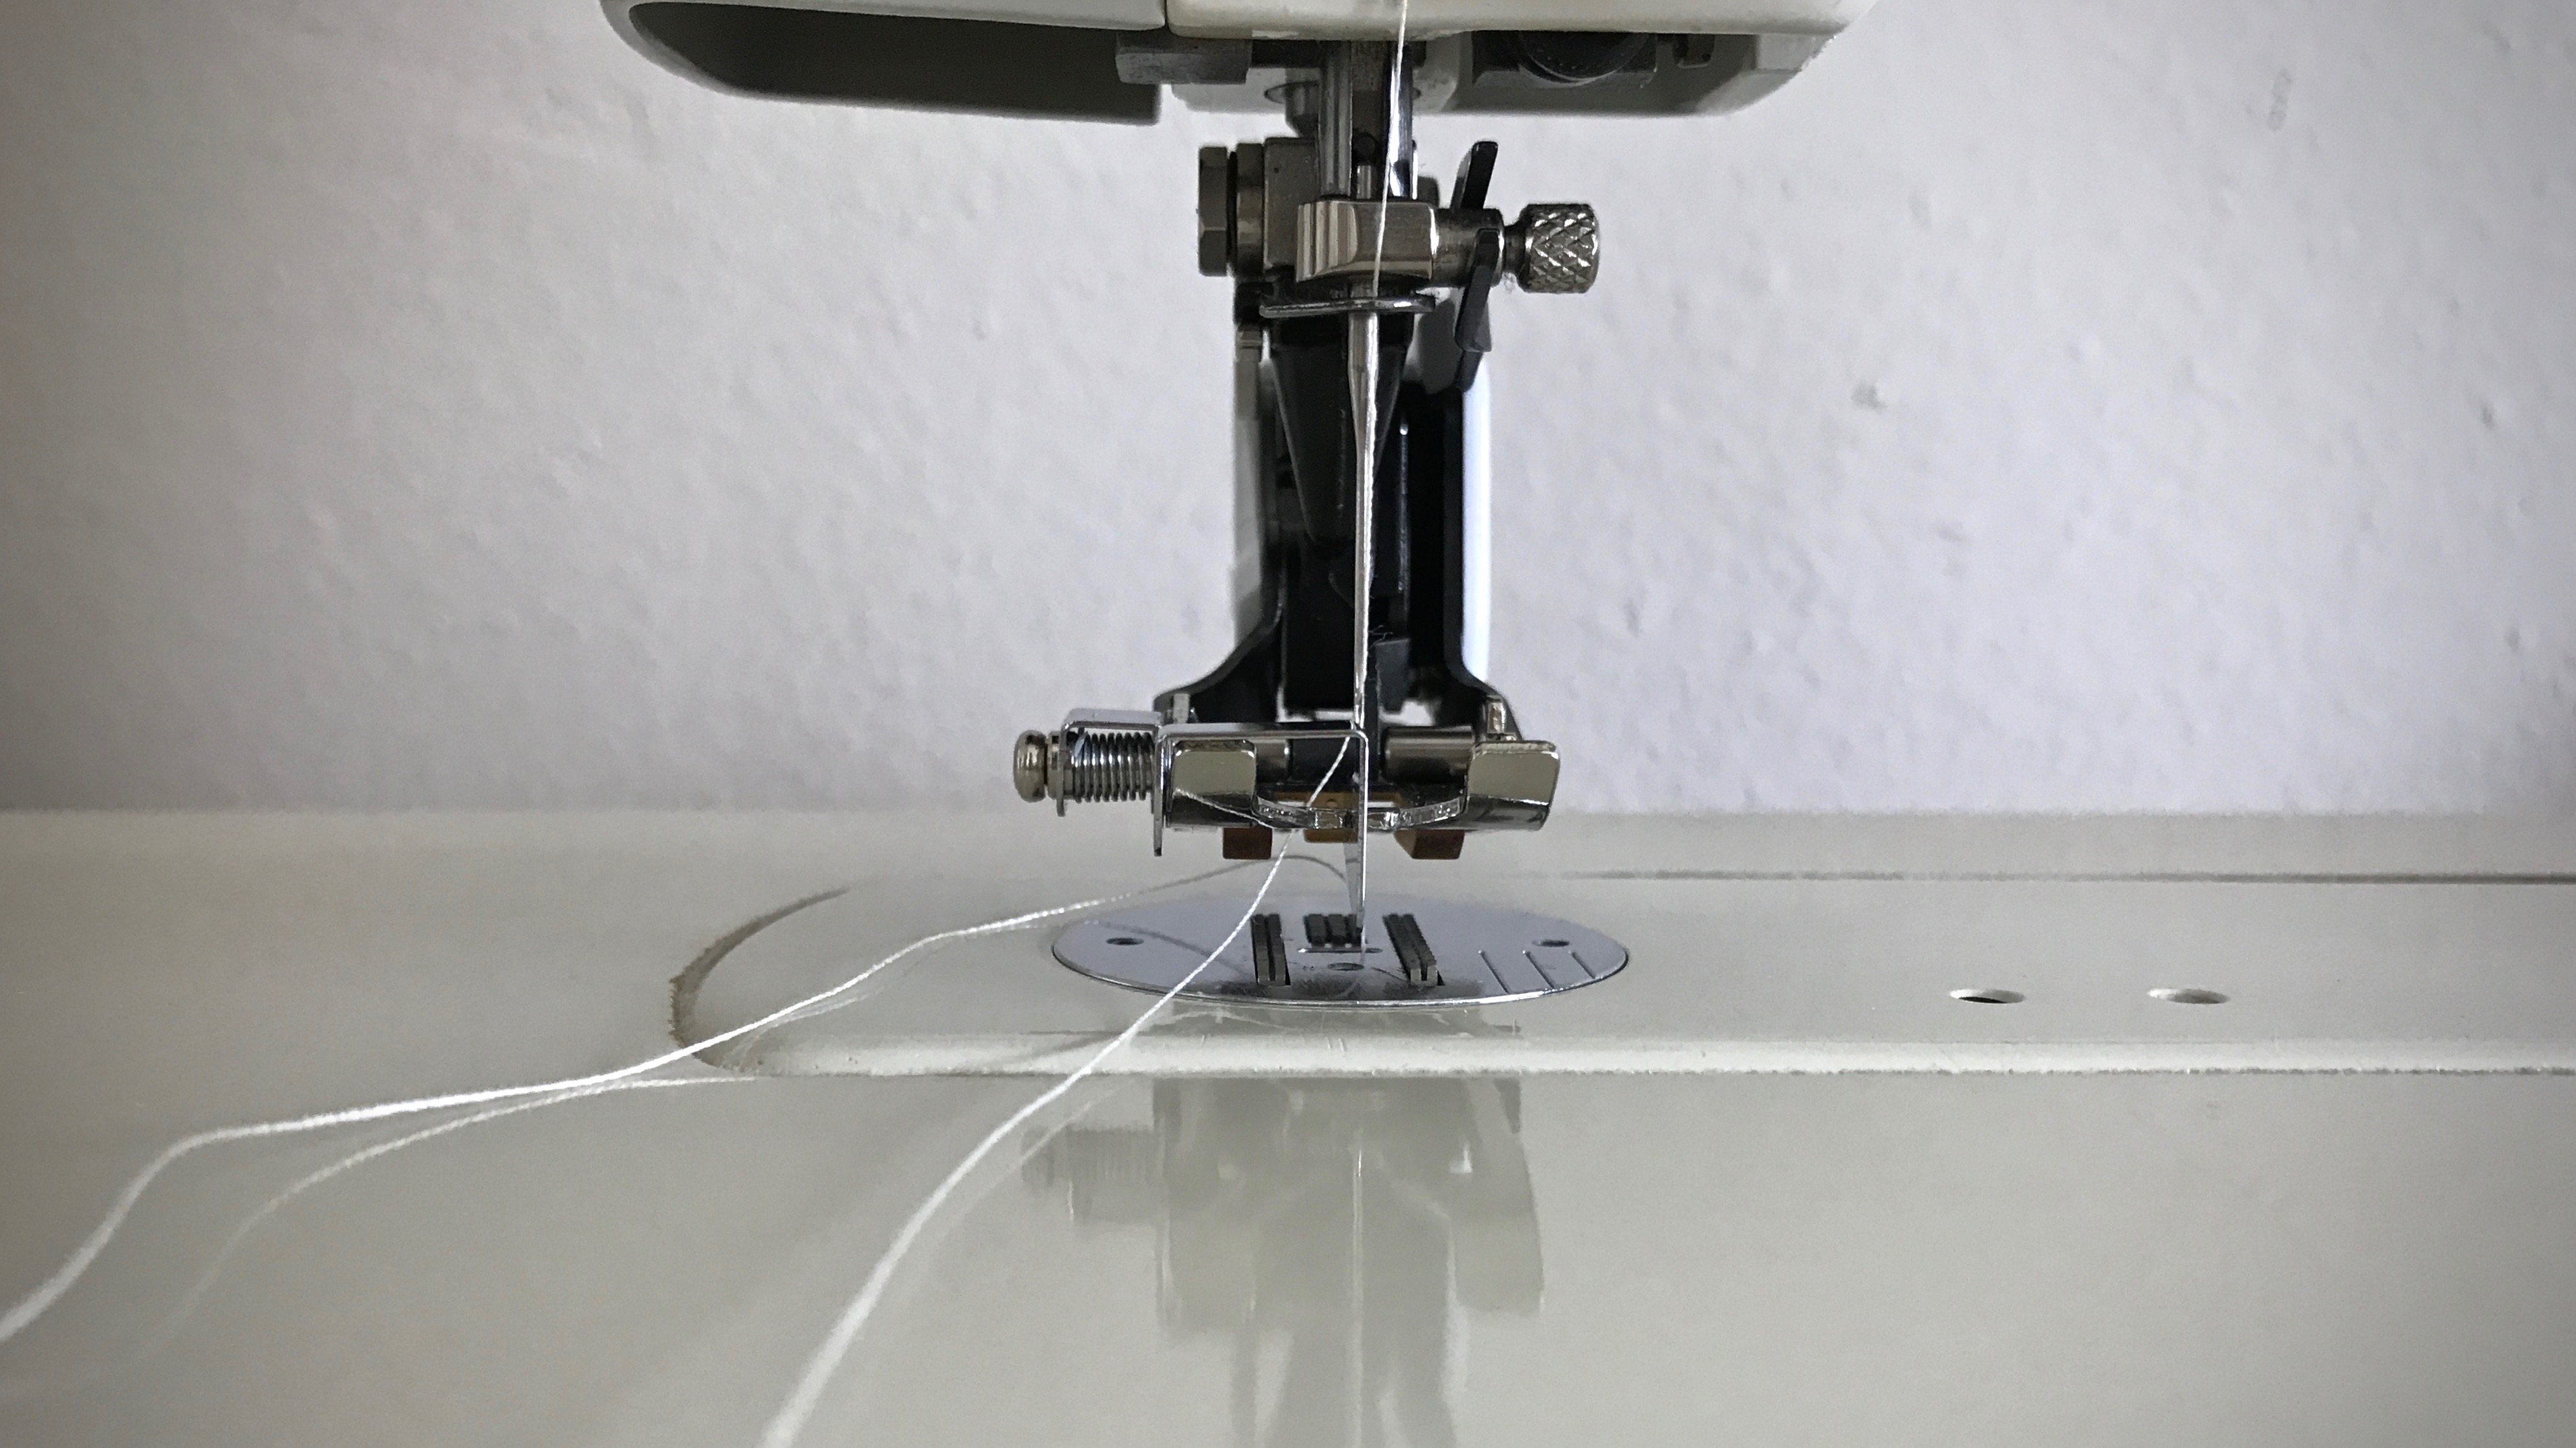
At the sewing machine, attach the edge-stitching sole plate to the walking foot. Align the fold of the hem with the edge-stitching guide.
Sole with stitch guide. The metal plate that extends below the foot is a steady guide that works for sewing a narrow hem, as well as for top-stitching, or “stitch-in-the-ditch” techniques.
Adjust the sewing machine needle to the right, so that it catches the fabric just inside the edge of the fold.
Sewing the narrow hem. Needle is positioned so that it is to the right of the hem fold.
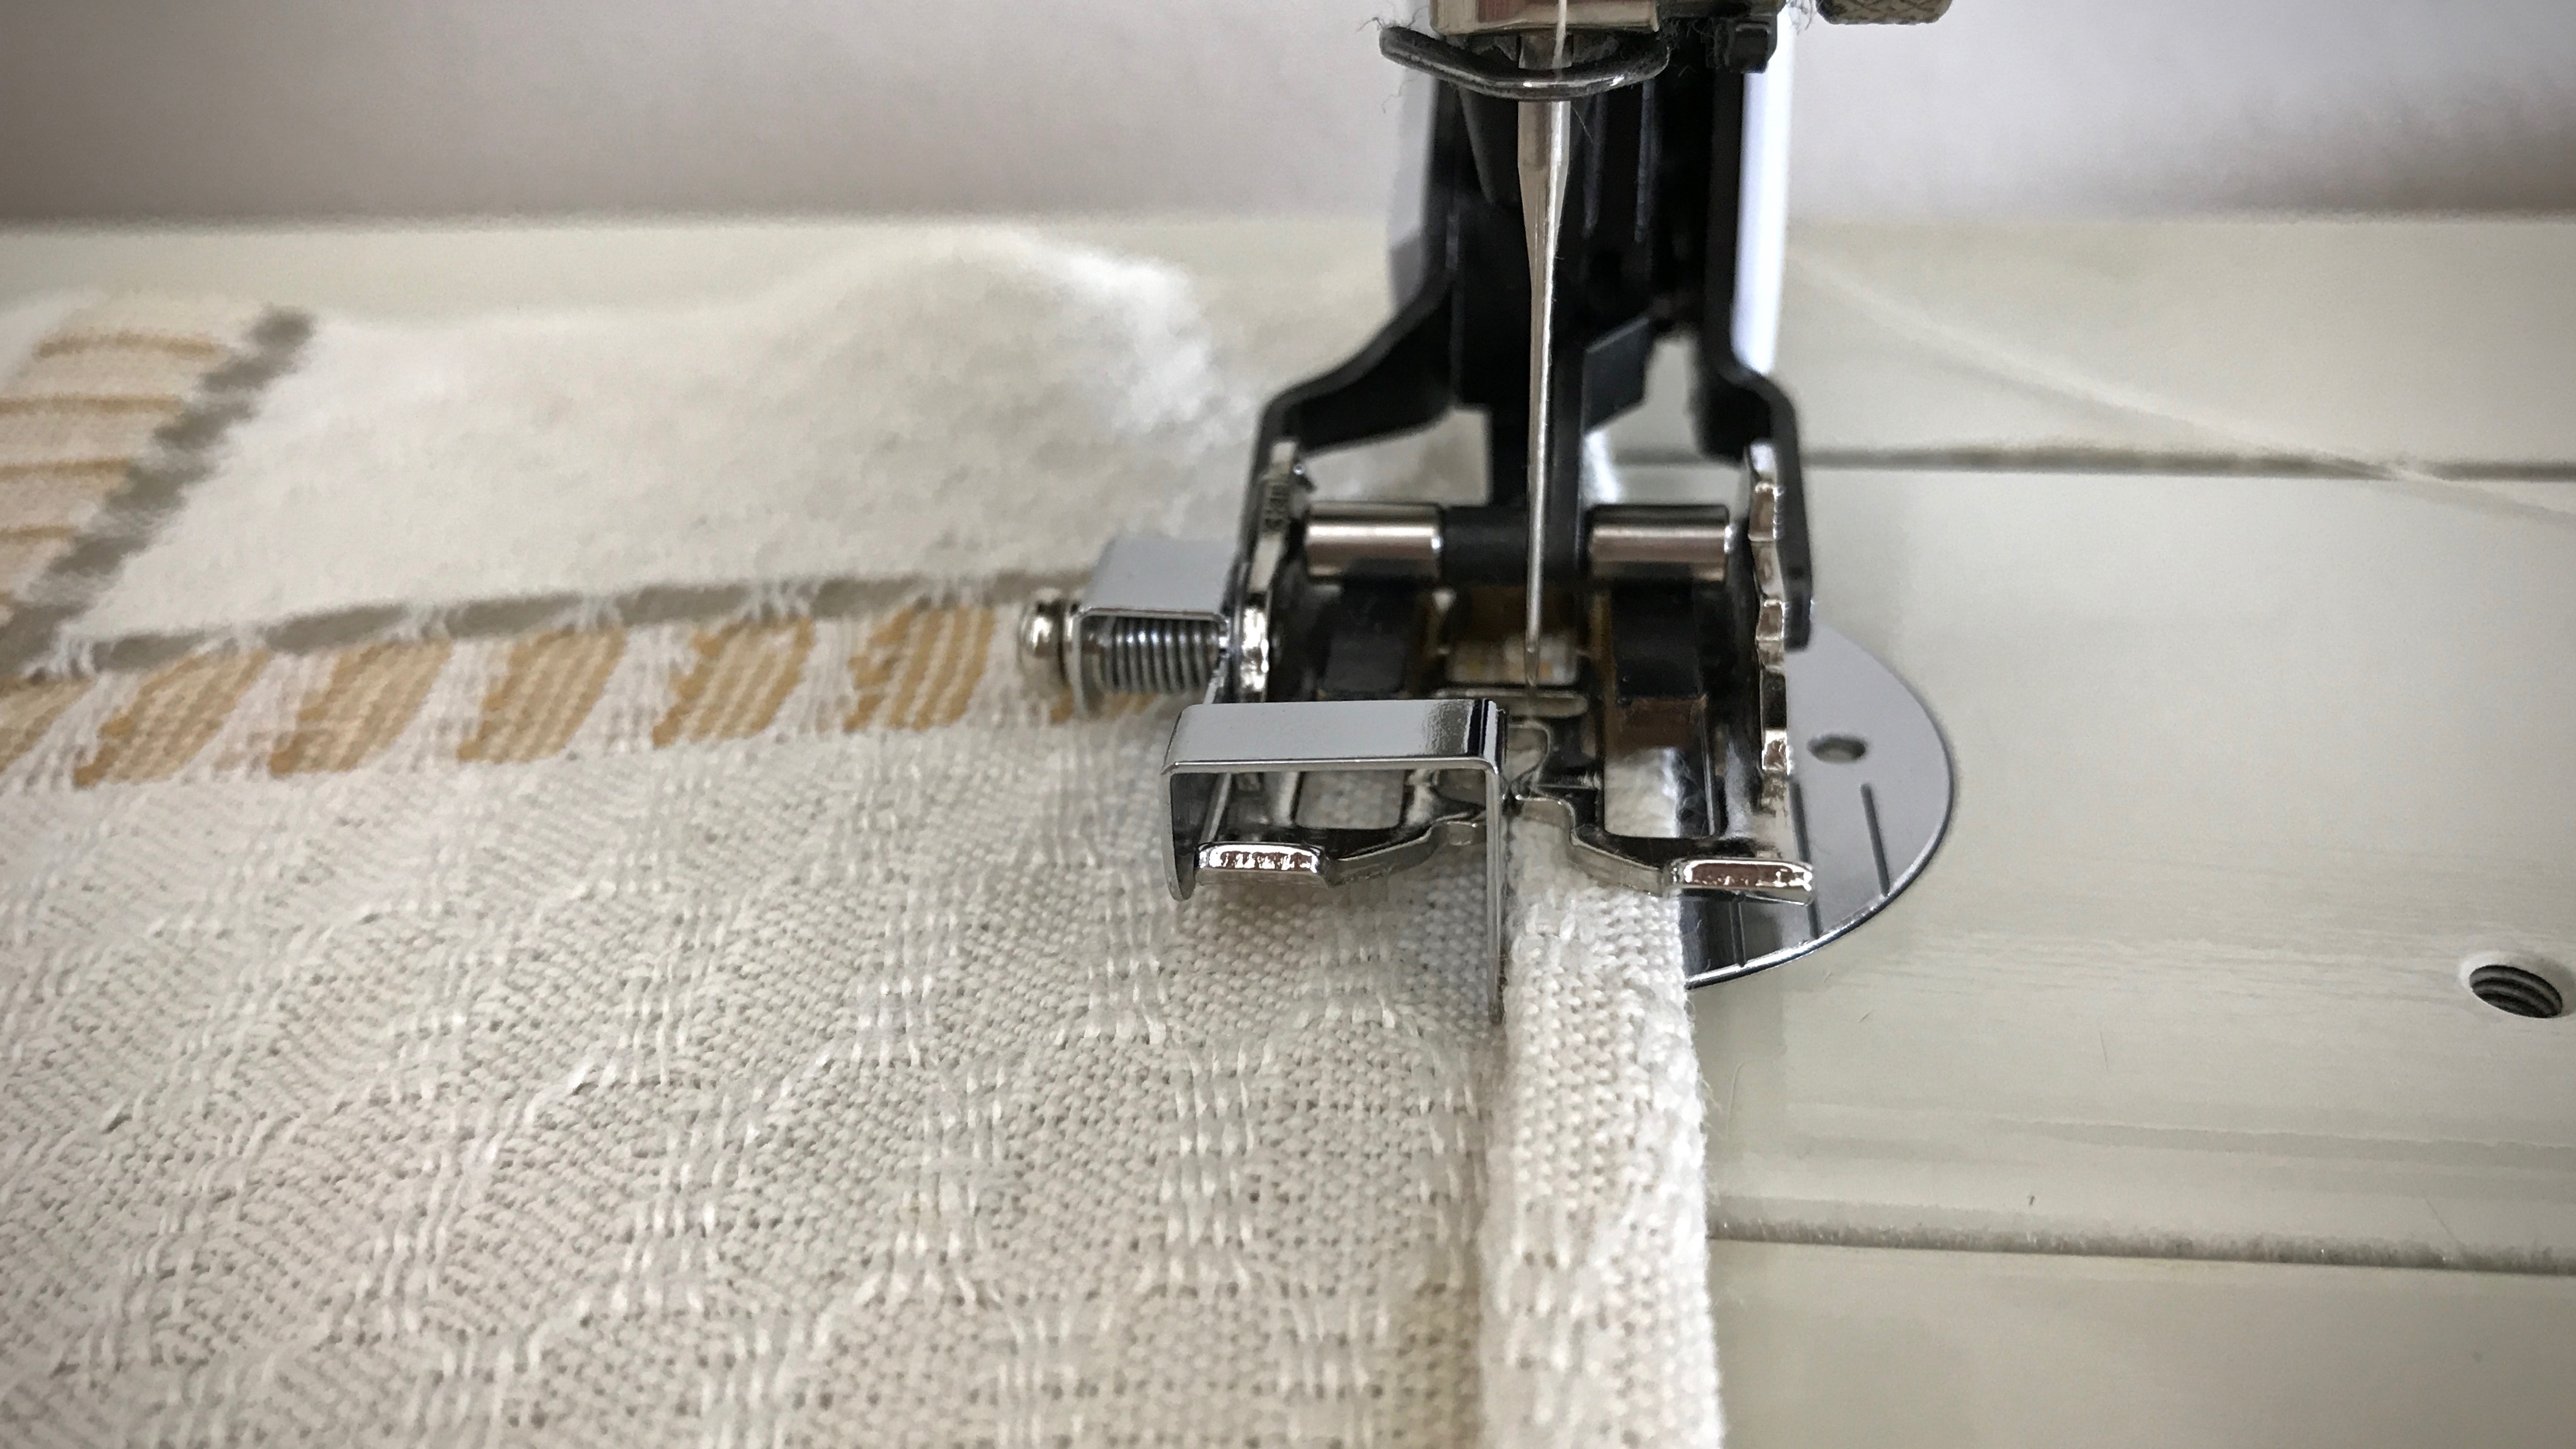
Slowly sew a narrow hem, keeping the folded edge next to the walking foot’s edge-stitching guide. Remove fabric clips before they come to the needle.
Front and back of the hem have consistent, straight stitching. The narrow hem (not yet pressed) will be barely visible.
May your hems be a suitable frame for your handiwork.
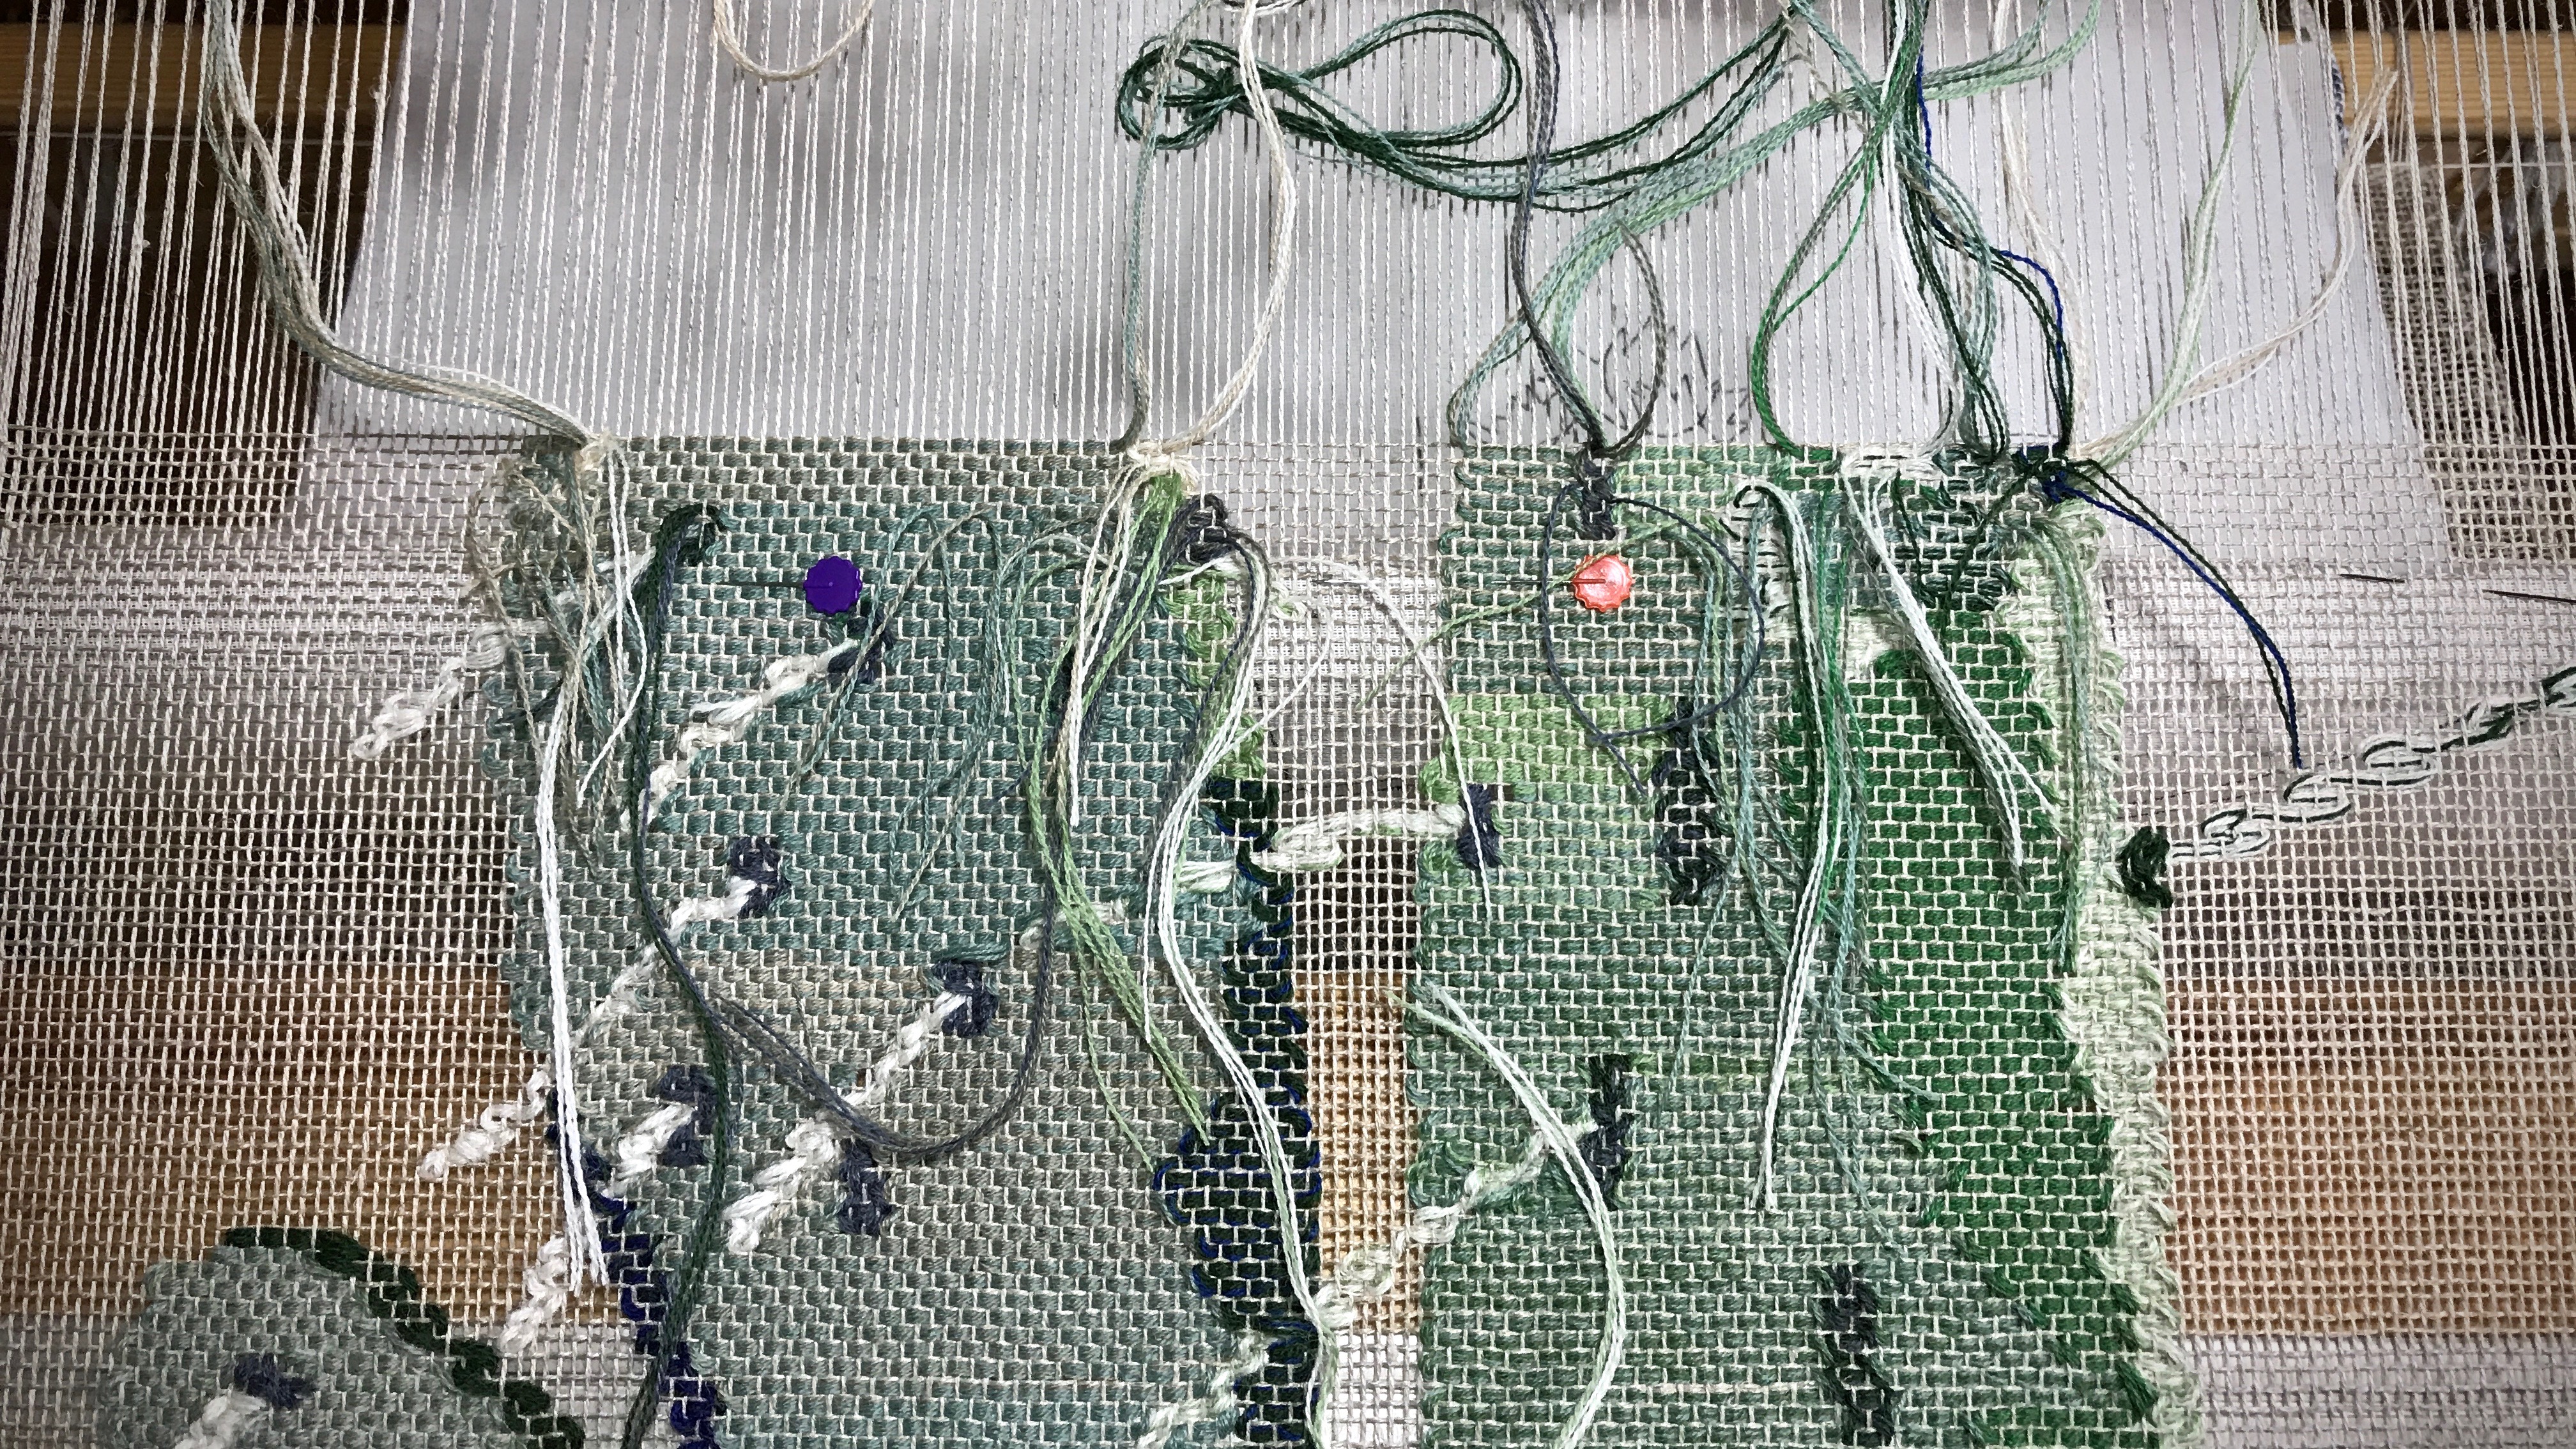
This prickly pear cactus transparency is inching along. I wait for the day when we will get to see this from the front side! Weaving from the back has its advantages, though. I am able to deal with all the weft tails as I go.
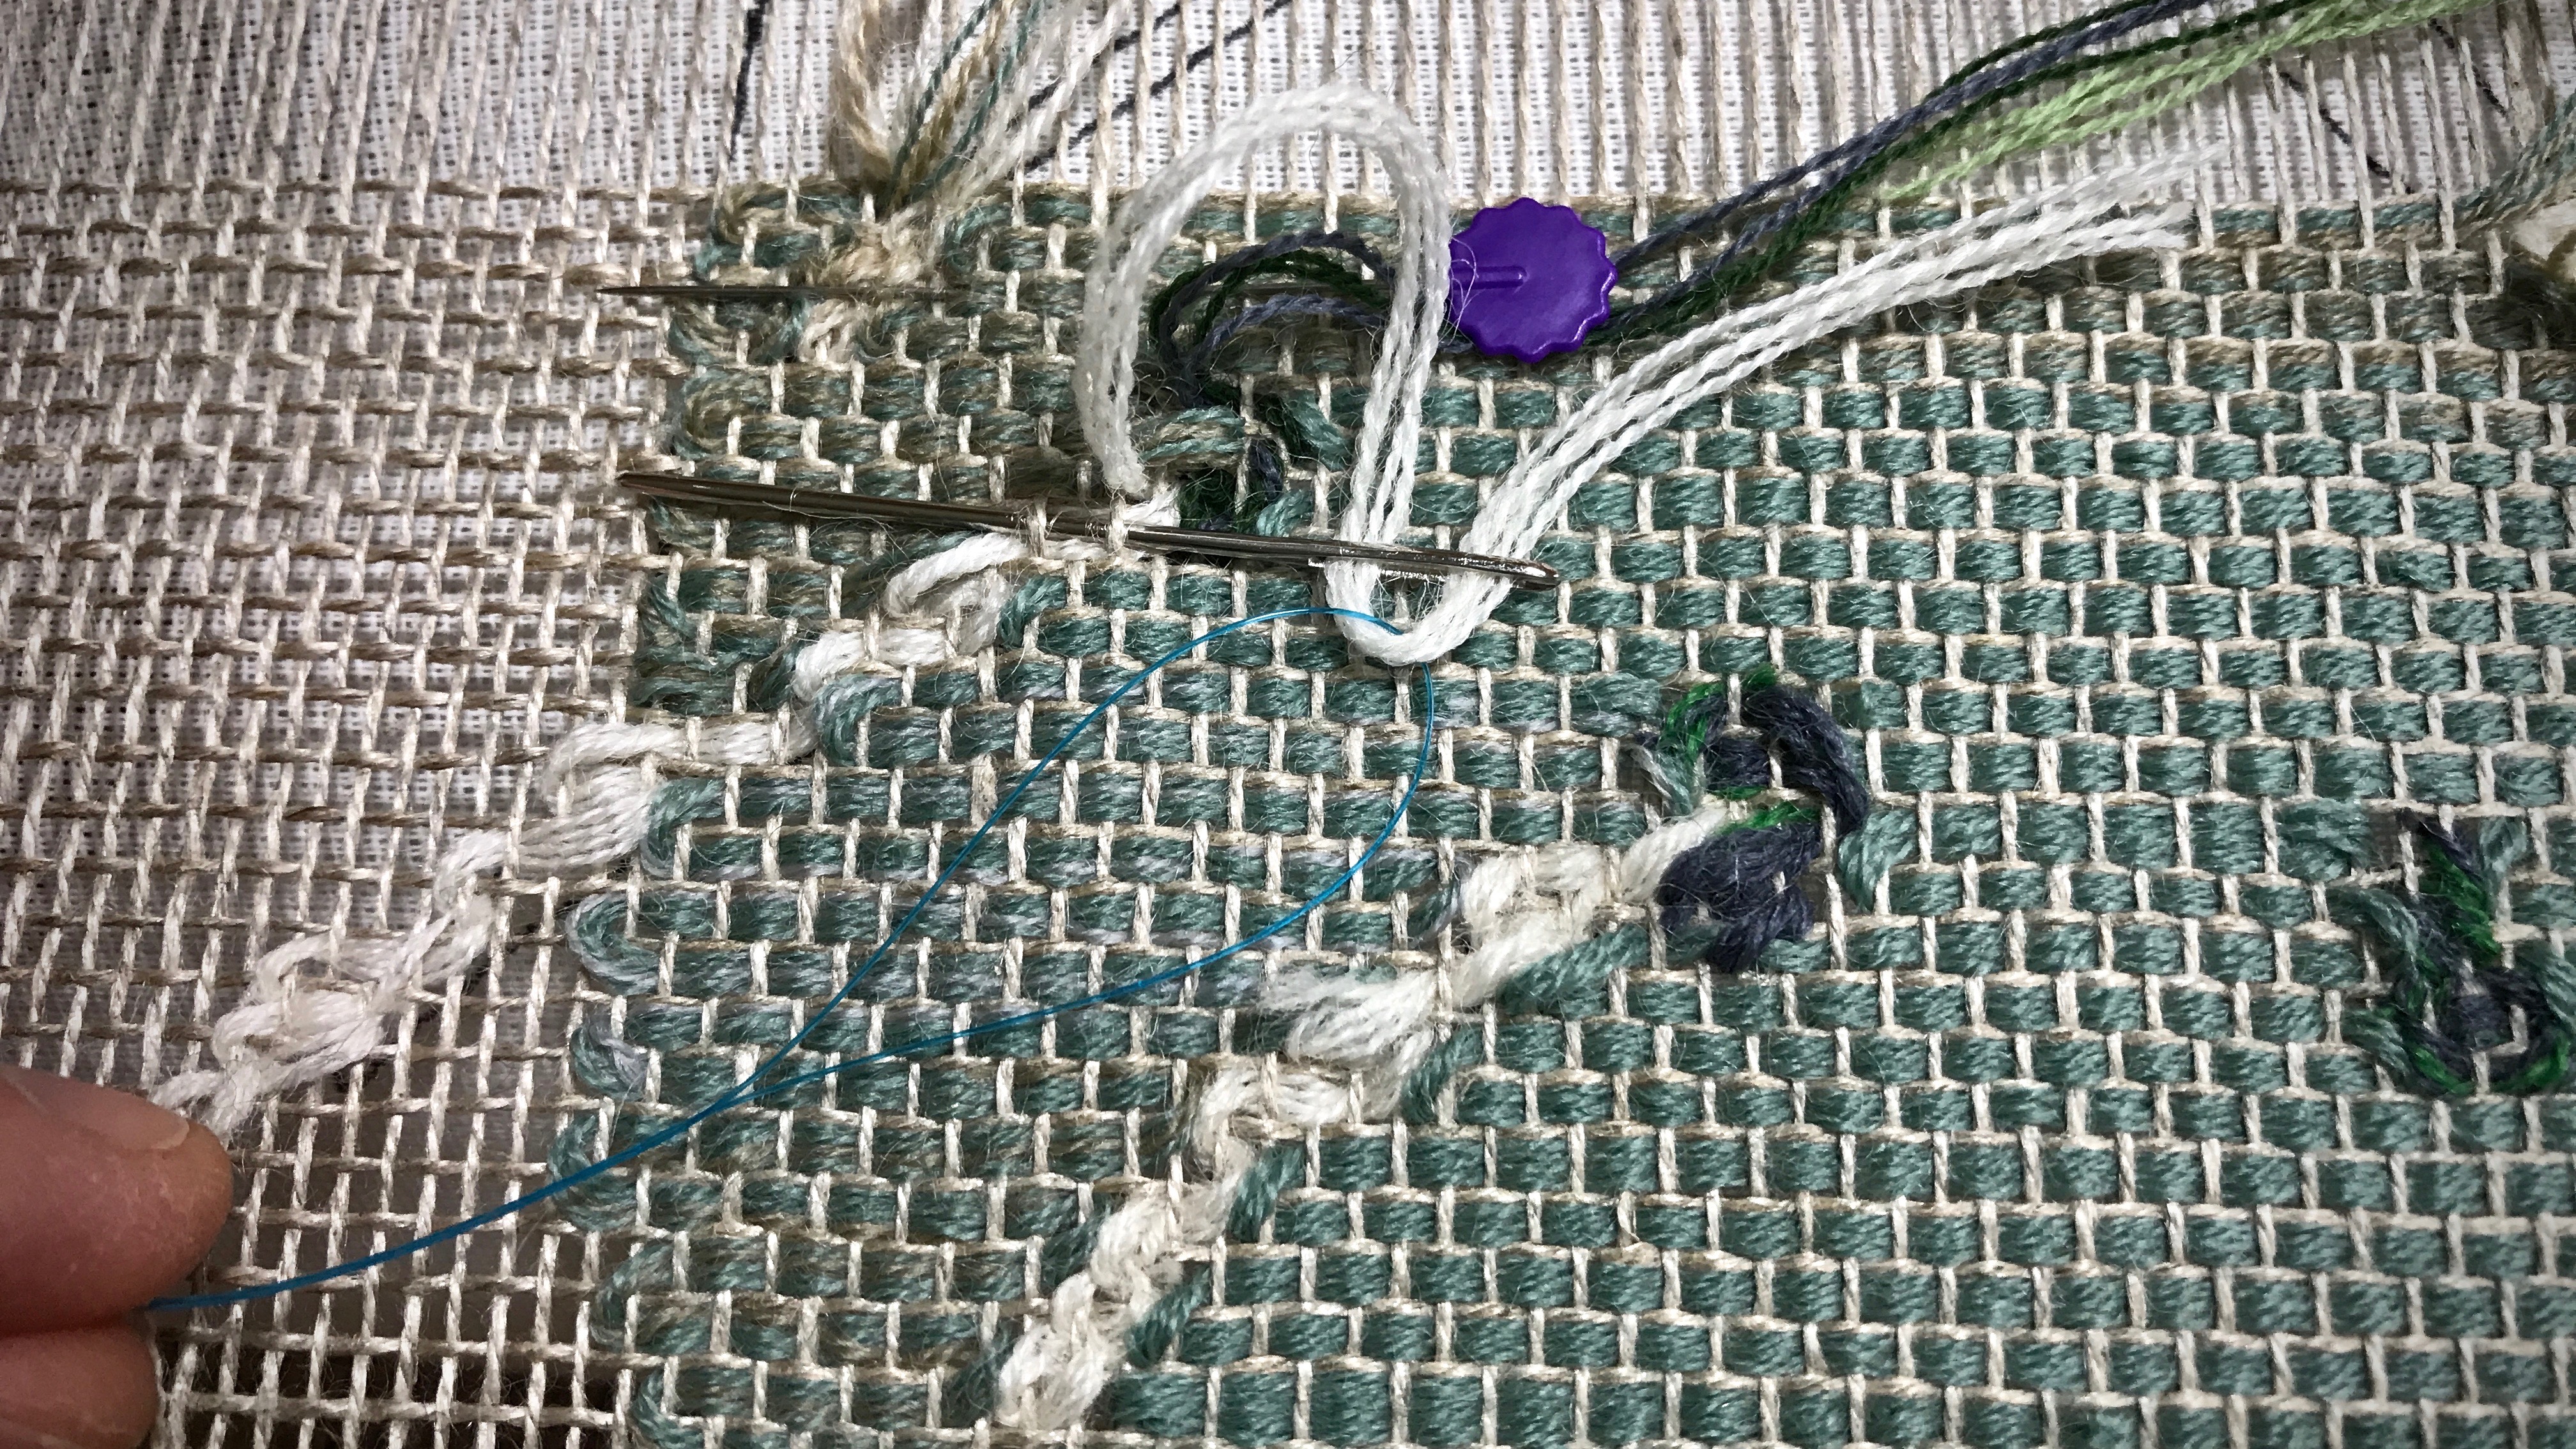
In some rows there are as many as twelve or thirteen different weft bundles. Every weft bundle has tails that are either tucked under adjacent warpends, if possible, or woven in later with a needle.
After every inch of weaving, I stop and trim weft tails. I use a blunt needle to weave loose tails in first before trimming them. This part of the process is time consuming. But I do it happily, thankful that I won’t have hours of tedious work at the end of the project.
Each pattern row is woven straight across, from left to right, with weft bundles following the lines of the cartoon underneath. The linen tabby weft lies between each pattern row.An inch-worth of weaving, with weft tails to weave in and to trim. Wefts that were spliced while weaving can be trimmed close to the fabric. Tails of weft bundles must be woven in with a needle, and then trimmed.Sometimes it works best to put the needle through warp ends first and then use a dental floss threader to help thread the weft tail bundle through the eye of the needle.Cactus keeps growing, inch by inch!
Give thanks. It is right and it is satisfying to give thanks to the Lord. The little things that we get to take care of now, daily inching along, are reminders of the big work in progress that we are in. Eventually, we will see the front side. And what a joy that will be!
Is there anything as exciting as cutting off? Oh sure, there will be some errors to mend. And only wet finishing will reveal the true nature of the cloth. But after investing hours and hours at the loom, cutting the fabric off is a celebration. This is the moment when the work of this weaver’s hands is finally revealed!
While admiring and examining the fabric as it comes off the loom, I am already moving onto the next step–finishing. Here are a few of my regular practices.
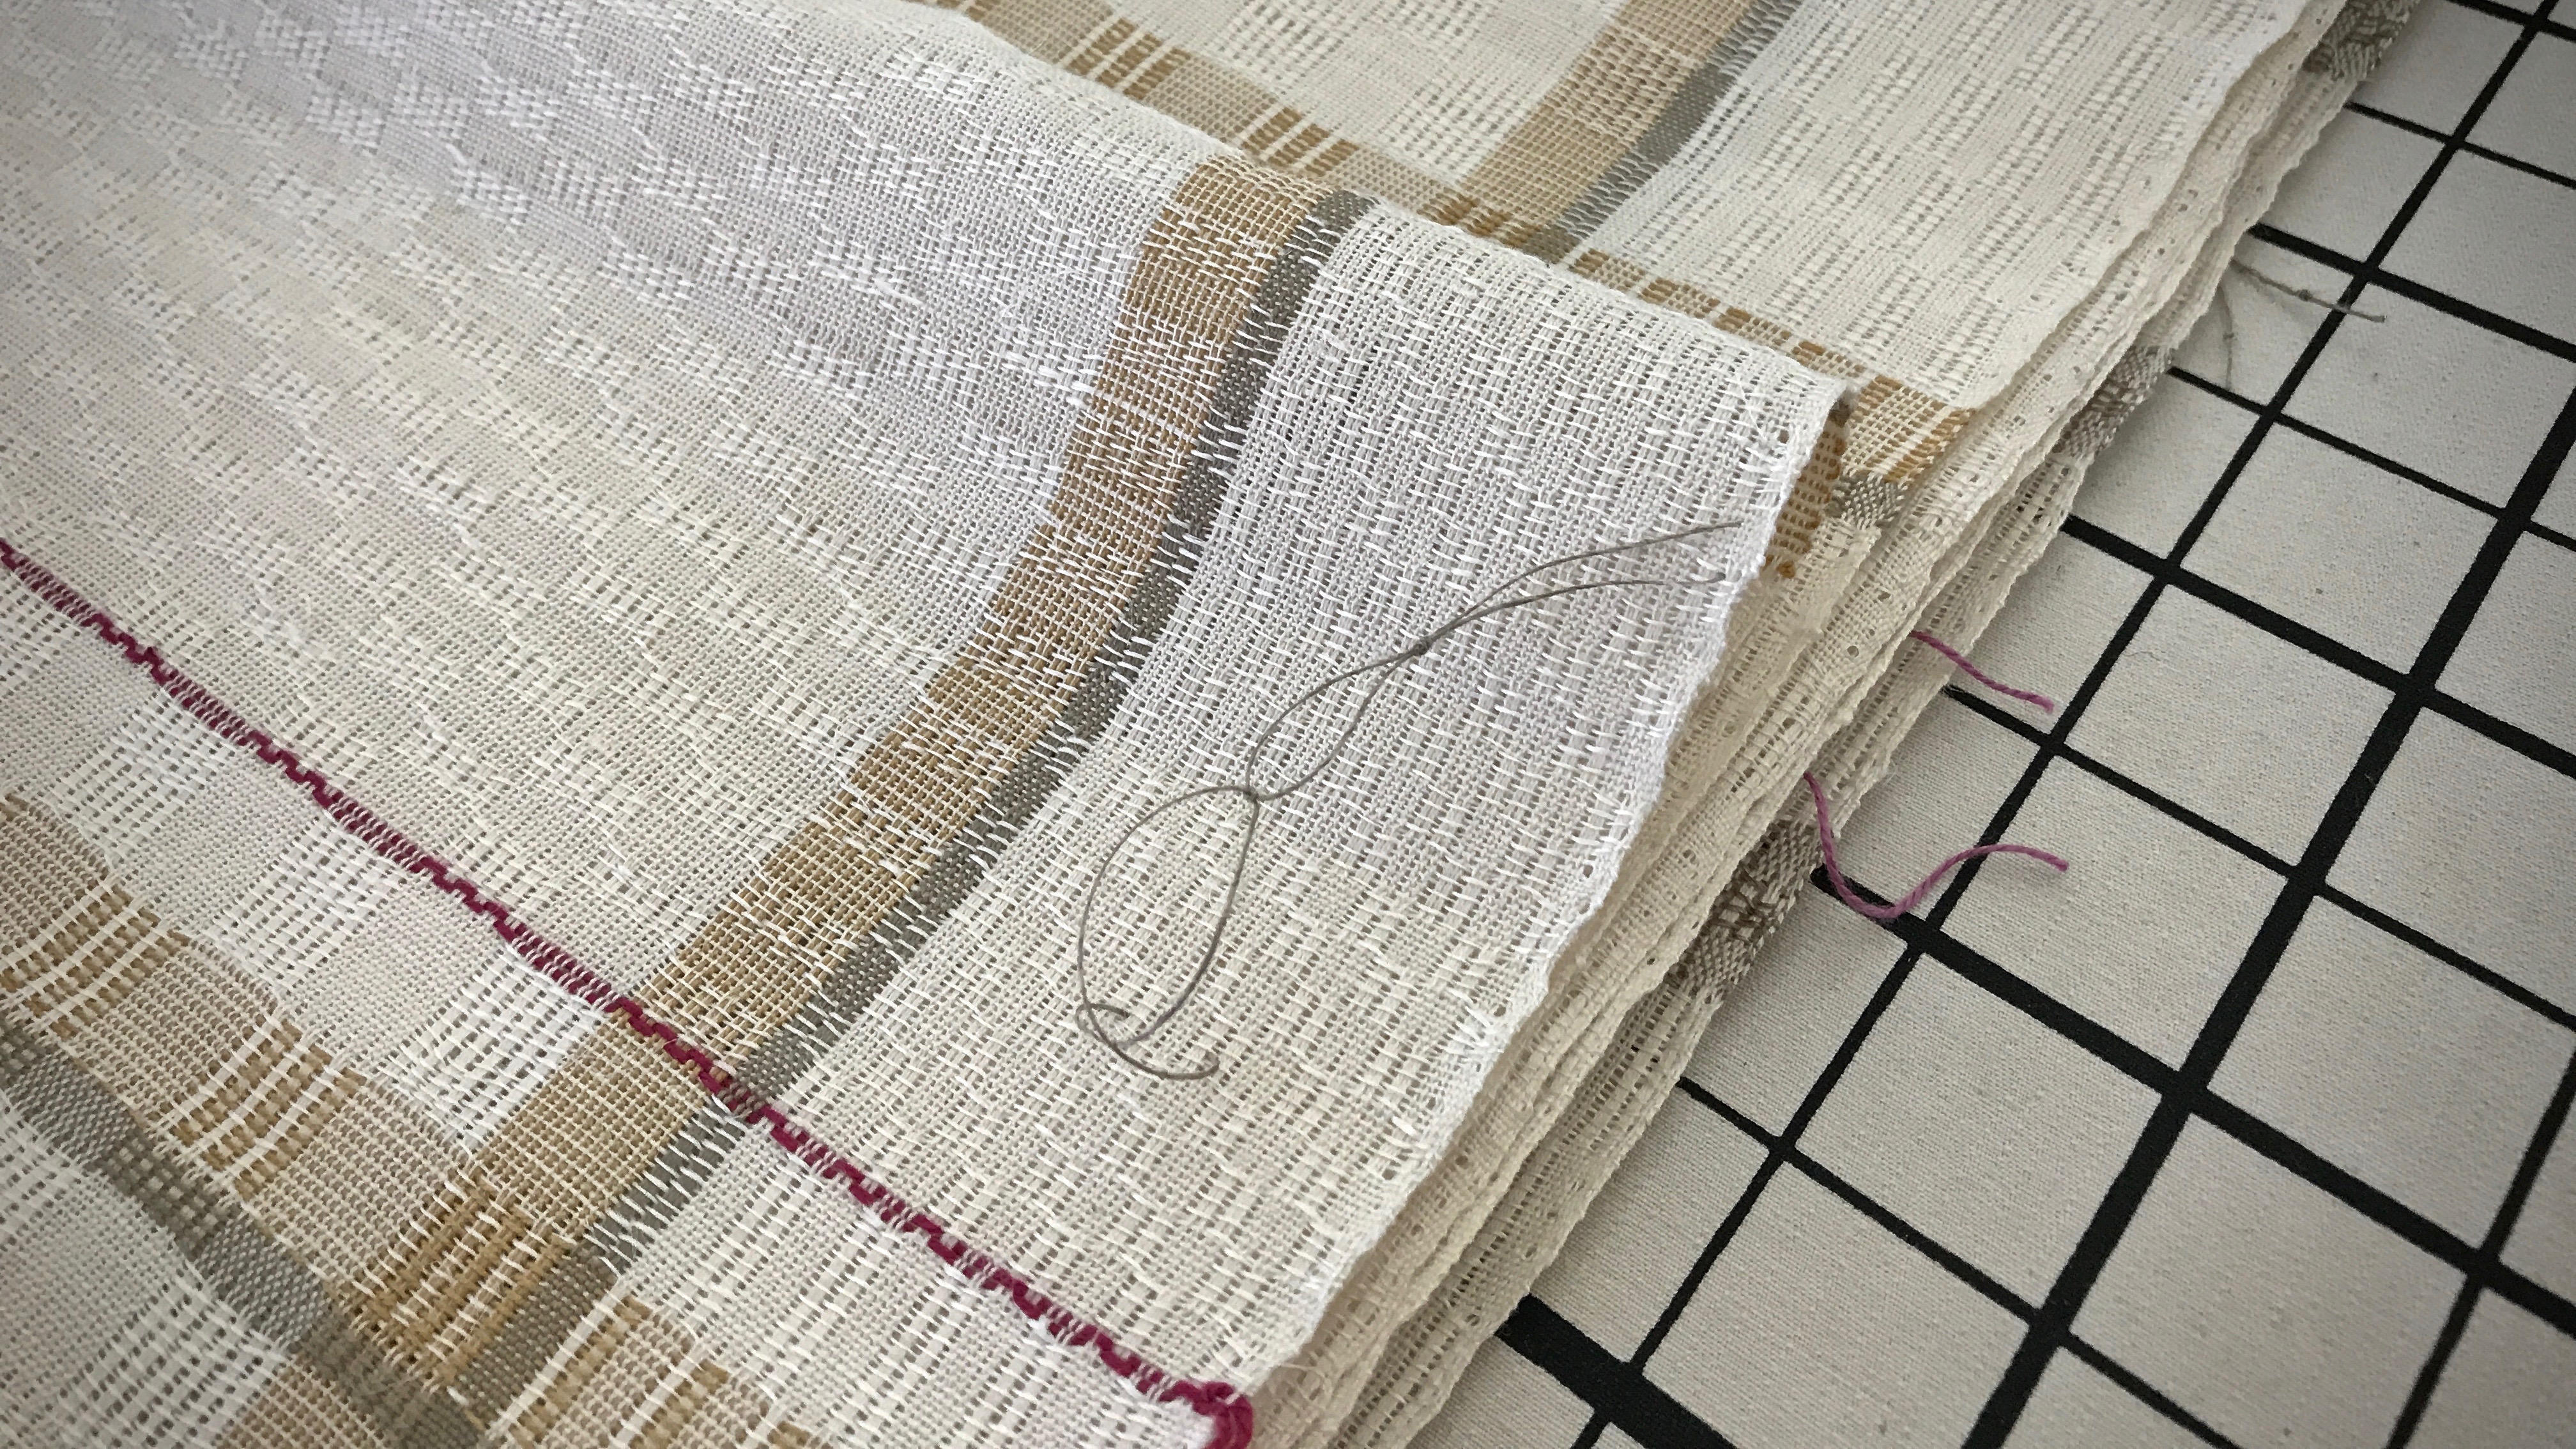
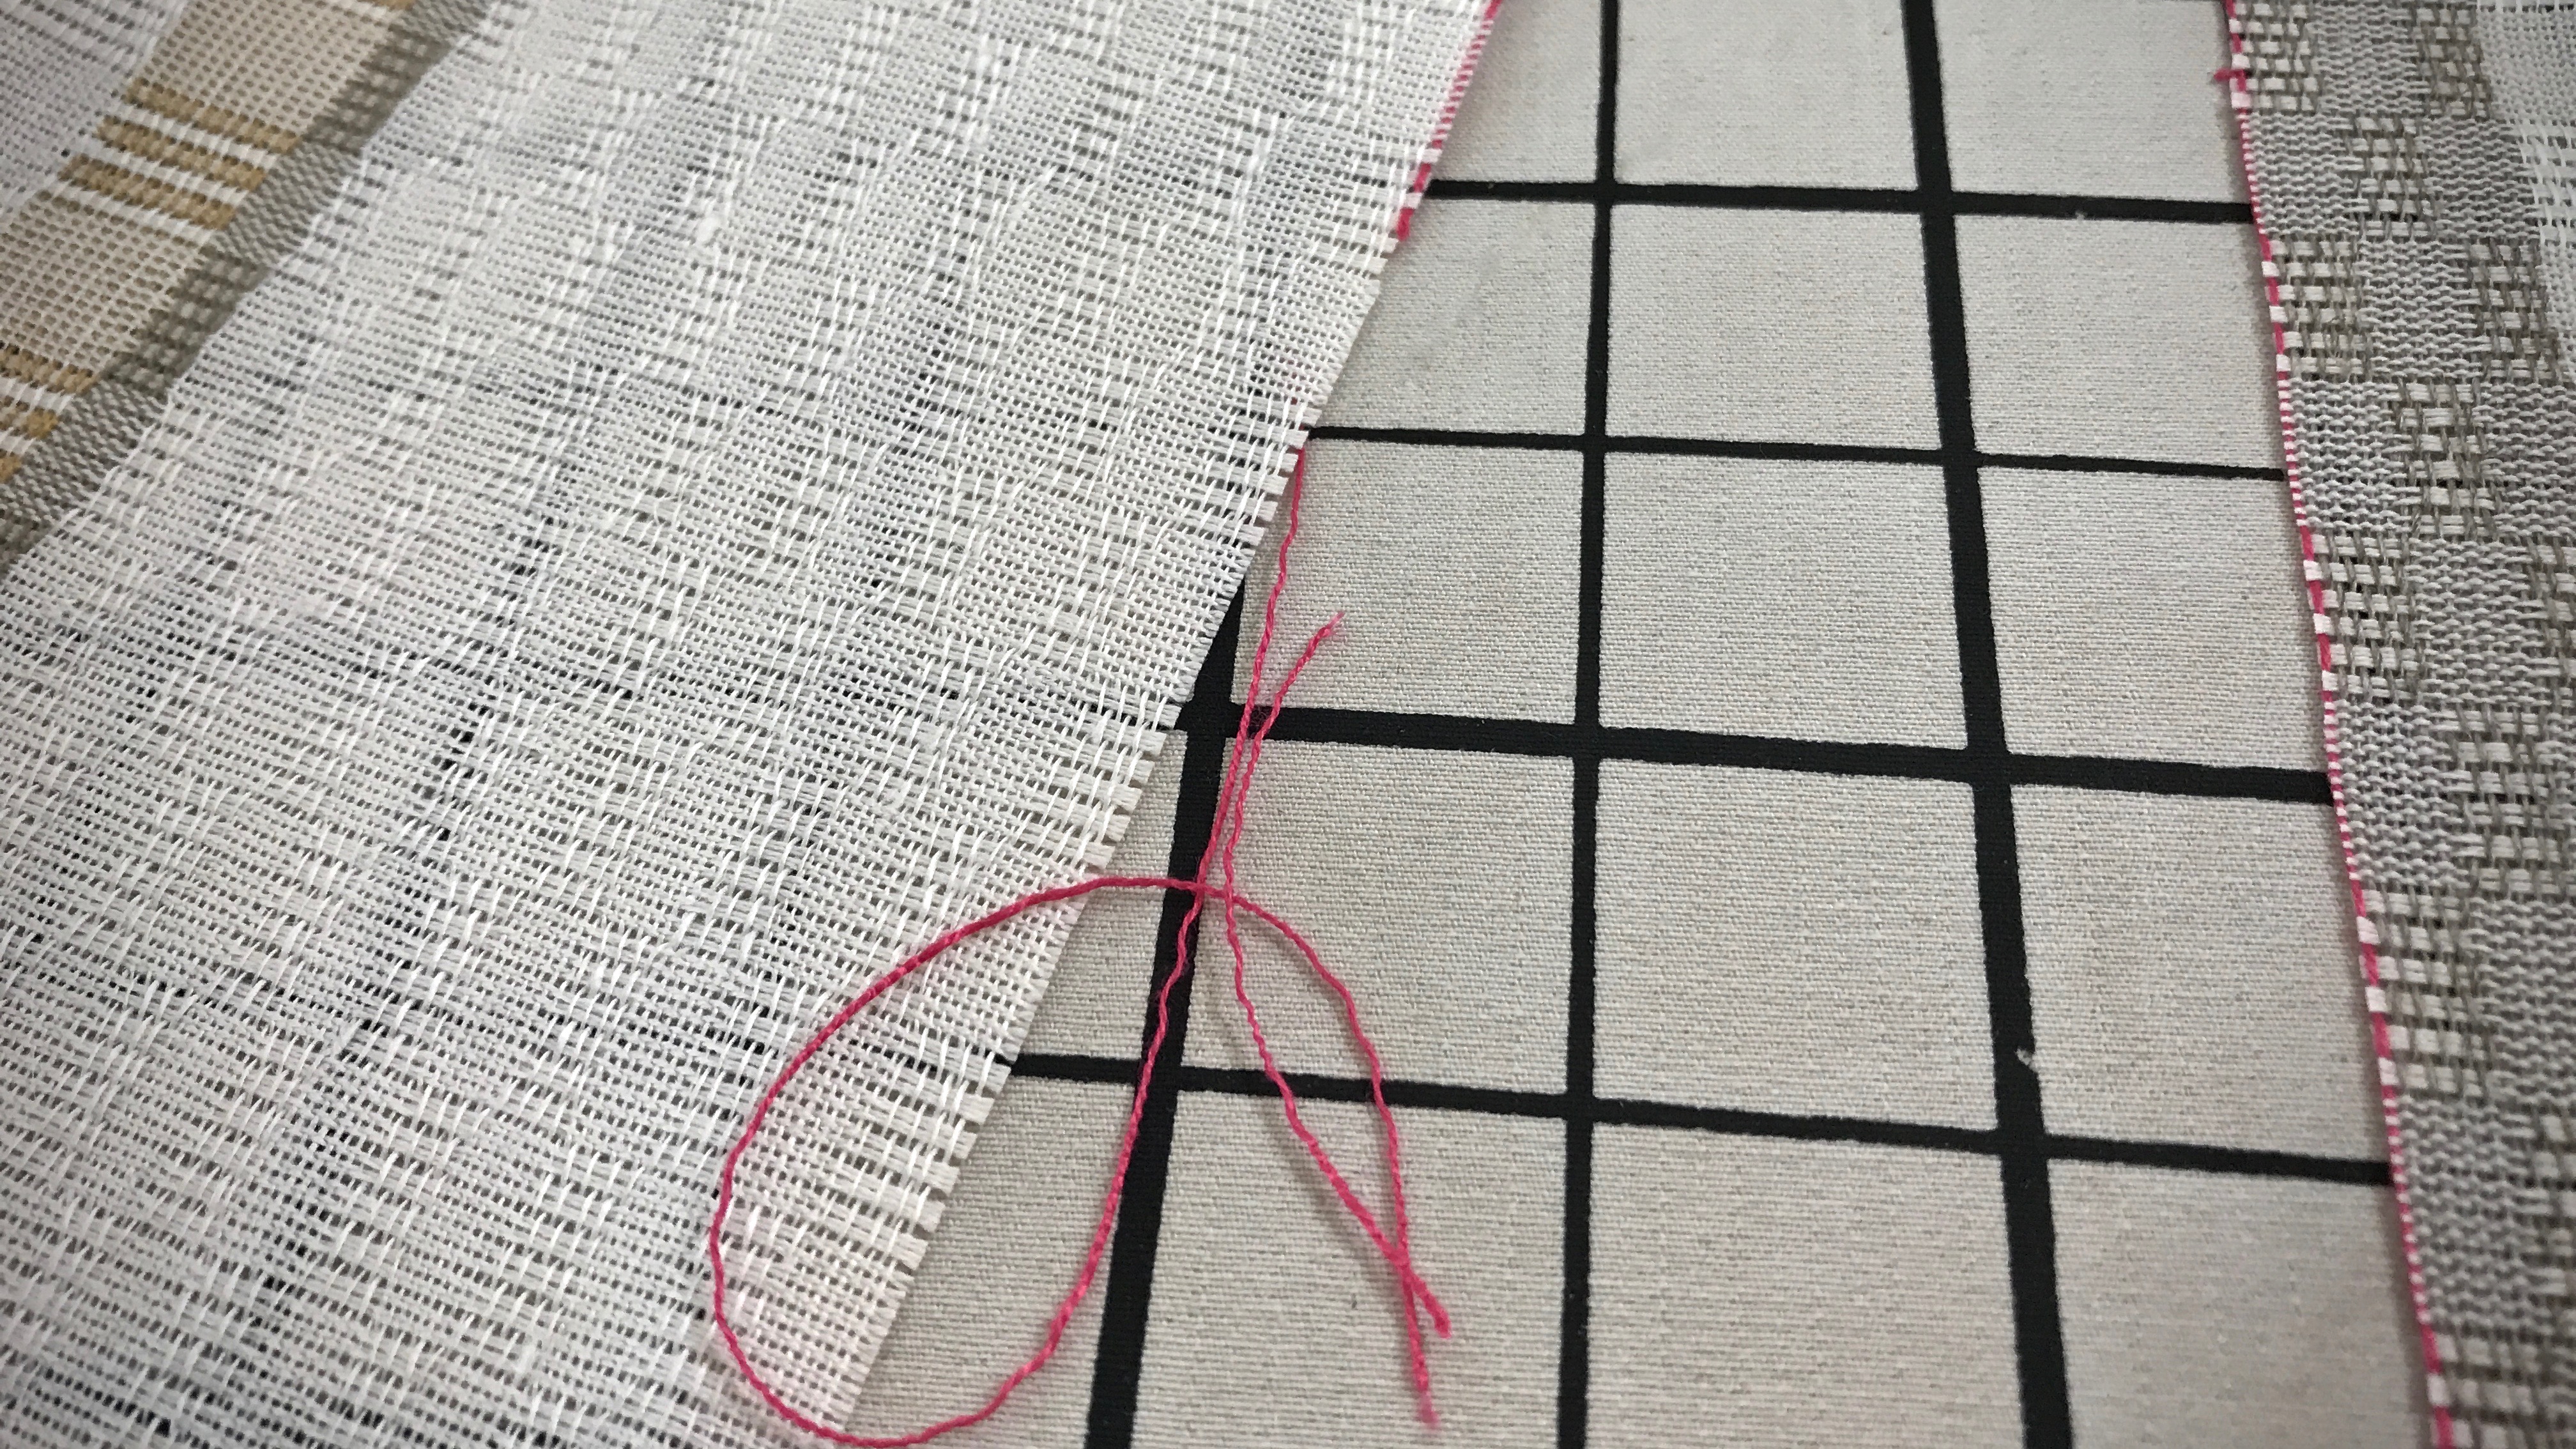
Thread-mark the right side of the fabric on each sample and individual piece before completely removing the fabric from the loom. This removes guesswork later. Thread a blunt-tip needle with 6 – 8″ of warp or weft thread, and make a 1/2″ stitch through the fabric. Leaving a loose loop, tie the ends of the thread together in a square knot on the right side of the fabric.
Knot in the thread tells me that this is the right side of the fabric. Thread marks are sewn onto each piece before removing the fabric from the loom if the difference between the right and wrong side of the fabric is less than obvious. Thread marks remain until hems are turned under.
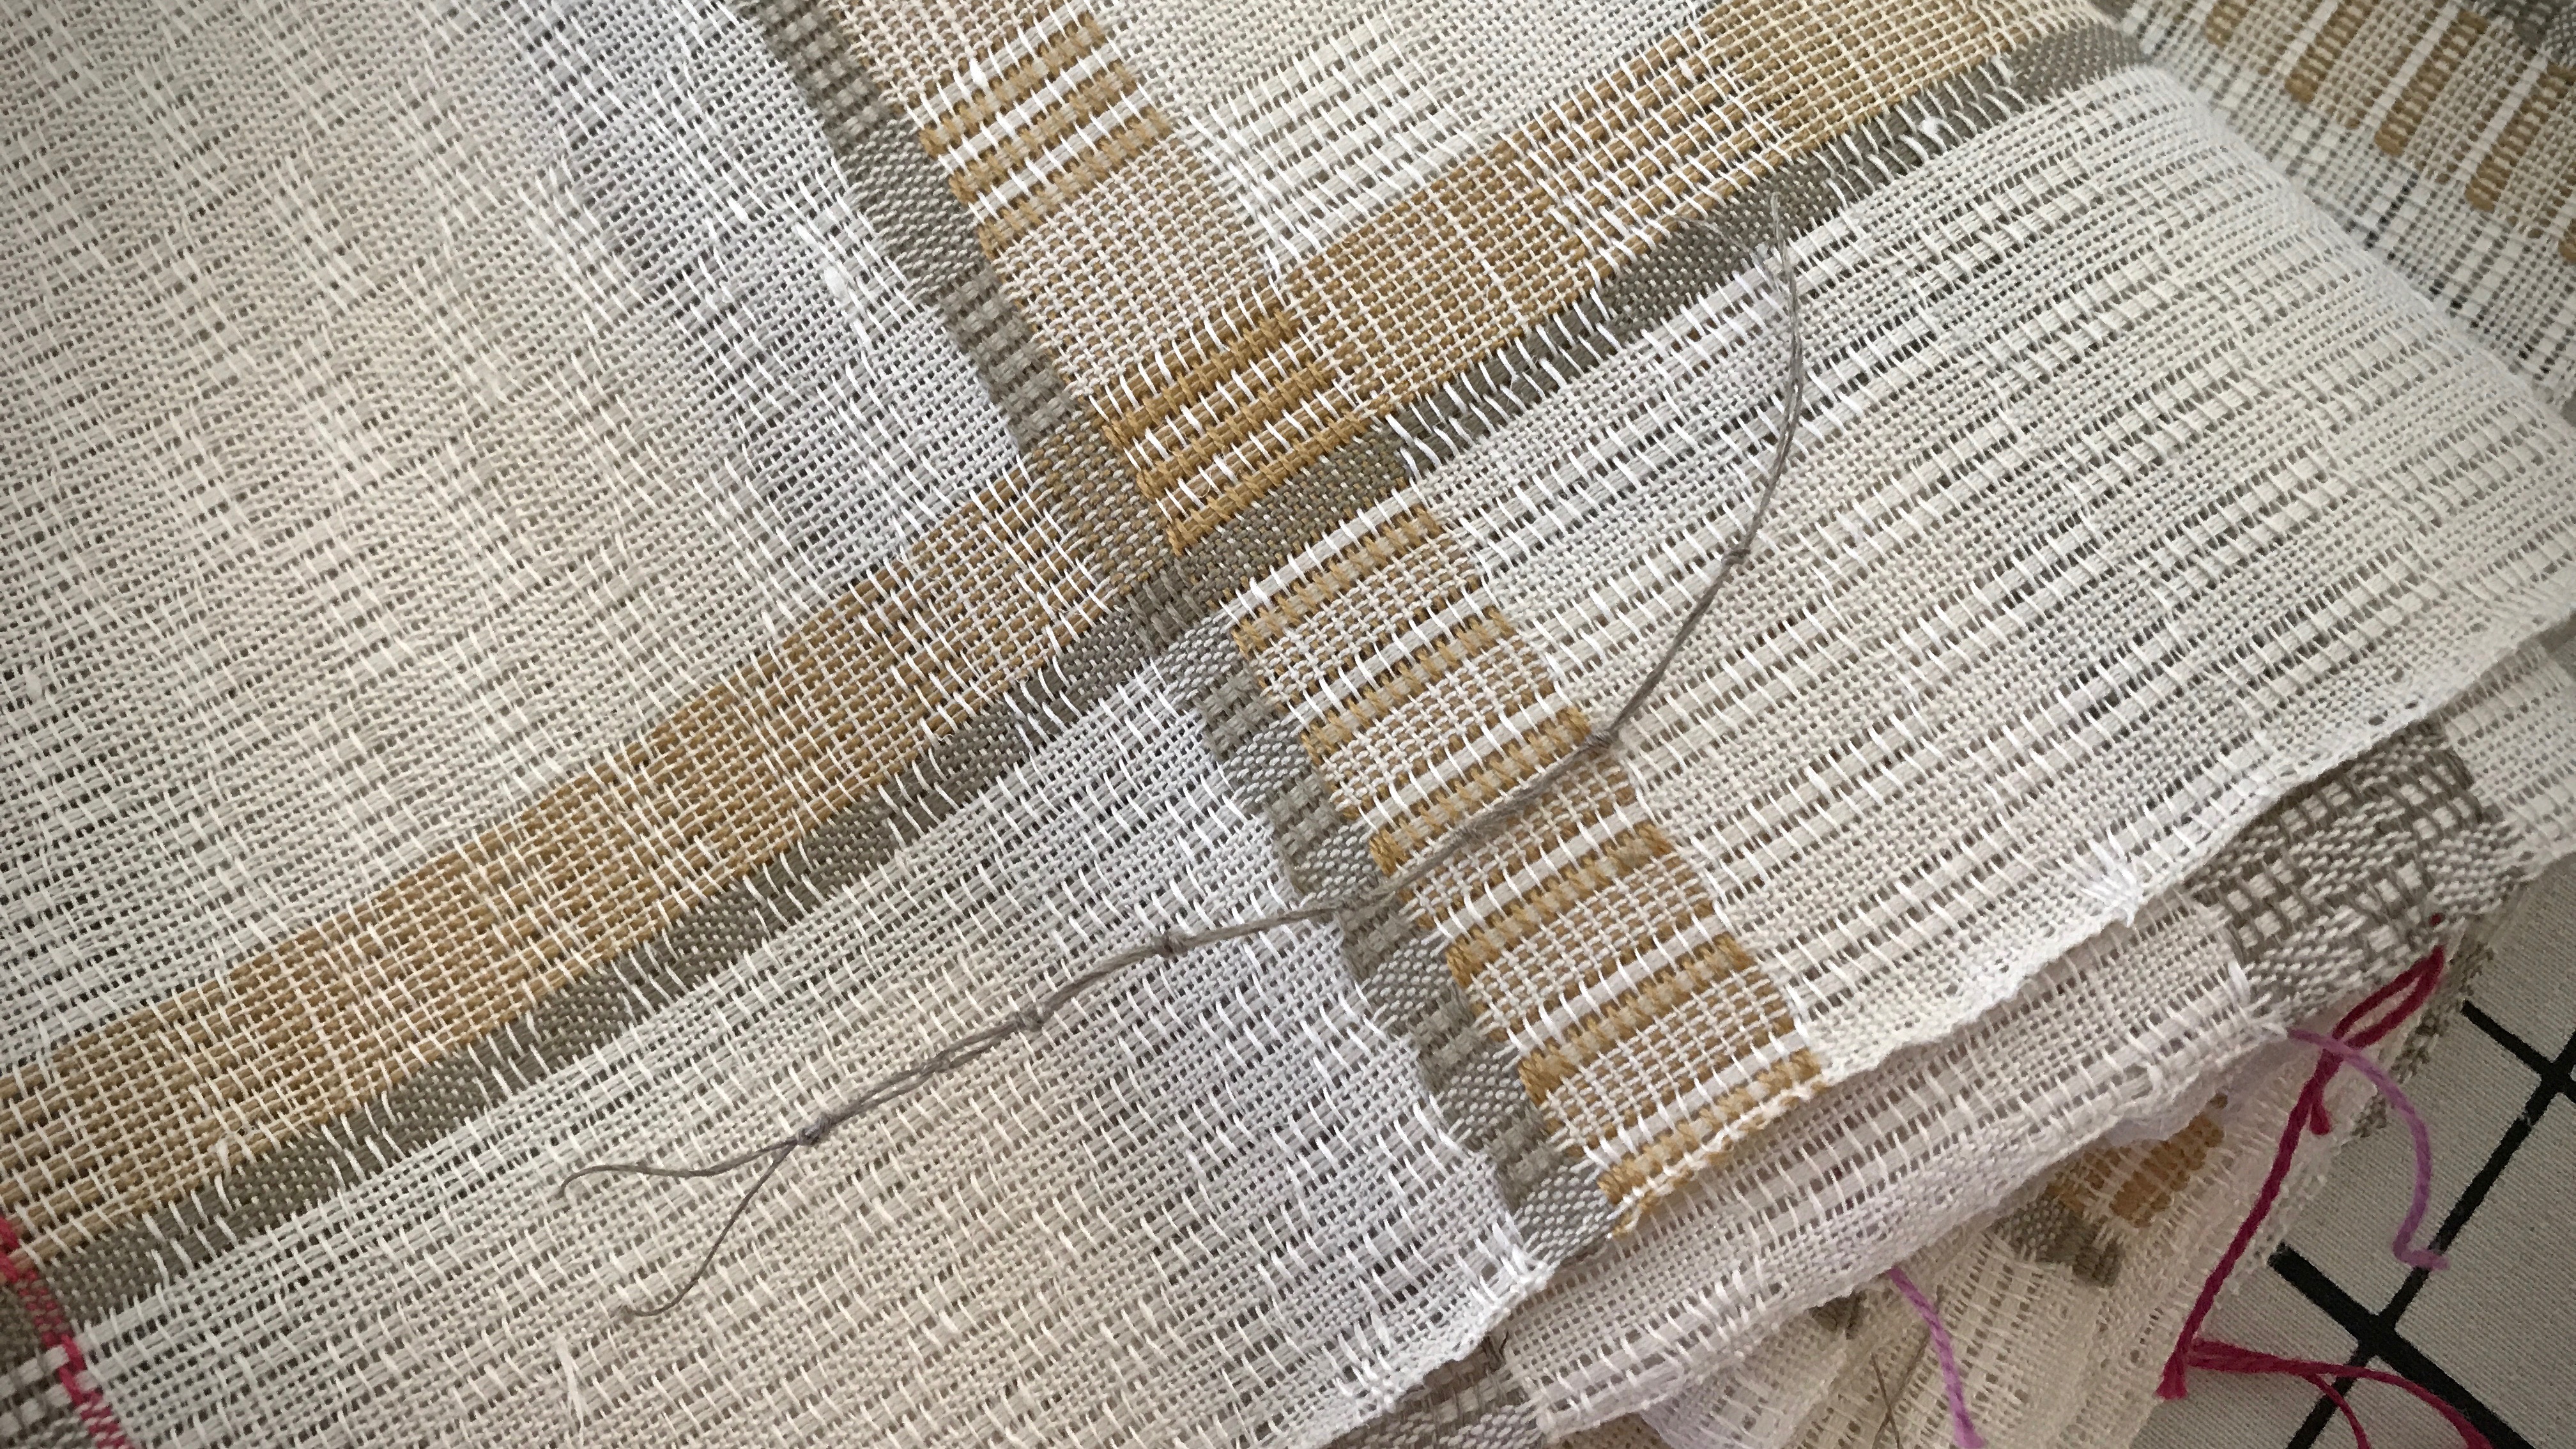
Tie sequential knots in the thread marks. e.g., First towel has one knot, second towel has 2 knots, etc. This enables accurate record-keeping measurements before and after wet finishing for individual items.
After washing, I count the number of knots in the thread to know which towel is which. Before and after measurements enable me to calculate the amount of shrinkage that occurs, which helps for planning future projects.
Cut pieces apart before washing.
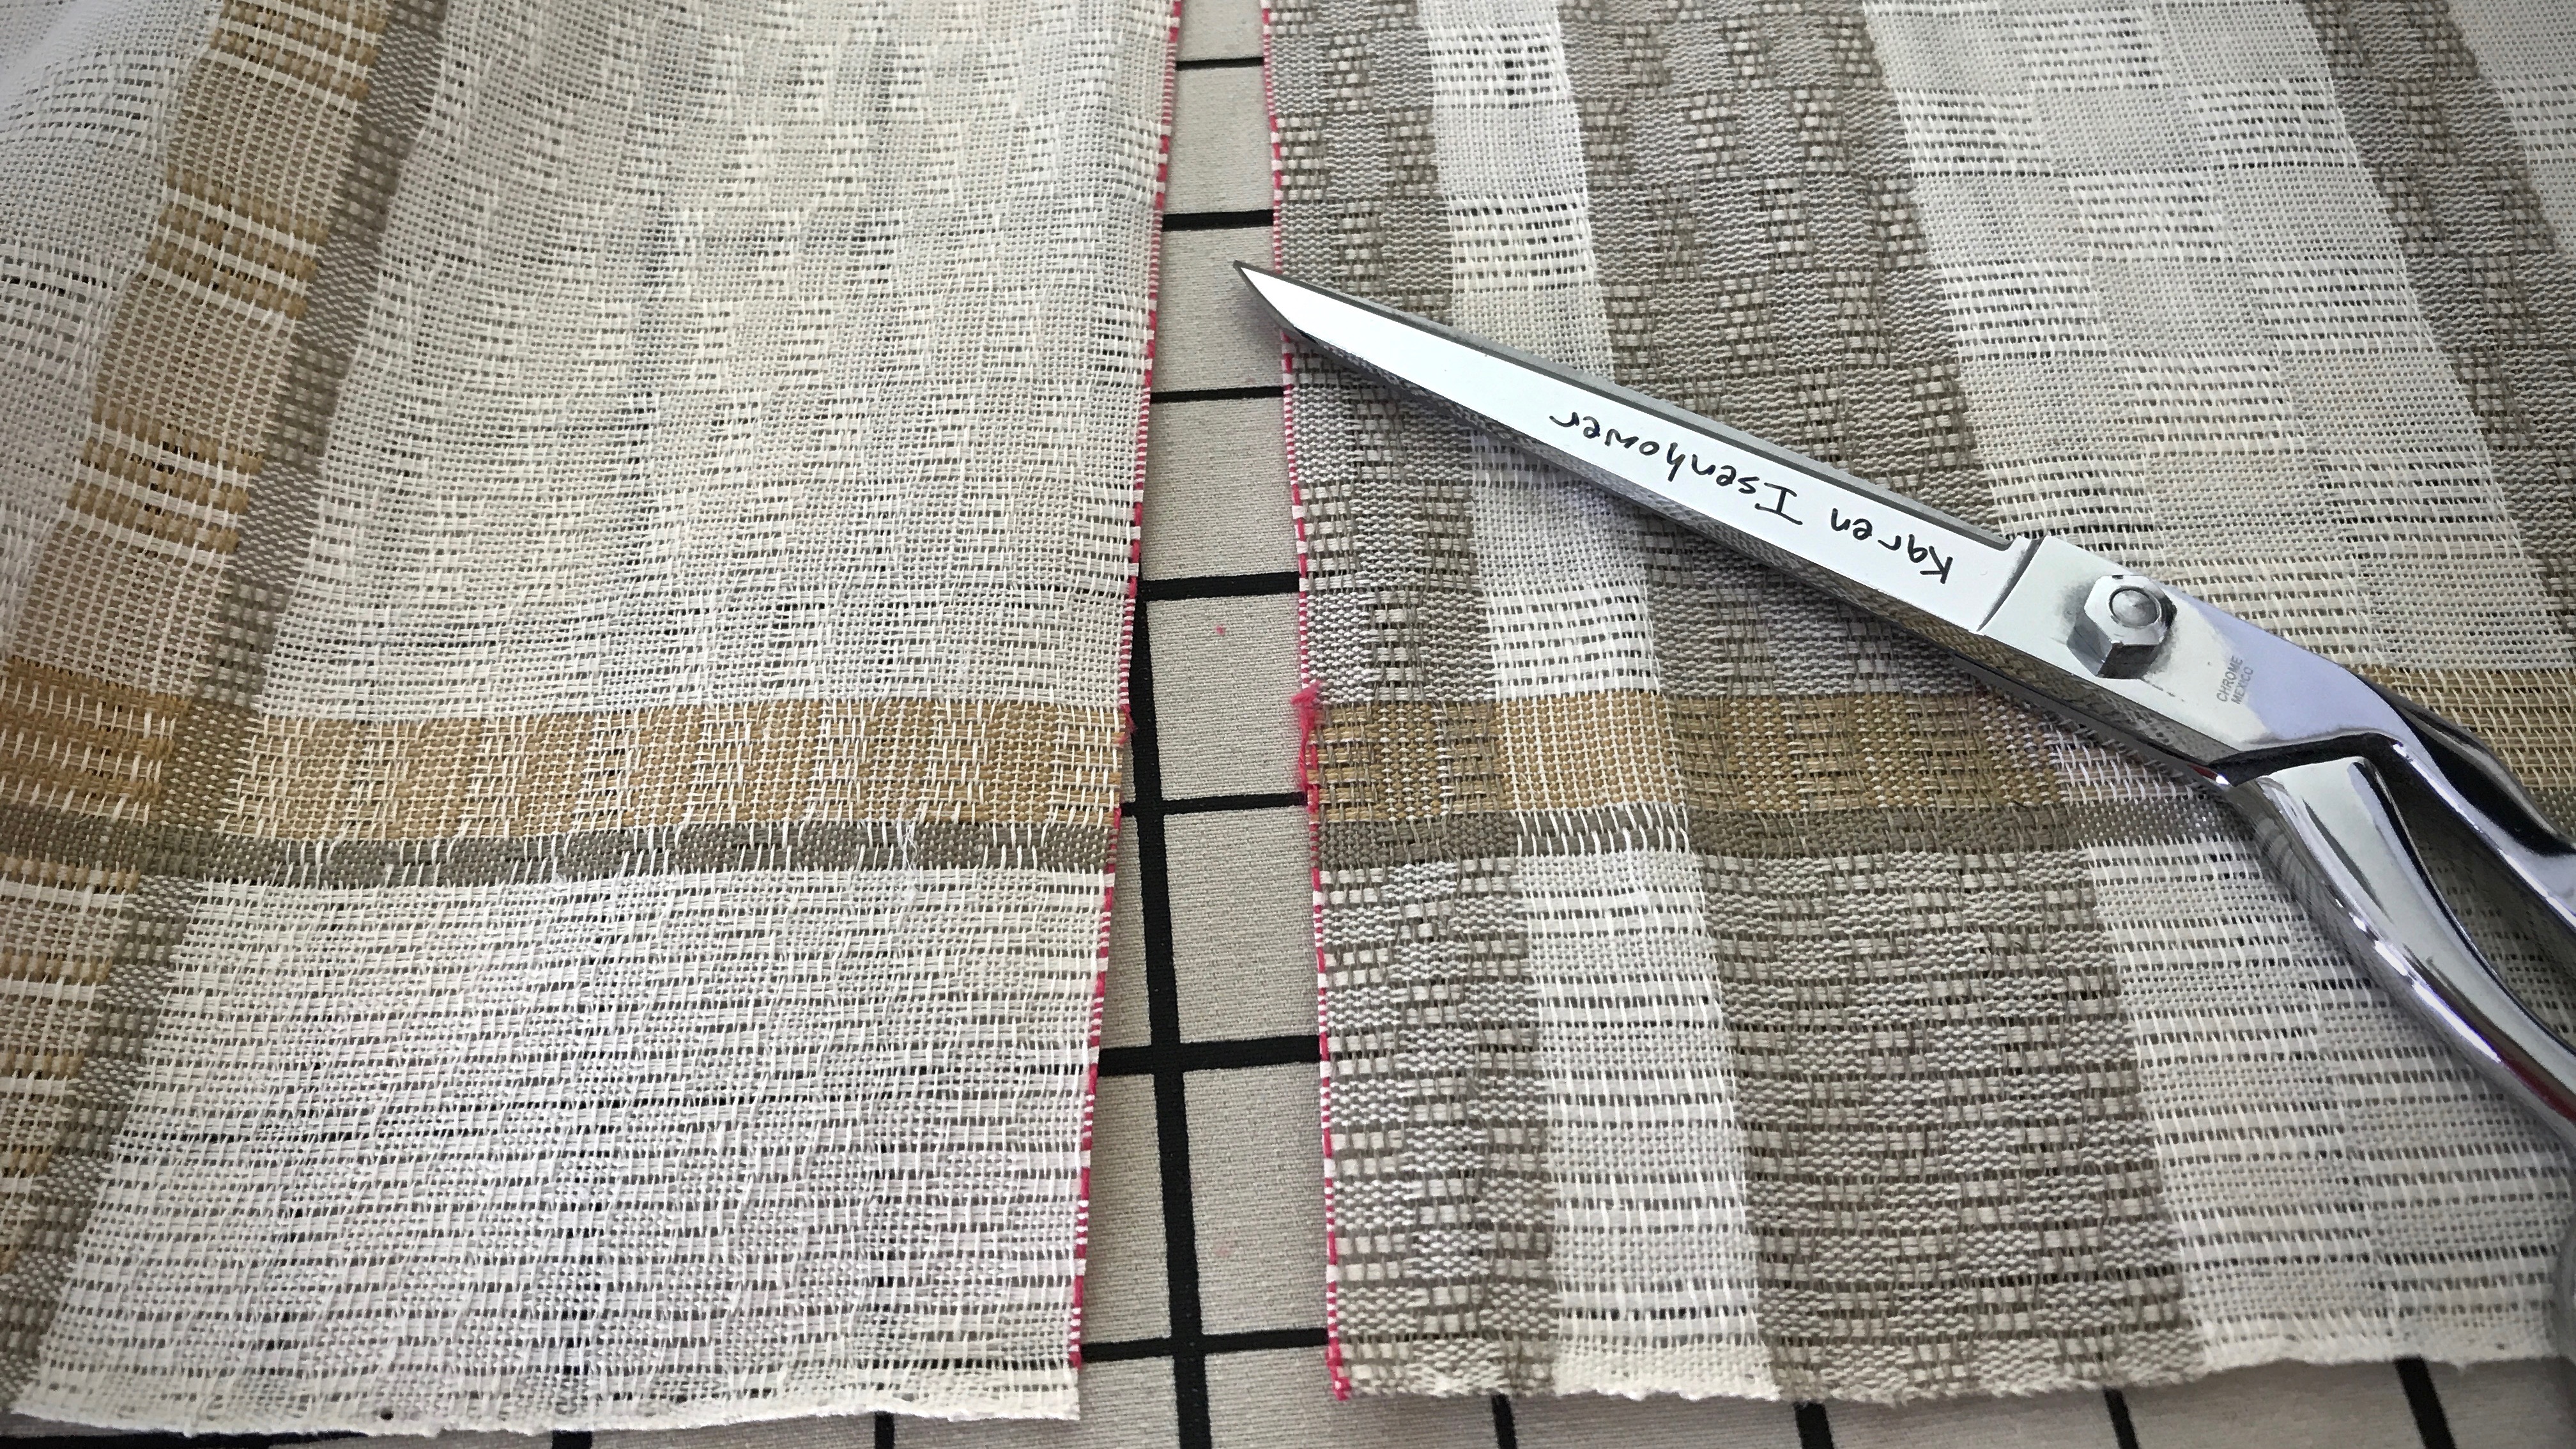
1. Two weft picks have been woven for each cutting line. The two threads make an easy guide path for the scissors.
Cutting line for separating the woven pieces. Cut between the two red weft threads.
2. Use the same cutting-line color for every project (I use red, unless red is one of the weft colors in the project). This helps prevent accidental cutting at weft design stripes in the piece (which I did once –Oops!– before establishing this rule).
3. Pull out the cutting-line threads. Any remaining thread residue is easily removed with a lint roller.
Red cutting line thread pulls off, leaving a straight woven edge for finishing.
Finish the cut edges with an overlock stitch on a serger or with a zigzag stitch (preferably a three-stitch zigzag, according to my friend, Elisabeth) on a sewing machine.
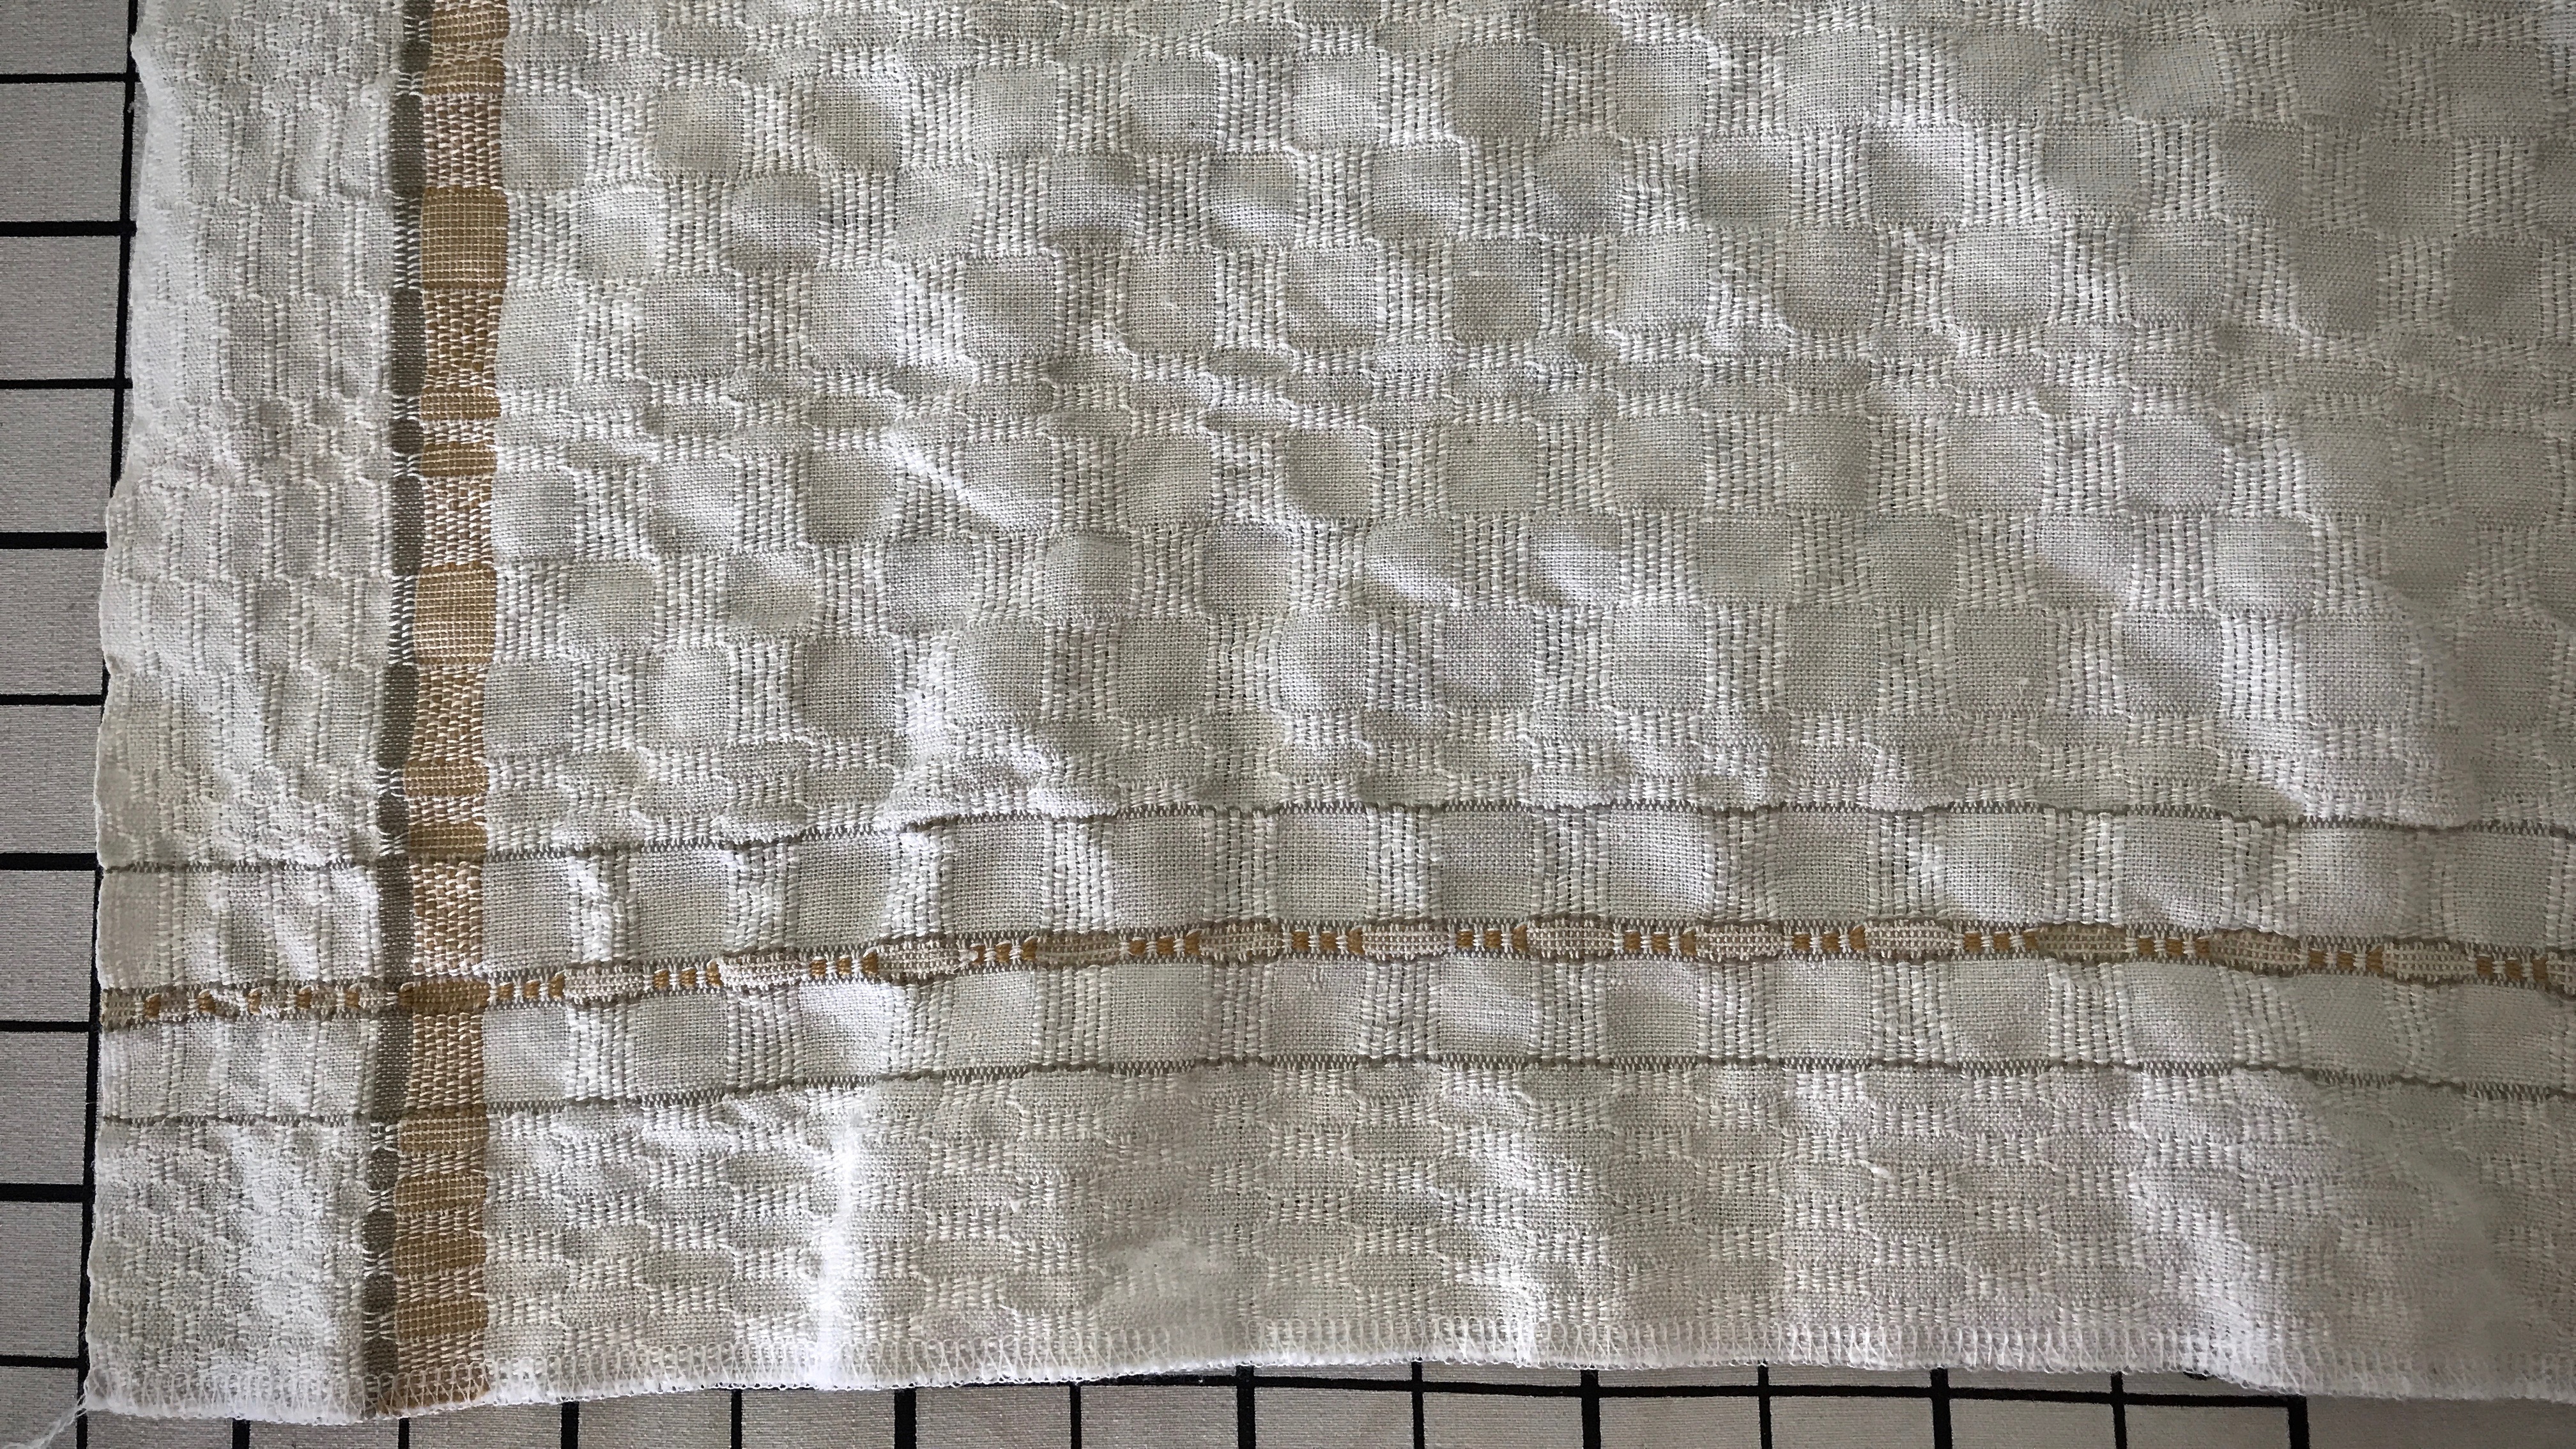
All items are prepared for washing. Errors have been mended, and cut edges have been finished with the serger.Lovely texture of the M’s and O’s (Sålldräll) structure is revealed after washing. A few more finishing steps remain: pressing, adding handwoven hanging tabs, and hemming.
Humans are not finished until they are loved. Love is patience and kindness at the core. We want to be on the receiving end of that, don’t we? We all need someone to love us–to carry our burdens, to believe us, to hope the best for us, to endure with us. It’s in the finishing that we discover the value, the corrections needed, and the beauty that has been woven in. This is the love of God to us. This is the finishing work of Jesus Christ, and his love in us.
May you have many cutting-off celebrations.
With love, Karen
PS It’s good to be back with you! I hope you had a pleasant and weaving-full July.