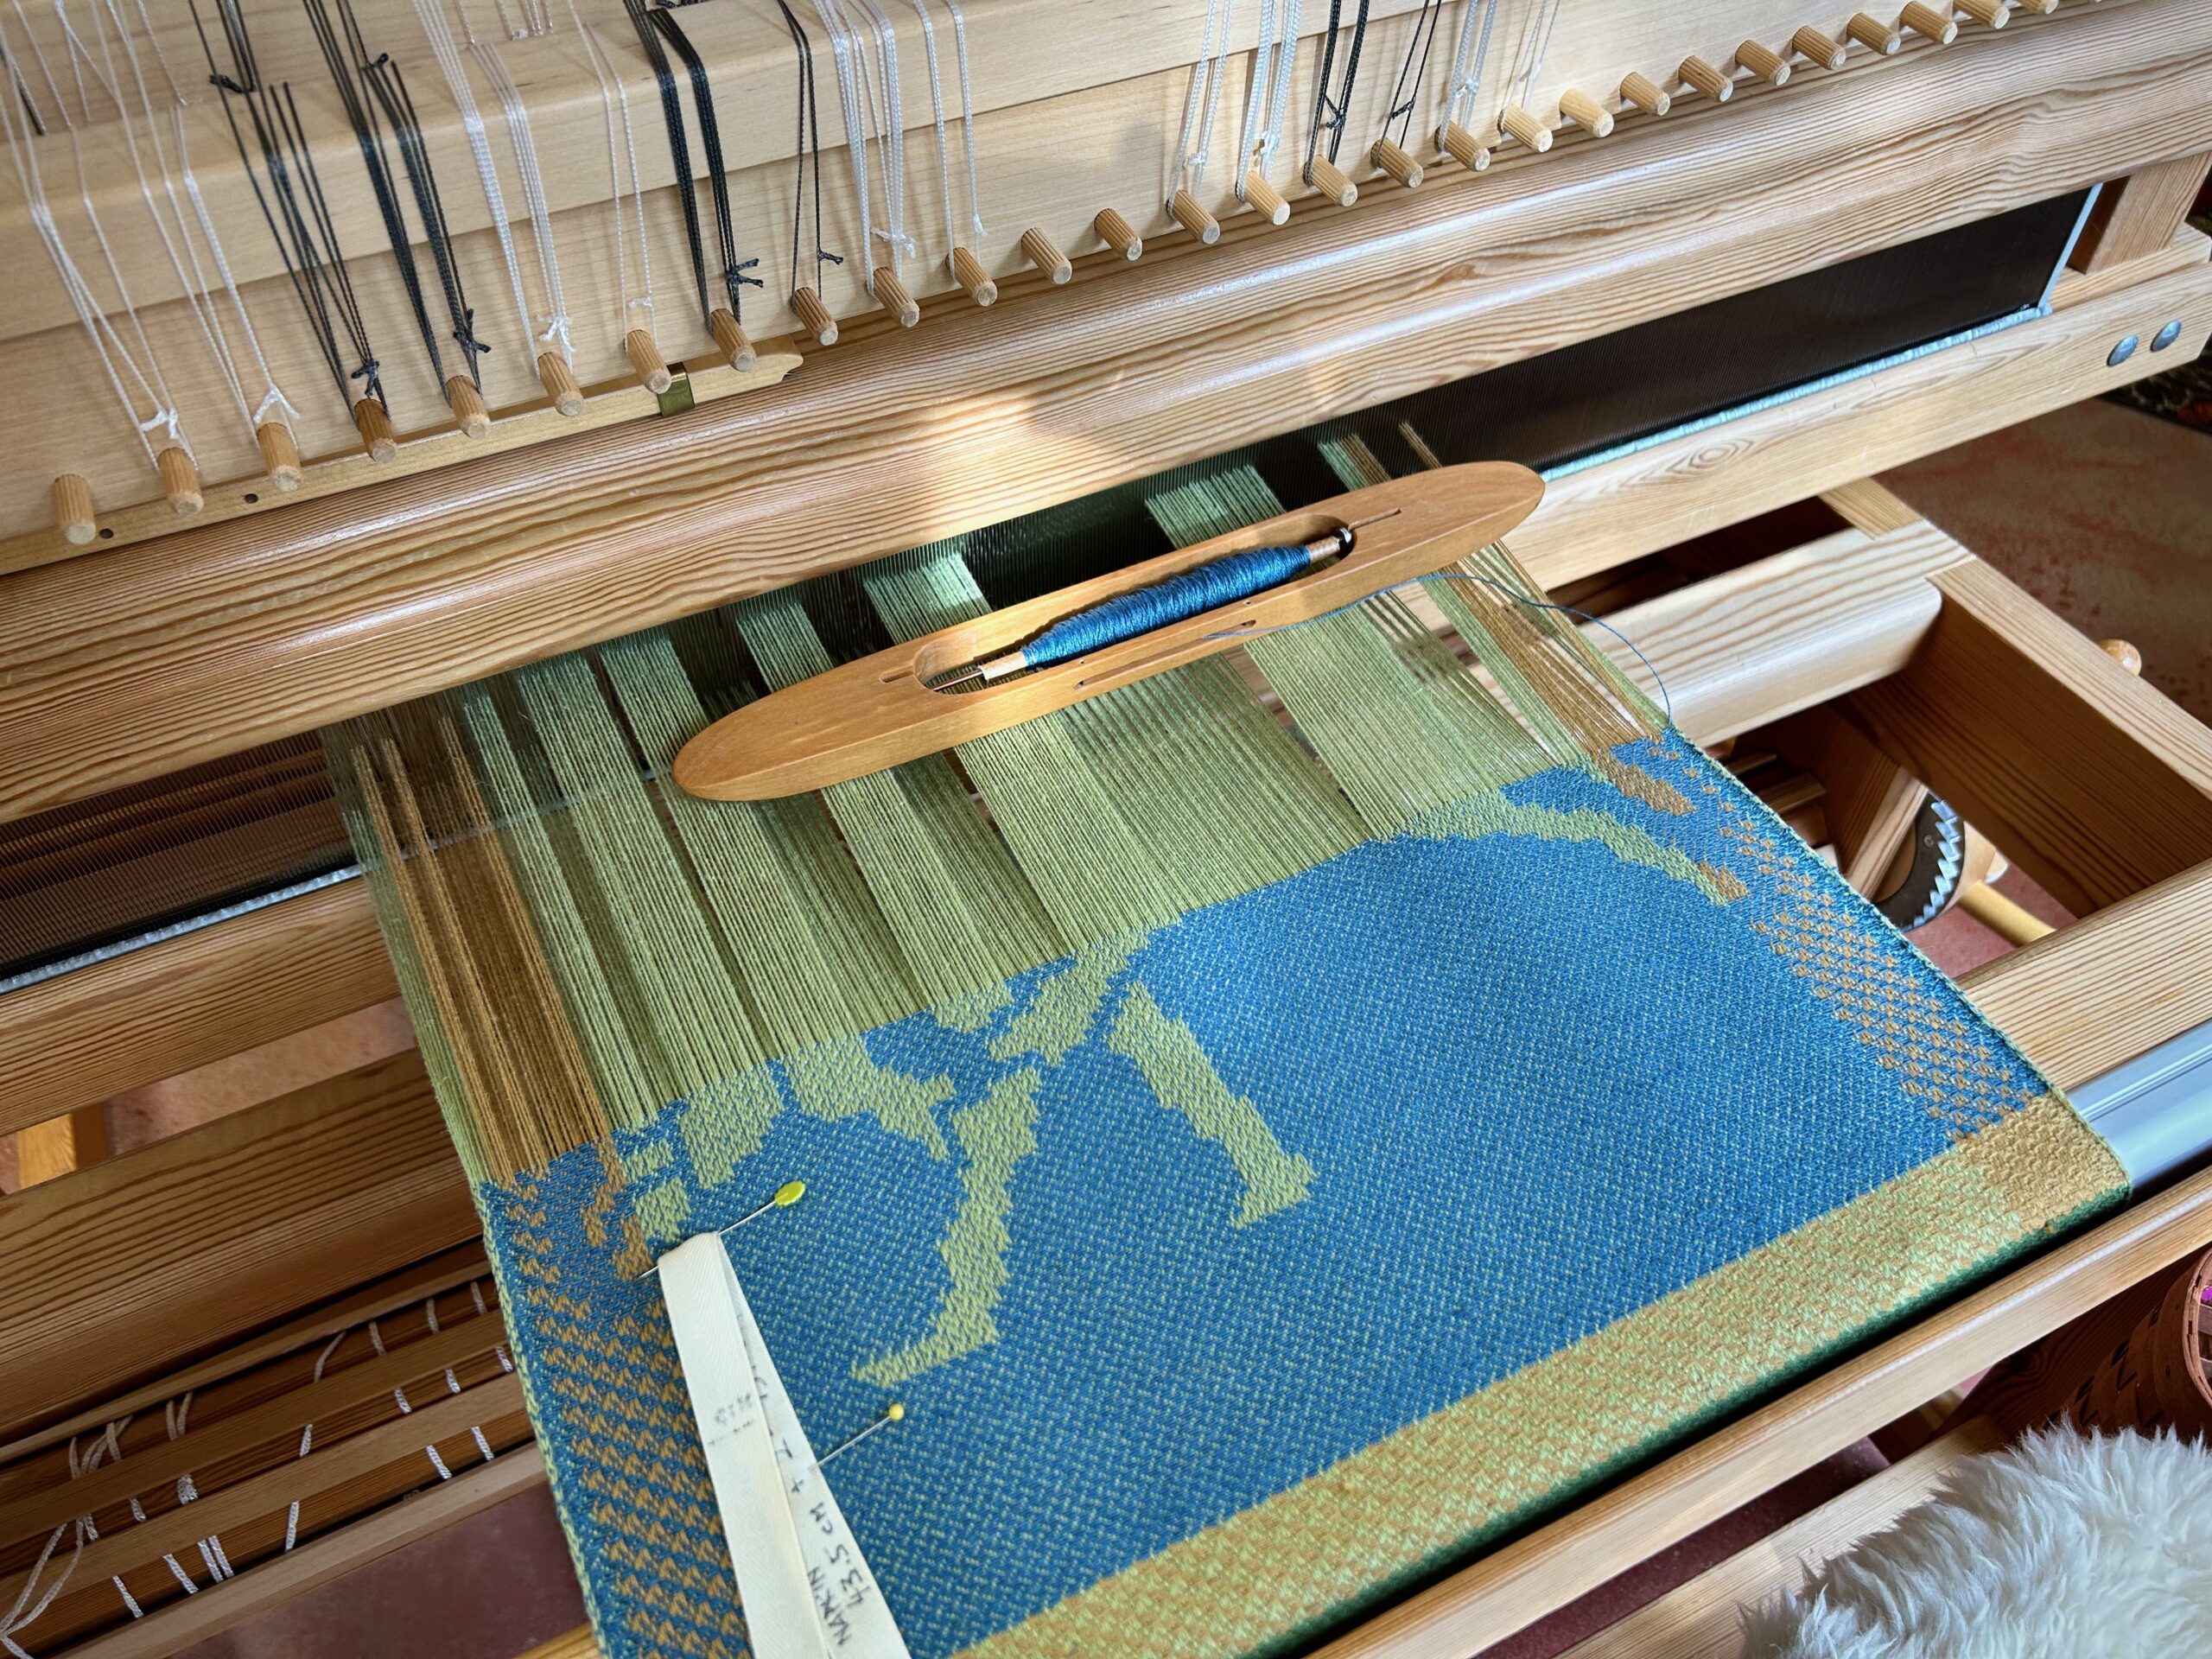
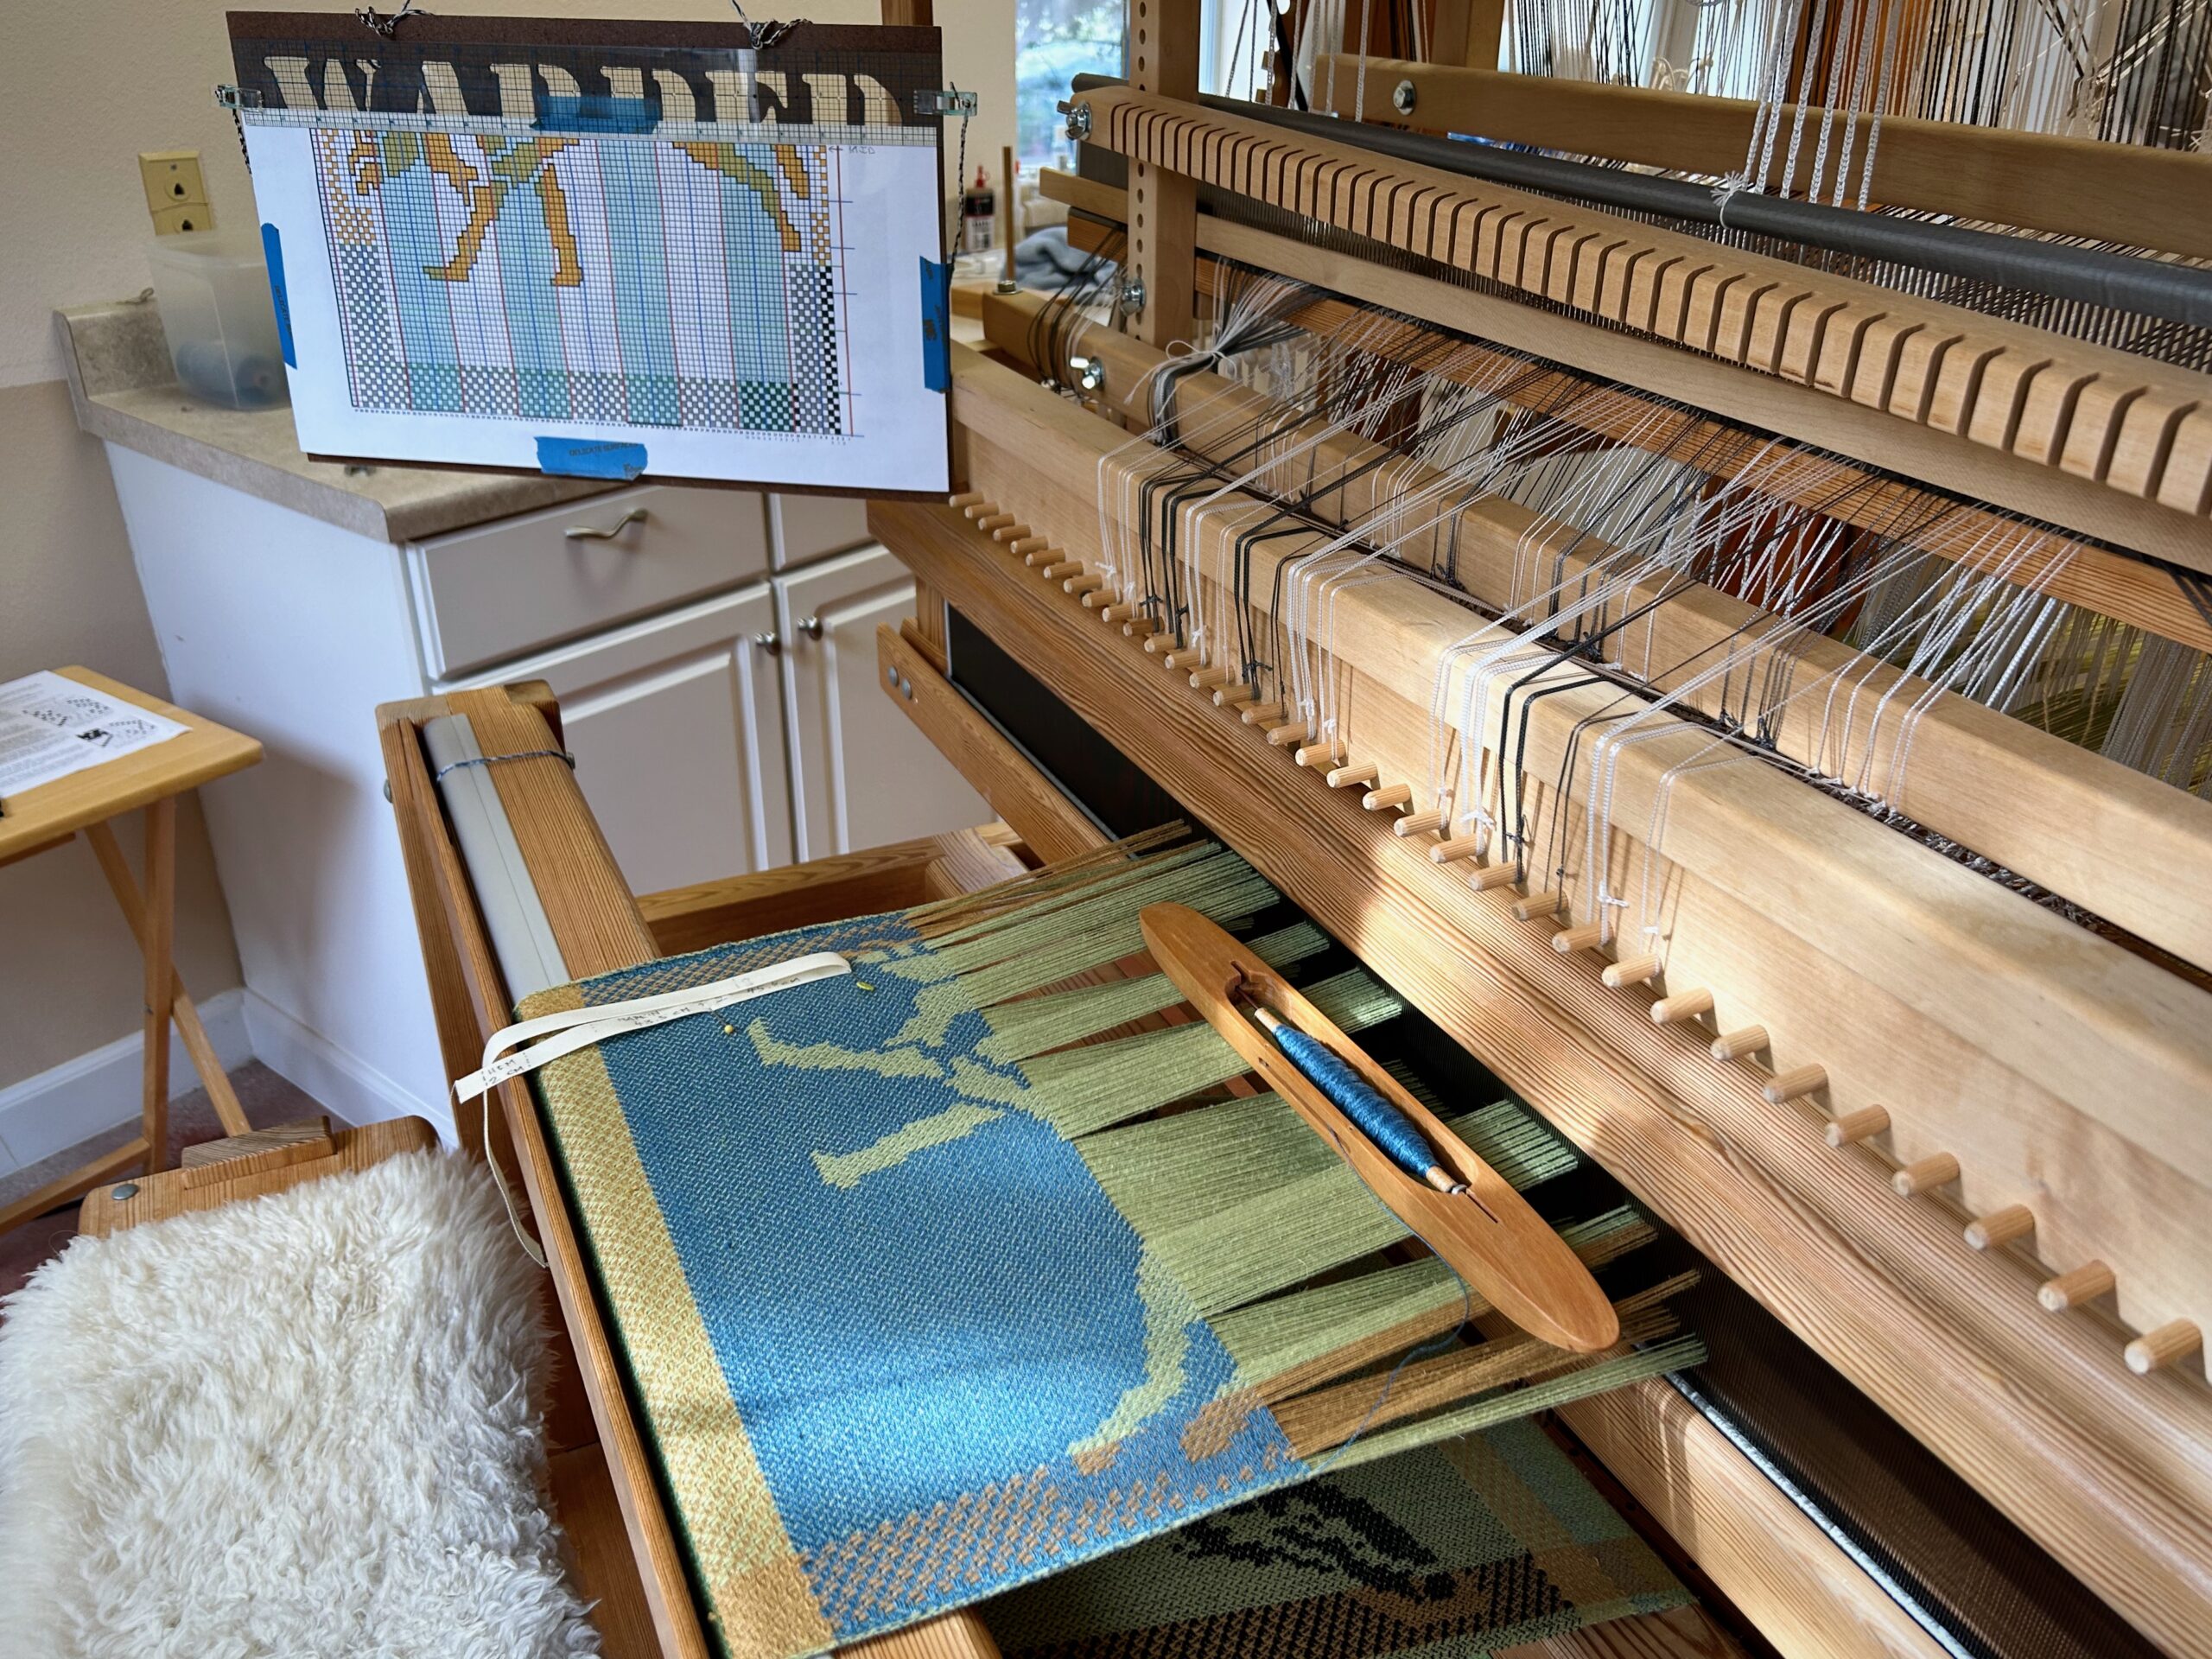
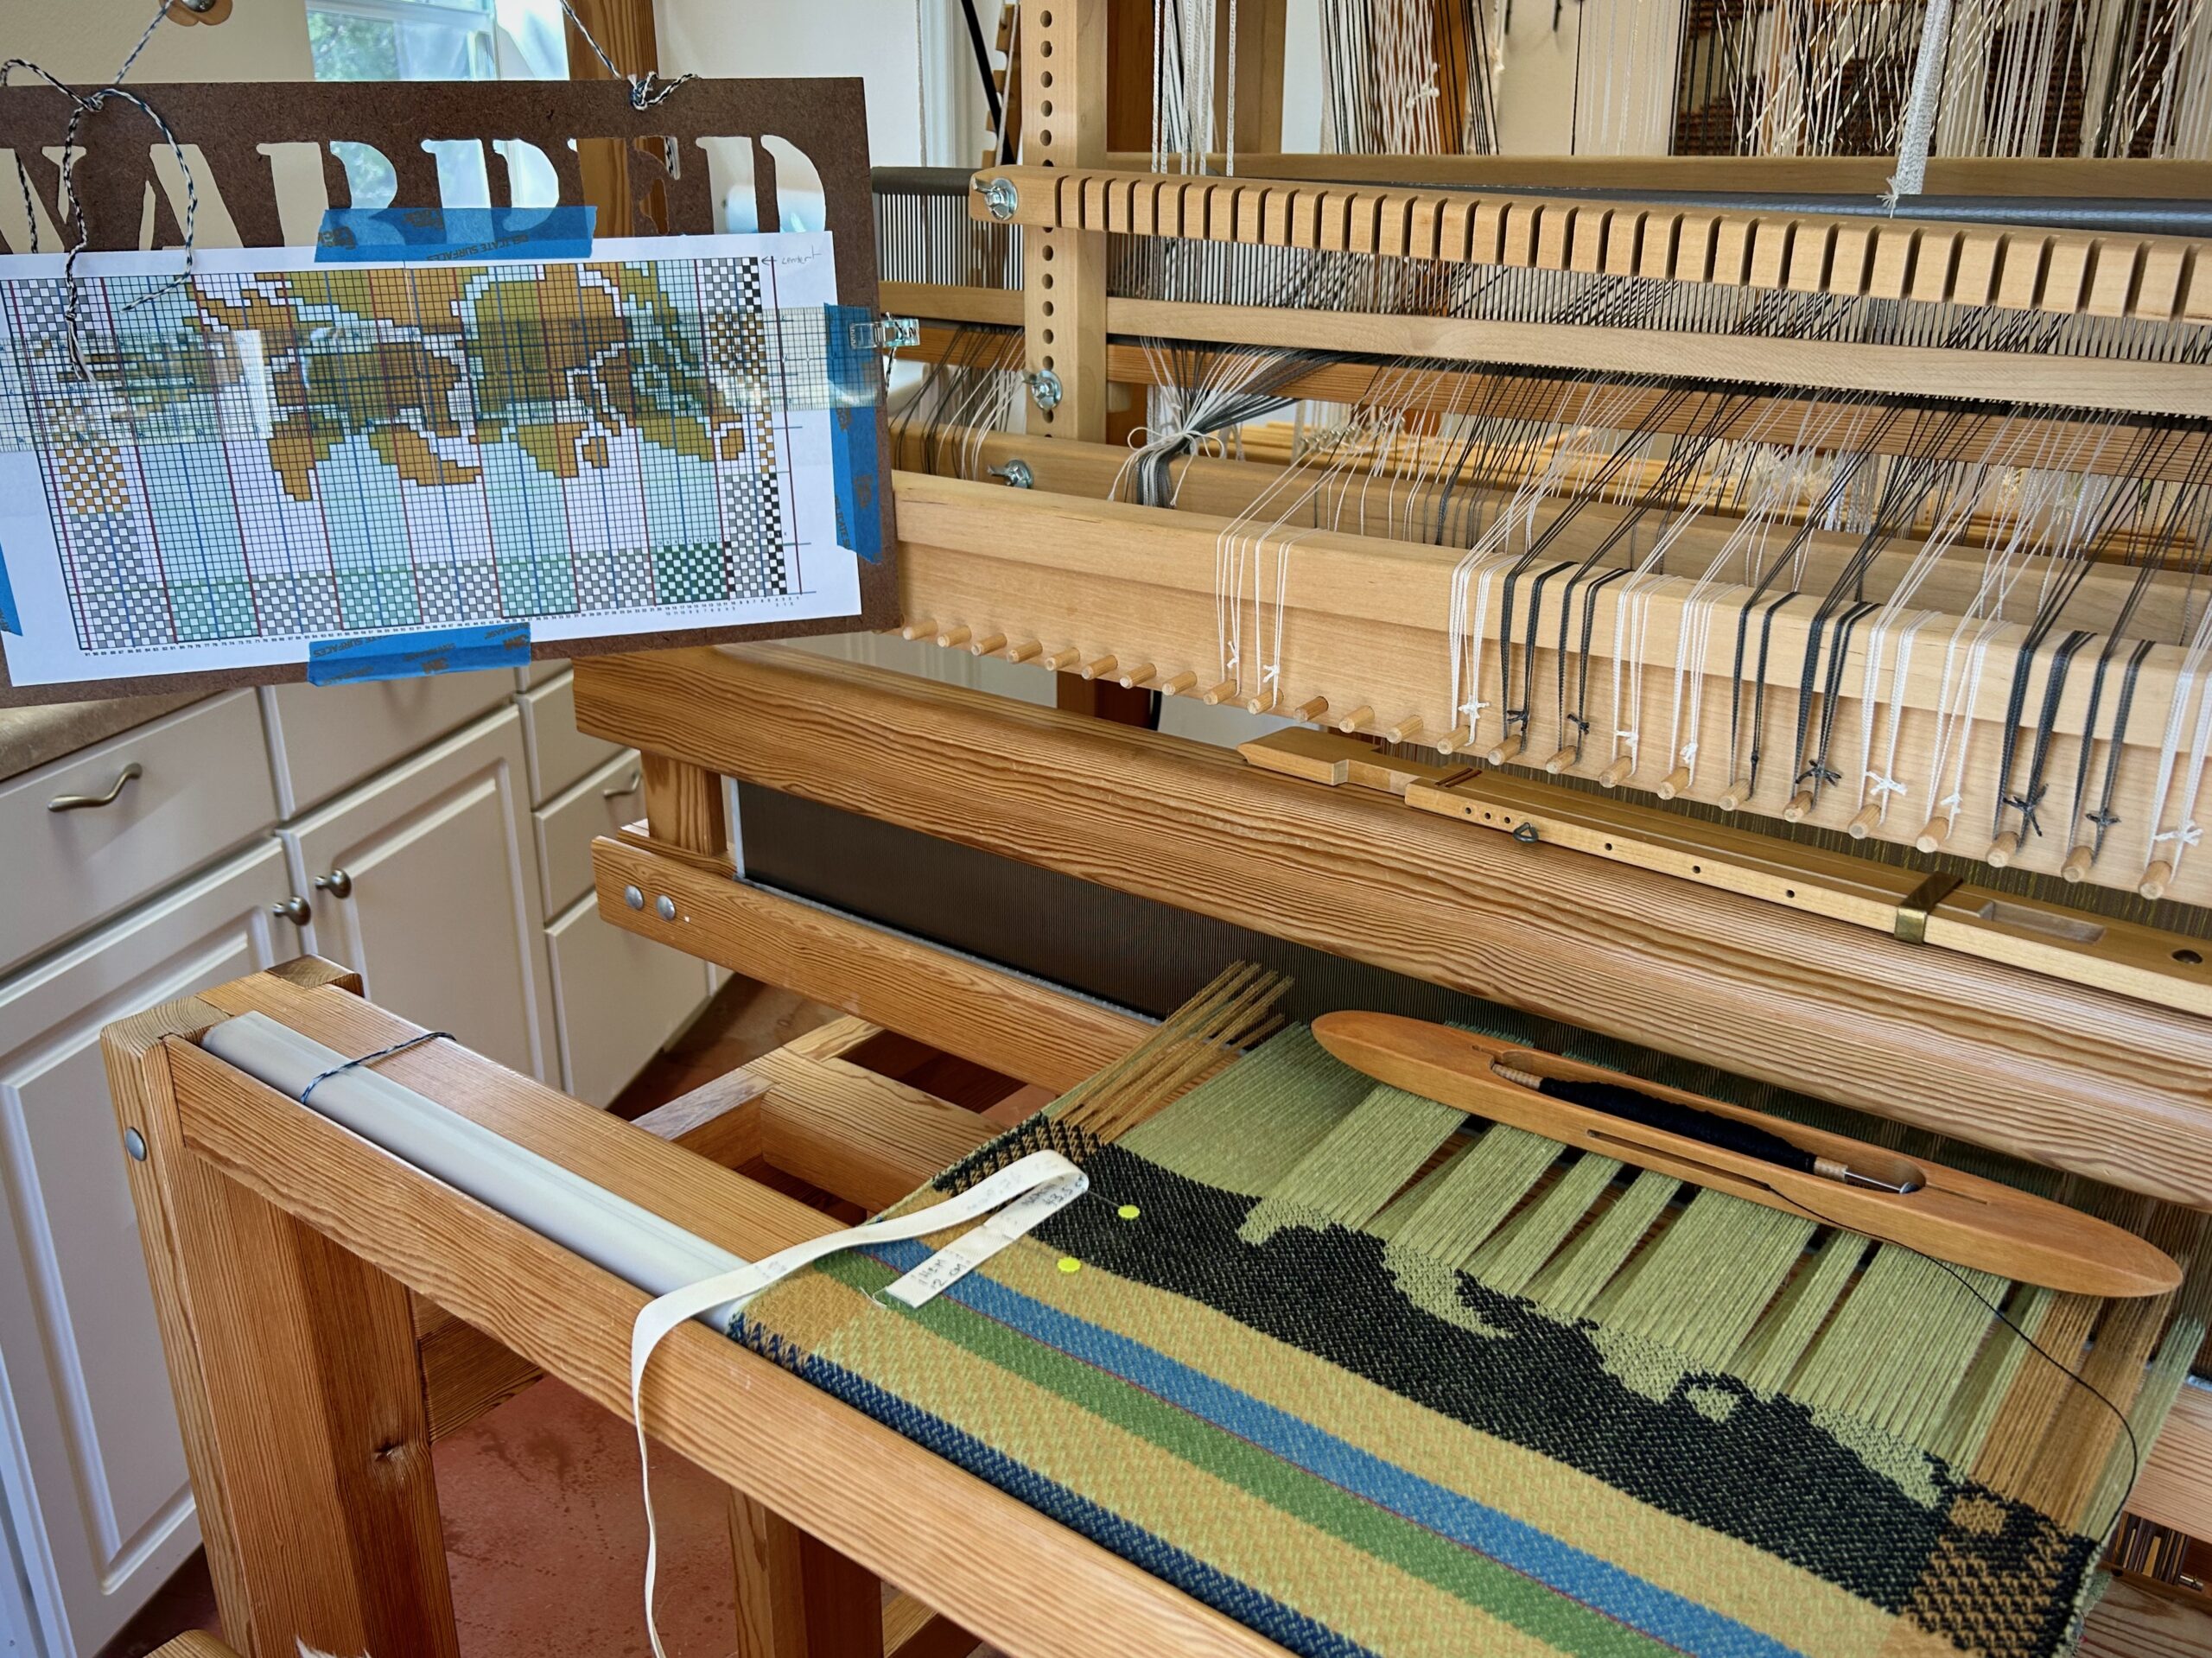
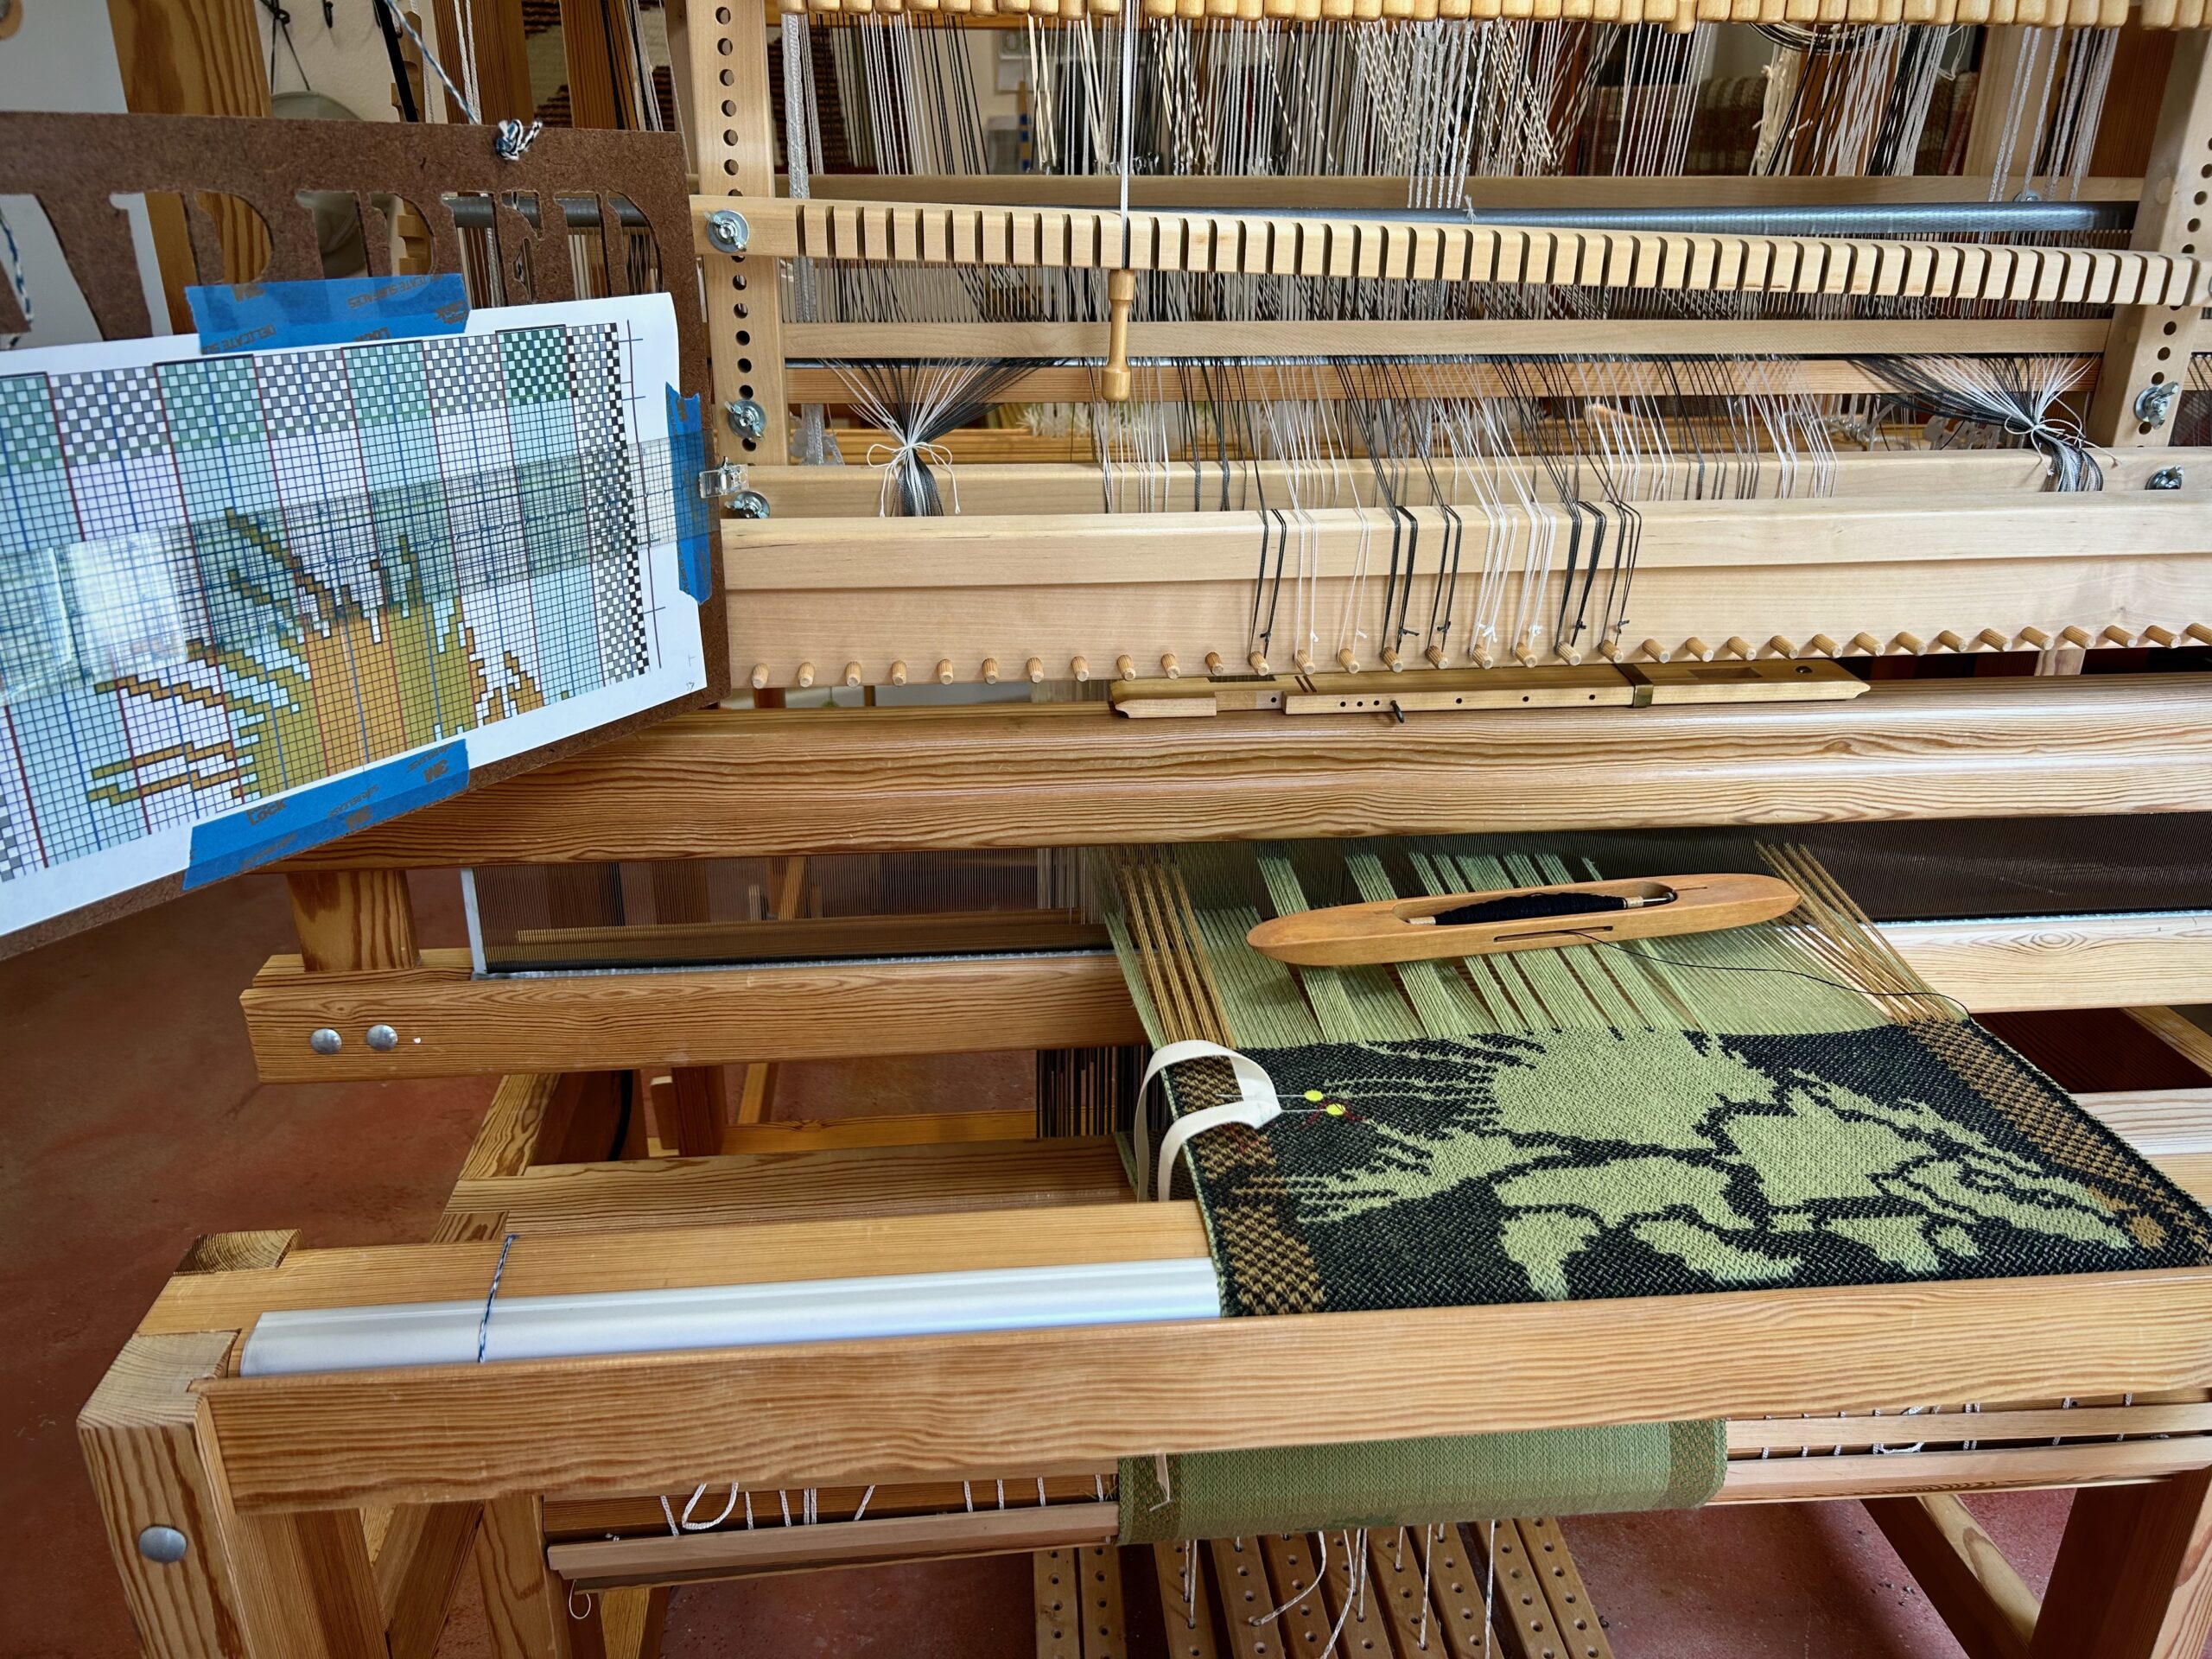
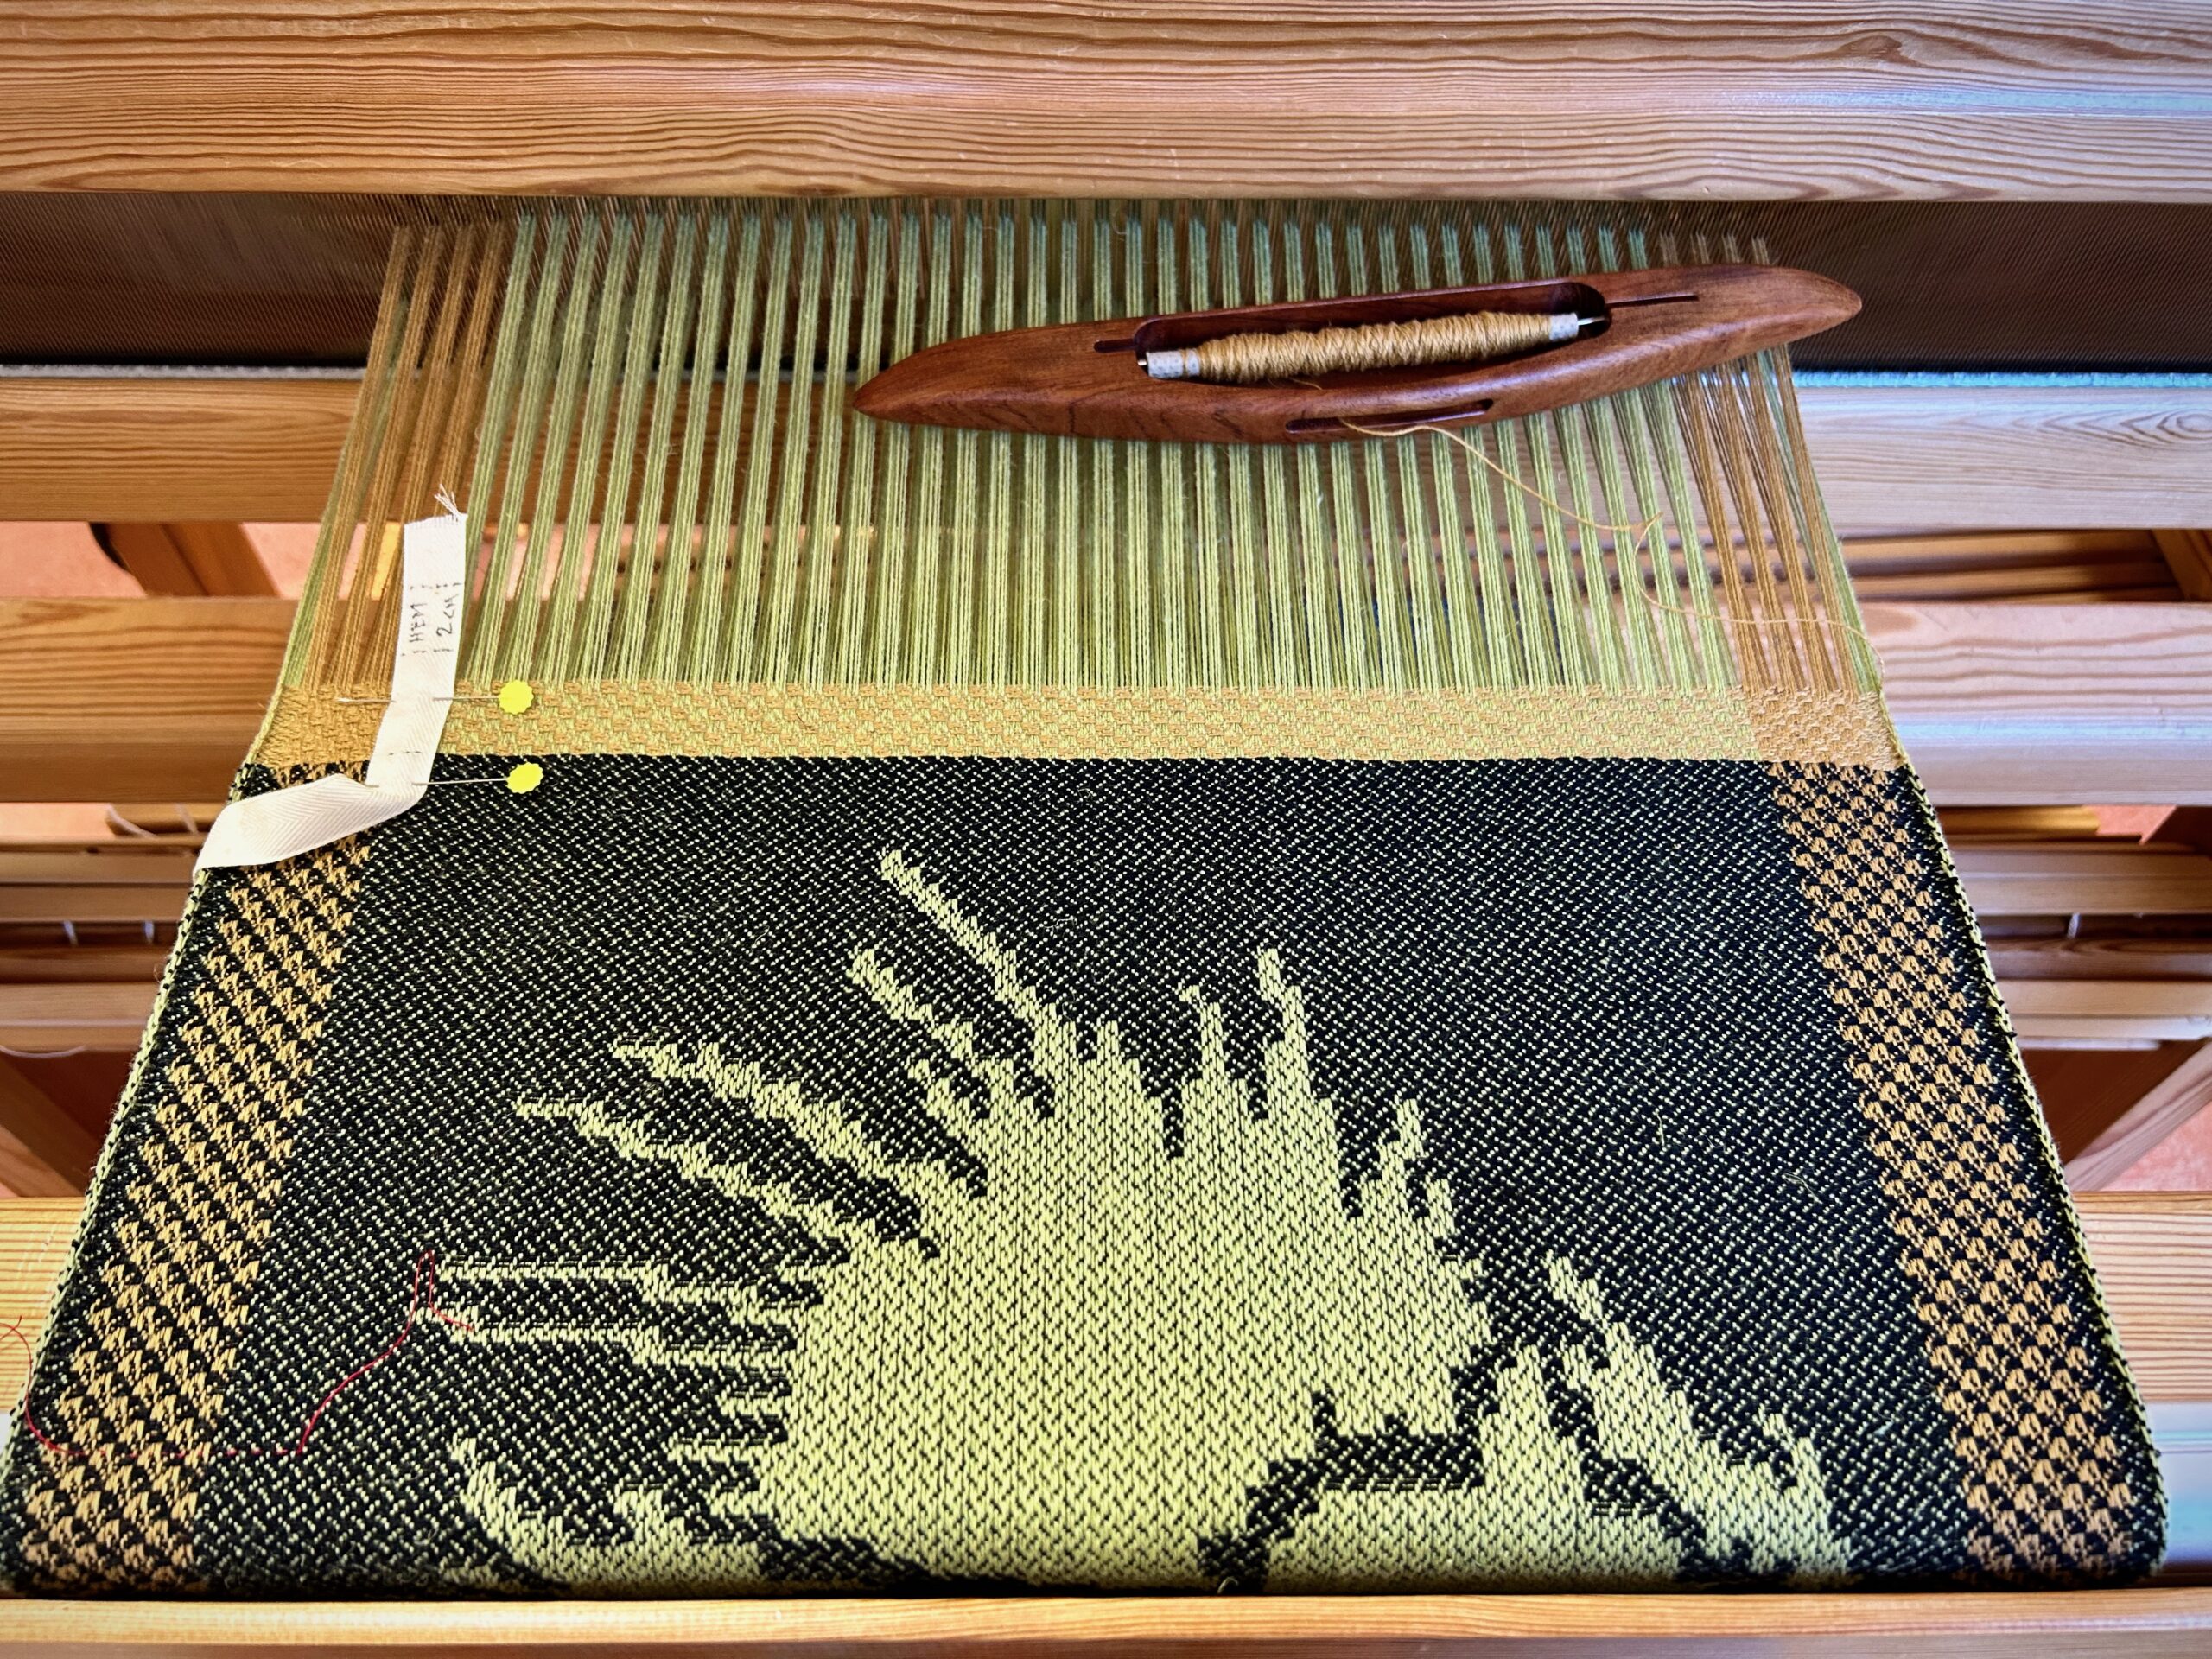
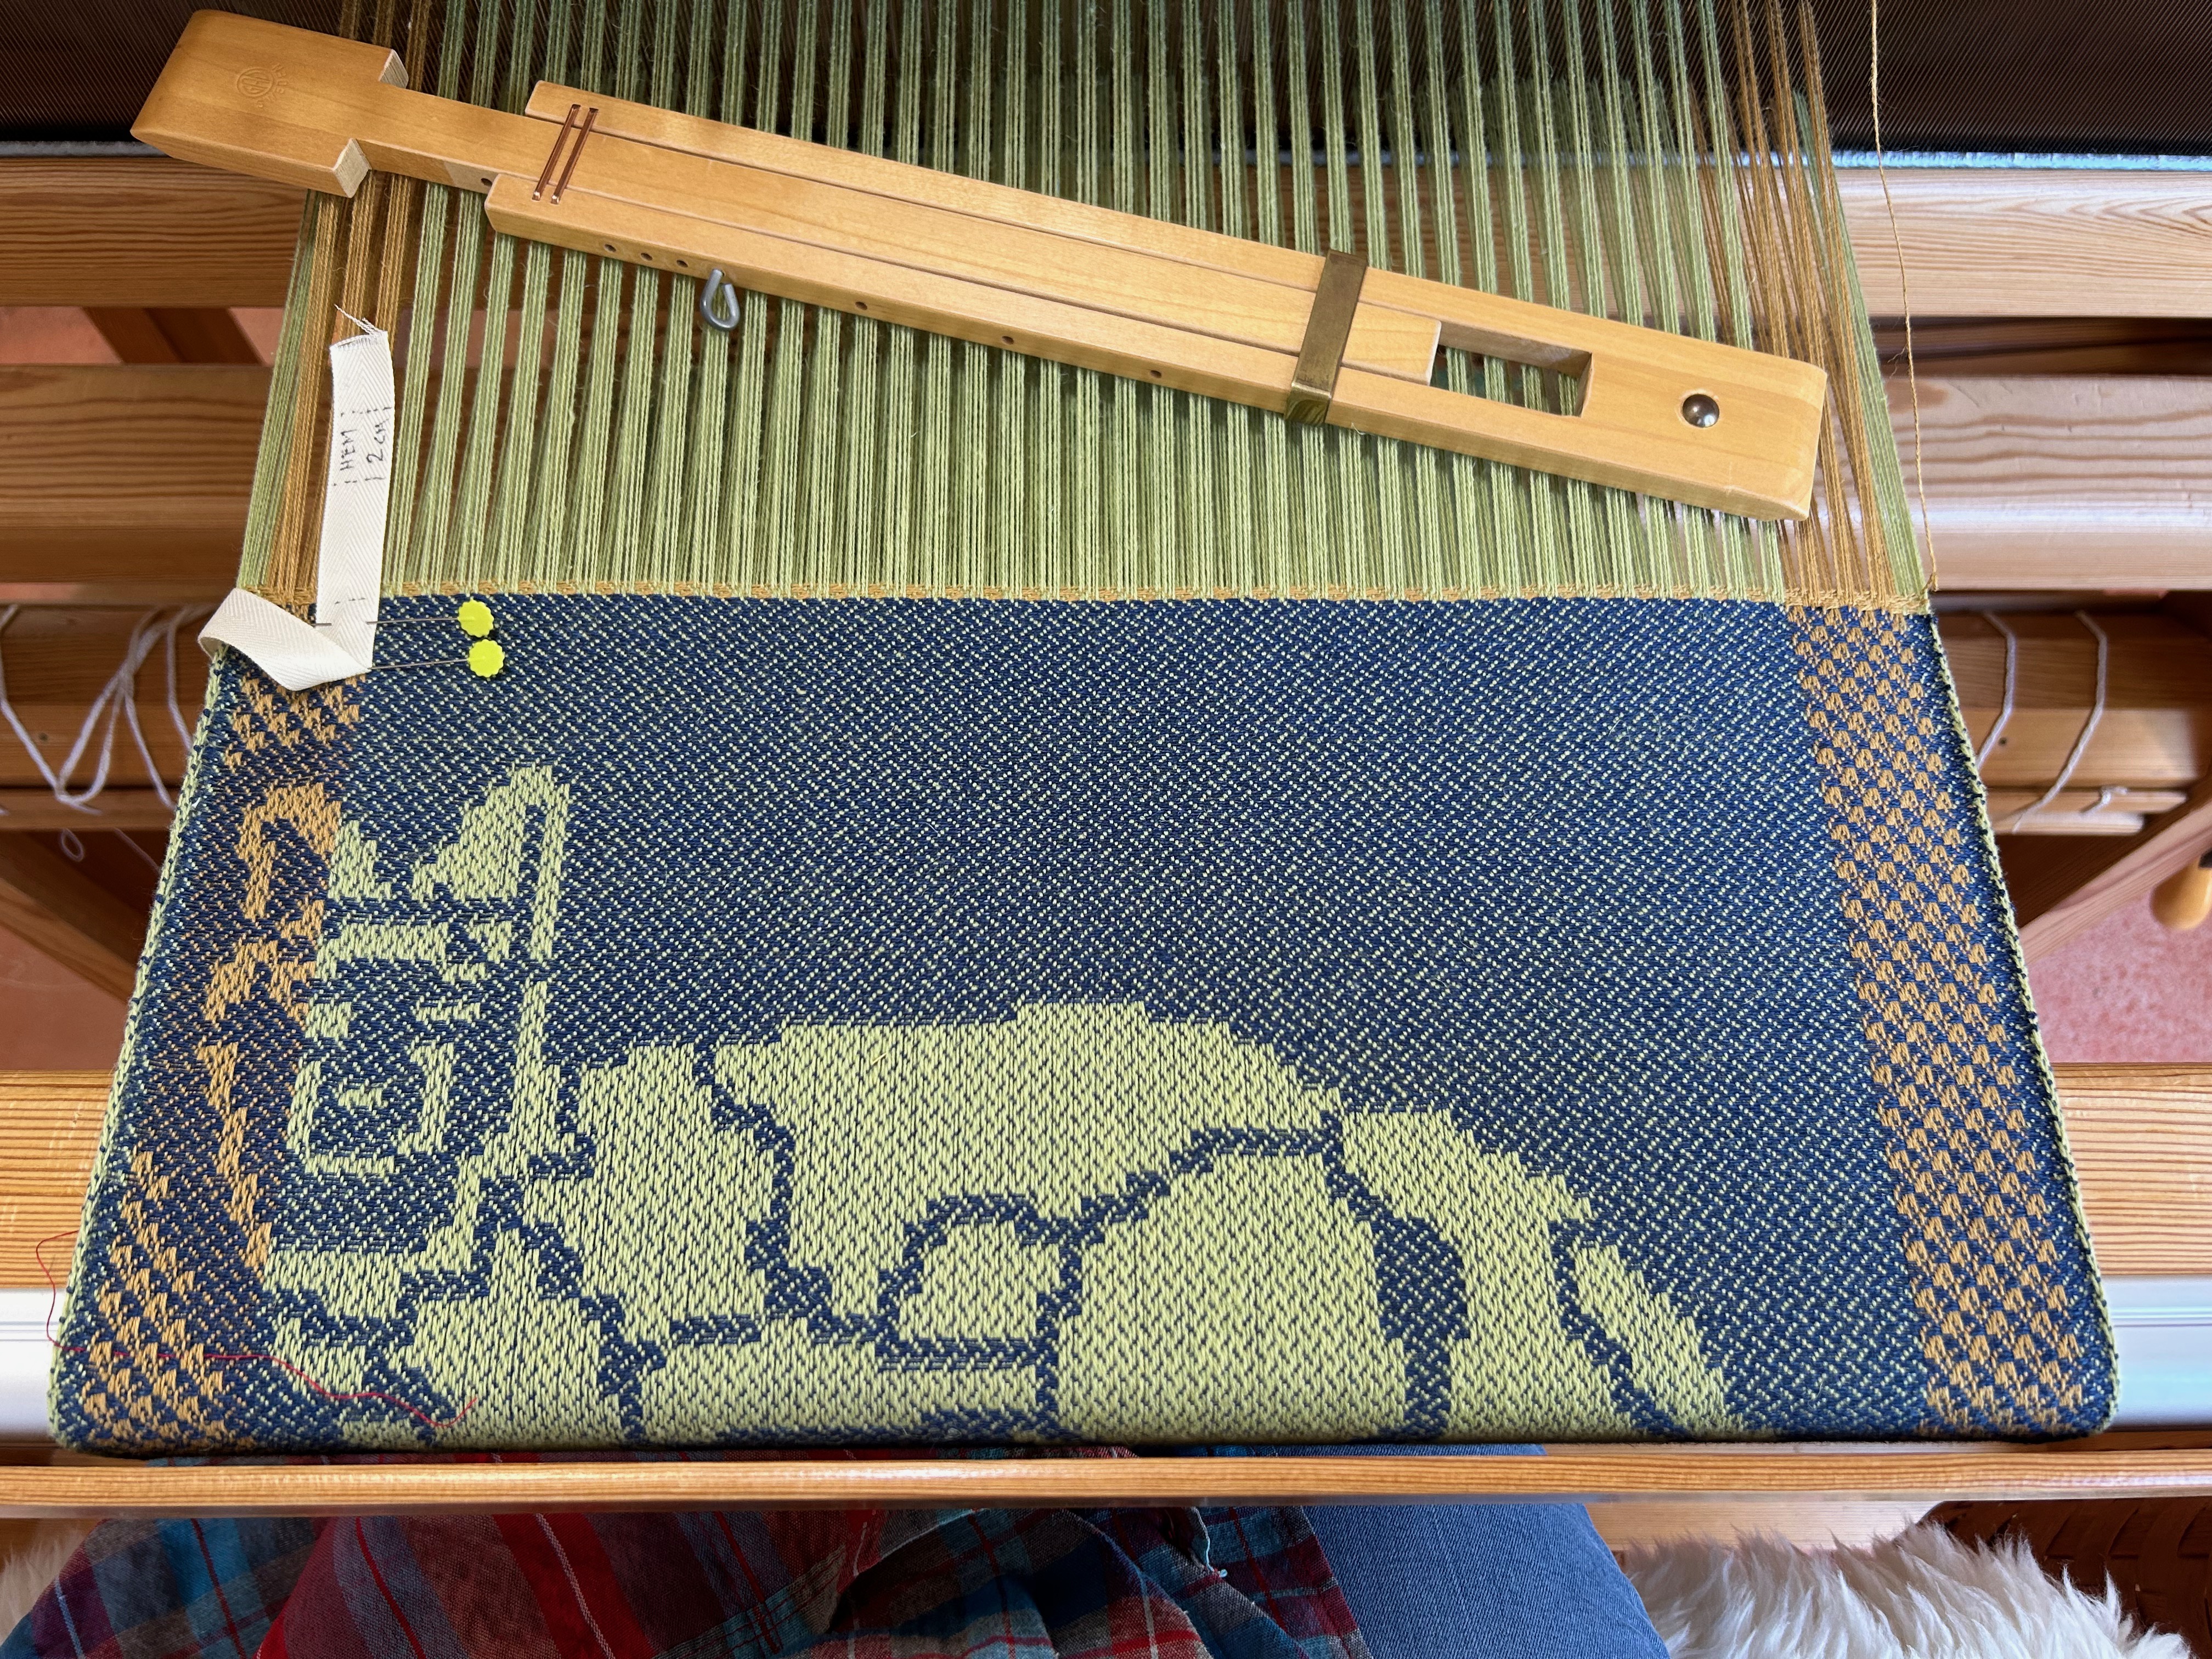
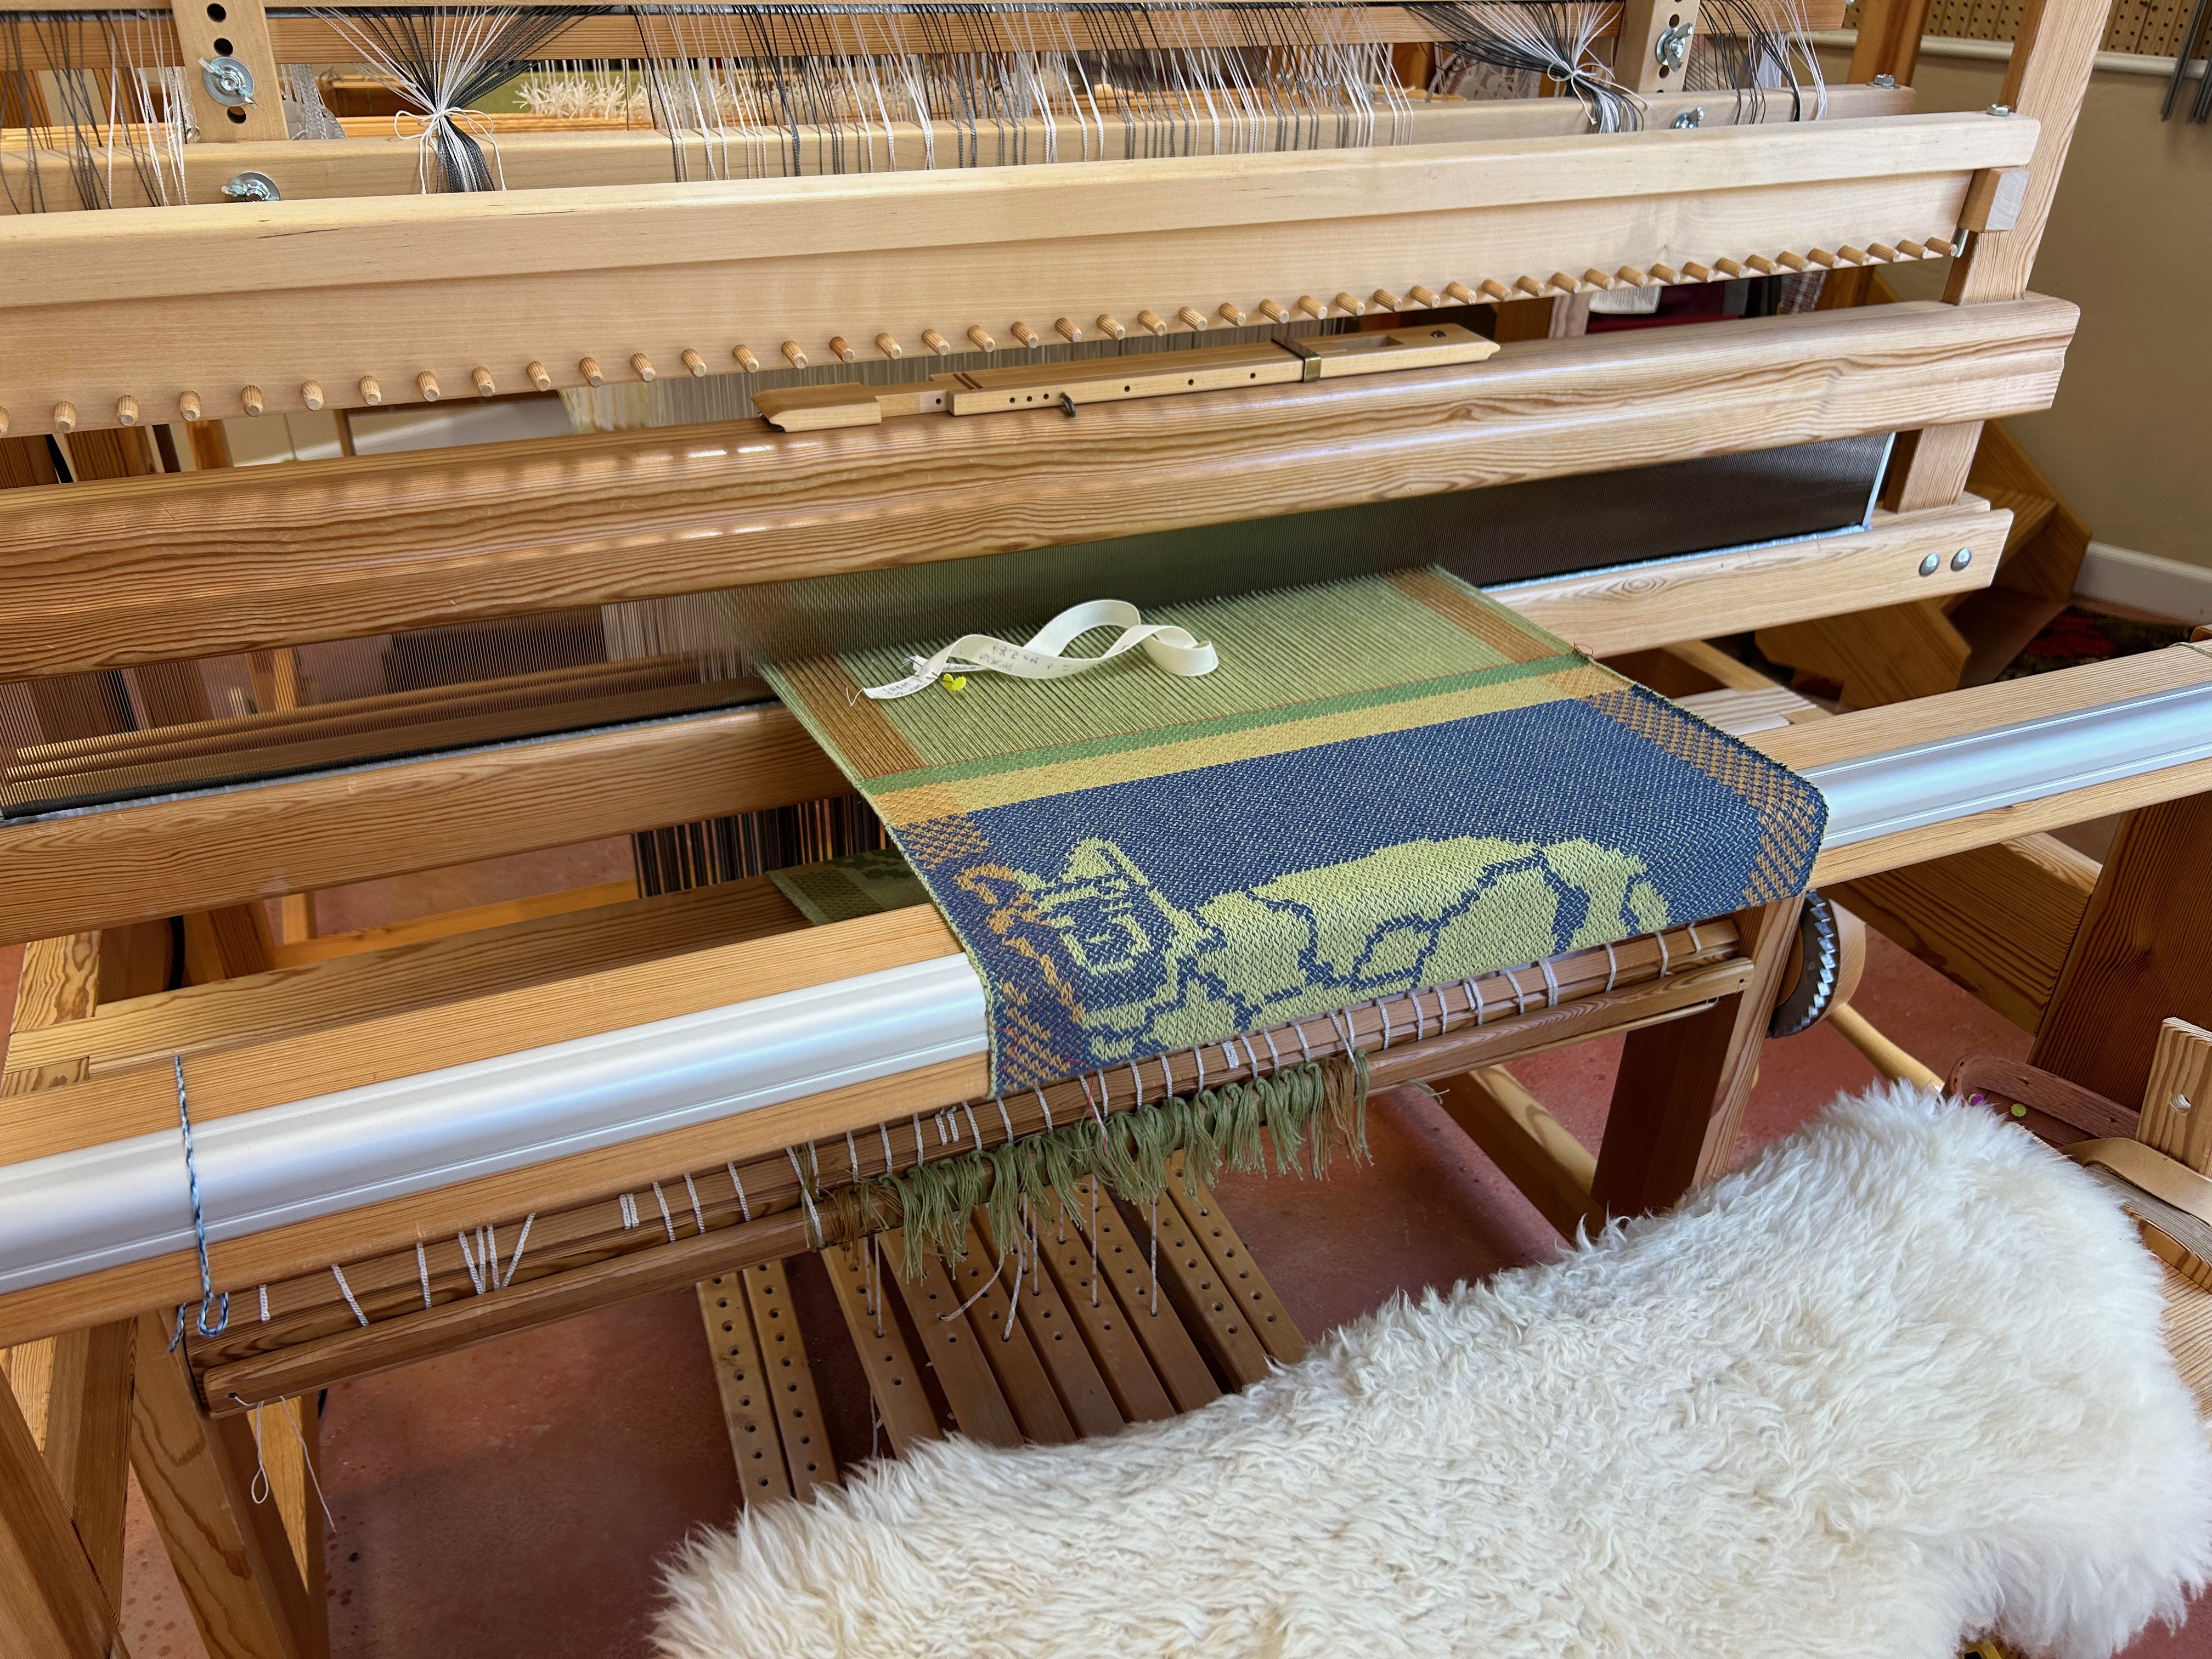
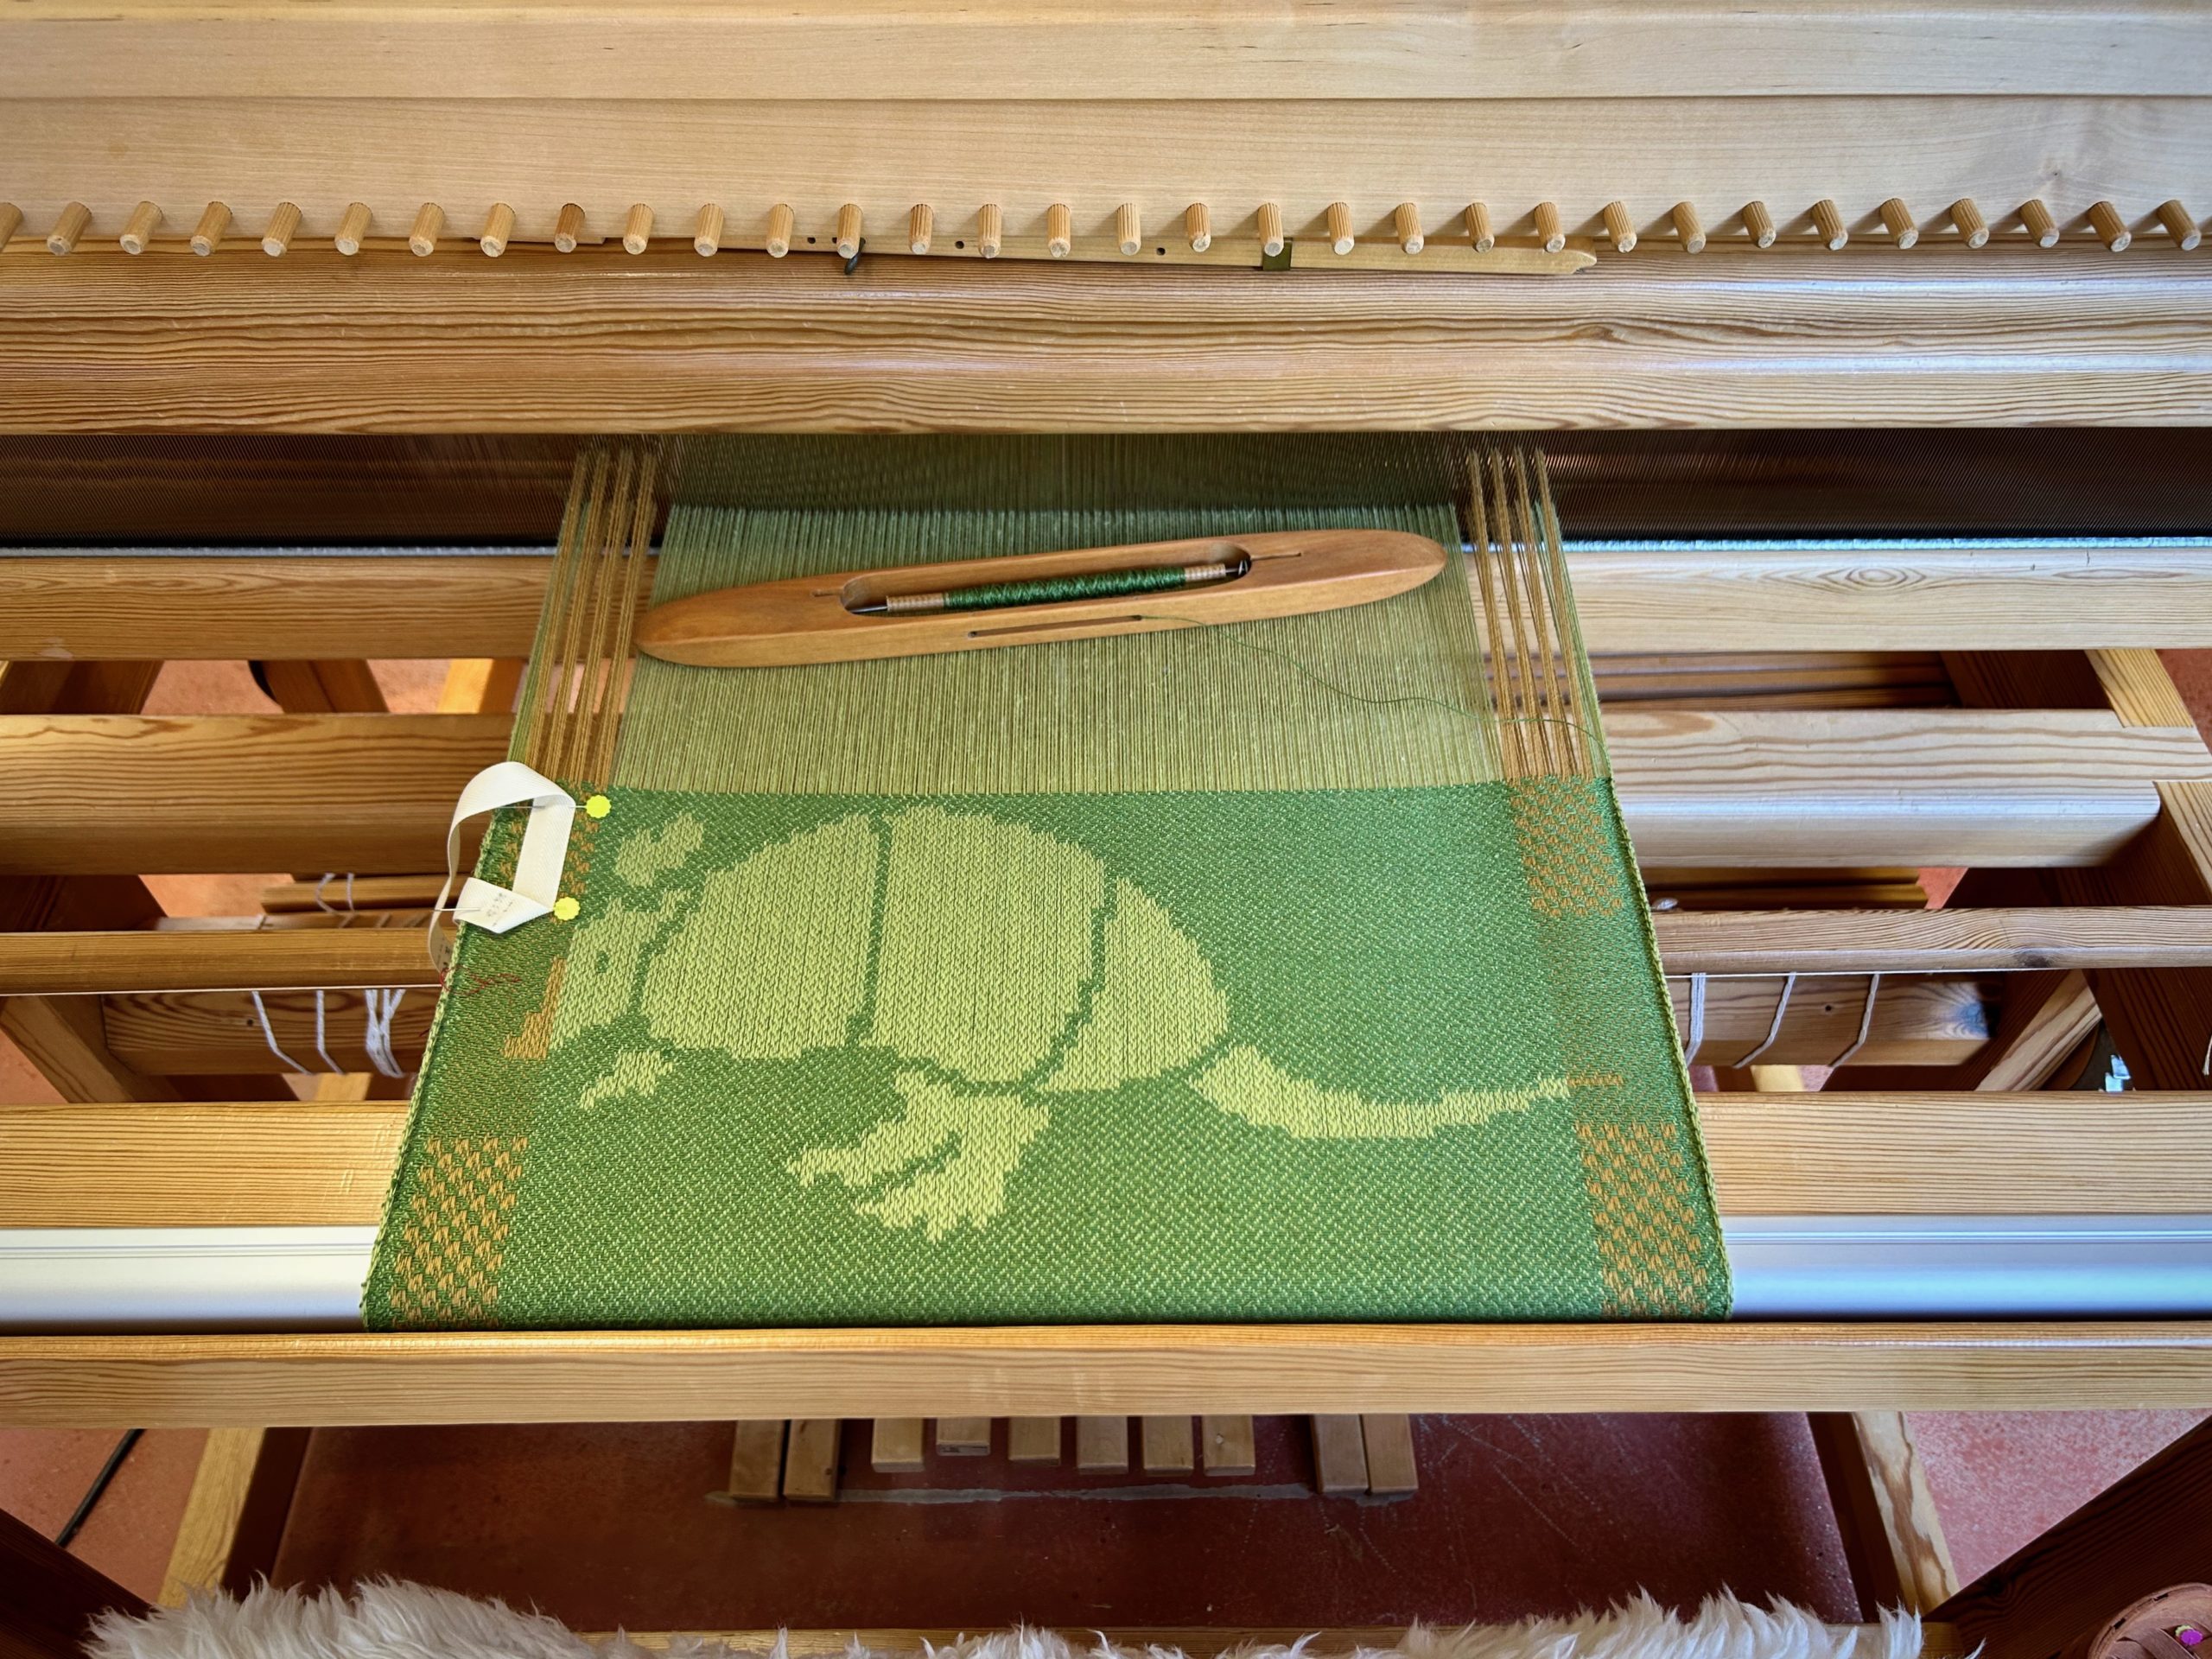
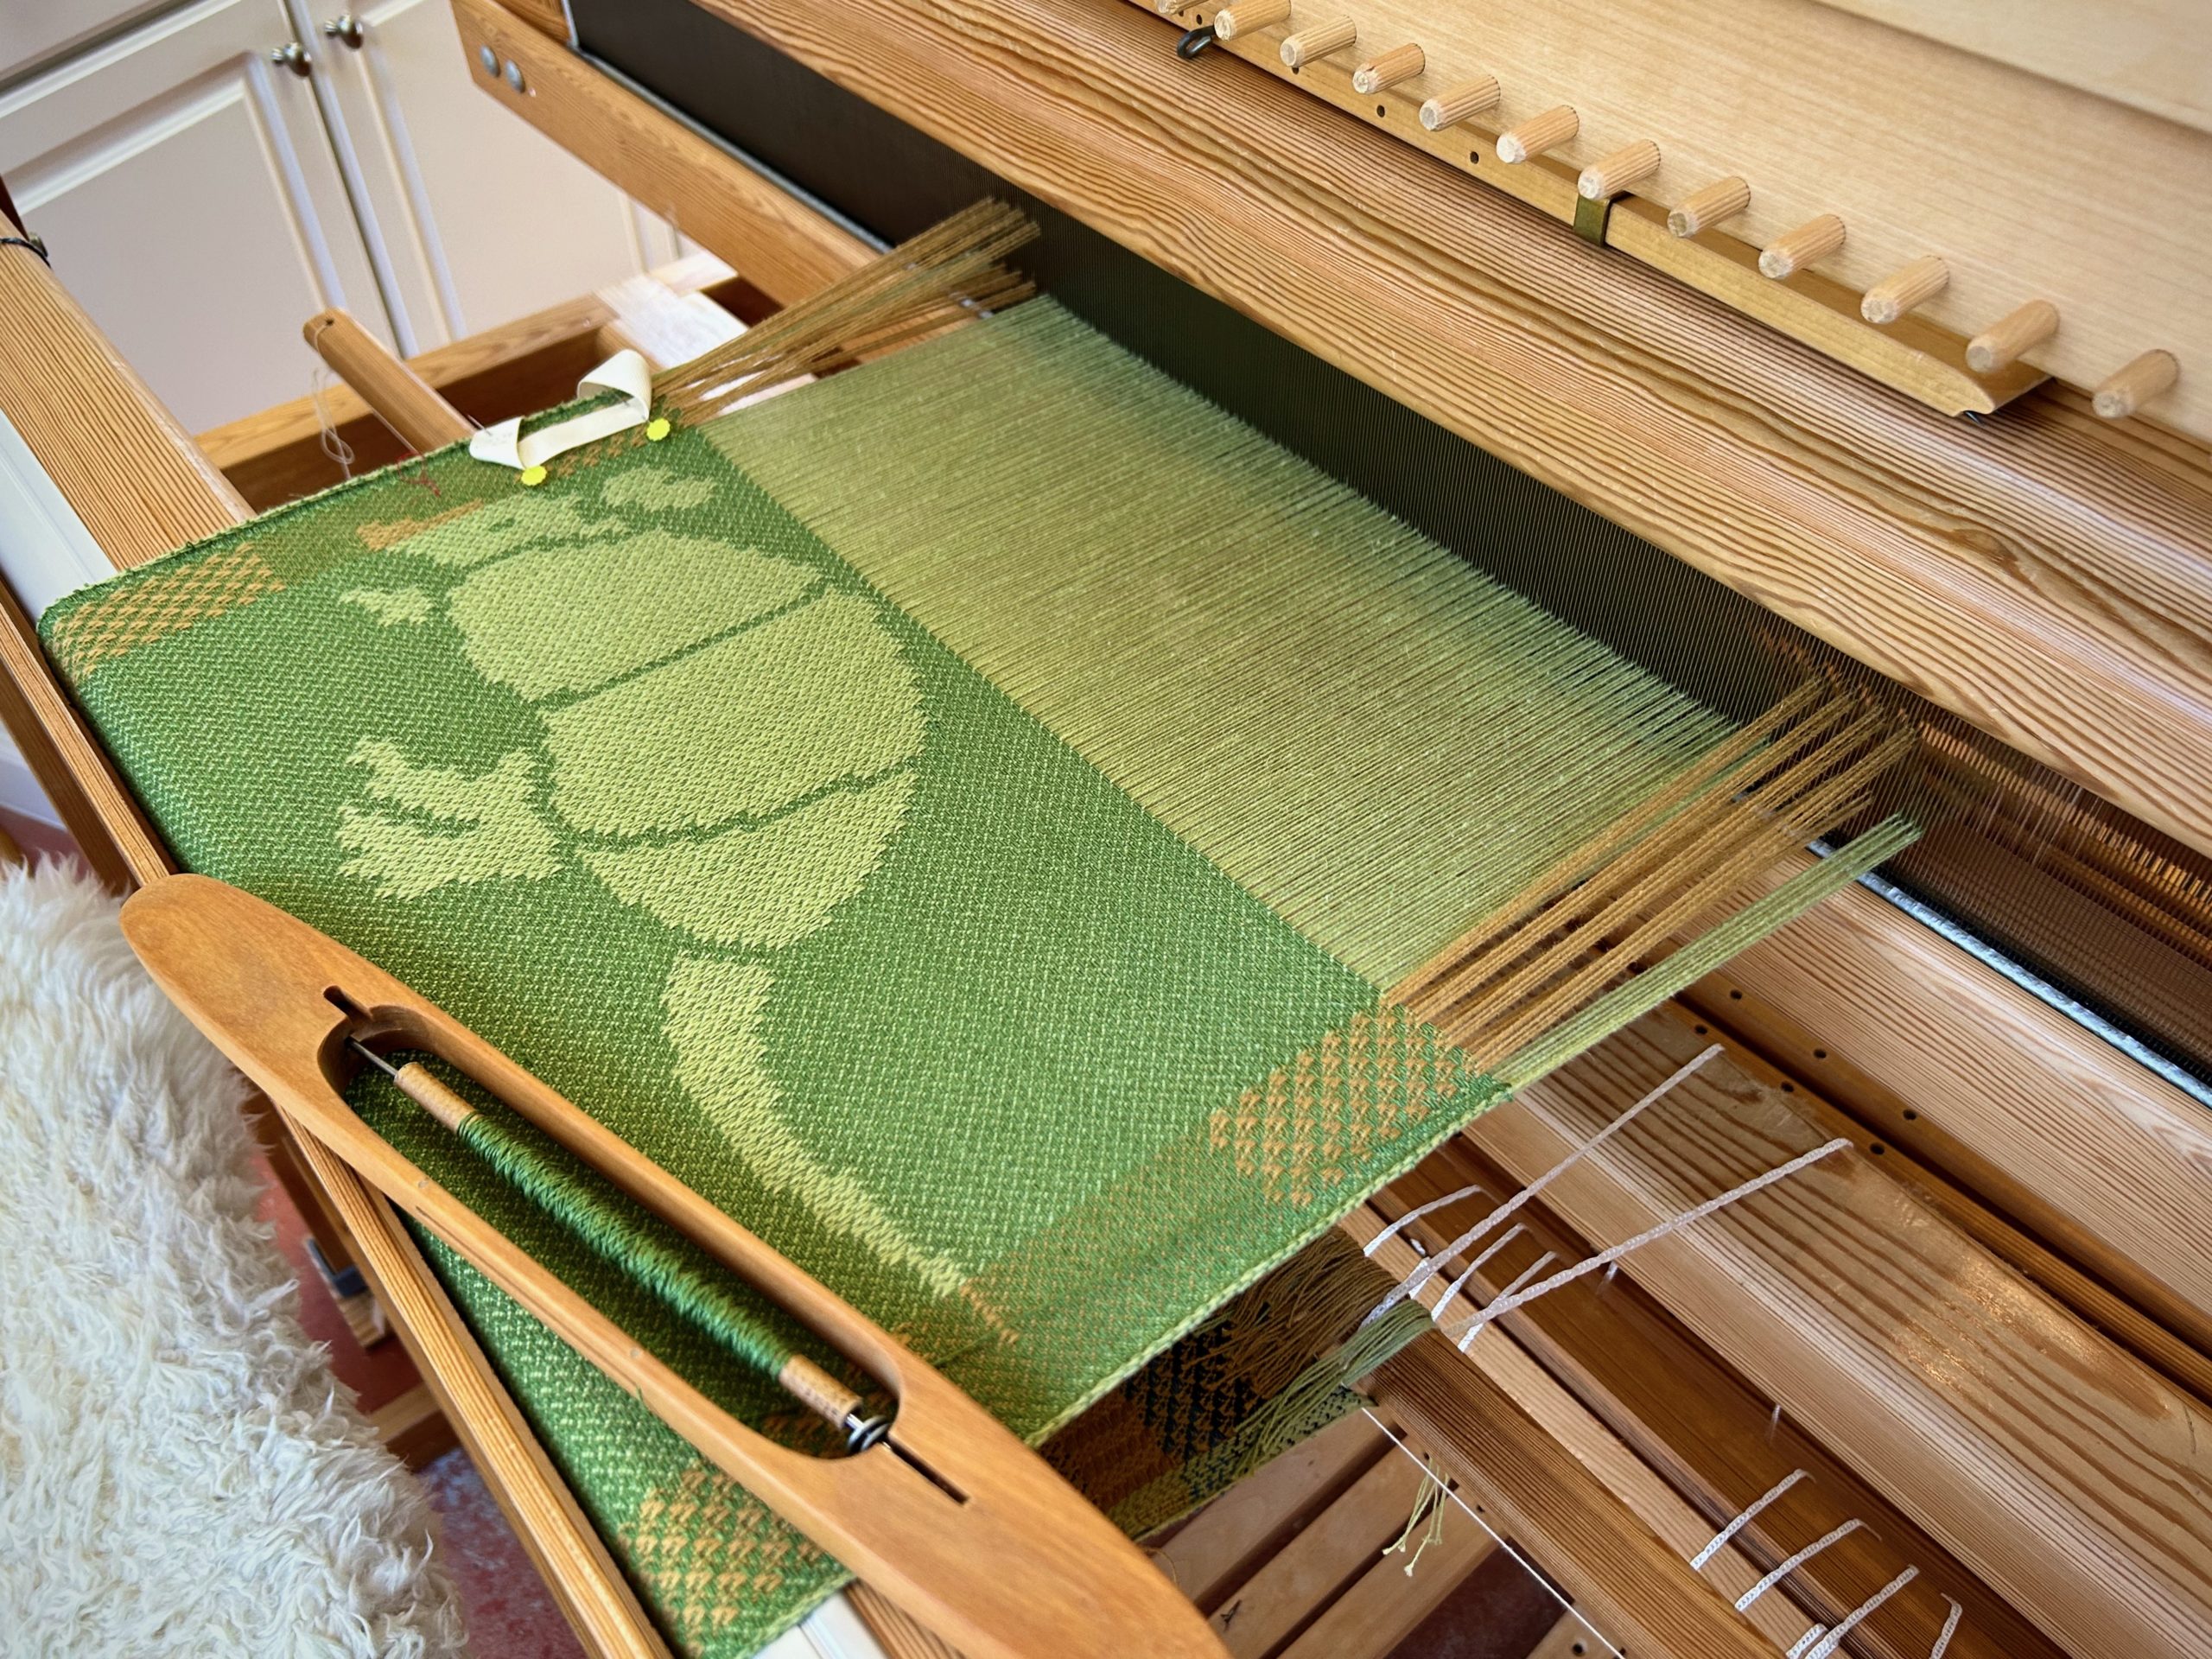
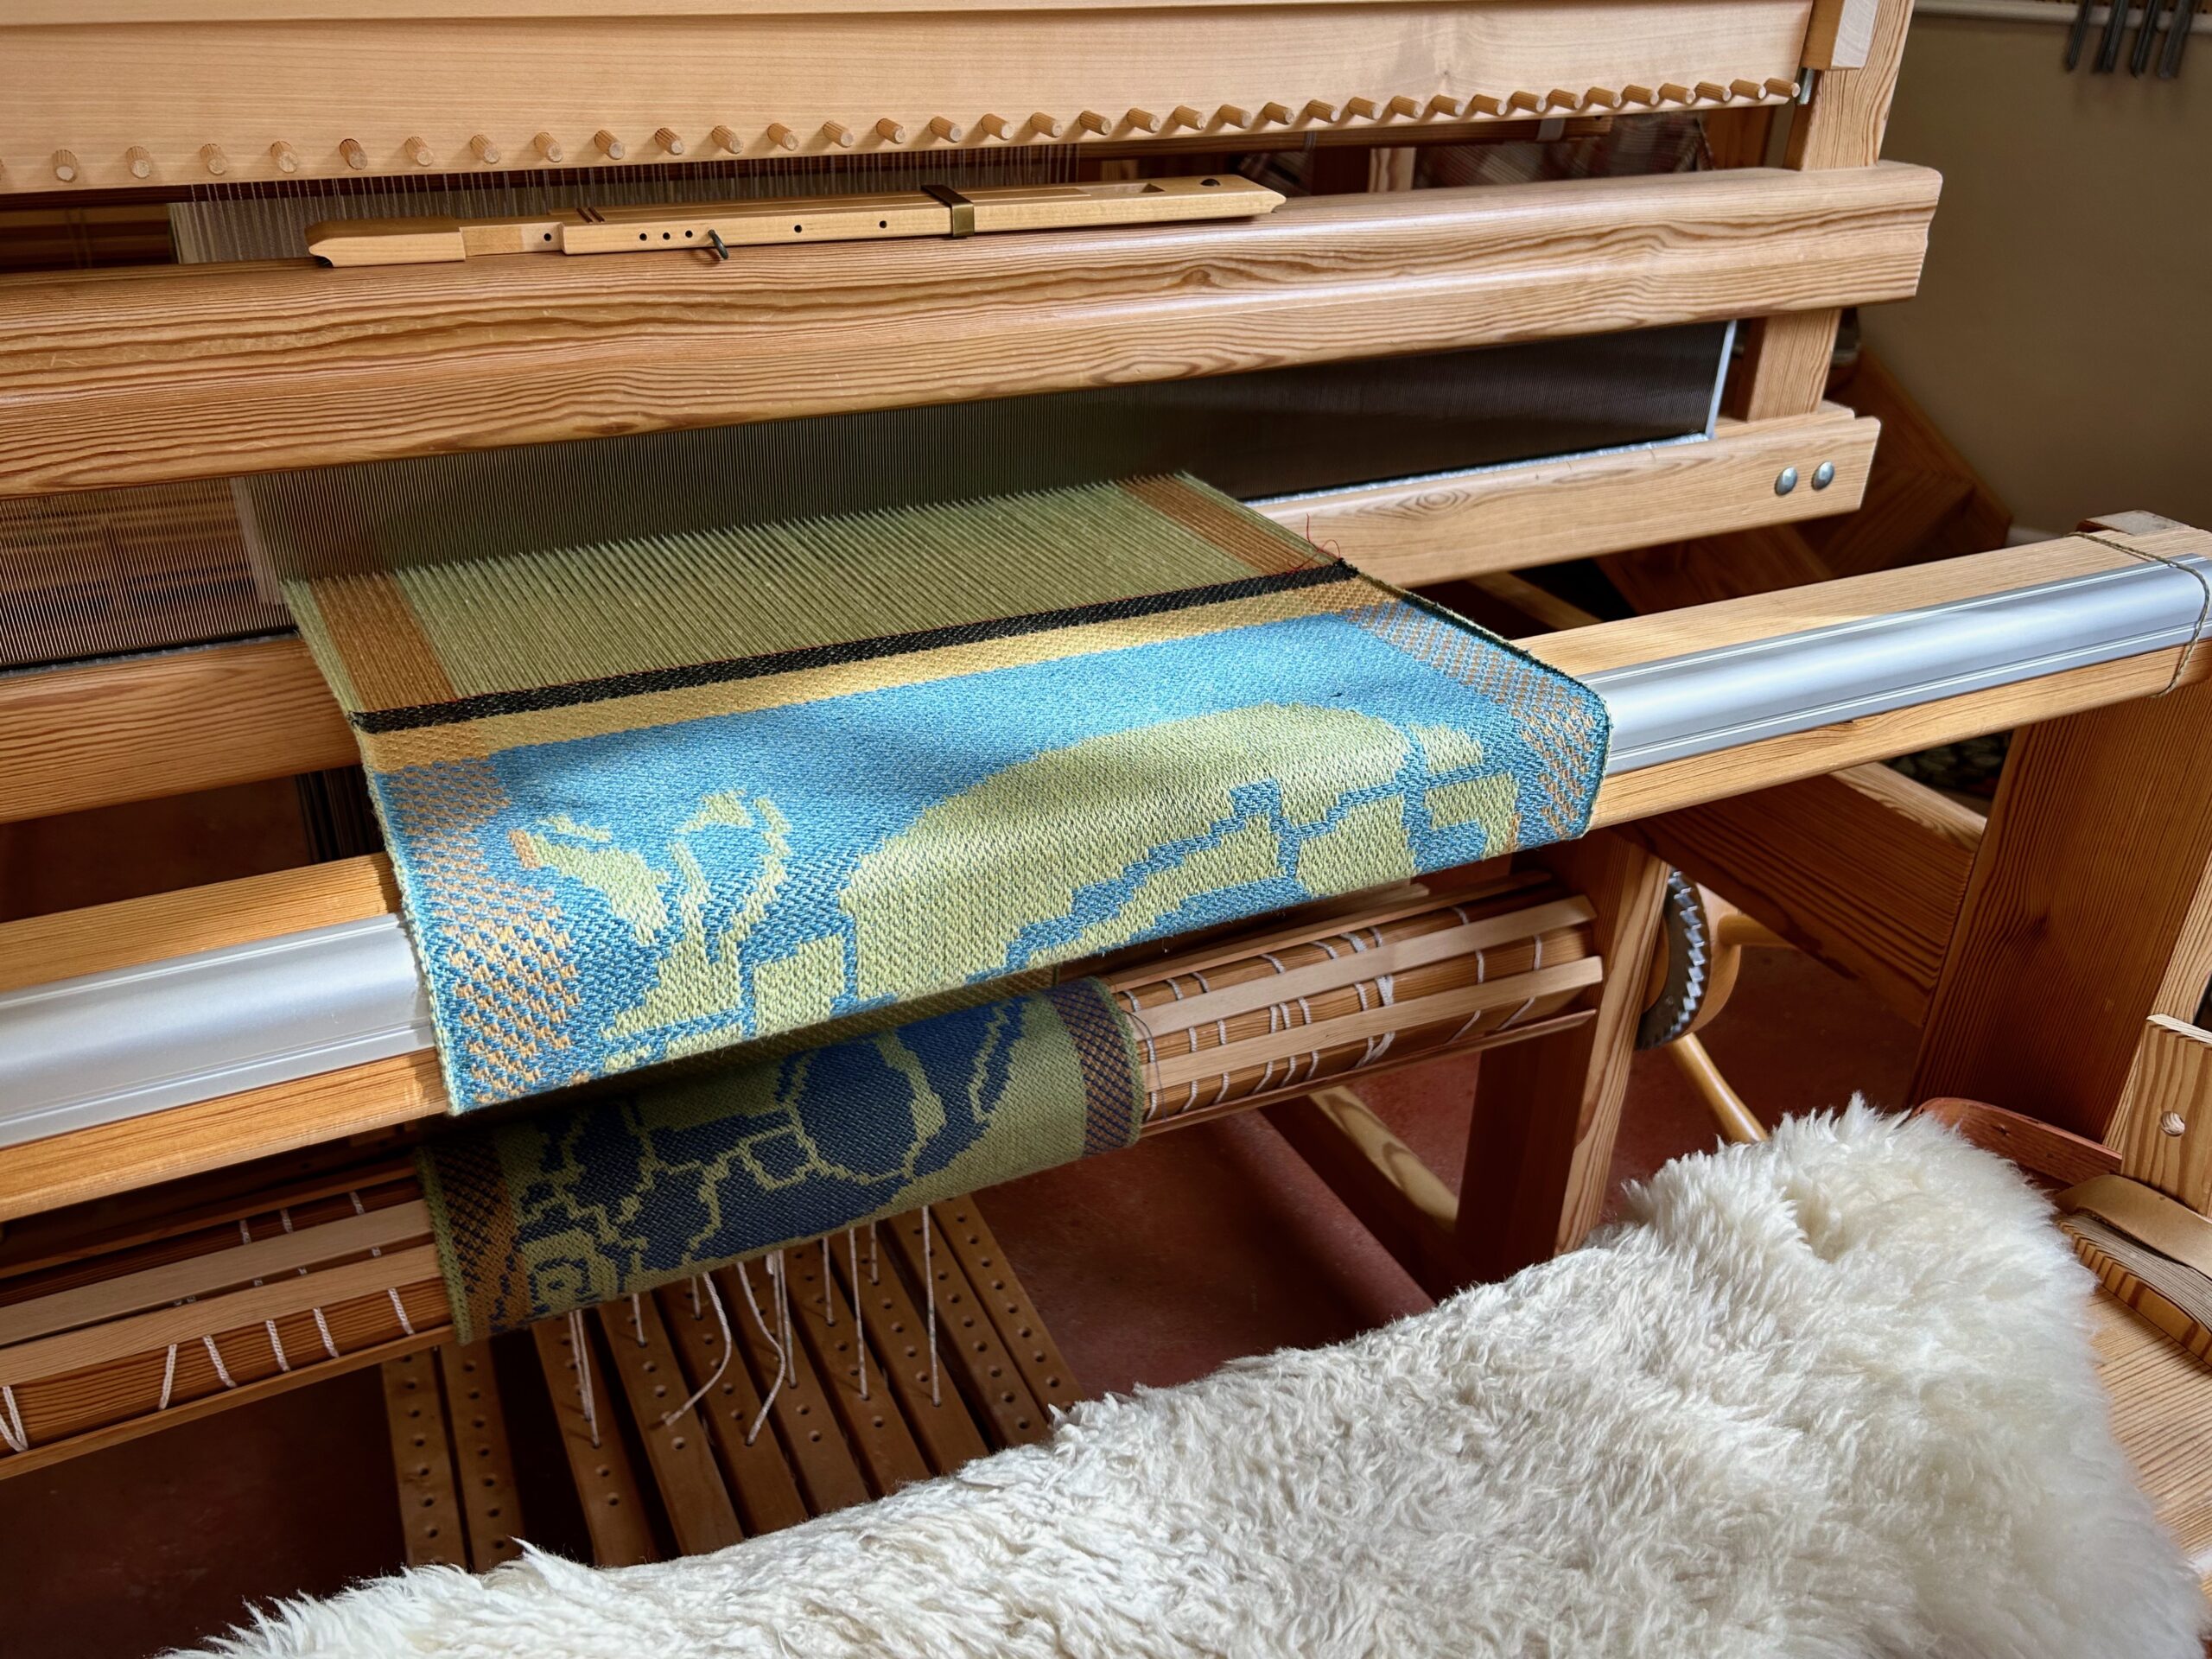
Jack the Jackrabbit is ready to hop on over the breast beam. It is time to design the next napkin. I design one at a time and then weave it. We have the armadillo, the porcupine, the gray fox, and the jackrabbit. Up next is a white-tailed deer. Steve took a photo of a white-tailed buck on our property last week. I will use that photo as the basis for my deer design.


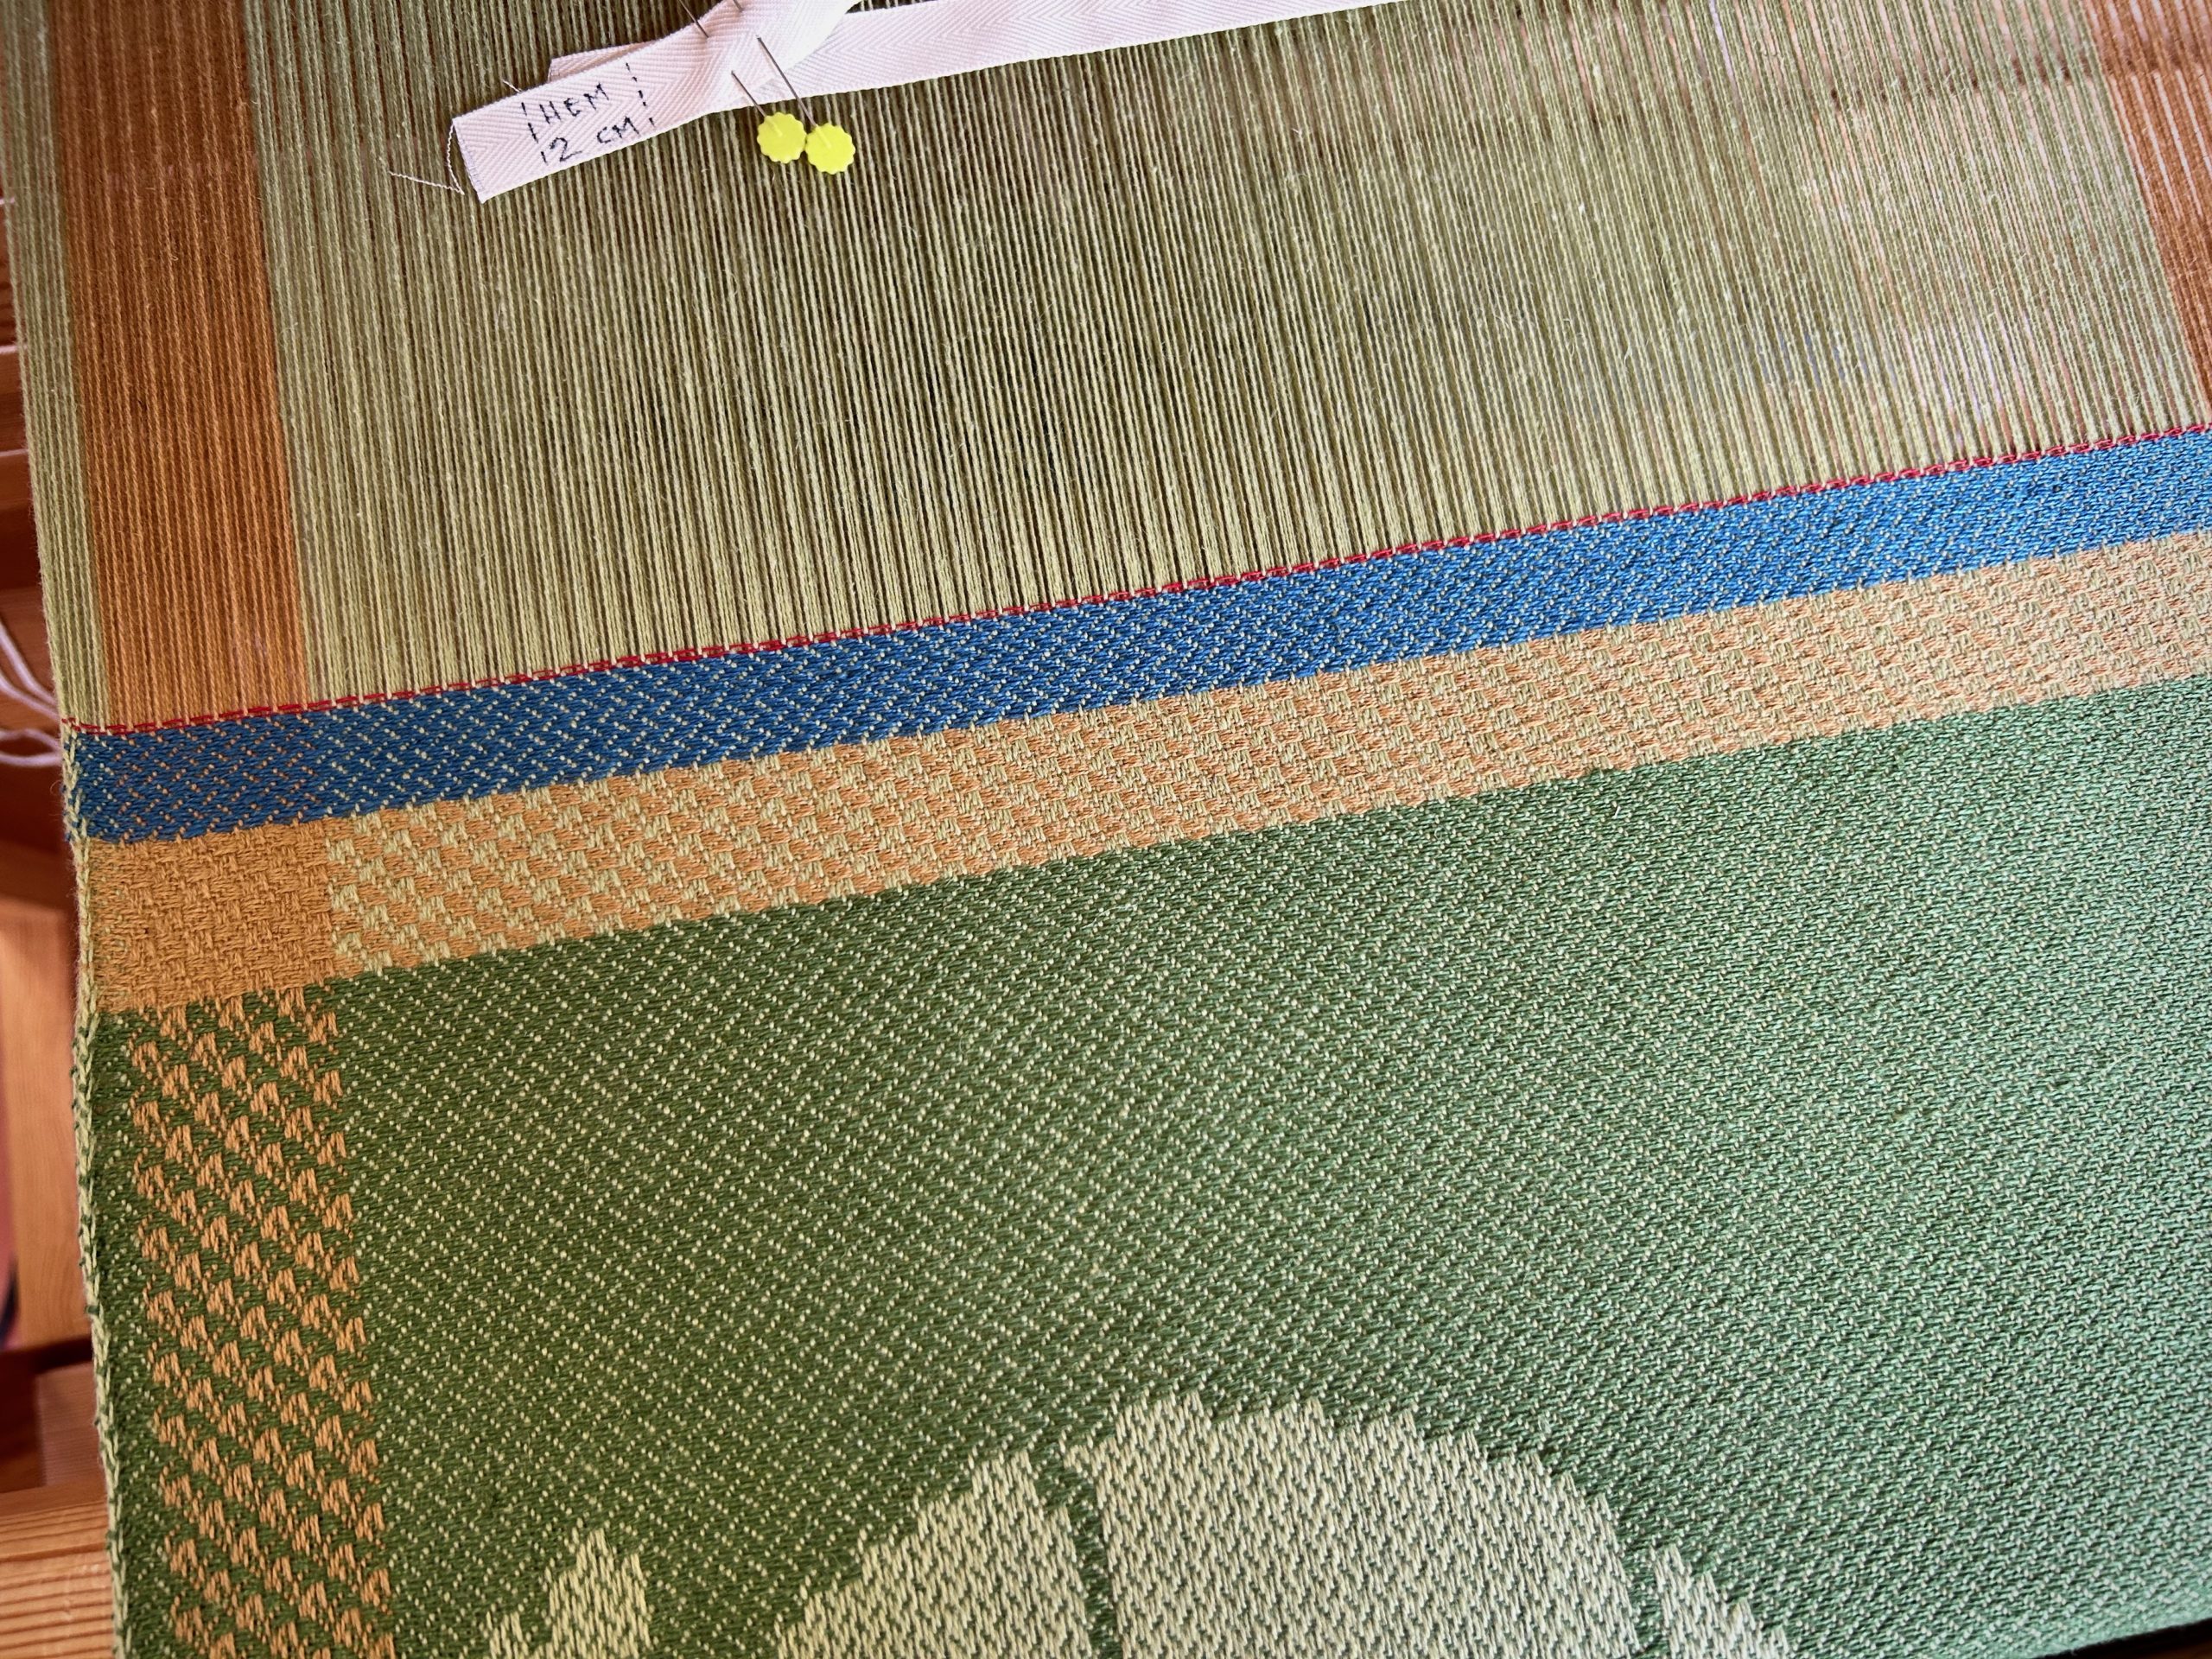
I enjoy paying attention to the amazing wildlife around us. Some, like the porcupine, are seldom seen, and others, like the white-tailed deer are in view all the time. These napkins will be a record of the critters we have purposely noticed here on the property around our home in Texas Hill Country.
We notice what we want to notice. When we make a point to notice the blessings of the Lord we start seeing his hand in less obvious places. When we turn our heart to understand his ways he starts filling in the gaps of our understanding. It’s good to keep a record of the blessings that we notice. Thank you, Lord!
What blessings have you noticed lately? Let us know in the comments.
May you have too many blessings to count.
Happy Weaving,
Karen