A hemstitched edge deserves twisted fringe. You have to overlook the amount of time it takes to put this finishing touch on your handwoven articles (often as much, or more, time than it took to weave the cloth in the first place). You do it because you care about the end result. The hemstitching and fringe are the mat and frame for your work of art. Begin well and finish well.
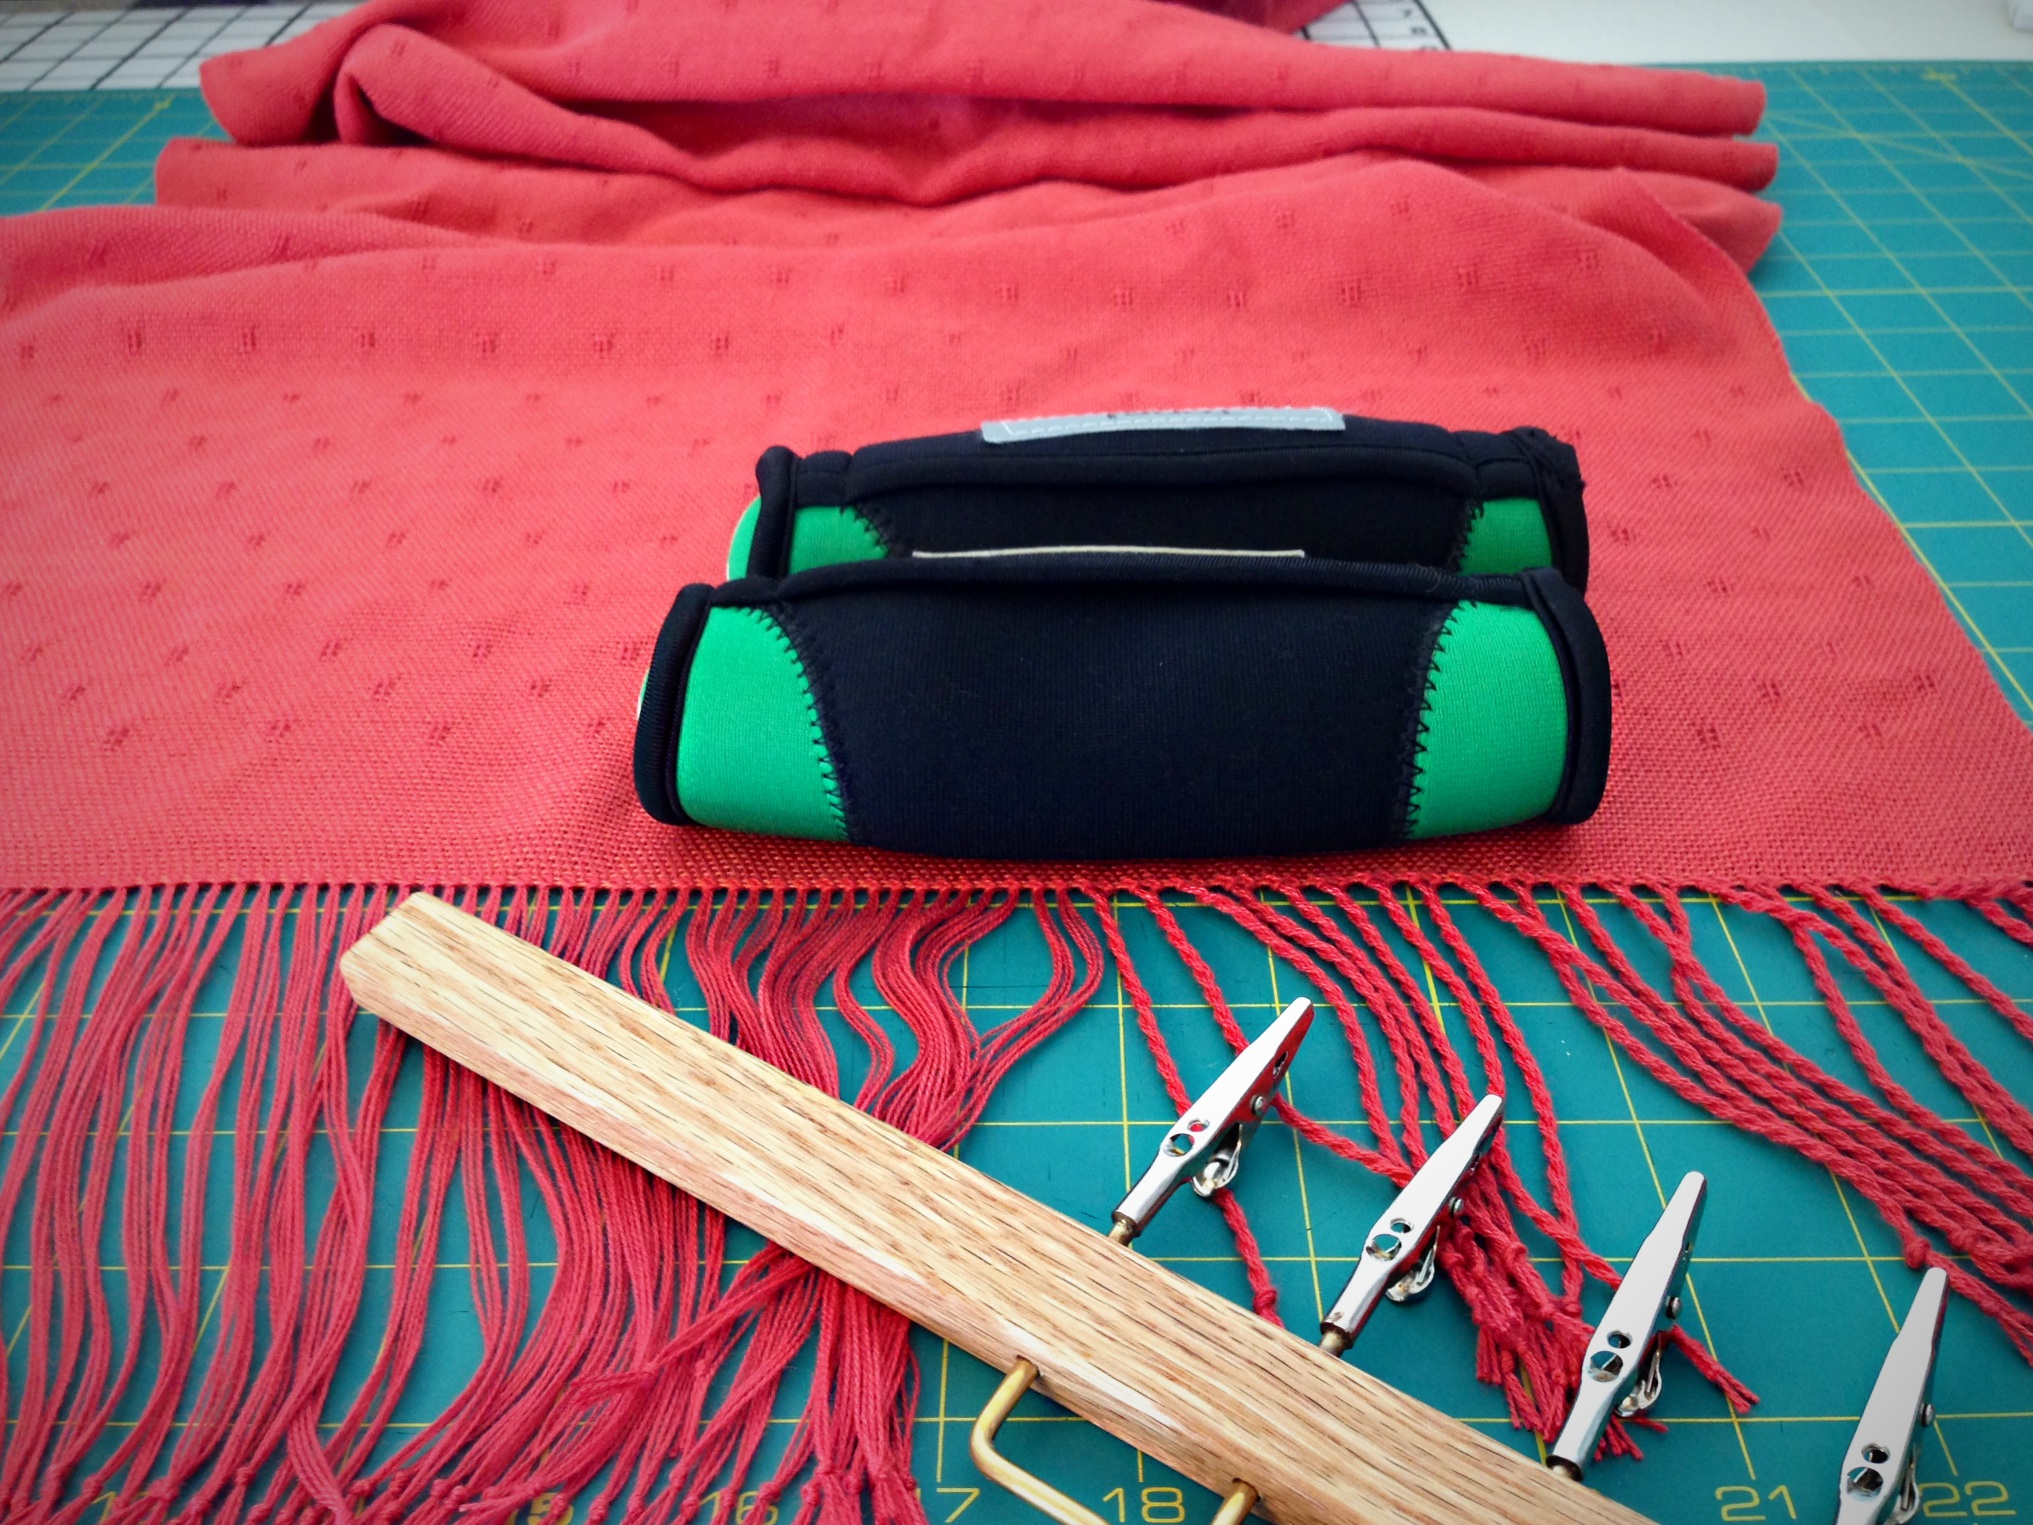
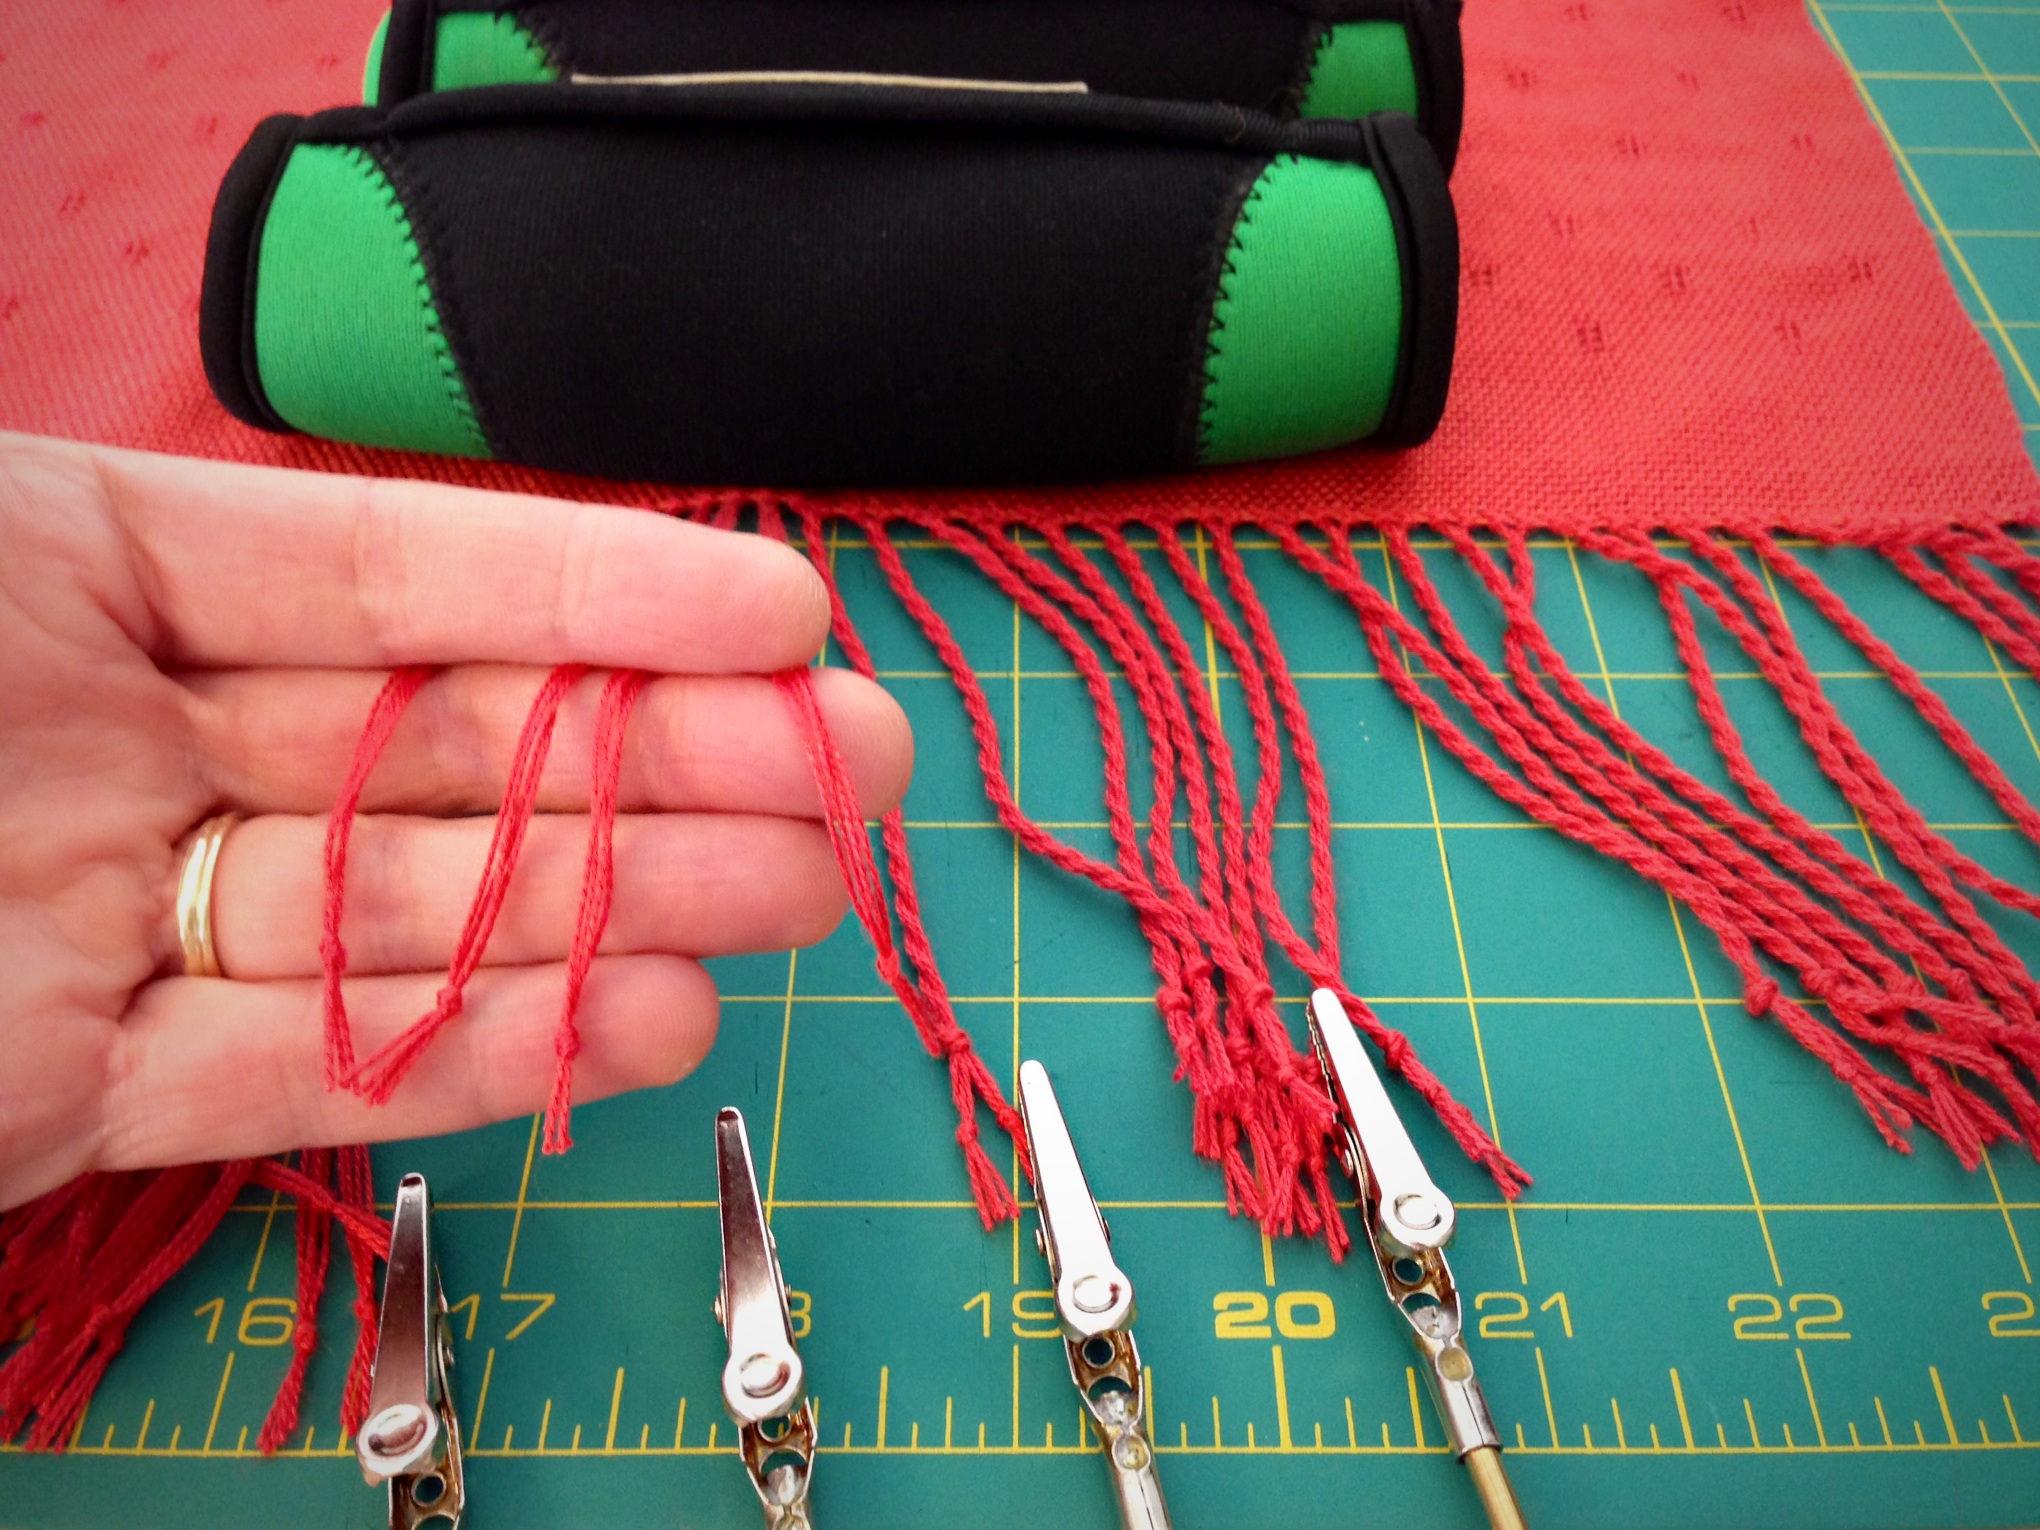
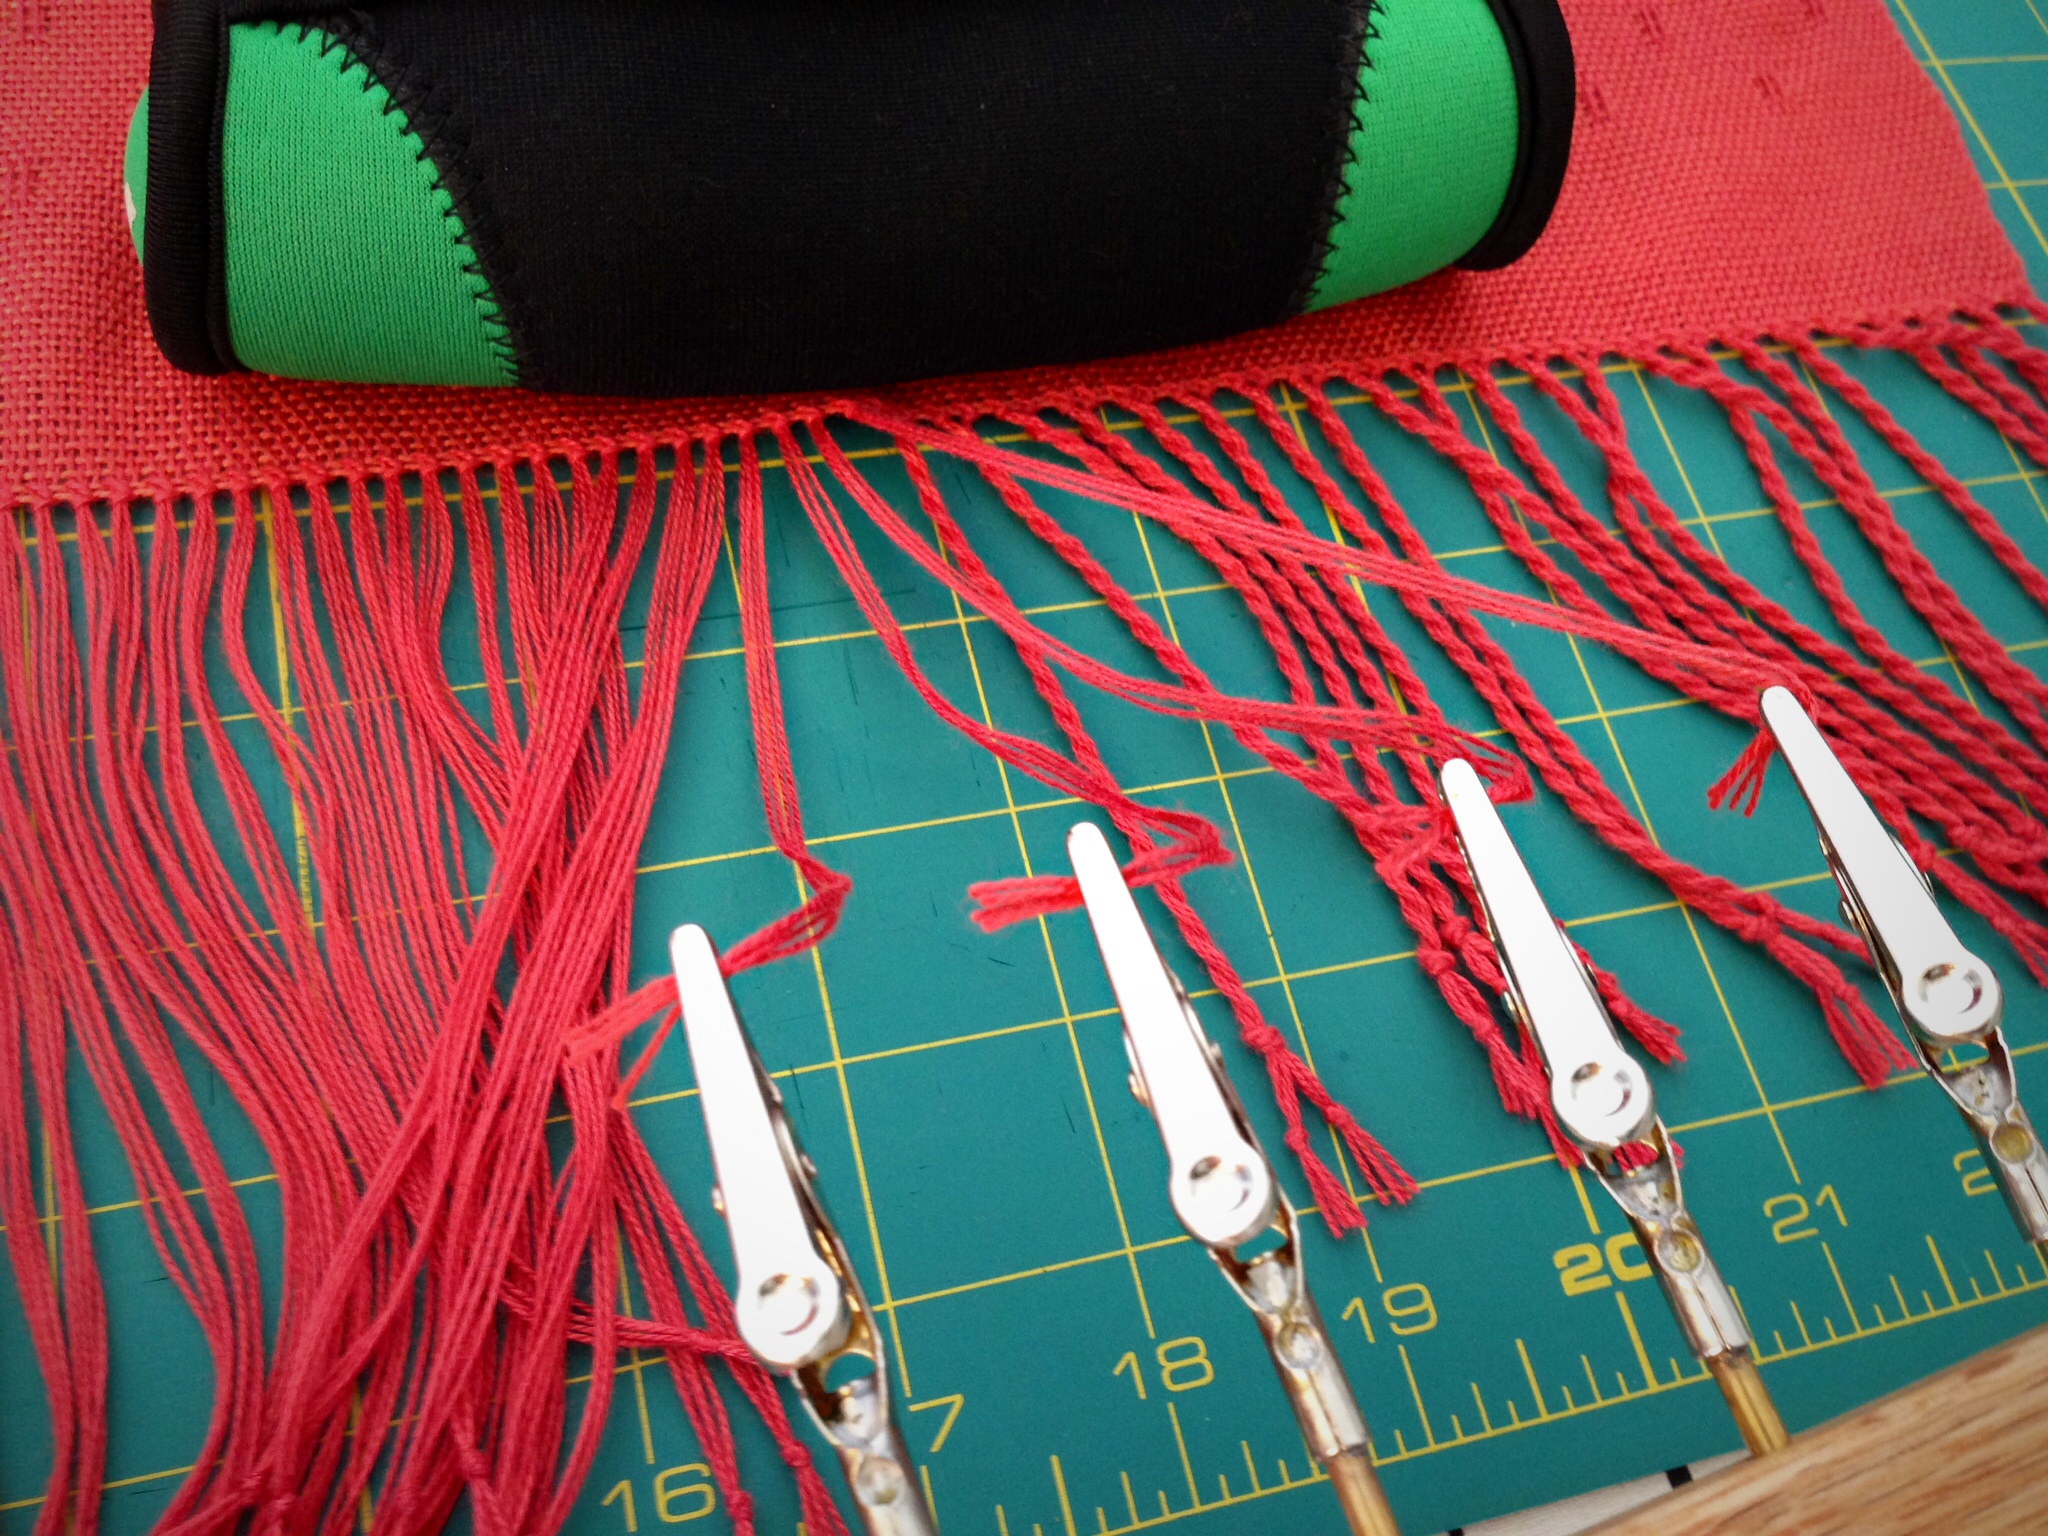
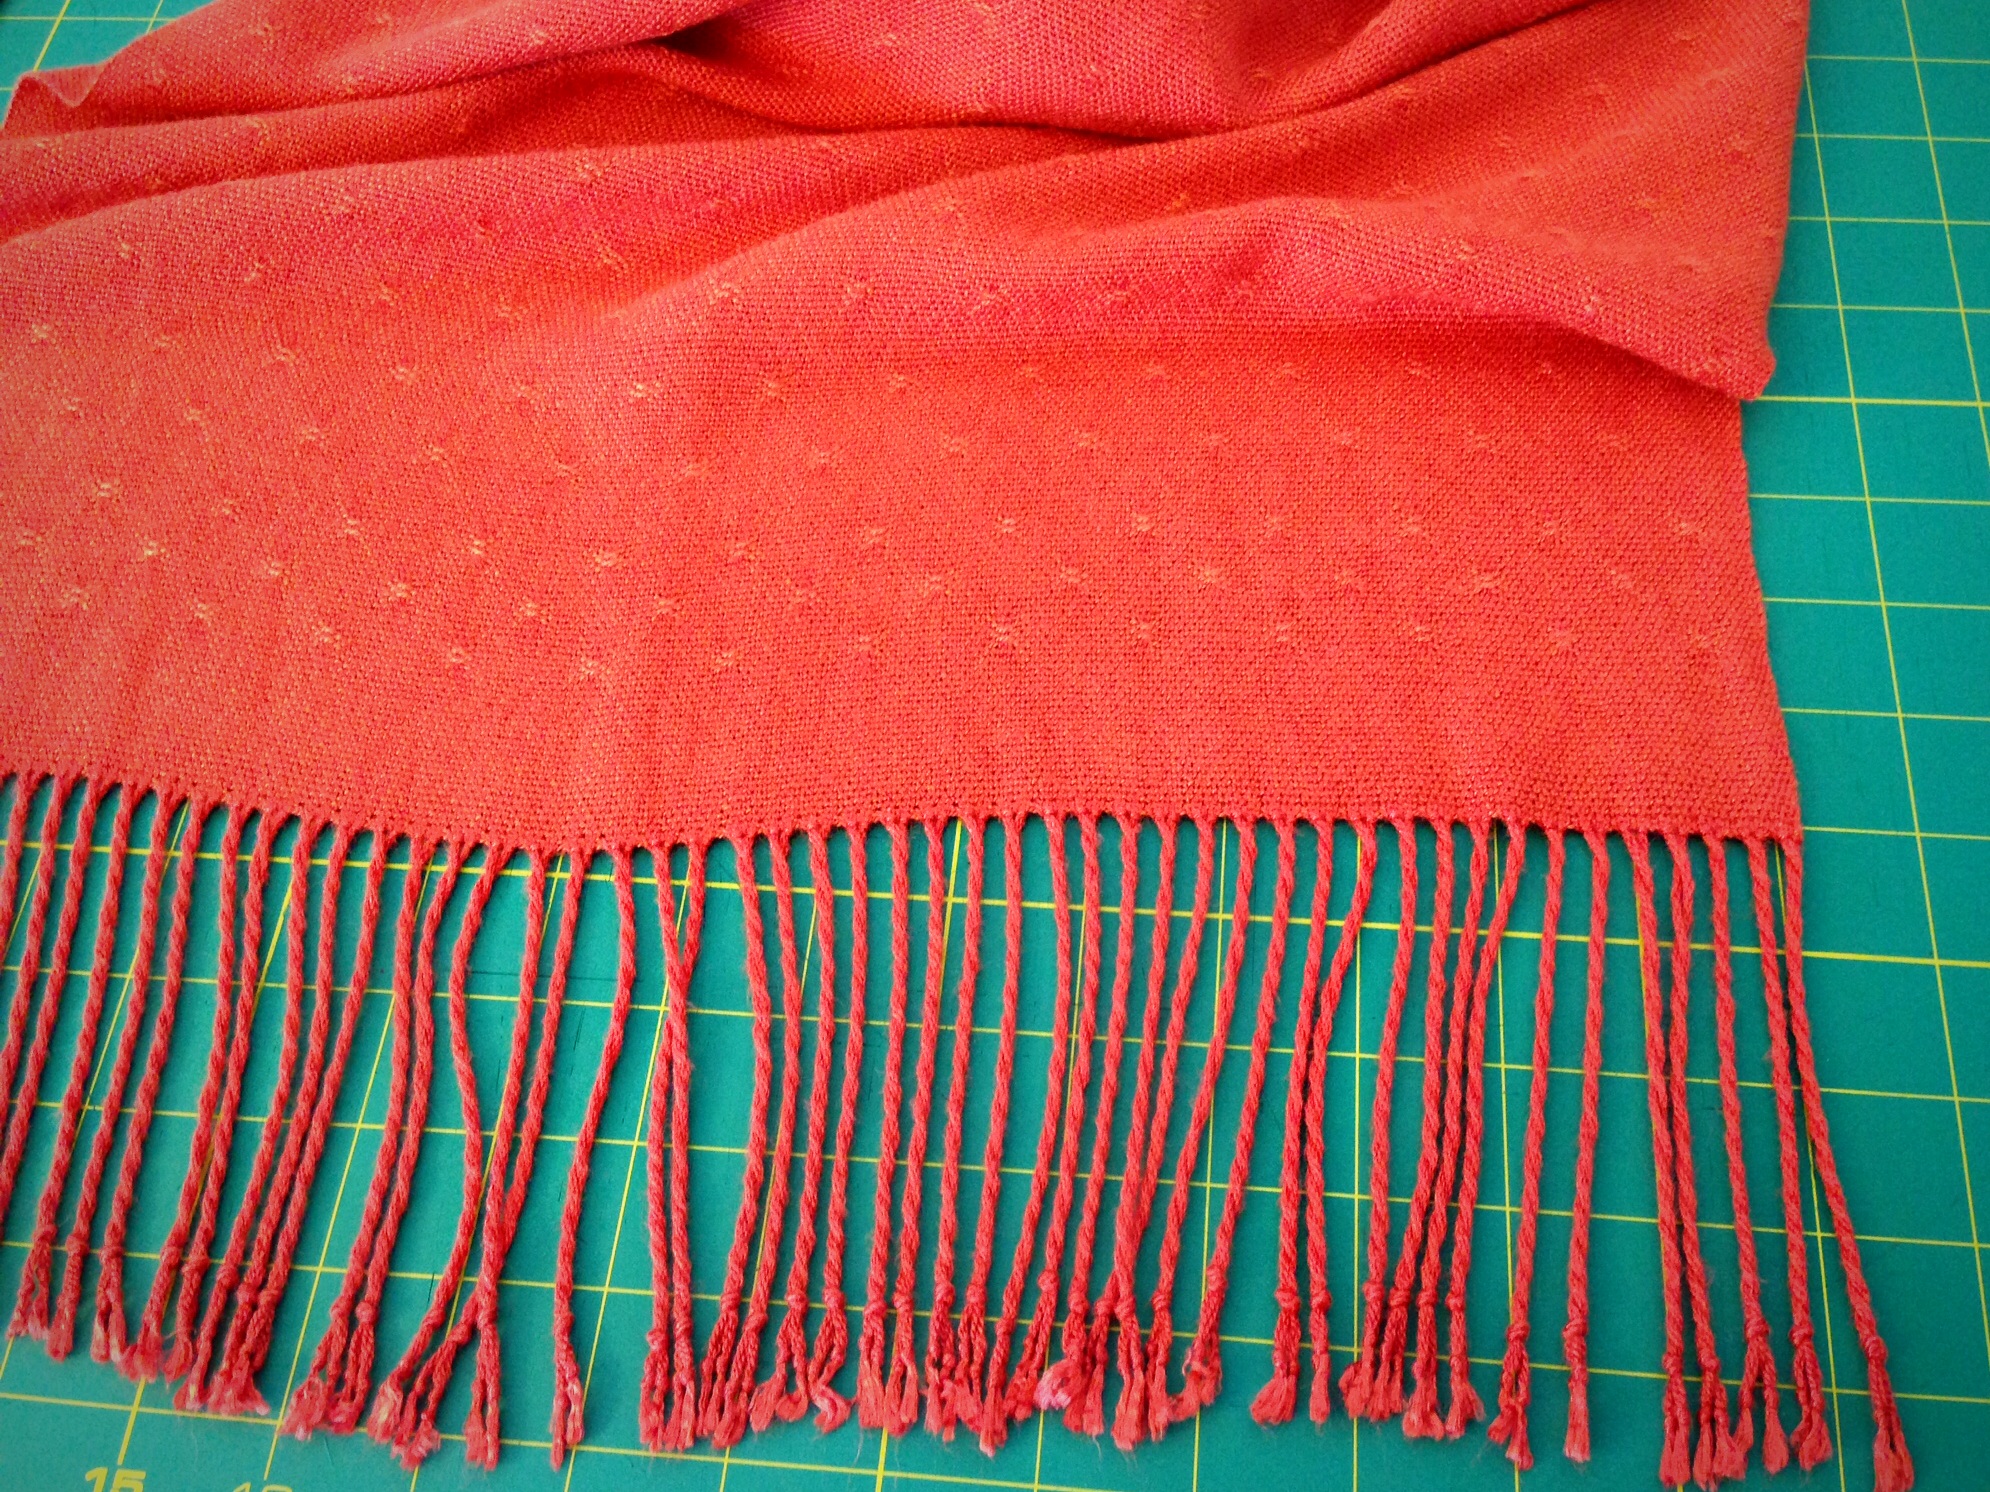
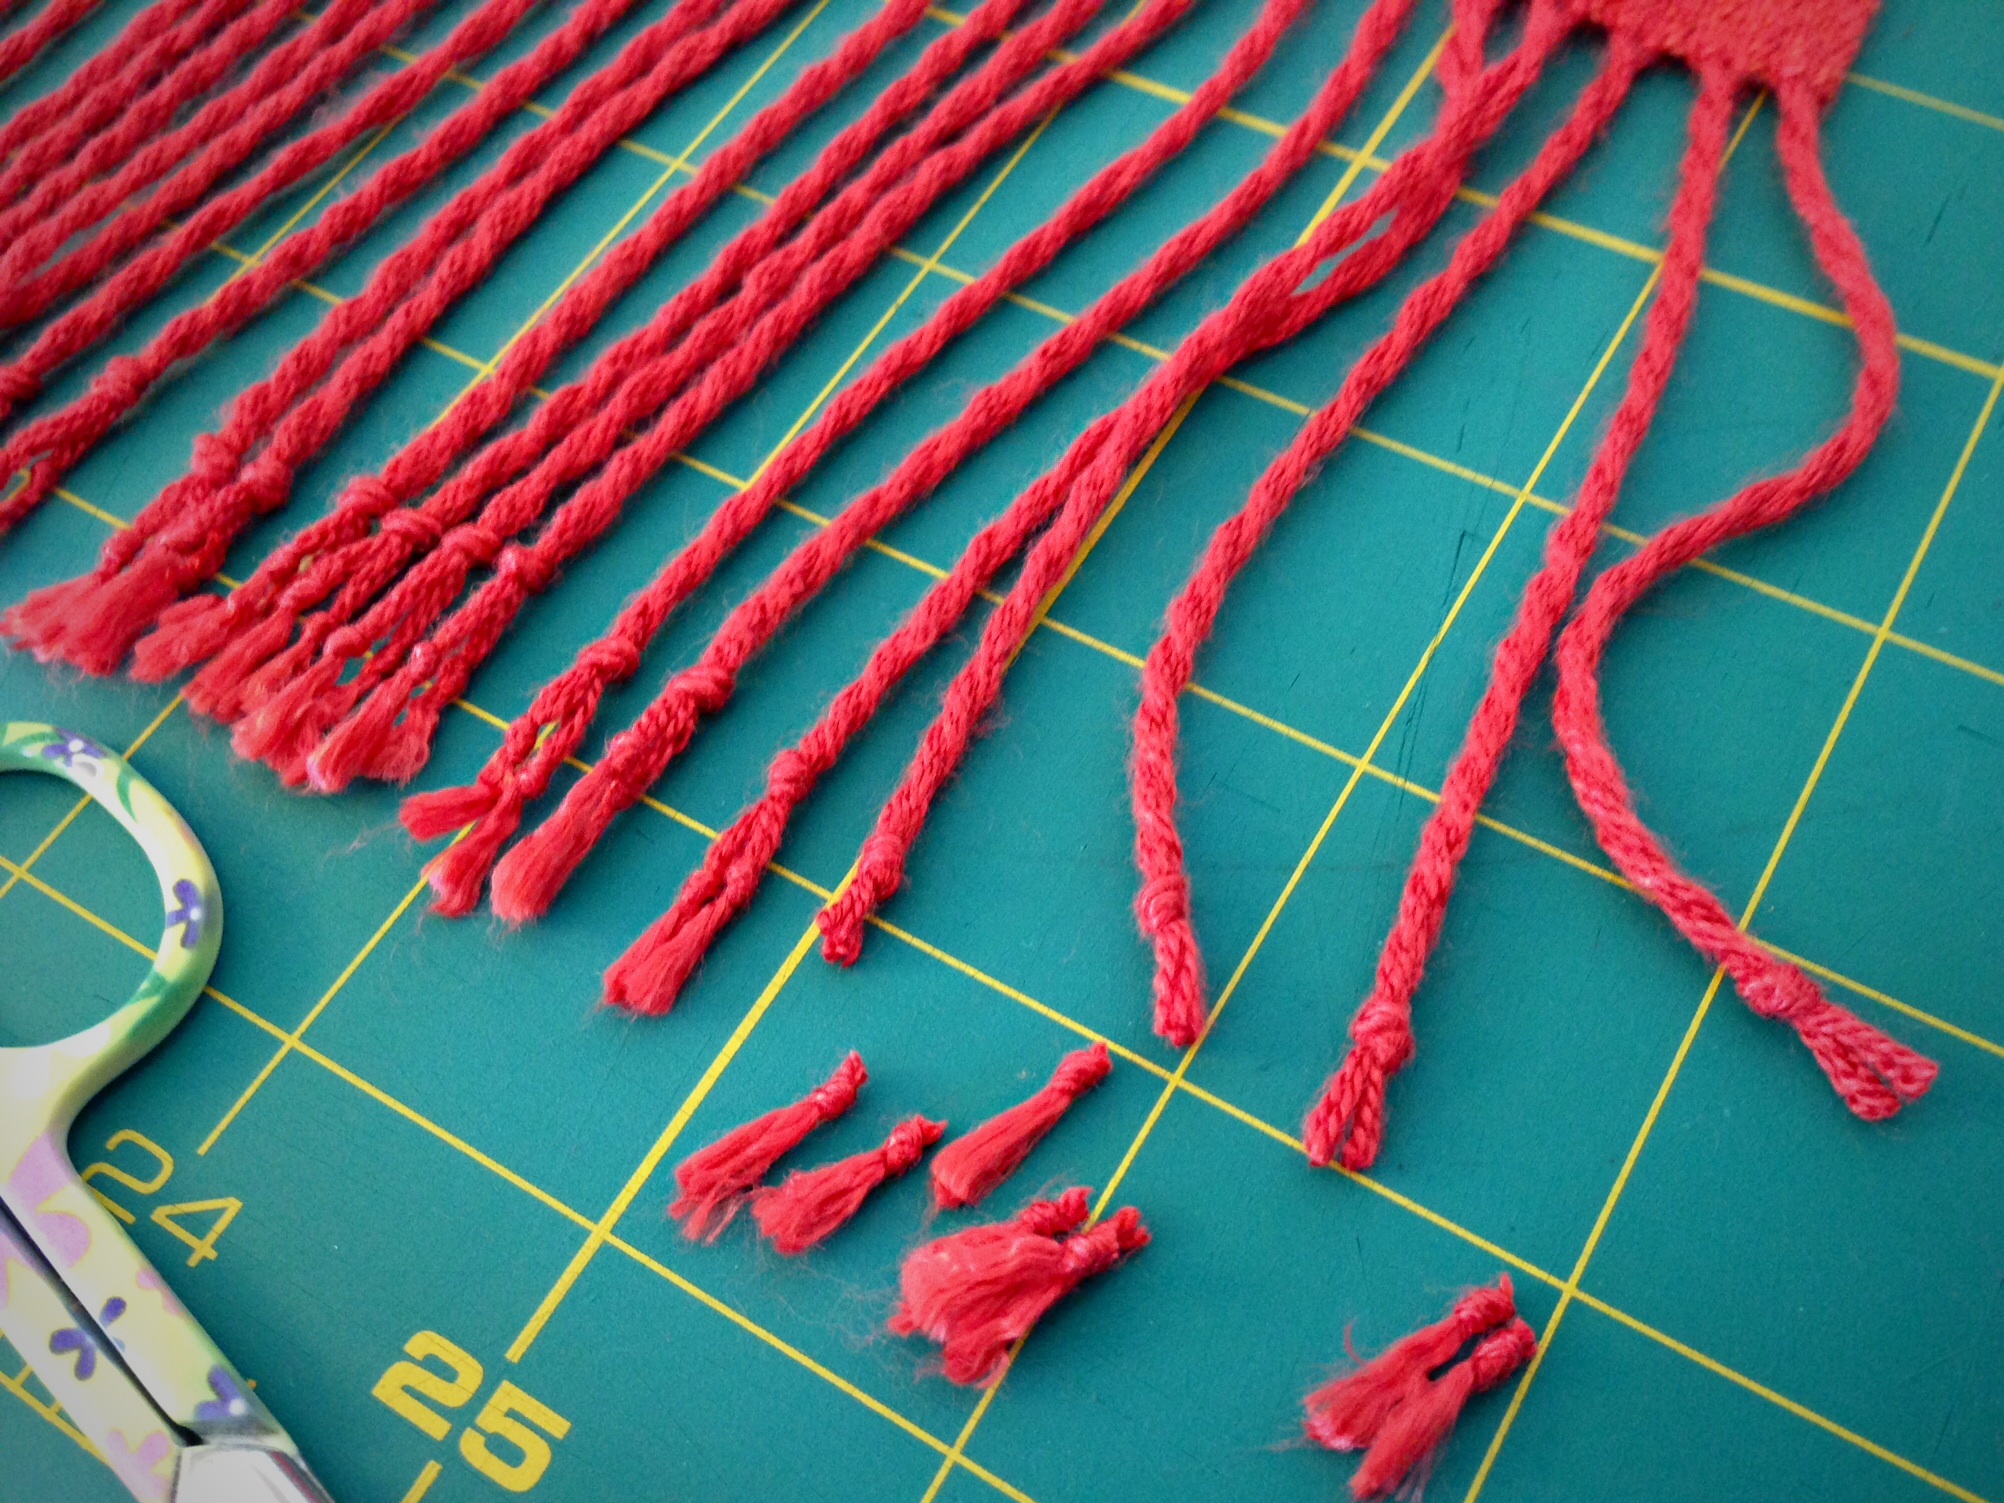
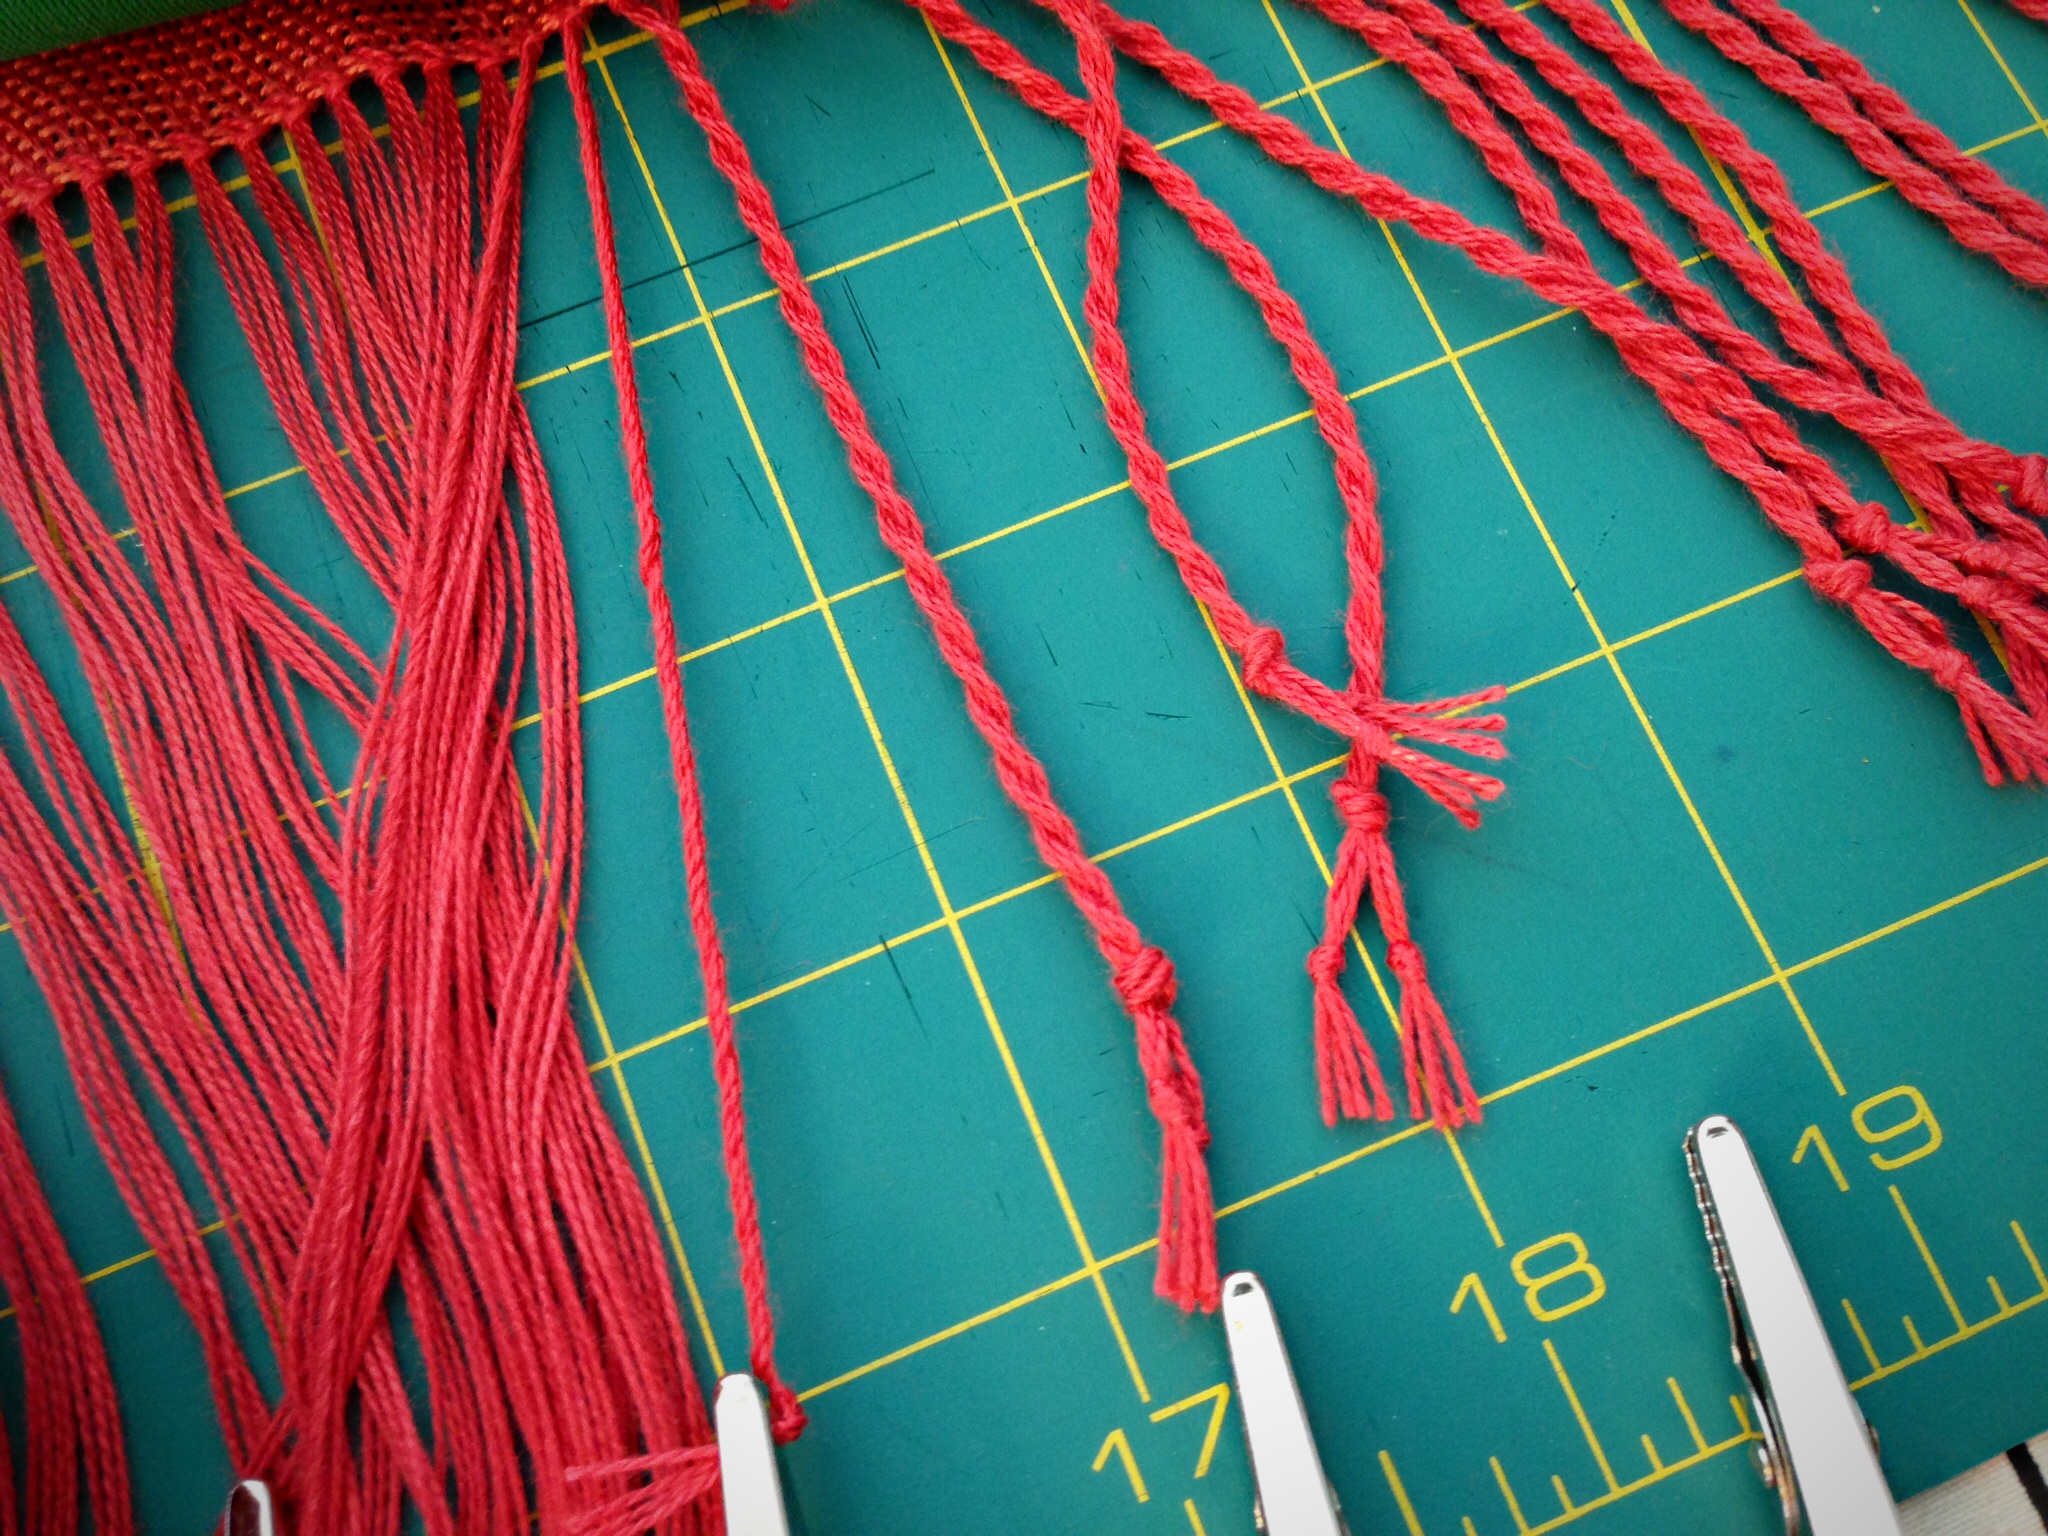
Step 1: (First, with fabric not yet washed and dried, cut all fringe strands on both ends of article to an equal and even length.) A pair of two-pound walking weights holds the fabric in place for tying knots. This fringe twister tool has a long handle and four little alligator clips.Step 2: Tie an overhand knot a fingertip-length away from the end, securing four ends together. (Other projects may have more than four ends grouped together.) This extra step holds the secret to clean cut fringe ends (see step 7).Step 3: Let each little alligator grab a knot in it’s teeth, four in a row. Crank the handle around until the twisted threads begin to kink back on themselves. Count the number of turns of the handle and repeat that same number of turns for each grouping.Step 4: Grab the strands from the first two alligators’ mouths, being careful not to let the strands unwind. Combine the two thread groups and tie an overhand knot a fingertip-width away from the first knots.Step 5: After the knot is tied, let the strands unwind in your hand, keeping them from tangling with neighboring threads. Snug the knot by holding the knot and pulling on the two smaller knots, one at a time.Step 6: Wet finish the fabric by a method suitable for the type of thread or yarn being used. Air dry completely, or other suitable method for drying. While still damp, separate and straighten each twisted fringe.Step 7: First set of knots are cut off, removing the frayed ends, and leaving clean cut ends.Step 8: Wear your lovingly handmade creation to a very special occasion, such as to your daughter’s wedding.
This is a lesson for raising children and letting them go, too. You weave for years, give time-consuming attention to the finishing touches while they are in your hands, and then you let them go. Wedding in four days!
Have you ever experienced a chain of events, where the dominos start falling, and you just try to keep up? That is the story of this shawl. My daughter got engaged, so I bought a dress to wear at her wedding. The dress is sleeveless, so I wanted a shawl to wear over my shoulders. Not knowing where to find a matching shawl, I decided to weave one. To weave a shawl, I had to finish weaving these towels that were on the loom, plan the draft for a shawl, and order thread.
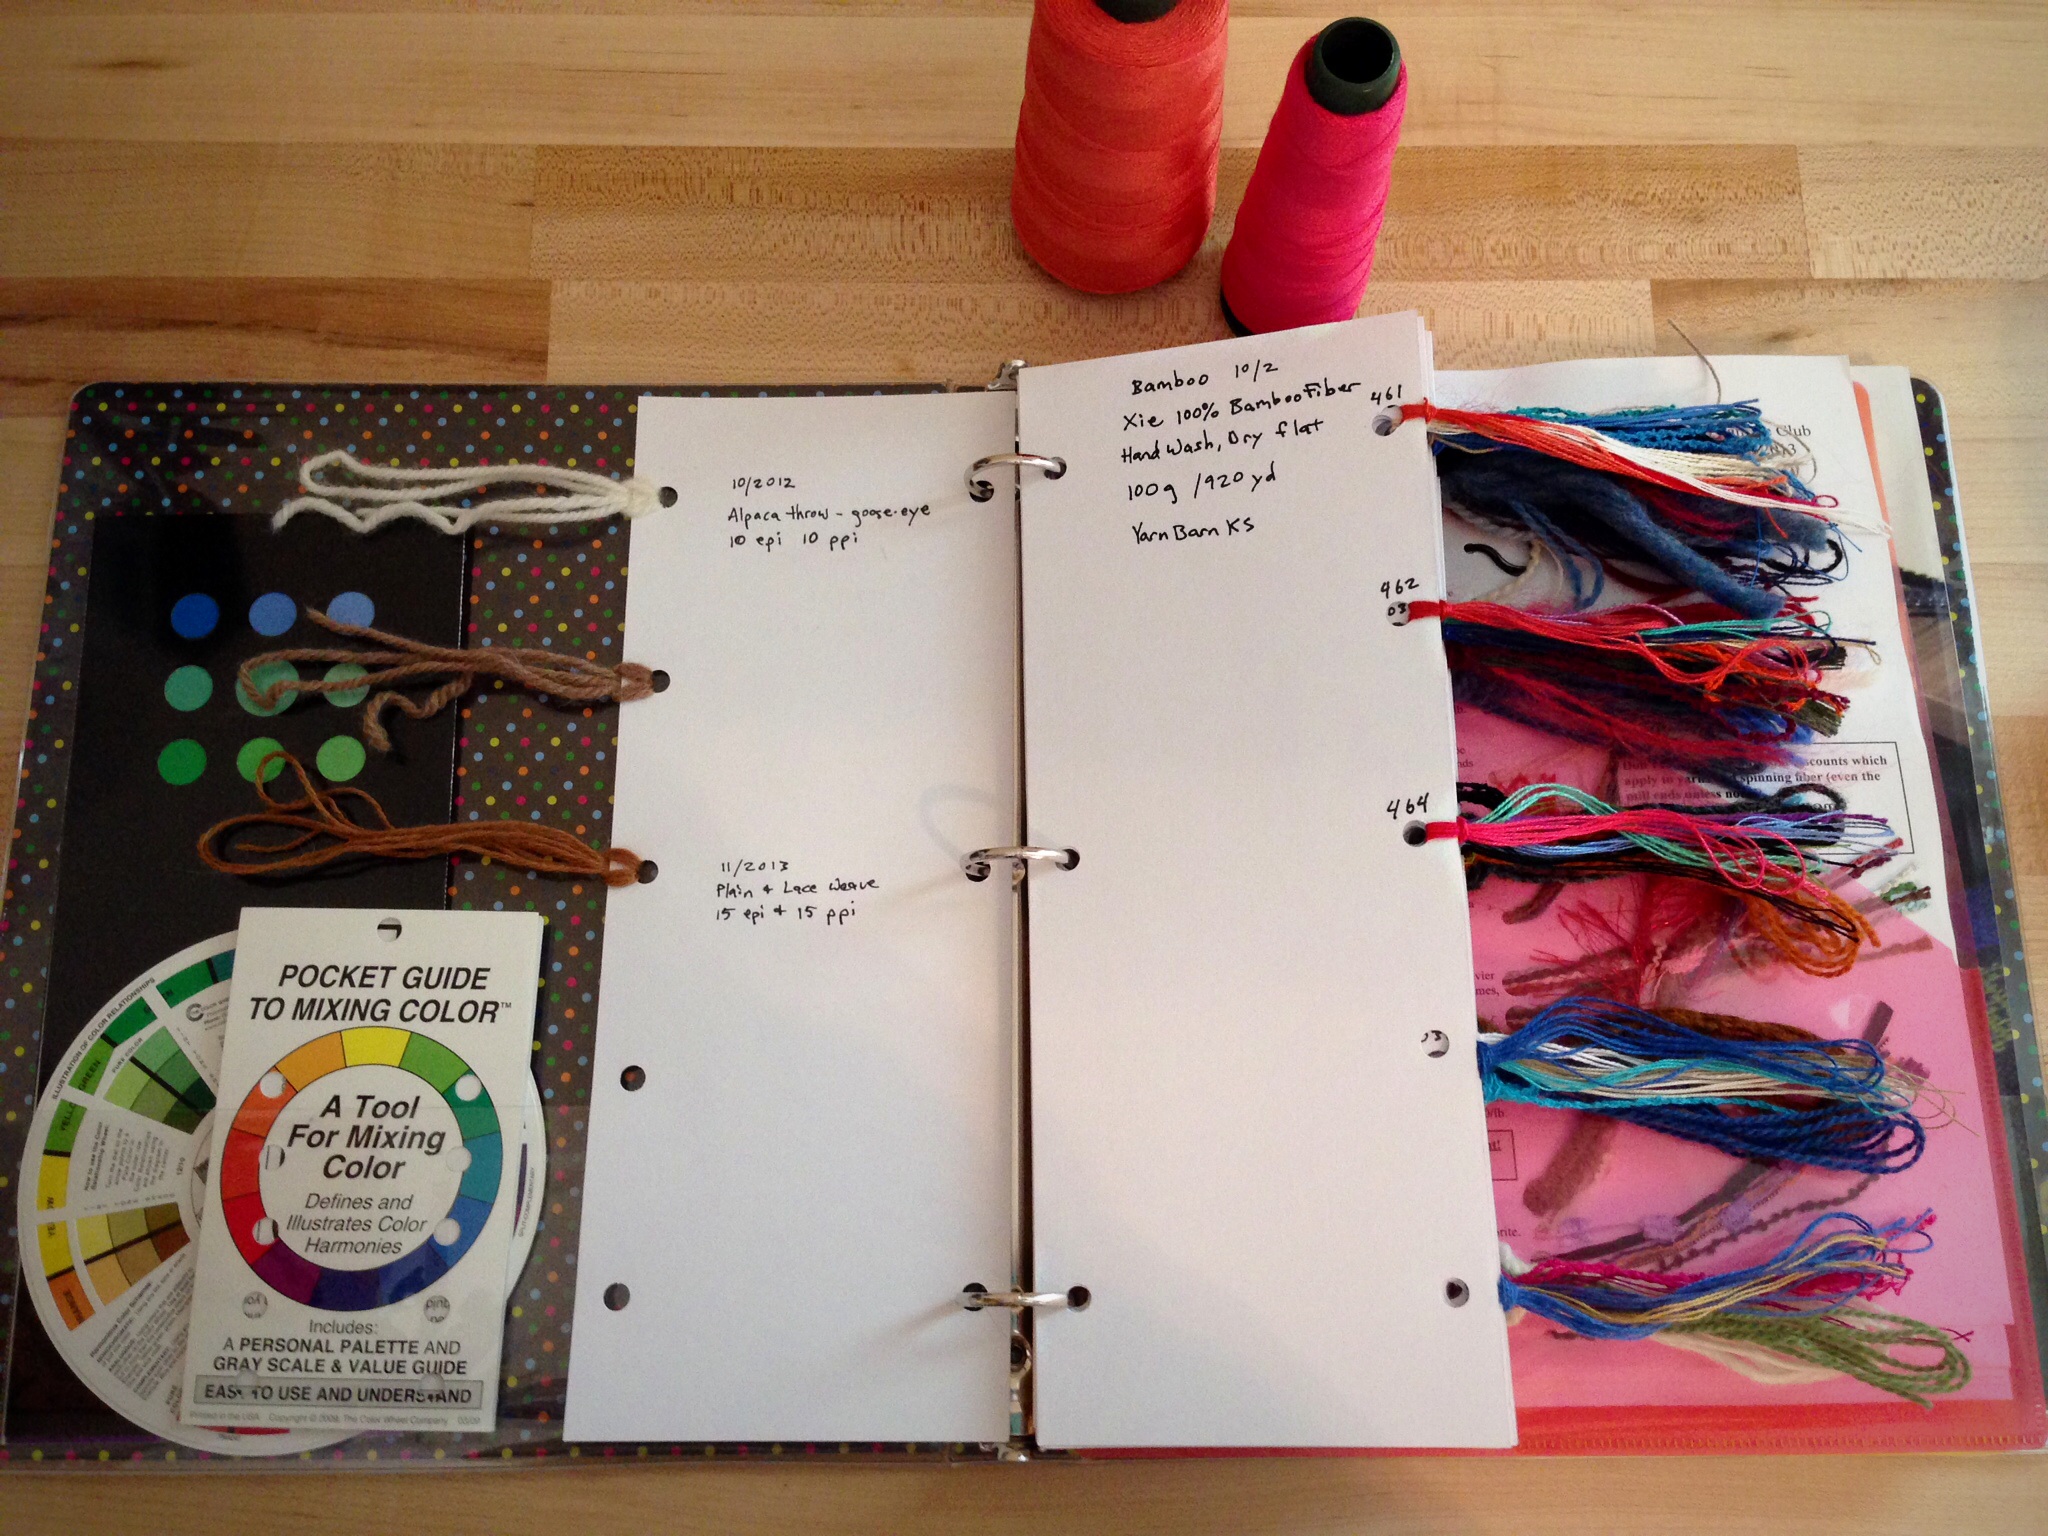
New 10/2 bamboo thread samples added to my thread/yarn record book.
The excitement of dressing the loom, trying out weft color options, weaving the delicate huck lace pattern, twisting fringe, wet finishing the cloth, and waiting for the wet cloth to dry, is all intensified because of the meaning of the event where I will wear the shawl. The shawl, itself, is a minor player that will serve best if it is not even noticed. The attention will be on Melody and Eddie as they pledge their love and faithfulness to each other, embracing companionship for a lifetime. Three weeks to go!
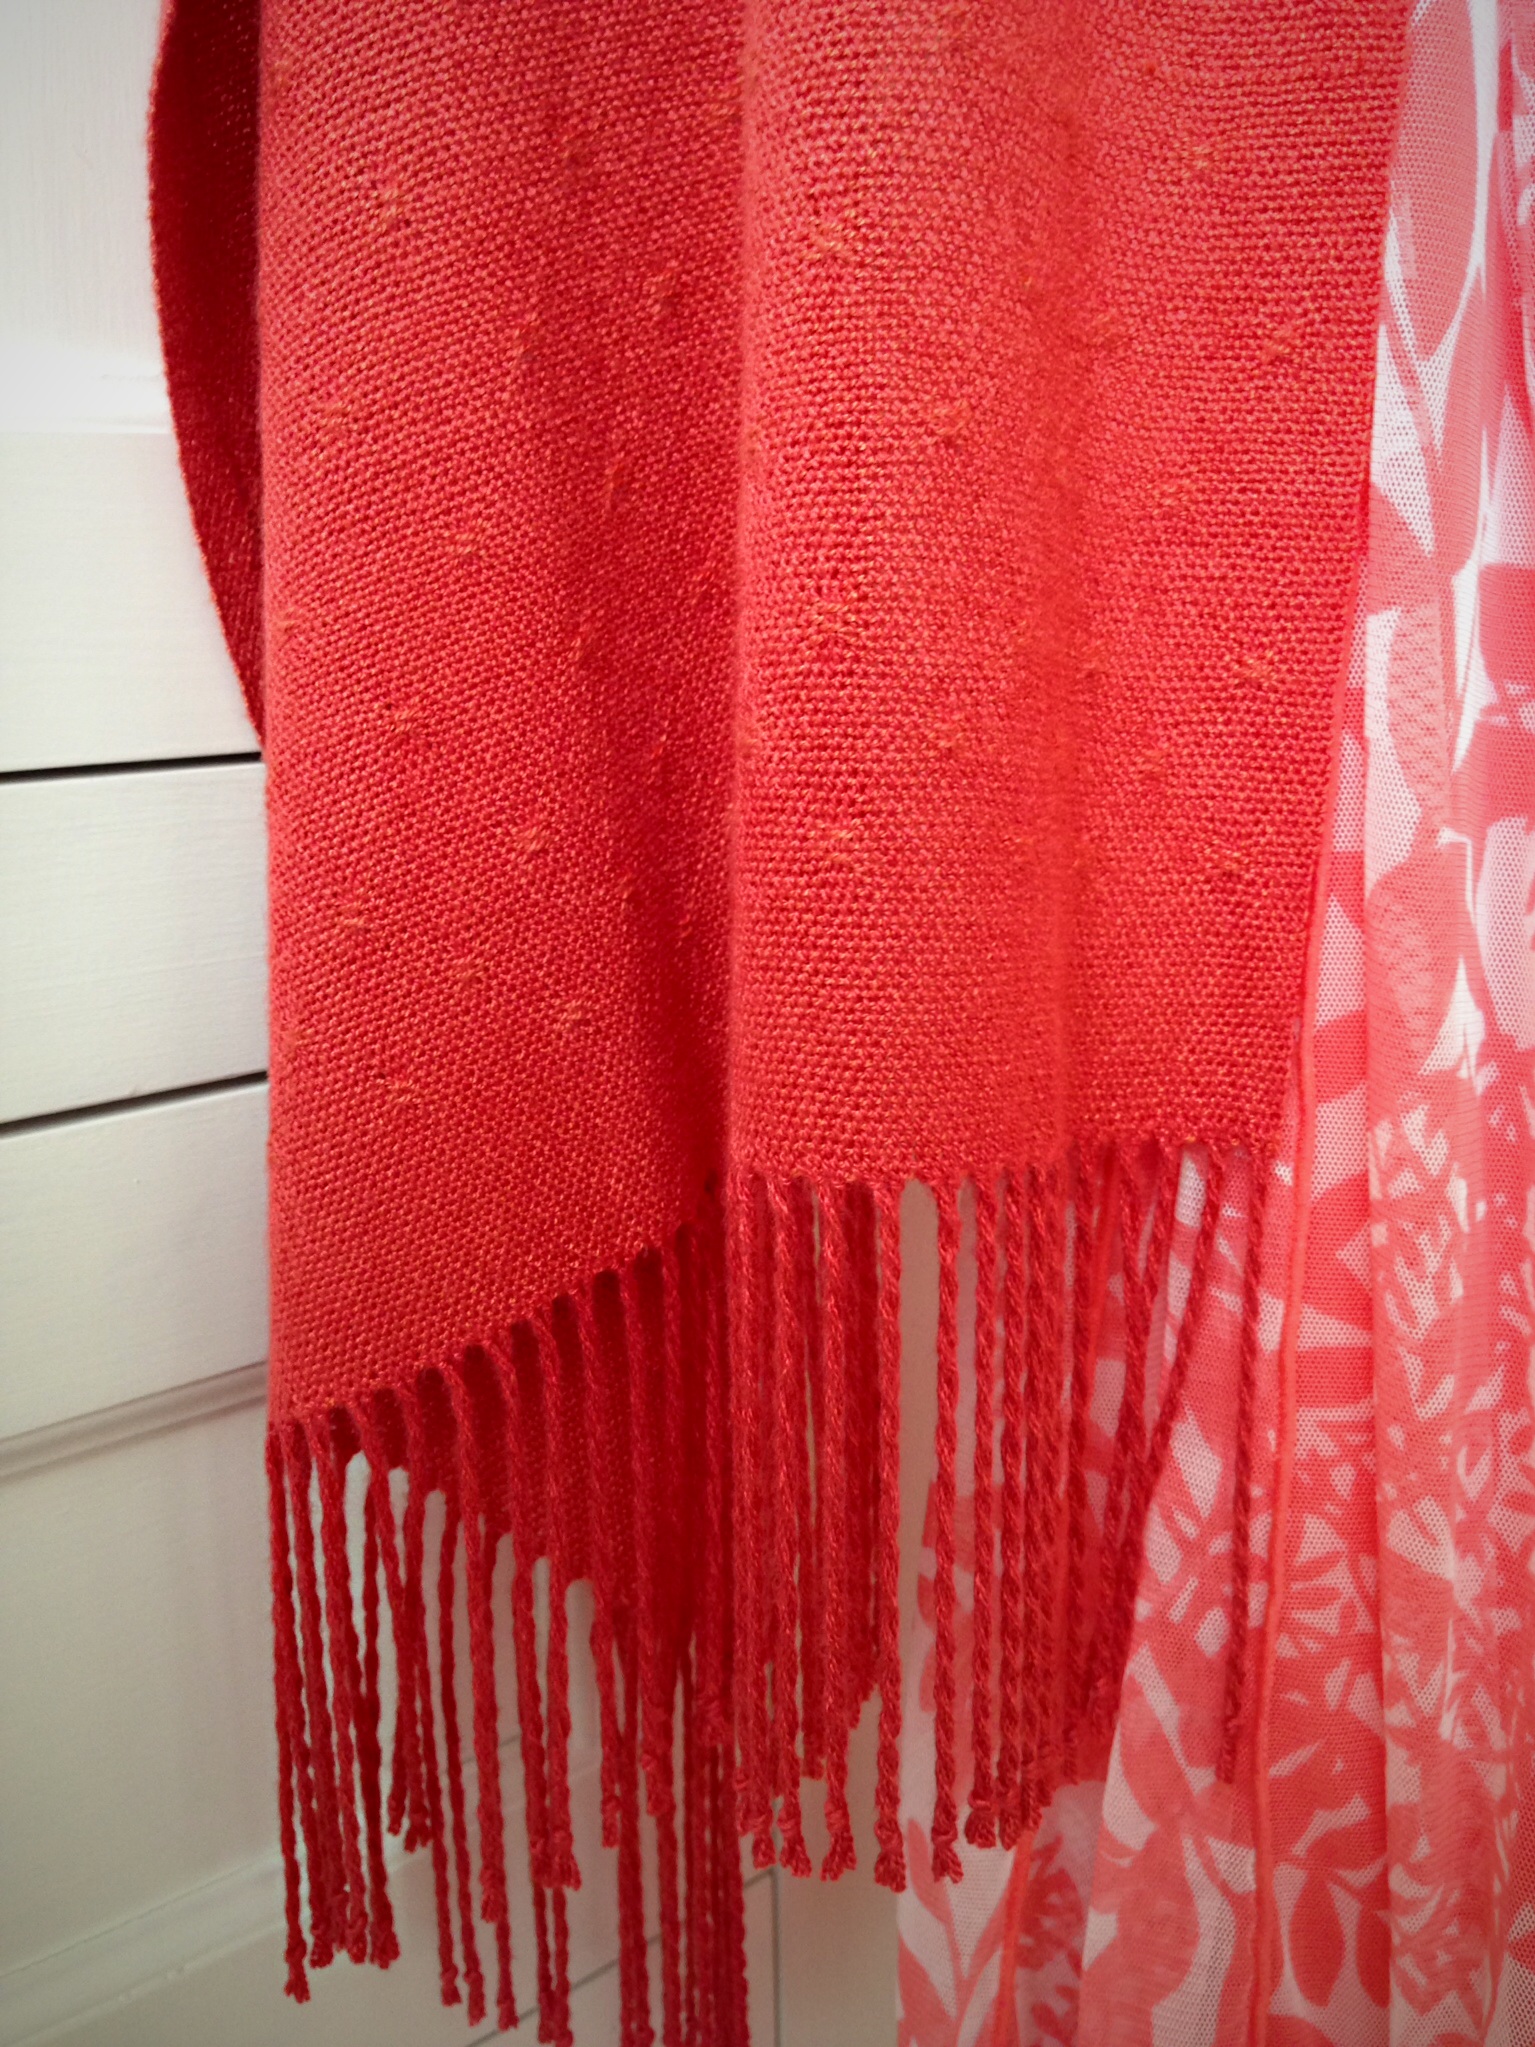
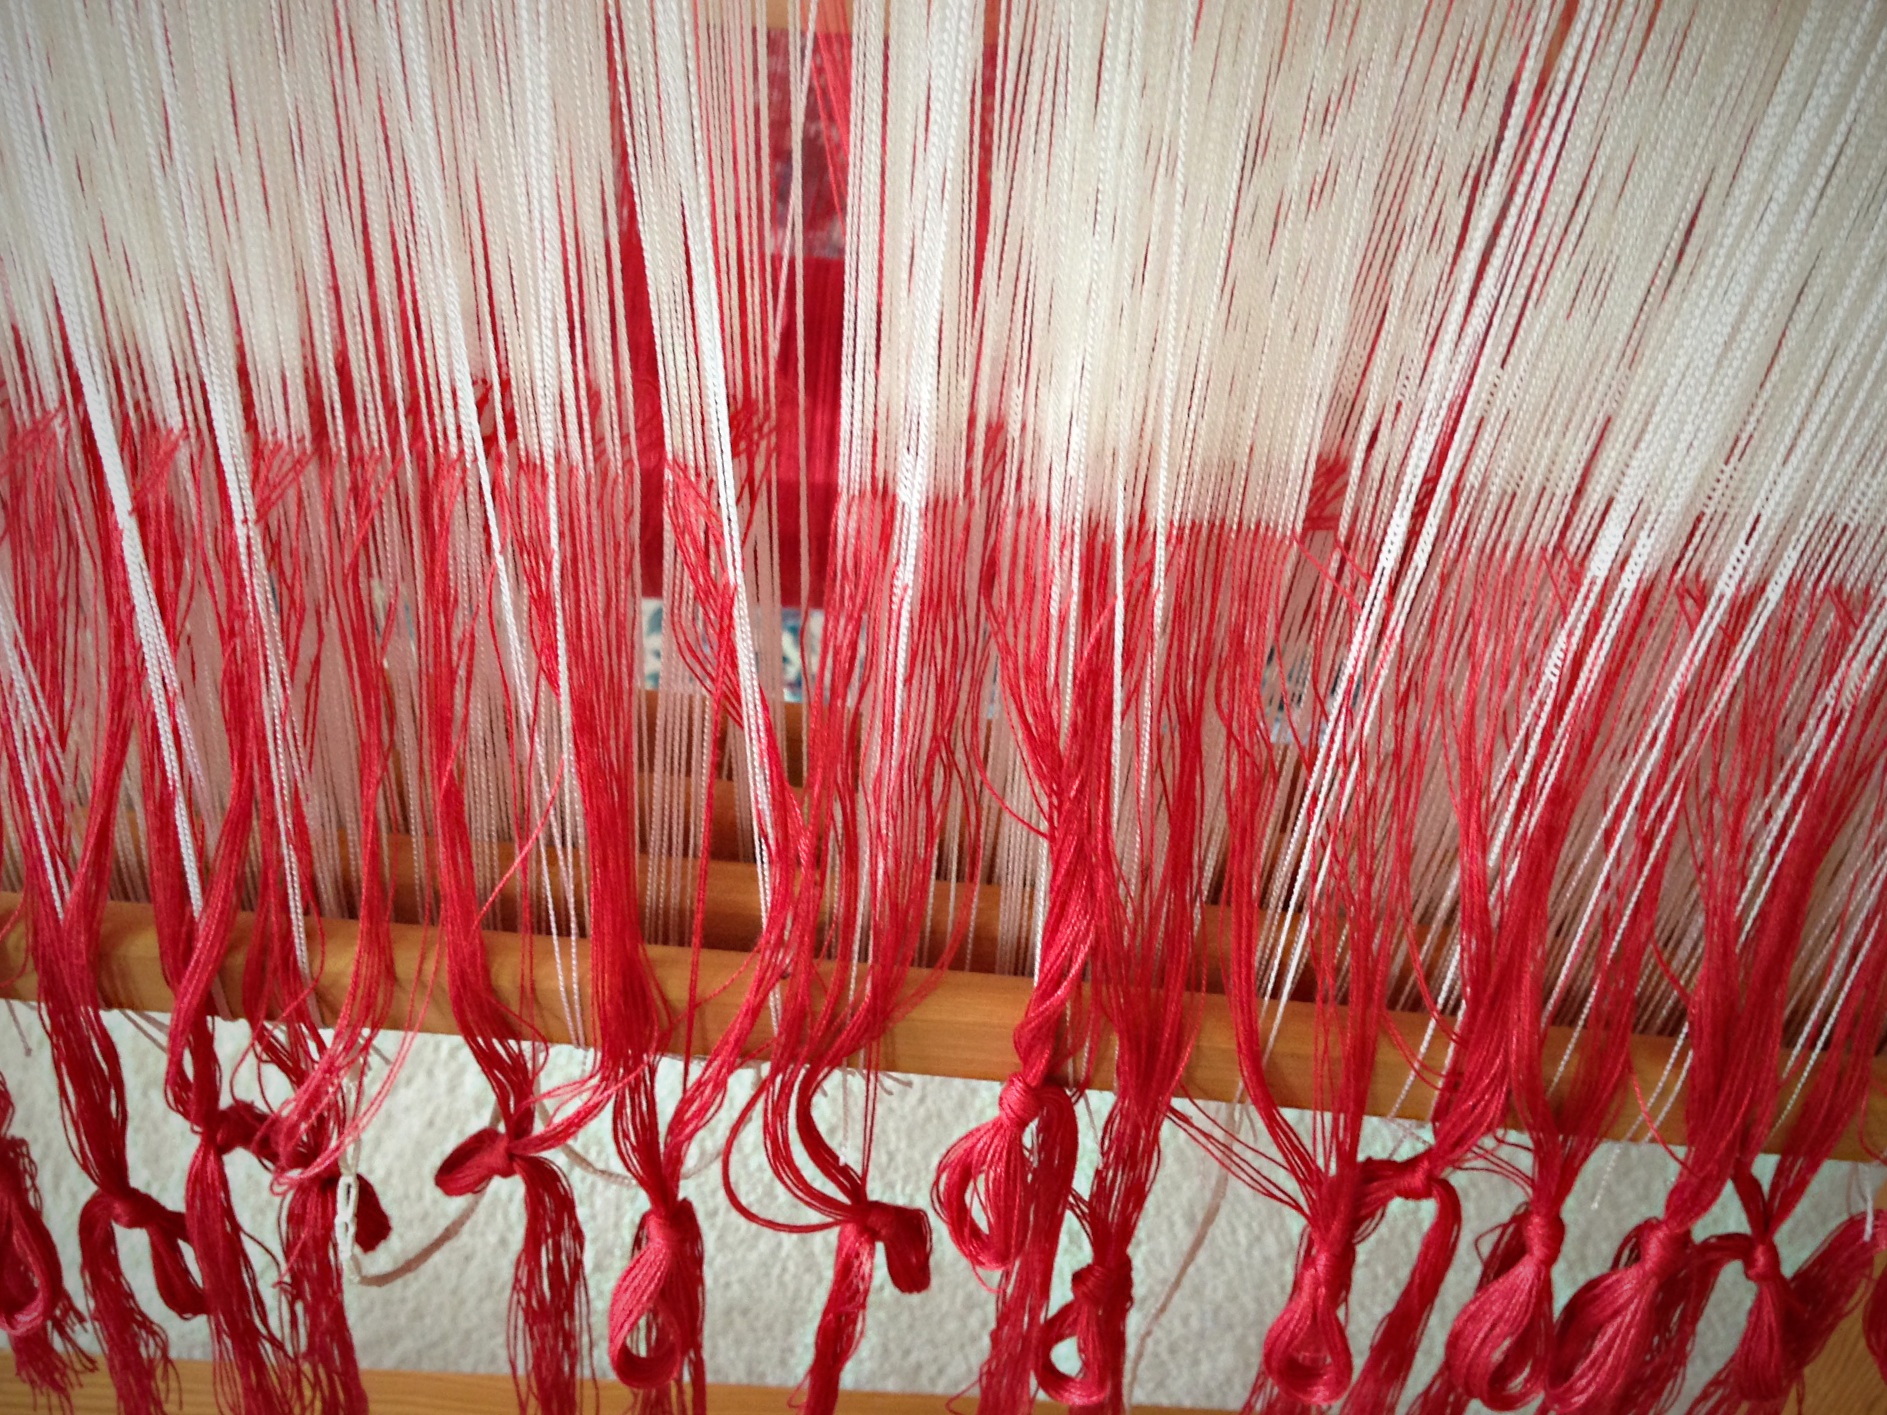
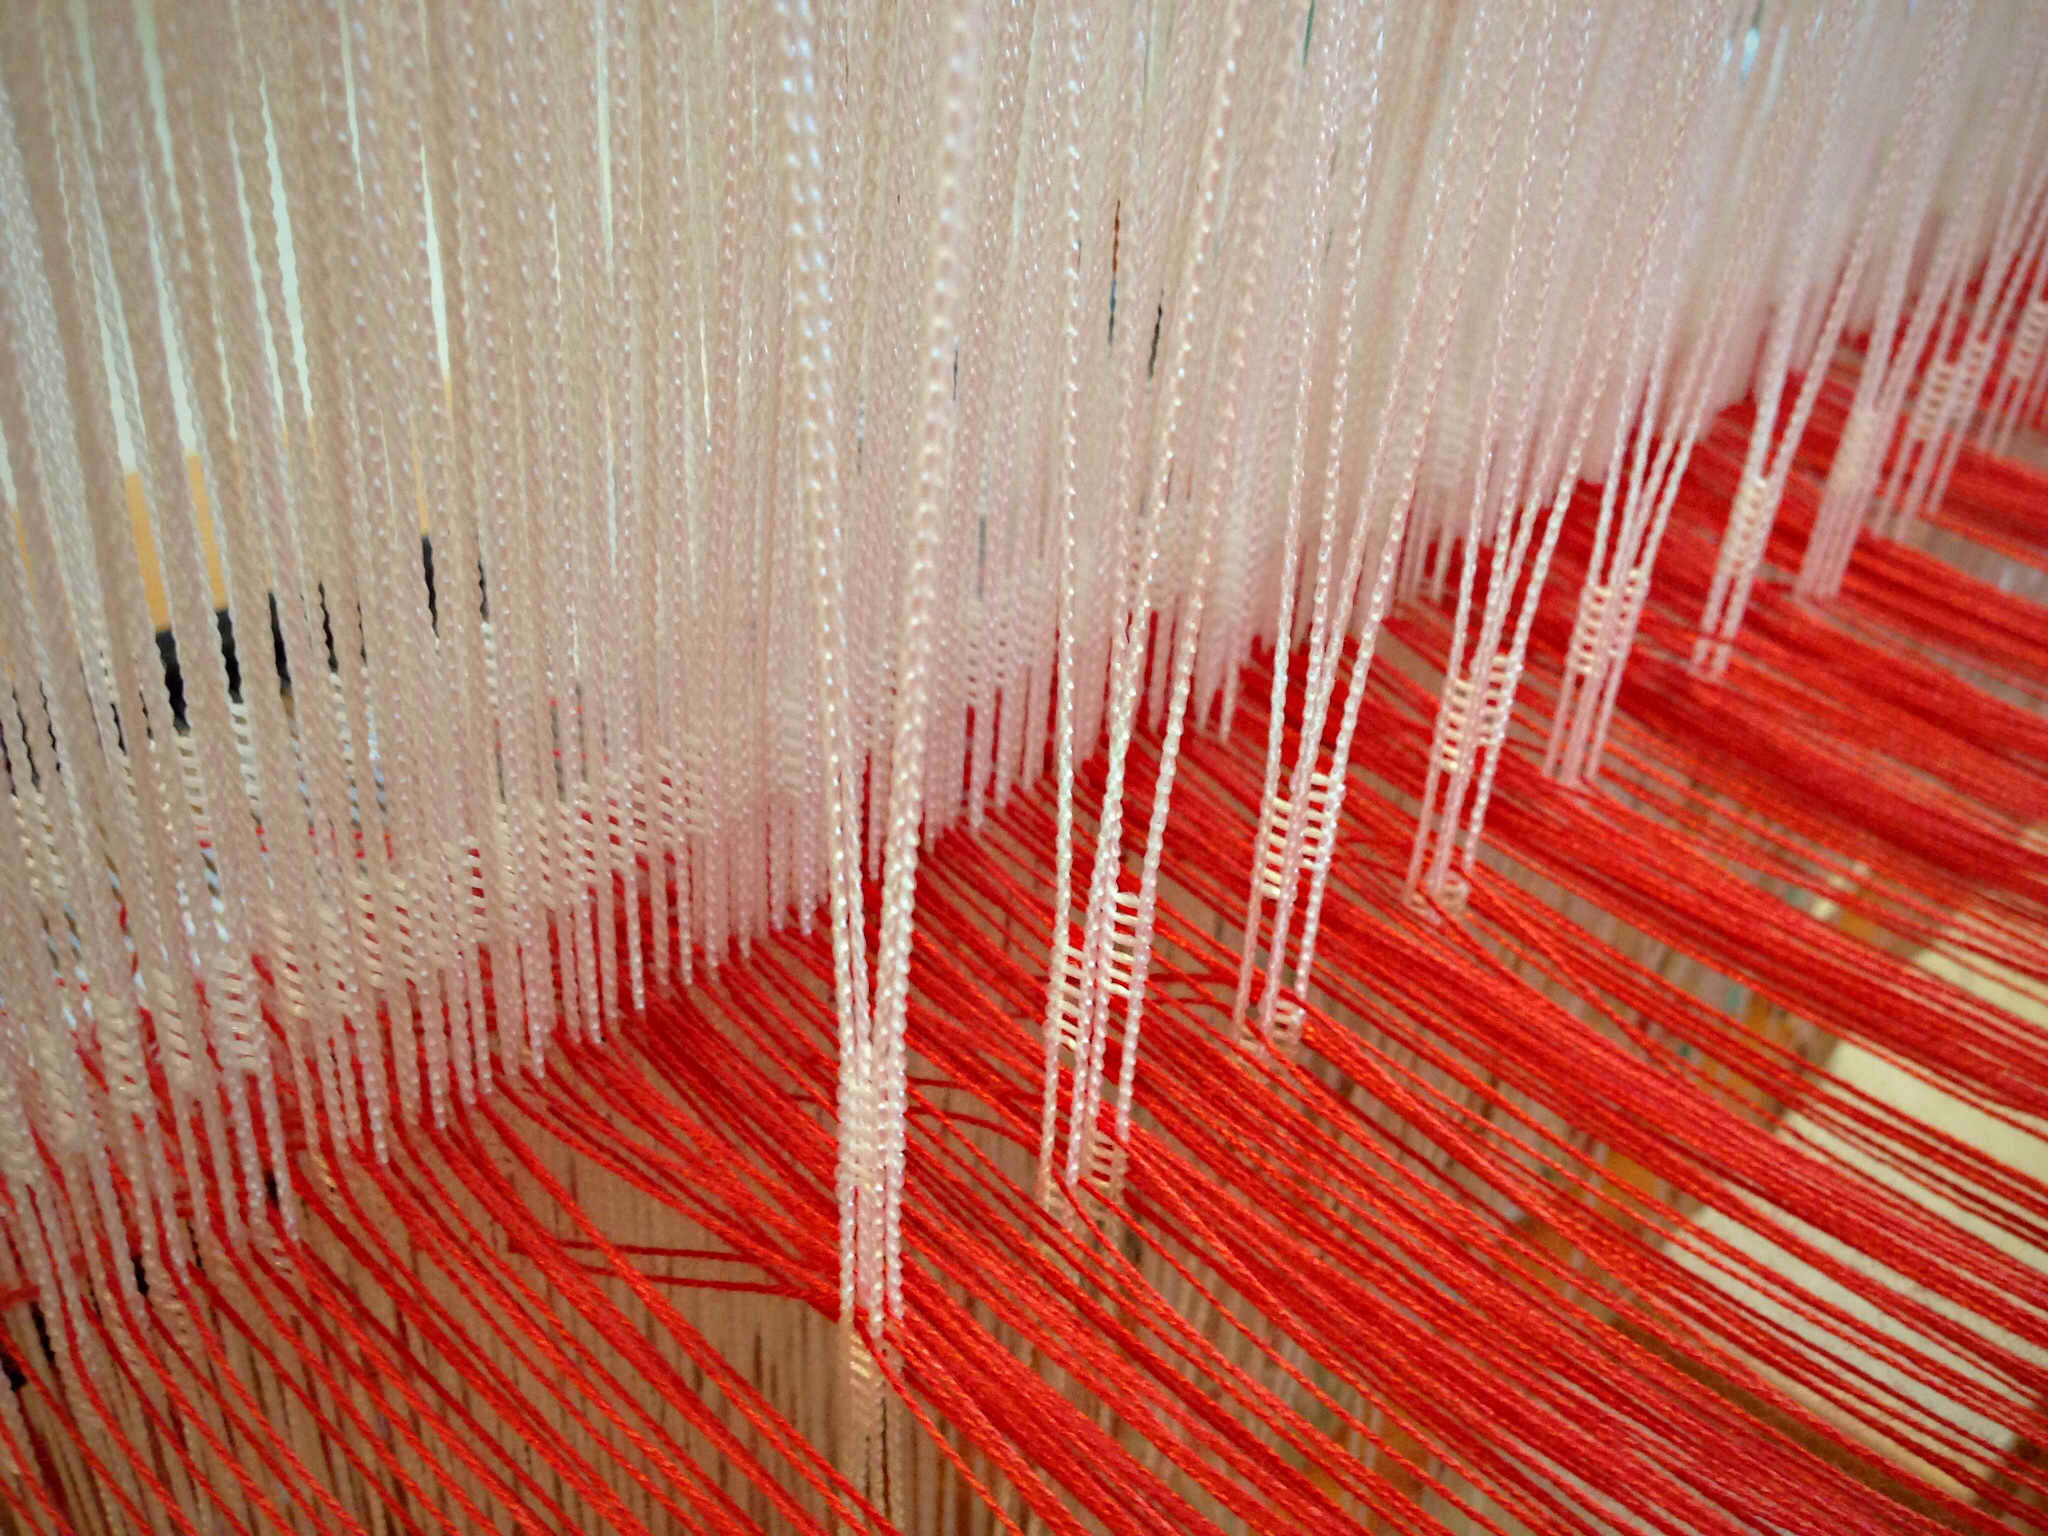
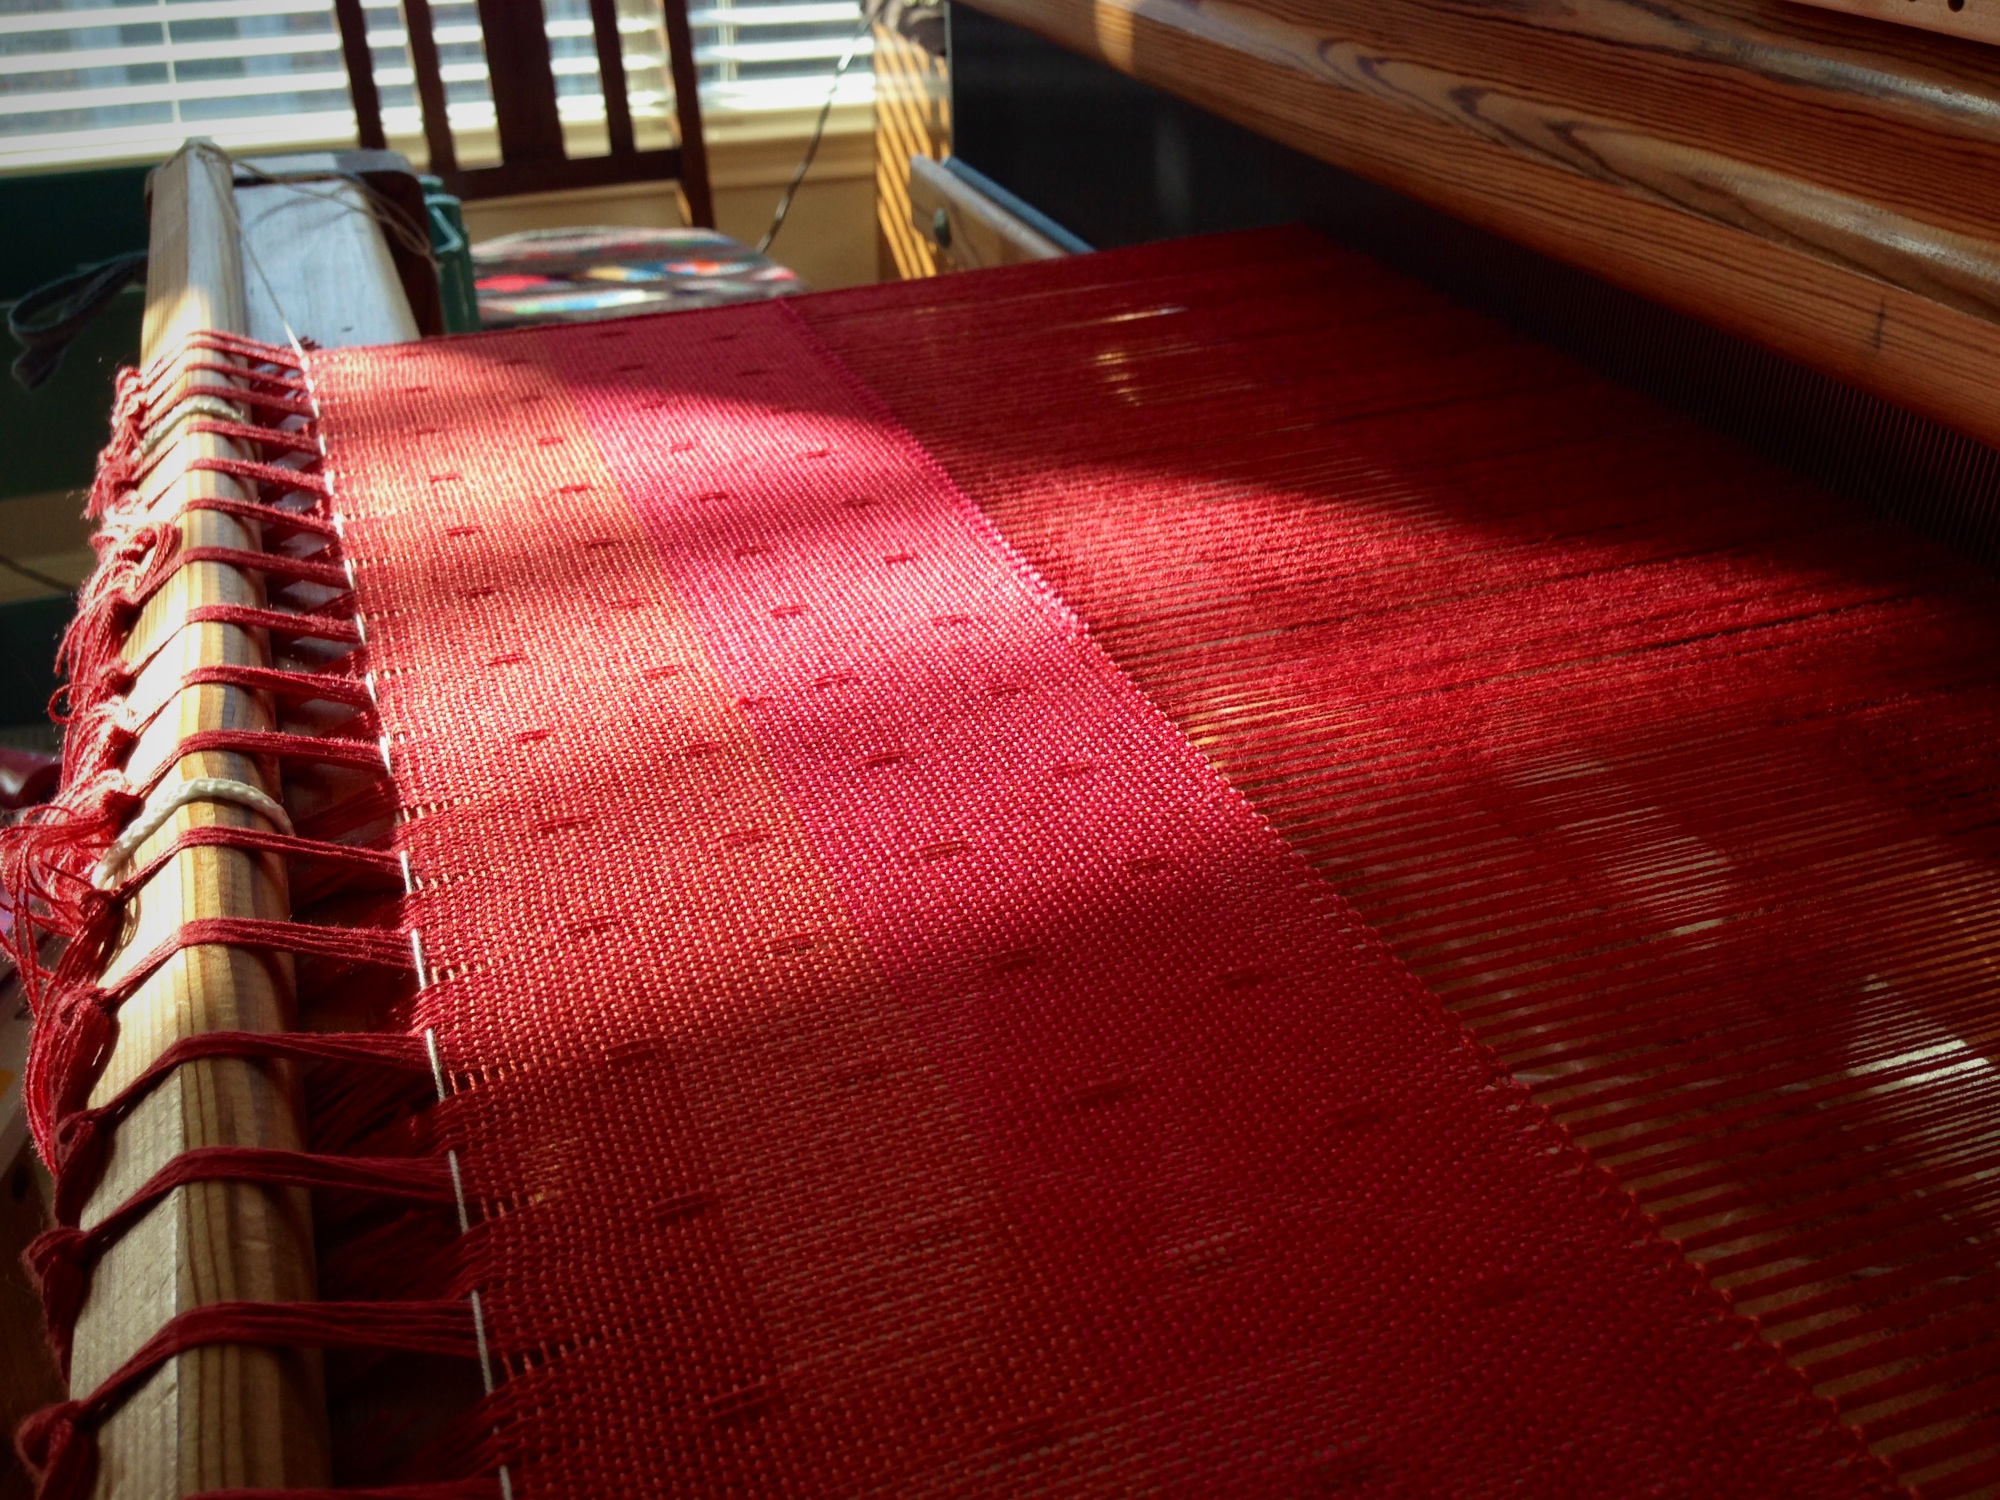
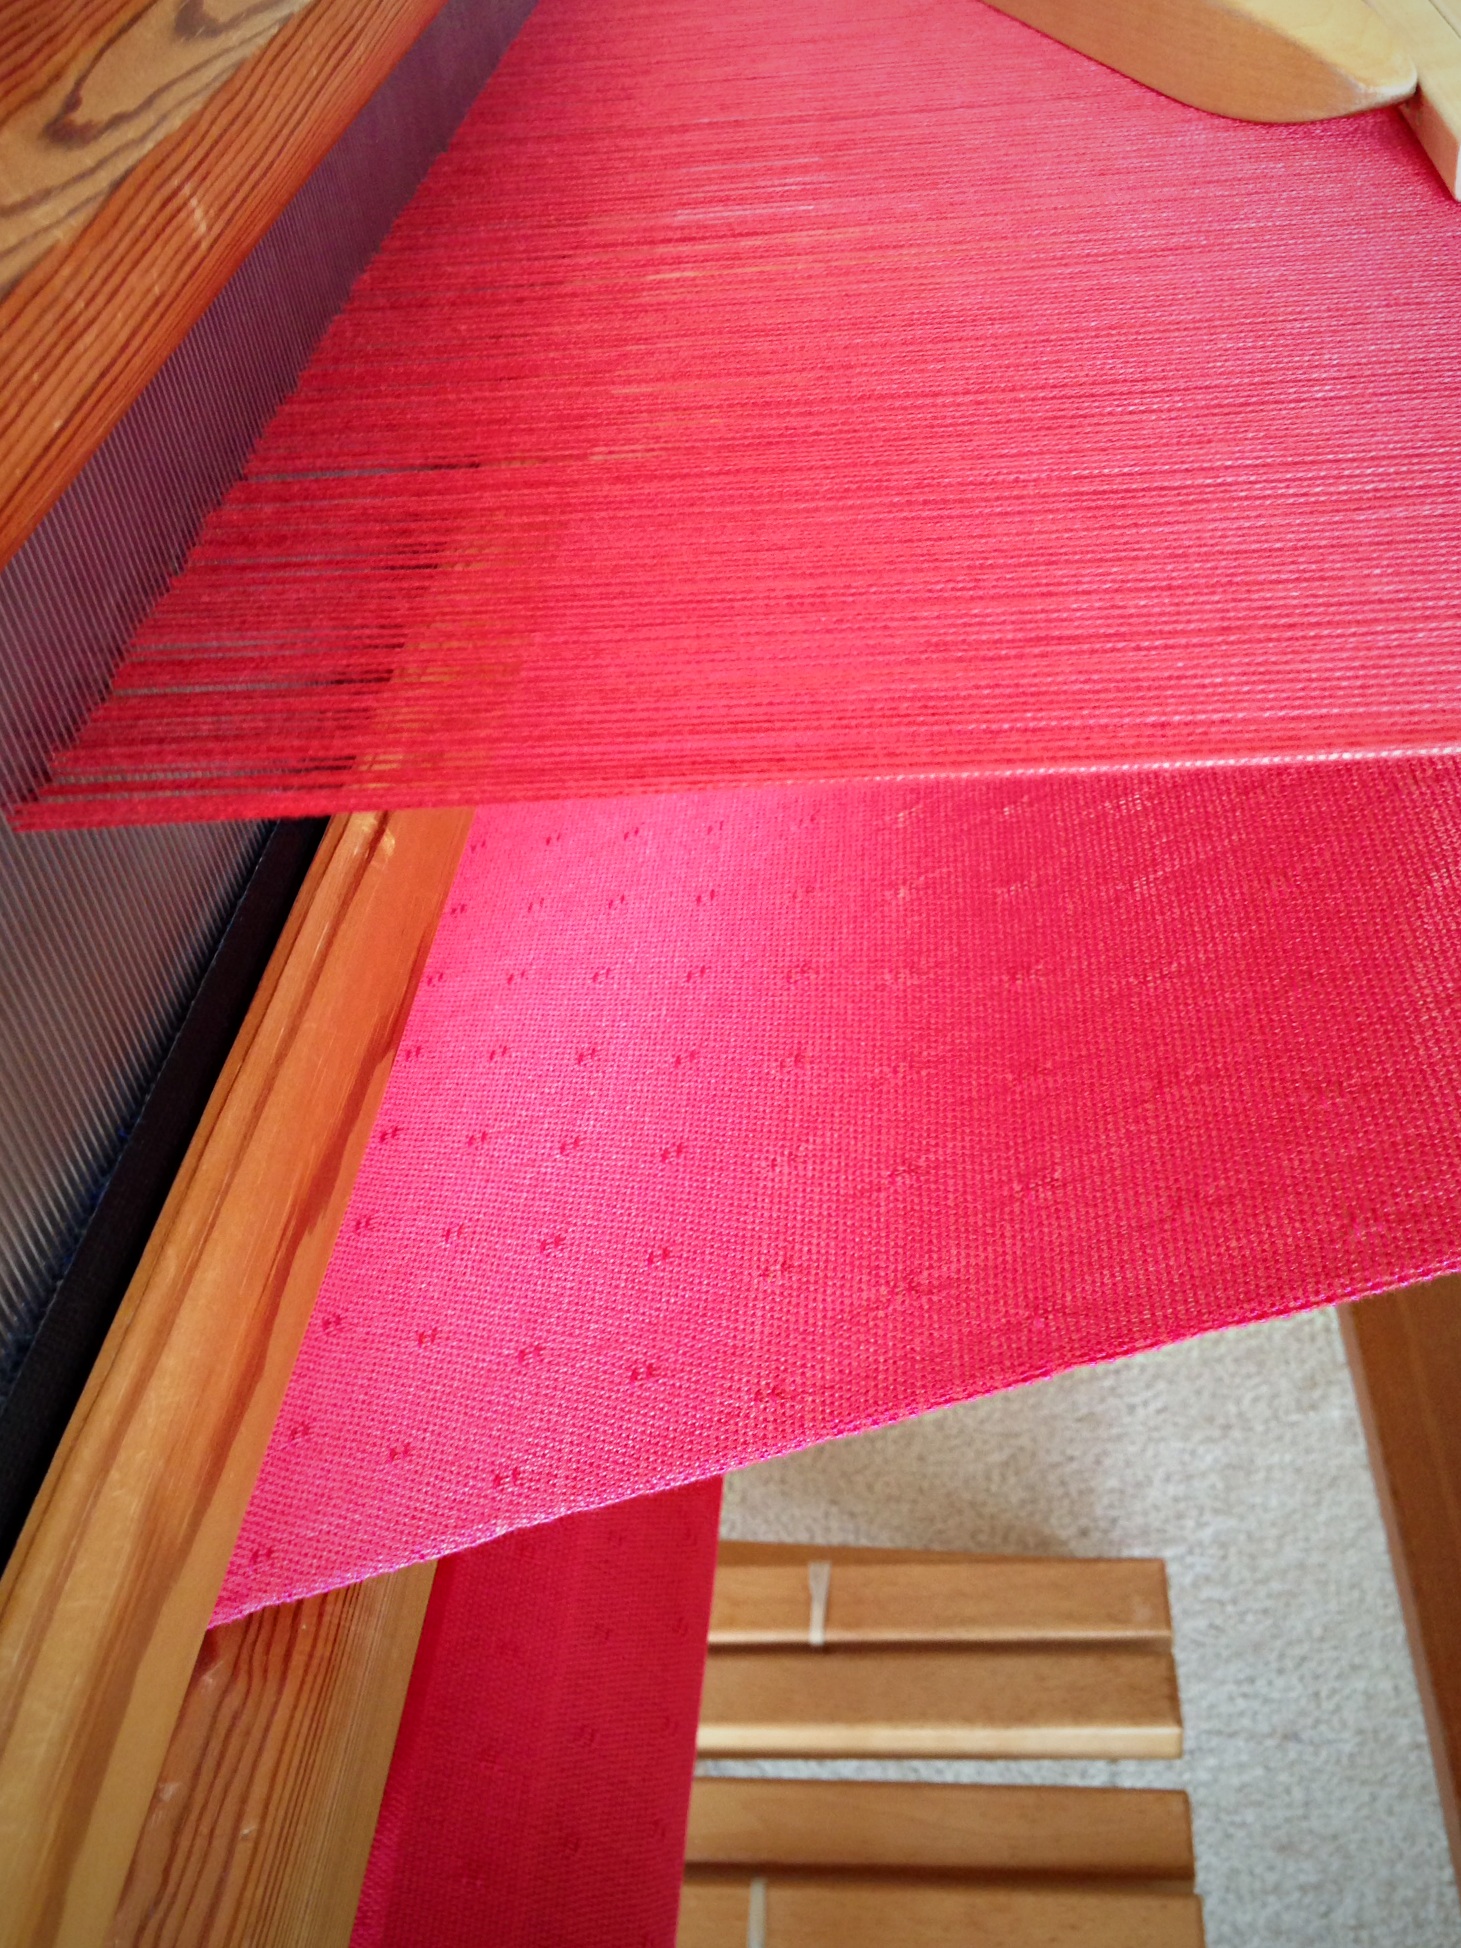
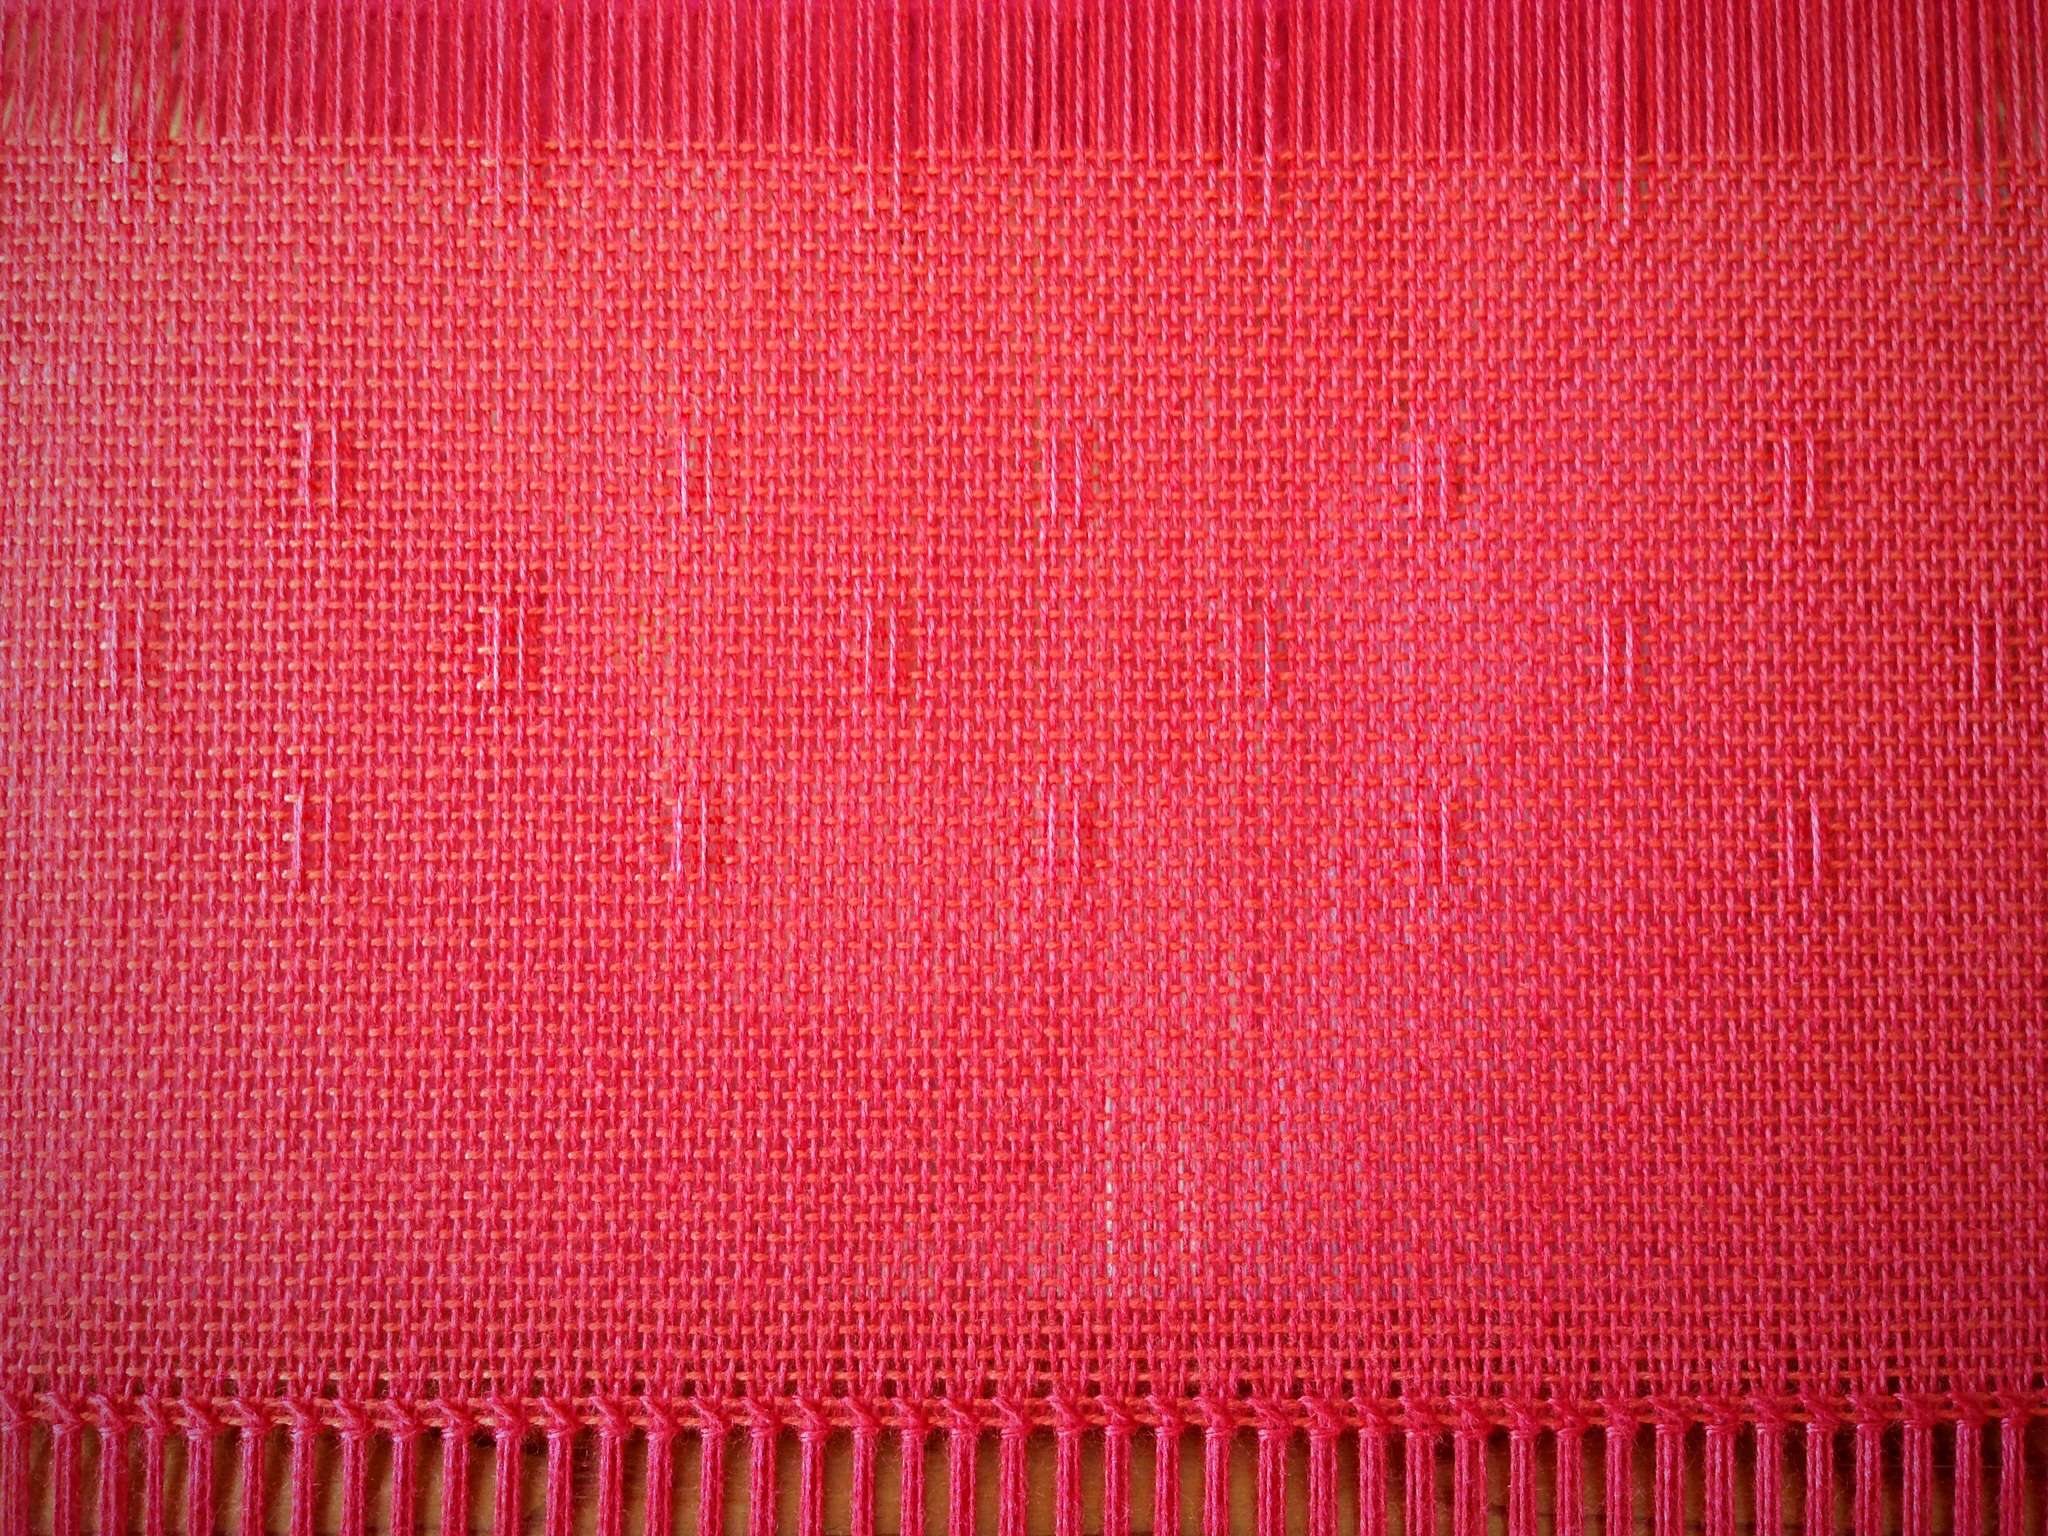
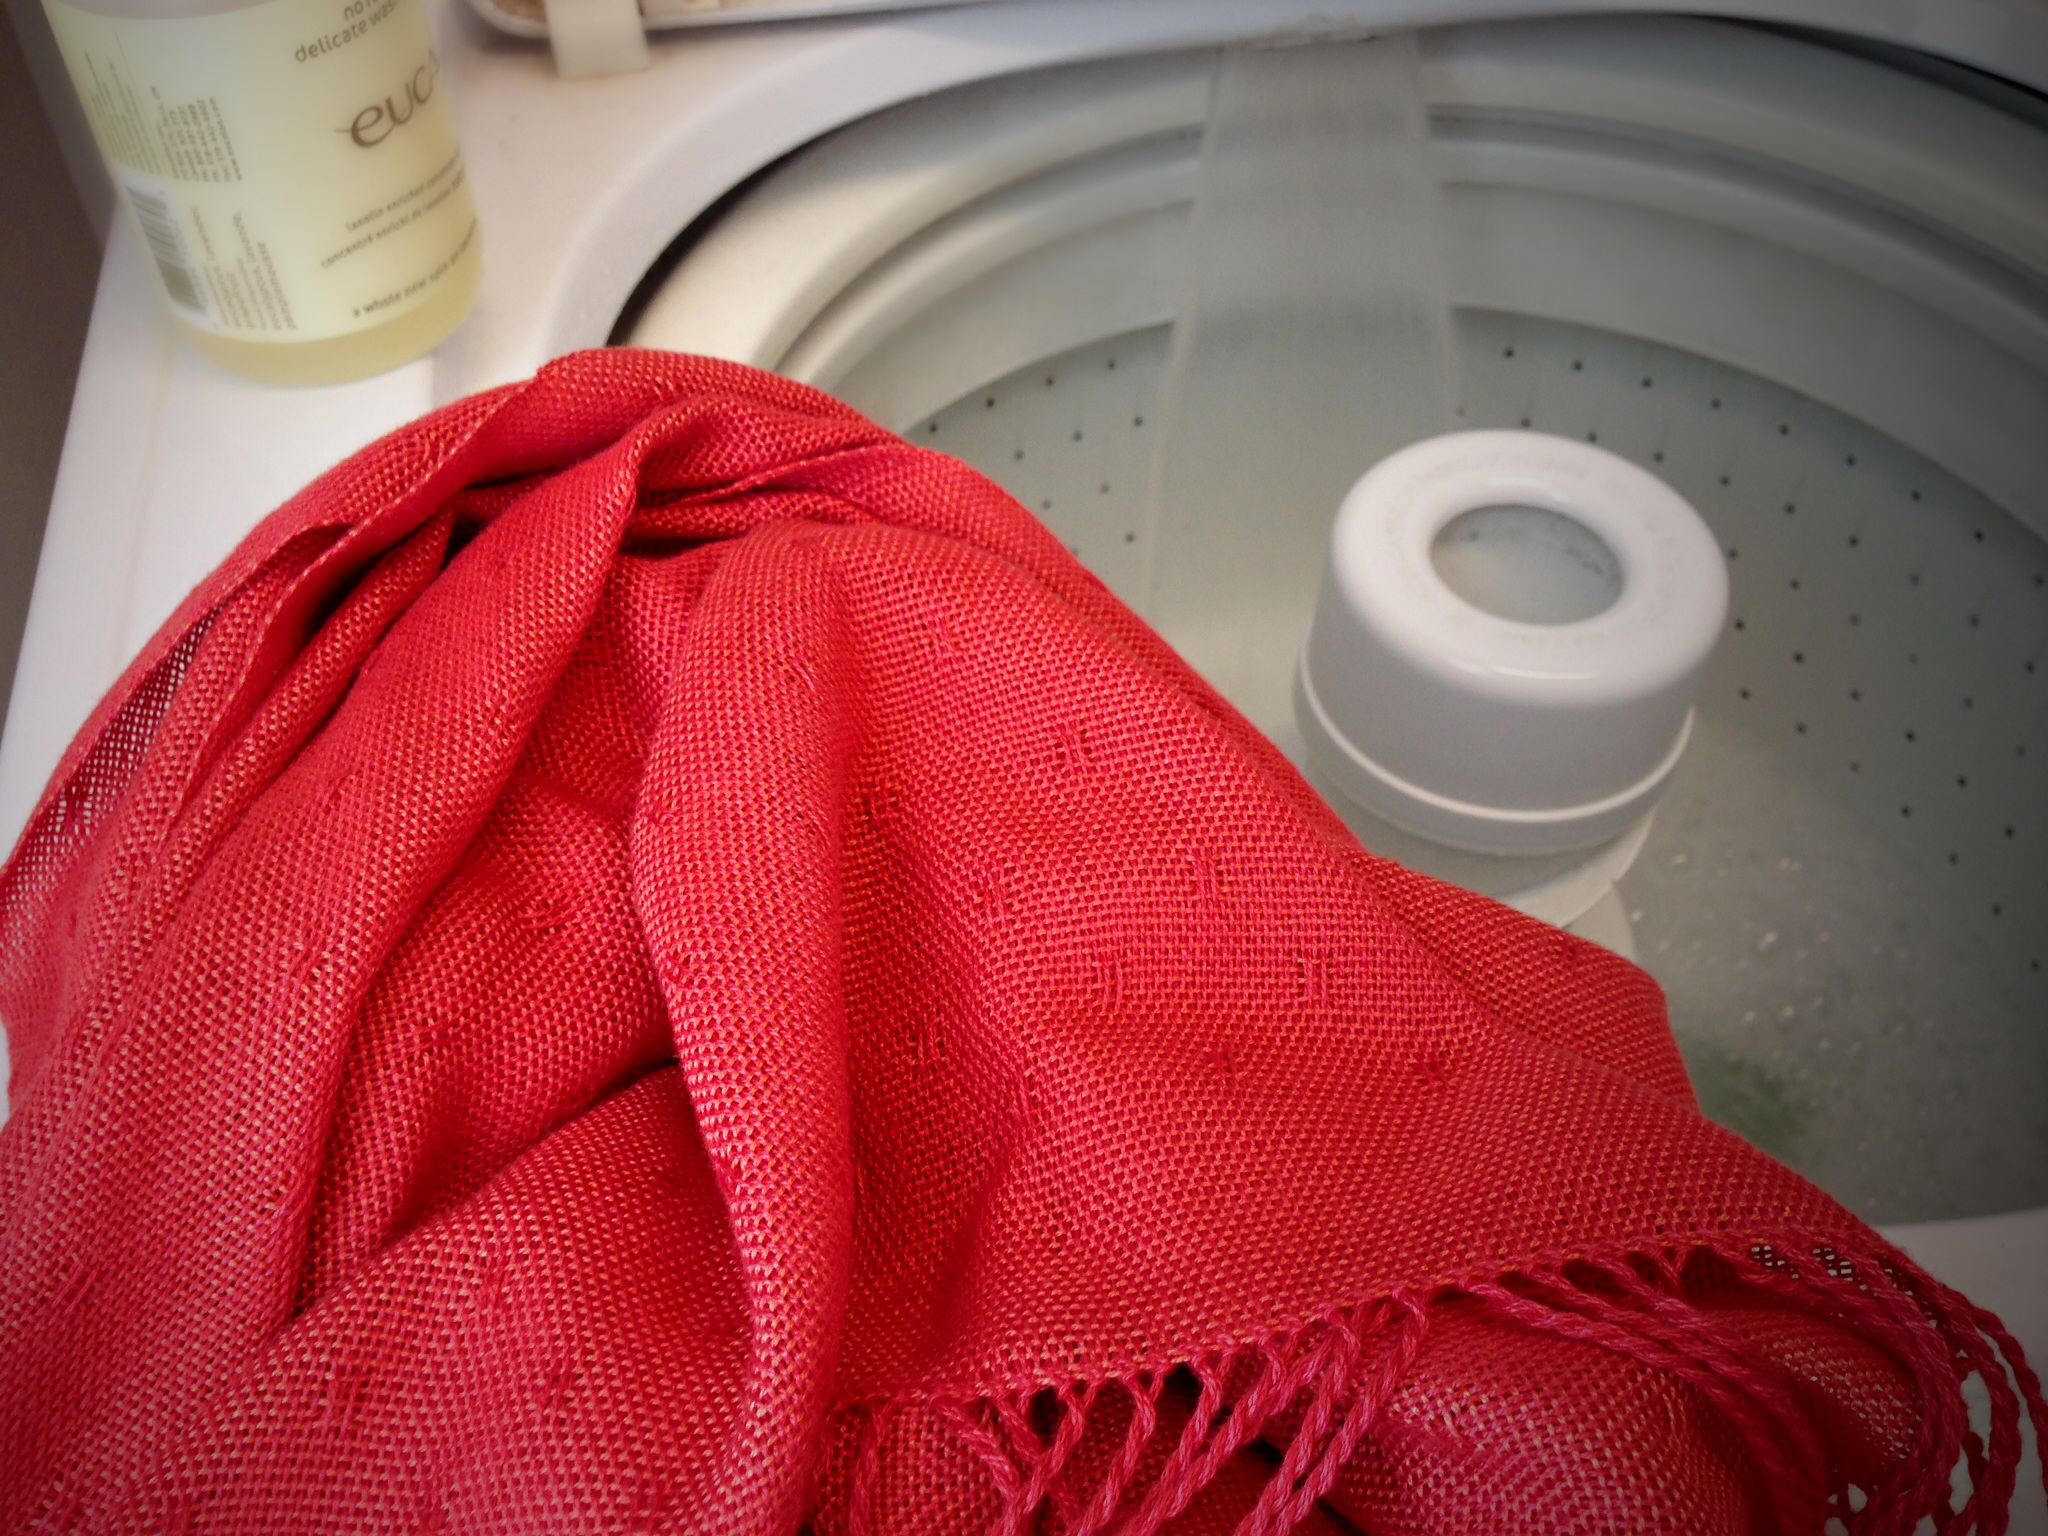
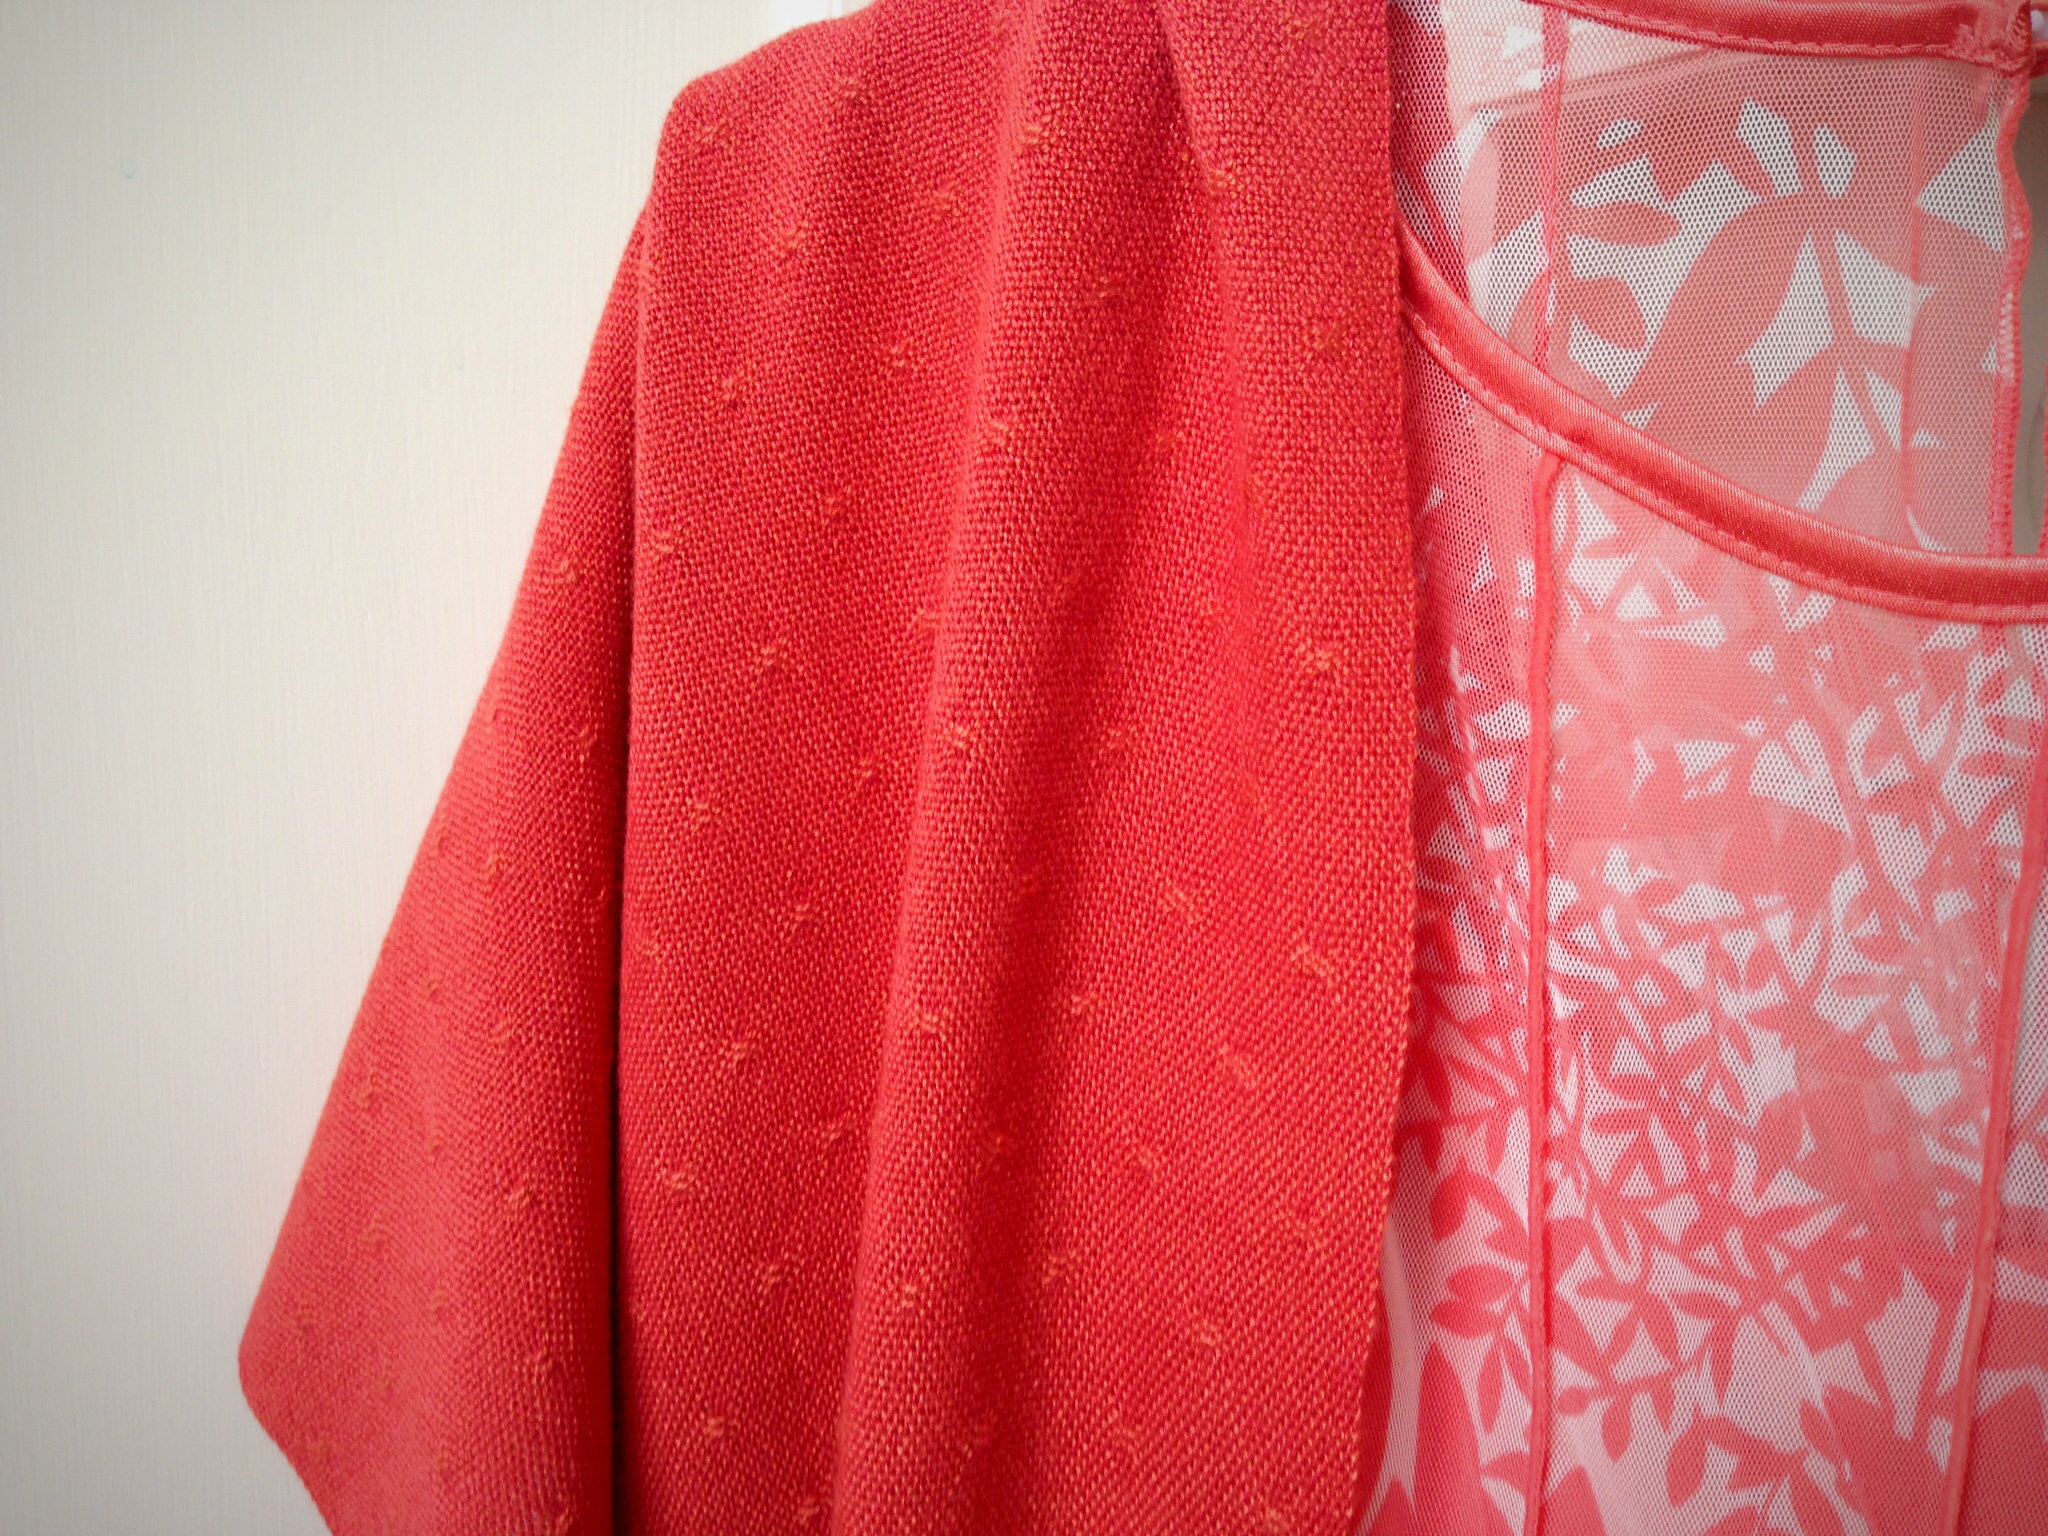
Threadingheddles for huck lace.Reed is sleyed with two ends per dent in a 12 dent reed, which means the sett is 24 ends per inch.Every thread stands at attention, each in their proper place. Let the weaving begin!Trying out the weft colors in the late afternoon on the dark coral warp. First, coral weft; and then, hot pink weft.Pink coral shawl was woven first. The hot pink huck lace weft floats are on the back side of the cloth, visible as the cloth angles toward the knee beam.Hemstitching at the beginning of the coral shawl. Notice the subtle border treatment that starts with plain weave and three closer rows of huck lace before the body of the shawl.Twisting groups of warp ends together to create twisted fringe that embellishes the ends of the shawl.There is nothing that makes me more nervous than wet finishing. A mistake at this point can ruin the handwoven masterpiece. For this reason, I first wet finished the sample piece, and then the pink coral shawl. Now, I am confident about throwing the coral shawl into the washing machine with a half-capful of no rinse delicate wash concentrate.After gently rolling the wet cloth in towels to remove excess water, I lay it out smoothly on my longest countertop, and leave it to dry overnight.After the cloth is fully dry, knots at the ends of the twisted fringe are trimmed off, removing frayed ends and leaving clean-cut ends.Ready for a special occasion!
Easter brings fun things to mind. Spring colors, decorated eggs, pretty dresses. Speaking of pretty dresses, in just one month I will wear my mother-of-the-bride dress, with this handwoven shawl on my shoulders. I am finishing the edge of the shawl with hemstitching on the loom. The hemstitching is decorative, but also has a practical purpose–it secures the warpends and keeps the cloth from unraveling. If all goes as planned, twisted fringe will hang from the hem-stitched edge.
Using a tapestry needle, every four warpends are cinched together and connected with the two weft threads nearest the fell line.
Forgiveness, the truest demonstration of love, is the ultimate security. Do you see how forgiveness serves as a finishing edge that gives beauty and definition to real life? When you know you are forgiven, you are secure in knowing you are loved. To be forgiven–that’s the gift, the meaning, the wonder of Easter. This is love. God so loved the world that he offered forgiveness.