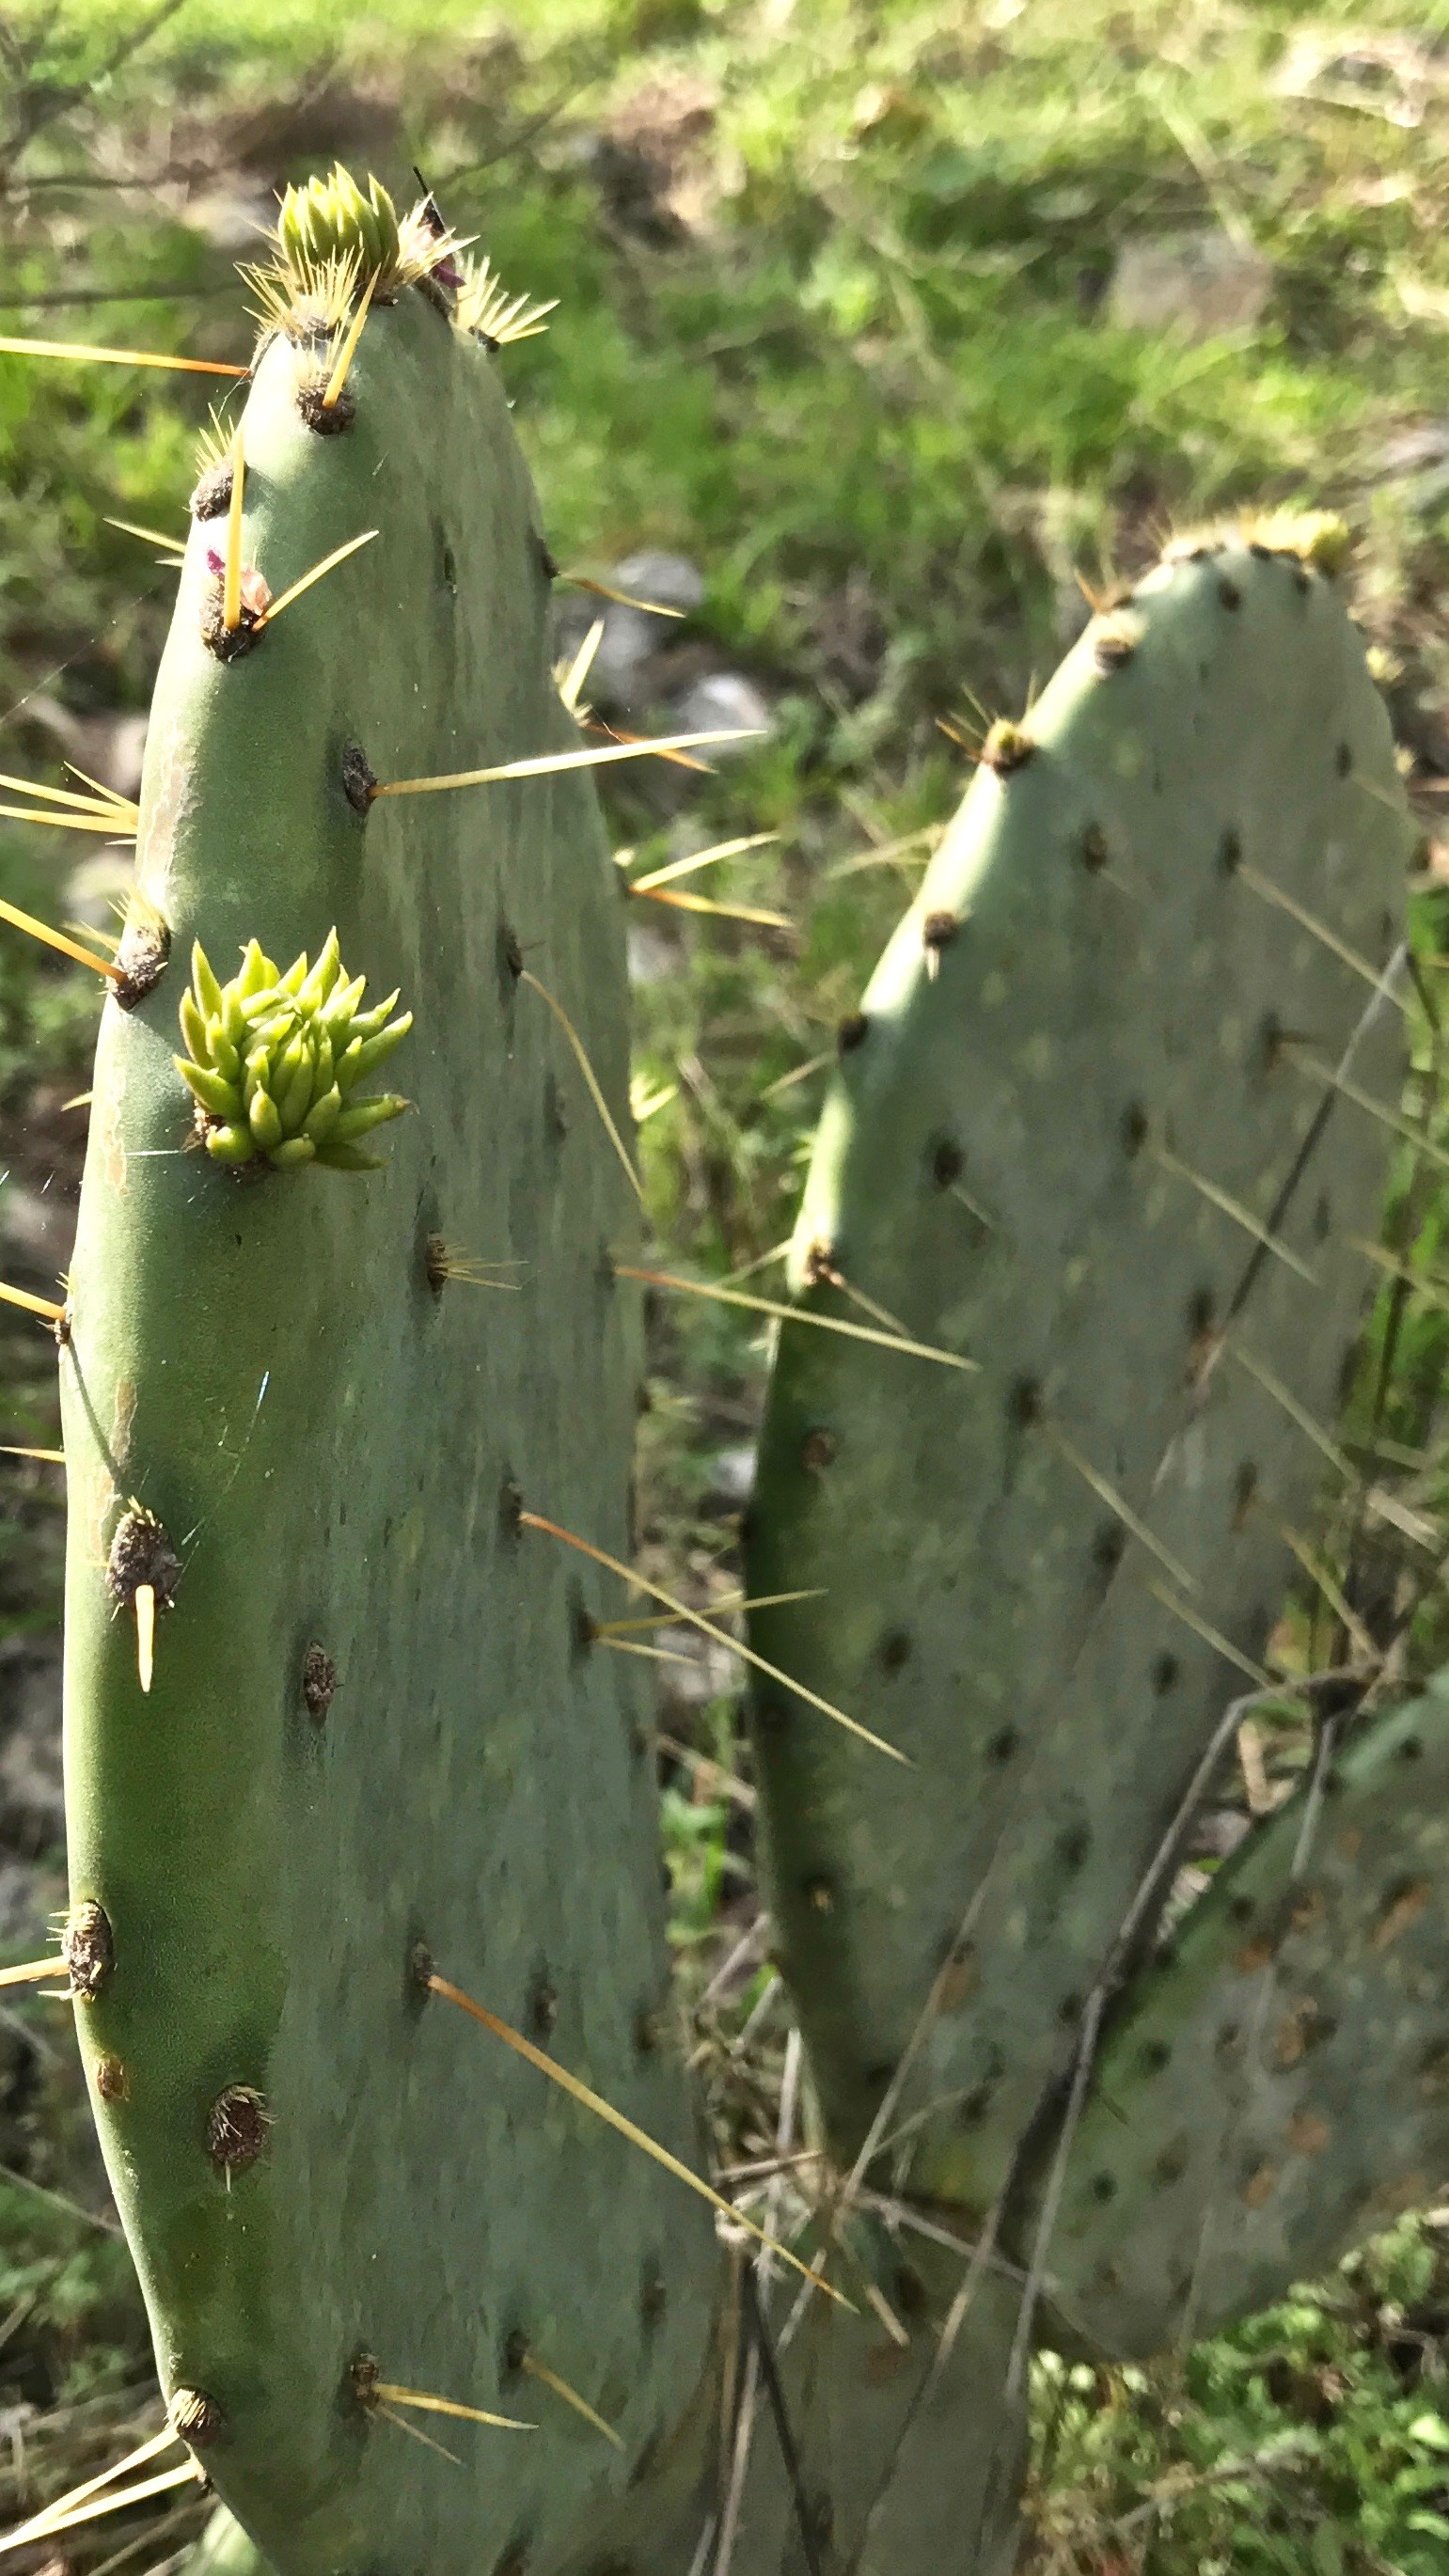
It started with a prickly pear cactus in the front yard of our Texas hill country place, and then a photograph. Now, I have a woven representation of this interesting specimen of our Texas landscape! I am hoping that Steve will whittle a rustic rod from which this cactus banner will hang in our home.
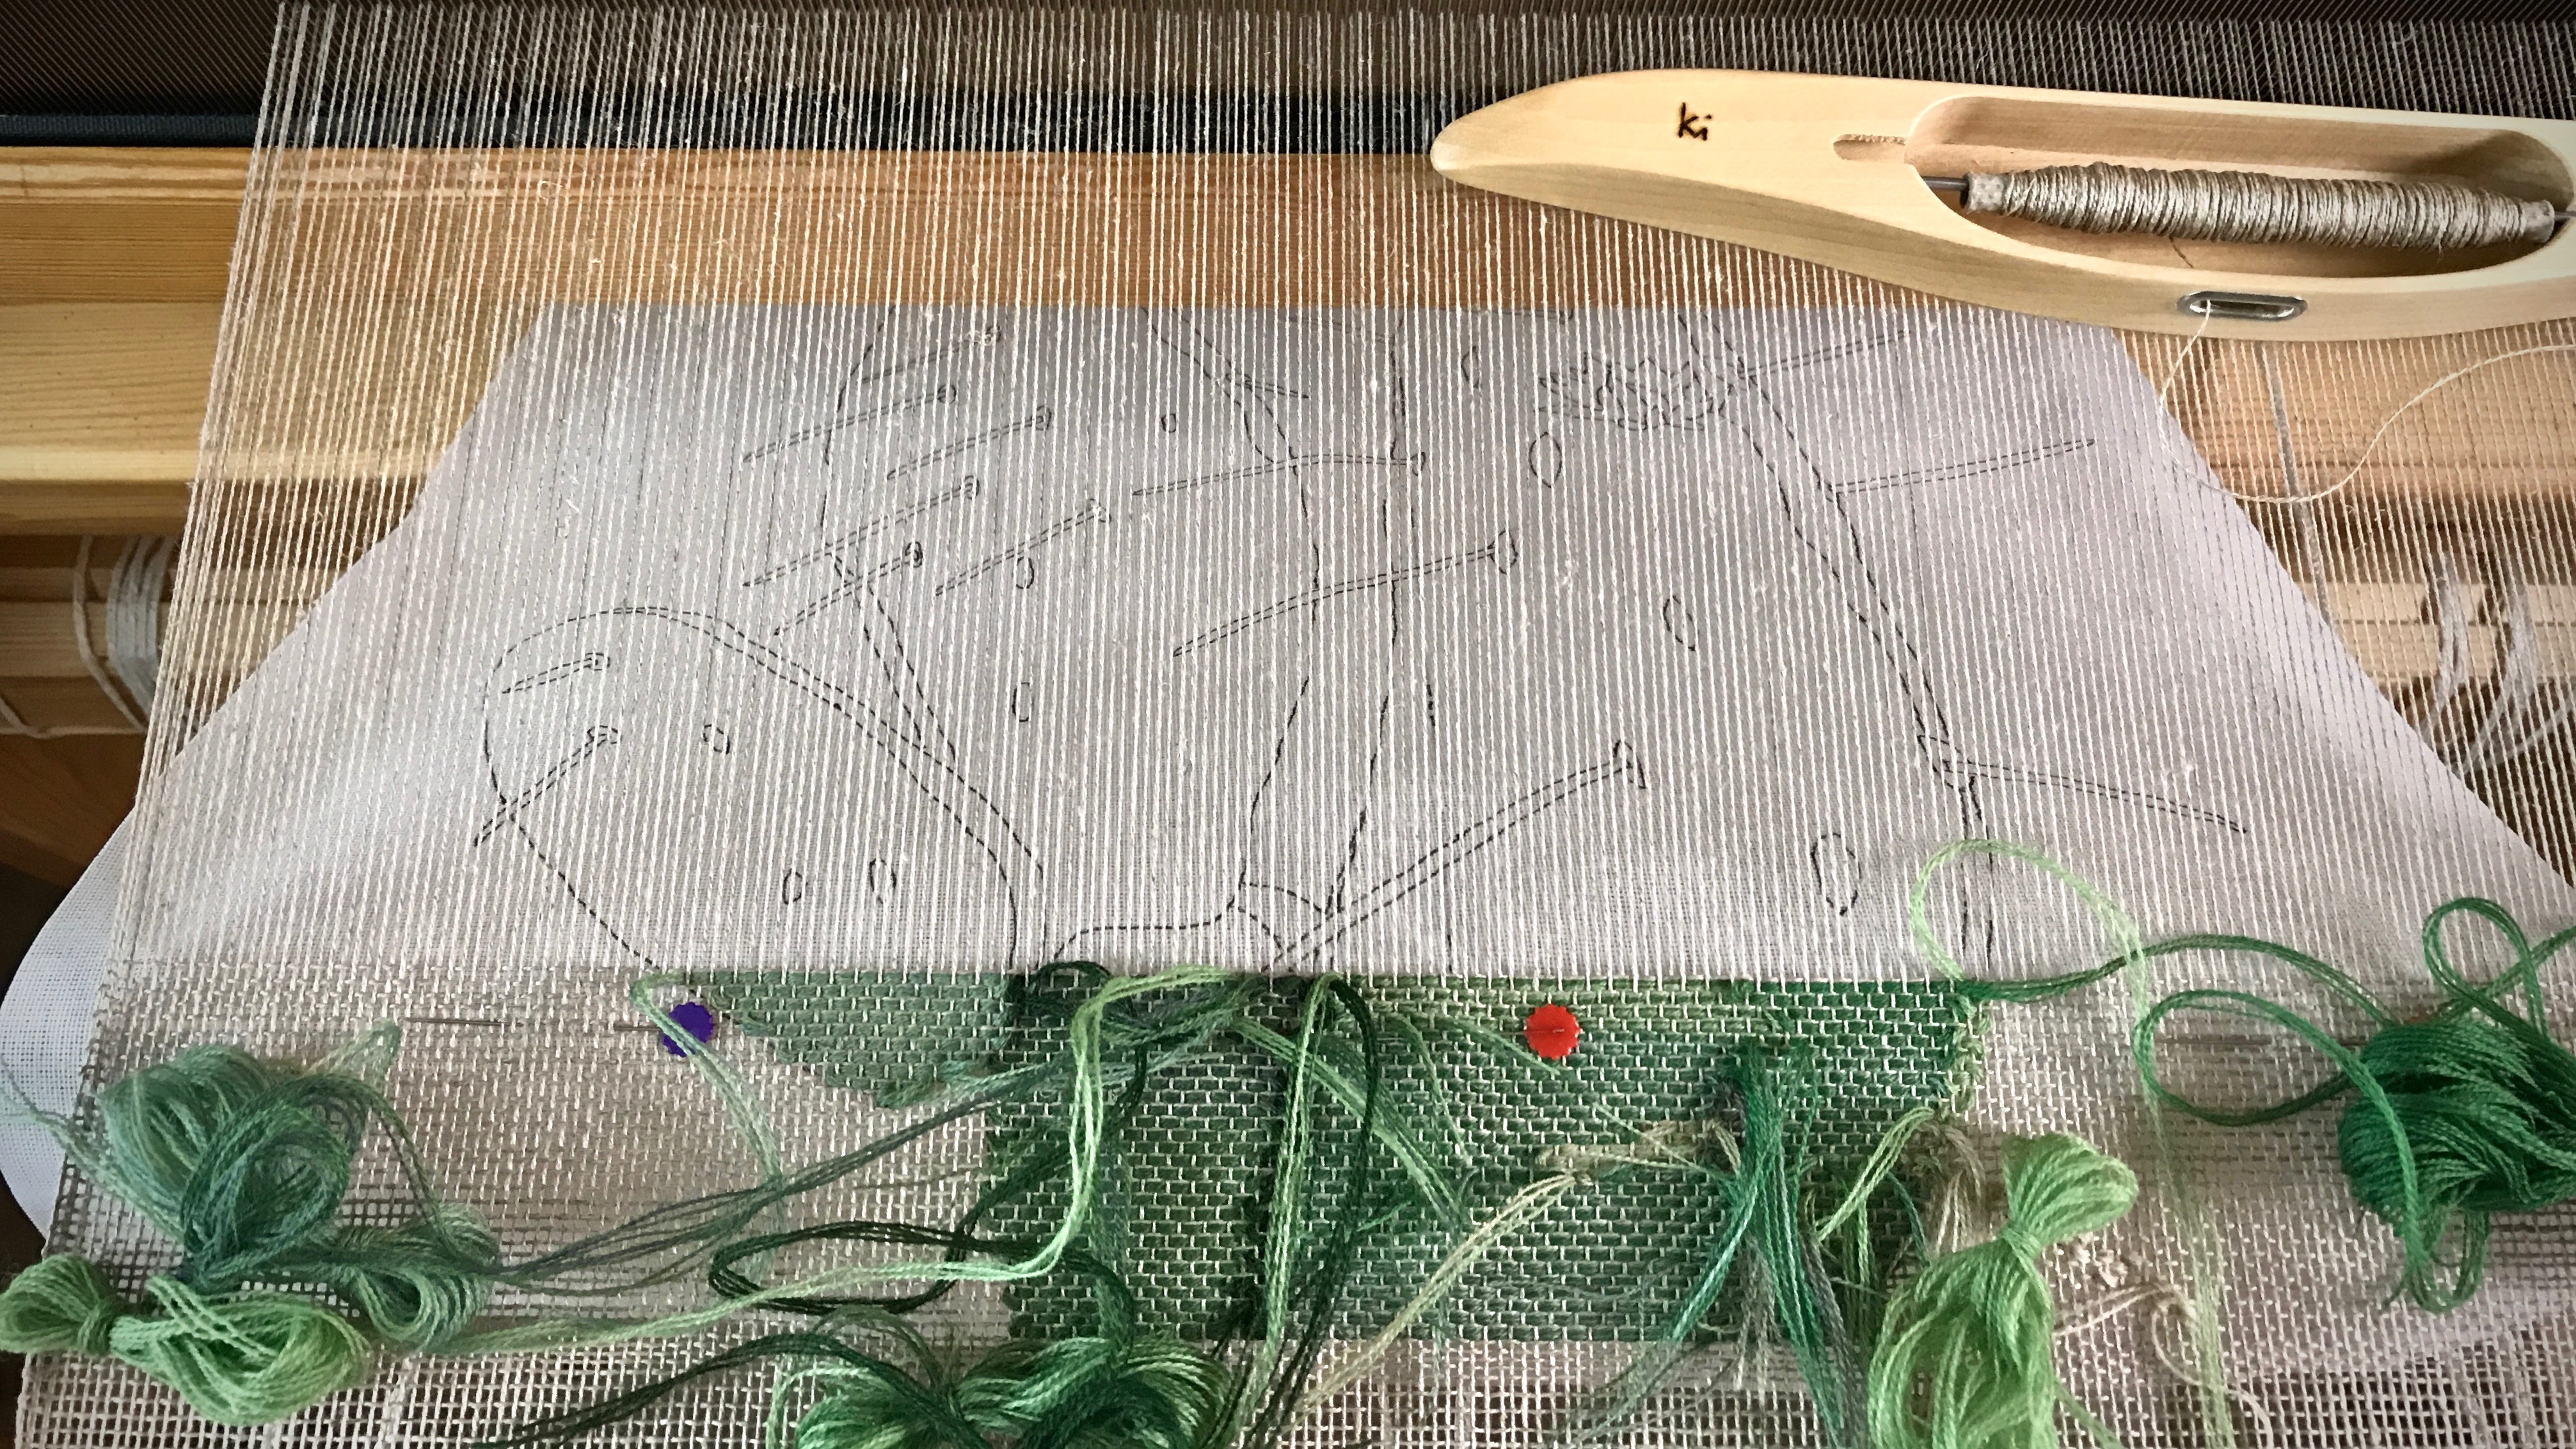
Weaving the casing for the top of the transparency. Linen warp and weft make an appealing mesh that holds and surrounds the pictorial weaving.After cutting off, the complete front side of the transparency is seen for the first time.
Eager to hang this transparency, I didn’t want to waste any time. I finished the ends of the piece with a zigzag stitch on my sewing machine. And I sewed casings at the top and bottom. Now, in full view, a little back lighting reveals the complete picture of the woven threads.
Cactus spines in the woven image seem to reach outward and almost appear three-dimensional.Detail view of some of the shading in the cactus.
We weave thoughts and ideas in our heart. And when we speak, we bring those thoughts out into the open. Words reveal the treasures of the heart. When we speak words of value, we bring our choicest treasures out in the open. And what a welcome picture that is.
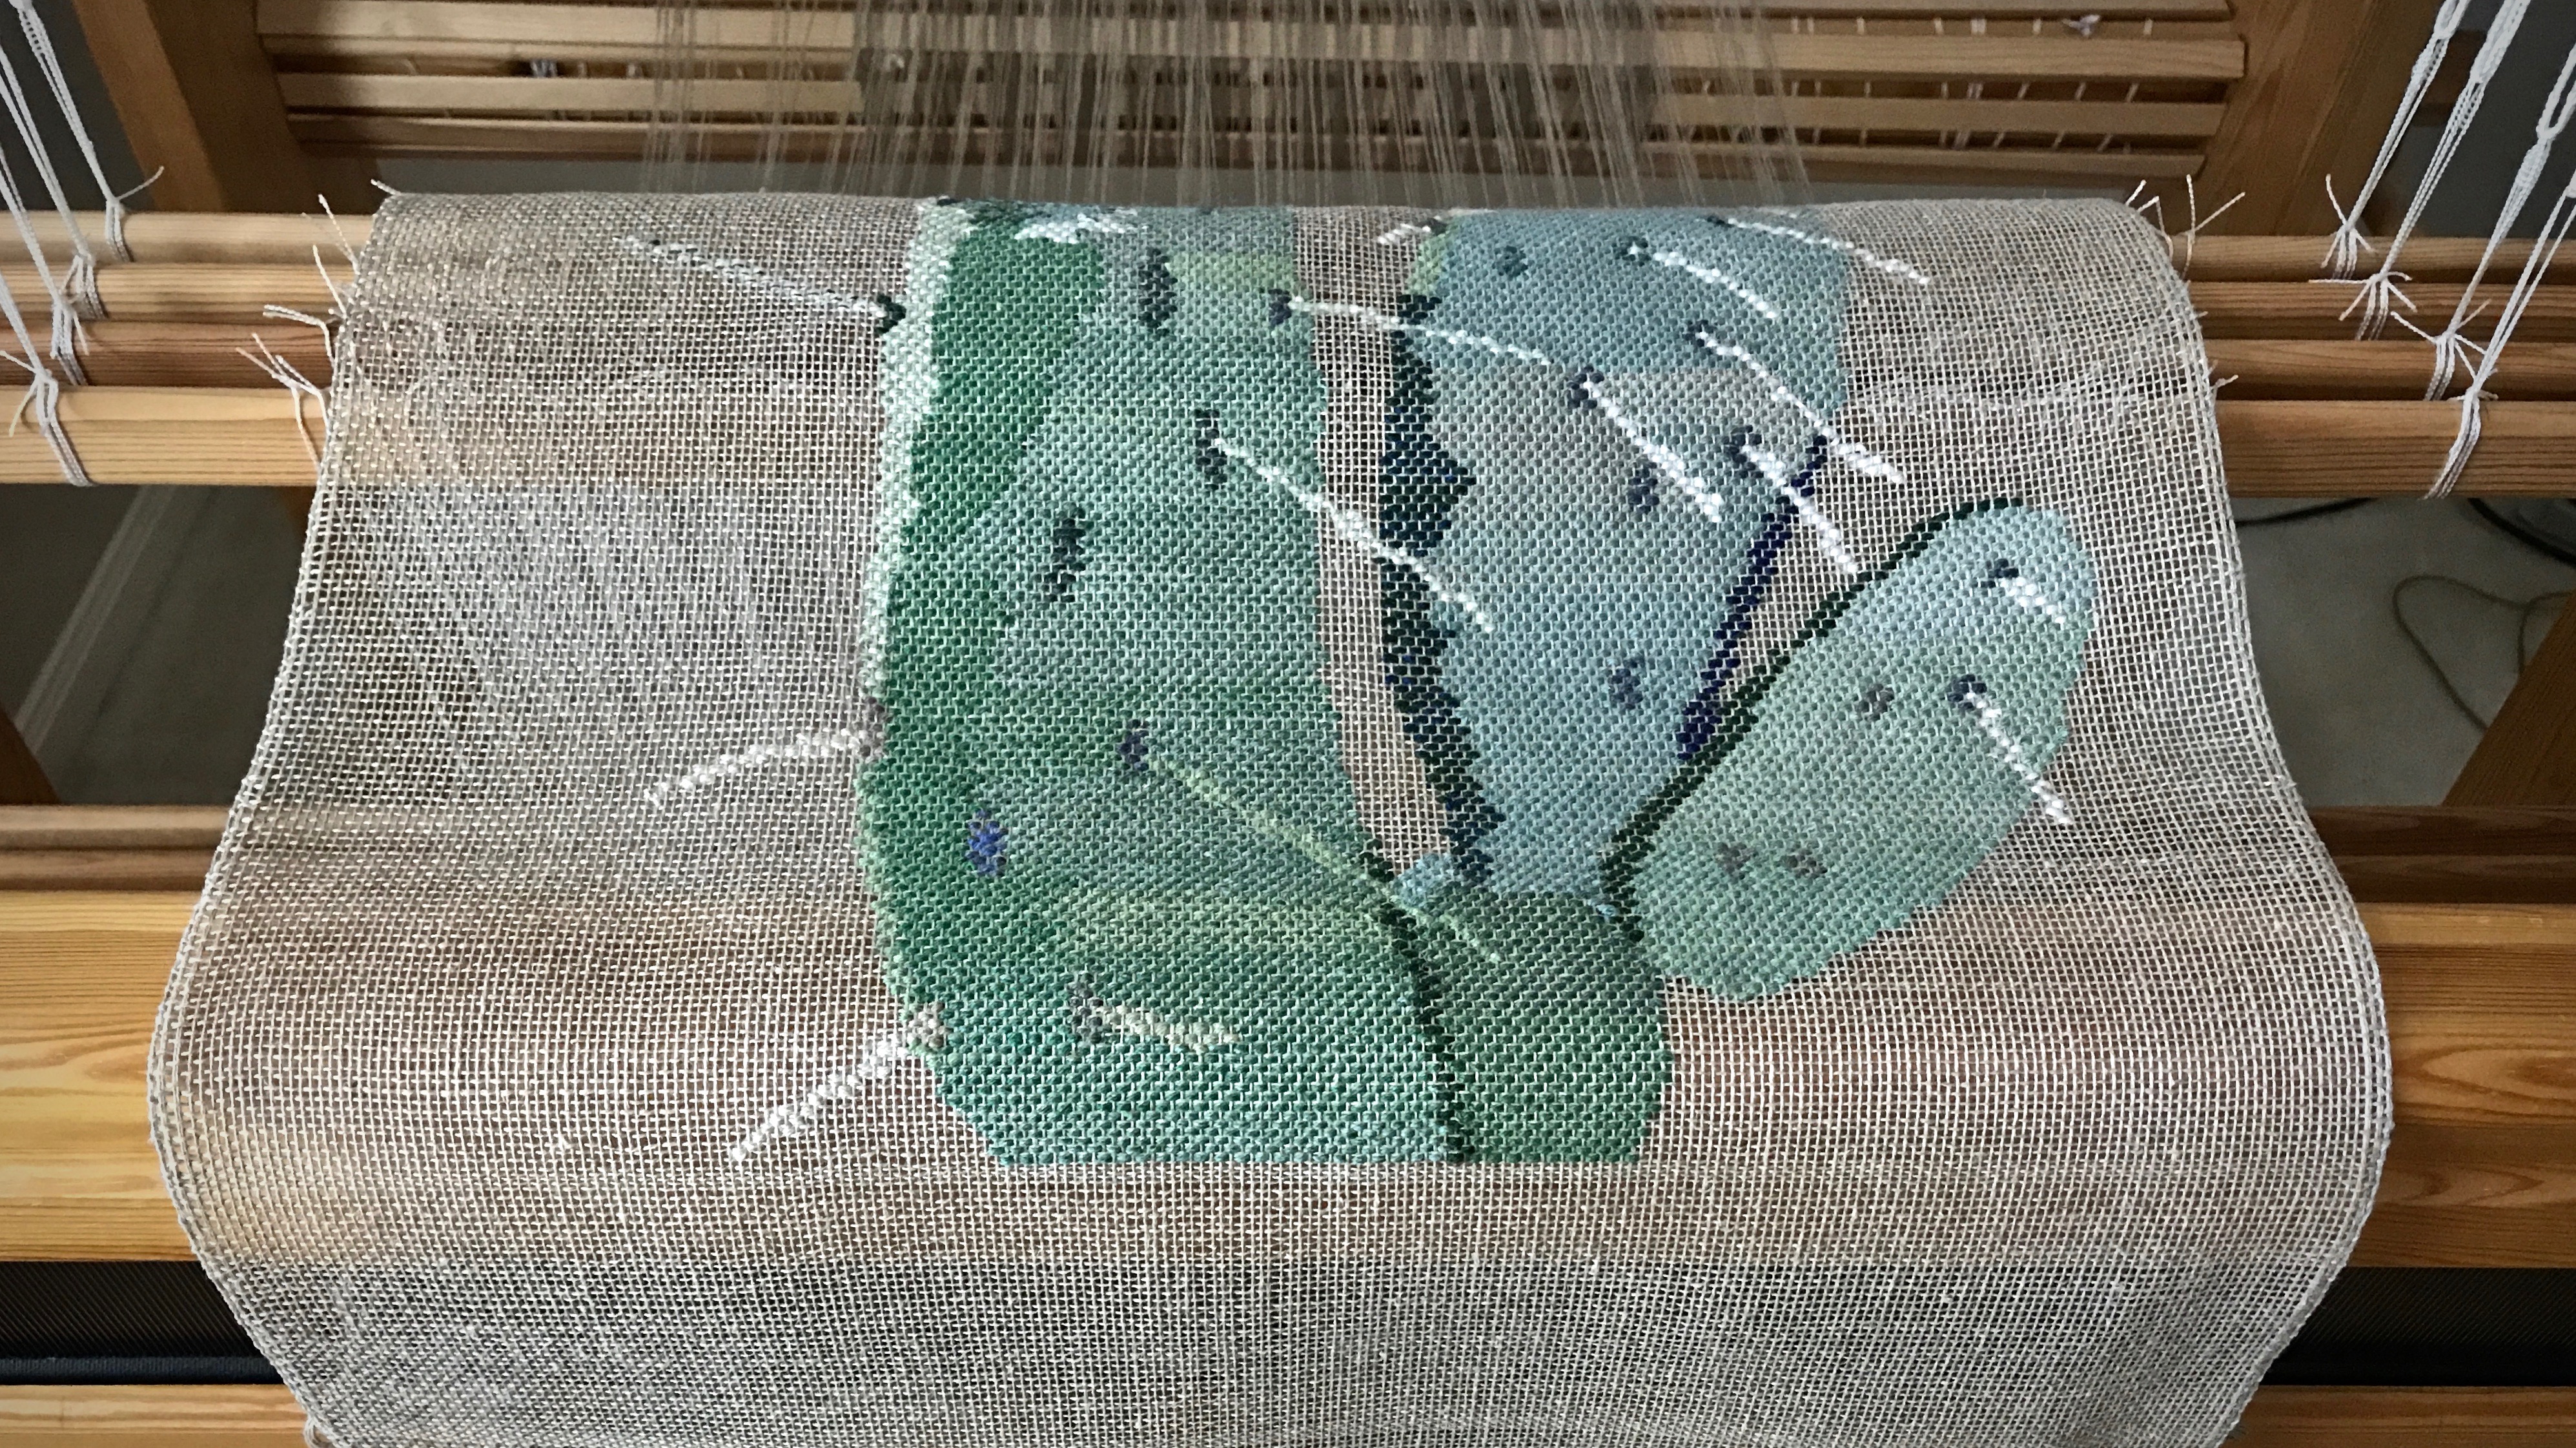
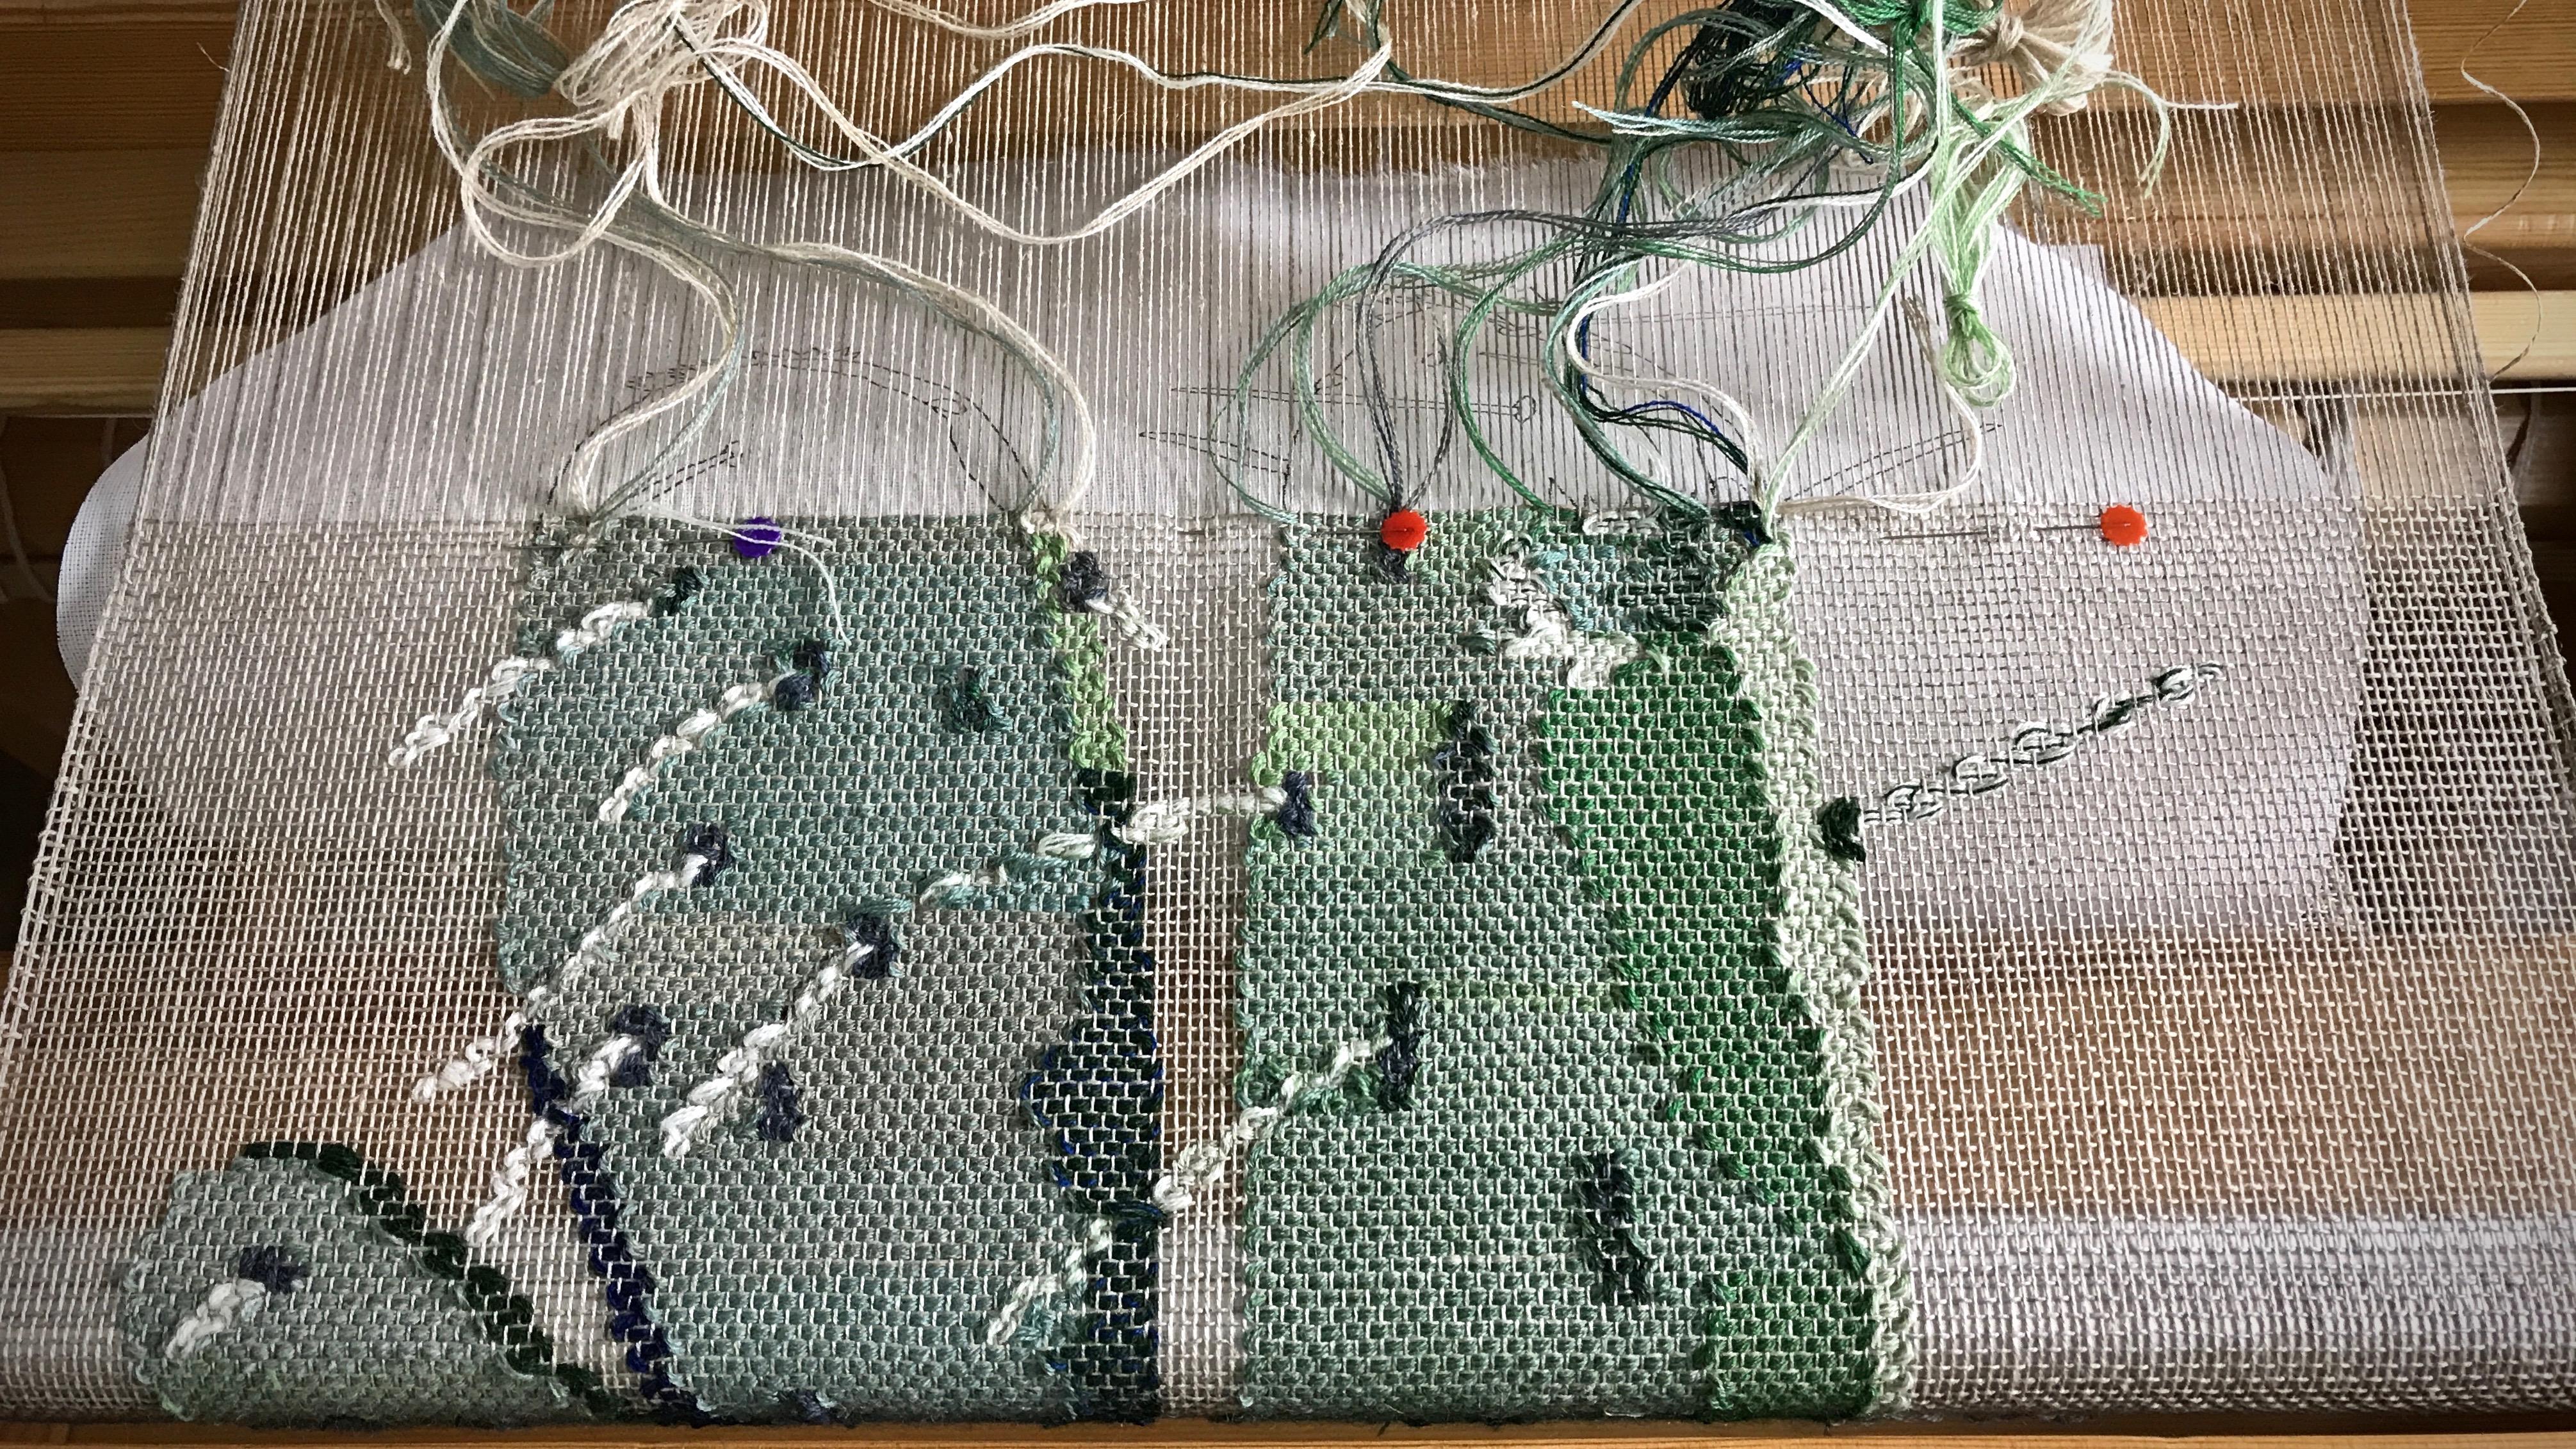
Here is a glimpse of the front-side of the transparency weaving. The cactus is beginning to come around the breast beam. I can’t see the cactus clearly yet, but so far, it looks good! I only have a couple inches of cactus left to weave. Soon, the whole picture will be visible!
Smooth surface of the woven pattern area is in contrast to the textured density that is seen on the back.
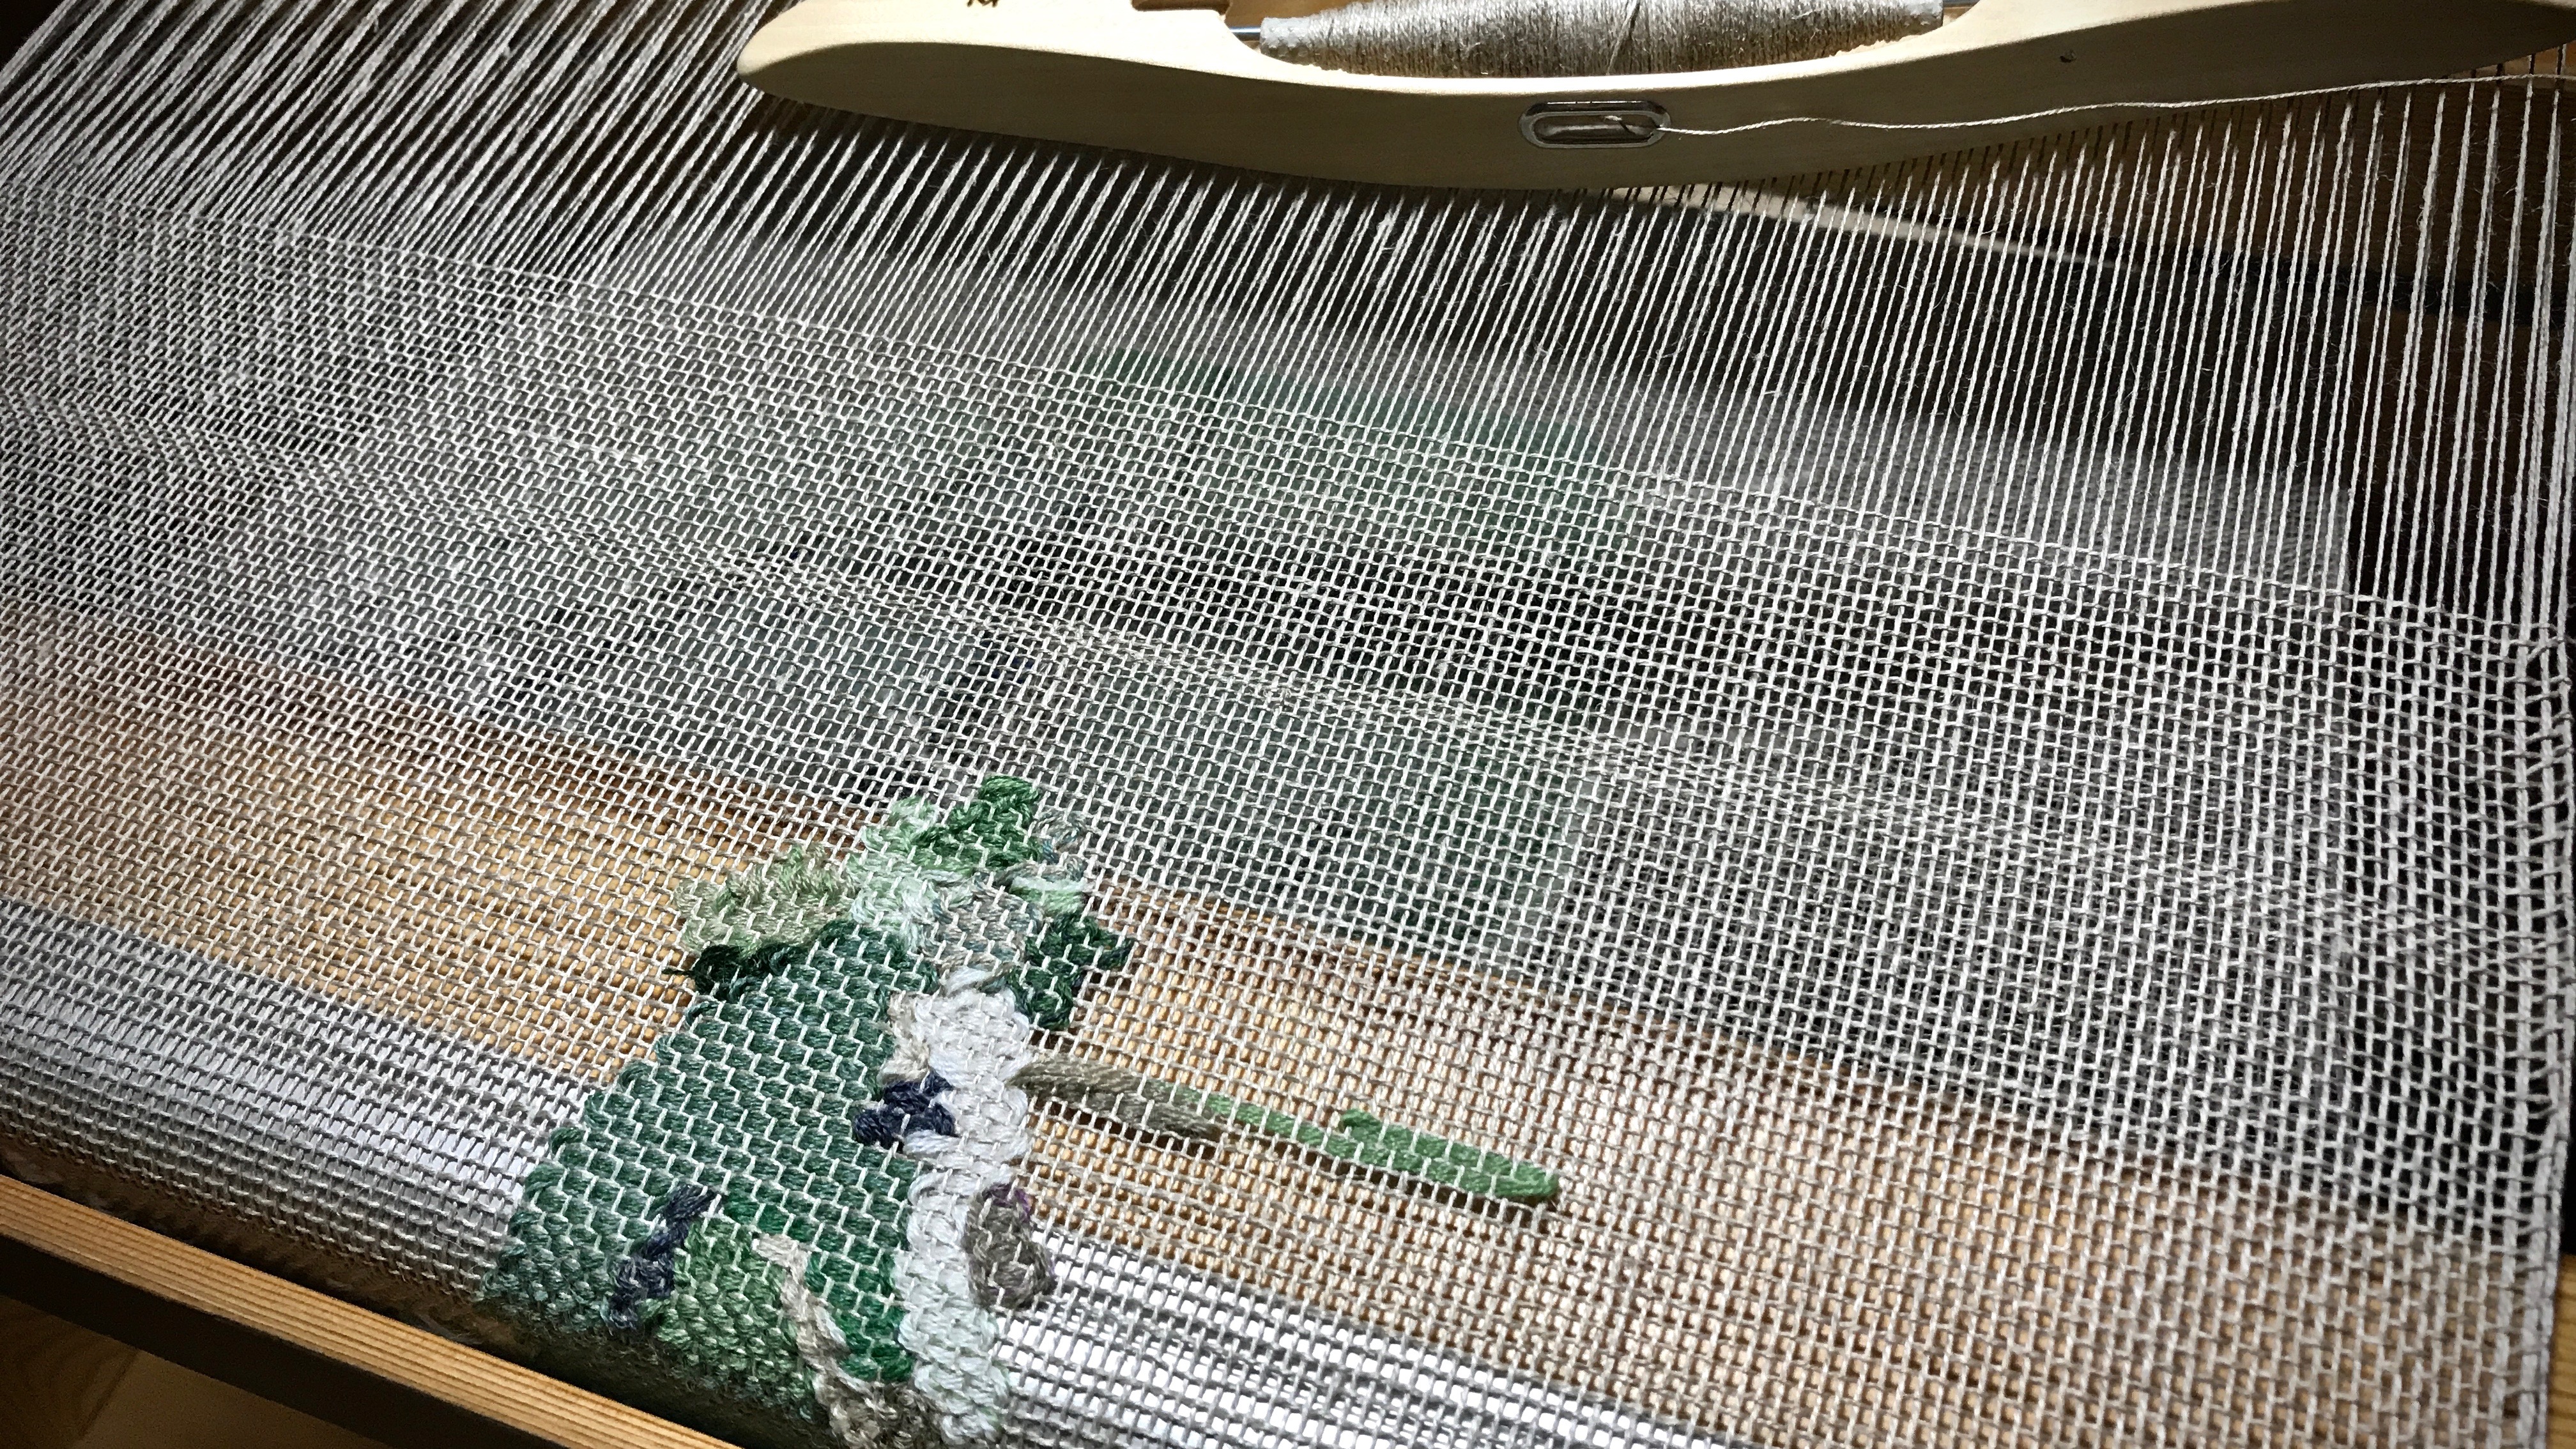
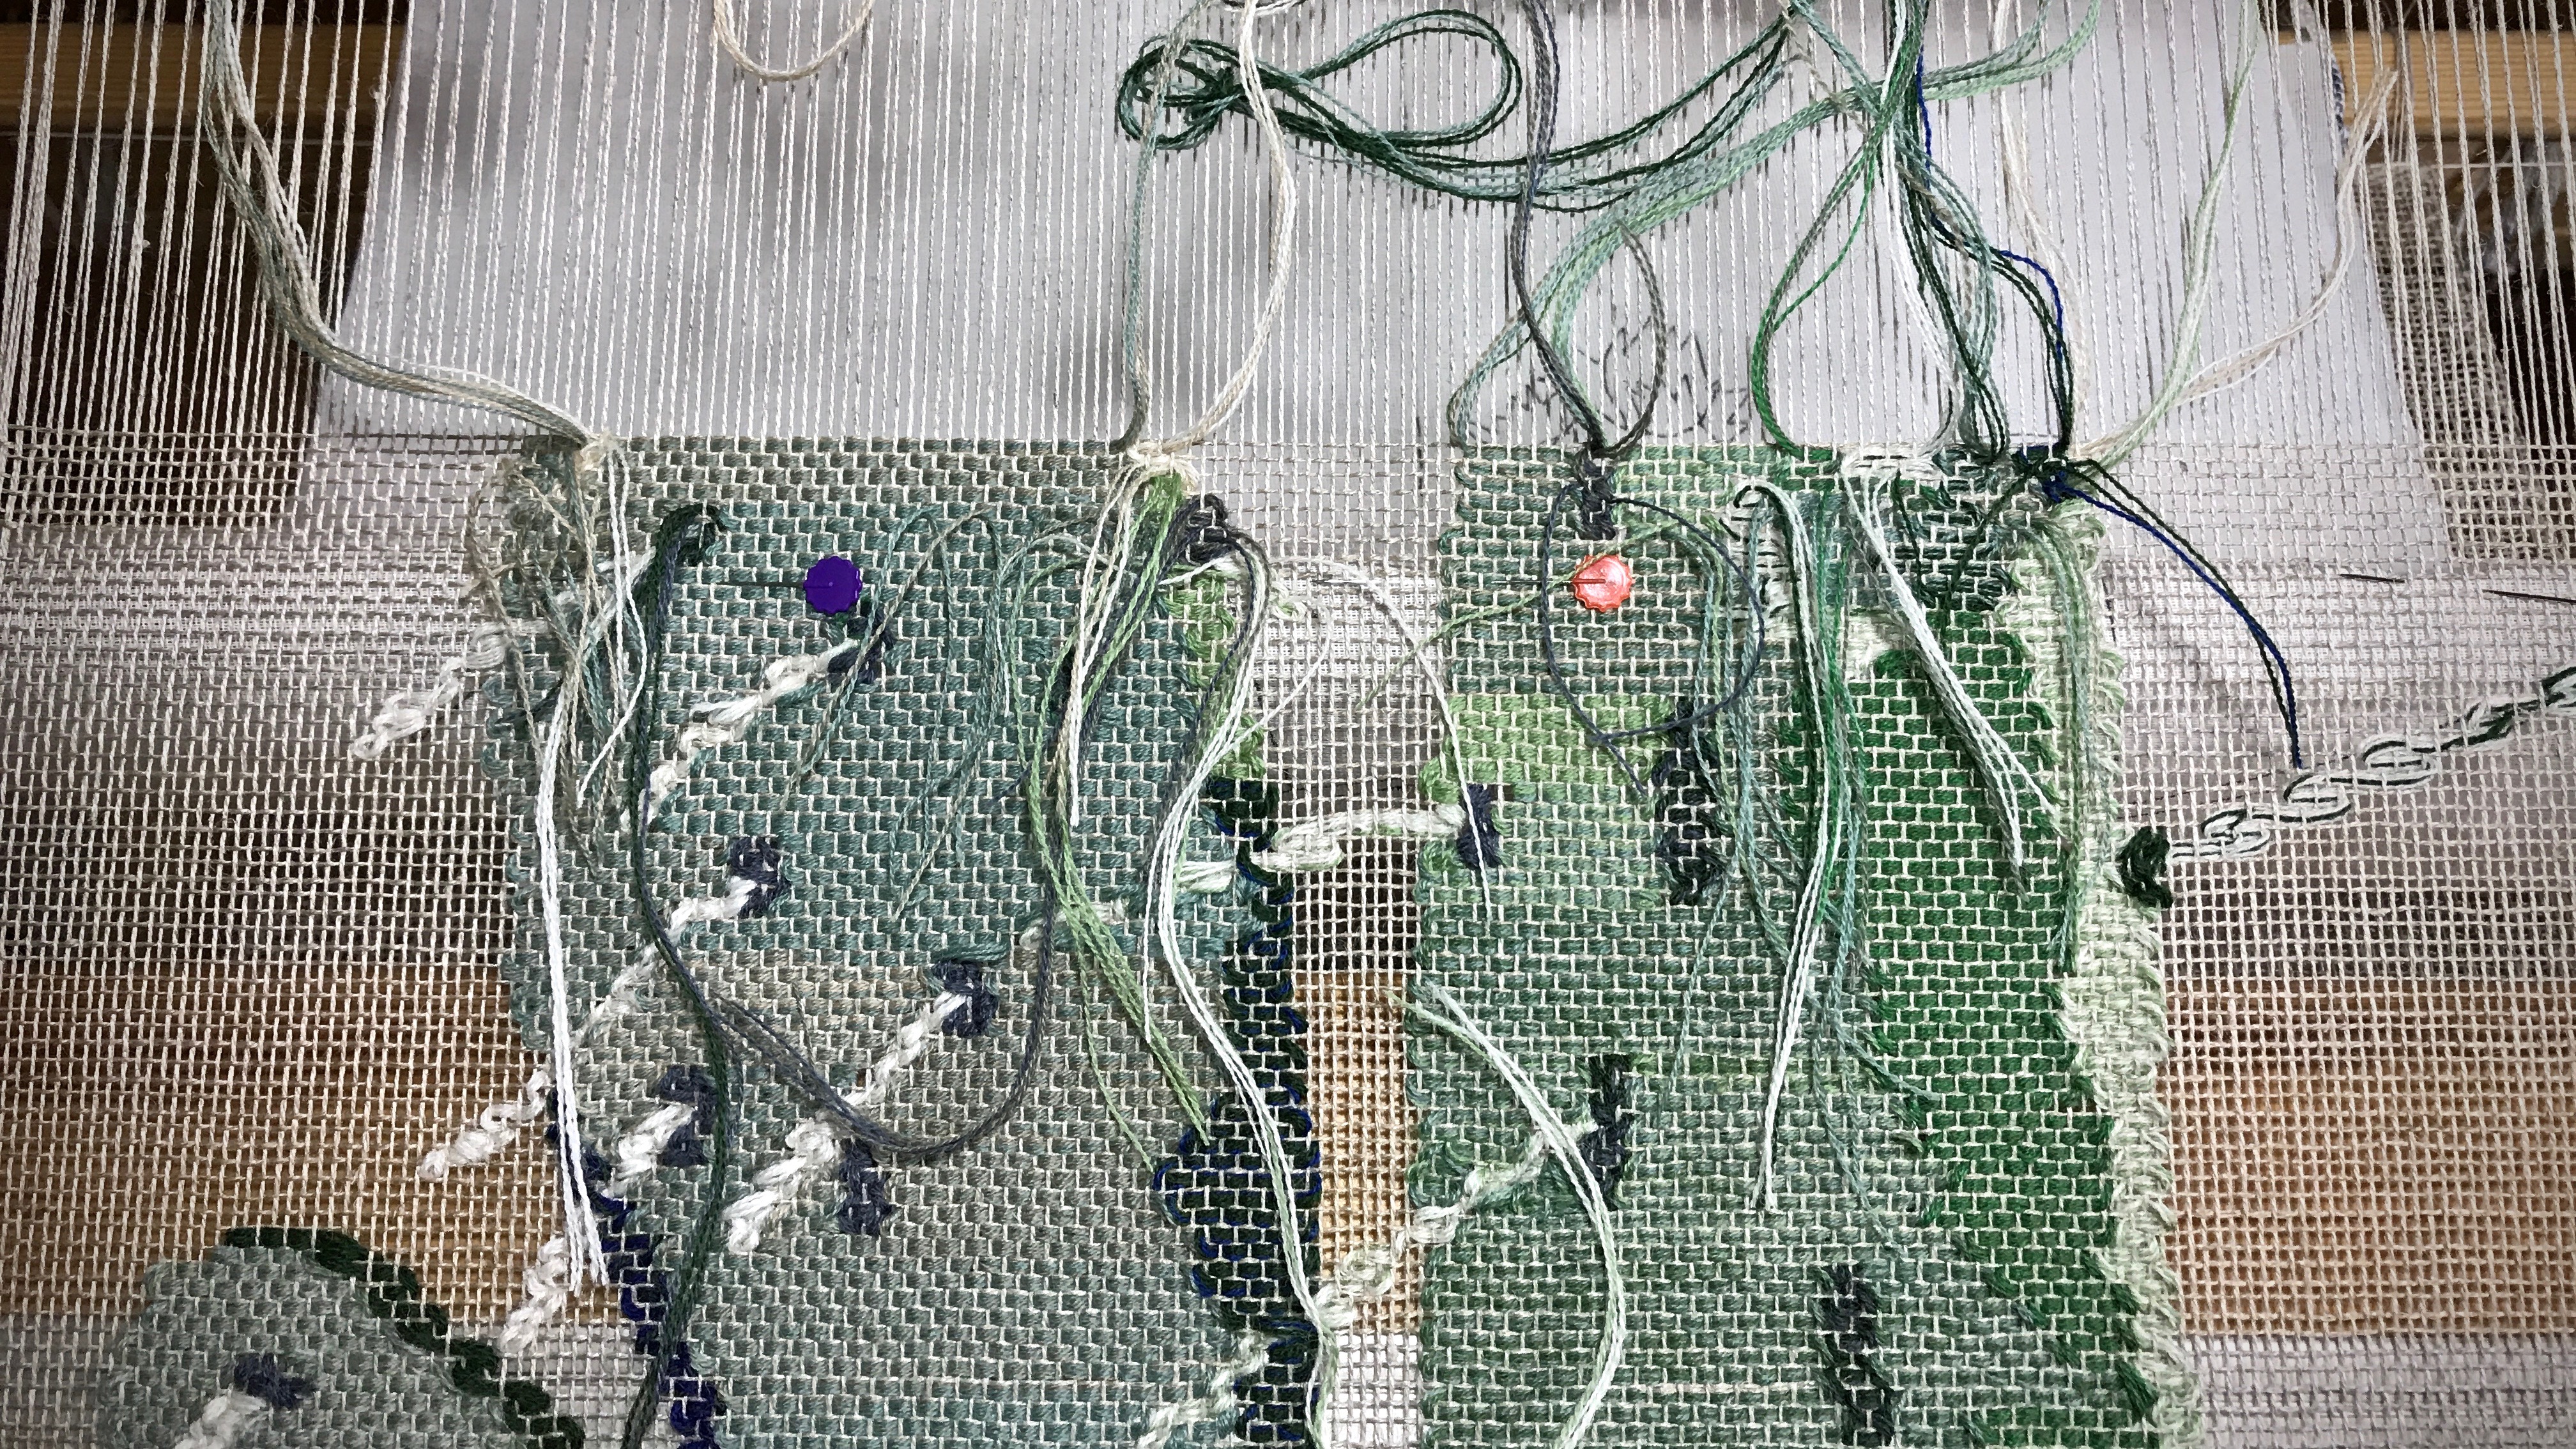
The back of the weaving that faces me as I weave, with all its weft turns, weft splices, and woven-in tails, is an accurate picture of what I am weaving. But it is incomplete. It doesn’t tell the whole story. I get used to this bumpy side sometimes and forget that there is something better on the other side.
Transparency woven from the back means that all the weft turns are seen on the back. The front side of the weaving will have an appearance that is truer to the clean lines of the picture drawn on the cartoon.With the end in sight, anticipation of seeing the whole picture from the front grows!
Getting a glimpse of the true cactus picture made me want to see more. Looking for, and eagerly waiting to see the finished front-side of the transparency is like seeking truth. The lines in the design are obscured from the back, so we are compelled to keep going, keep advancing the warp, and actively look for the truth to appear. Love truth. The beginning of the cactus coming into view is a welcome sight that reminds me why I’m at the loom.
May you love what is true.
We welcomed a new grandson into the world a few days ago!Big brother loving his new baby brother. Truth matters because of these precious little guys.
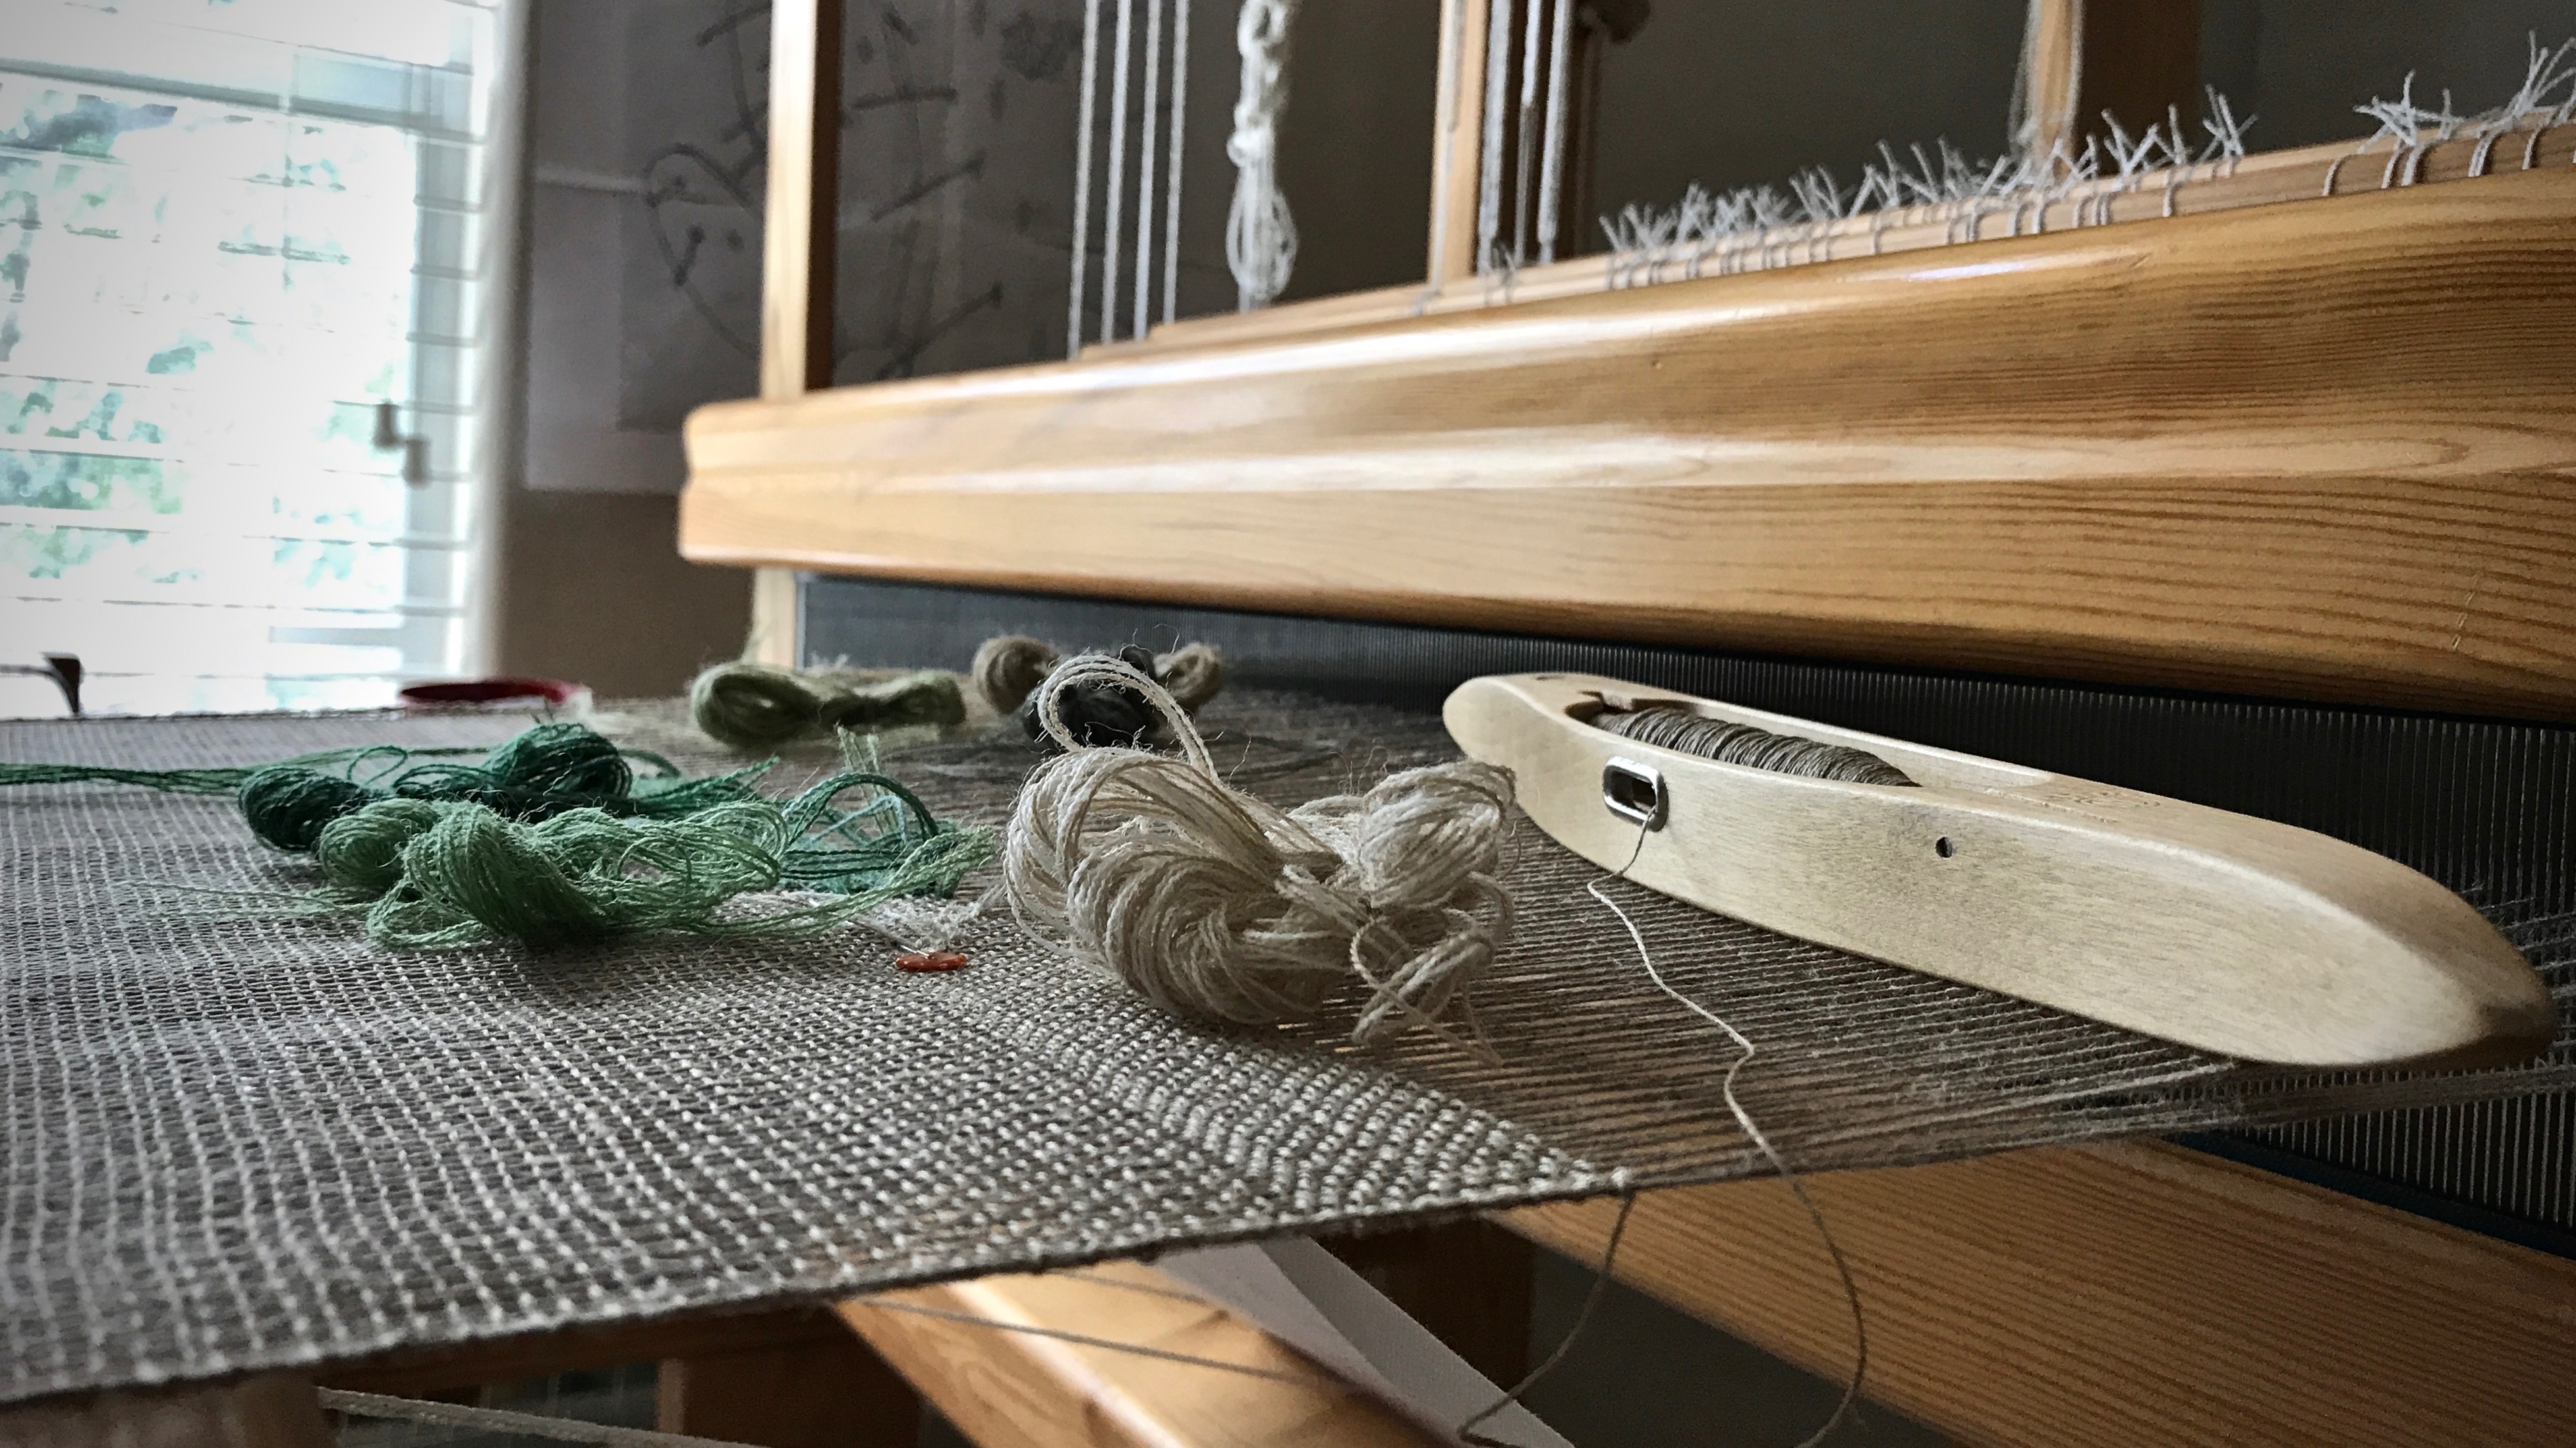
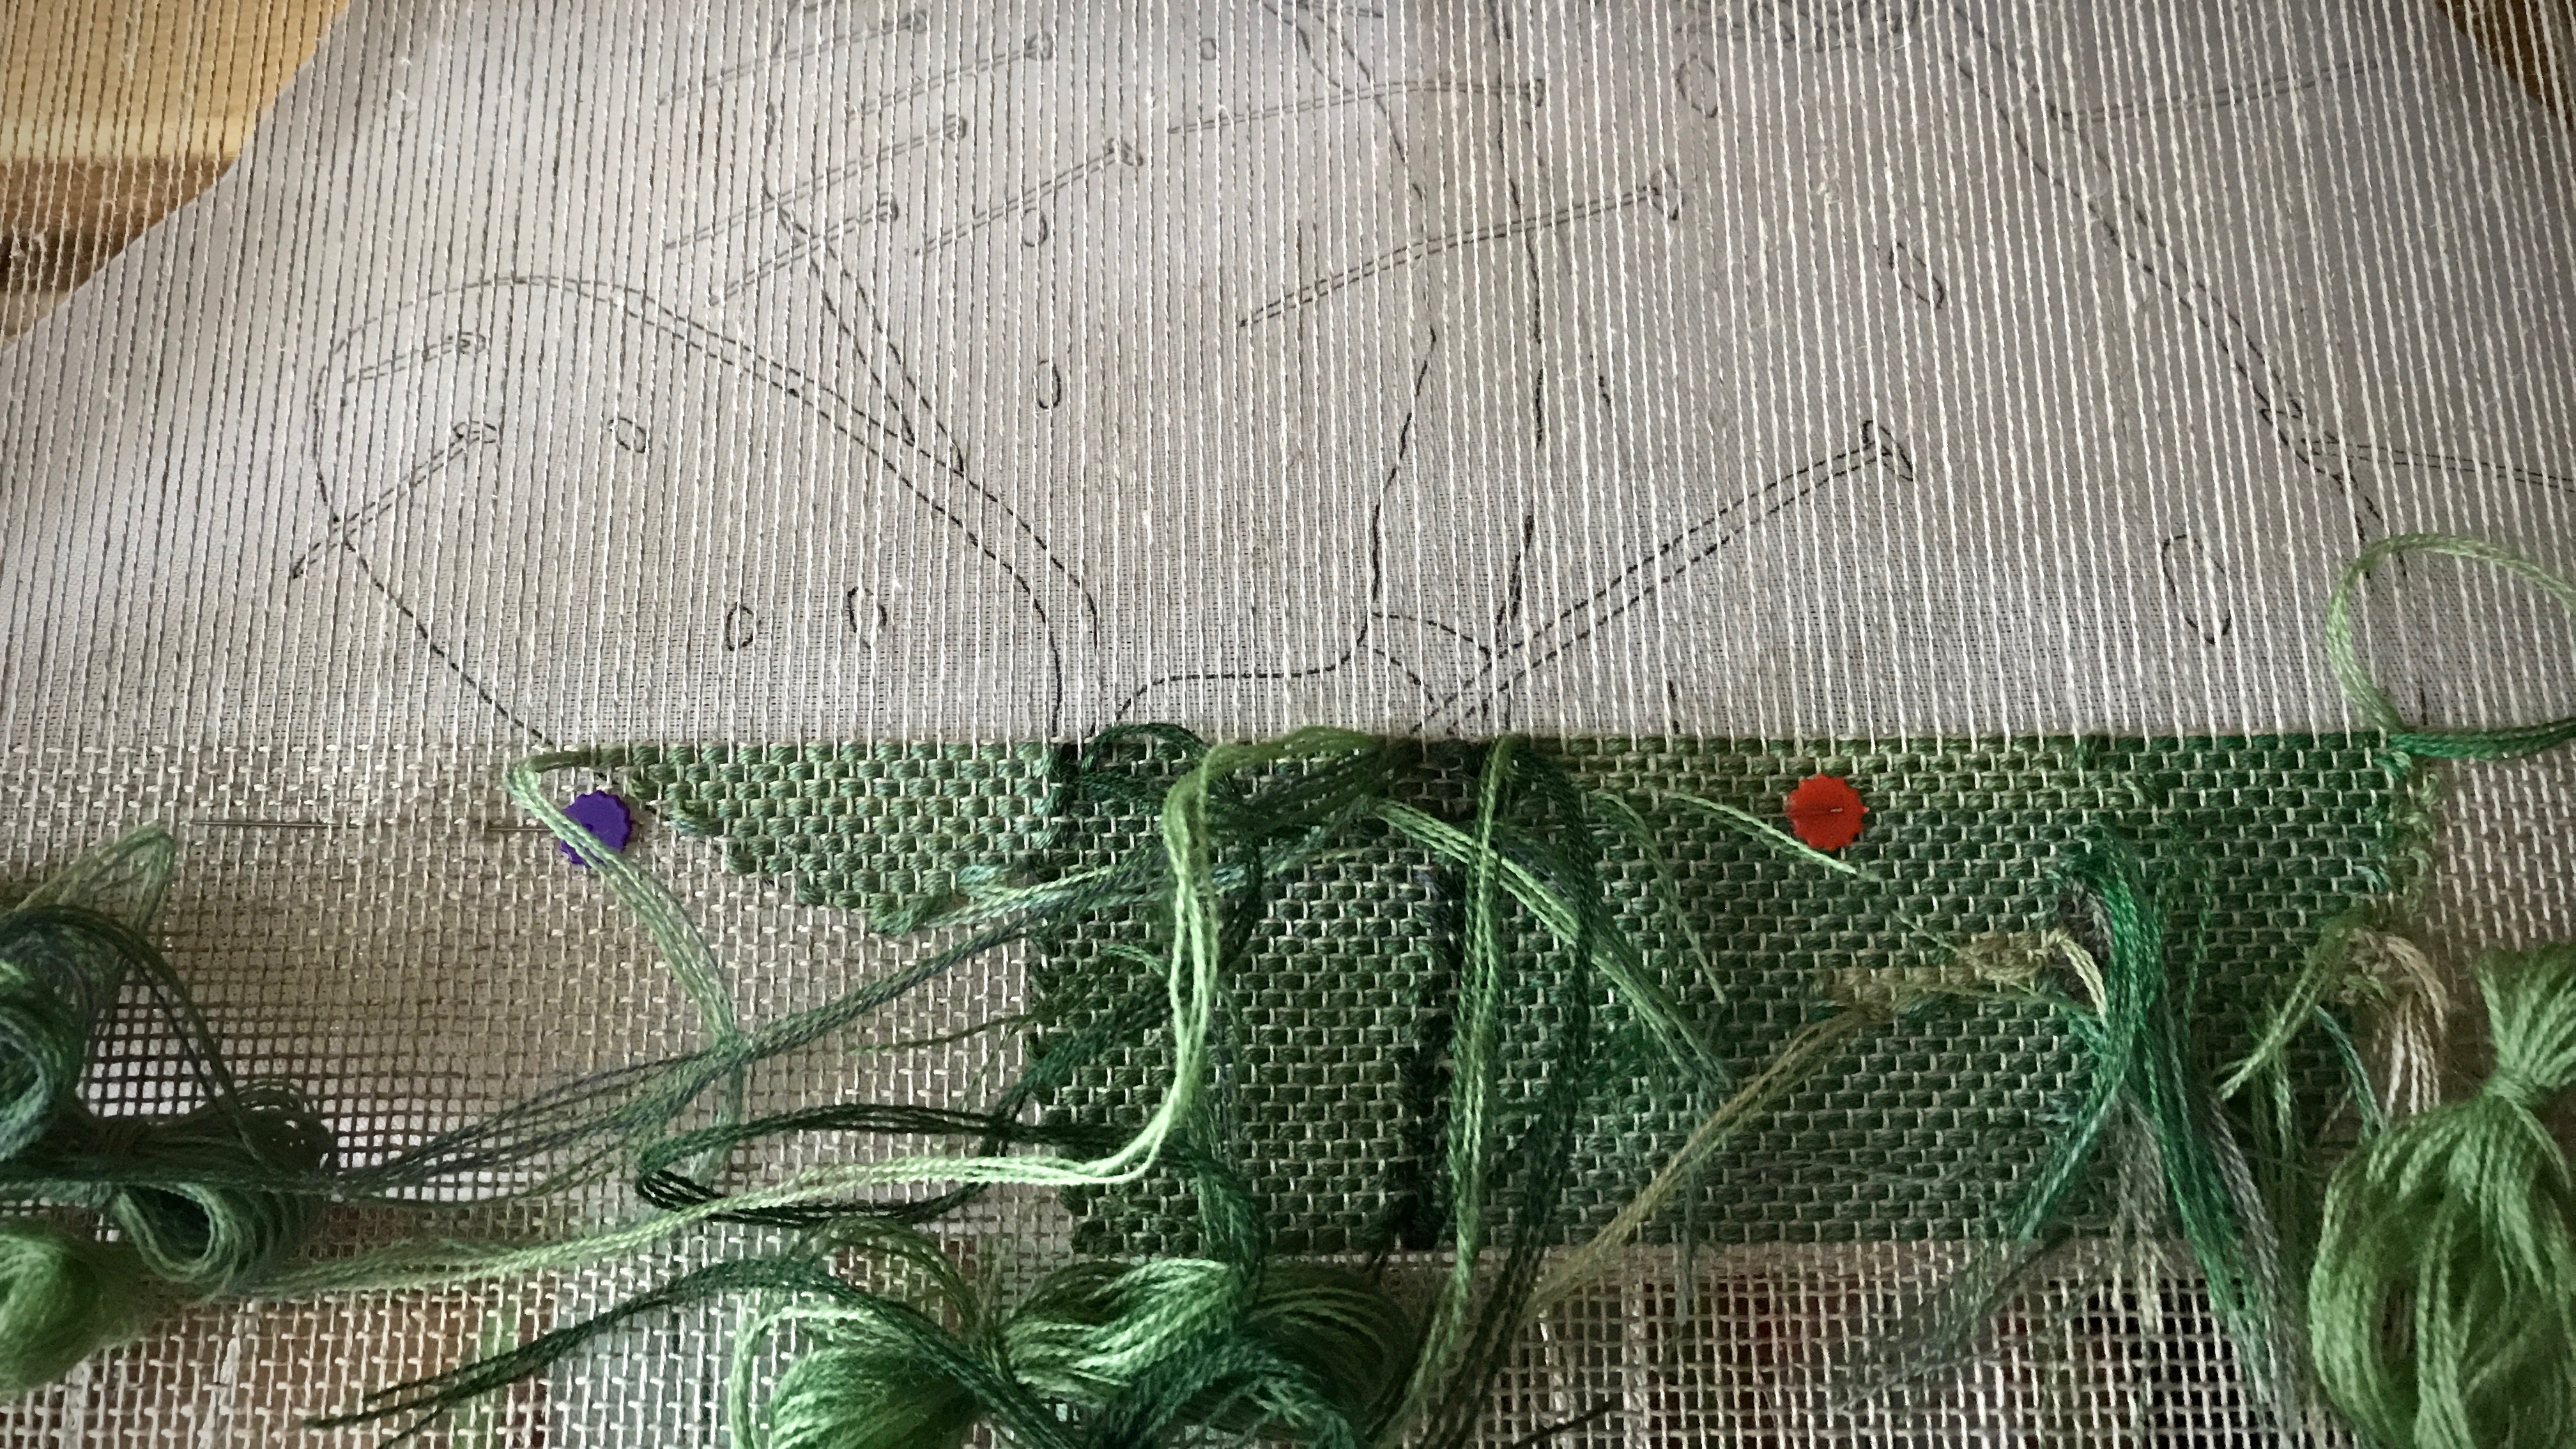
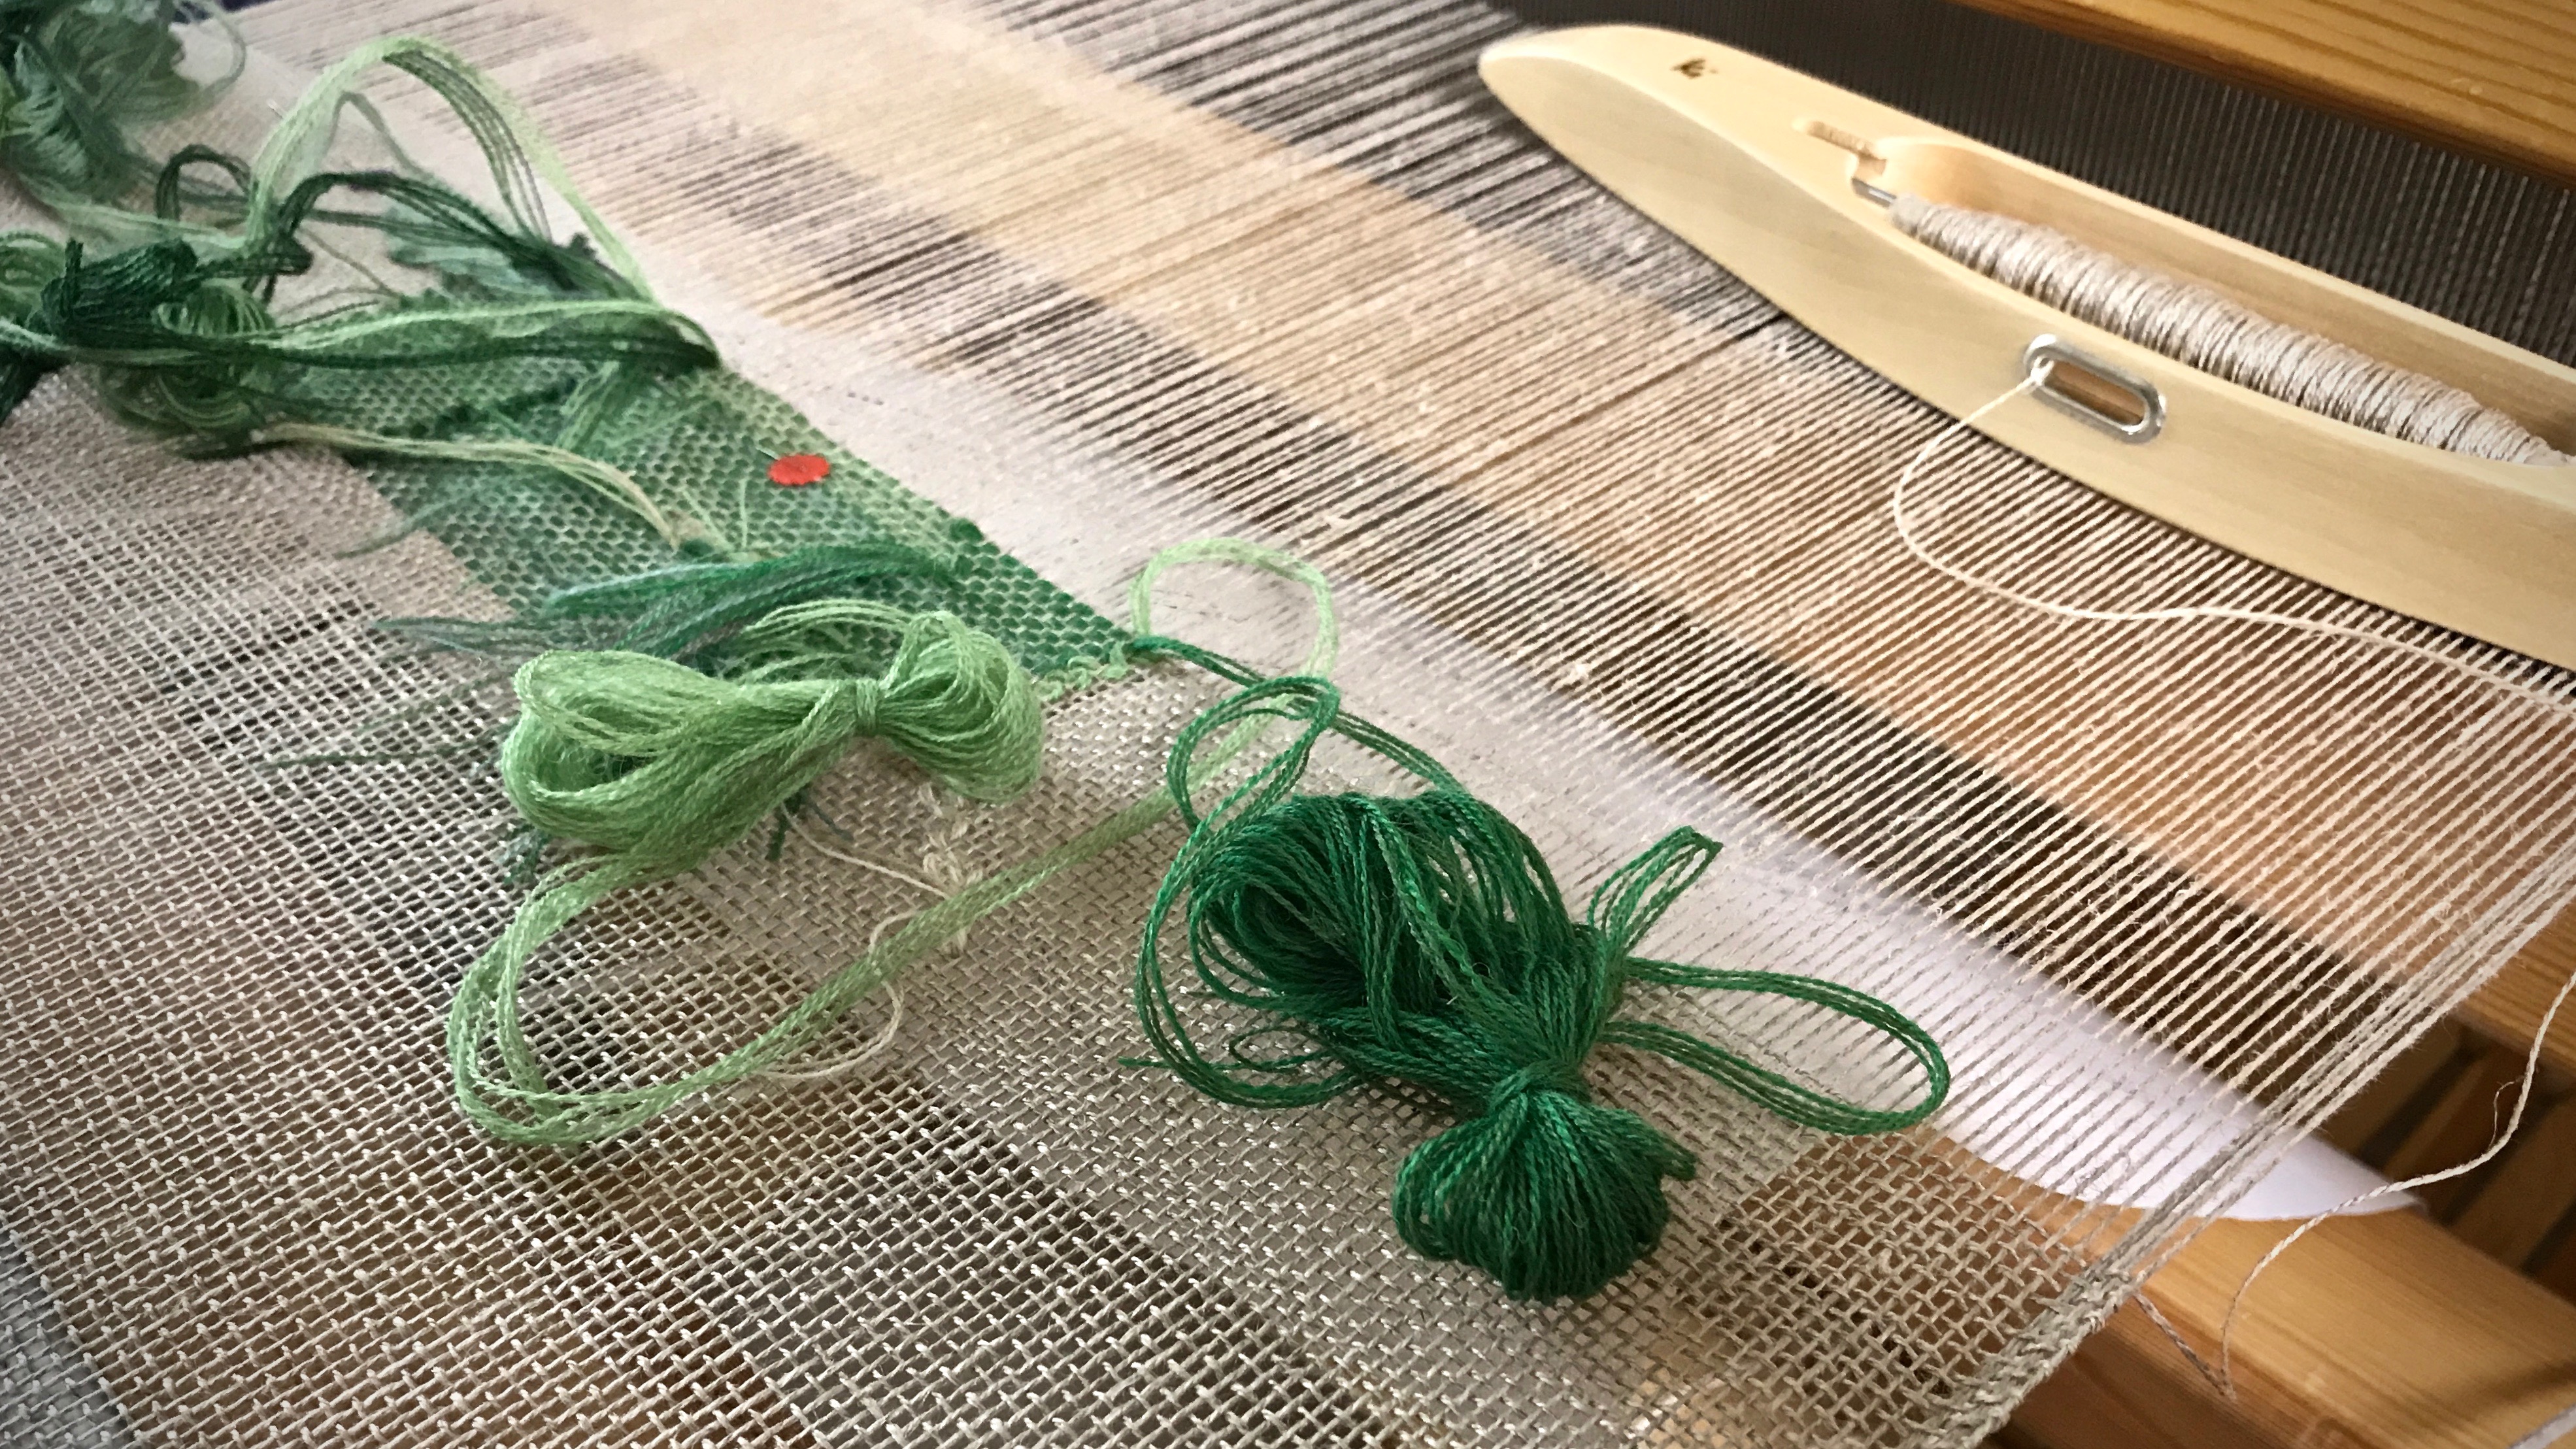
This prickly pear cactus transparency is inching along. I wait for the day when we will get to see this from the front side! Weaving from the back has its advantages, though. I am able to deal with all the weft tails as I go.
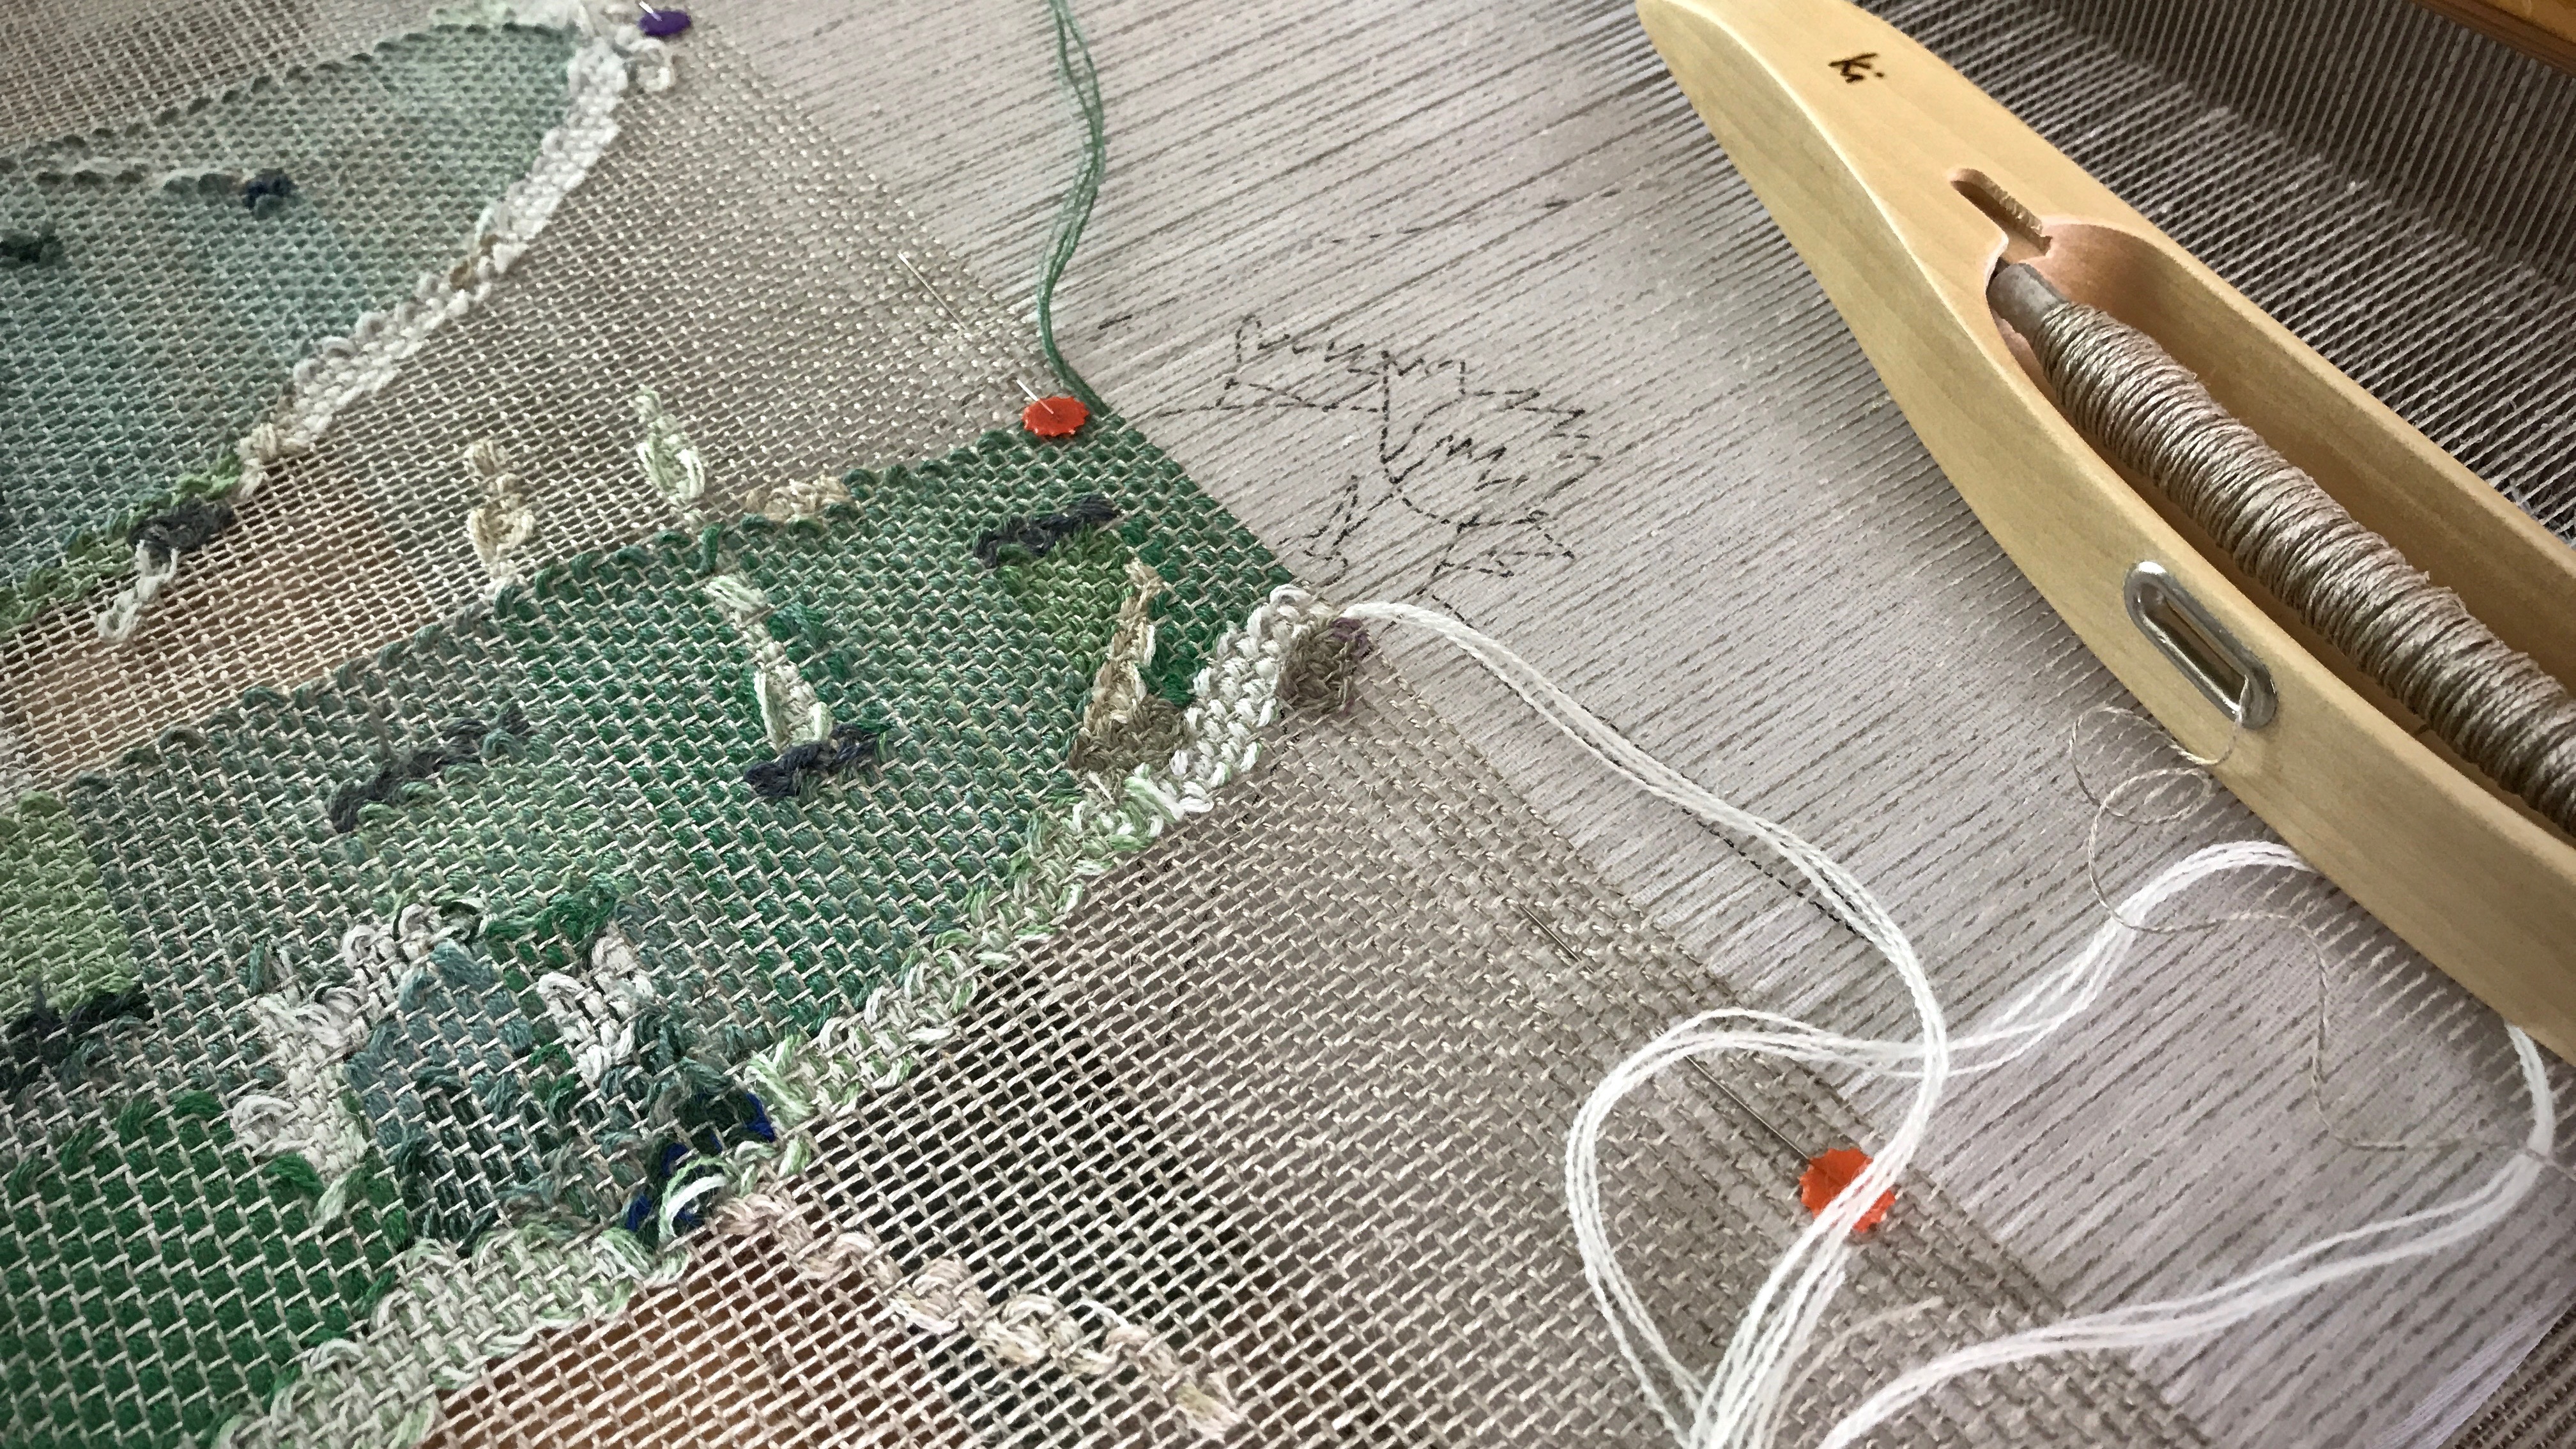
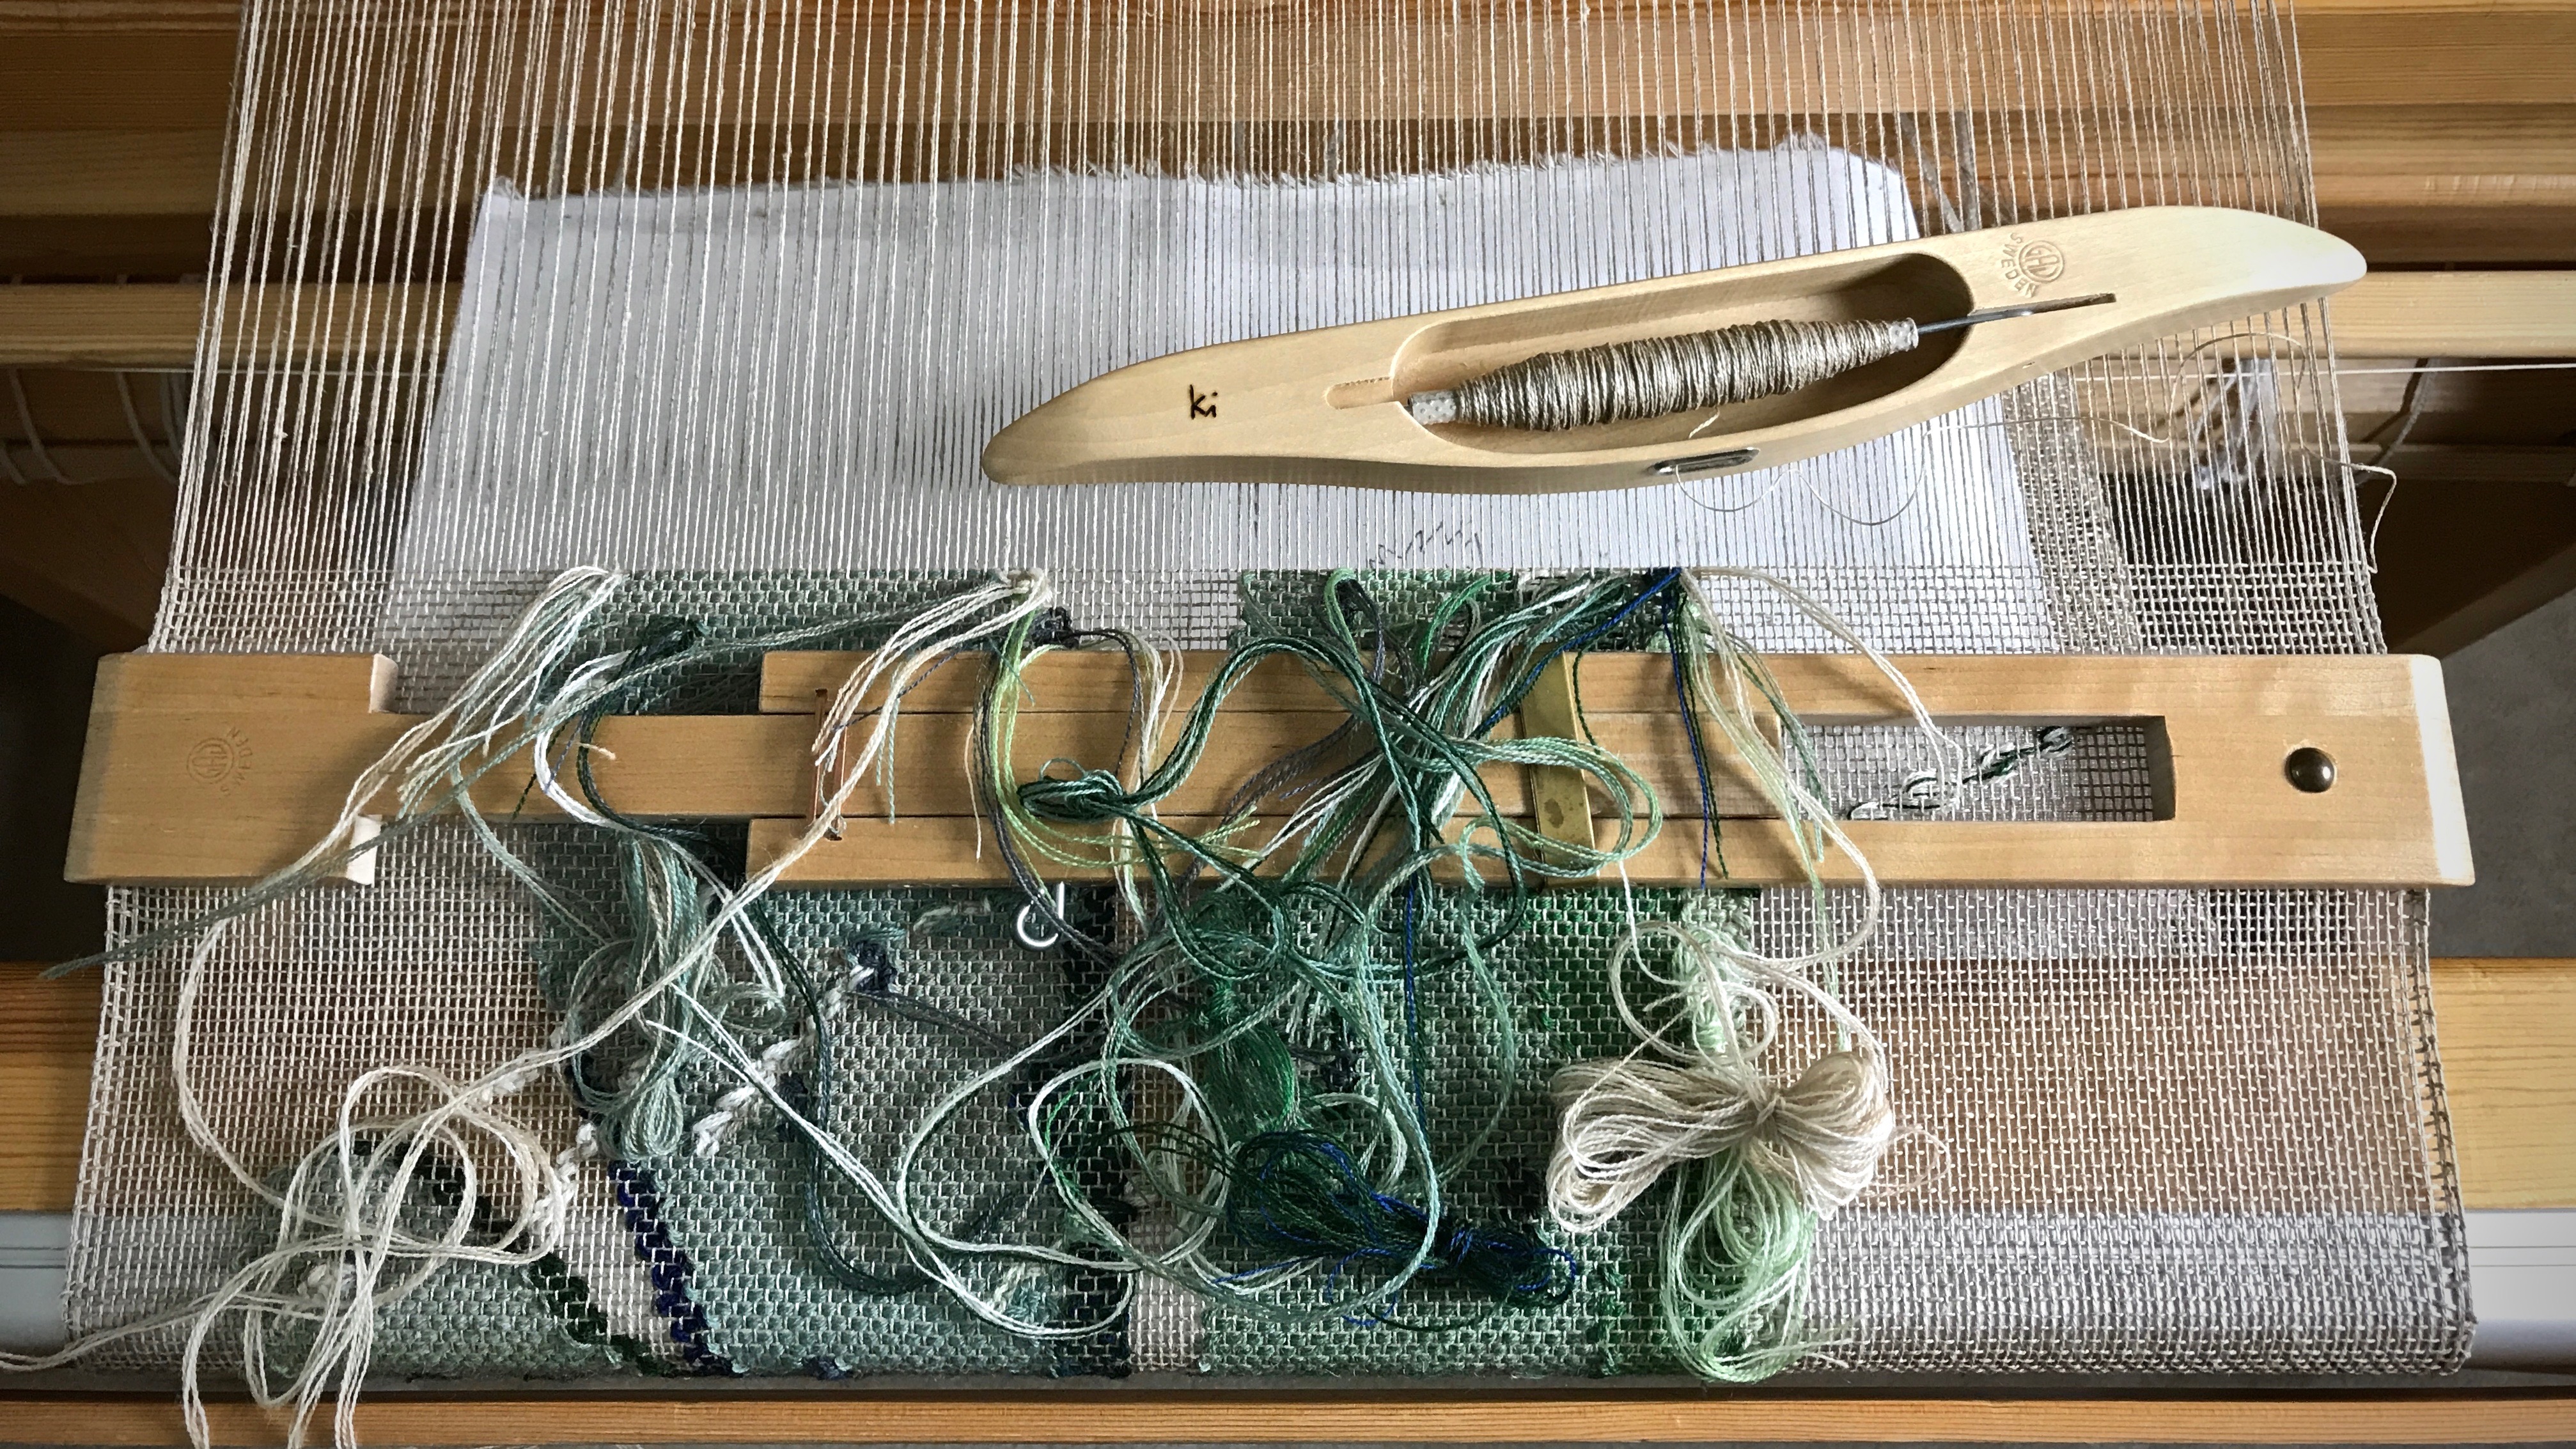
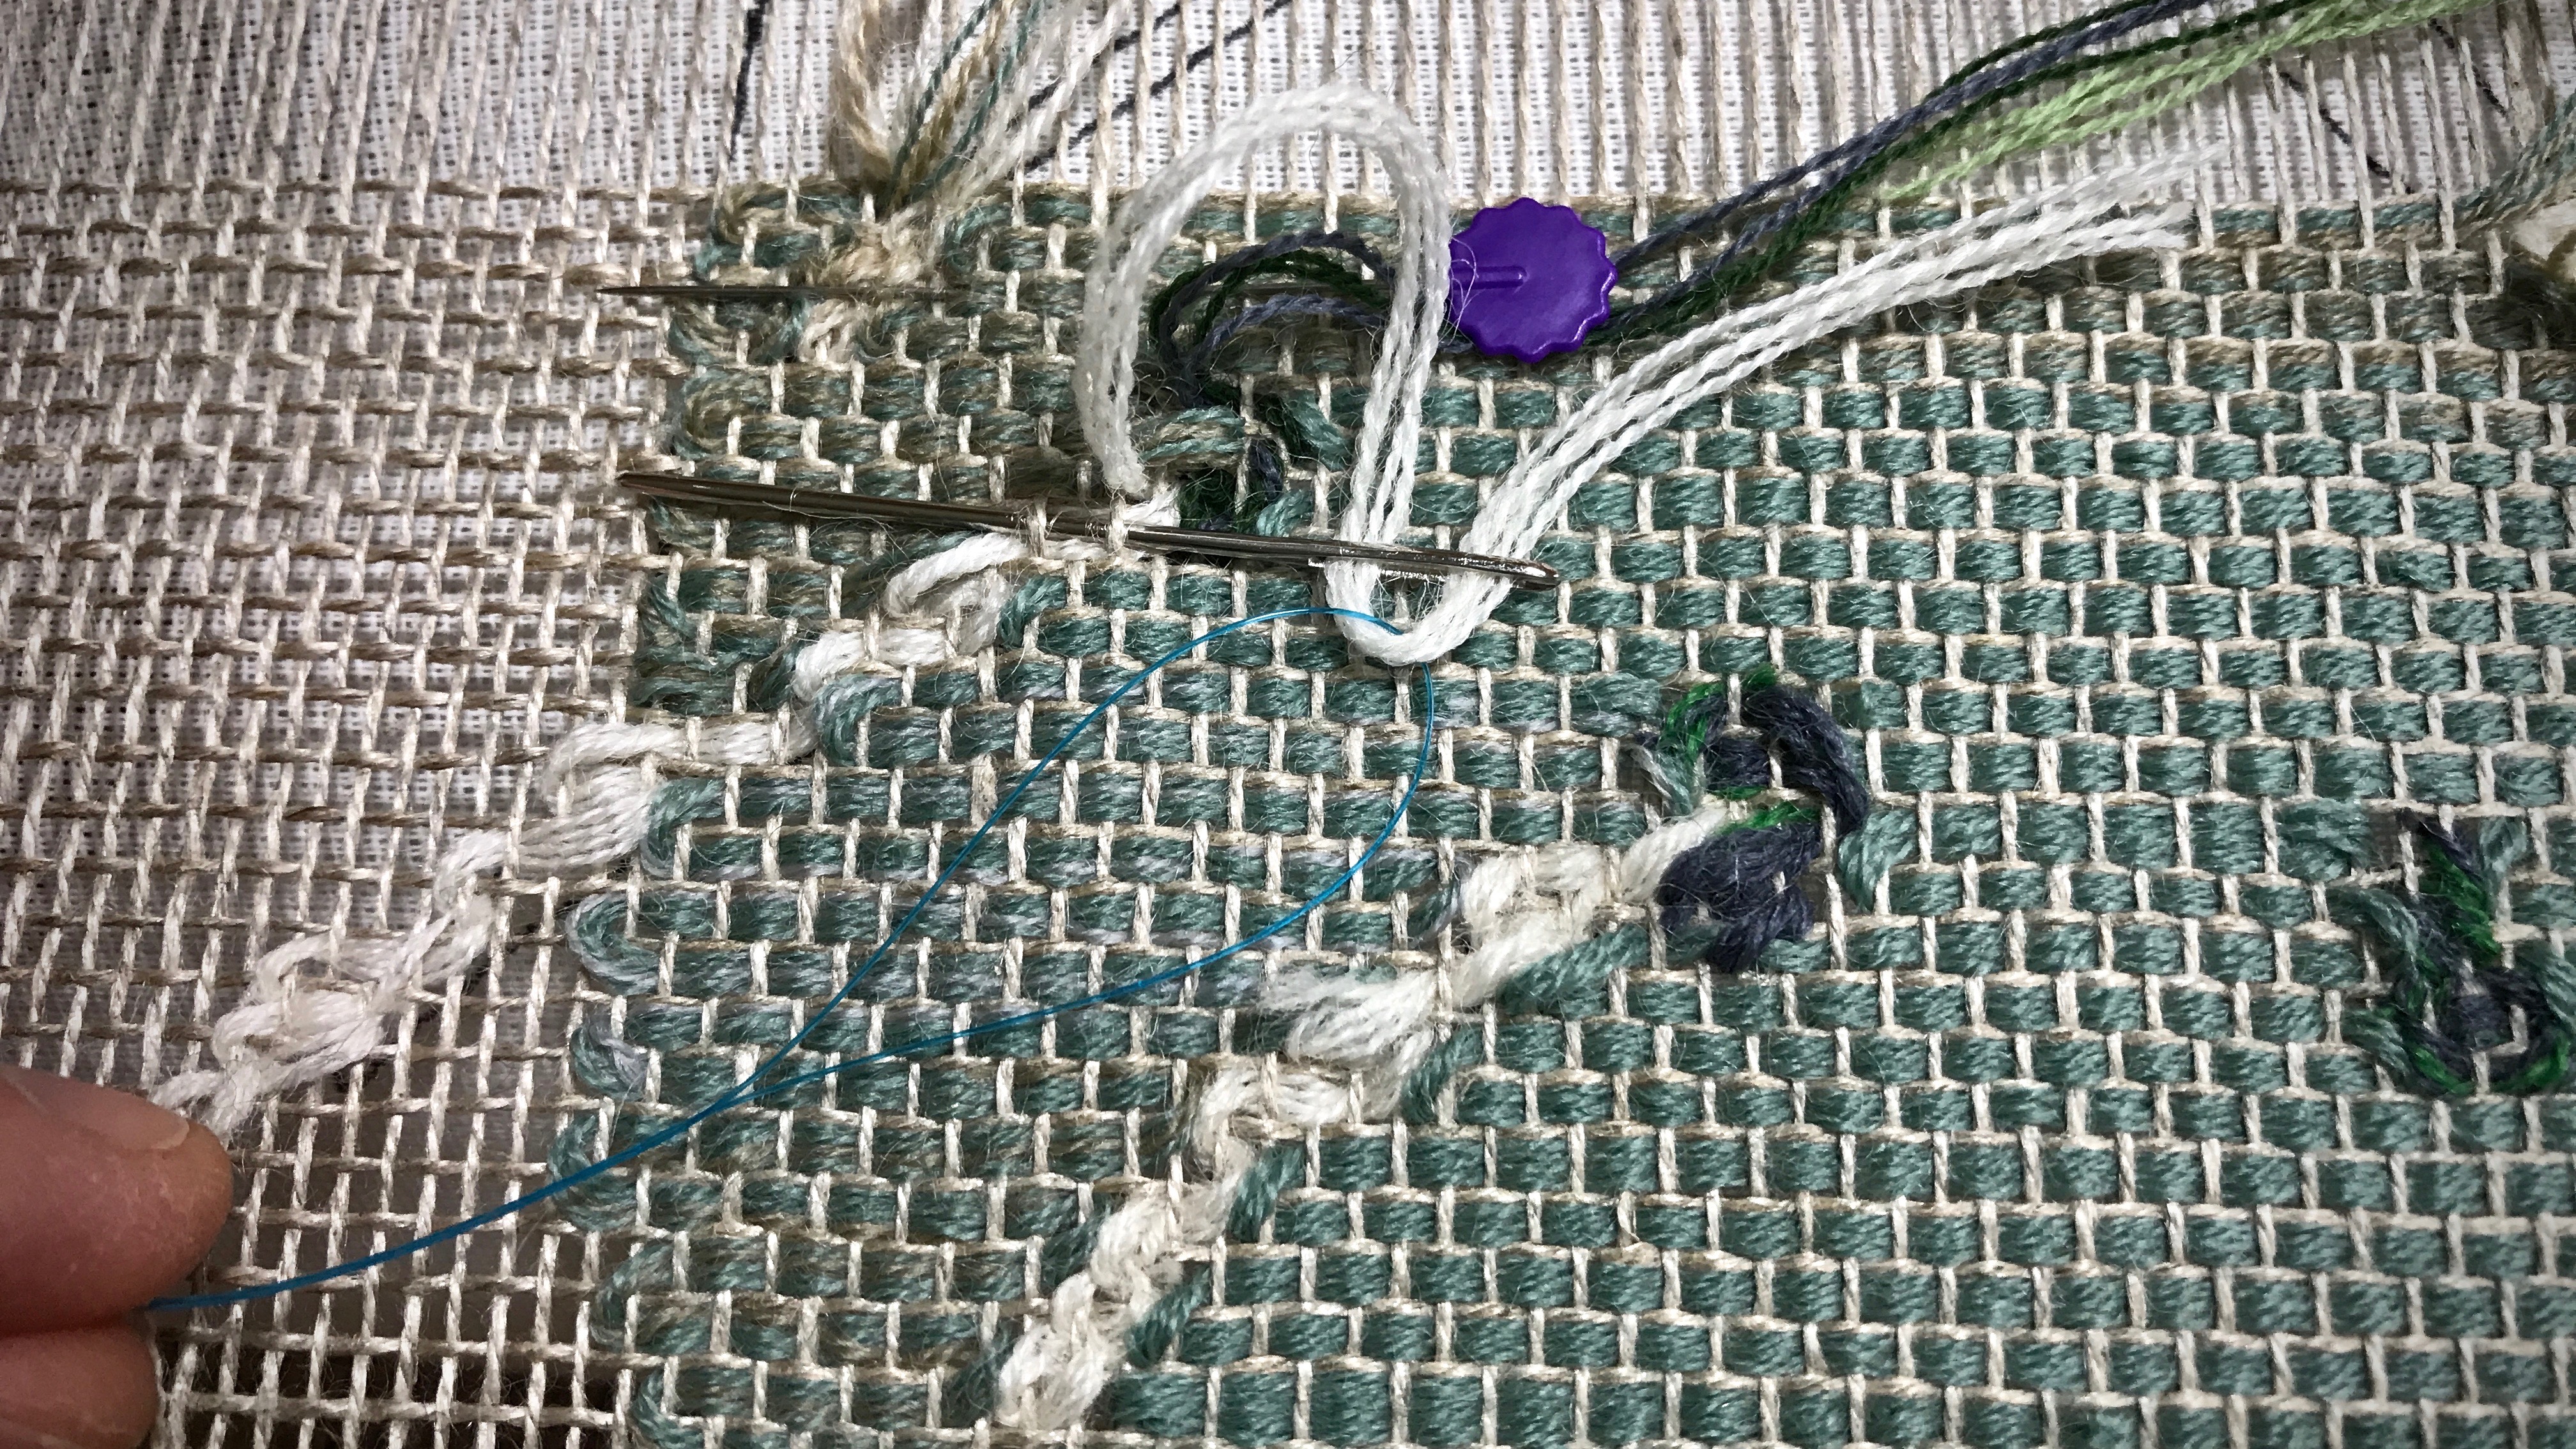
In some rows there are as many as twelve or thirteen different weft bundles. Every weft bundle has tails that are either tucked under adjacent warpends, if possible, or woven in later with a needle.
After every inch of weaving, I stop and trim weft tails. I use a blunt needle to weave loose tails in first before trimming them. This part of the process is time consuming. But I do it happily, thankful that I won’t have hours of tedious work at the end of the project.
Each pattern row is woven straight across, from left to right, with weft bundles following the lines of the cartoon underneath. The linen tabby weft lies between each pattern row.An inch-worth of weaving, with weft tails to weave in and to trim. Wefts that were spliced while weaving can be trimmed close to the fabric. Tails of weft bundles must be woven in with a needle, and then trimmed.Sometimes it works best to put the needle through warp ends first and then use a dental floss threader to help thread the weft tail bundle through the eye of the needle.Cactus keeps growing, inch by inch!
Give thanks. It is right and it is satisfying to give thanks to the Lord. The little things that we get to take care of now, daily inching along, are reminders of the big work in progress that we are in. Eventually, we will see the front side. And what a joy that will be!
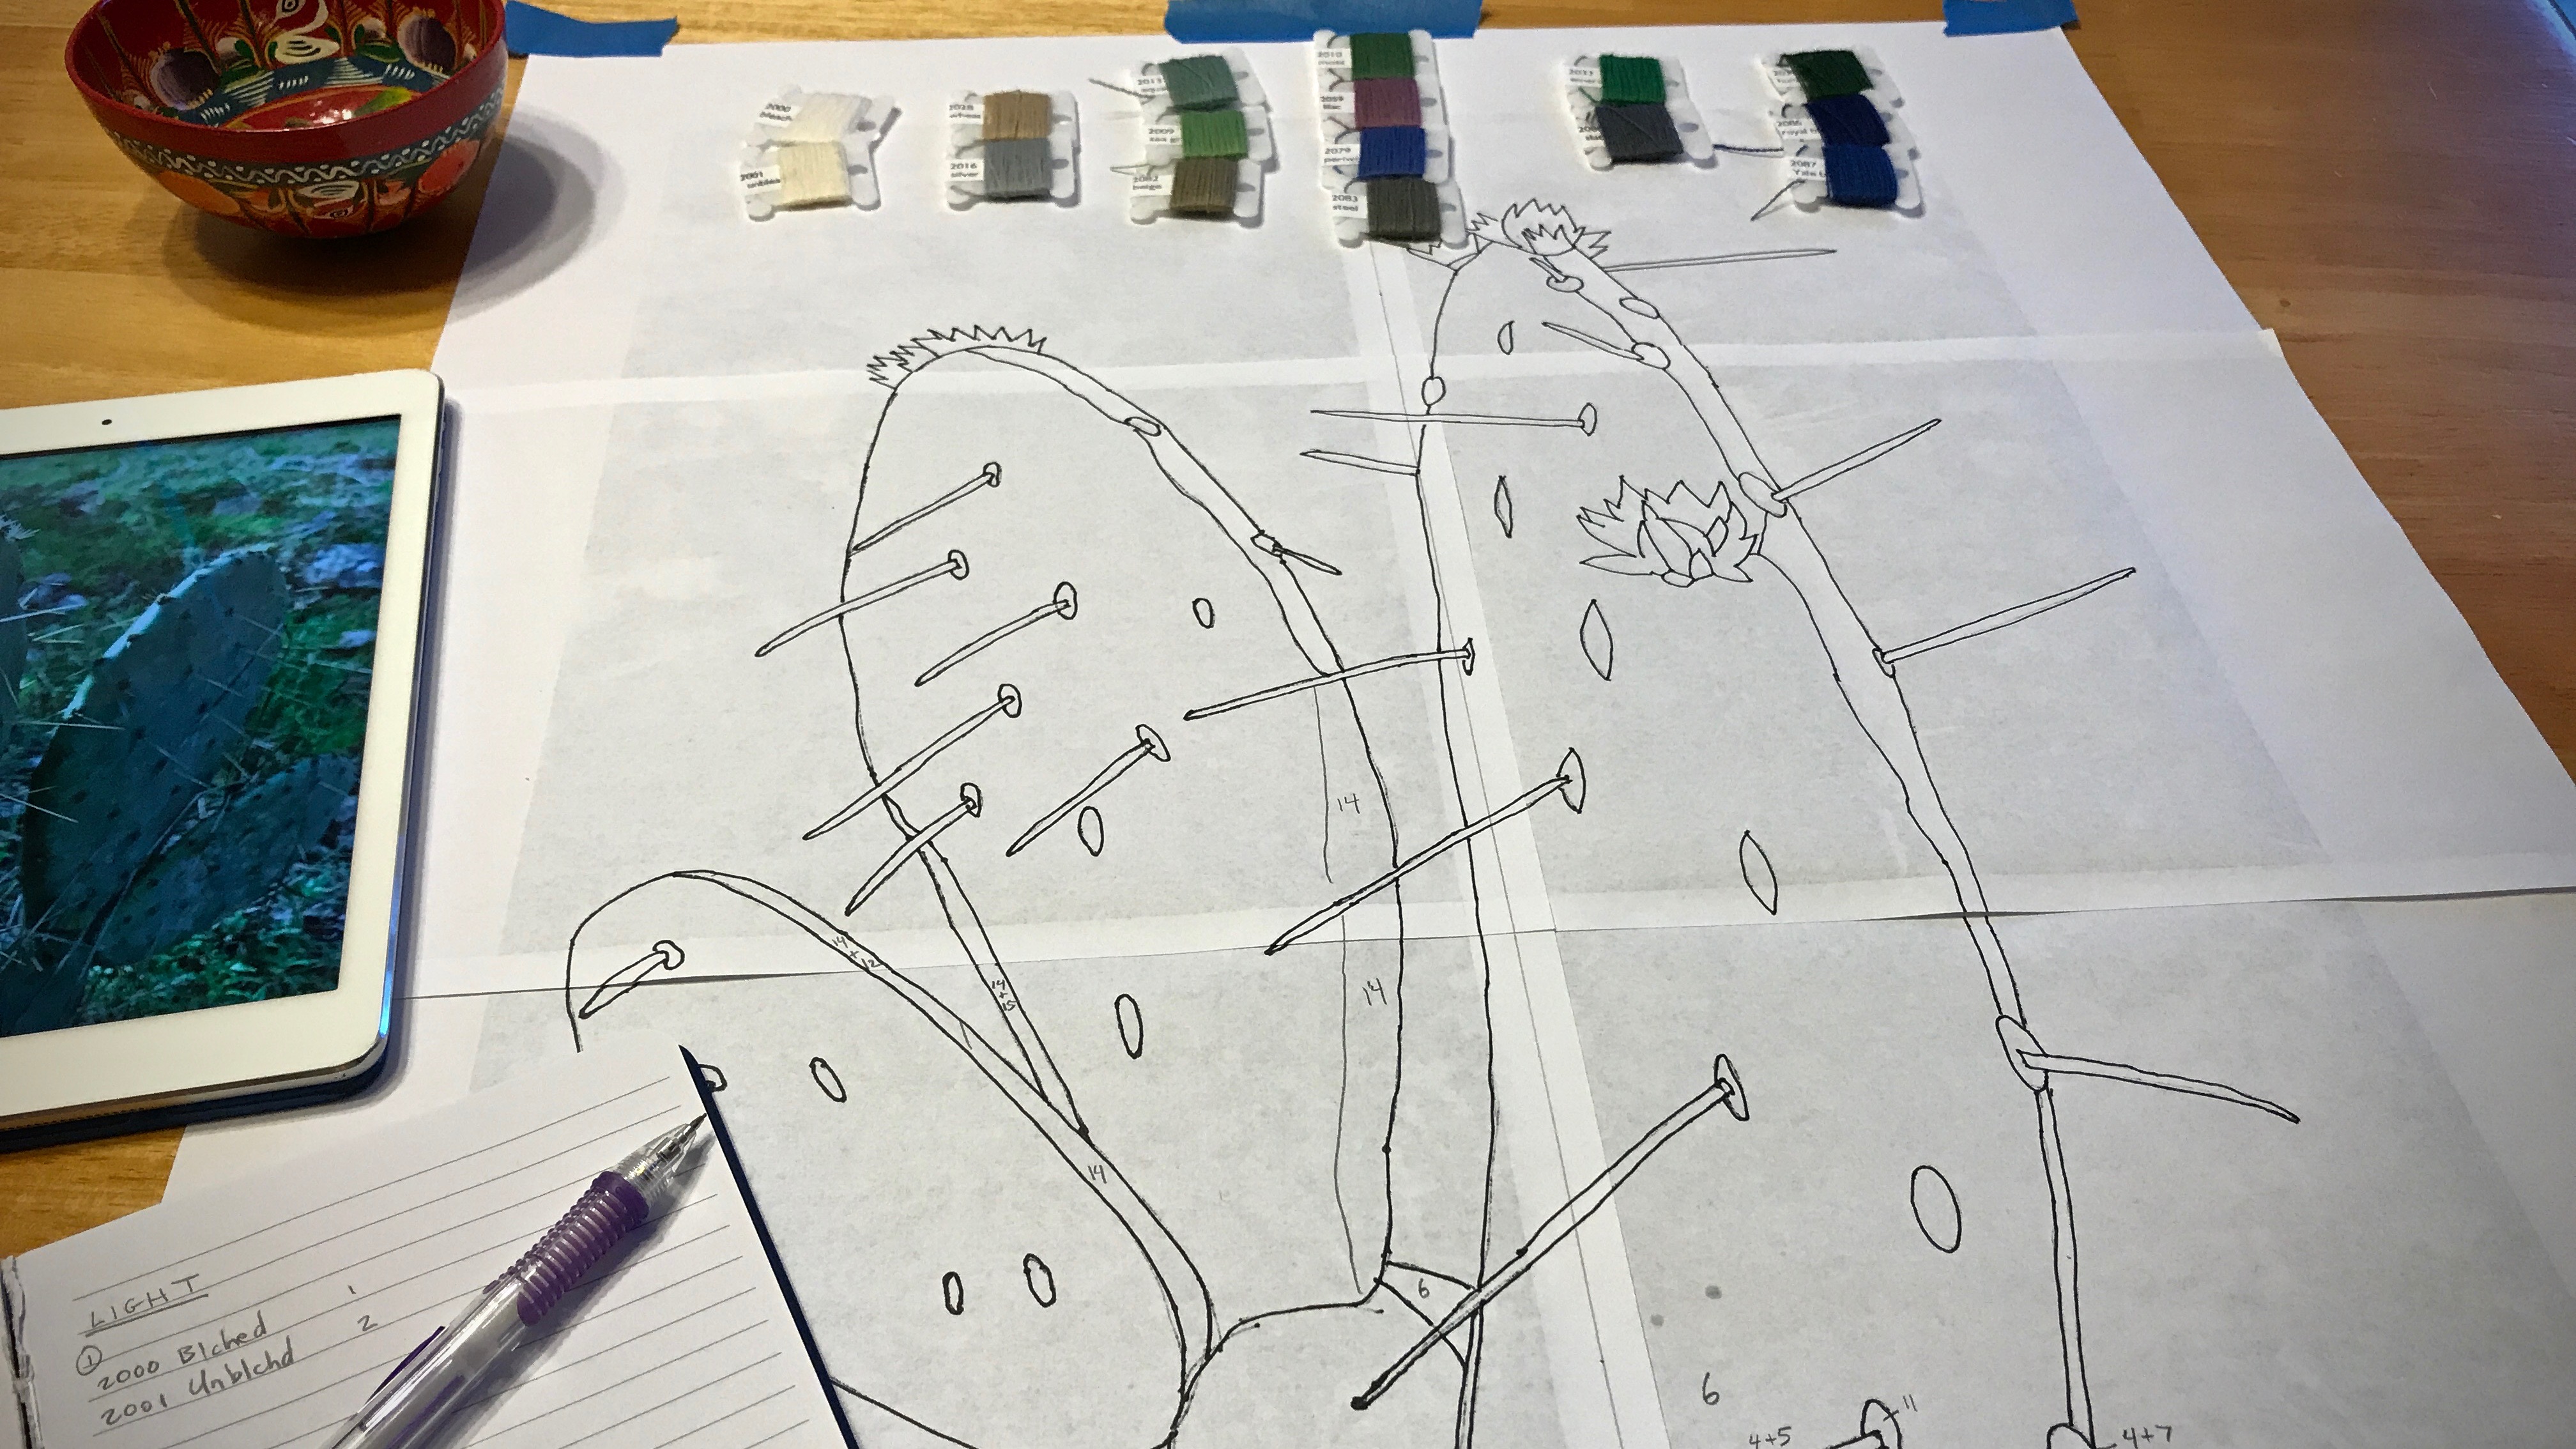
I found a subject for my next transparency. It’s a prickly pear cactus in Texas hill country. Weaving this cactus is a fantastic experience! I started with a photograph, from which I made a cartoon. And I have an outline that shows where to place each color. It’s all based on the timeless beauty of colors in nature. I’m hopeful that when light shines through the final woven transparency we will see a likeness of the original cactus.
Prickly Pear Cactus in the front yard of our Texas hill country home.
Make a Cartoon
Crop and enlarge the photo. (I use Acrobat Reader to enlarge and print in multiple pages, and then tape the pages together.)
Outline the main lines of the picture.
Turn the enlarged picture over and draw the traced lines on the back to have the reverse image. (This transparency is woven from the back.)
Trace the line drawing onto a piece of buckram to use as the cartoon.
Draw a vertical dashed line down the center of the buckram cartoon.
Pin the cartoon under the weaving, lining up the center line on the cartoon with the center warpend. Move the pins, one at a time, before advancing the warp each time.
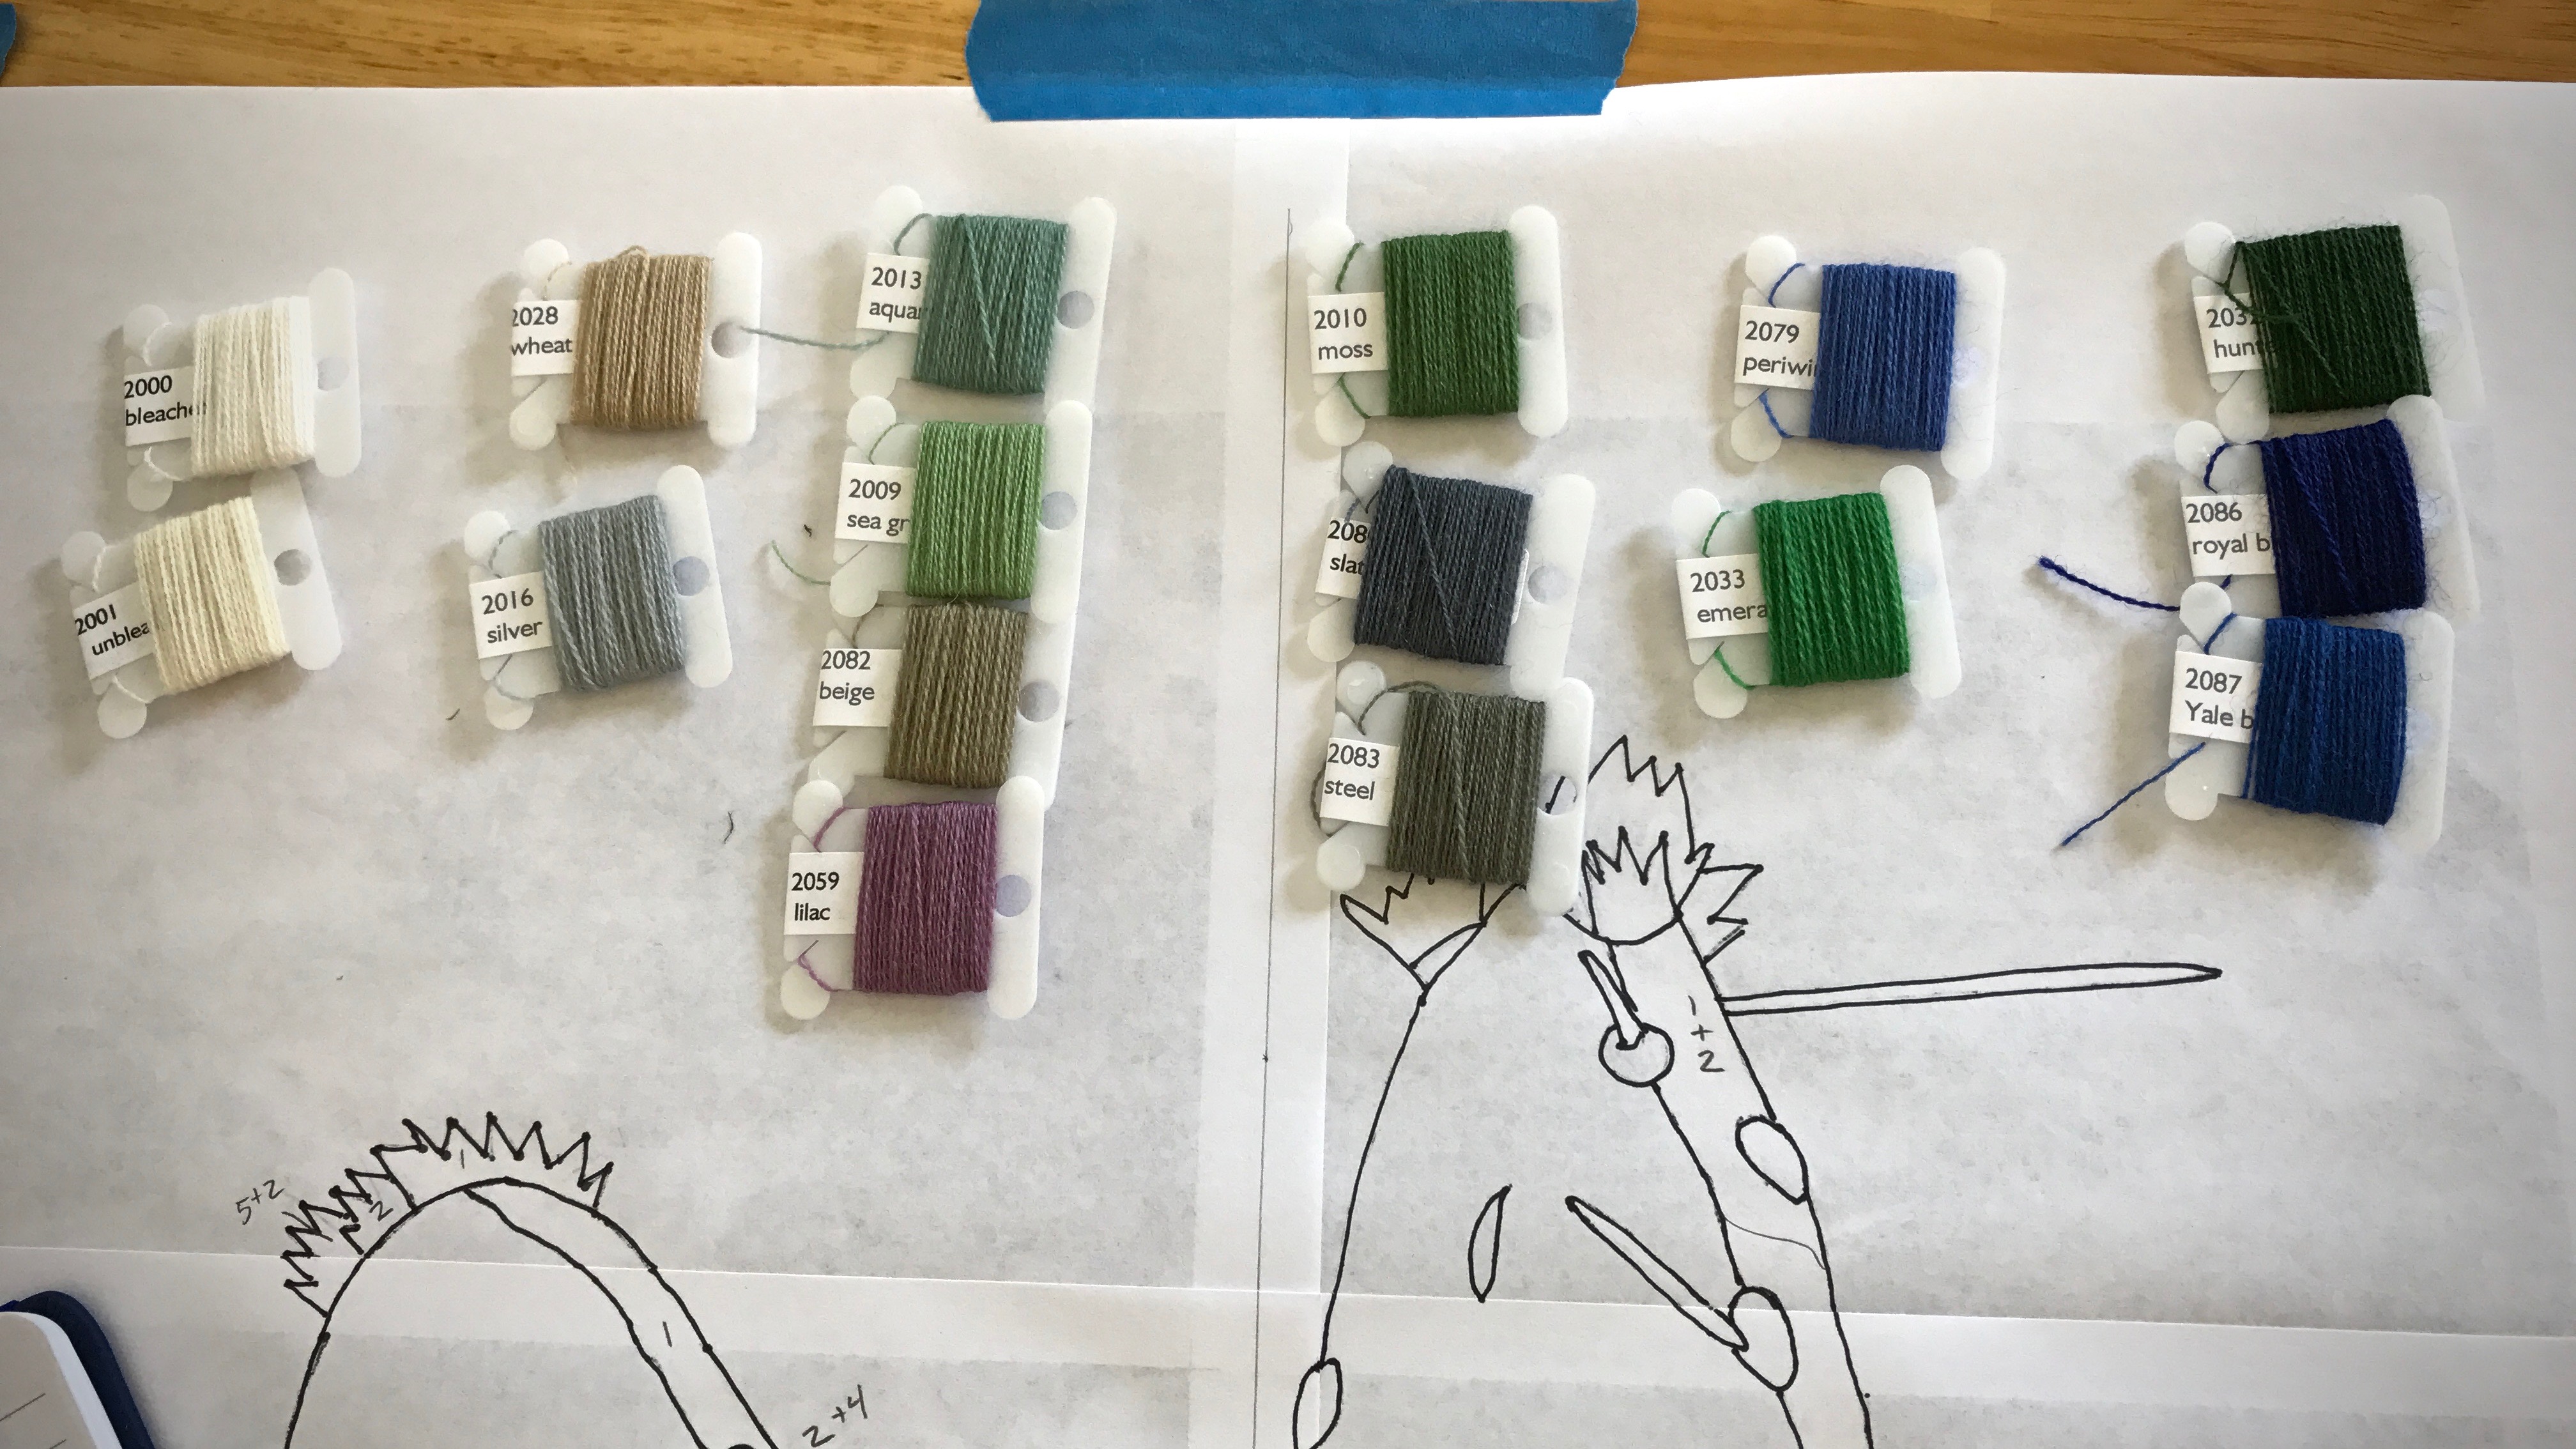
Color Selection
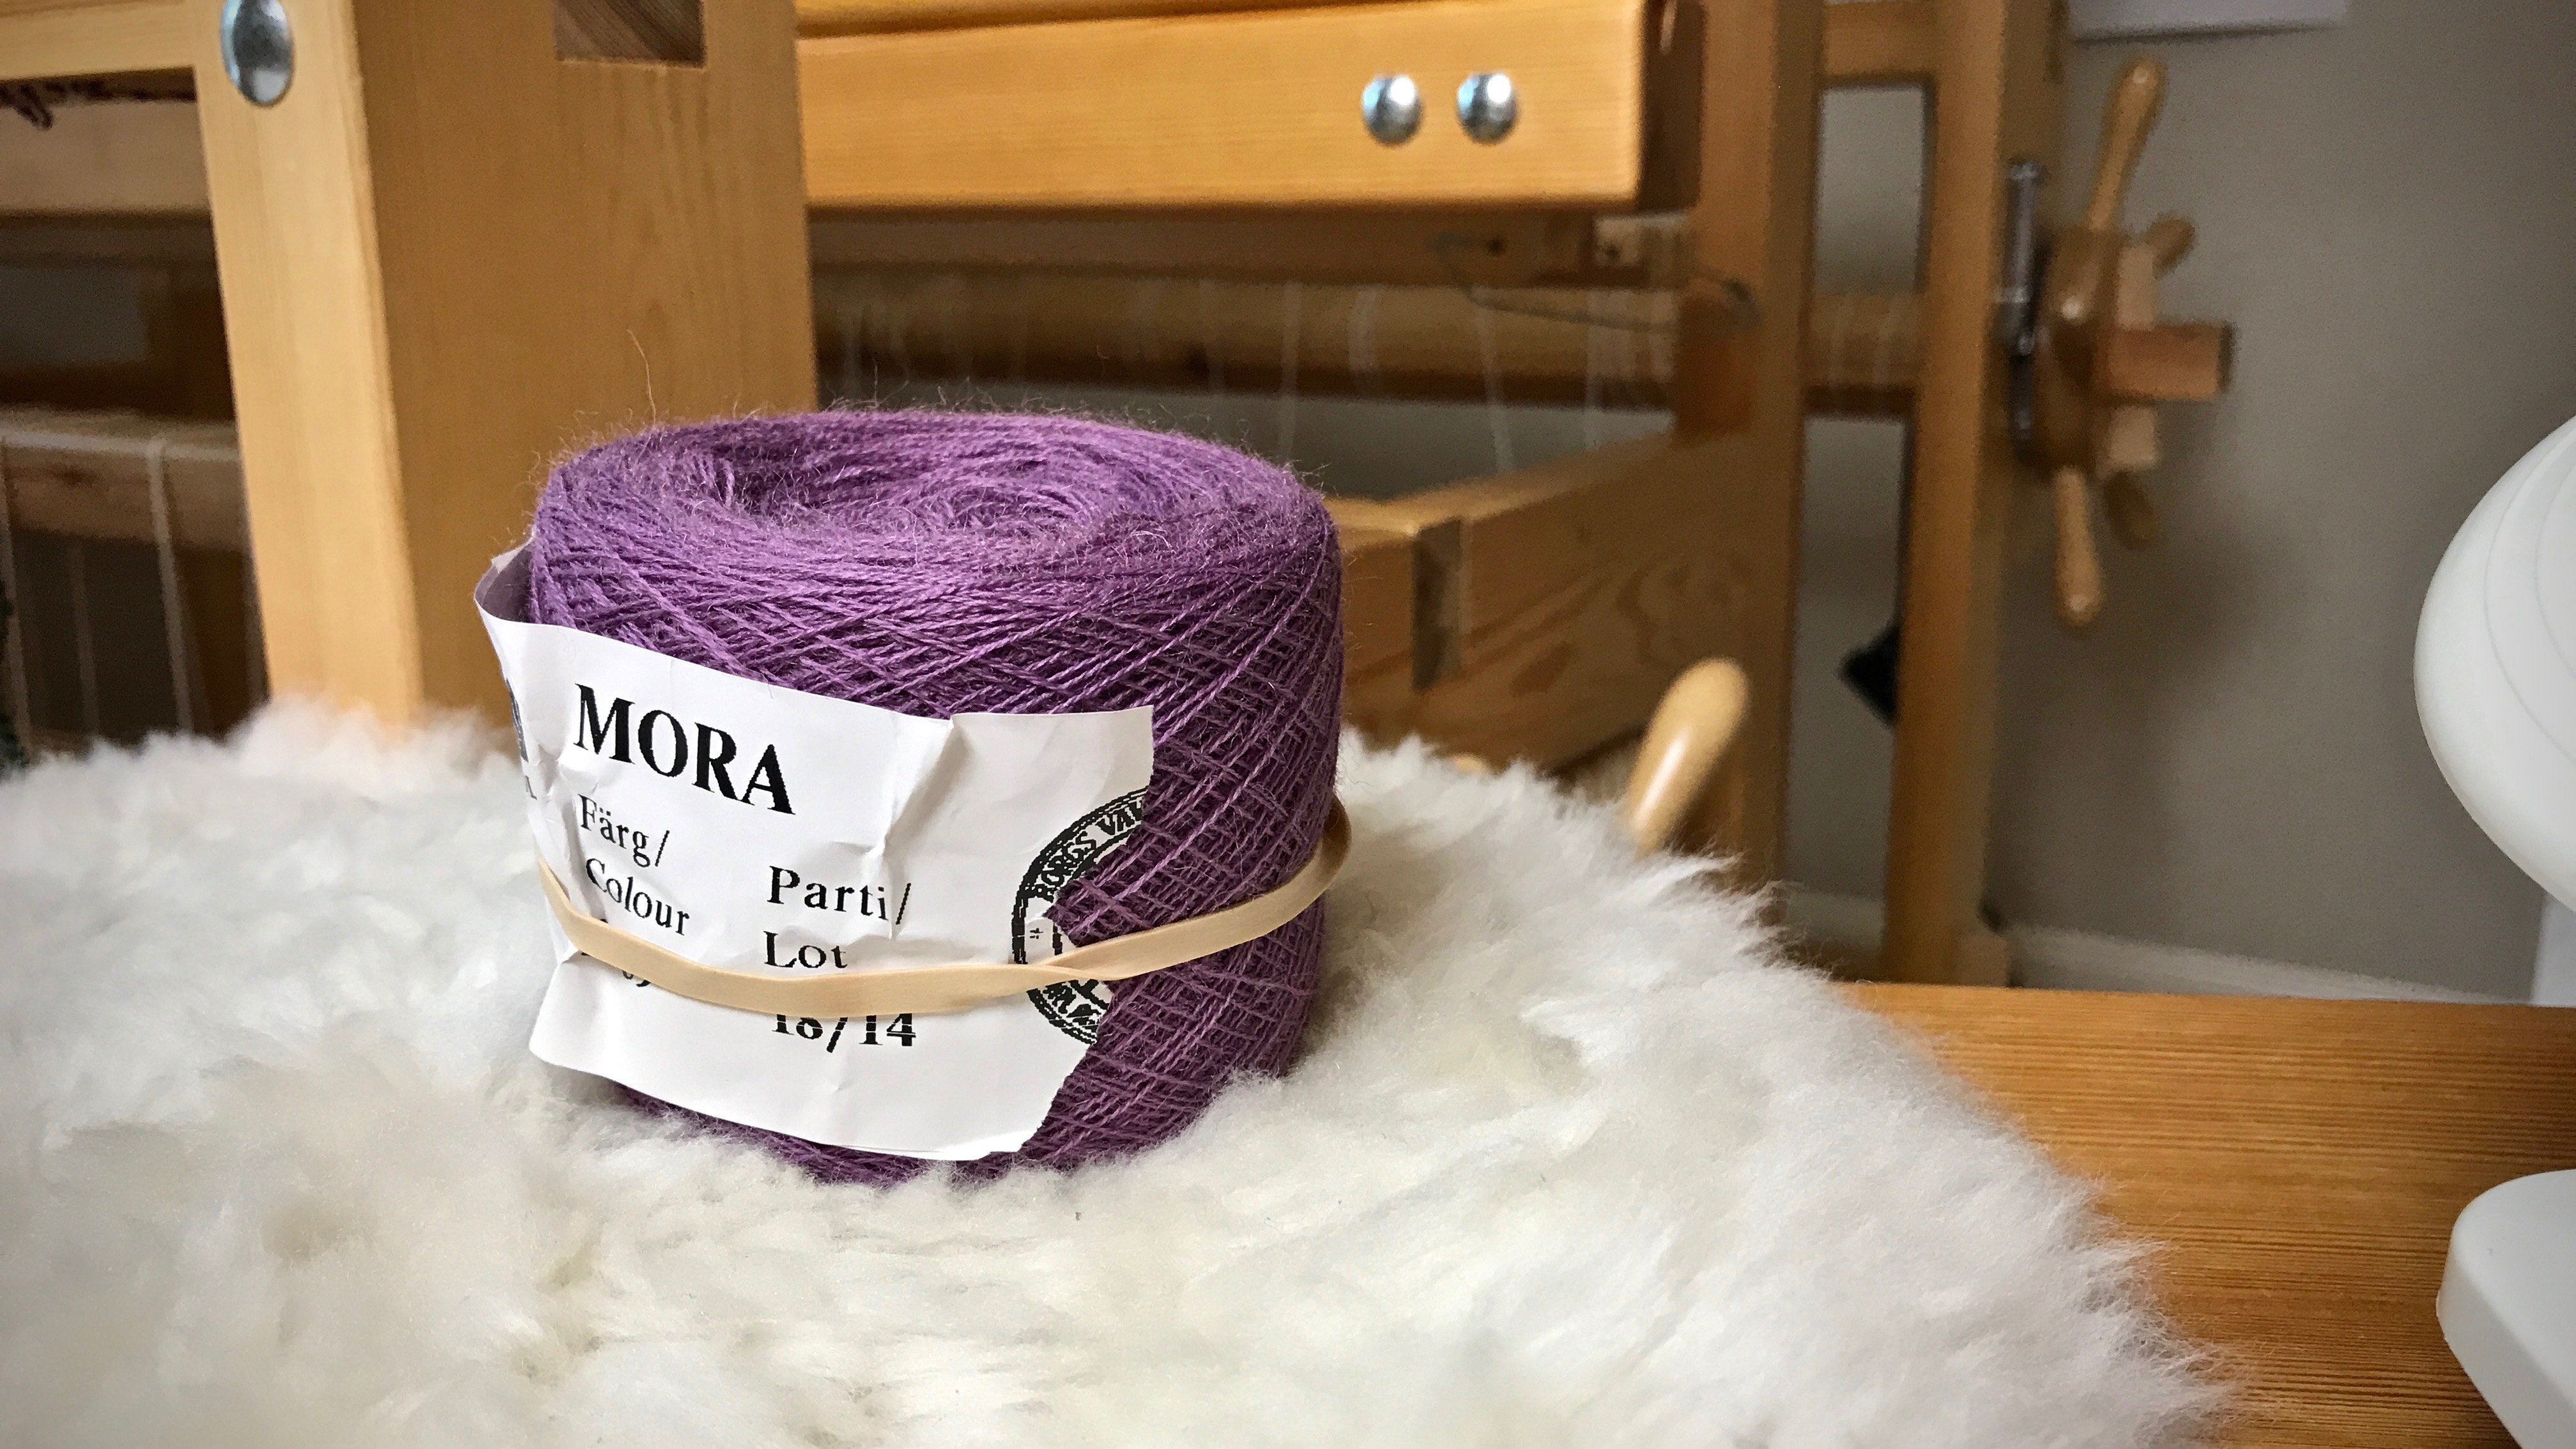
Use the photograph to select yarn colors for the transparency. (I used the iPad to view the photo, and selected sixteen shades of 20/2 Mora wool.)
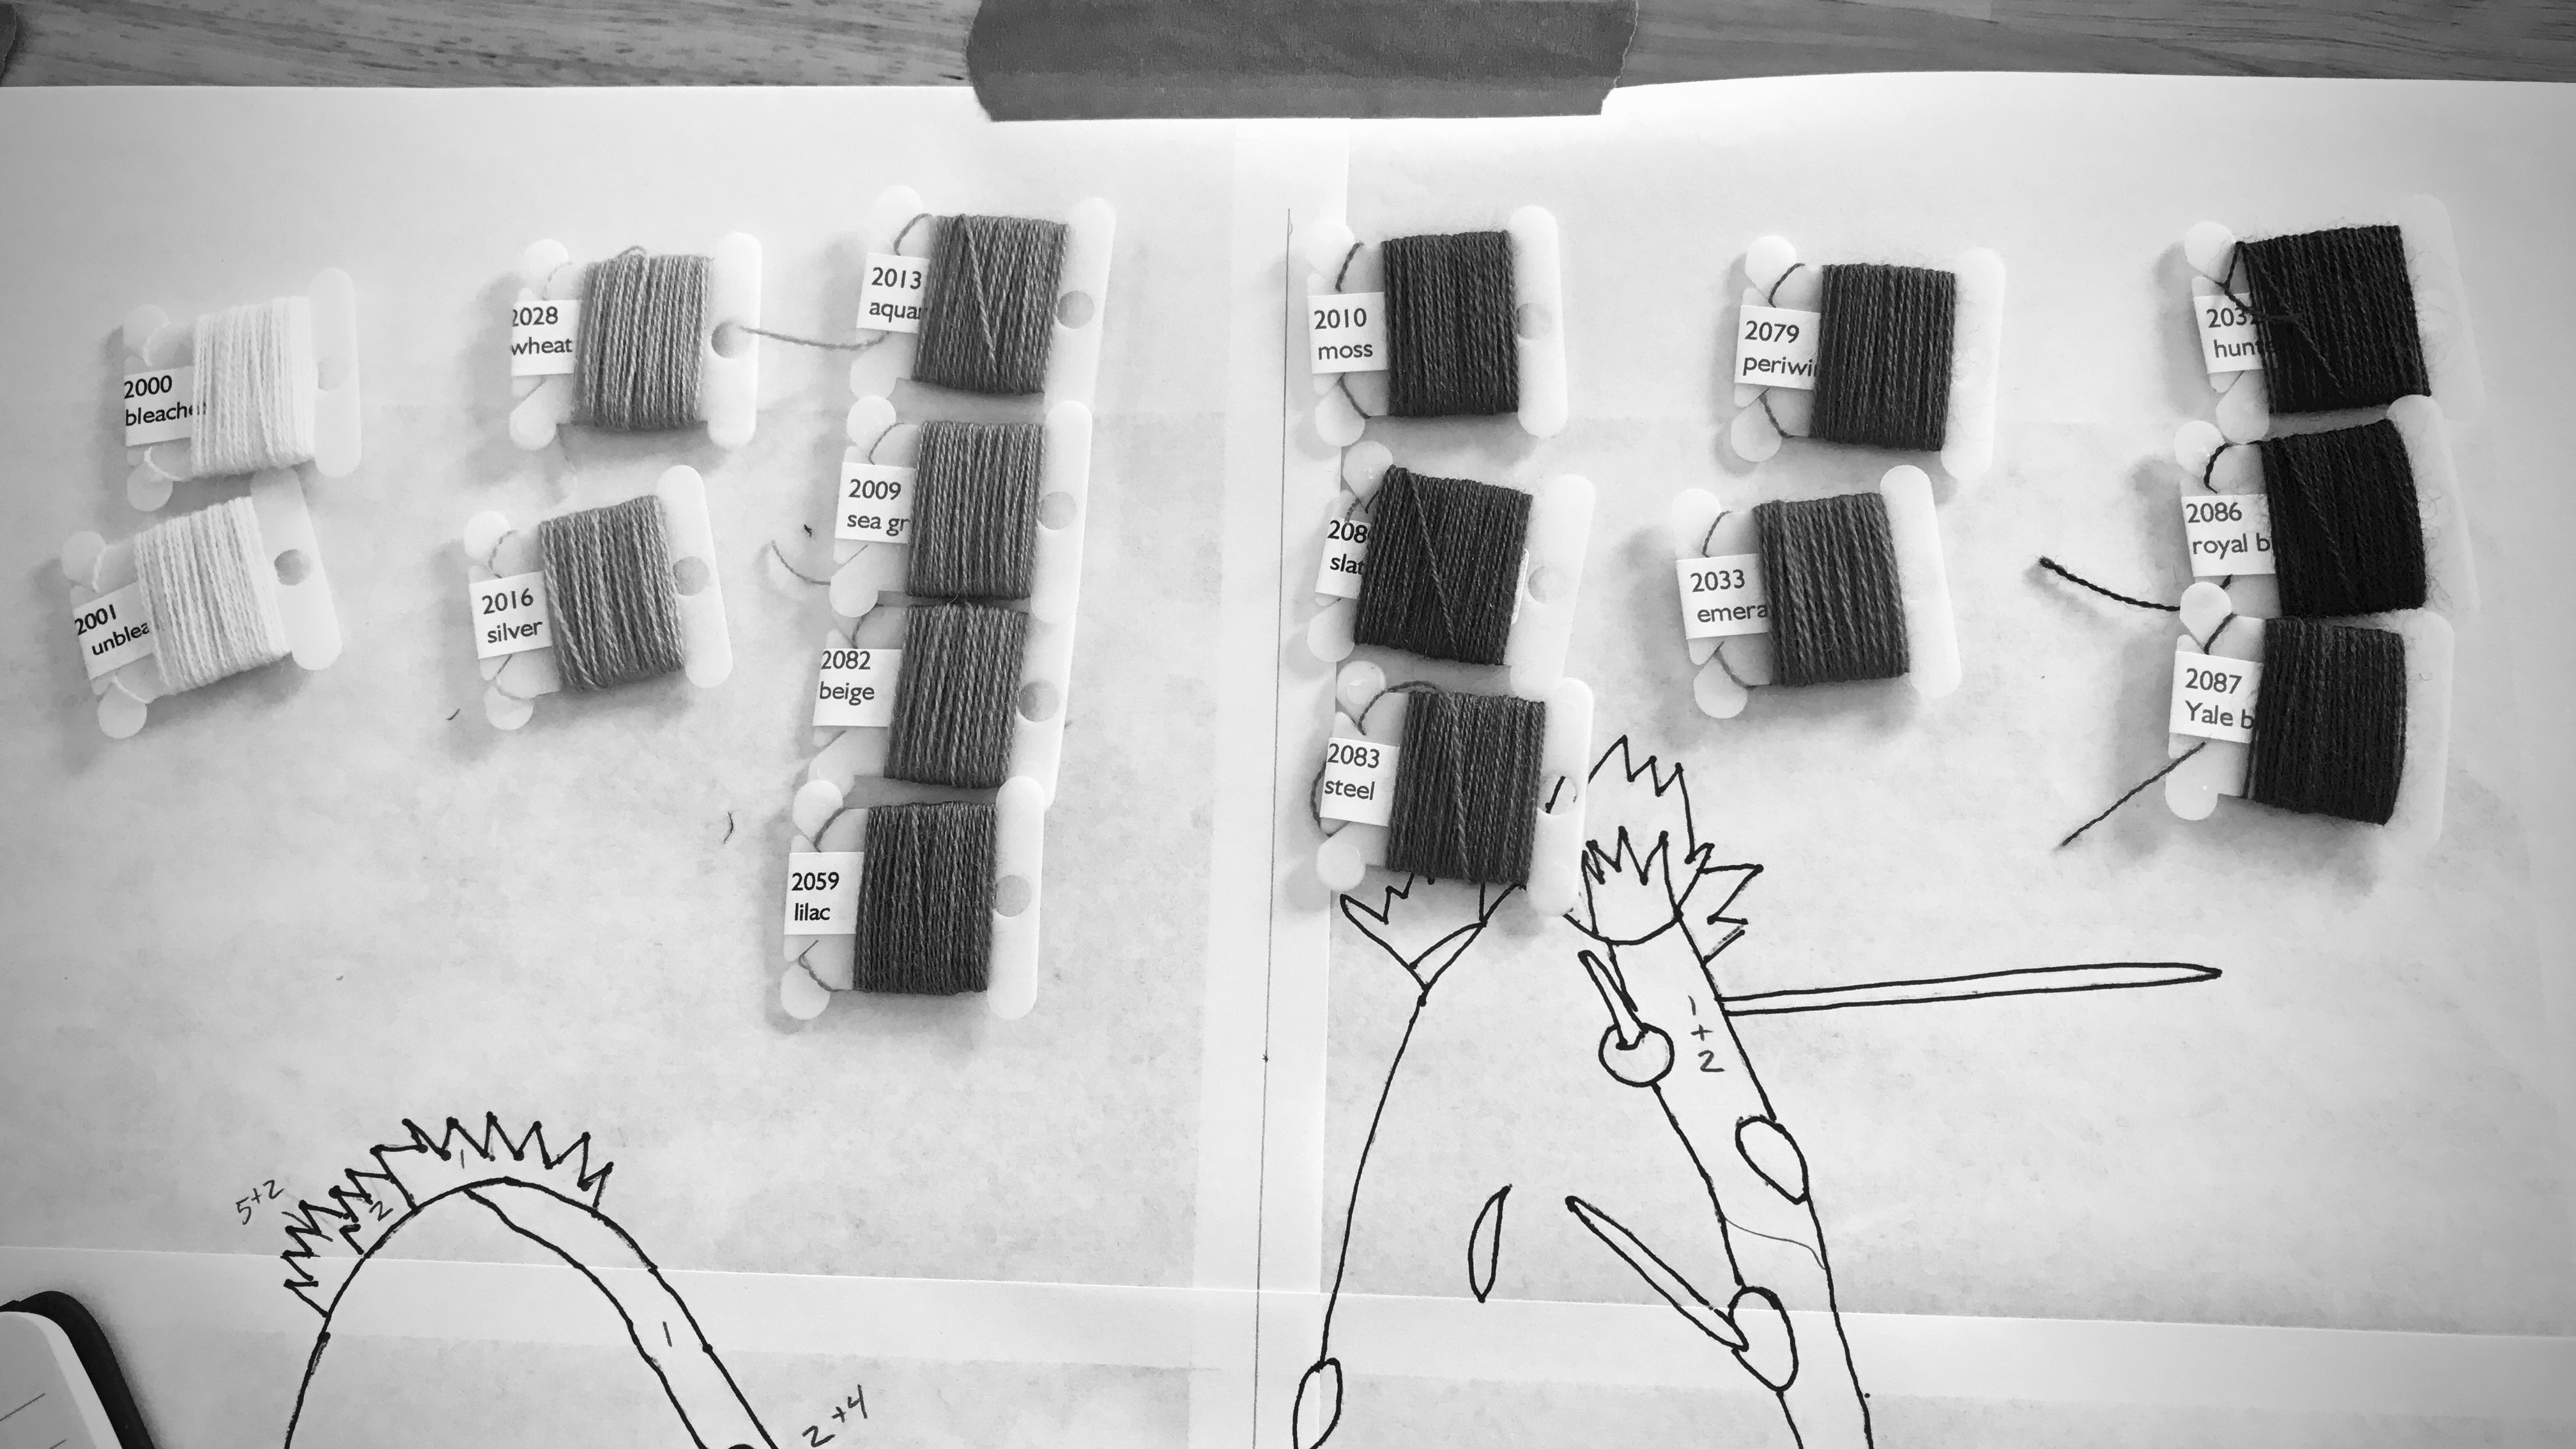
Sort the yarn by hues. (I used my iPhone camera black-and-white setting to help in the sorting.) Sorting by hues helps me blend similar-hued colors, and shows me the contrasts that will help define the picture.
Assign a number to each yarn color.
Make the enlarged outline into a color-by-number sheet by designating a color or blend of colors for each section. (I taped this sheet to the wall beside my loom, to use as a color guide. The iPad photo also serves as a reference.)
Virtues are timeless. Virtues are like colors that blend together to weave a masterpiece. When we let the Grand Weaver lay in the weft, these are the colors that appear as light shines through His woven transparency: love, joy, peace, patience, kindness, goodness, faithfulness, gentleness, self-control. And when this occurs, it shows that we are made in His image.
May the next leg of your journey be a fantastic experience.
I’ll meet you back here on Tuesday, August 1st, 2017.
In the meantime, I hope you investigate claims of Jesus. Take time with people. Keep weaving. And the same for me.
Head over to Instagram to stay in touch with my daily journey.
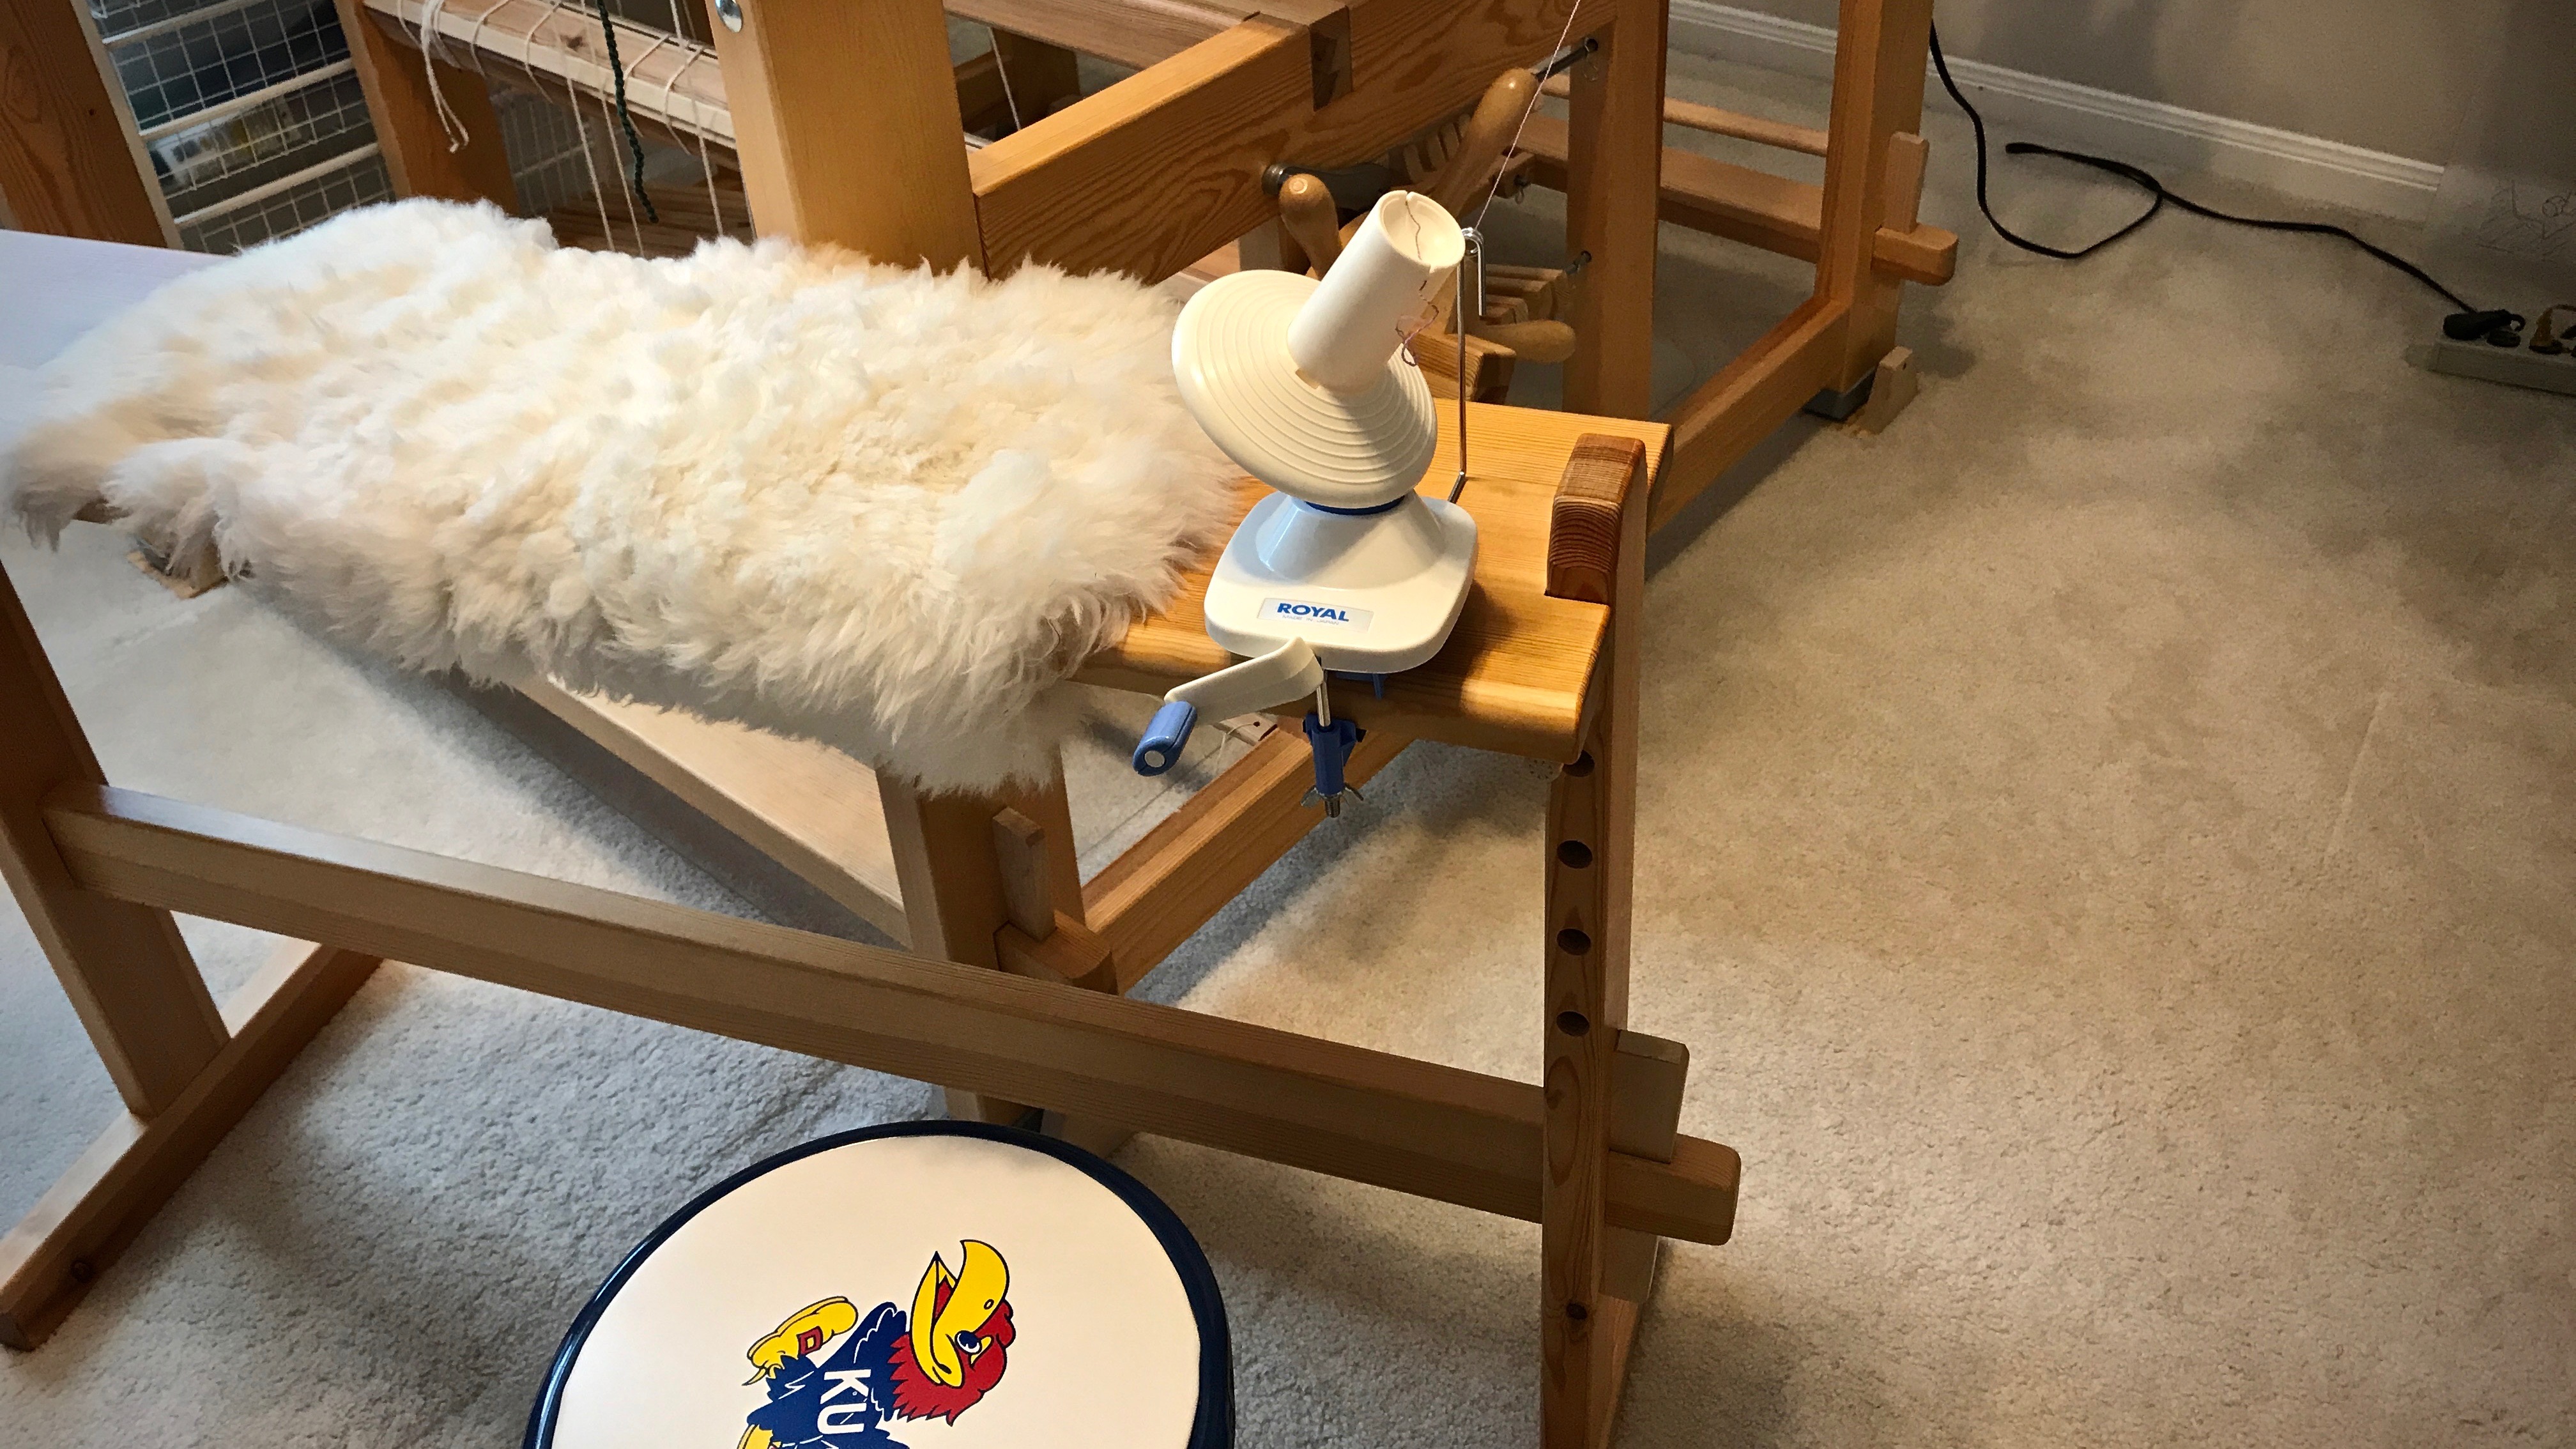
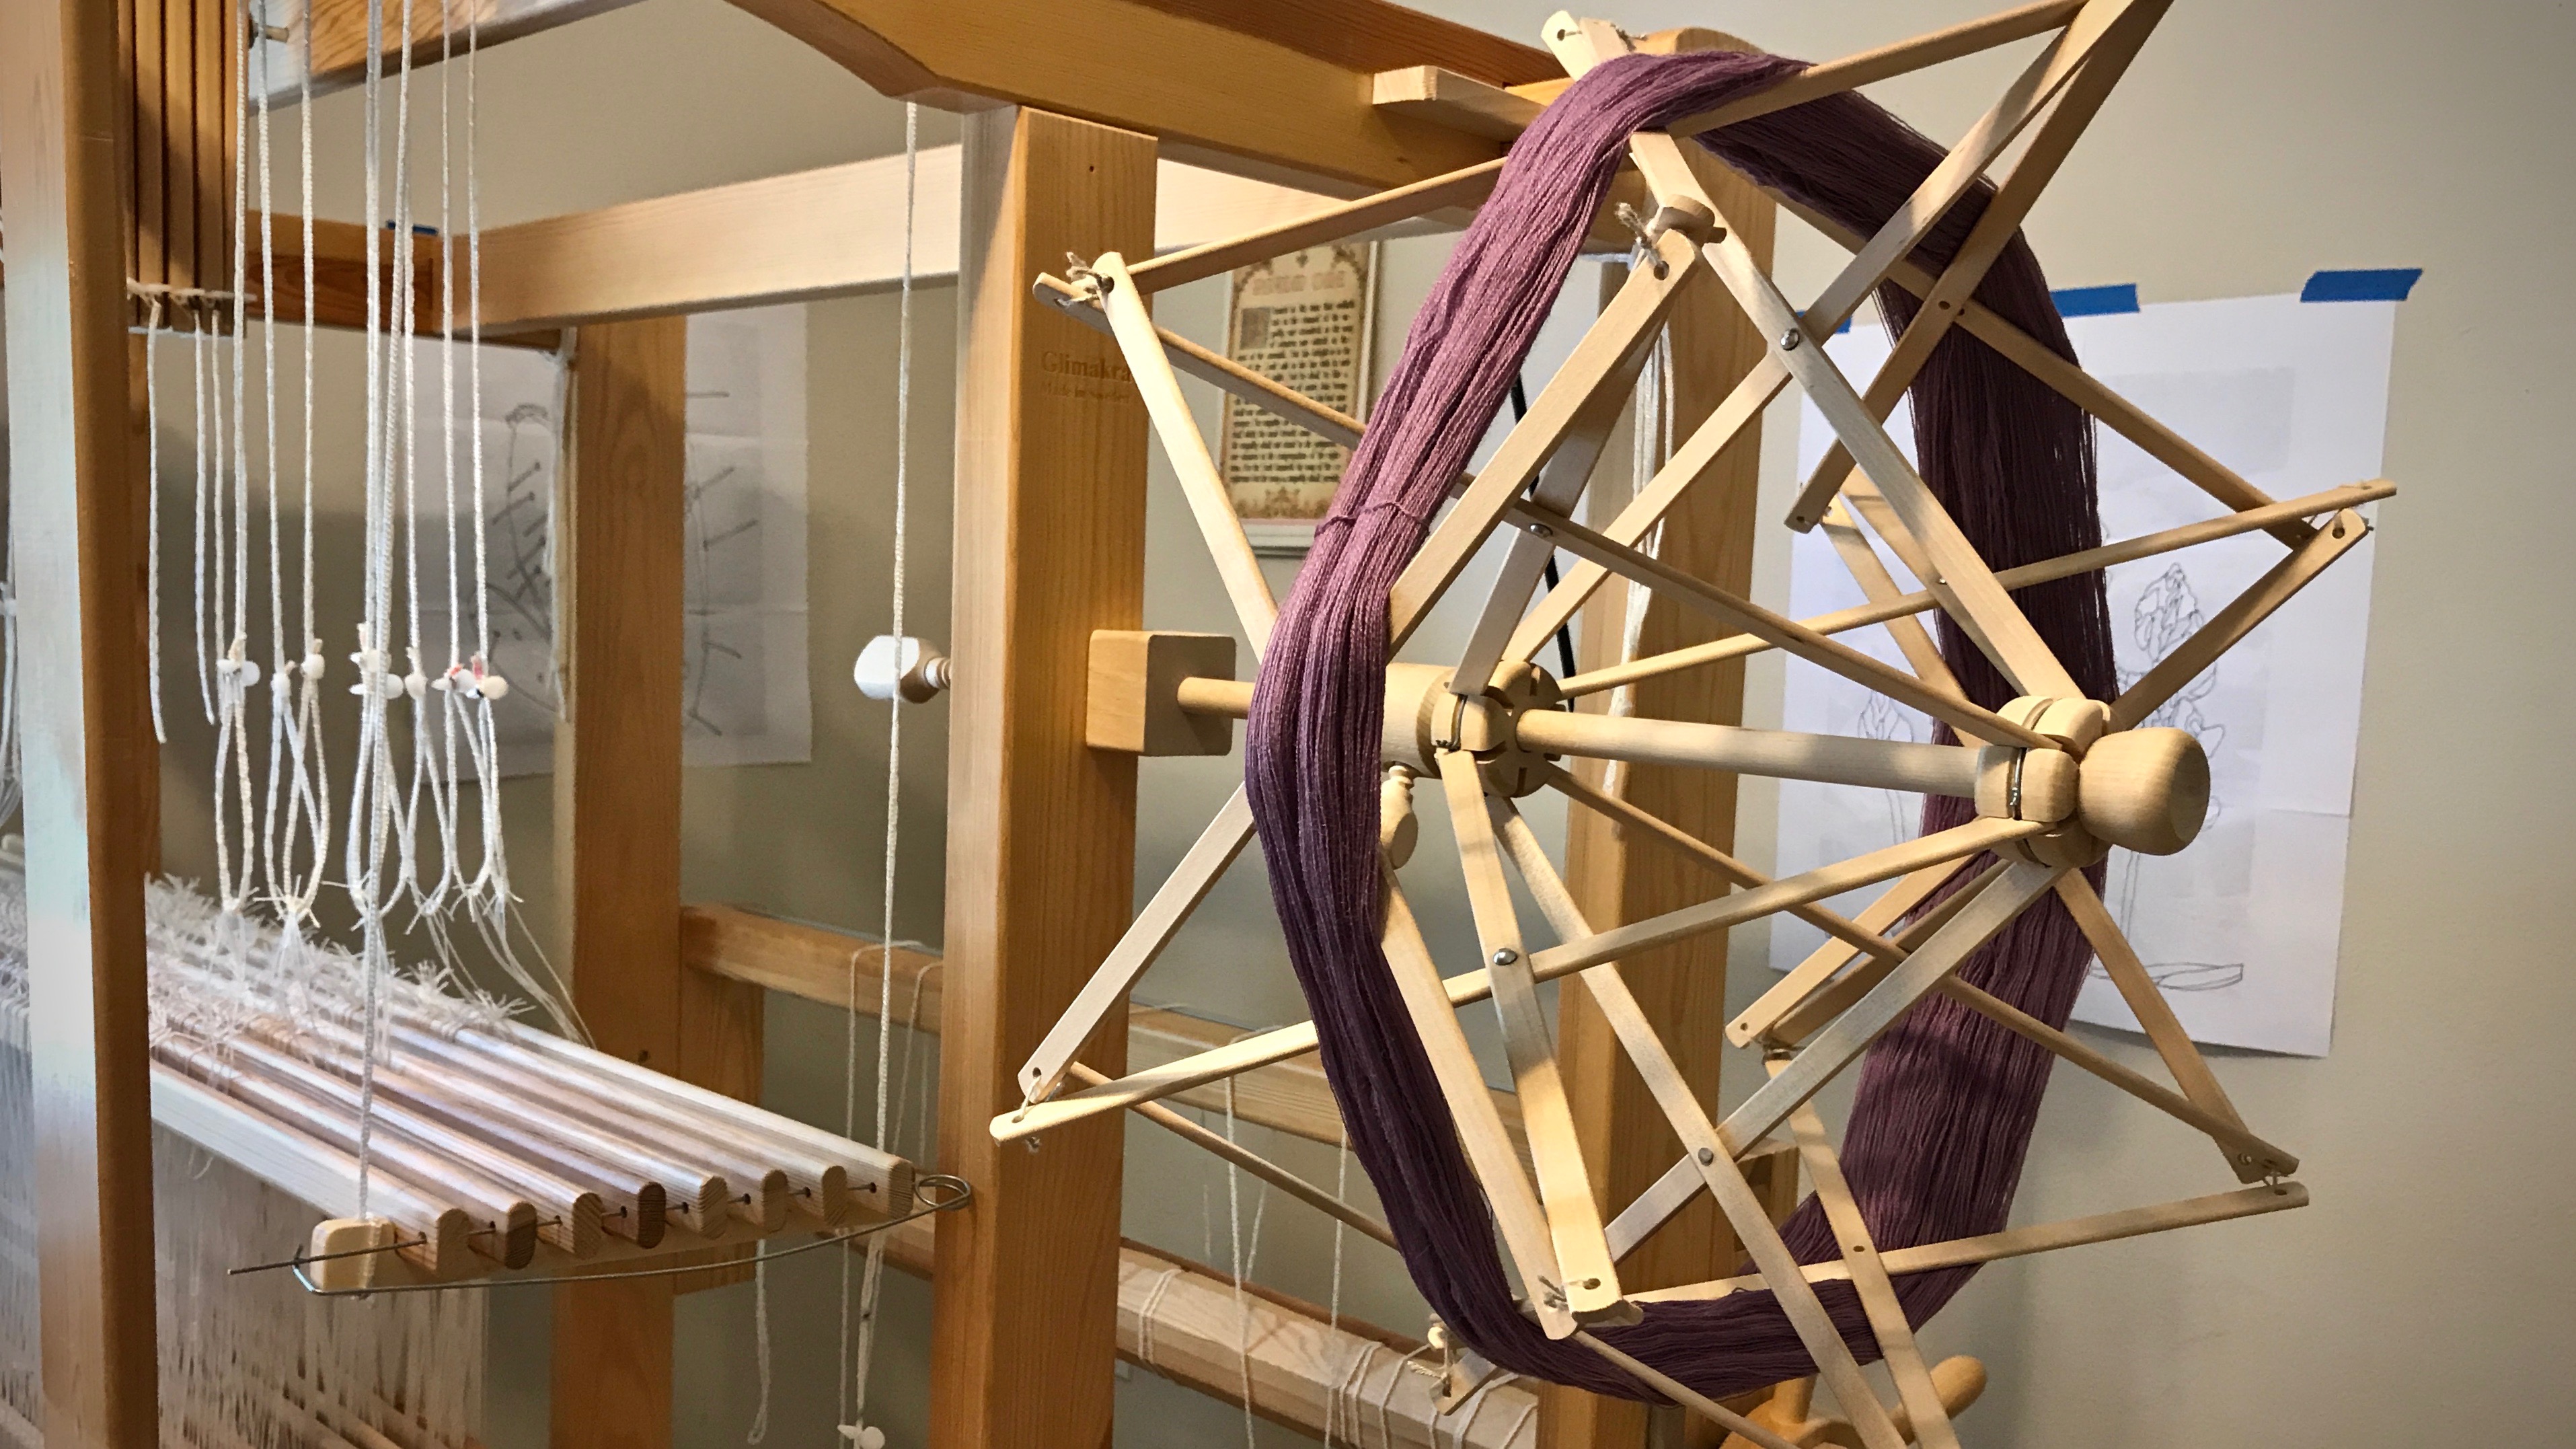
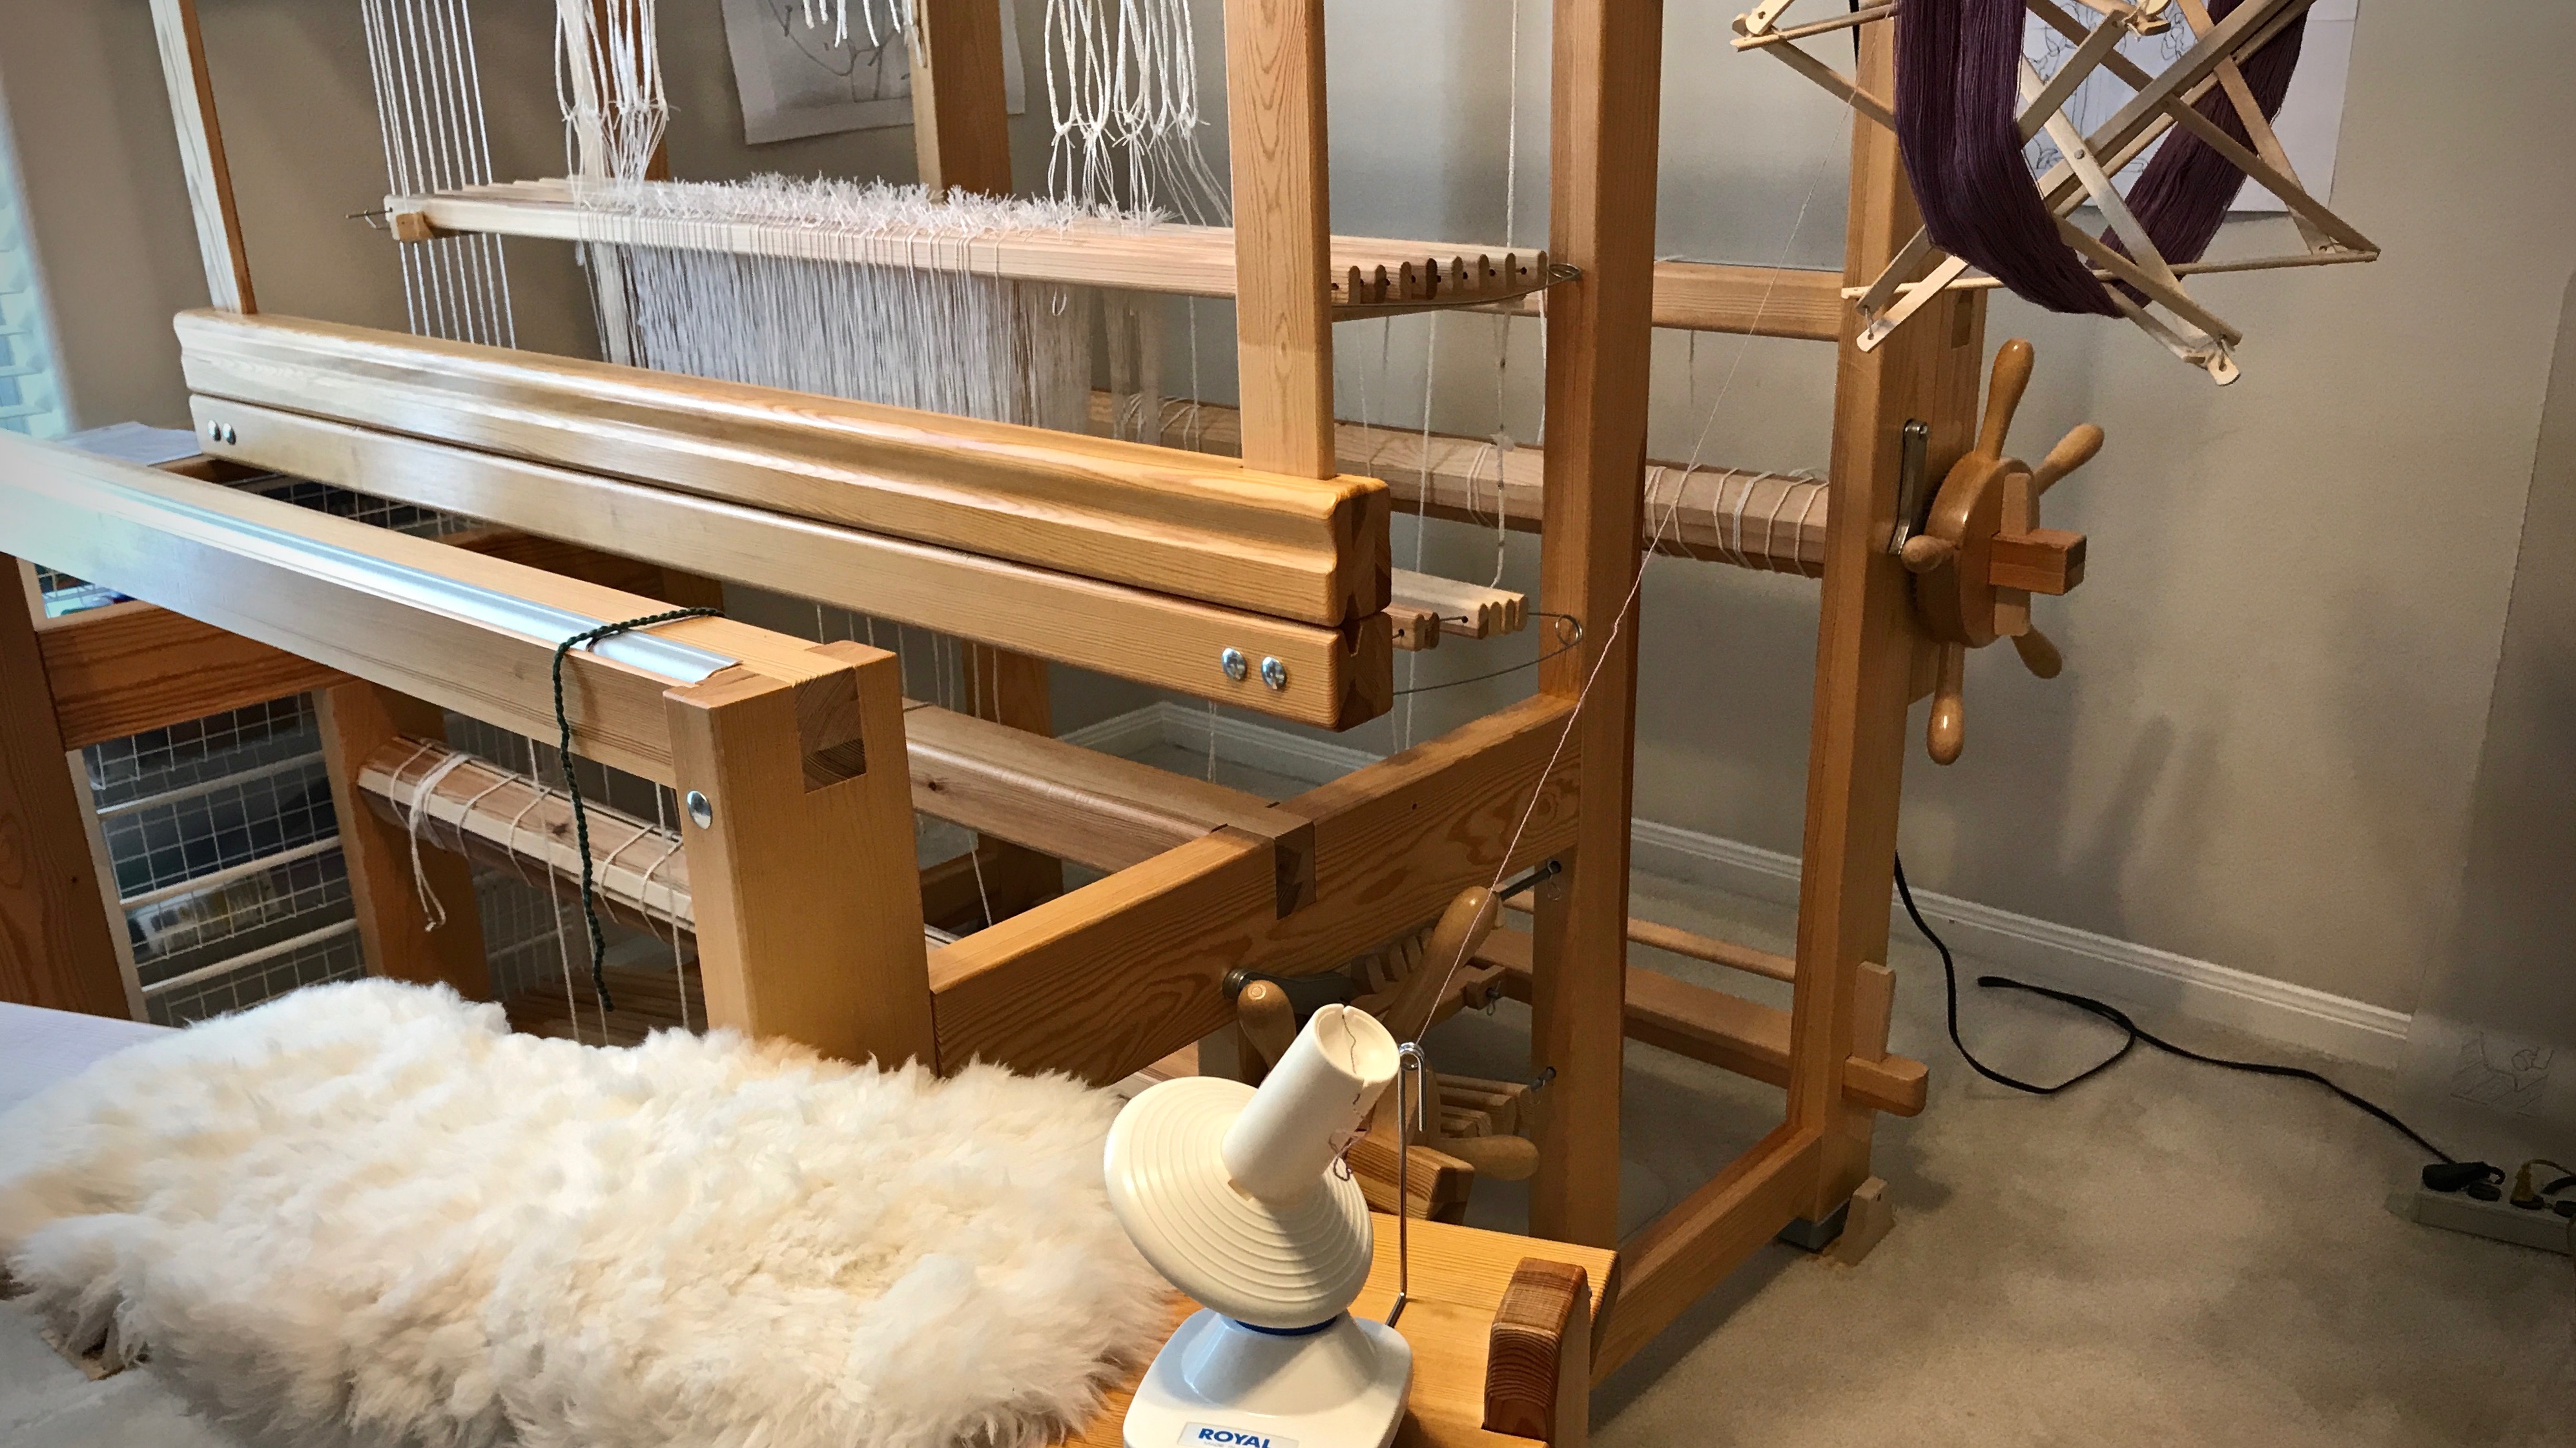
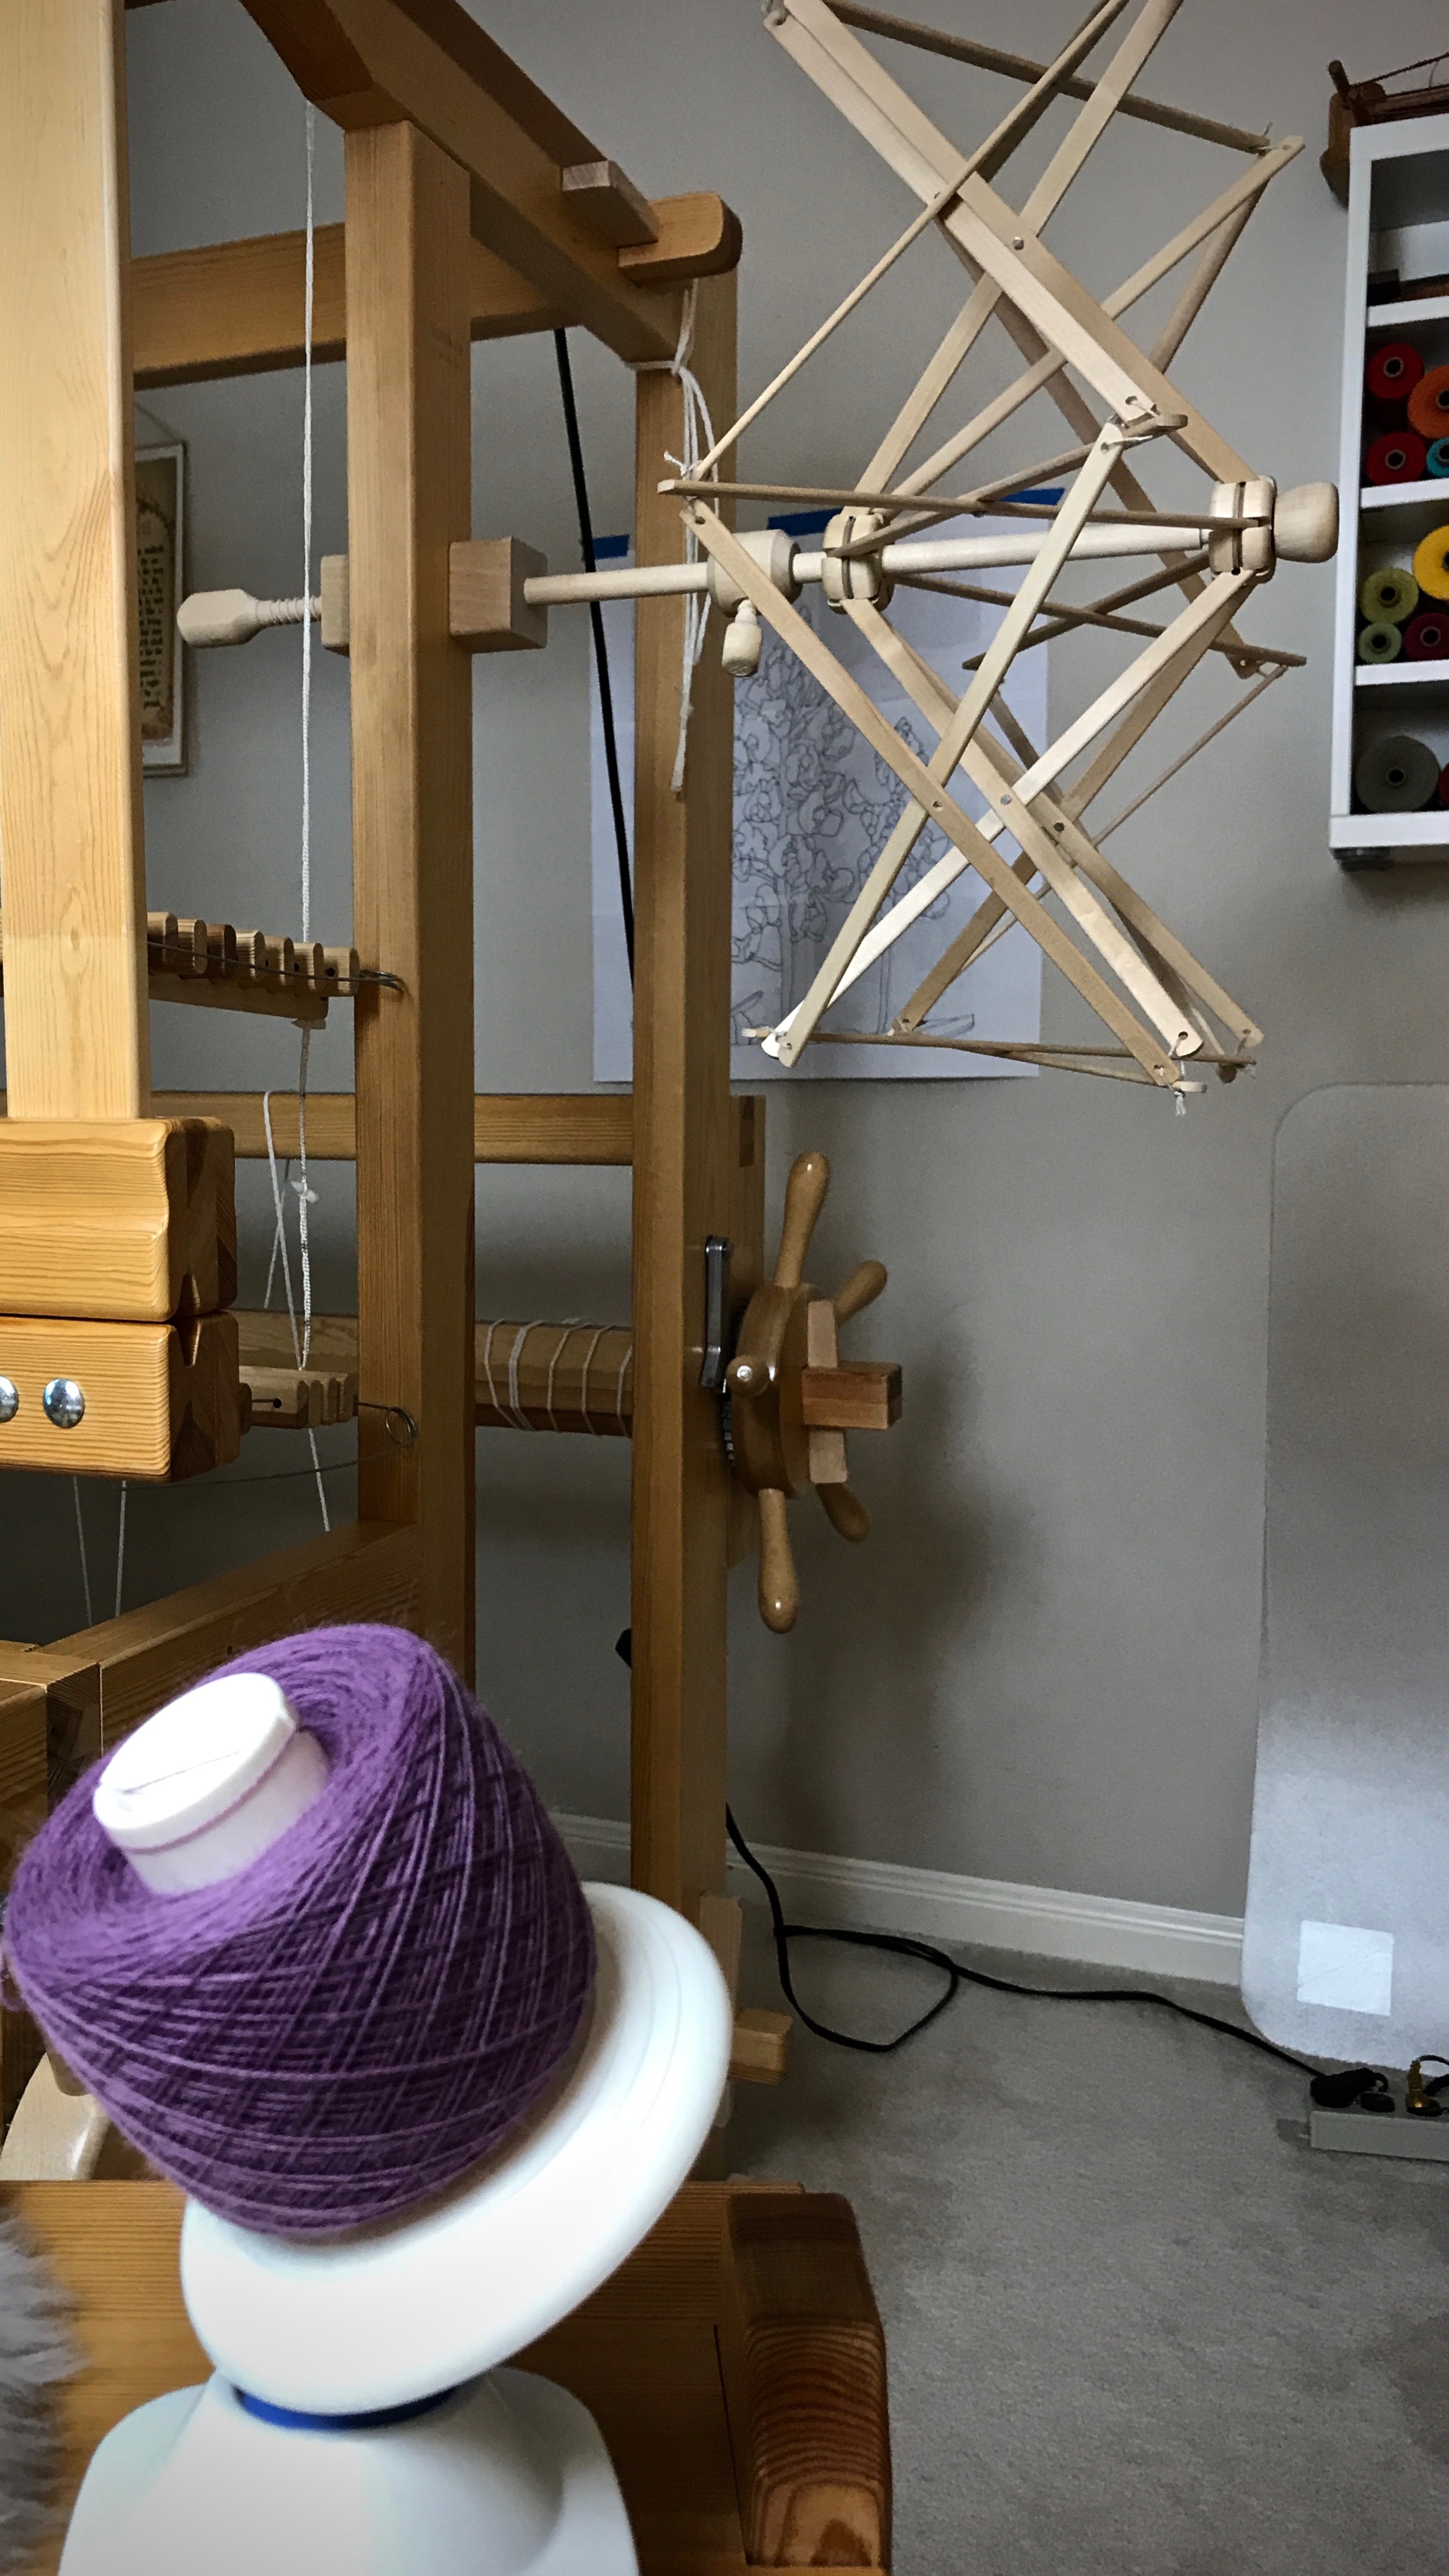
The umbrella swift earns the “Cool Tool” award! I have sixteen skeins of 20/2 Mora wool (as seen in Skeins of Colors). Before making them into little butterflies of color for a woven transparency, I am winding the skeins into balls. This means I get to use one of my favorite tools–the umbrella swift. My Glimåkra swift is simple to use and gives flawless results every time.
How to Use an Umbrella Swift
Attach the clamp of the umbrella swift to the side of the loom, or other secure structure, like a table. The swift functions vertically or horizontally. I prefer to position the swift horizontally so the yarn rolls off vertically. Also, I find it easier to hang the yarn on a horizontal swift than to place the yarn on a vertical swift, holding the yarn while expanding the umbrella.
Position the yarn ball winder so that it is in line with the umbrella swift, a short distance away. I clamp the yarn ball winder to my loom bench, and sit on a small stool behind the bench.
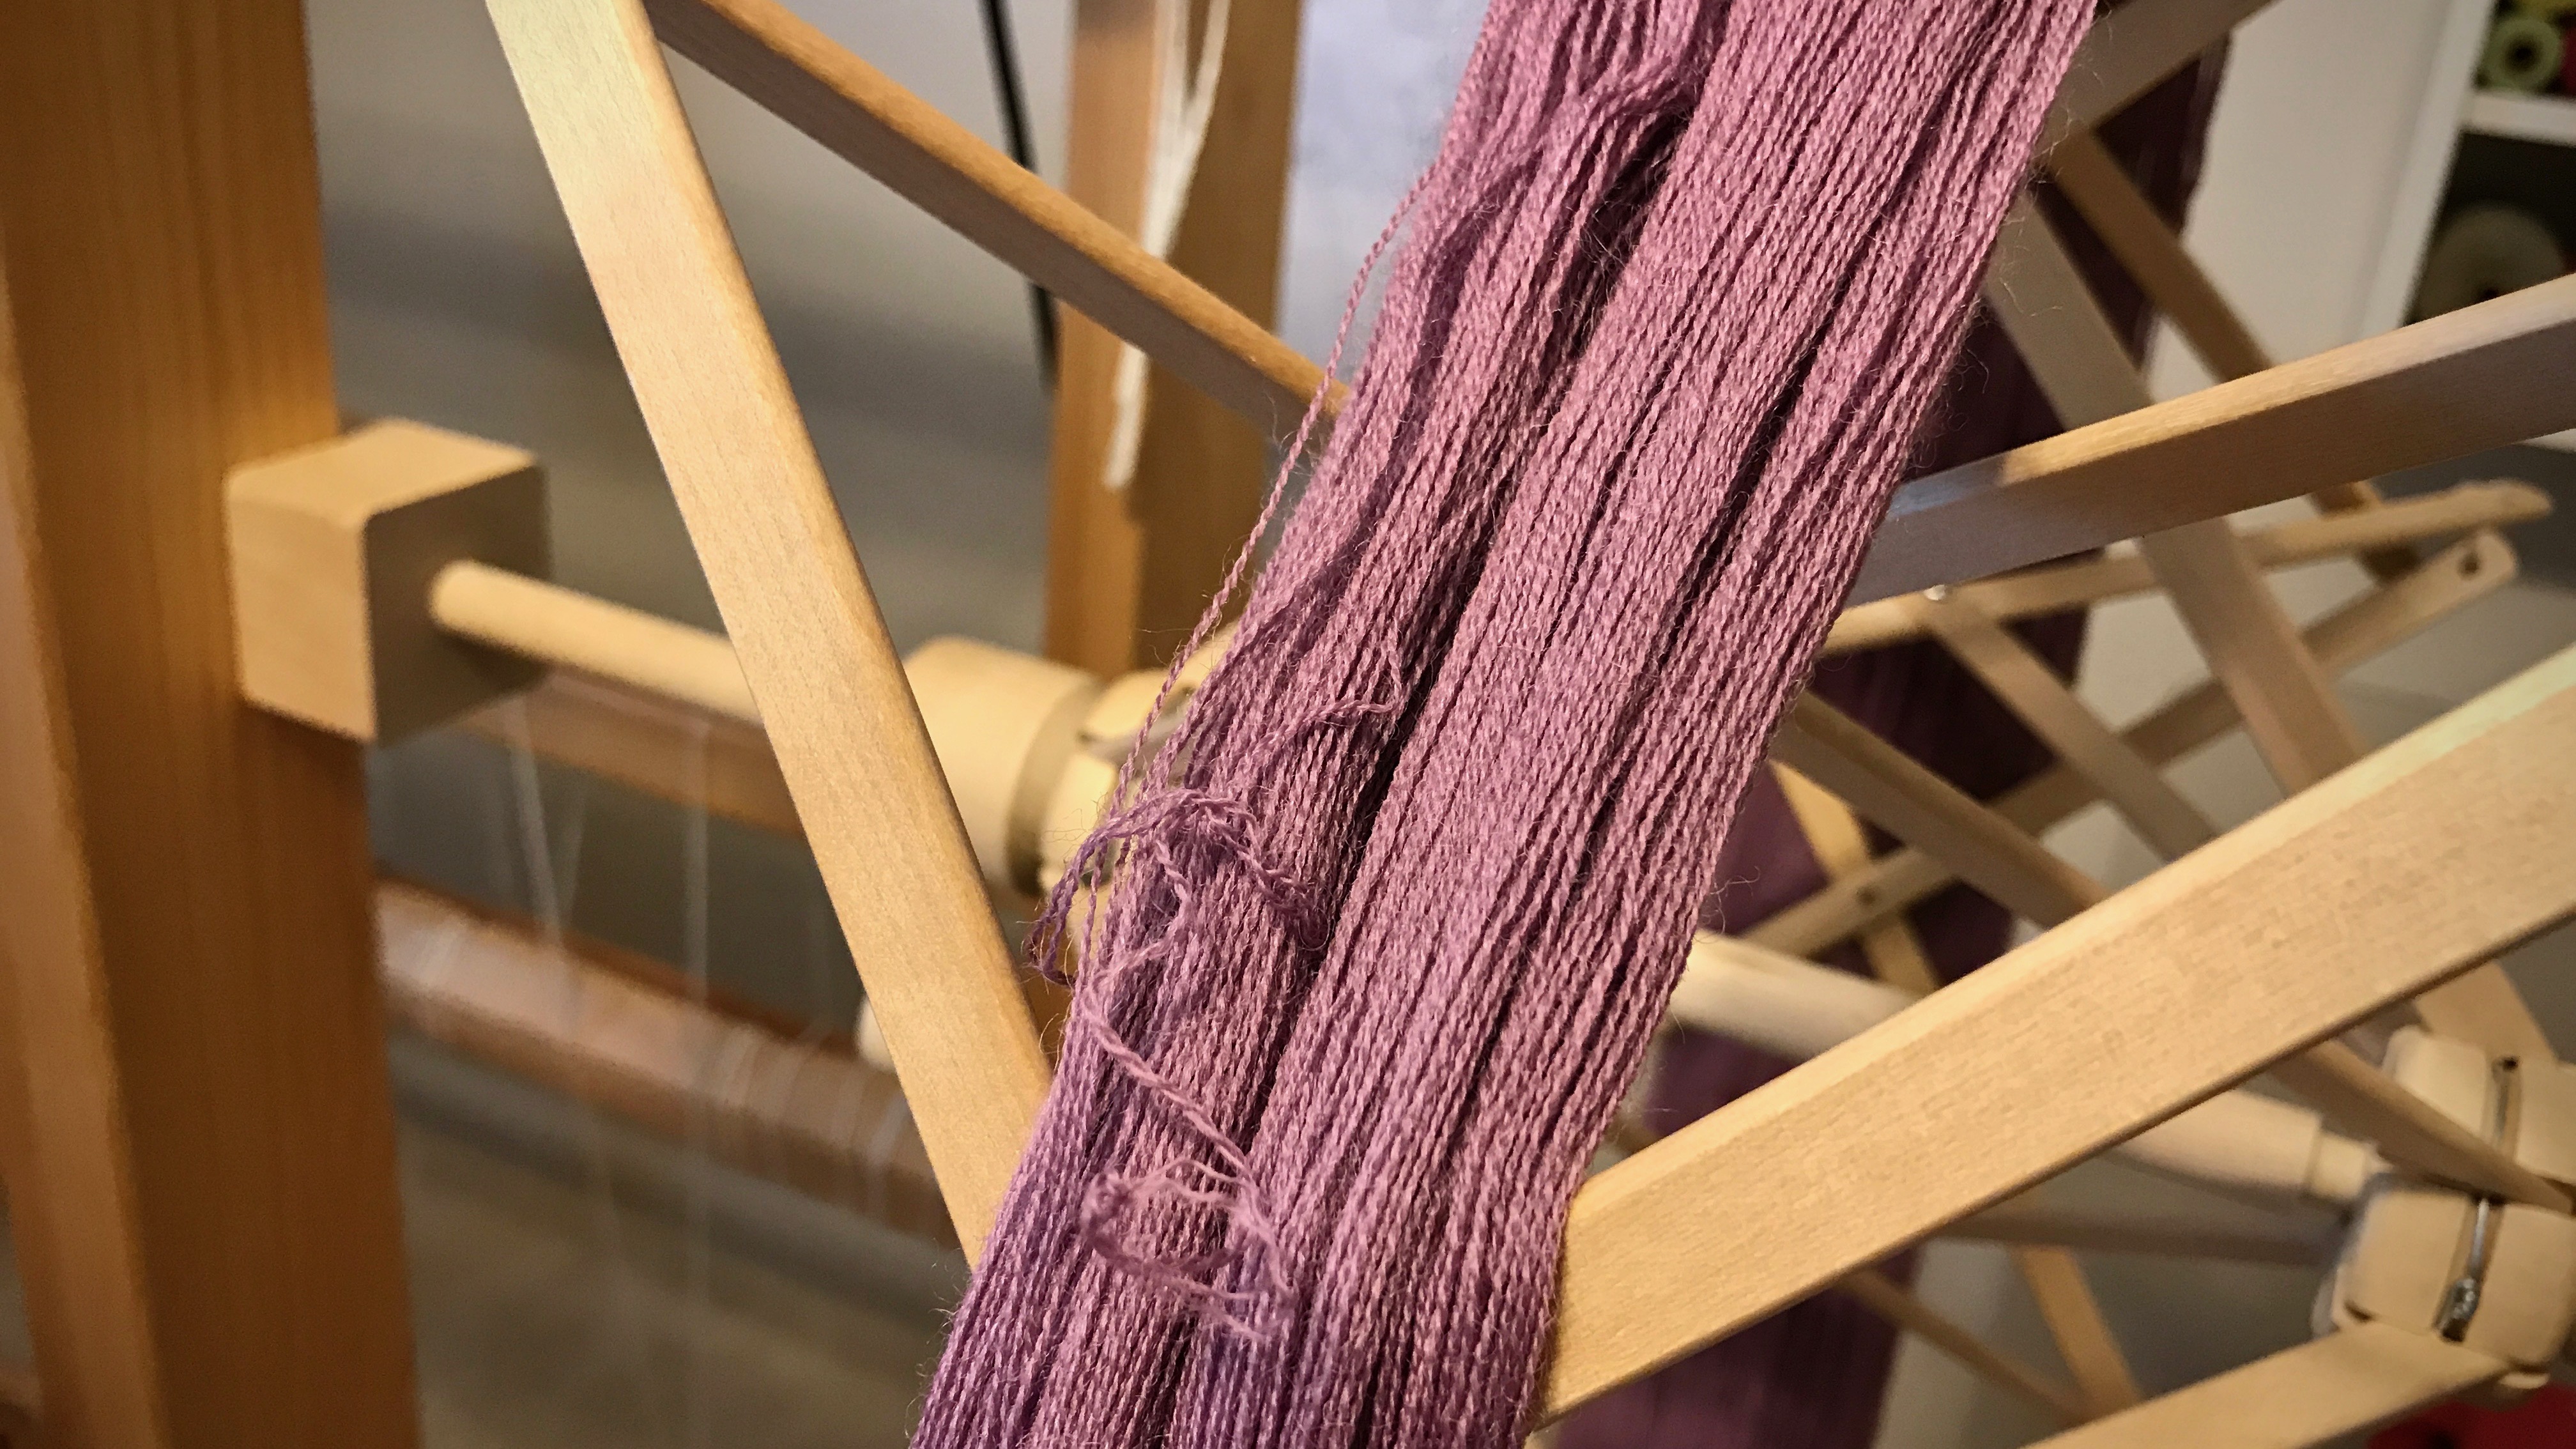
Remove the yarn skein’s label and put it aside. Carefully unfold and untwist the skein of yarn and open it out to a big circle. Place both arms through the center of the circle of yarn and snap your arms outward. Repeat the snapping action one or two more times, with the yarn repositioned about a quarter turn each time. This helps straighten out the yarn for placing it on the swift.
Lower the “umbrella” of the swift by loosing the screw and pulling the bottom screw-piece toward the clamp. Place the opened and prepared skein of yarn around the swift.
Push open the “umbrella.” Spread it open just far enough to hold the yarn taut. Tighten the screw to keep the swift in that position.
Find the place(s) on the skein where the skein has been tied, and untie the knot(s). Identify the end of the yarn that is on the outer side of the skein and connect that end to the yarn ball winder. For consistency among multiple skeins of yarn, I have the umbrella swift turn in the same direction for each one, with the yarn unwinding from the top of the swift.
Turn the yarn ball winder until all the yarn has been unwound from the swift.
Remove the yarn ball from the yarn ball winder and wrap the skein’s label on the new yarn ball.
Collect the new balls of yarn and play with the colors in your imagination.
May you take pleasure in your work of preparation.