“Put on many short warps.” This was the best piece of advice I received as a new weaver! Repeated practice of the back-to-front warping steps accelerated my confidence at the loom. If I can get it on the loom, surely I can weave it, right? When you are comfortable dressing the loom, you start feeling like a “real” handweaver. And before you know it, you are planning, designing, and weaving. And having the time of your life!
Tips for Preparing the Warp for Beaming
- Wind the warp with two (or more) threads, separated by your fingers to keep them from twisting. This virtually eliminates tangles during the warping process.
- Wind multiple bouts, when needed. The rule of thumb I use is to stay under 200 ends or 10 inches. Smaller bouts equalize the tension across the width of the warp.
- Tie tight choke ties about every yard or meter along the warp before chaining it. This keeps the warp ends from shifting.
- Keep the warp under constant, even tension. Threads can get into trouble if you let them relax.
Warping Back to Front
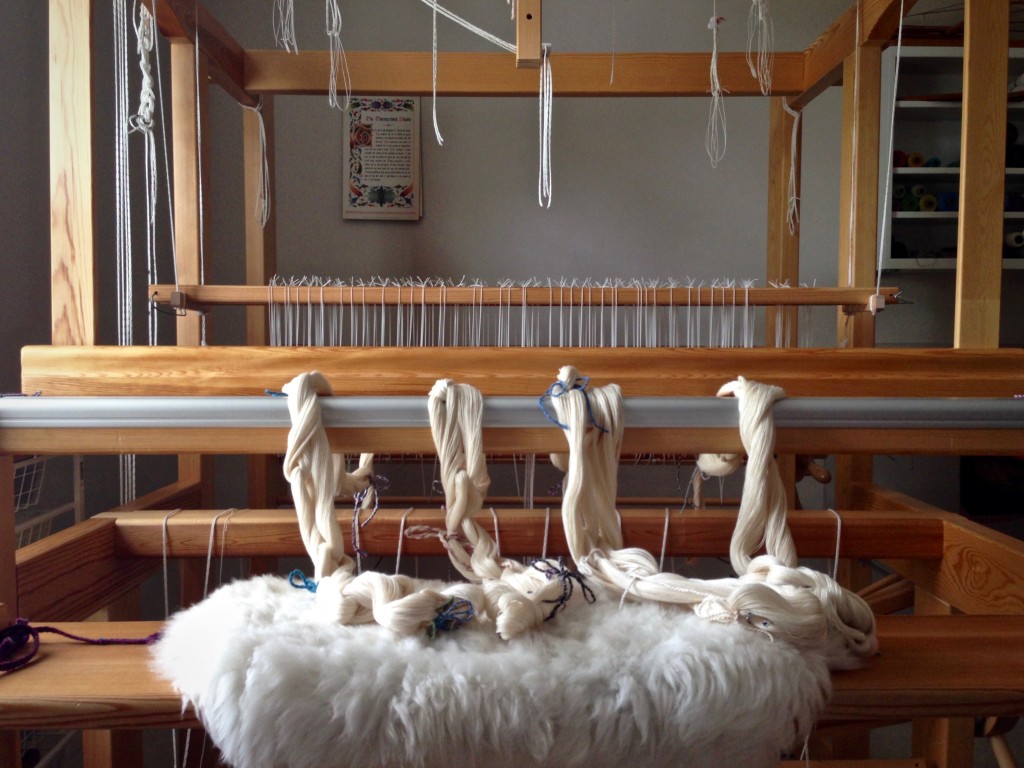
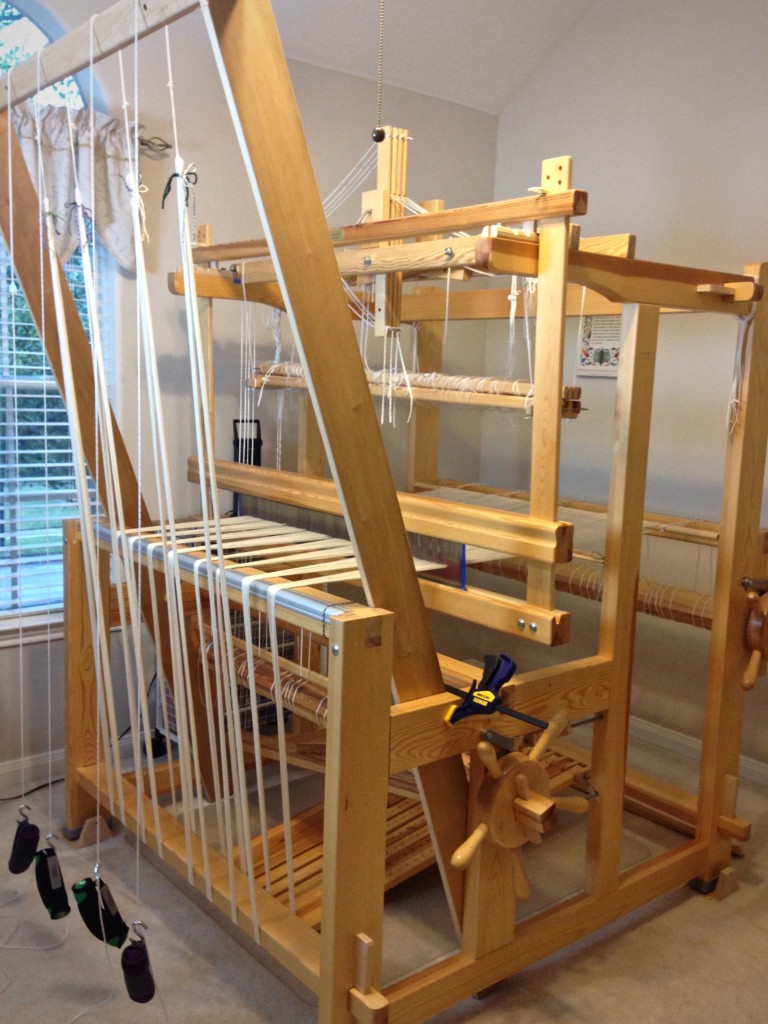
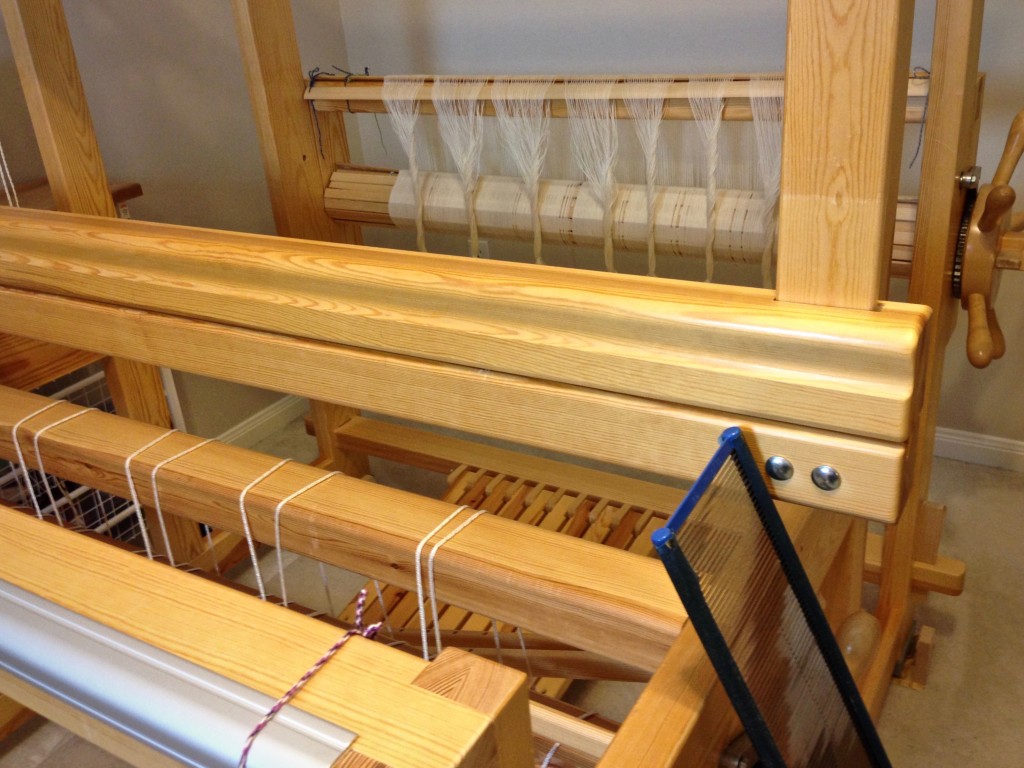
1 Lay warp chains across the breast beam, and through the beater, with the lease cross of each warp chain on the other side of the beater.
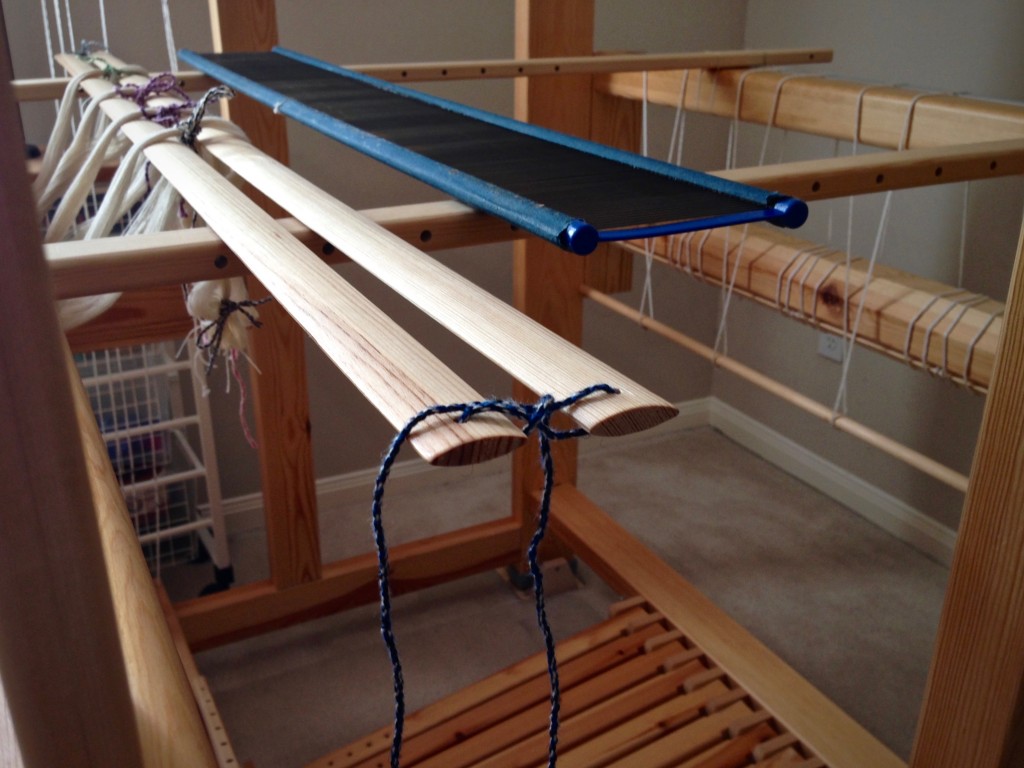
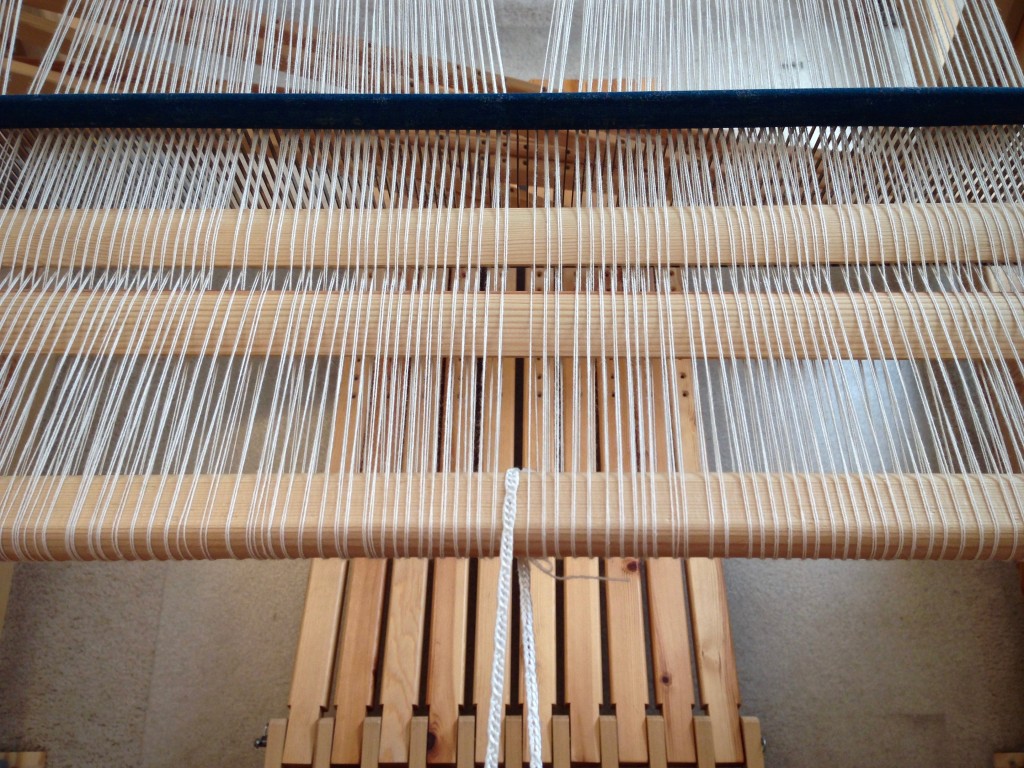
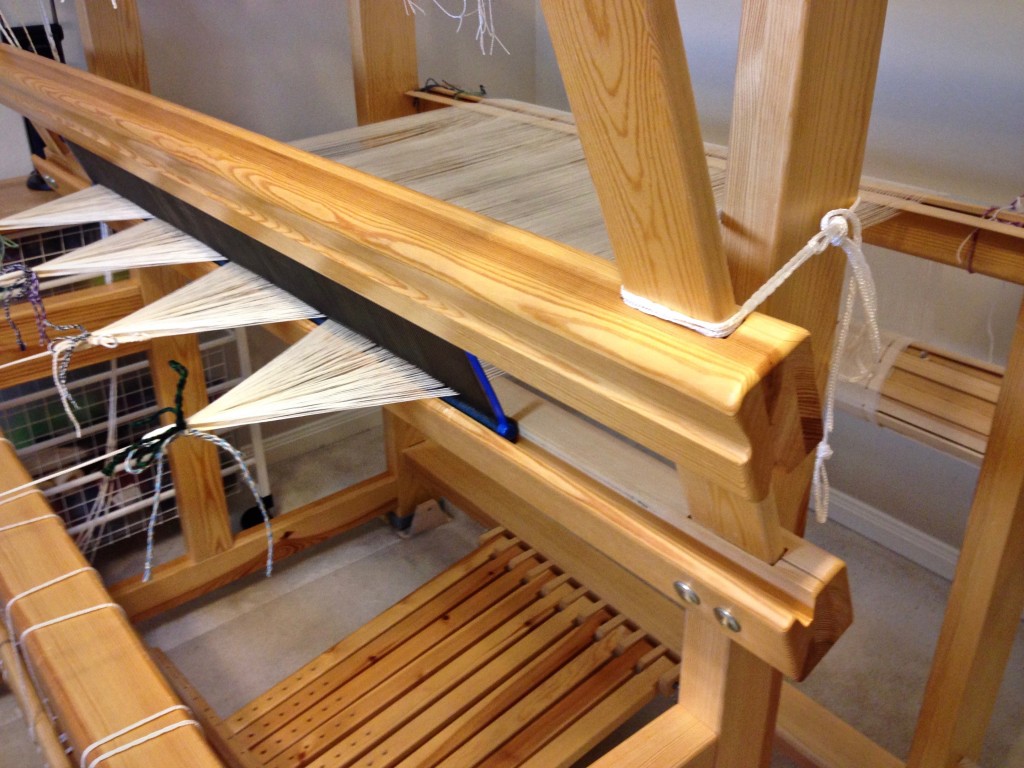
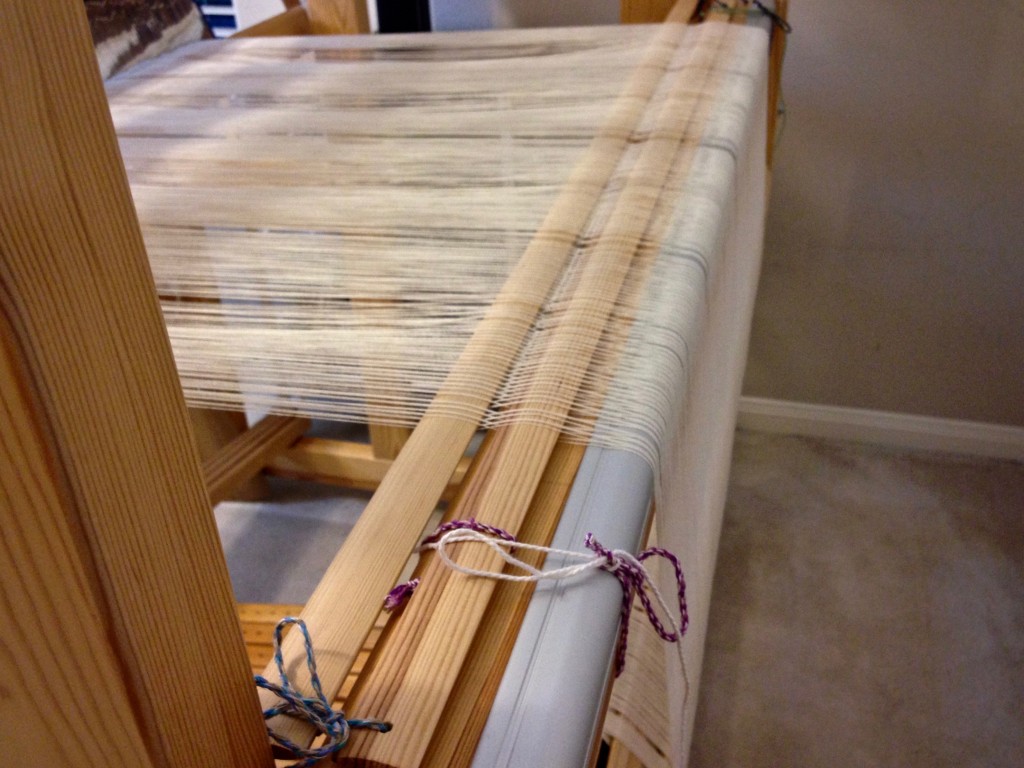
2 Raise the shafts out of the way, and place support sticks over the beater and the back beam to hold the lease sticks and the pre-sley reed. Thread the lease sticks through the cross of each chain. Lease sticks in the picture are being tied together.
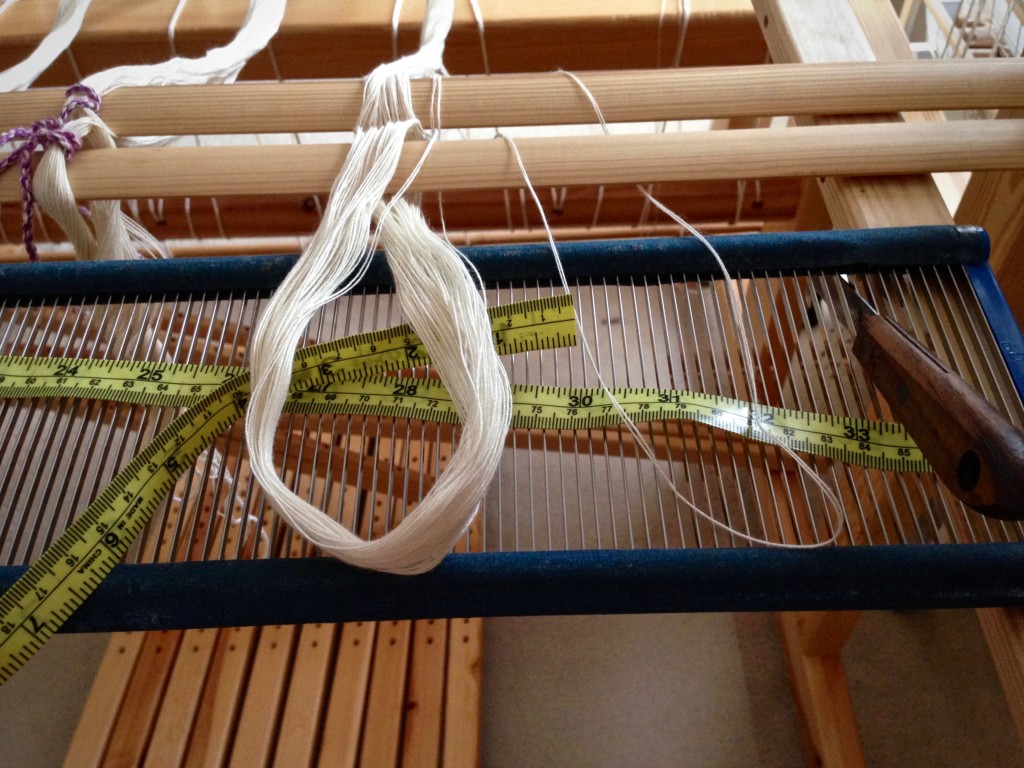
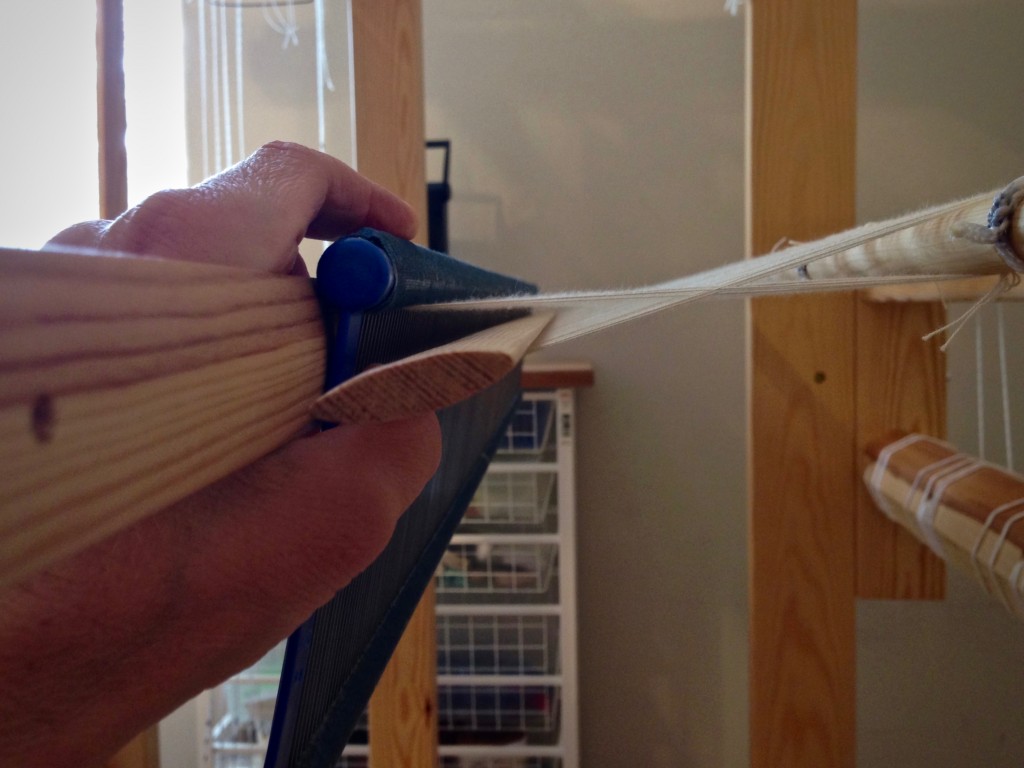
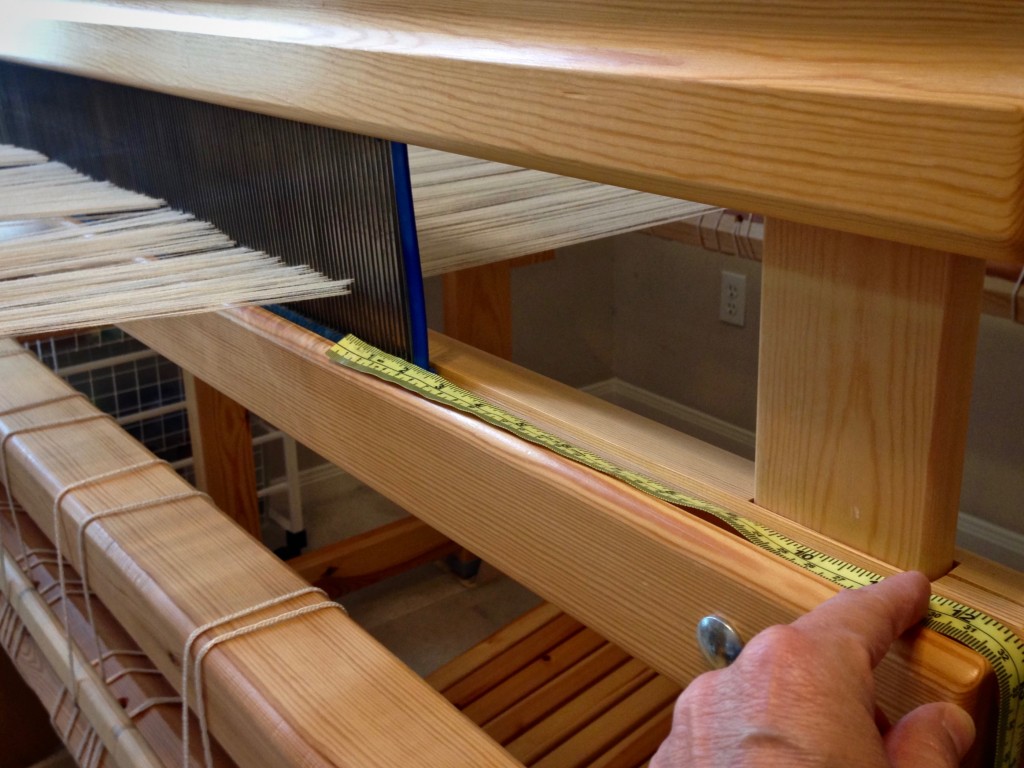
3 Use tape measure and reed hook to mark the starting dent for pre-sleying the reed.
4 Divide warp into sections corresponding to the cords on the back tie-on bar. Insert the tie-on bar through the loops that form at the end of the warp.
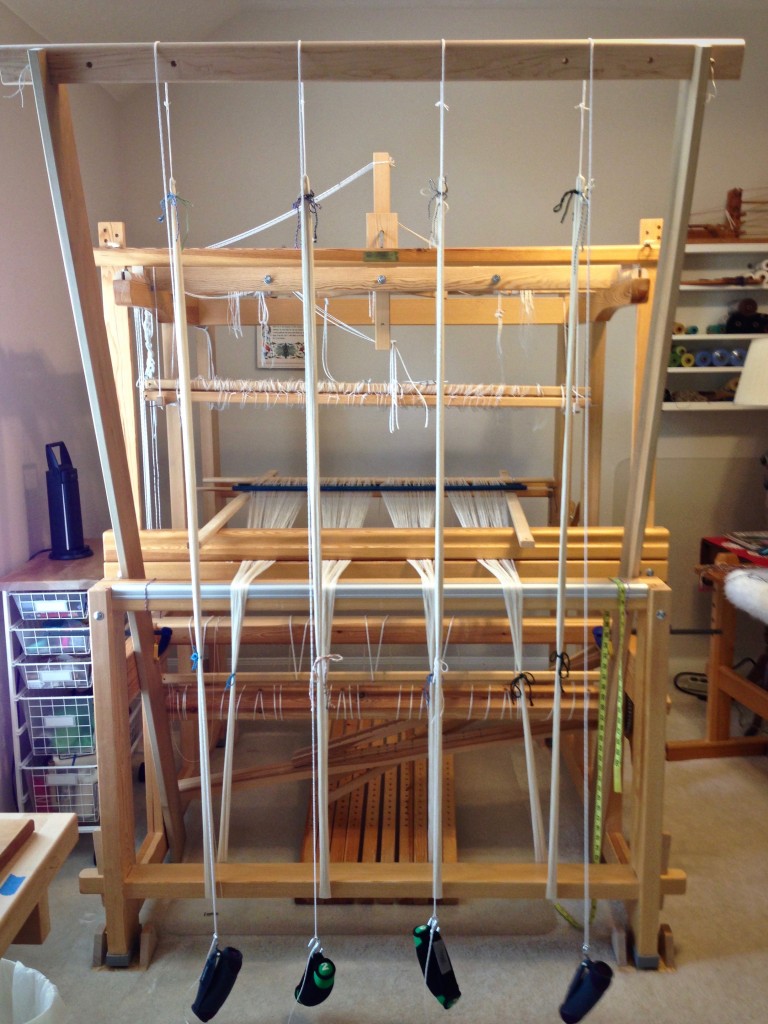
5 Install the warping trapeze at the front of the loom, or use another method to extend the warp and weight it. Texsolv cord is connected to the end of each warp chain to extend the length. (This is a 3.5 meter warp–not long enough to go over the trapeze cross bar.) Weights are suspended from the texsolv cords with S-hooks.
6 Transfer the lease sticks from in front of the reed to behind the reed. This is a gutsy way of transferring lease sticks. (Please don’t try this method unless you read about it first in Becky Ashenden’s book, noted below.)
7 Straighten out each warp end from the reed to the back tie-on bar.
8 Place the reed in the beater. Center the reed in the beater.
9 Remove choke ties between the beater and the trapeze cross bar, but do not remove choke ties from the very end of the warp. Starting at the reed, separate each warp bout in the middle.
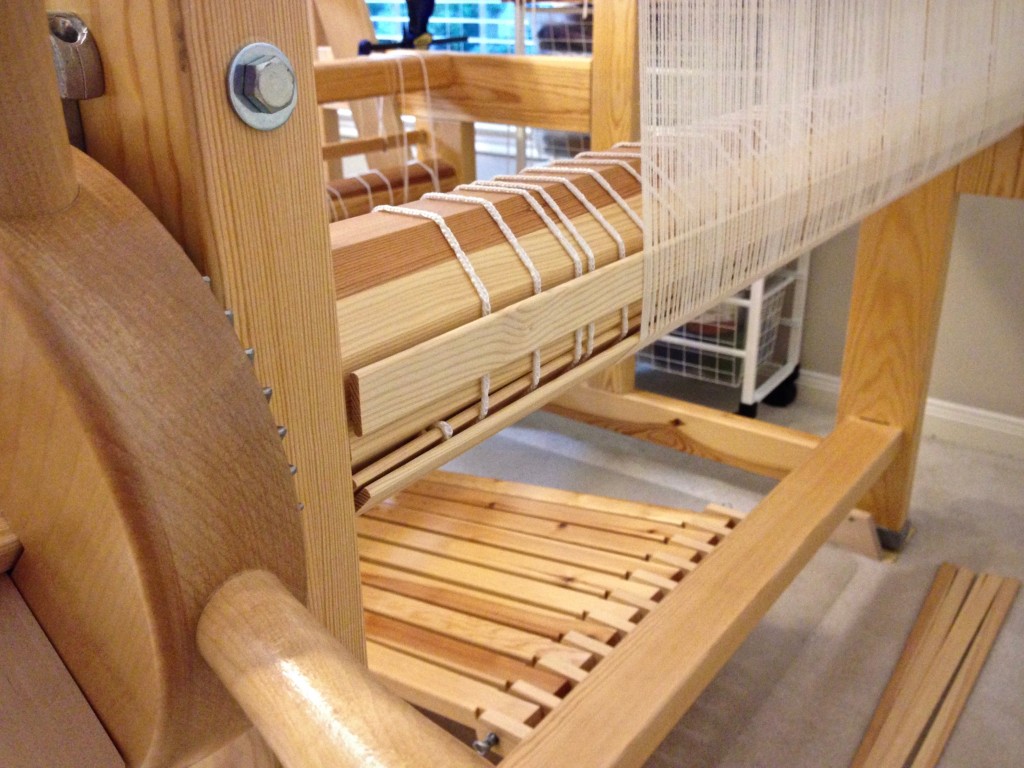
10 After sliding lease sticks toward the reed, wind the warp onto the beam. Place a warping slat on each flat side of the warp beam for one revolution. (Octagonal beam uses eight sticks.) Advance weight at the front of the loom as needed. After two additional revolutions of the beam, add warping slats for one revolution again. Continue this pattern as beaming progresses.
11 Tie beater back to allow a little more warp to be wound on.
12 Tie lease sticks to the back beam. Do not forget this step!
If you missed step 12, do it now, or you will be yelling for help as you try to hold the cut ends with one hand while trying to keep the lease sticks from slipping out with your other hand. I speak from experience.
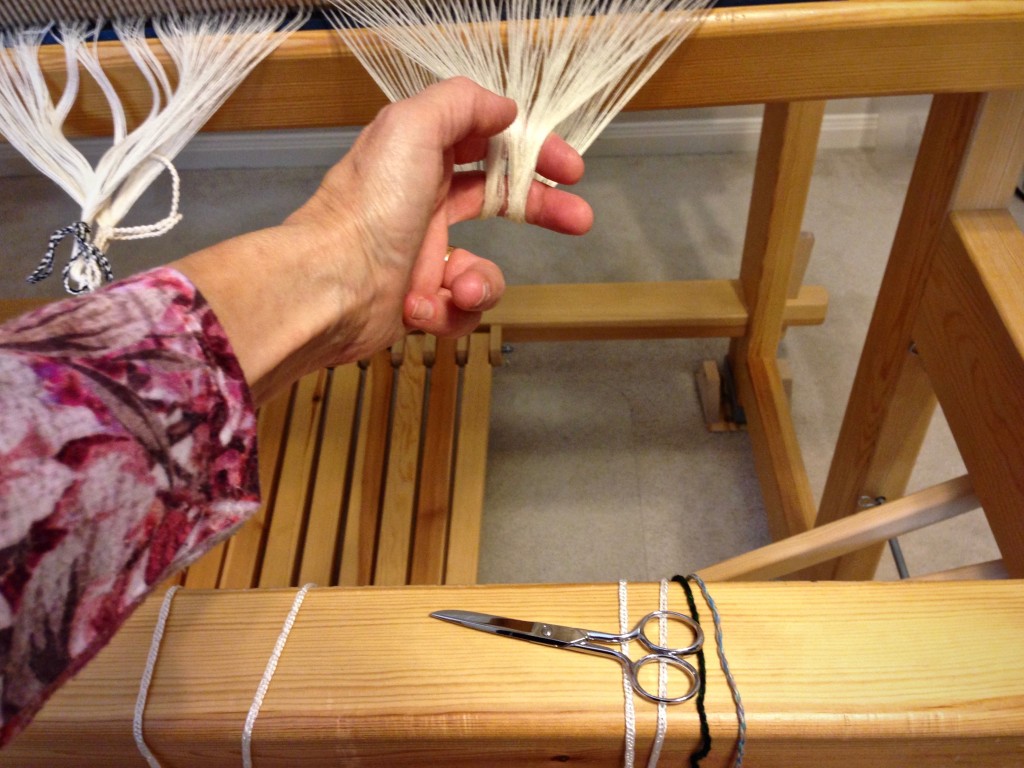
13 Loop the end of the warp chain around your hand, and then remove the remaining choke ties. Cut the loop.
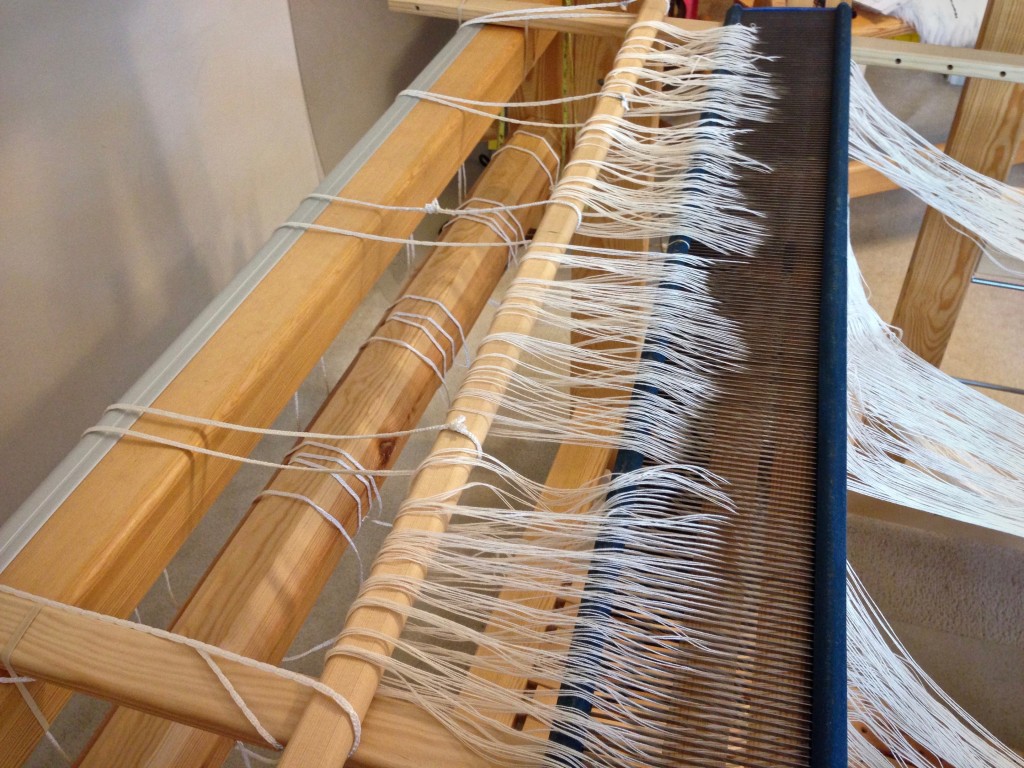
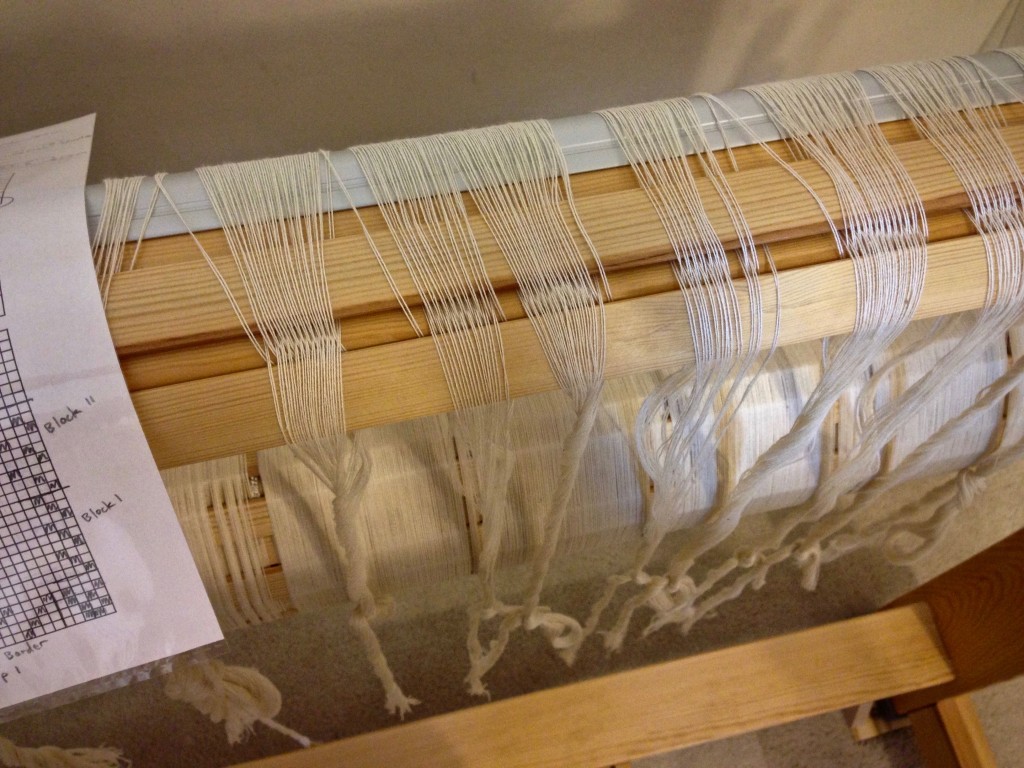
14 Remove a group of warp threads from the reed and tie in a loose slipknot. Continue across the warp. Remove the reed.
15 Use the threading draft to count the warp ends into threading groups, tying each grouping with a slipknot.
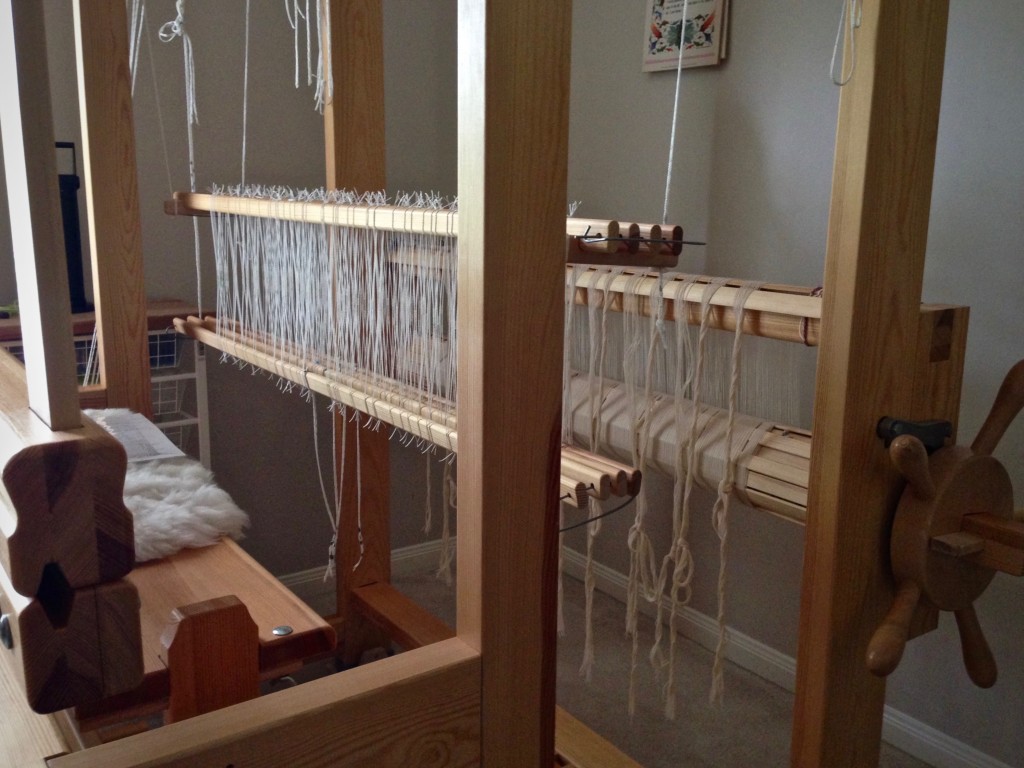
16 Adjust the loom for threading. For this Glimåkra Standard loom, I move the countermarch assembly to the back of the loom, put the bench in the “playhouse,” and lower the shafts for threading.
For more thorough instructions about warping your loom, please consult these excellent resources:
- Dress Your Loom The Vävstuga Way, A Bench-Side Photo Guide, by Becky Ashenden
- Learning to Warp Your Loom, by Joanne Hall
- The Big Book of Weaving, by Laila Lundell
May you find yourself beaming, inside and out.
Resurrection blessings,
Karen

Wow, thar’s amazing. Pre-sleying the reed from within the loom with it horizontal, is a wonderful idea. I’ve been carrying my chained warps to the dining room table, weighting with brick and sleying with the reed supported in an upright position. It works, but your method is much, much kinder to both warp and weaver. Thanks for a another good tutorial.
May your Easter Sunday be brightened by the assurance our Lord is truly Risen.
Hi Joanna,
I learned this pre-sleying method at Vavstuga. It makes so much sense!
Thank you for the wonderful Easter greeting. And may the risen Lord fill you with all joy in believing.
Karen
An excellent tutorial indeed!! The only thing that occurs to me is that you could eliminate the flat ‘warp’ sticks on the warp beam with a pair of flanges set to the correct width. I took the necessary leap of faith when I started using mine on my AVL…while I did miss the clatter when each stick rolled off, I did not miss the unnecessary step in the process. Just a thought…
Hugh, Thanks for your input! Very interesting! I have only heard of using flanges, but have never actually seen them being used. It’s good to hear of your positive experience.
I need to do a little research…
Karen
Hi Karen. I did leave a note before, but somehow I didn’t post it. Your back to front is beautiful to see. I’m the front to back girl have been for 30+ years. I’ll tell you about it some time, Beckey knows how it’s done she managed to do it Jeanettas way for 4 years even tho’ she’d sneak in her way now and then. Have a great day, PL&J, linda
Hi Linda, I’m glad we have good options. It’s nice to have choices and to be able to learn from each other!
Happy weaving,
Karen
Hi. Could you help me. I’m a relative of Becky Ashenden. Would you have an email adress of hers?
My wife and I did visit with her and her parrents some almost 30 years ago.
yours
Hans Gundesen