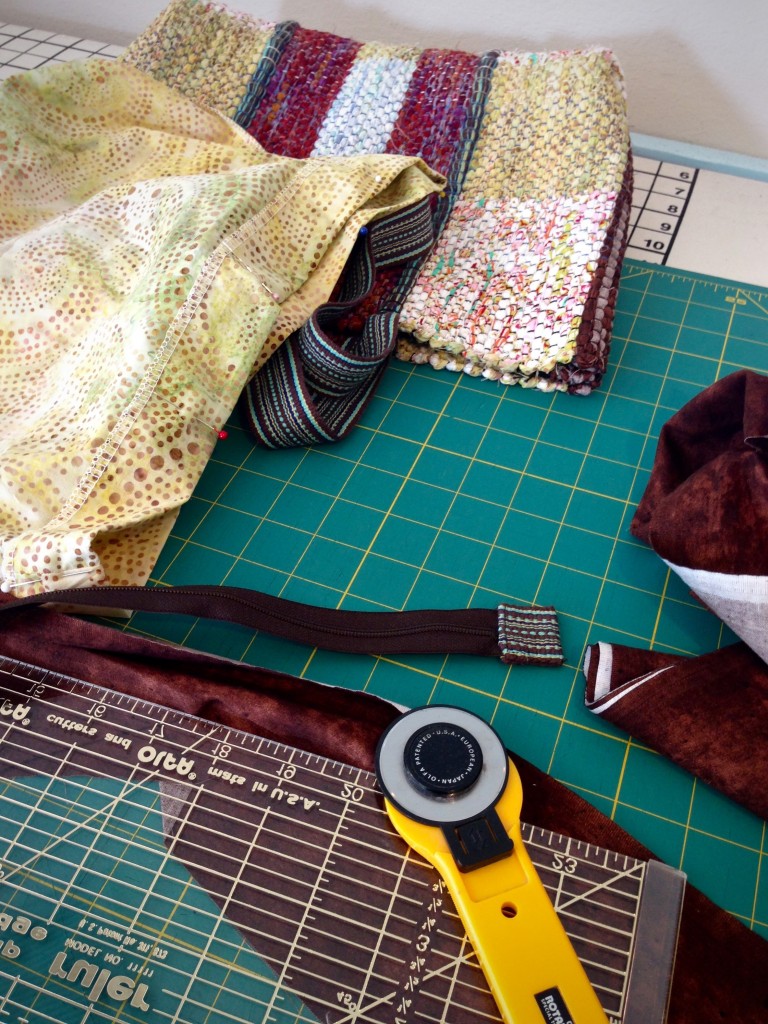
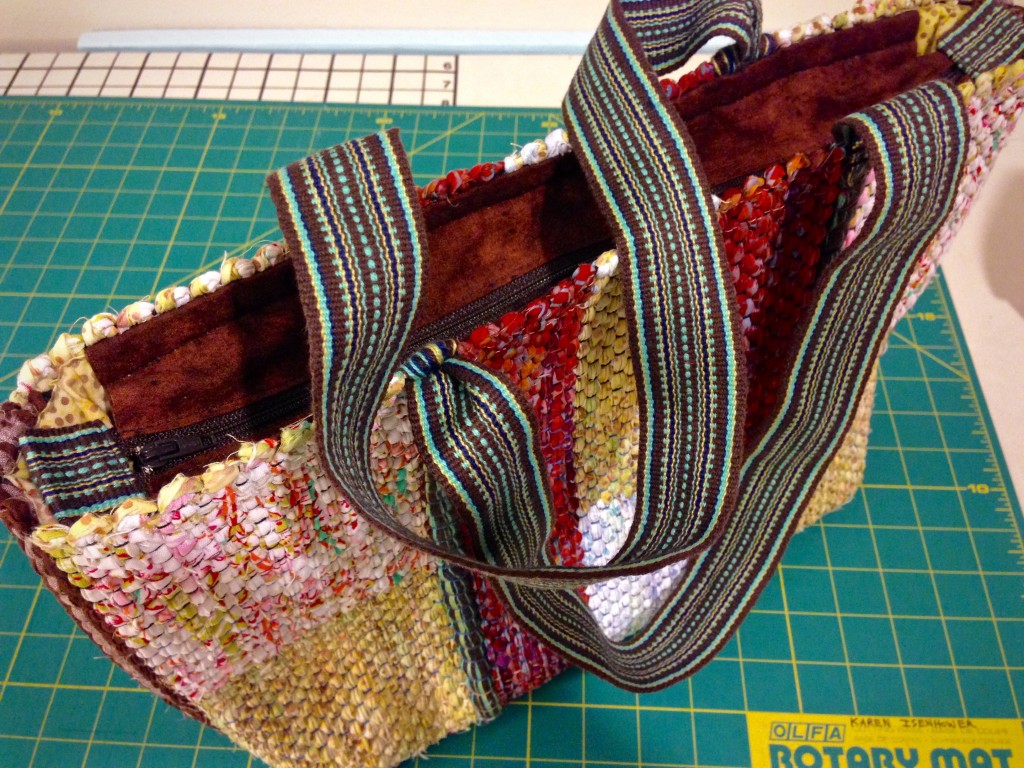
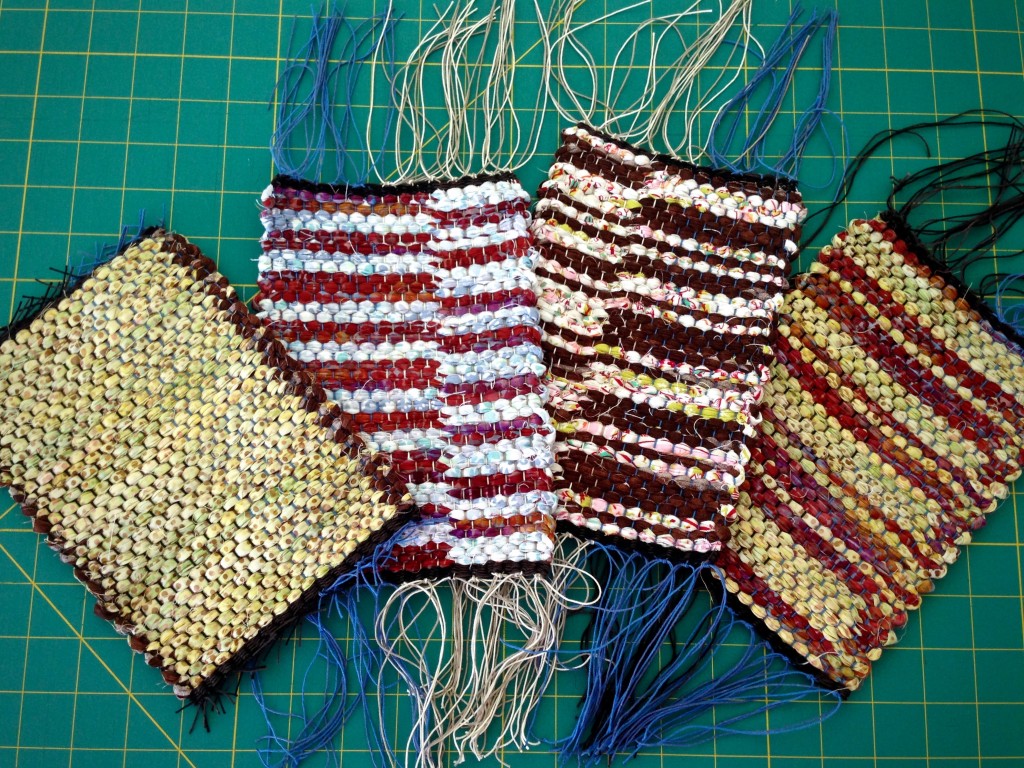
Every good bag deserves a good lining, with pockets inside and a zipper on top. This handwoven rag rug bag is no exception. The lining fabric is some of the same fabric that is woven in the bag. The polka dot pocket fabric is a cheery piece from a visit to The Philippines. The completed zippered tote is a perfect fit for my small tapestry frame, and goes with me when I travel. Quiet Friday: Weave a Bag with Handles shows how I made the bag.
How to Add a Custom Zippered Lining to a Bag
Tools
- Sewing machine
- Zipper foot
- Walking foot (recommended, but not required)
- Steam iron
- Straight pins
- Tool for pushing out corners
- Needle and sewing thread
- Disappearing ink fabric marker
- Fabric scissors
Supplies
- Fabric for lining. Lay bag on top of folded lining fabric, with bottom of bag aligned with the fold of the lining fabric. Cut the folded fabric a generous 1 1/2″ wider and 1 1/2″ taller than the bag.
- Fabric for pocket. Mark two pieces of fabric (or use a folded piece of fabric) the desired pocket size. Add 1/4″ seam allowance. Cut along the marked lines. Stitch, right sides together, leaving an opening for turning. Turn right side out, pushing out corners. Press. Topstitch all four sides.
- Fabric for zipper insert pieces. Cut two pieces of fabric 4 1/2″ wide by the length of the zipper plus 1″.
- Tabs for ends of zipper tape. Cut from handwoven band or piece of fabric with sides folded under.
- Zipper. Regular, non-separating zipper, as long as, or longer than, bag opening
Steps
- Sew bottom three sides of pocket onto lining fabric. Stitch a dividing line on pocket.
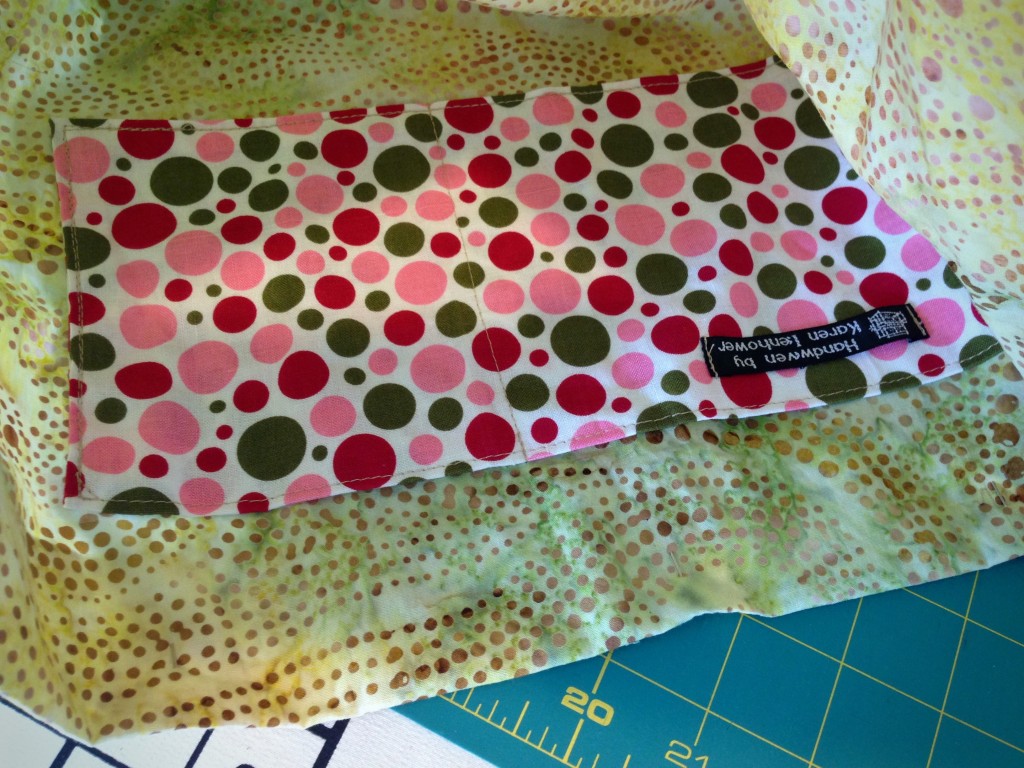
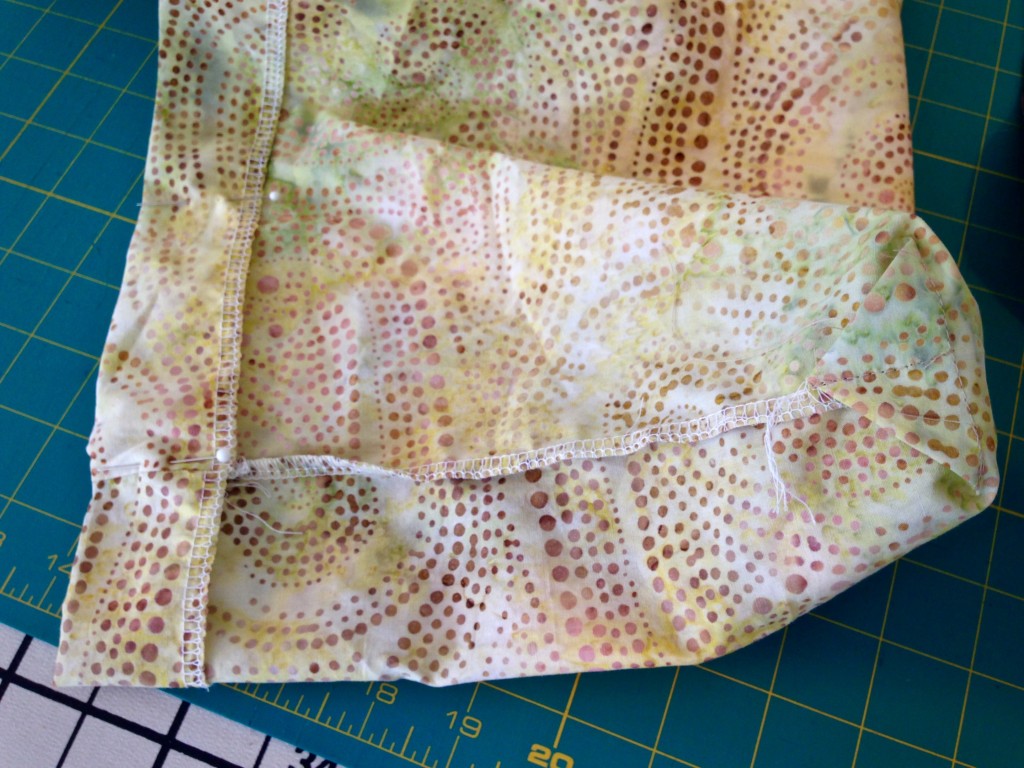
- Stitch sides of lining, right sides together. Fold and stitch box corners.
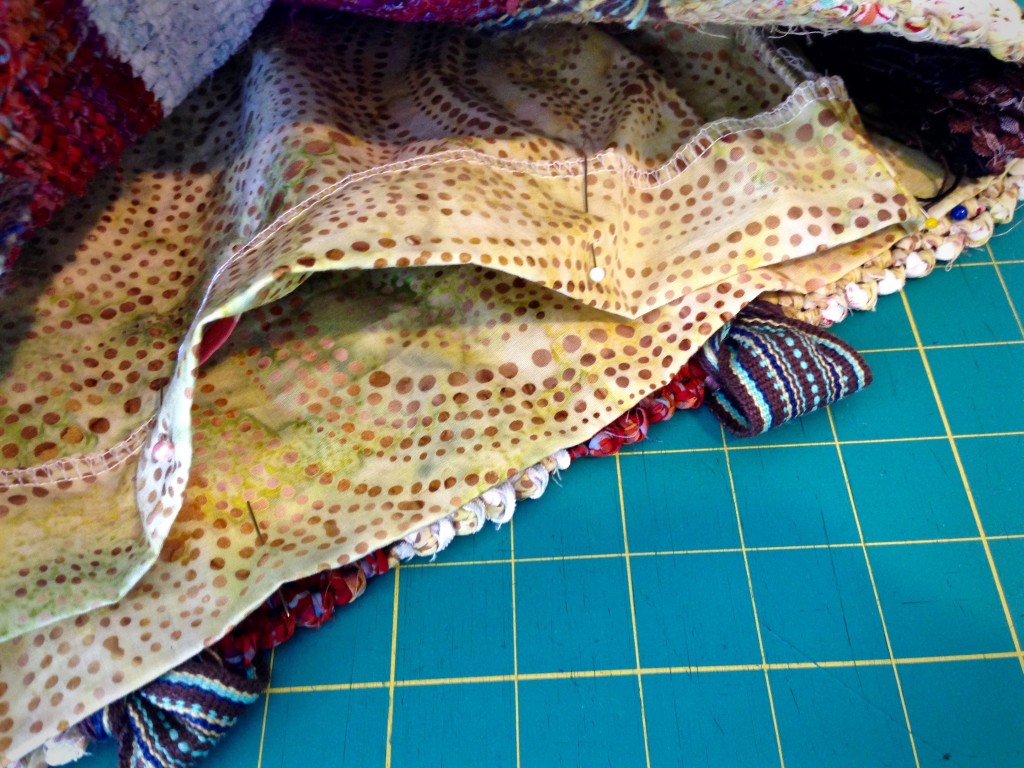
- With lining seated in bag, fold down top edge of lining, so that folded edge fits just inside top edge of bag. Pin folded edge of lining and remove from bag. Set aside.
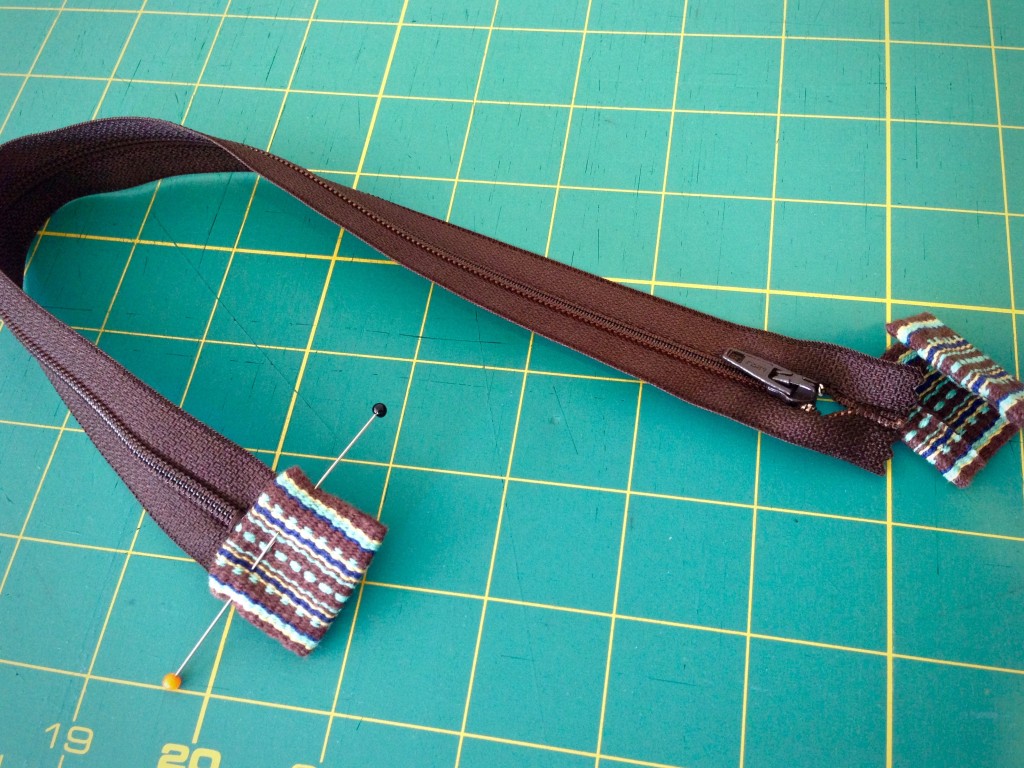
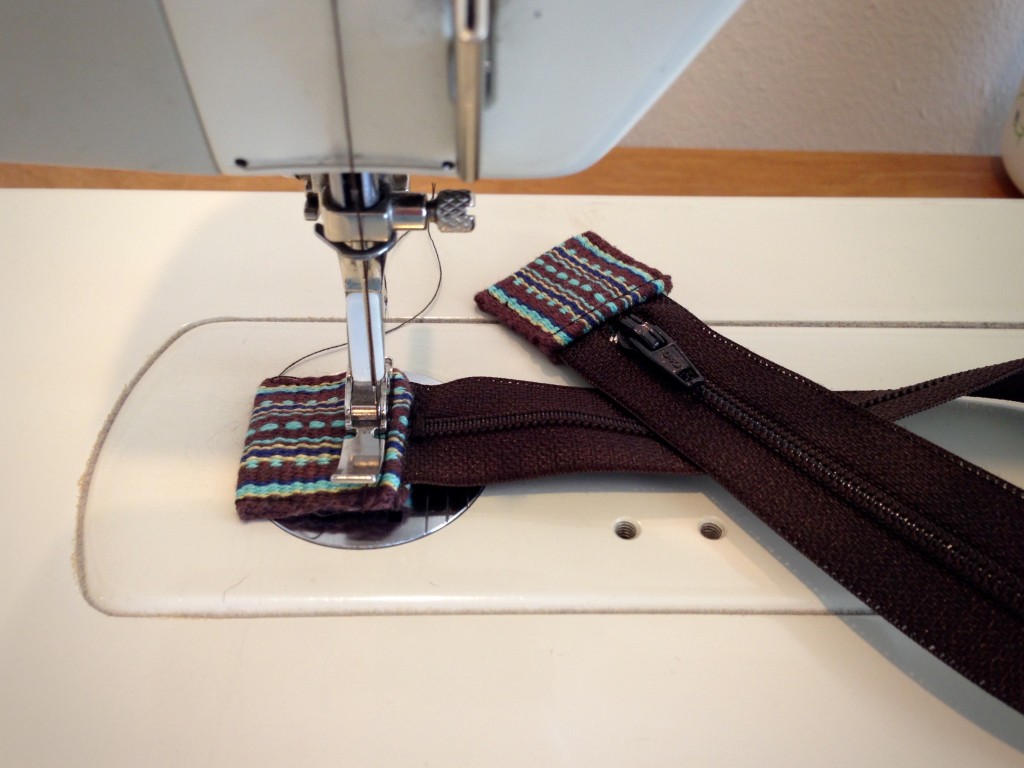
- Bar tack top ends of zipper tape together. Bar tack over end of desired zipper length. Cut off excess. Cut a tab from a woven band, or from fabric with sides folded in, to fold over each end of zipper tape. Use zipper foot to stitch tabs over zipper tape ends.
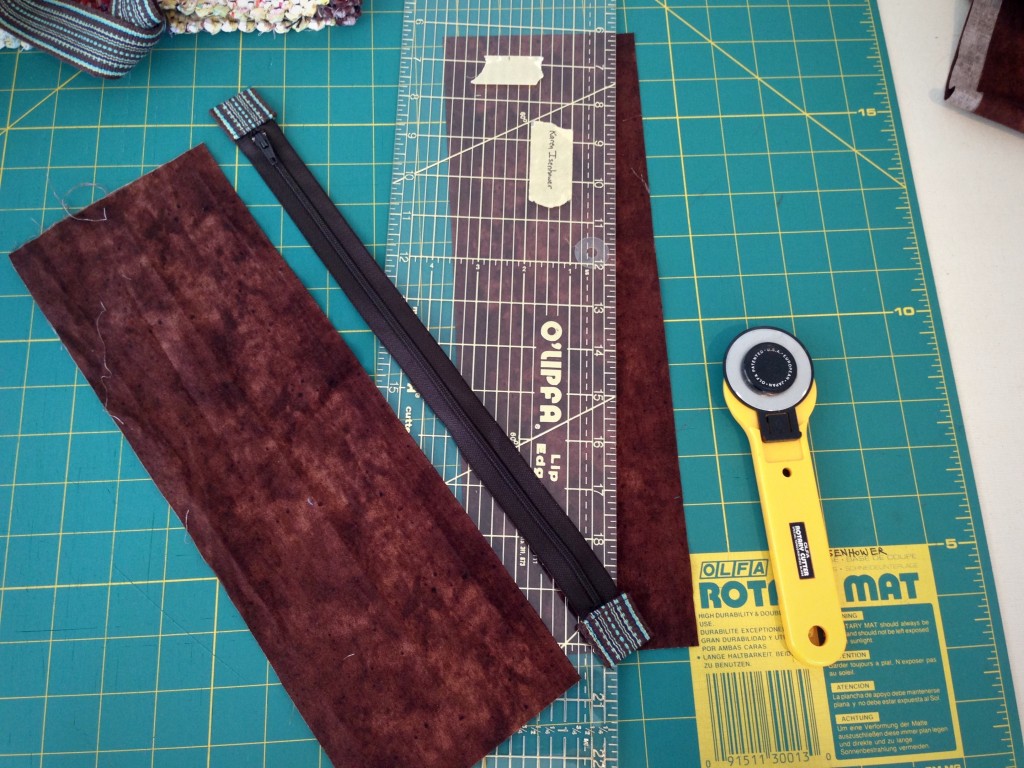
- For zipper insert, cut two pieces of complementary fabric 4 1/2″ wide by the length of the zipper, plus 1″.
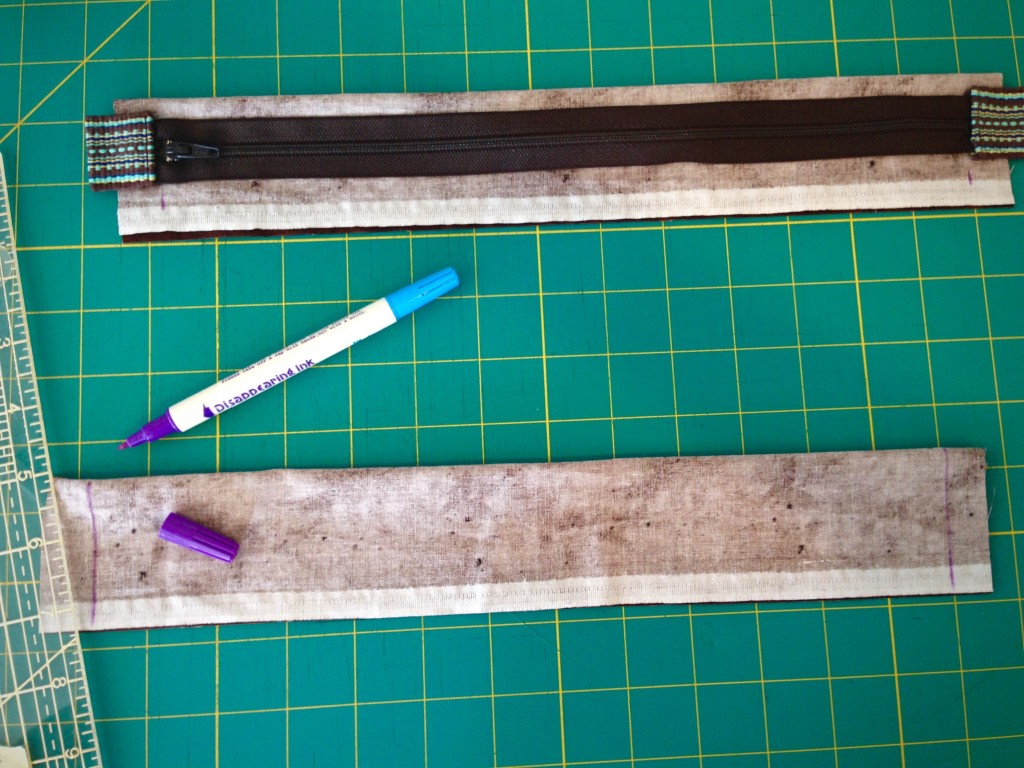
- Fold each zipper insert piece lengthwise in half, right sides together. Draw stitching line that matches length of zipper.
- Stitch both short ends of zipper insert pieces. Clip corners and trim seams.
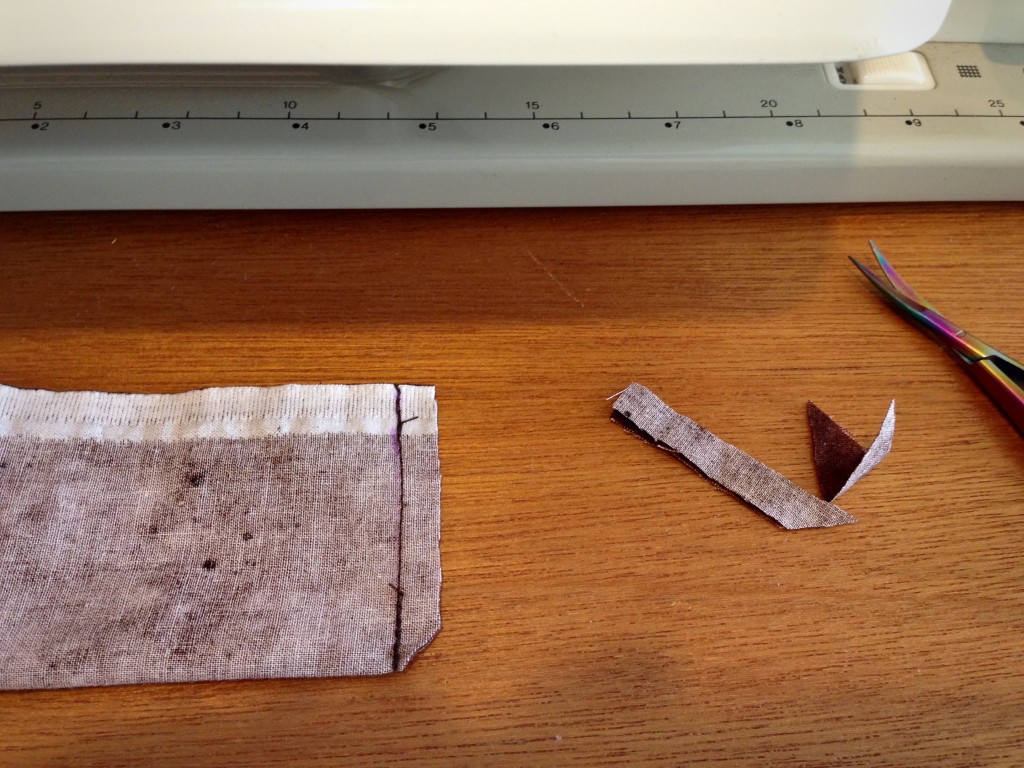
- Turn zipper insert pieces right side out. Push corners out. Press.
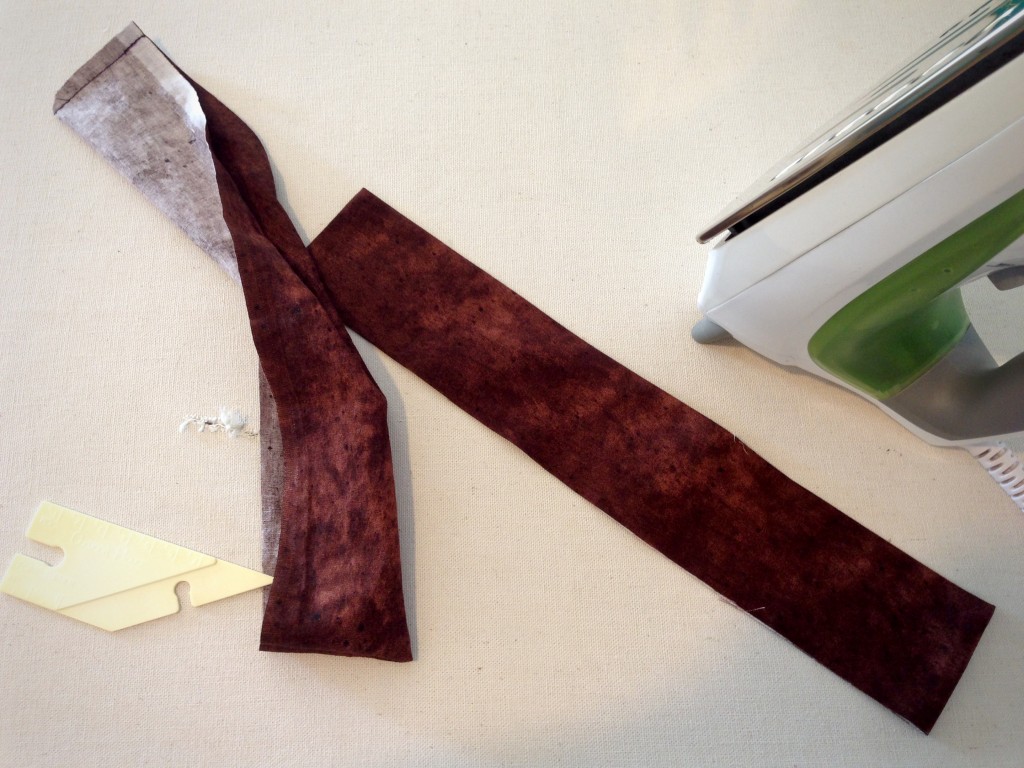
- Pin folded edge of zipper insert fabric to right side of zipper tape, centered lengthwise, 1/8″ away from zipper teeth. Open zipper partway. With zipper foot, starting at top end of zipper, topstitch close to folded edge. After stitching a third of the way, with needle down, close zipper, and then continue topstitching to bottom of zipper. Repeat for other side of zipper insert. Press.
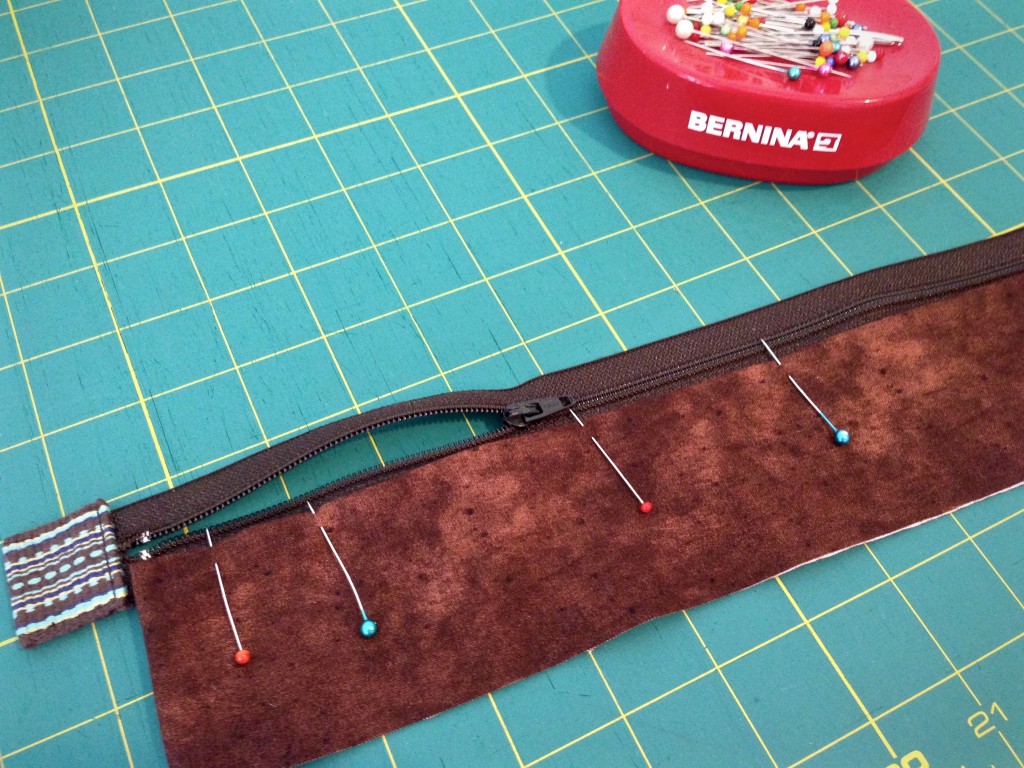
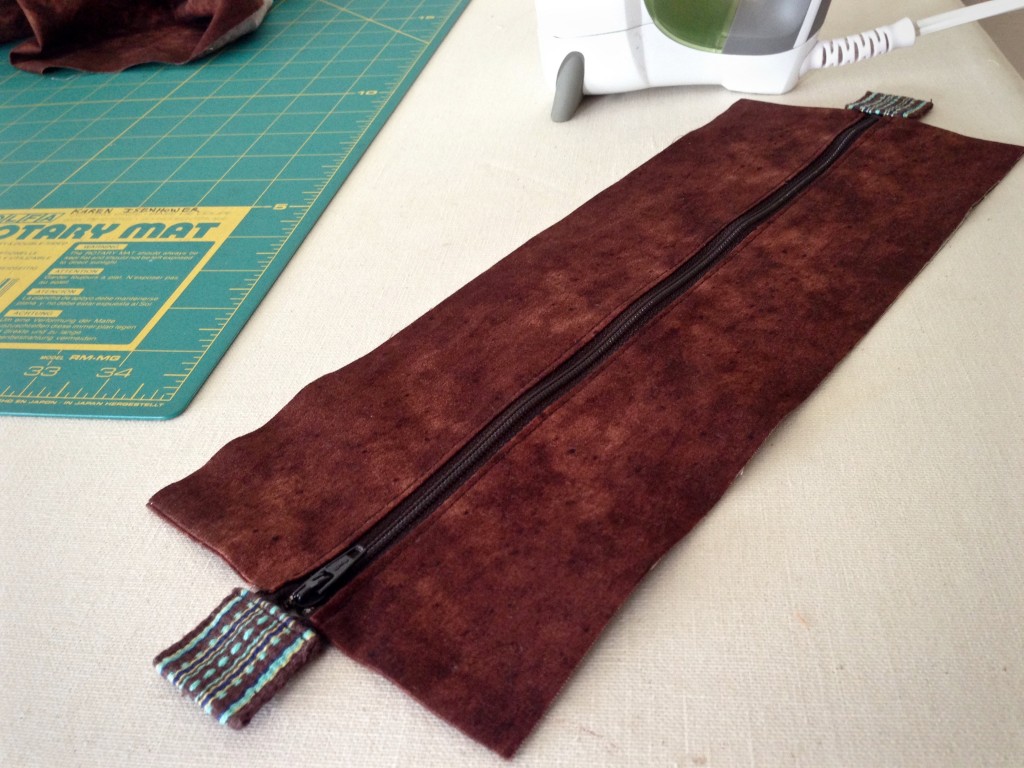
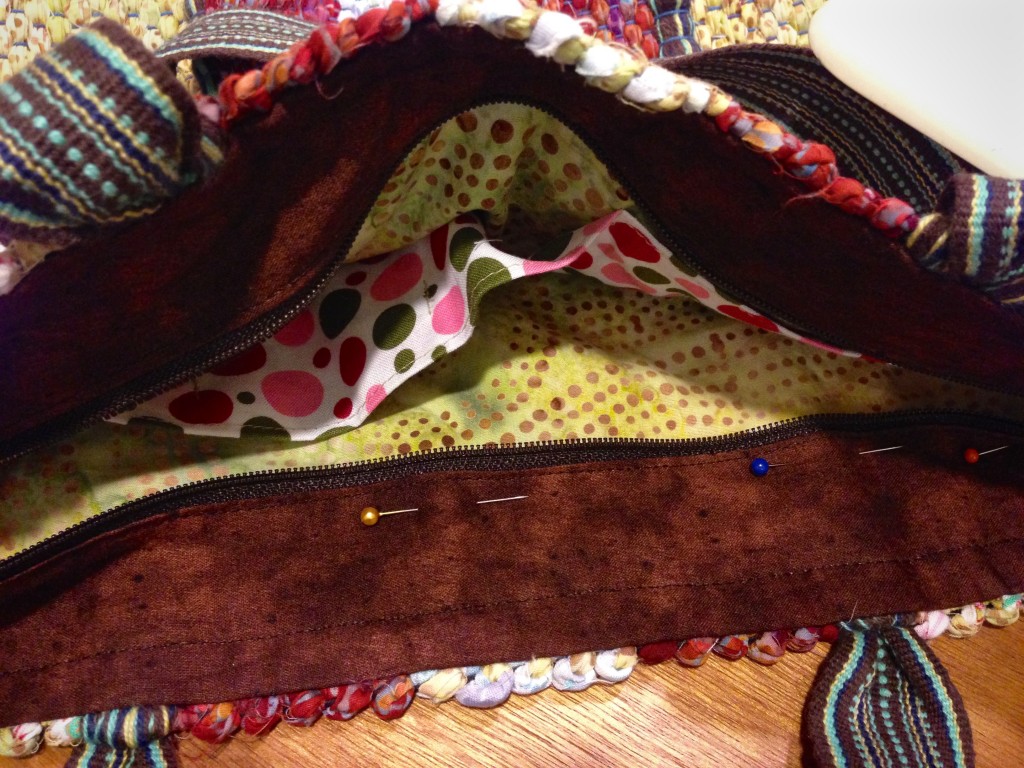
- With zipper opened, and zipper tab down (picture shows zipper tab up, after having pinned both sides), center and pin one side of zipper insert under one side of folded top edge of lining, so that lining overlaps insert 1/2″. Repeat with other side of zipper insert and lining.
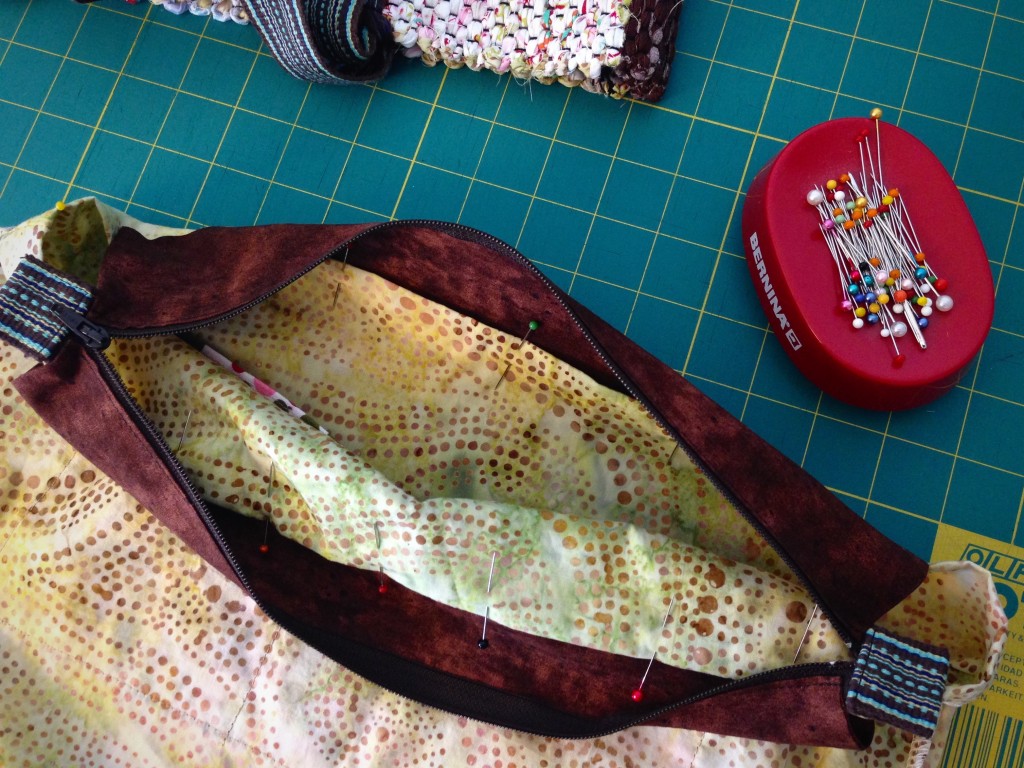
- Insert lining into bag, matching side seams and mid points on bag and lining, with top folded edge of lining 1/4″ below top edge of bag. (Edge of zipper insert is sandwiched between lining fold and bag.) Make sure bag handles are up and out of the way of stitching. From inside of bag, use walking foot to stitch 1/8″ from lining fold, all the way around top of lining, keeping zipper insert up and out of the way of stitching. (Walking foot helps ensure even feed of fabric layers.)
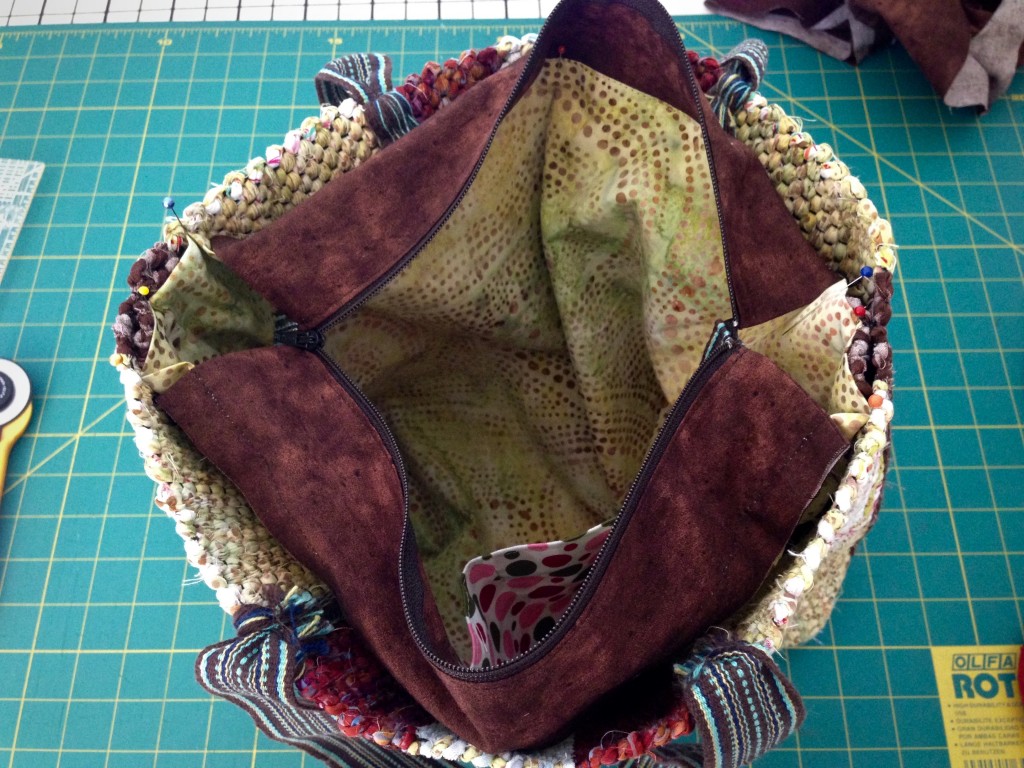
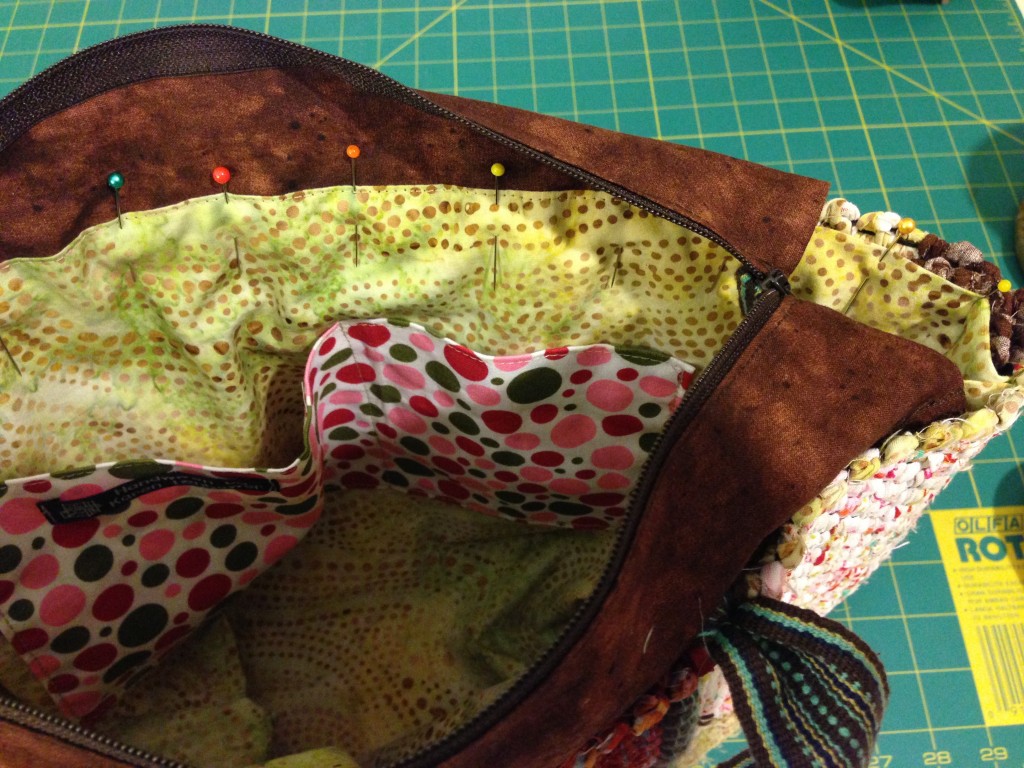
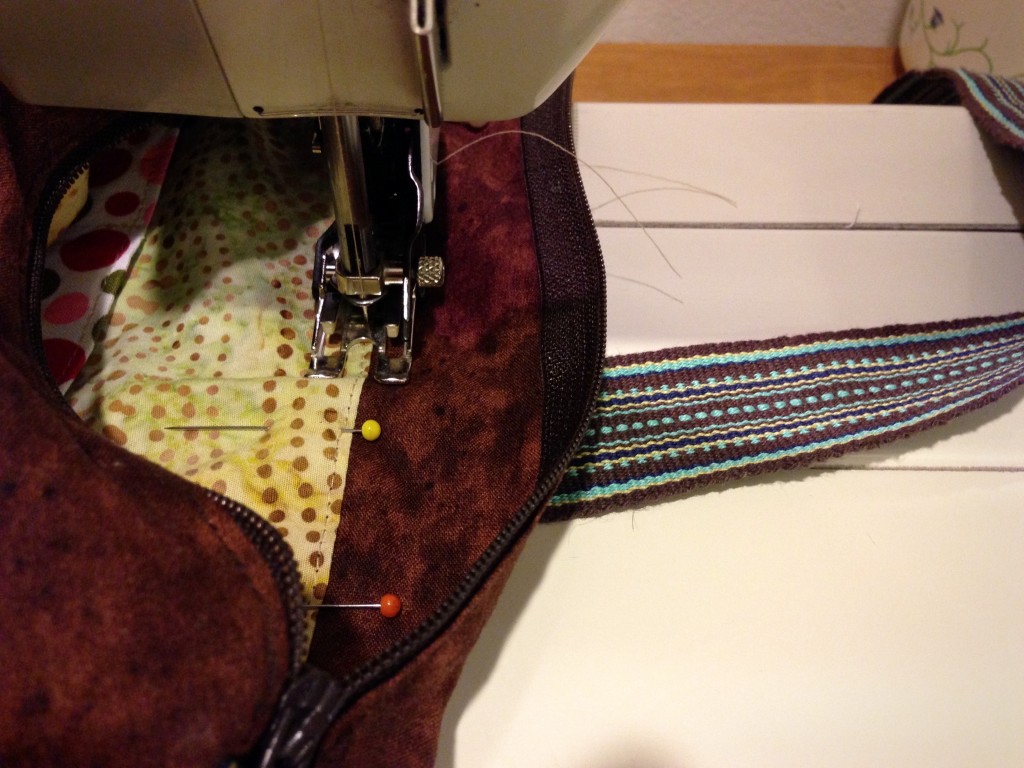
- Fold zipper inserts down into bag. Press. Stitch across zipper inserts 1/2″ below top of lining on inside of bag. Press again.
Give your new bag a special purpose.
May your lining on the inside be as attractive as your handbag on the outside.
Happy Creating,
Karen

