Cut It Off and Start Over

This is what starting over looks like. After weaving a couple inches, I had a bad feeling. Uh oh, there is a fatal mistake in the threading. Not just one or two wandering threads, but I mis-threaded all the way across the warp!
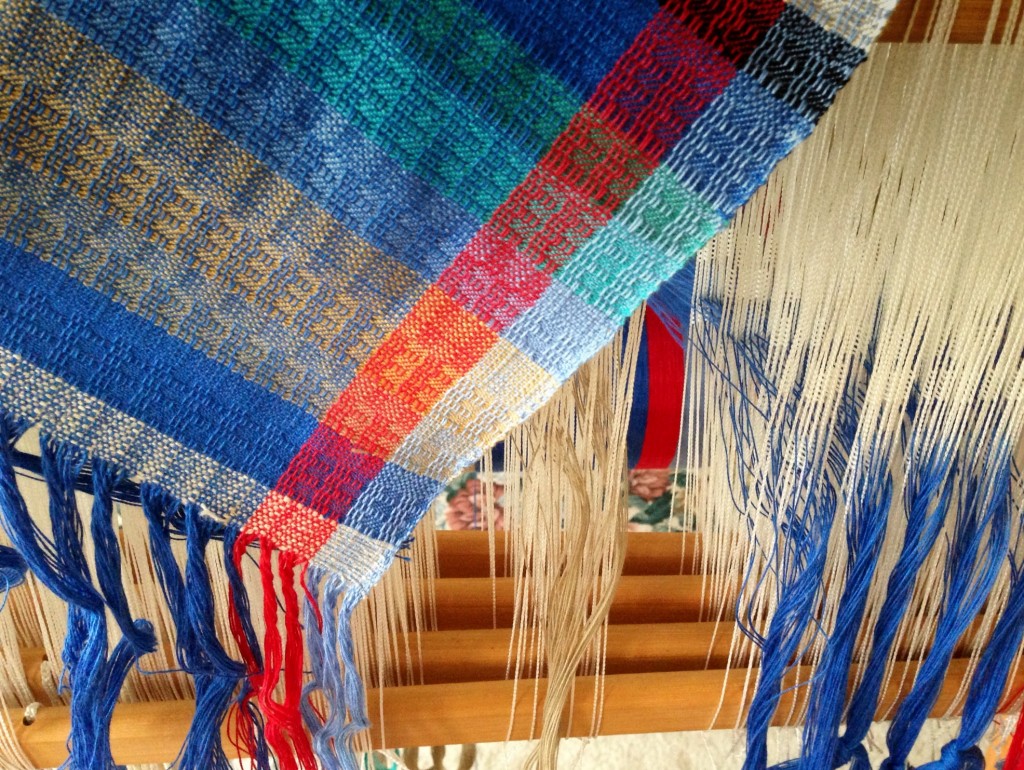
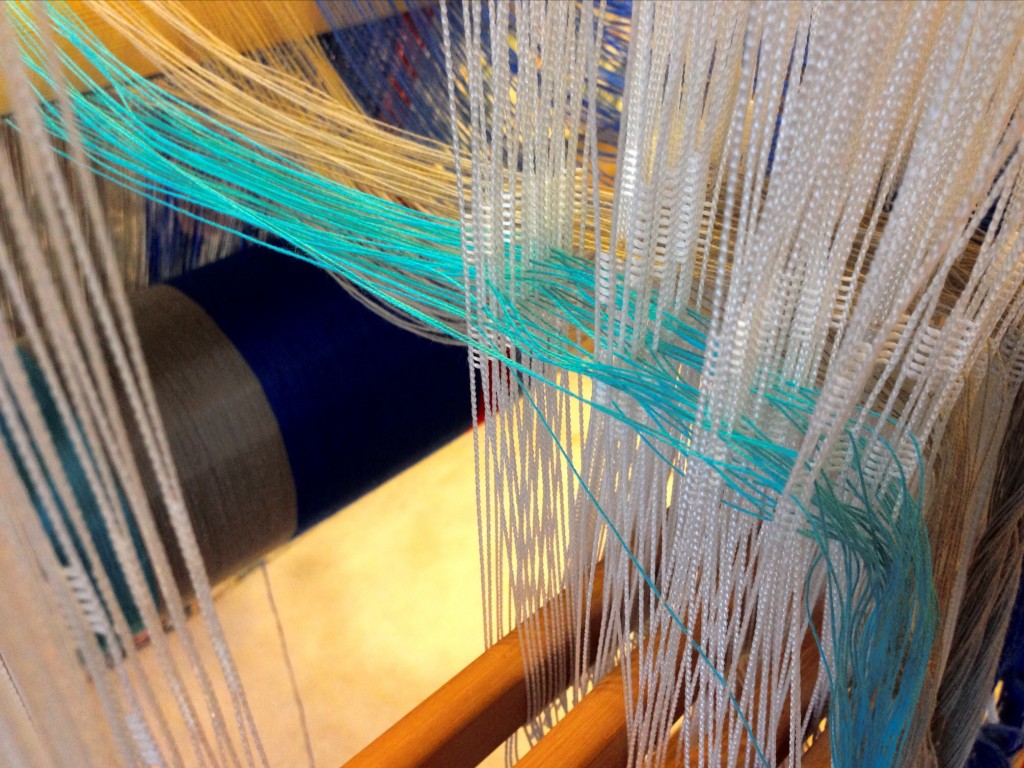
Threading error. Re-threading 866 heddles.
Sample with various weft color options. After cutting off the sample, the process of re-threading the 866 heddles begins.

Cut off the sample. Pull 866 threads back out of the reed and out of the heddles. Re-thread 866 threads. Re-sley. Redo the tie-up. Tie-on again! Breathe. Even so, I am thankful I get to begin again. The mistakes are completely removed and I have a fresh start.

I had to search to find the root of this error. I examined the threads in the fabric; and I compared the woven sample to the draft. Not until I studied my planning sheet did I see that I had written out the draft incorrectly. I had mistakenly exchanged shaft 4 for shaft 2 in the threading draft. Aha! and Ugh! My instructions to myself were faulty!

We cannot fix everything in our lives. Often, we cannot even find the root of the problem. Fortunately, our grand weaver, who searches hearts and minds, is able to reveal the source of our error. And then, in his grace, cuts away what was not working and gives us a brand new start. No old strings attached.

May a fresh start come your way.

Grace to you,
Karen

Threaded Heddles Set the Stage

I love threading the heddles! It allows me to touch every single thread with my fingers. I guide each thread through a heddle on one of four shafts. Threaded heddles set the stage for the motion of cloth-making. Each thread has its own path, yet groups of threads function together as a unit. Kind of like a friendship network.

Threading Texsolv heddles for cotton hand towels.
With 36 threads in each grouping, the Texsolv heddles are threaded one-by-one, using only hands and fingers as tools.

I double-check my threading as I go. As I finish each section, I immediately go back through the bundle thread-by-thread to verify that each thread is inserted accurately. This effort on the front end is worth it. With every warp thread in its proper place, the design in the fabric is assured, even before the weaving begins. A friendship network is like that. Each person has their own path, and when those paths are aligned and given common purpose, the individuals form connections that make a friendship fabric.

Connection with our grand weaver gives us a friendship network with each other–a skillfully woven fabric. The beauty of this created fabric is that it reflects the heart of the maker. Each individual thread, aligned with the others in interesting patterns, becomes an essential part of the finished cloth.

May you glow in the fabric of friendship.

With you,
Karen

Quiet Friday: Rag Rug Finishing

How many people get to have a handmade article right under their feet? You come in from the world, with your feet dusty and weary; you look down, and the rug says, “Welcome home.”

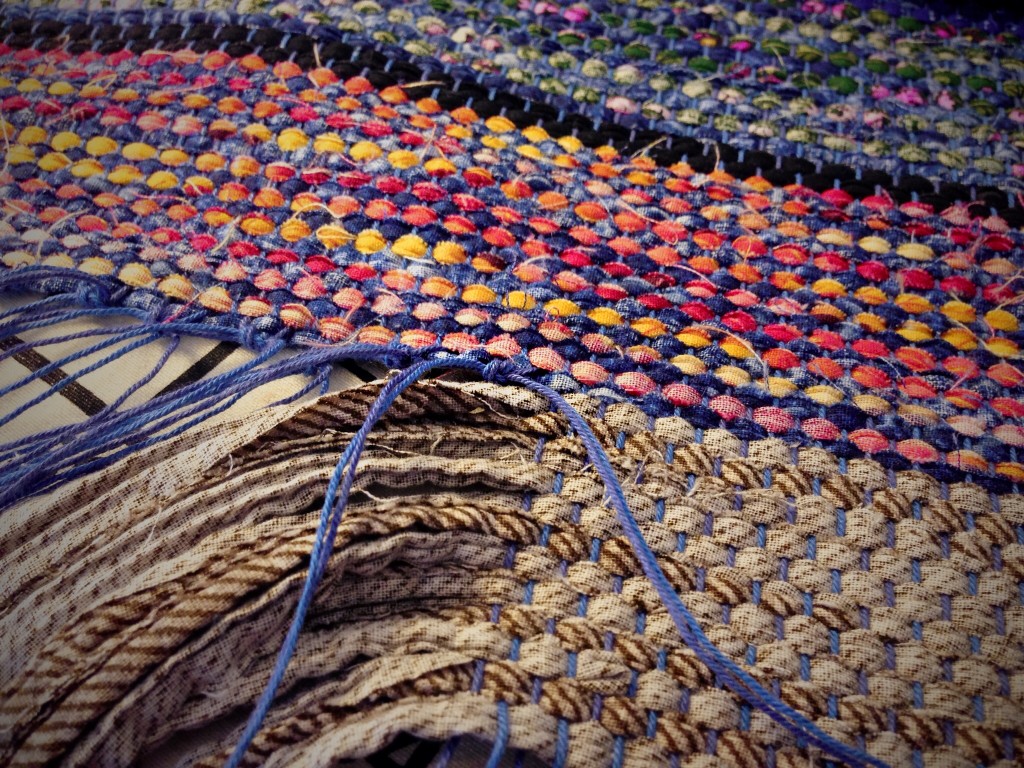
After the weaving is complete, the only thing left is finishing. For rags rugs, that means securing the warp ends, and finishing the ends with fringe or stitched hems. I prefer the look of hems over fringe, so my rugs usually have turned-under hems (occasionally, I do a bound hem, but I’ll save that for another time). The hem area is woven with narrower strips (about 1/4 in. or 1/2 cm) than the rest of the rag rug, to make it less bulky for turning under, and it lays nice and flat on the floor. Ah, rosepath rag rugs, I shall truly miss seeing you on the loom!

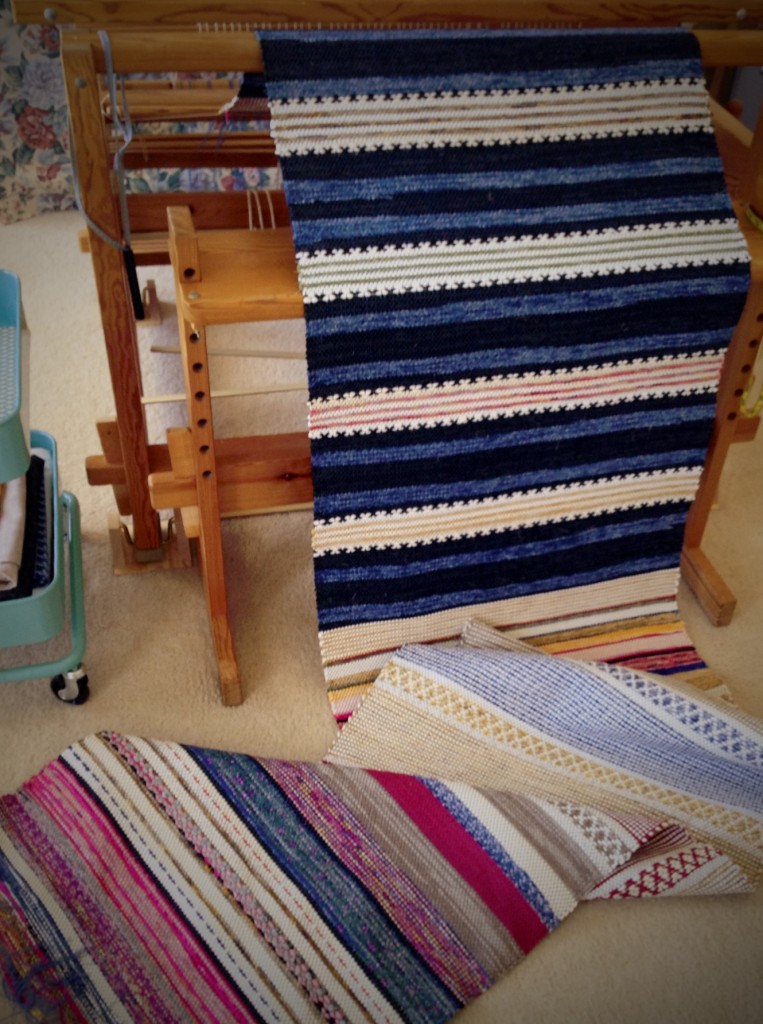
Rosepath Rag Rugs rolled up on cloth beam. Karen Isenhower
The end is the beginning. The end of the warp means the rugs are ready to be unrolled from the cloth beam.
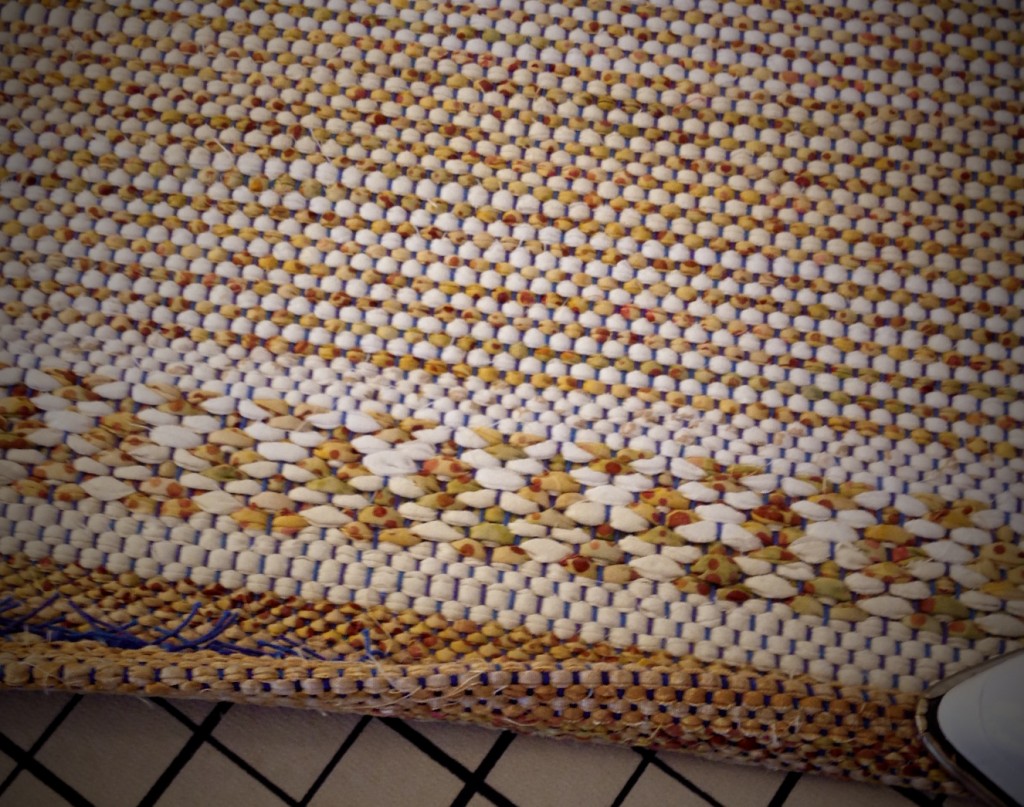
Rosepath rag rugs unfurled from the loom.
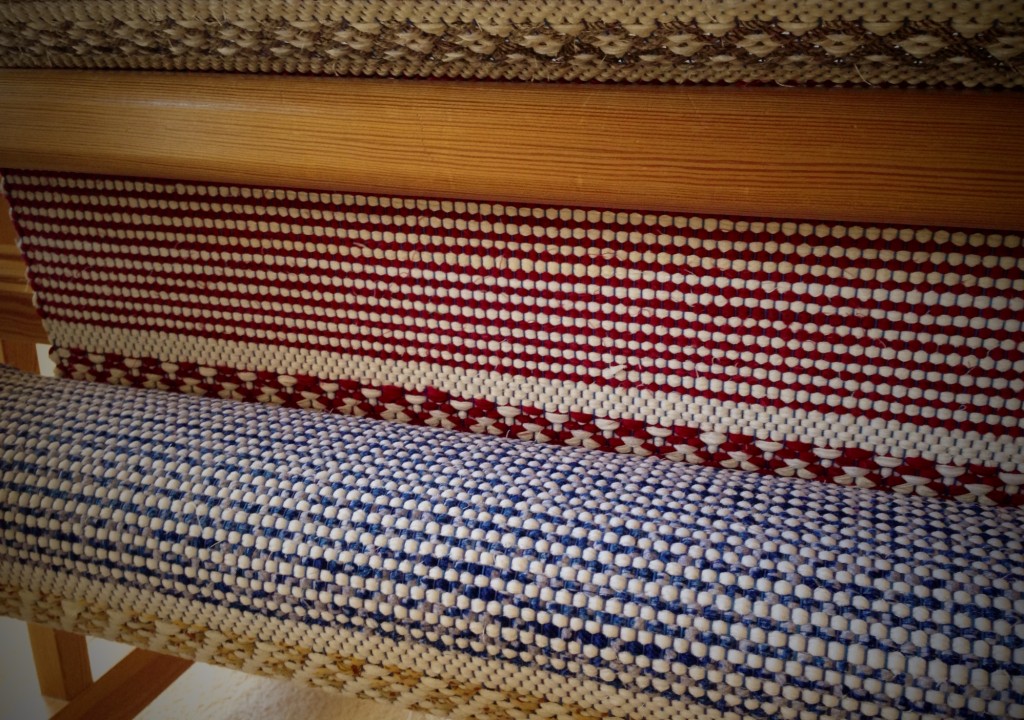
Rosepath rag rugs being unrolled and cut from the loom. This always feels like the moment of truth: I ask myself, “How do they look?” (Note, this view is the underside of the rugs.)
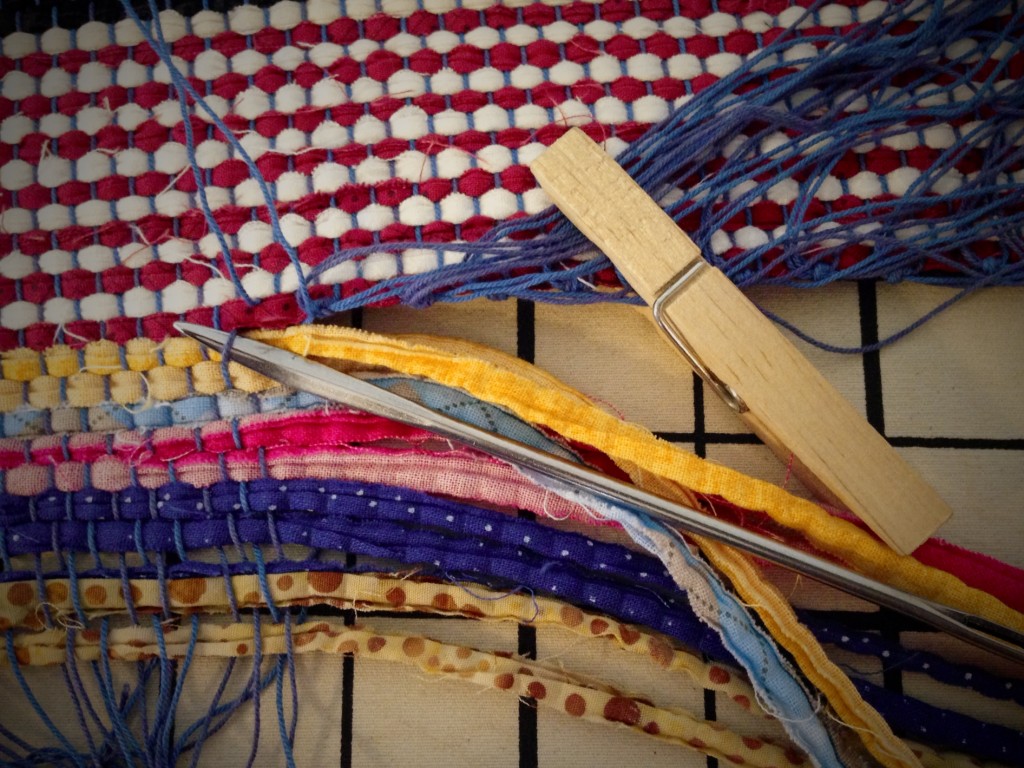
Upholstery needle helps separate warp ends from header to secure ends of rag rug.
Step 1. An upholstery needle helps separate warp ends from the header. A clothespin keeps finished ends out of the way.
Securing rag rug hem with square knots.
Step 2. Secure the hem with square knots. Four ends at a time, pulled out of the header, are firmly tied into knots.
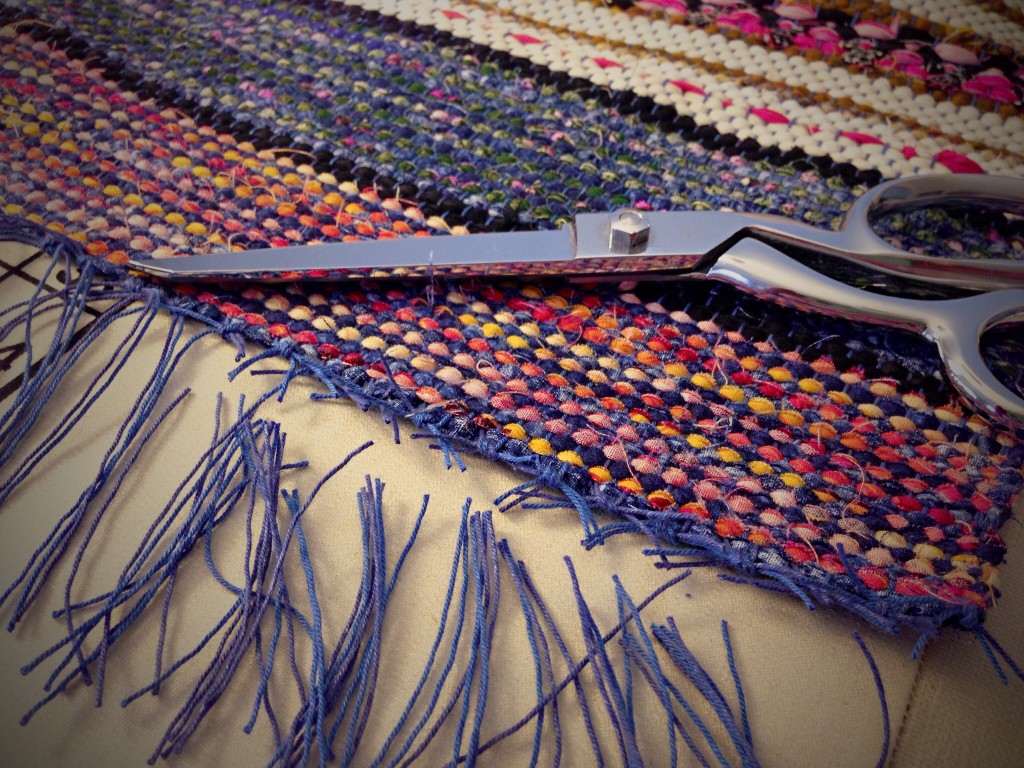
Finishing rag rug with square knots, and trimming warp ends.
Step 3. Trim the warp ends about 3/4 in / 2 cm from the knots.
Steps for finishing rag rug hems. How-to pics.
Step 4. Fold hem edge to the back side of the rug, keeping the knotted ends inside the fold. Press. Fold again to complete the turned hem. Press.
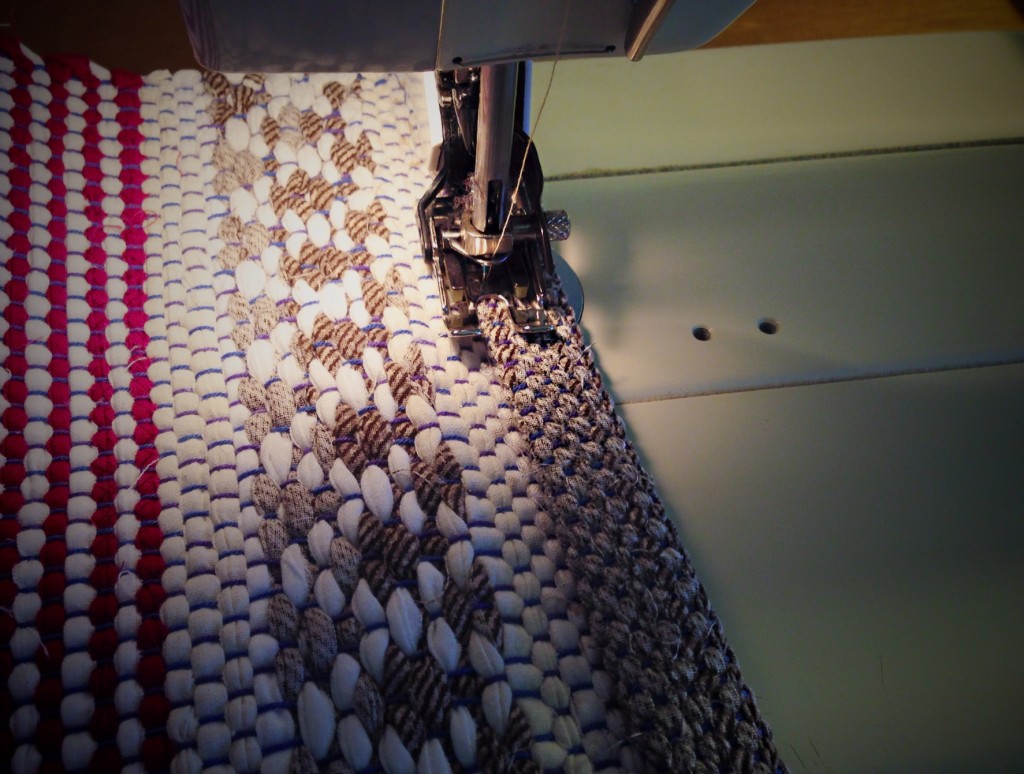
Stitching rag rug hem. Steps for finishing rag rugs.
Step 5. Stitch close to the fold of the hem. Stitch the side edges of the hem closed. Be sure to use sewing thread in the needle that matches the underside of the rug, and bobbin thread that matches the top of the rug.
Rosepath rag rug. Karen Isenhower
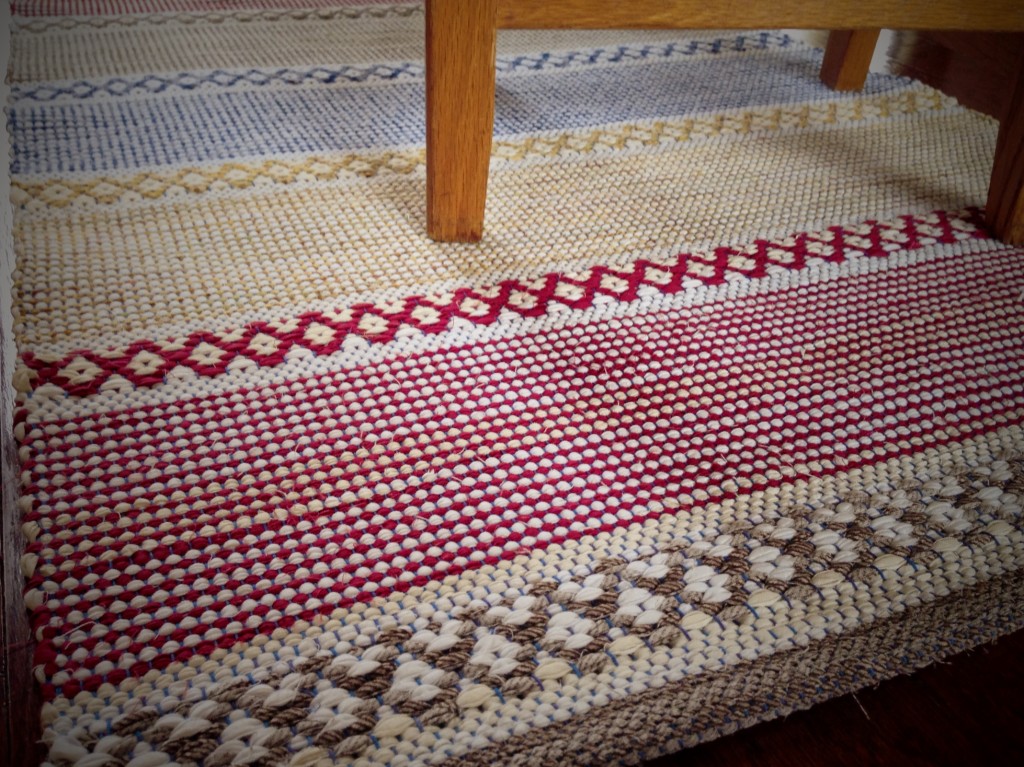
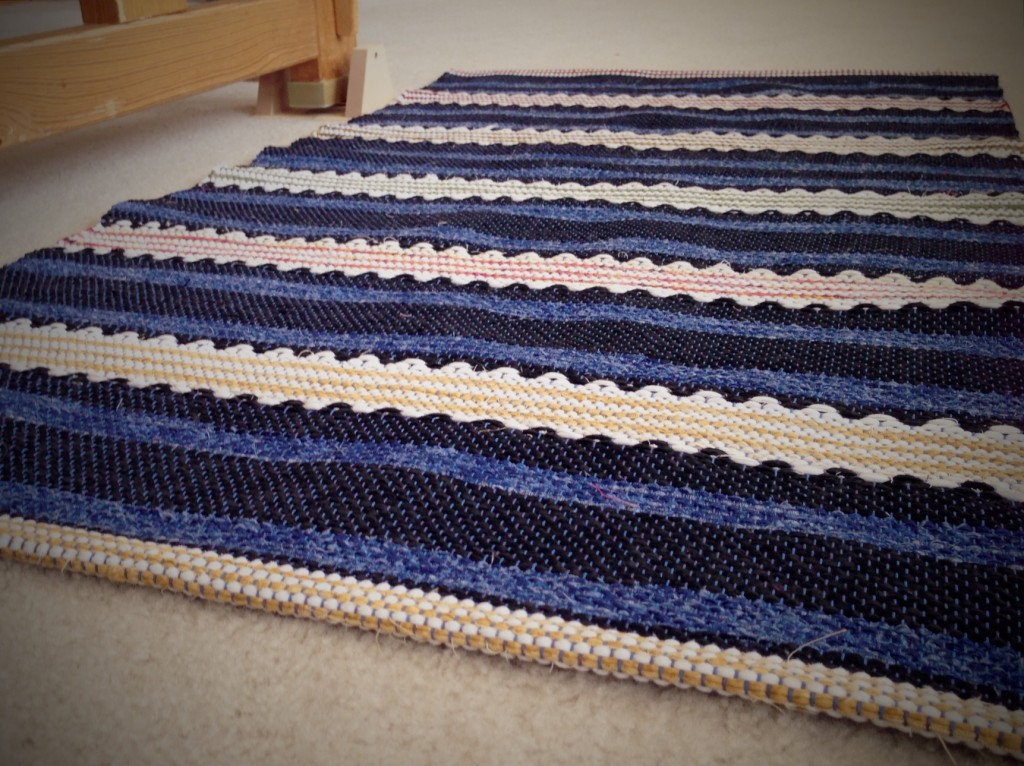
Rosepath rag rug, hemmed and ready, with the look of a breath of fresh air.
Rosepath Rag Rug. Welcome home! Karen Isenhower
Let’s call this one the “Welcome Home” rug. We’d love to have you stay a while.

May weary feet find your home to be a welcoming place.

Still being finished,
Karen

I Wonder Which Wefts Will Work

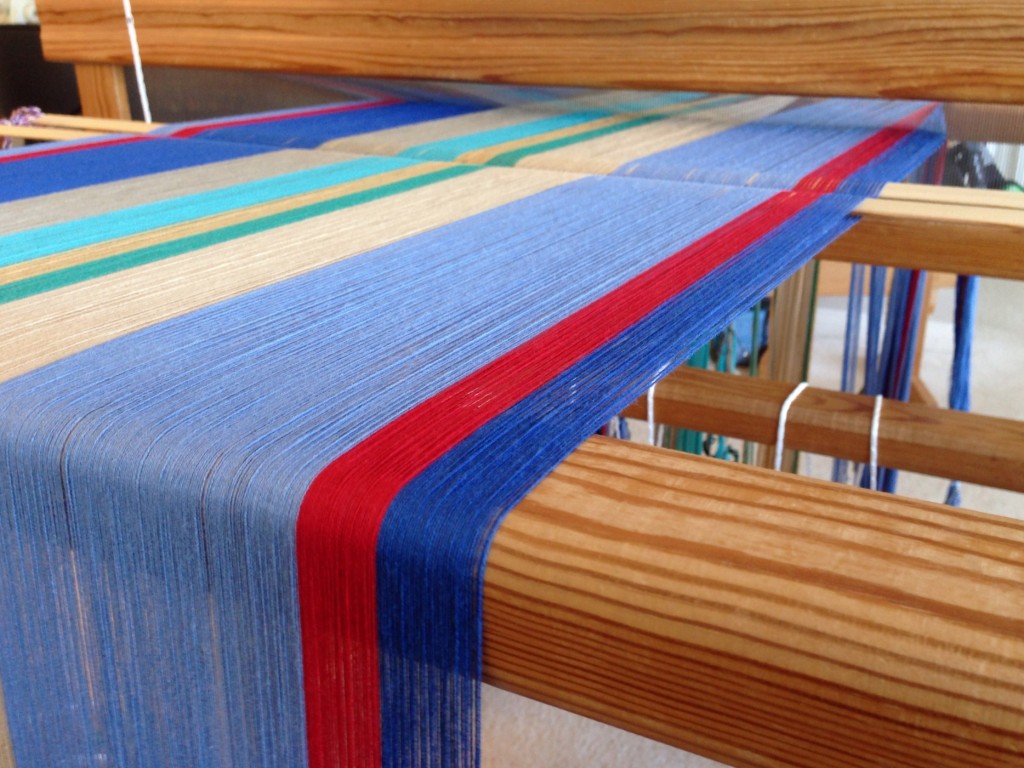
You see the bare warp. How will the finished towels look? We won’t know until the weft is chosen. I will hold an audition for colors and fibers in my stash, and find the most worthy candidates. Questioning and testing in this way, by sampling, helps me discover the best possible options, before committing to the whole 7 1/2 yards (6.8 meters).

Glimakra Ideal being dressed with cotton warp for towels.
Cotton warp as it is being beamed. The threads come over the back beam, and down to the warp beam, as viewed from the back of the Glimakra Ideal loom.

Apparently, human beings are hard-wired for discovery. We like to search things out, understand, and discover hidden treasures of insight and knowledge. Why is that? Why is a weaver interested in figuring out which weft color will show off a warp to its best advantage? We all seem to be made with built-in questions…

We are created to find our maker, to discover who he is and what he is about. Surely, this accounts for our endless quest for answers about everything. In searching for the answers to the deepest questions, we feel our way toward our creator. And we find him waiting for us with open arms. He’s been near all along.

And the winner is… Drum roll, please… Color wrapping #5, will you please stand up! (Click HERE to see what the commotion is about. Be sure to scroll down to read the comments.)
Thank you for your vote. It made me feel good that my first choice received the most votes; and my second choice, #3, received important votes, as well. My husband’s first choice, #2, also received a vote. So, we all win! Yay! (It is not too late for you to leave your opinion. We’d love to know what you think.)

May your questions lead you to joyful discoveries.

With you,
Karen

Color Wrapping

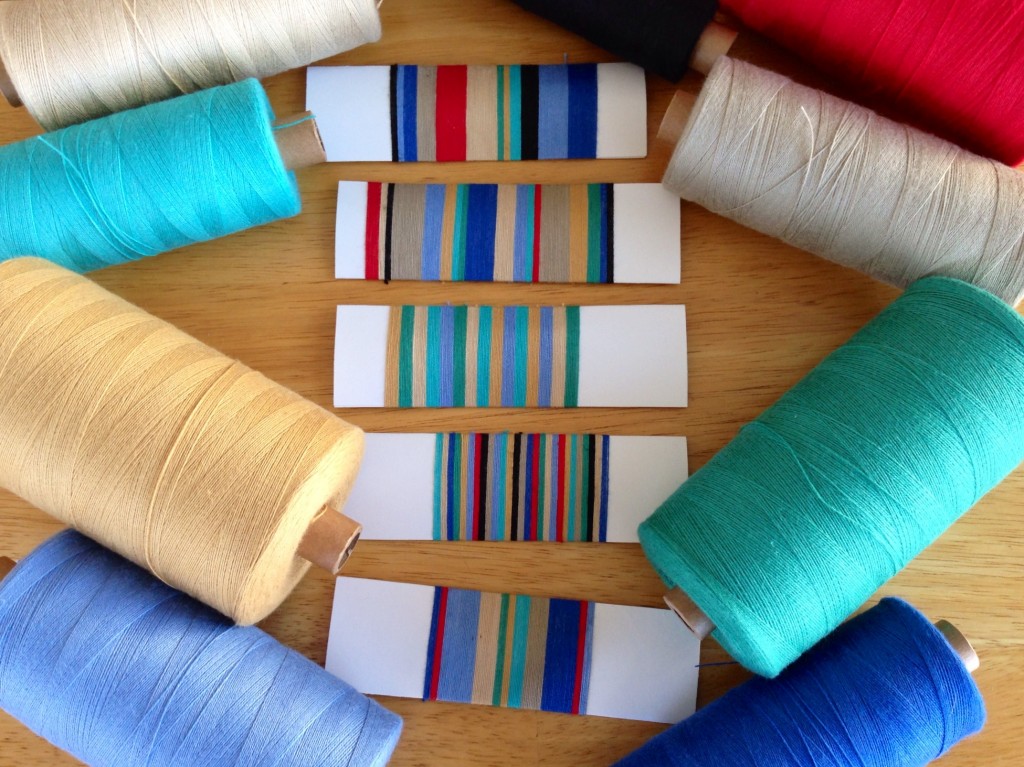
What would you do with nine colors of 16/2 cotton thread? Play with color, I hope! I have hand towels in mind, in a subtle three-shaft twill weave. I challenged myself to create a pleasing arrangement of stripes for the warp. Hmm, should I use a Fibonacci number sequence…or evenly-spaced stripes? Random color order…or planned color order? I came up with several possible color arrangements; each one is unique. You and I are colorful and unique, too.

Color wrapping for stripe design. Some use Fibonacci.
Assorted colors of 16/2 cotton from my stash. Wrapping the threads on folded index cards is an easy way to try out different stripe patterns. Two of the patterns have evenly-spaced stripes. The other three use a Fibonacci number sequence to set the width of the stripes.

I love considering the options at the start of a project in order to have the best results in the end. Maybe our grand weaver is like that, too. “This person will be given a subtle arrangement of colors, evenly spaced; that person will have more intense colors, passionately vibrant. This other person will be given a large stroke of turquoise, because my world needs more turquoise.”

The grand weaver has designed you with certain colors as a gift to you–for you to enjoy life. The way to take full advantage of that gift is by using your colors to serve others. First, receive the gift with open hands. And then, whenever possible, give your gift away.

Which of the five arrangements of stripes in the picture appeals to you the most? I’d love to hear your opinion in the comments! I am curious to see if the one I decided on receives any votes.

May you unwrap your gift.

Joyfully,
Karen