The skirt in my mind is picture perfect in style and fit. If I could snap my fingers and make the skirt appear, I would. Instead, I find my way to a workable sewing pattern by trial and error—agonizing over every small step. The sewing part doesn’t scare me. But I’m in over my head in the garment design arena.
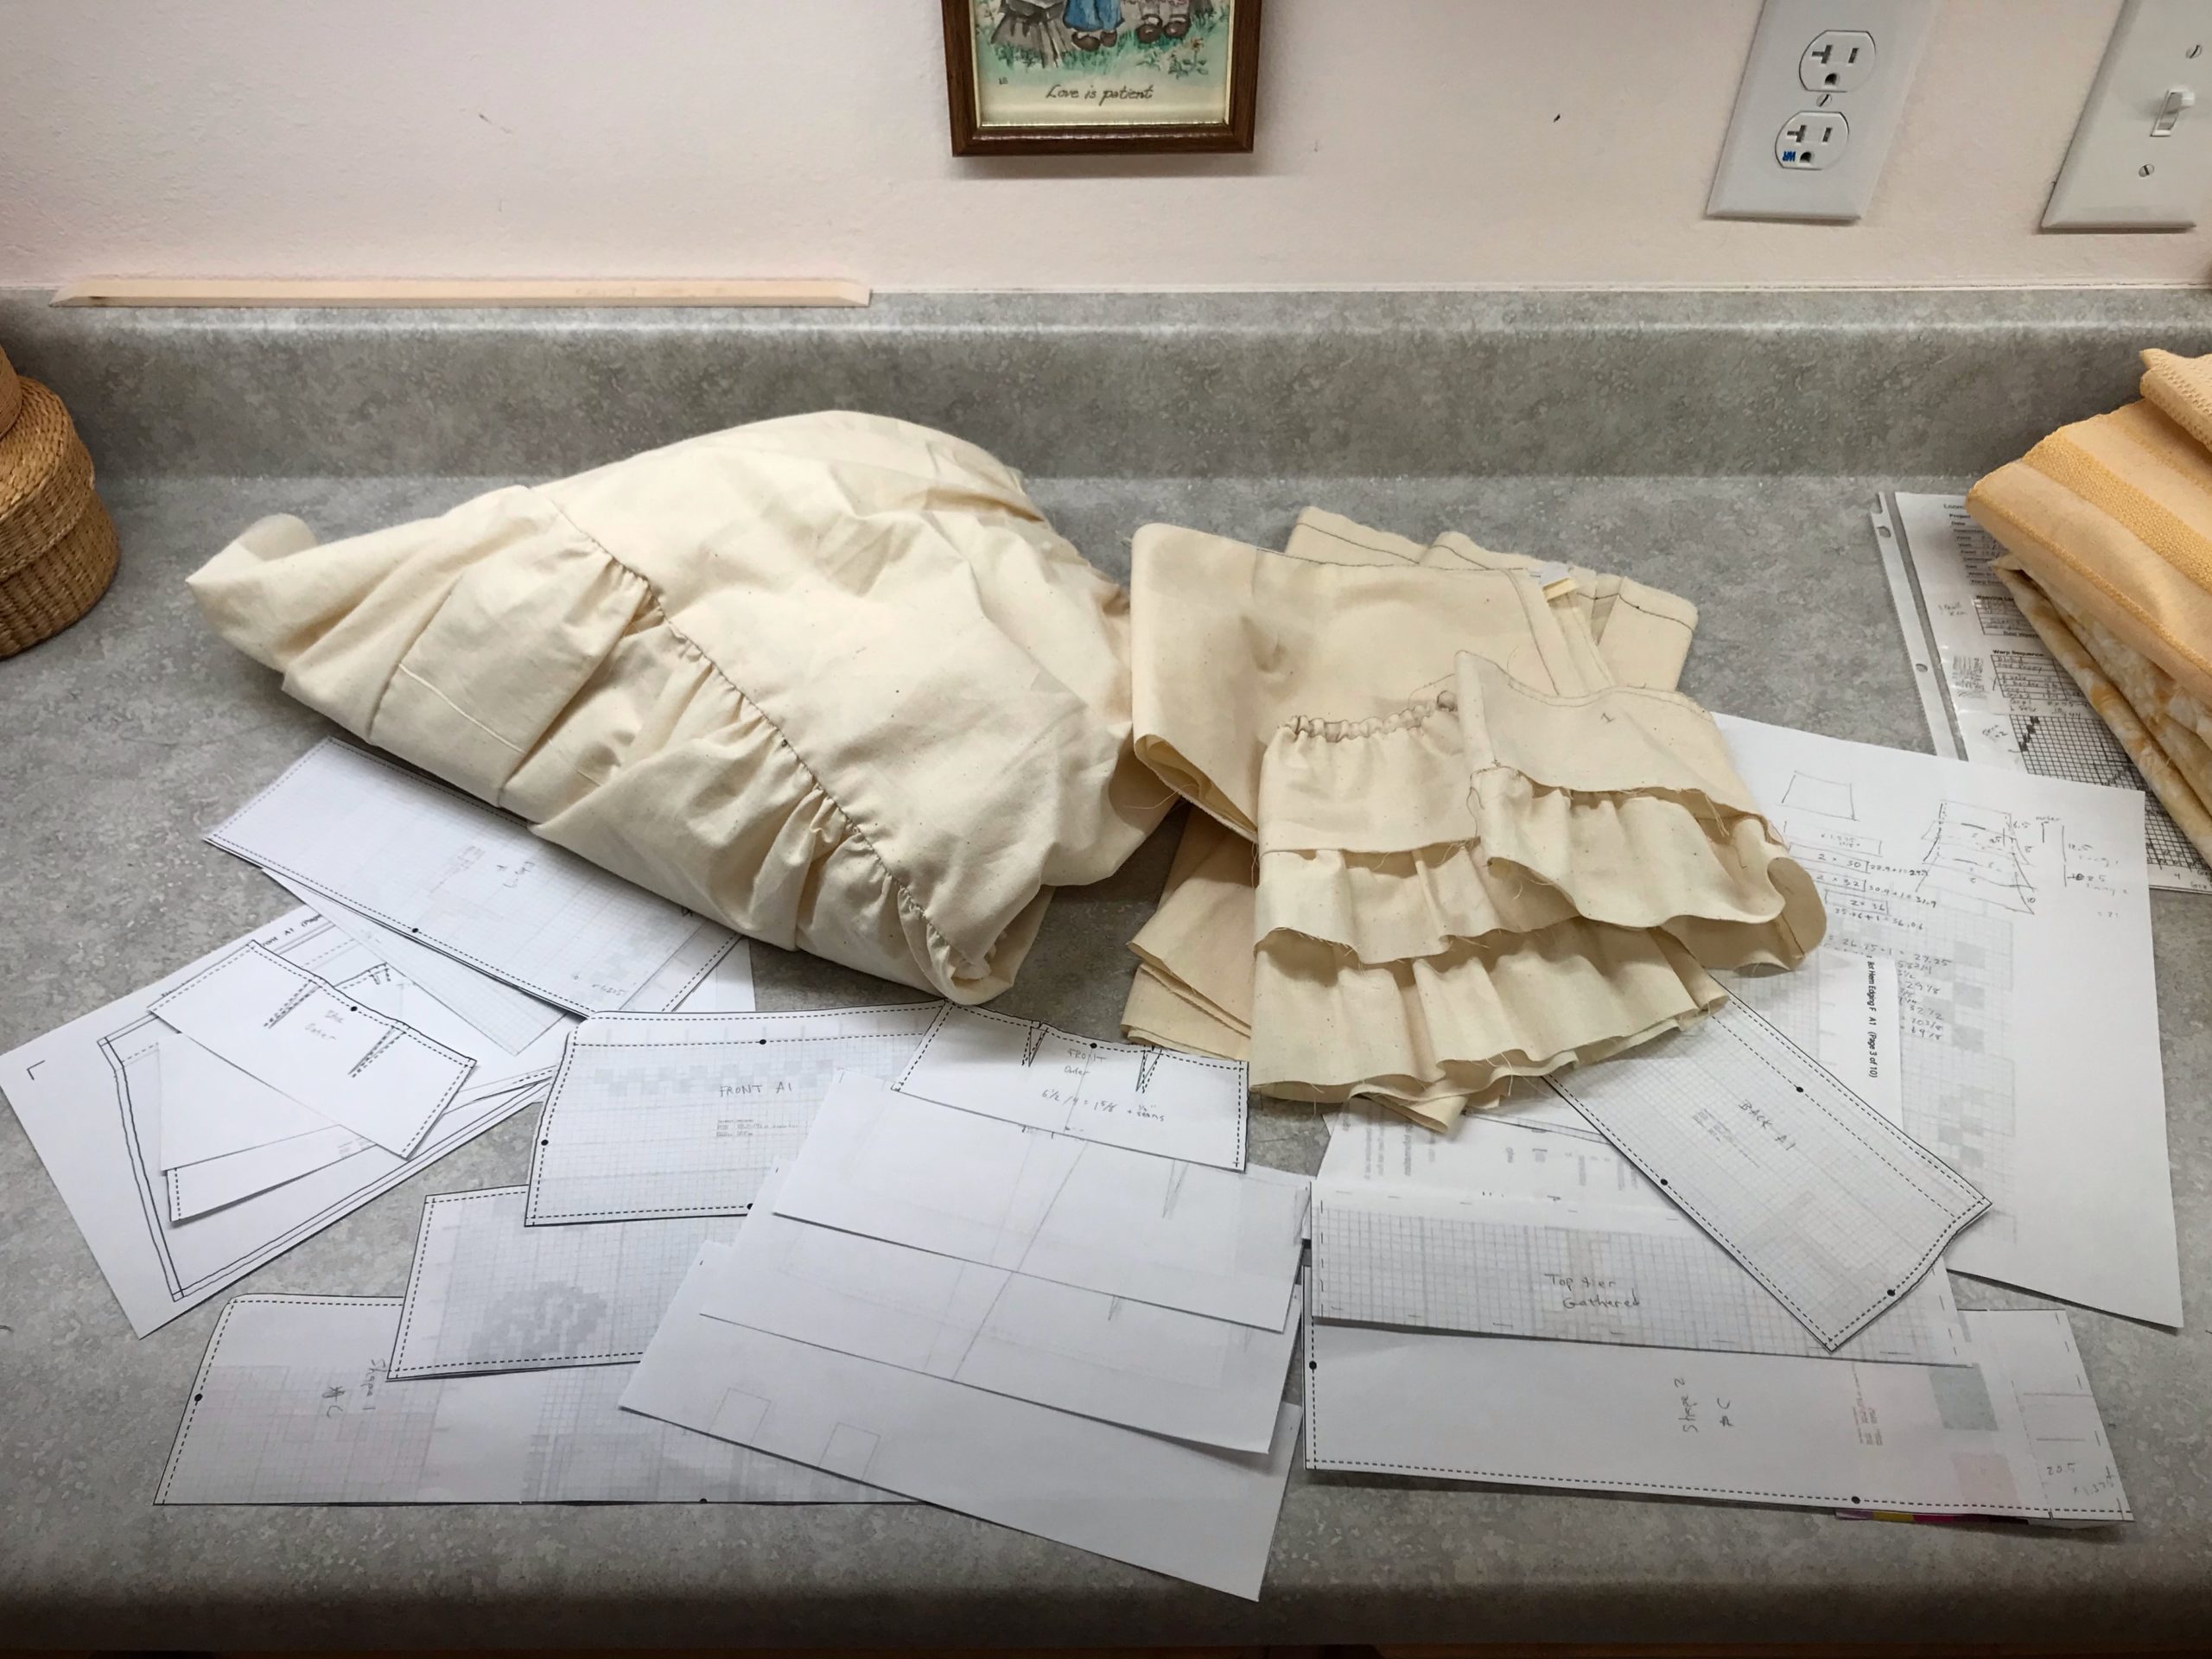
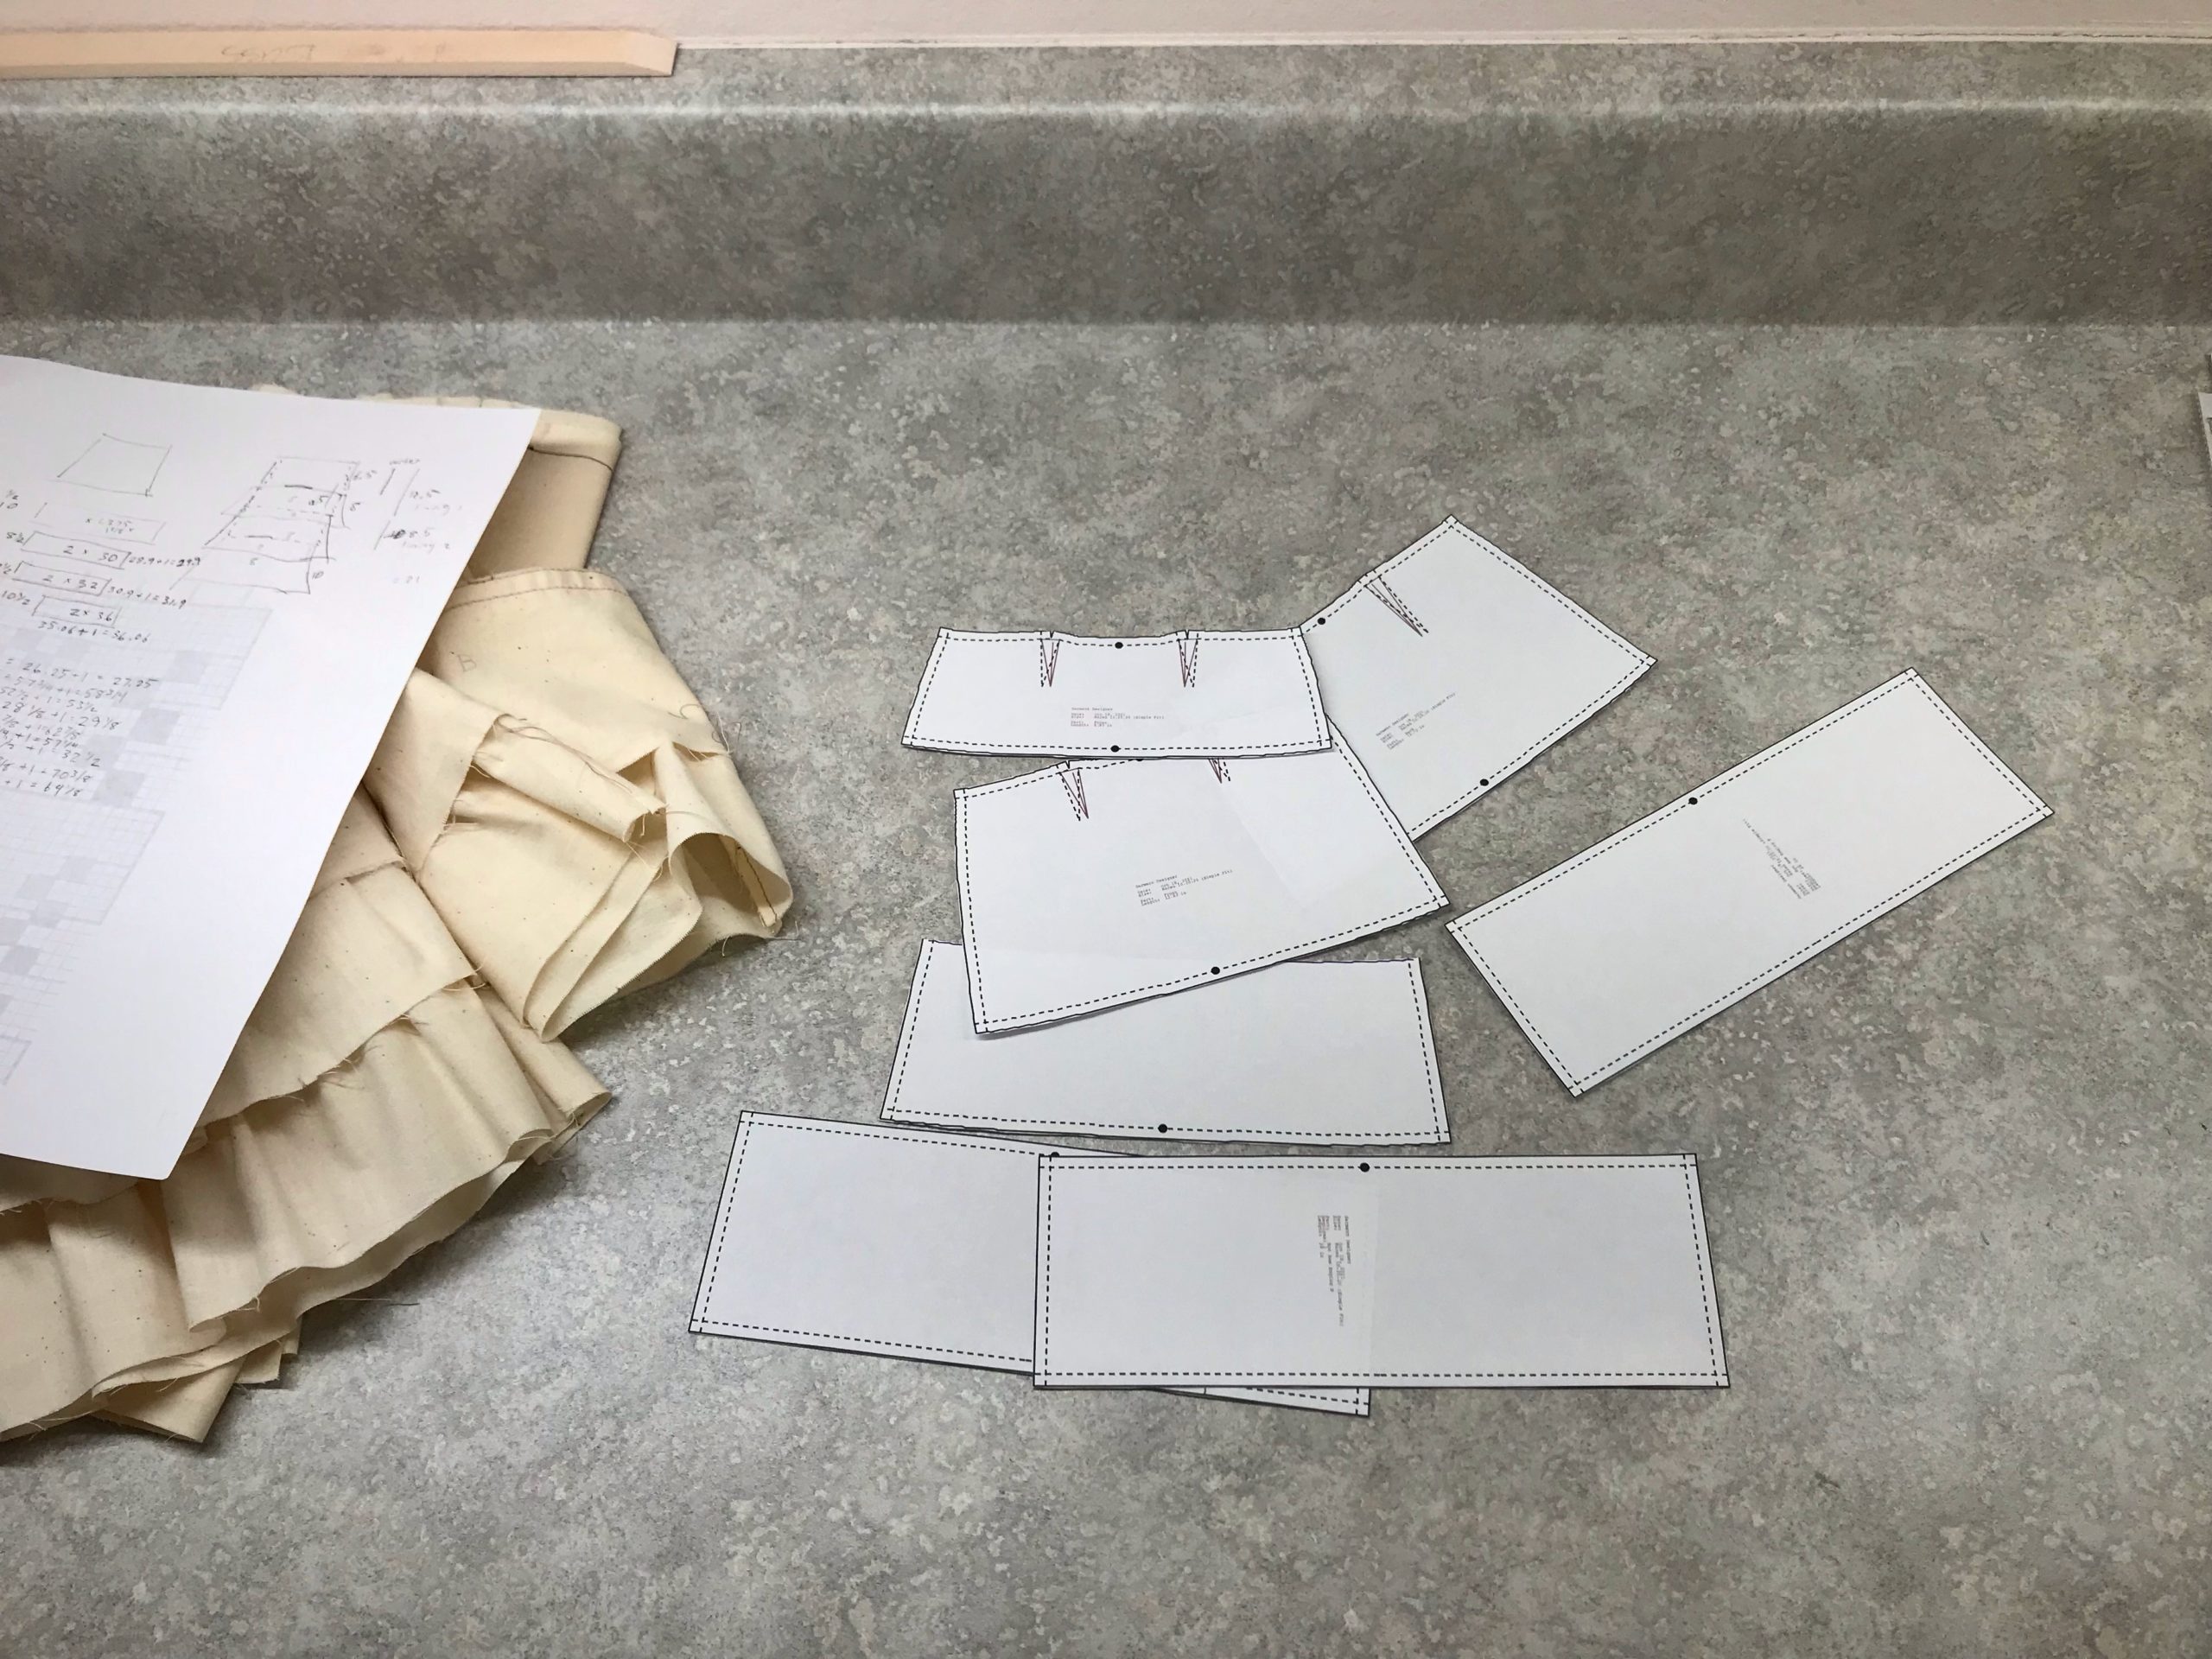
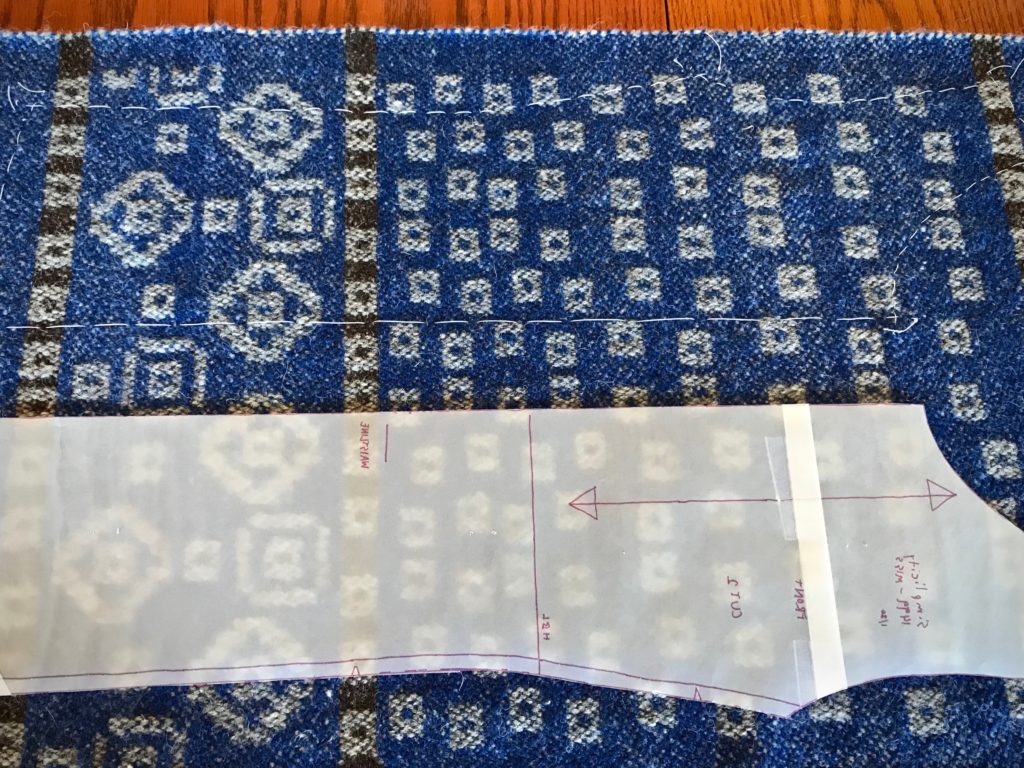
Quarter-scale pattern pieces give me a way to test and try various ways to put the skirt together. I learn a lot of things that don’t work. There is much sewing, ripping, tweaking, calculating and recalculating, etc. And pulling my hair out, figuratively speaking.Settling on something that works. One more little mockup should answer most remaining questions. I use Garment Designer (patterning and design software) to create the patterns. I can print quarter-scale and full-scale sewing patterns.
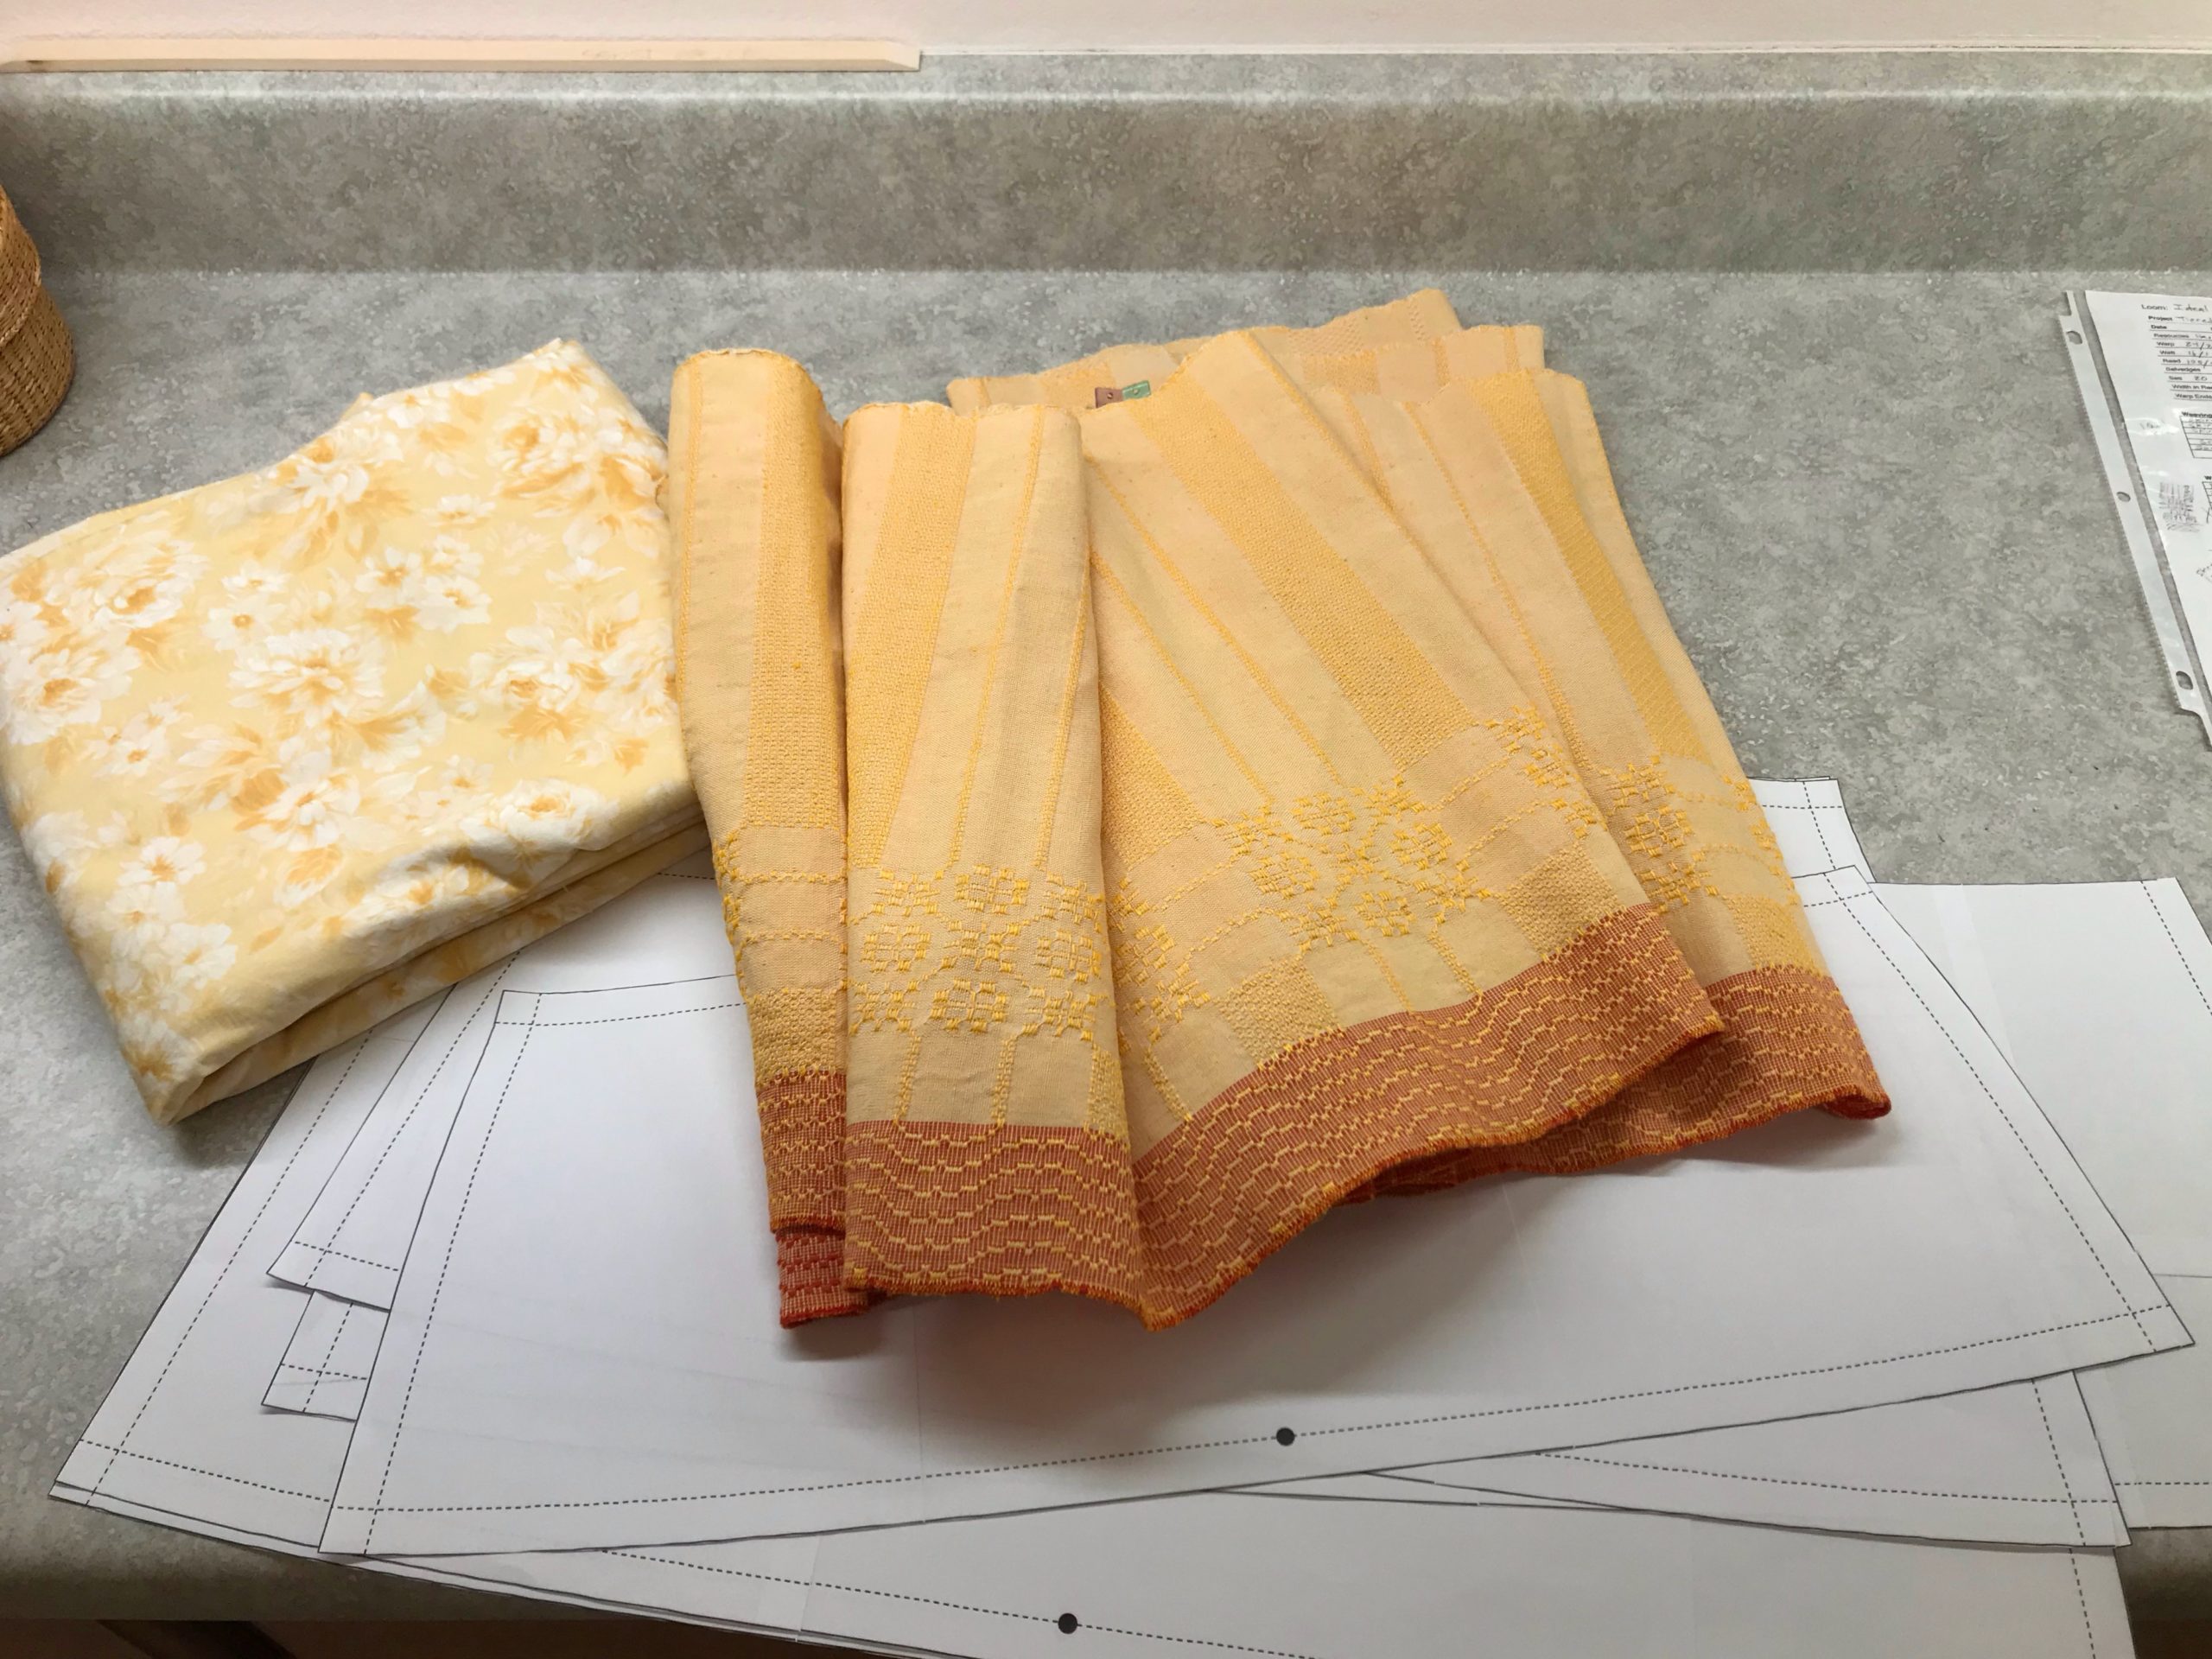
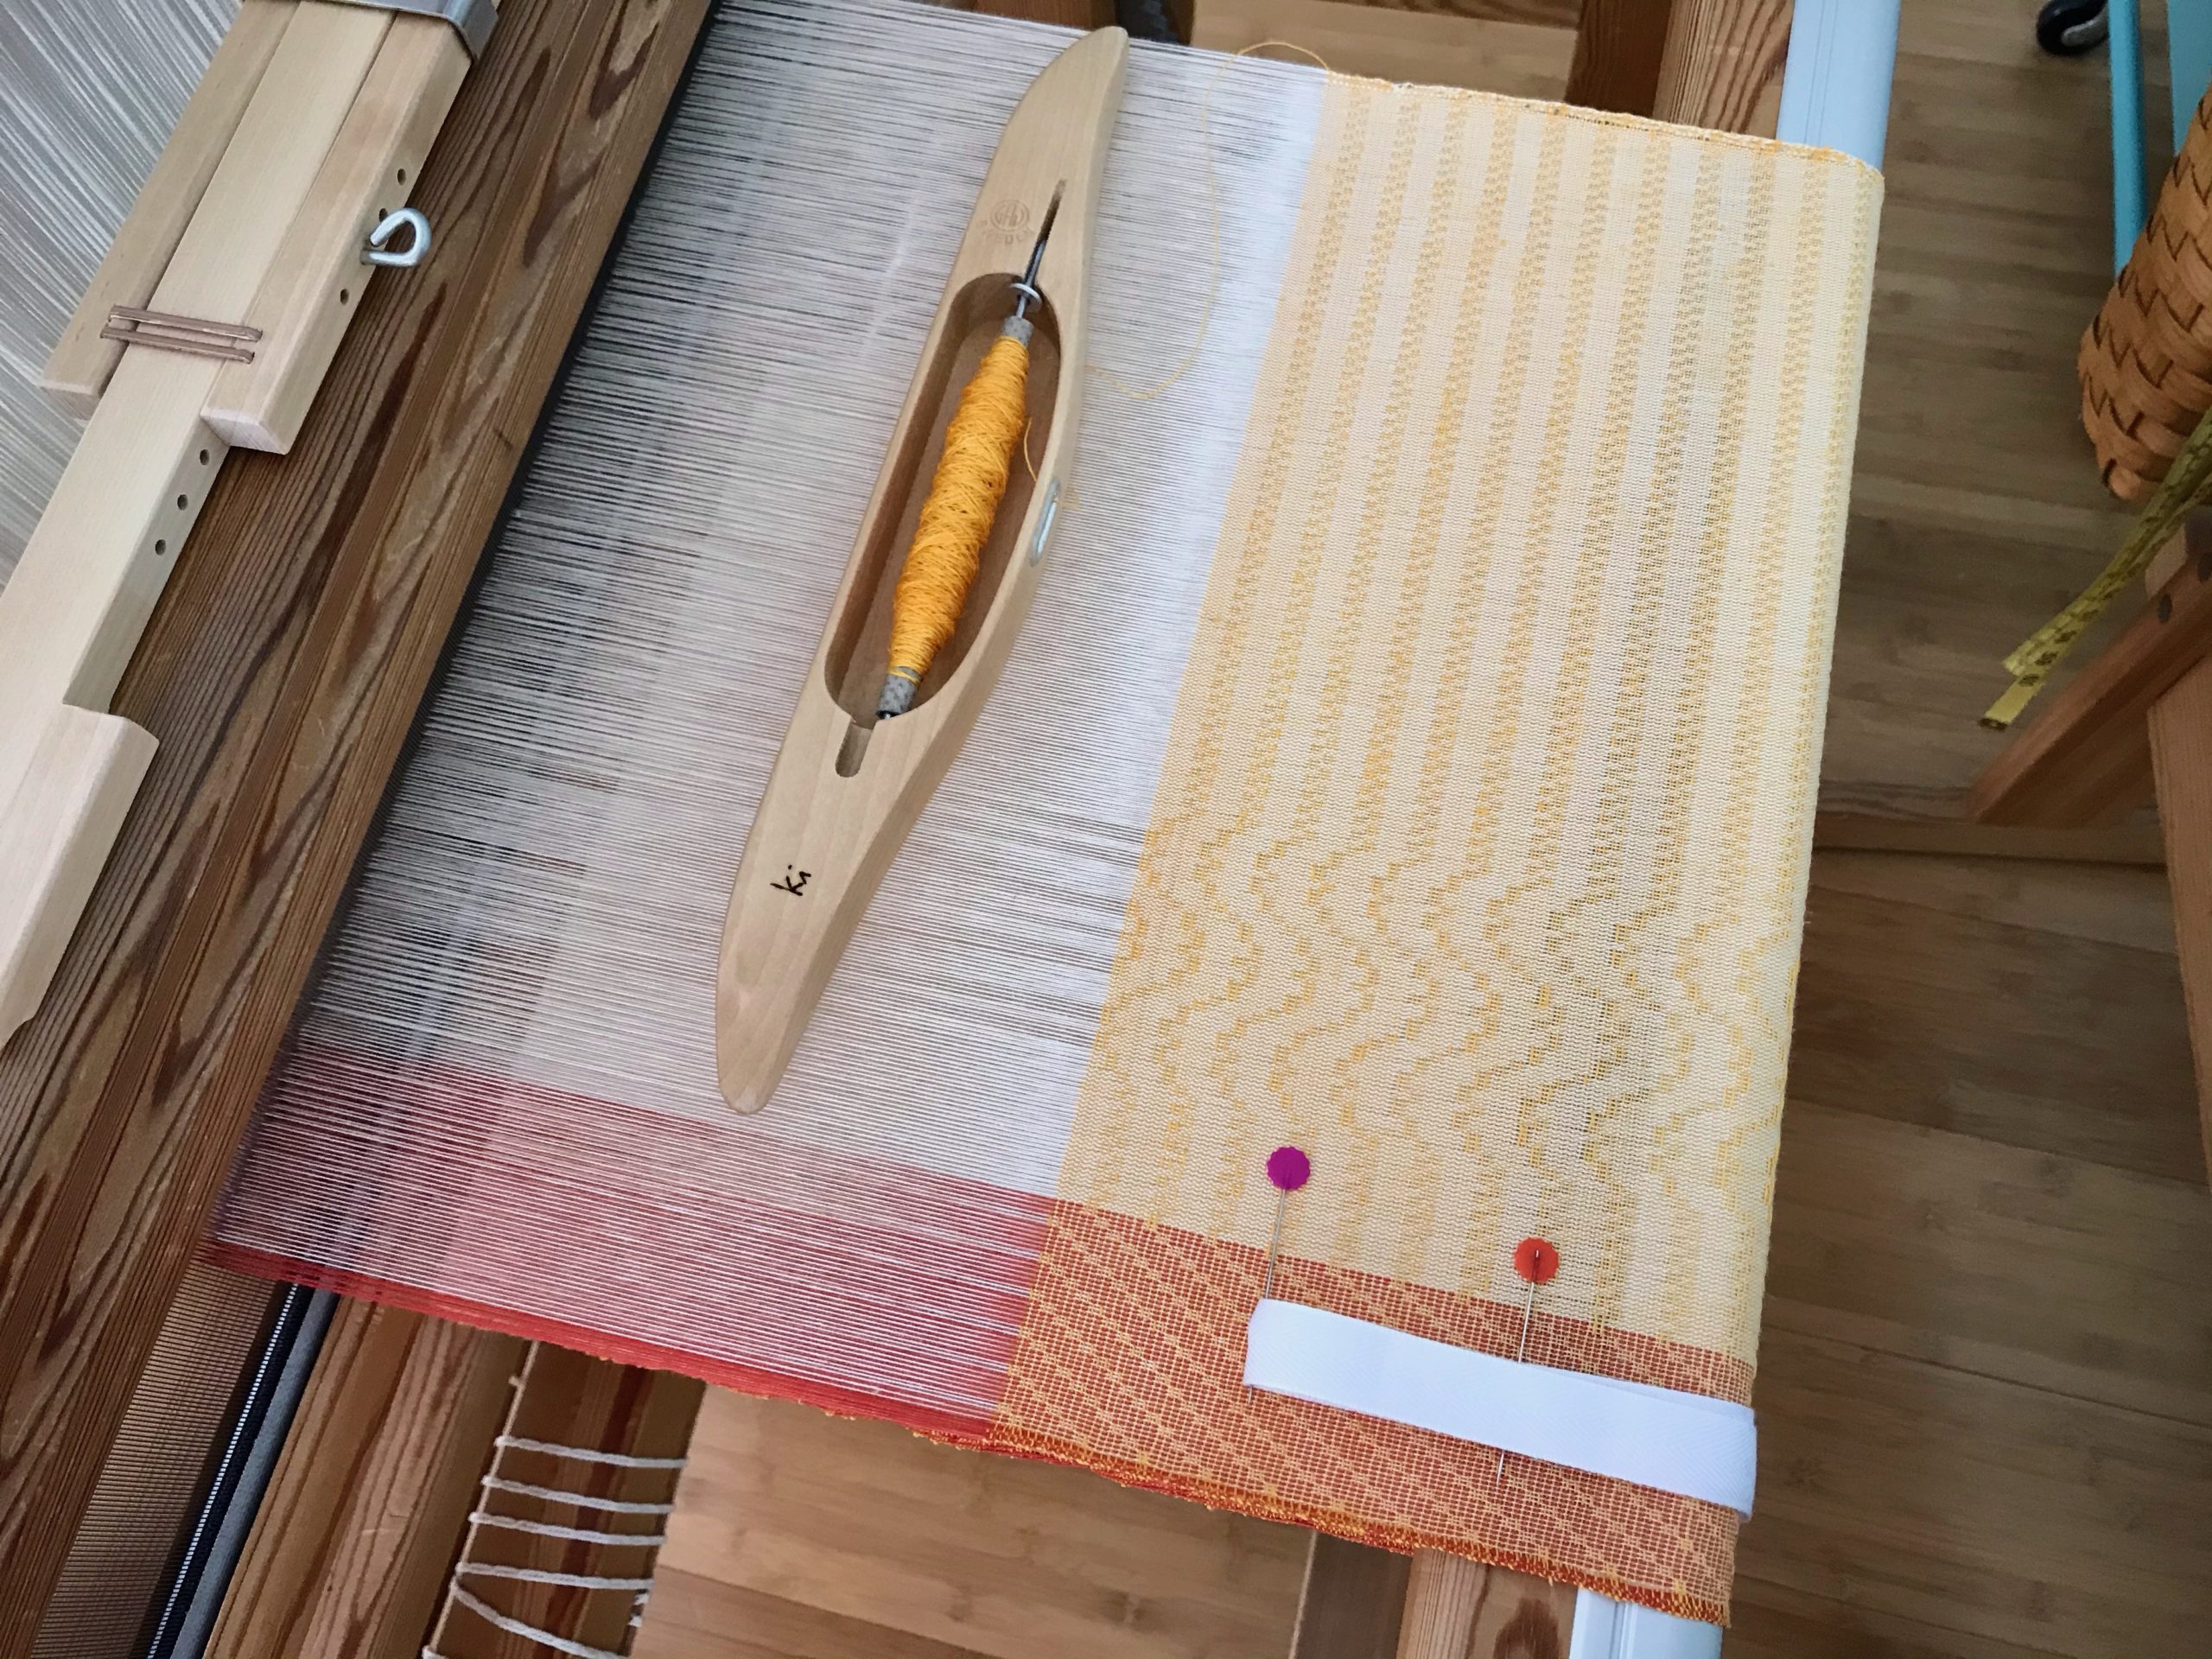
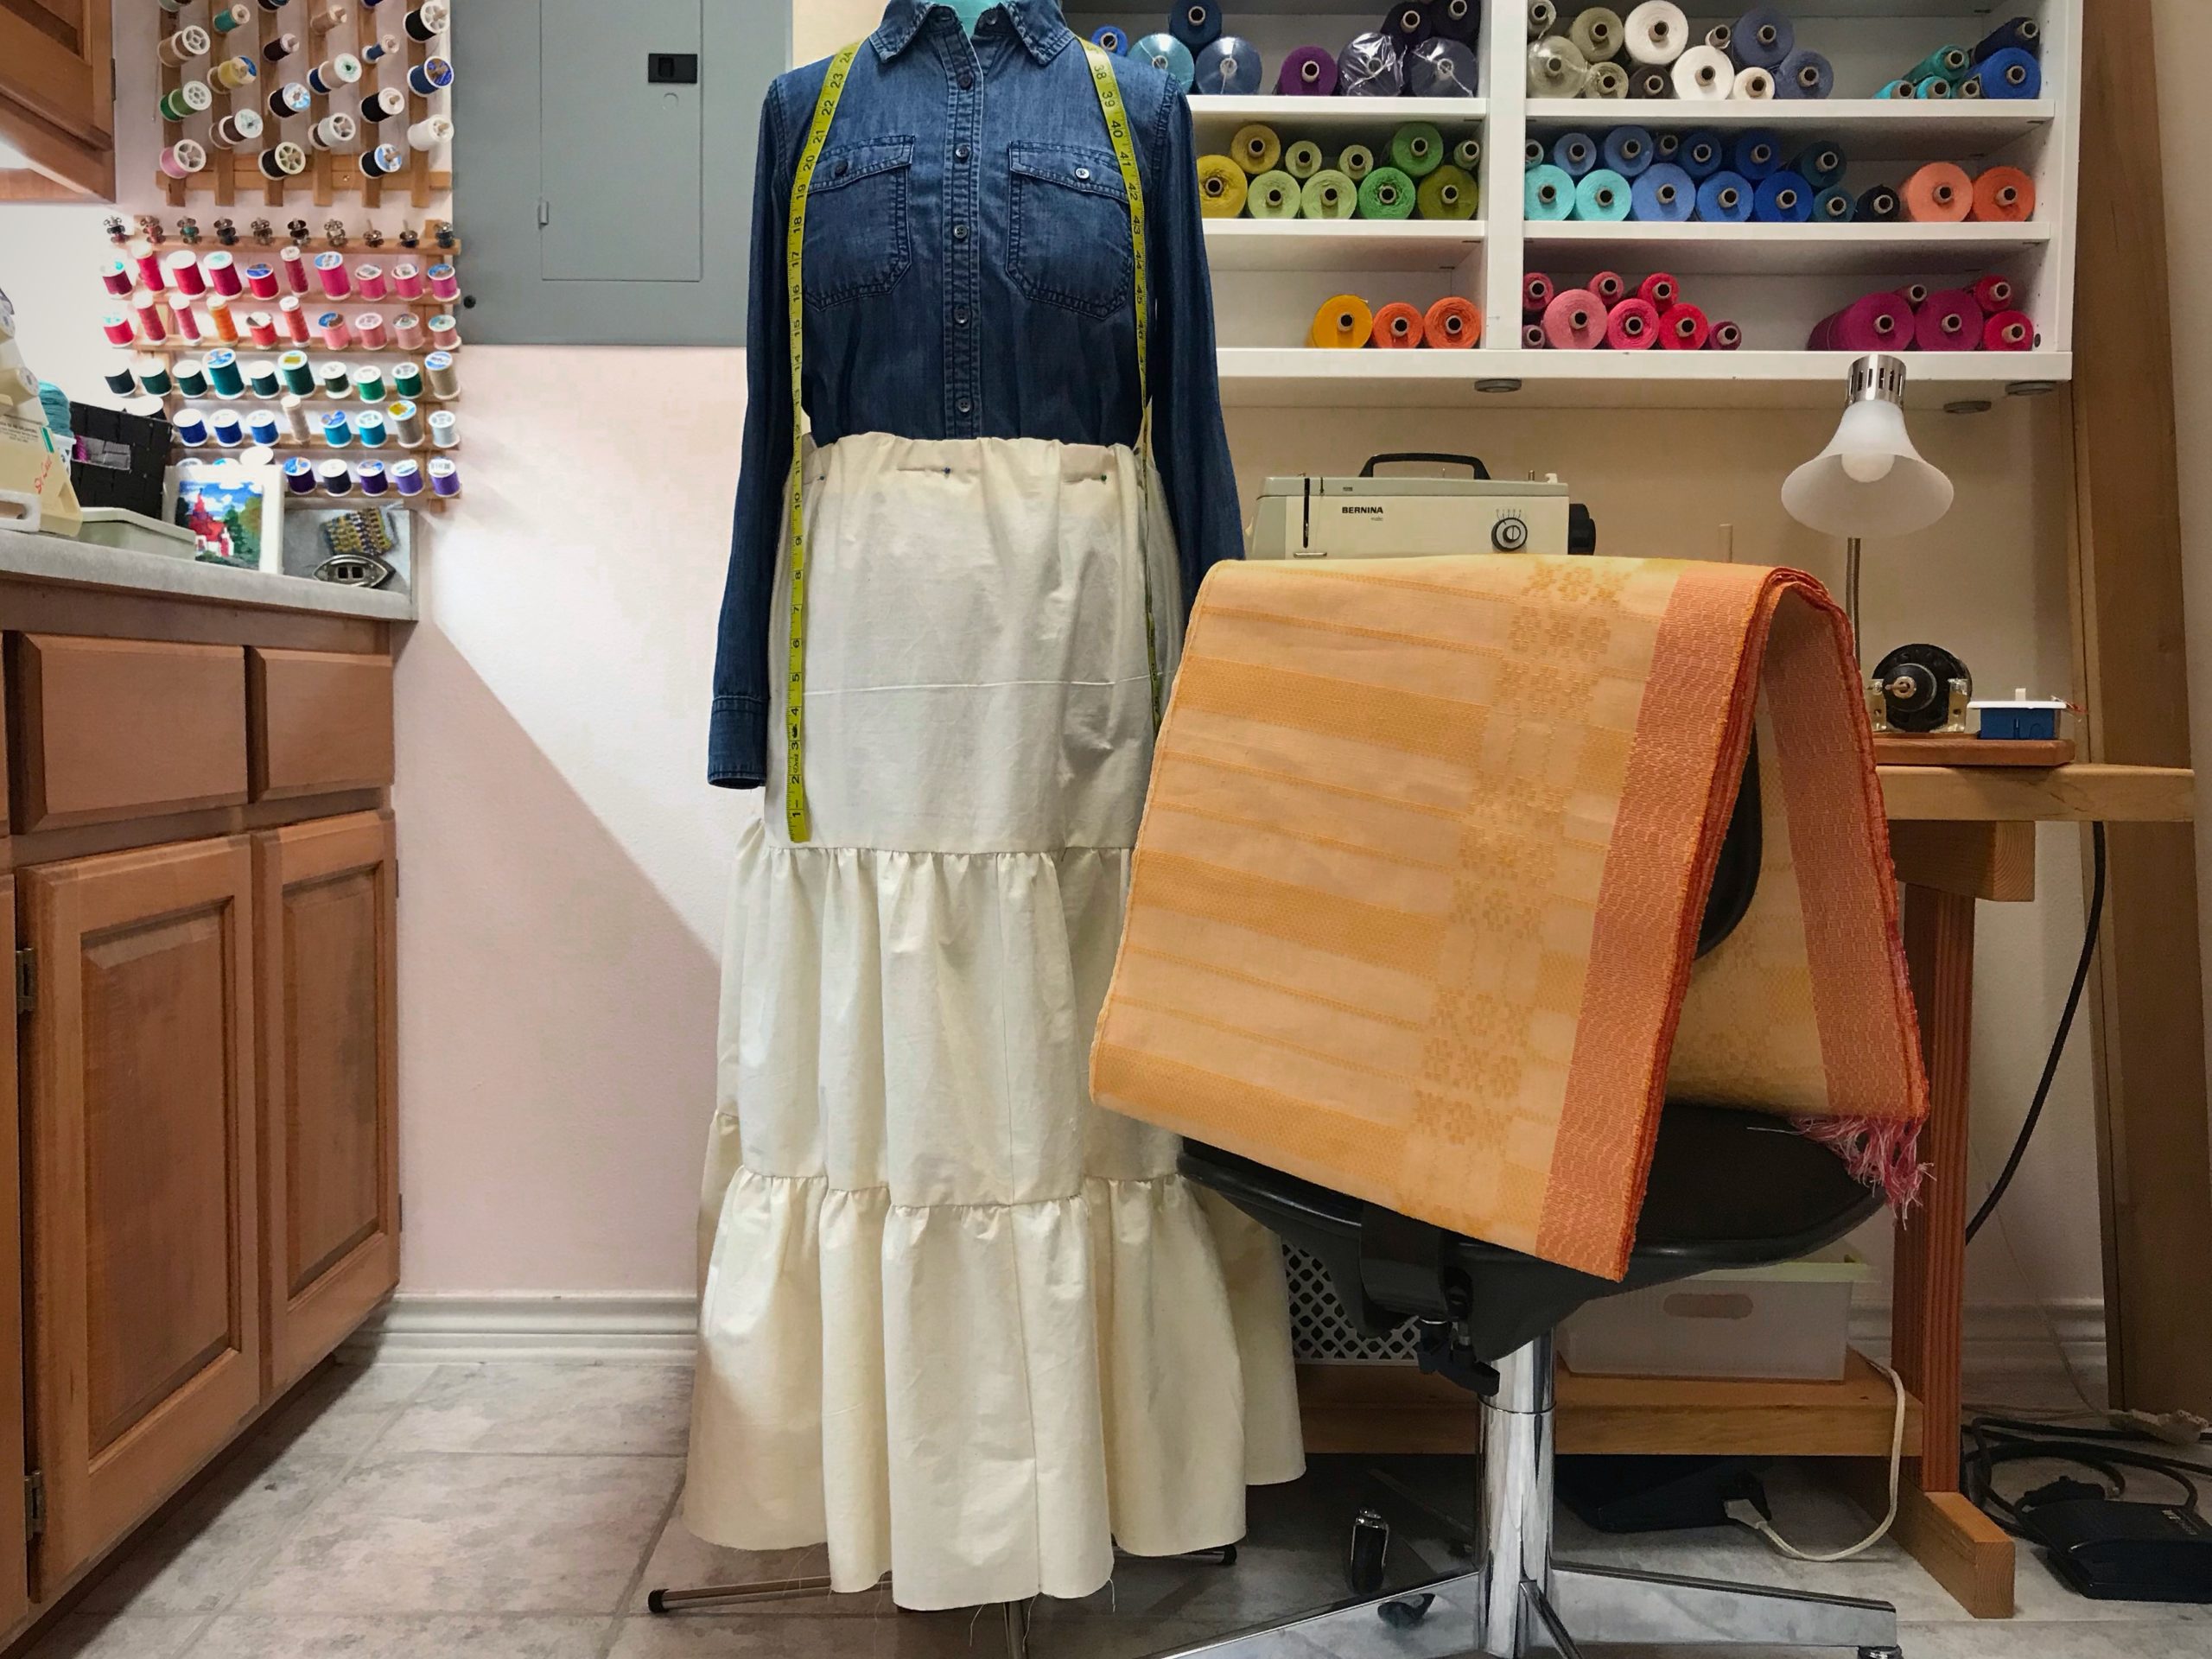
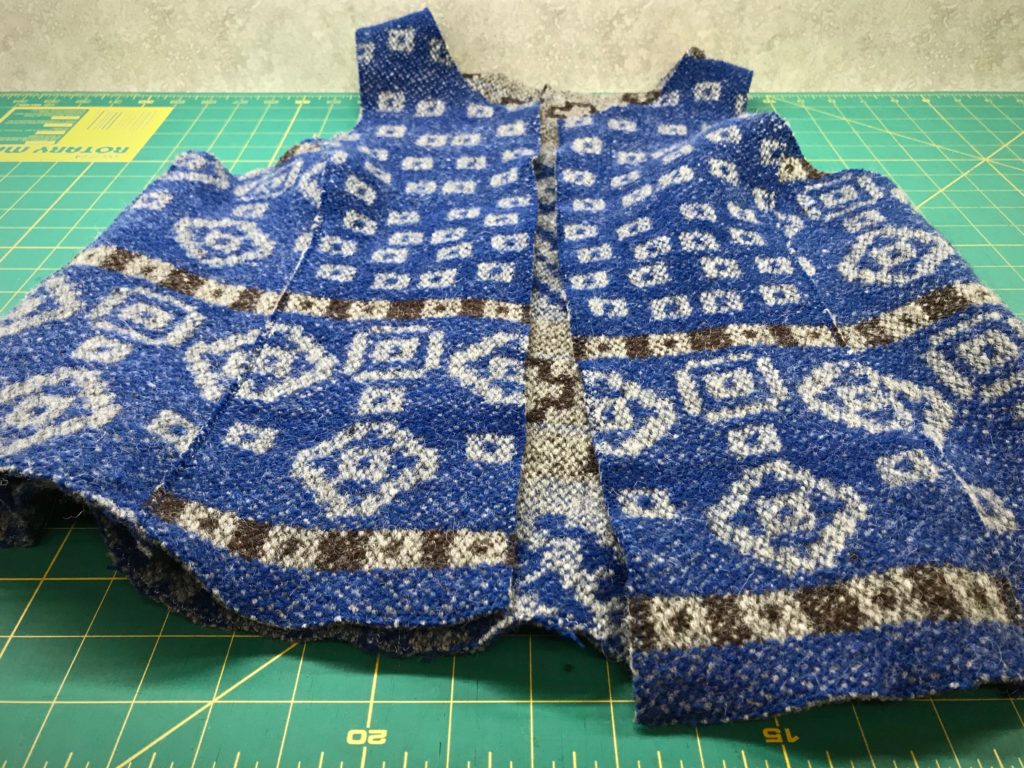
A not-as-simple layered tiered skirt replaces my original idea of a simple three-tiered skirt. The new design has a fitted yoke at the top of the skirt (and a zipper) instead of a super-simple elastic gathered waist. All this, so the distinctive borders of each tier will flutter freely, and not be trapped in seams. The trouble is worth it. I can see the finished skirt in my mind’s eye. It is phenomenal! The fabric is handwoven, made for a purpose. This is a skirt worth waiting for.
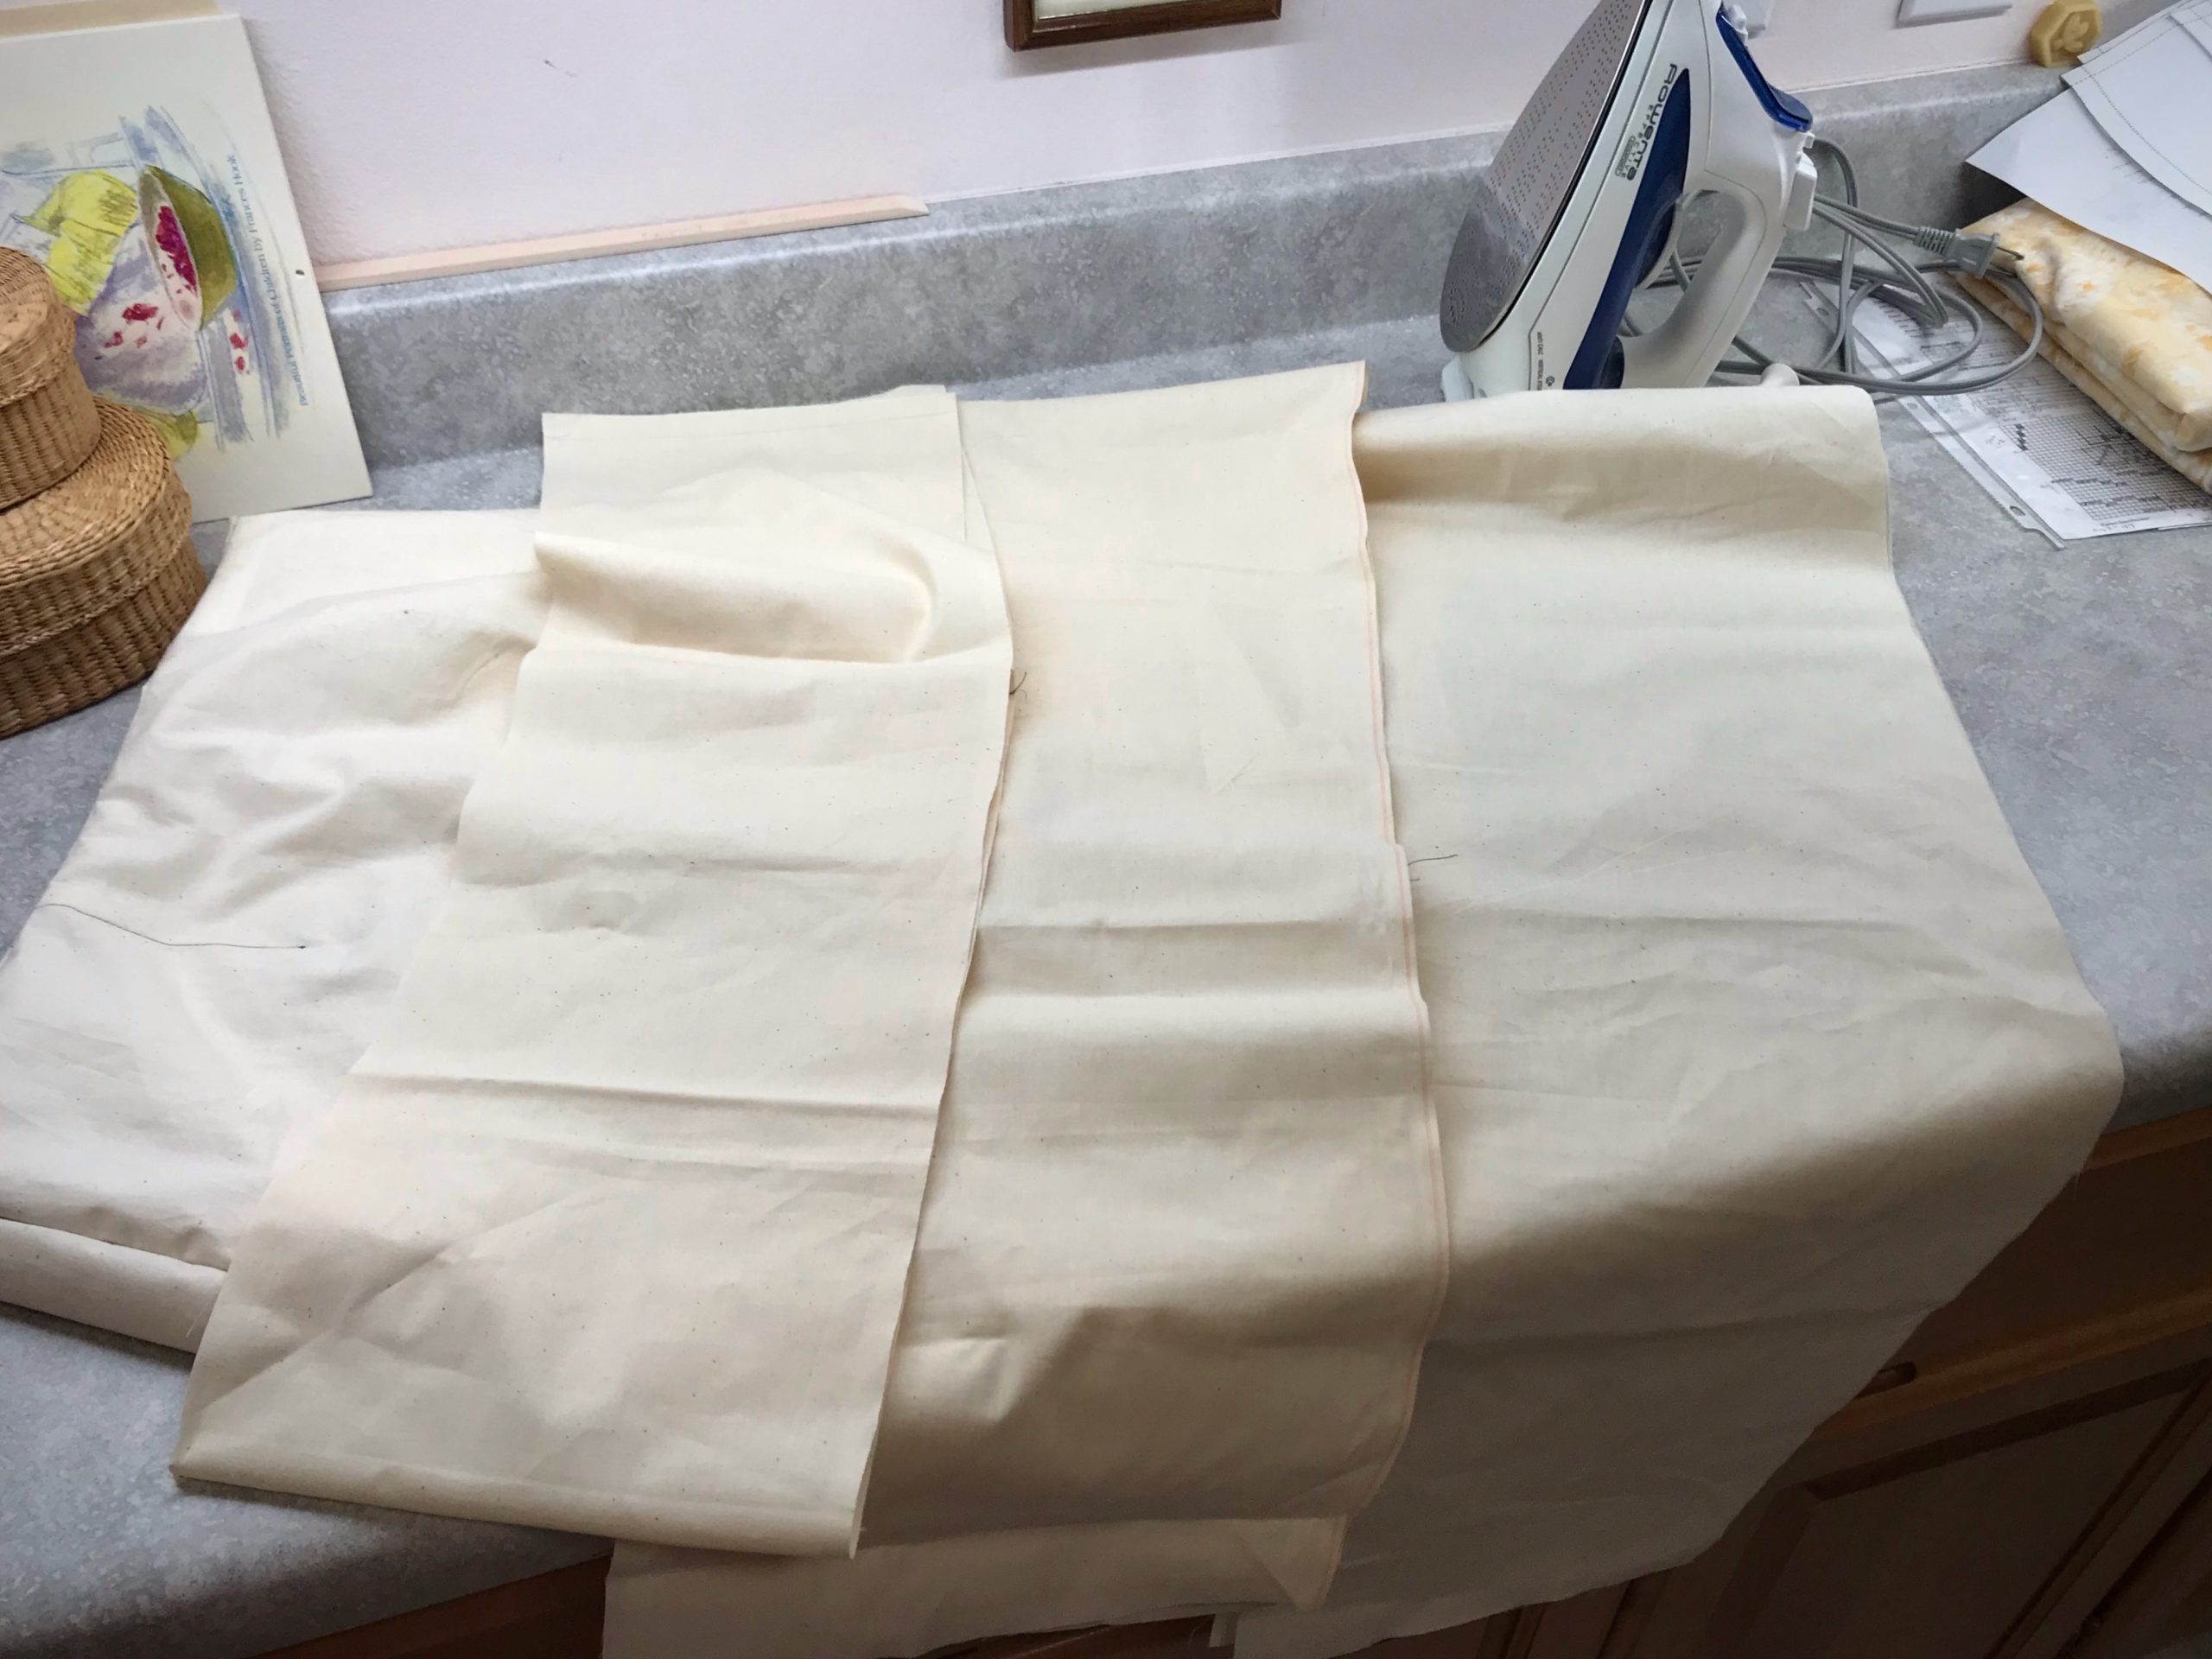
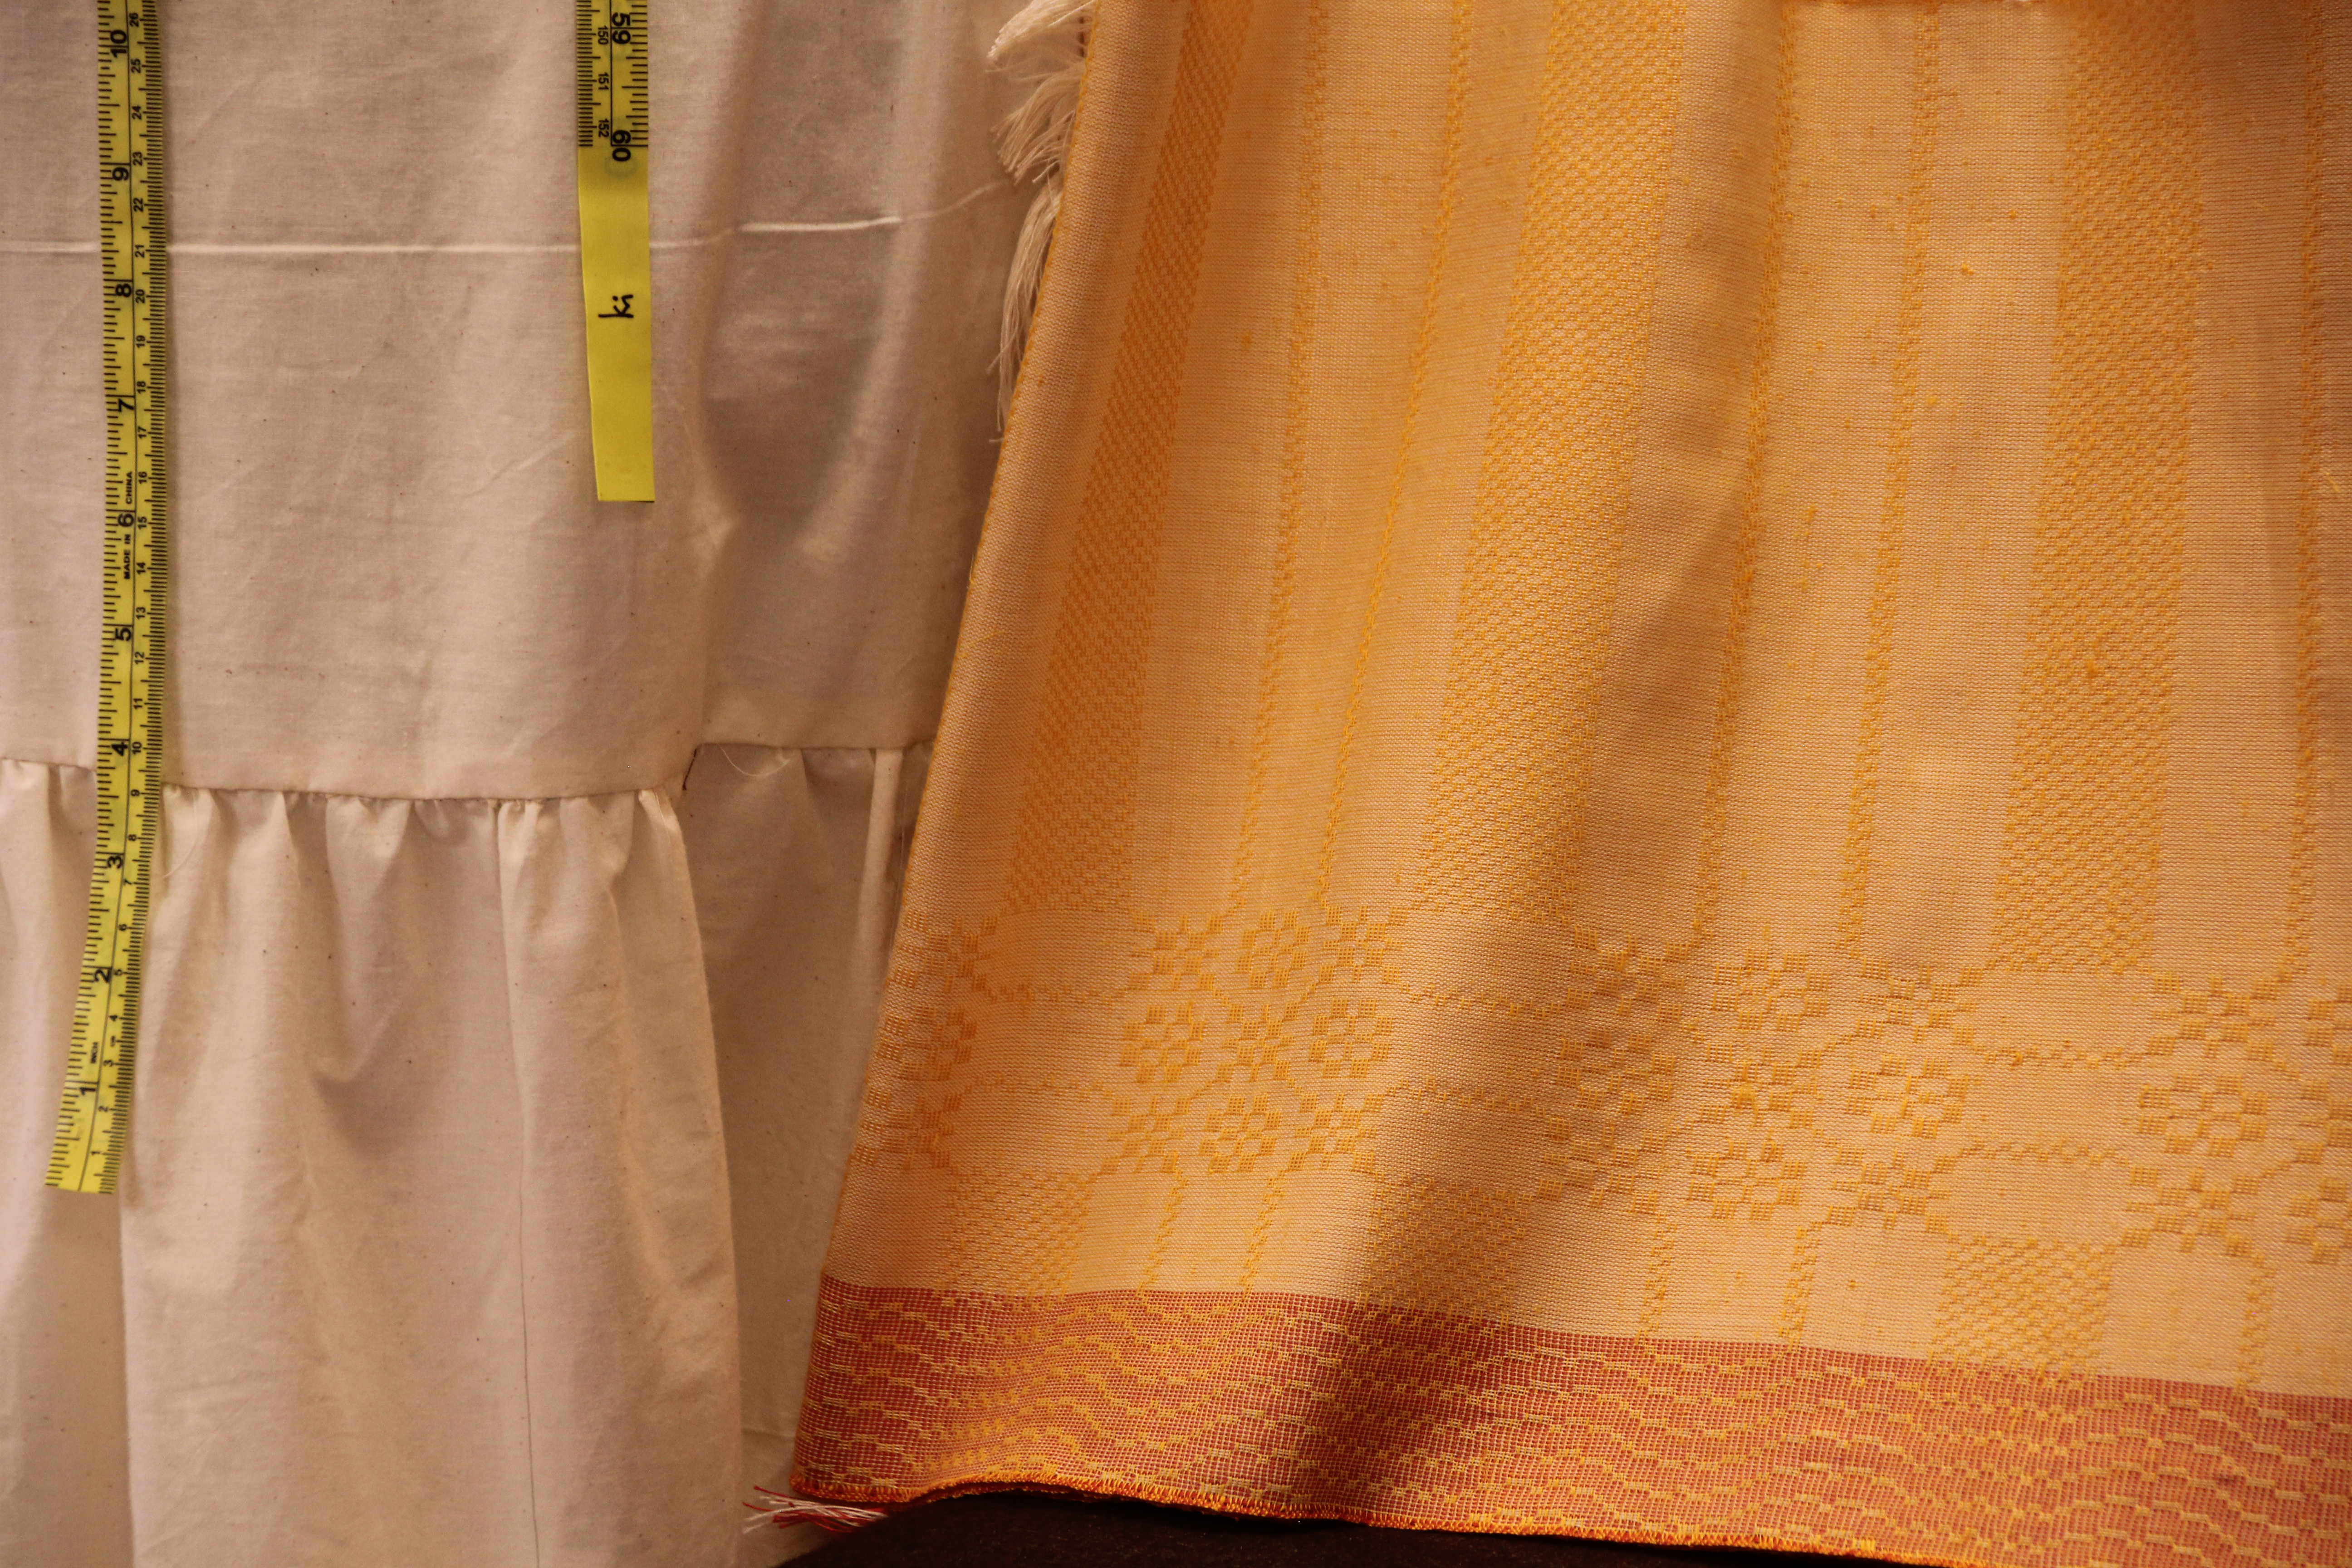
Testing ideas full scale. After several tries, I finally have a good fit on the skirt yoke, which is encouraging.Full-size mockup (not shown) satisfies my fit and style requirements. Floral cotton lining fabric will be concealed under the handwoven tiers. Full-scale sewing pattern is printed and ready…
You were skillfully made for a purpose. Through many trials and errors, lessons in success and failure, we discover why we are here. God created you for this very time. Trust him to guide you, especially through agonizing moments. By his grace, he forms us into the phenomenal masterpiece that he has always had in mind.
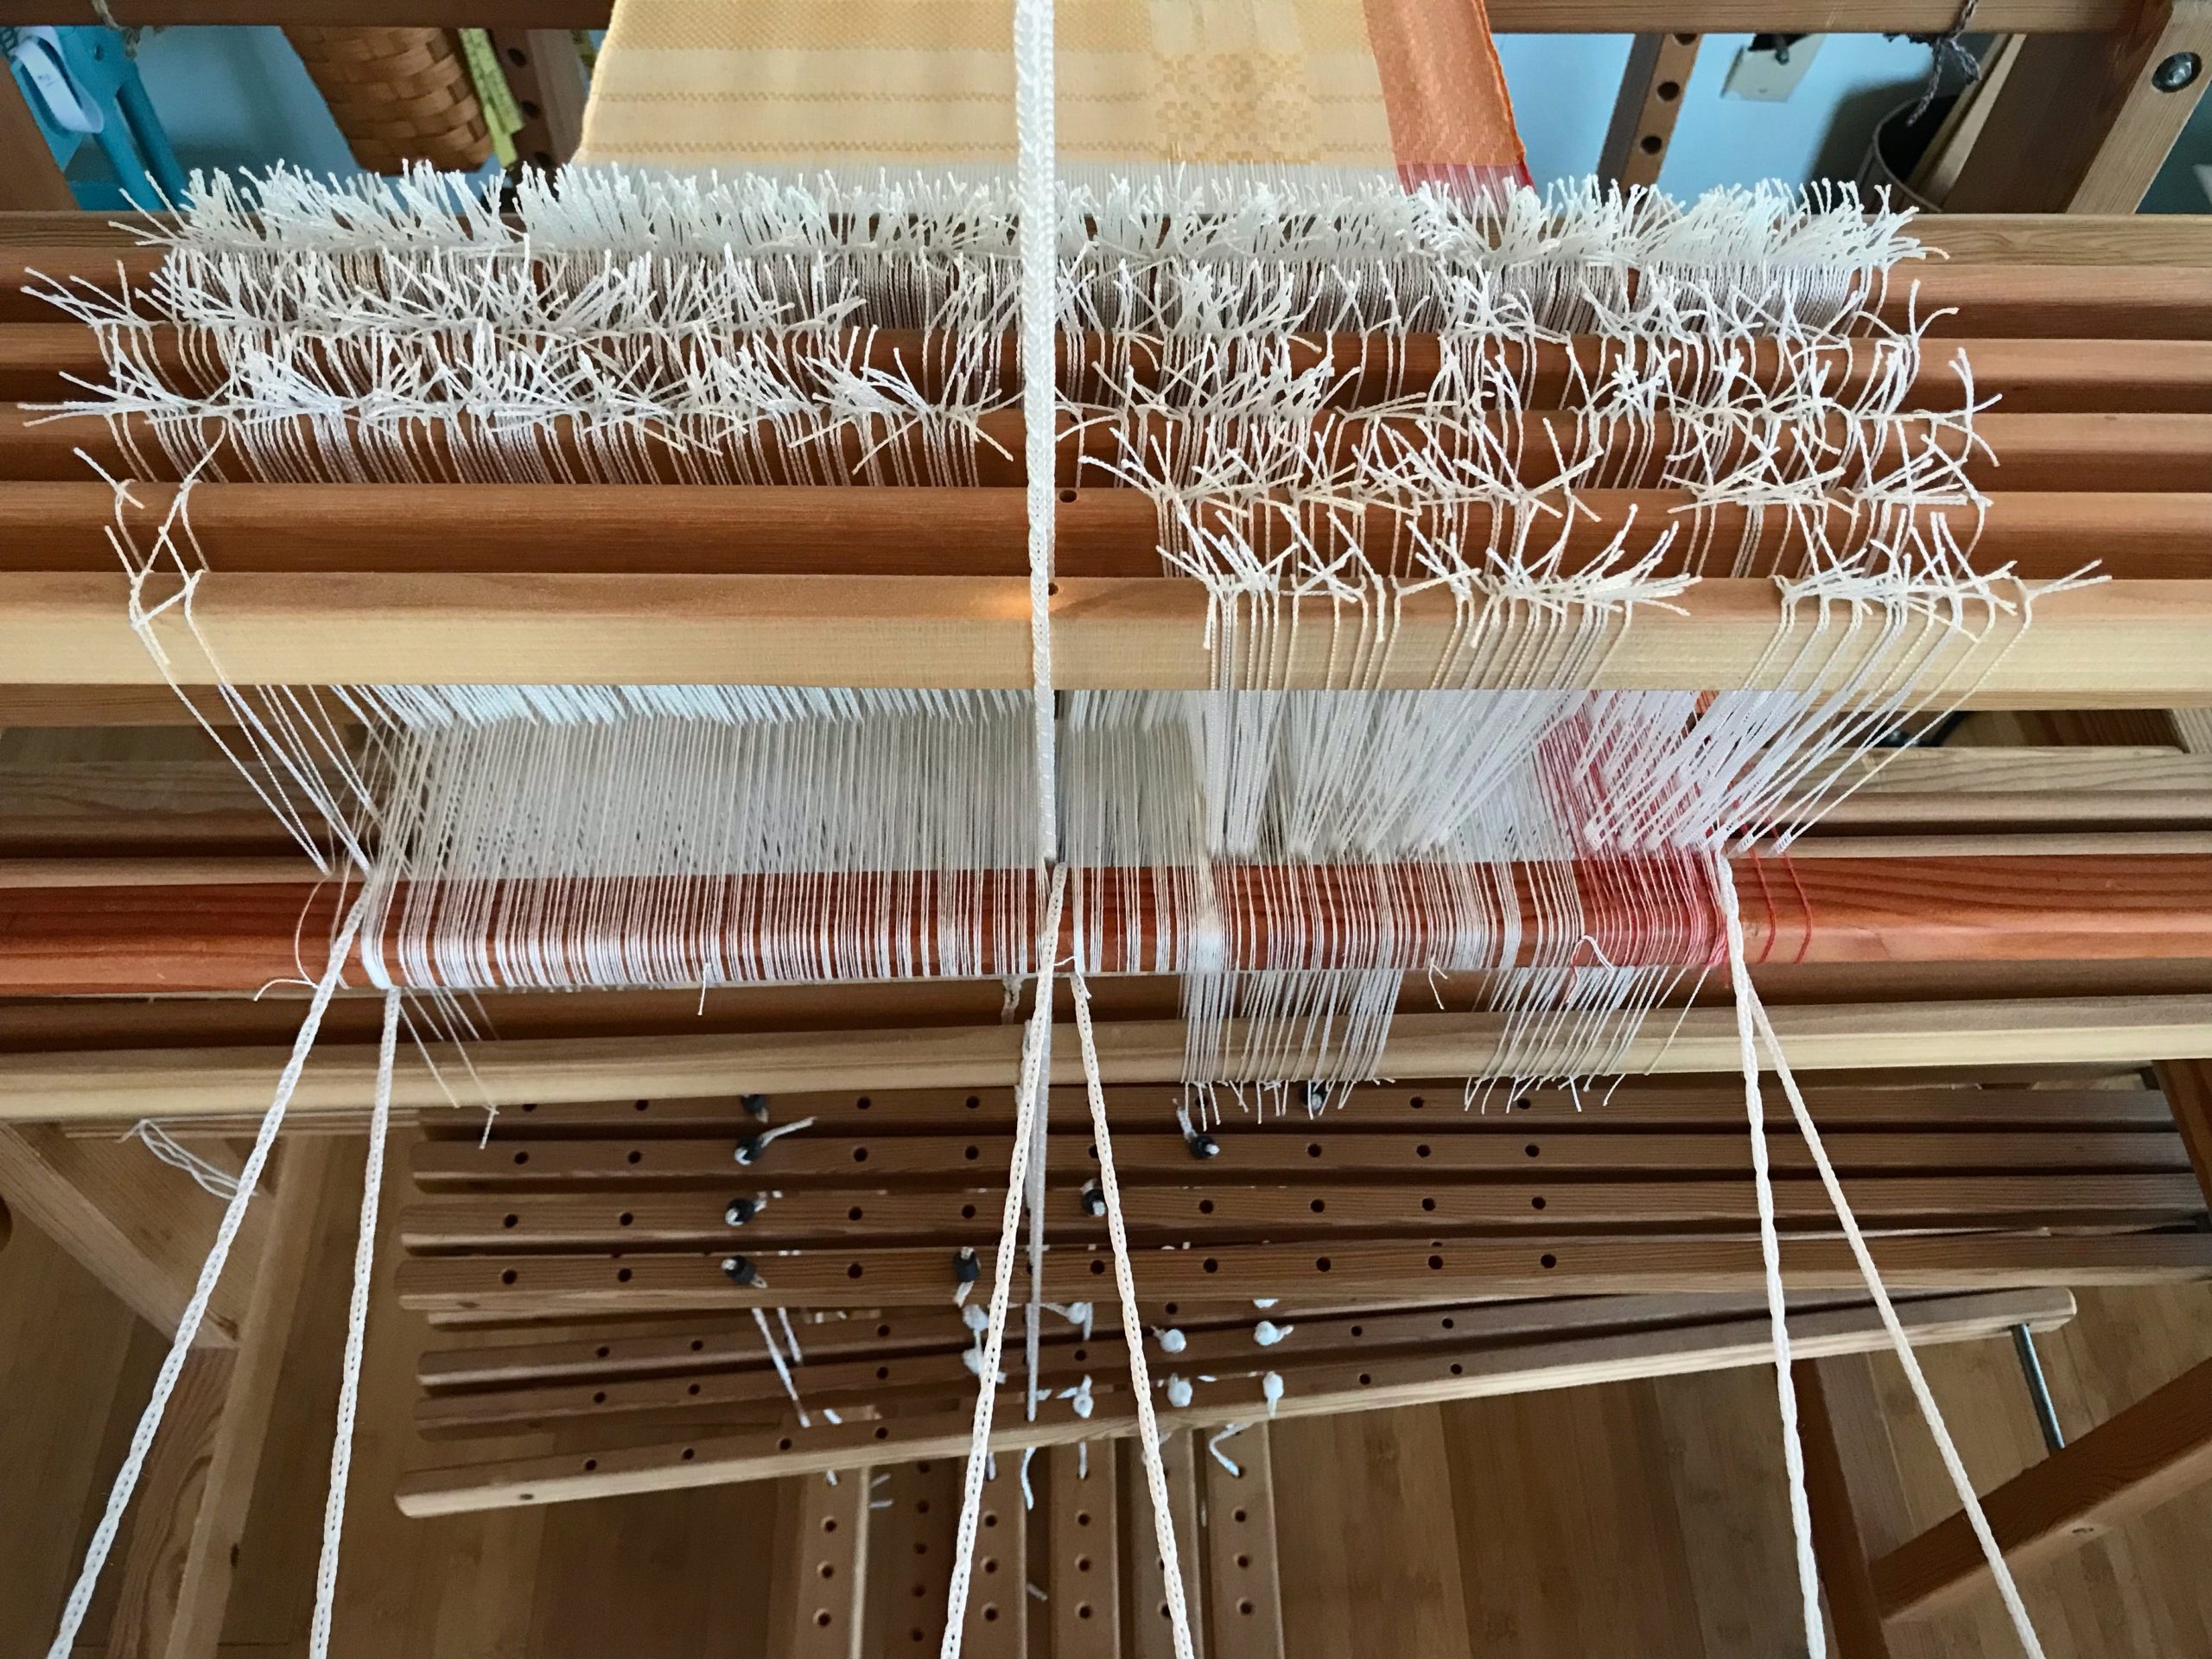
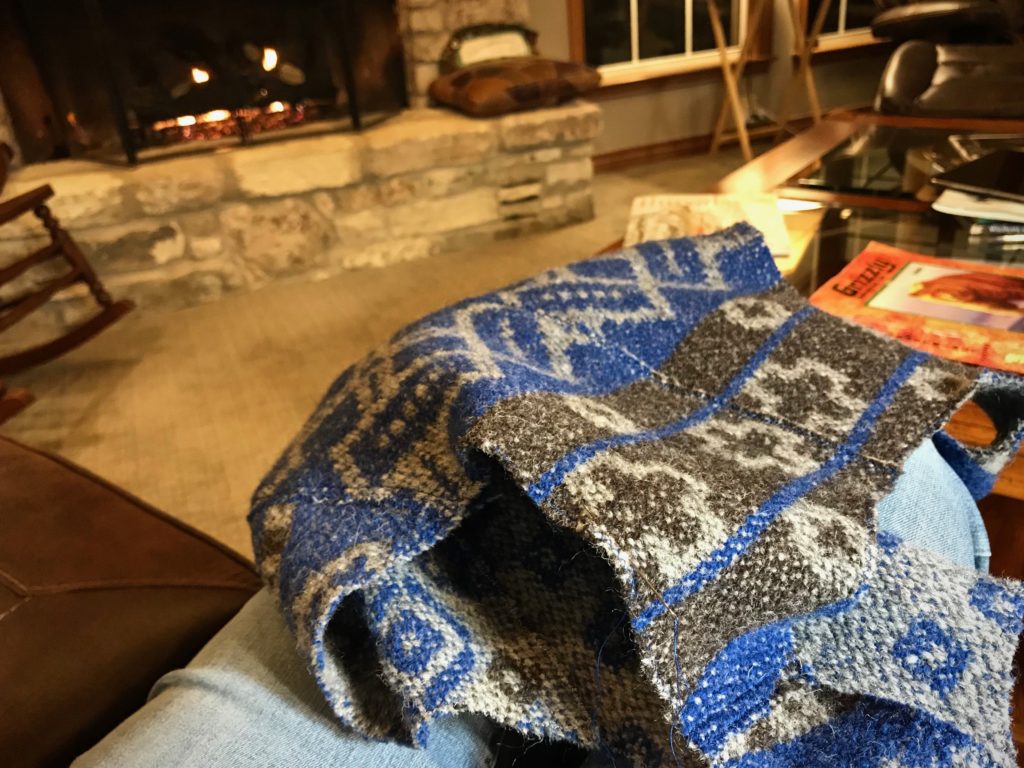
This is the moment Miss Fit and I have been waiting for! We have come to the beginning of the end of the real tiered skirt. Or, maybe I should say it’s the end of the beginning, since weaving is just the beginning of this skirt. My next step is to finish the fabric: find and repair errors, wash, dry, press. And then, on to construction: detail studies, measure, cut, gather, sew seams. And lastly, of course, I will find an occasion to wear the summery subtly-patterned huckaback skirt, even if summer has already slipped into hiding until next year.
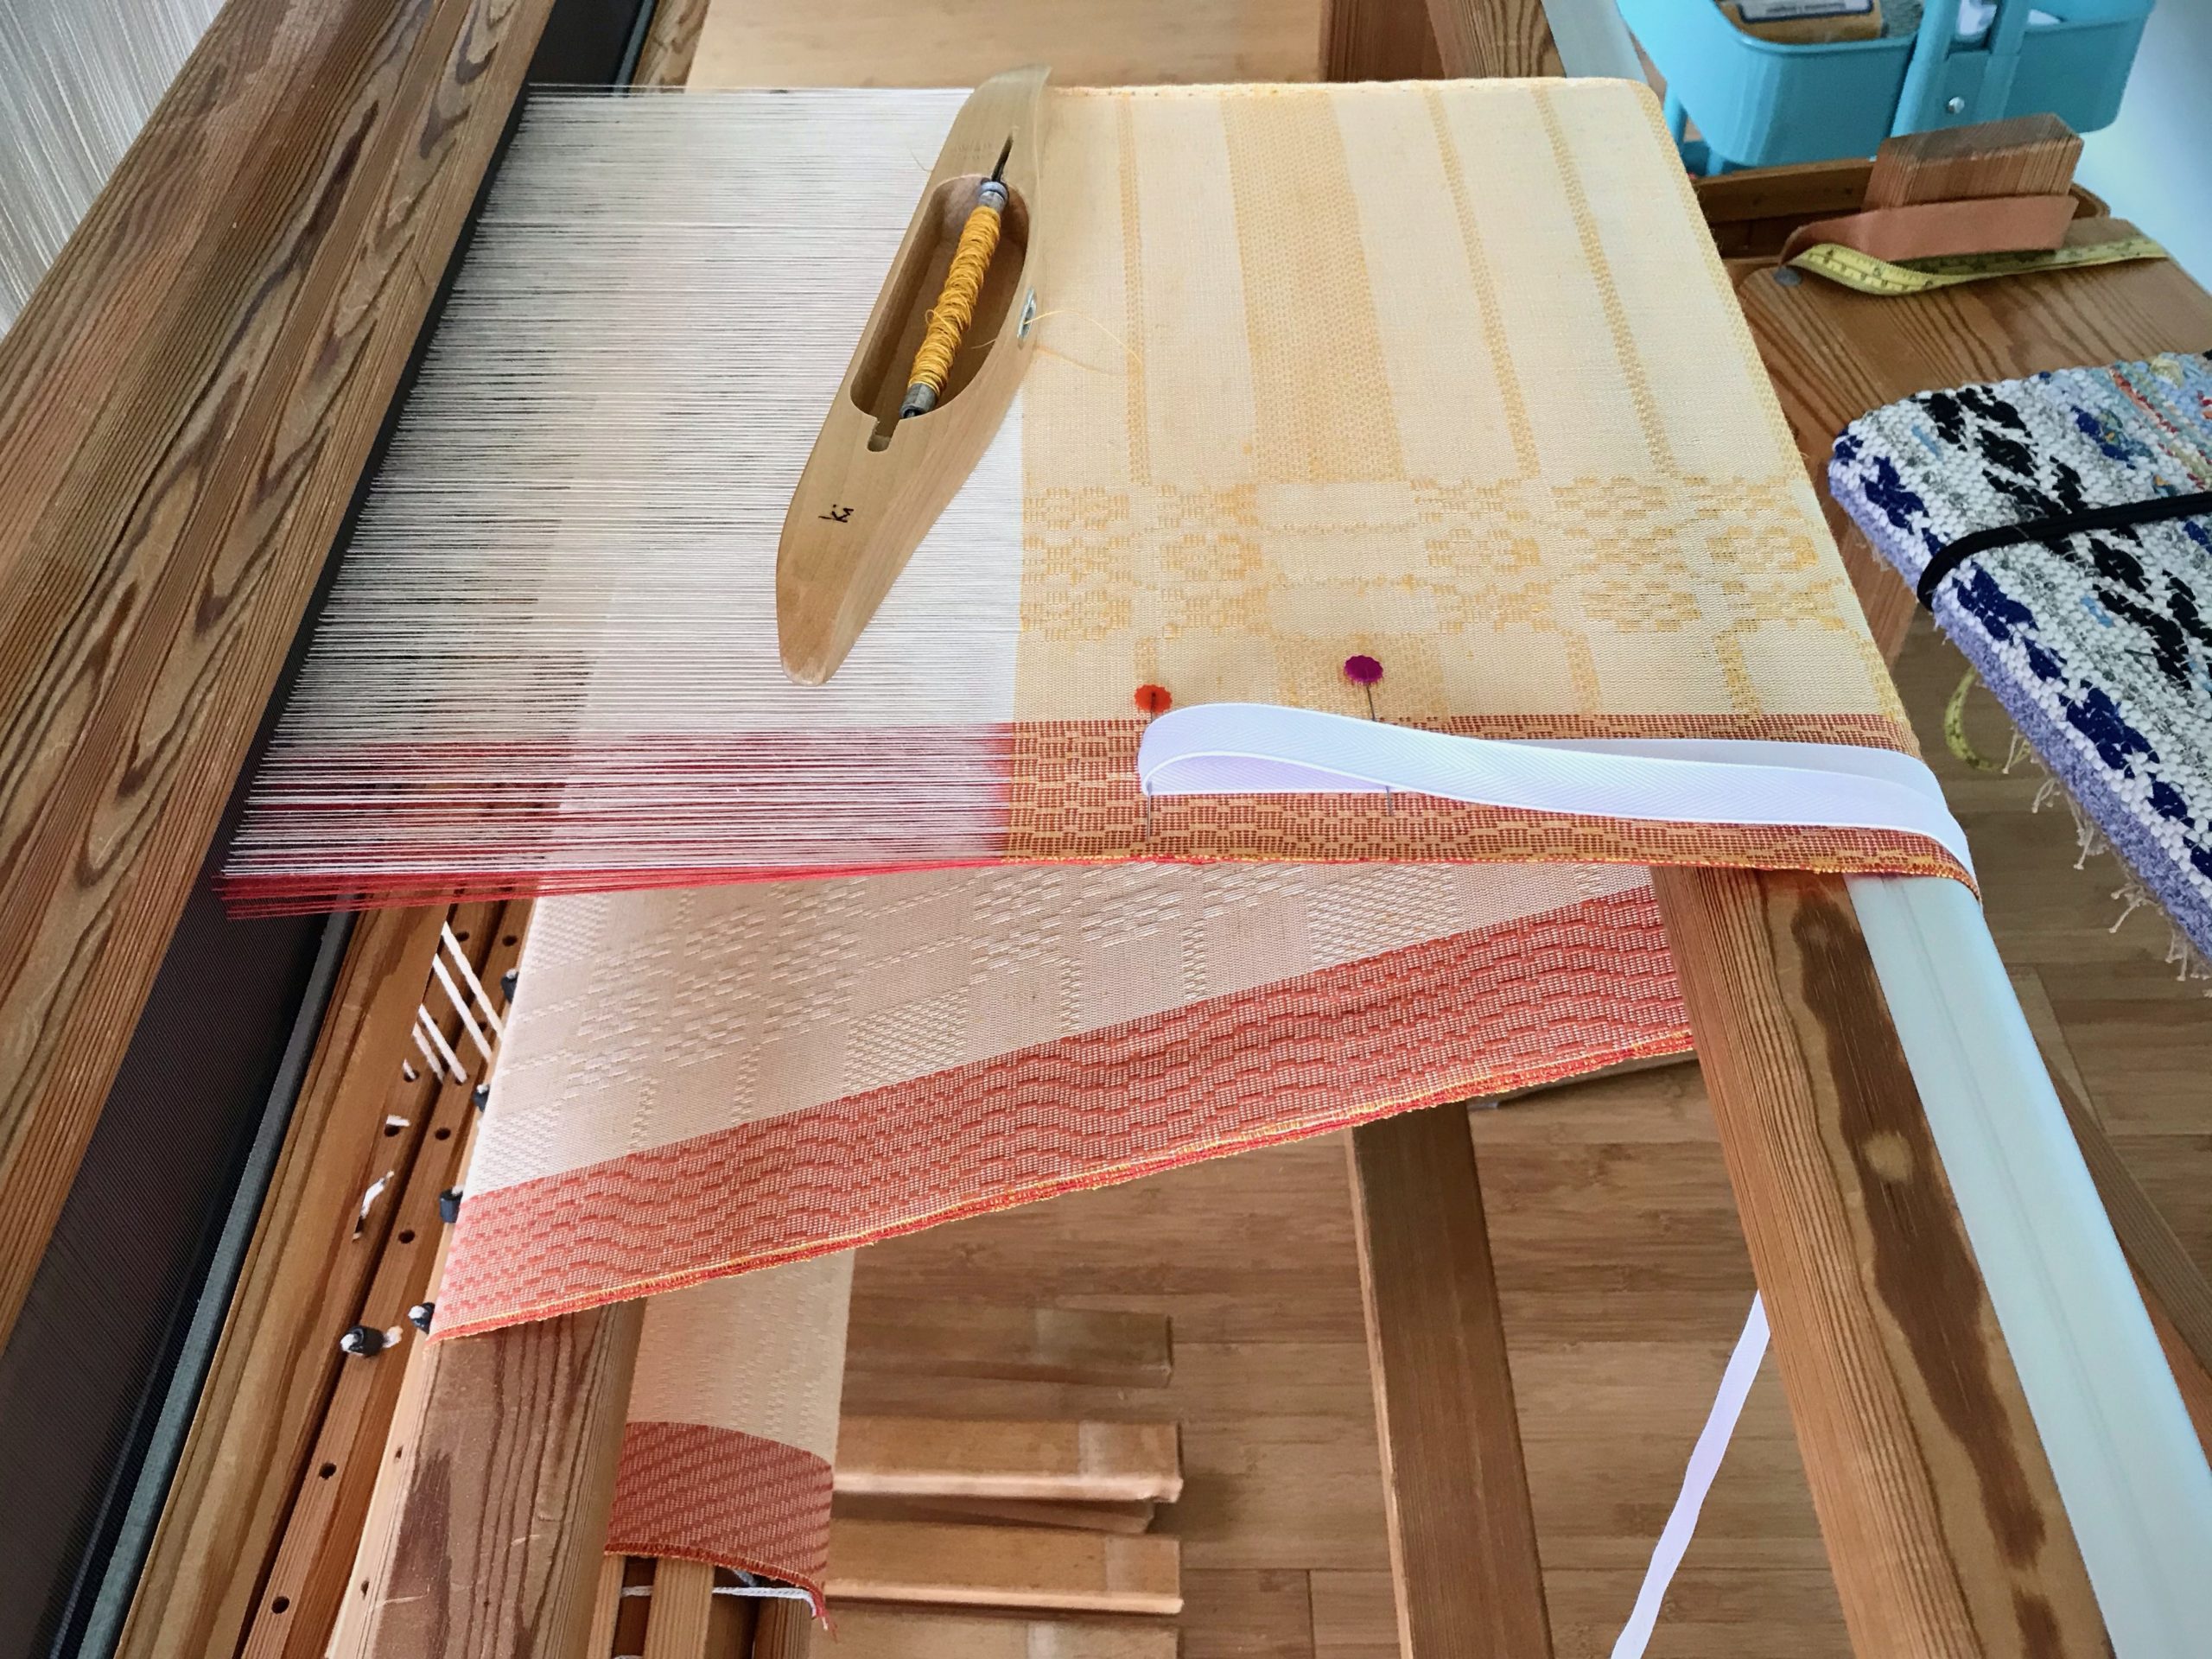
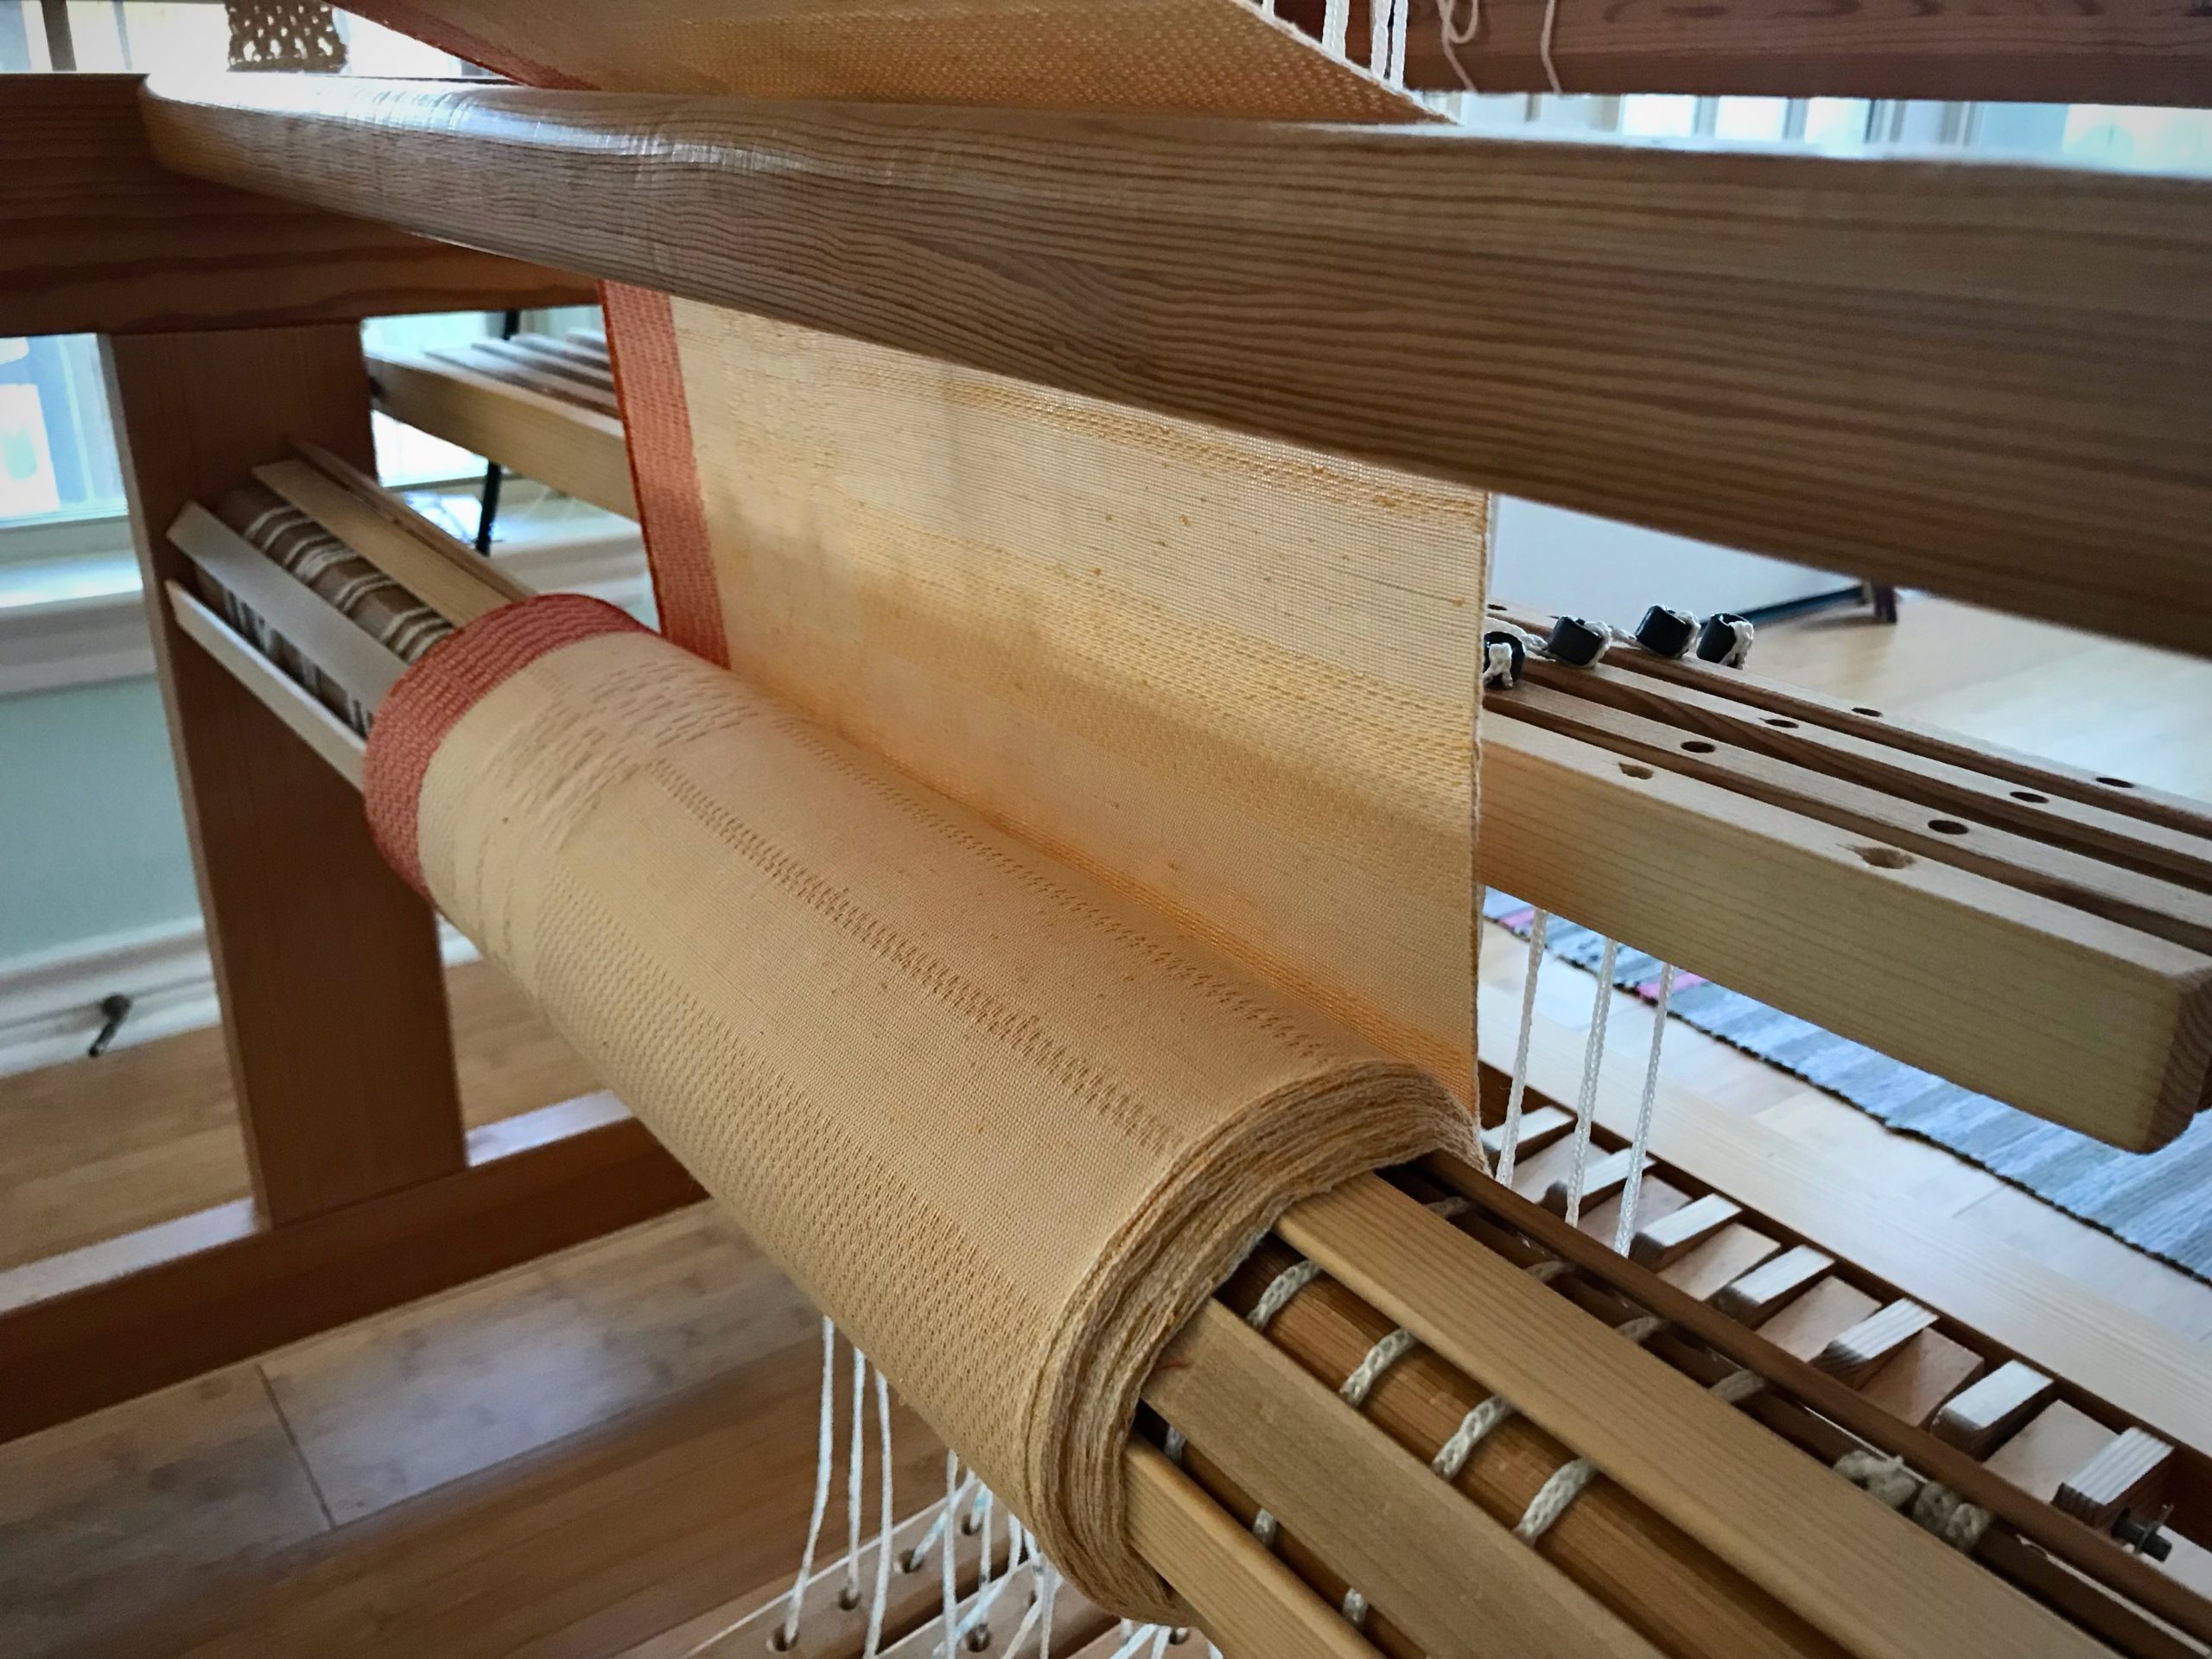
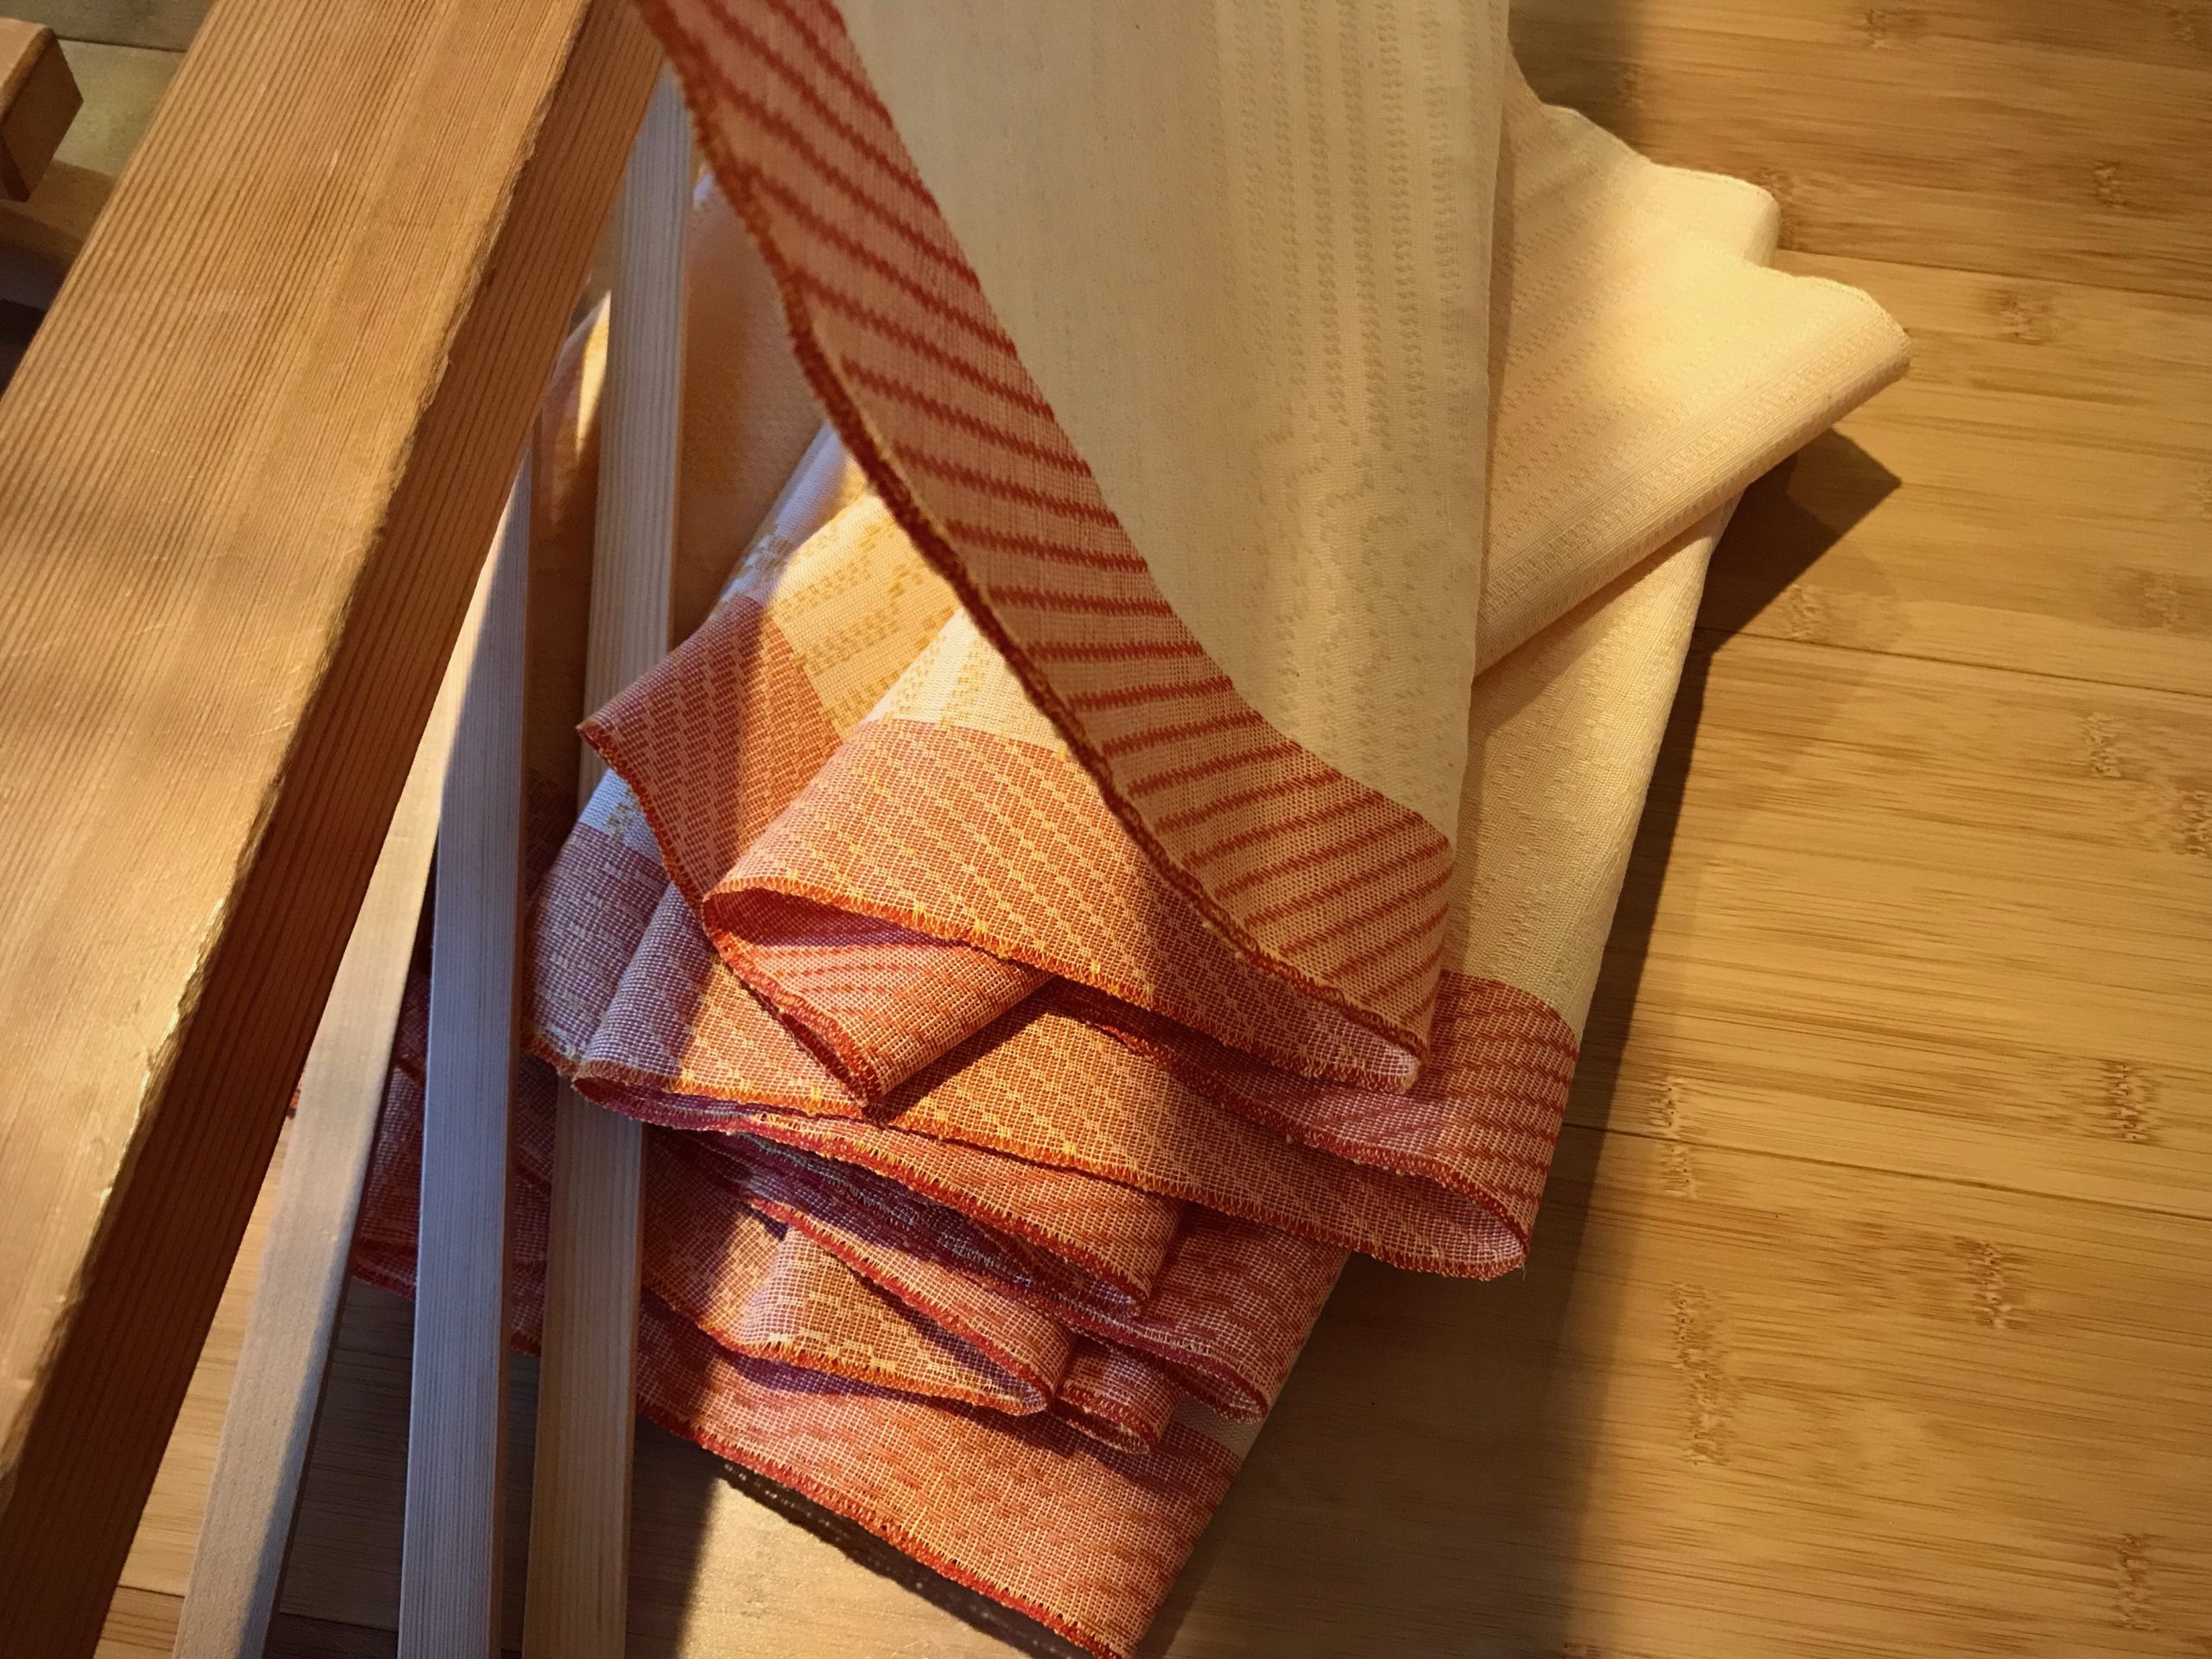
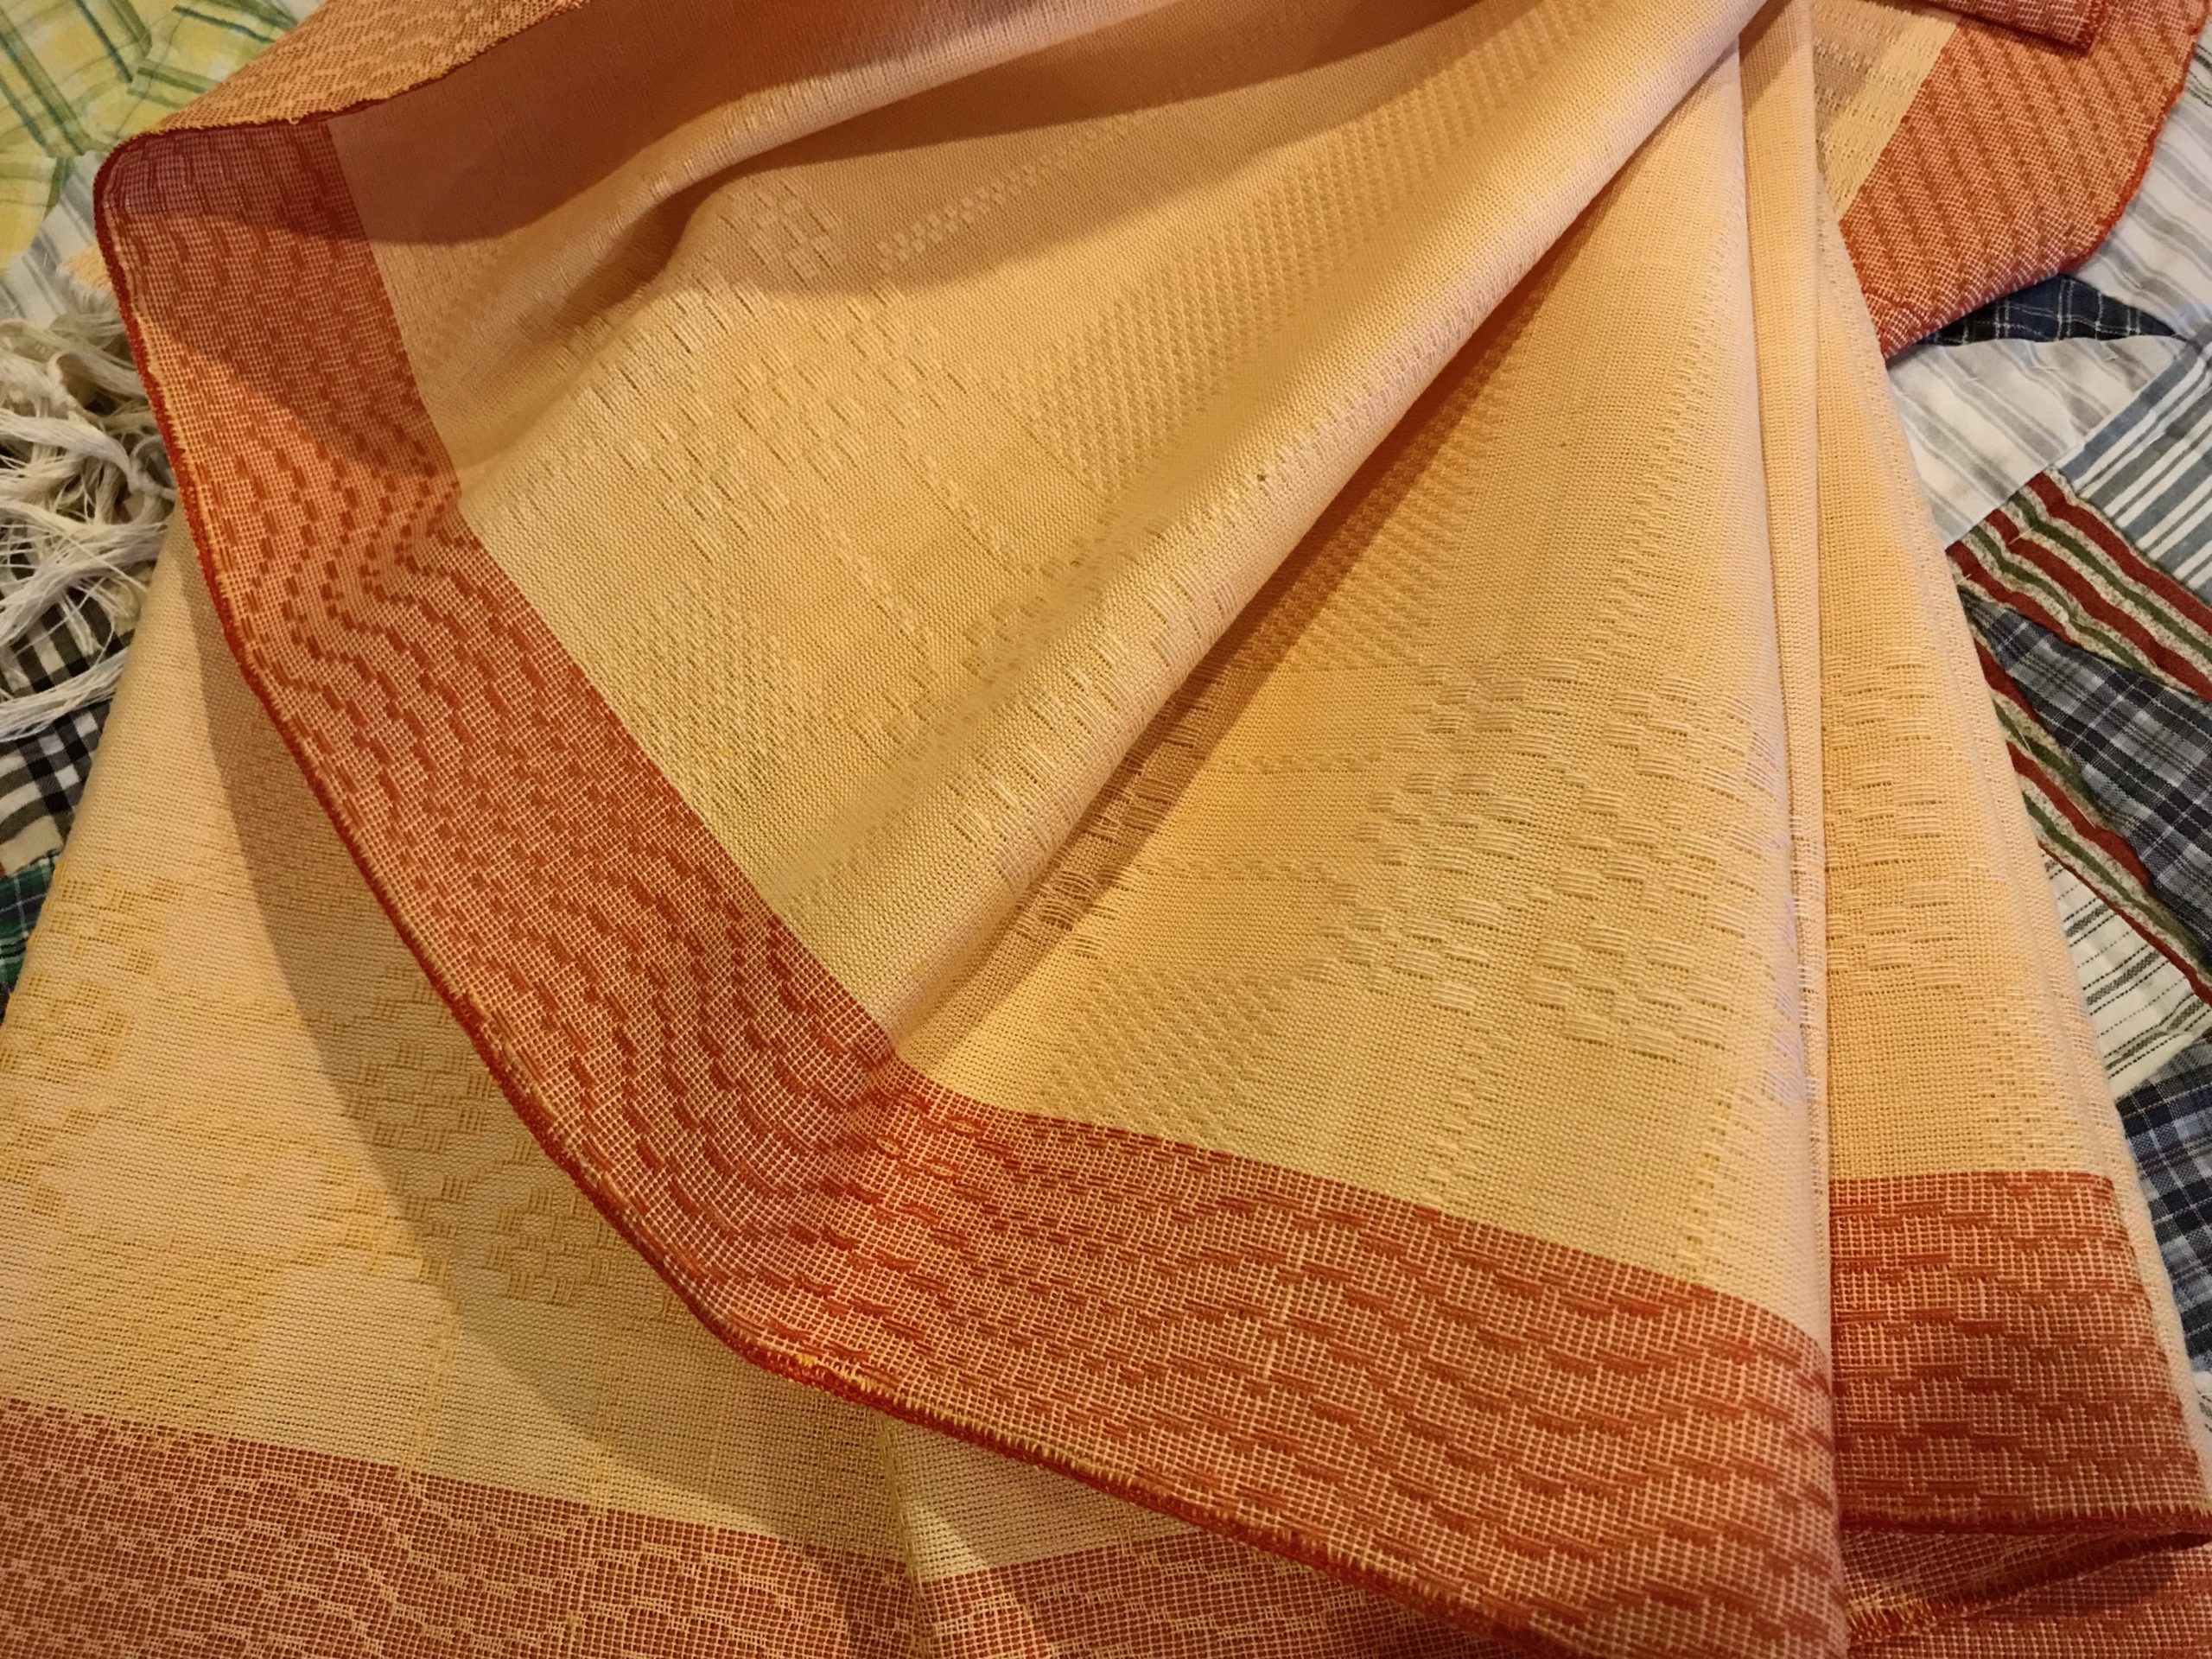
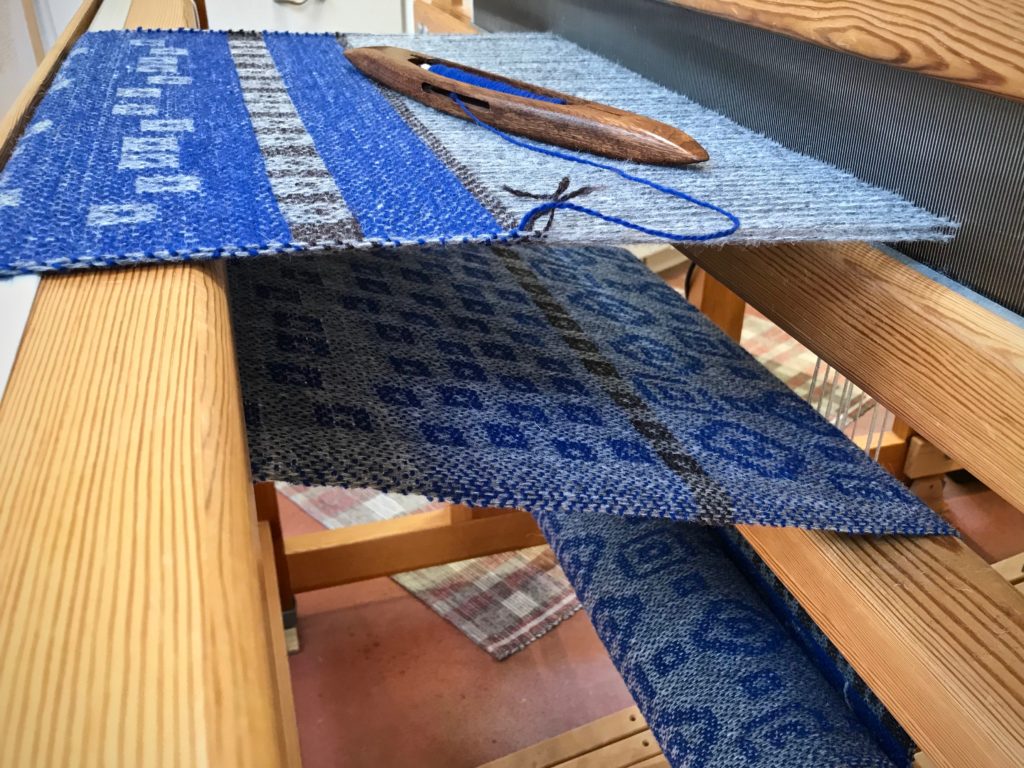
Beaming the 24/2 cotton warp on my 100 cm Glimåkra Ideal Countermarch loom.Fabric for the first tier of a three-tiered skirt. 16/1 linen weft.Fabric for the second and third tiers of the skirt. Classic pattern in five-shafthuckaback.Cloth beam fills with skirt fabric as I near the end of the warp.Weave until there is nothing left to weave. That’s my motto.Cutting off as dusk hits the windows.First view off the loom is always a special moment. Love at first sight!Miss Fit is modeling a preliminary muslin of the tiered skirt. I will do some detail studies with small pieces of the handwoven fabric, and then make a final muslin before sewing the “real” tiered skirt.Detail of skirt fabric.
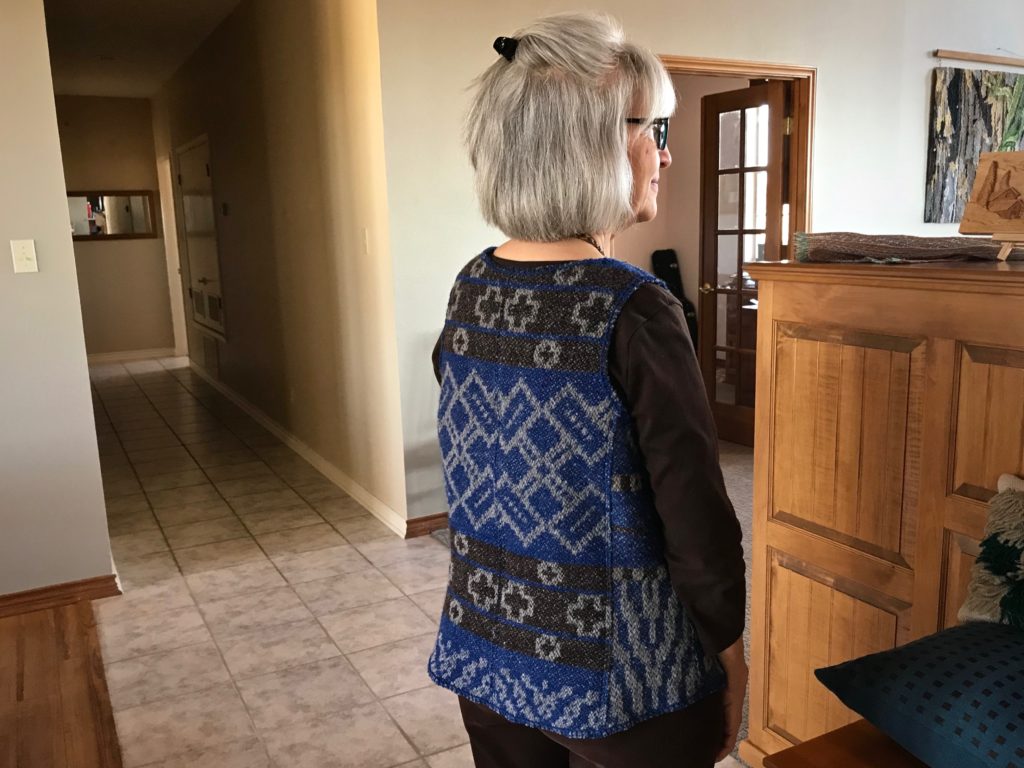
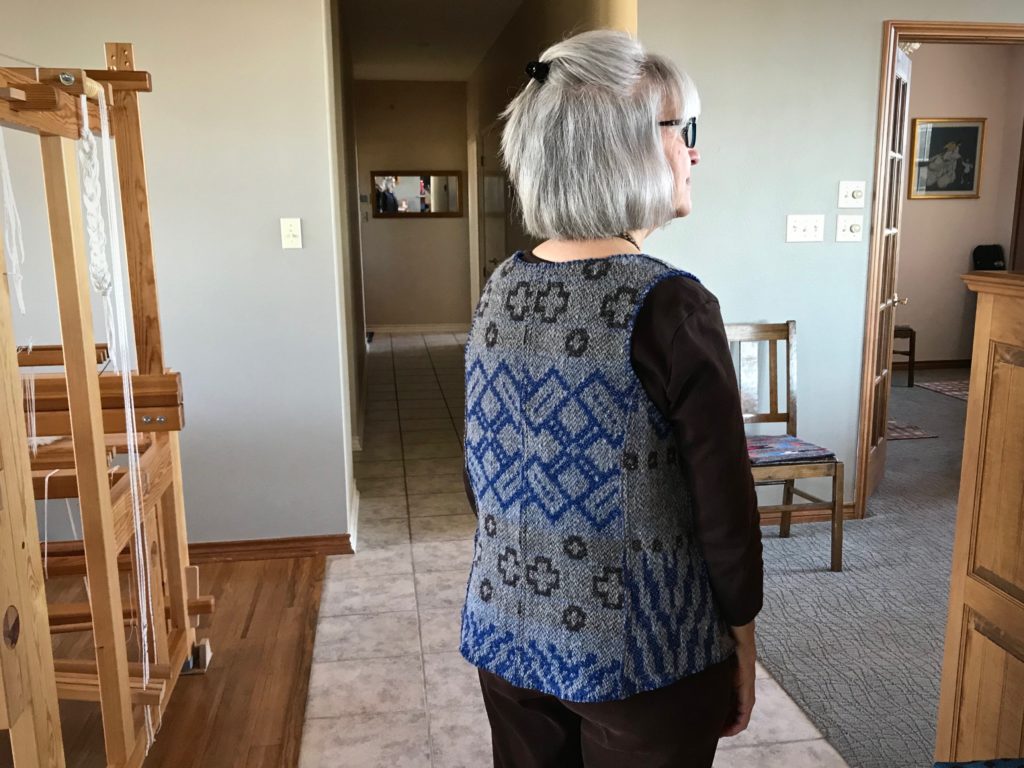
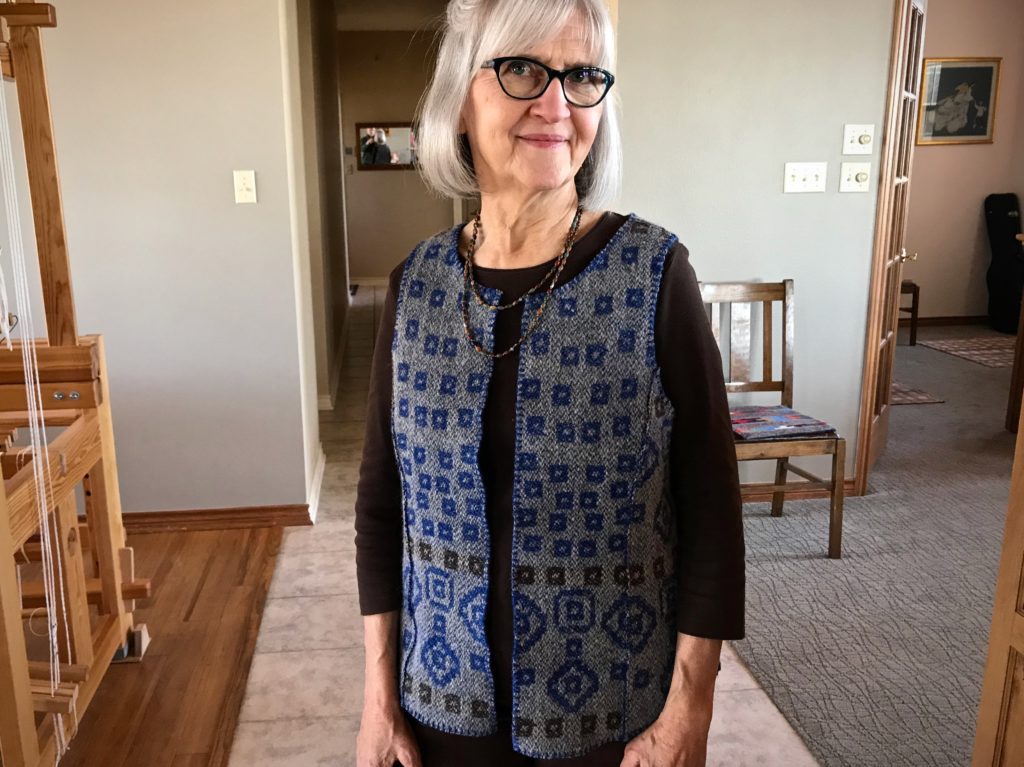
I warped the drawloom with gray 6/2 Tuna wool several months ago with the goal to make fabric for a reversible vest. The beautiful drawloom fabric turned into dreamy garment-worthy fabric after washing! (See Process Review: Drawloom Jewels)
And then I hit two huge hurdles.
Hurdle 1. Fit.
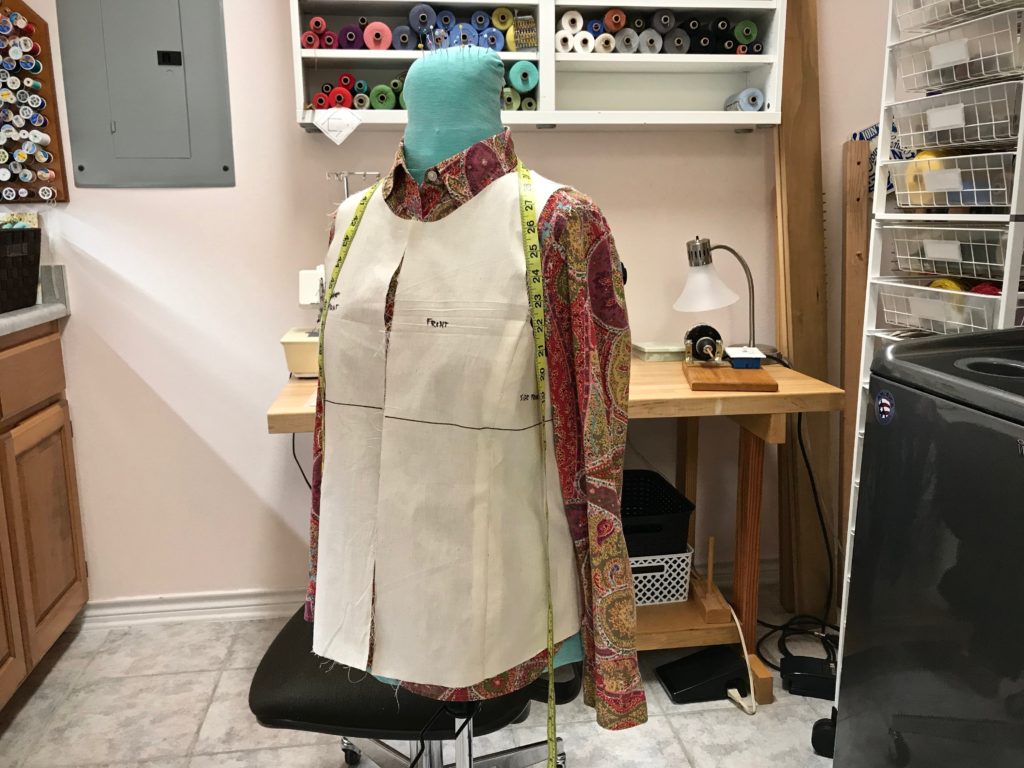
In order to cut into handwoven drawloom fabric, I need assurance that the end result will fit me. My sewing assistant helped me refine a commercial pattern.
Meet my sewing assistant, Miss Fit.
After umpteen muslins and two or three mock-ups, I finally got the fit I was after. Confidence to cut!
Hurdle 2. Garment Construction Uncertainties.
Do some detail studies, my dear friend Elisabeth said to me. Her advice got me over the insecurity hurdle. A detail study is making a small sample to test a hypothesis or answer a question. I made a list of everything I wanted to know about constructing a vest from this type of handwoven wool fabric. And then, using some of the extra fabric from the sampling at the beginning of the warp, I did a detail study for each point on the list. Twelve detail studies in all.
(If you are interested in seeing my complete list of 12 detail studies for this project, click HERE to send me an email and ask for my “Detail studies”.)
Here are a few examples of my findings:
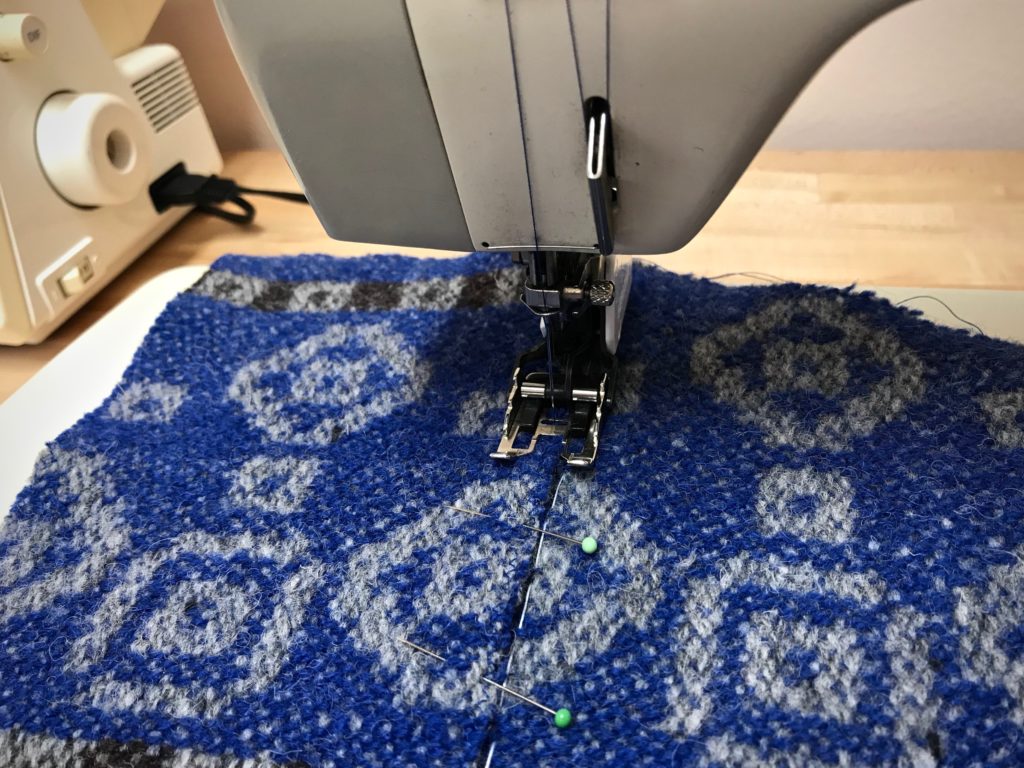
Zigzag before or after cutting? // Zigzag before cutting, stitch width 3, stitch length 2 1/2
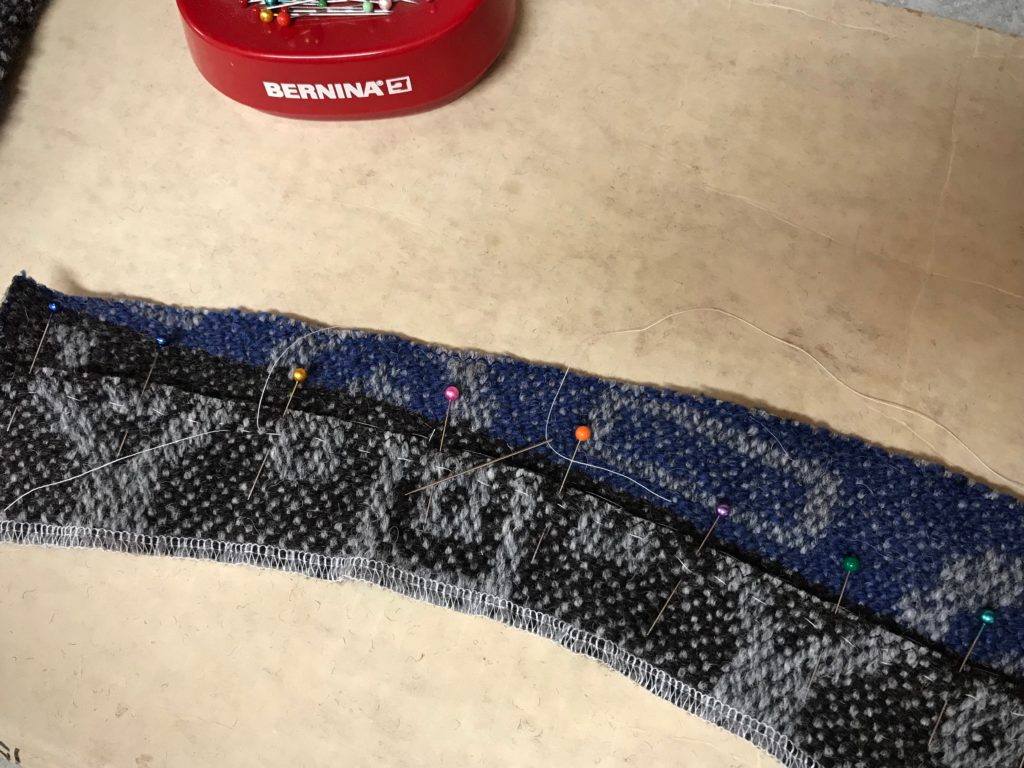
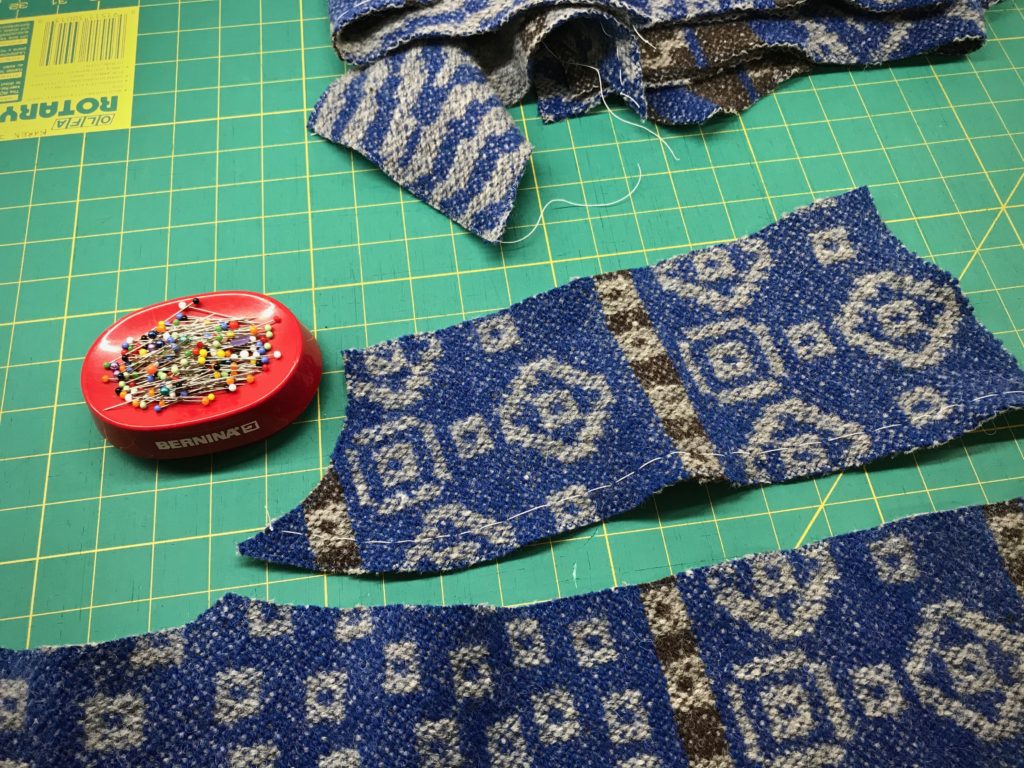
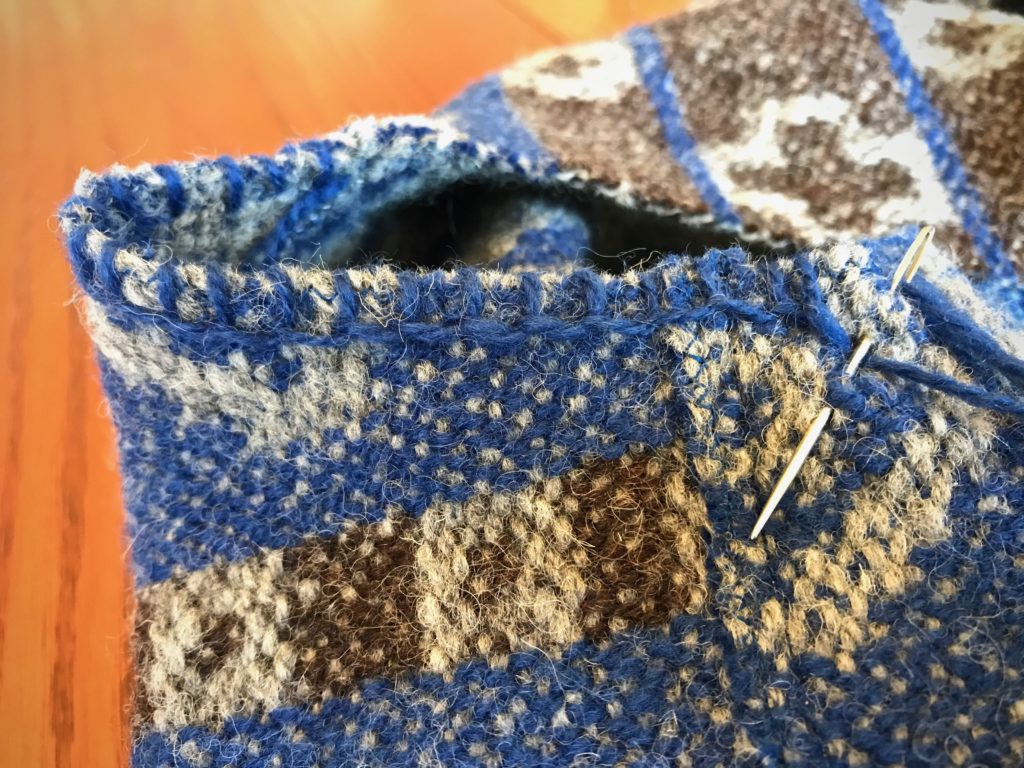
Lapped seams? 3/8”, 1/2”, 5/8”? // Yes, lapped seams, overlap 1/2”, stitch basted line to guide placement
Neck and armhole curves – staystitch with hand running stitches or machine stitching? 1 row or 2? // Hand running stitches, 2 rows
Detail study testing lapped seams.
From the results of the detail studies I was able to compile a step-by-step garment construction plan. Confidence to sew!
Follow my process pictures of the garment construction to see the results:
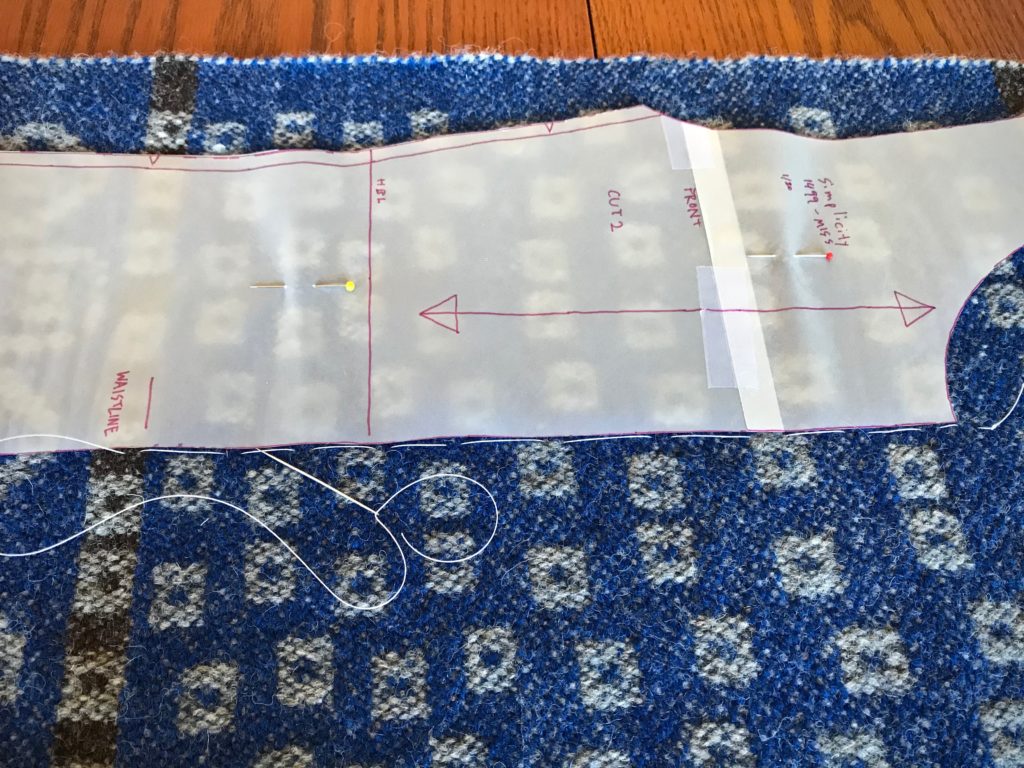
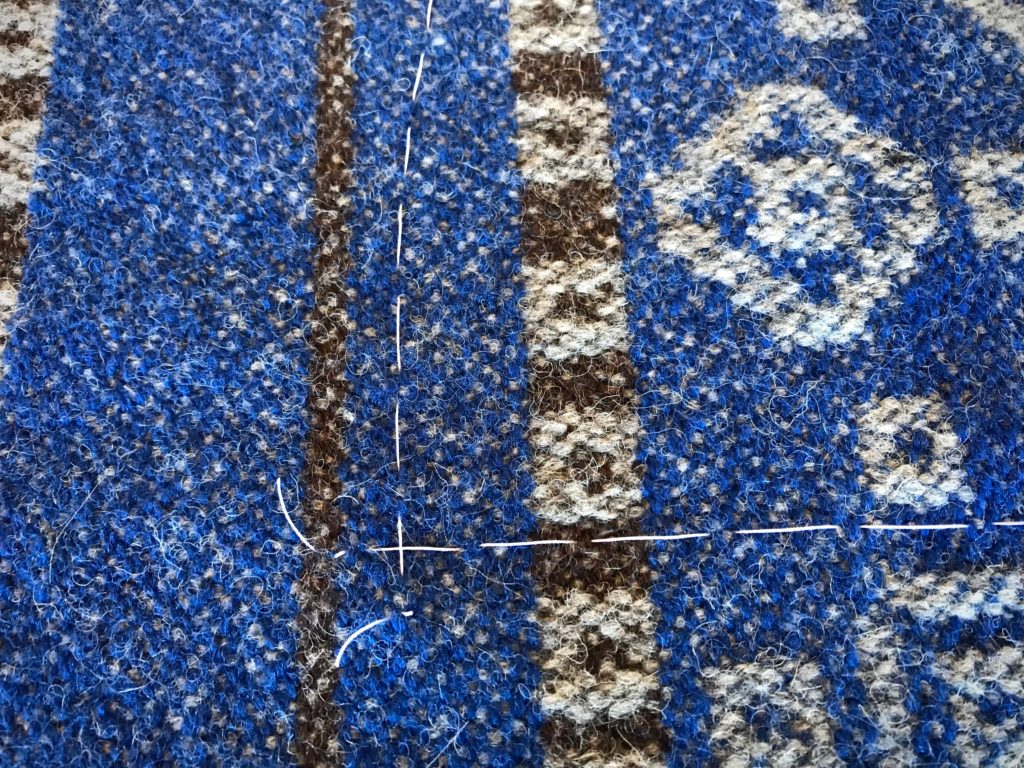
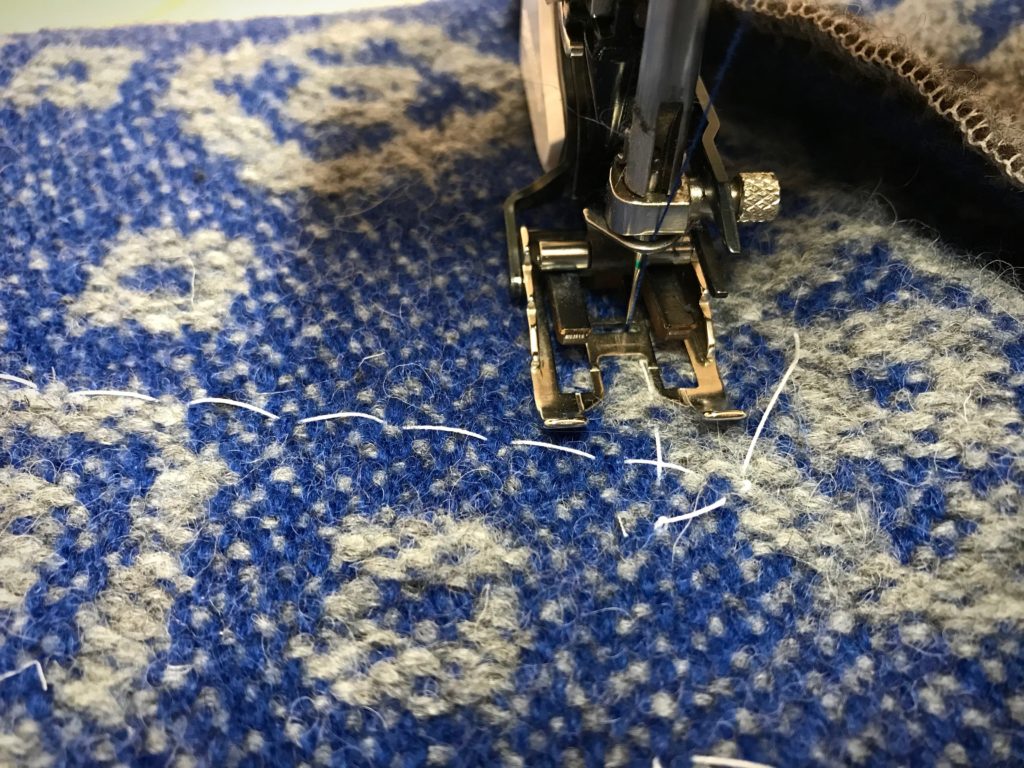
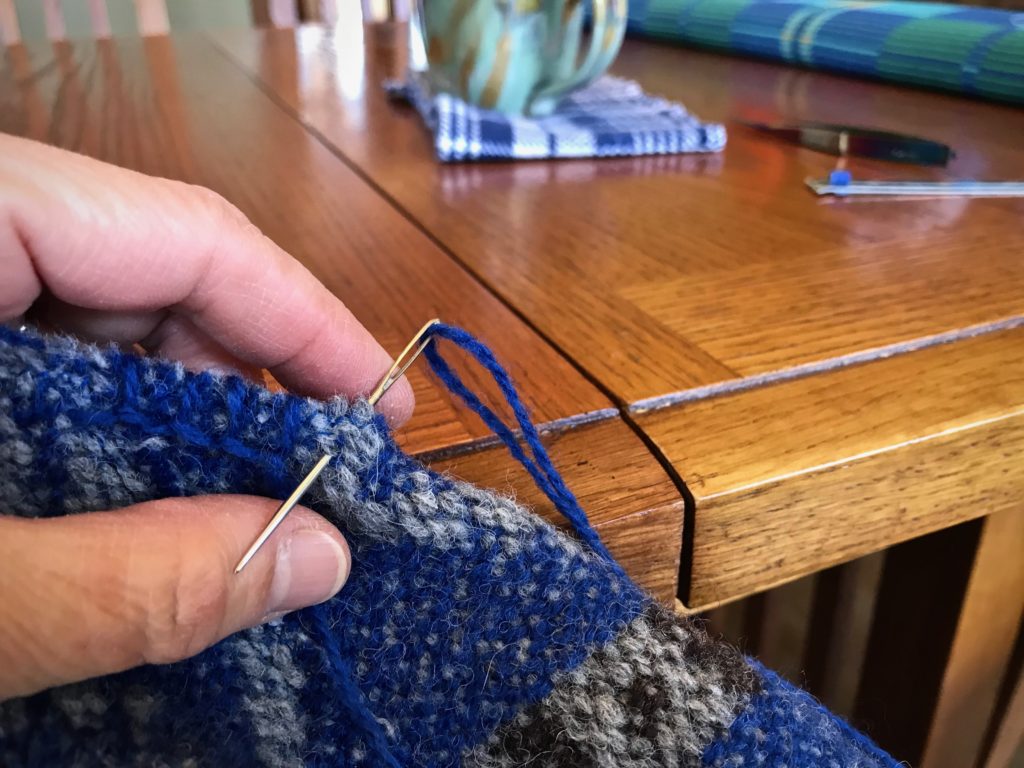
Cutting lines marked with basting stitches.Tracing paper is used for the pattern, which allows me to clearly see the placement of the pattern on the fabric.Making an X with the basting thread at the corners. This helps clarify exactly where to stitch and cut. (One of Elisabeth’s helpful tips.)Buttonhole twist thread is used for the basted lines. It makes an easy guide for the sewing machine needle to follow. The zigzag stitches are just inside the line.Basting stitch on the front side piece is a guide for positioning the lapped seam.Ready for hand work.Two rows of running stitches around the armholes and neck opening.Blanket stitch is used to embellish and strengthen the armholes, neck, front edges, and lower edge of the vest.Reverse side.