Tools Day: Umbrella Swift

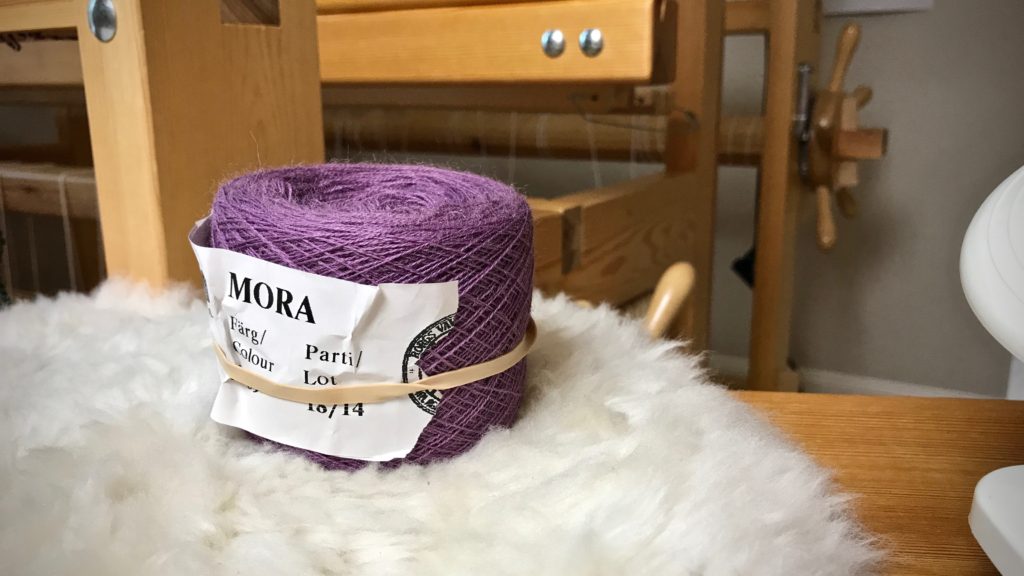
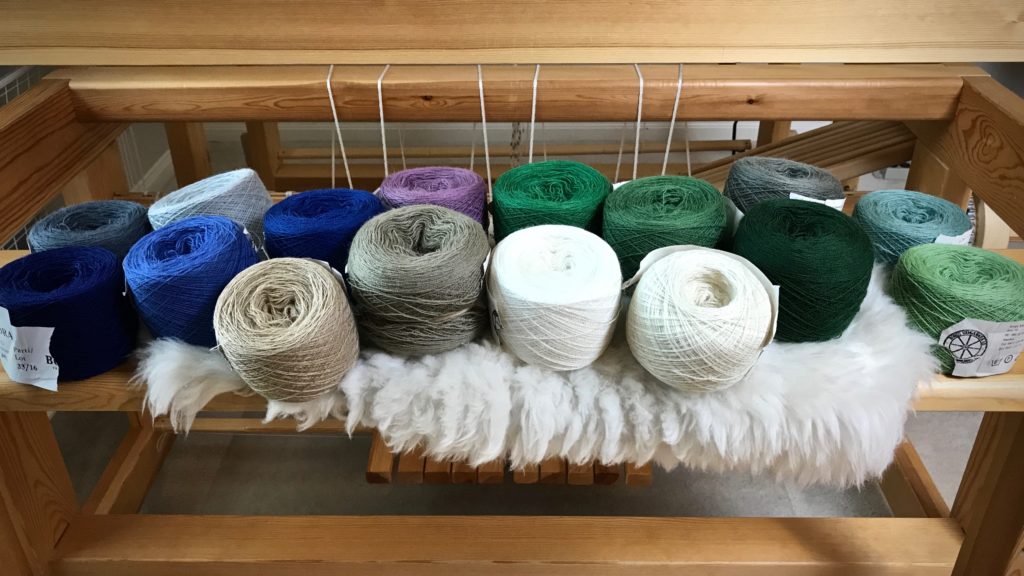
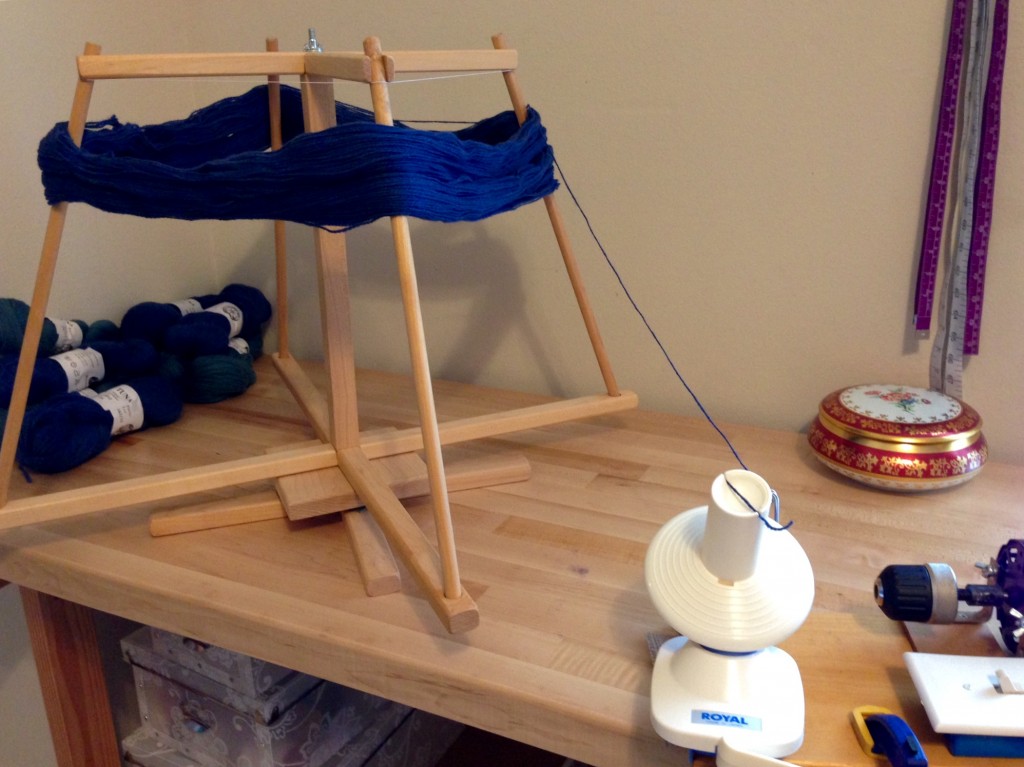
The umbrella swift earns the “Cool Tool” award! I have sixteen skeins of 20/2 Mora wool (as seen in Skeins of Colors). Before making them into little butterflies of color for a woven transparency, I am winding the skeins into balls. This means I get to use one of my favorite tools–the umbrella swift. My Glimåkra swift is simple to use and gives flawless results every time.

How to Use an Umbrella Swift

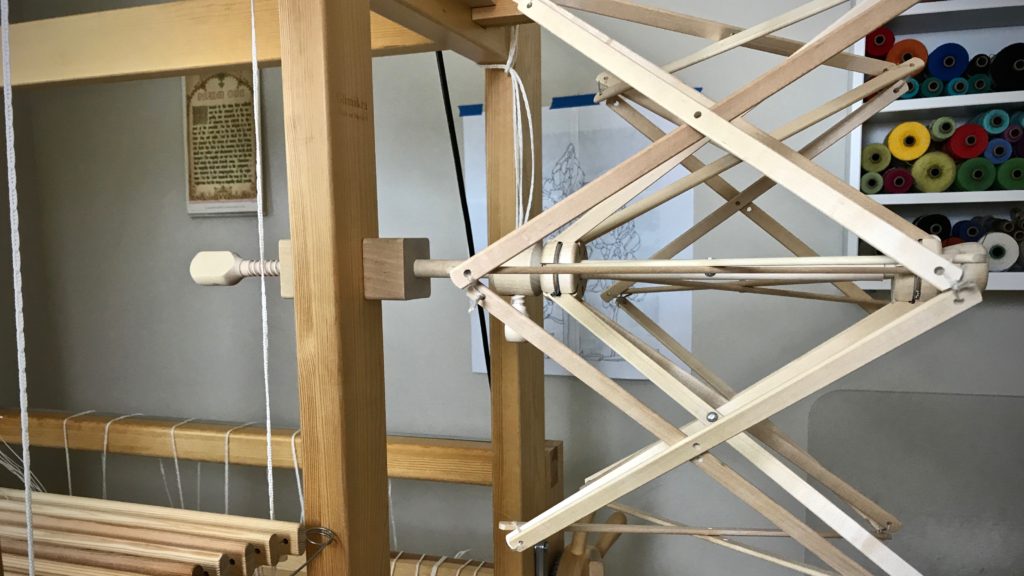
  • Attach the clamp of the umbrella swift to the side of the loom, or other secure structure, like a table. The swift functions vertically or horizontally. I prefer to position the swift horizontally so the yarn rolls off vertically. Also, I find it easier to hang the yarn on a horizontal swift than to place the yarn on a vertical swift, holding the yarn while expanding the umbrella.

How to use an umbrella swift. Tutorial.

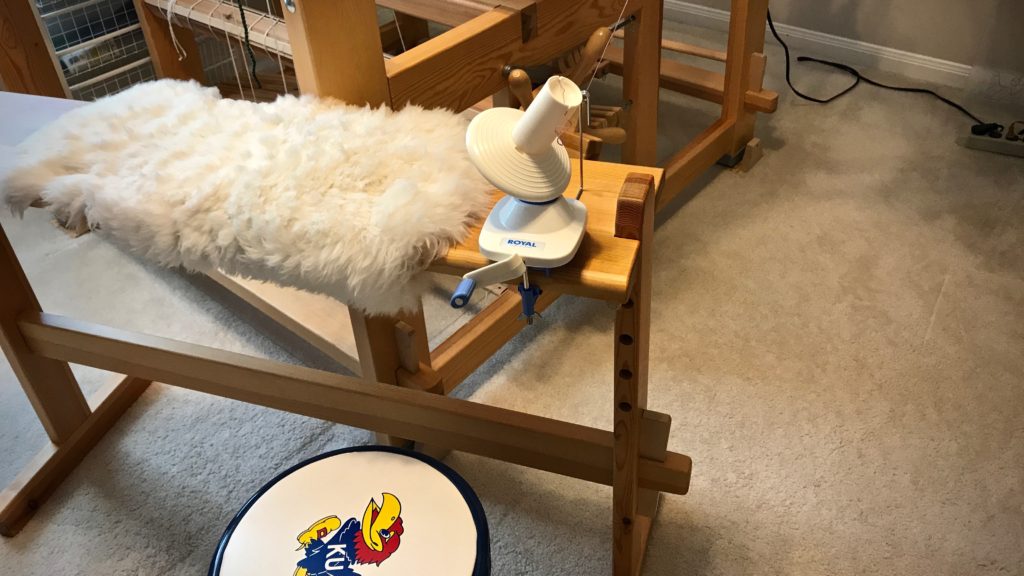
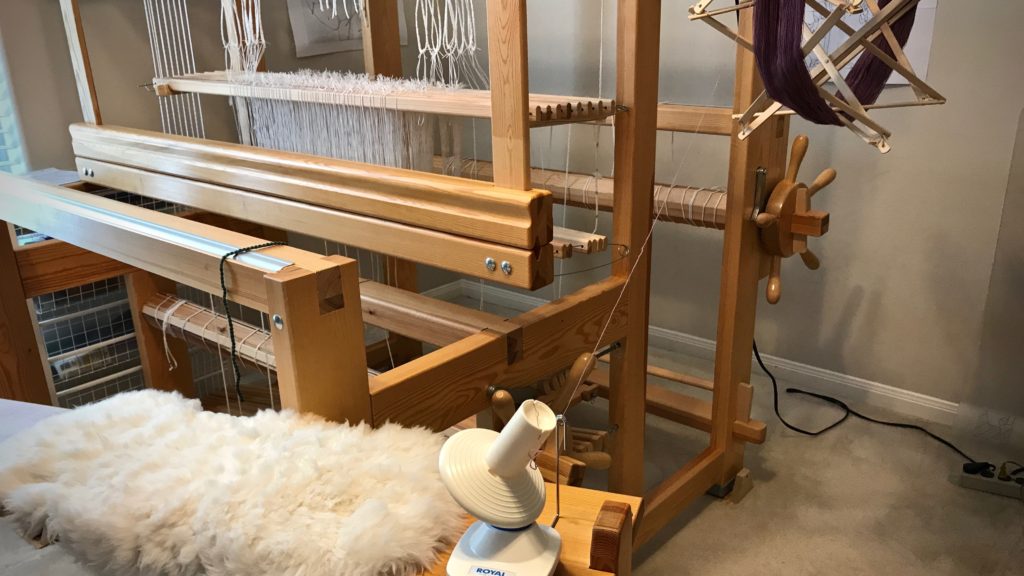
  • Position the yarn ball winder so that it is in line with the umbrella swift, a short distance away. I clamp the yarn ball winder to my loom bench, and sit on a small stool behind the bench.

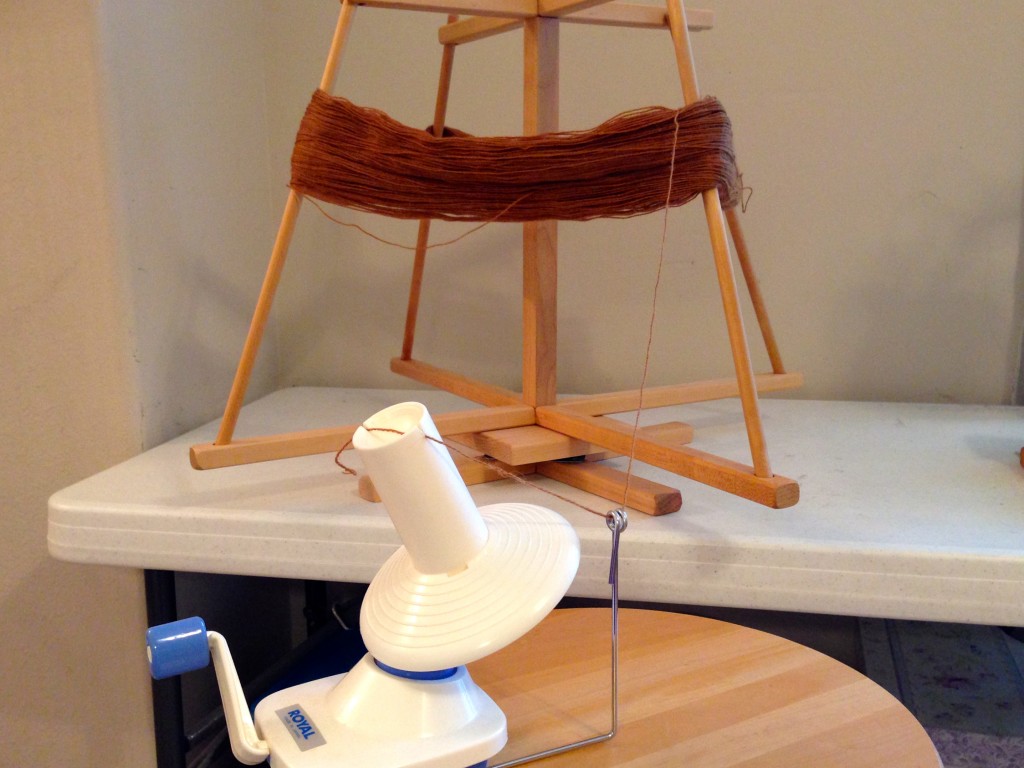
Yarn ball winder in use with umbrella swift.

  • Remove the yarn skein’s label and put it aside. Carefully unfold and untwist the skein of yarn and open it out to a big circle. Place both arms through the center of the circle of yarn and snap your arms outward. Repeat the snapping action one or two more times, with the yarn repositioned about a quarter turn each time. This helps straighten out the yarn for placing it on the swift.
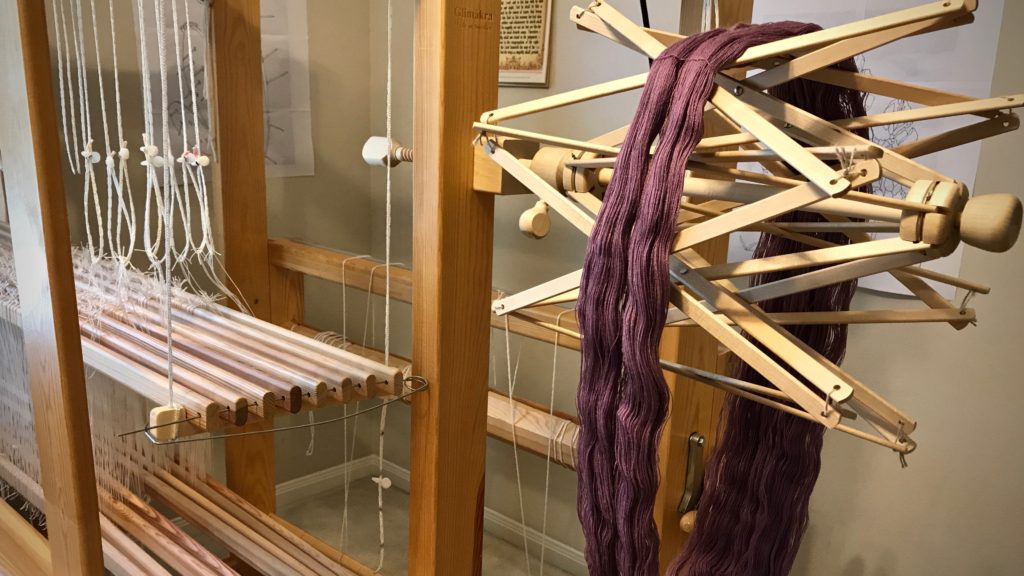
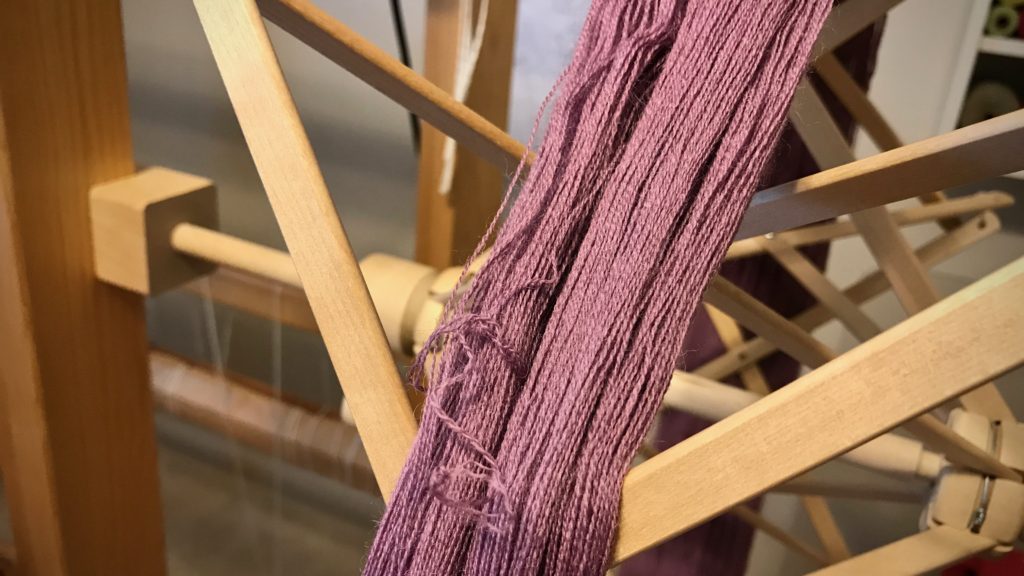
  • Lower the “umbrella” of the swift by loosing the screw and pulling the bottom screw-piece toward the clamp. Place the opened and prepared skein of yarn around the swift.

Placing the skein on an umbrella swift. How to.

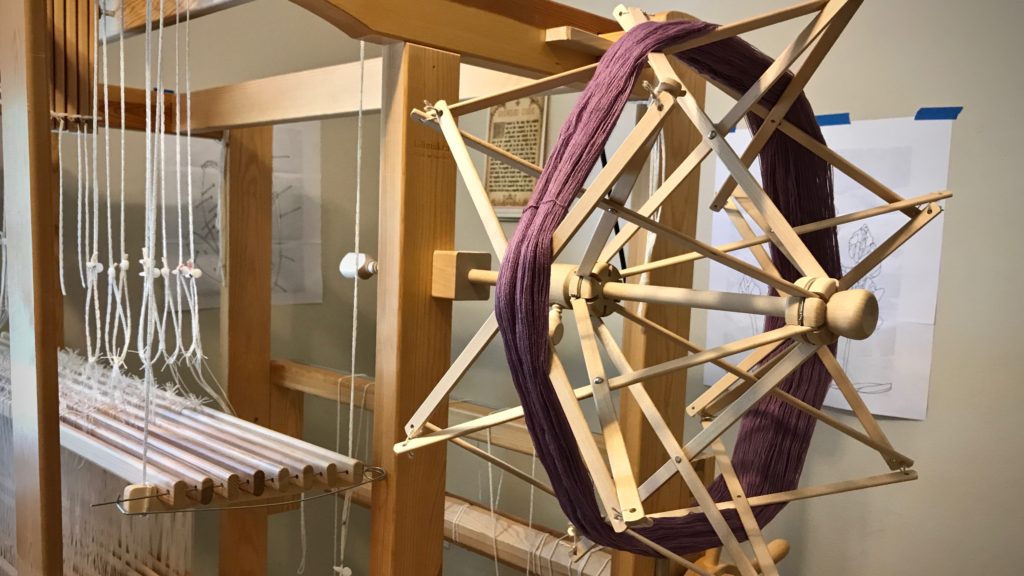
  • Push open the “umbrella.” Spread it open just far enough to hold the yarn taut. Tighten the screw to keep the swift in that position.

How to use an umbrella swift for weaving yarn.

  • Find the place(s) on the skein where the skein has been tied, and untie the knot(s). Identify the end of the yarn that is on the outer side of the skein and connect that end to the yarn ball winder. For consistency among multiple skeins of yarn, I have the umbrella swift turn in the same direction for each one, with the yarn unwinding from the top of the swift.

Putting skein of yarn on umbrella swift.

  • Turn the yarn ball winder until all the yarn has been unwound from the swift.

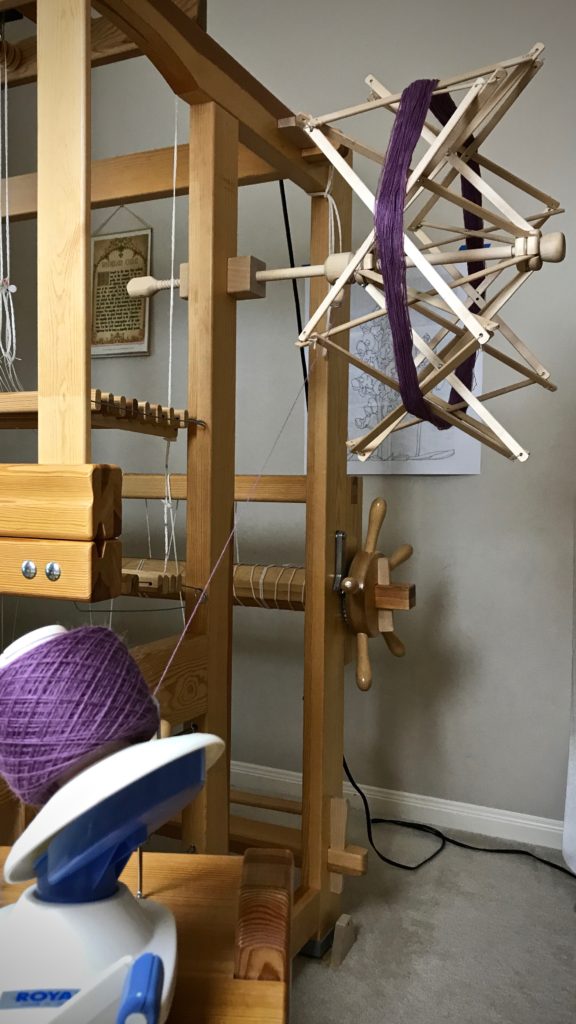
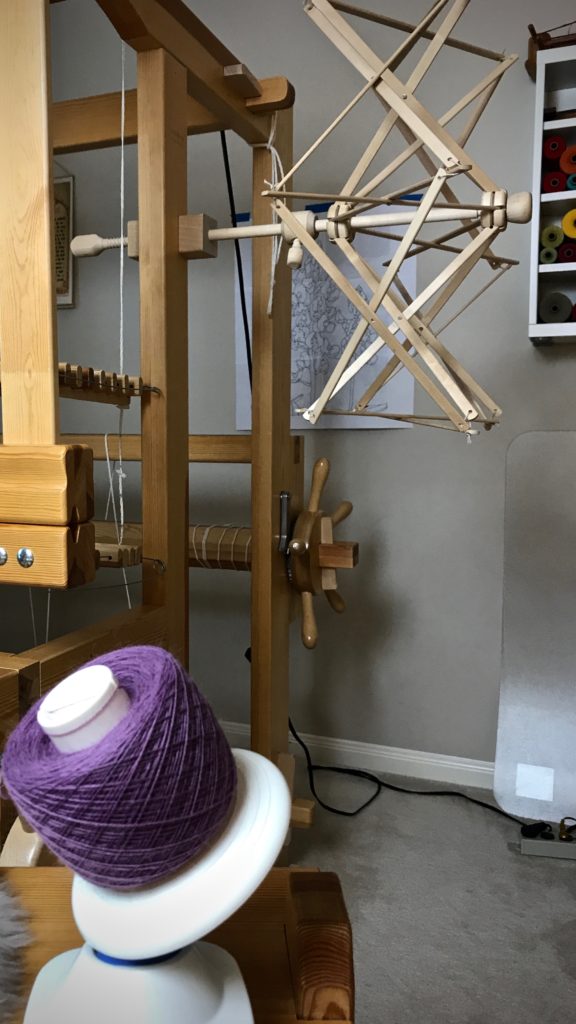
Set up for using umbrella swift. Tips.

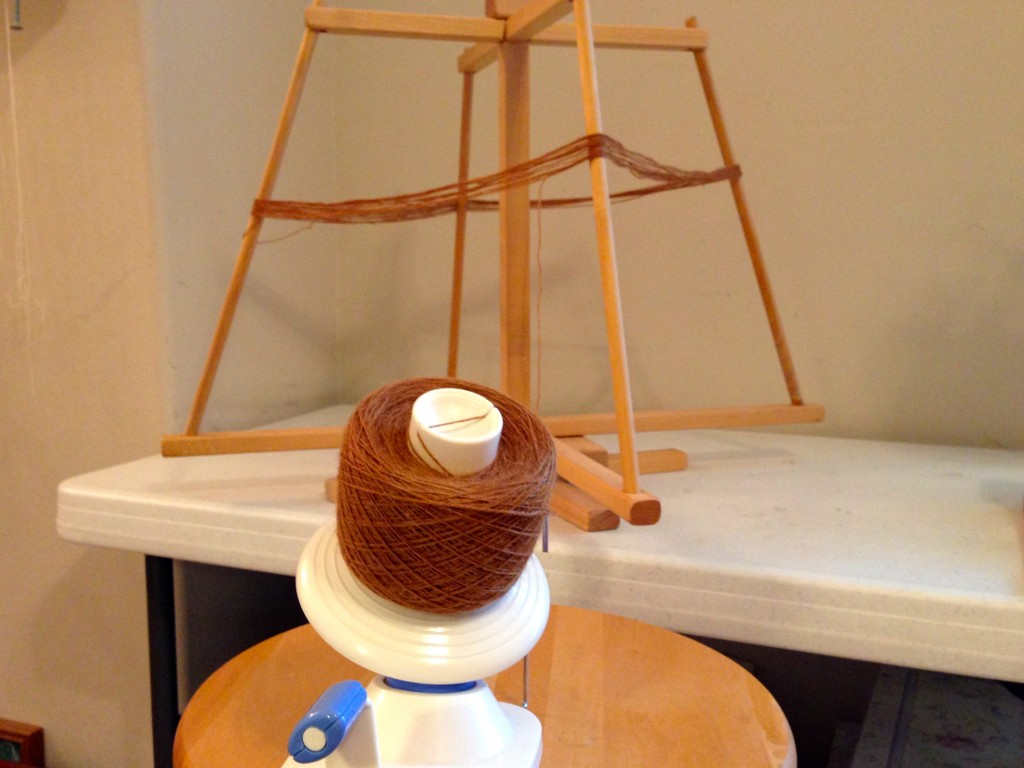
Winding ball of yarn from umbrella swift.

Winding ball of yarn from umbrella swift.

  • Remove the yarn ball from the yarn ball winder and wrap the skein’s label on the new yarn ball.

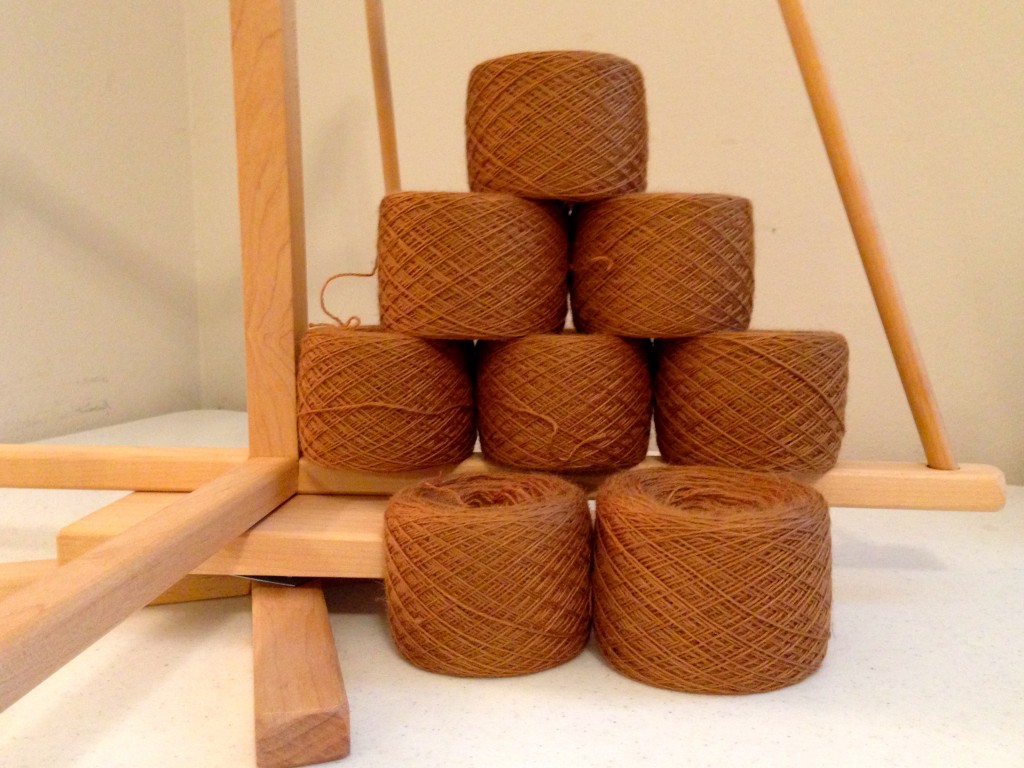
New ball of yarn thanks to umbrella swift.

  • Collect the new balls of yarn and play with the colors in your imagination.

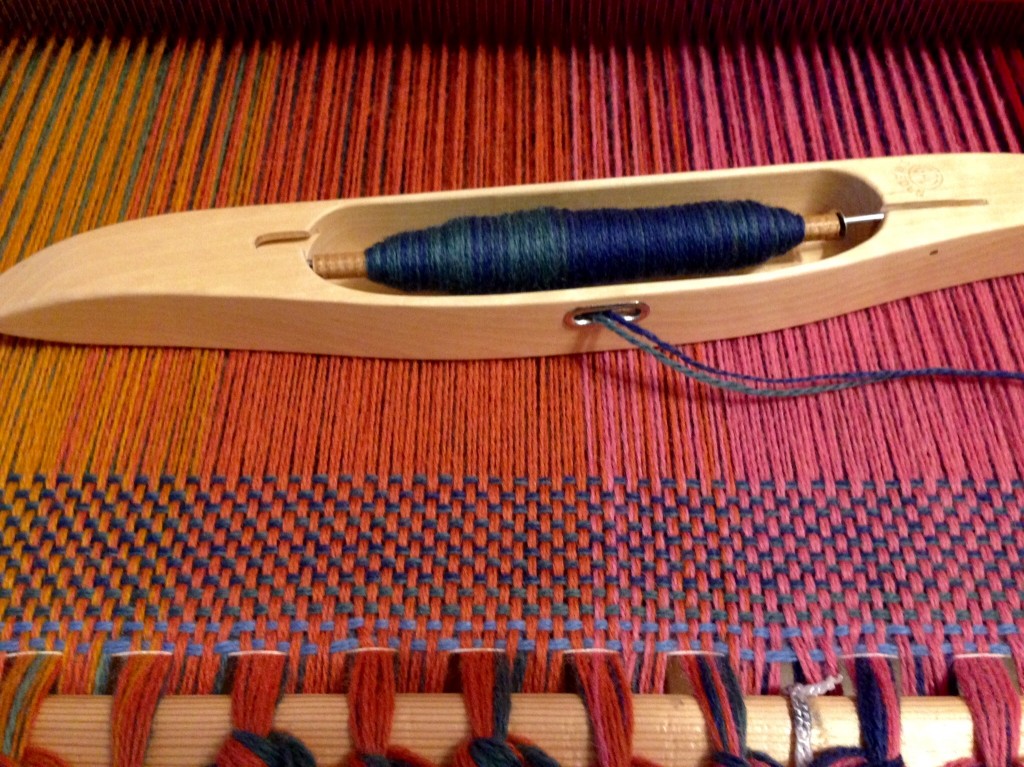
Mora wool. Getting ready for woven transparency!

May you take pleasure in your work of preparation.

All the best,
Karen

First Glimpse of the Blanket

Look at the double-width blanket that is finally forming on the loom! And you have been waiting to see which colors I chose for the weft… First, there were eleven colors to select for the warp (I Forgot the Weft). And then, after dressing the loom (Brave Enough to Weave), I sampled possible weft colors (The Weft Question). That led to questions about the density of the weft and the evenness of the folded edge (Quiet Friday: Blanket Sample Thanksgiving), being my first ever double width attempt. Ta da! Combined teal and blue are the weft winners!

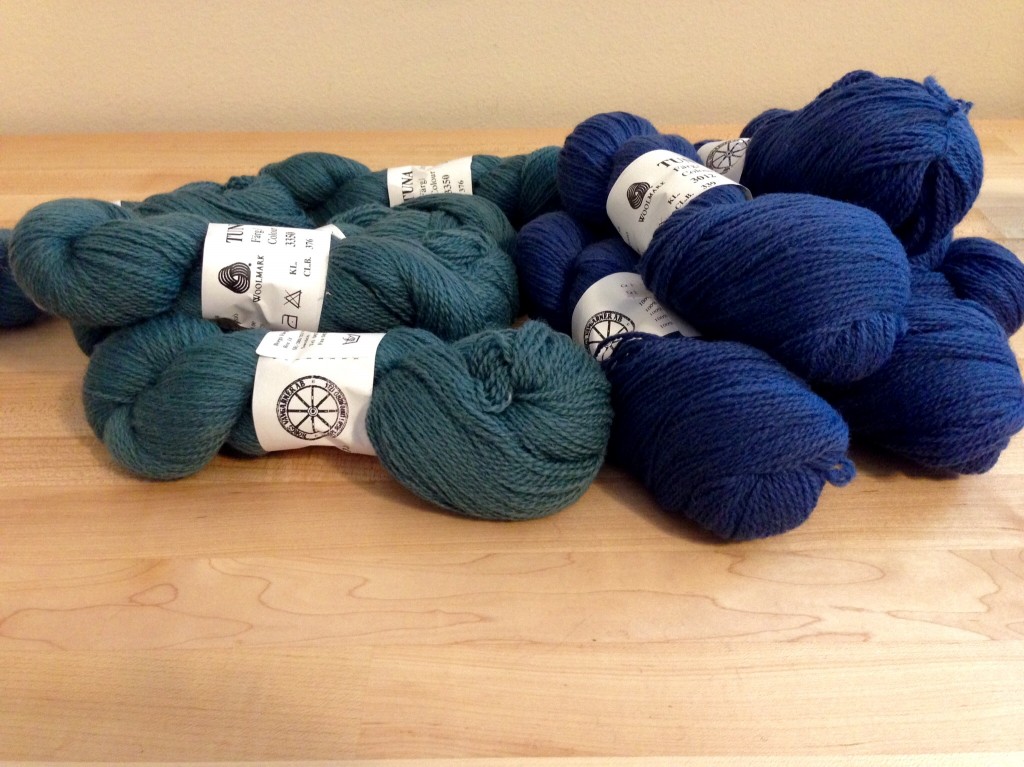
Wool for weft to use in double-width blanket.
Skeins of Borgs 6/2 Tuna Wool for blanket weft. The weft is doubled, so I will wind quills using the two colors together.
Winding wool skeins into balls using old Beka yarn swift.
Wool skeins are first unwrapped and wound into balls using my old Beka yarn swift.

I am pleased with the first glimpse. I feel like I have captured my own personality and it is being woven into the cloth. Like this weft, you will not see the value of your gifts until you unwrap them and use them.

First few inches of double-width wool blanket on the loom.
Very beginning of the wool blanket gives encouraging results. The teal/blue weft begins after the first few picks that space the warp.

Just as cloth reveals the nature of the weaver, gifts reveal the nature of the giver. God has prepared things for us that transcend human perception. Things which eye has not seen, and ear has not heard, and which have not entered the heart of man… If aspects of my personality are embedded in a handwoven blanket, how much more is God’s character woven into the good gifts he imparts to us?

May your journey hold many good gifts to unwrap.

Thinking of Christmas,
Karen

Tools Day: Swift and Winder

When yarn comes on tubes or cones I can use it as is for weaving, but when the yarn comes in skeins I need to do some prep before I can use it for weaving. (HERE is how these skeins looked when I got them.) I use my Beka Yarn Swift and Royal Ball Winder to convert skeins of yarn into balls that I can use for winding my next warp. Most of my weaving friends use an umbrella yarn swift, but I like my Beka swift that I have had for thirty years. (If I do get an umbrella swift someday, I will get one like THIS.)

[No affiliate links.]

Weaving tools: Yarn Swift and Ball Winder

How to place skein of yarn on swift and wind into a ball.
Yarn swift on the white table turns quietly and effortlessly as the yarn is wound onto the ball winder clamped to a wooden barstool placed near the table.

How to use a yarn swift and ball winder:

  1. Carefully open out the skein of yarn, and notice how it is tied.
  2. Place your two arms through the center of the ring of yarn. Sharply pull your arms apart, so the skein is fully outstretched. Turn the circle of yarn about a half-turn, and sharply pull your arms apart again. This will help even out the skein and make it unwind smoothly.
  3. Carefully place the opened skein over the yarn swift.
  4. Loosen or clip the threads (often tied in a figure-eight) that are tied around the skein; be sure to hold onto the two loose ends of the skein, the beginning and end tails.
  5. Take the beginning tail and feed it to the ball winder.
  6. Turn the ball winder handle with one hand, and allow the yarn to loosely glide through your other hand to help maintain an even tension as you wind.
  7. When all the yarn has been wound onto the ball winder, remove ball of yarn by carefully pulling it up and off. (If you want a center-pull ball, which I don’t, be sure to grasp the beginning tail so it is not lost inside the ball.)
  8. Neatly wrap the outer end around the outside of the ball so it is ready to be used.
Winding a ball of yarn from a yarn swift - how to.
If it weren’t for these tools, I would need a very patient helper to hold the skein of yarn between their hands just so, while I would take the end and gradually wind the yarn into a ball. I’m thankful for tools! (Steve is, too.)

Wisdom tools: Work and Thinking Ahead

Work means doing what needs to be done. If I’m a slacker about winding skeins into balls, I’ll have nothing to weave, and no woven handiwork to show.

65% Alpaca 35% Tencel yarn
Ready to wind the warp for the next project on my Glimåkra Standard–an alpaca-tencel shawl with a lace weave.

Solomon had this to say –

The sluggard does not plow in the autumn; he will seek at harvest and have nothing.

What about other areas in life? What needs to be done now to ensure fruit in the next season?

May your harvest exceed your expectations.

Lovingly,
Karen