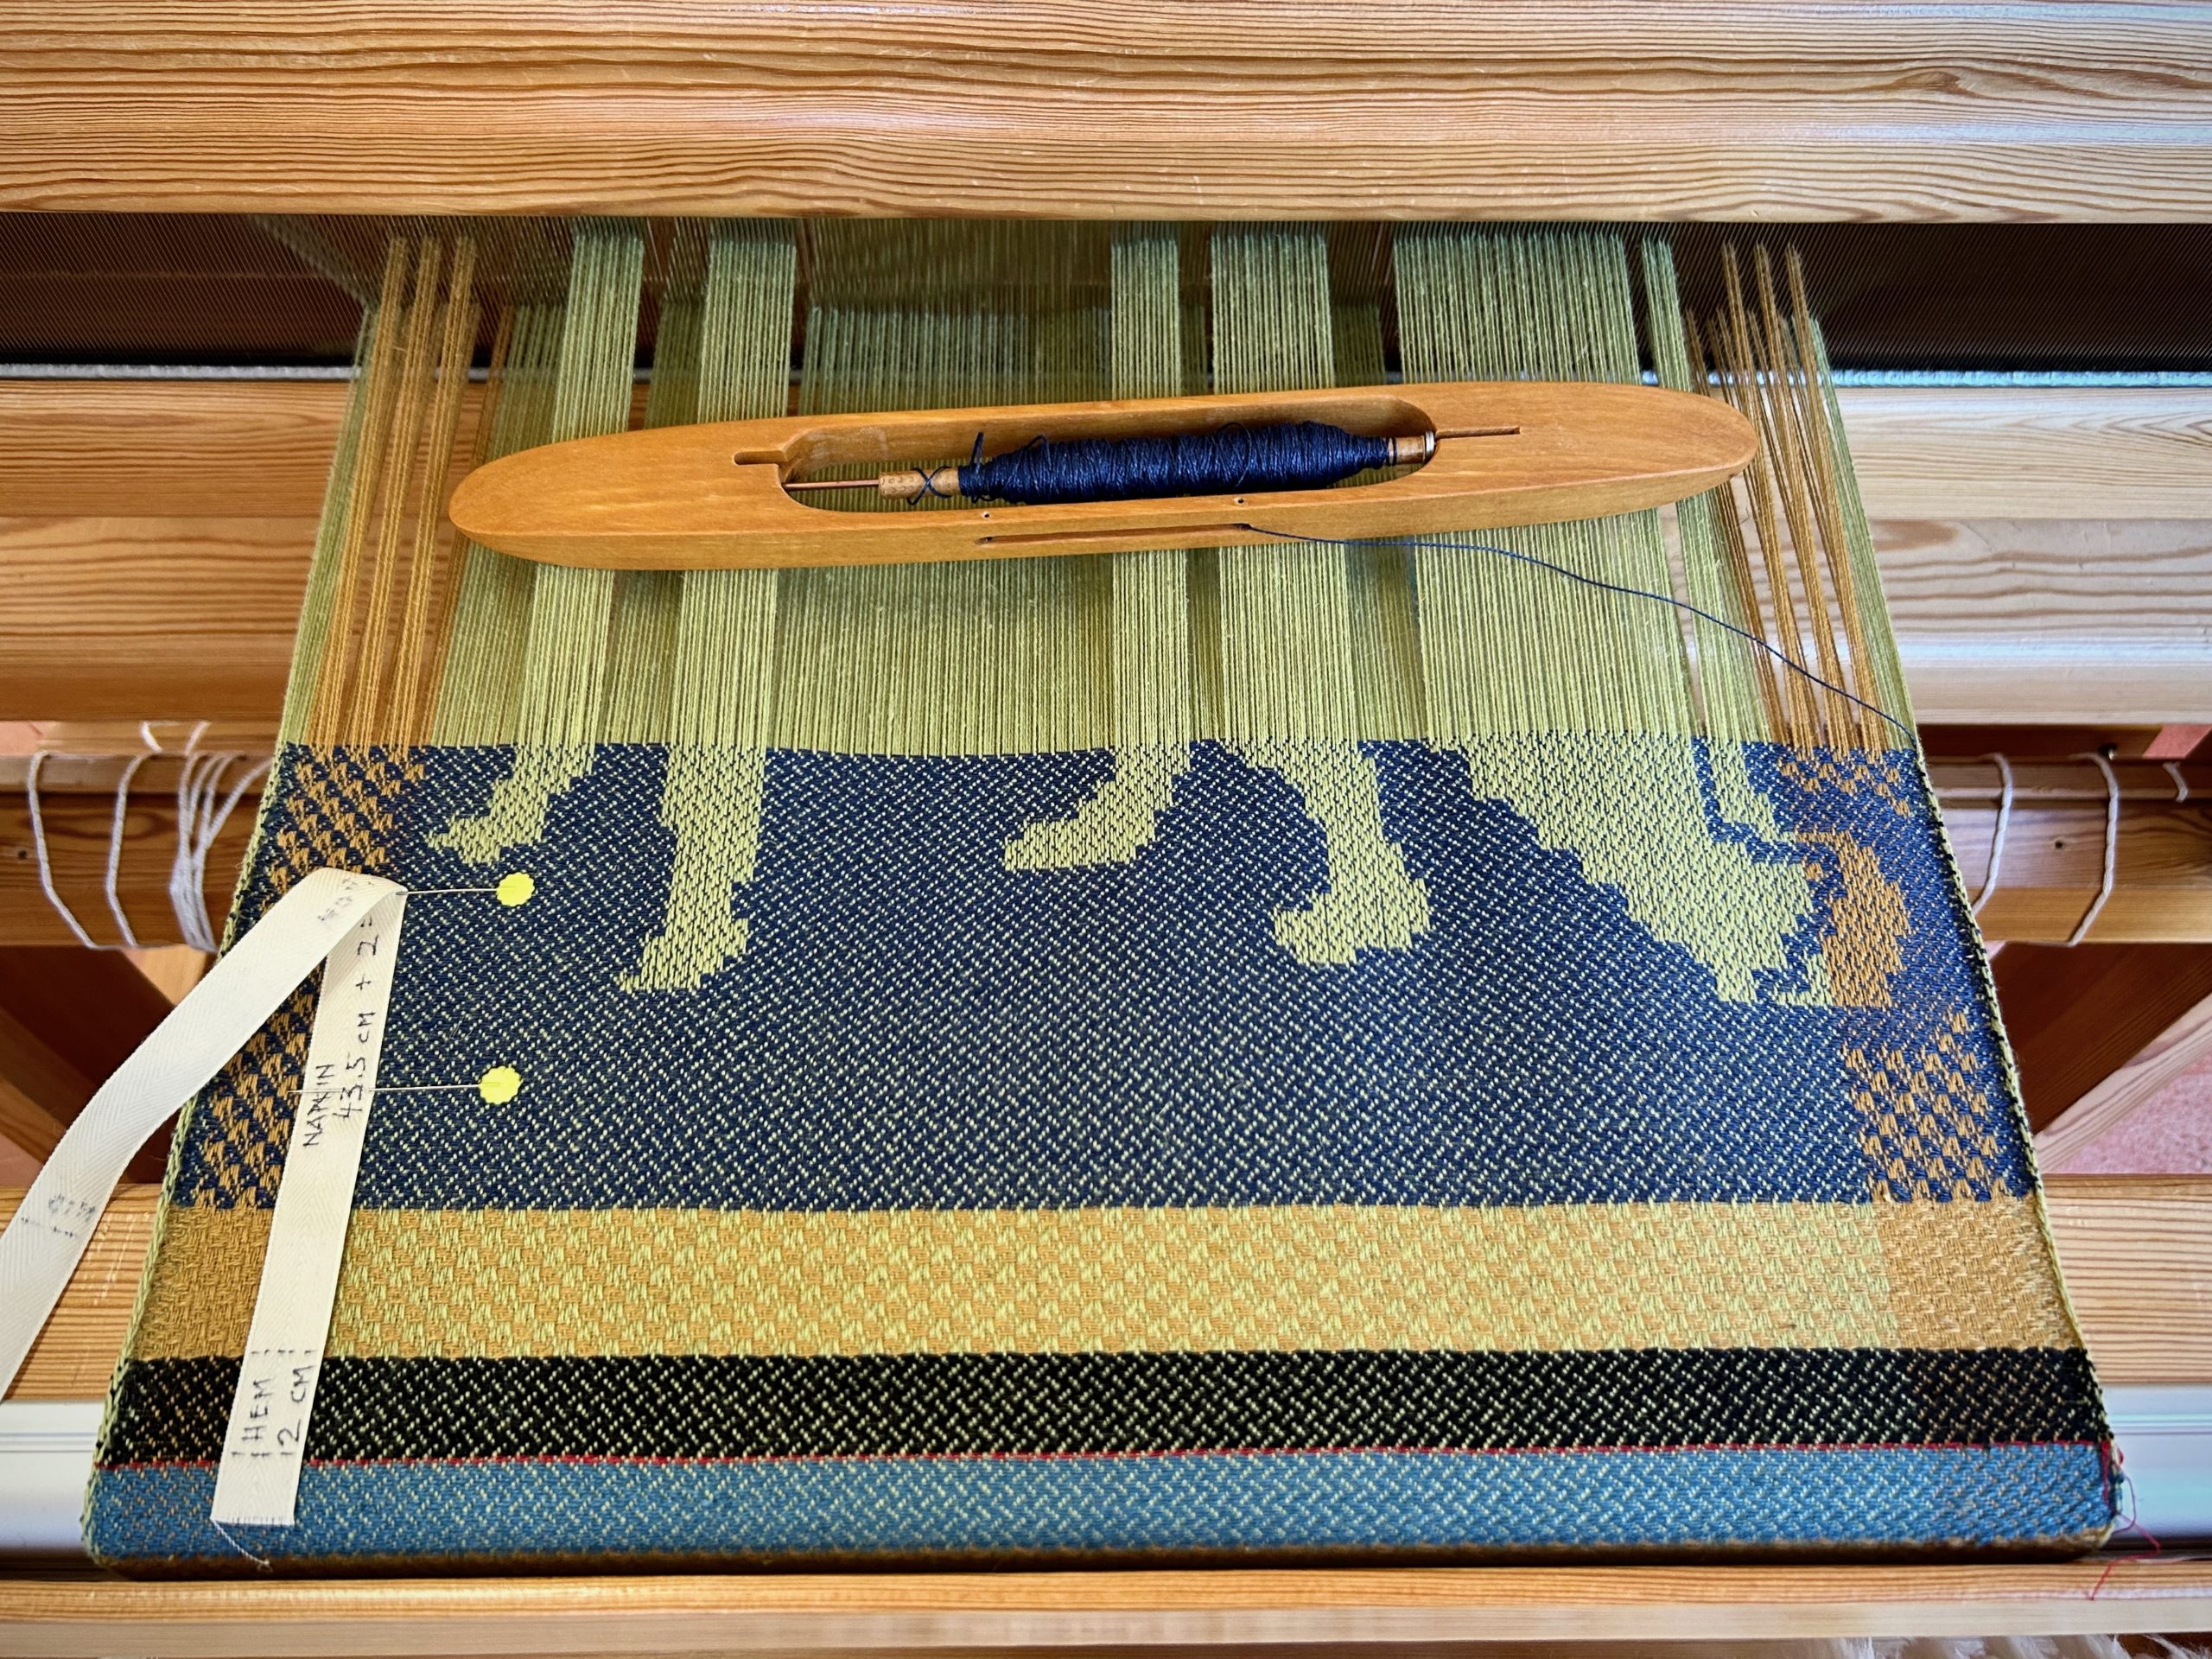
Gray Fox is complete. Porcupine is the next critter in line. We’ve seen evidence of a porcupine in our backyard, so he belongs in this drawloom parade.
May you find interesting critters near you.
Happy Weaving,
Karen
a handweaver's journey

Gray Fox is complete. Porcupine is the next critter in line. We’ve seen evidence of a porcupine in our backyard, so he belongs in this drawloom parade.
May you find interesting critters near you.
Happy Weaving,
Karen
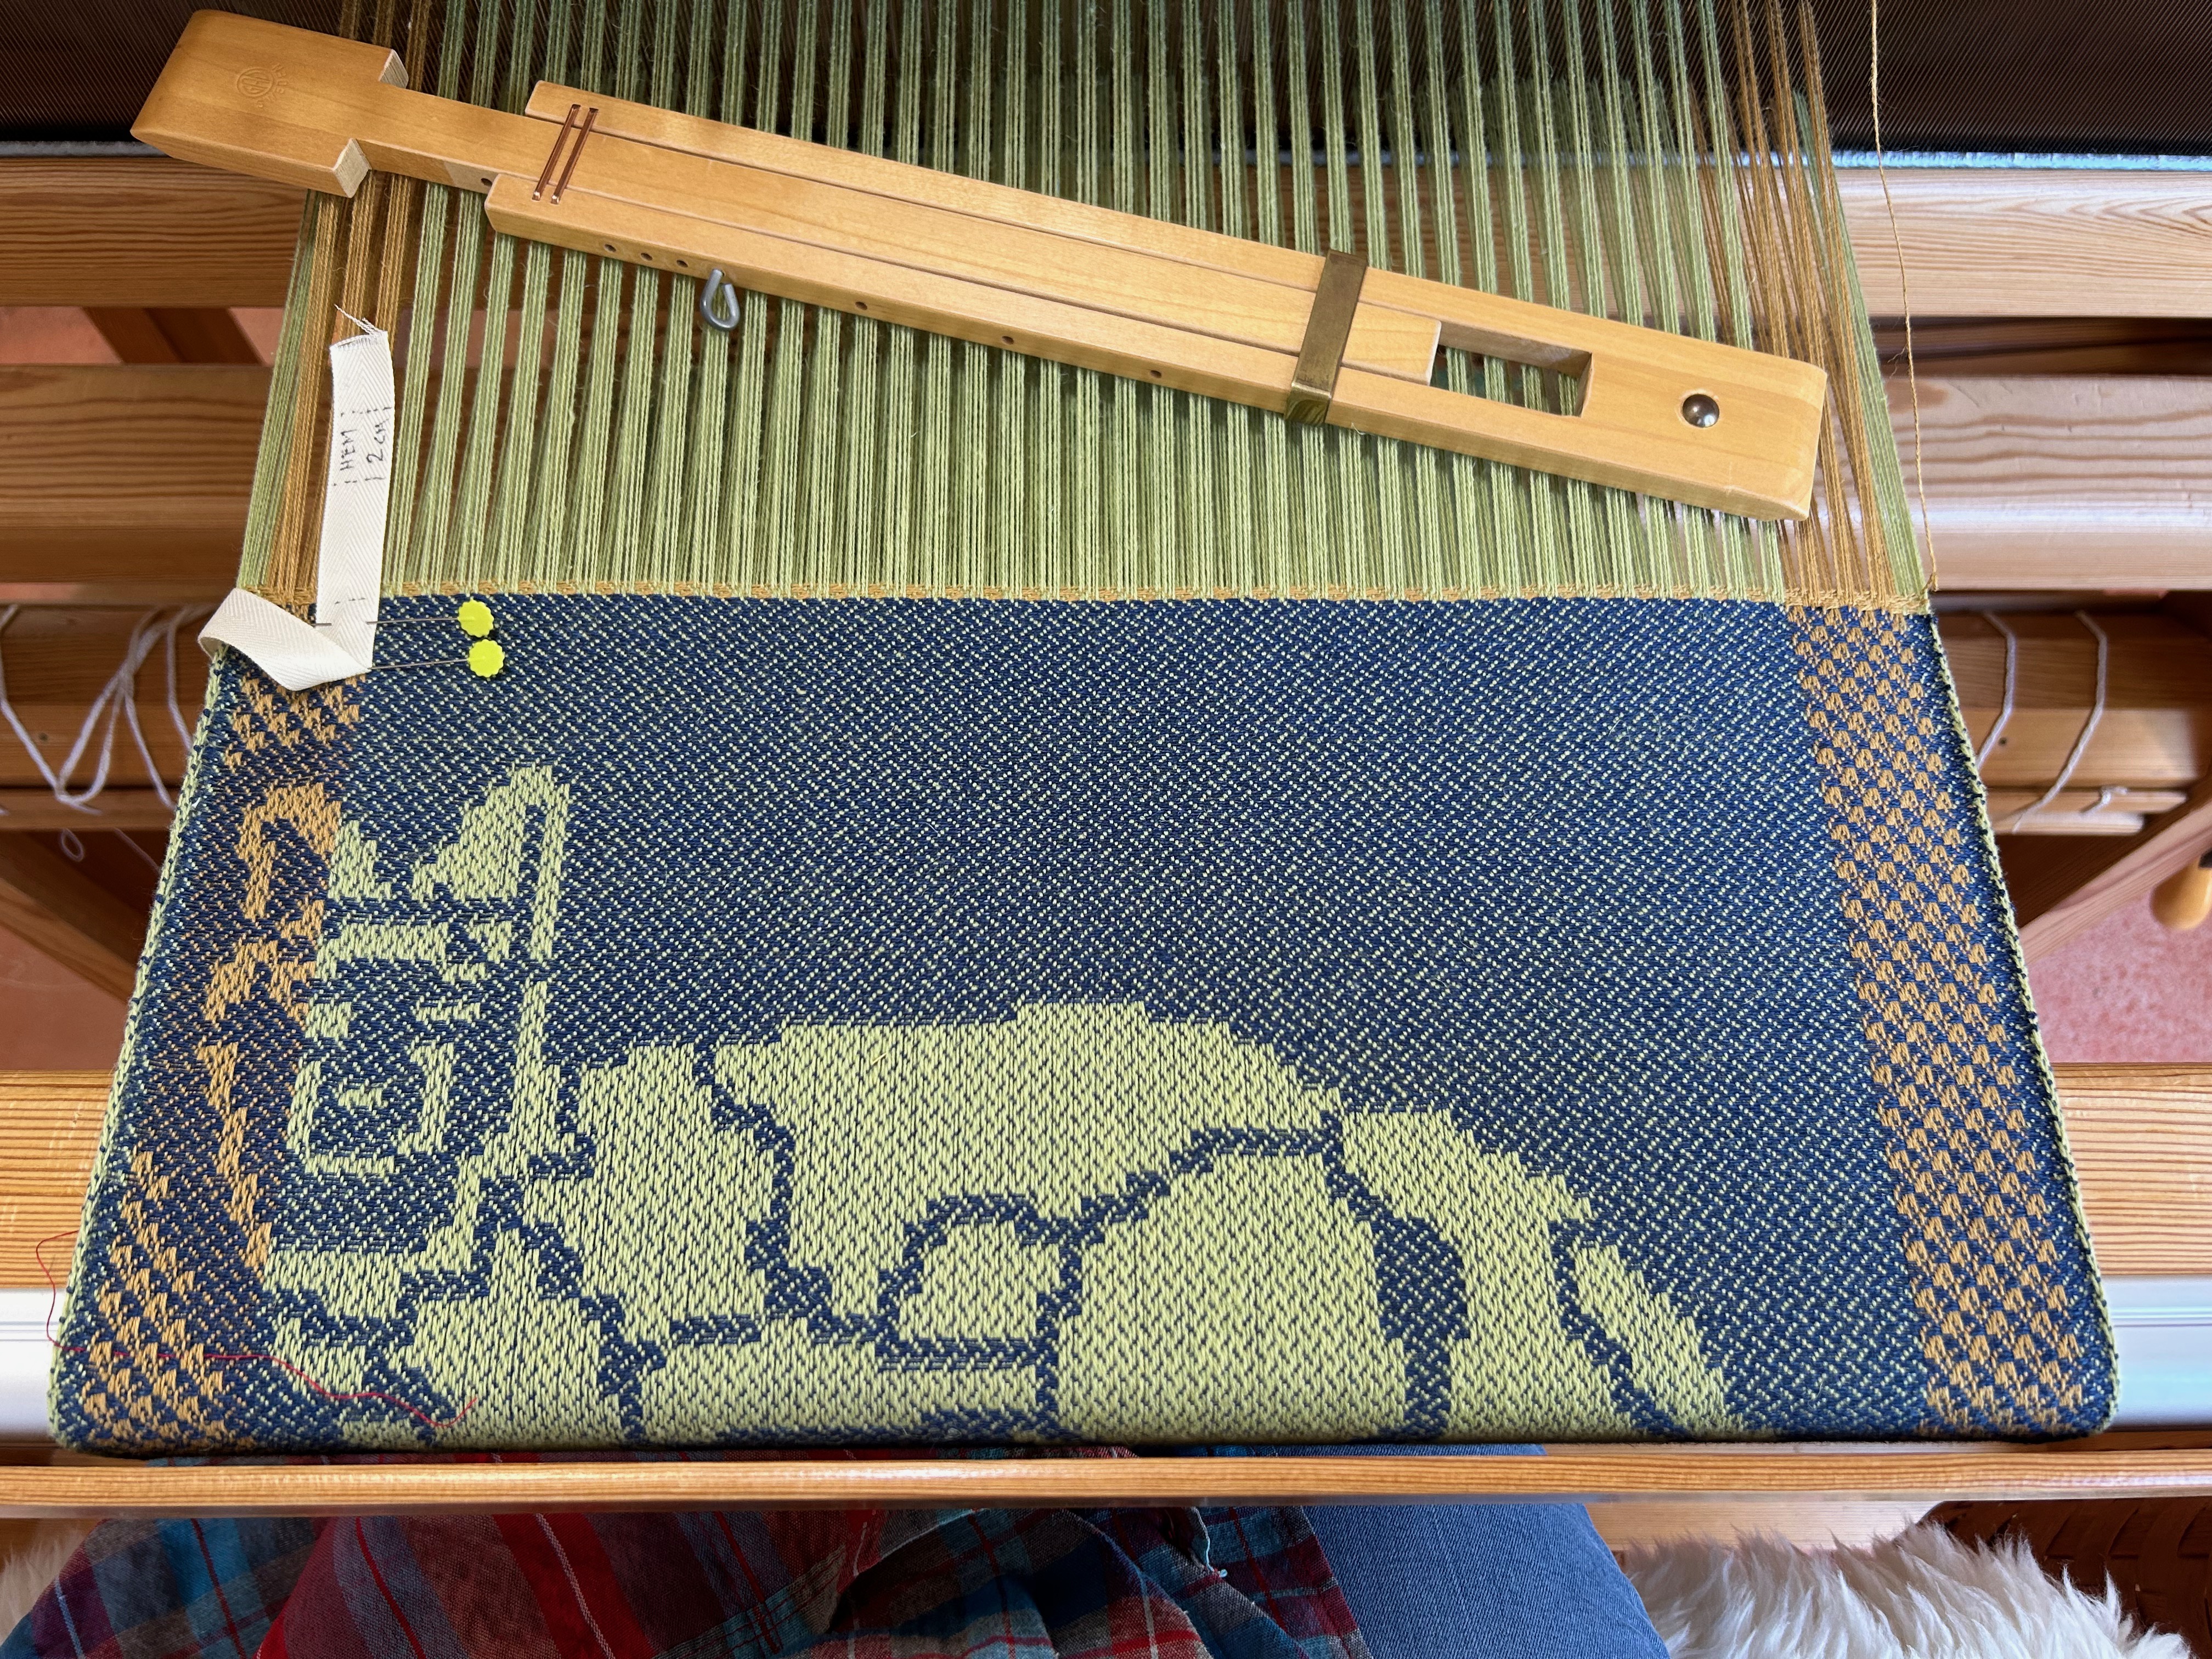
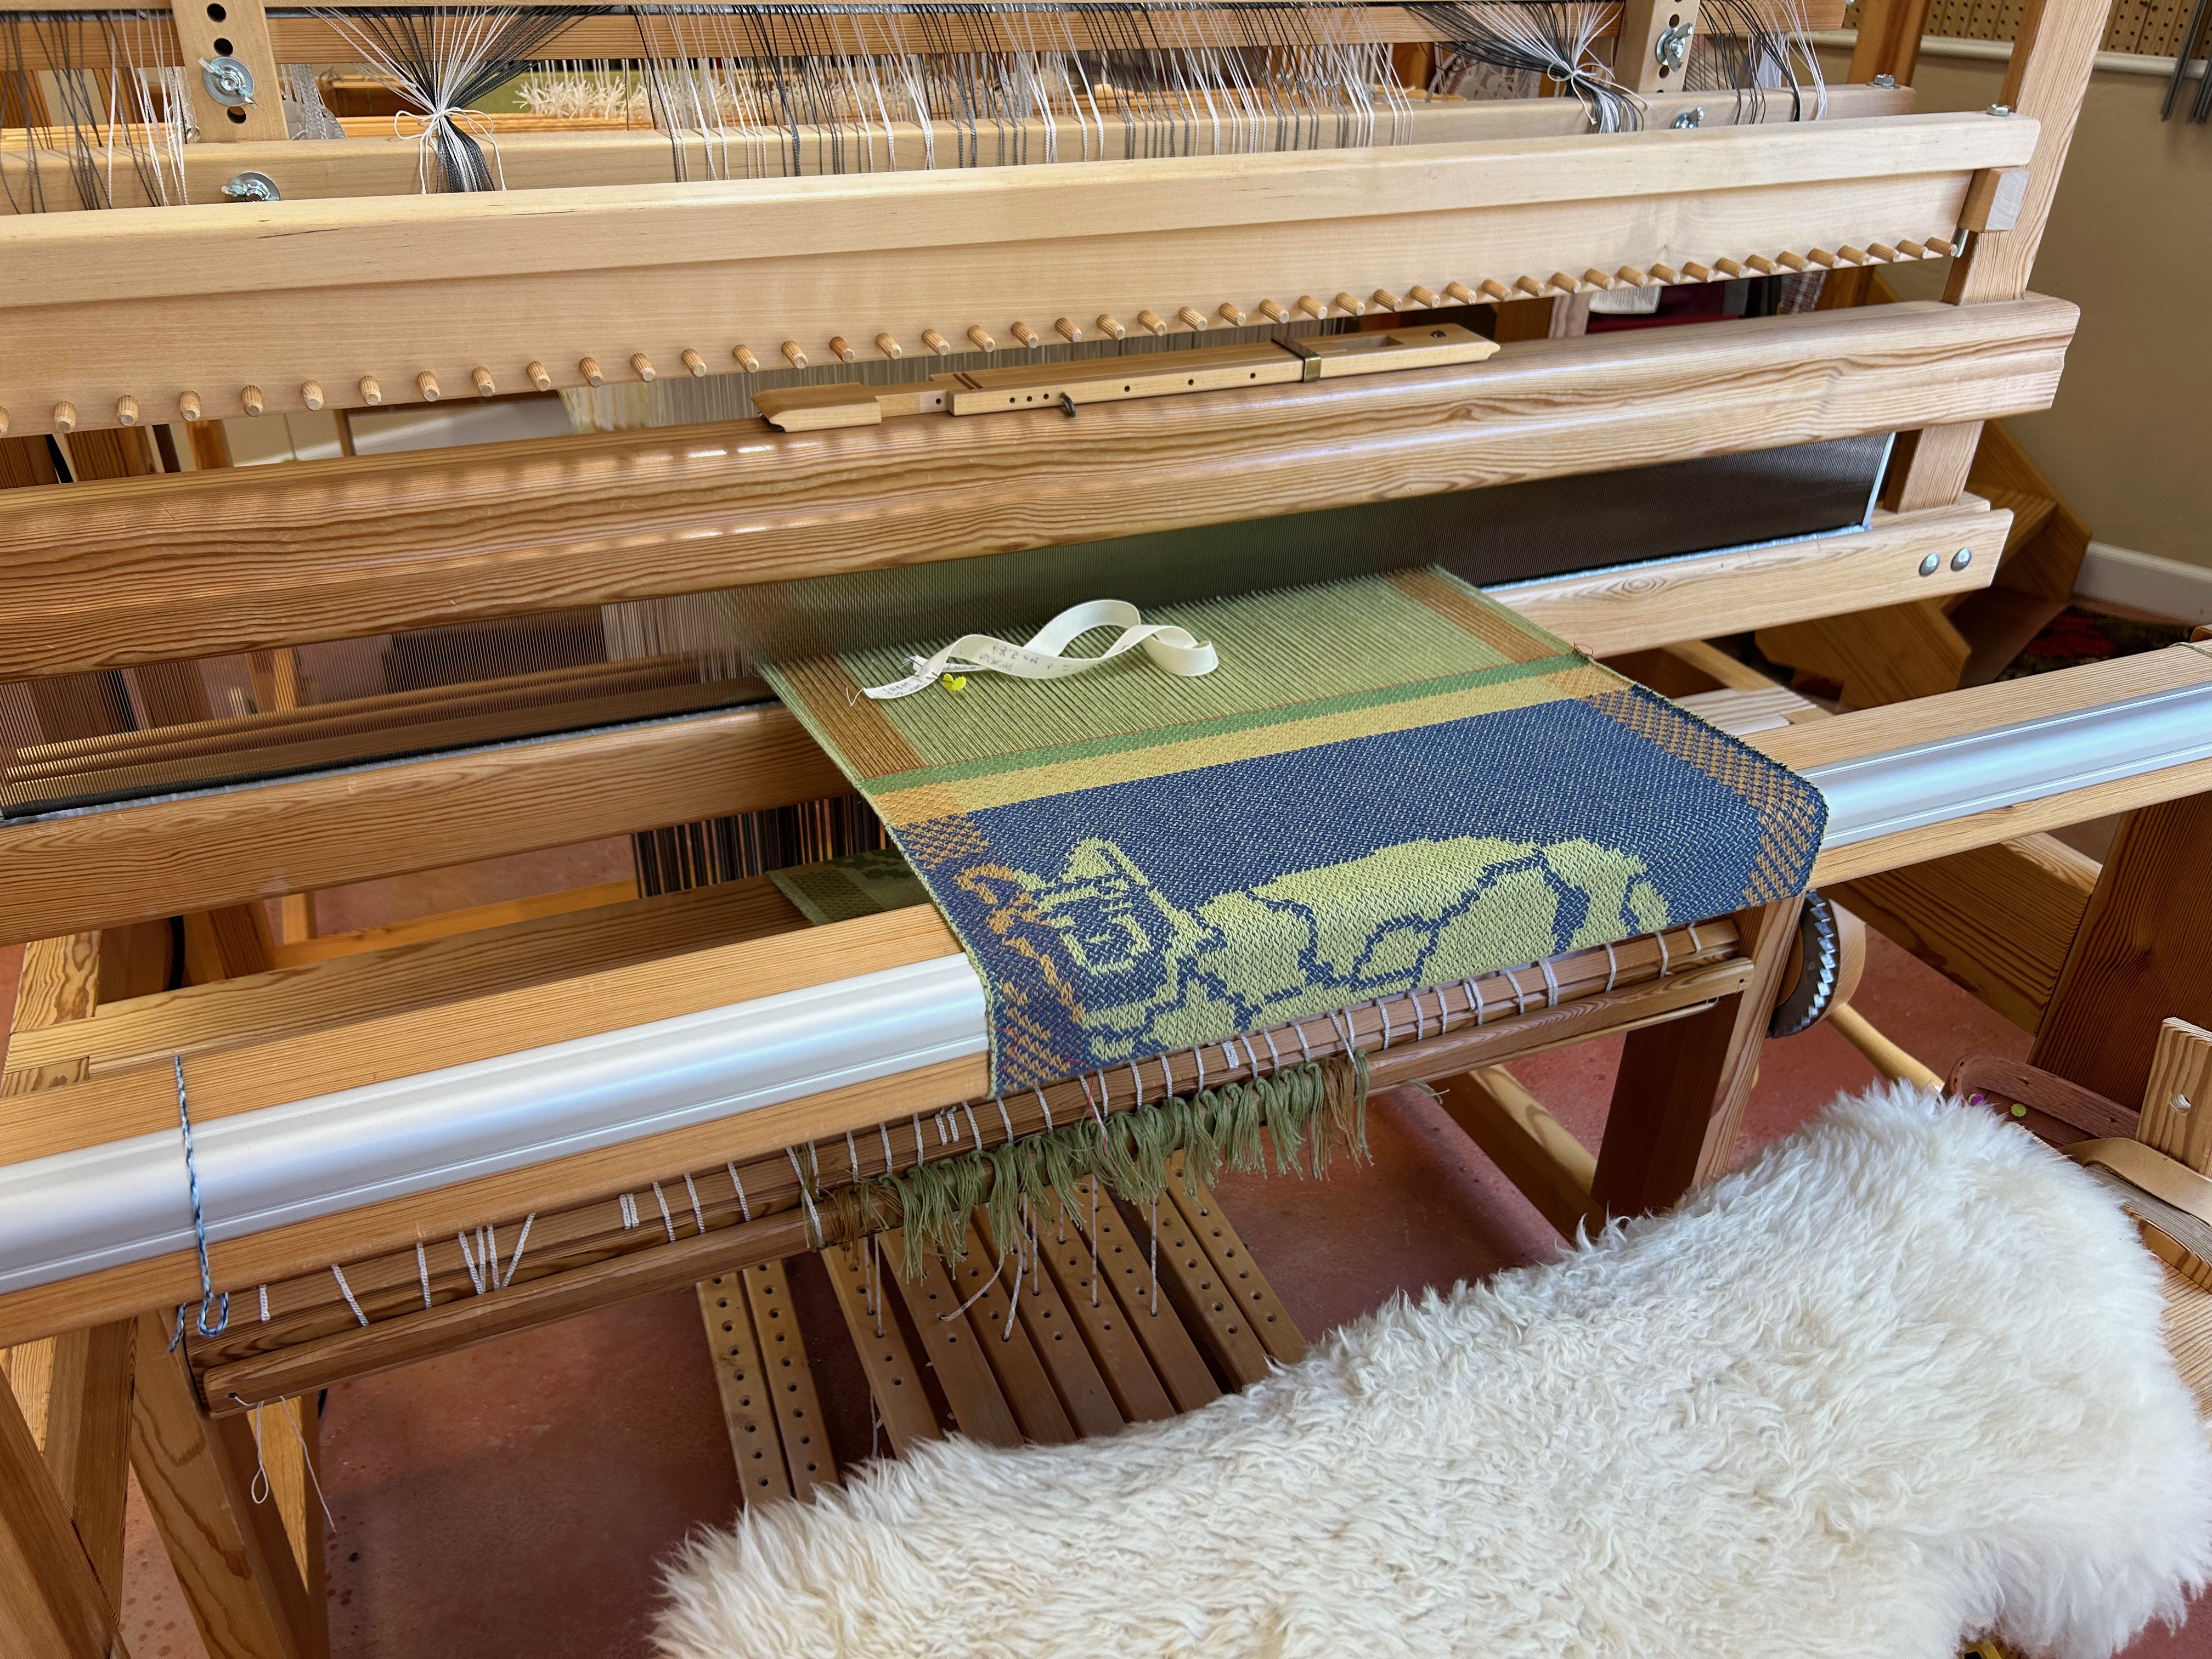
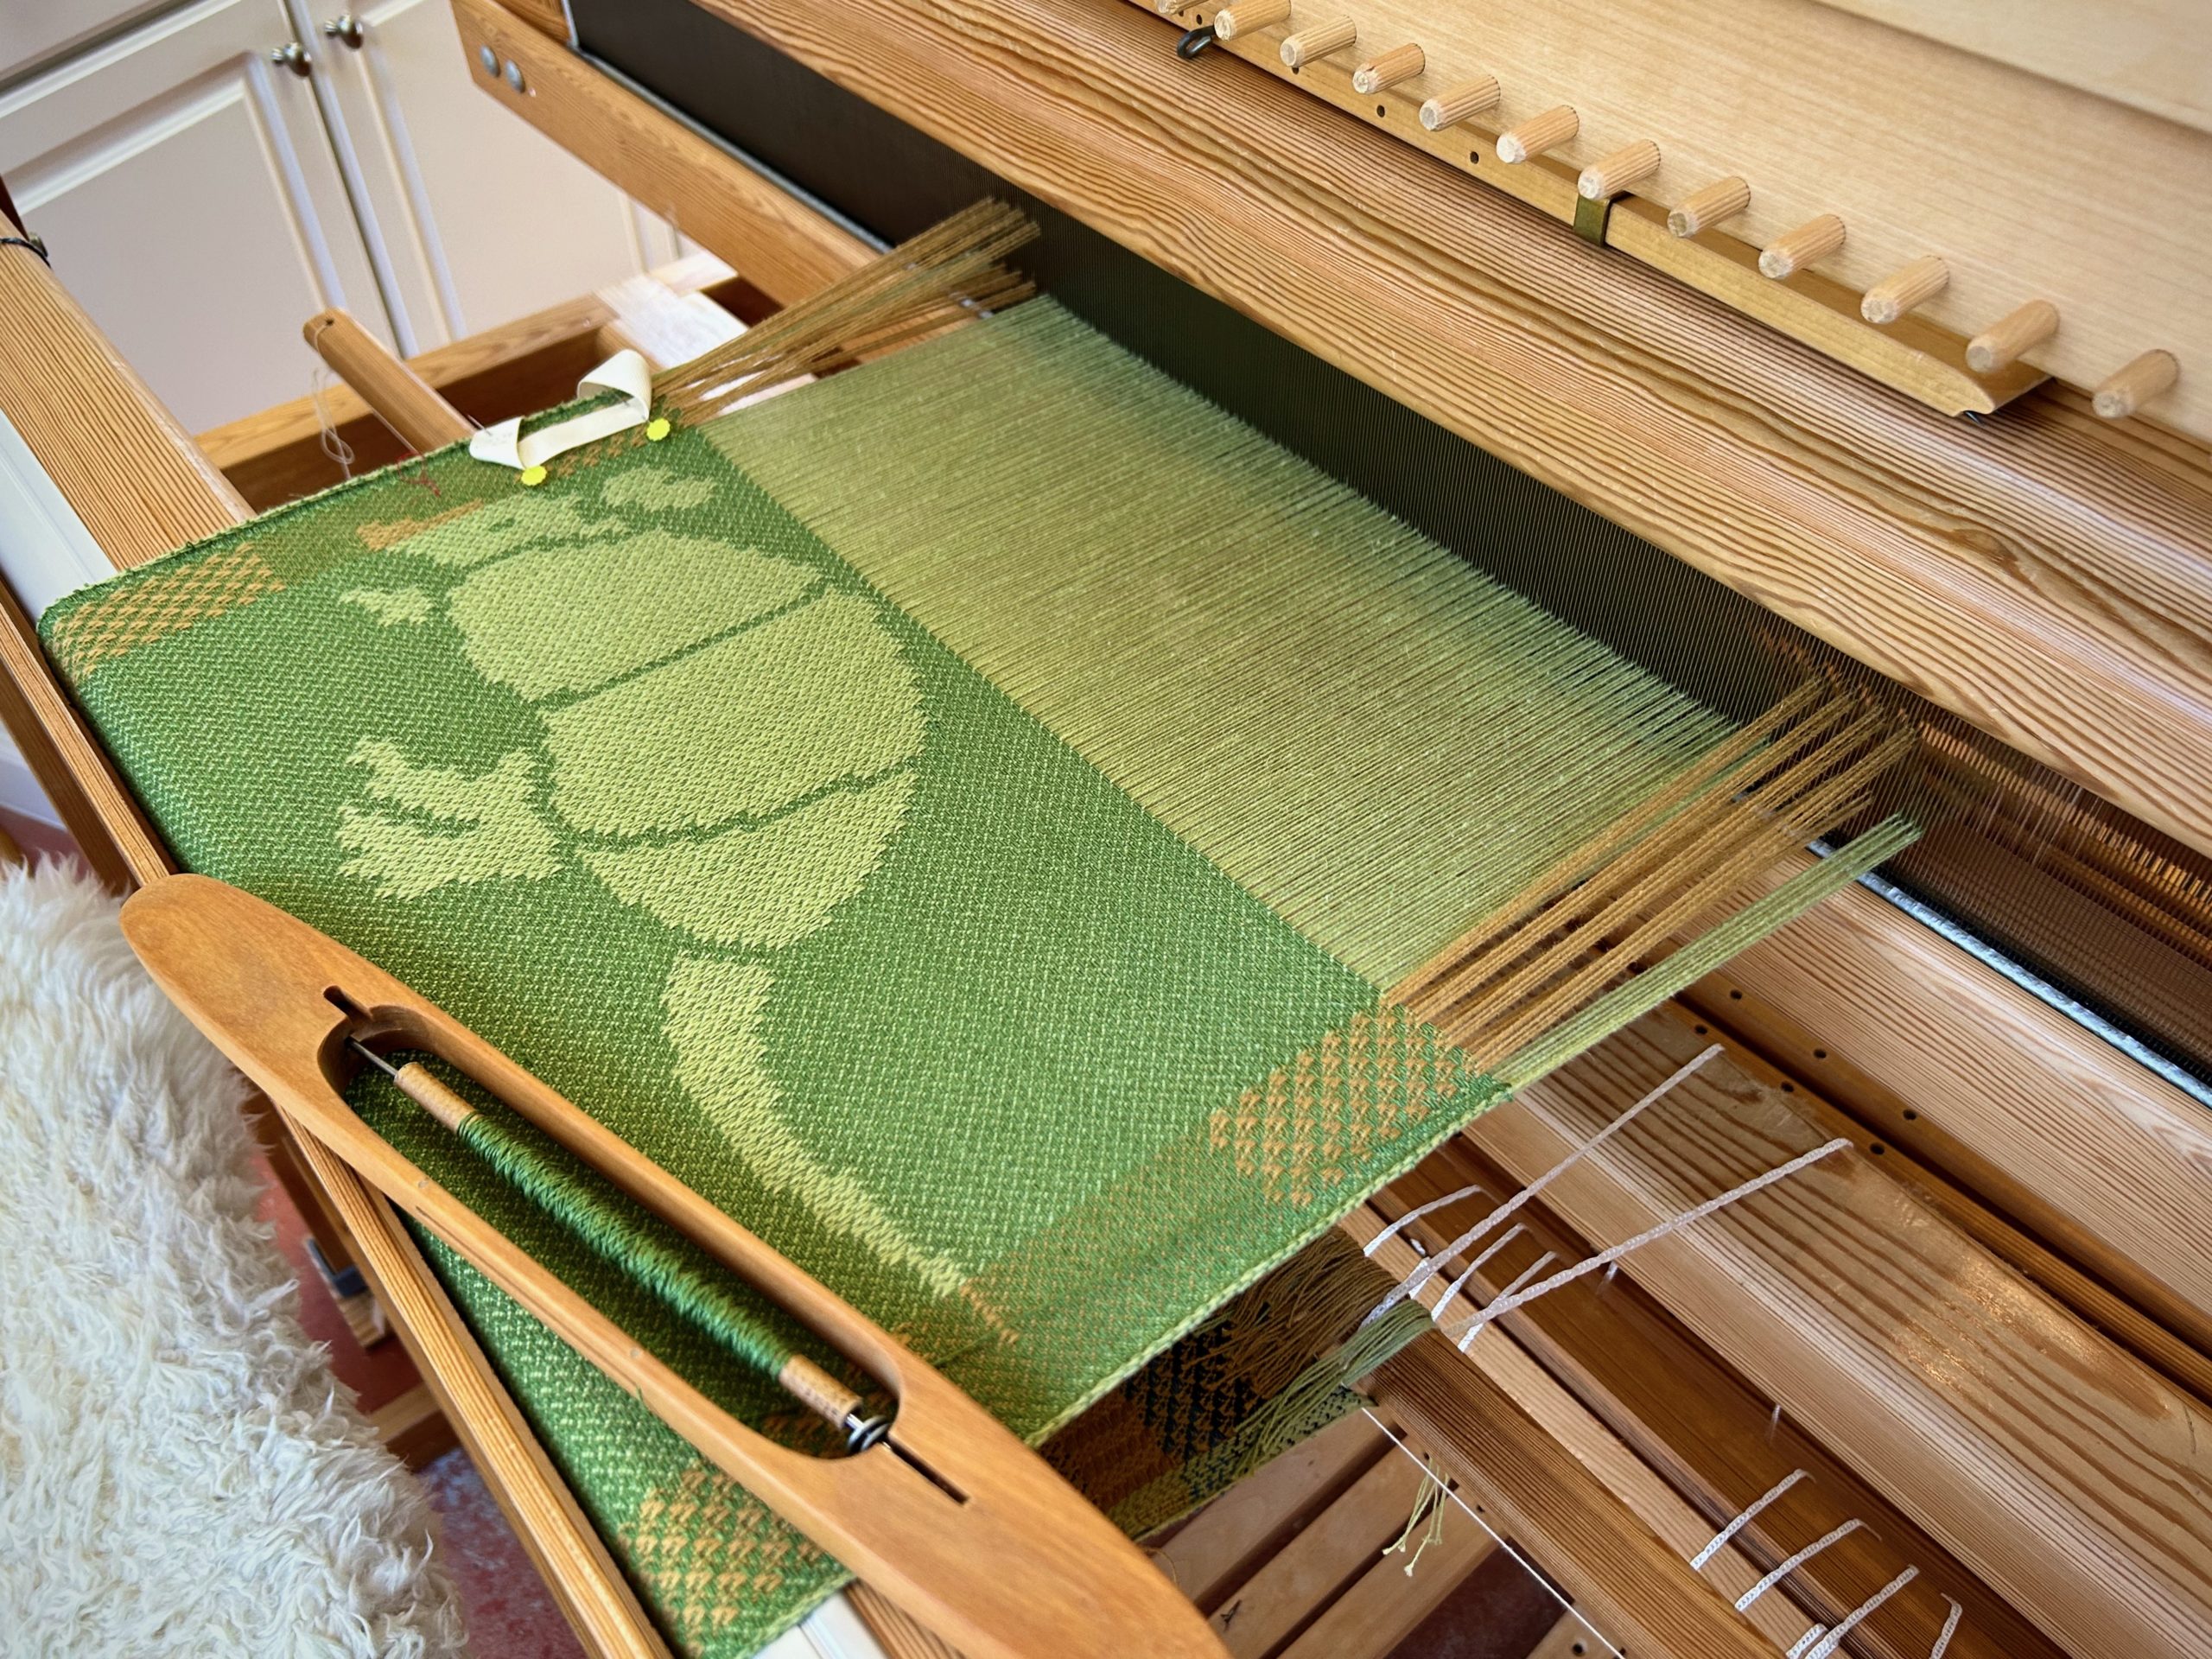
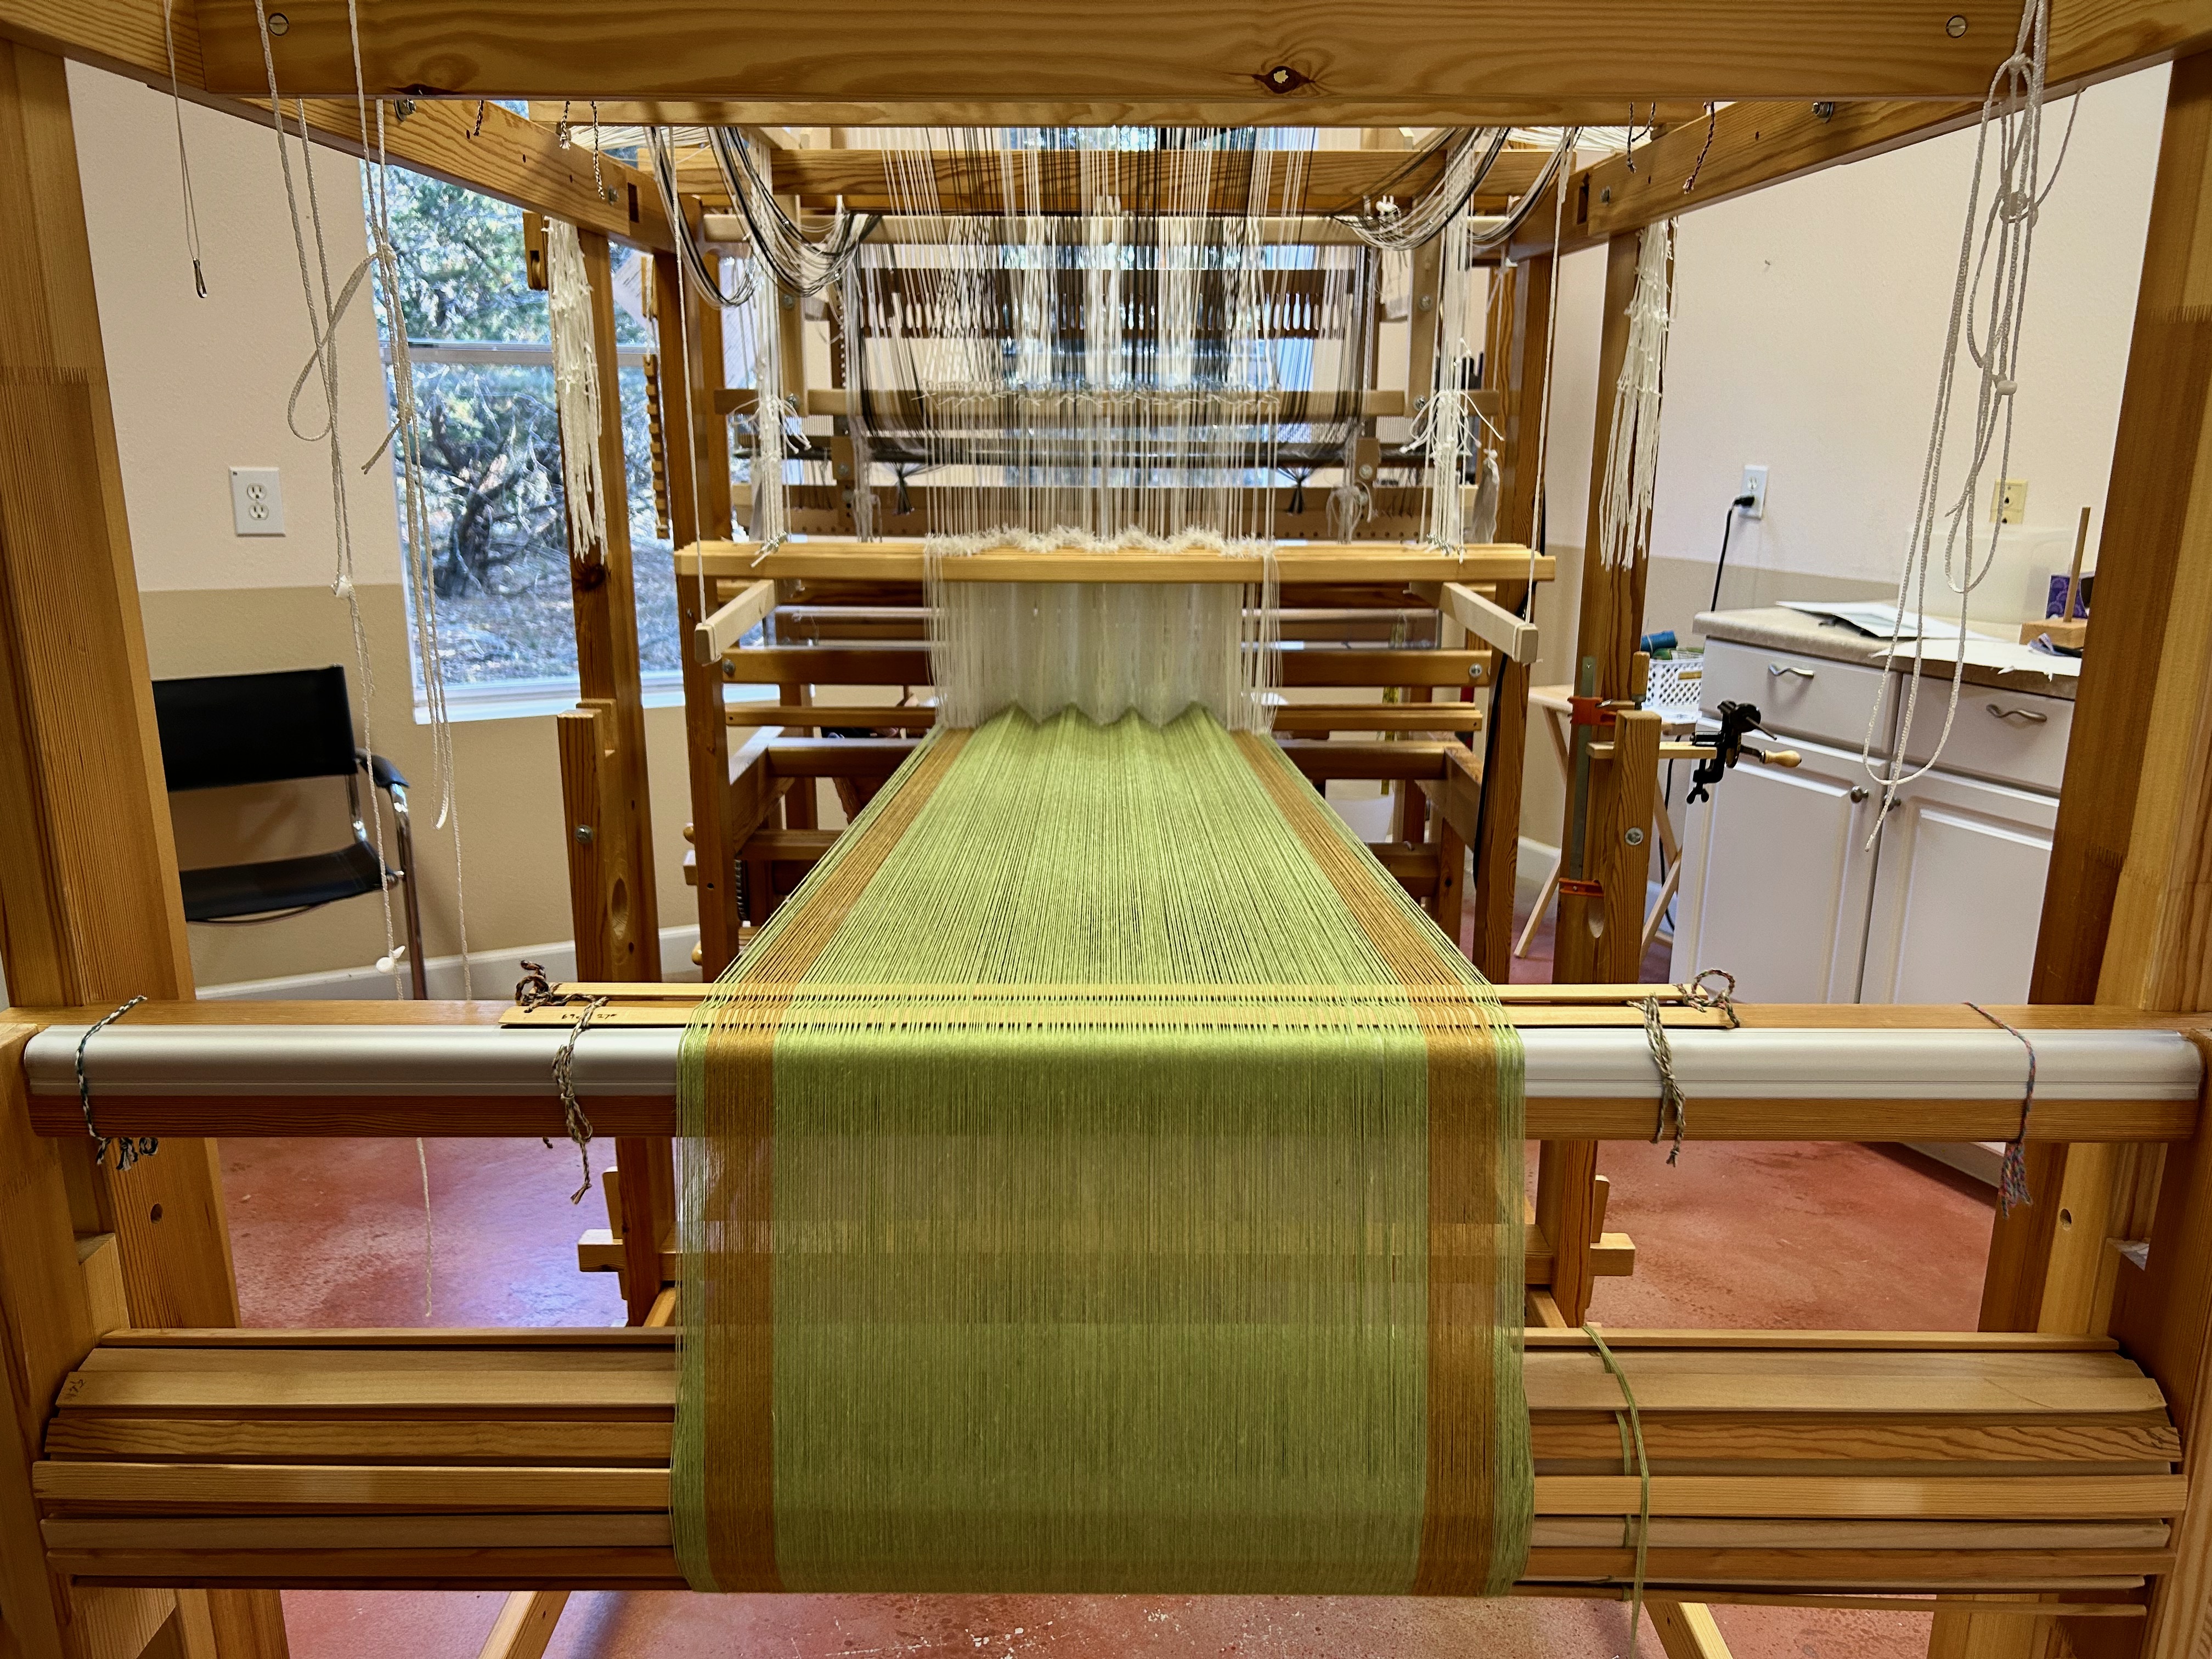
Gray Fox is showing his stride. That bushy tail is impressive. On the drawloom I get to determine exactly where that tail will swish. Where the tail crosses into the side border, I switch from pulling one pattern shaft draw handle to pulling individual single unit draw cords. That’s where the complexity of the combination drawloom really shines. It gives me extraordinary flexibility for weaving the designs I have in mind.
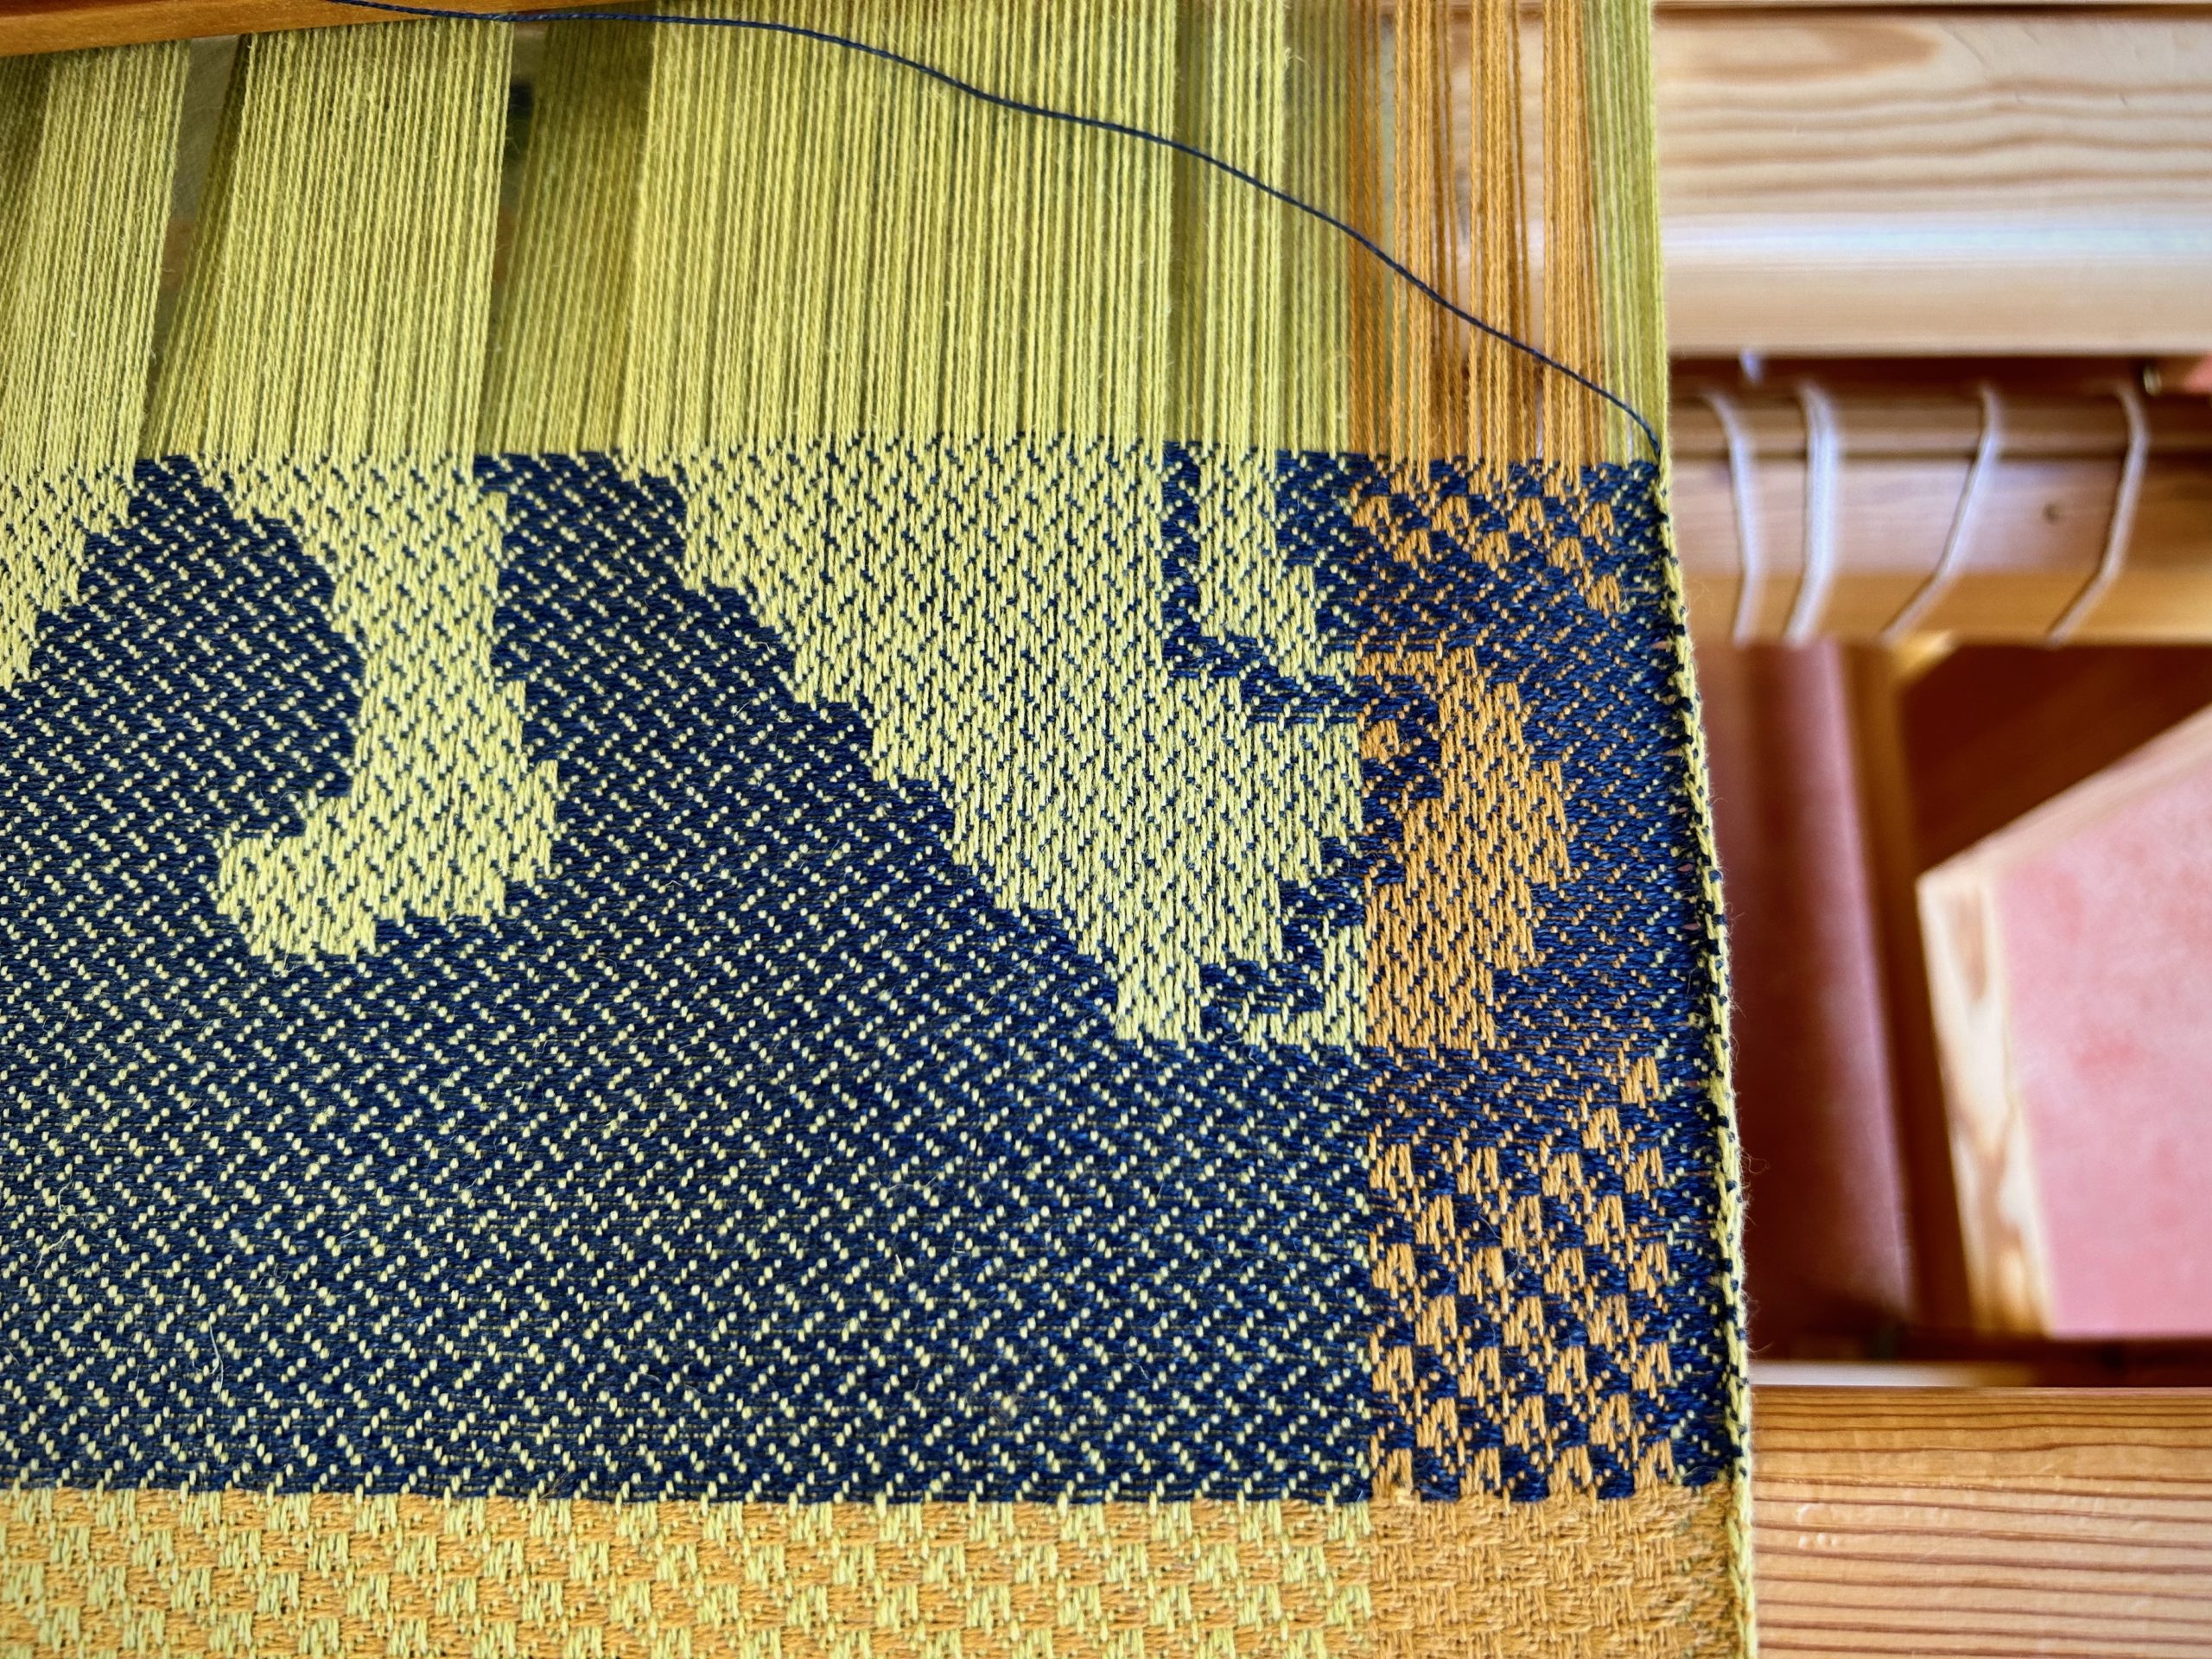
In some ways I think of the drawloom as a tool of simplicity. Despite the countless cords and shafts, every piece has a simple purpose. Each single unit draw cord, for example, simply lifts a single unit of 6 threads. That’s all it does. Complexity is a matter of perspective.
May you enjoy the simple things you find in complexity.
All the best,
Karen
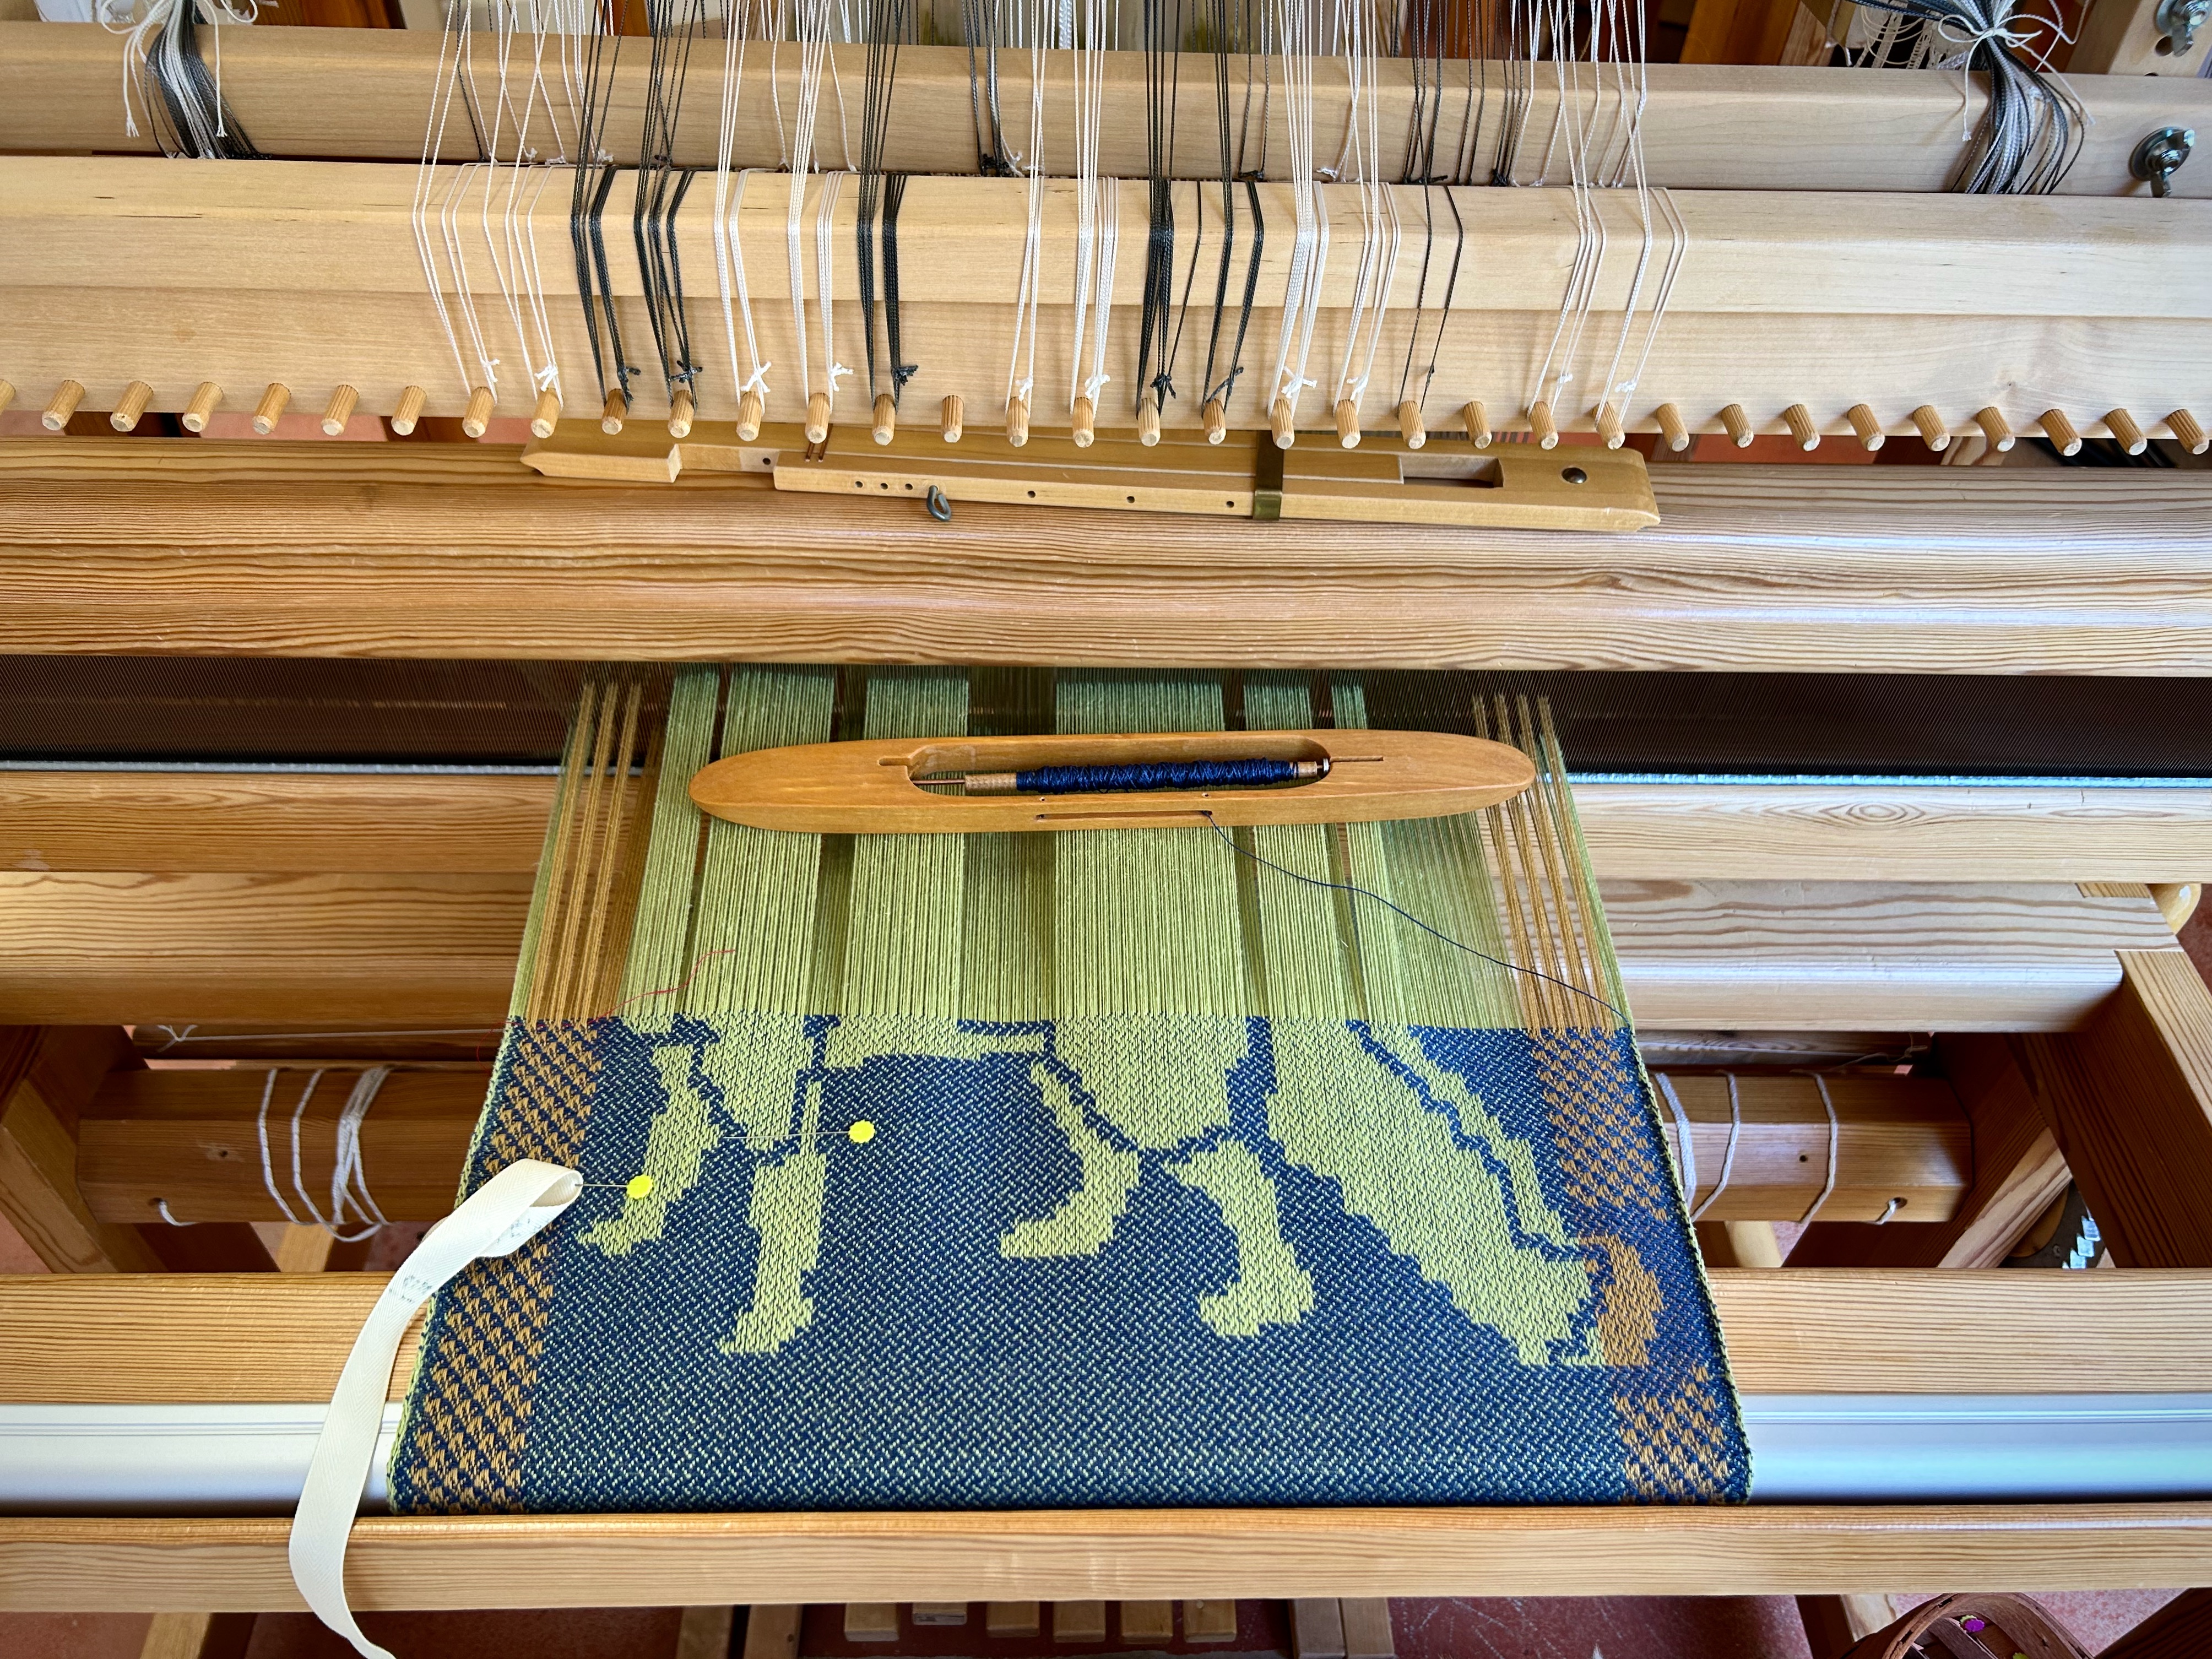
My husband and I coined the word “lapkin” when our children were young. Lap + napkin = lapkin. We wanted our children to learn the courtesy of placing a napkin on their lap when they were seated for a meal. “Lapkin check!” was a fun game we made of it. The armadillo on the drawloom is a lapkin, if I ever saw one. This thirsty cloth will soak up any drips and spills, smeary hands, or messy mouths that come in contact with it.
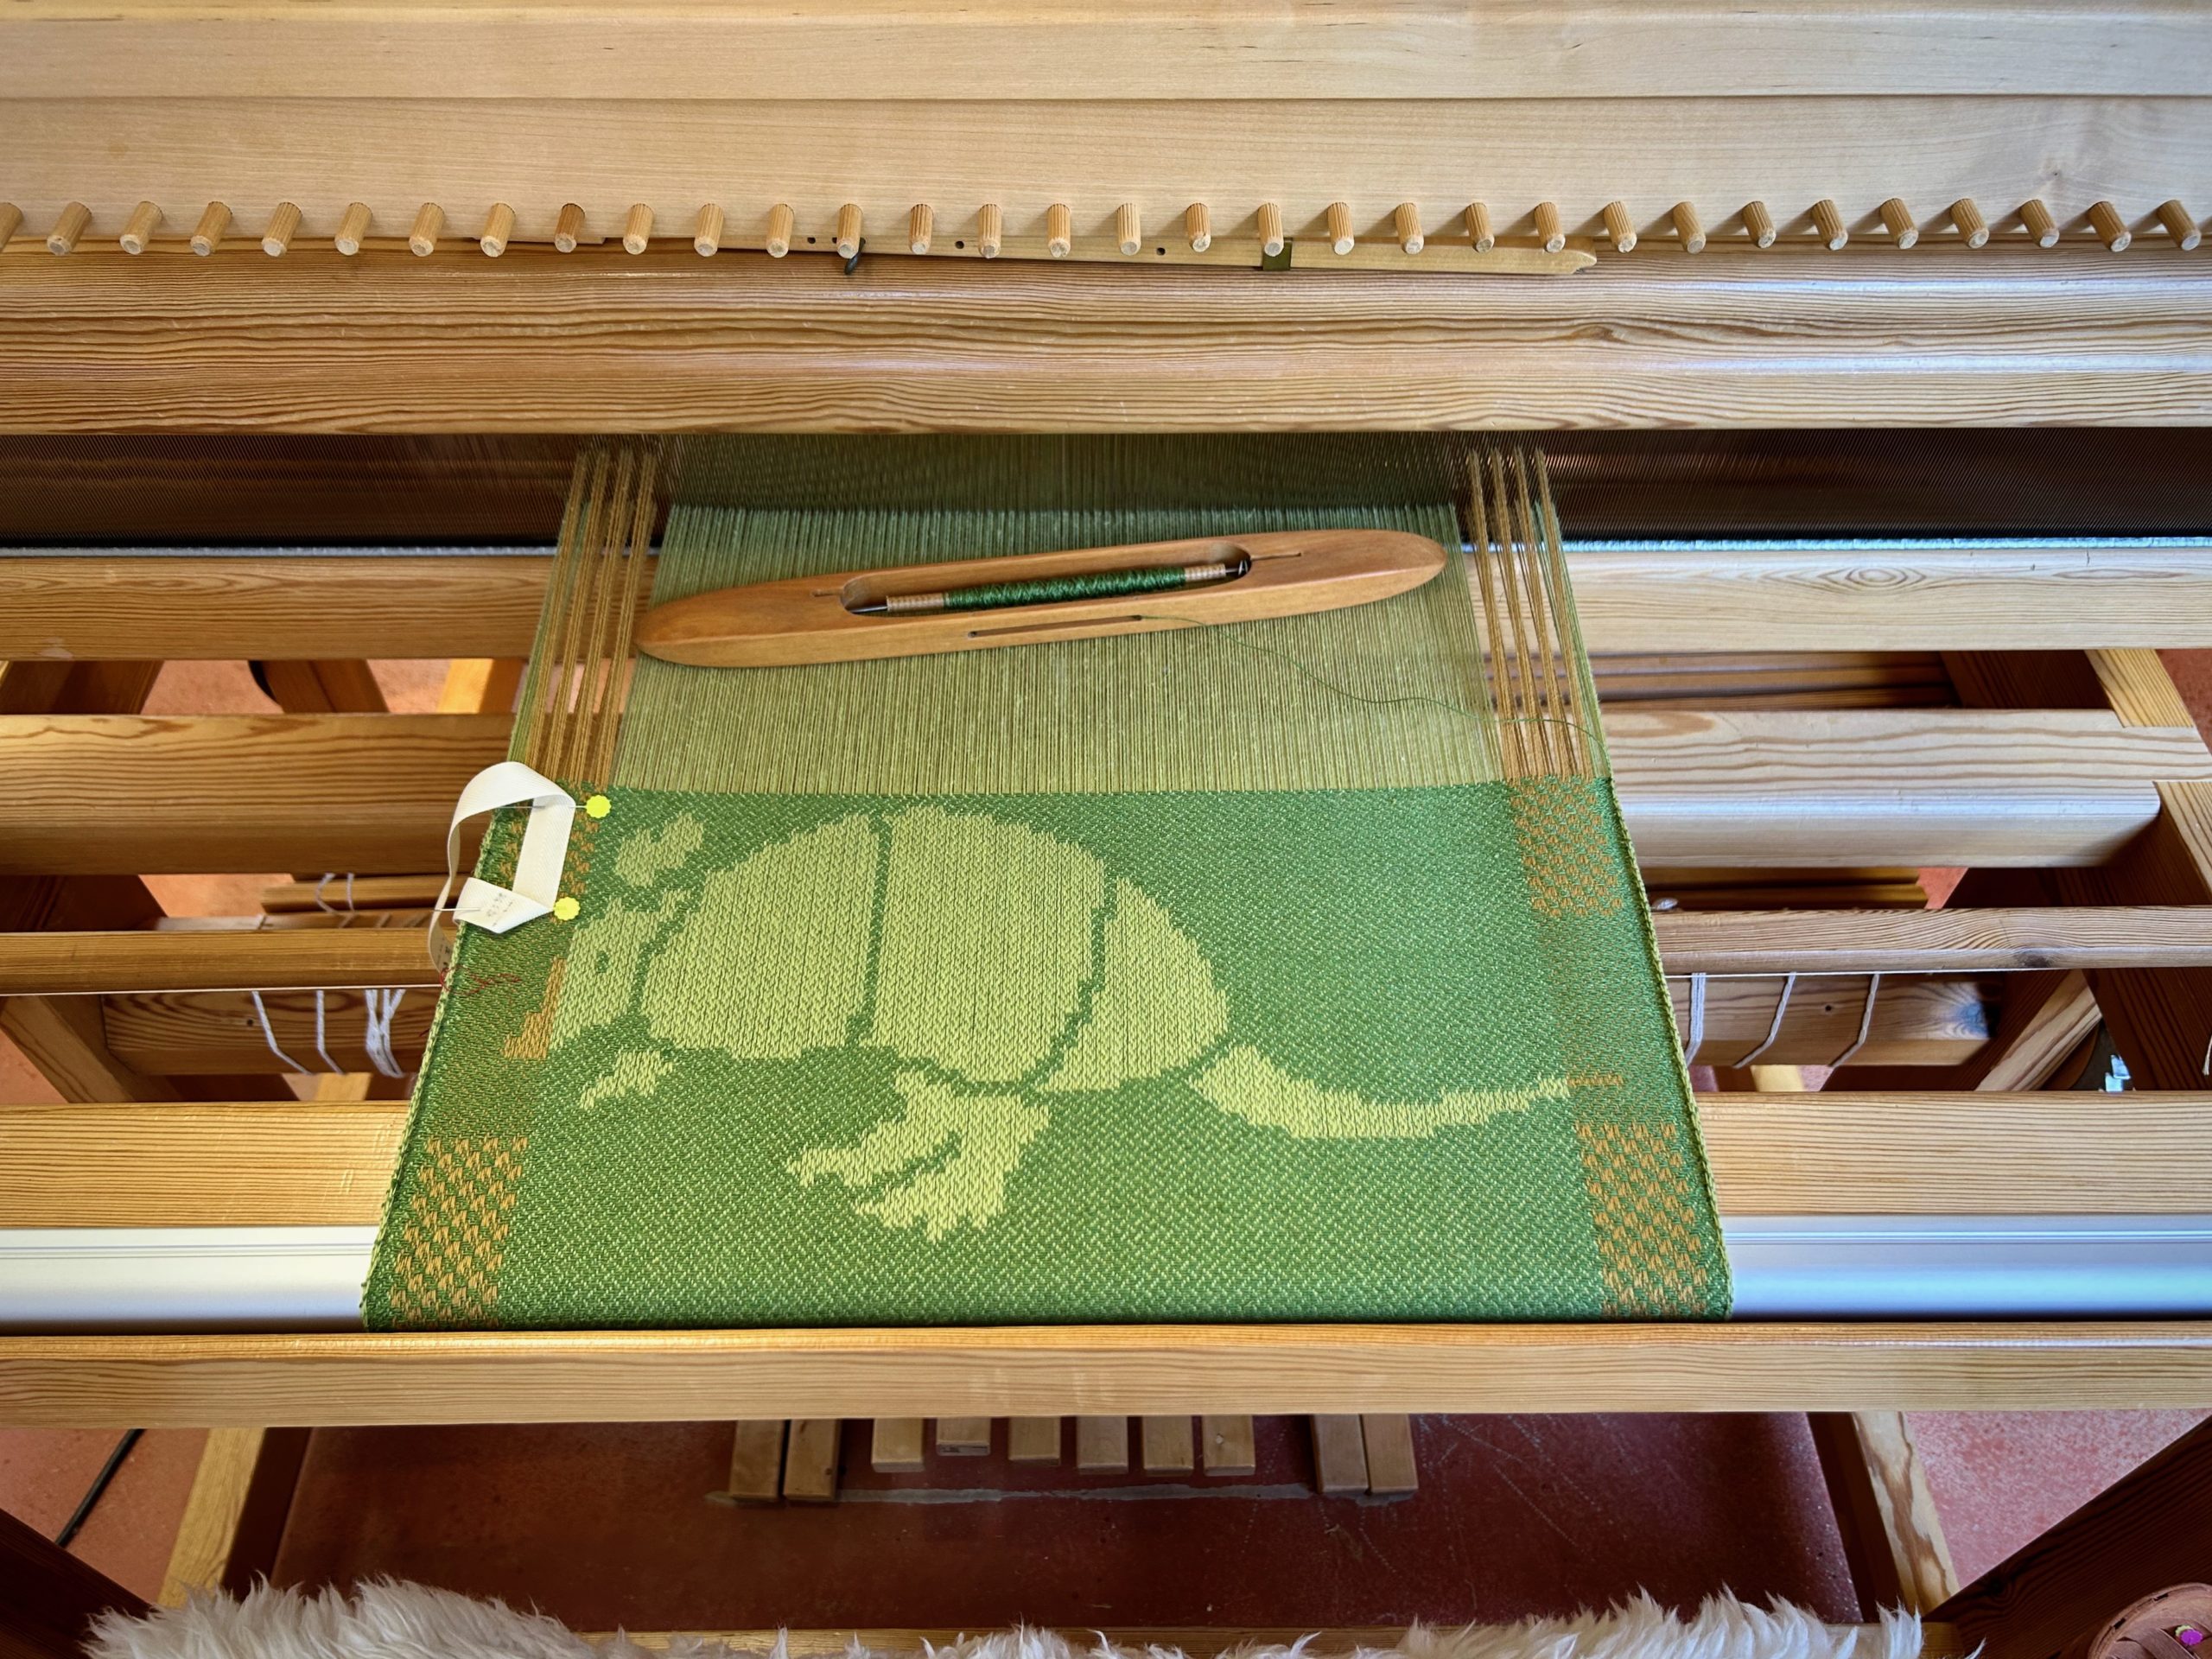
Armadillo is the first of a dozen critters that will parade across this loom. Armadillo napkin is the only one of its kind. I’m certain of that. (Fox is up next.)
Lapkins give us a discreet way to stay tidy at the table. Armadillo, however, doesn’t intend to stay discreet. I’m pretty certain of that, too.
May your courtesy lessons be fun.
Happy weaving.
Karen
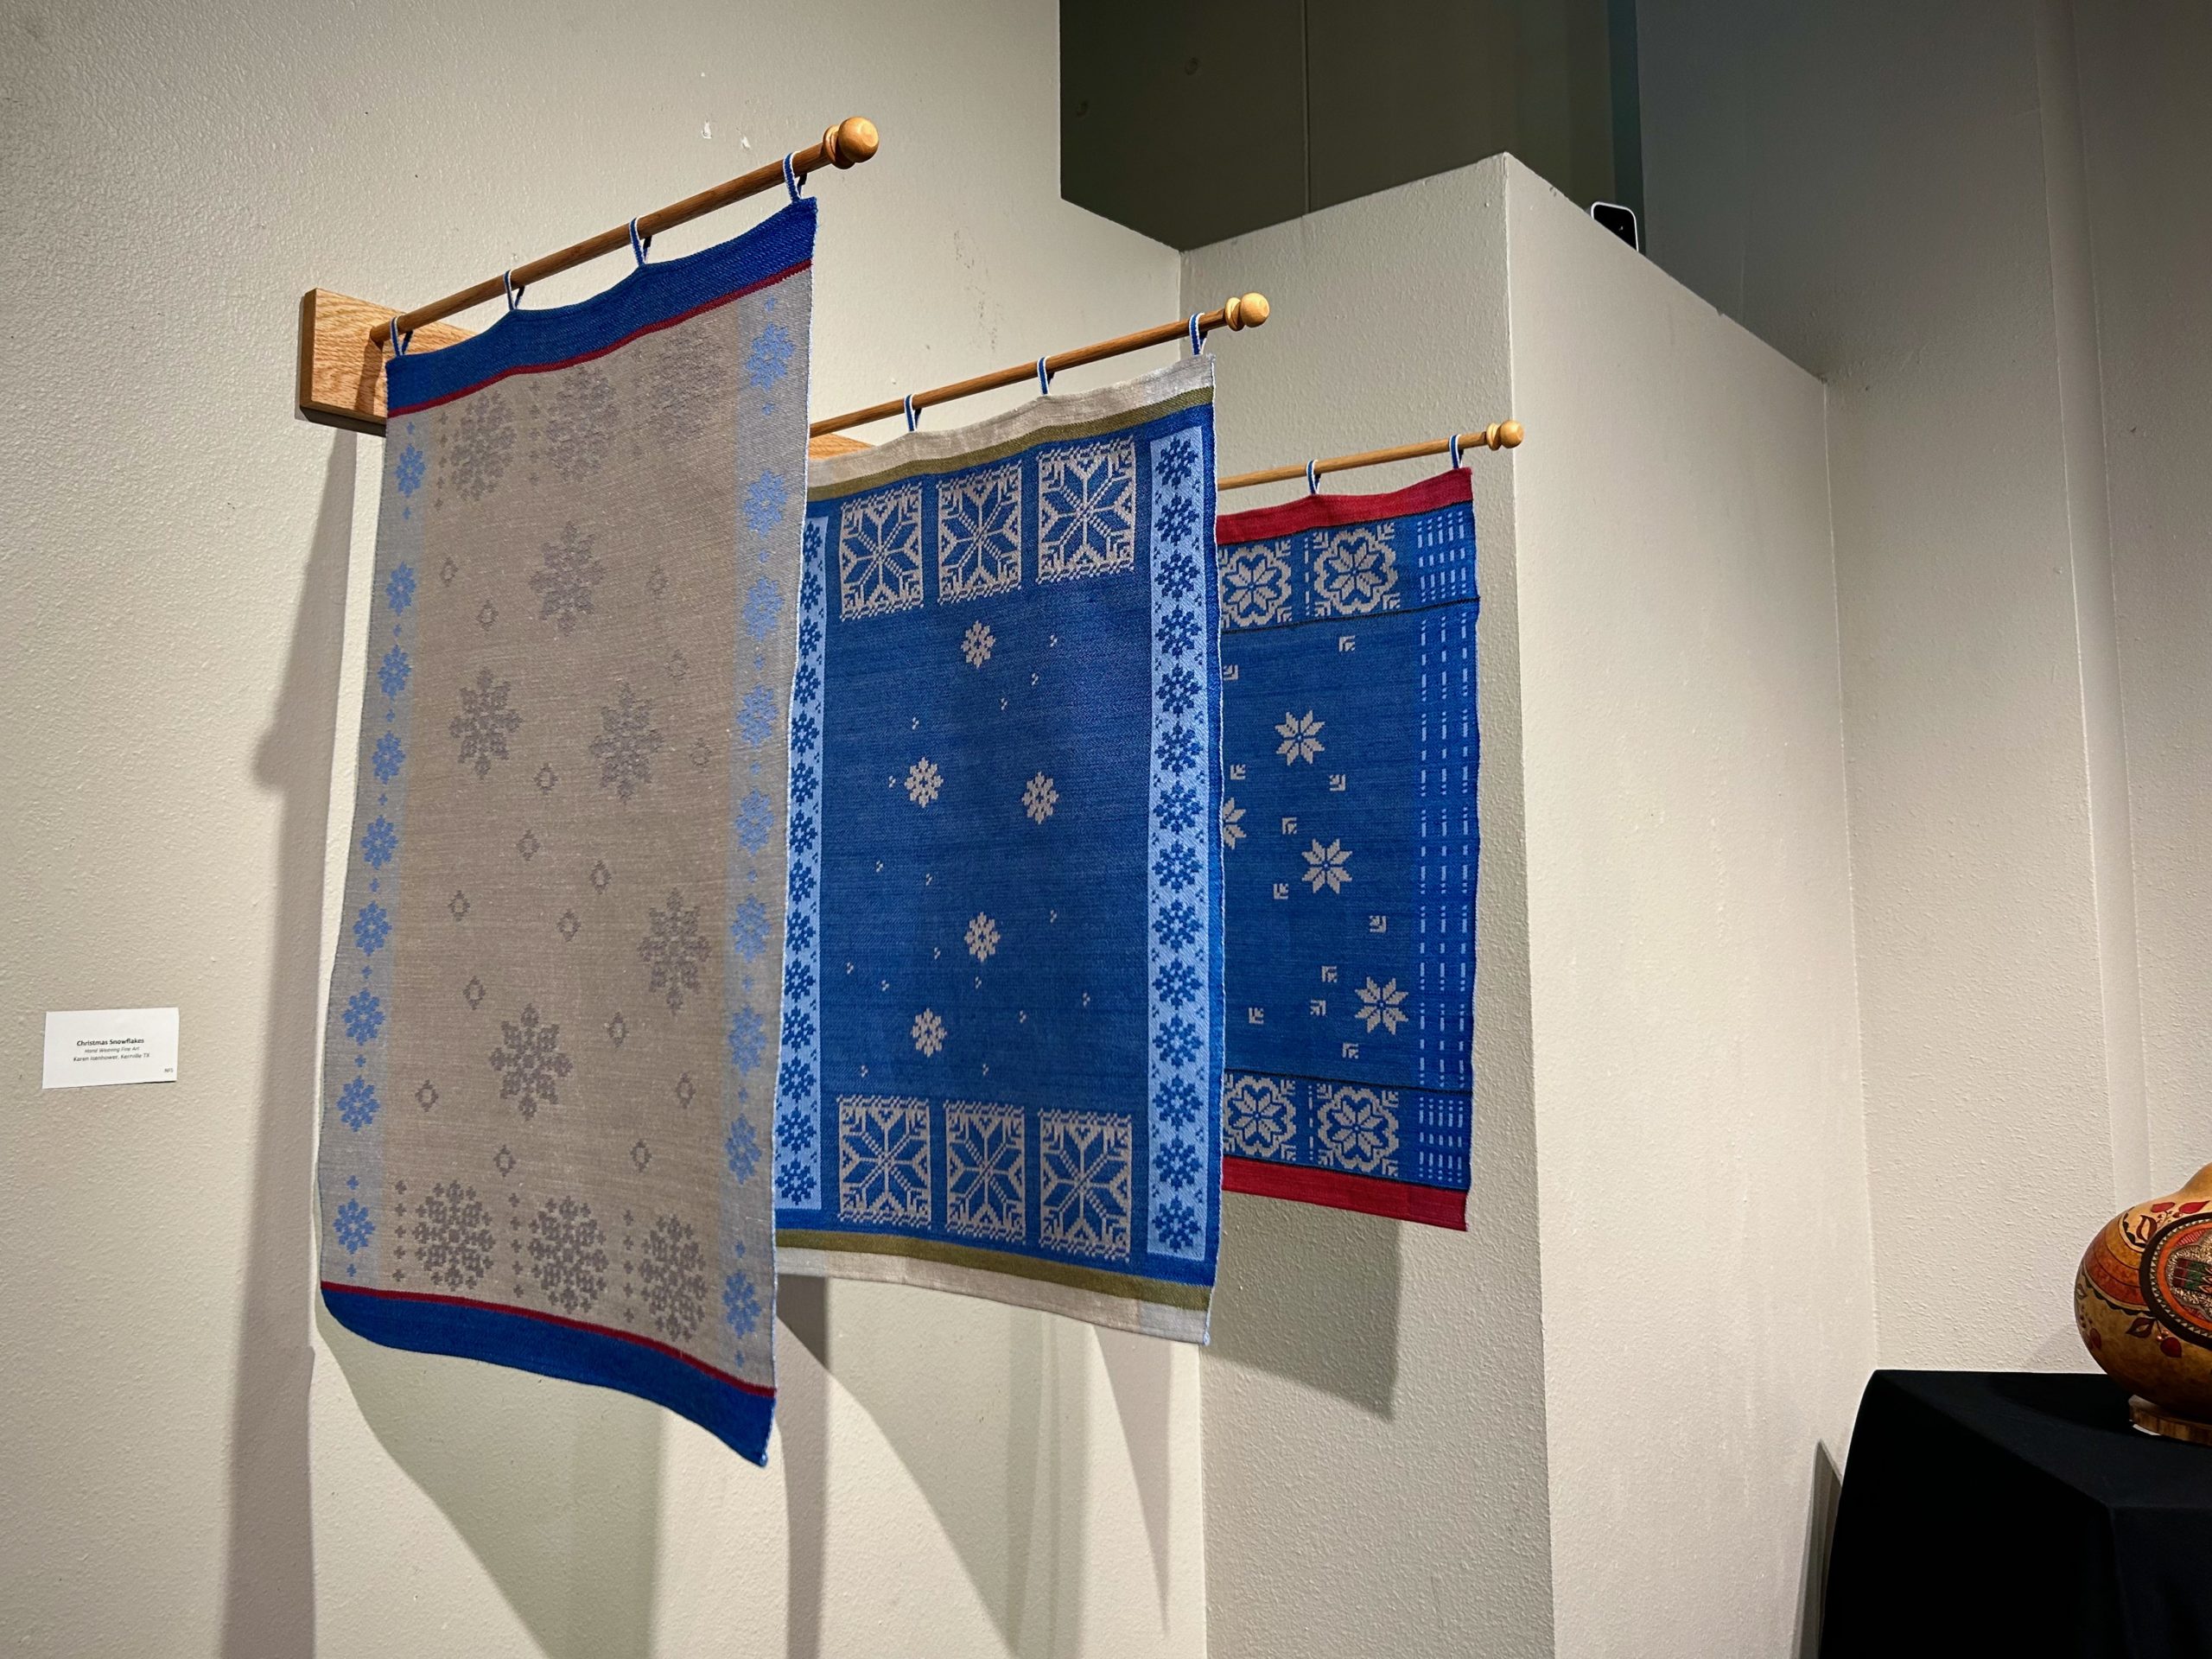
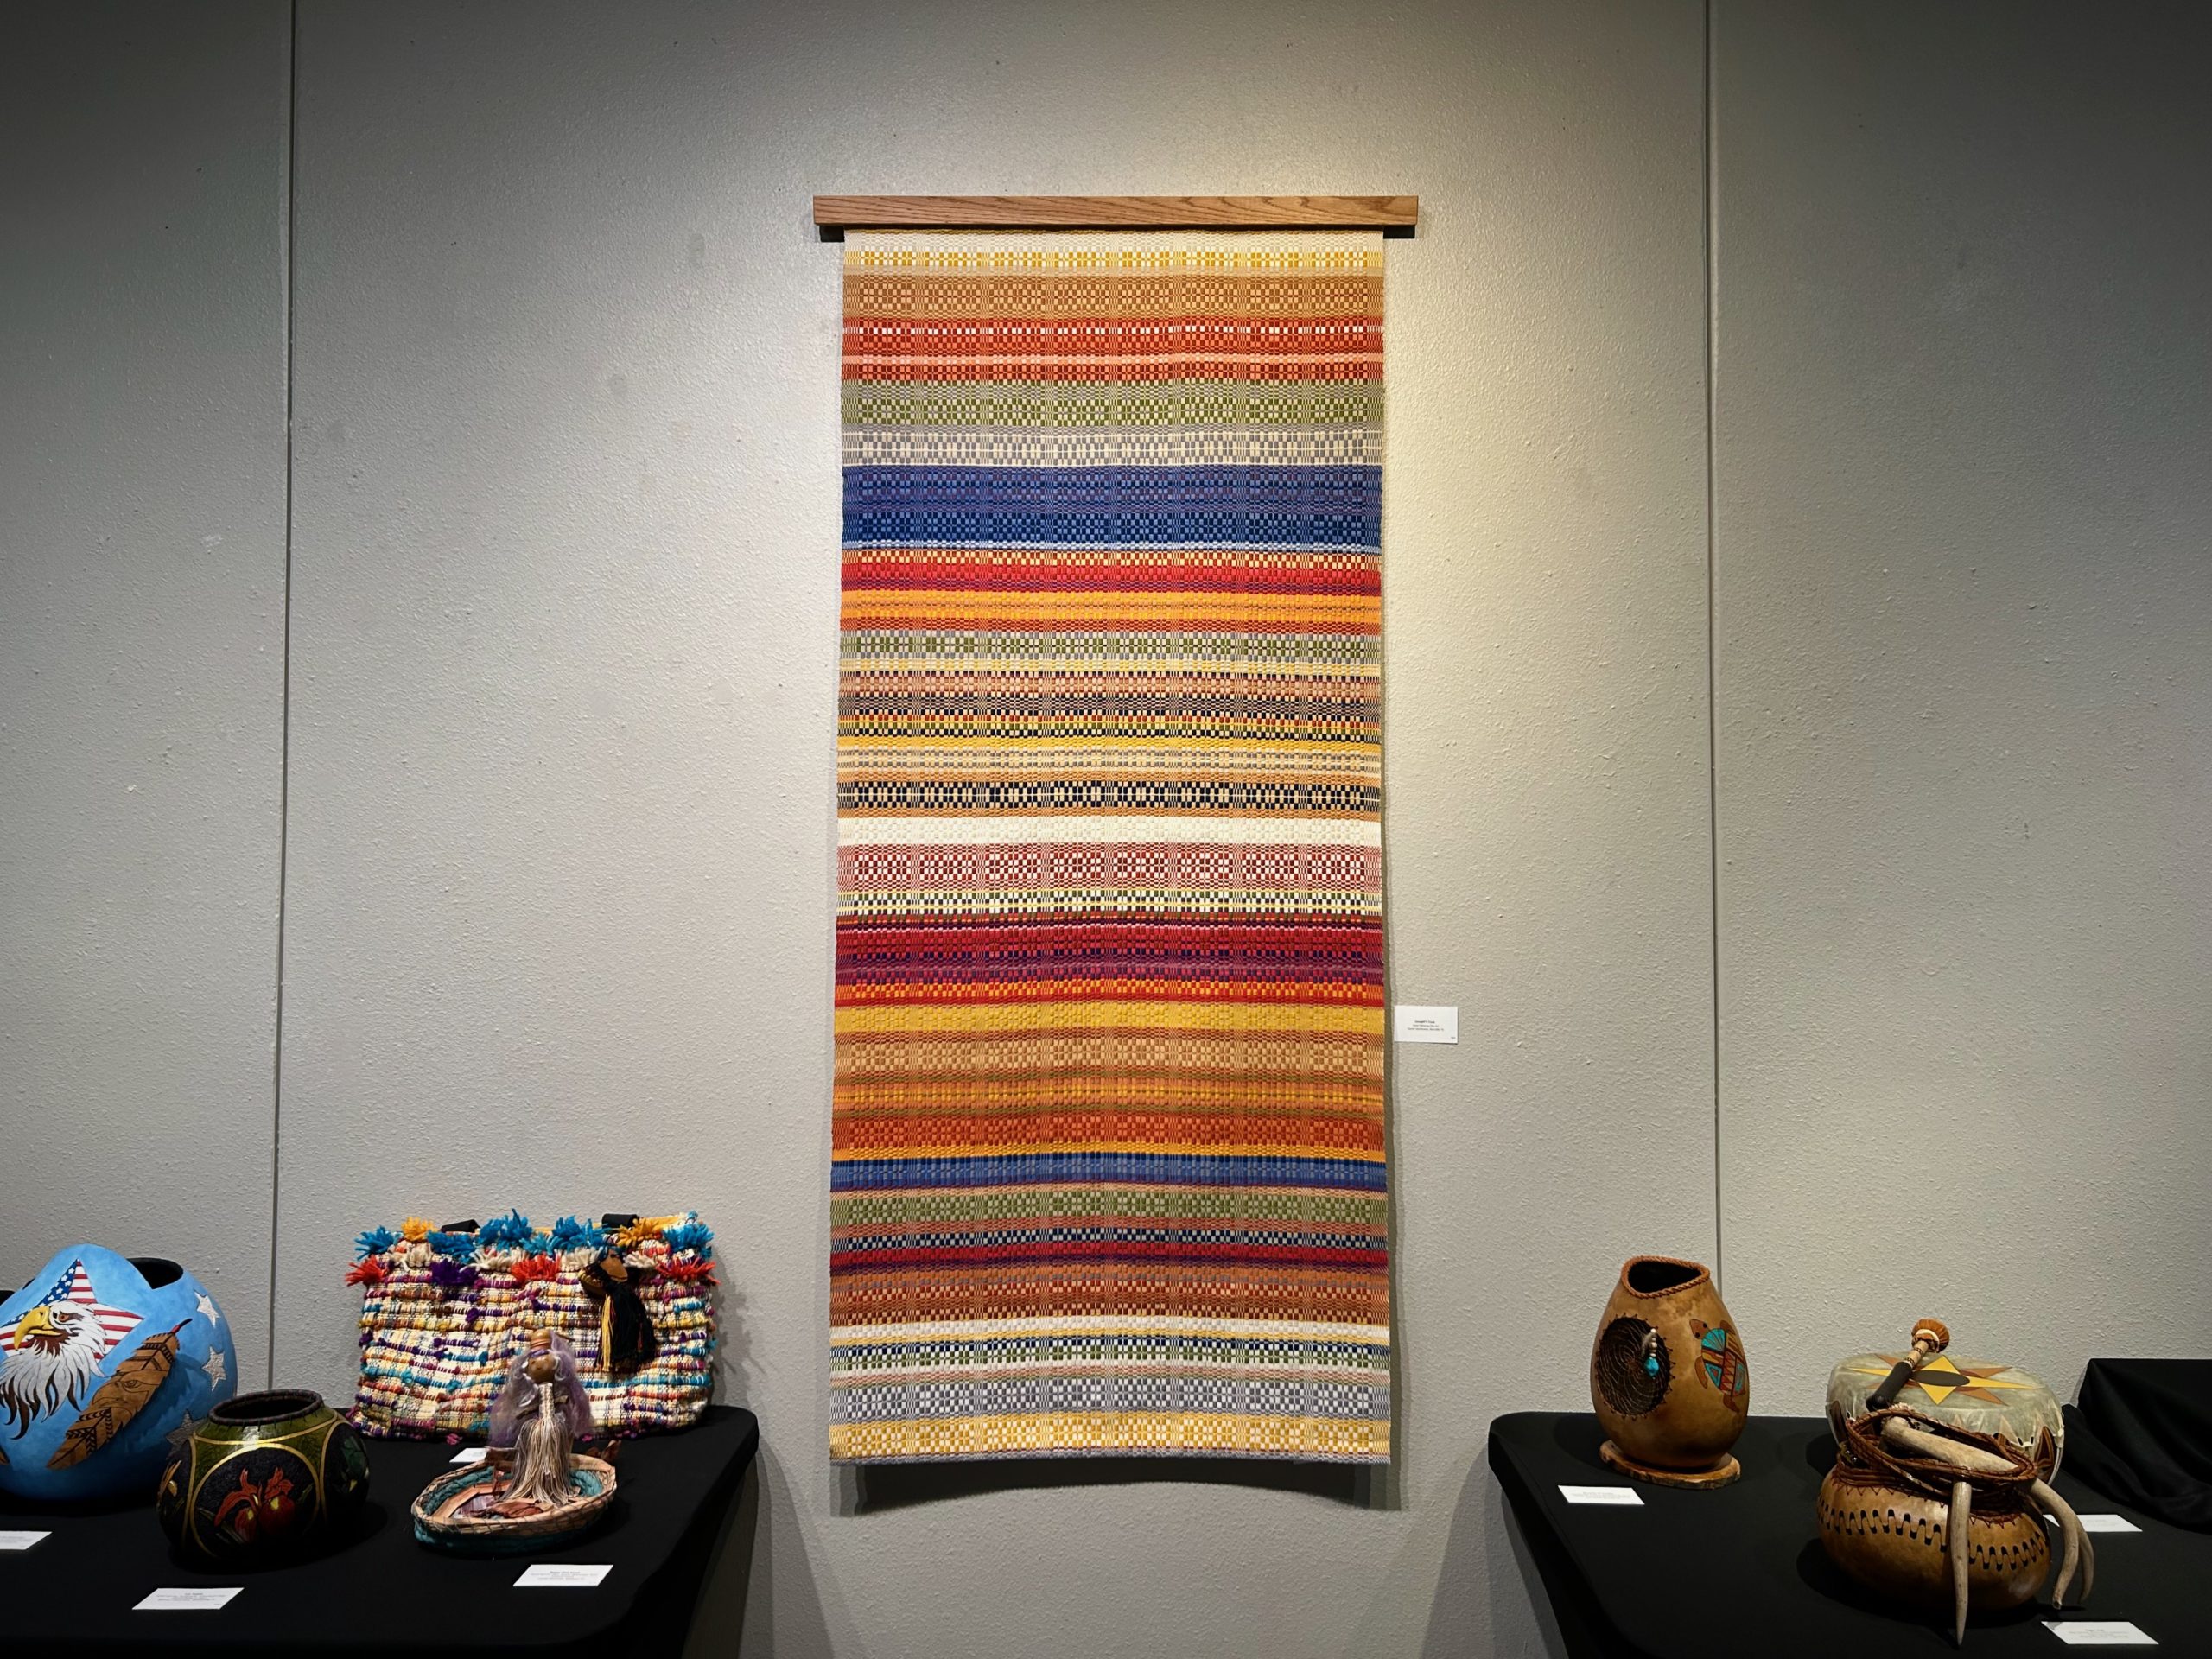
Five of my favorite handwoven works are on display in a local exhibit. The Southwest Gourd and Fiber Fine Art Show is the current exhibit (through July 1) at the Kerr Arts and Cultural Center in Kerrville, Texas. This is a competitive show featuring artists from across the US. Steve made beautiful wooden hanging and mounting devices for my pieces. Winter Window is a double-binding rag rug that is displayed as a wall hanging. I thoroughly enjoyed the design process for this rag rug, so I am happy that Winter Window received a Judge’s Special Award.
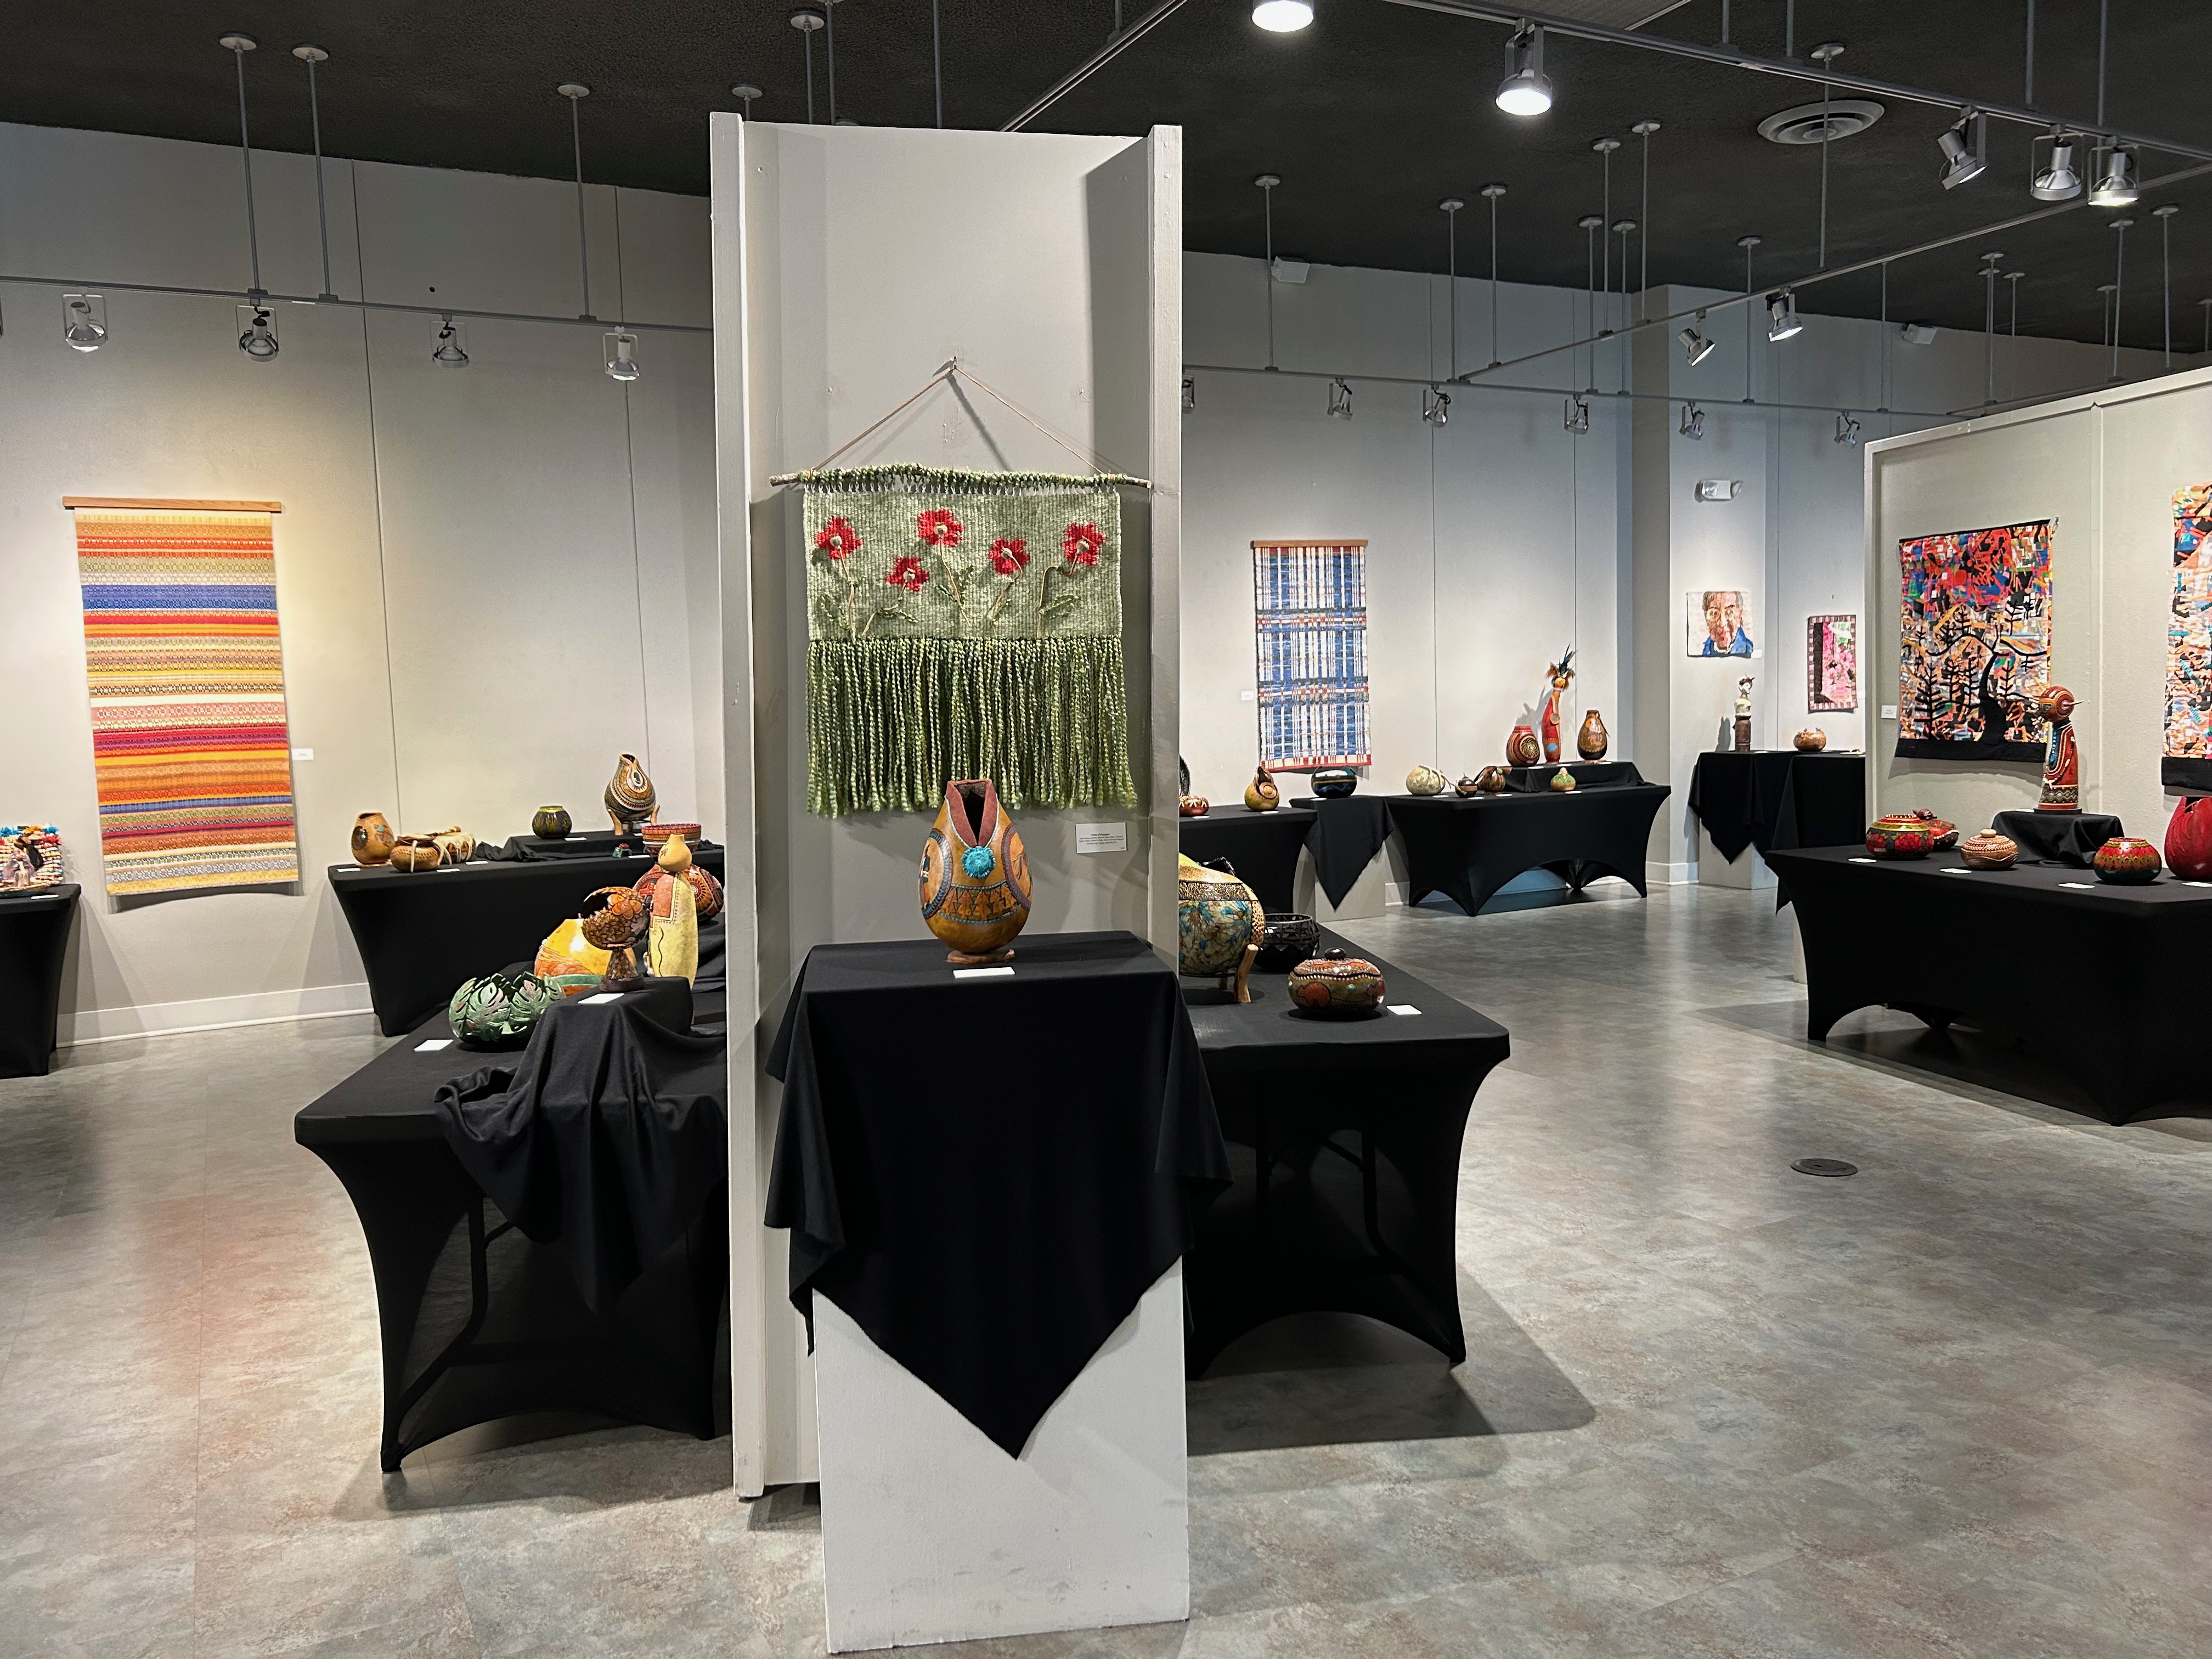
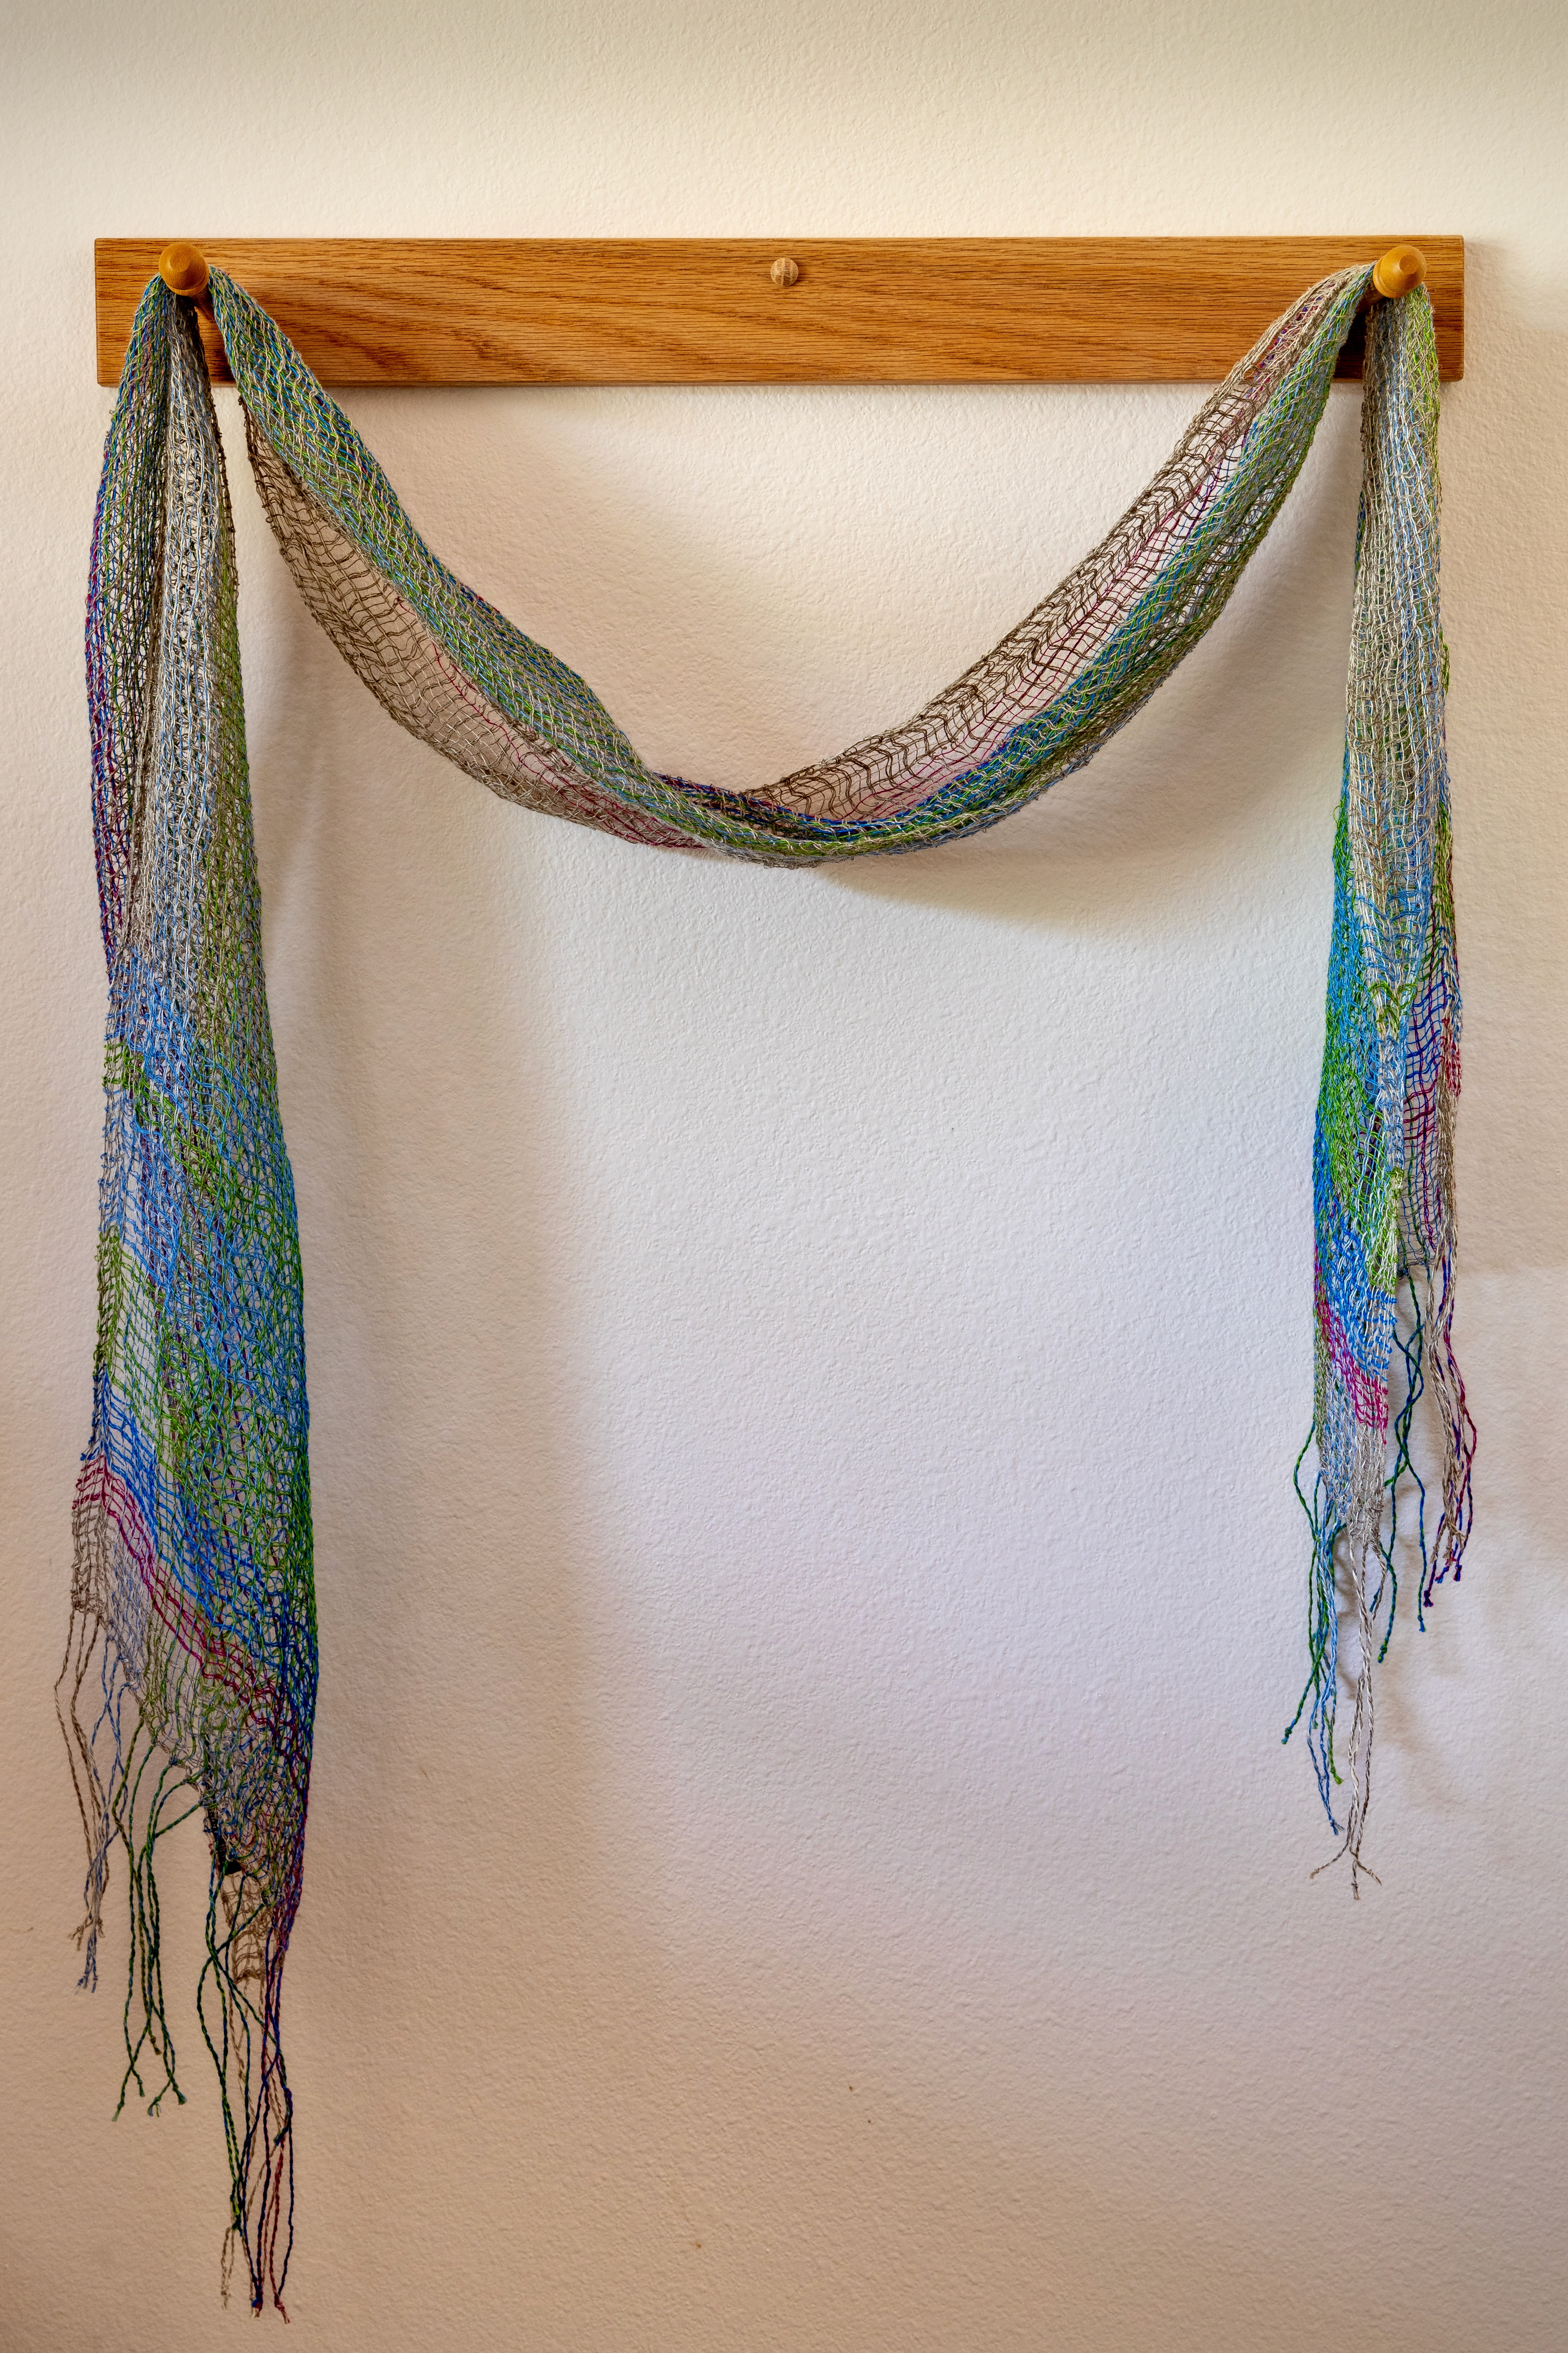
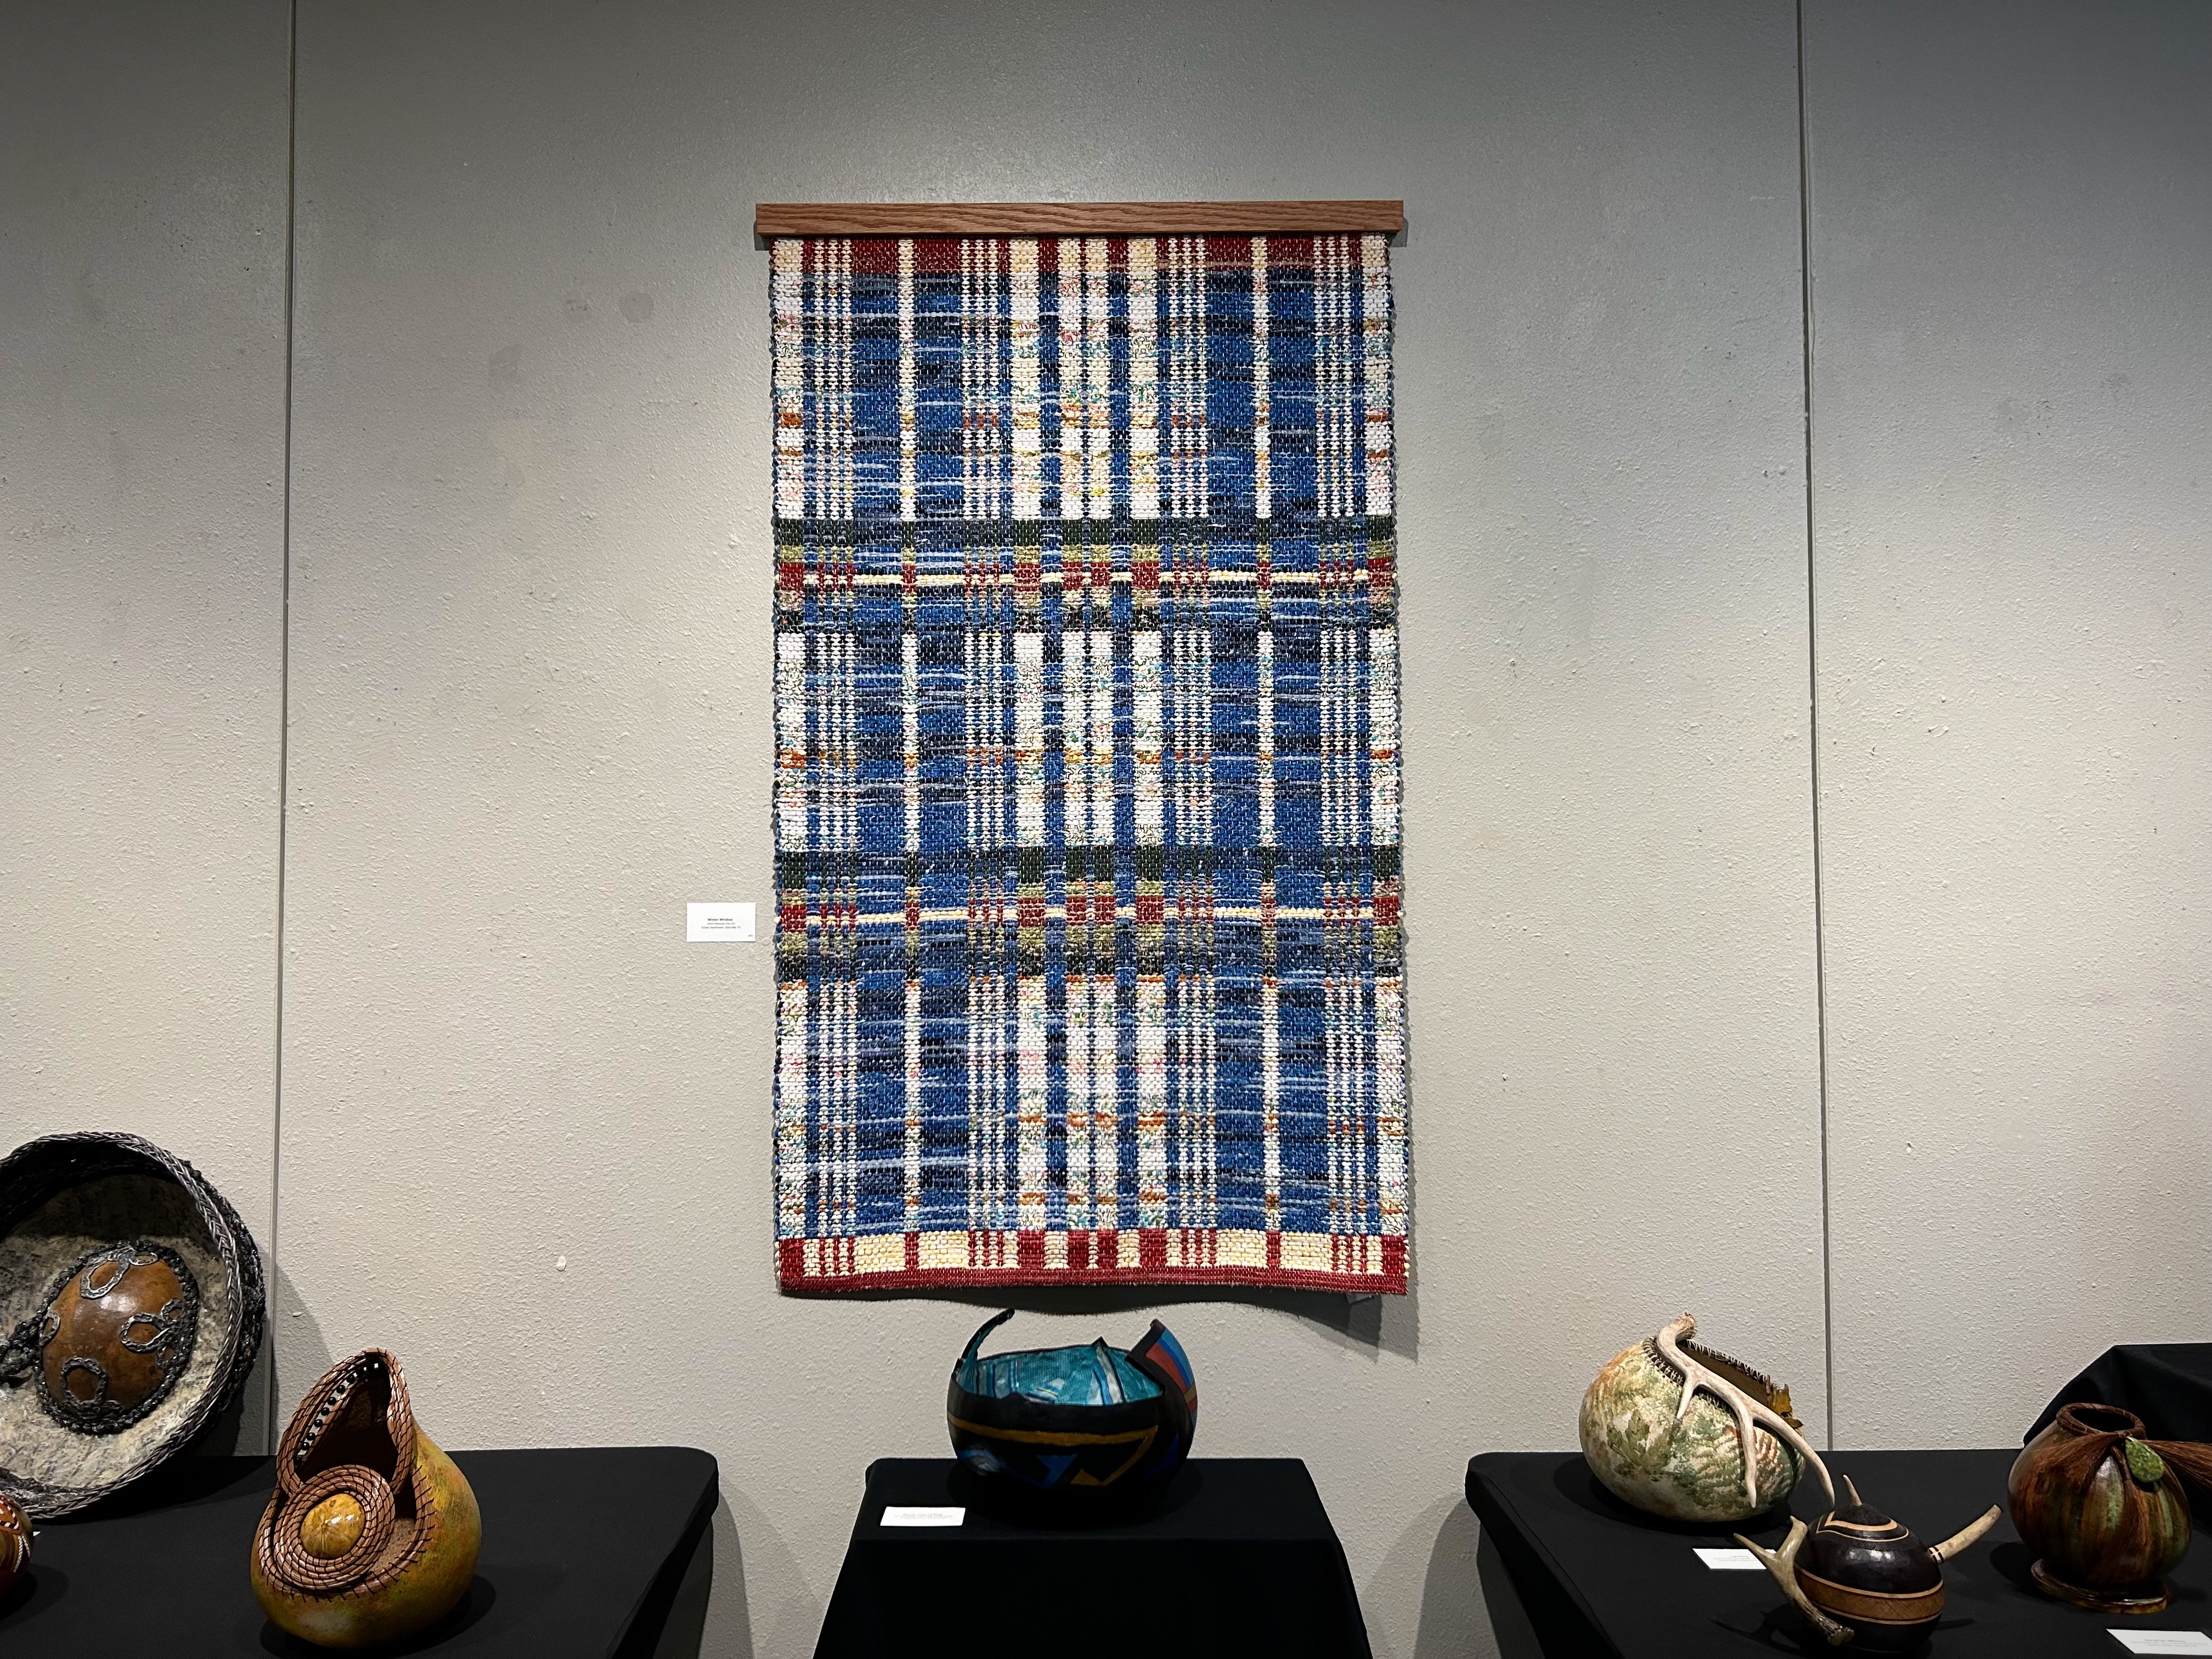
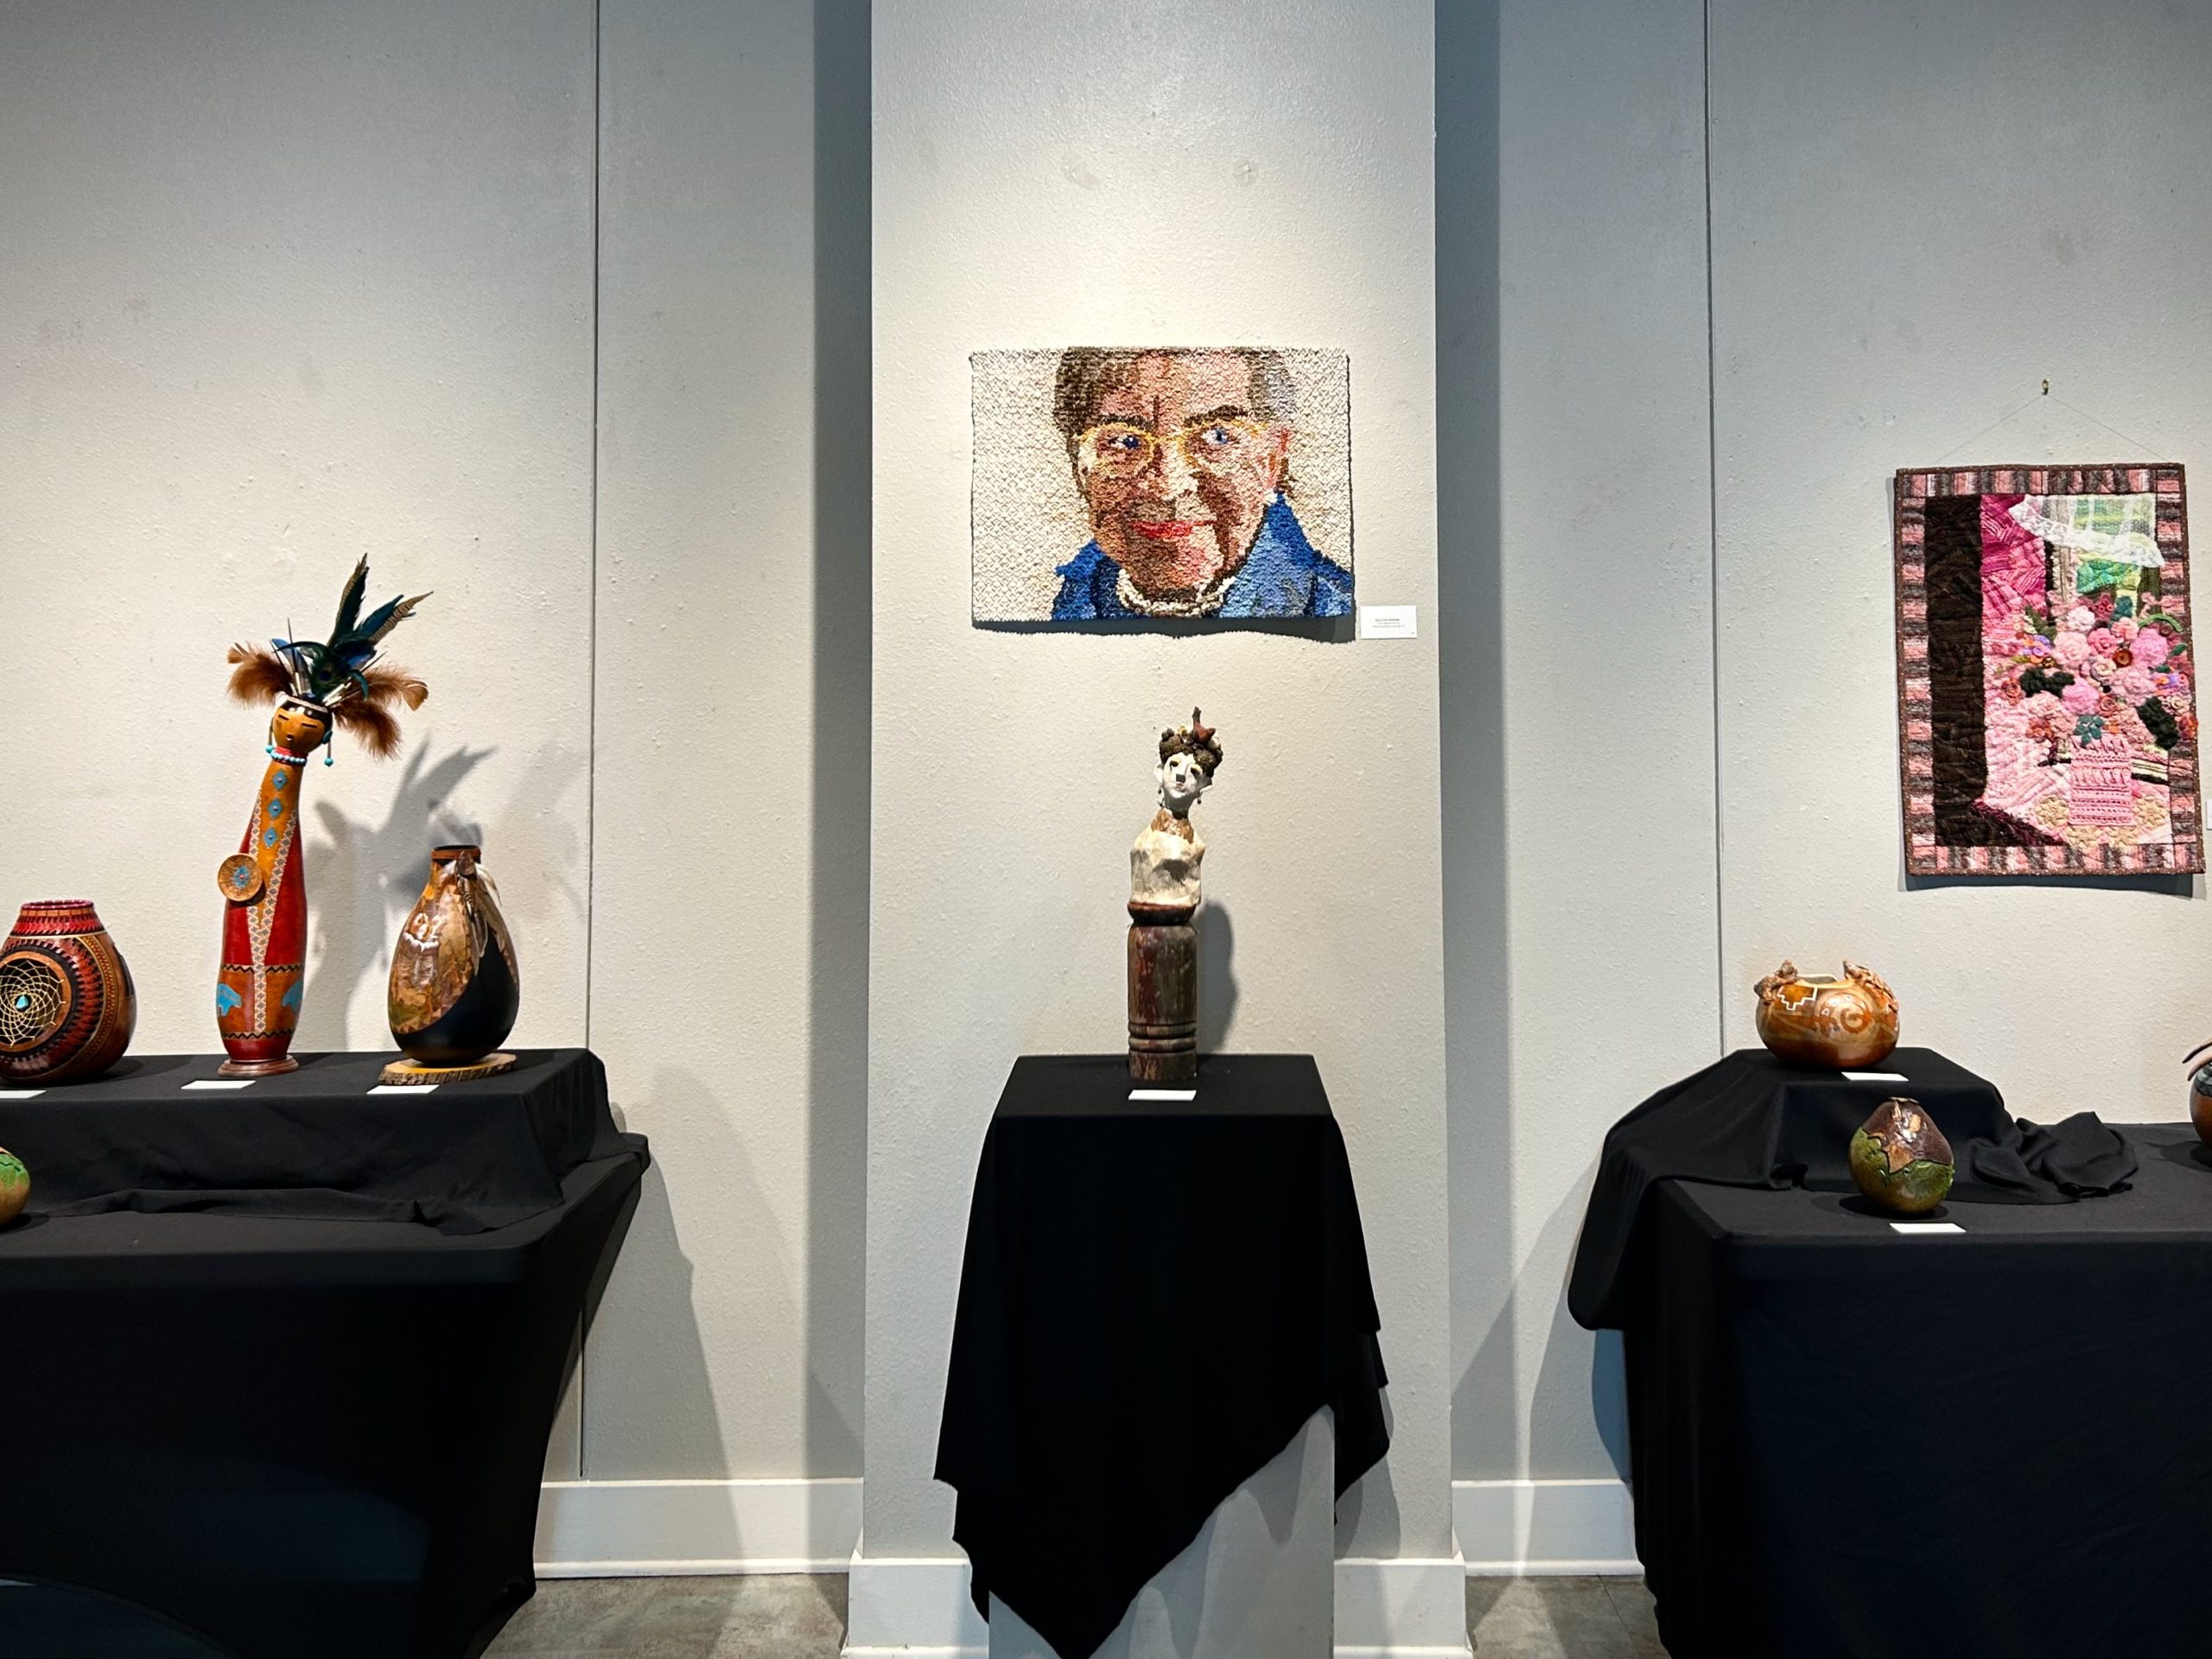
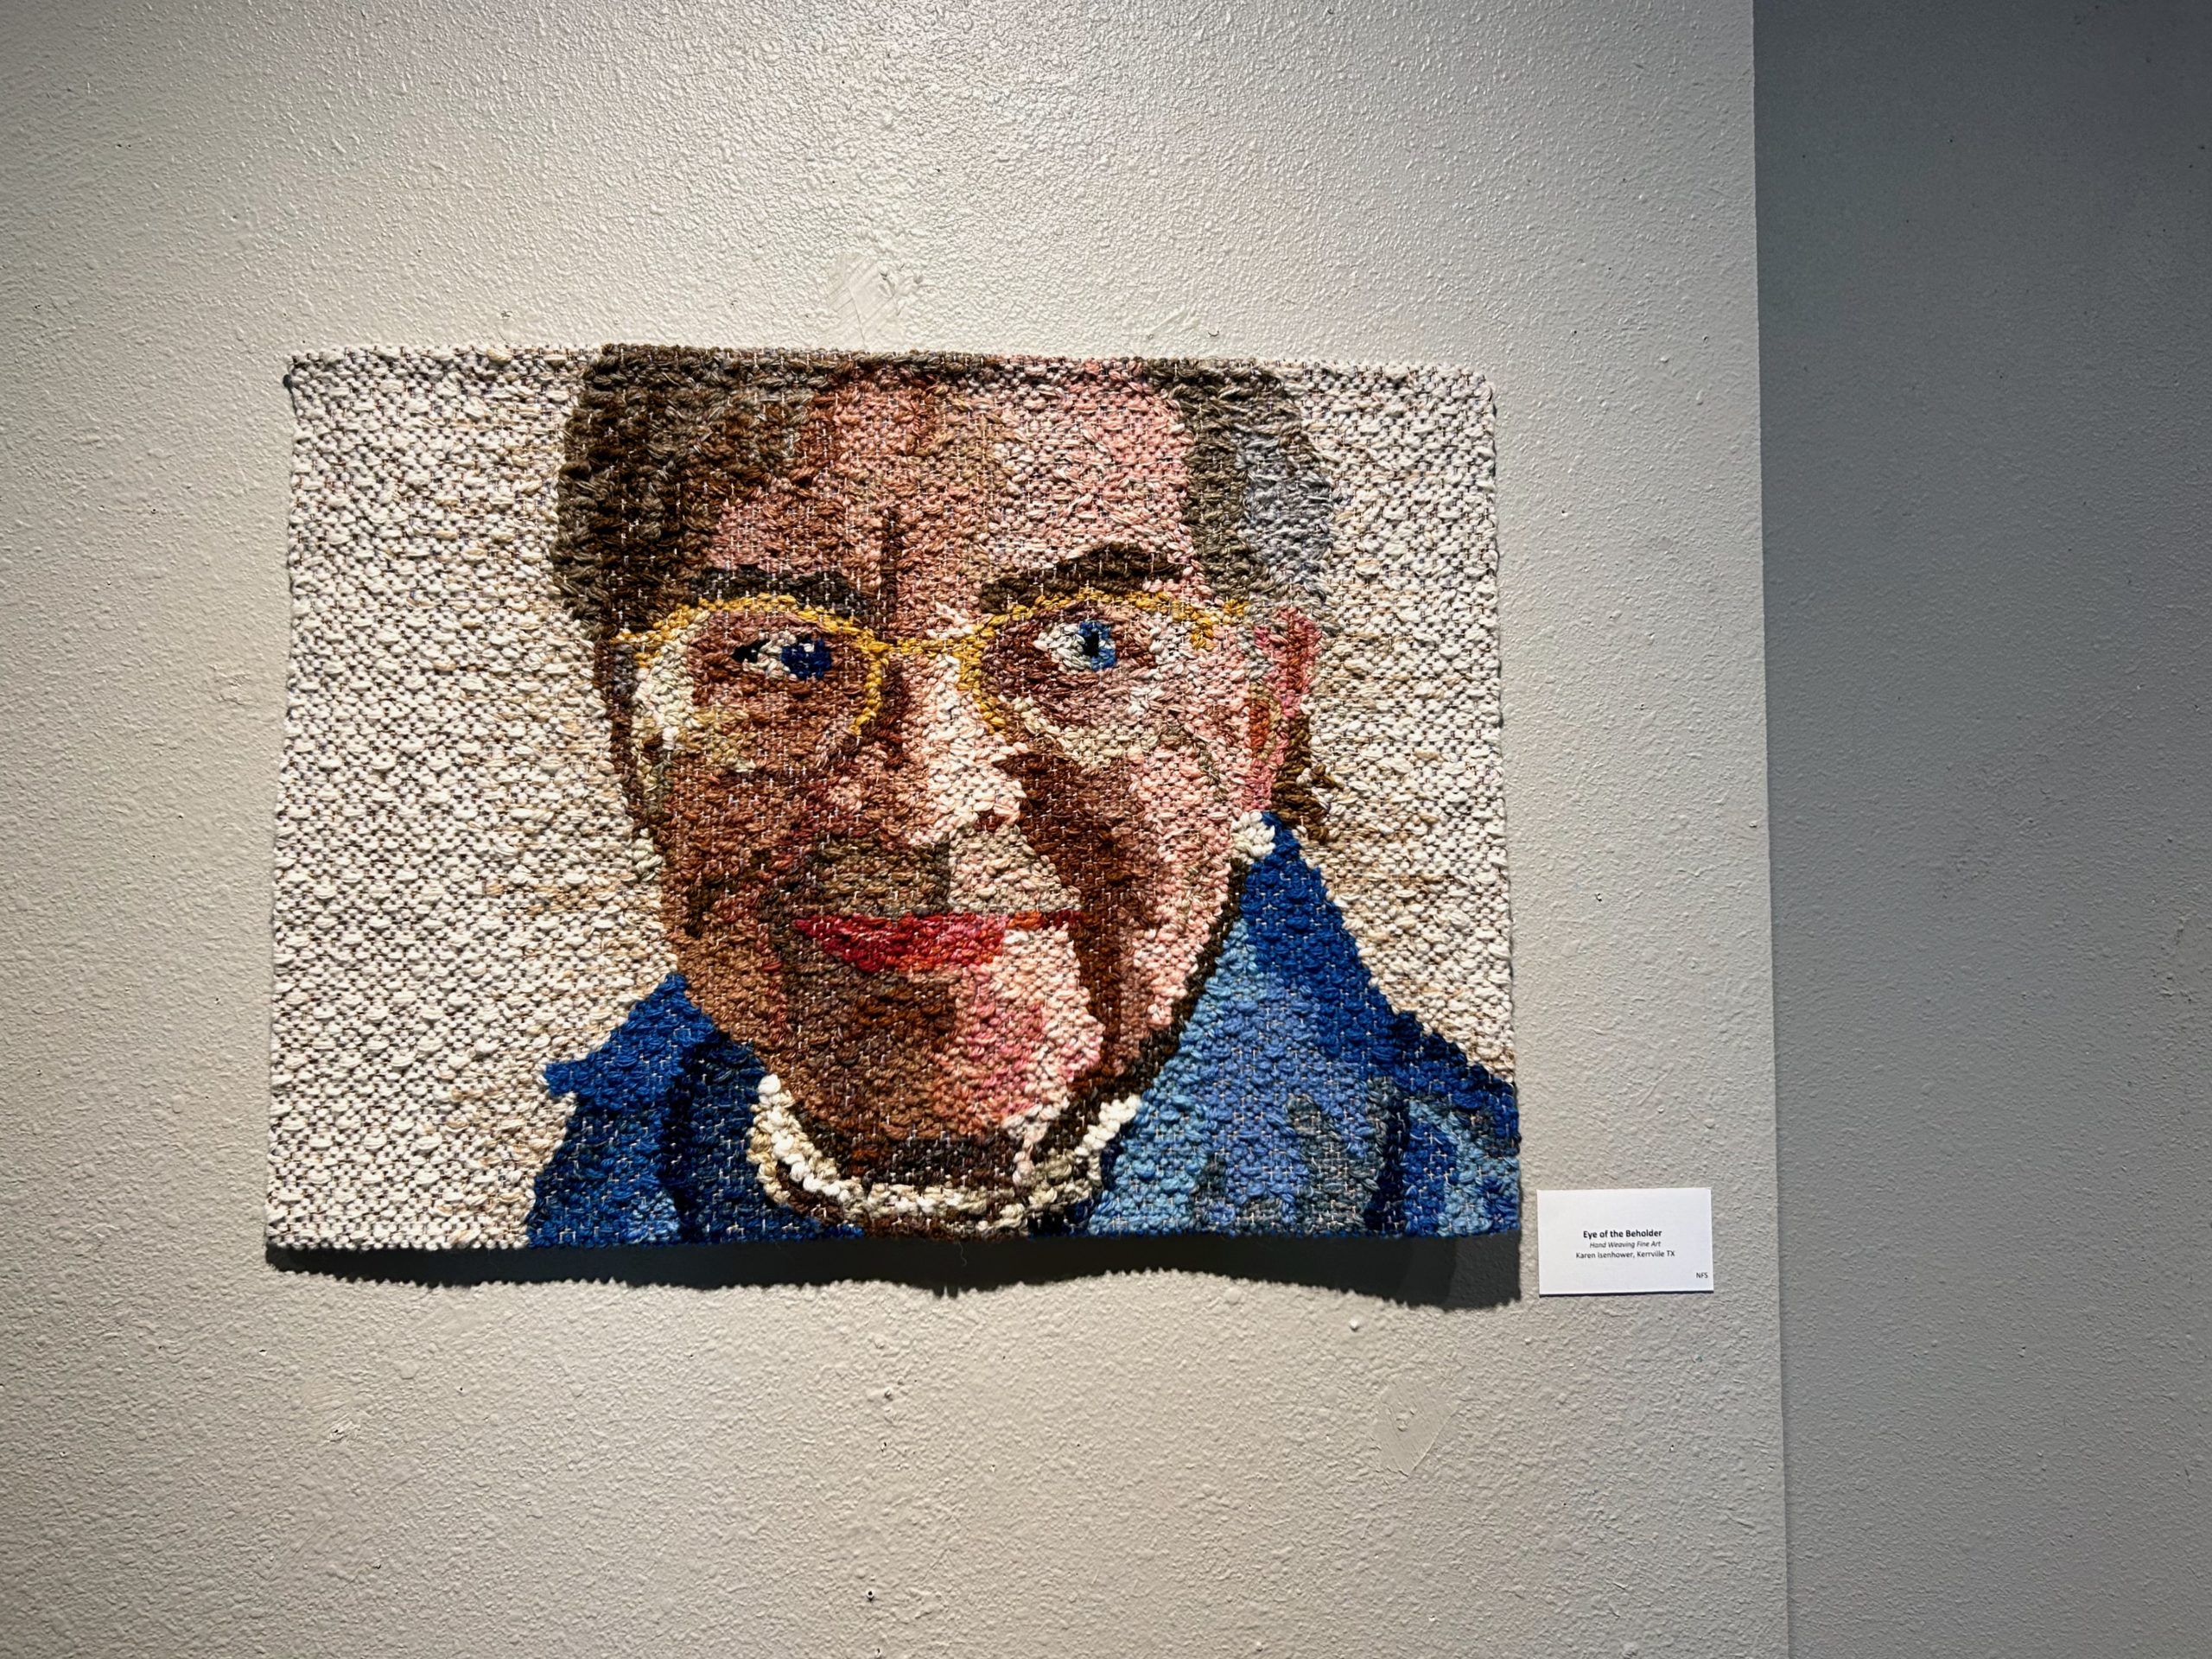
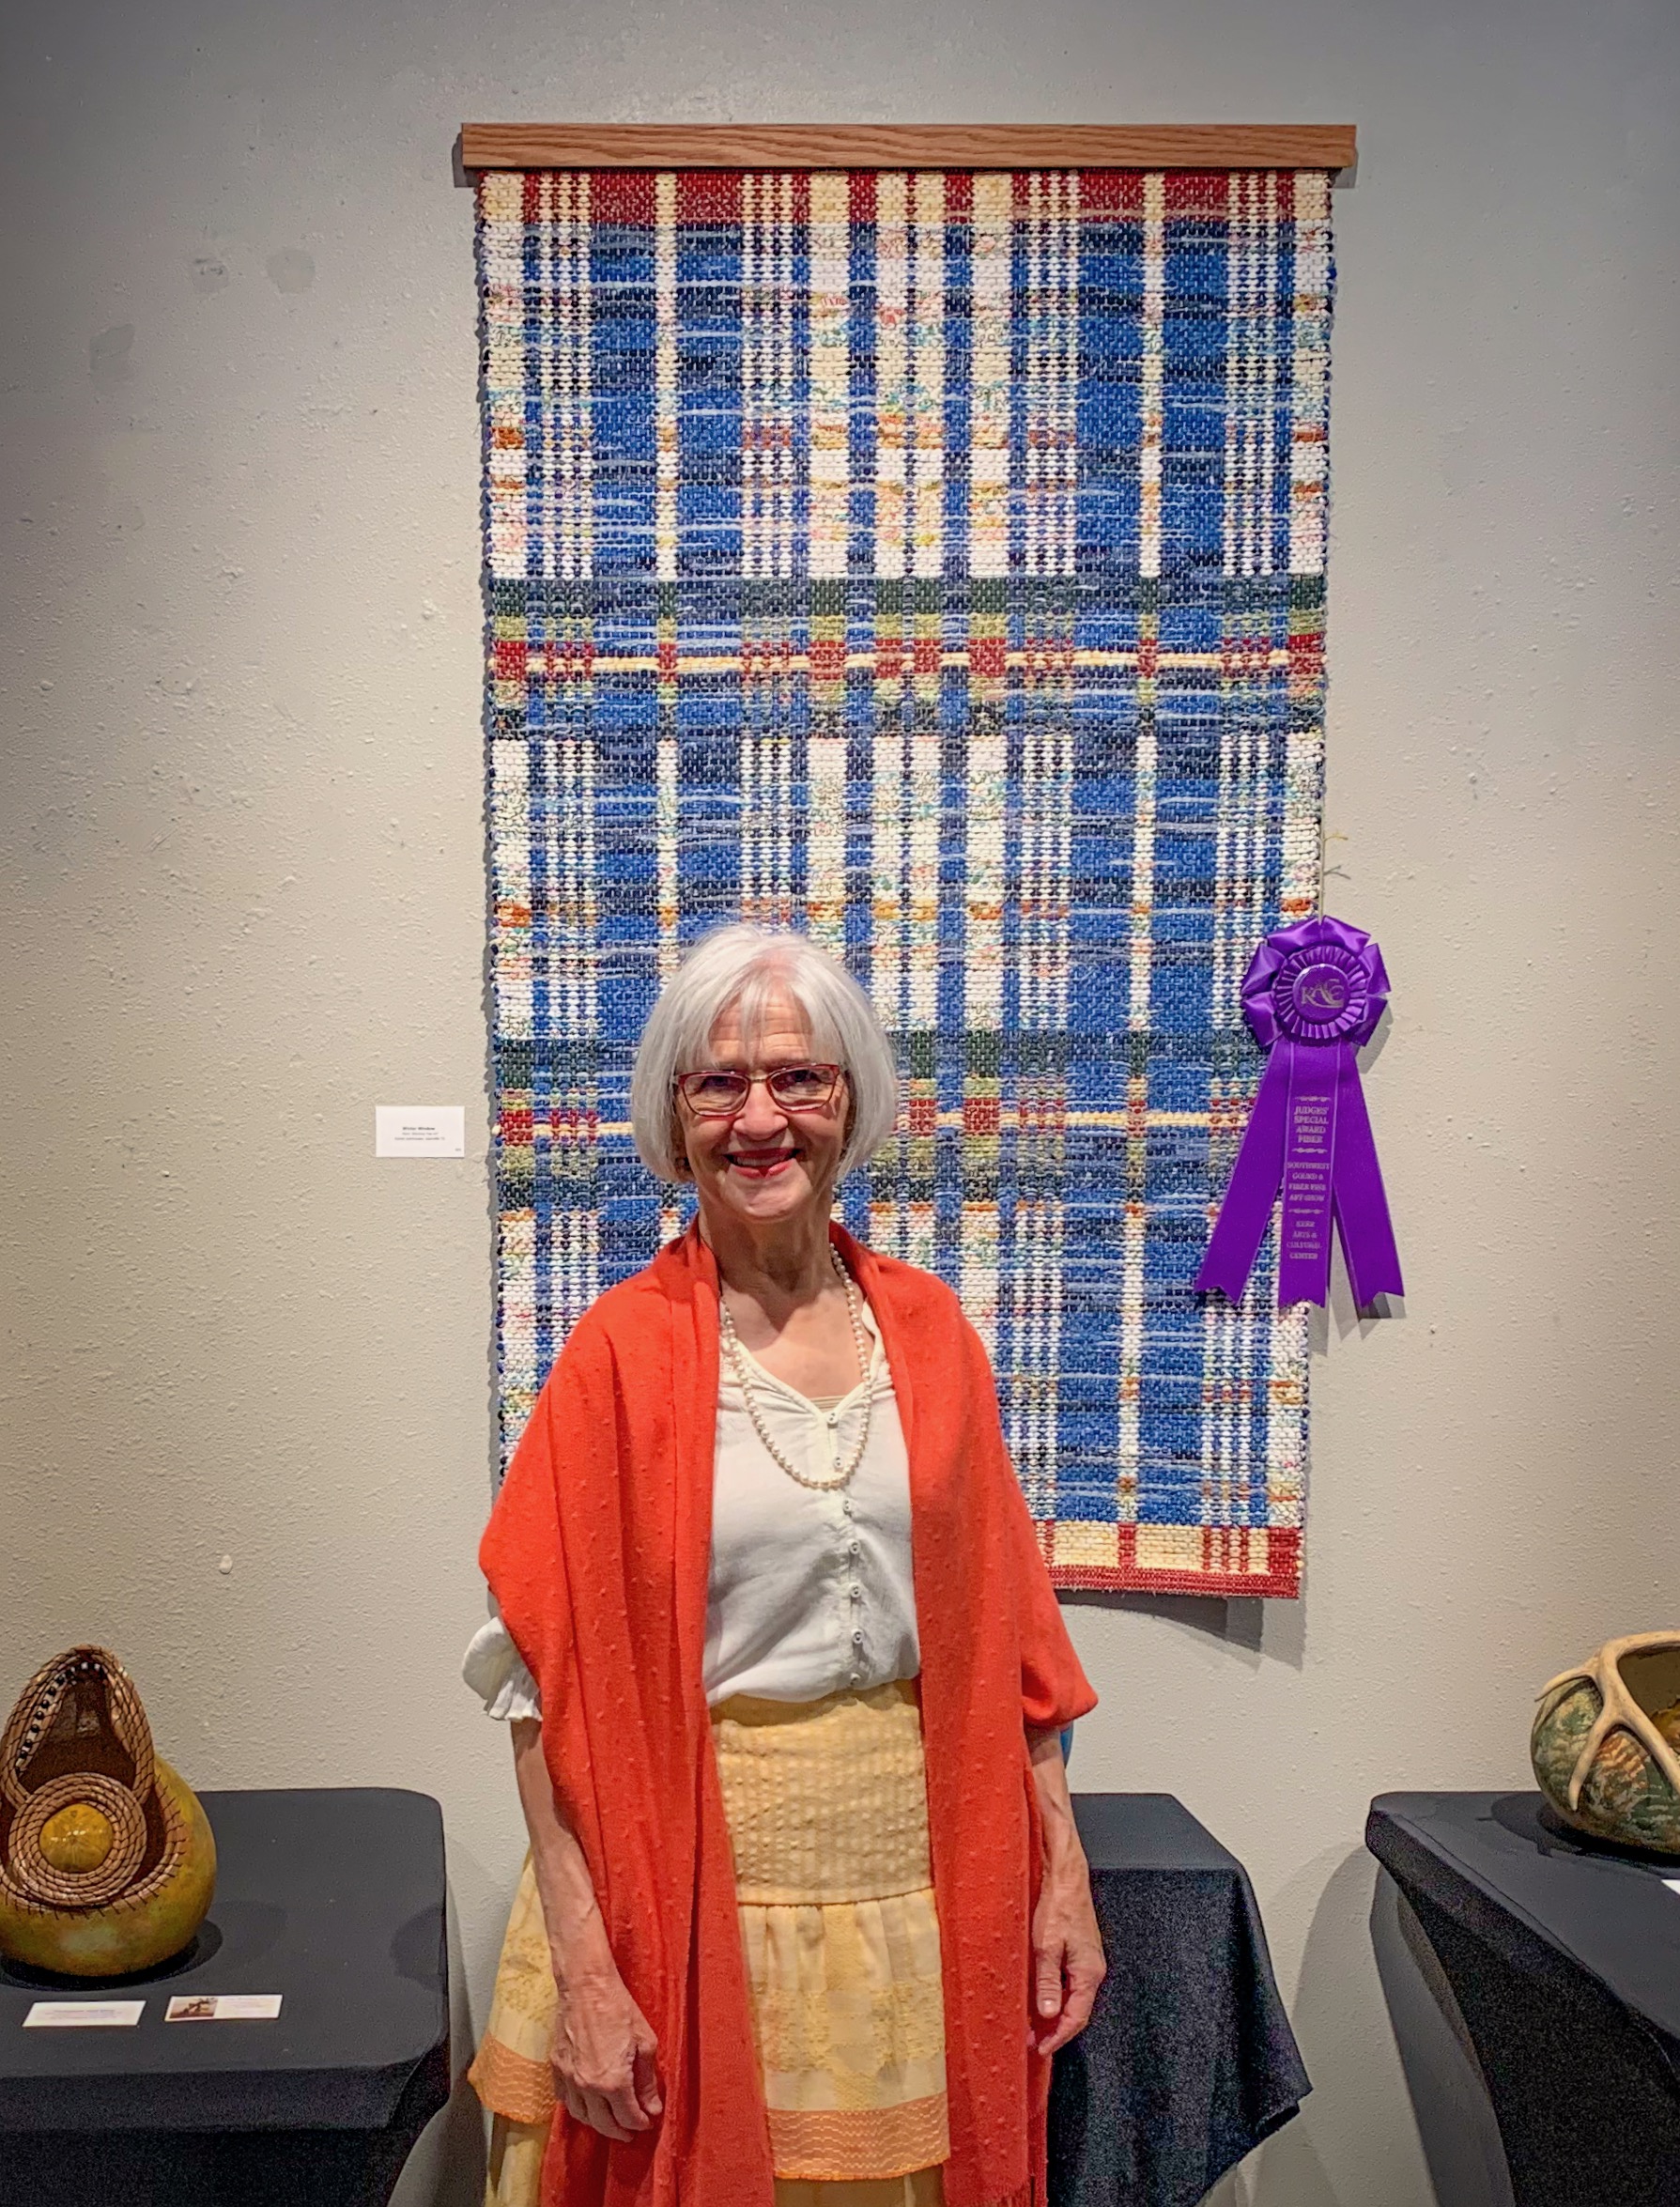
If you hang a rag rug on the wall it becomes fine art. And I’m ok with that.
May others enjoy seeing what you enjoy making.
Happy Weaving,
Karen
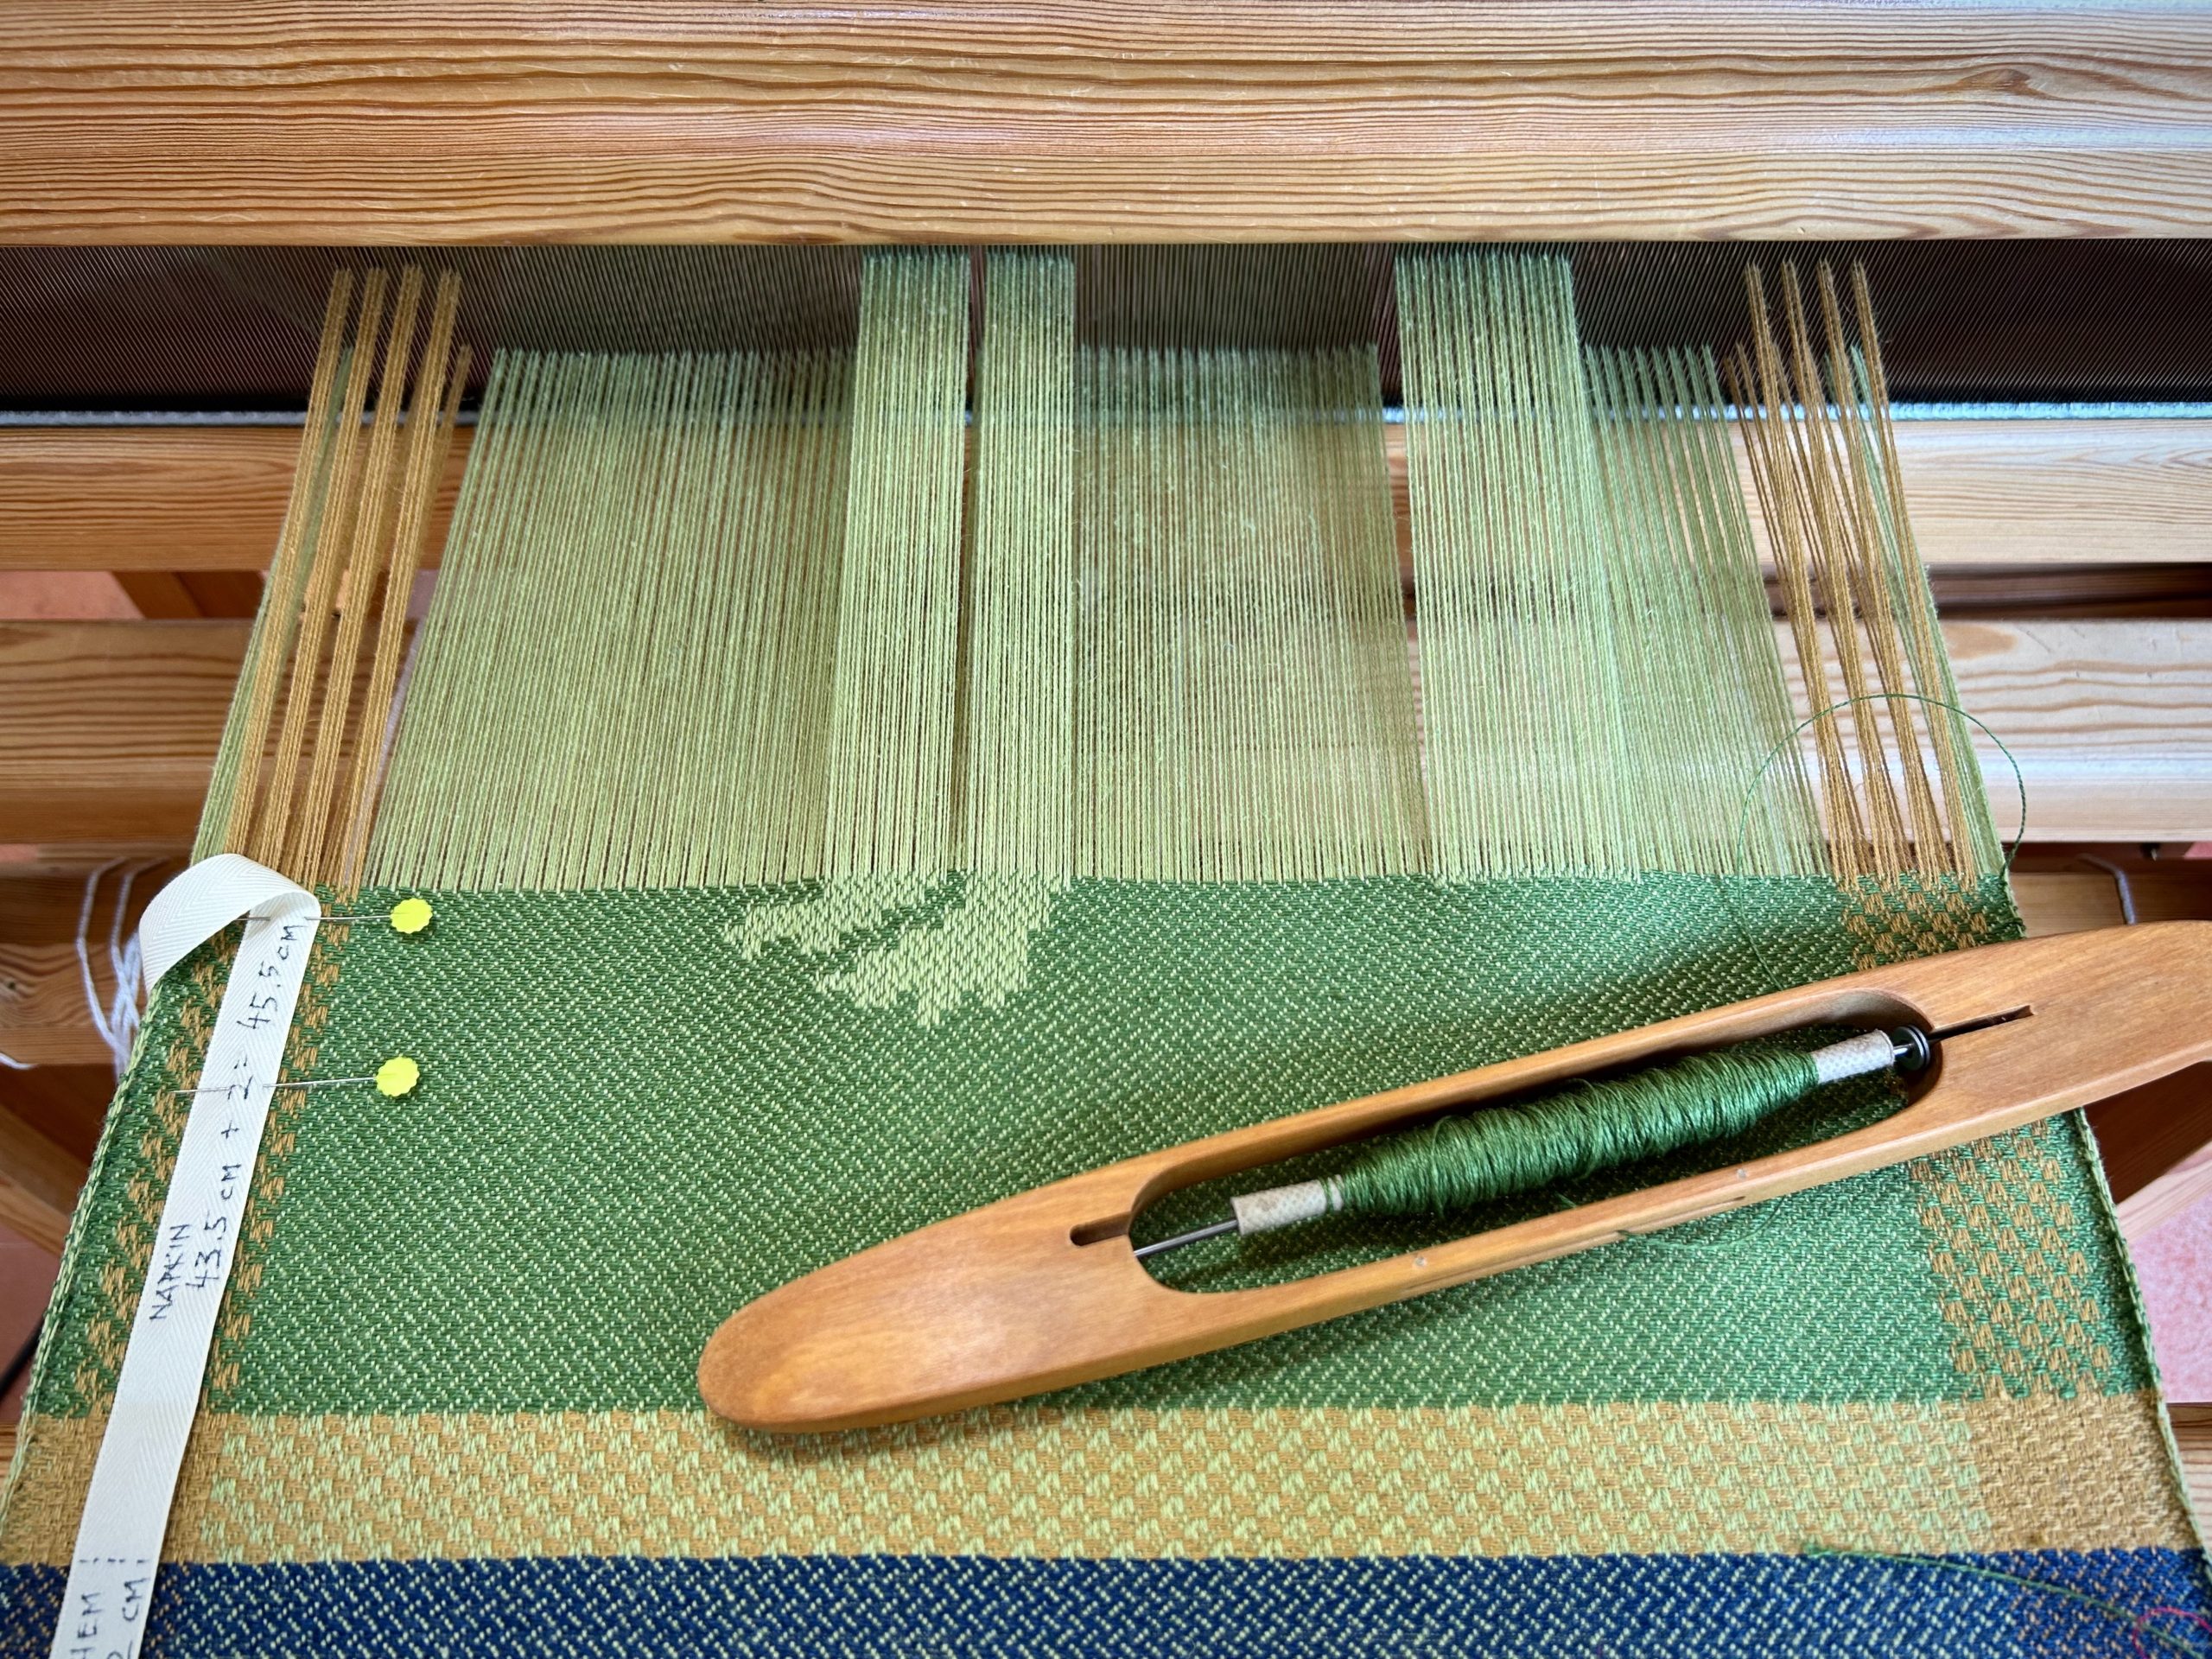
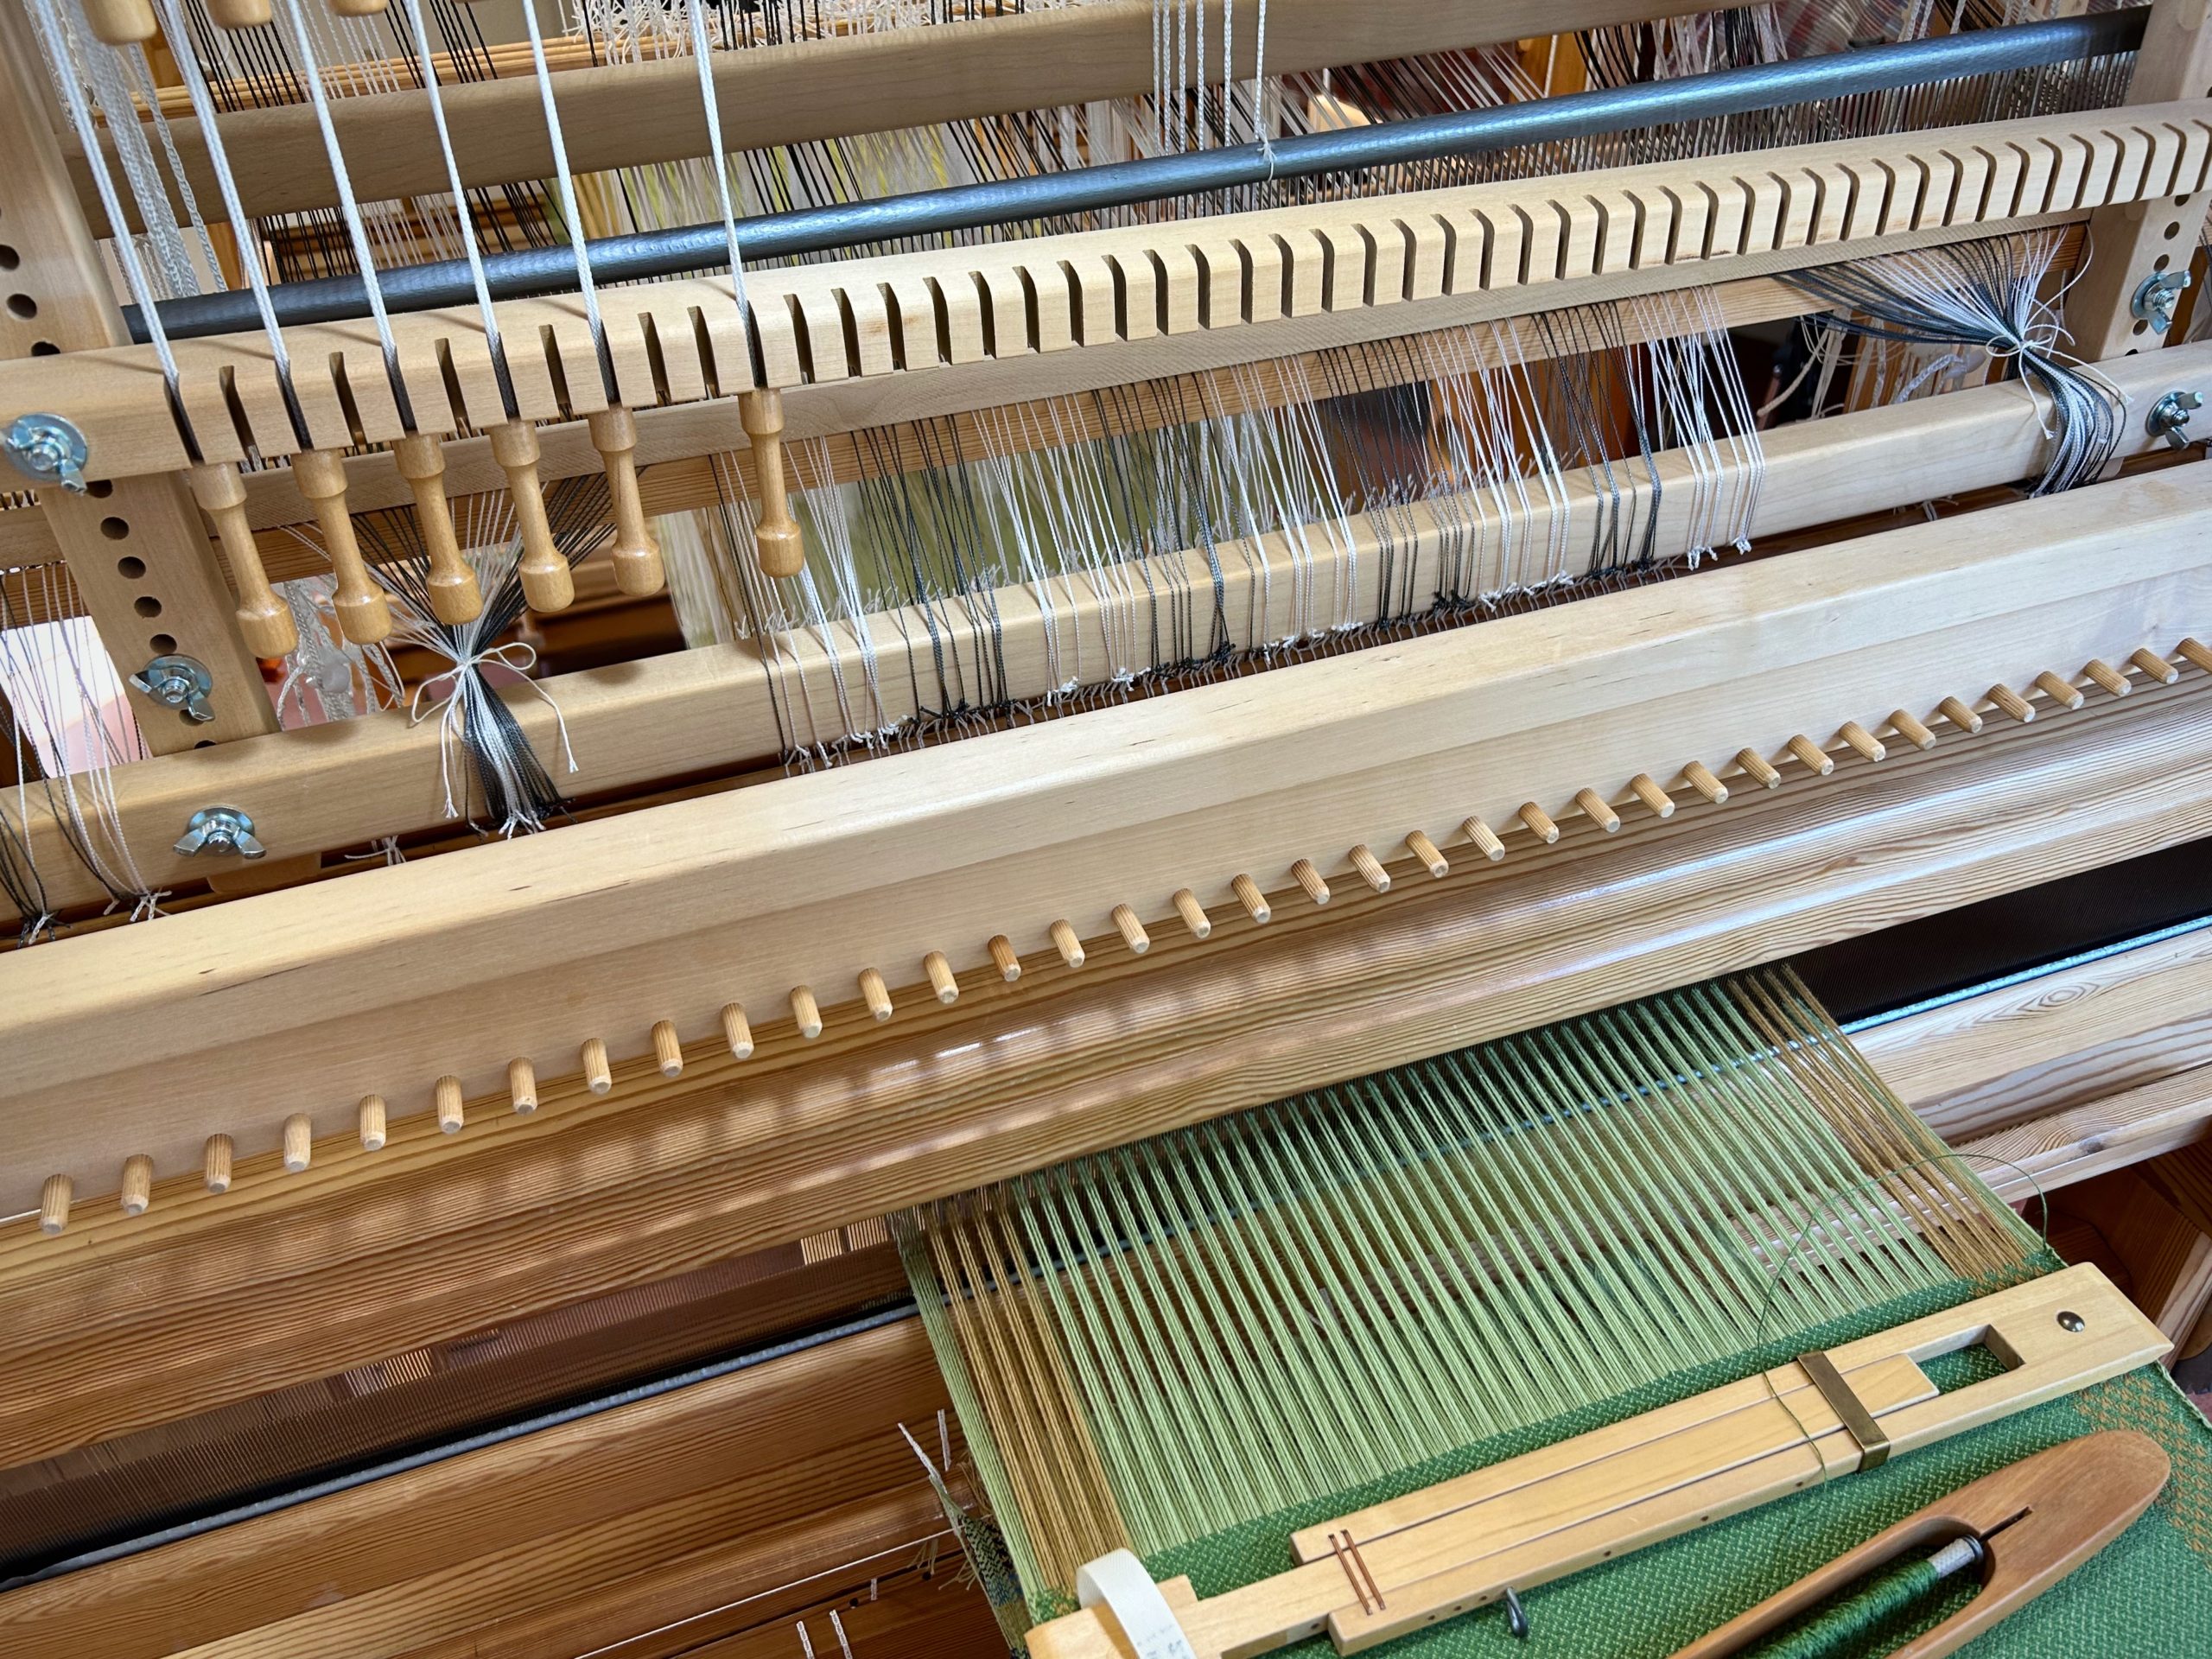
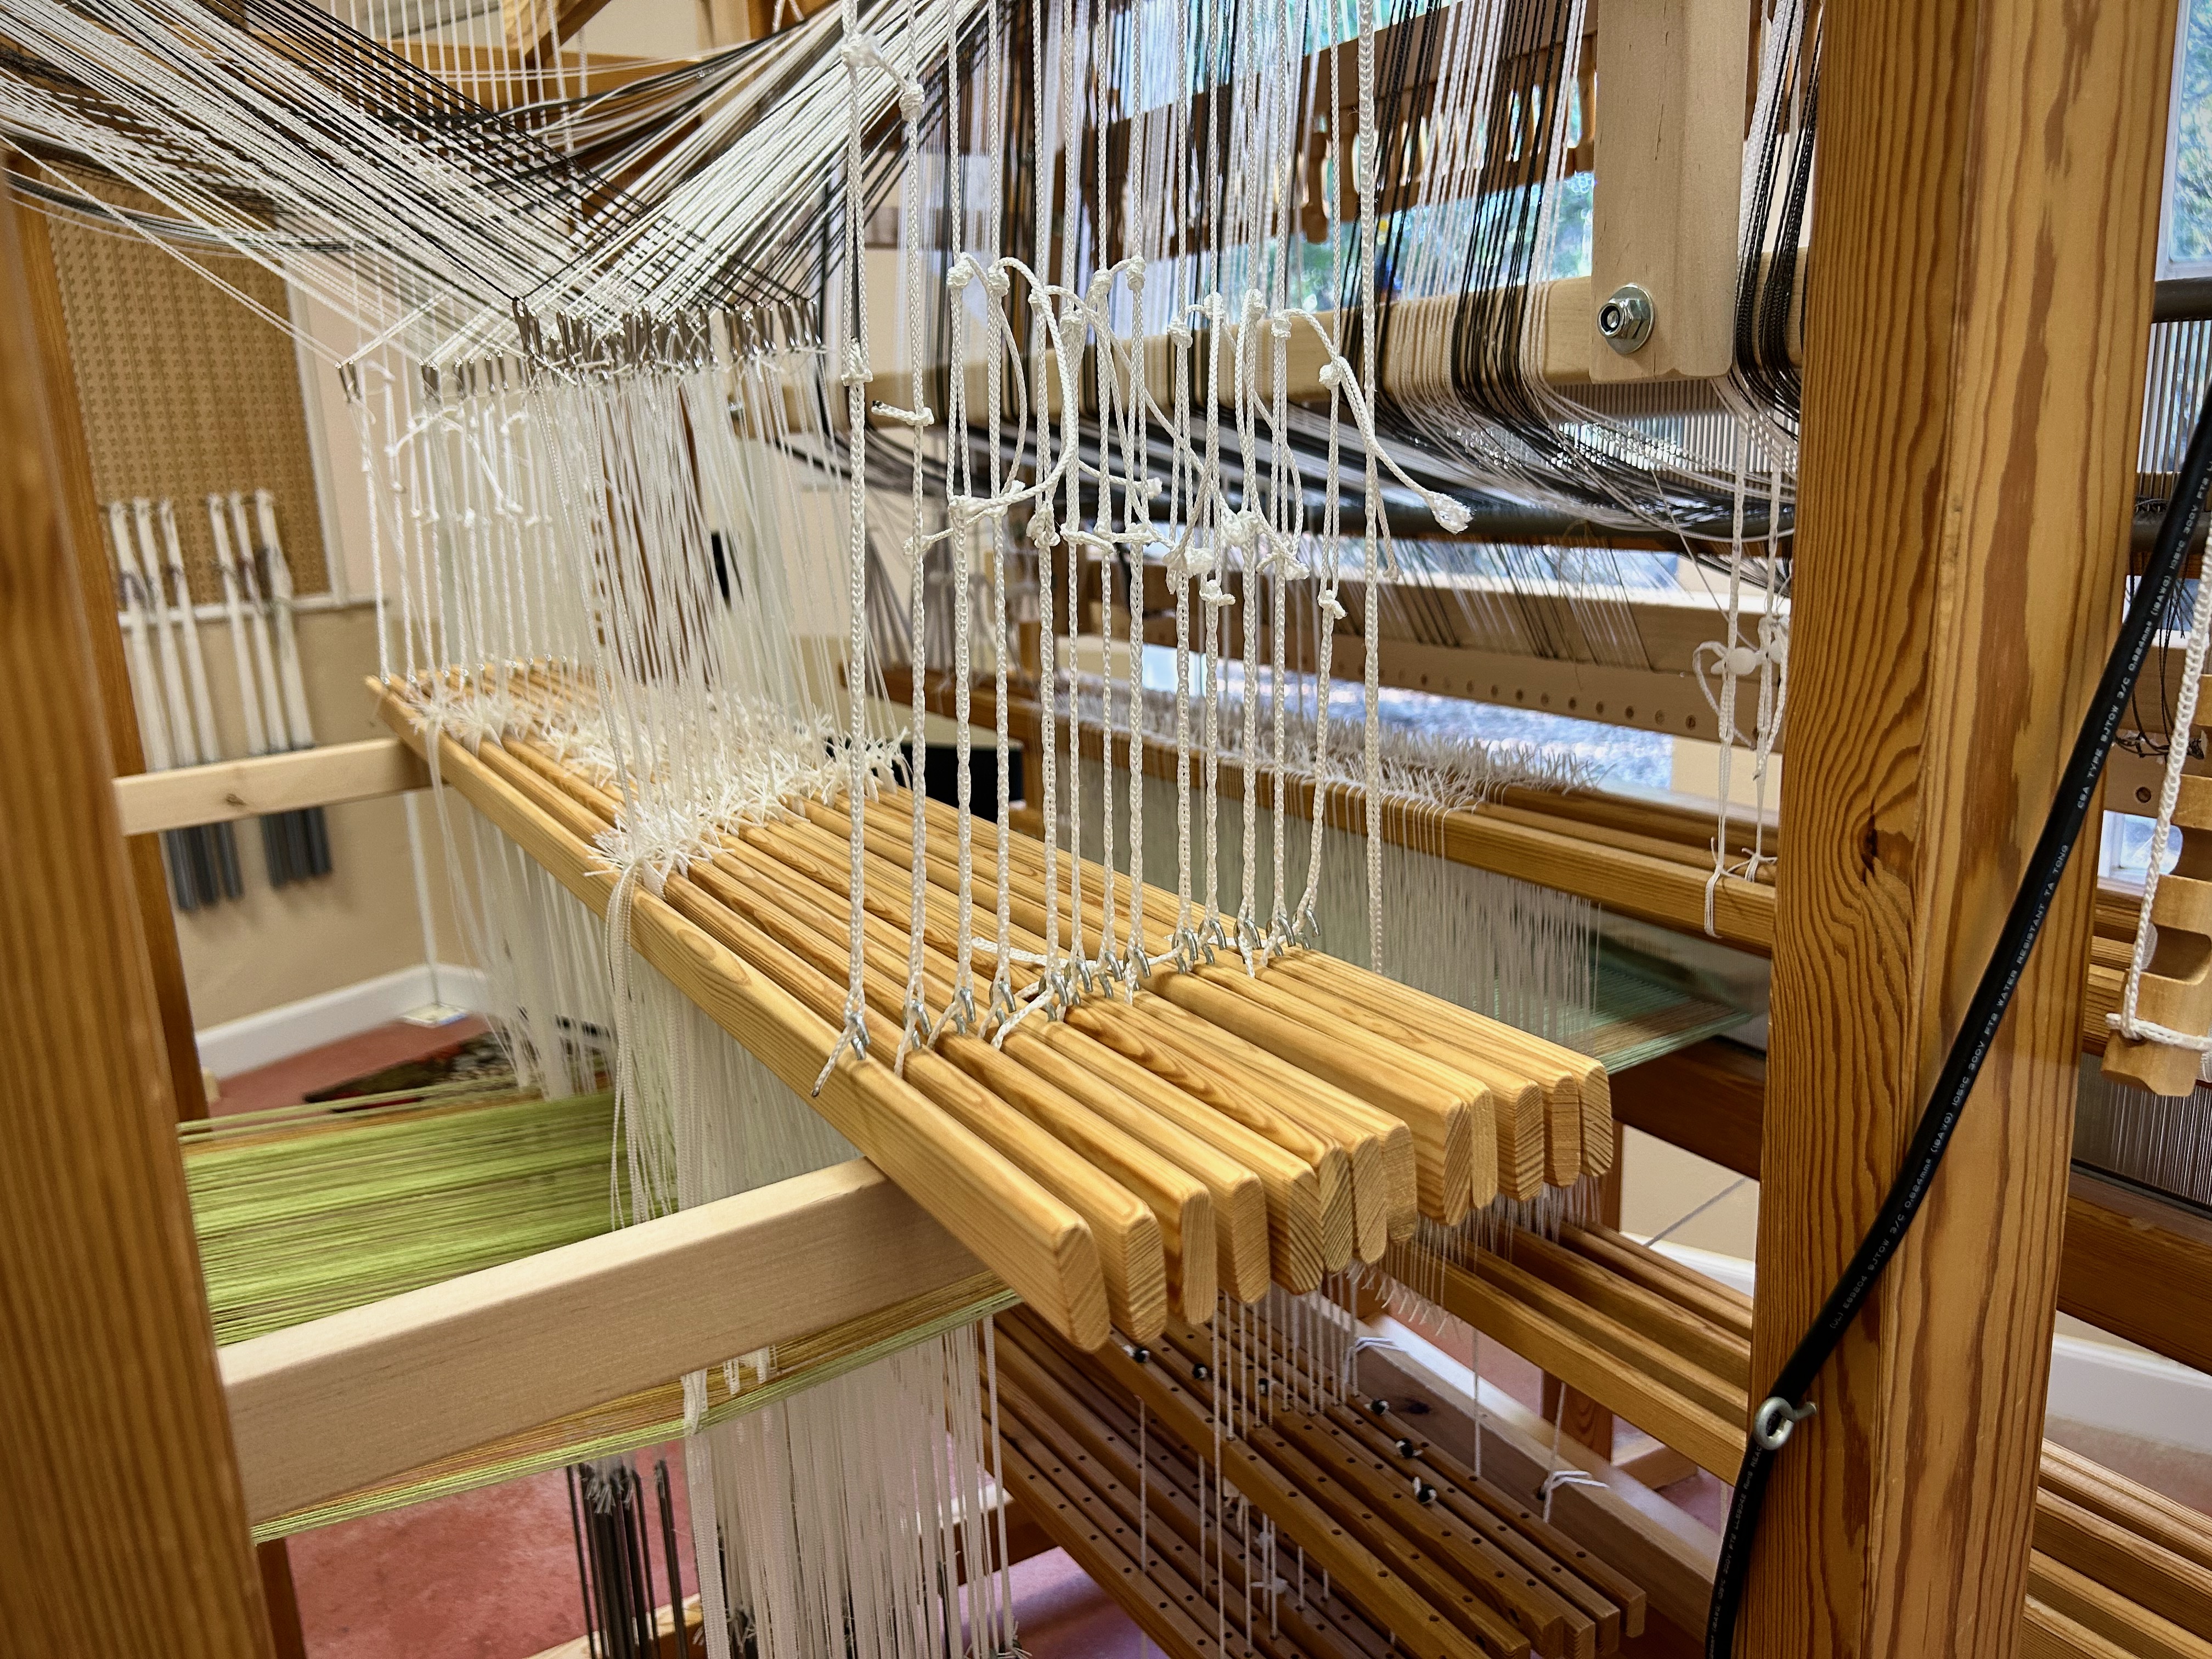
It pays to check your work. I have reached a new level of experience in distributing patterns shafts. I know how to do it backwards and forwards now. Literally. Unfortunately, I moved almost all of the pattern shafts before noticing that the spacing between units is not quite right. Uh oh! So, one by one, I reversed the distribution of pattern shafts to get back to the point of error—the very beginning. The reverse move was …more complicated.
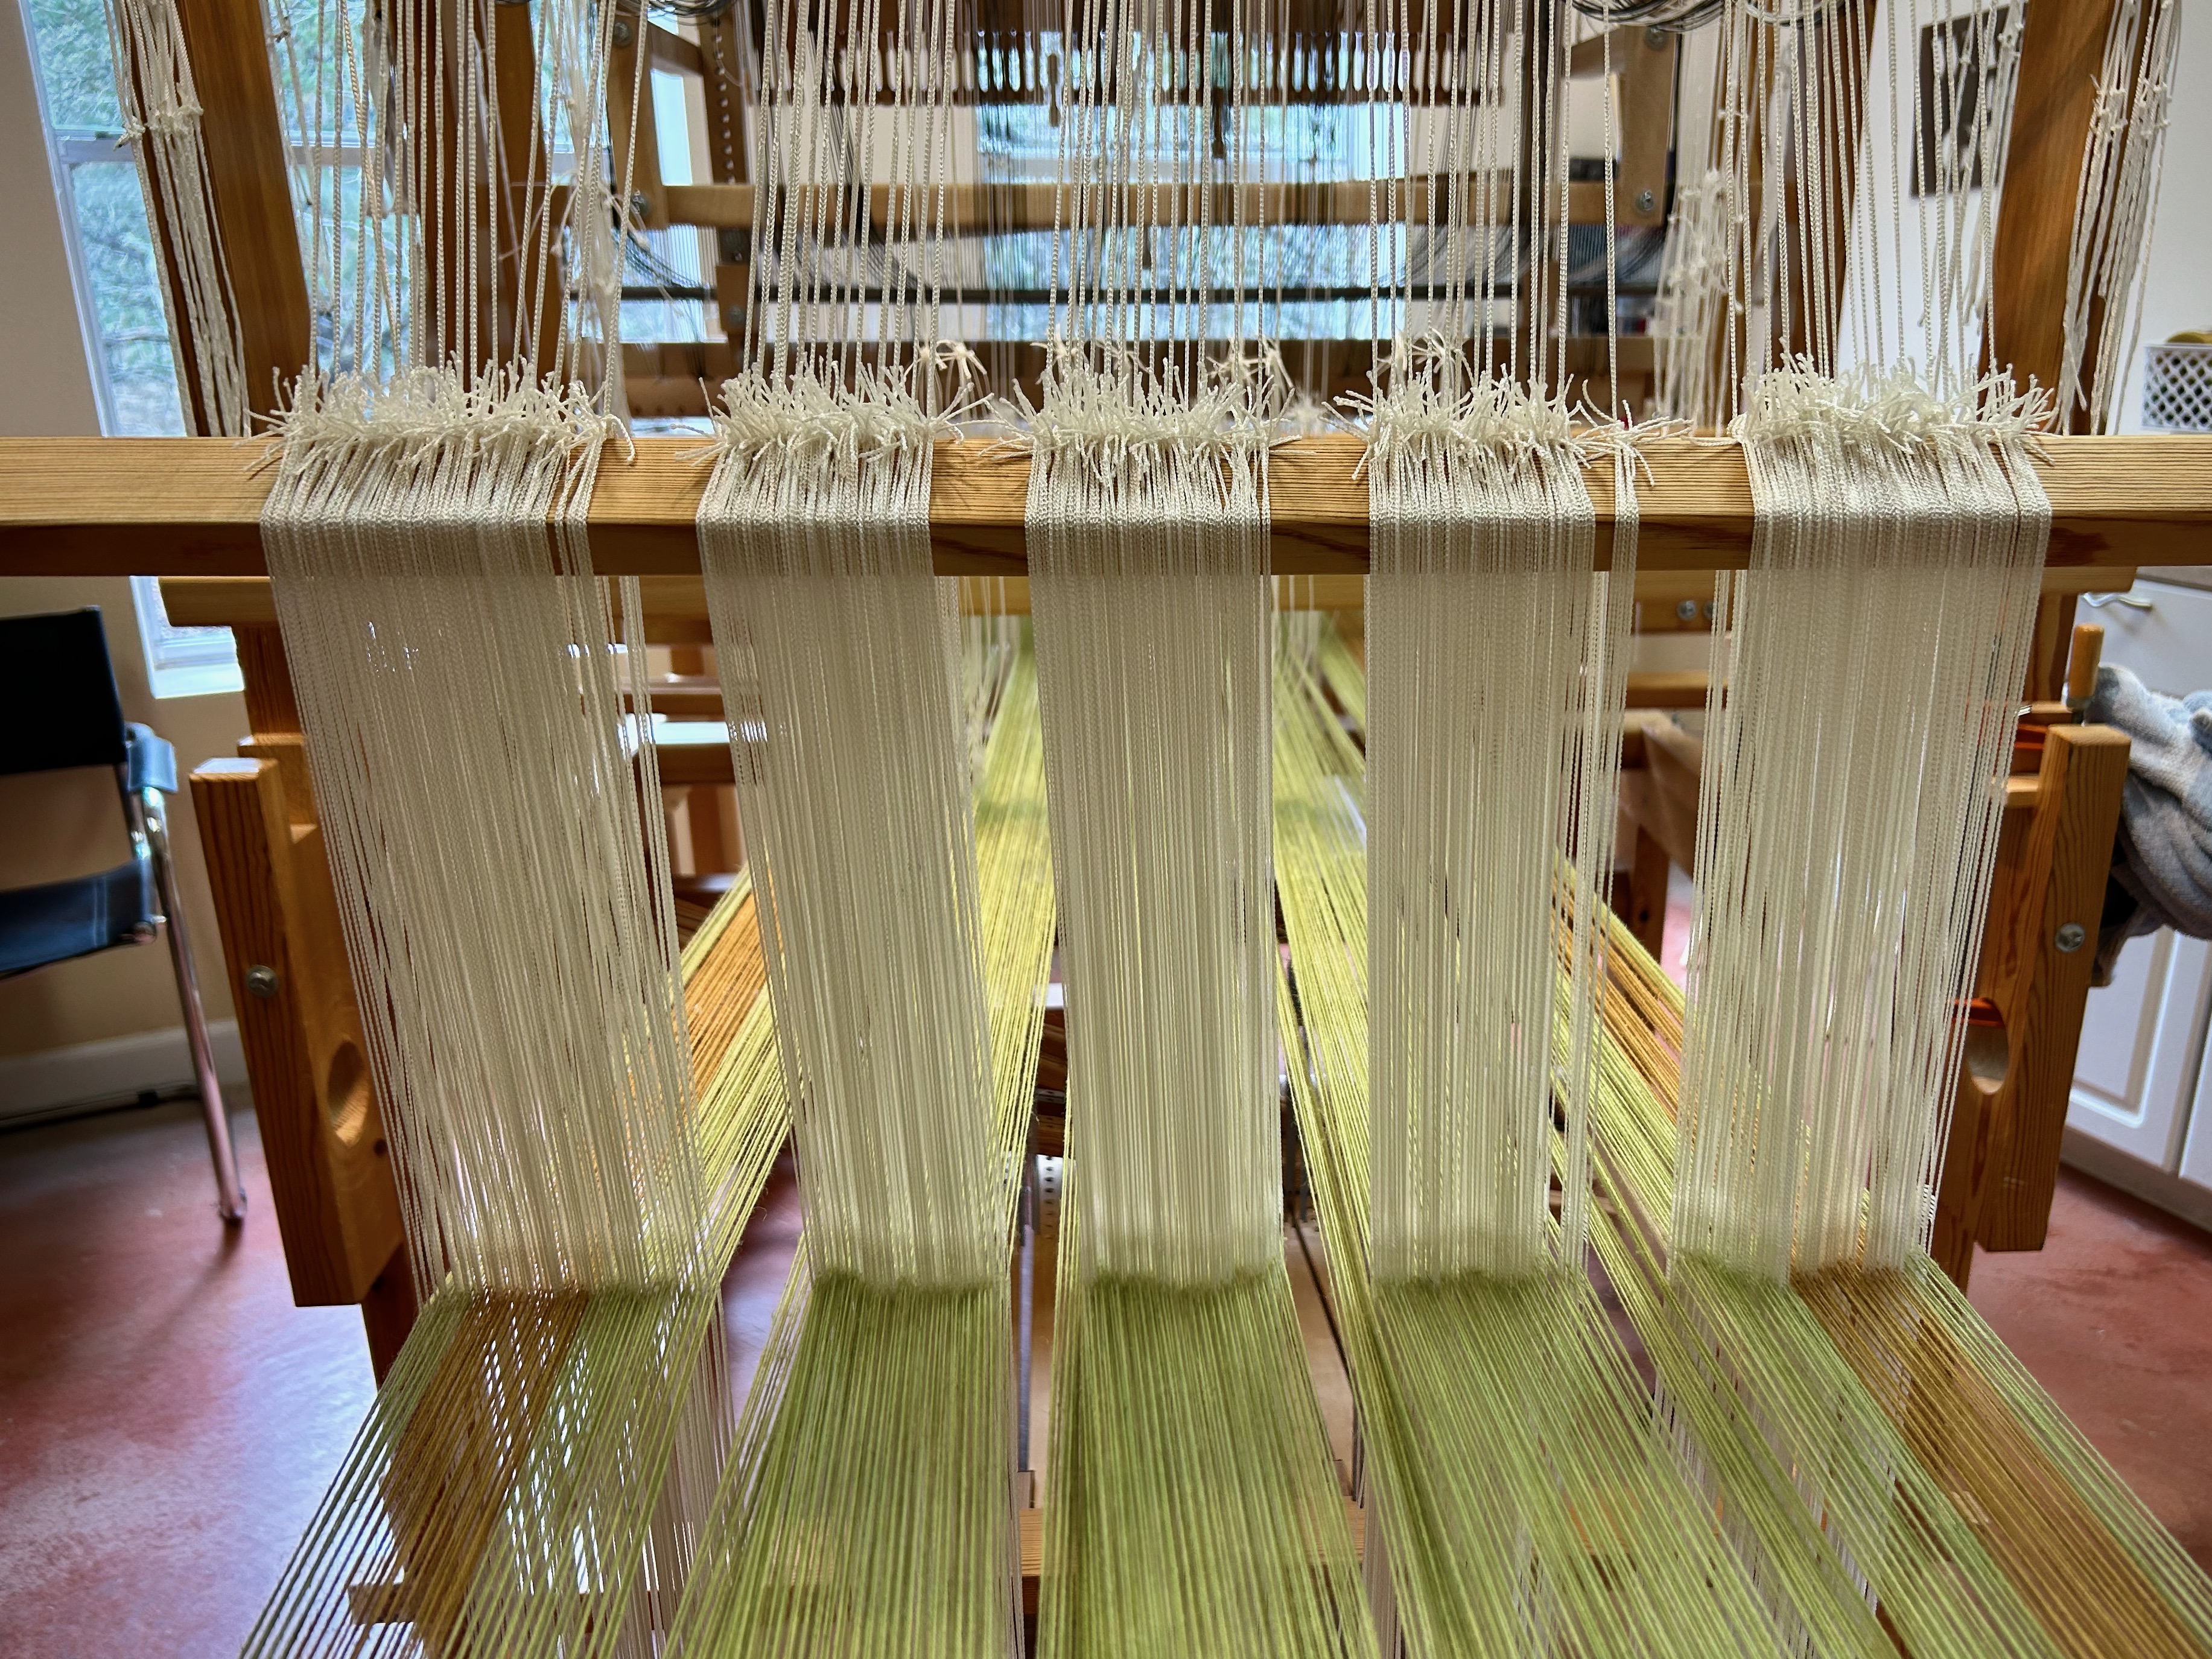
Lesson learned: Check my work. I am off by only one unit of threads. That small miss, however, is enough to sabotage the whole project if not corrected. The sooner I check my work against the master plan the better. Fortunately, everything at the loom is fixable. It’s never too late to start again.
The sooner I check my life against God’s master plan the better. Fortunately, everything is forgivable. It’s never too late to start again.
May you check for accuracy sooner than later.
Be blessed,
Karen