It started with a prickly pear cactus in the front yard of our Texas hill country place, and then a photograph. Now, I have a woven representation of this interesting specimen of our Texas landscape! I am hoping that Steve will whittle a rustic rod from which this cactus banner will hang in our home.
Weaving the casing for the top of the transparency. Linen warp and weft make an appealing mesh that holds and surrounds the pictorial weaving.After cutting off, the complete front side of the transparency is seen for the first time.
Eager to hang this transparency, I didn’t want to waste any time. I finished the ends of the piece with a zigzag stitch on my sewing machine. And I sewed casings at the top and bottom. Now, in full view, a little back lighting reveals the complete picture of the woven threads.
Cactus spines in the woven image seem to reach outward and almost appear three-dimensional.Detail view of some of the shading in the cactus.
We weave thoughts and ideas in our heart. And when we speak, we bring those thoughts out into the open. Words reveal the treasures of the heart. When we speak words of value, we bring our choicest treasures out in the open. And what a welcome picture that is.
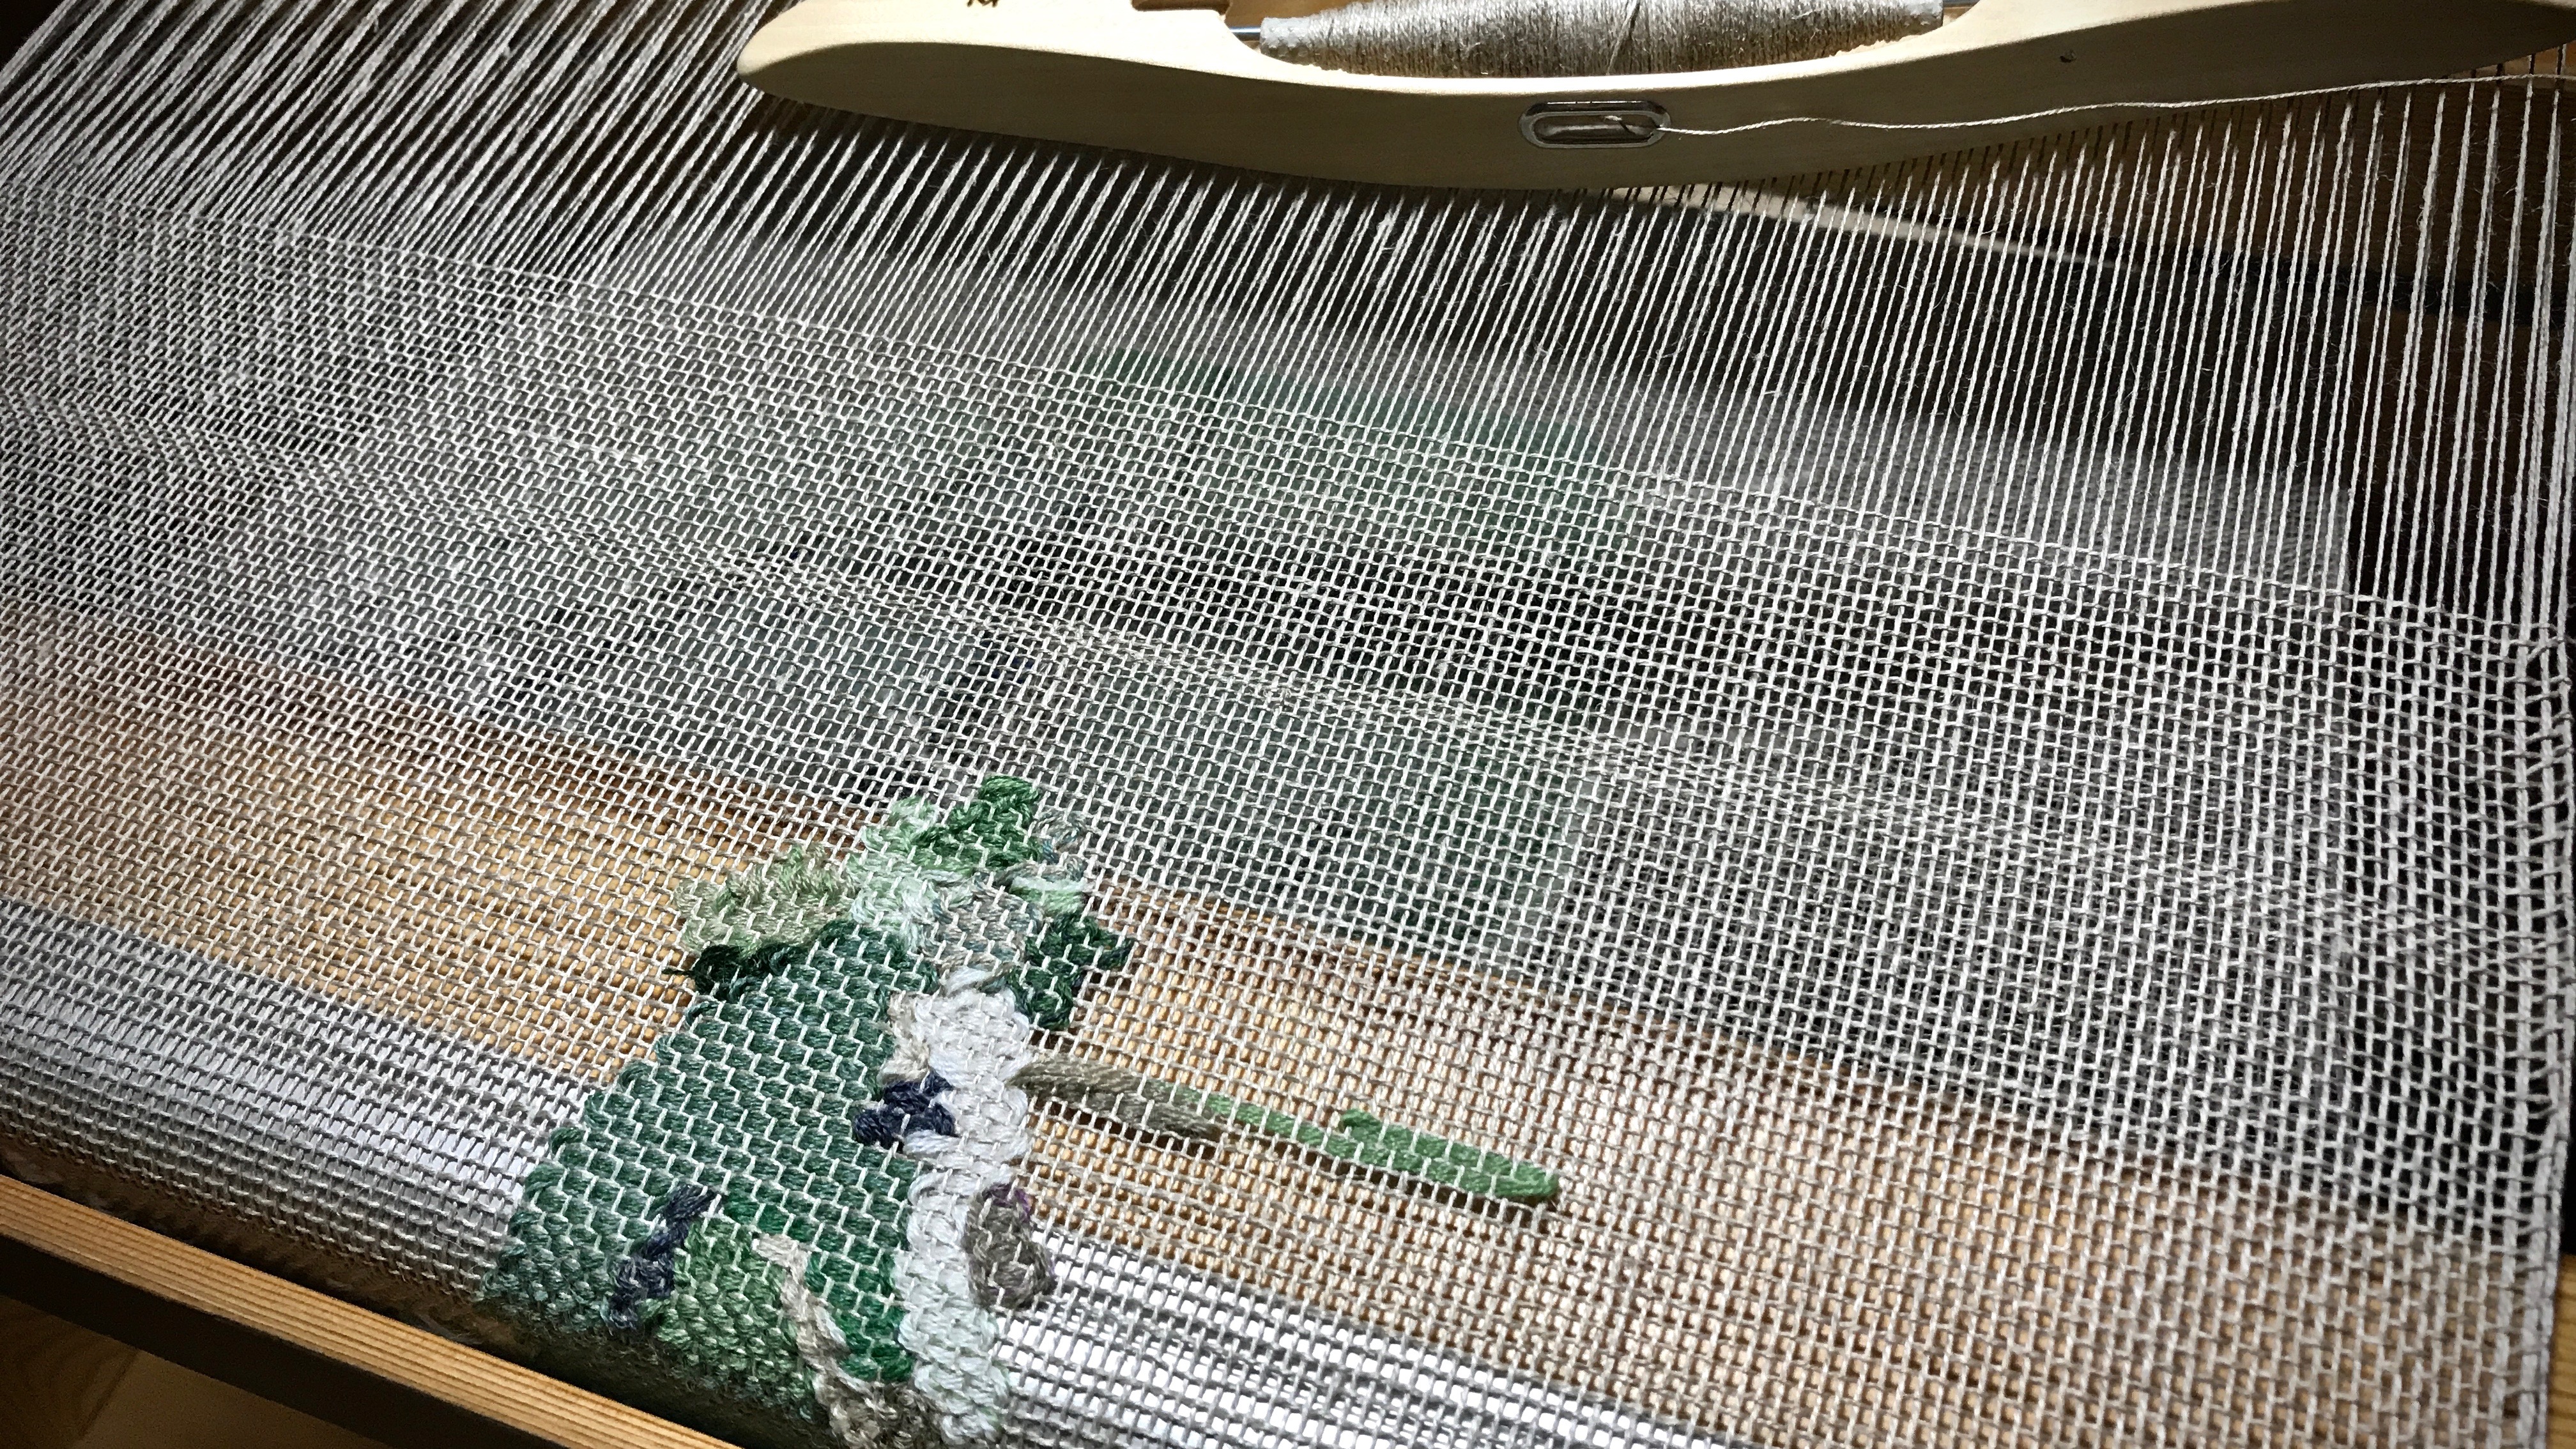
Here is a glimpse of the front-side of the transparency weaving. The cactus is beginning to come around the breast beam. I can’t see the cactus clearly yet, but so far, it looks good! I only have a couple inches of cactus left to weave. Soon, the whole picture will be visible!
Smooth surface of the woven pattern area is in contrast to the textured density that is seen on the back.
The back of the weaving that faces me as I weave, with all its weft turns, weft splices, and woven-in tails, is an accurate picture of what I am weaving. But it is incomplete. It doesn’t tell the whole story. I get used to this bumpy side sometimes and forget that there is something better on the other side.
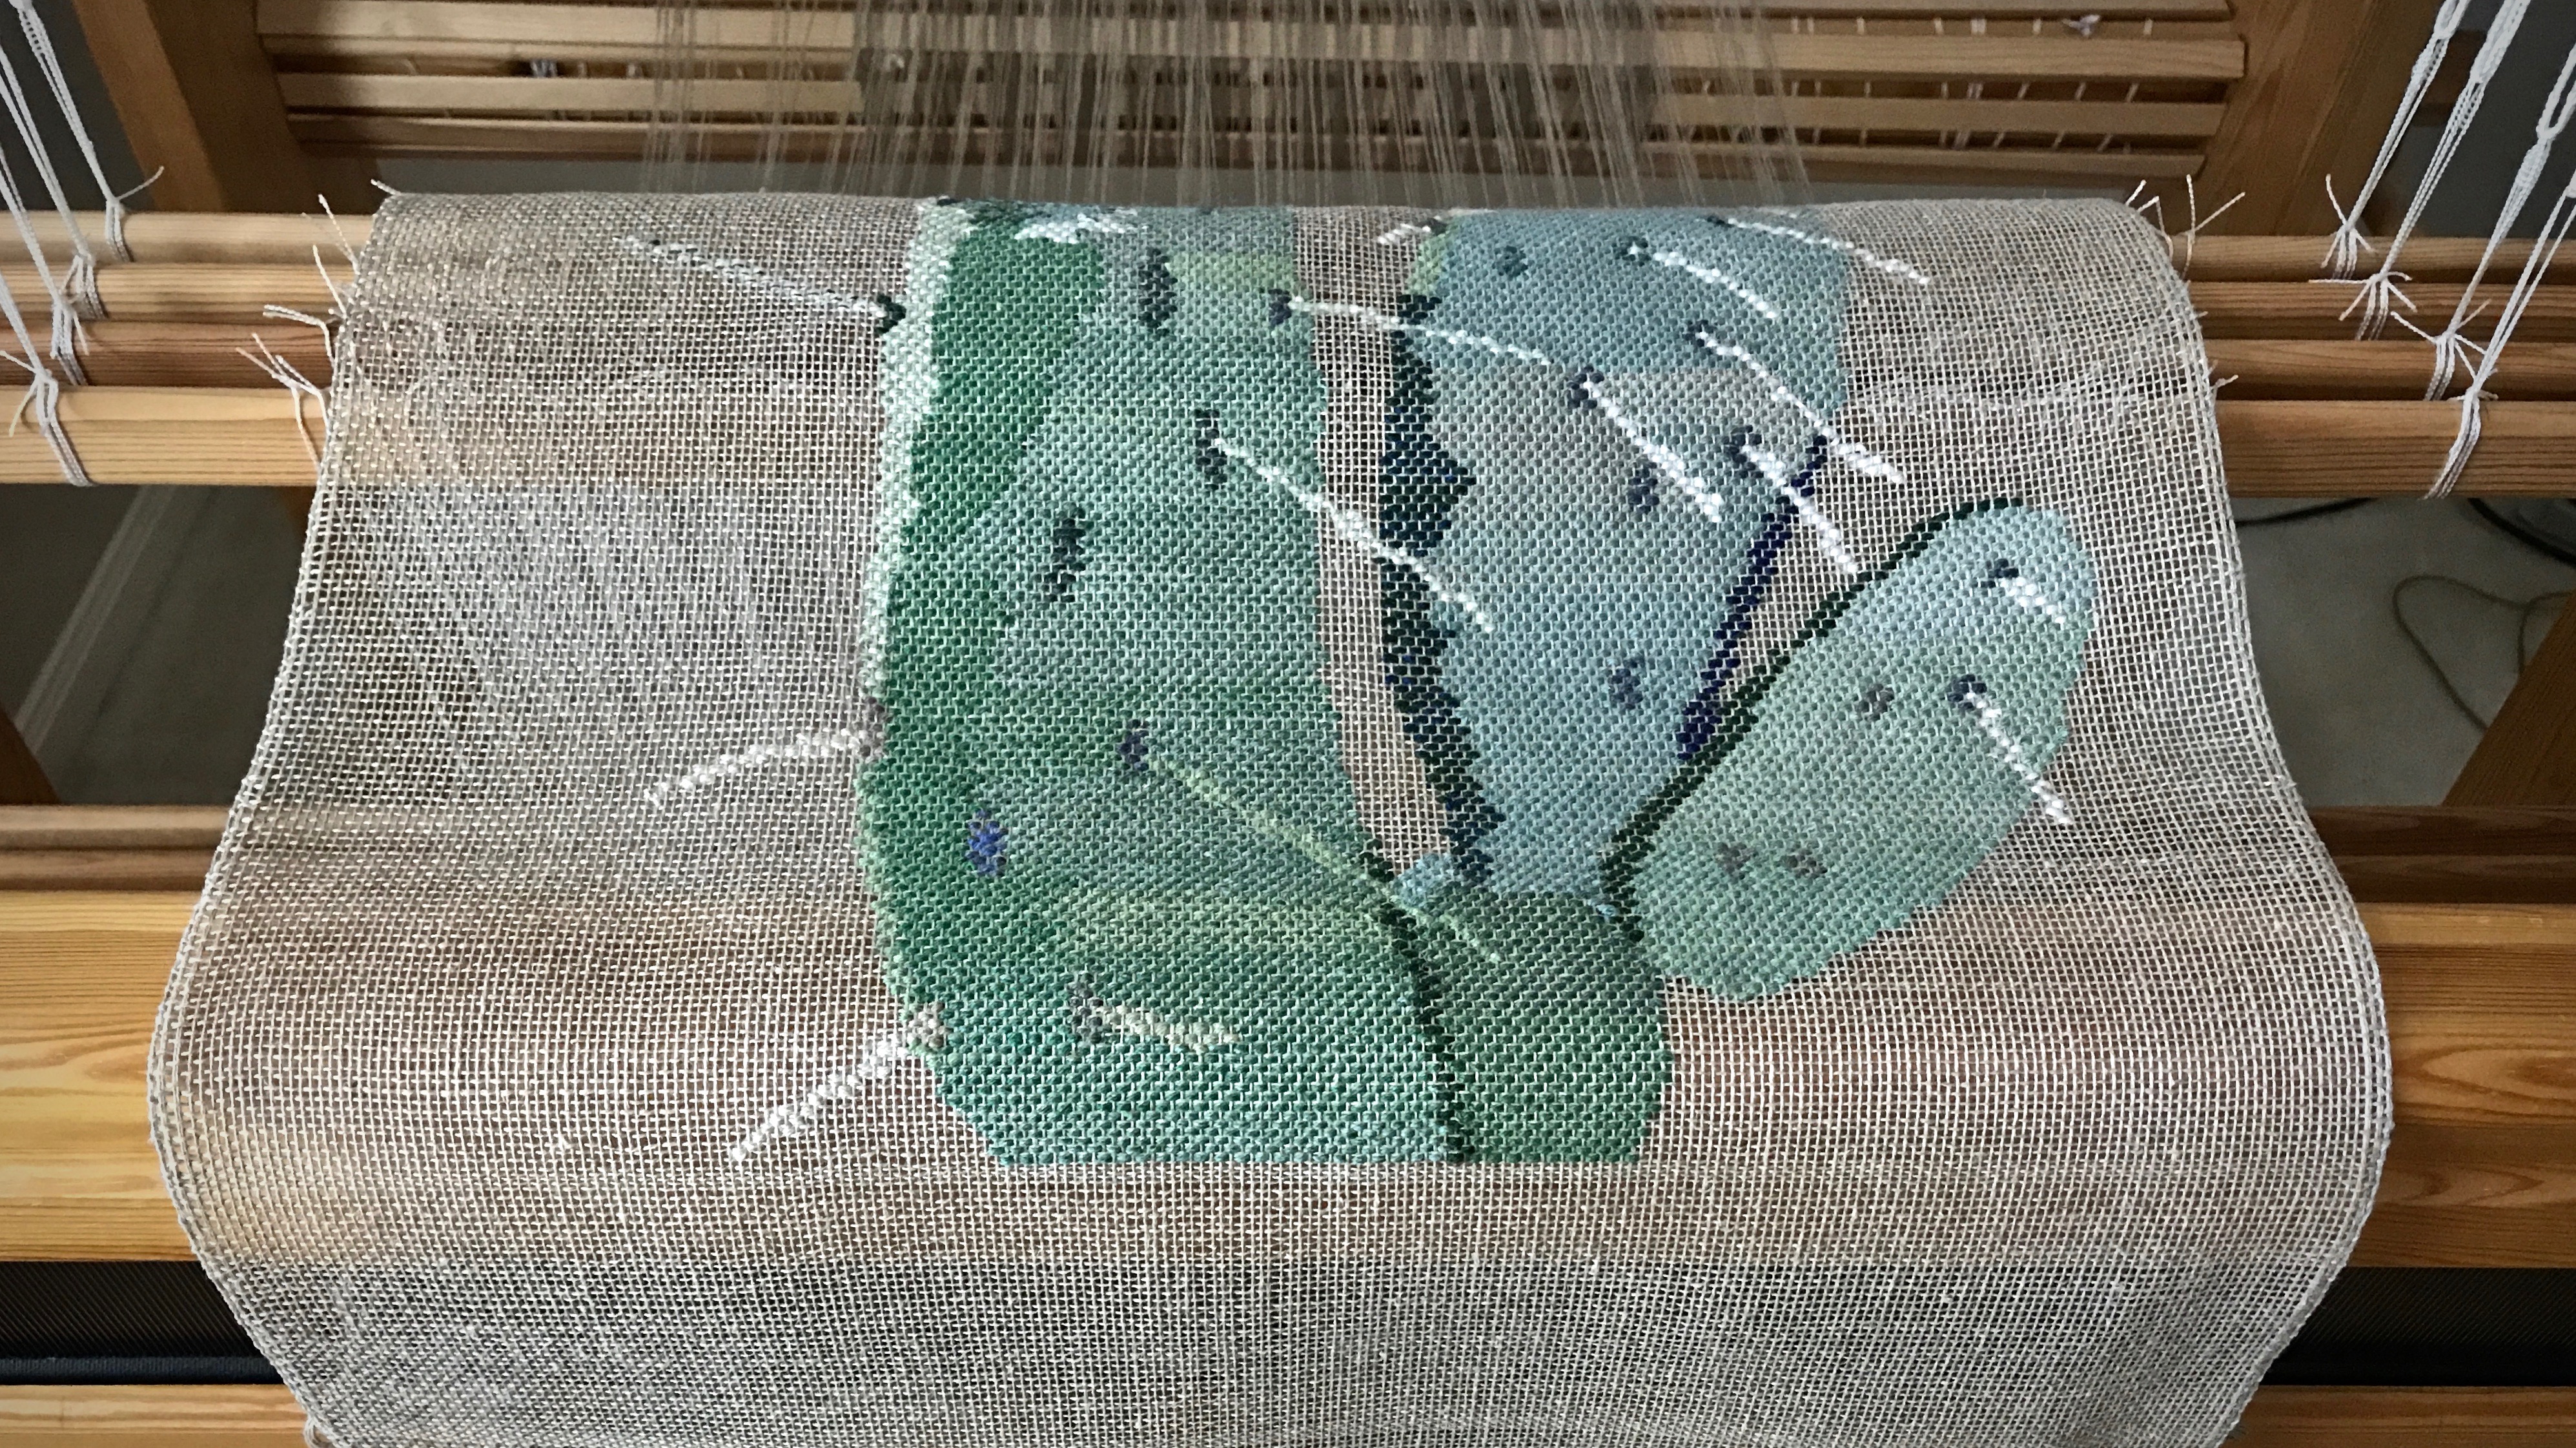
Transparency woven from the back means that all the weft turns are seen on the back. The front side of the weaving will have an appearance that is truer to the clean lines of the picture drawn on the cartoon.With the end in sight, anticipation of seeing the whole picture from the front grows!
Getting a glimpse of the true cactus picture made me want to see more. Looking for, and eagerly waiting to see the finished front-side of the transparency is like seeking truth. The lines in the design are obscured from the back, so we are compelled to keep going, keep advancing the warp, and actively look for the truth to appear. Love truth. The beginning of the cactus coming into view is a welcome sight that reminds me why I’m at the loom.
May you love what is true.
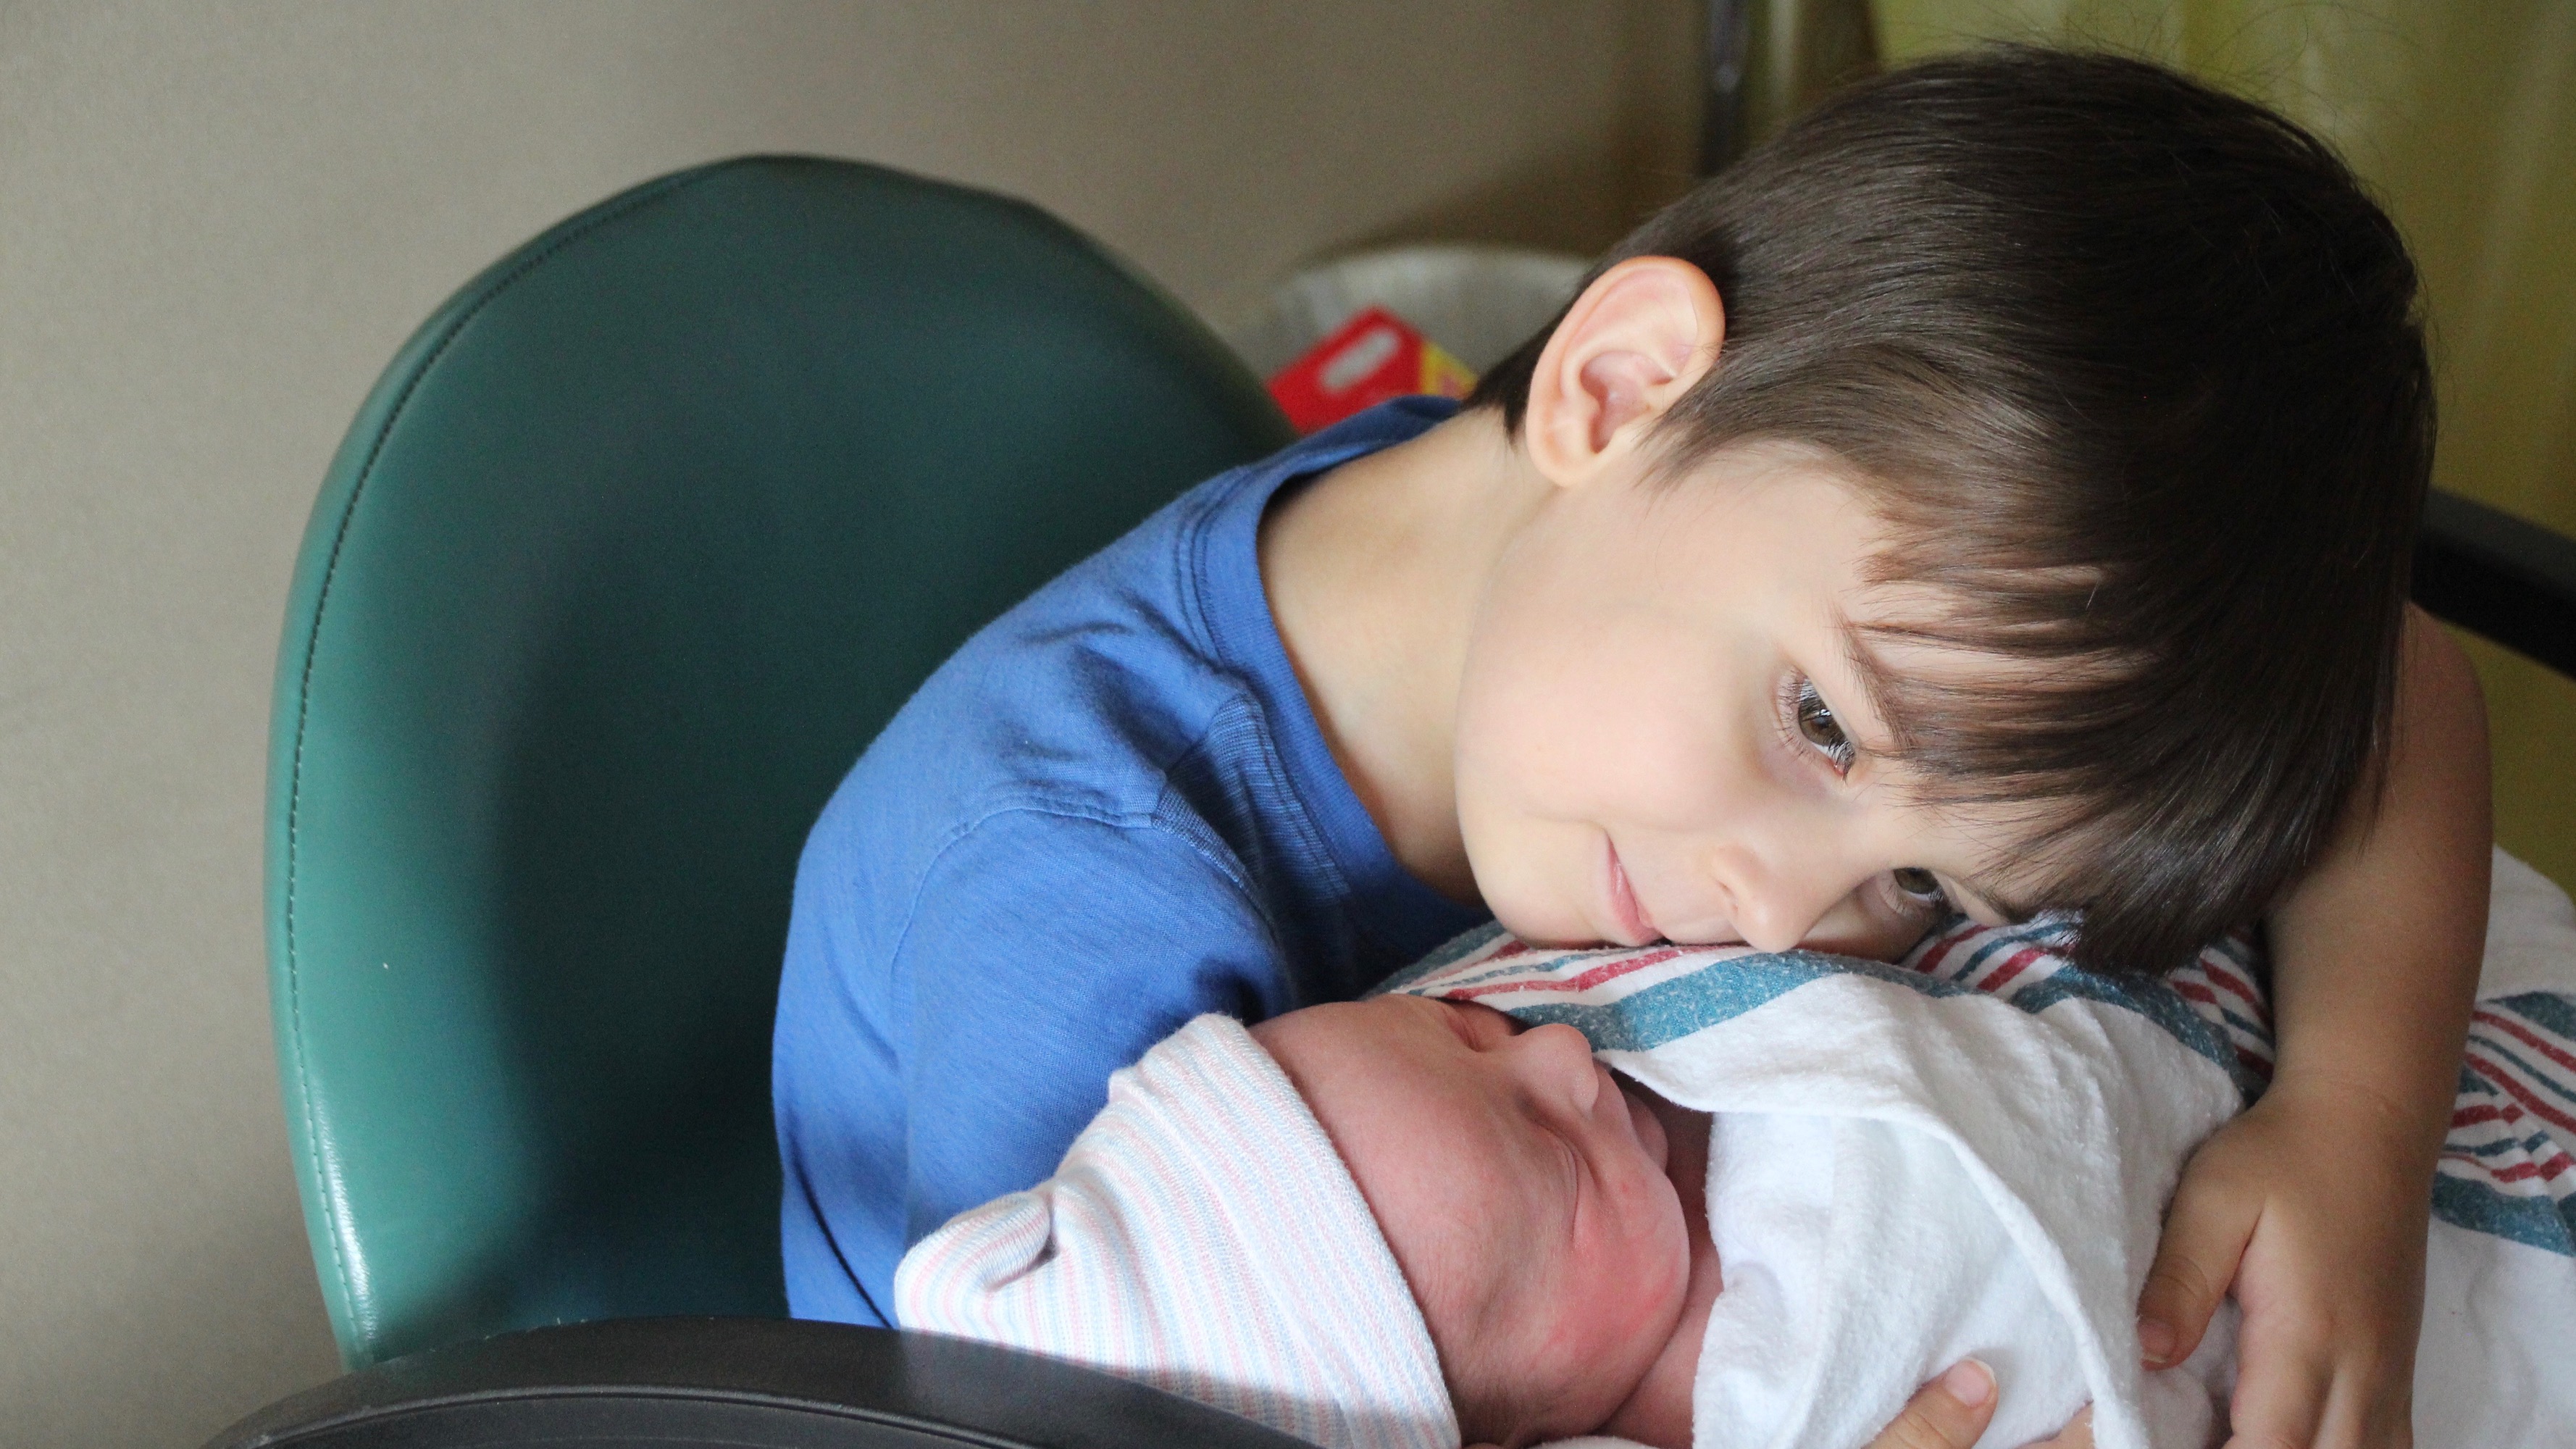
We welcomed a new grandson into the world a few days ago!Big brother loving his new baby brother. Truth matters because of these precious little guys.
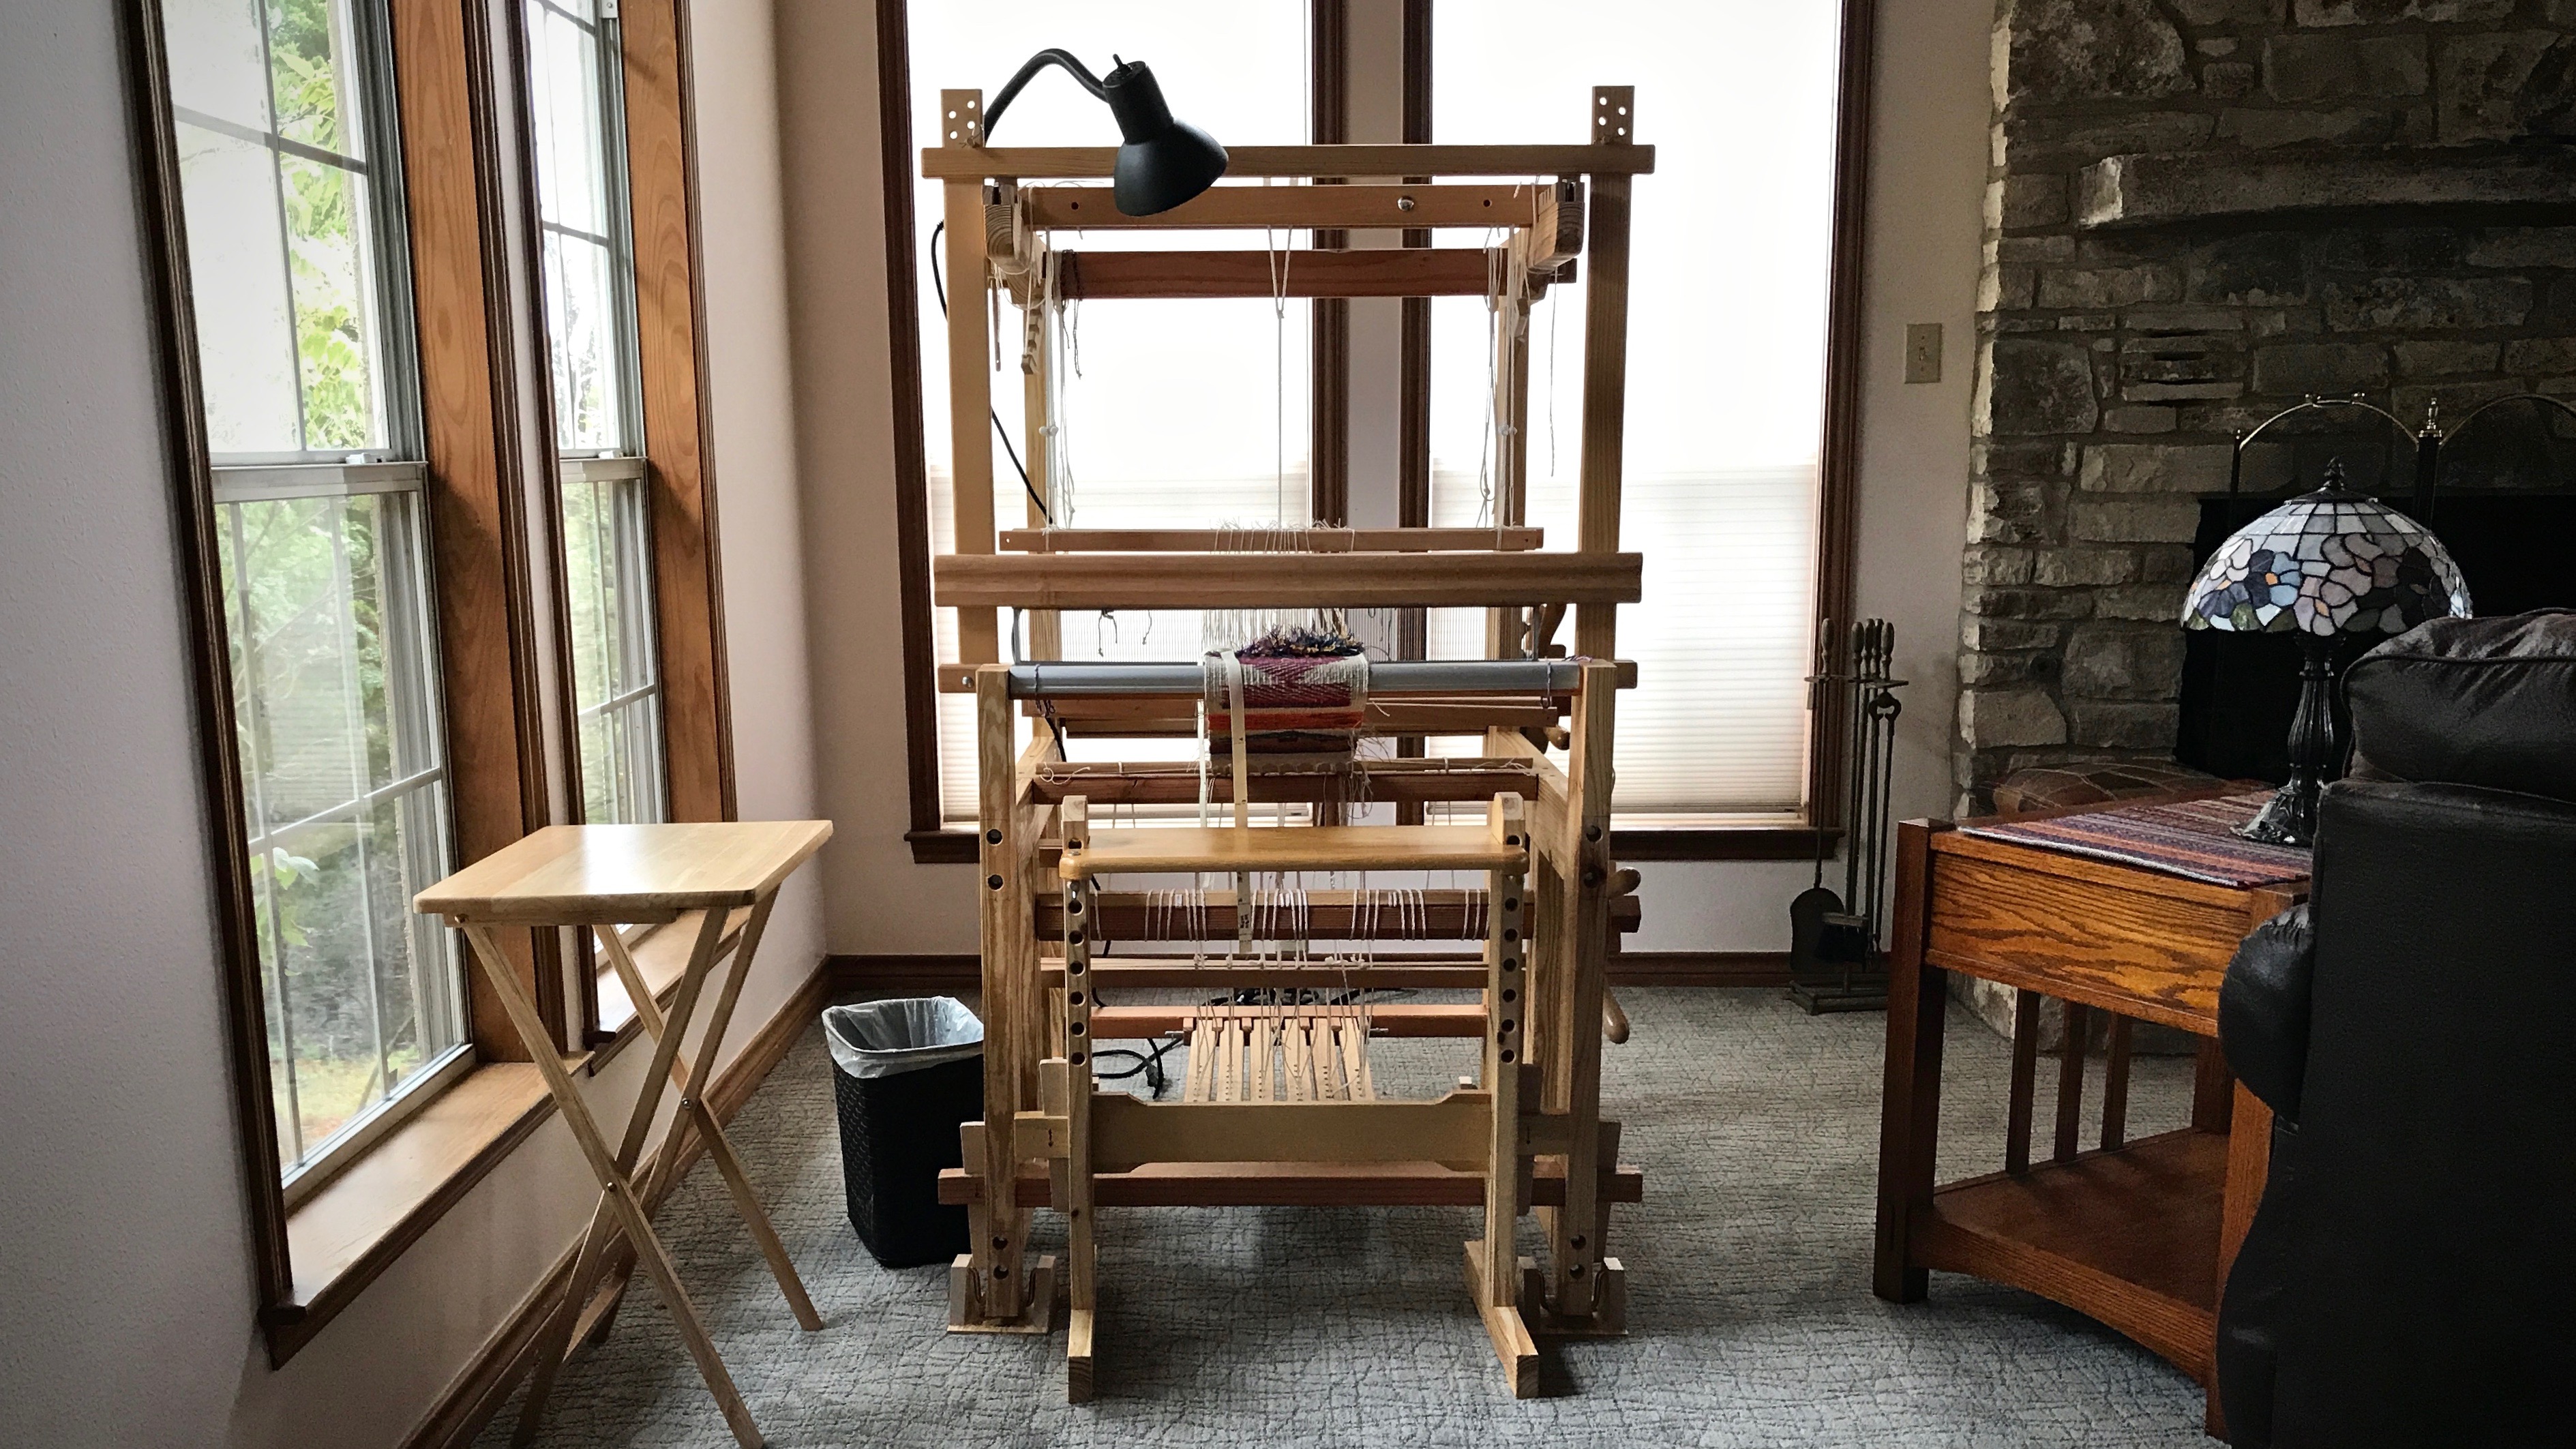
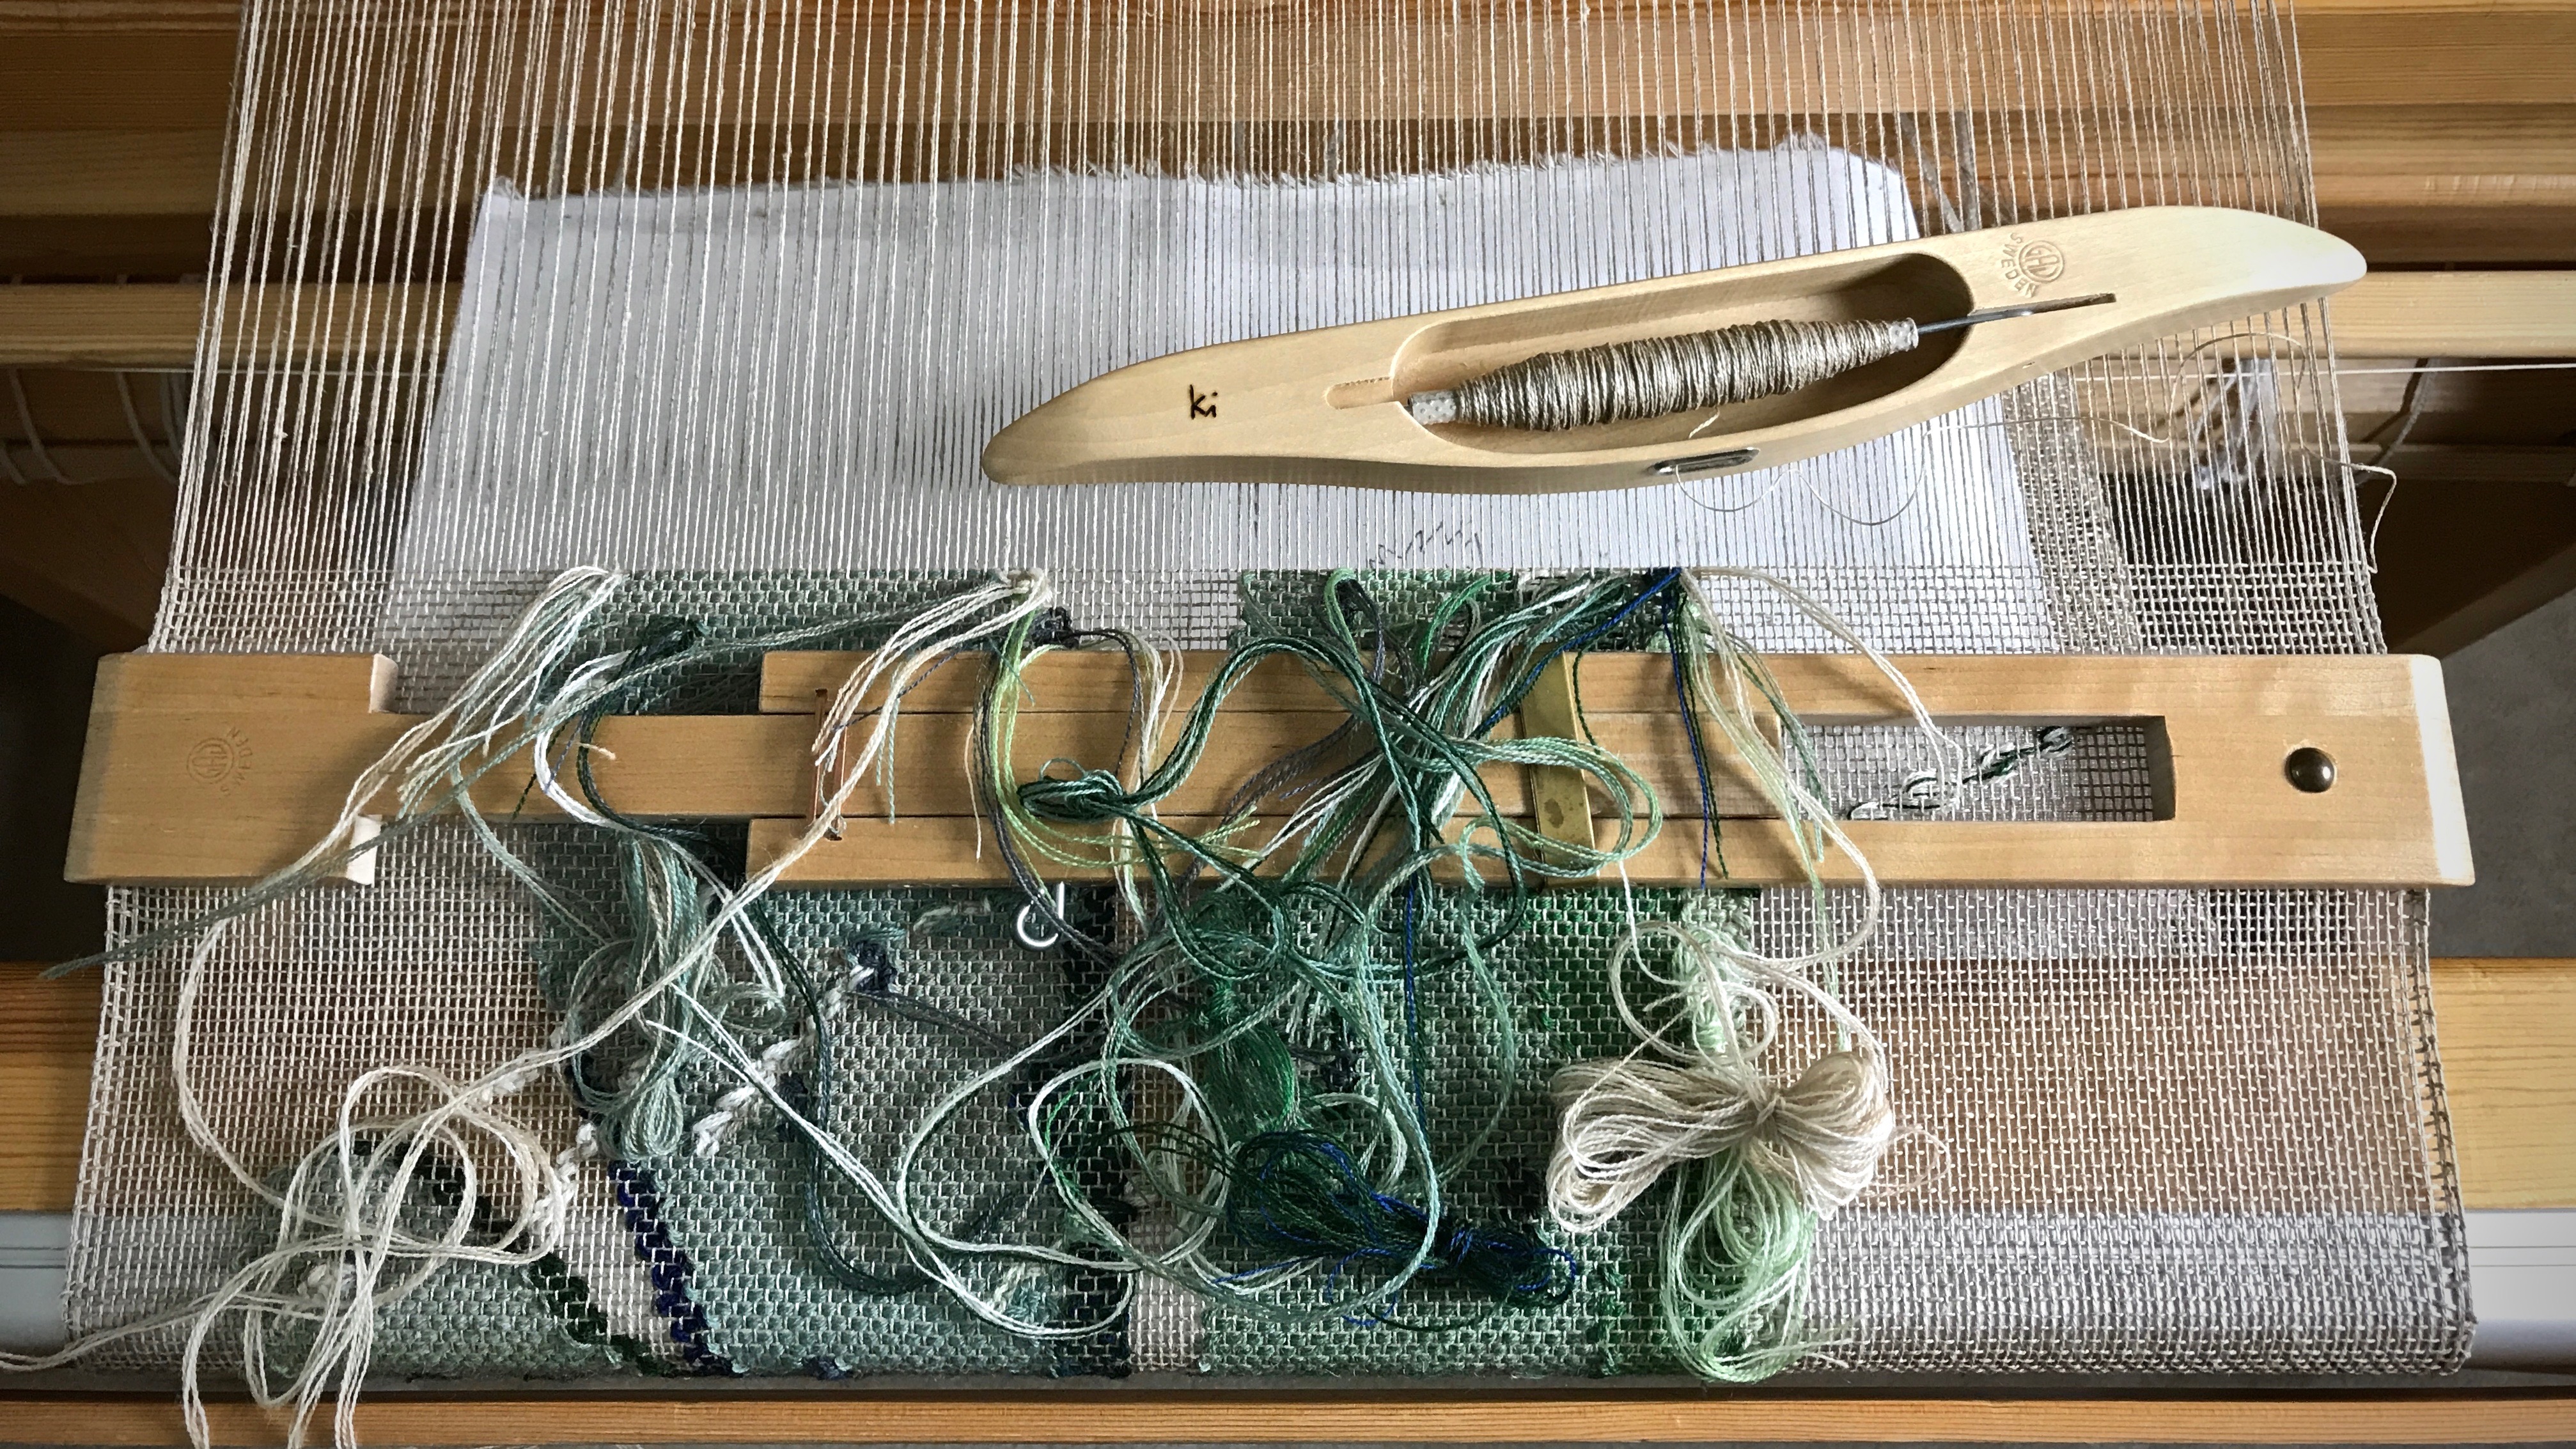
This loom doesn’t get first priority. This sweet little loom is at our Texas hill country getaway. Usually there are several fixer-upper projects to be done around the place. But I’m glad the loom is there. It calls to me to come and sit down, to get absorbed in linen threads and colors. The loom is a resting place for me. A place where ideas take shape and new dreams begin.
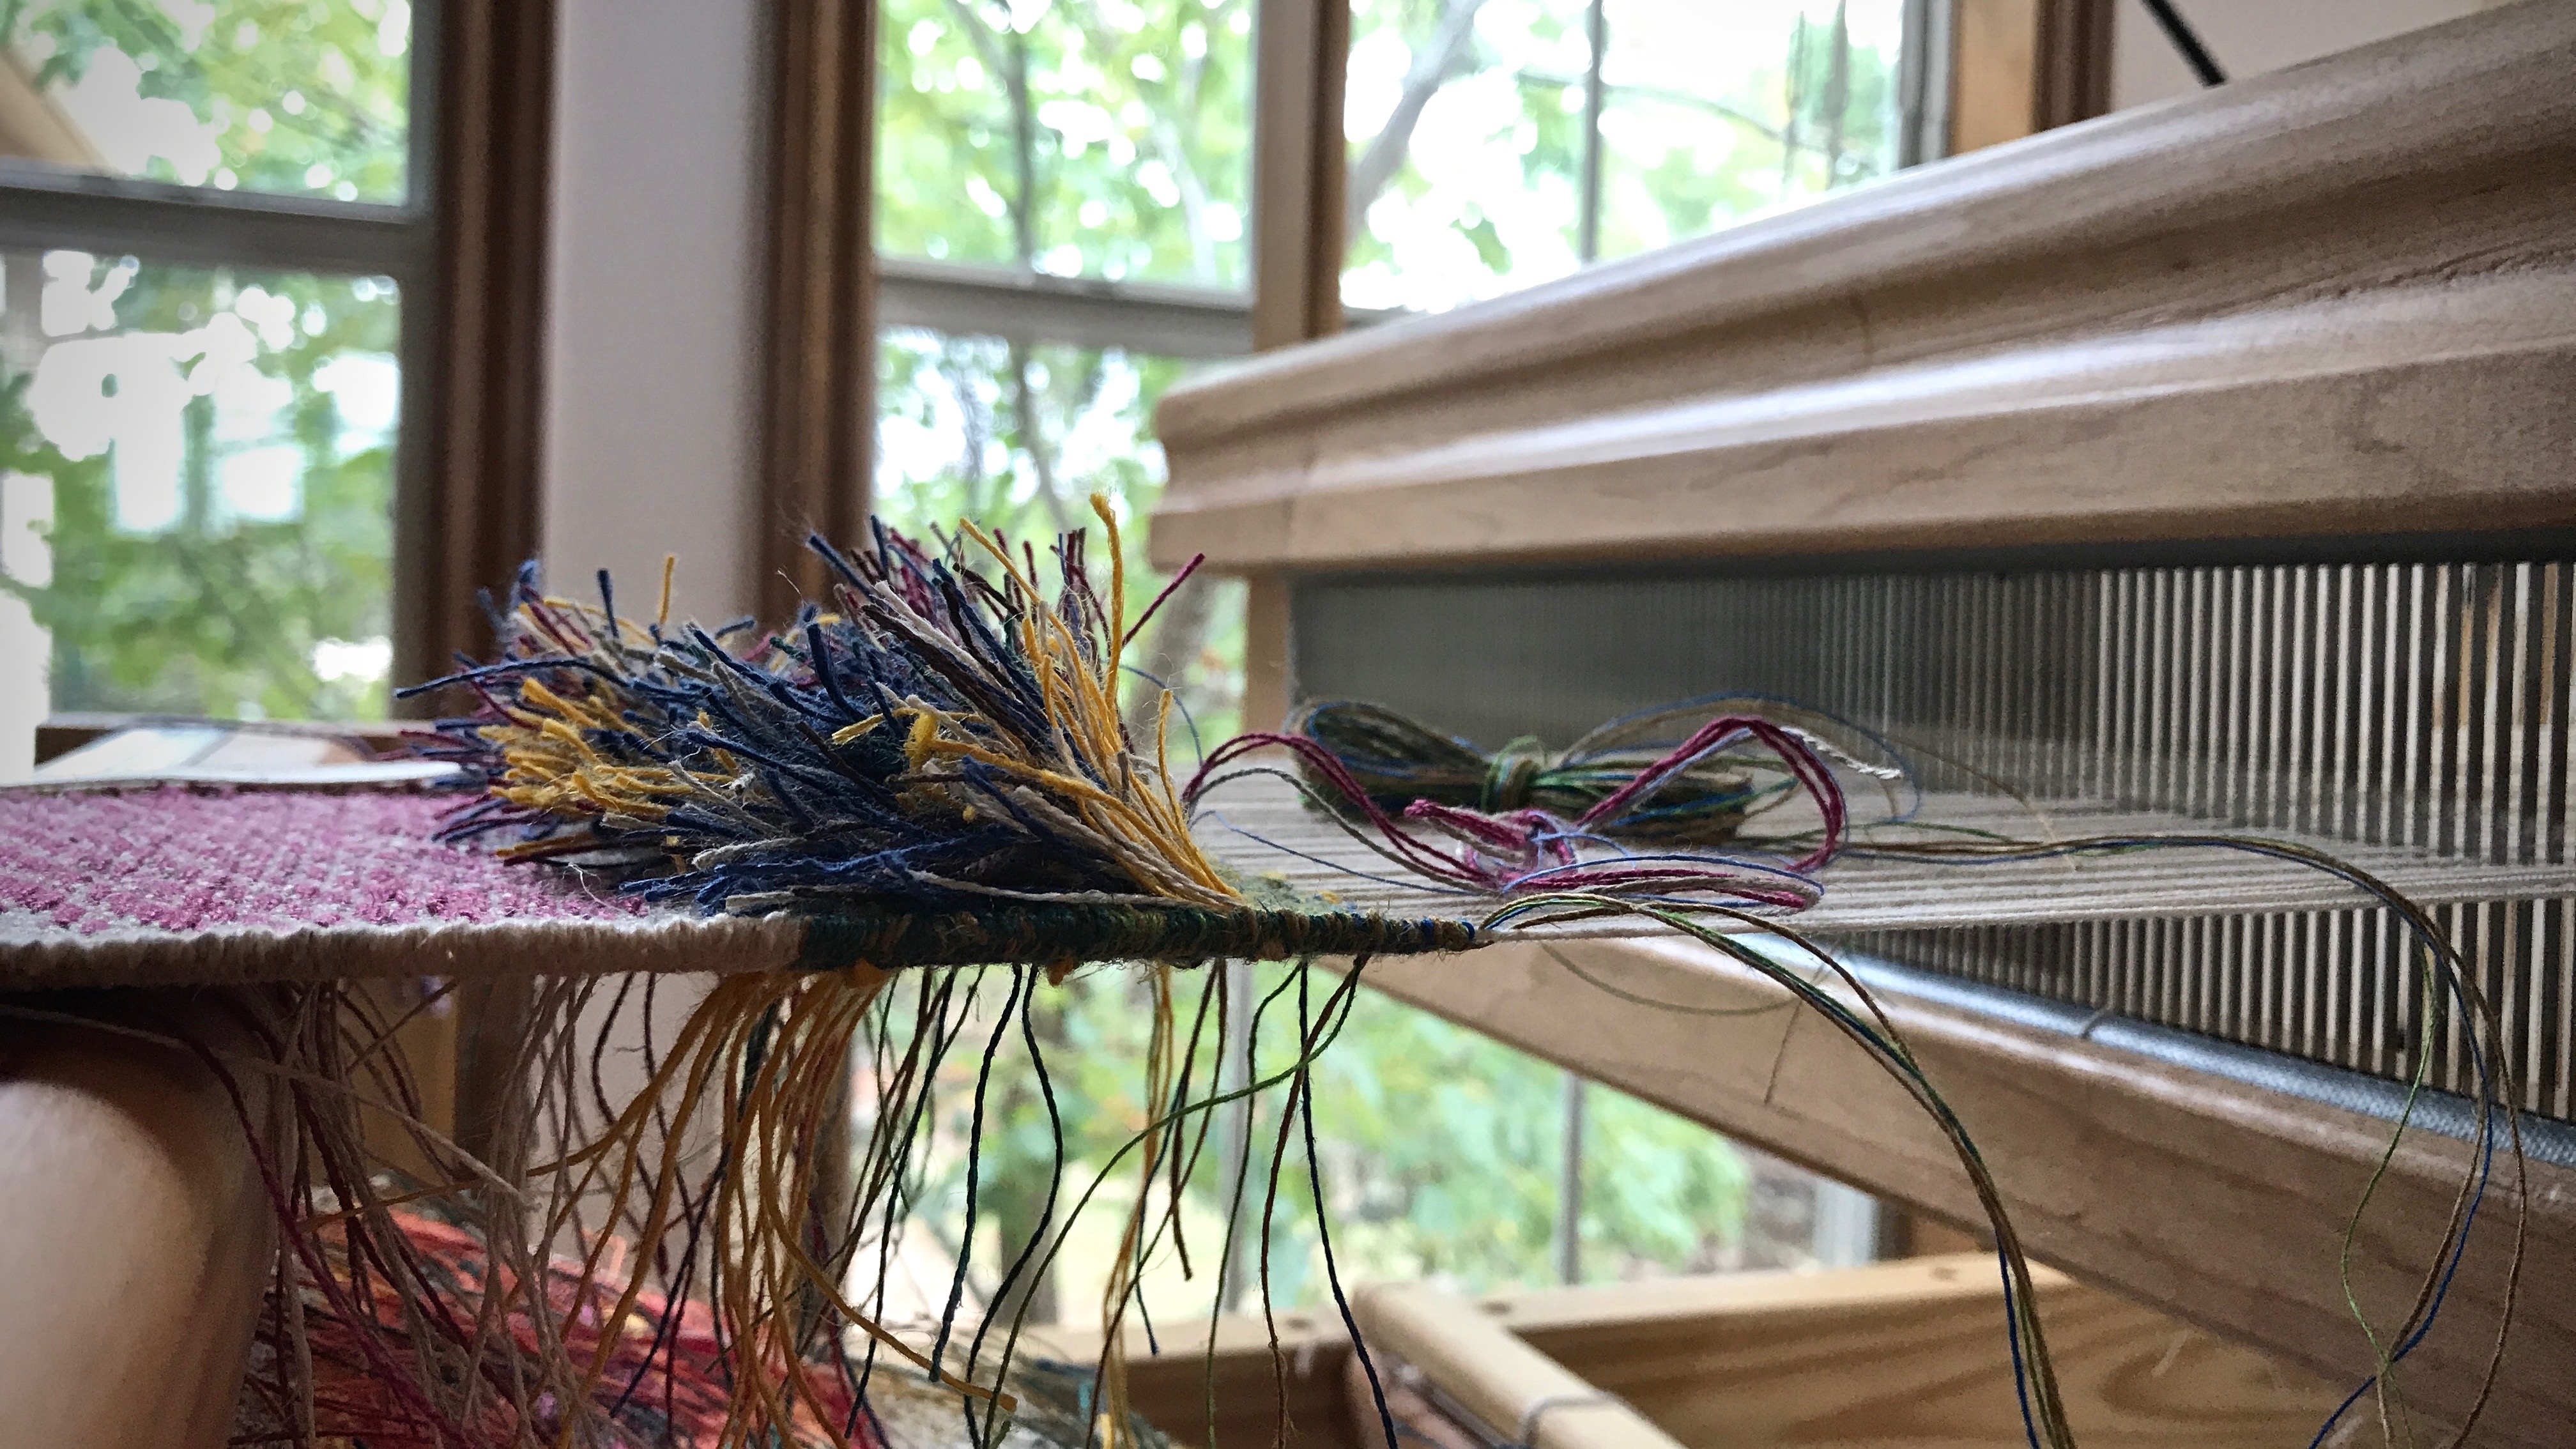
Sweet little loom sits in a corner of the living room beckoning me to come and rest for a while.Green weftbutterfly weaves the background. A yellow bundle, not seen, hangs under the warp and is added here and there for the “dots” in the green. Rya butterflies are in assorted combinations of colors. All linen.
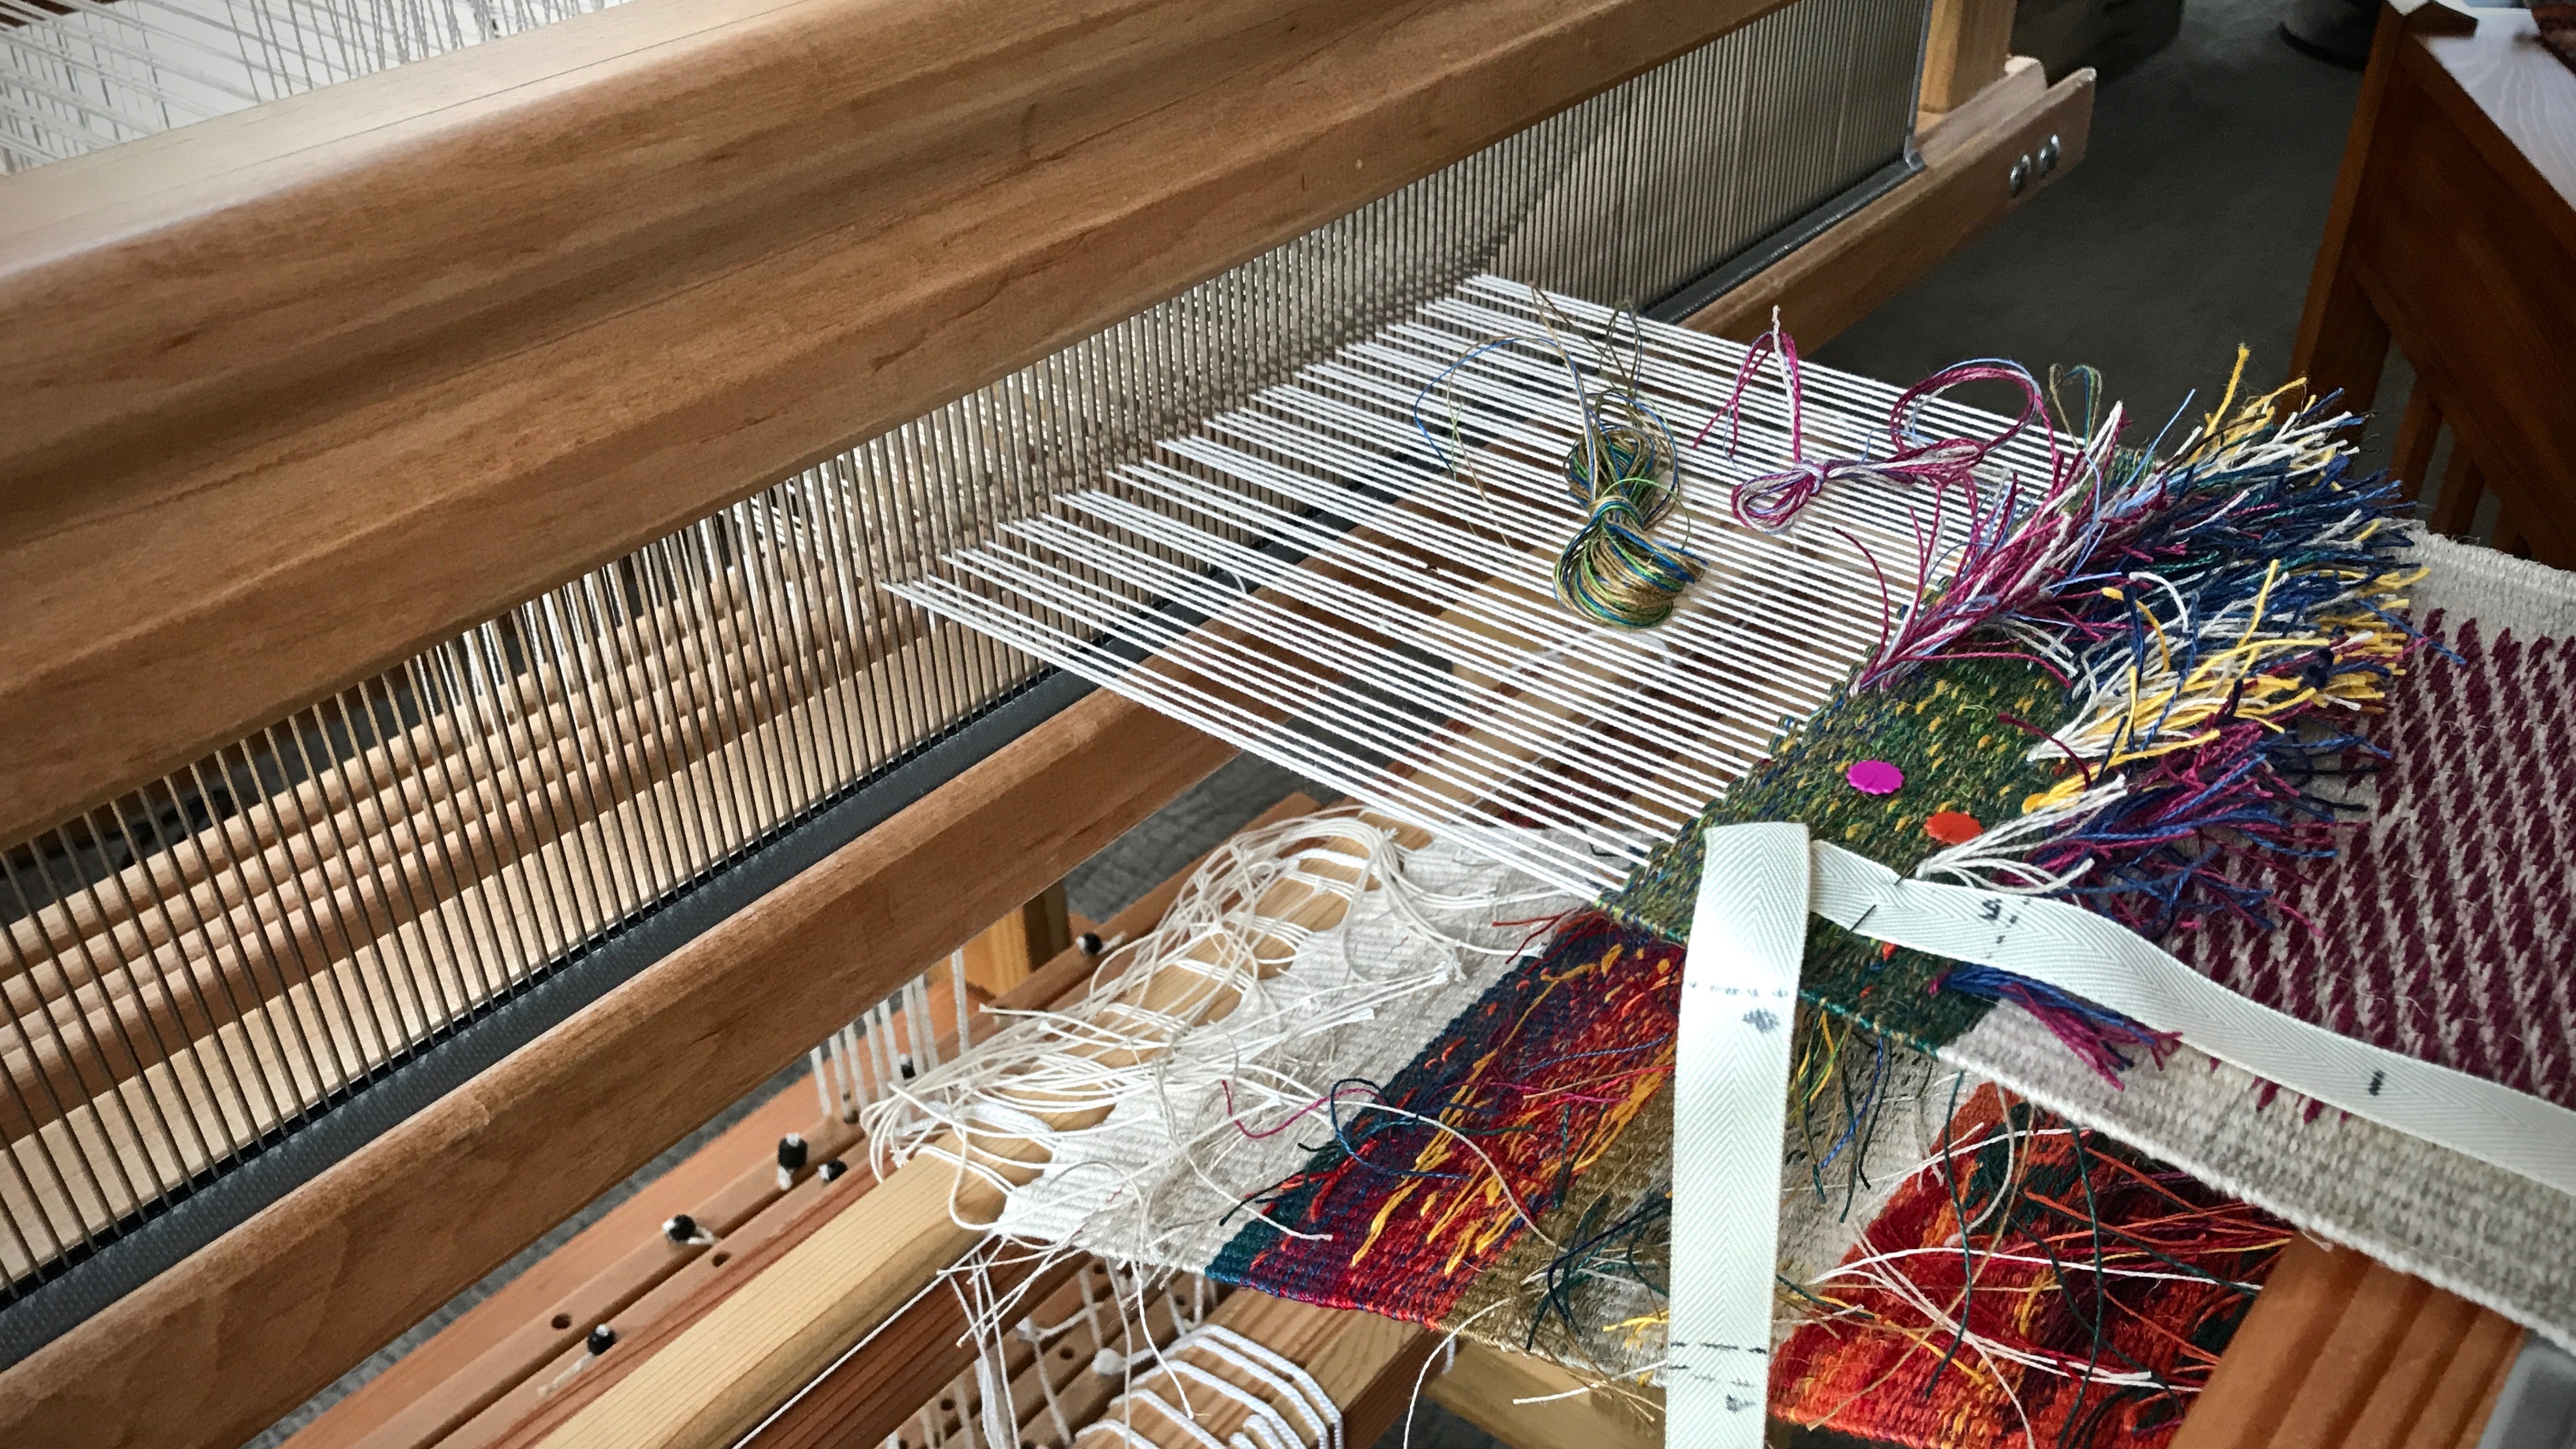
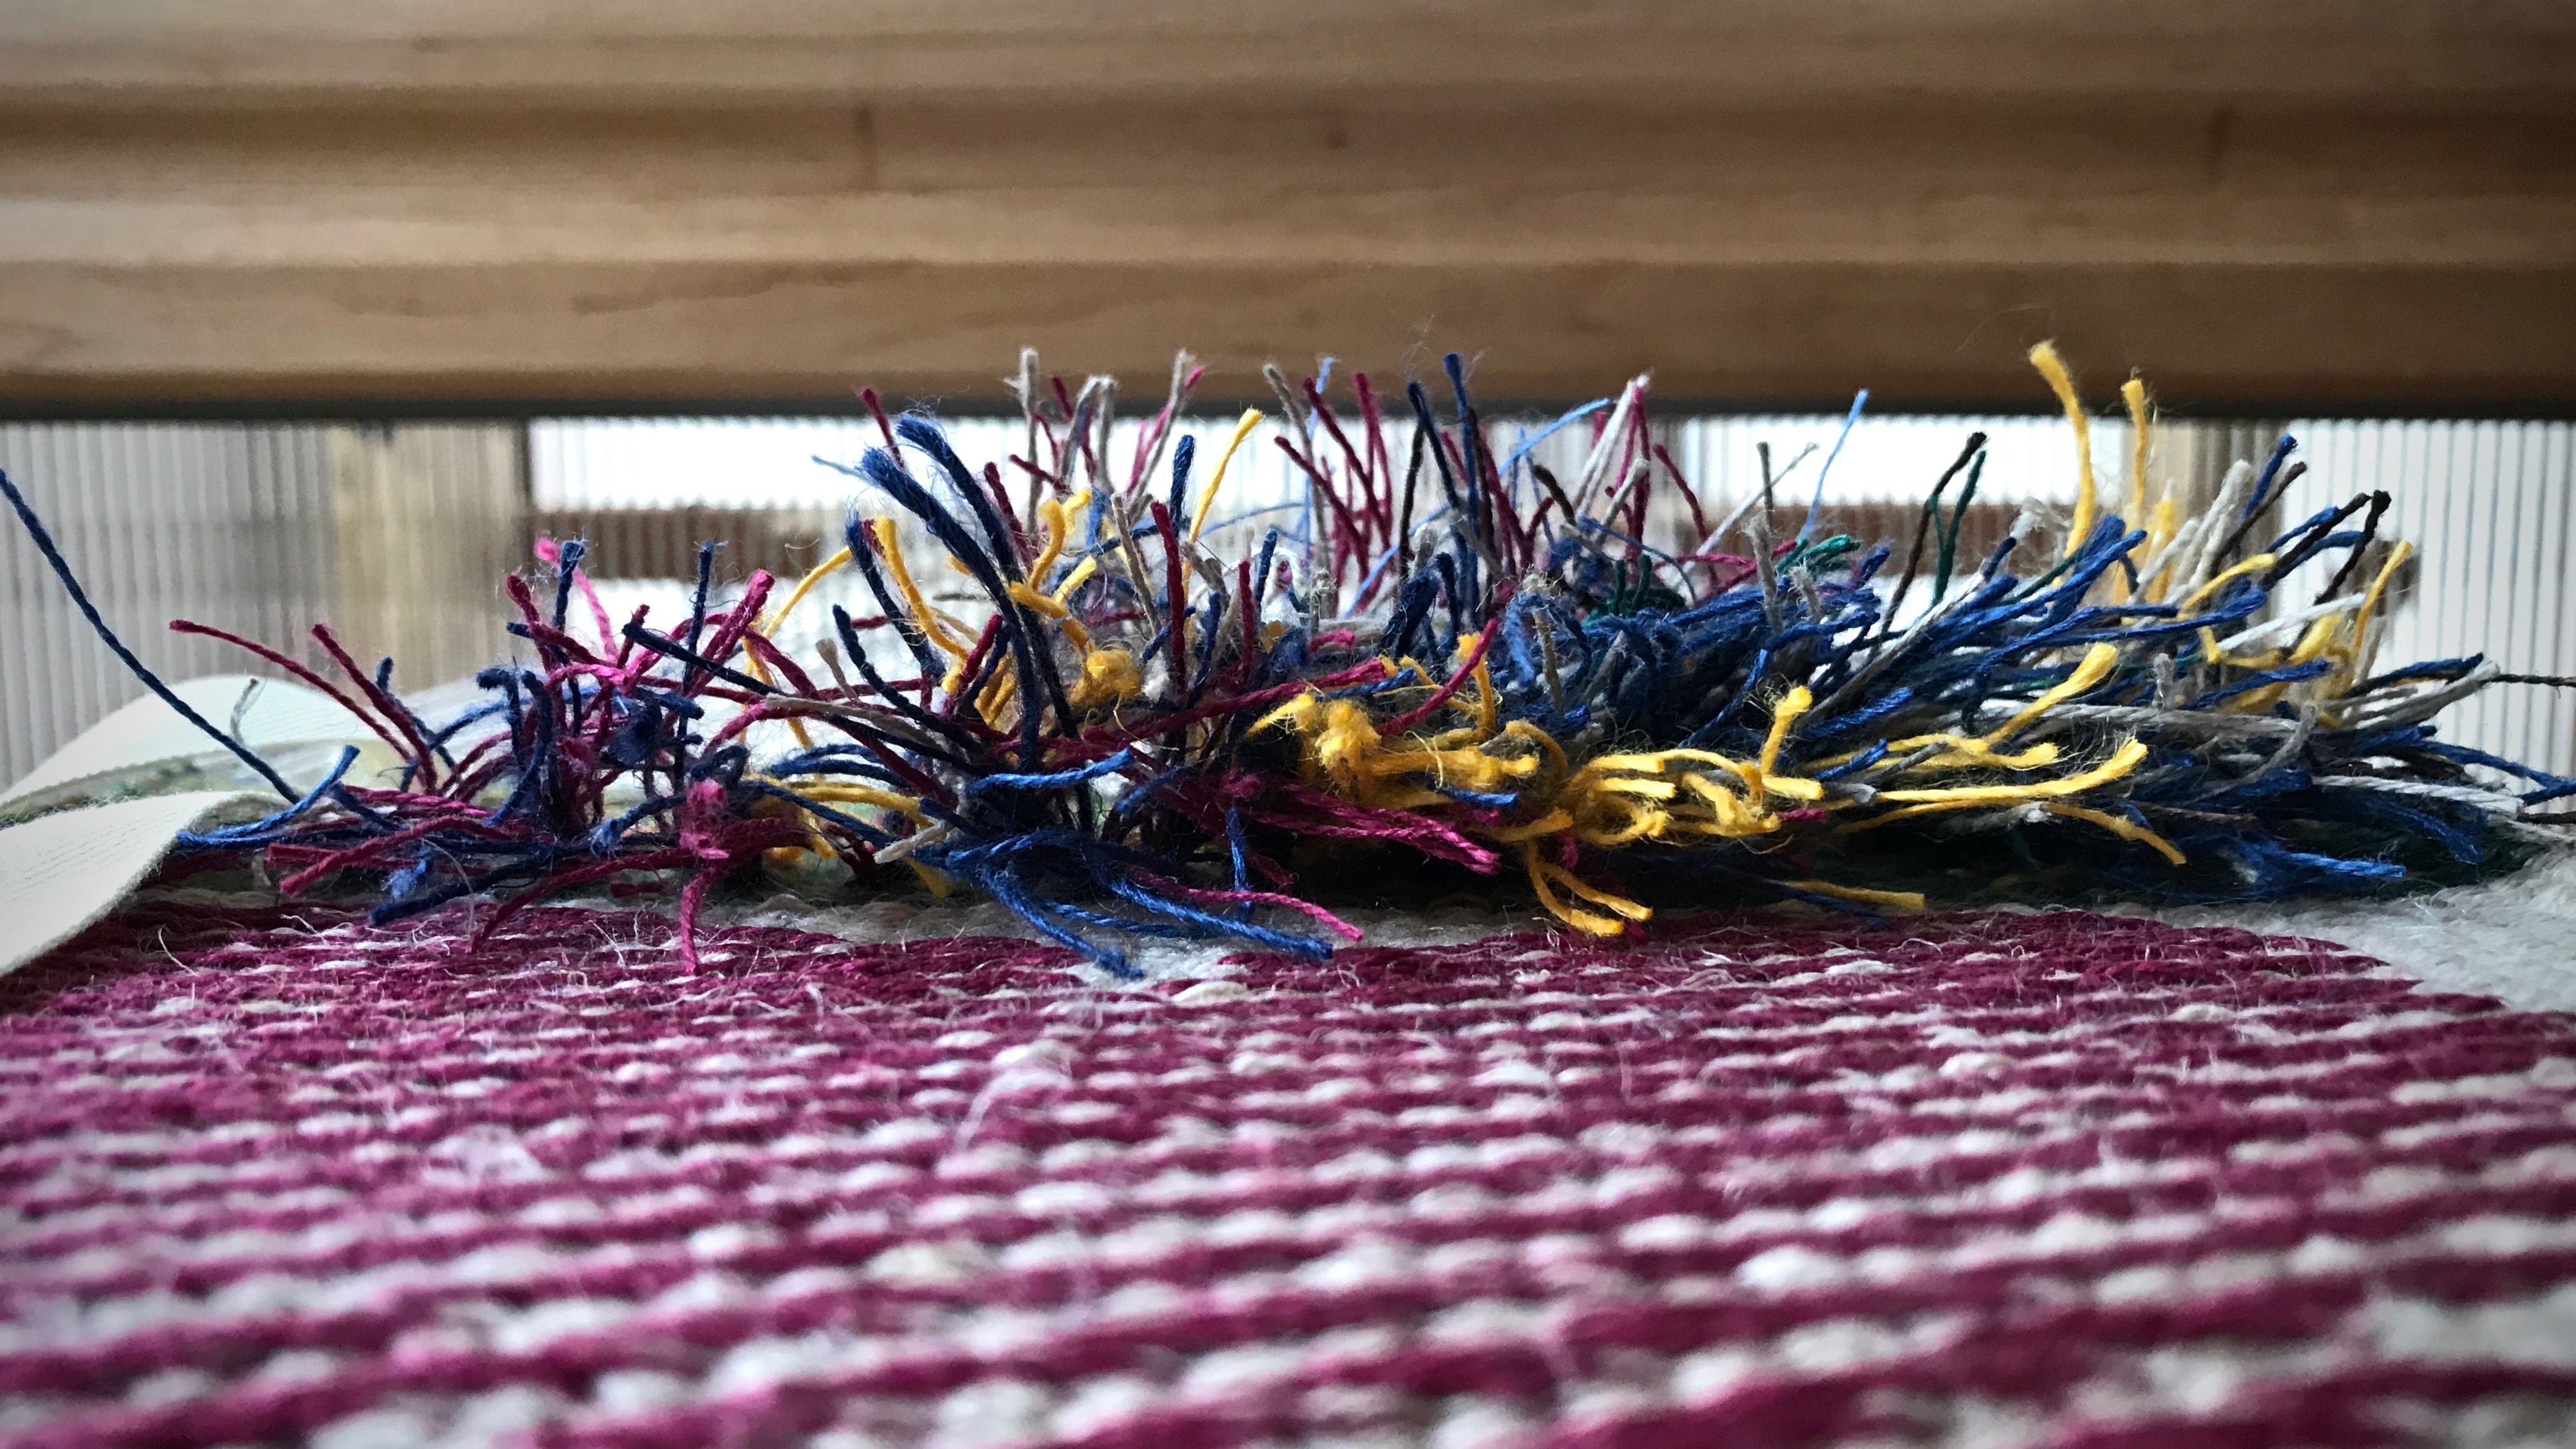
I’m at the rya section of this tapestry and inlay sampler. It is a fun exercise in creativity. The rya knots are tied using a continuous weft bundle. After a few rows are woven I clip the loops that are formed, and trim them down a little to shape the pile.
Explosion of linen threads. Several sizes and types of linen are combined in the rya butterflies that are used to make the rya knots.Weaving from the front means that all the loose inlay weft tails, and spliced wefts, are hanging down on the back.
Make time for rest. We need periods of rest built into the rhythm of our lives. Intentional rest acknowledges our human limitations and inadequacy, which leads us to put our trust in the Lord. And that is where the best hopes and dreams get their start.
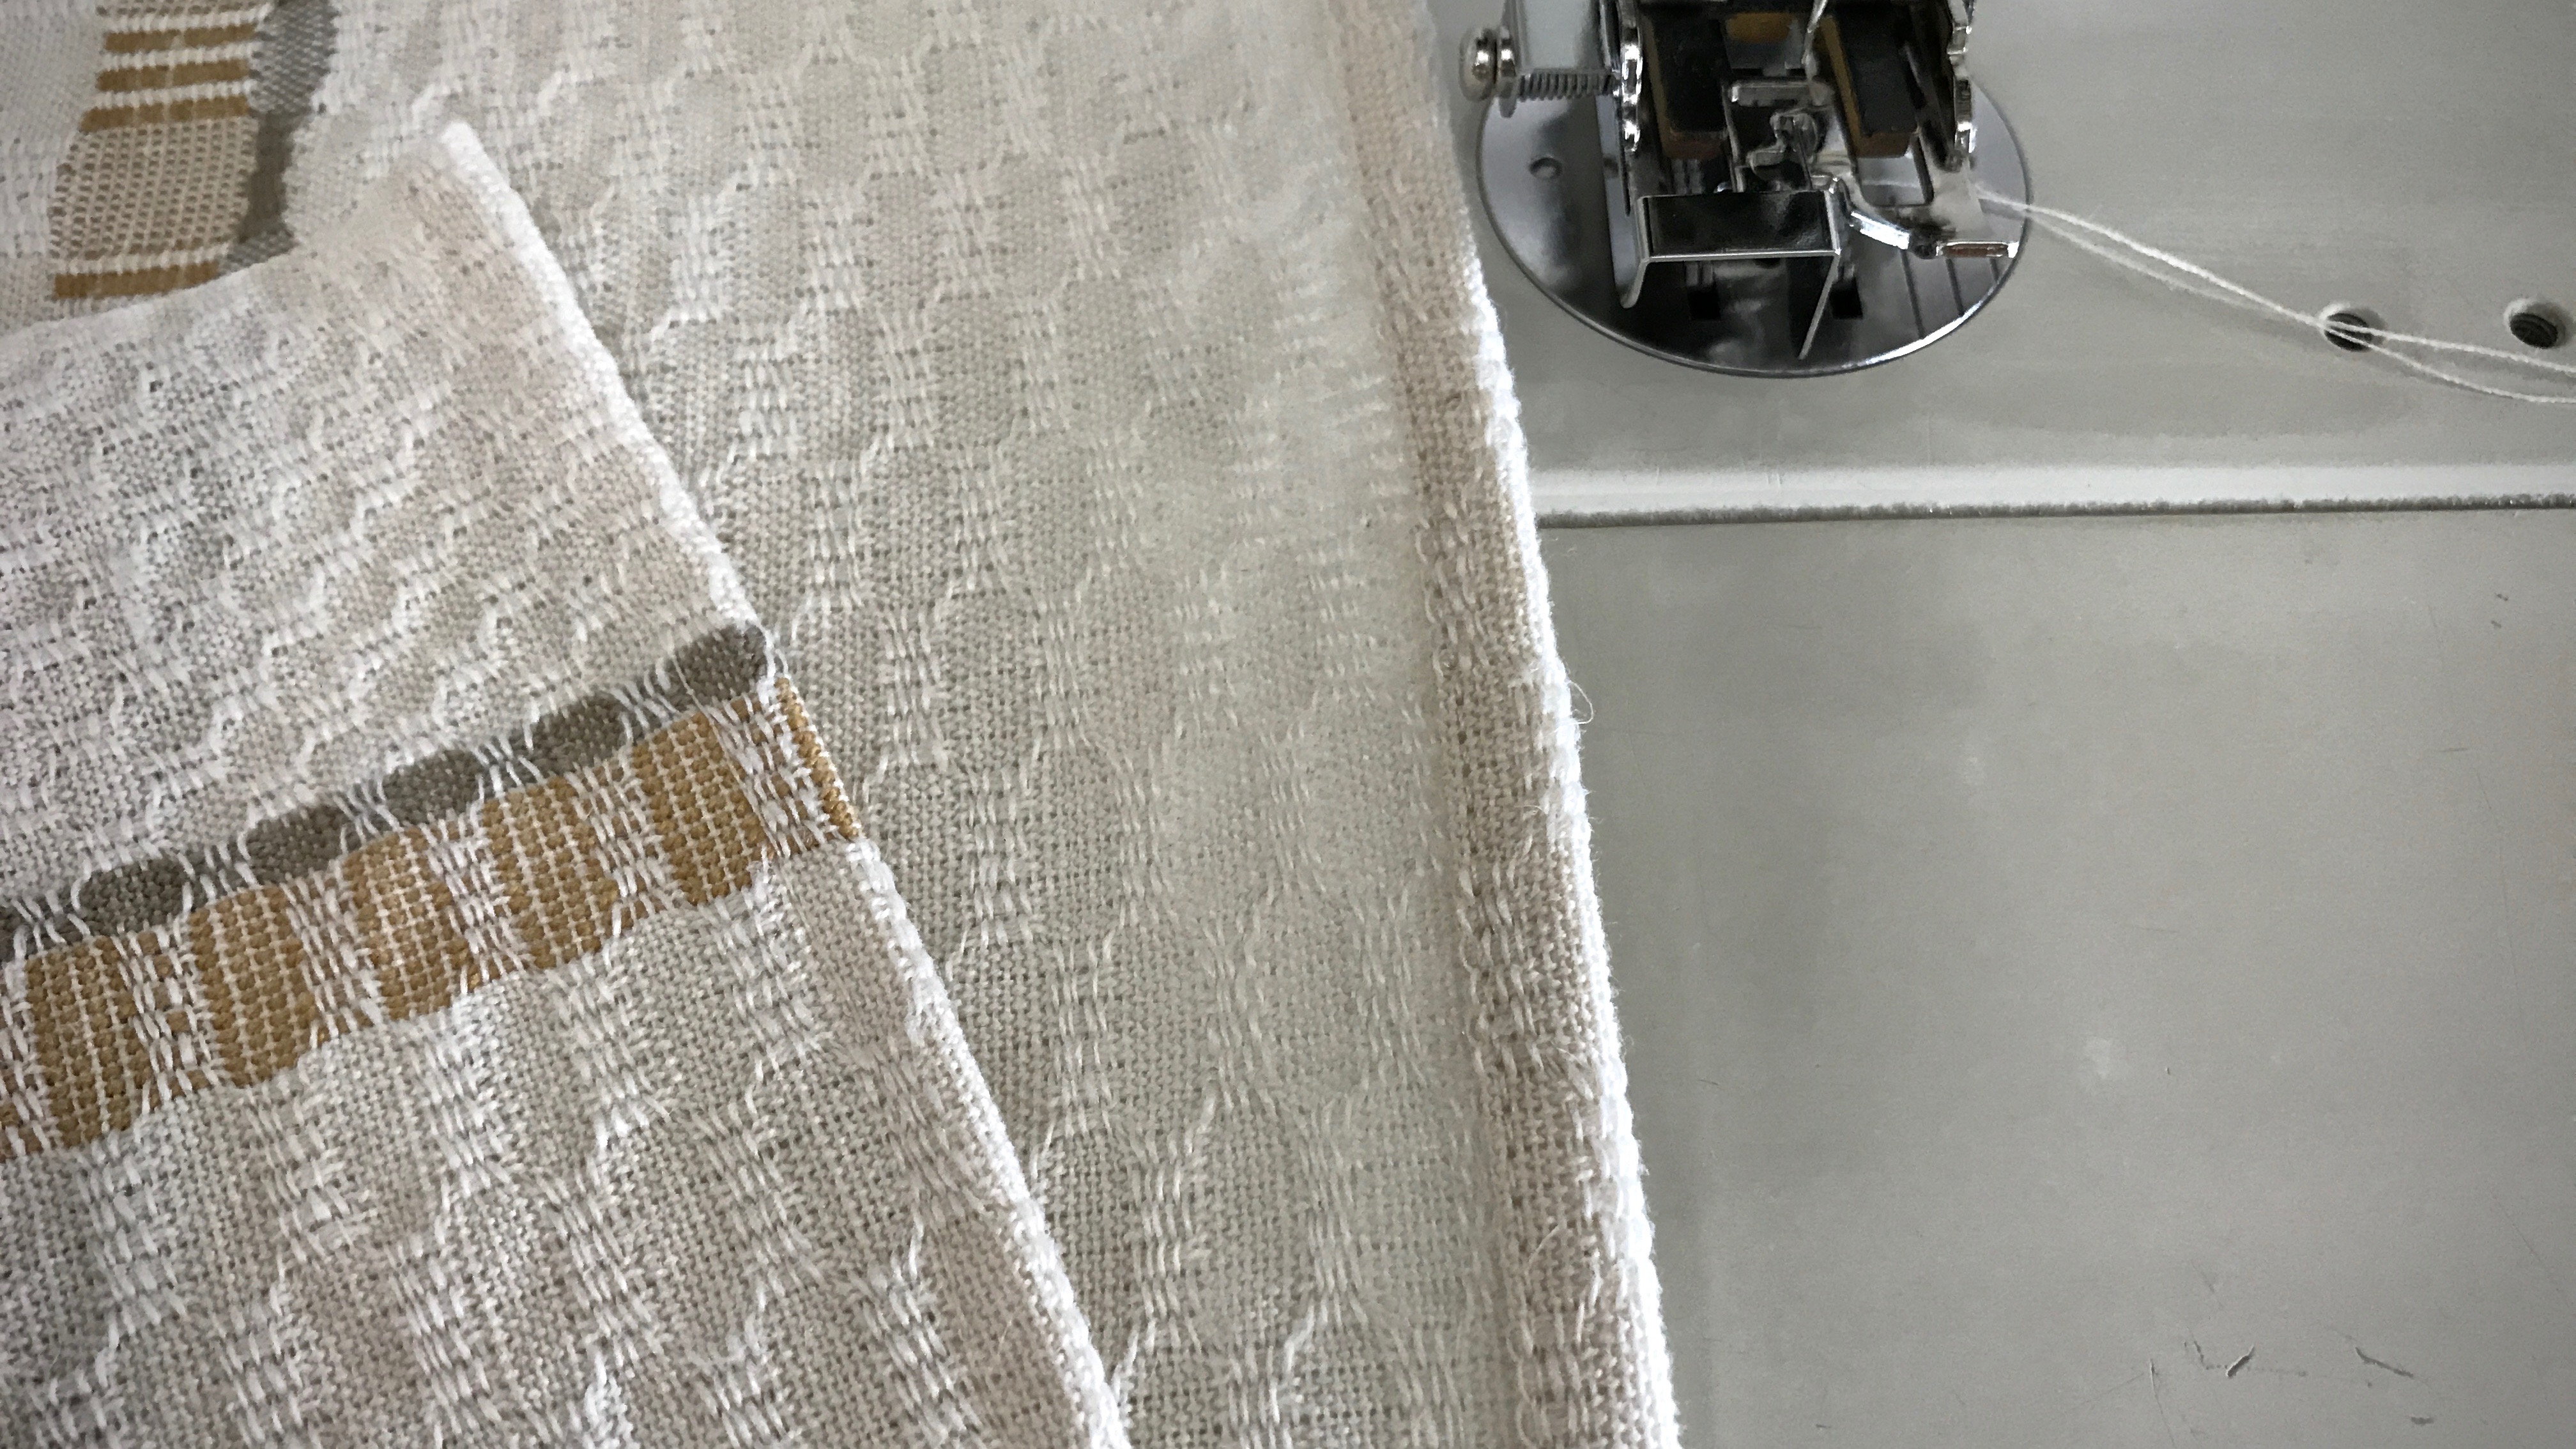
Hems shouldn’t be noticed. At least, not at first glance. I don’t want the stitching of the hem to detract from the overall handwoven quality. Decorative items, like this table runner, deserve a hand-stitched hem. But for functional pieces, like these tea towels, I stitch the hems on my trusty old Bernina sewing machine. This ensures the durability I want for something that will be thrown in the washer and dryer again and again.
Long M’s and O’s table runner is hemmed by hand using an invisible hem stitch.
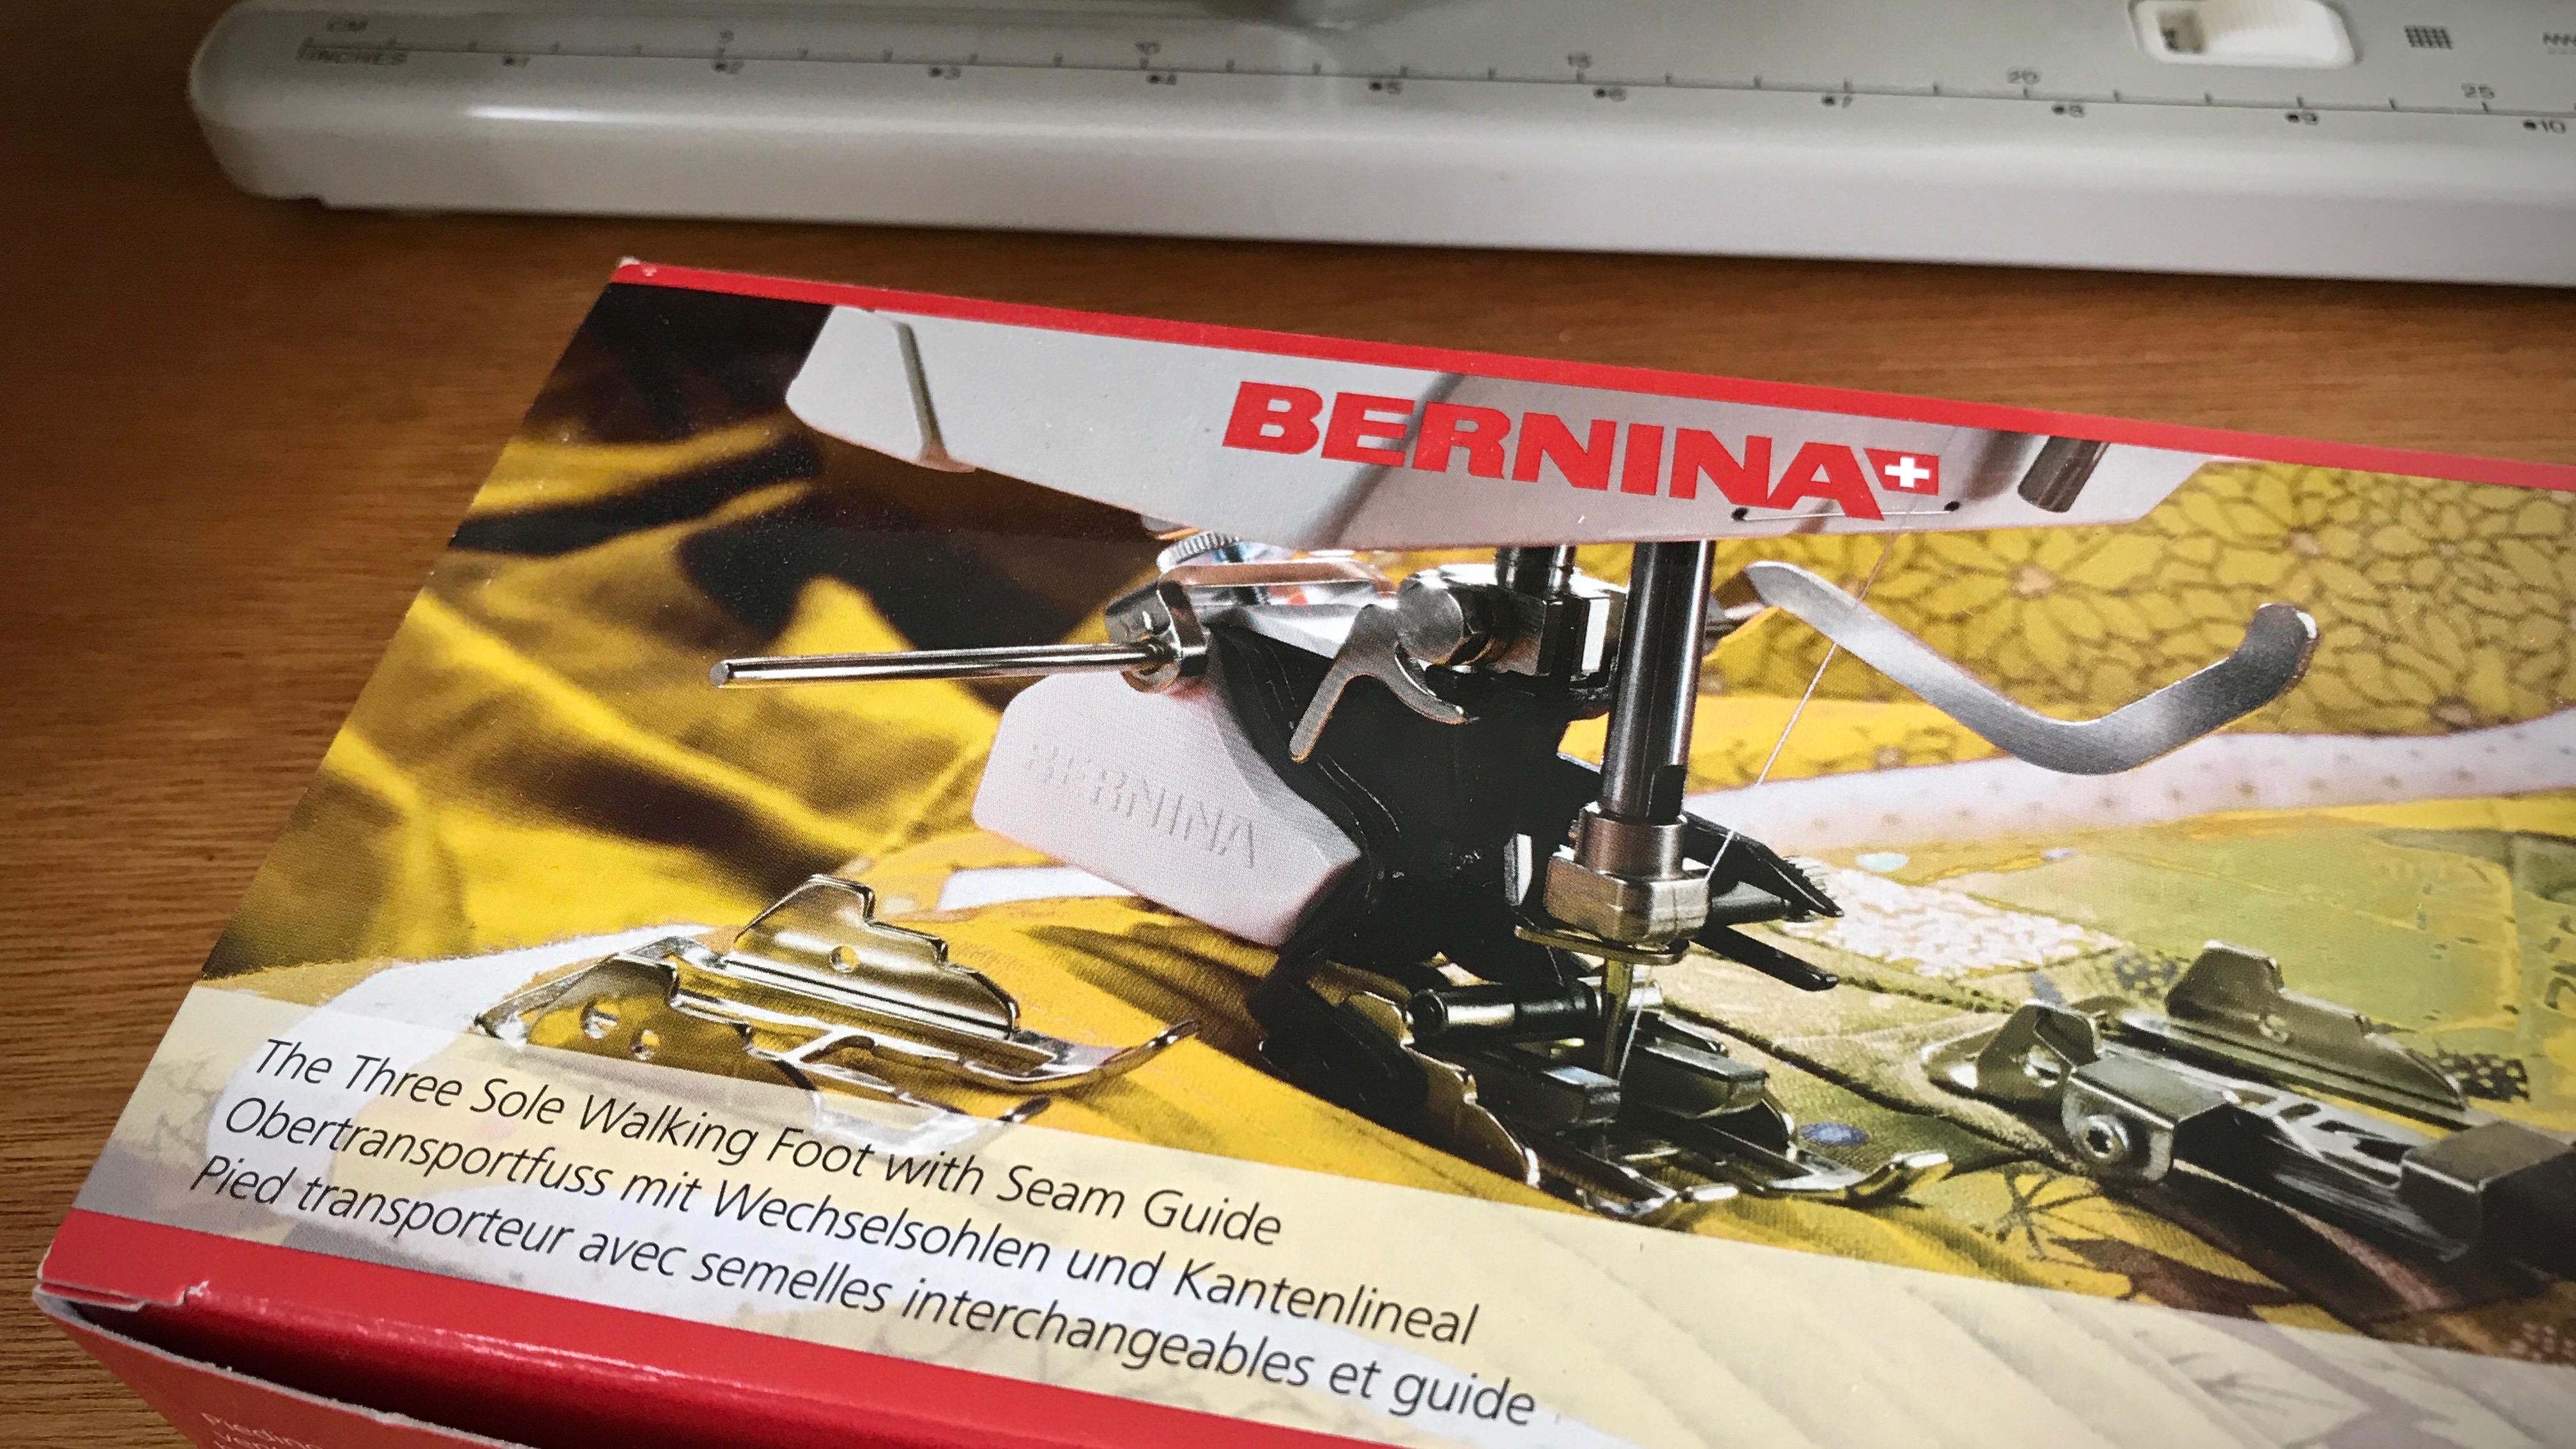
Last year I purchased a Bernina walking foot through my local Bernina repairman. It was one of the best sewing investments I have made. (Don’t be fooled by off-brand “Bernina compatible” products.) The advantage of a walking foot is that it evenly feeds layers of fabric, which is especially useful for sewing handwoven fabric. And for the towel hem, it means the top of the hem won’t become skewed and slanted as you sew, like it might with a regular sewing machine foot.
Bernina Three Sole Walking Foot with Seam Guide. The walking foot stays on my Bernina sewing machine almost all the time.
One of the three sole plates that comes with the Bernina walking foot is a sole for edge stitching. This works beautifully for stitching a narrow hem on lighter-weight fabric, like these airy cotton and linen towels.
My process for a machine-stitched narrow hem
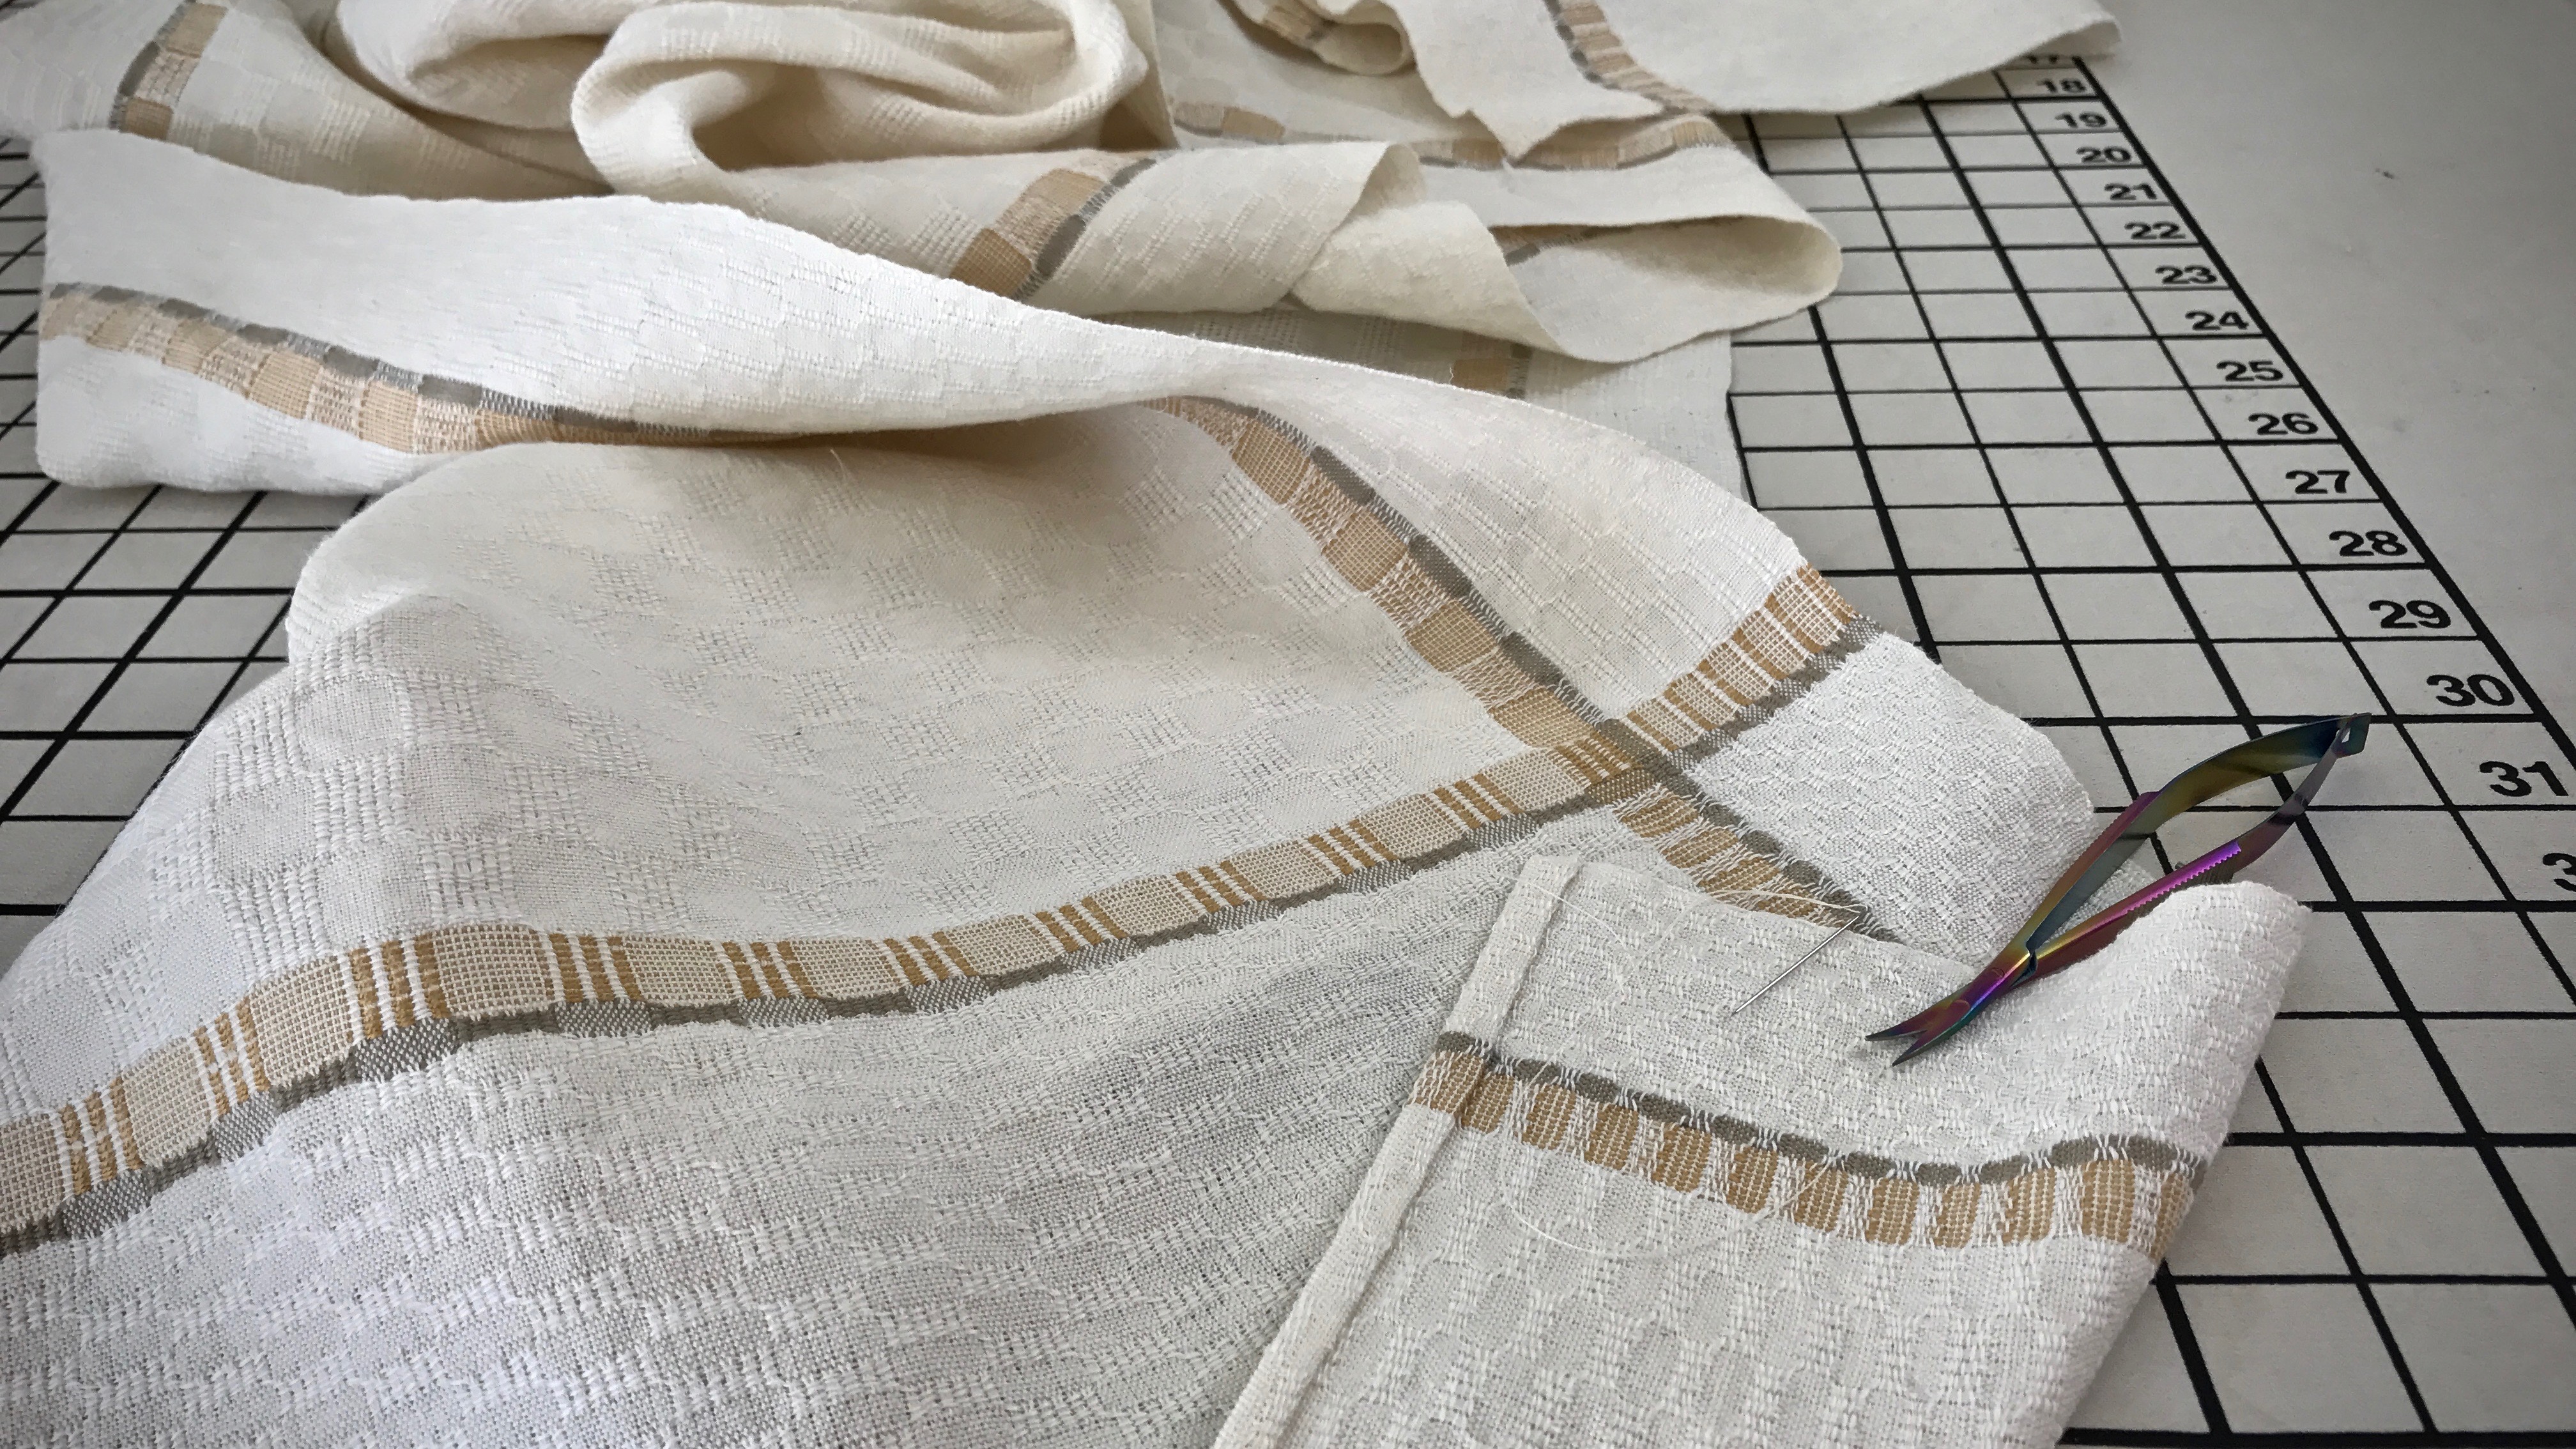
Turn and press the 1/4″ hem twice. Hold the folded edge in place with small fabric clips.
Small fabric clips hold the folded and pressed towel hem in place, in preparation for stitching the hem.
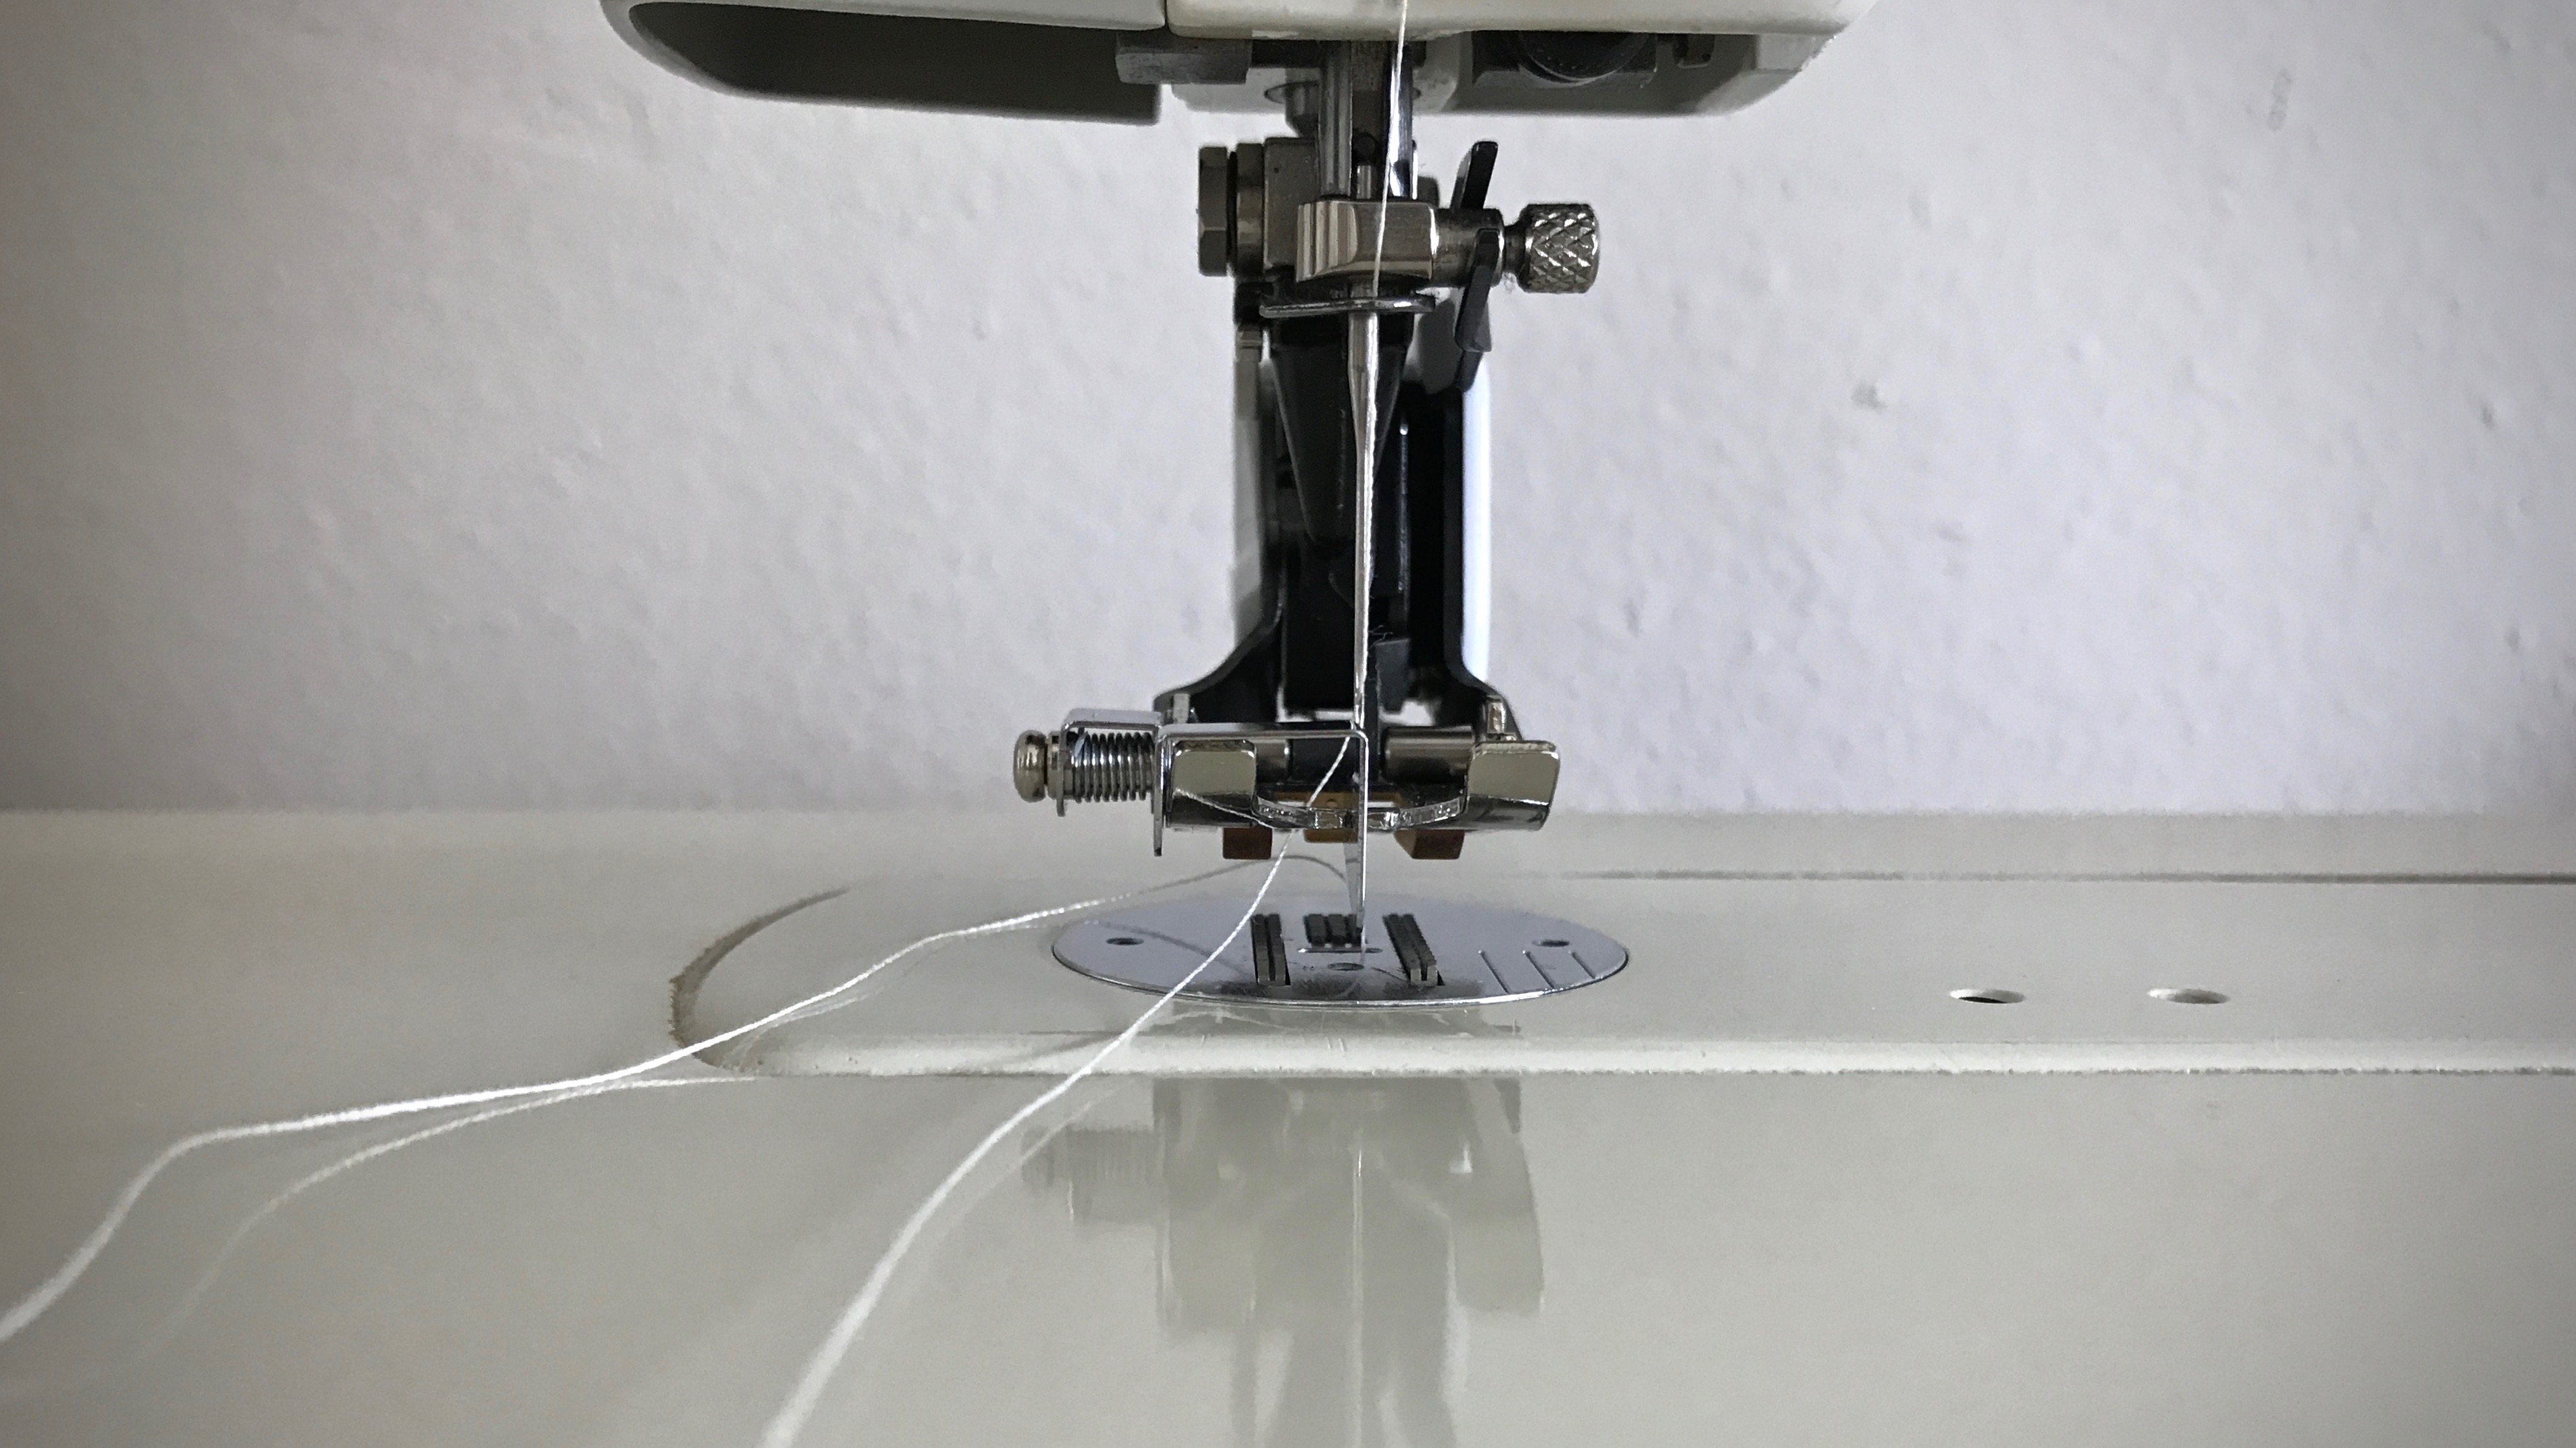
At the sewing machine, attach the edge-stitching sole plate to the walking foot. Align the fold of the hem with the edge-stitching guide.
Sole with stitch guide. The metal plate that extends below the foot is a steady guide that works for sewing a narrow hem, as well as for top-stitching, or “stitch-in-the-ditch” techniques.
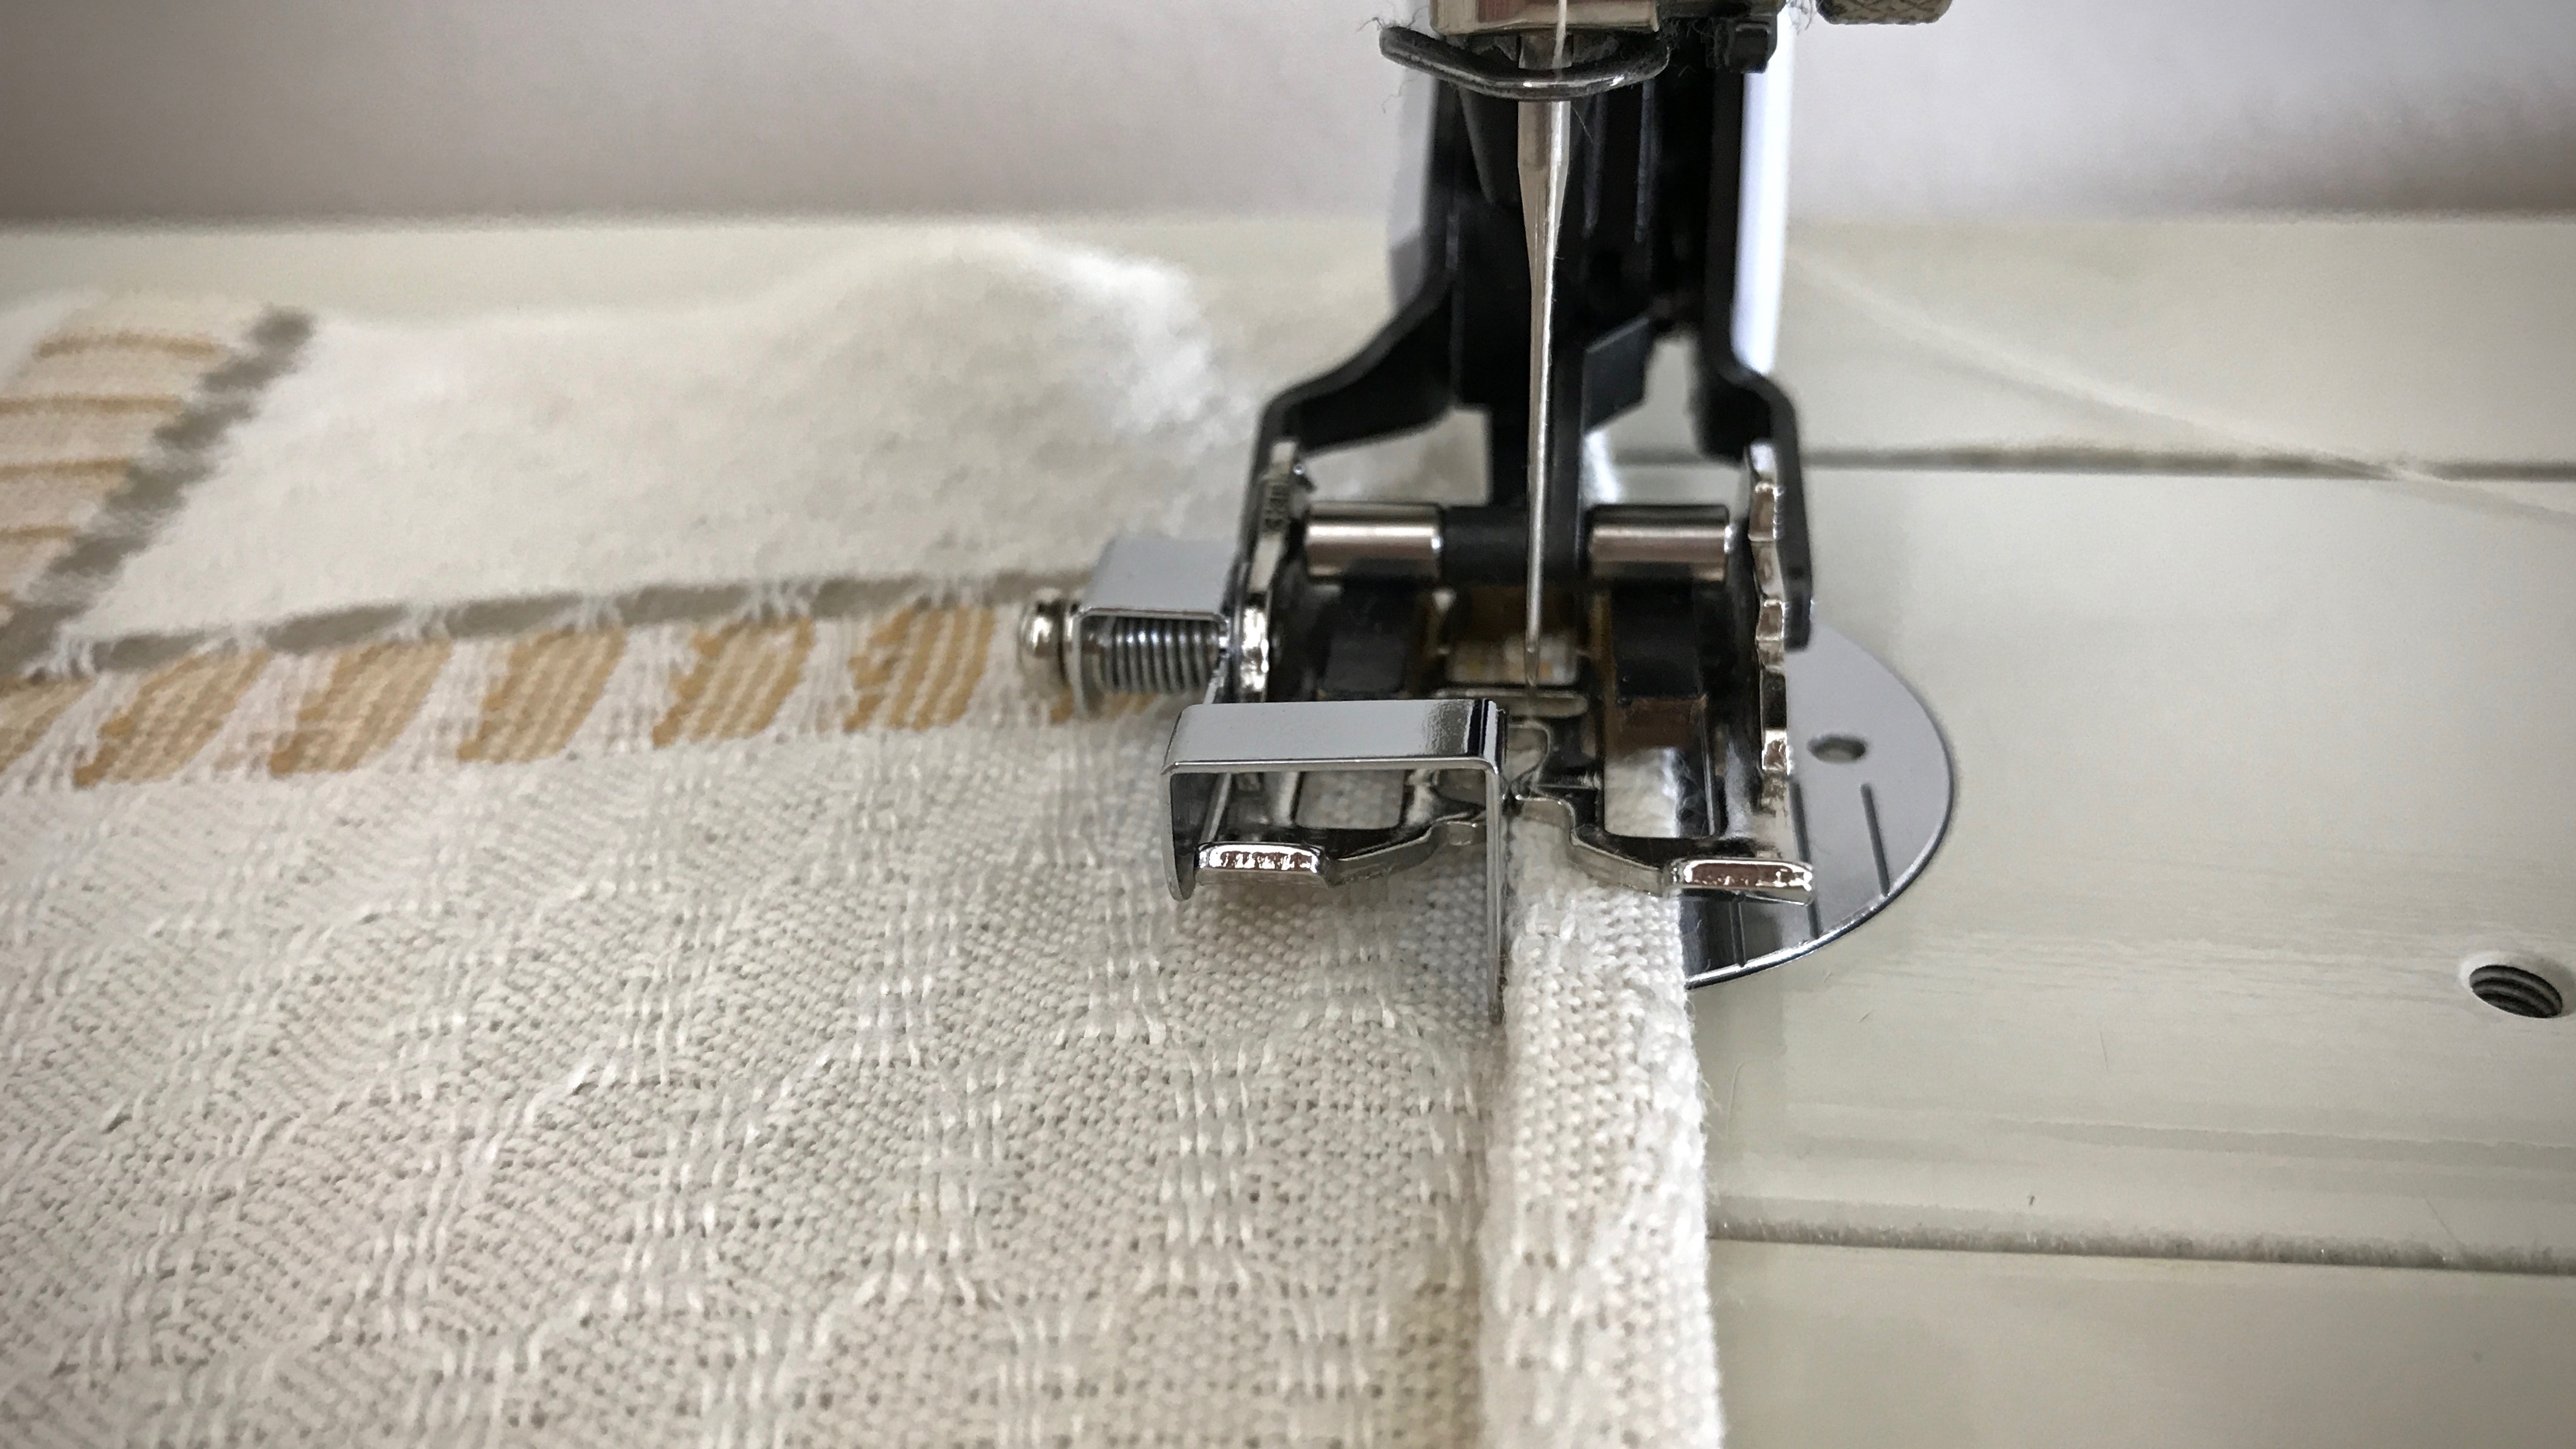
Adjust the sewing machine needle to the right, so that it catches the fabric just inside the edge of the fold.
Sewing the narrow hem. Needle is positioned so that it is to the right of the hem fold.
Slowly sew a narrow hem, keeping the folded edge next to the walking foot’s edge-stitching guide. Remove fabric clips before they come to the needle.
Front and back of the hem have consistent, straight stitching. The narrow hem (not yet pressed) will be barely visible.
May your hems be a suitable frame for your handiwork.
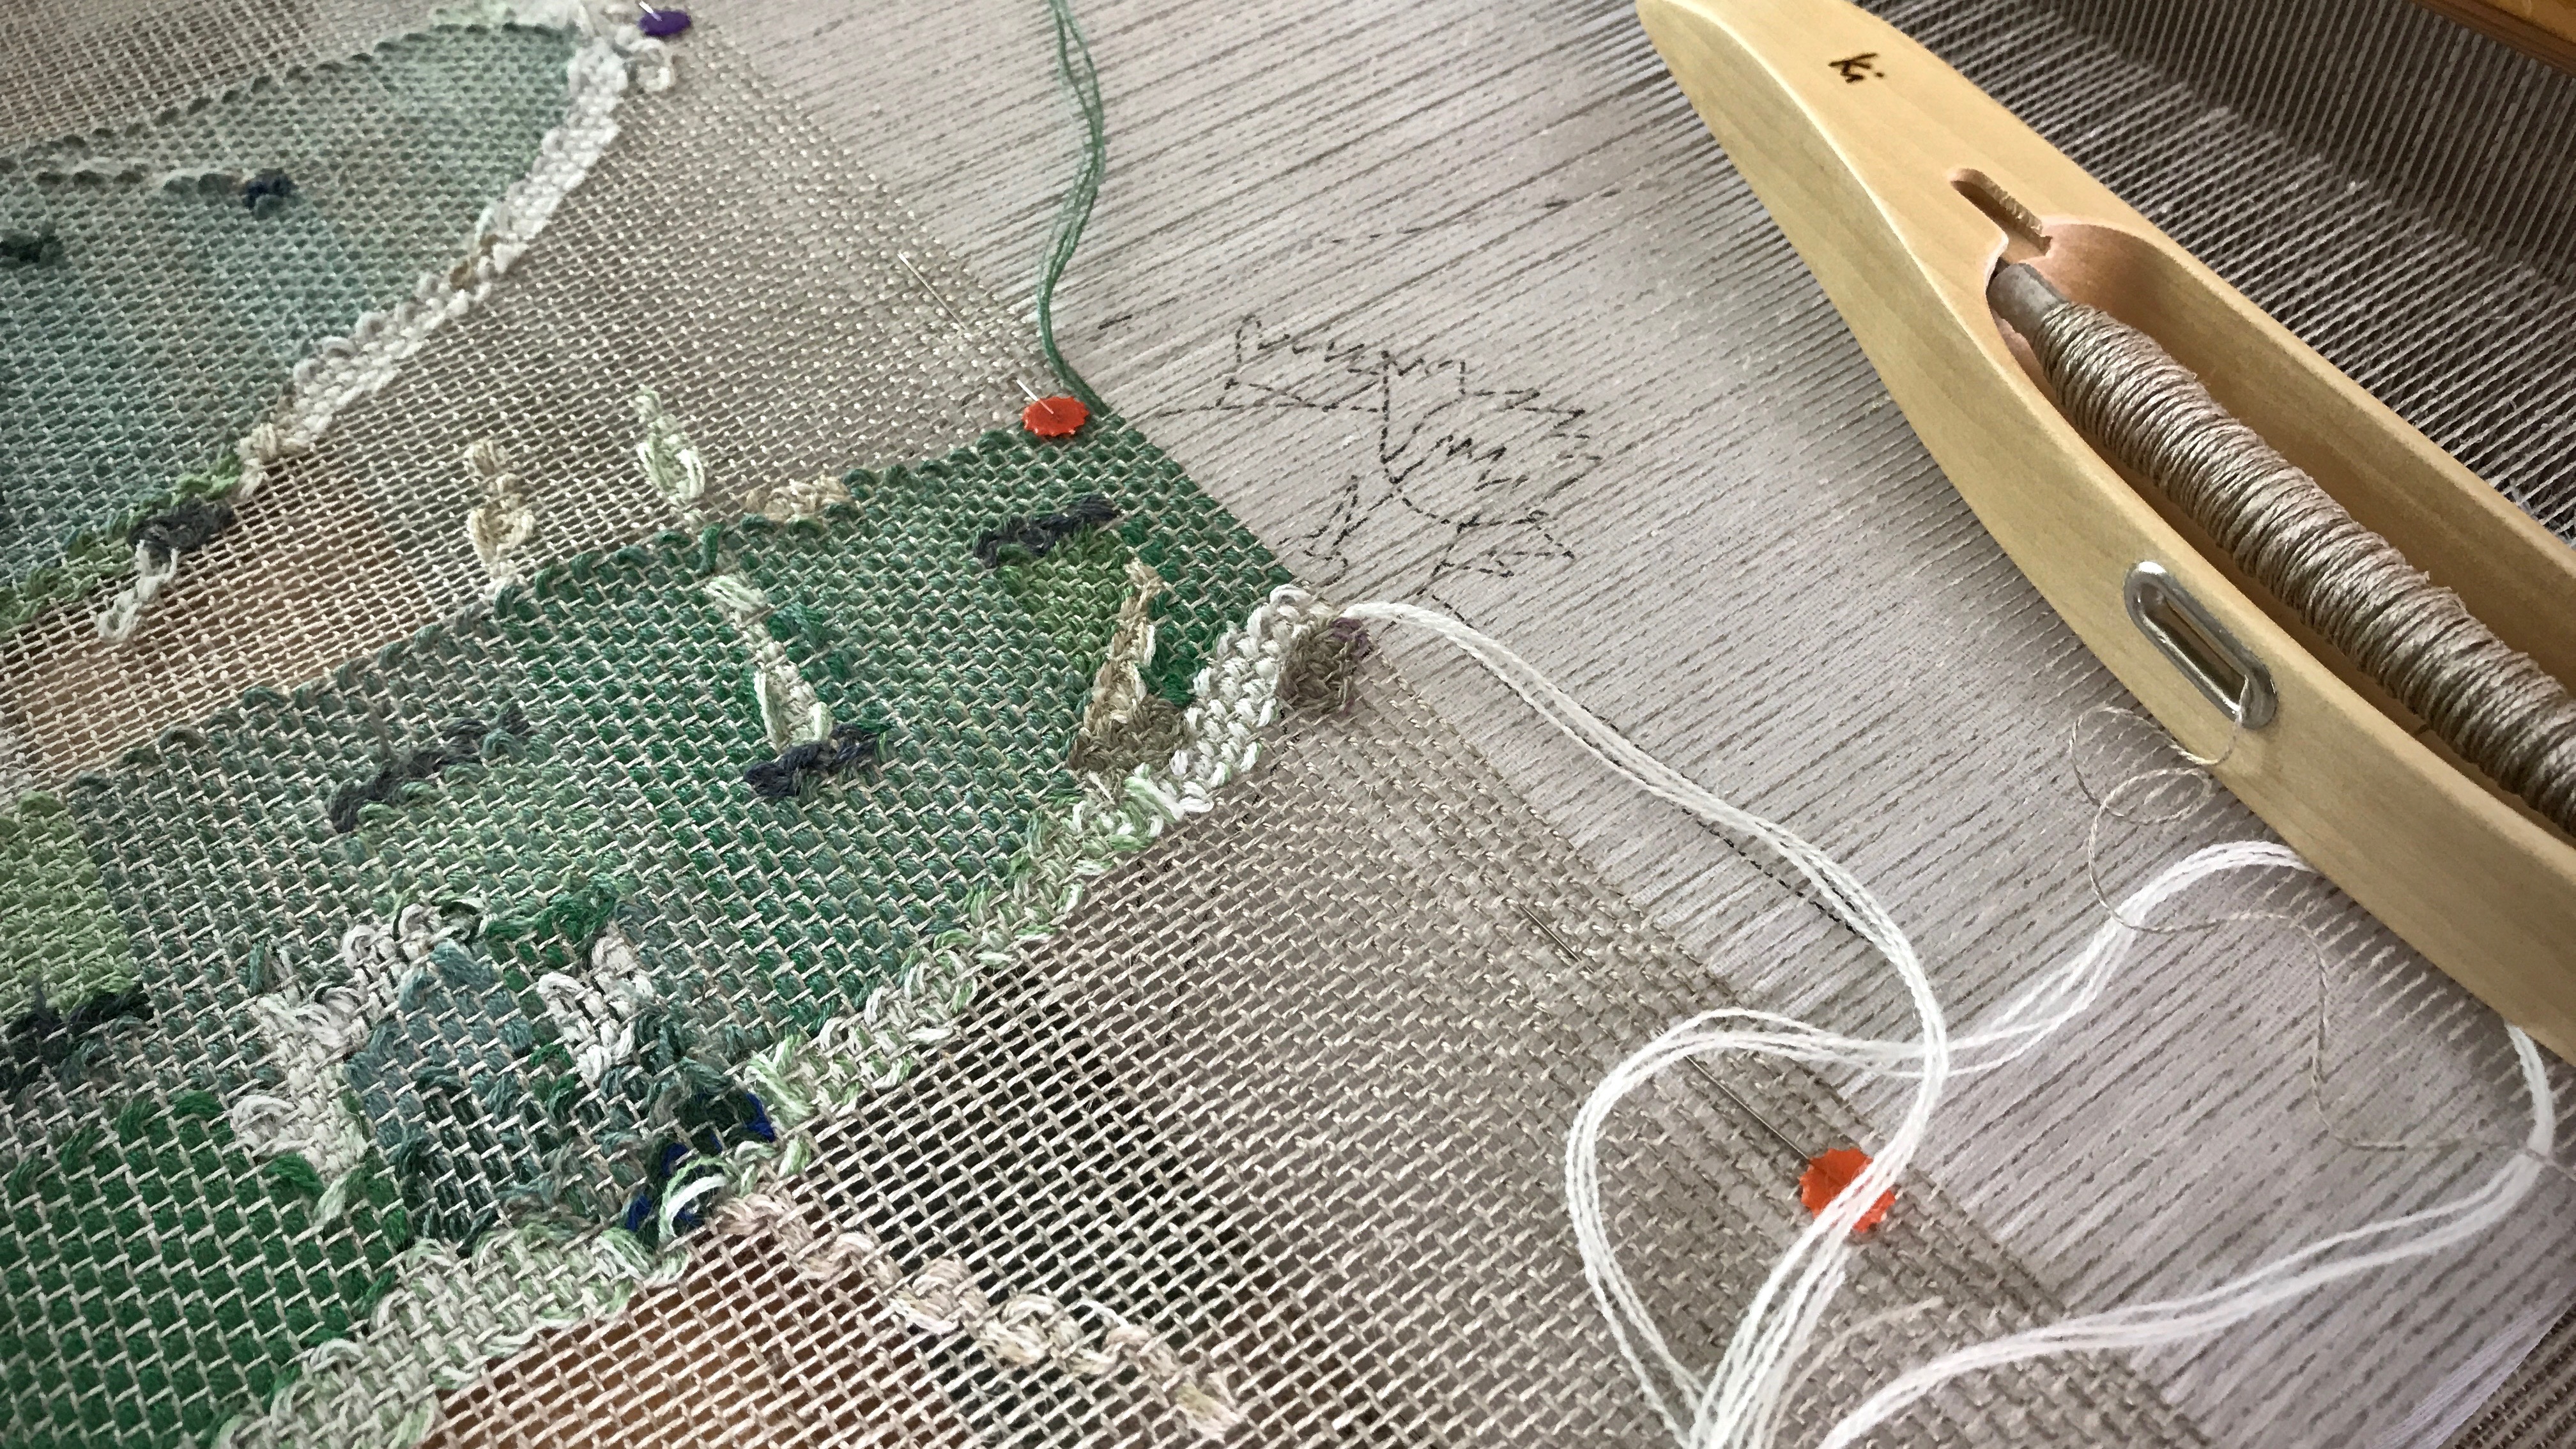
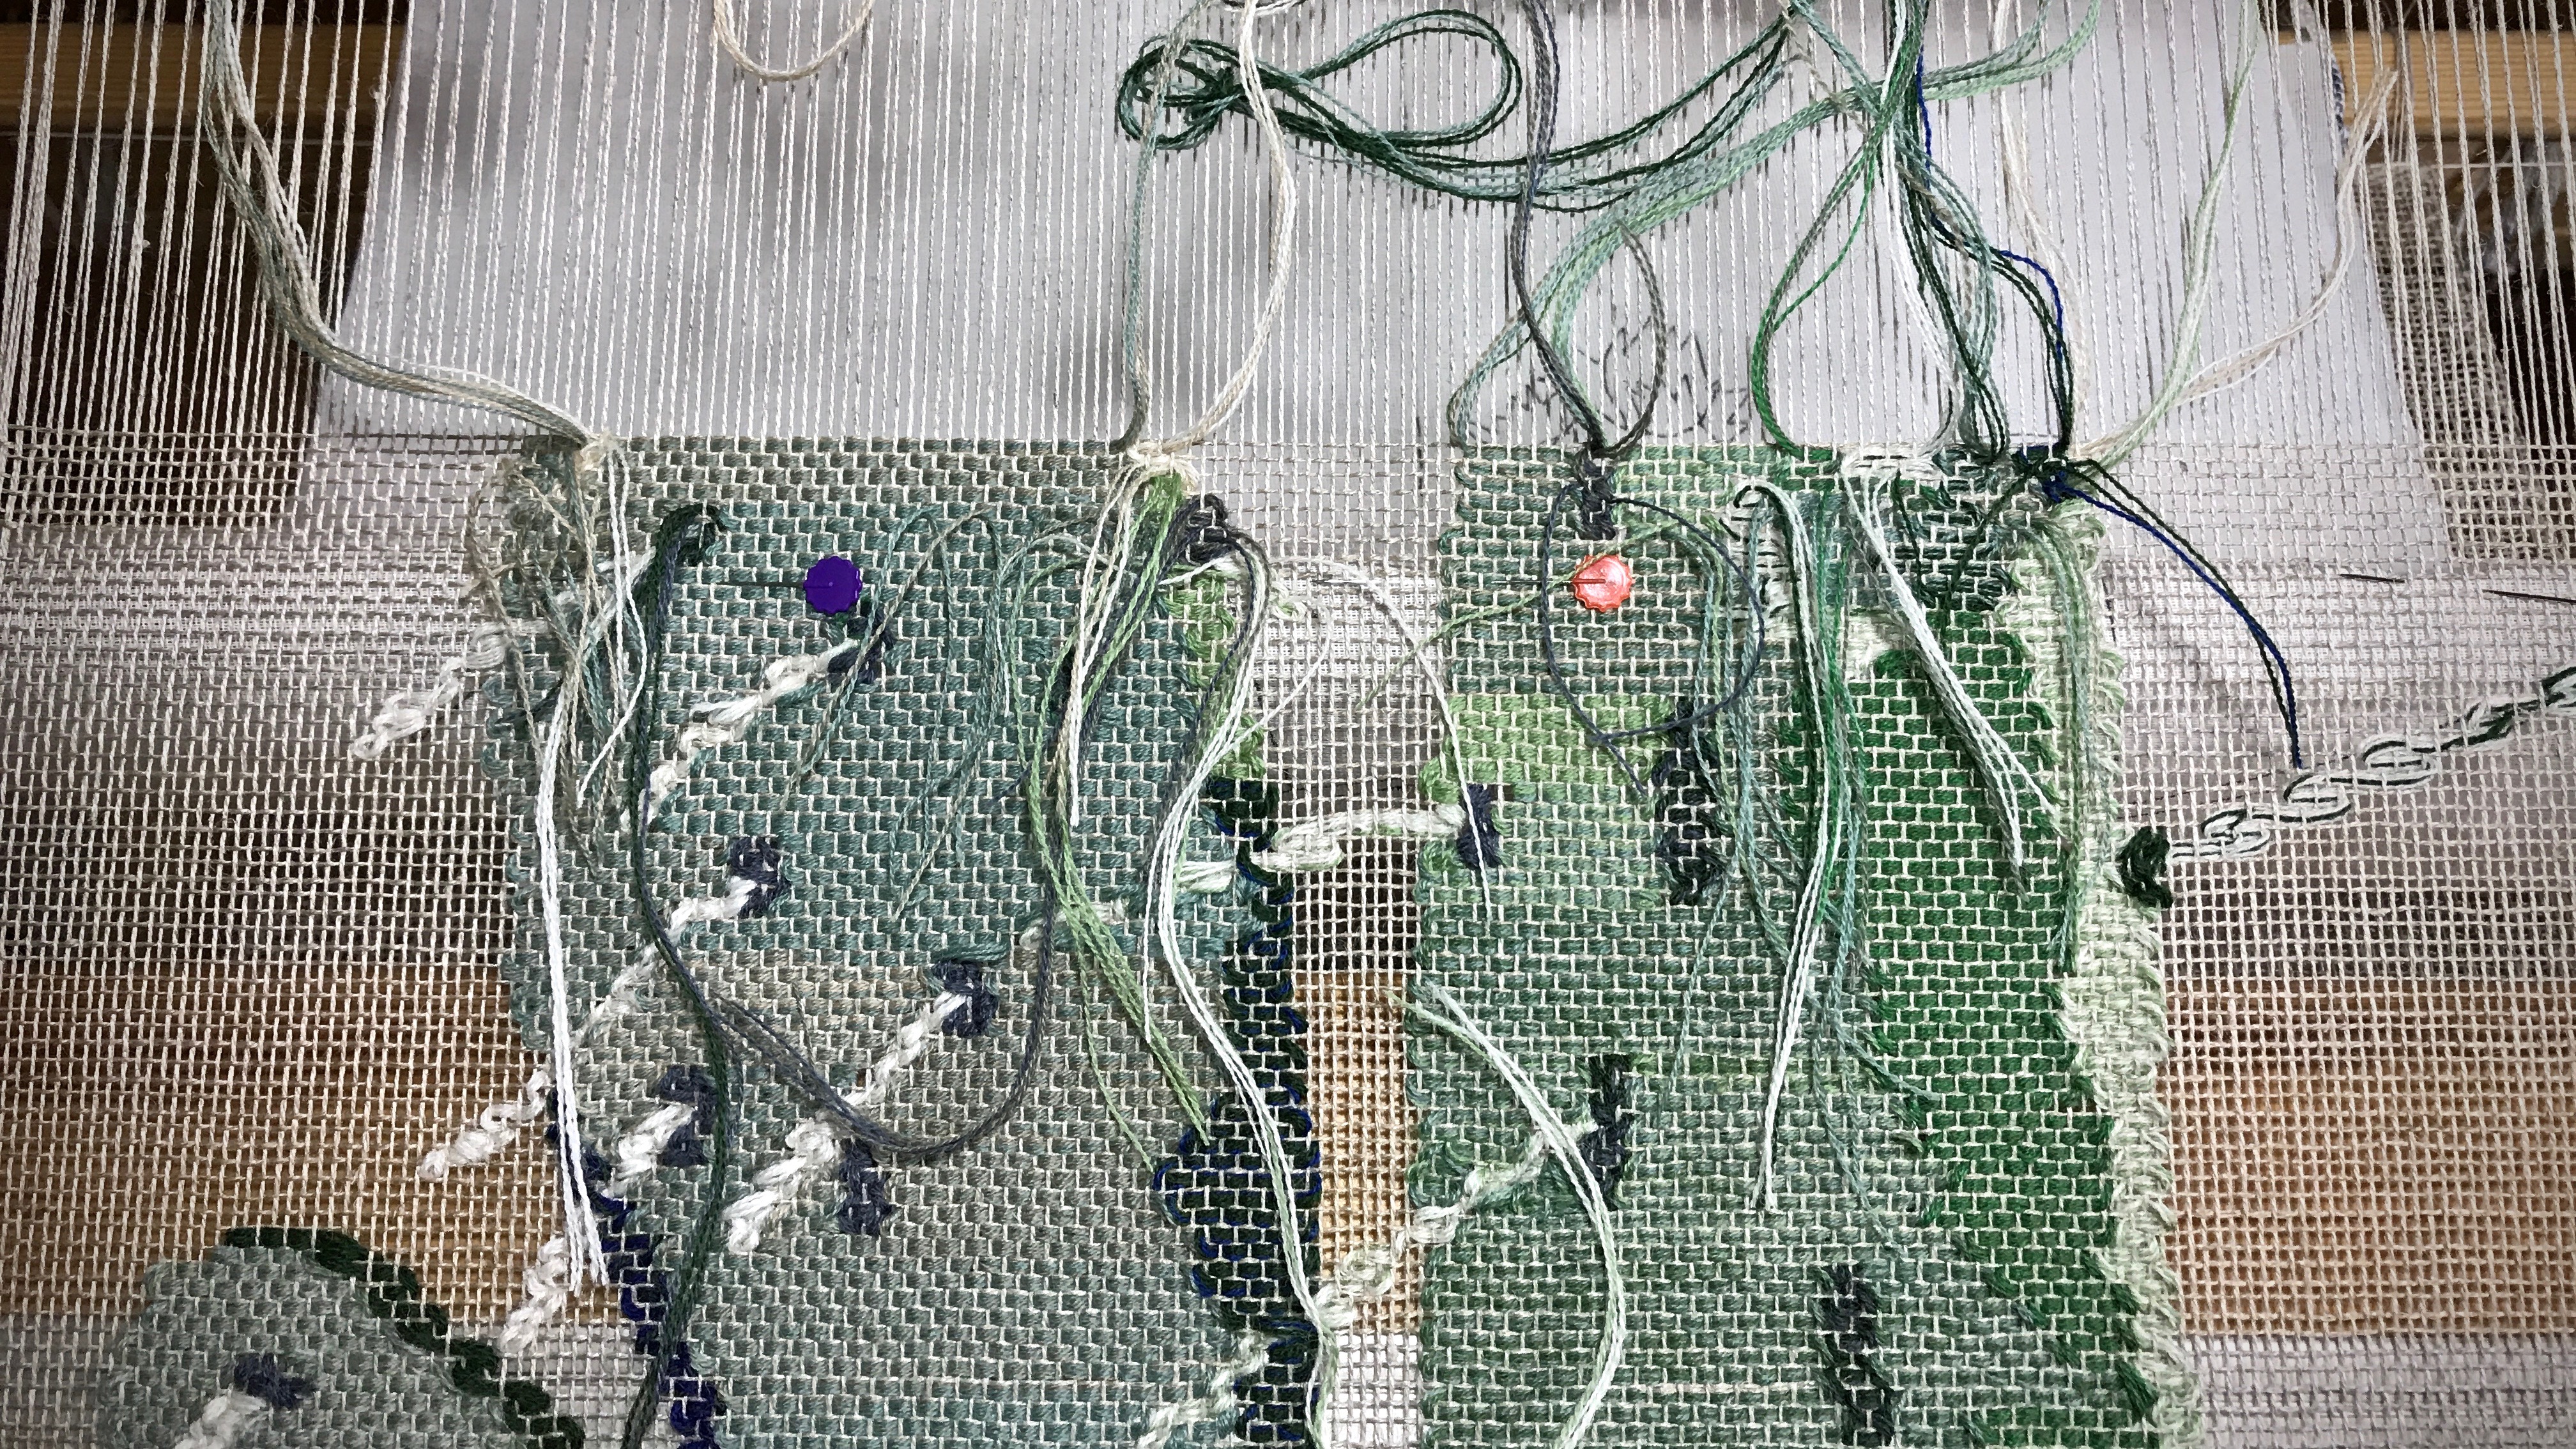
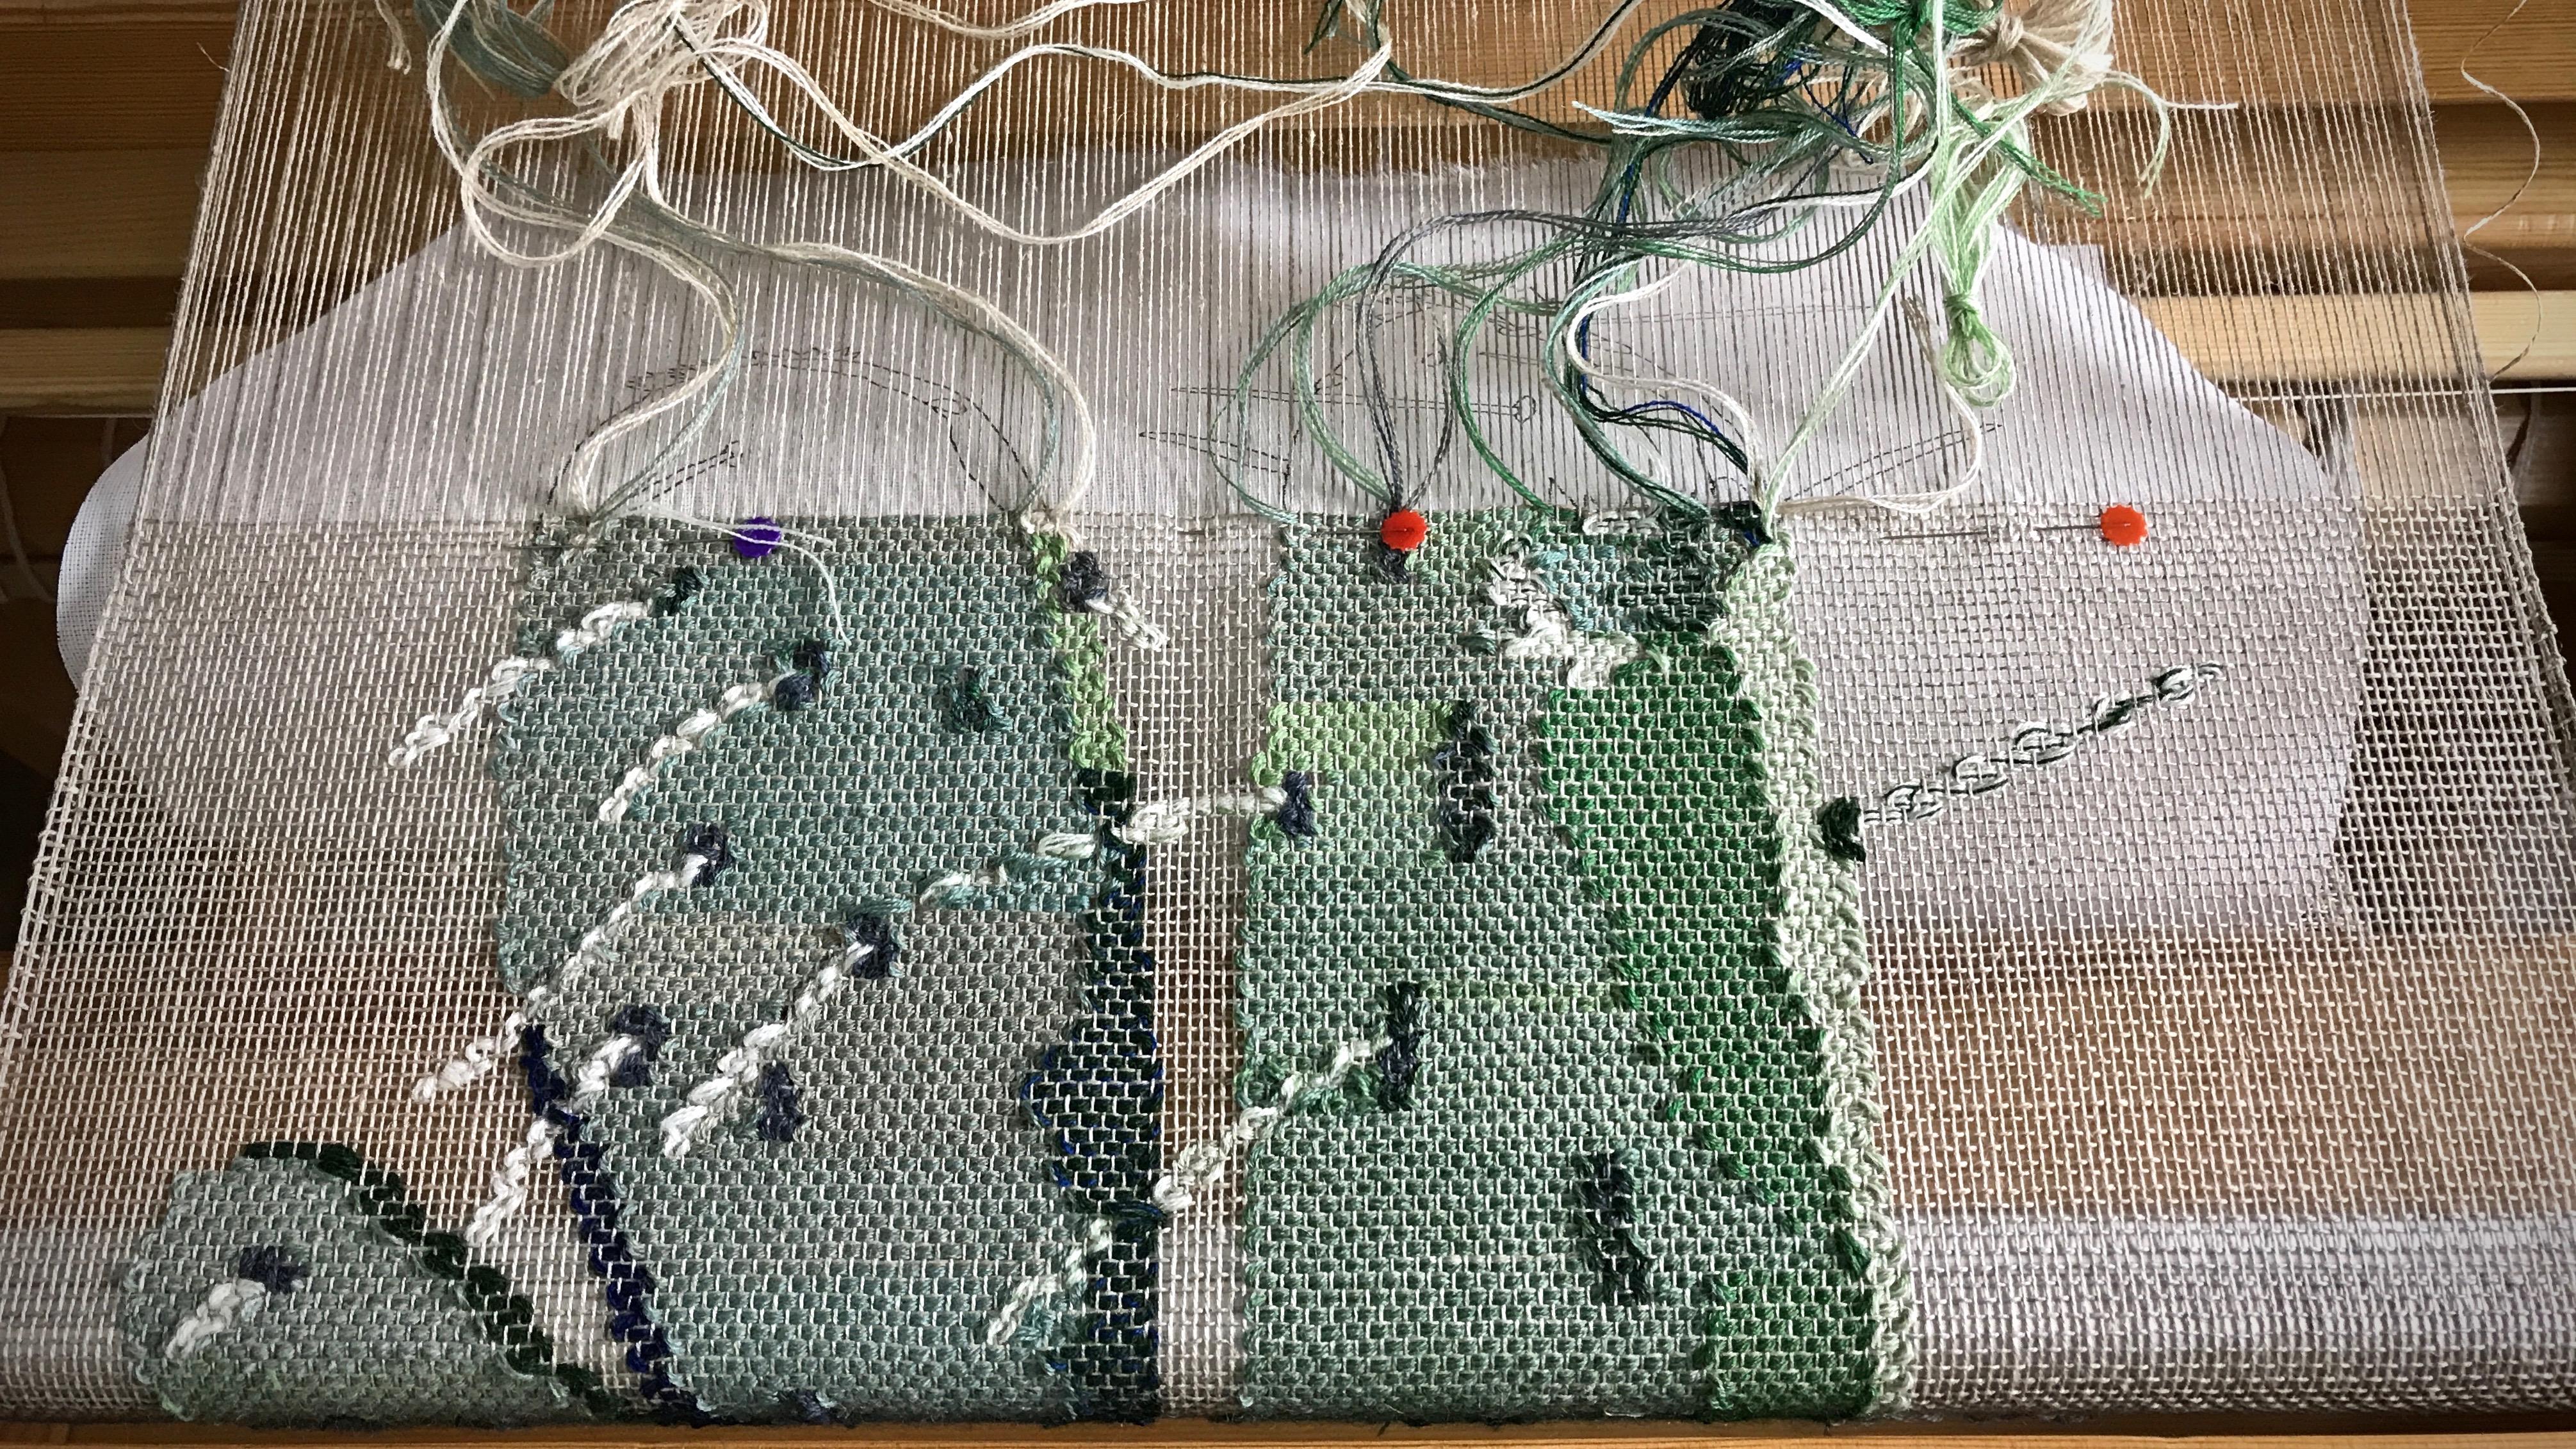
This prickly pear cactus transparency is inching along. I wait for the day when we will get to see this from the front side! Weaving from the back has its advantages, though. I am able to deal with all the weft tails as I go.
In some rows there are as many as twelve or thirteen different weft bundles. Every weft bundle has tails that are either tucked under adjacent warpends, if possible, or woven in later with a needle.
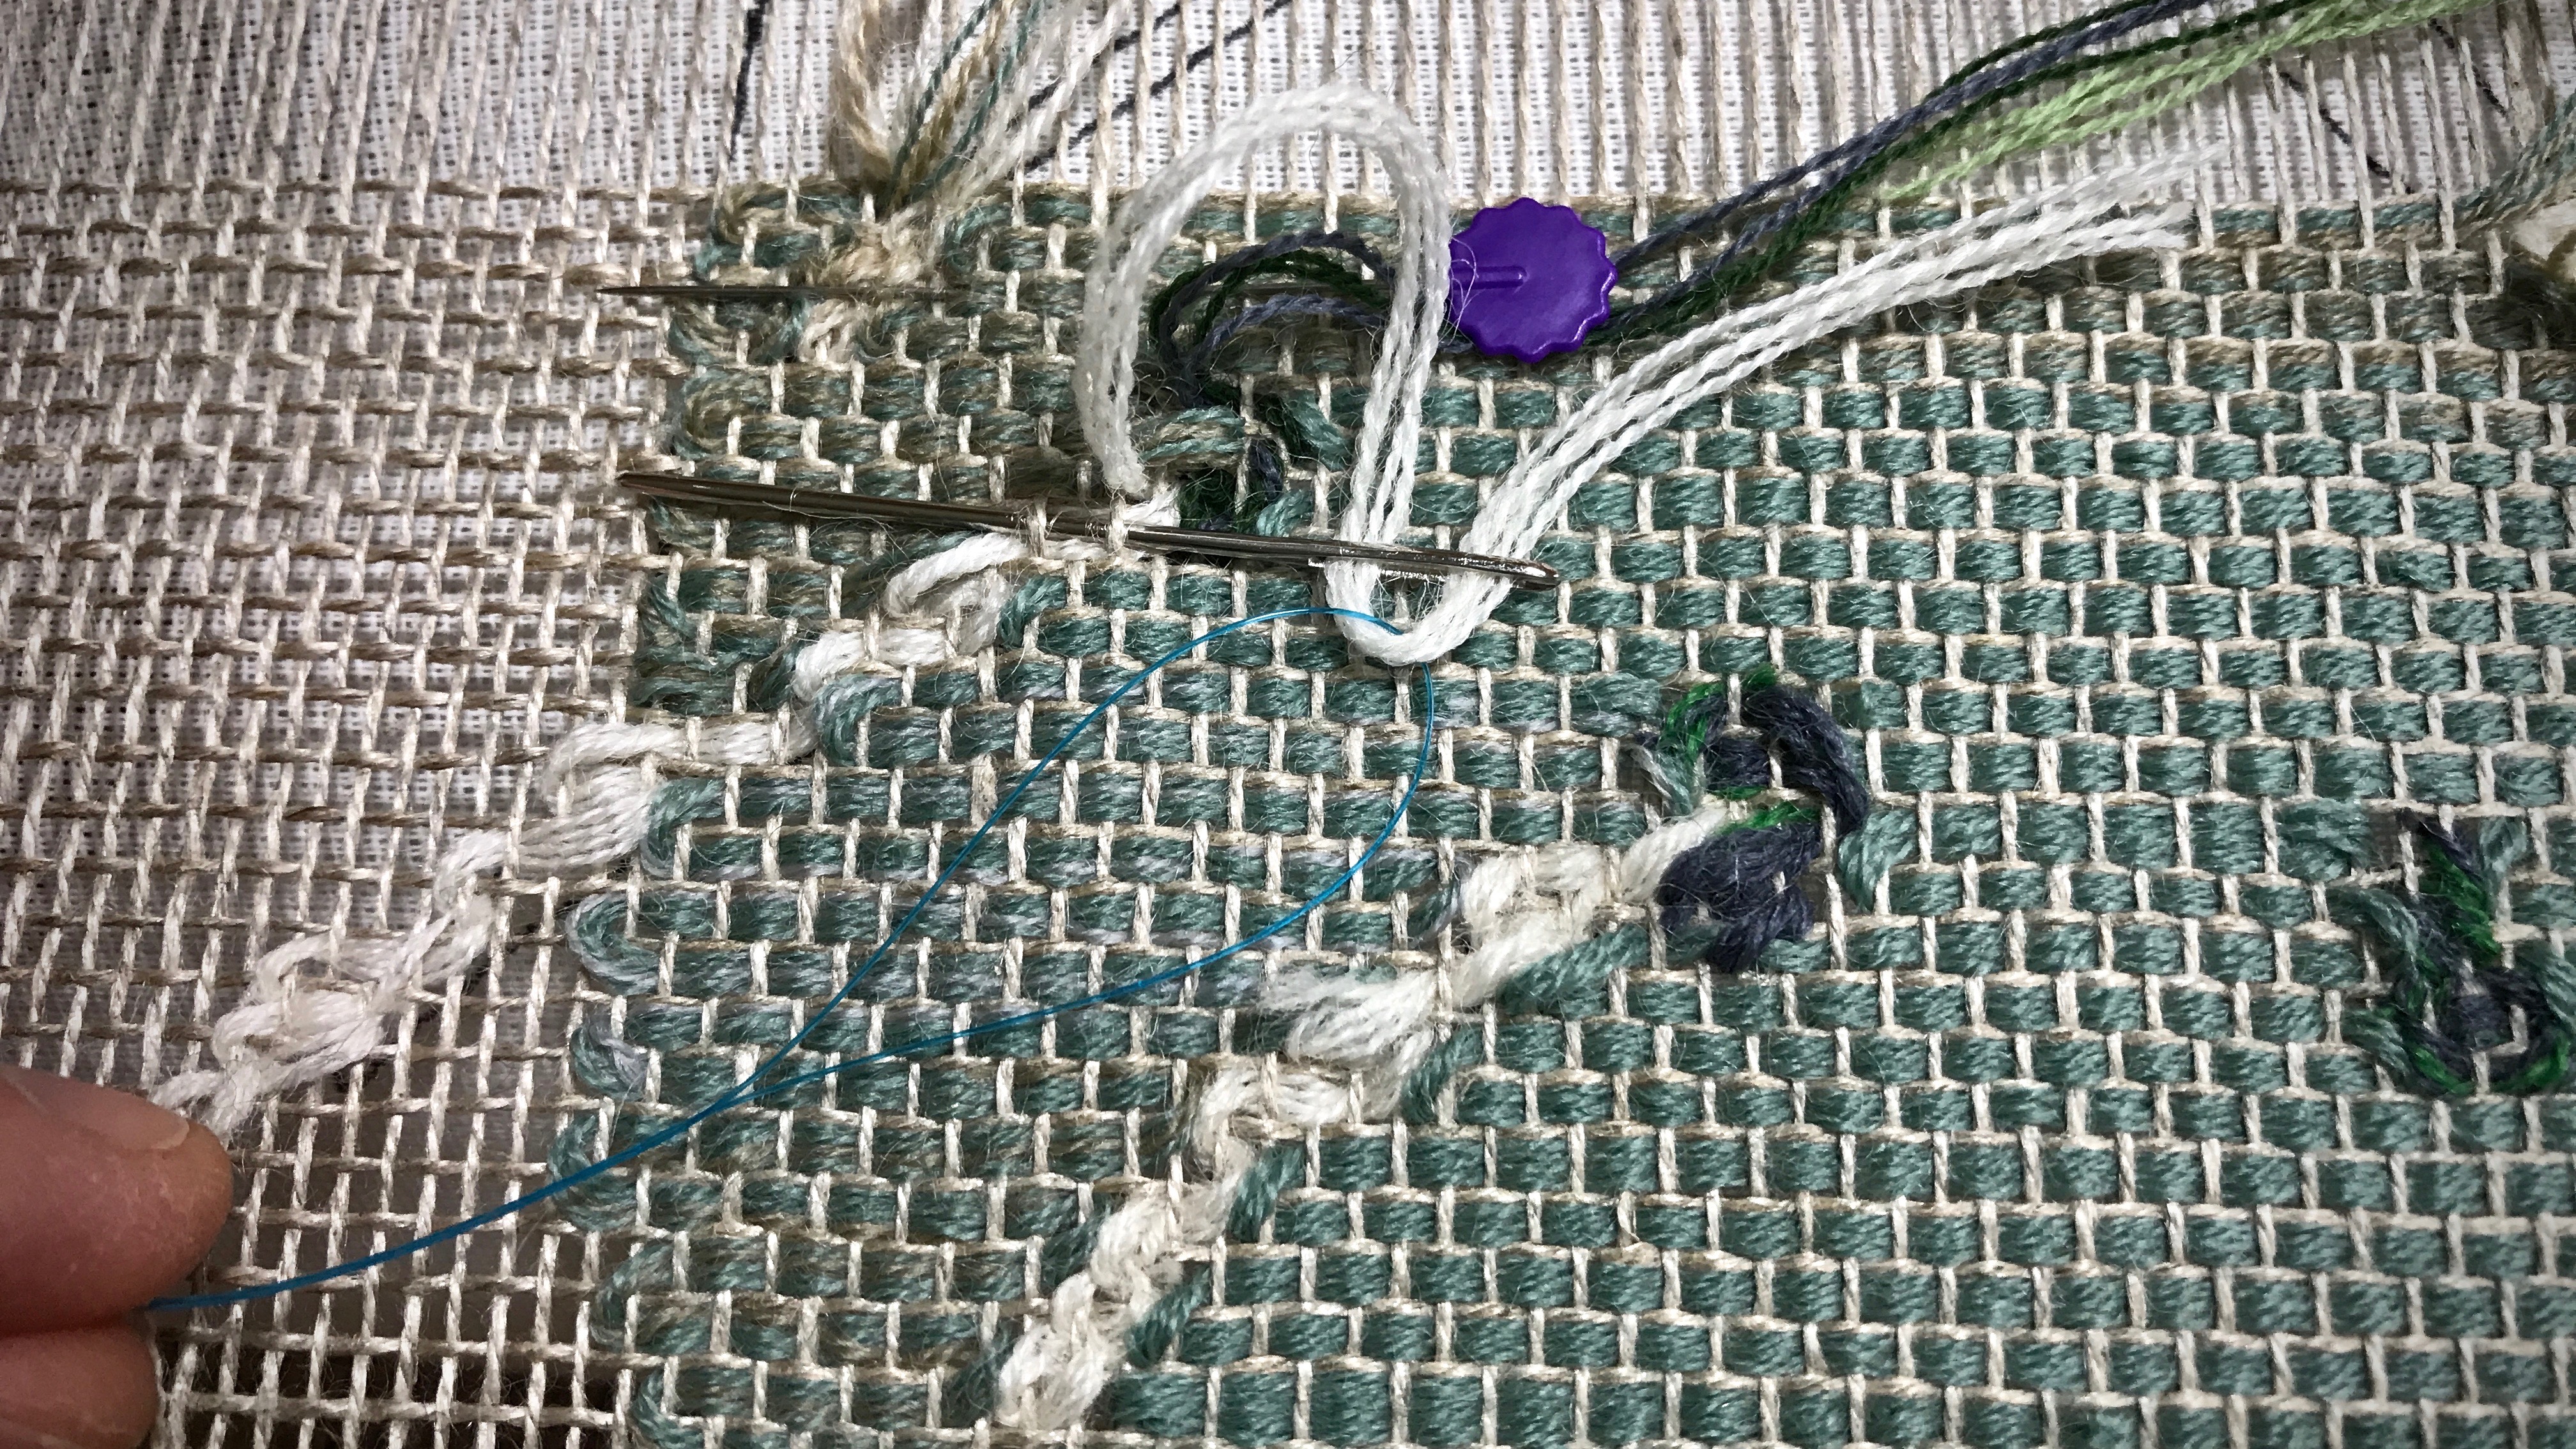
After every inch of weaving, I stop and trim weft tails. I use a blunt needle to weave loose tails in first before trimming them. This part of the process is time consuming. But I do it happily, thankful that I won’t have hours of tedious work at the end of the project.
Each pattern row is woven straight across, from left to right, with weft bundles following the lines of the cartoon underneath. The linen tabby weft lies between each pattern row.An inch-worth of weaving, with weft tails to weave in and to trim. Wefts that were spliced while weaving can be trimmed close to the fabric. Tails of weft bundles must be woven in with a needle, and then trimmed.Sometimes it works best to put the needle through warp ends first and then use a dental floss threader to help thread the weft tail bundle through the eye of the needle.Cactus keeps growing, inch by inch!
Give thanks. It is right and it is satisfying to give thanks to the Lord. The little things that we get to take care of now, daily inching along, are reminders of the big work in progress that we are in. Eventually, we will see the front side. And what a joy that will be!