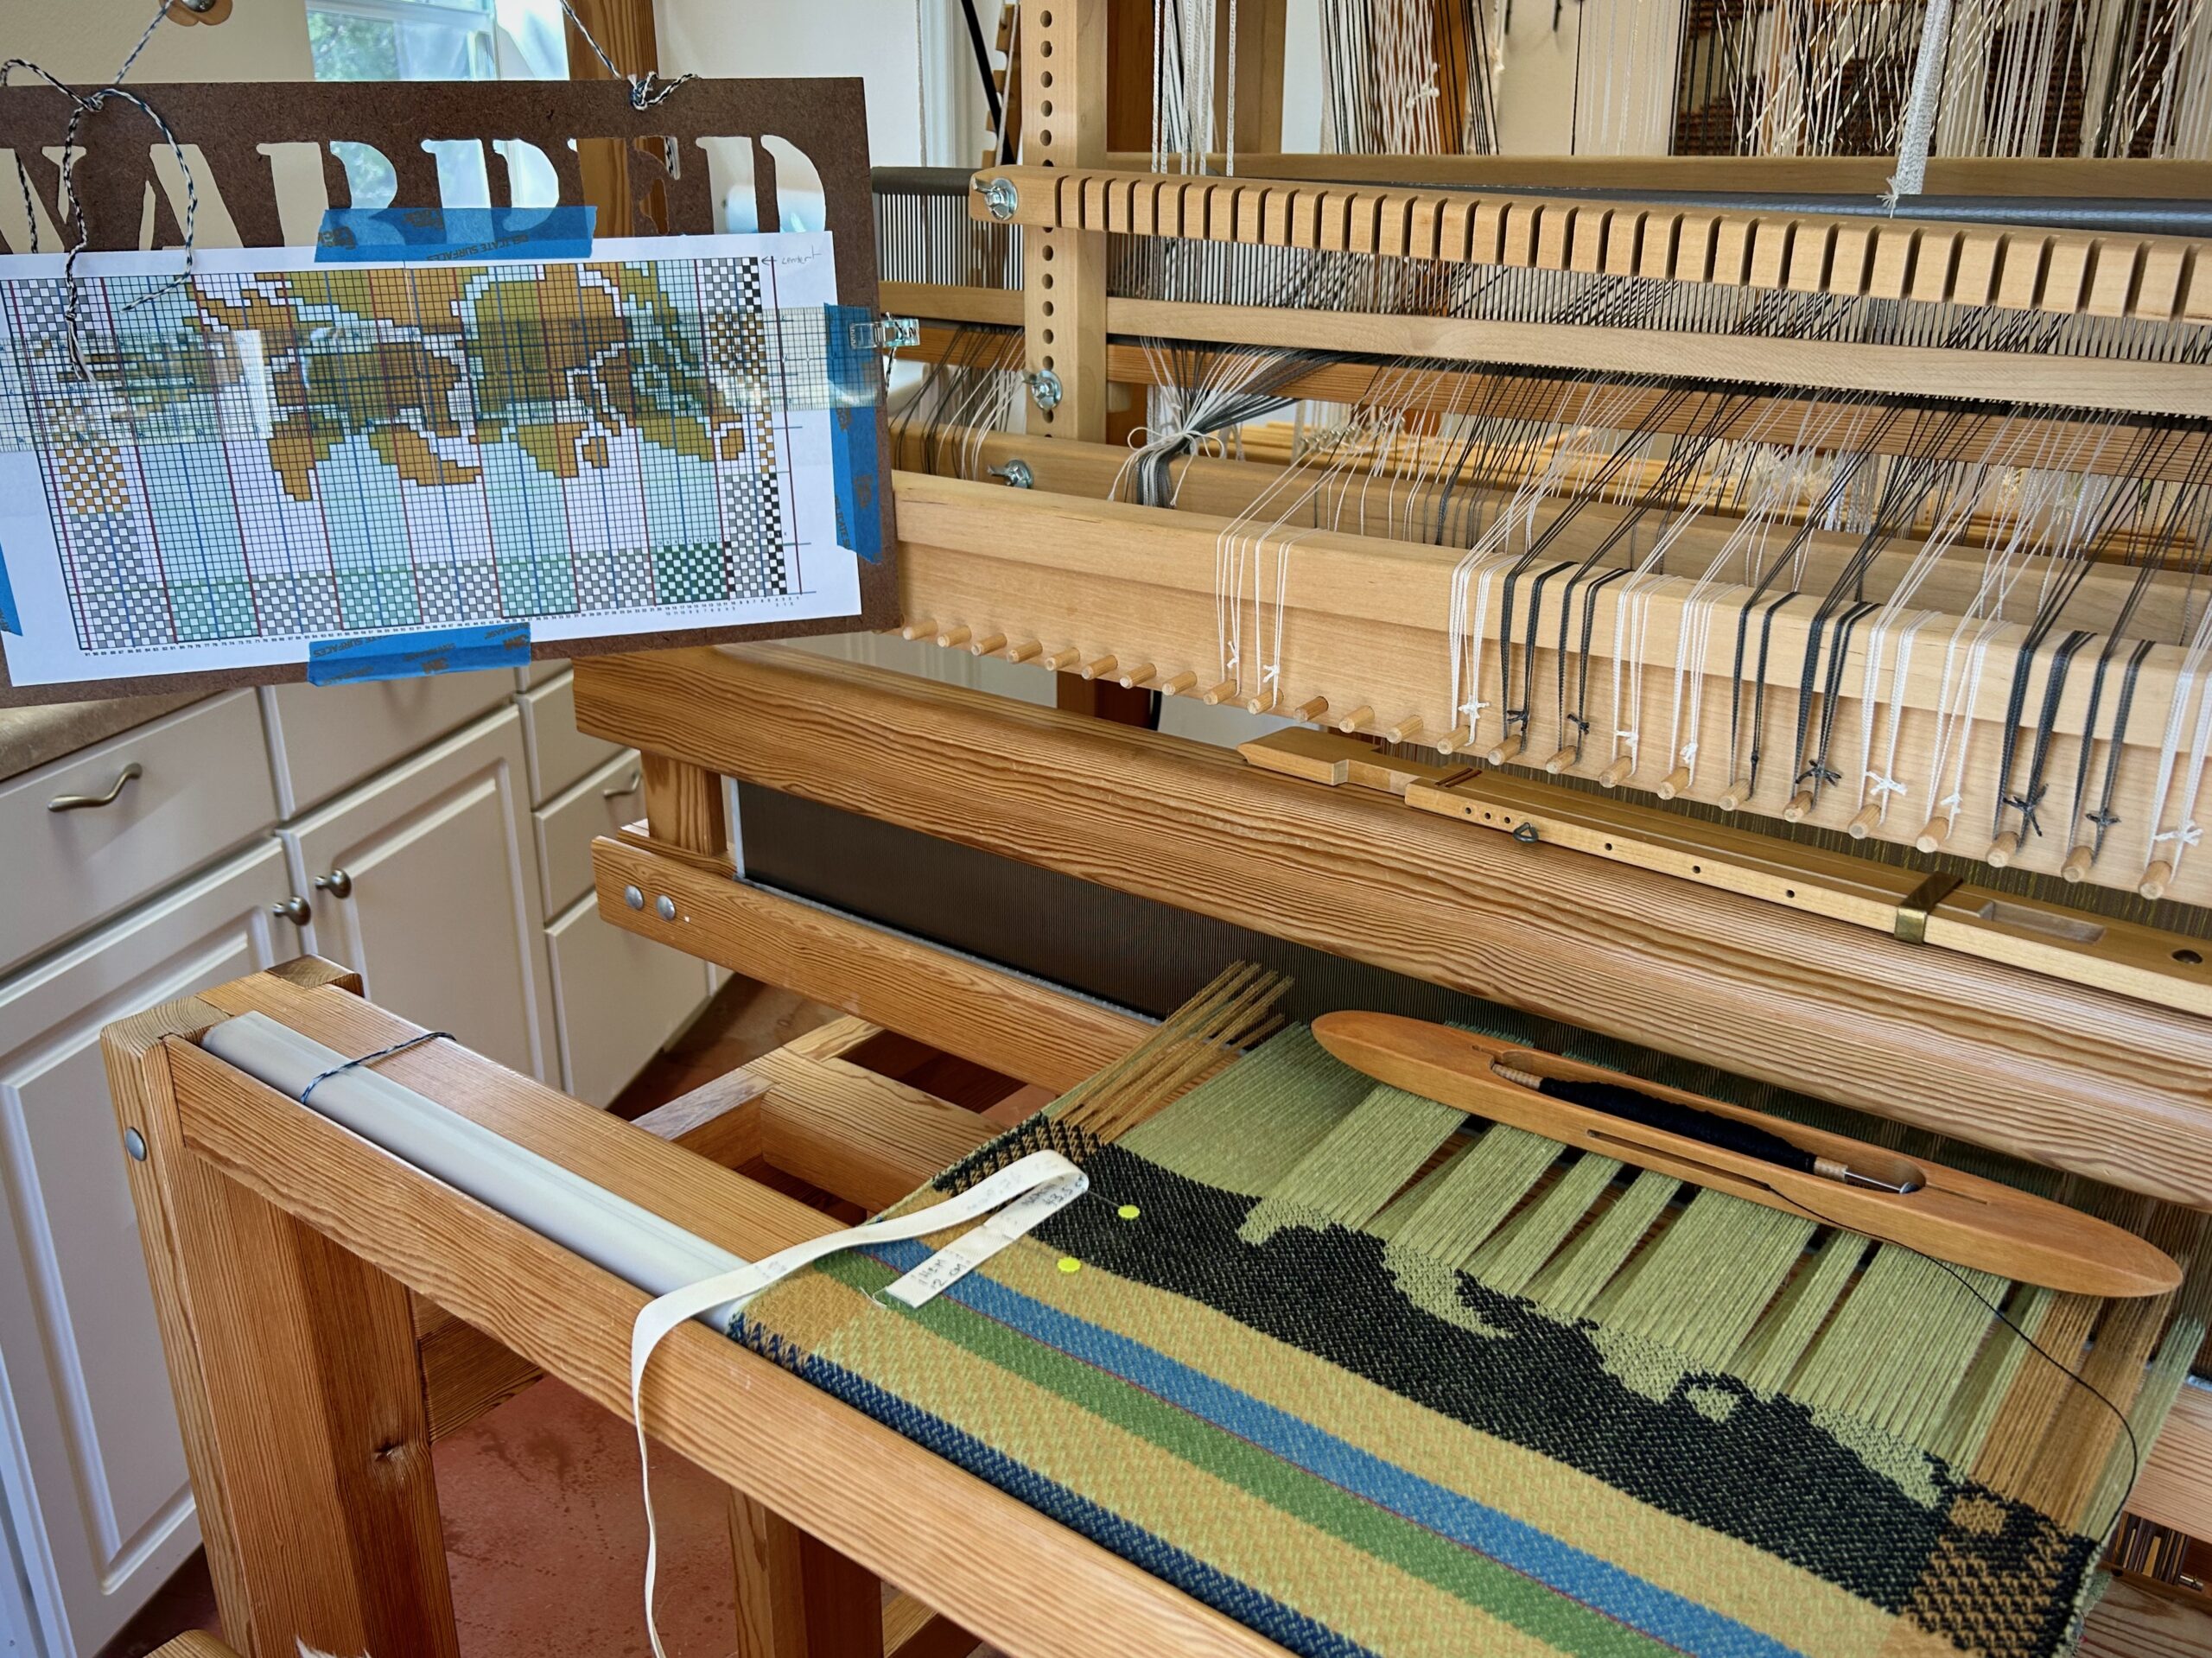
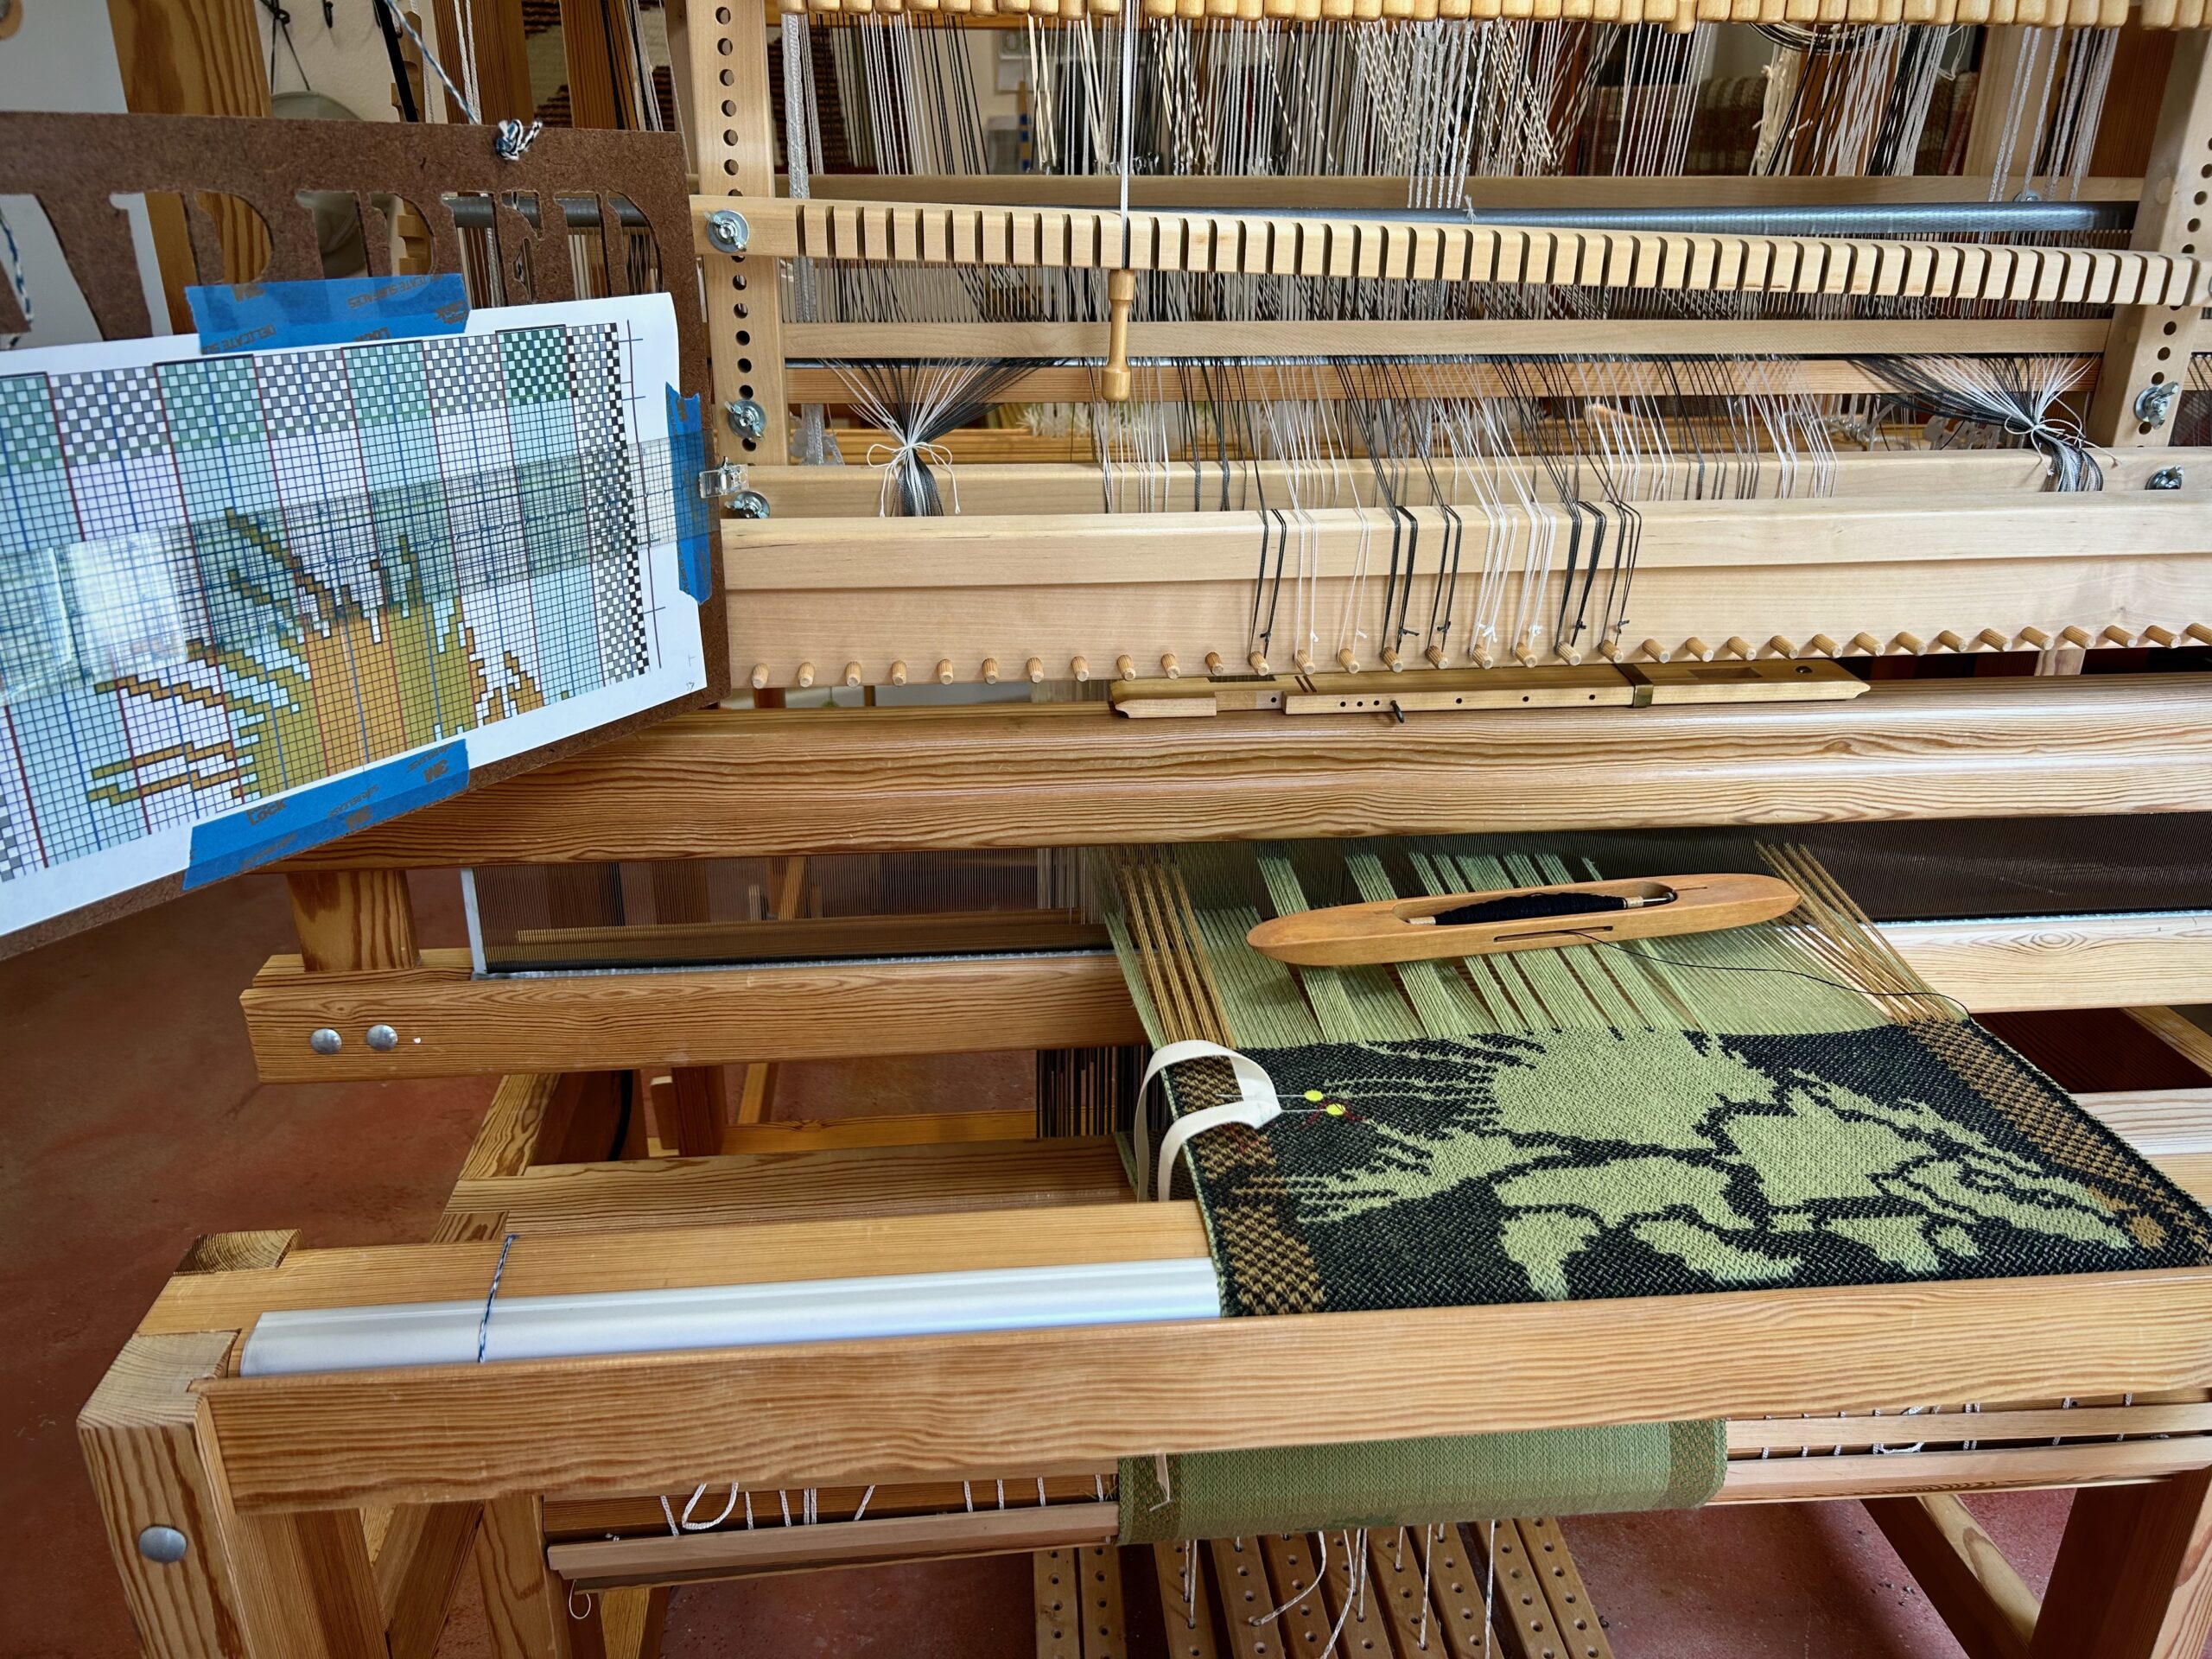
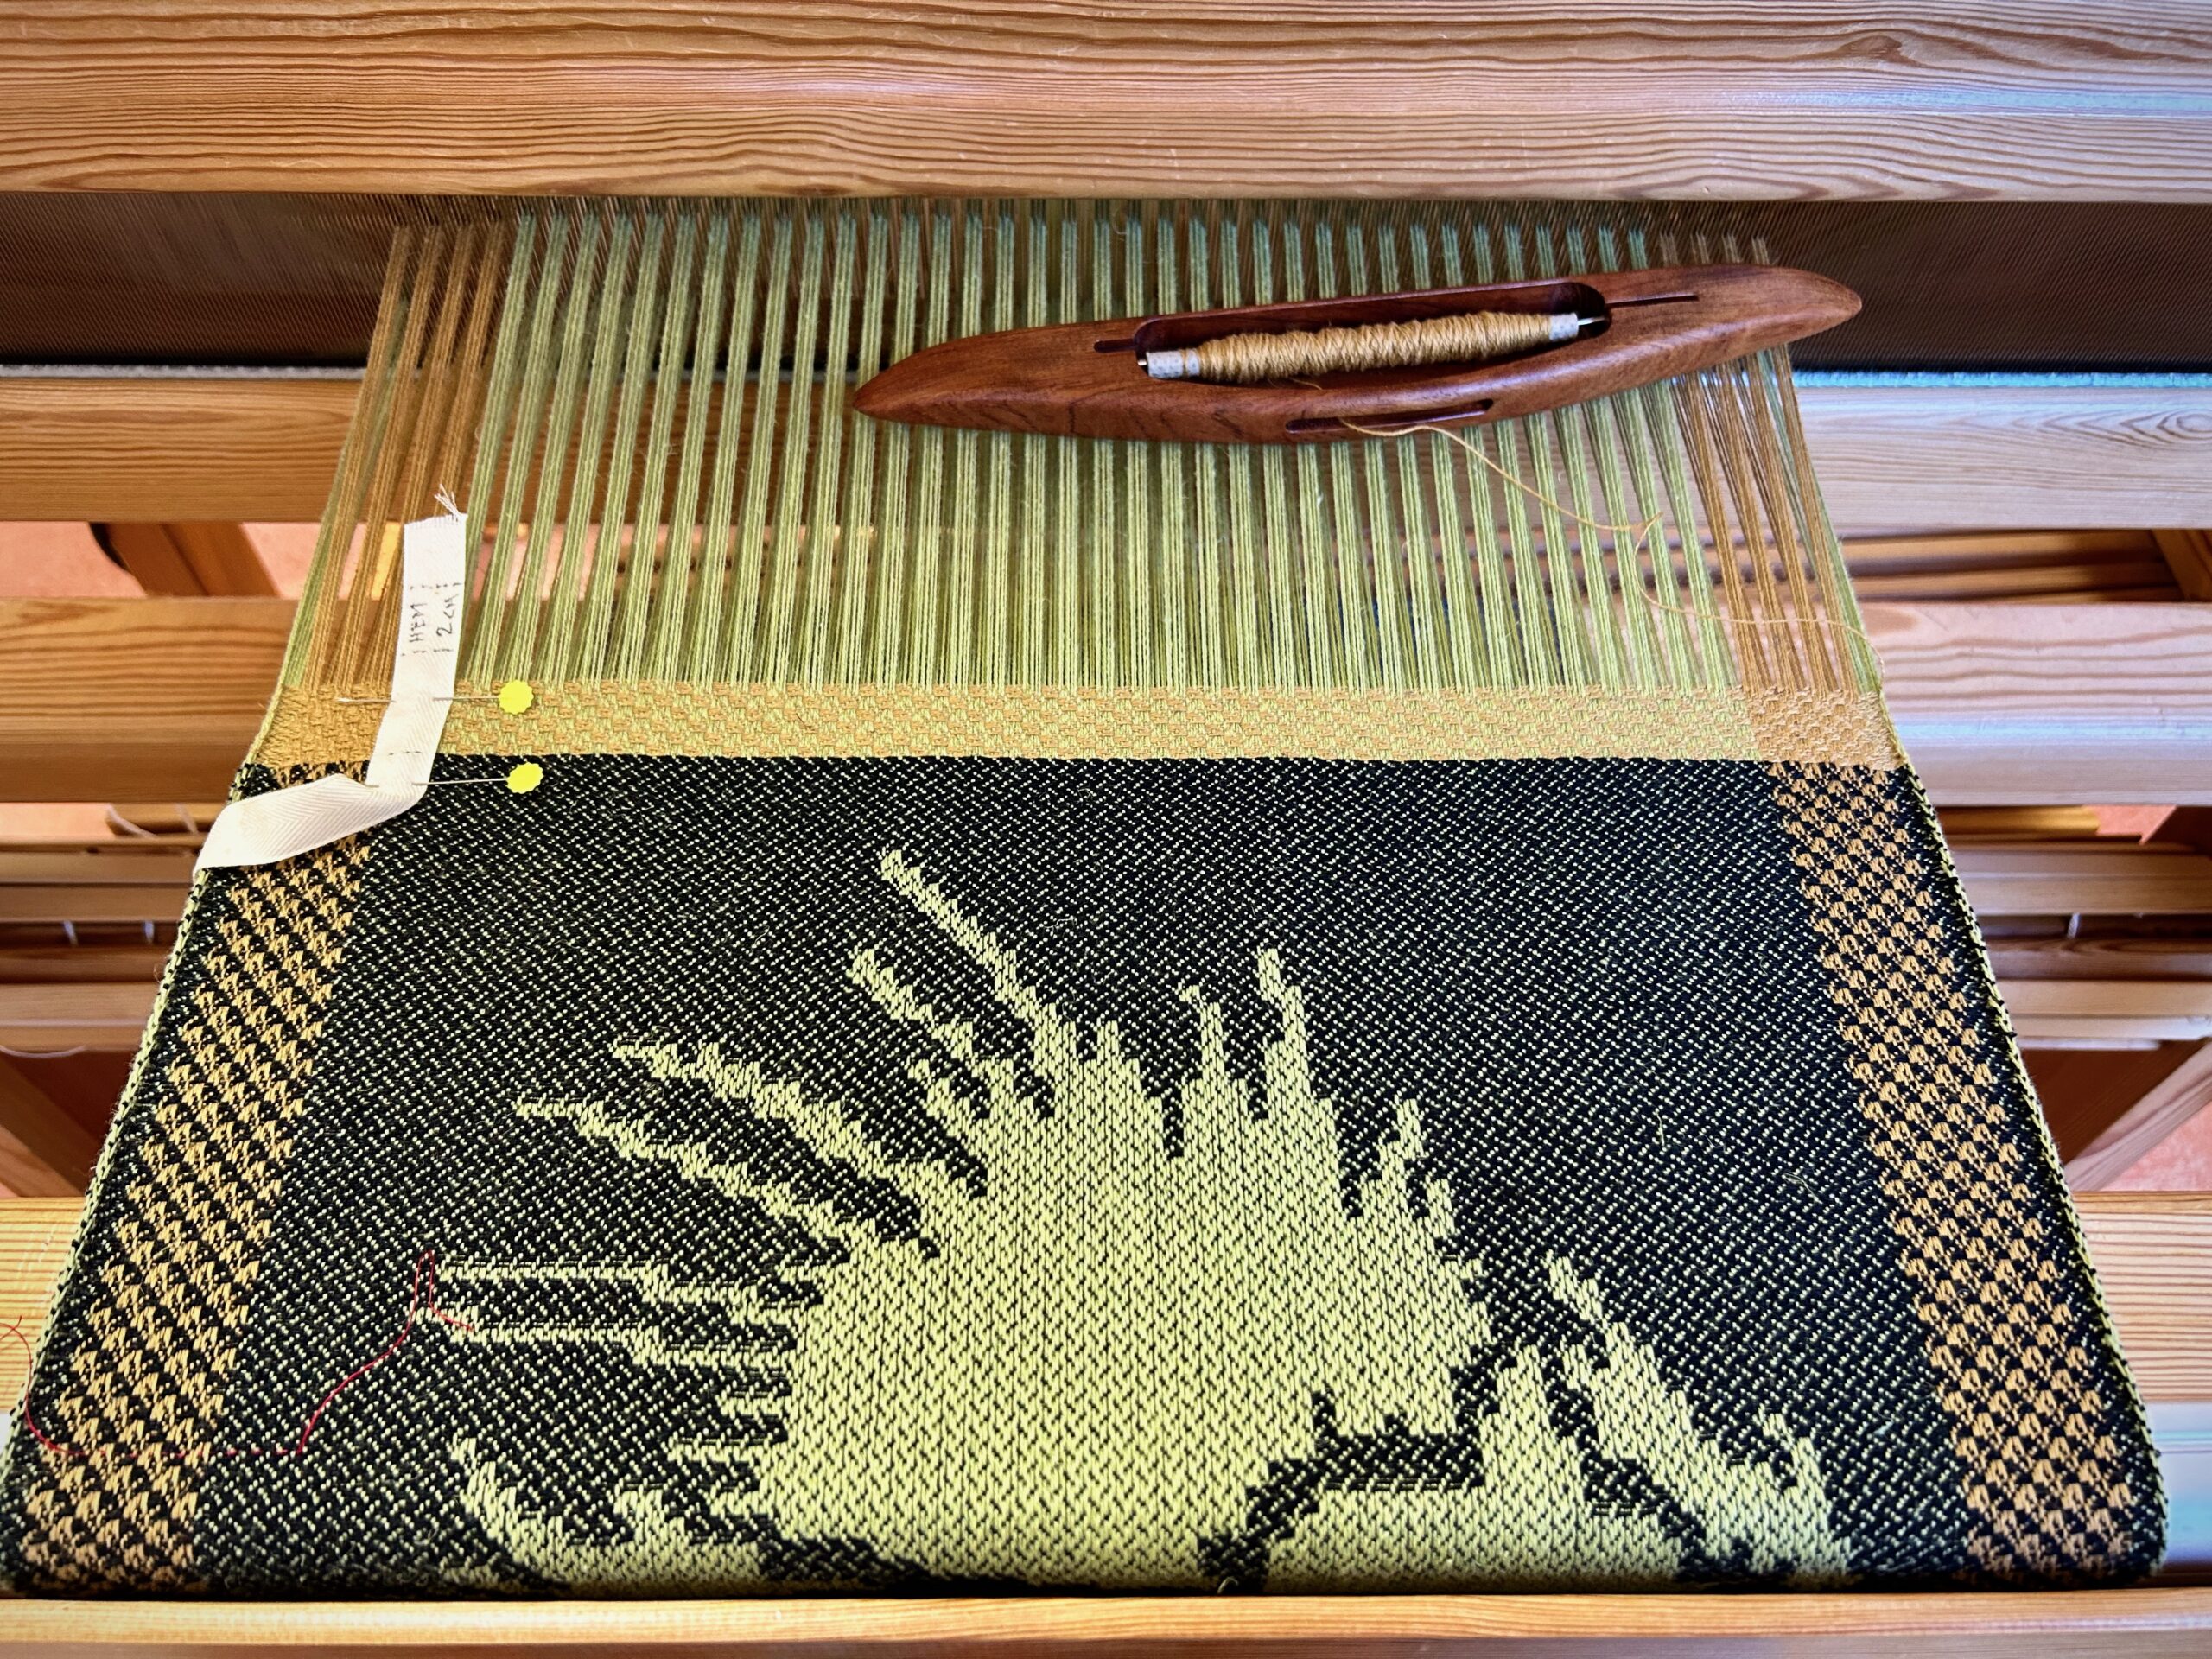
Jackrabbit. This critter is one I would like to see more often. We call him “Jack,” or if there are two of them together, they are known in our family as “Jack and Jackylina.” The jackrabbit makes me smile because of his tall ears and mischievous-looking face. The nice thing is he doesn’t cause any mischief, like some of the other critters around here. He will sit completely still, without a twitch. I’m sure he wants you will think he’s a rock, and pass on by without noticing him. But if you get a little too close, he hops up and quickly dashes away.
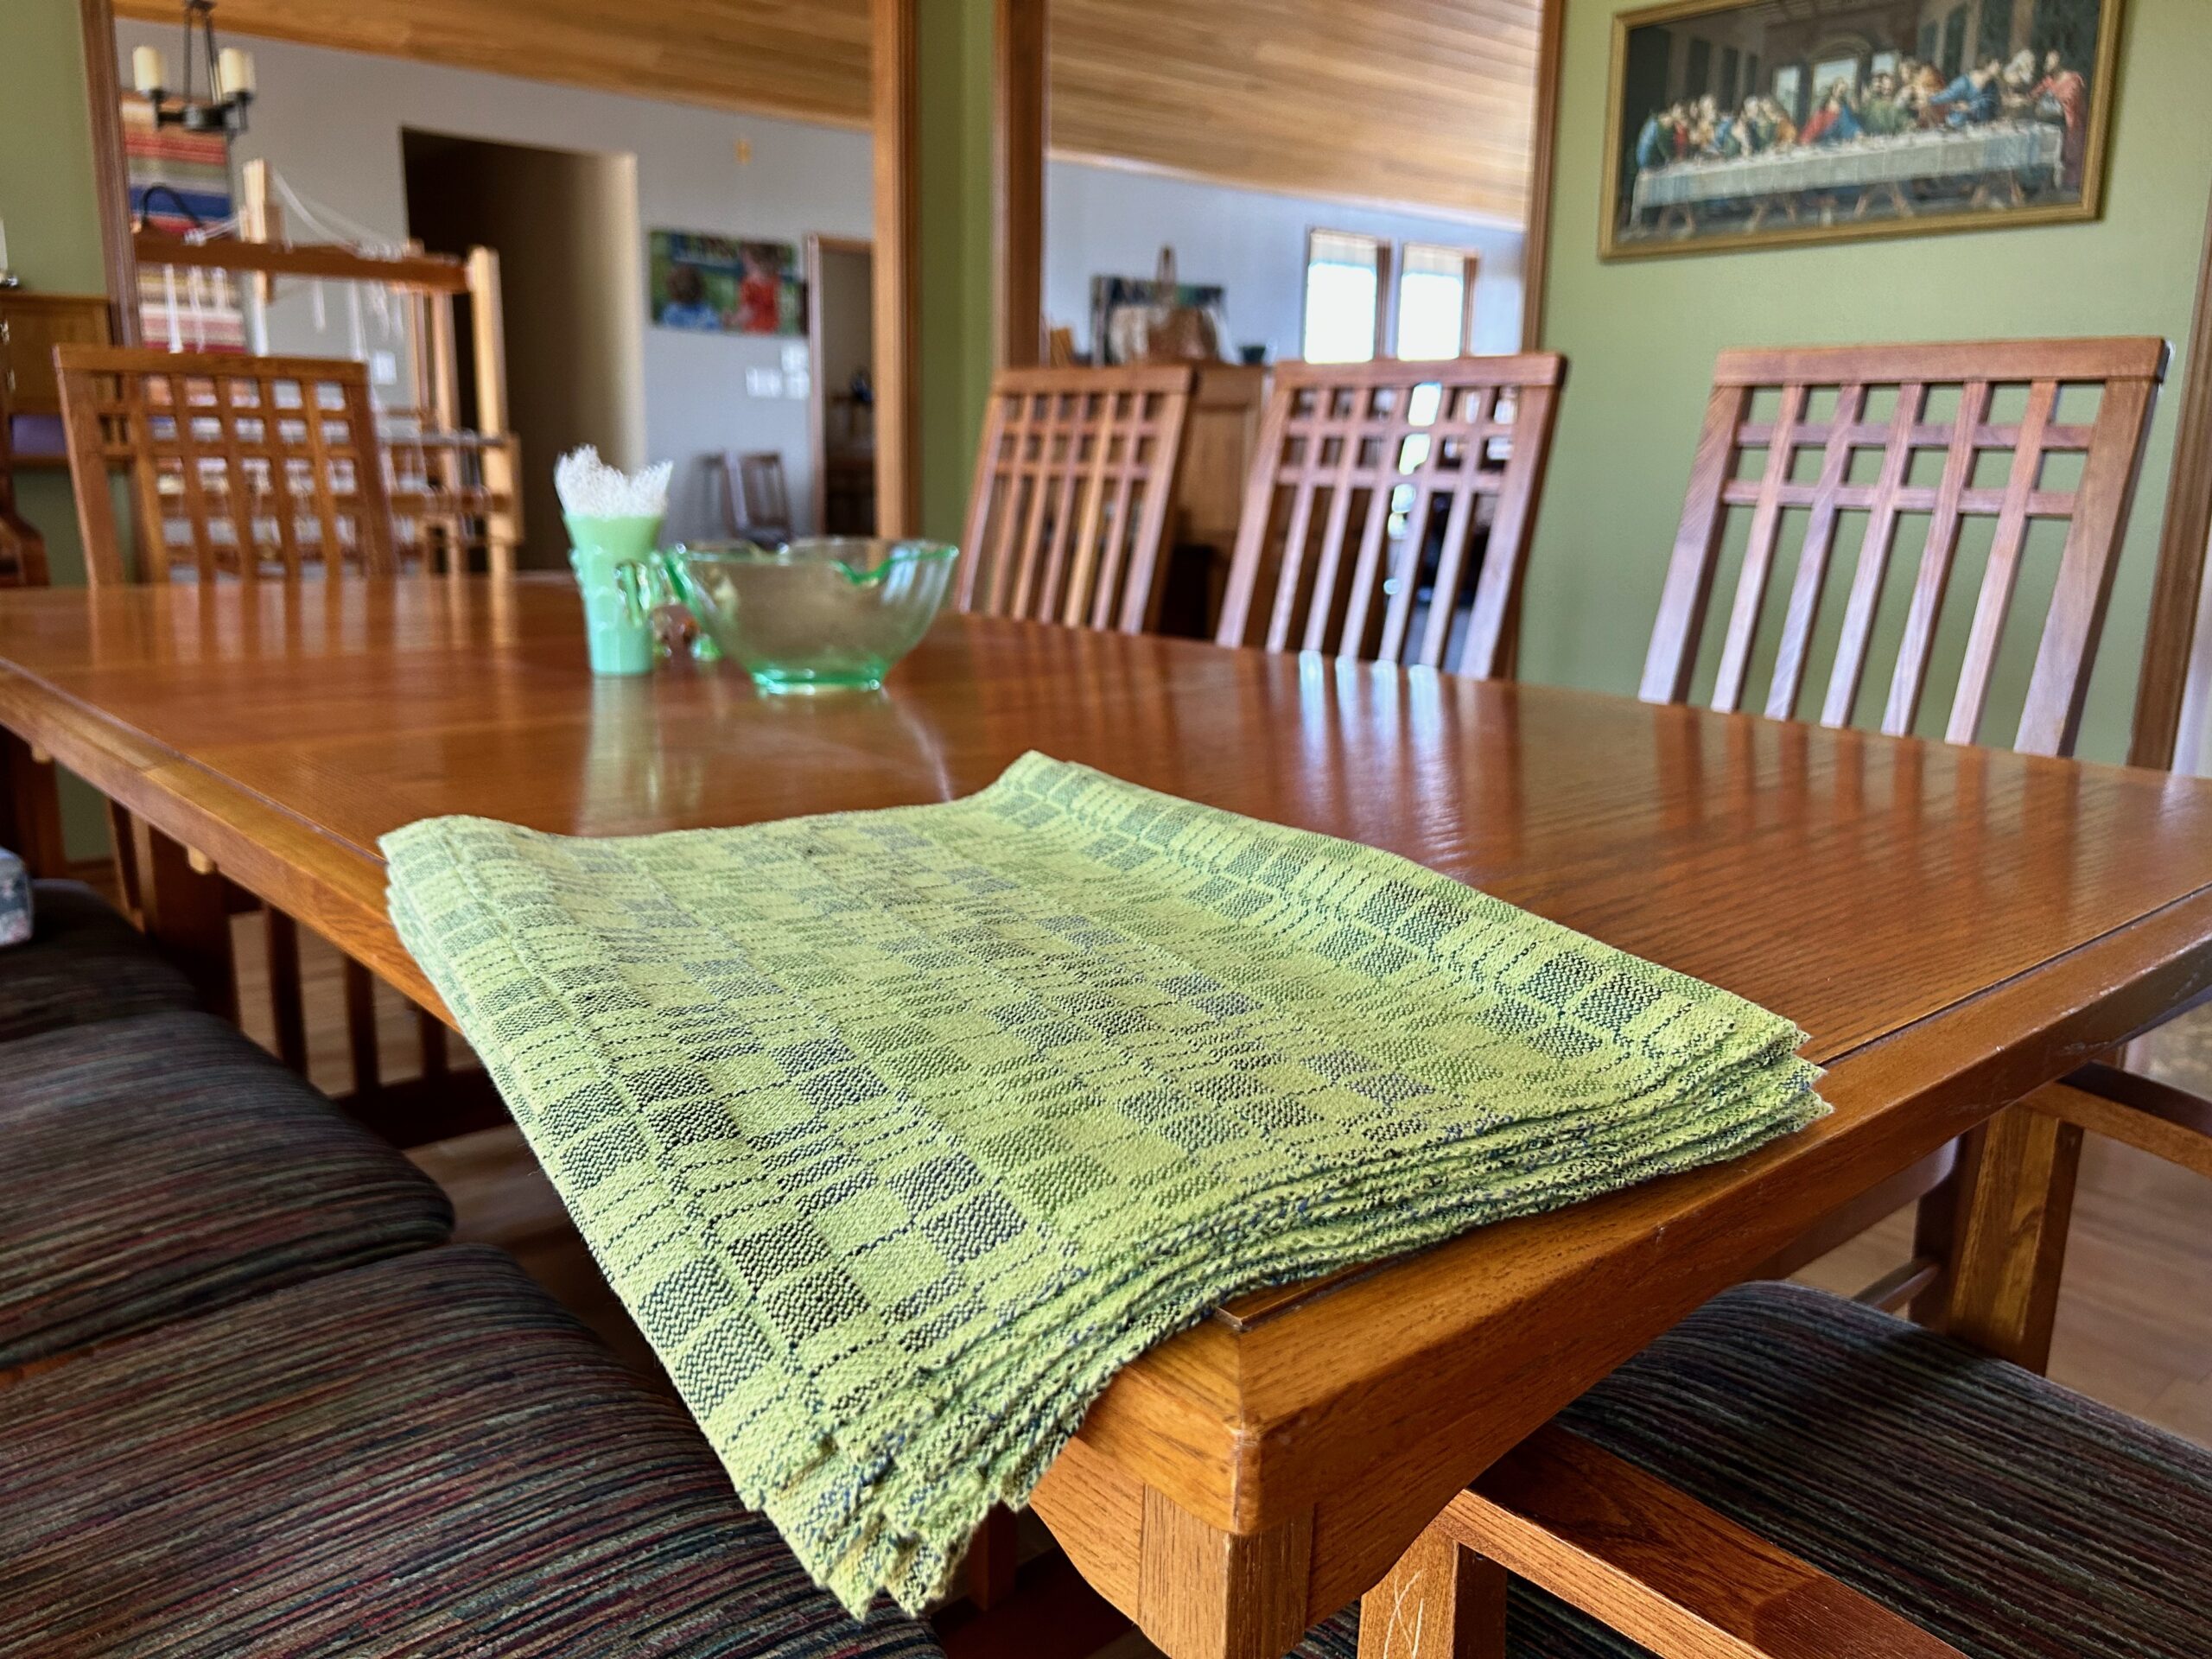
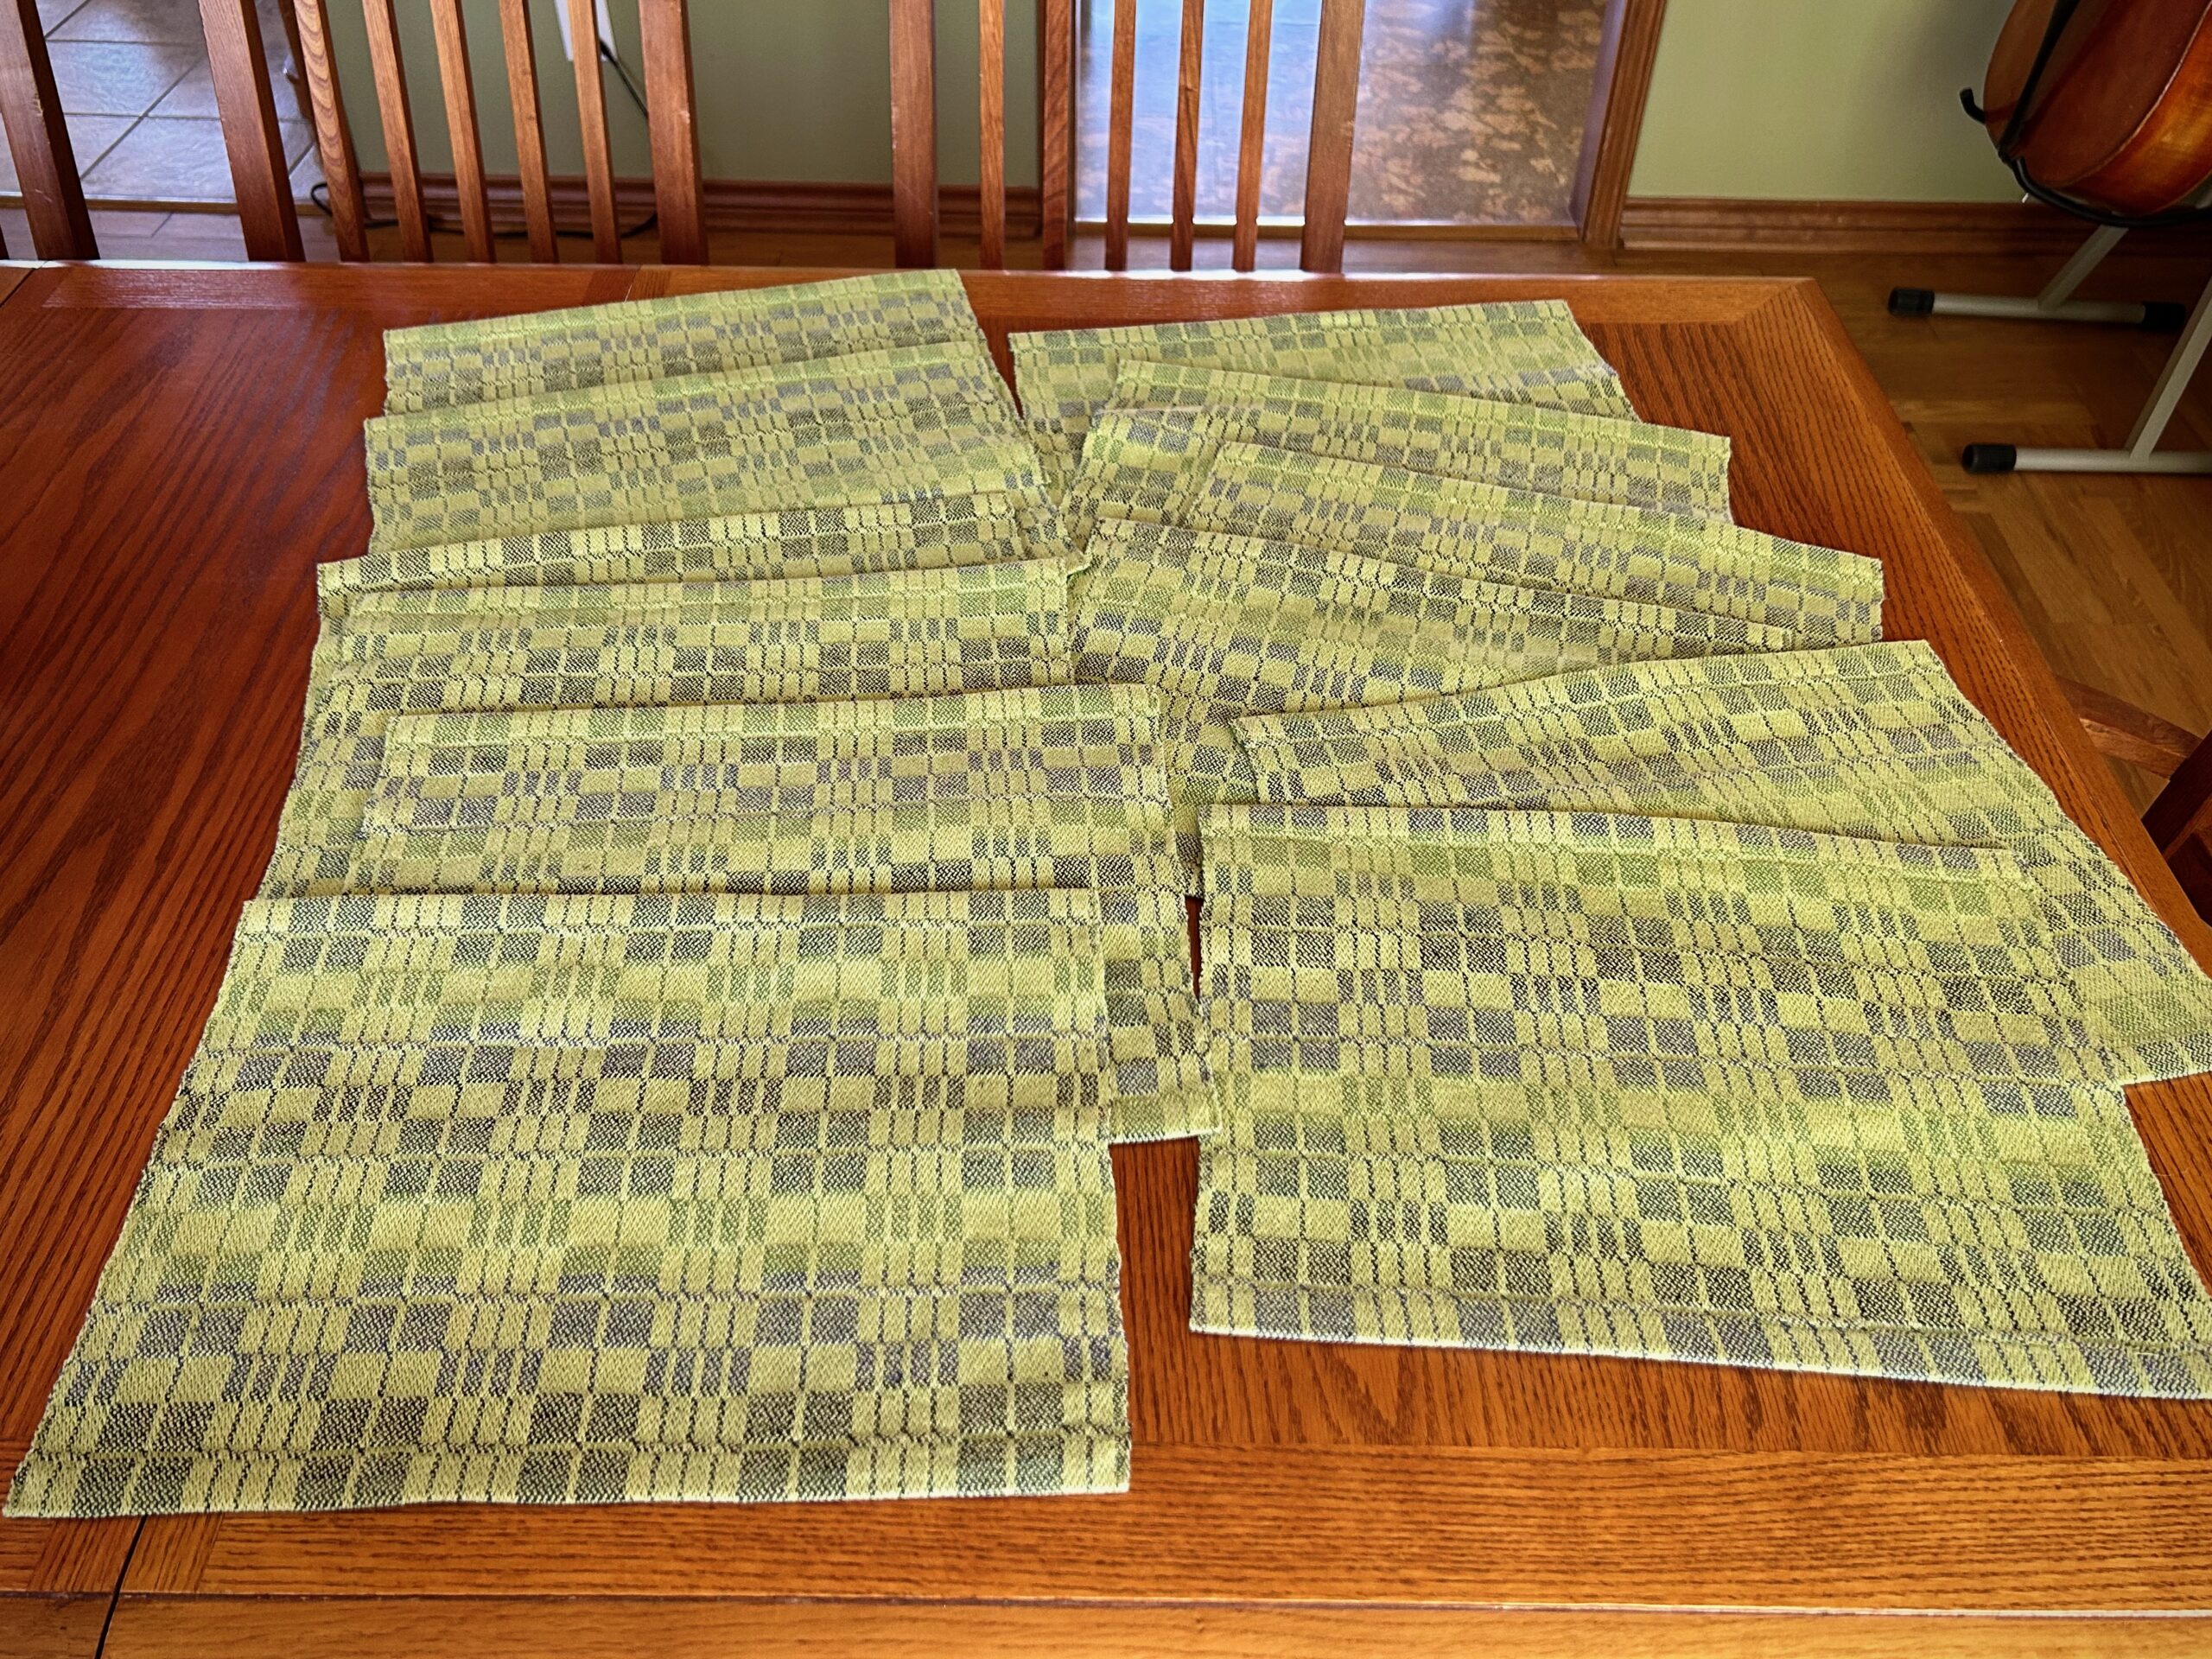
When we have all twelve napkins at the dining room table for a family gathering, how will we decide who gets Jack the Jackrabbit? This one could be everyone’s favorite.
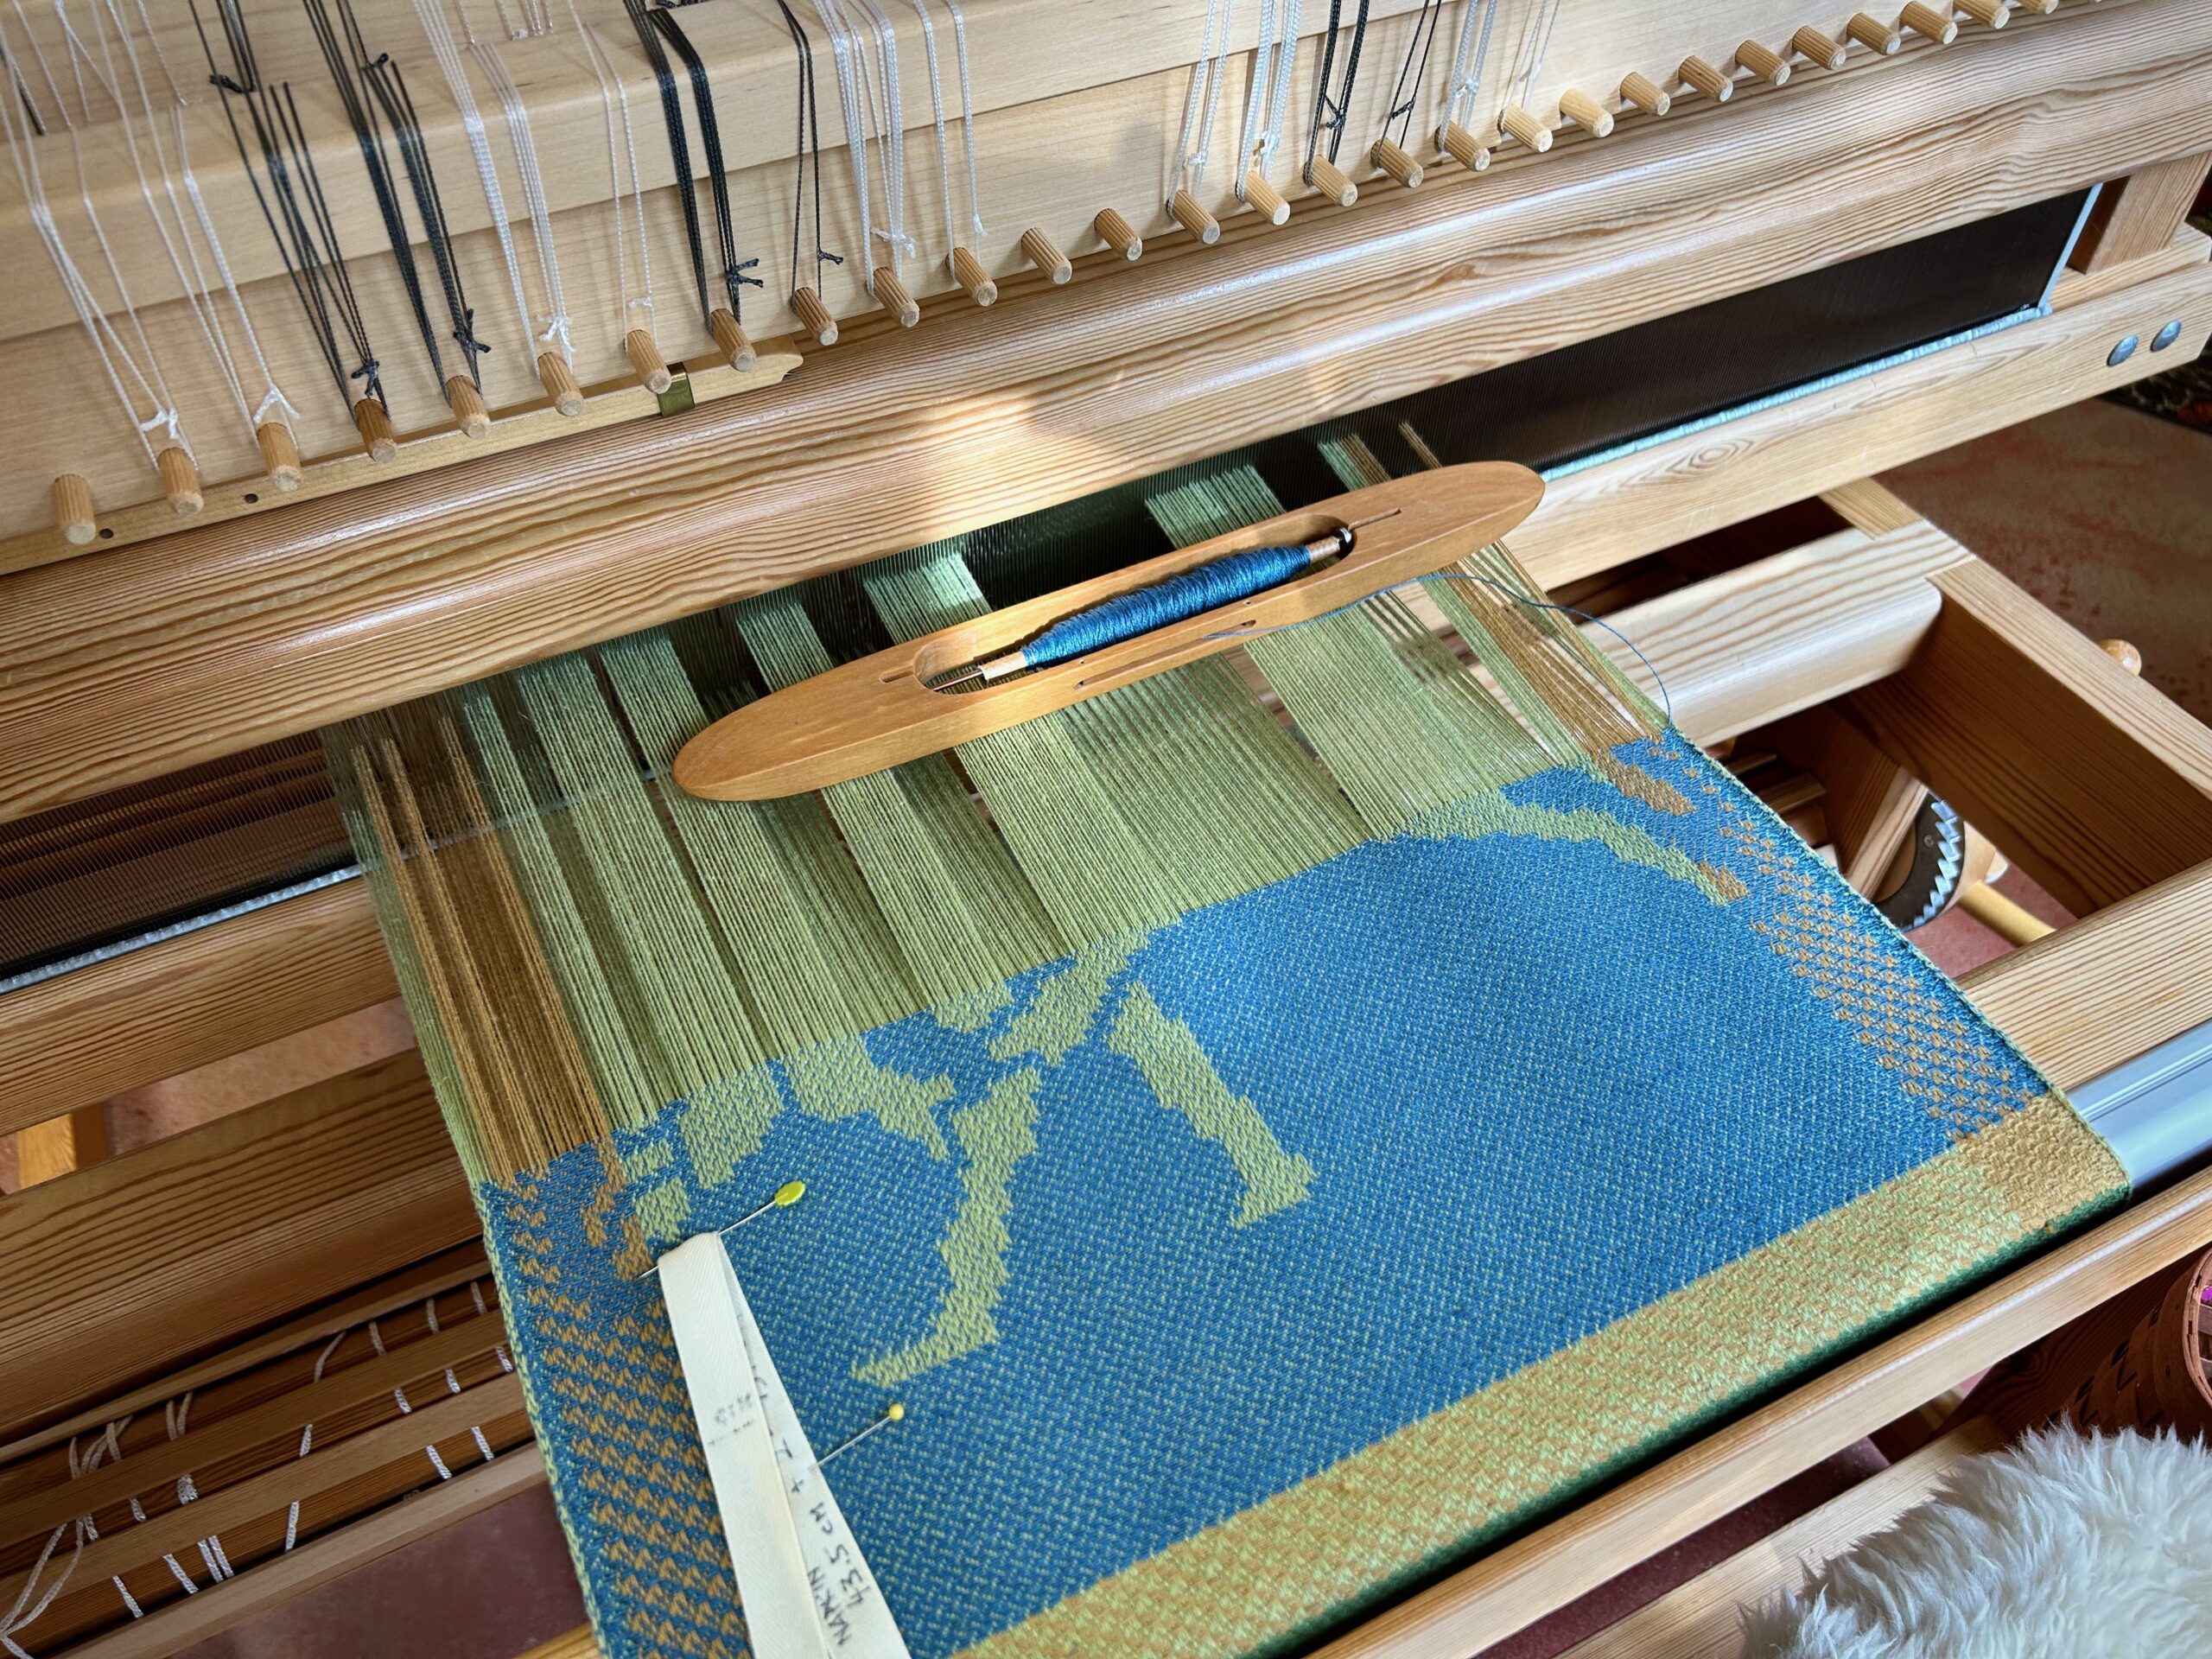
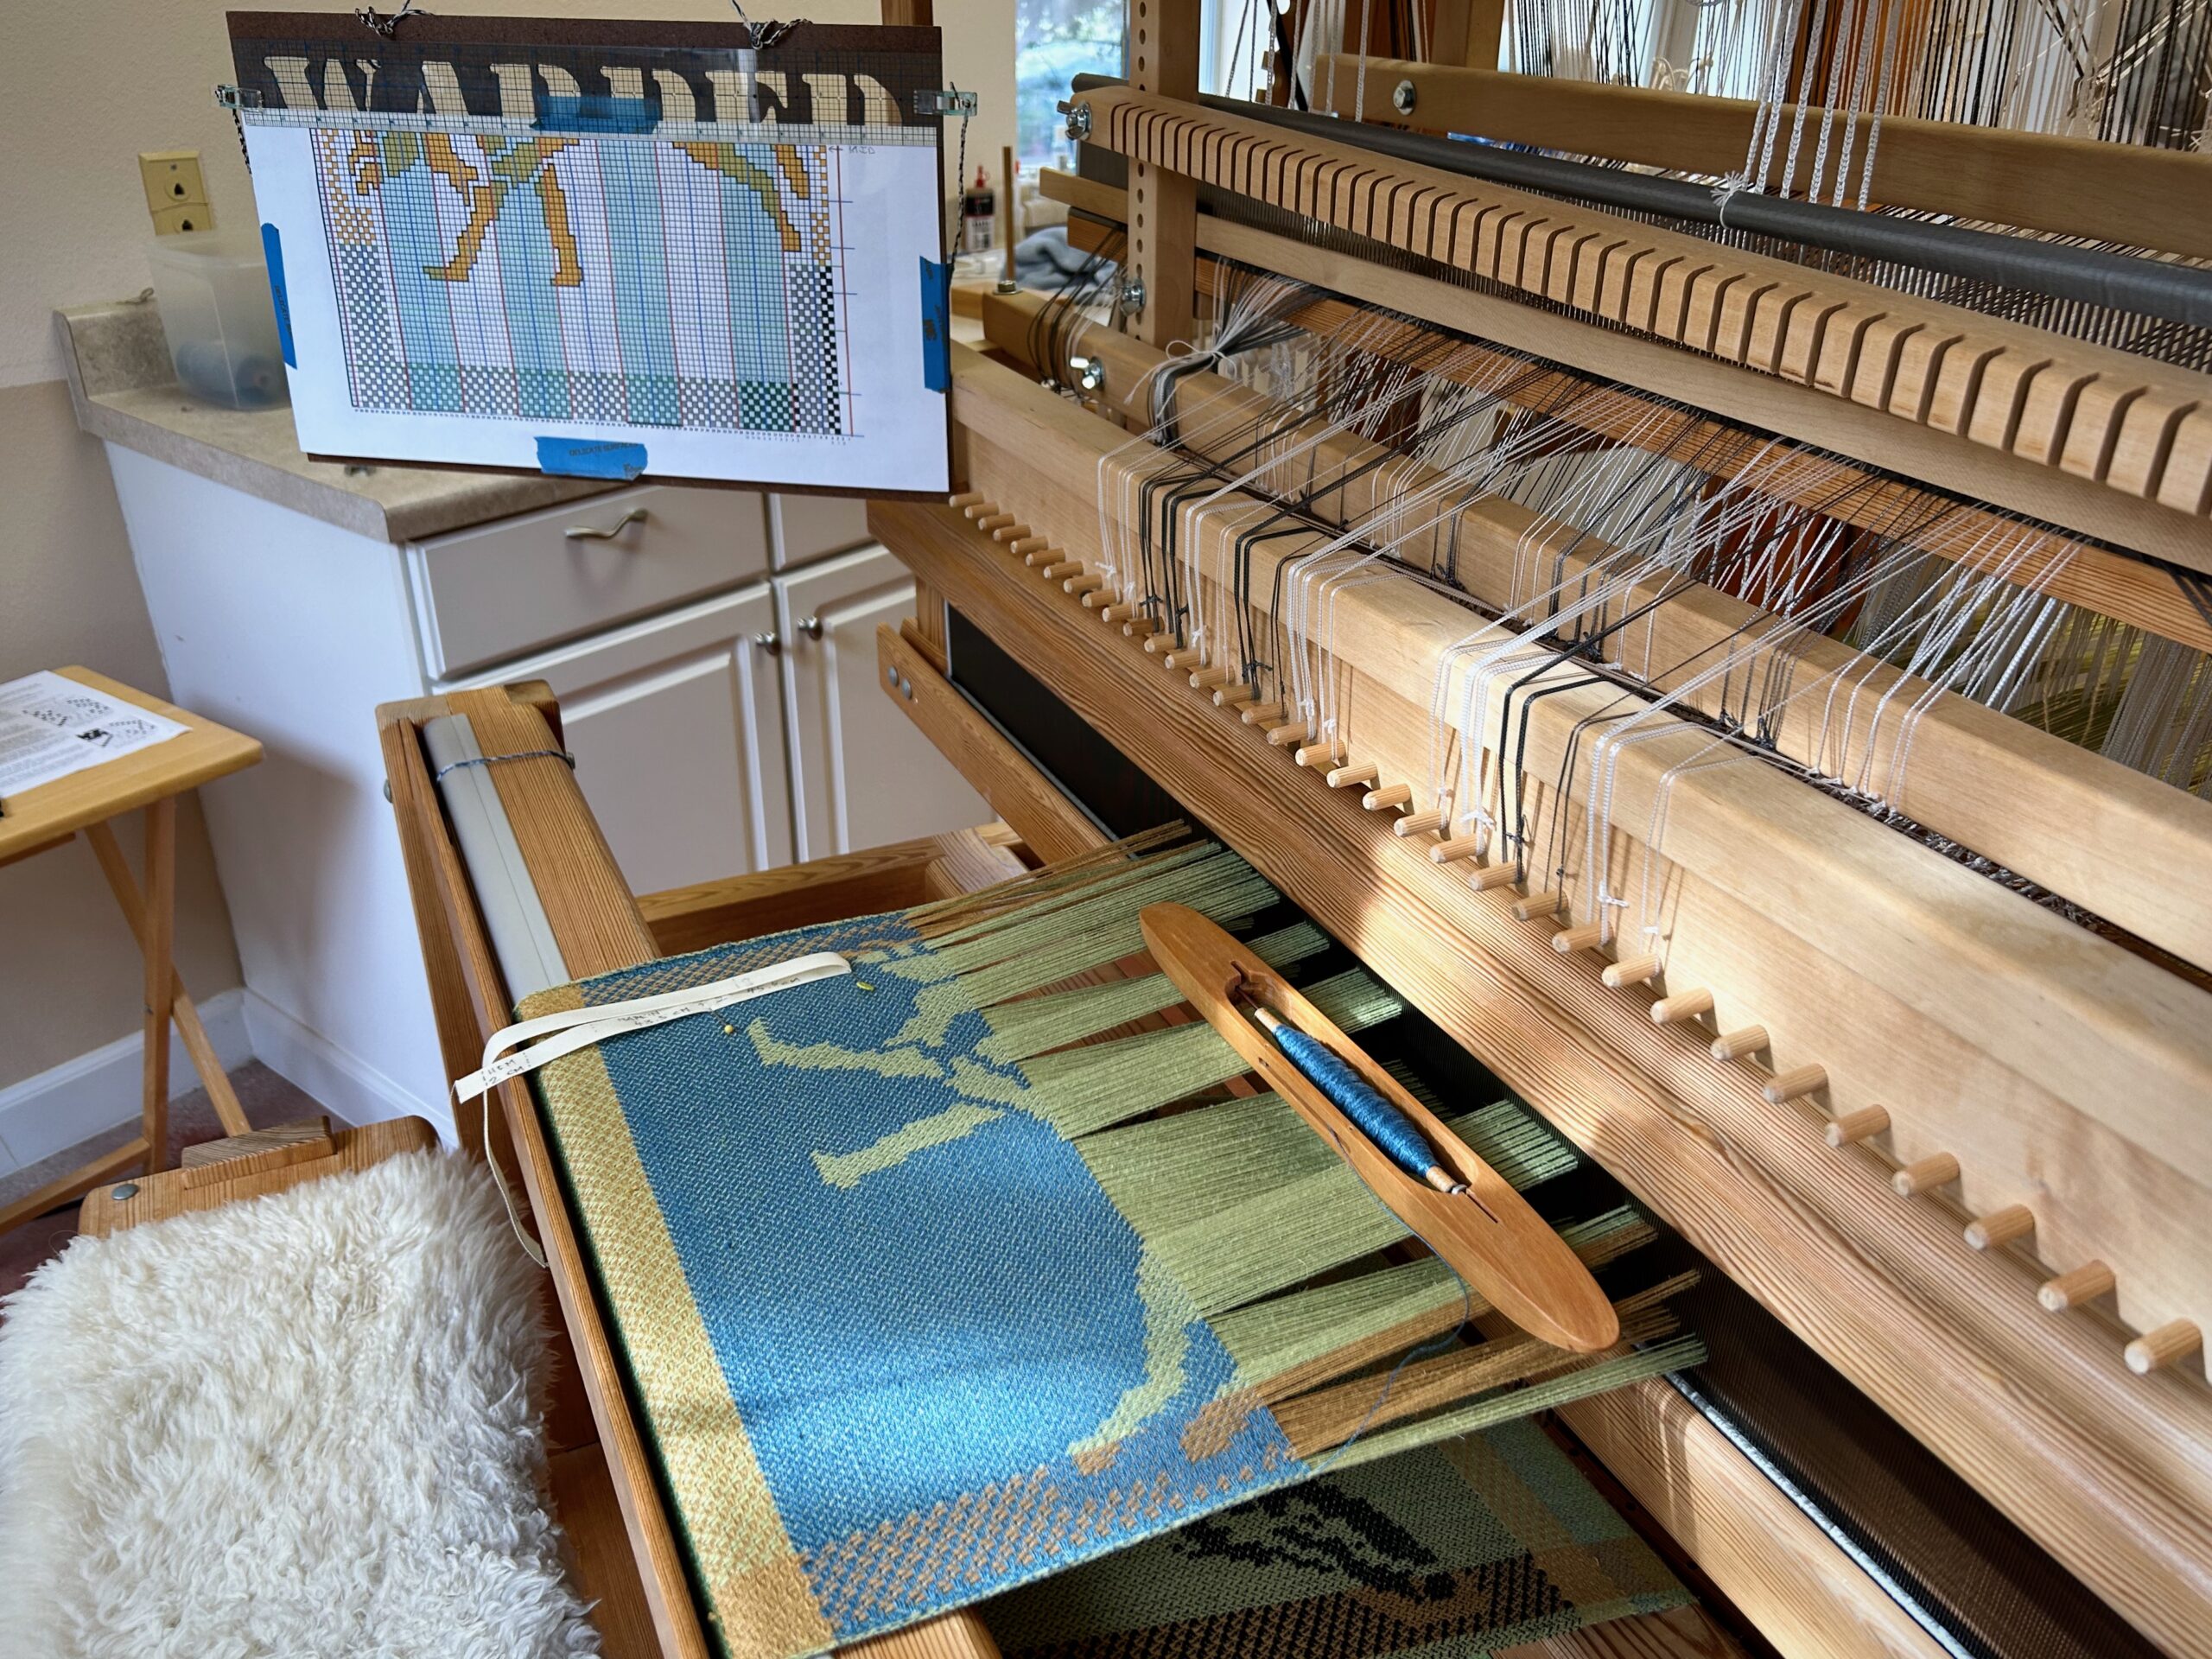
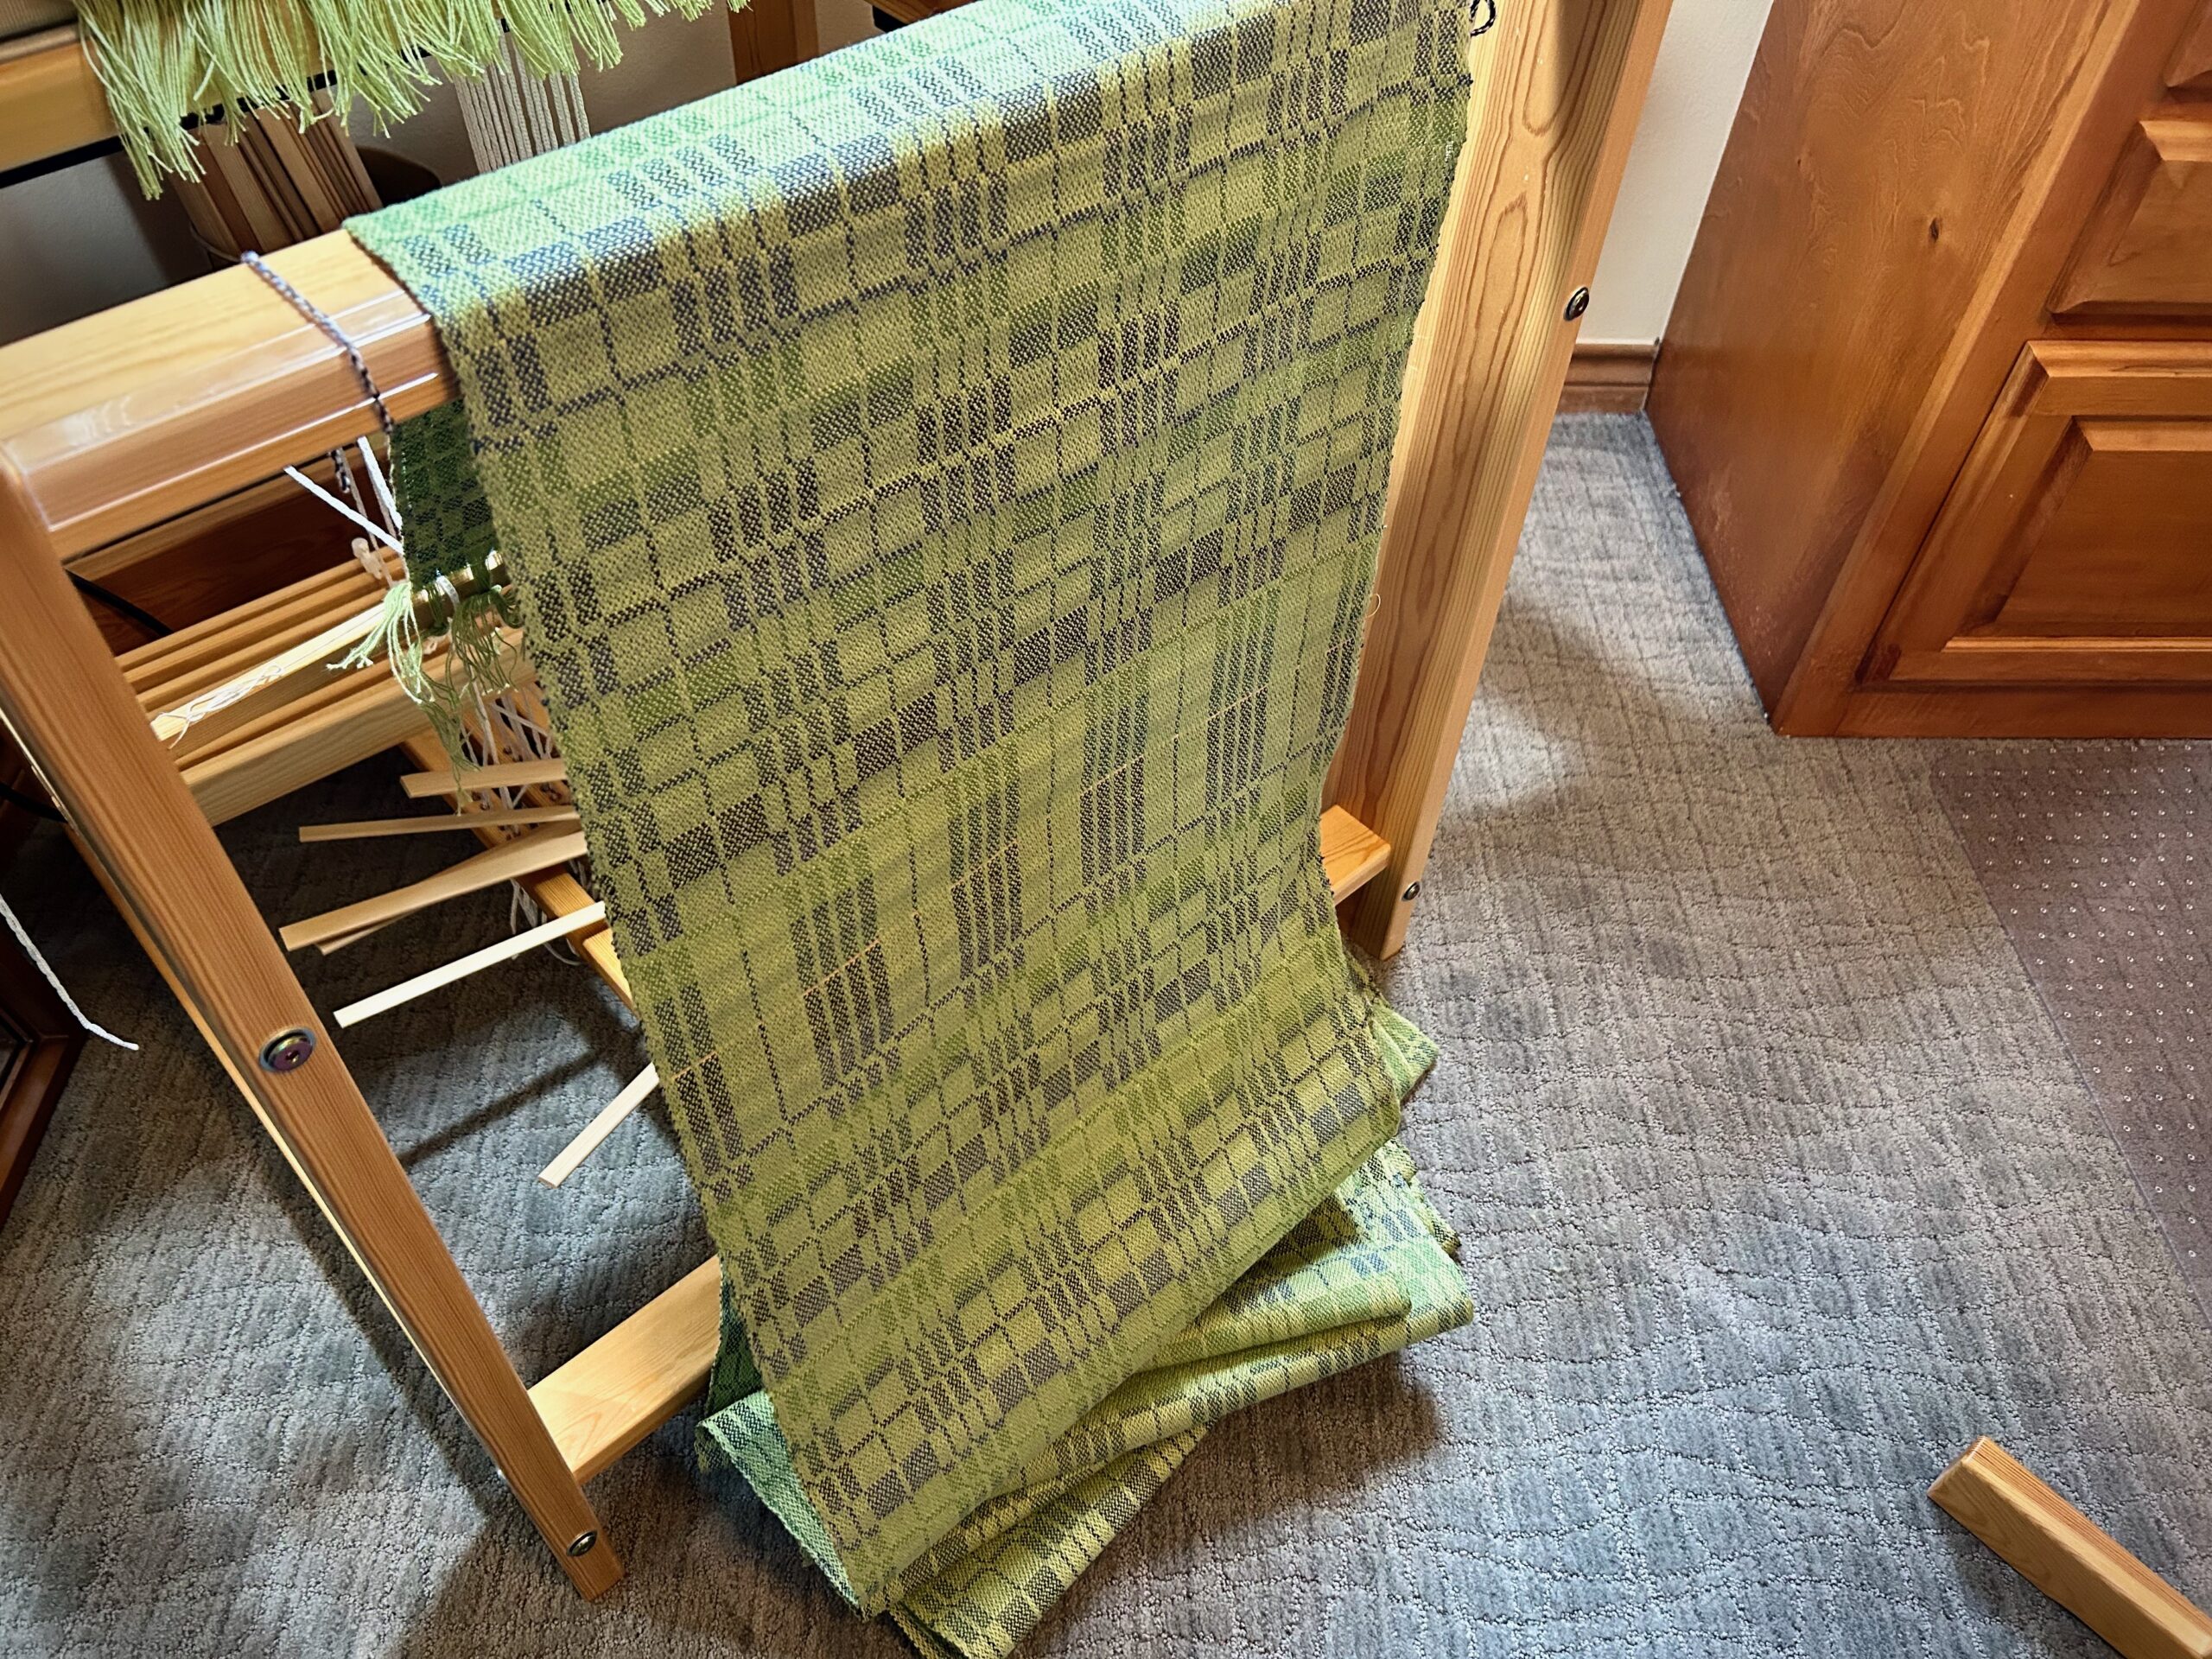
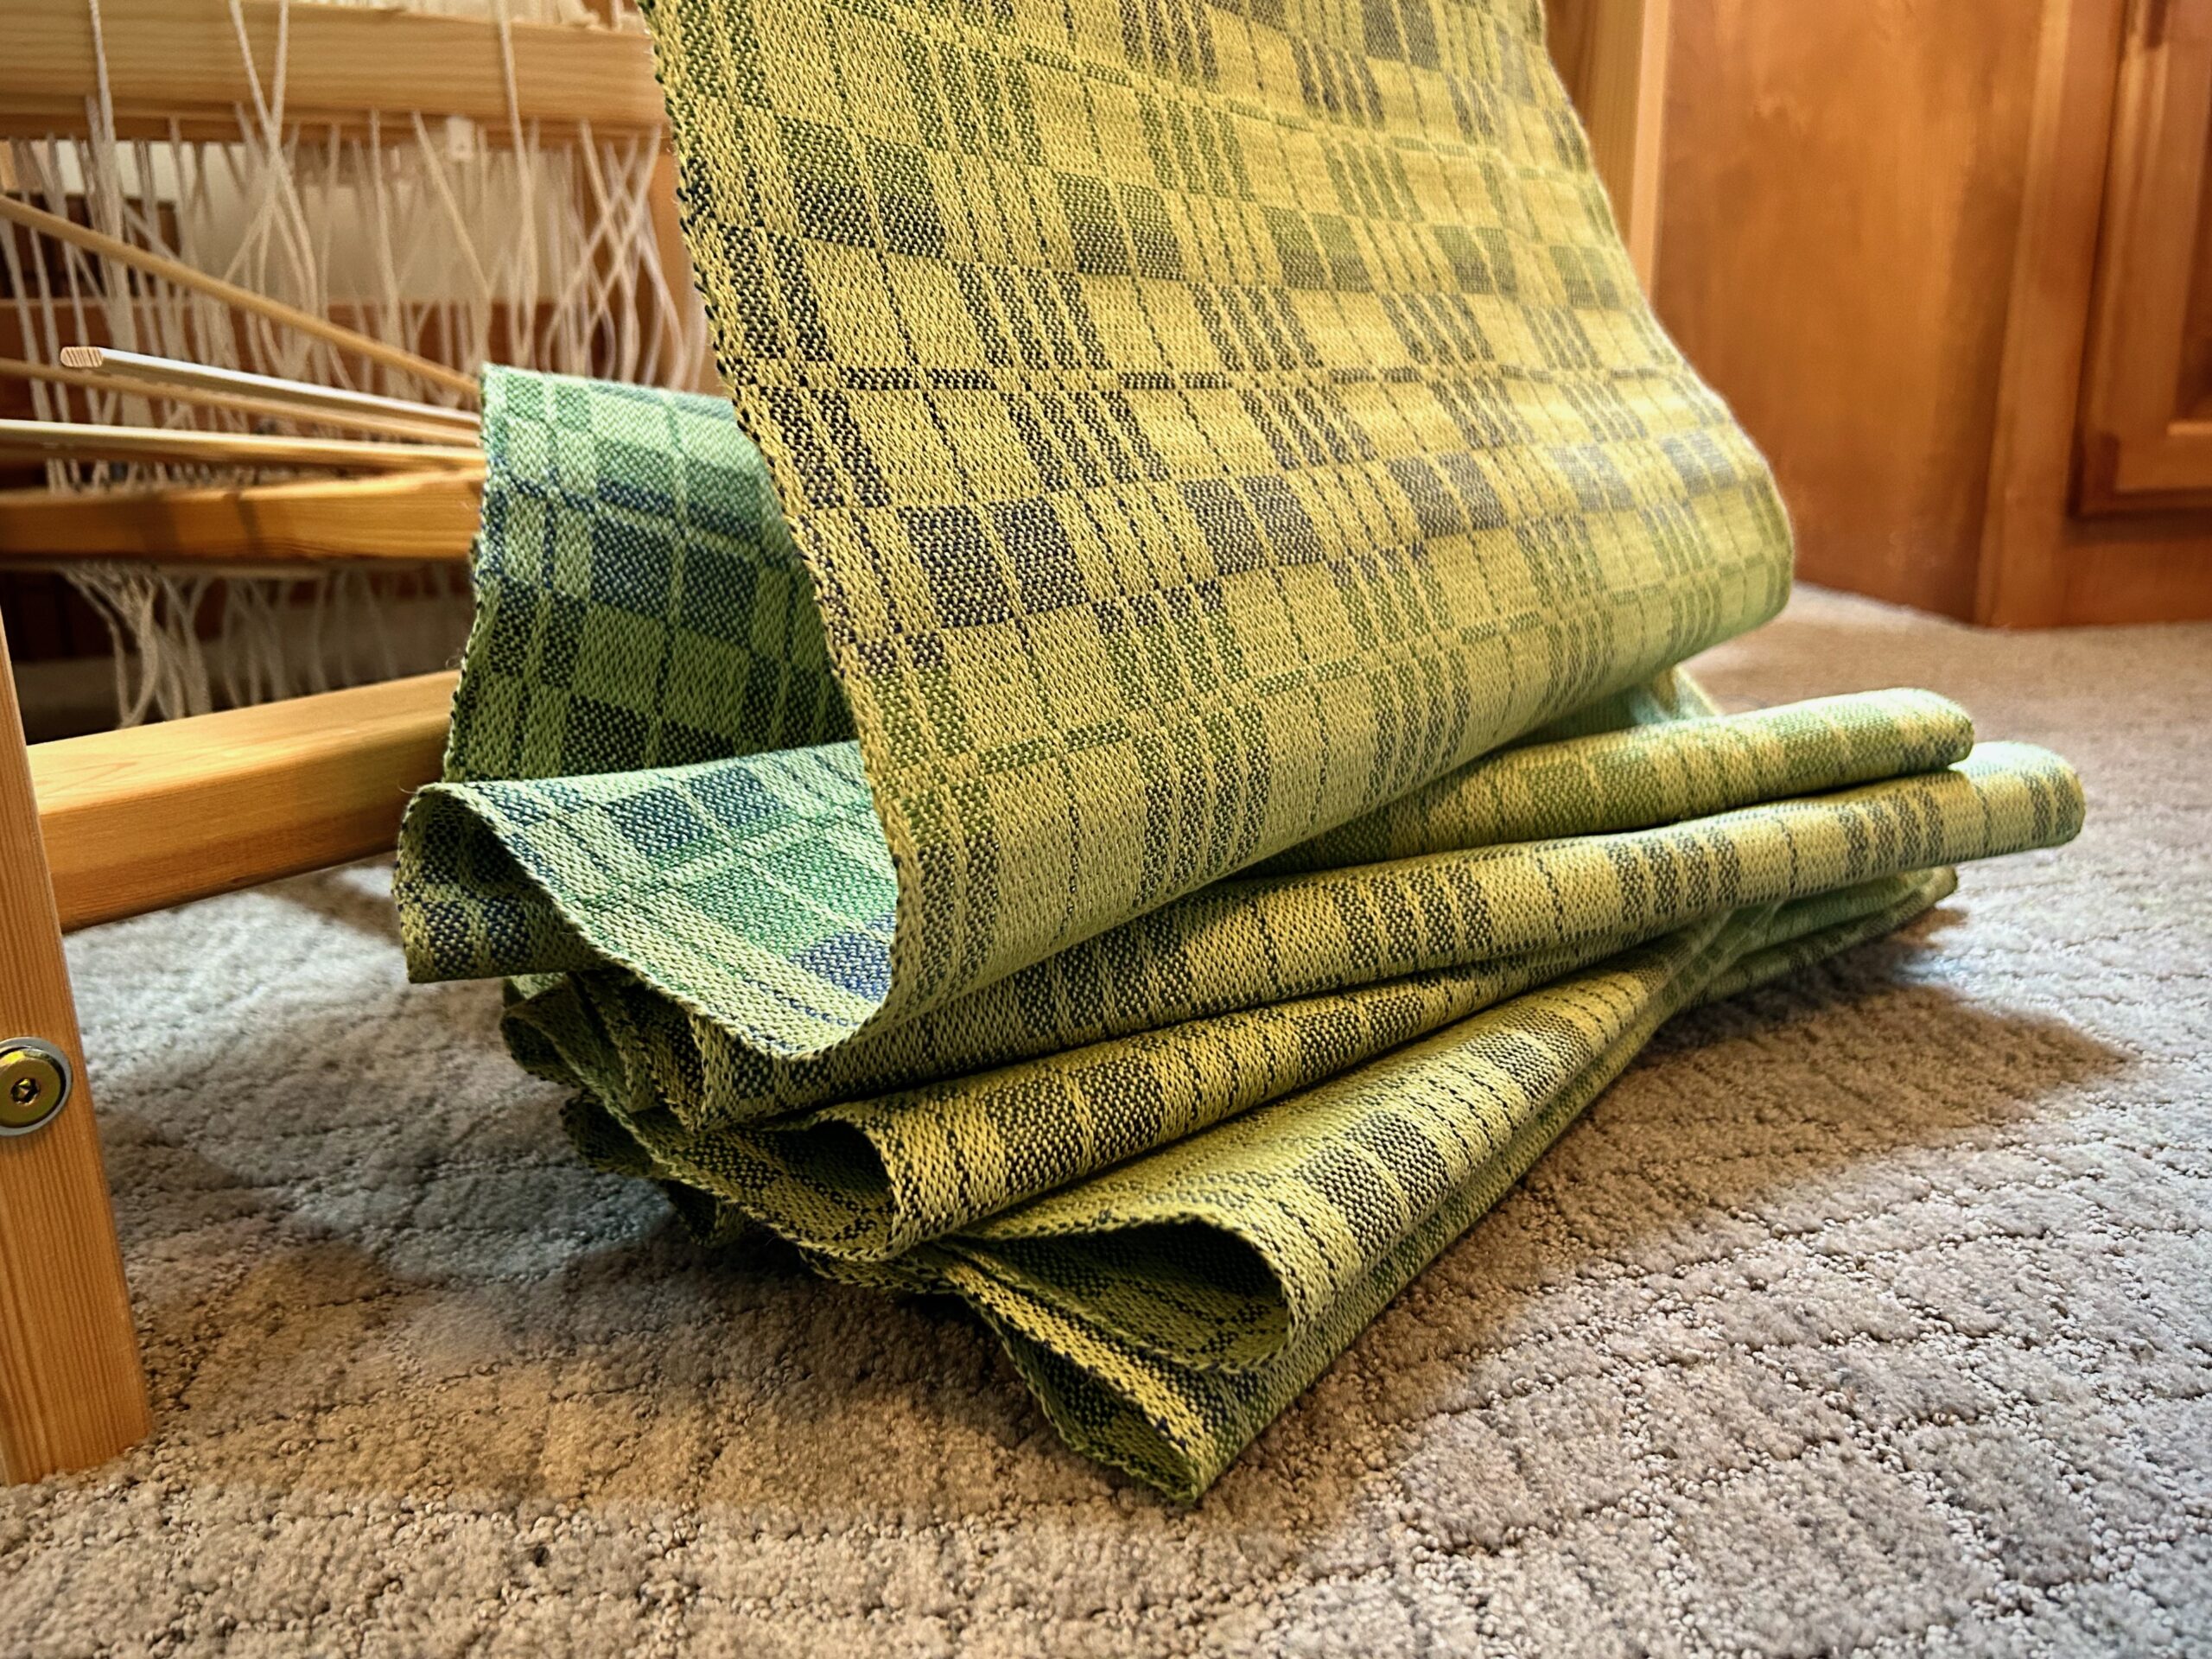
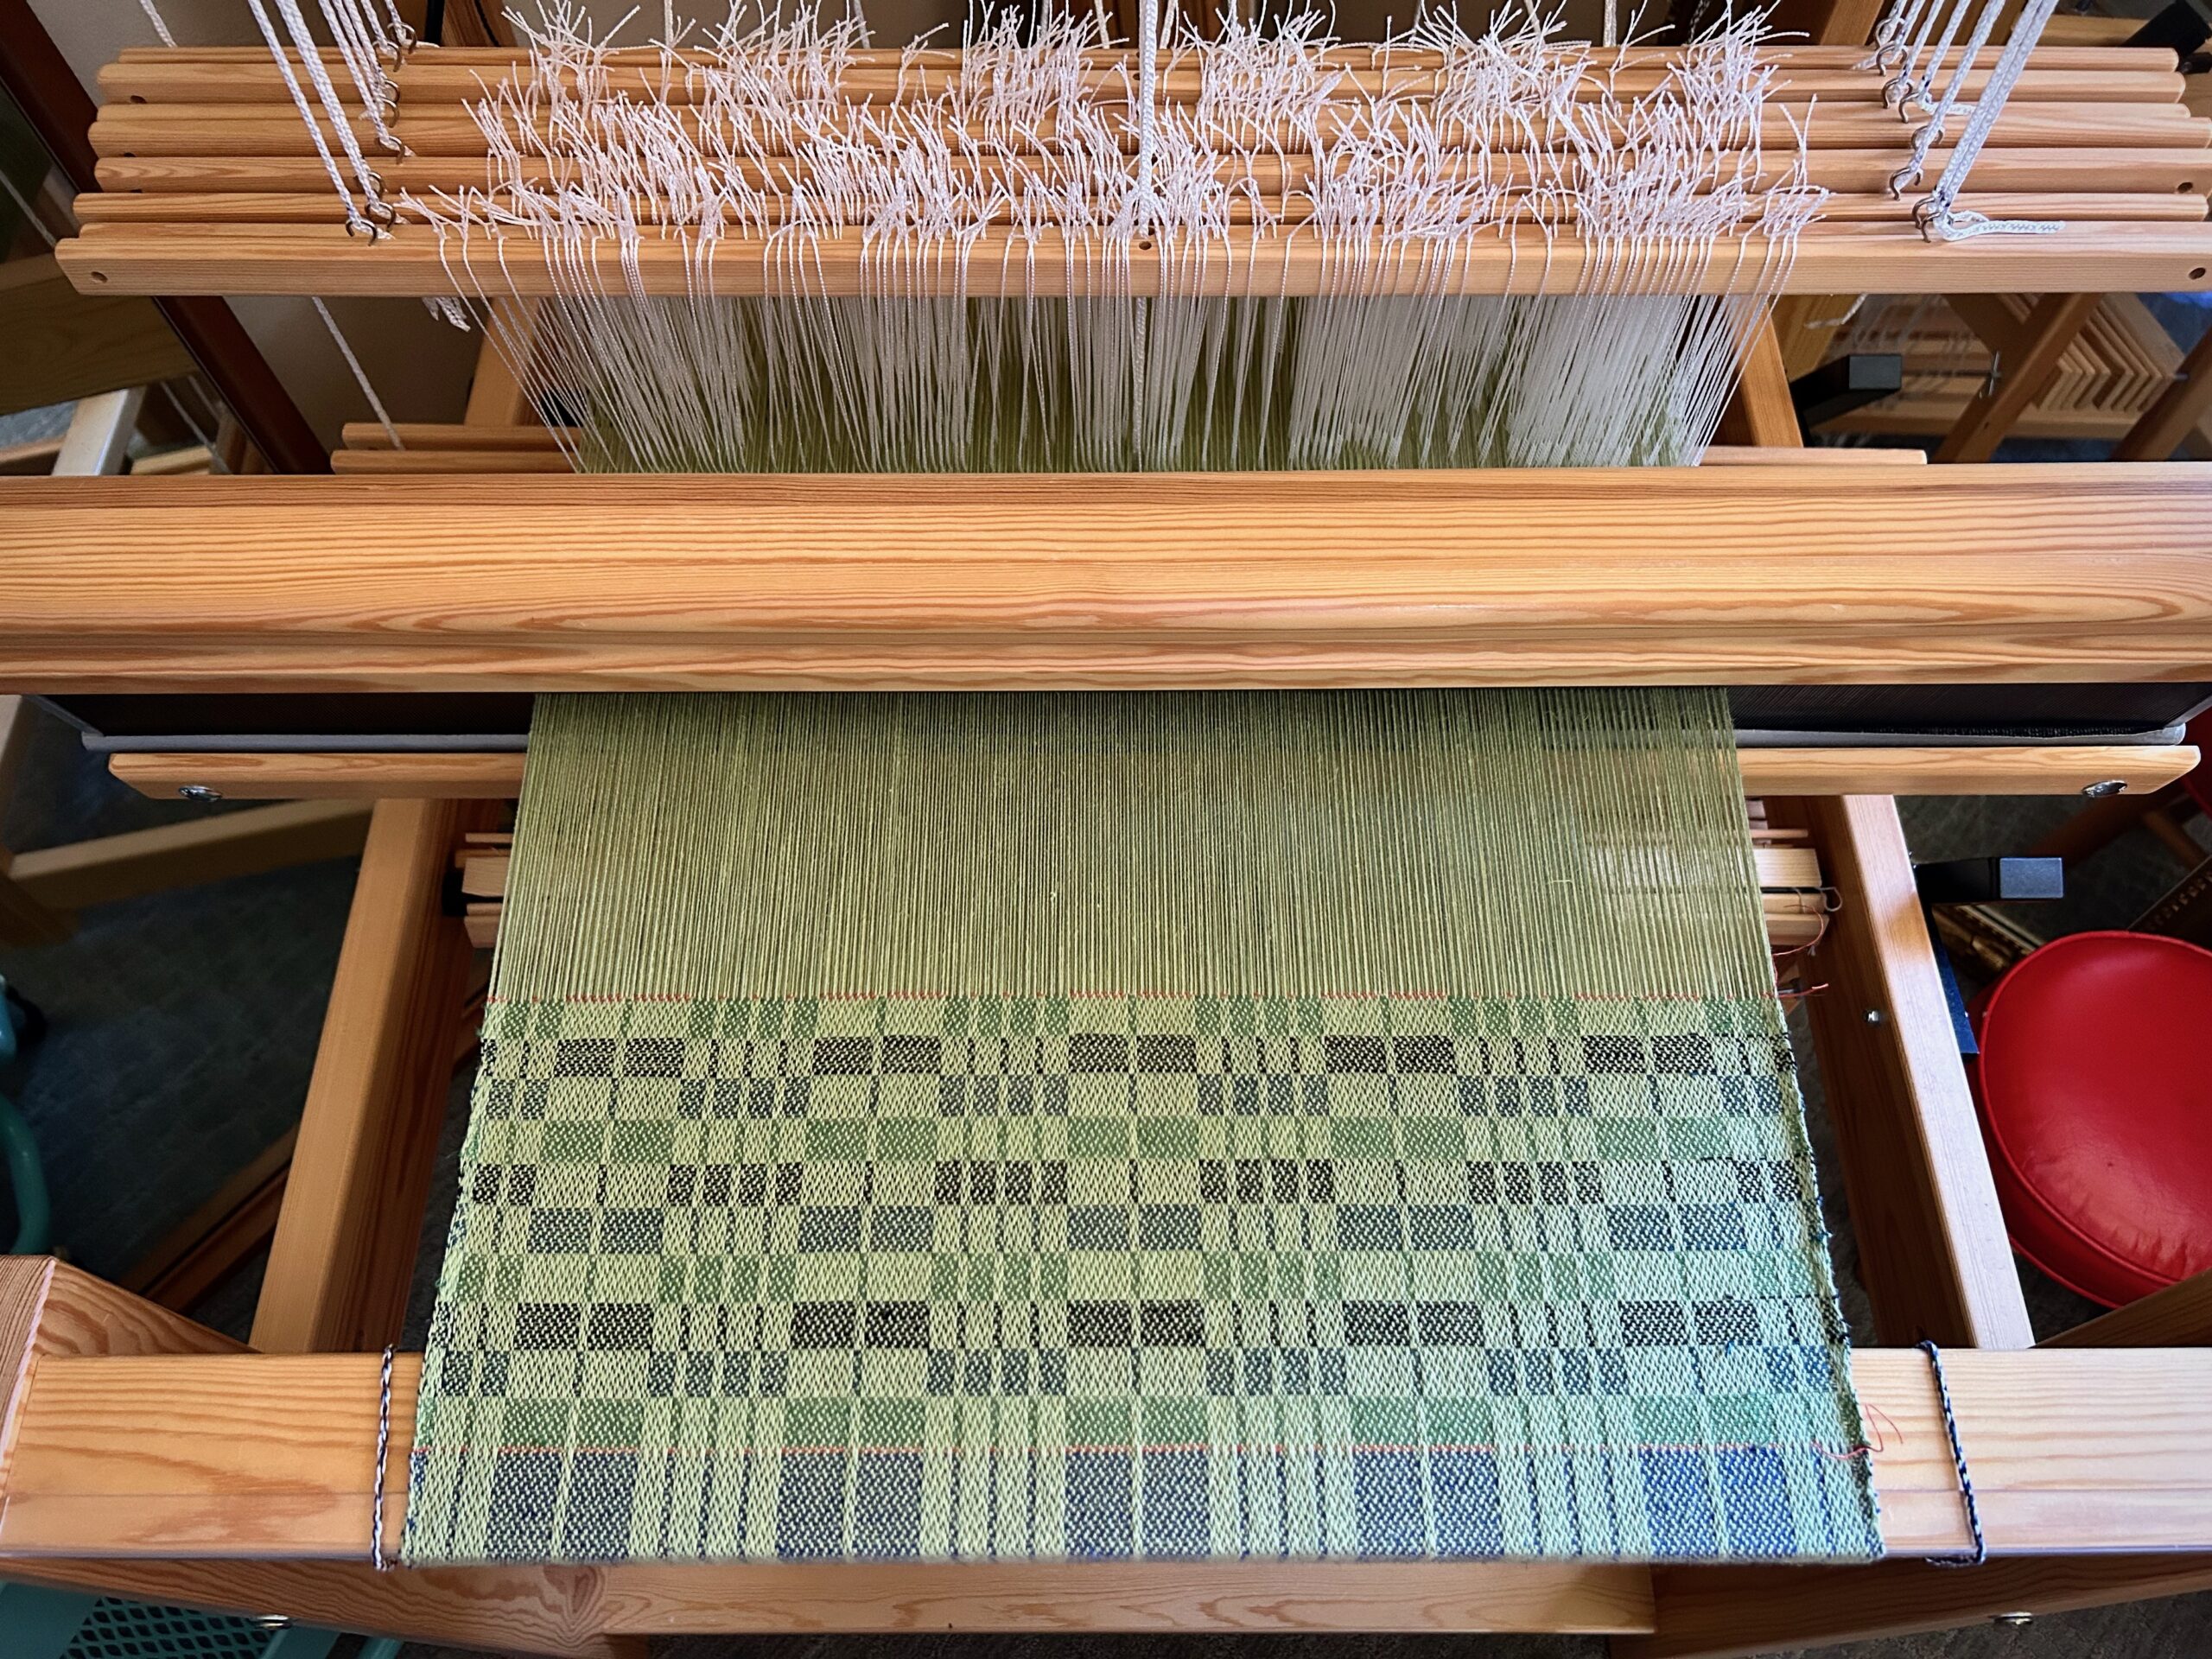
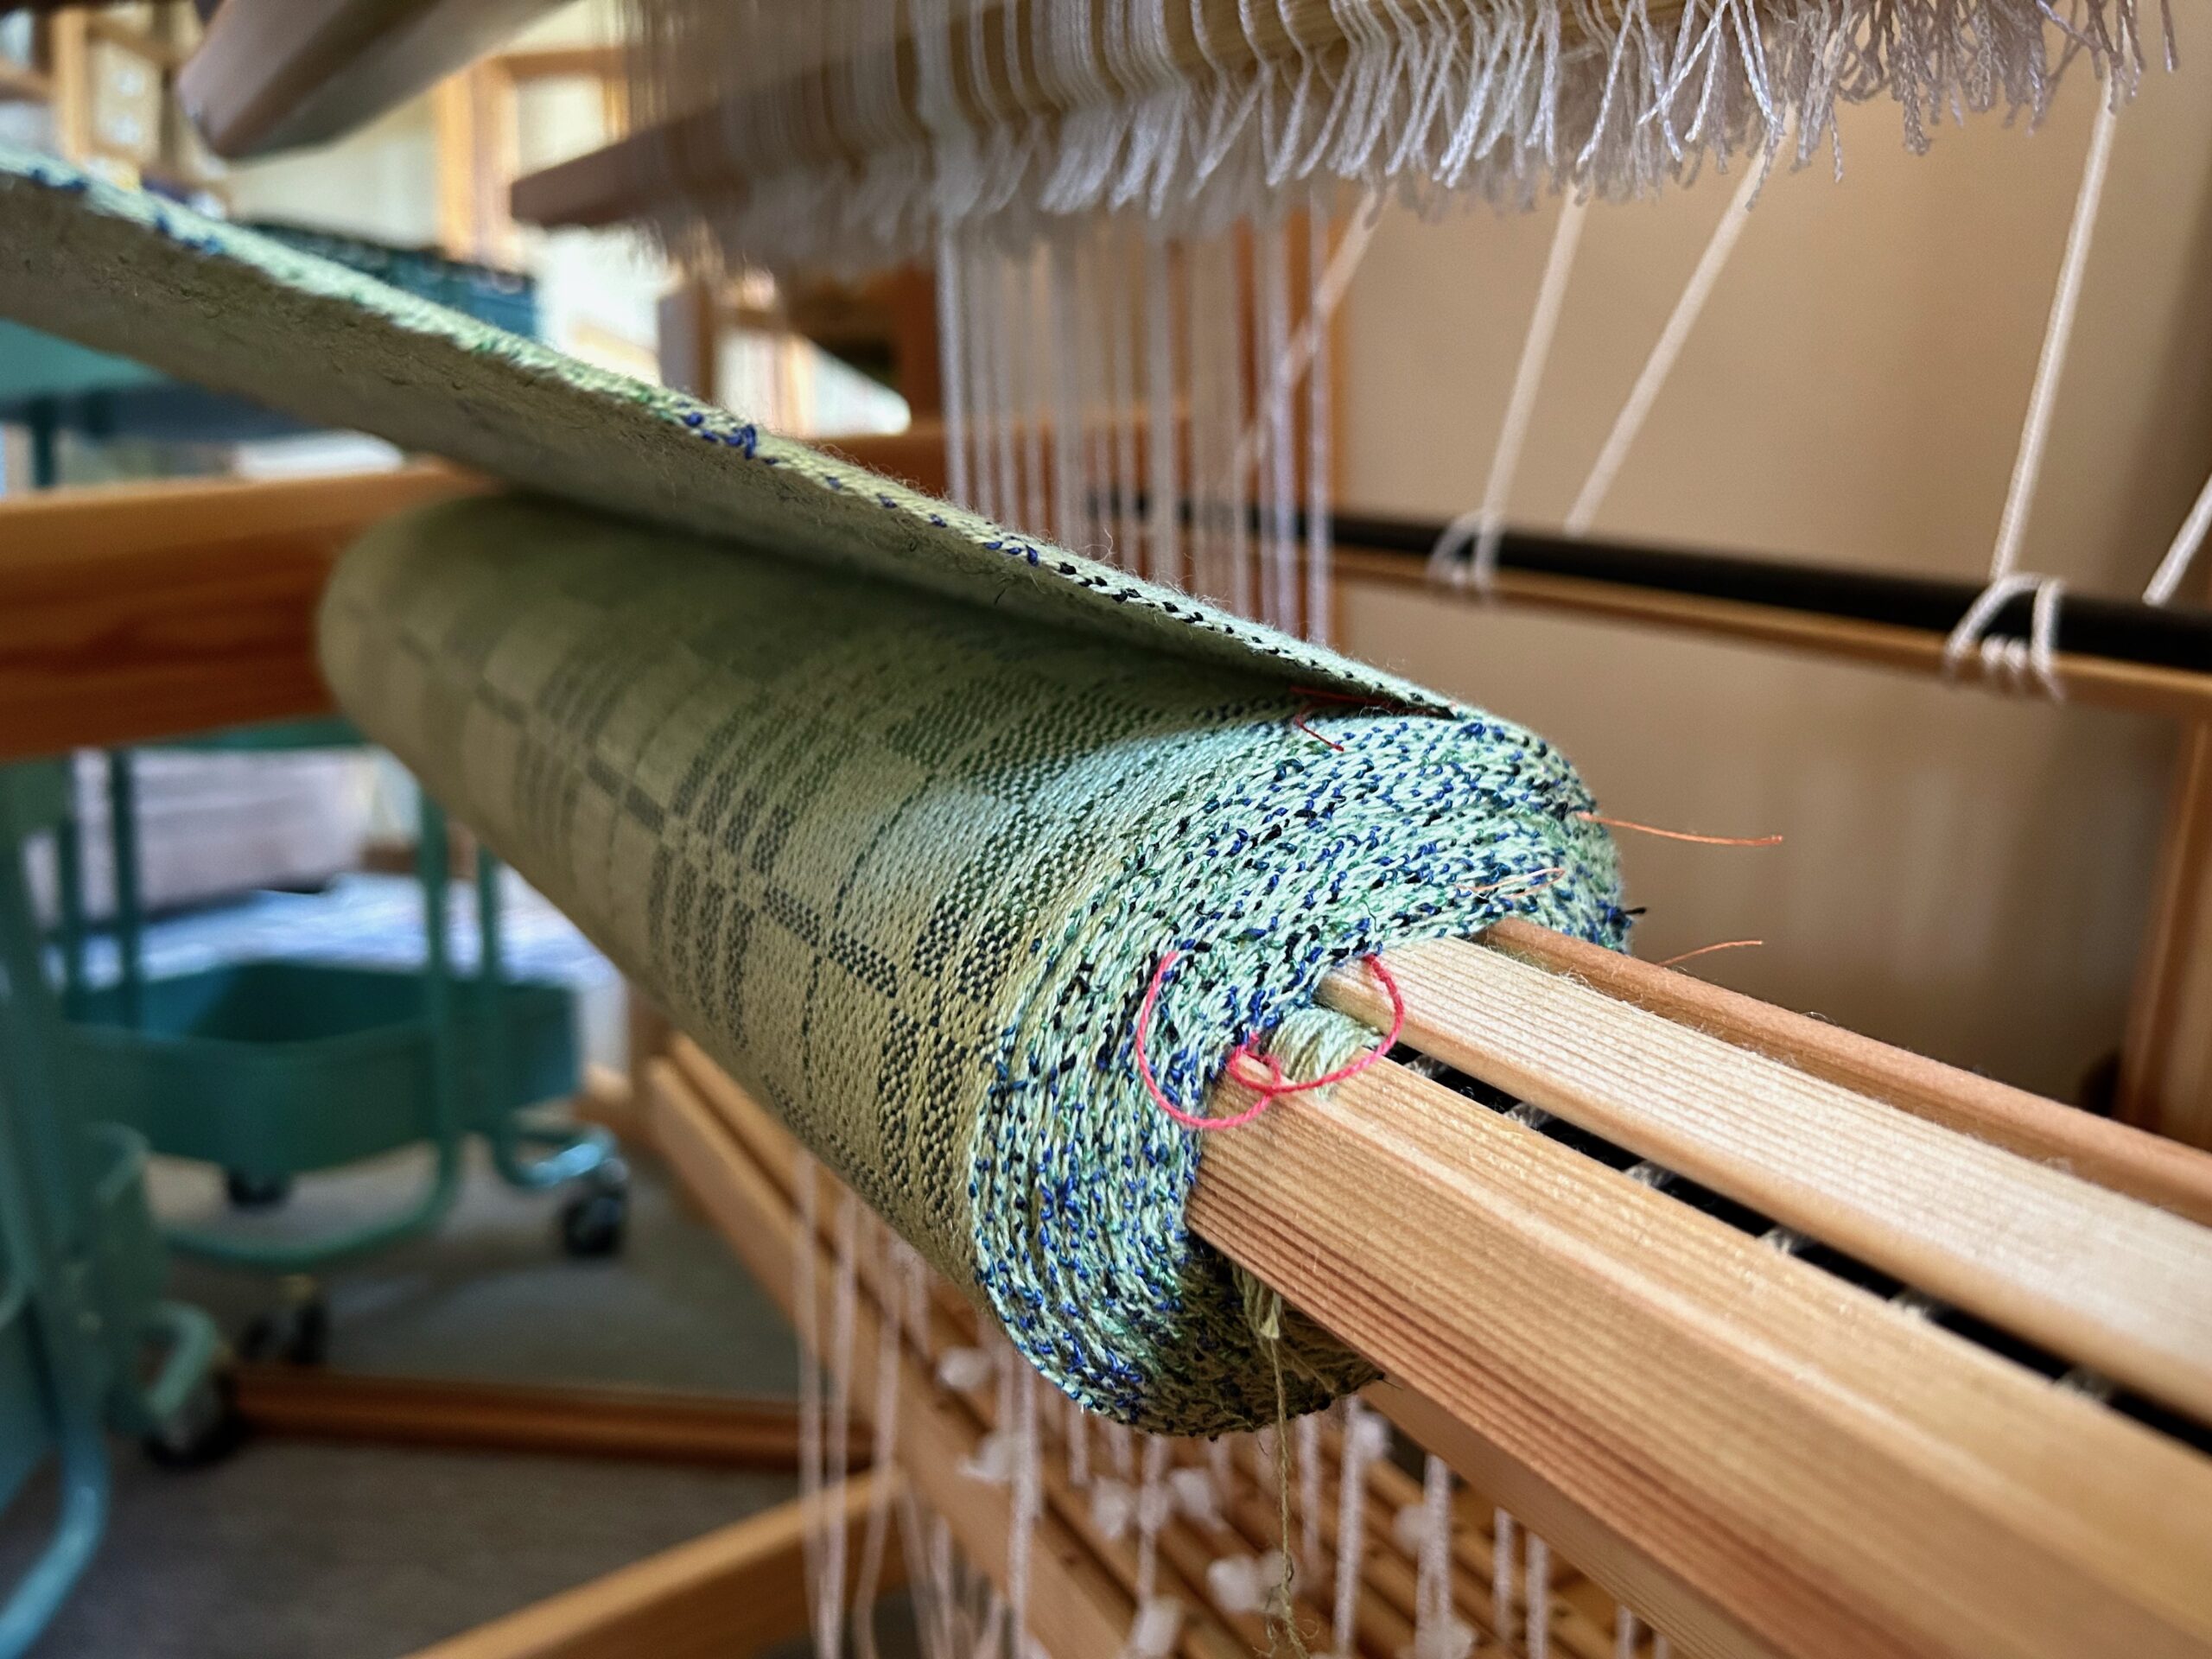
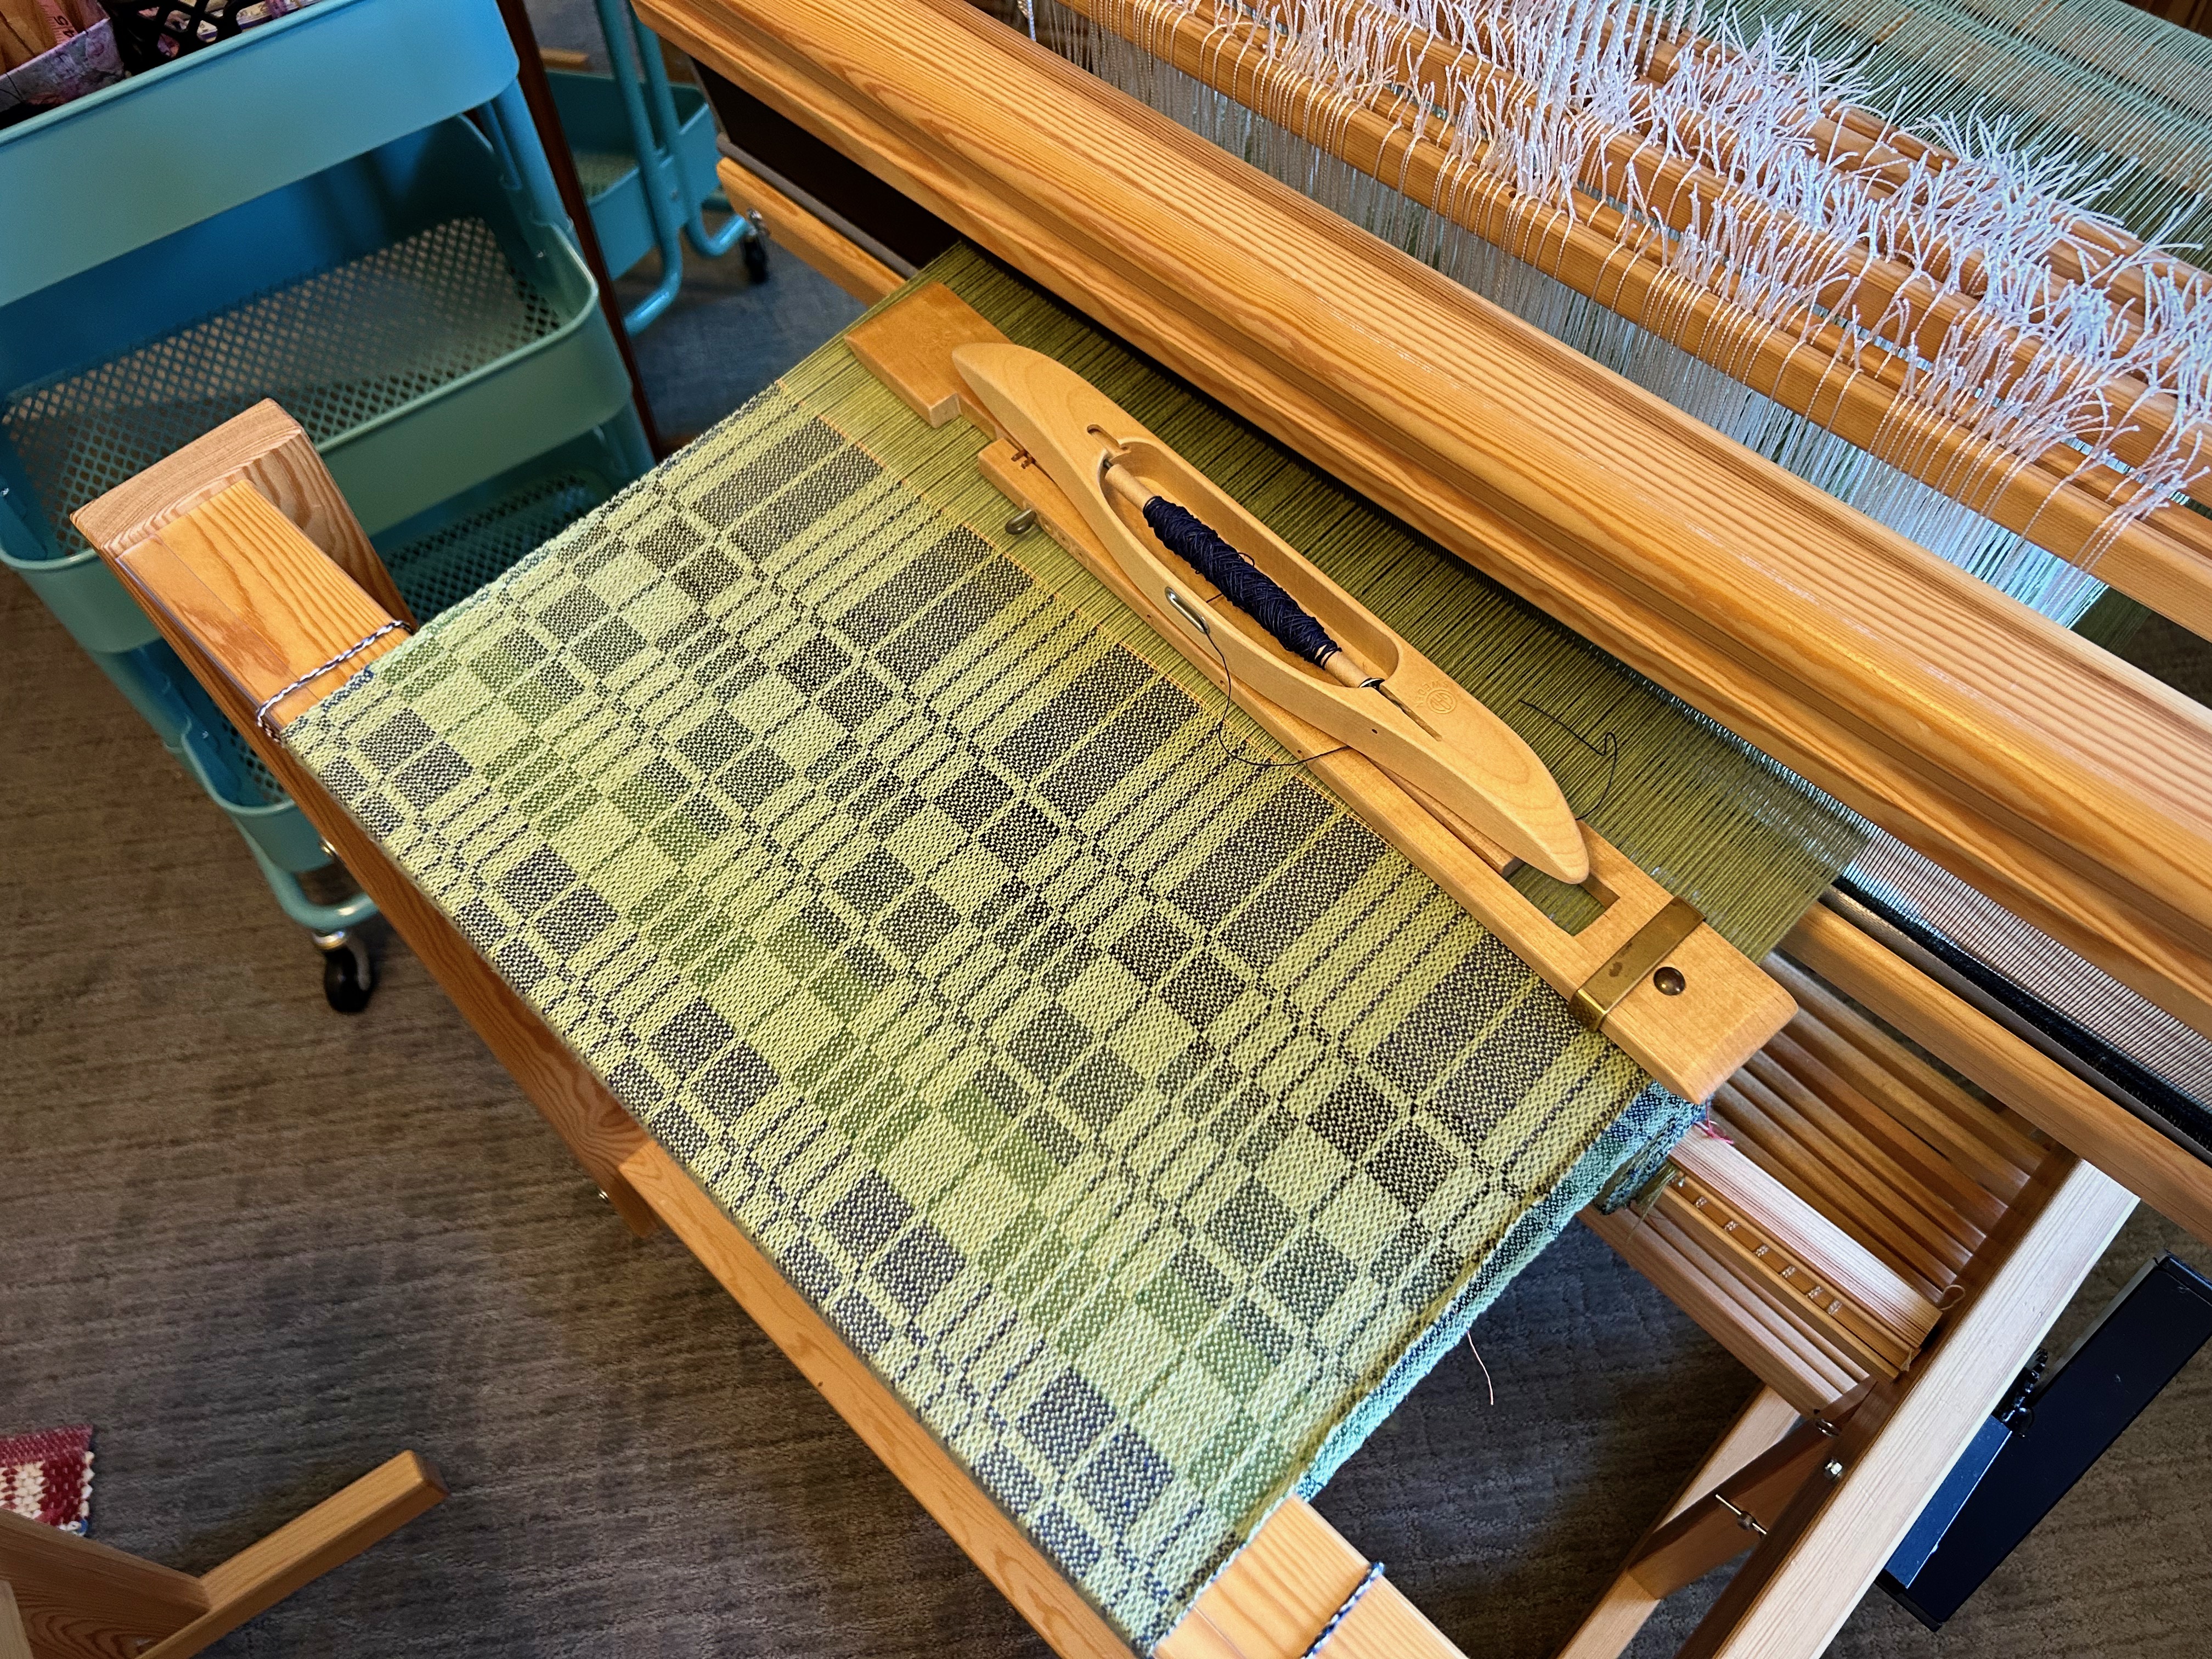
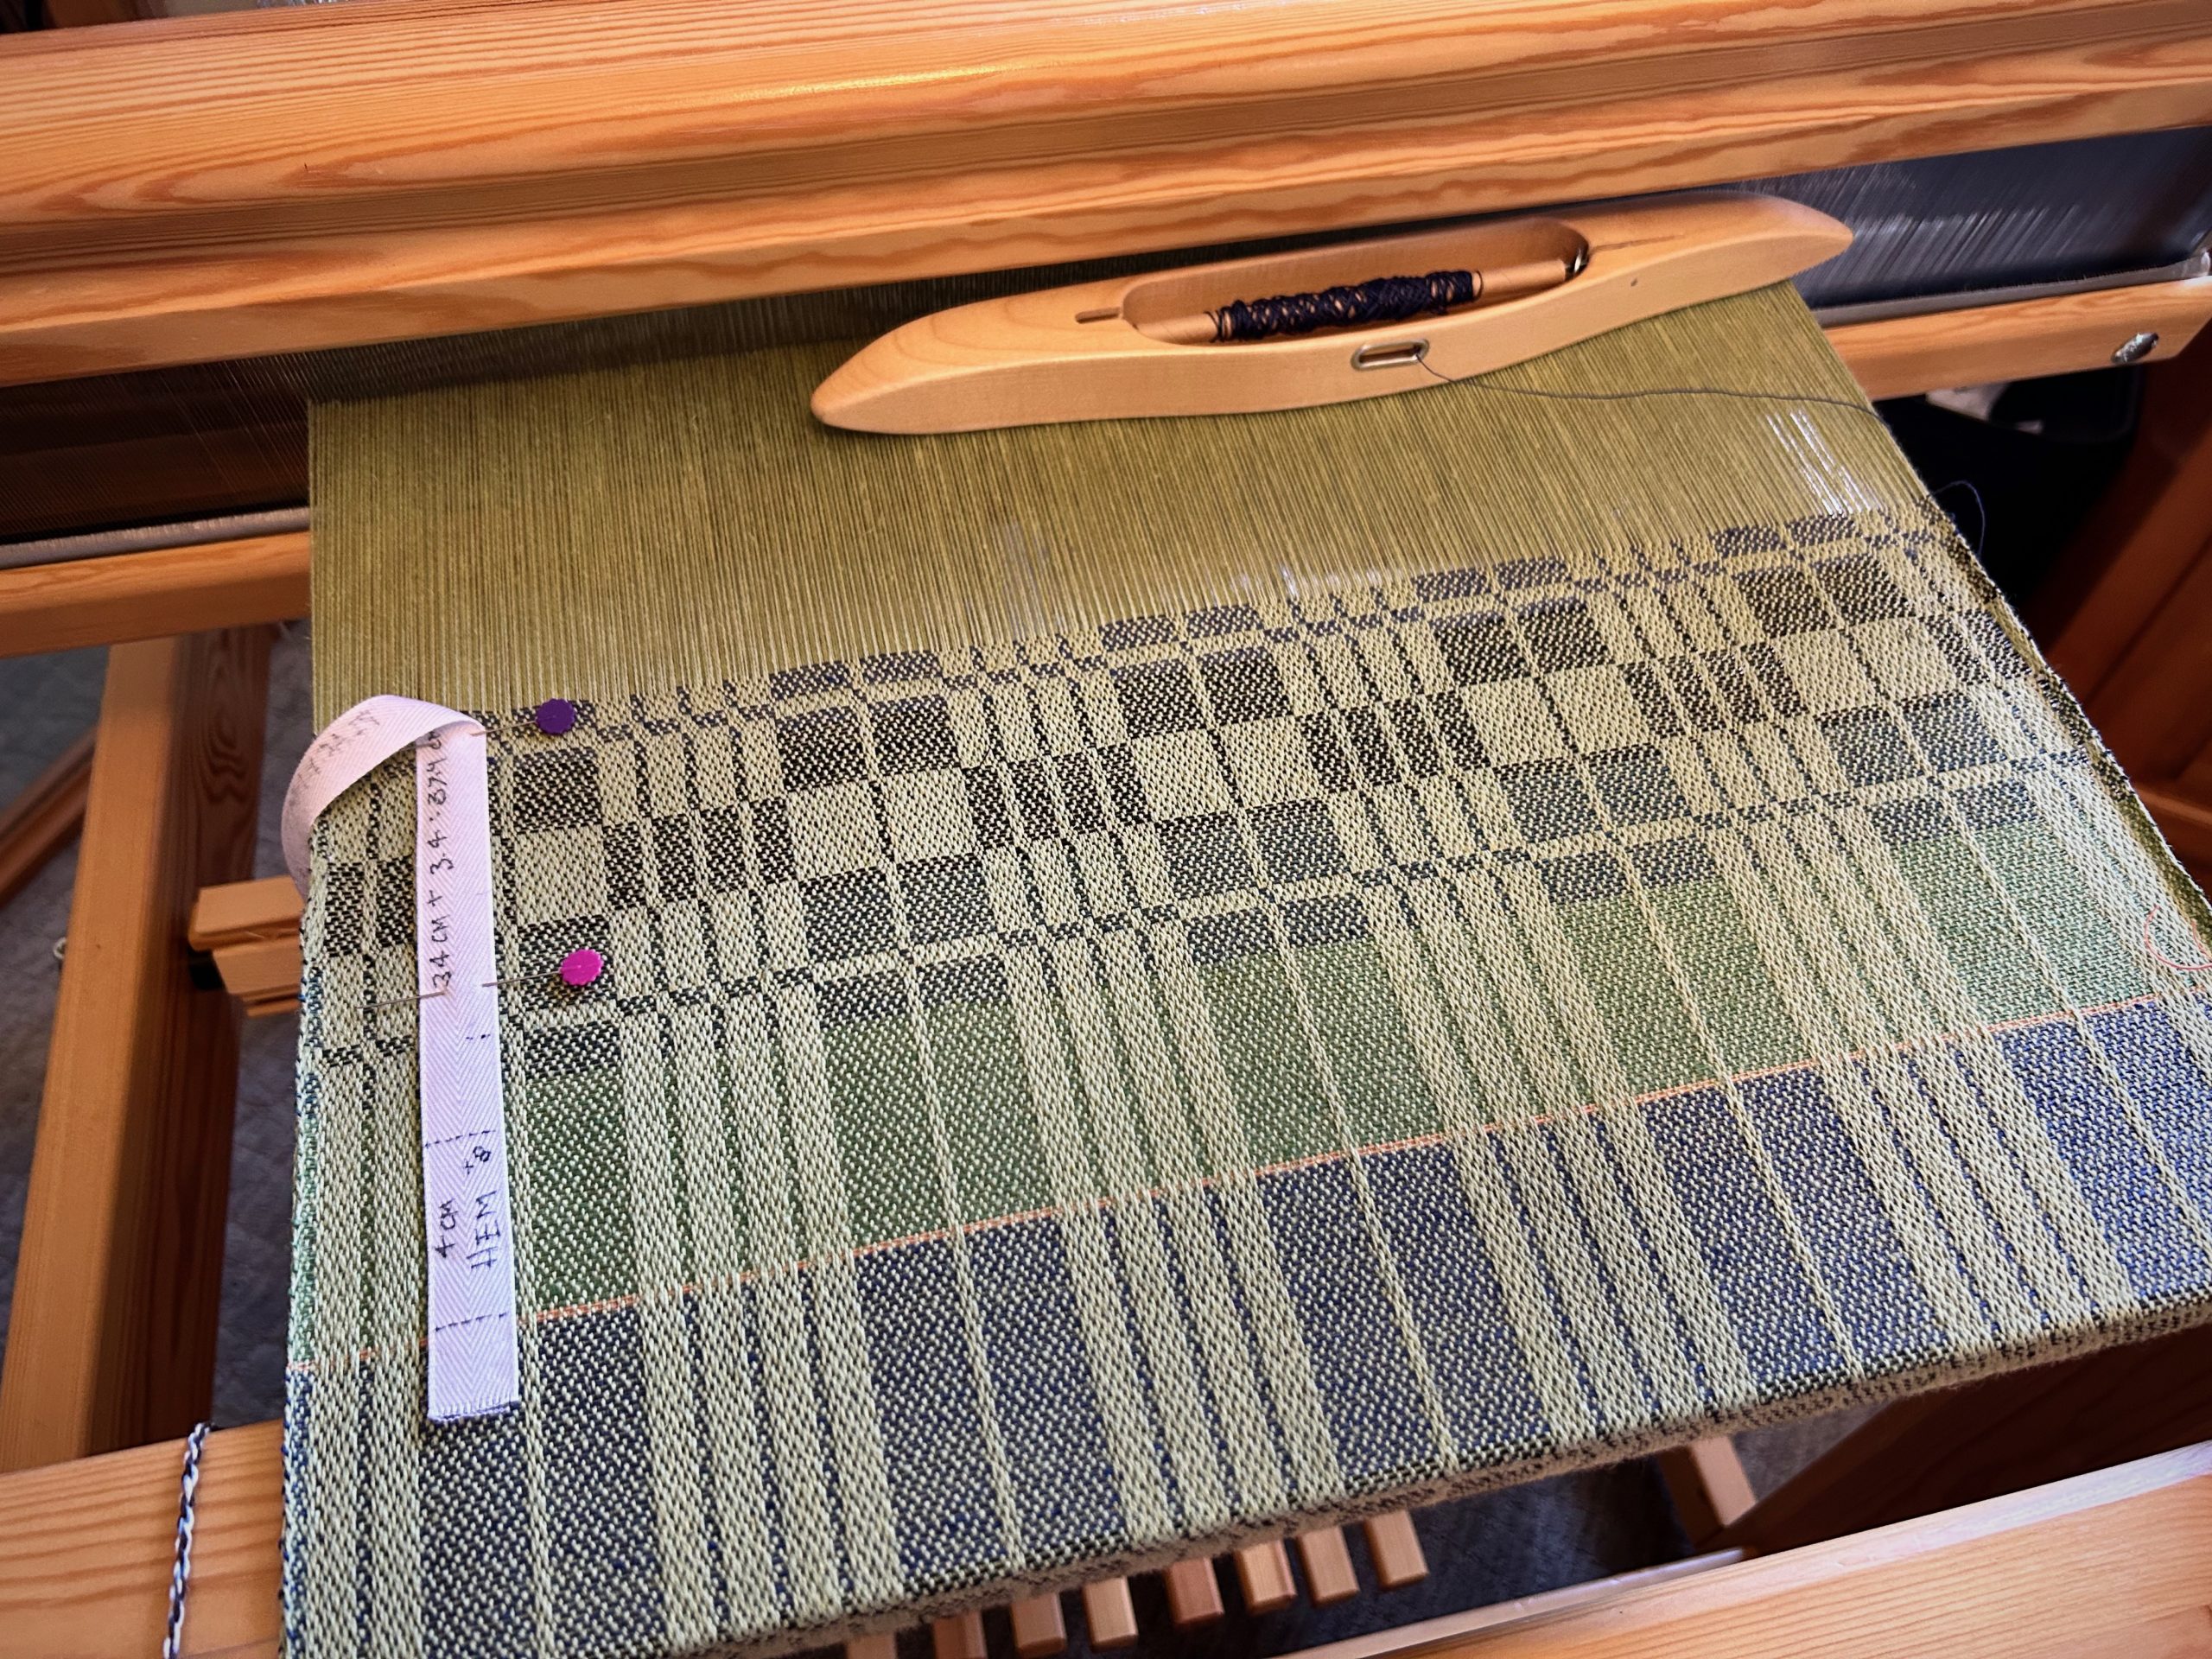
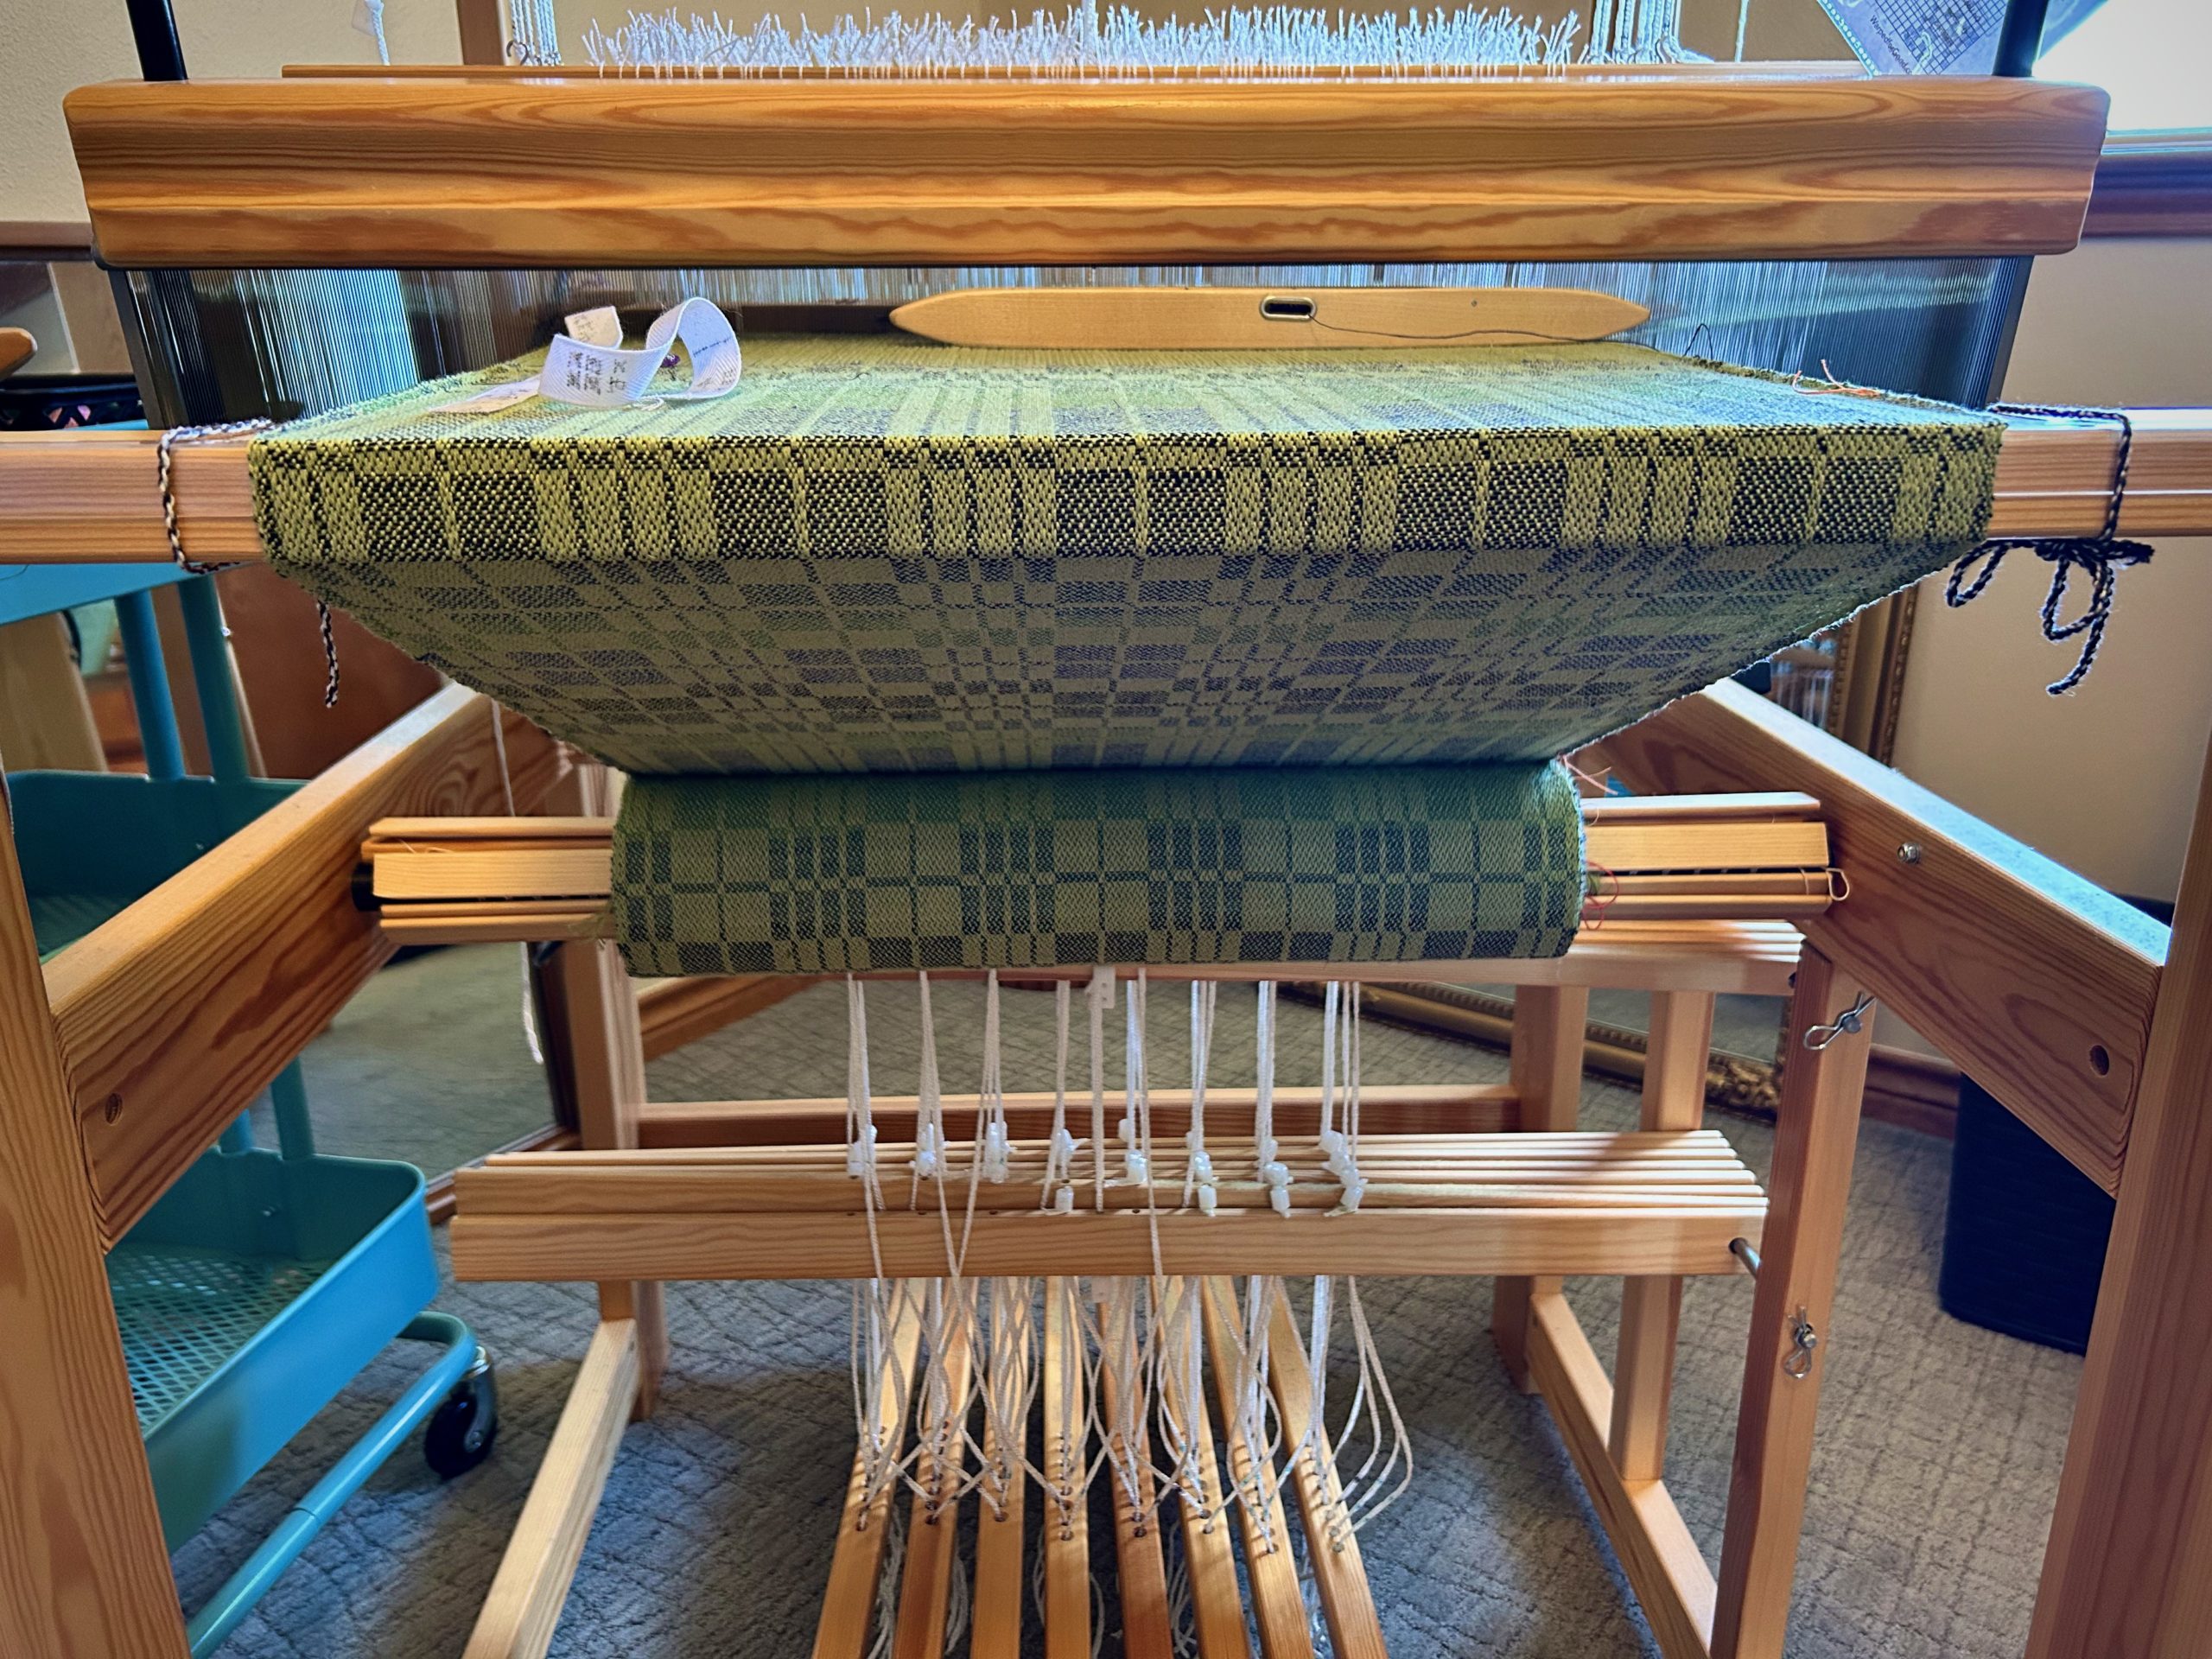
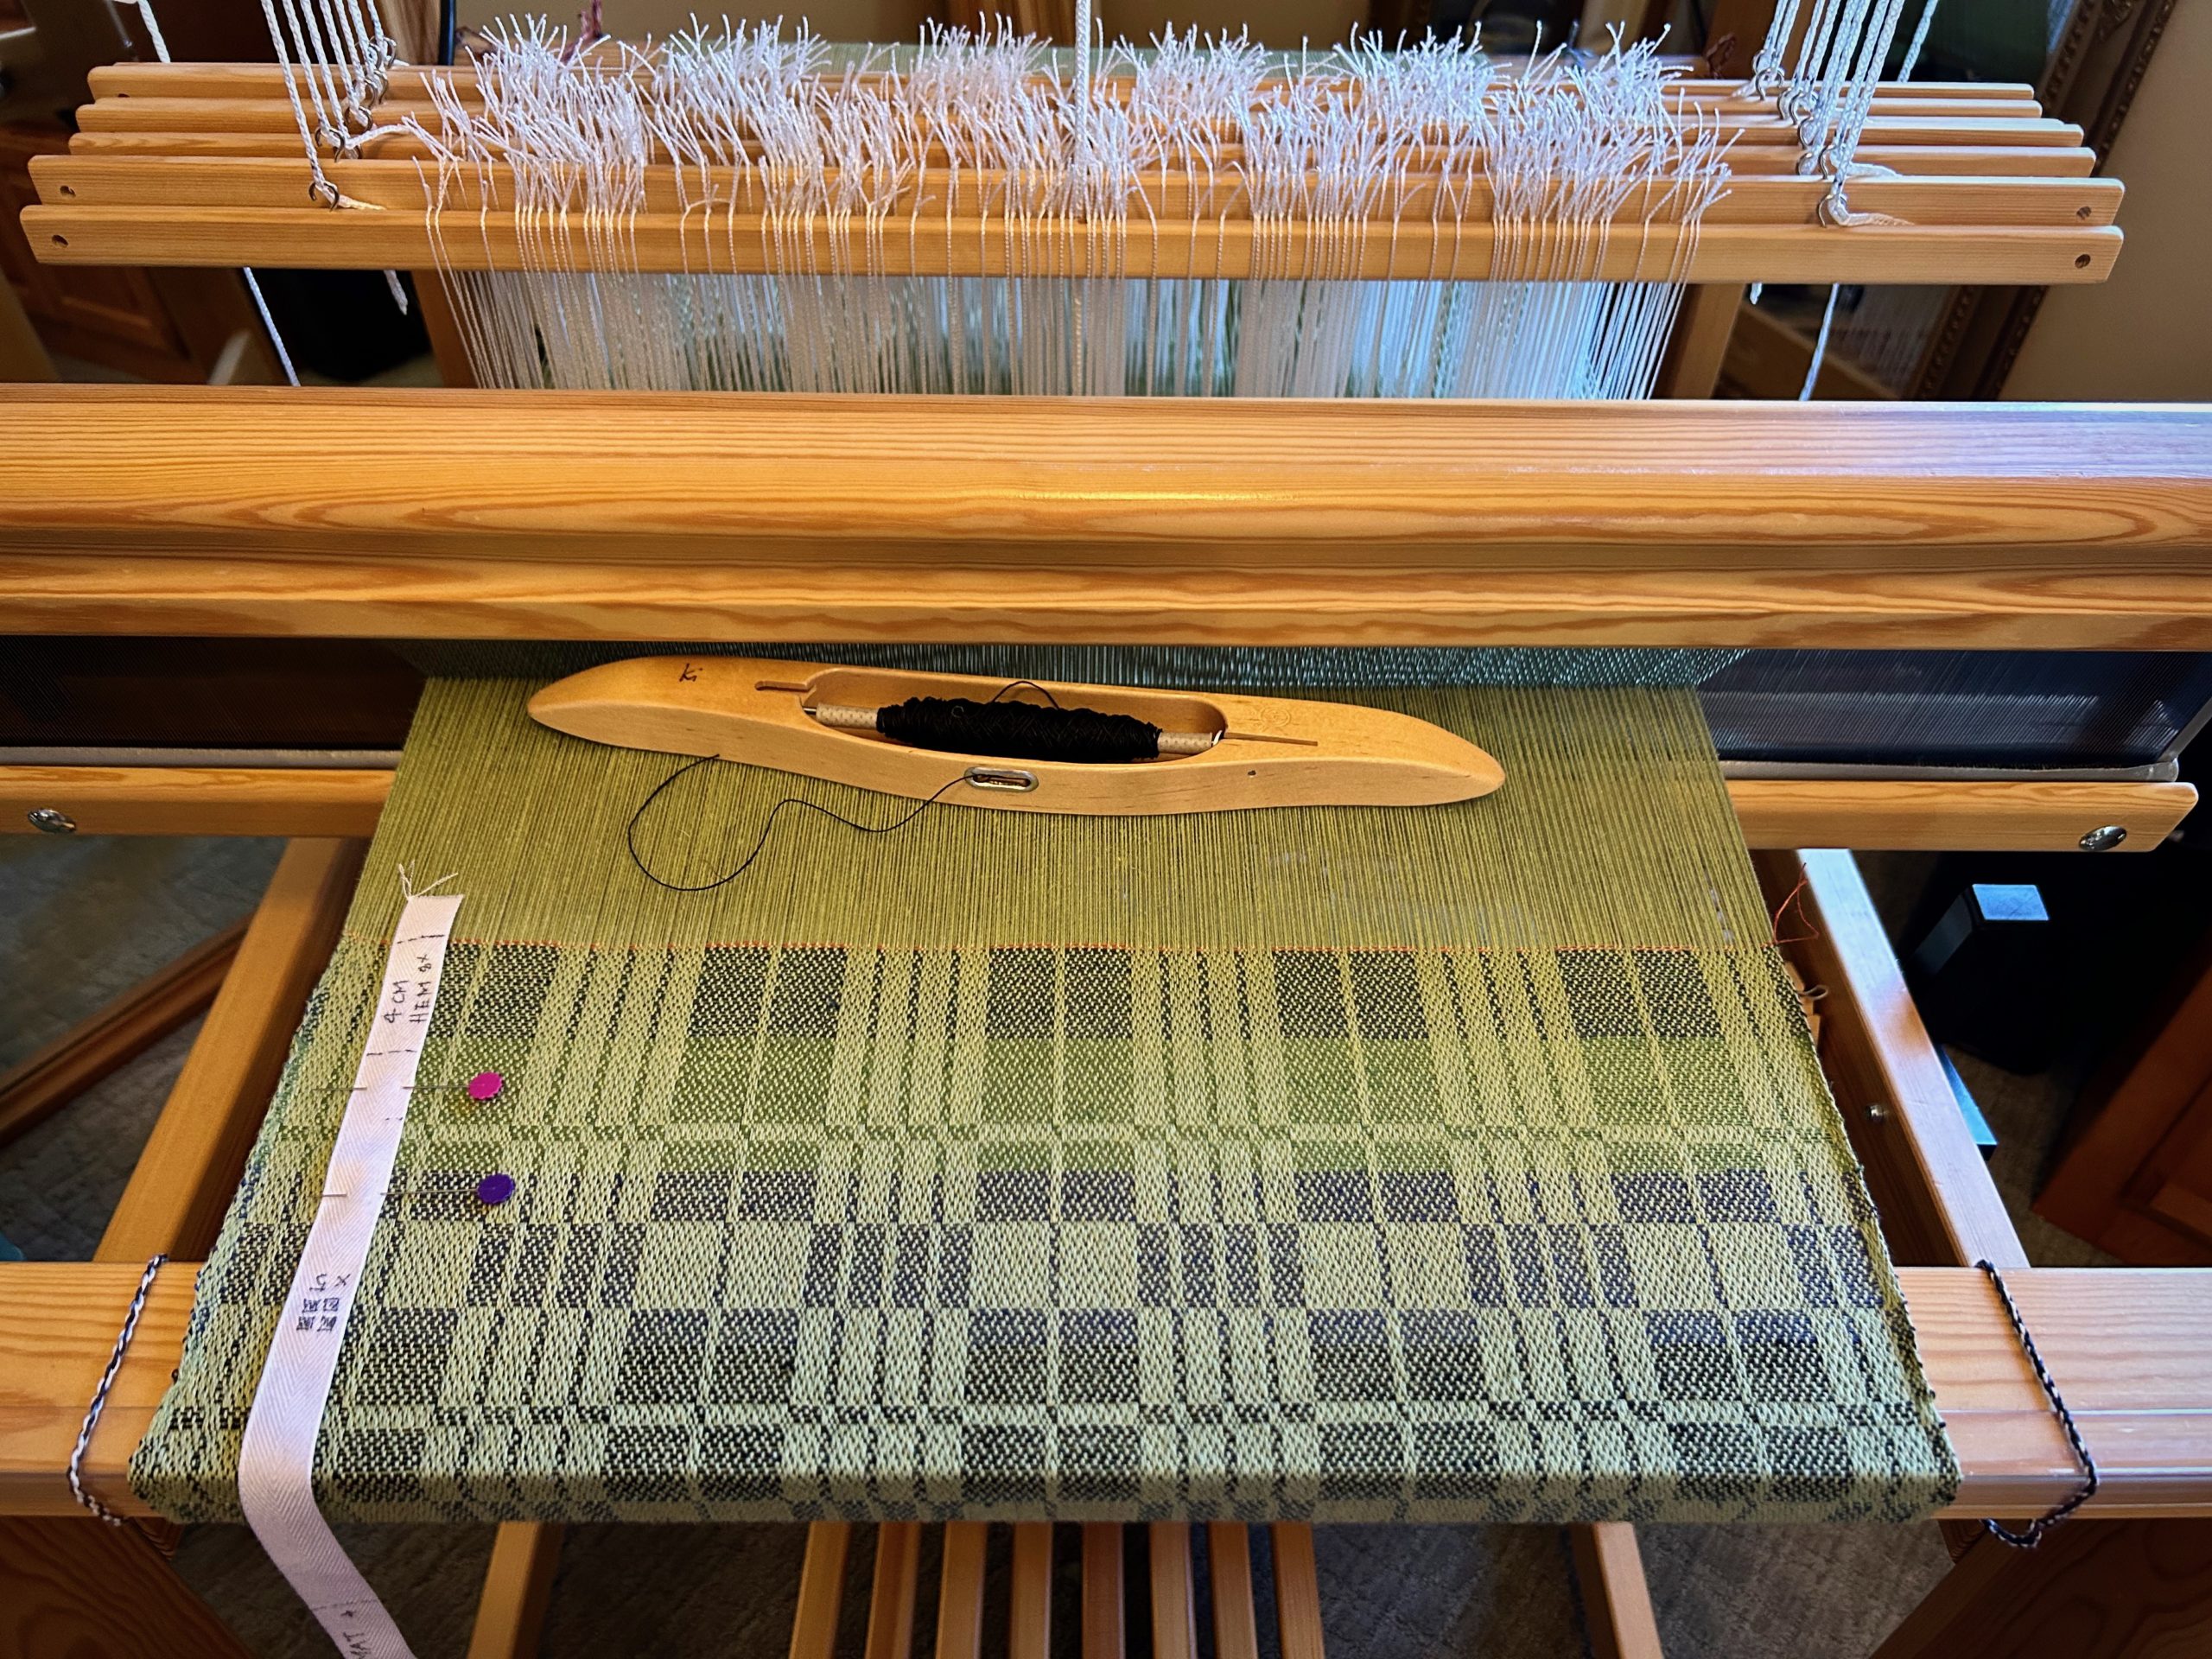
As with the other critter napkins in this series, the borders at top and bottom, and some of the side borders, use the pattern shaft draw system. The jackrabbit in the center and the “broken borders” use the single unit draw system. I am very happy to weave with this Myrehed Combination Drawloom Attachment. The possibilities are endless…and fun!
Happy Weaving!
Karen