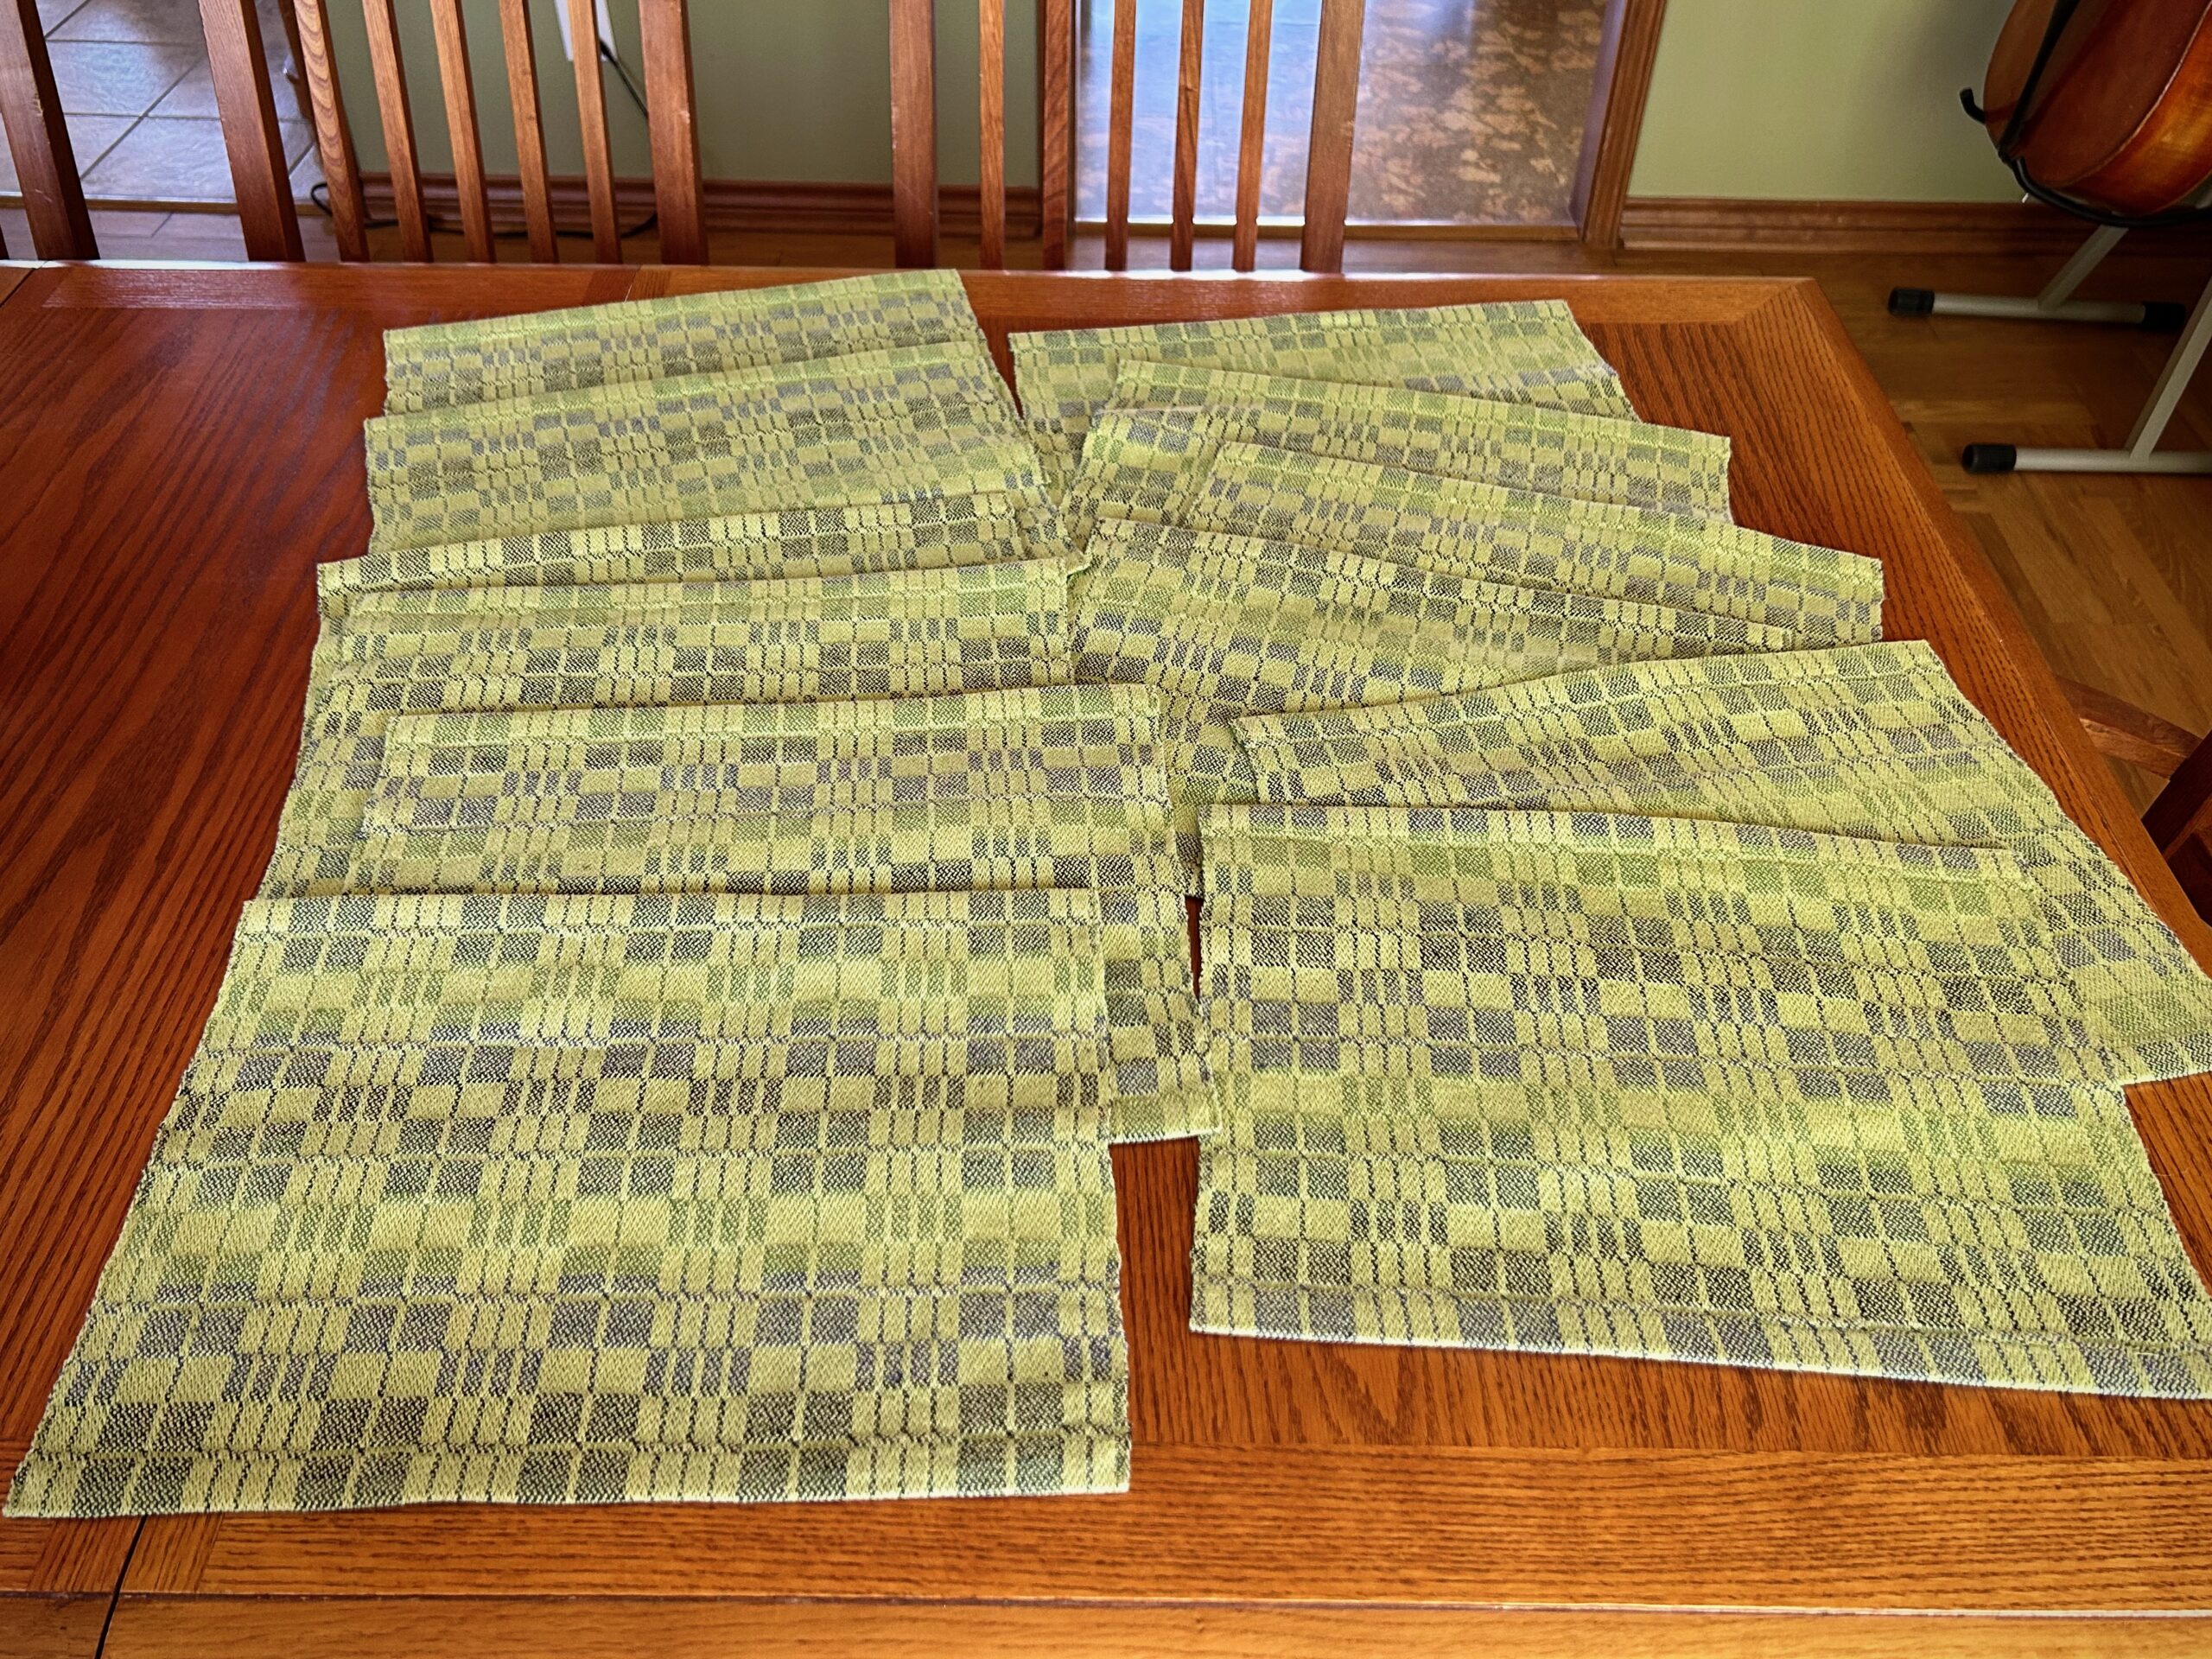
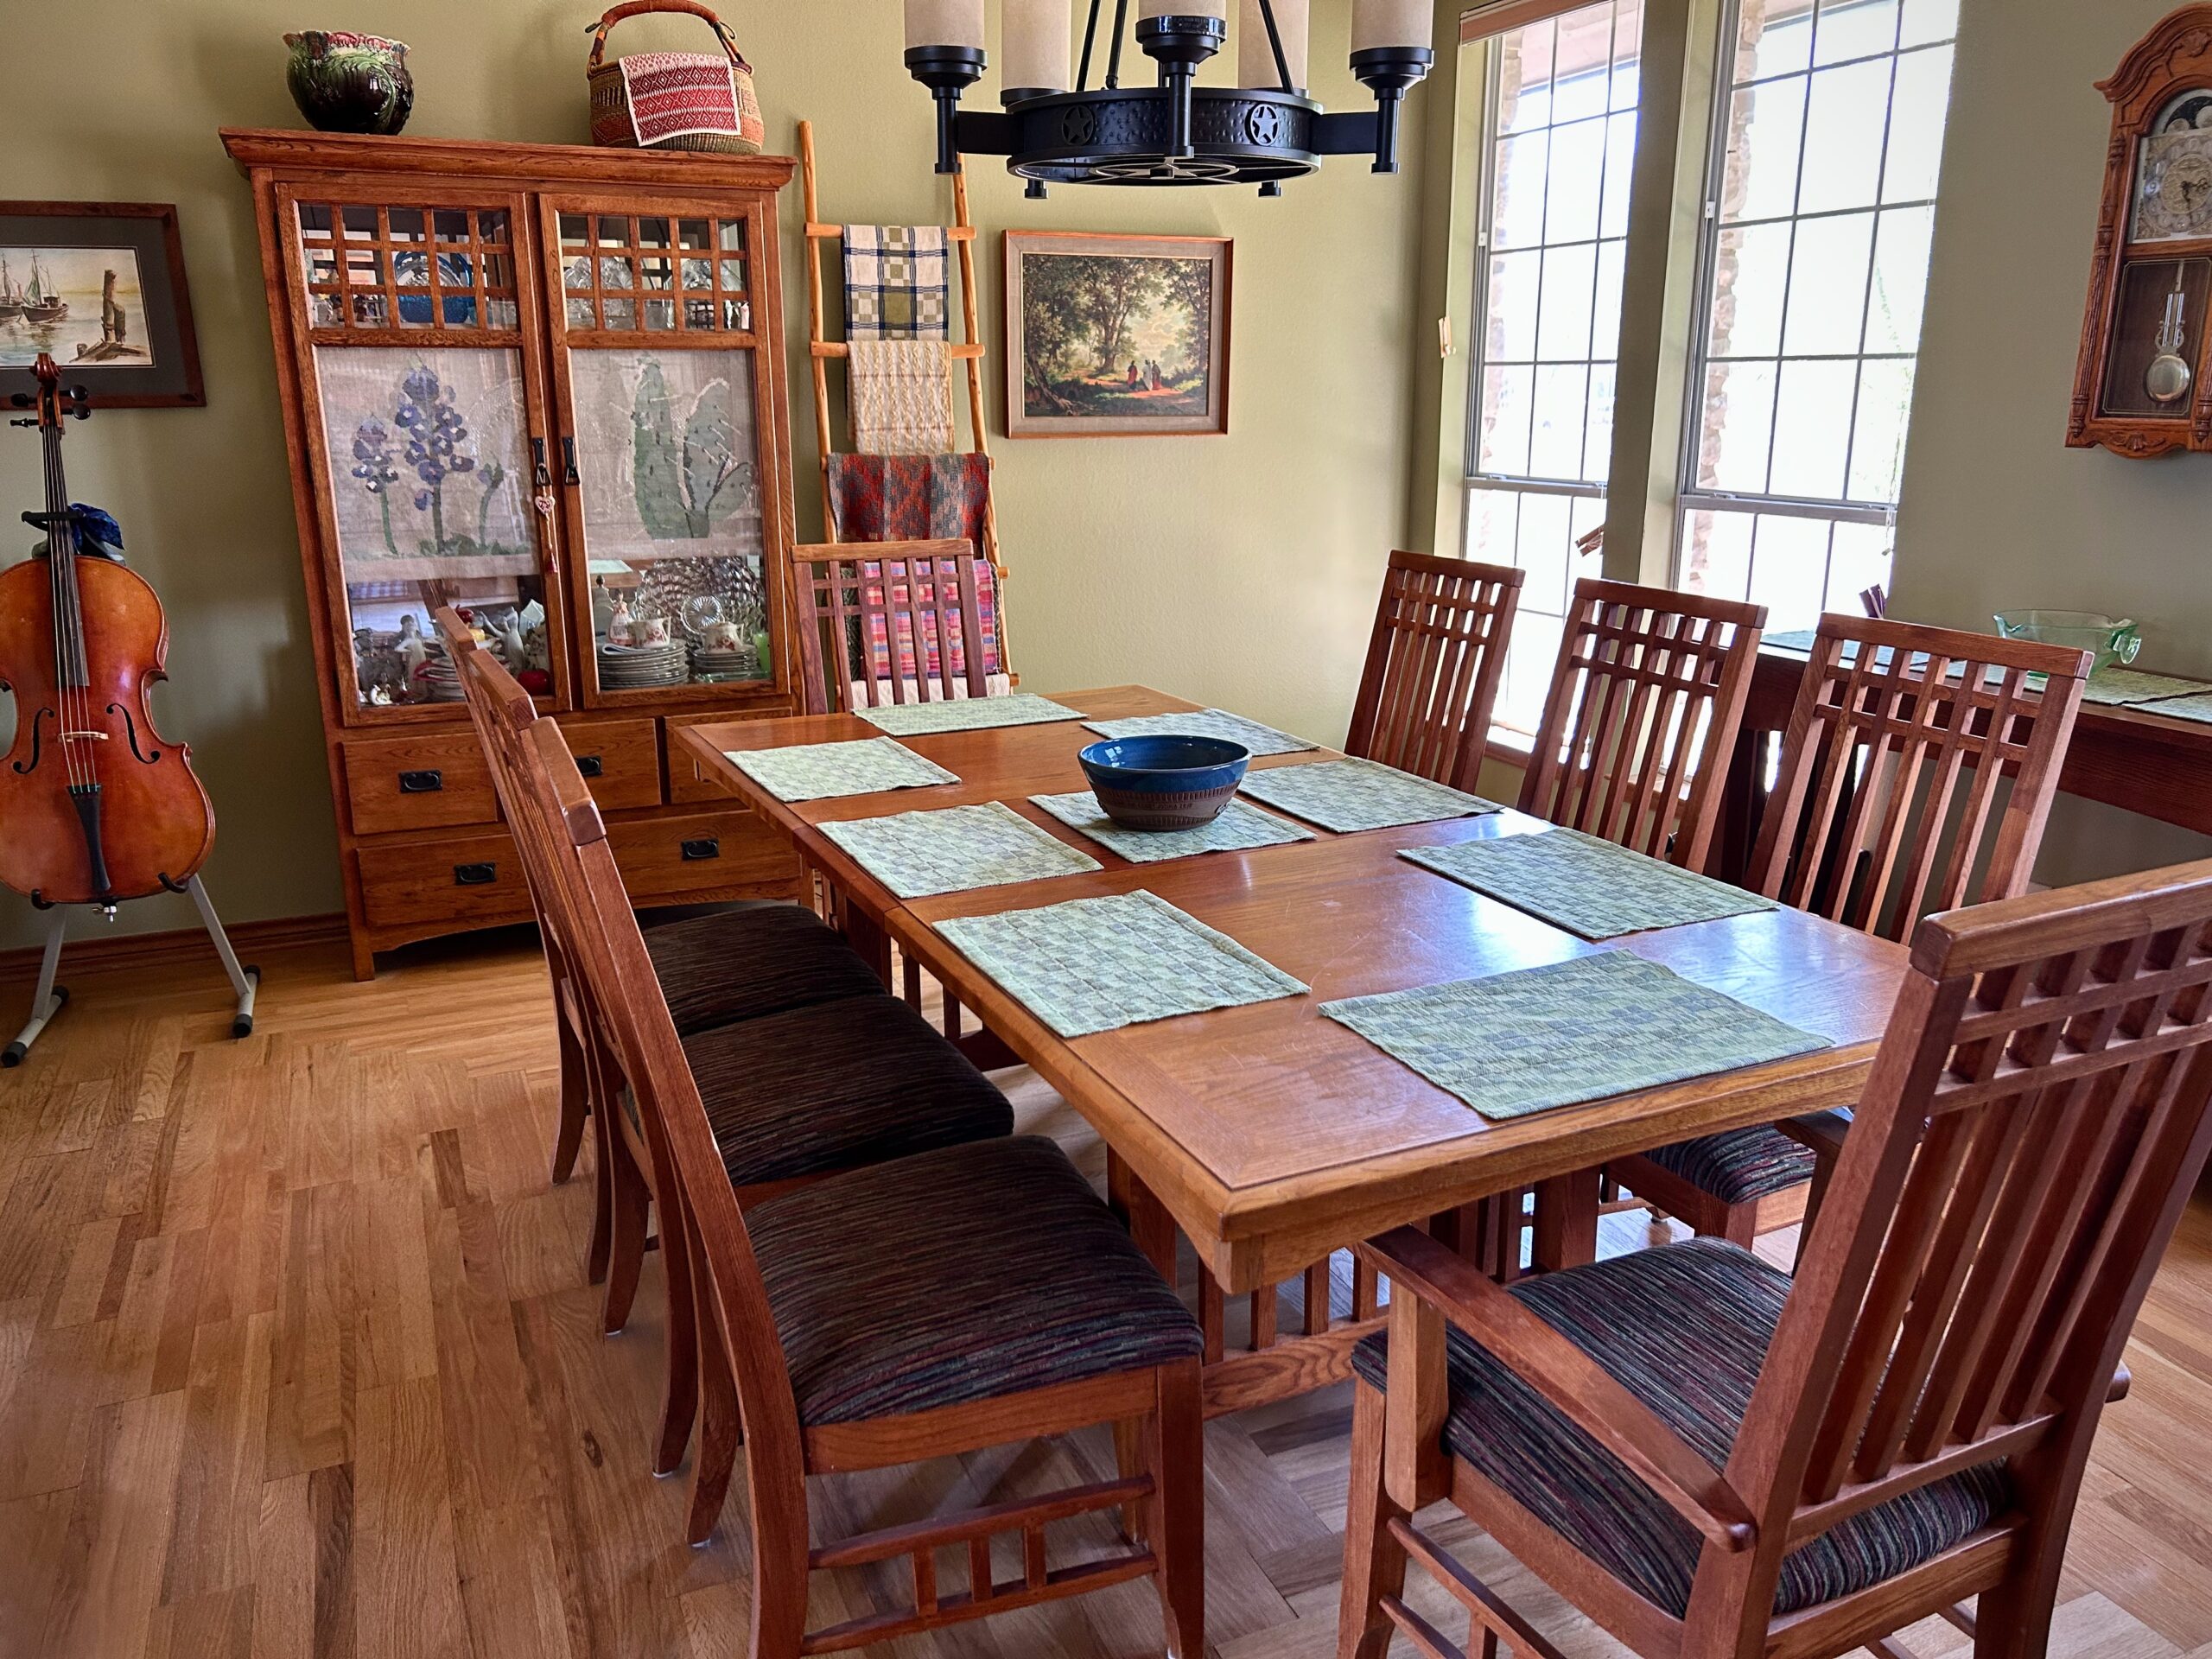
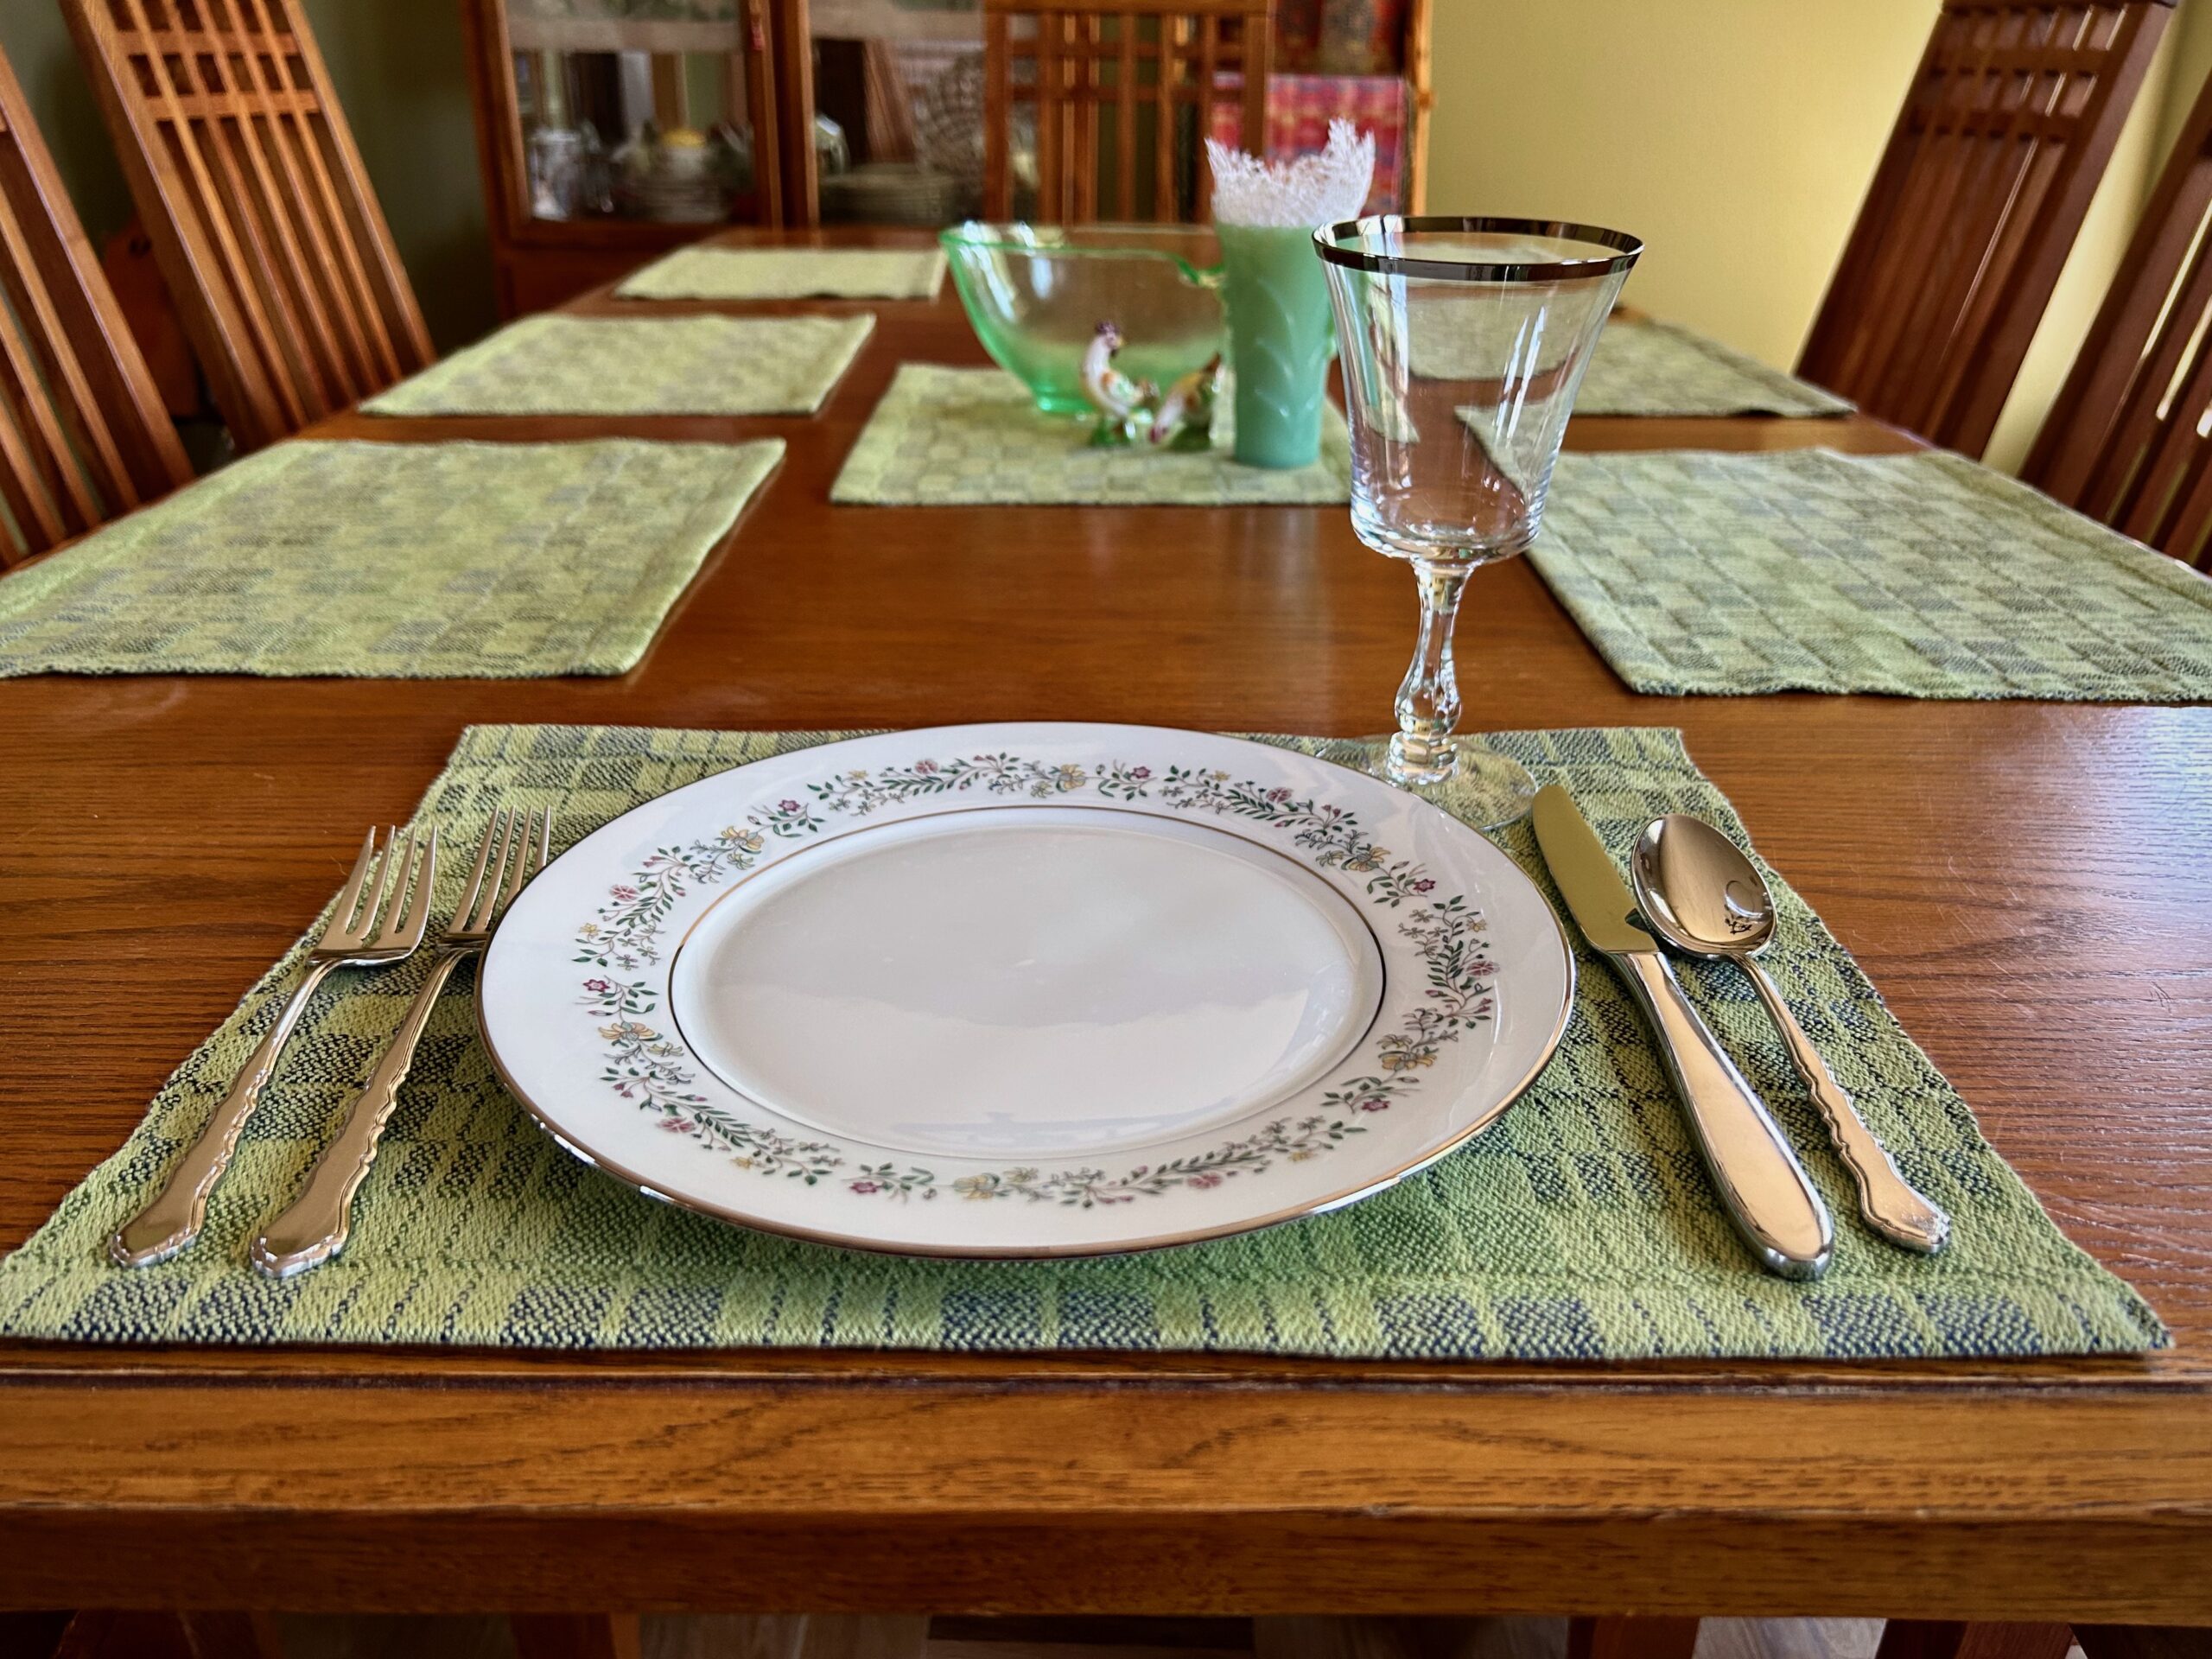
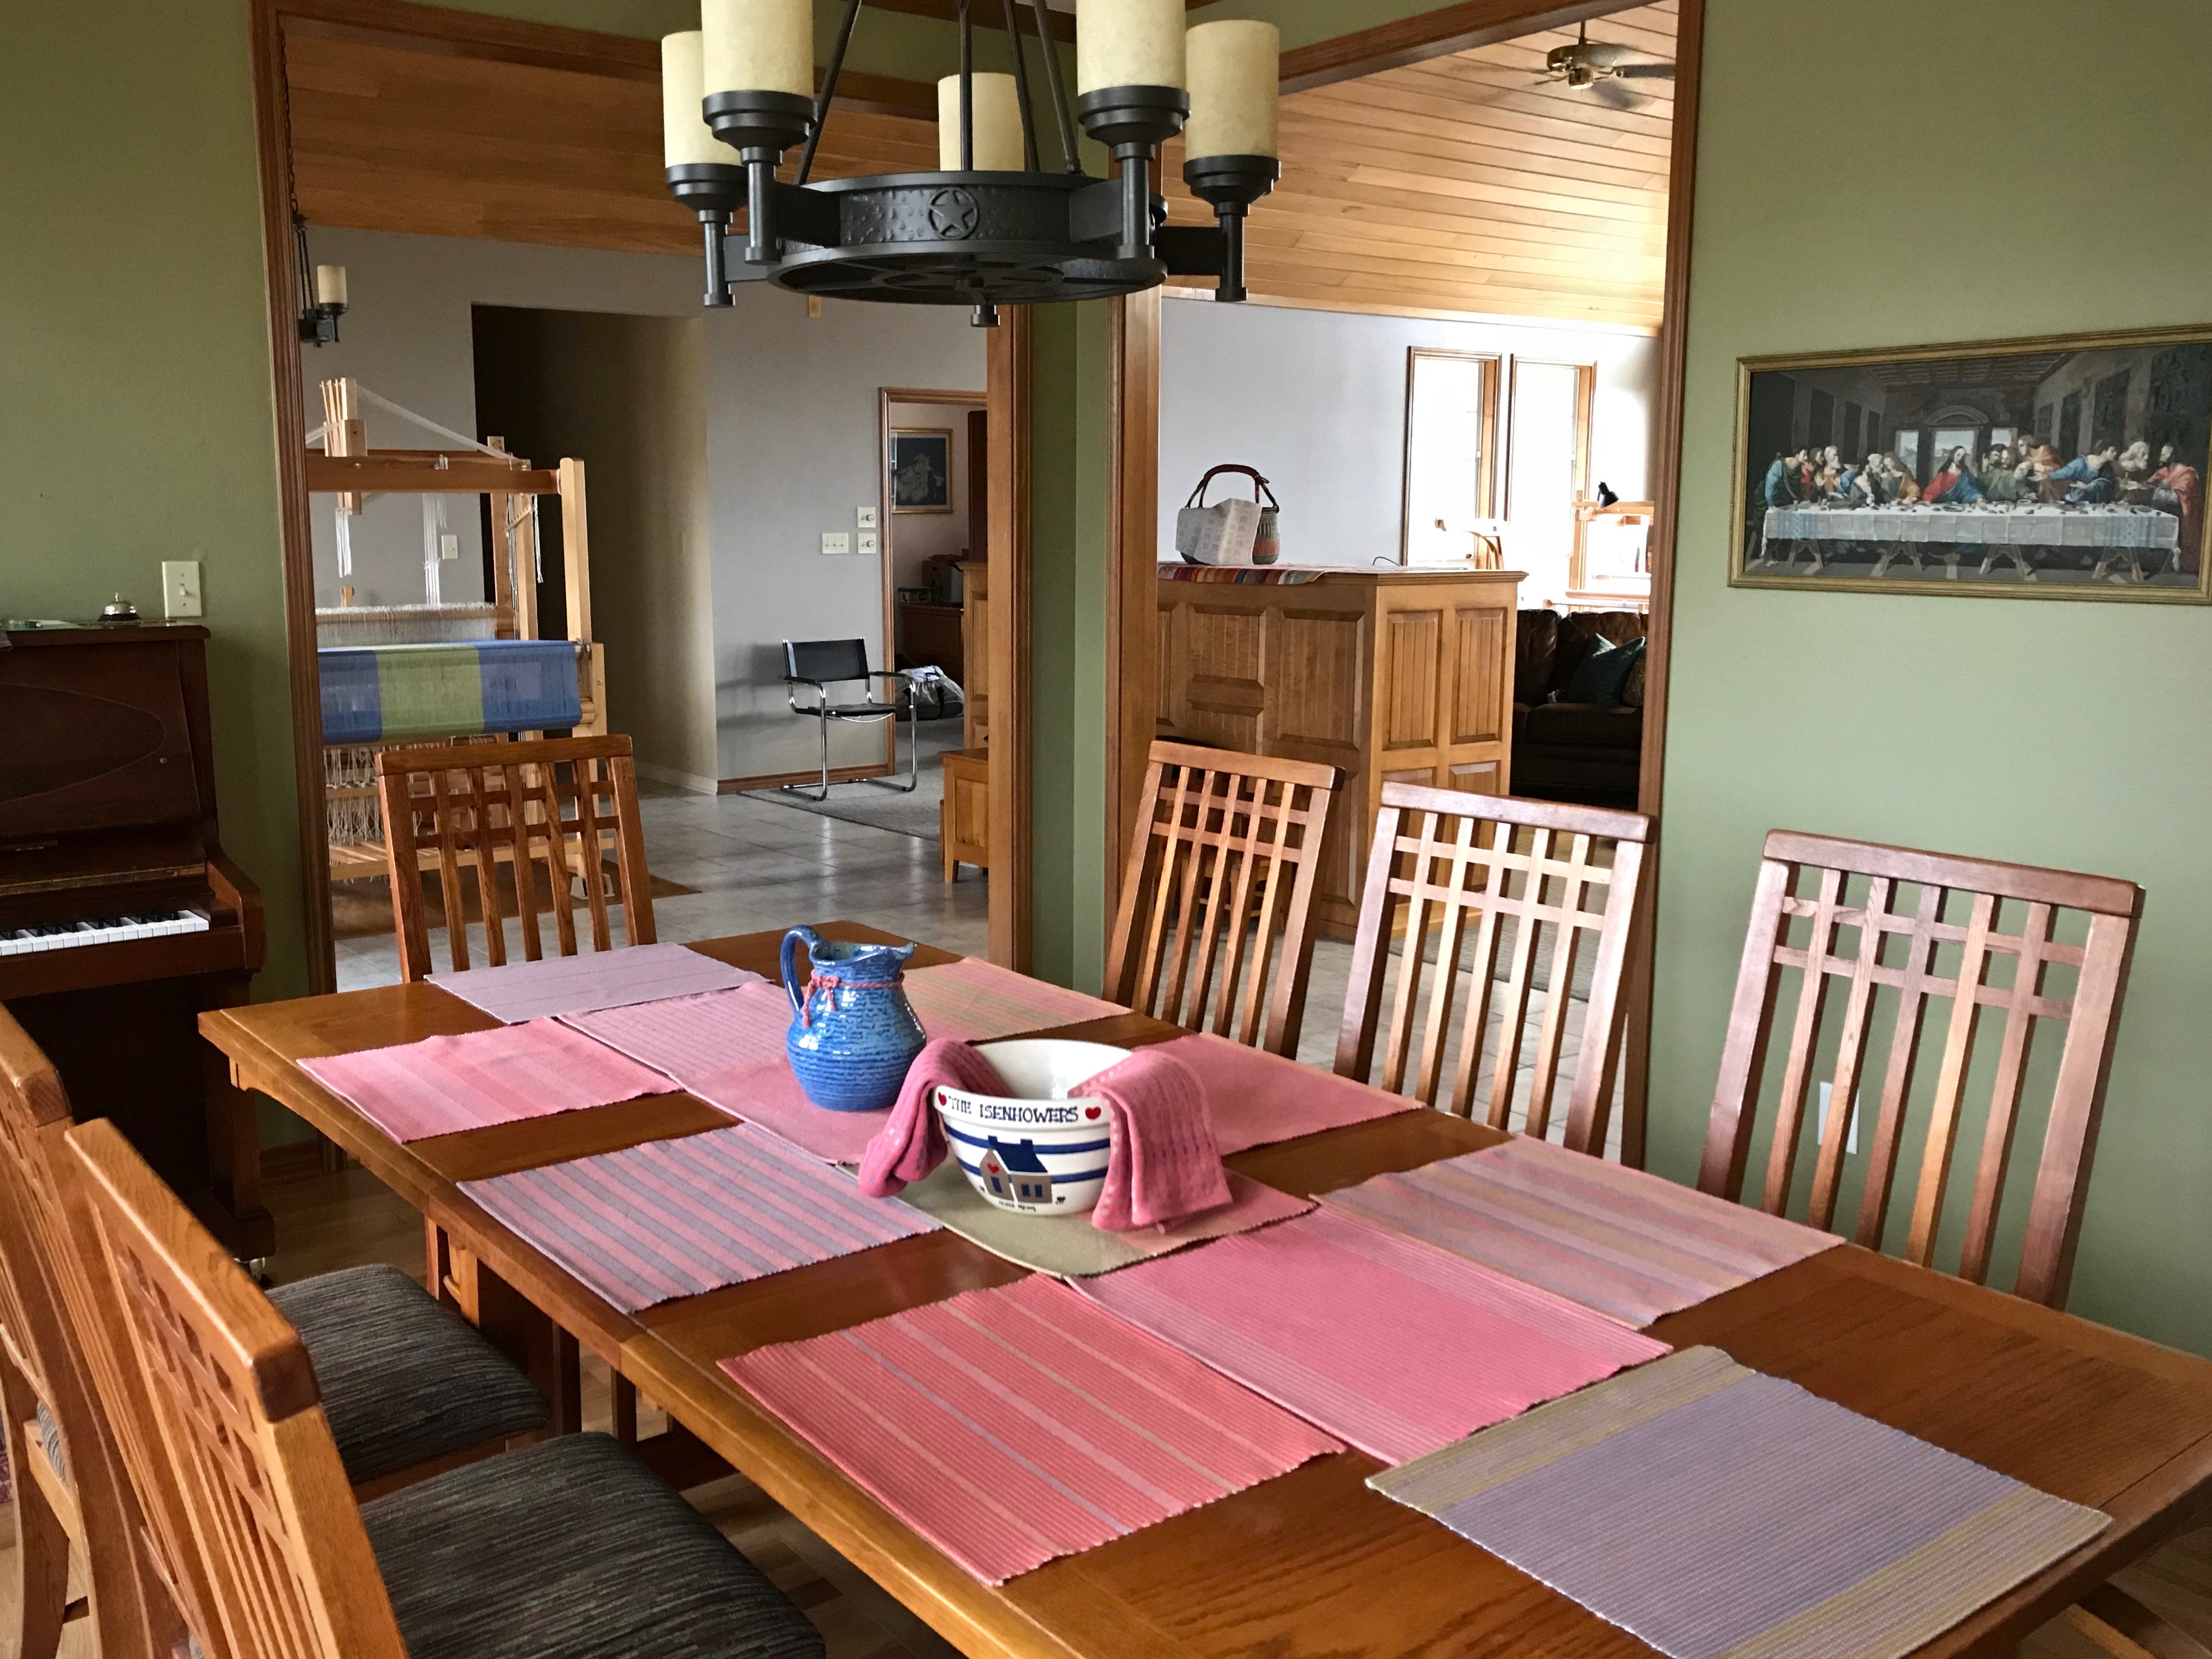
Twelve green placemats are on the dining room table. Green 22/2 cottolin warp and 8/1 tow linen weft in four colors done in a two-block broken twill, woven on the Julia with eight shafts. I am deeply satisfied with the results. Now, all I need to do is to invite everyone over for a big family meal!
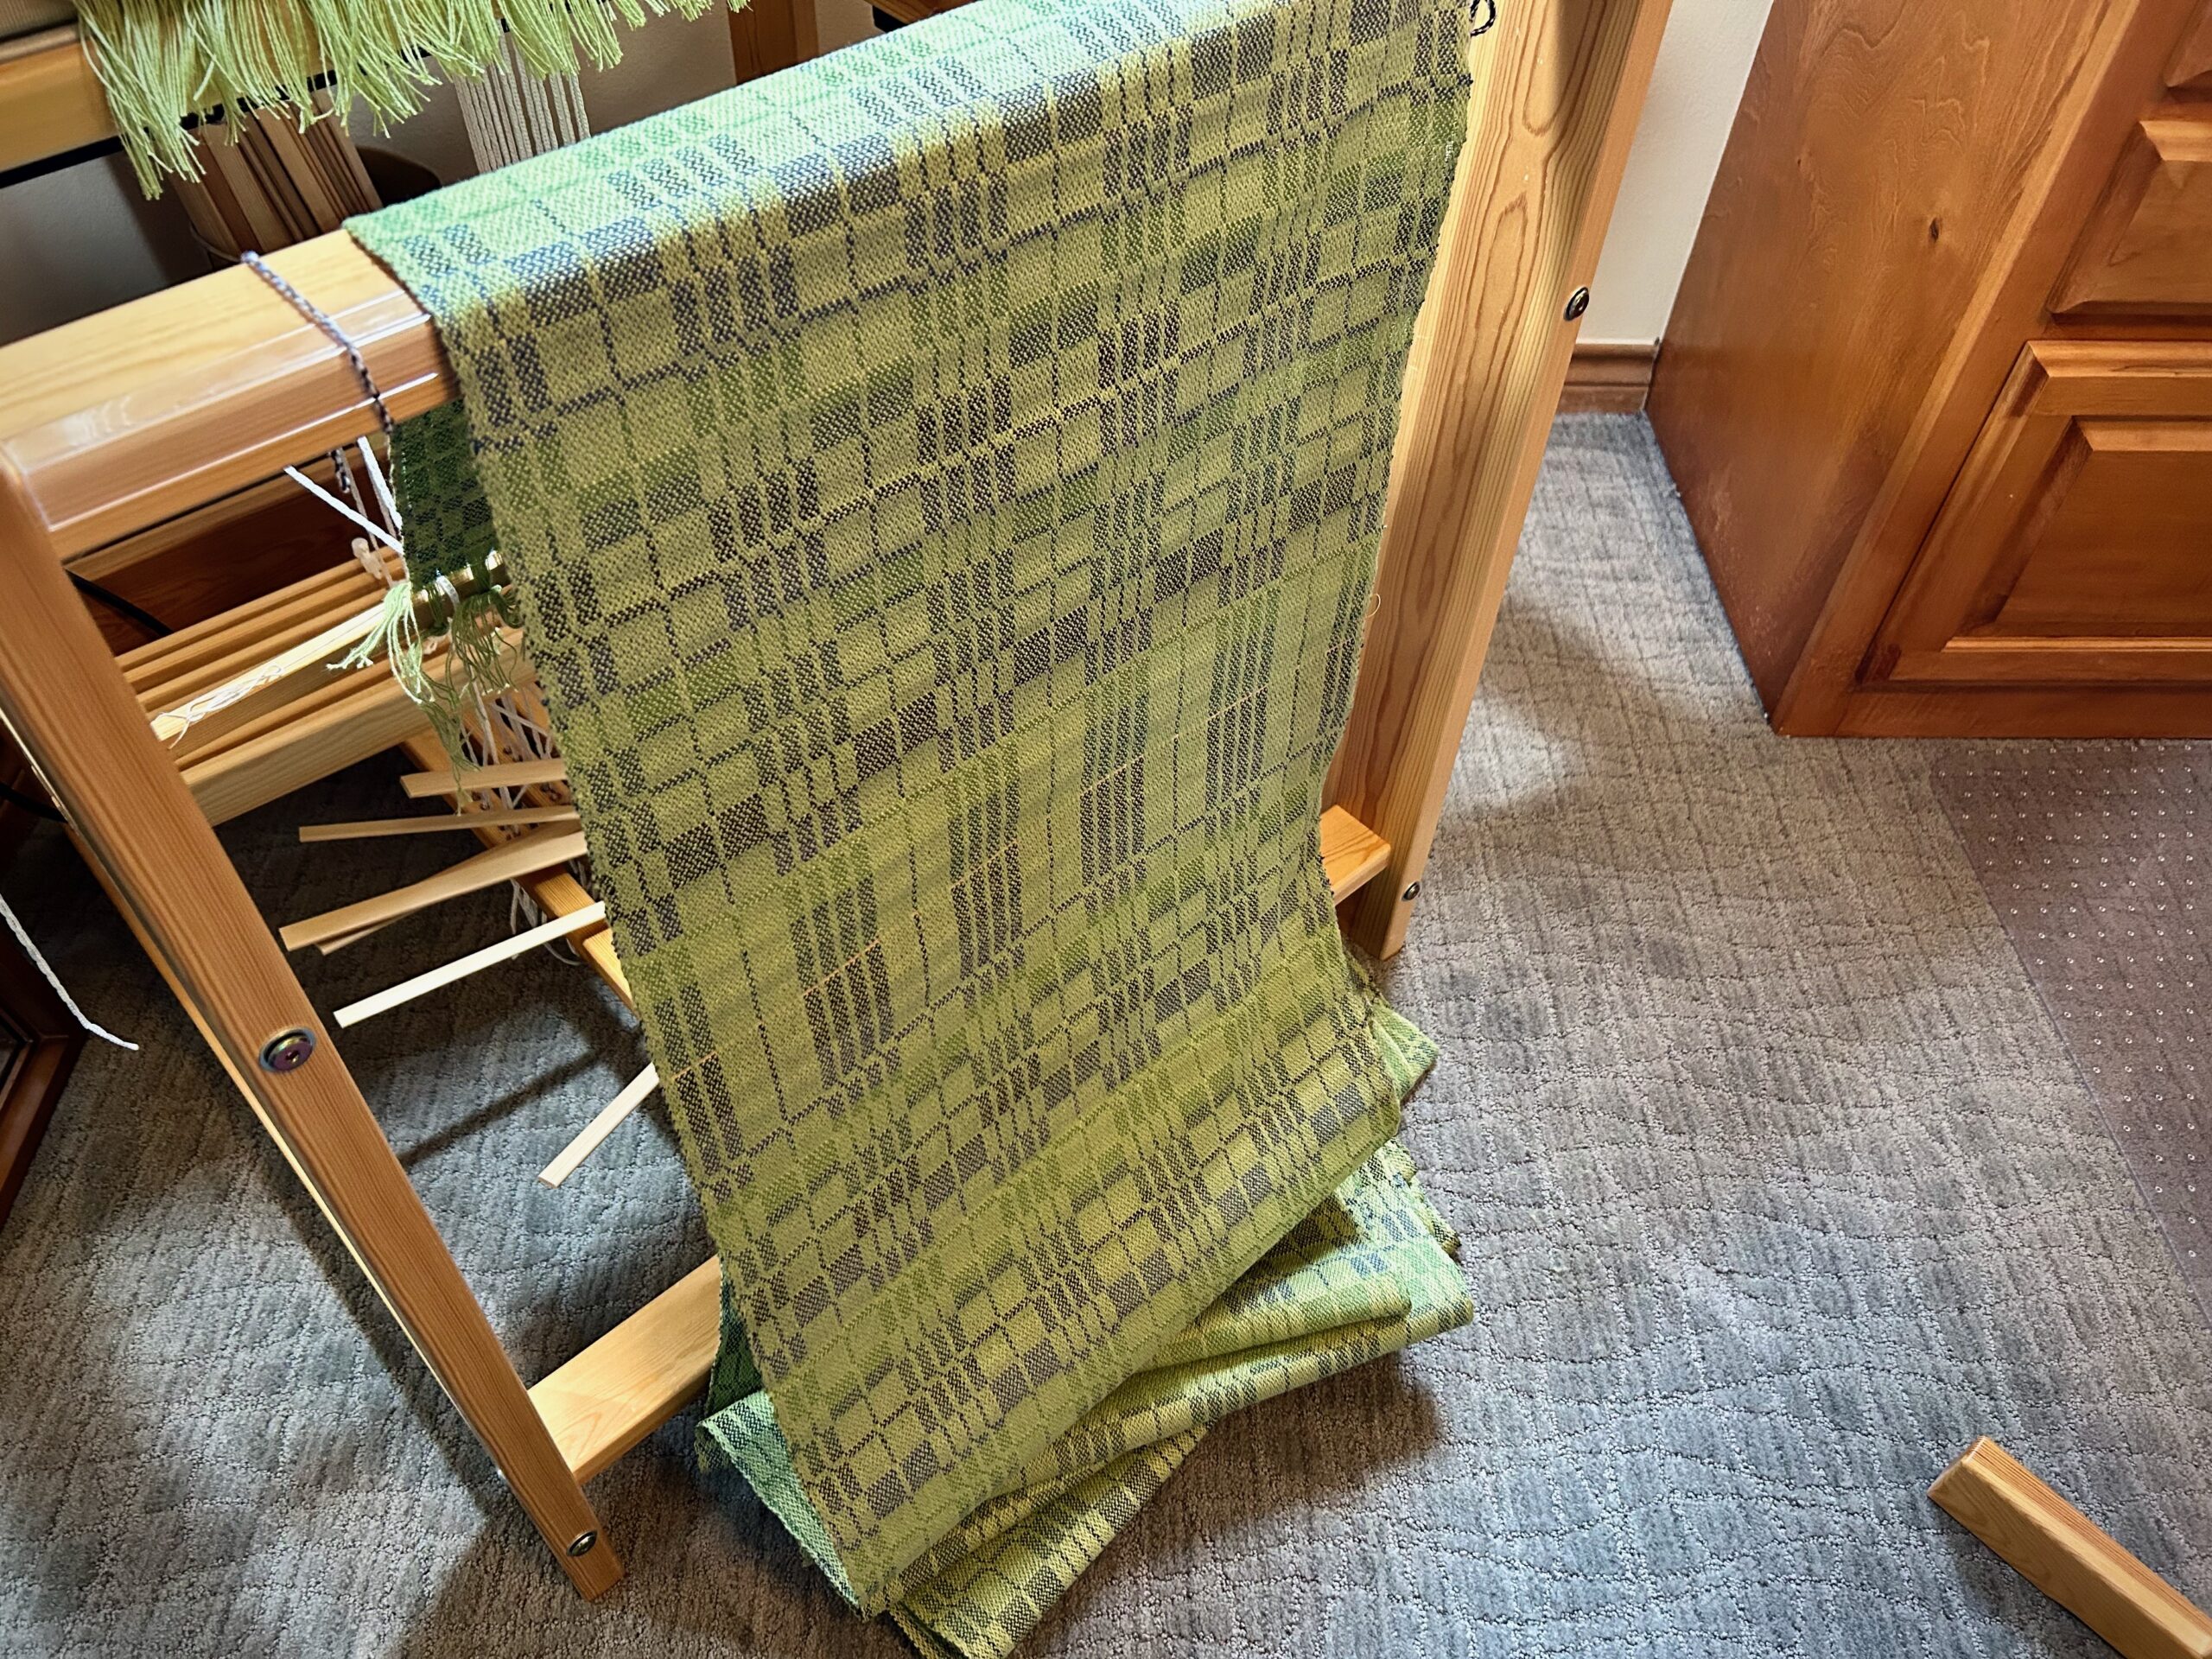
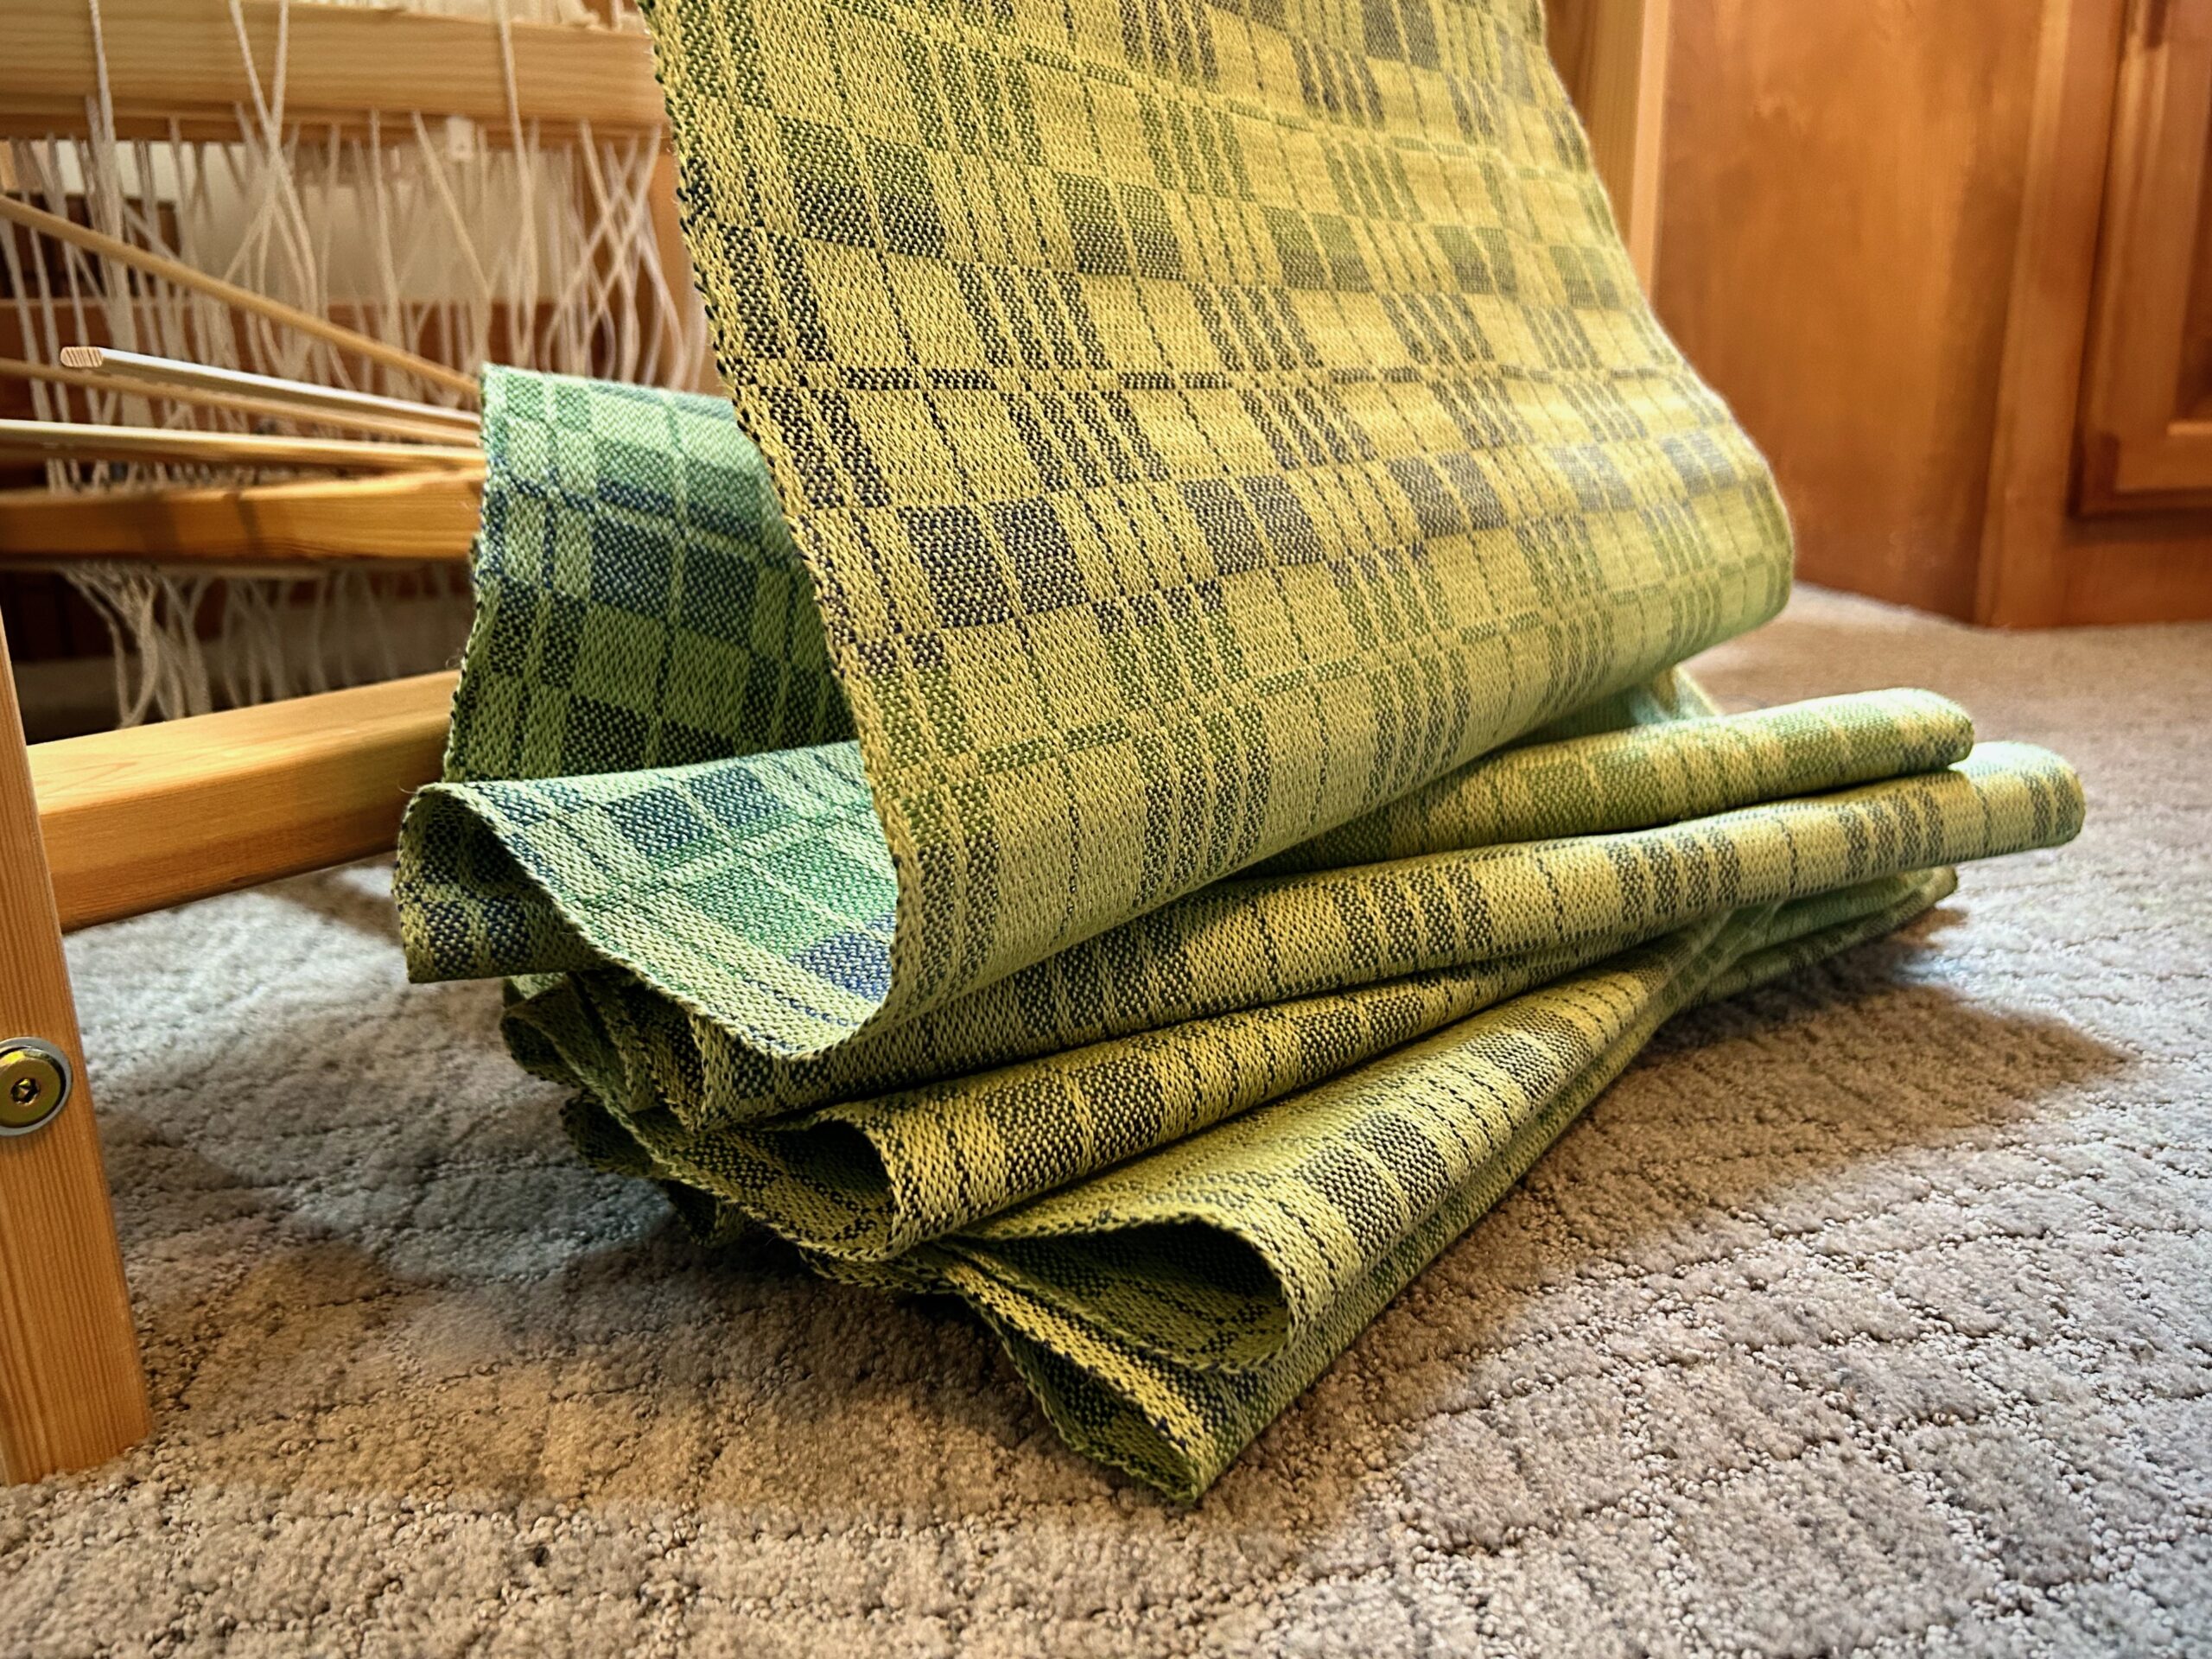
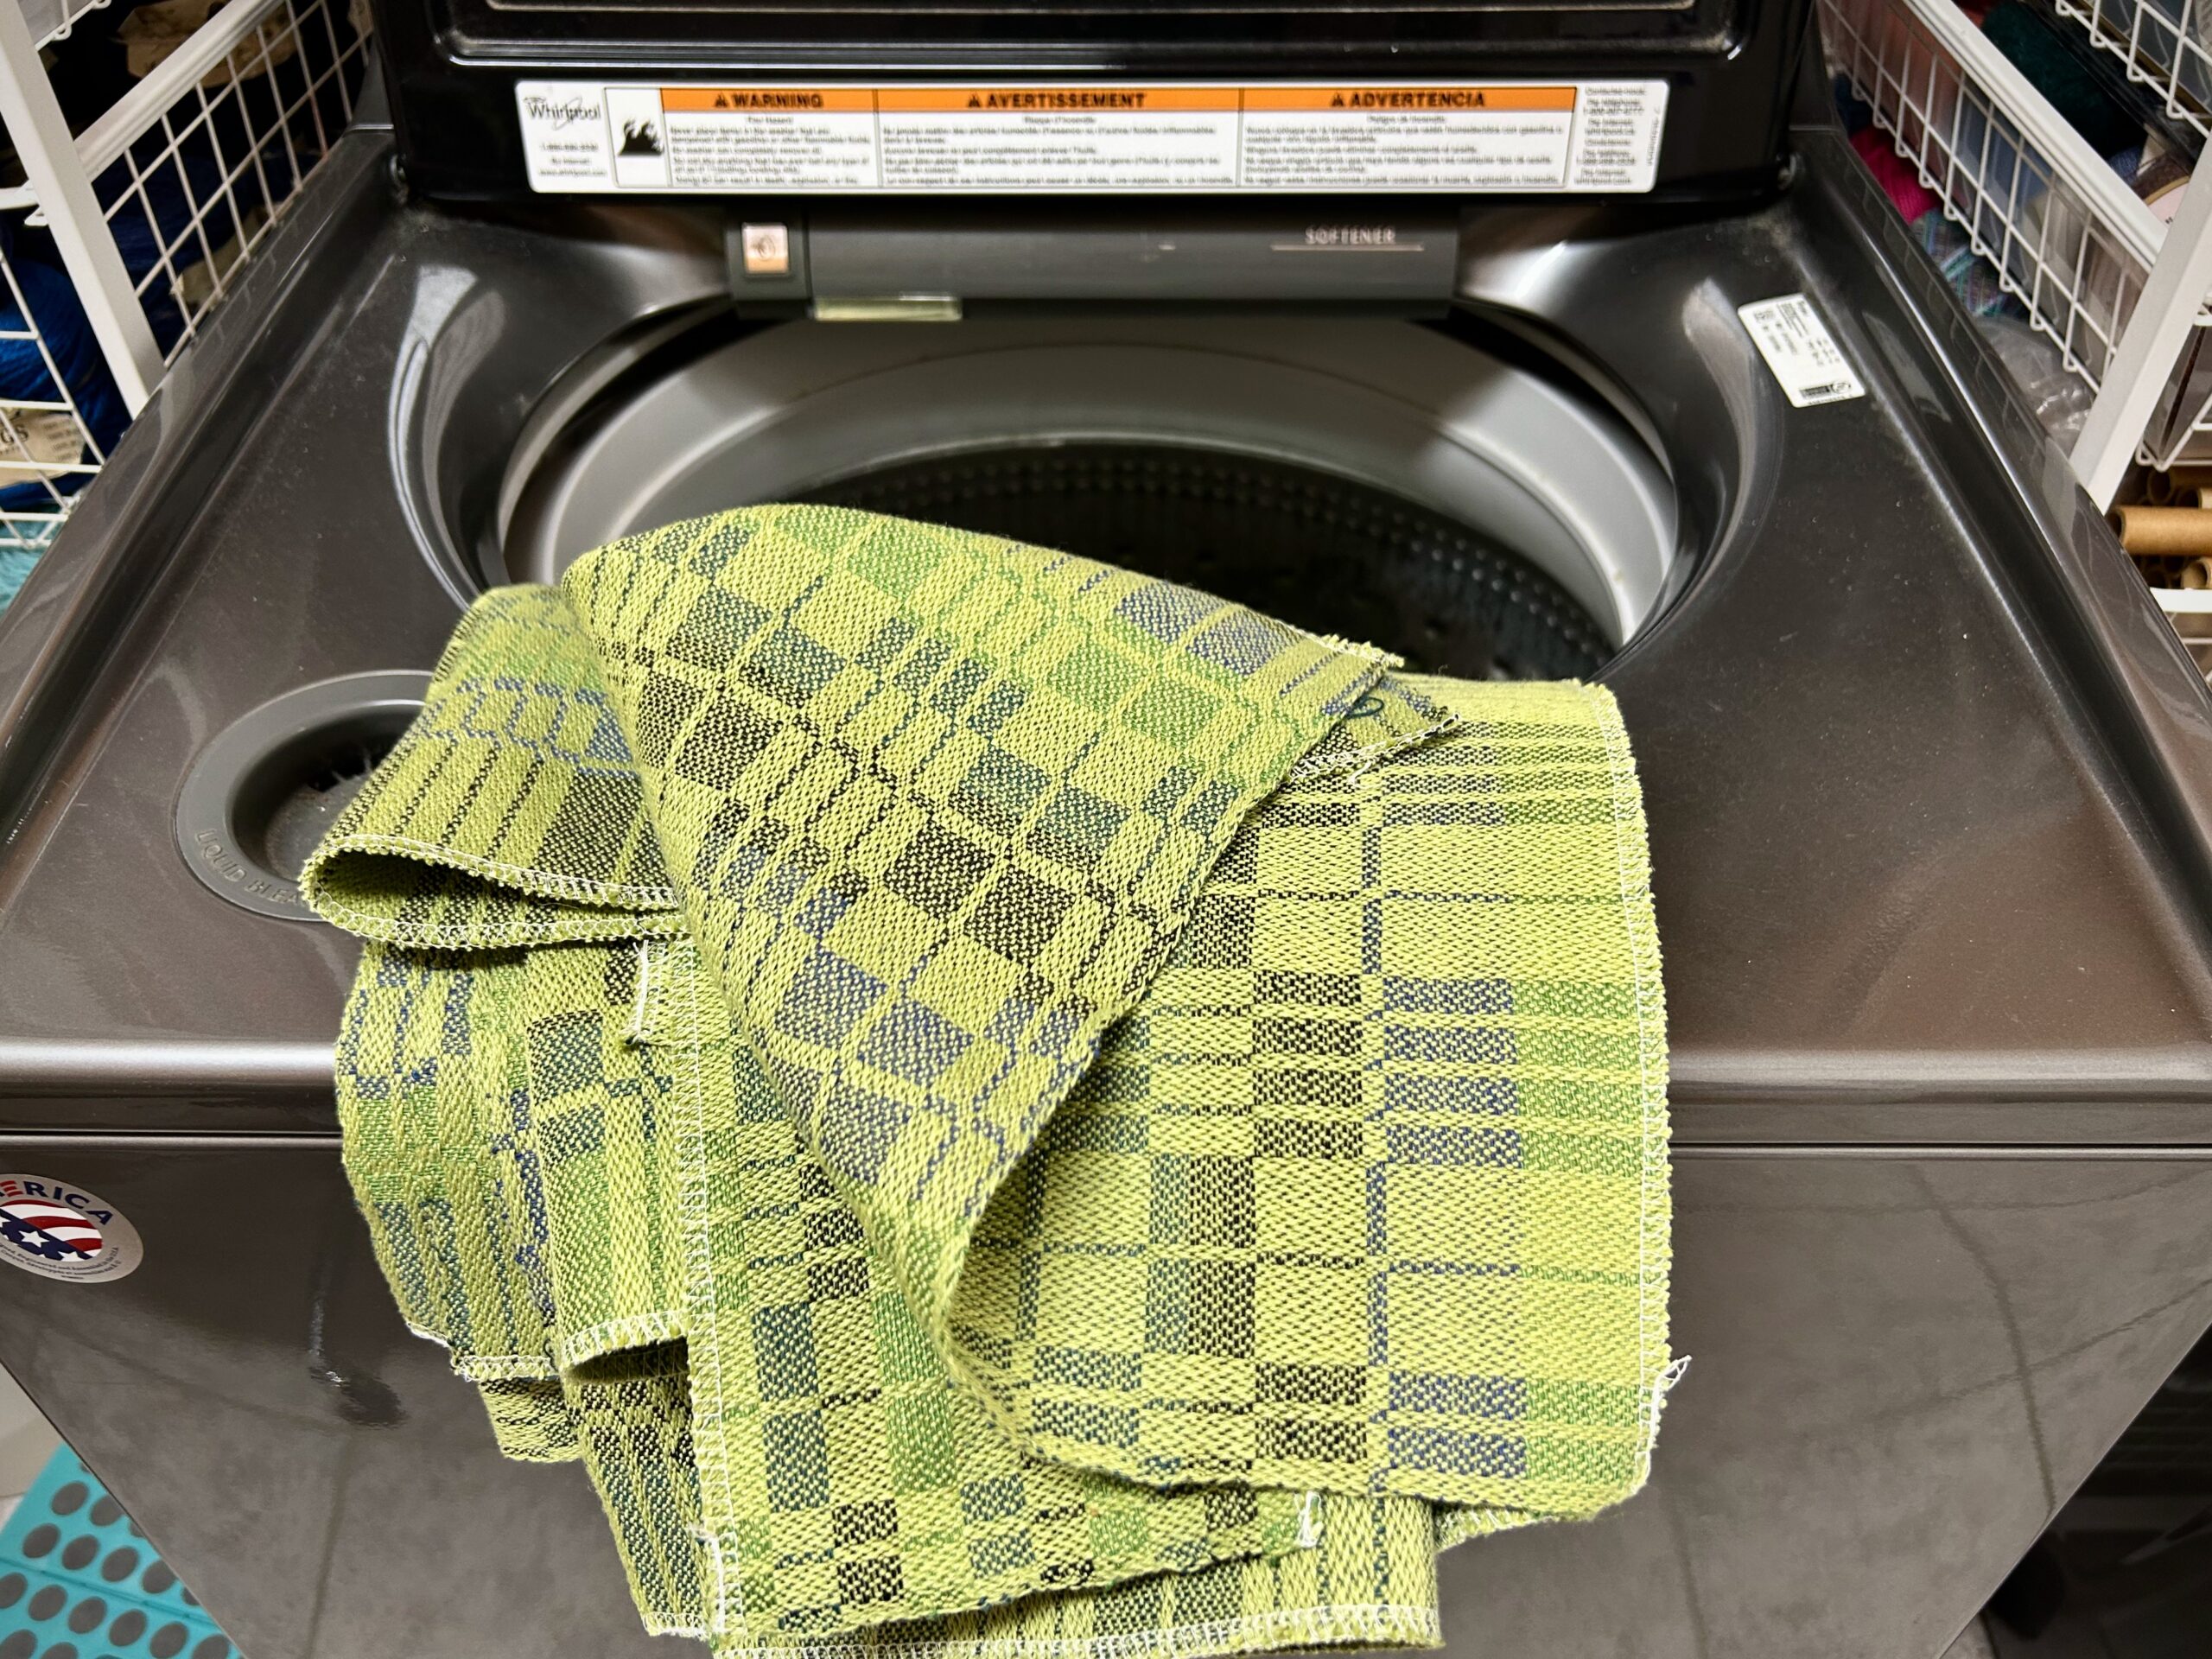
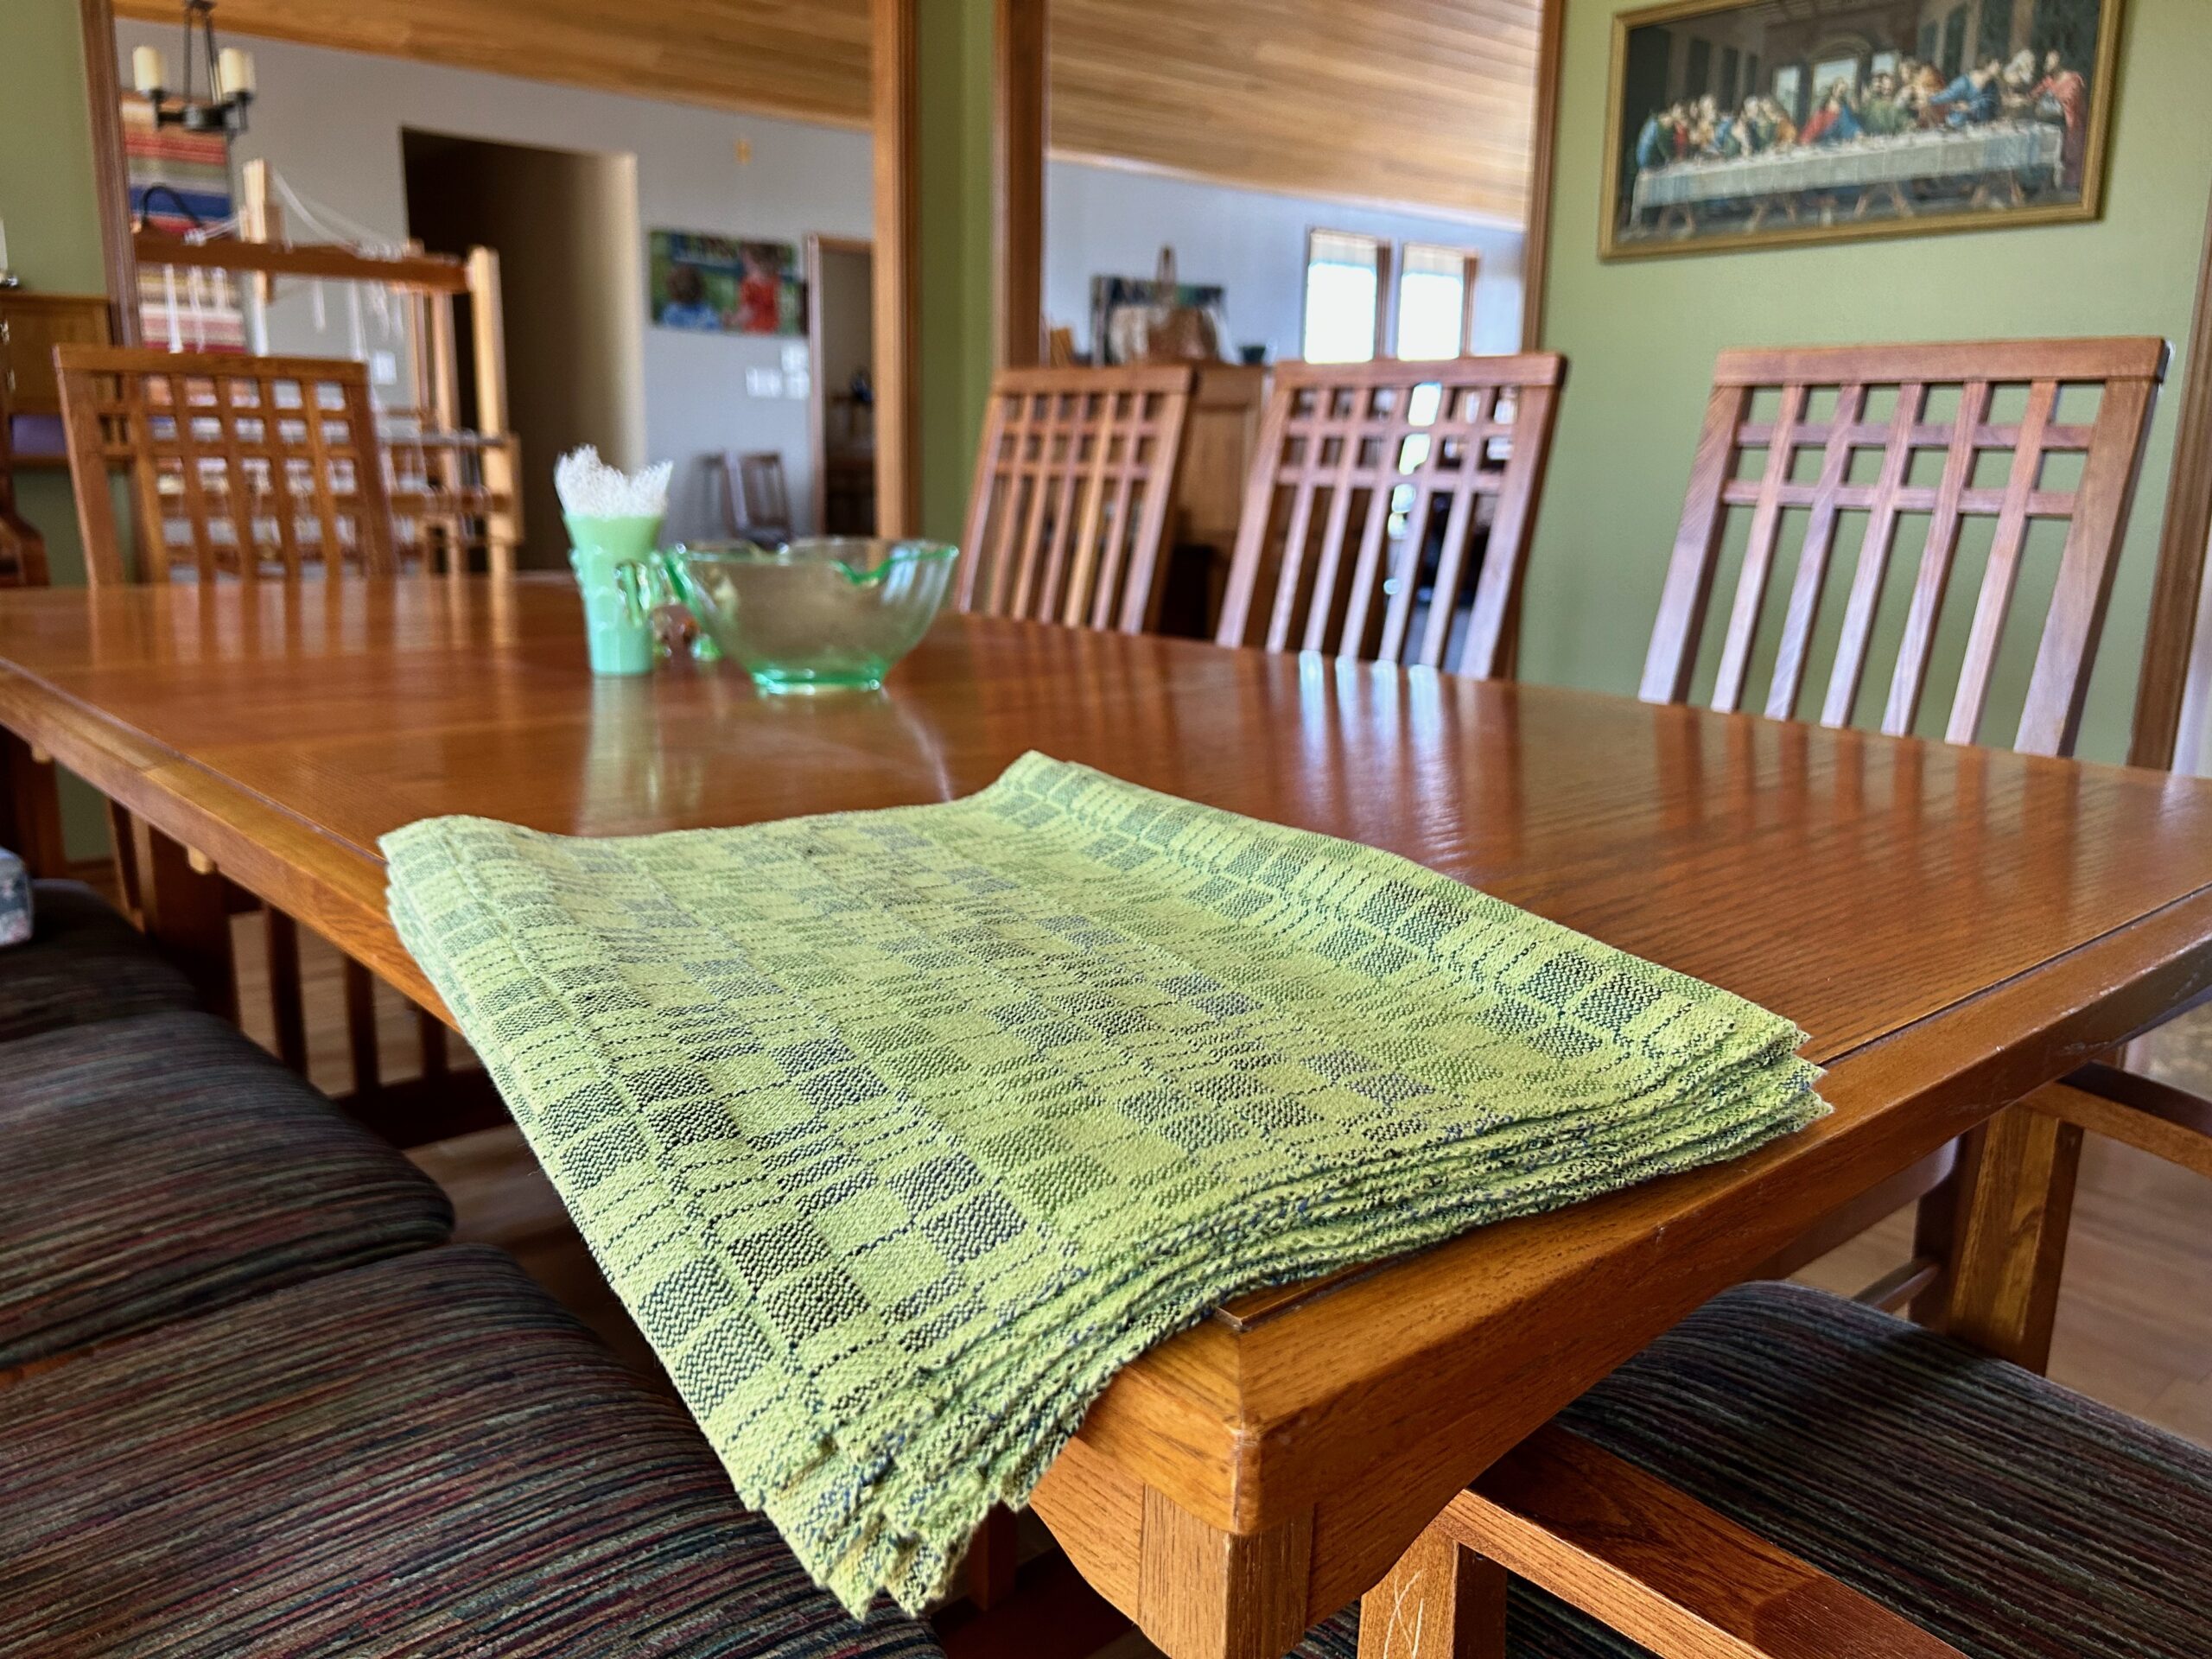
End of warp. Cutting off process begins.Fabric unrolls from the cloth beam. Warping slats go every which way onto the treadles.When I first unroll the cloth from a project that has been on the loom for a while, it is almost always “Love at first sight.” Then, I begin to question myself and wonder if the whole thing is a big mistake. The final stage is the most realistic and I am deeply satisfied with the results (usually).Into the washing machine. The placemats have been cut apart, edges secured with the serger, and serger tails threaded back in. I carefully monitor the washing machine and remove the cloth before it hits a full spin cycle. Then, into the dryer it goes, just until damp, and then I press them till dry. This is a long time at the ironing board.Twelve placemats ready to go! Machine hemmed and pressed.The four linen weft colors give the placemats a softly graded look. Each one has the same two-block pattern, but each one is different because of the variance of the weft colors. Blue, green, teal, black.Setting the table in the dining room.Let’s eat!
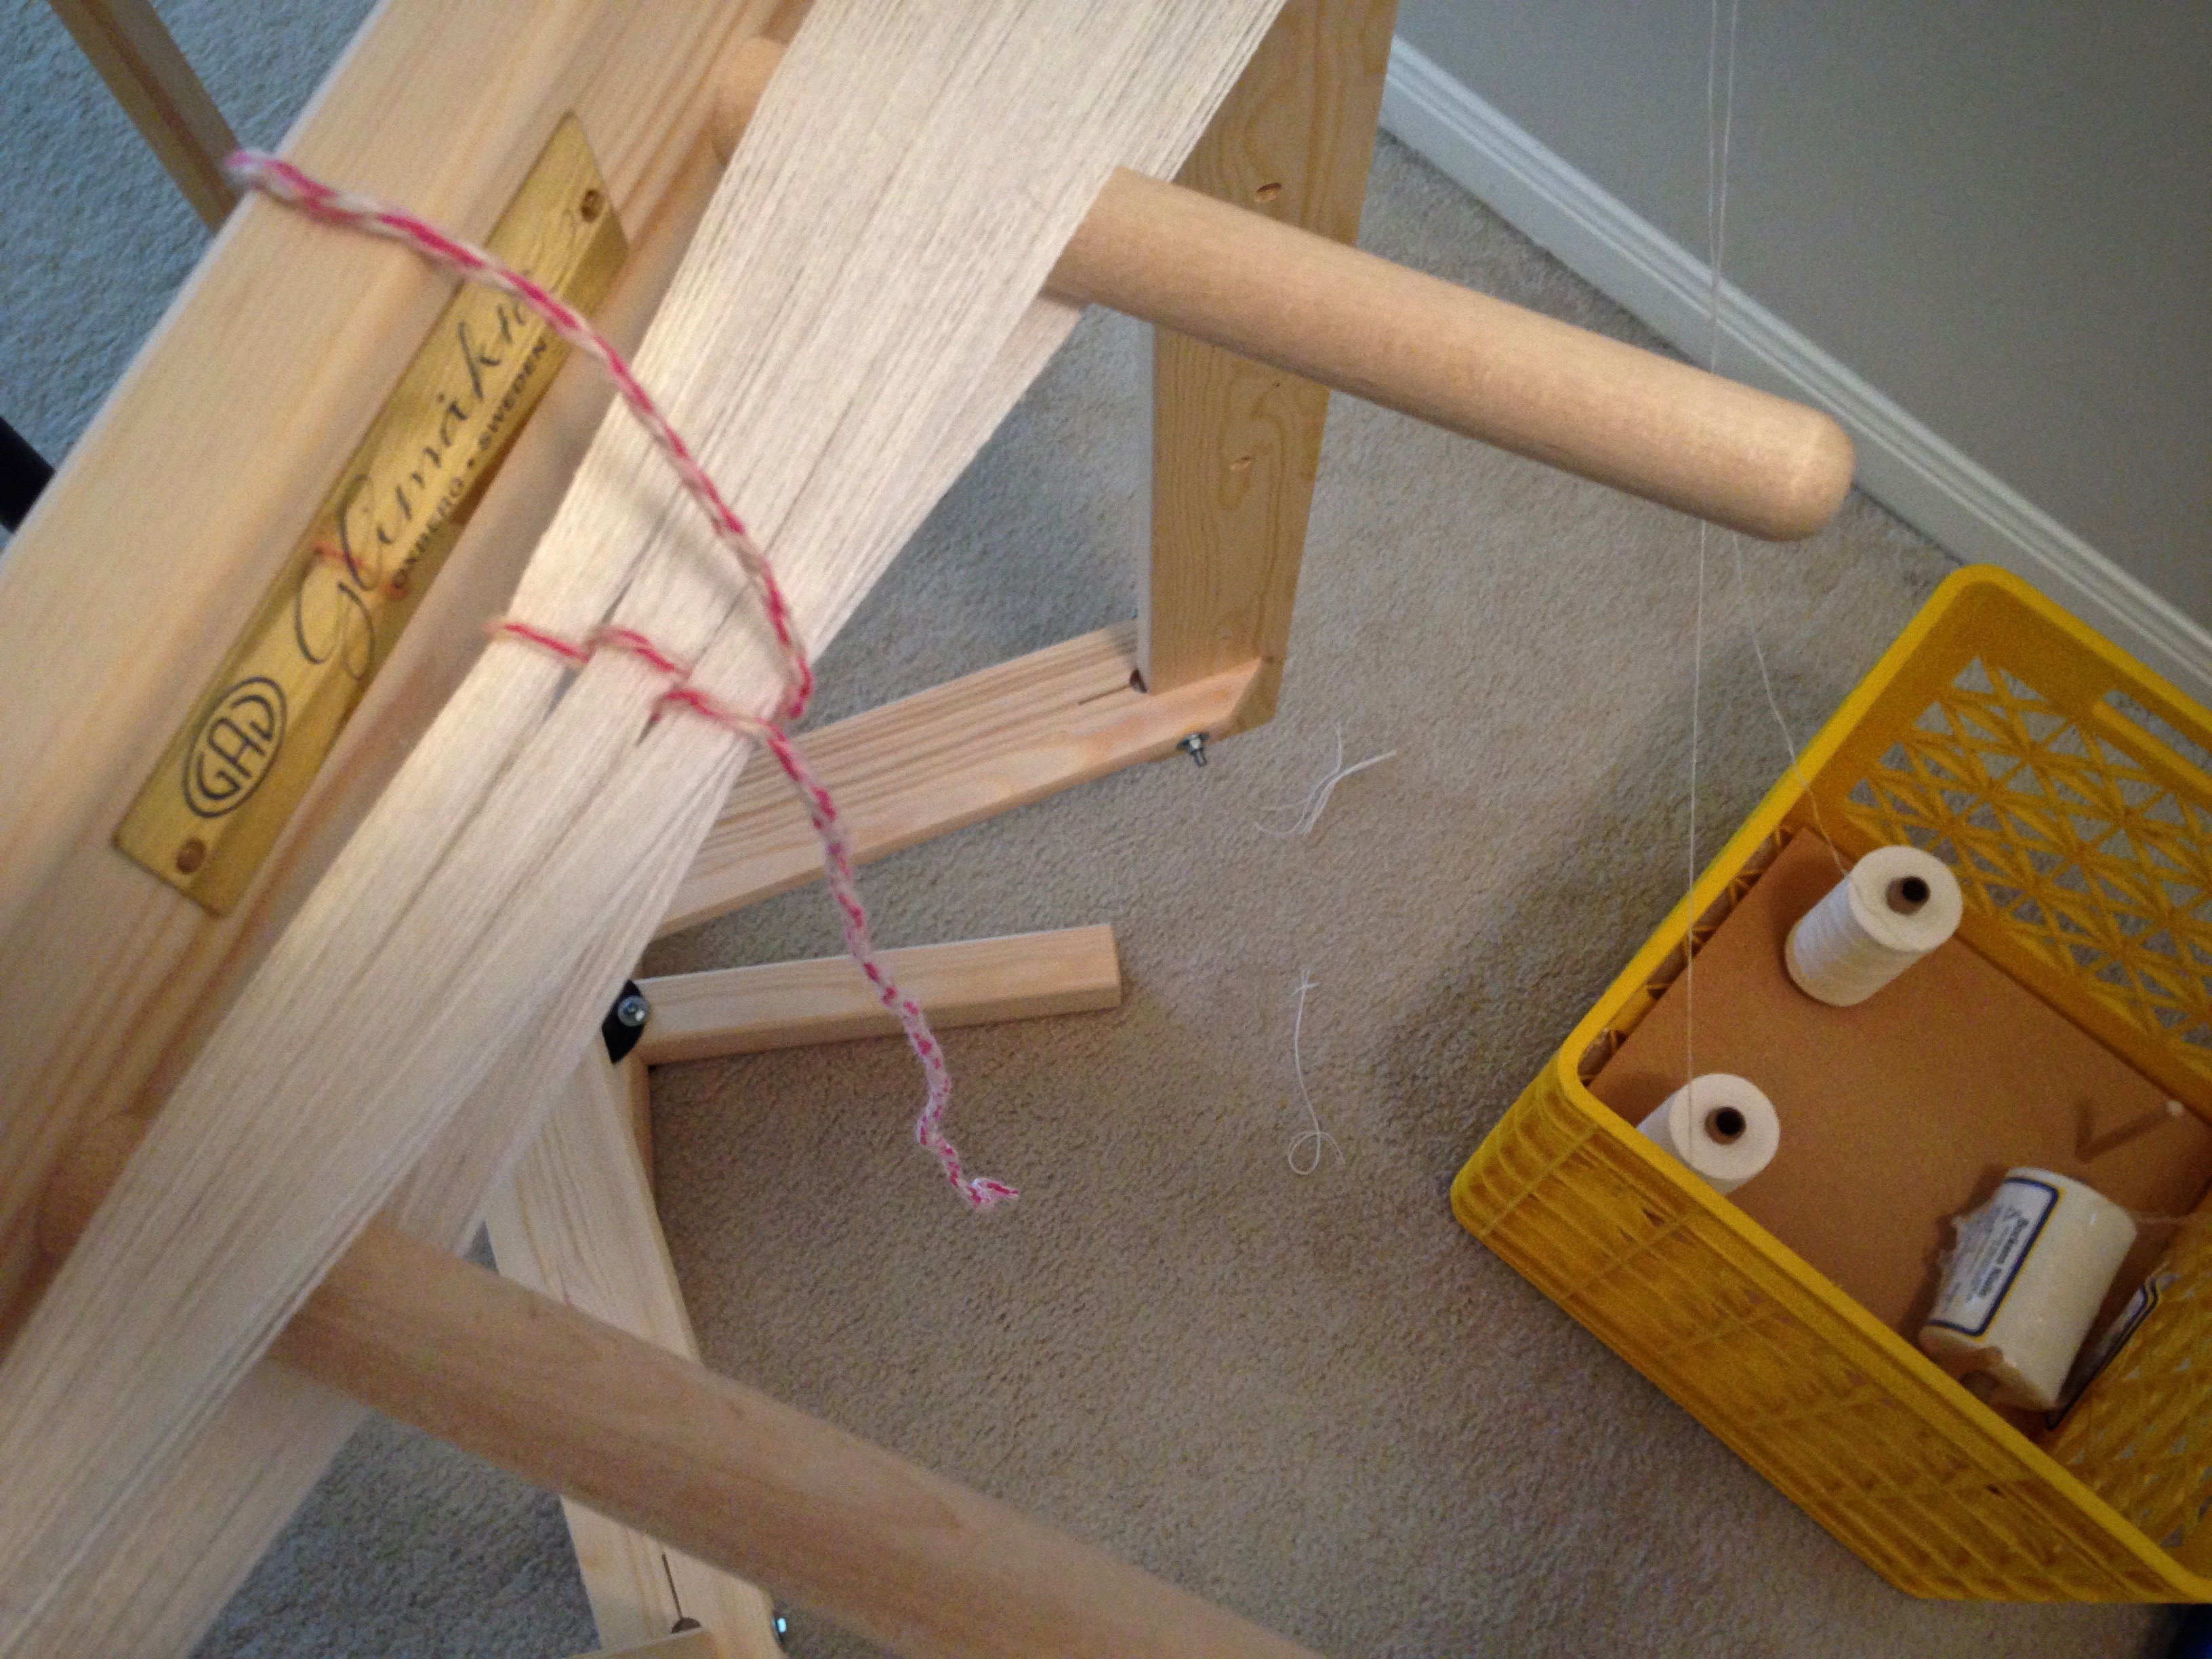
I am lining things up to start my next big project that will grace our home. I’ll let you know as soon as I start winding the warp!
May you finish what you’ve started, no matter how long it takes.
This year is different. I’m going to get organized, keep every loom dressed, and bake fruit pies for my husband! Alas, good intentions are not a reliable measure of what my progress will be. I always want to do more than what I manage to get done.
Before washing and drying the fabric I examine it. I look for errors and clip off any weft tails.
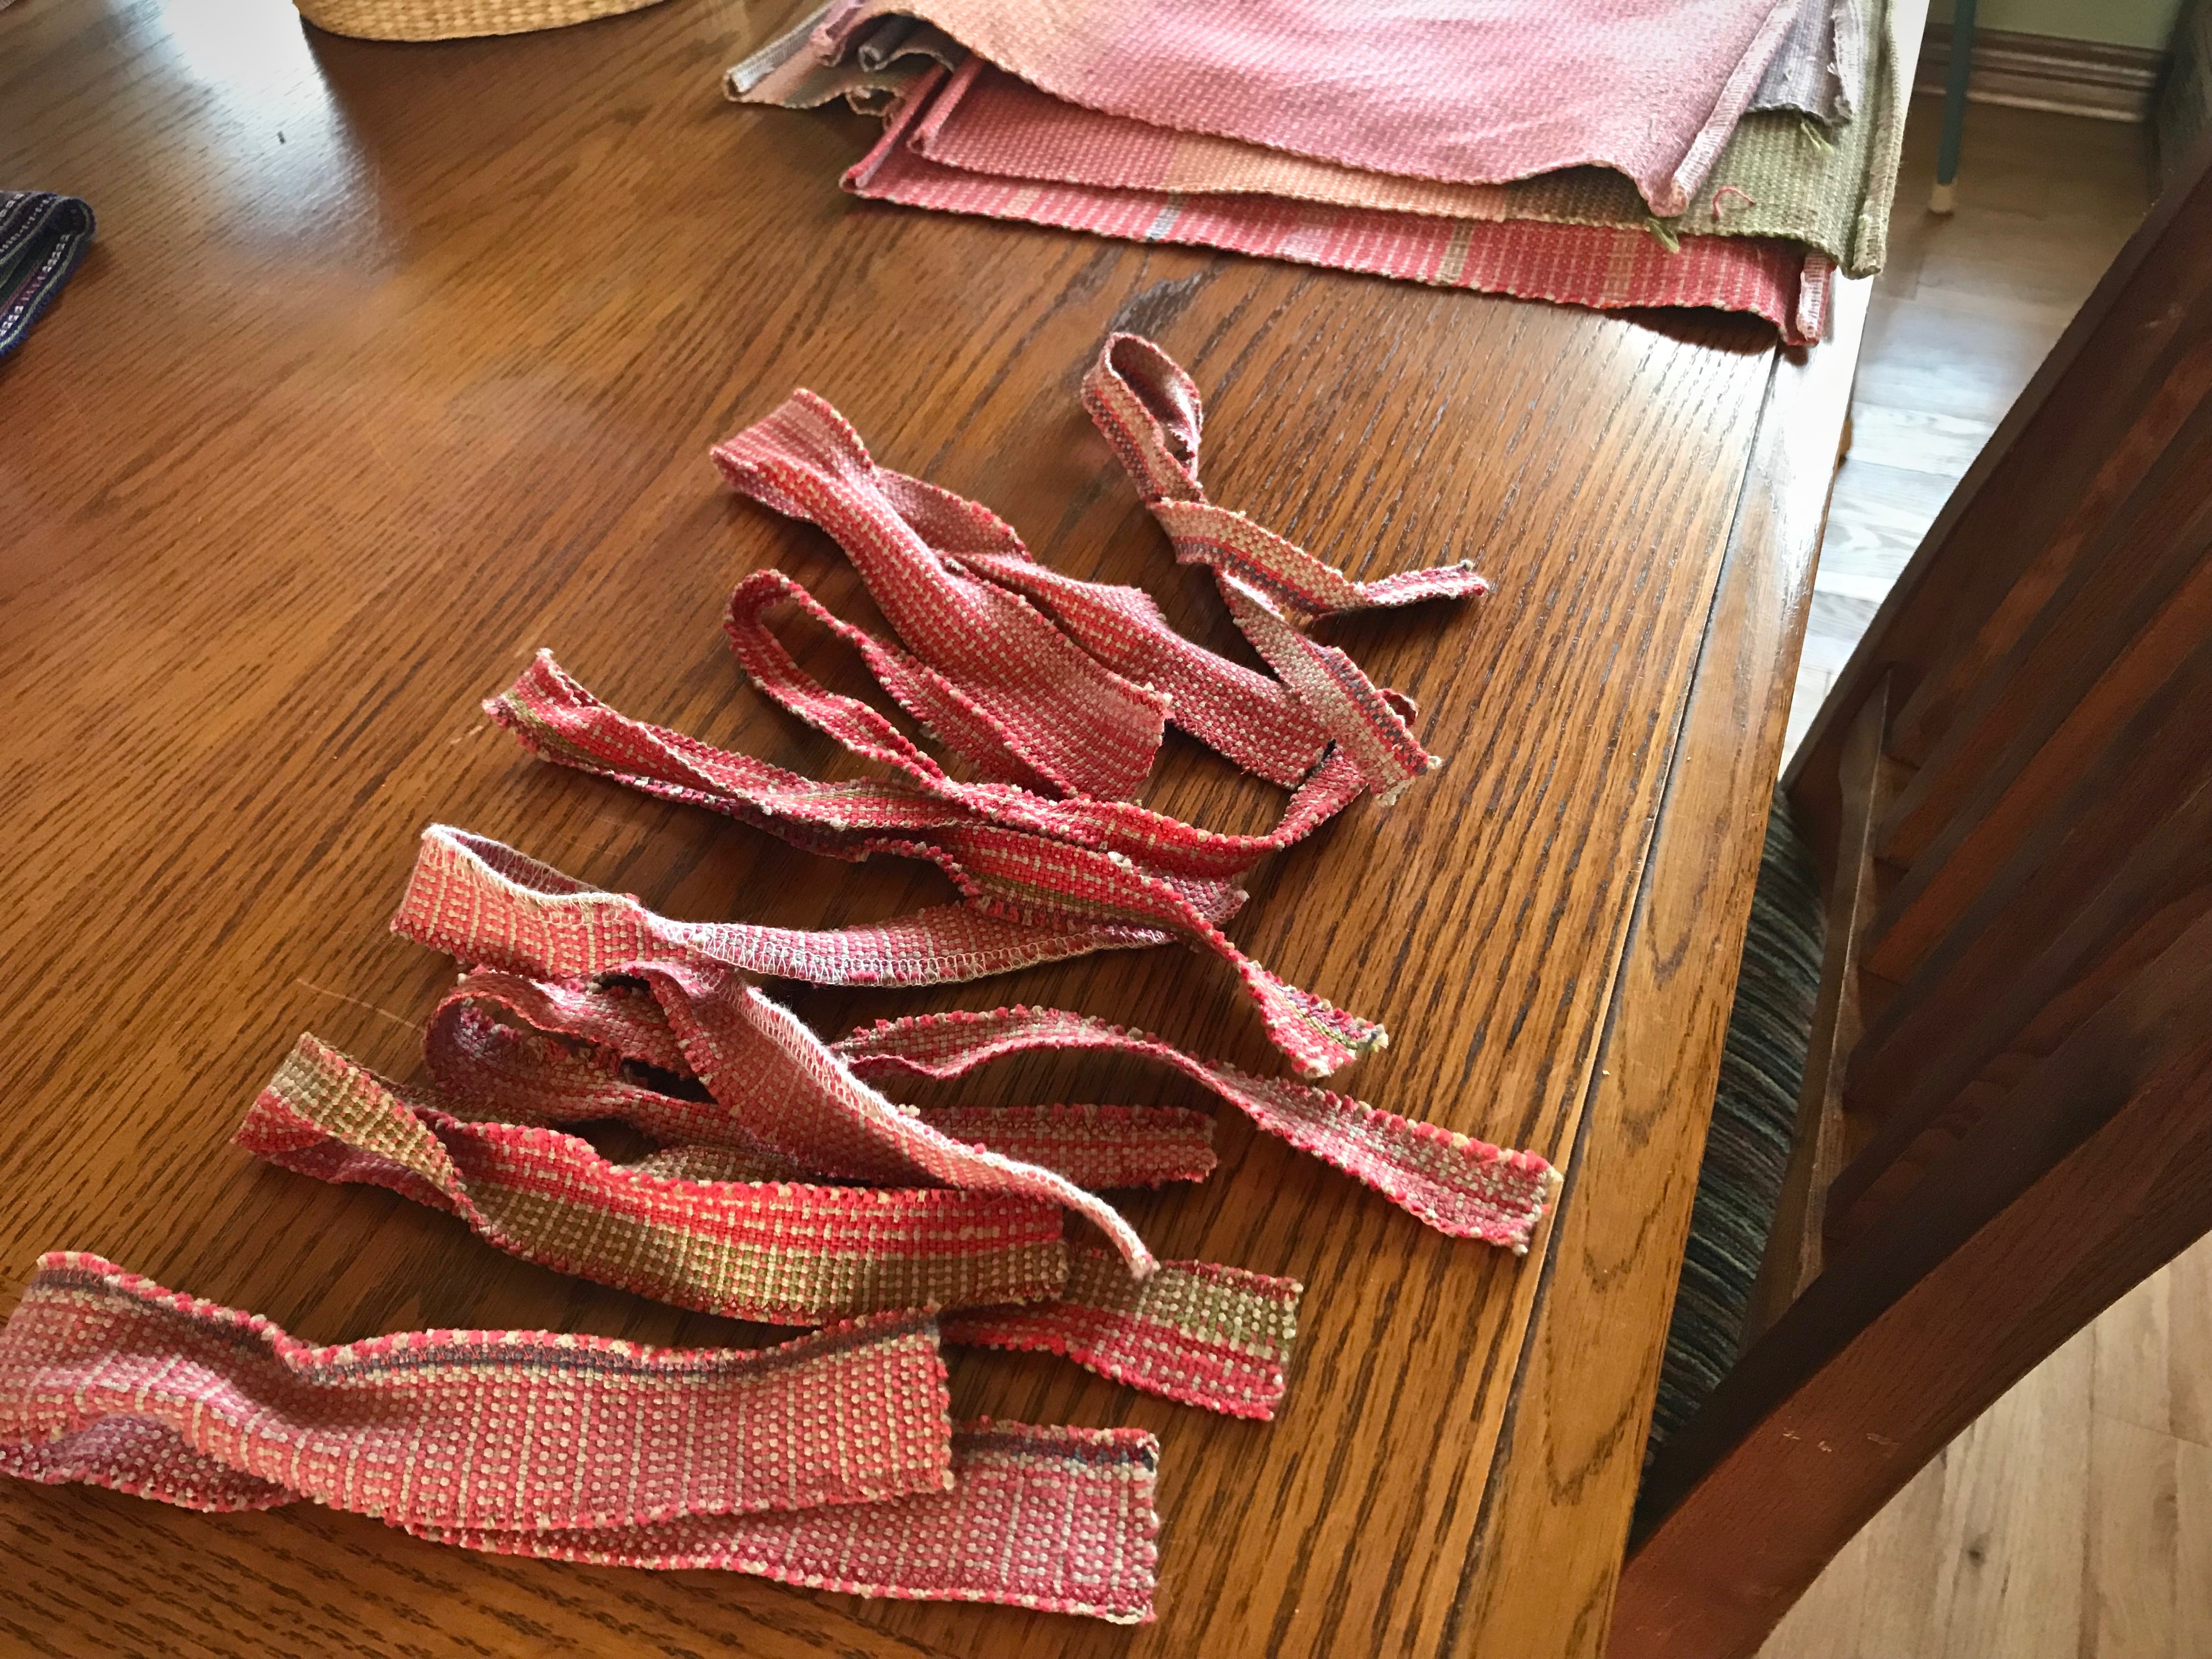
I cut the placemats to a uniform size. Scraps that were cut off will be used as ribbons to mark luggage for my daughter’s family as they prepare to travel. I simply zigzagged the edges of the scraps.
I washed, pressed, hemmed, and pressed again the twelve placemats. Finishing is finished. It’s a nice way to end one year and start the next. Measurable progress.
Pressing in the dining room.
Twelve handwoven placemats. No two alike. Basket weave, color and weave effects. 8/2 cotton warp and weft.
Thankfully, our value isn’t wrapped up in what we accomplish. Or what we don’t. We need the Lord’s grace. It’s strength that’s beyond our own strength. Grow in grace. Grow in strength. That’s my prayer this year for you and for me.
Though small, this pocket-sized tapestry took a few months to complete. A car ride here, a coffee shop there, a move across town, and an imminent move across the state—this tiny tapestry has been in the background through it all.
The weft tails are neatly trimmed, but the back is completely exposed. I’m not weaving the tails in this time, nor covering them with a fabric backing. Just hold the tiny tapestry in your hand and feel it. Remember that all the pleasant color distinctions and pick-and-pick samples on the front side have a back side, too. True, the back doesn’t make as much sense. However, I want my friend who is receiving this to see and touch the heart of the weaving.
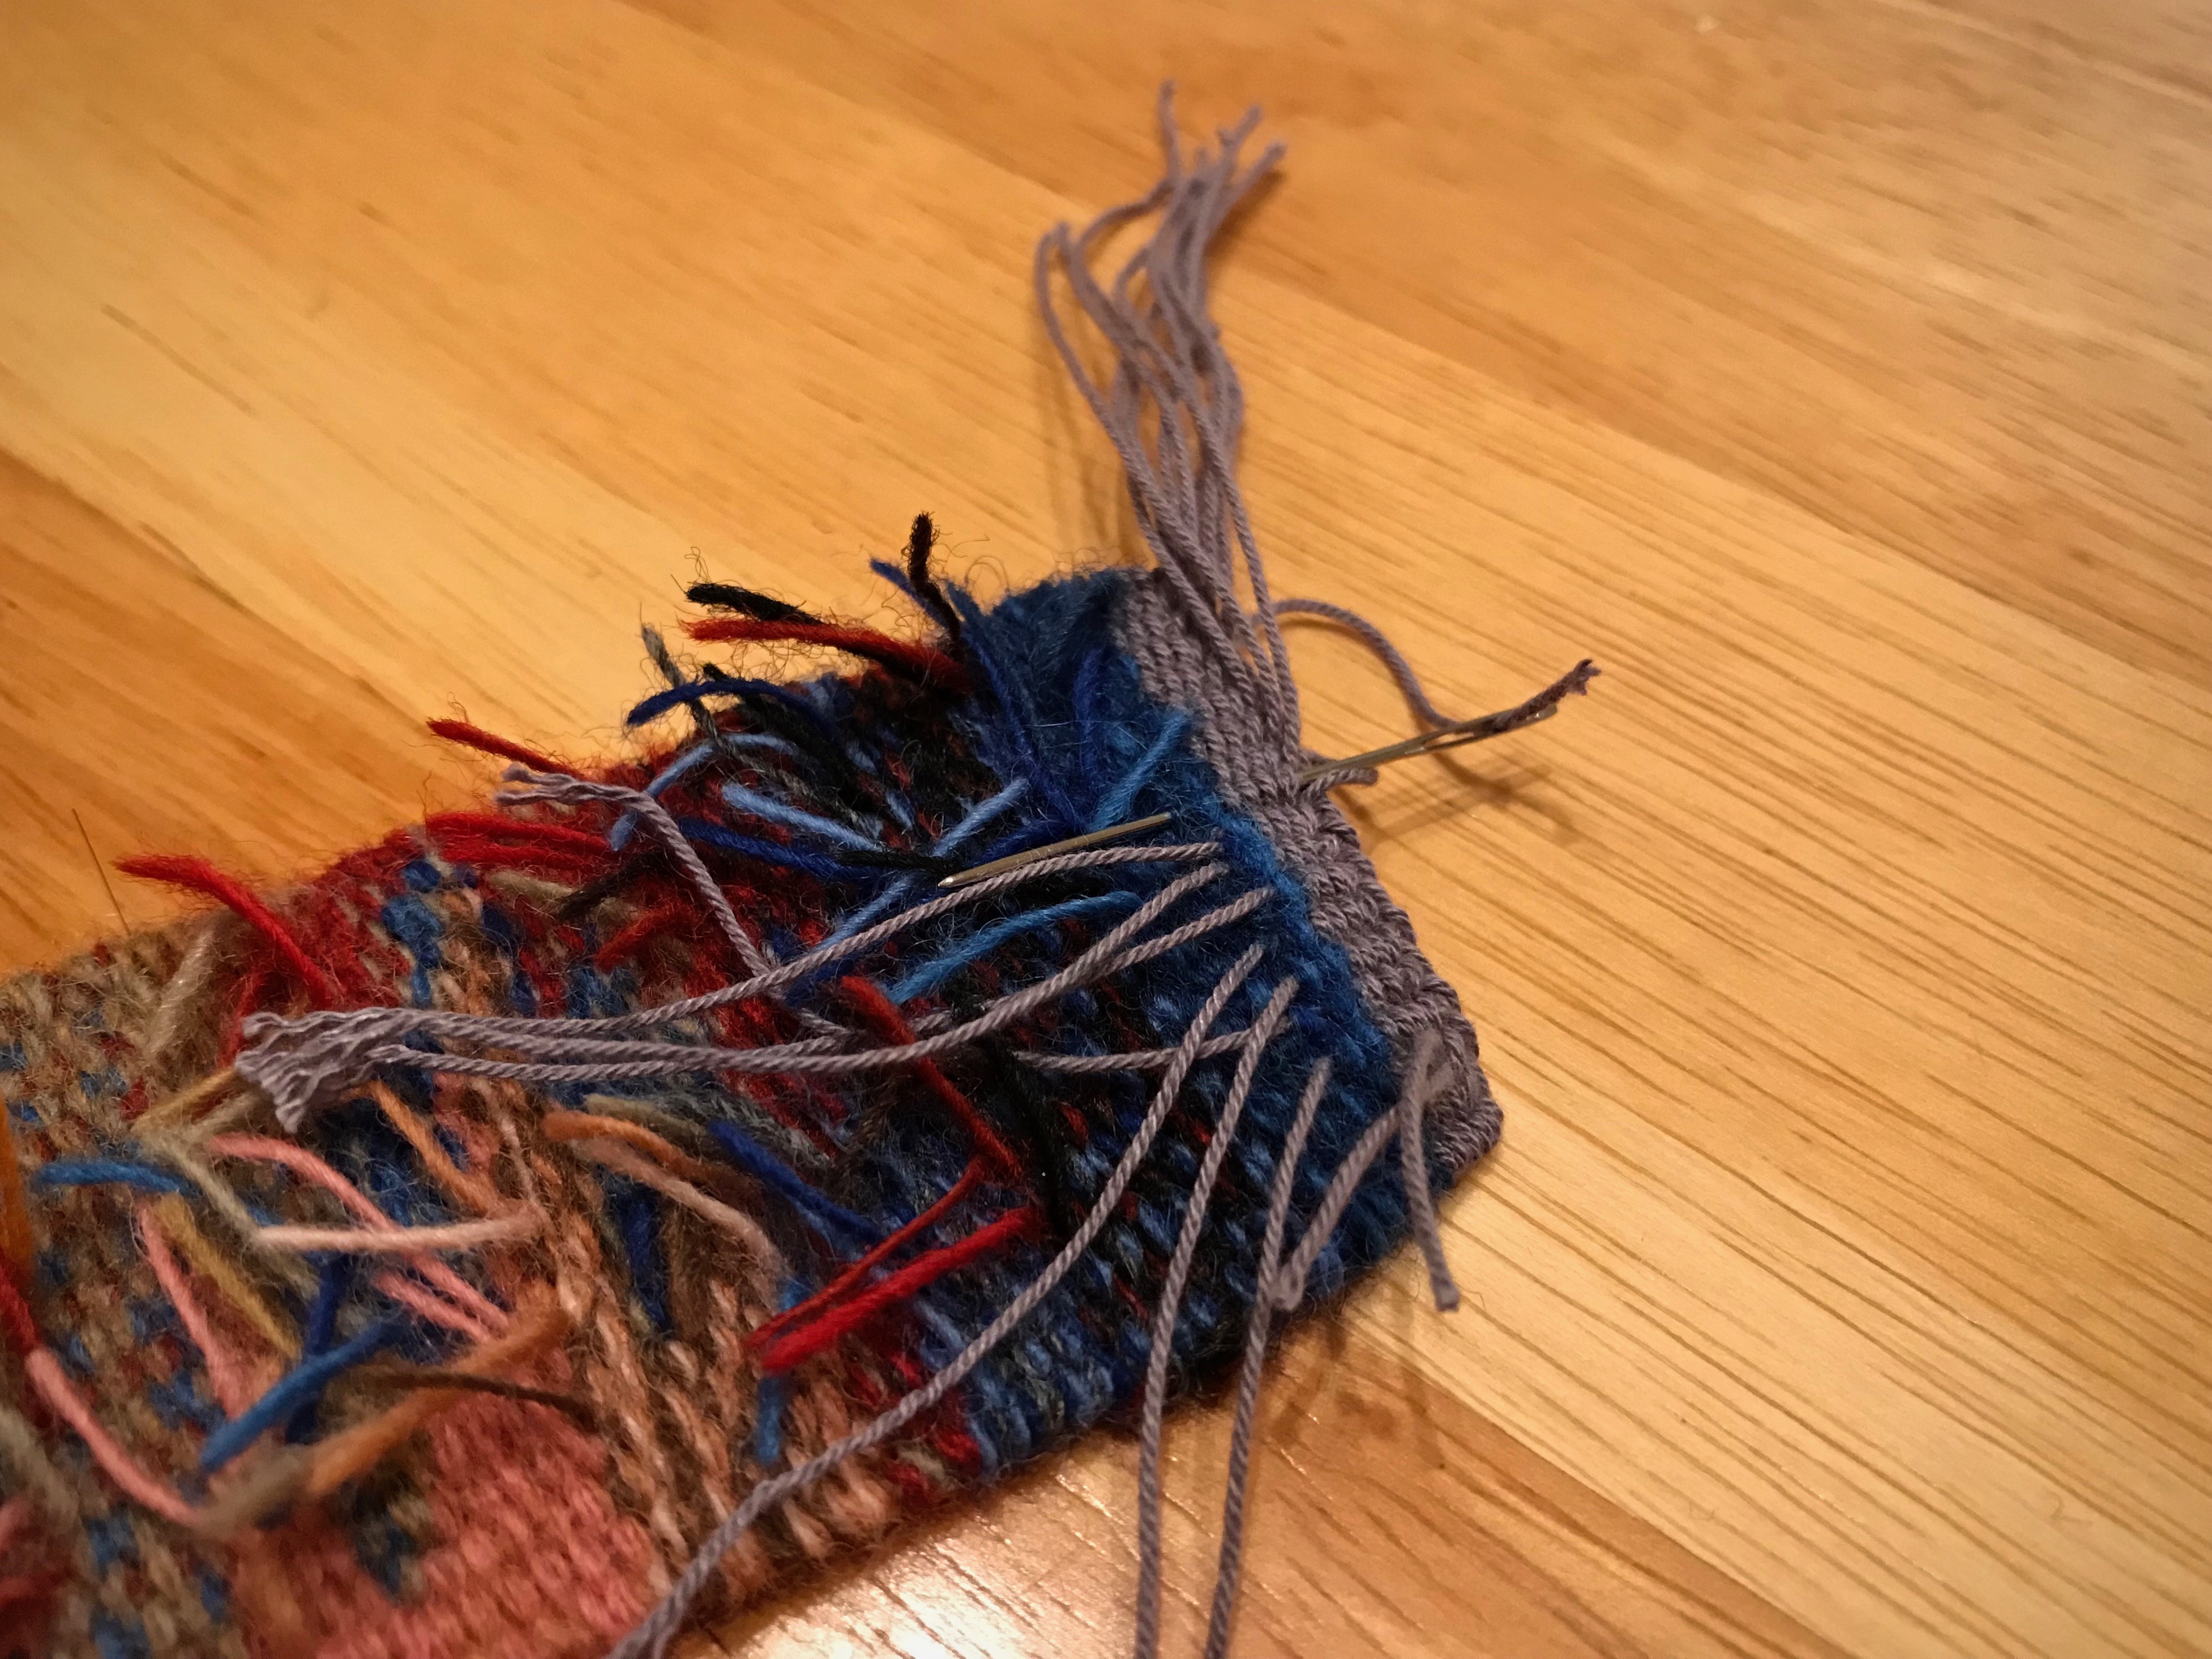
Using a needle to pull the warpends back through the warp thread header. After pulling through, the warp ends are trimmed close to the surface. The weft tails are also trimmed to about 1/2″.
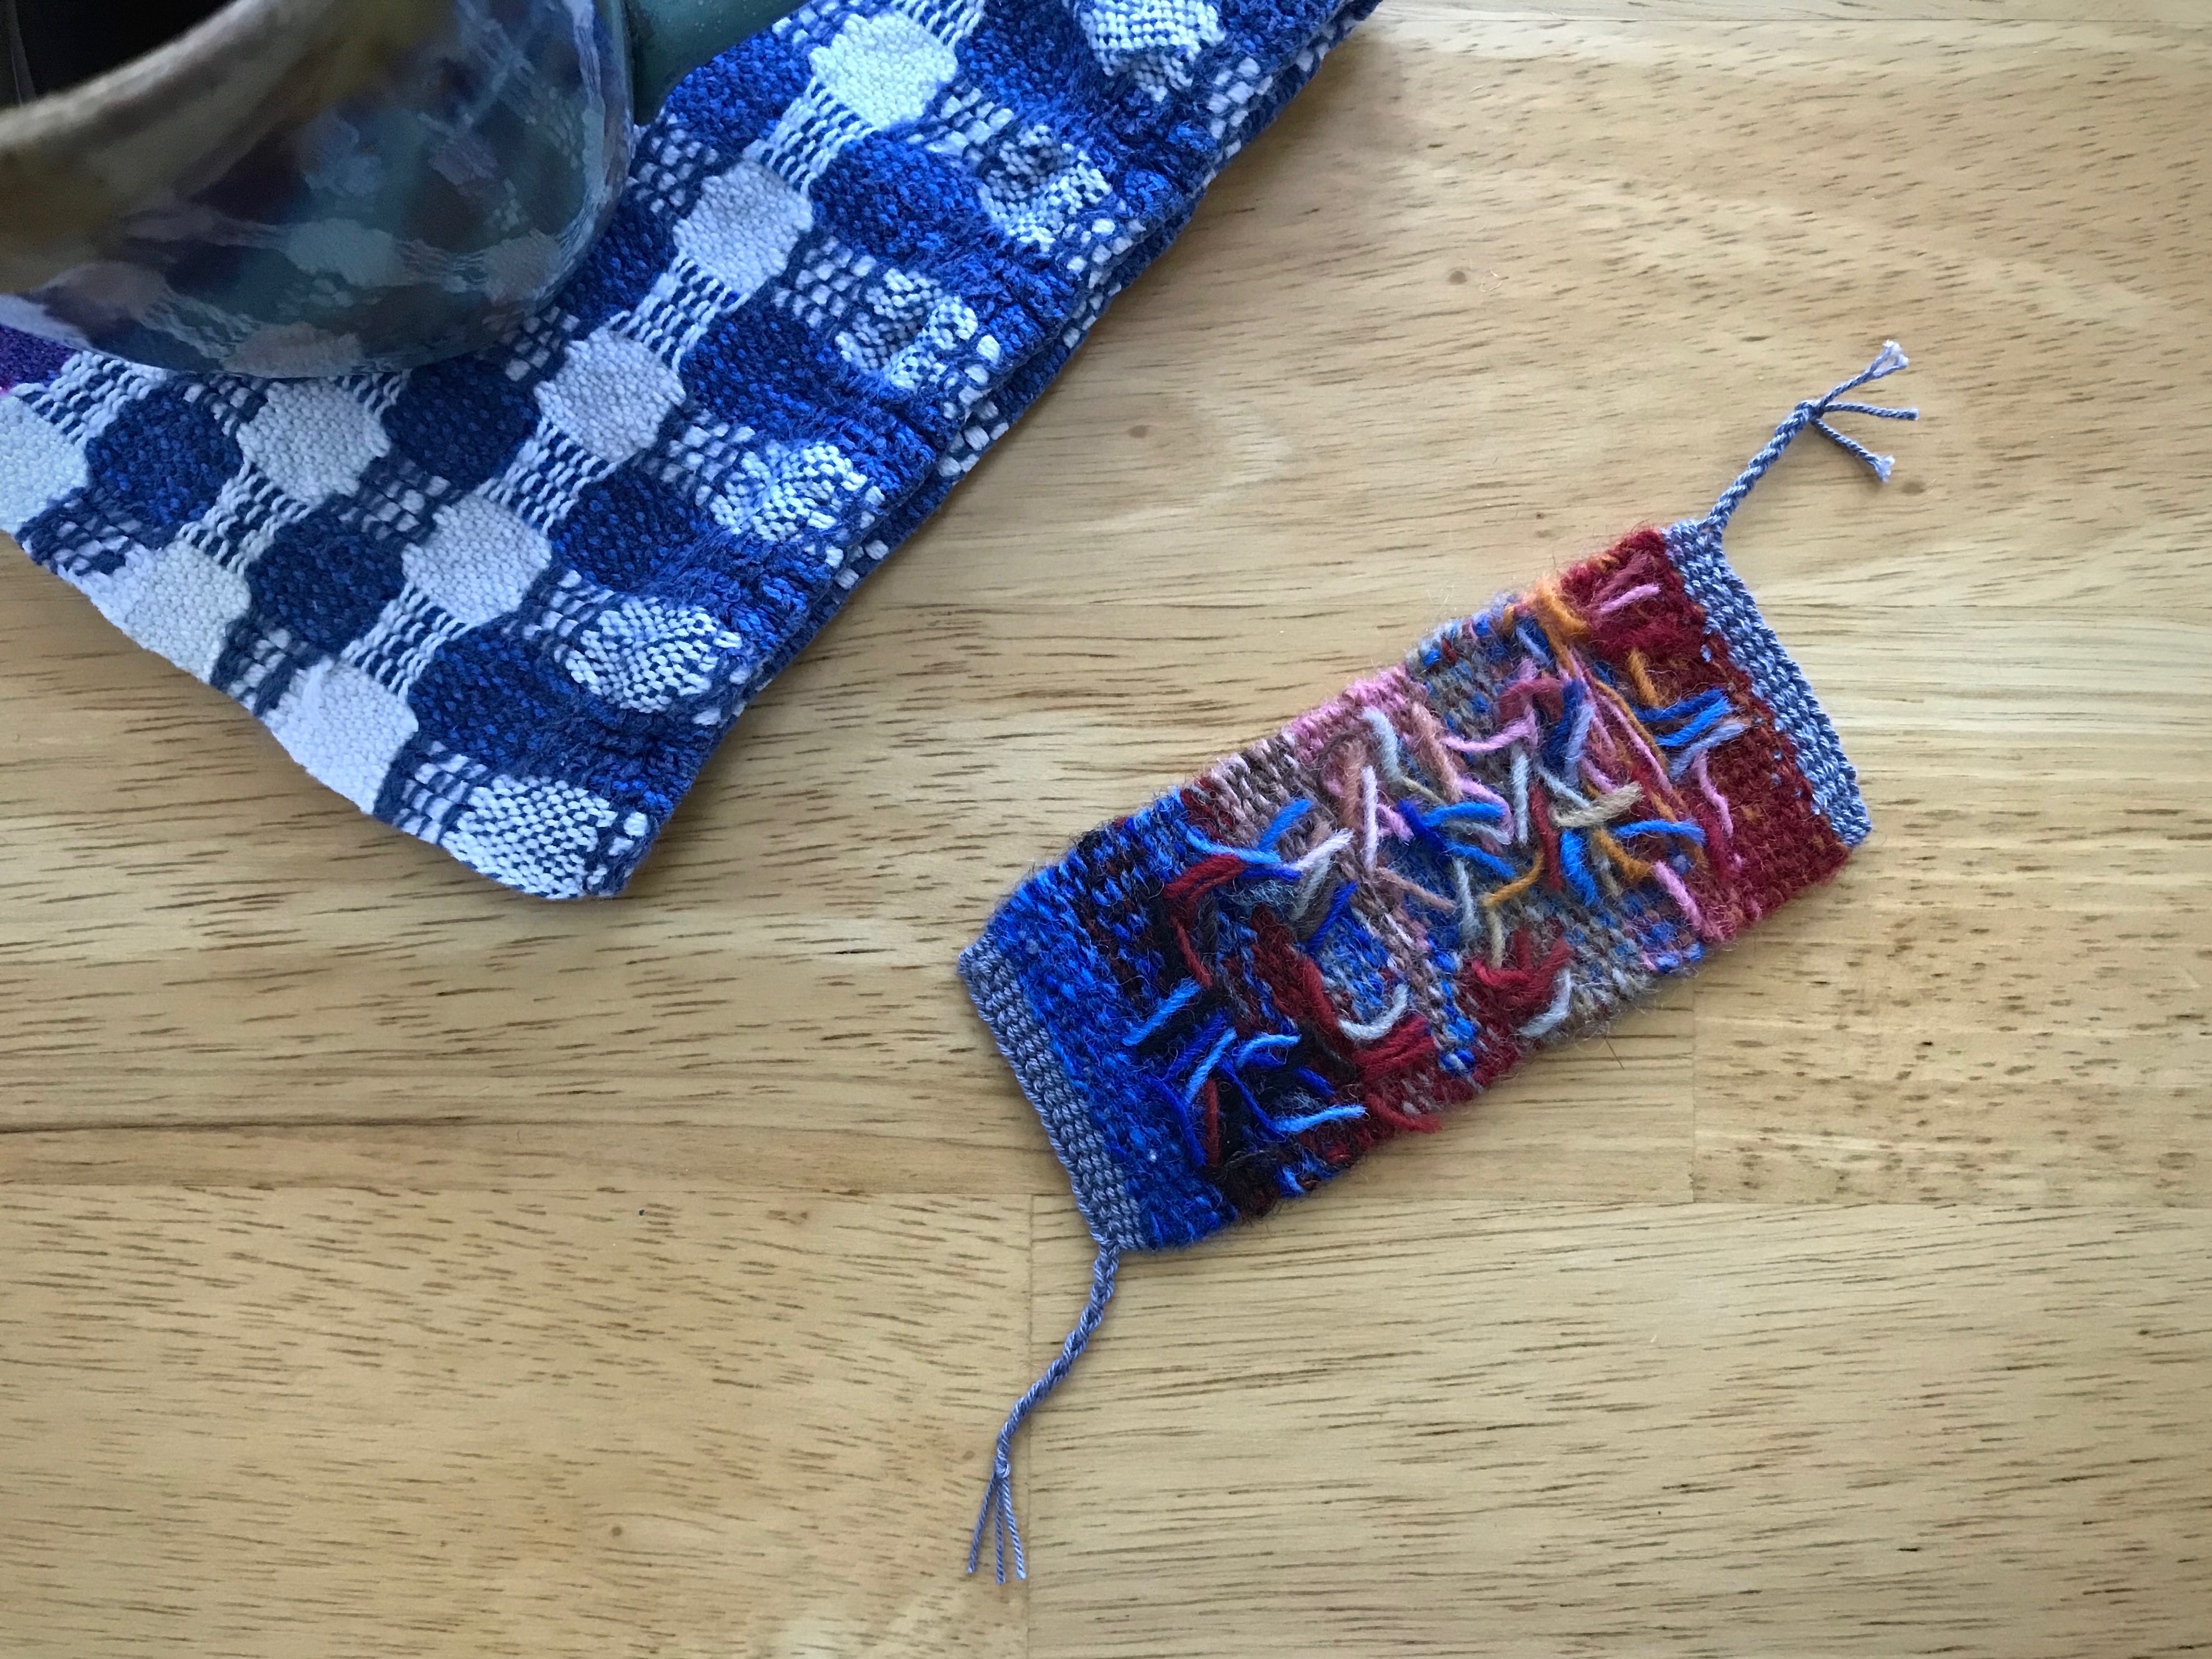
Steaming the tiny tapestry. 12/6 cotton warp pulls together nicely as the back of the tapestry is steamed.
Exposed back of the tapestry reveals trimmed weft tails.
Visual and tactile satisfaction.
This is a picture of grace. Look at the heart of the matter. We so often rely on the rules. Break a rule, and you’re condemned. But Jesus is interested in the heart. A pure heart doesn’t stand condemned. This is why the gift of his forgiveness is so wonderful. God knows the exposed messy side of our tapestry. Yet, his grace sees us as perfectly covered by Christ Jesus himself.
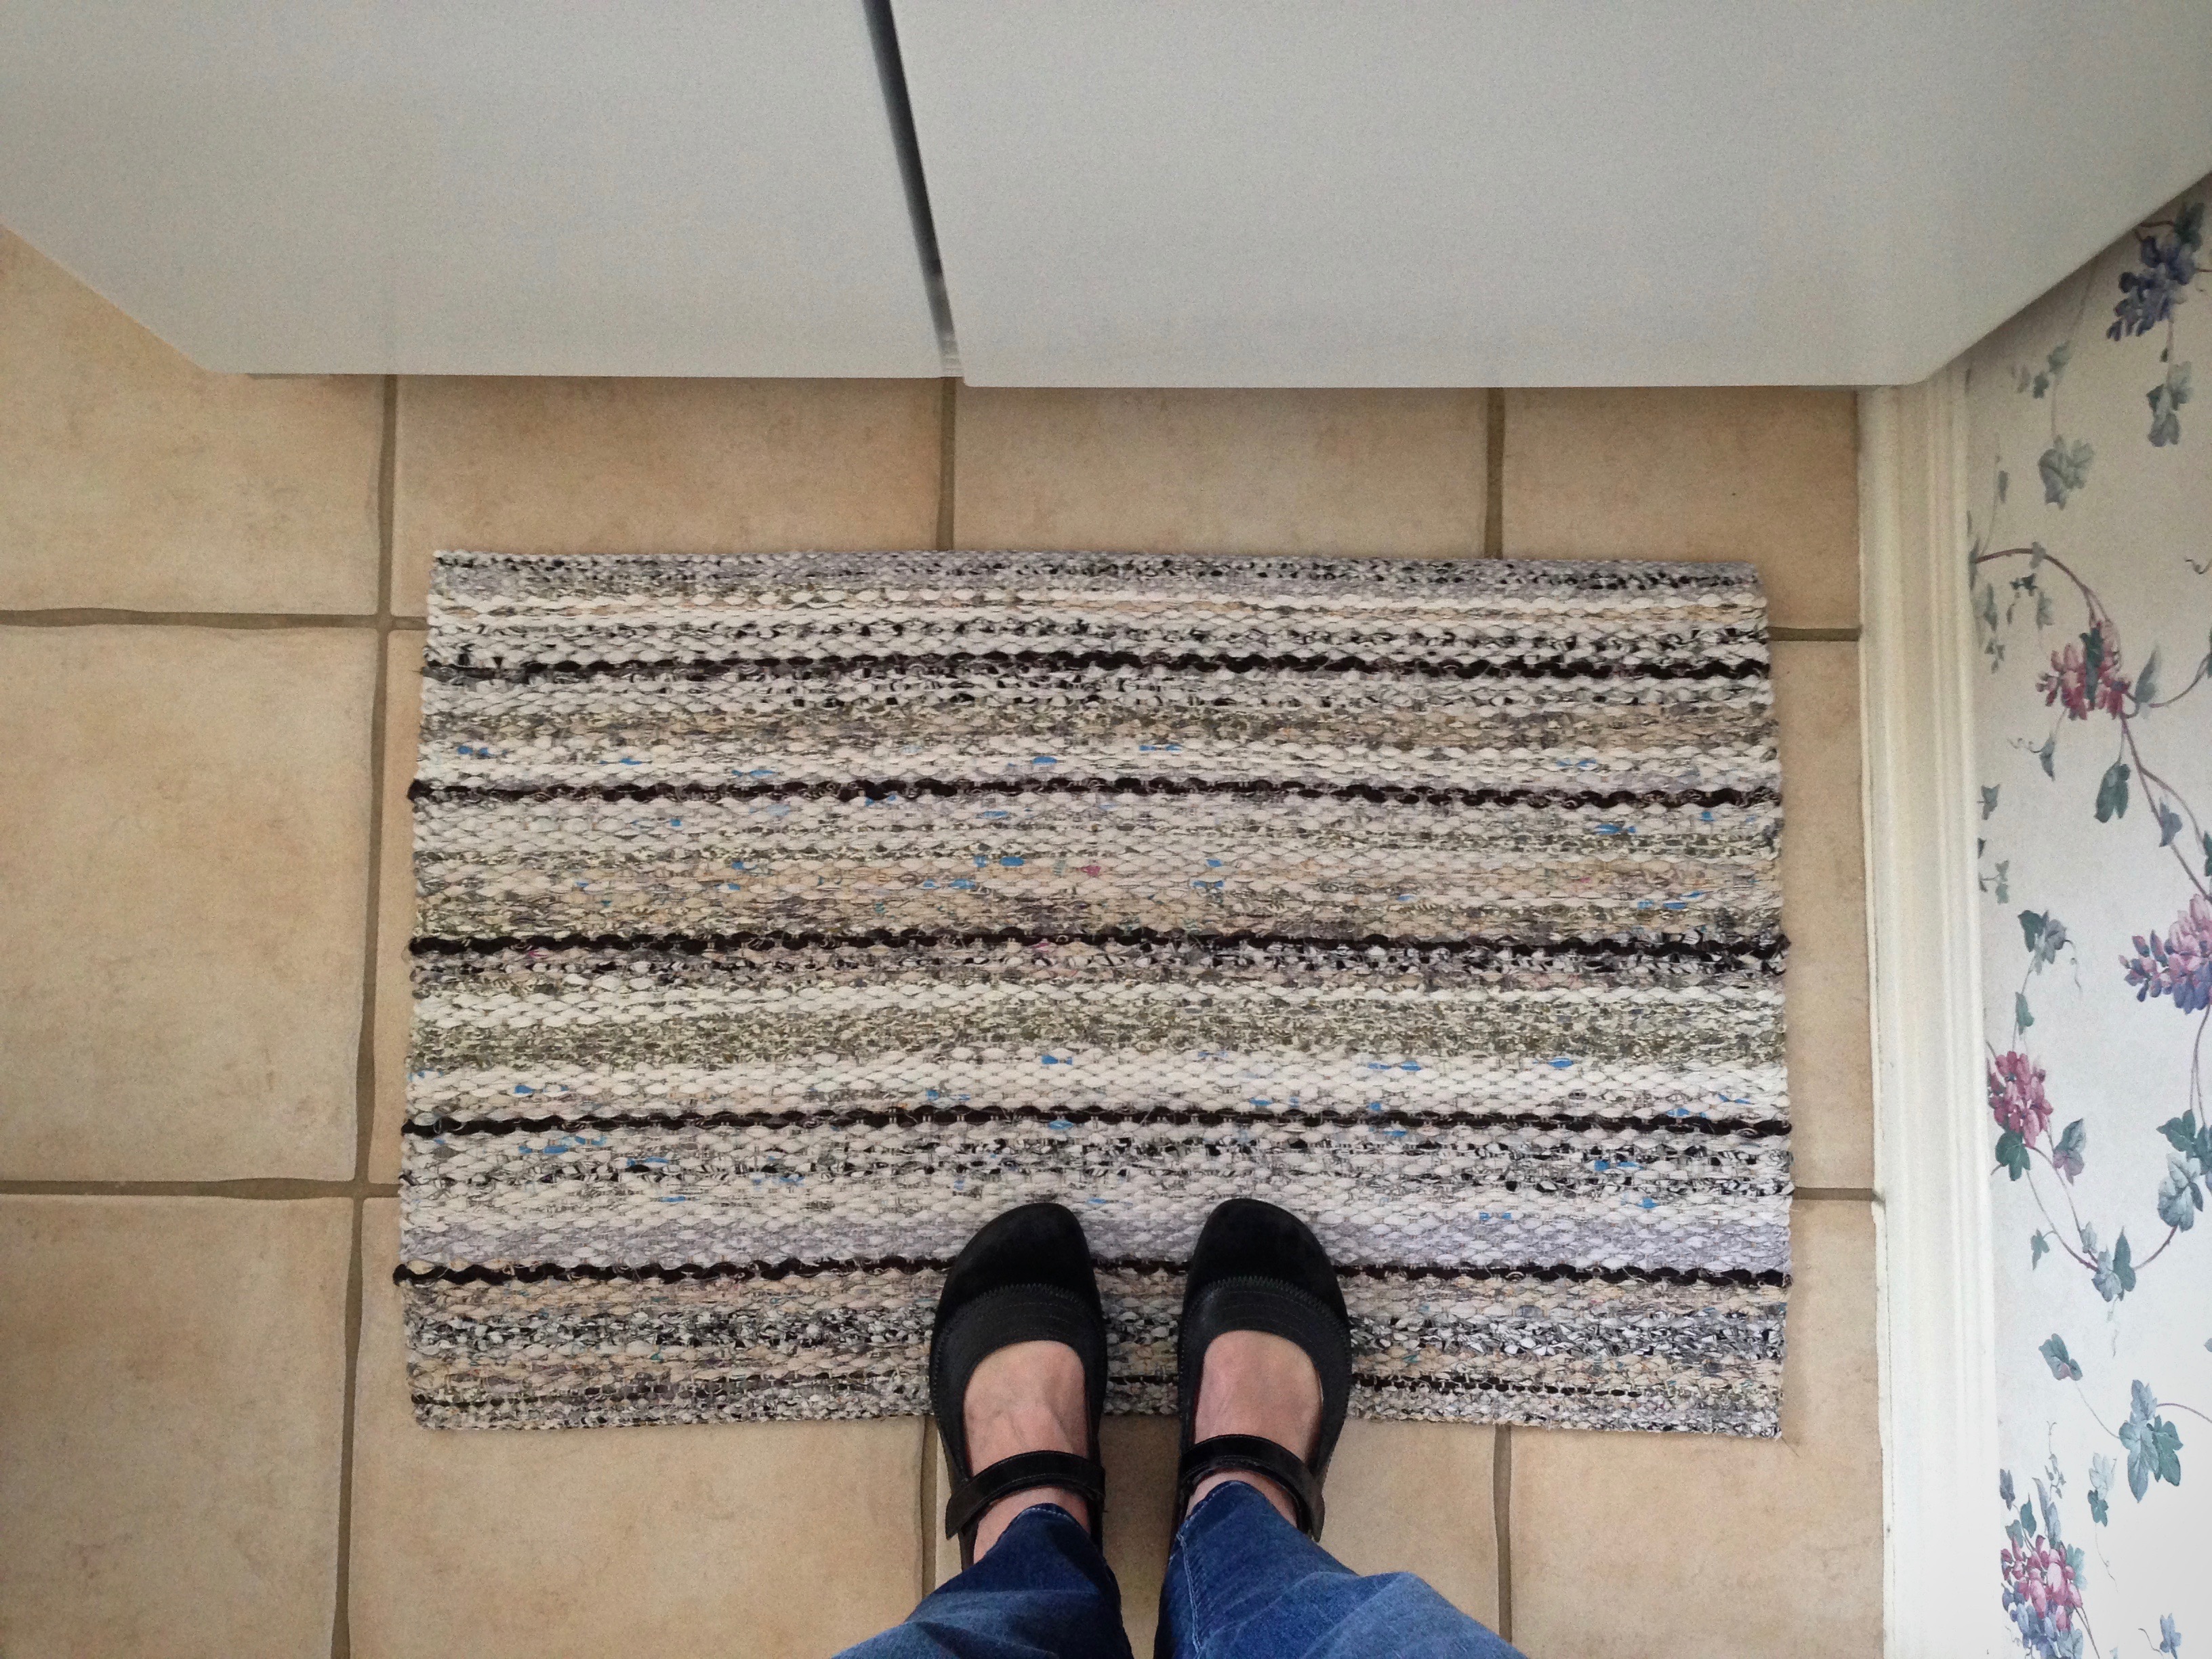
Hemming a rag rug may be easier than you think. I have used my classic Bernina sewing machine to hem rag rugs; but now, I hem many of them by hand. It’s easier and faster than I once thought. I plan the rug’s hem into the weaving, using half-width fabric strips for the hem area, and end it off with 1 cm of a warp thread heading. After cutting off the rug, I secure and trim the warp ends. There’s only one thing left to do. Hem the rug! (Start with Tools Day: Rag Rug Finishing Videoif you haven’t seen it yet.)
Hem is woven with fabric strips, doubled, cut 1 cm wide. This rug has a 6 cm hem, plus the warp thread heading, that will be folded under and stitched.
Tools and supplies
Steam iron
Long straight pins
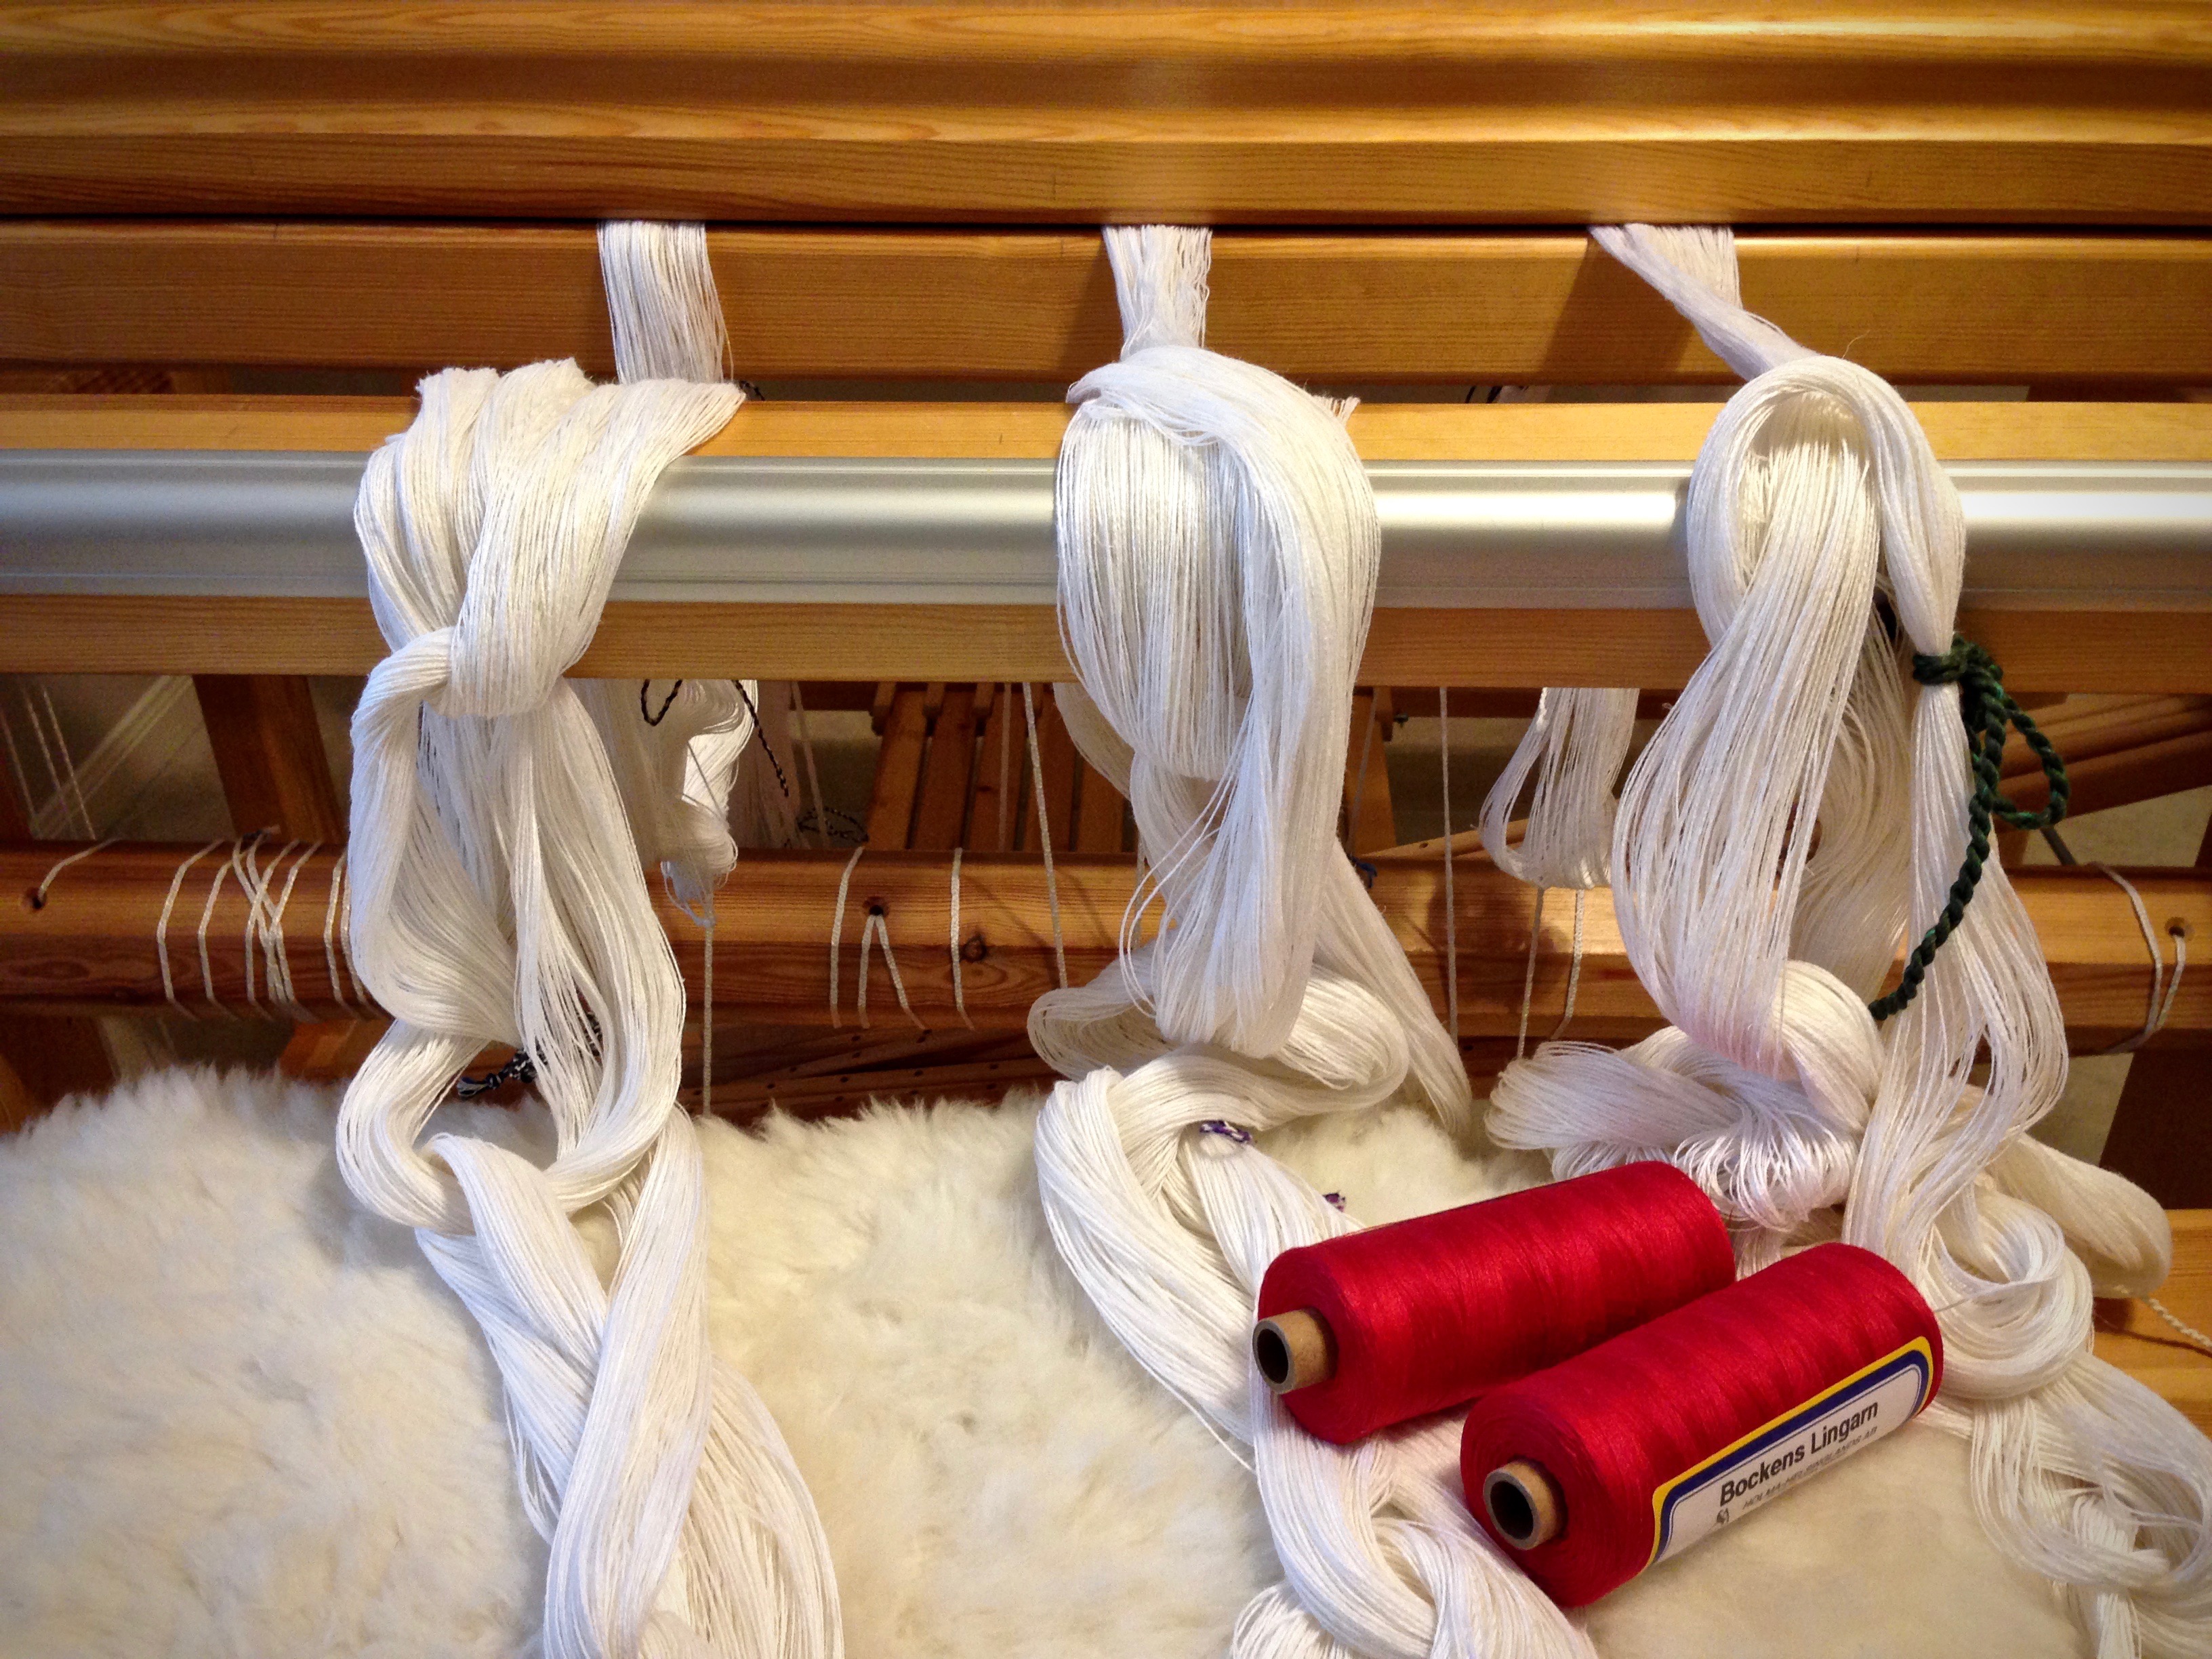
Rug warp to match the rug (mine is Bockens 12/6 cotton seine twine)
Blunt tapestry needle
Kitchen mat is embellished with woven thin stripes that give the impression of rickrack. It makes me think of rickrack-trimmed dresses my mother made for me when I was a little girl. (See Simplest Rag Rug Stripe to learn how the rickrack stripes are made.)
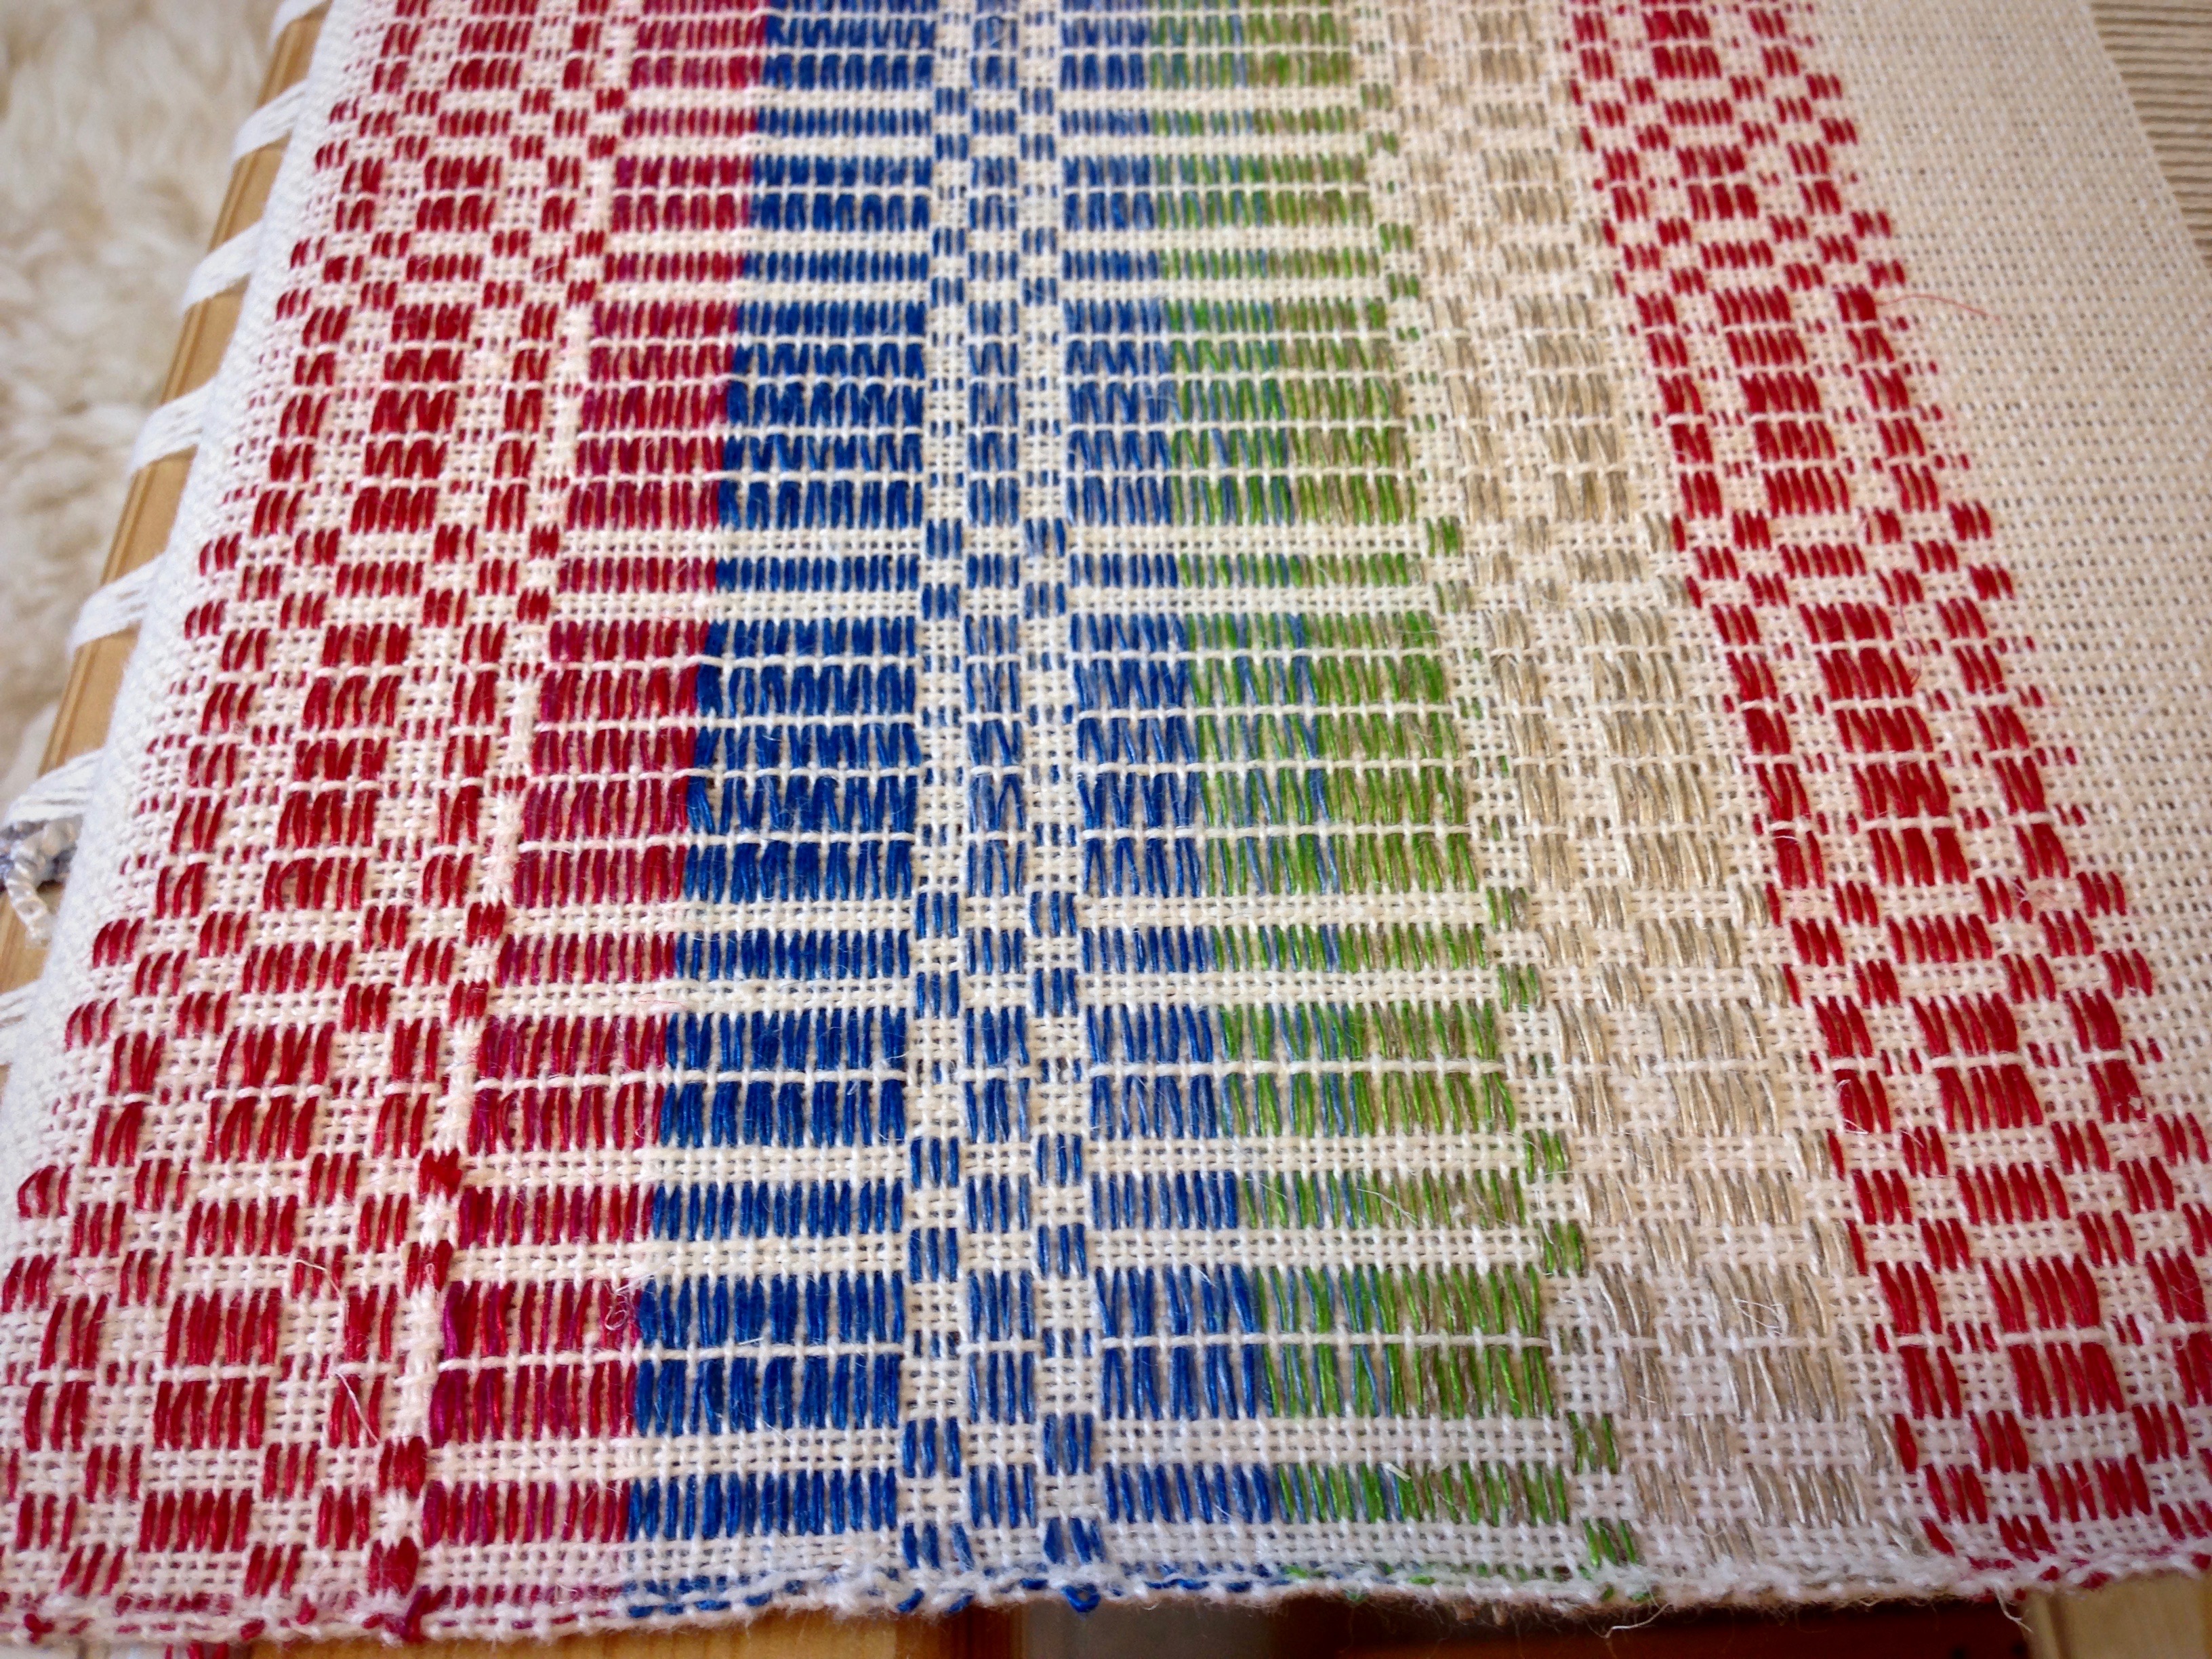
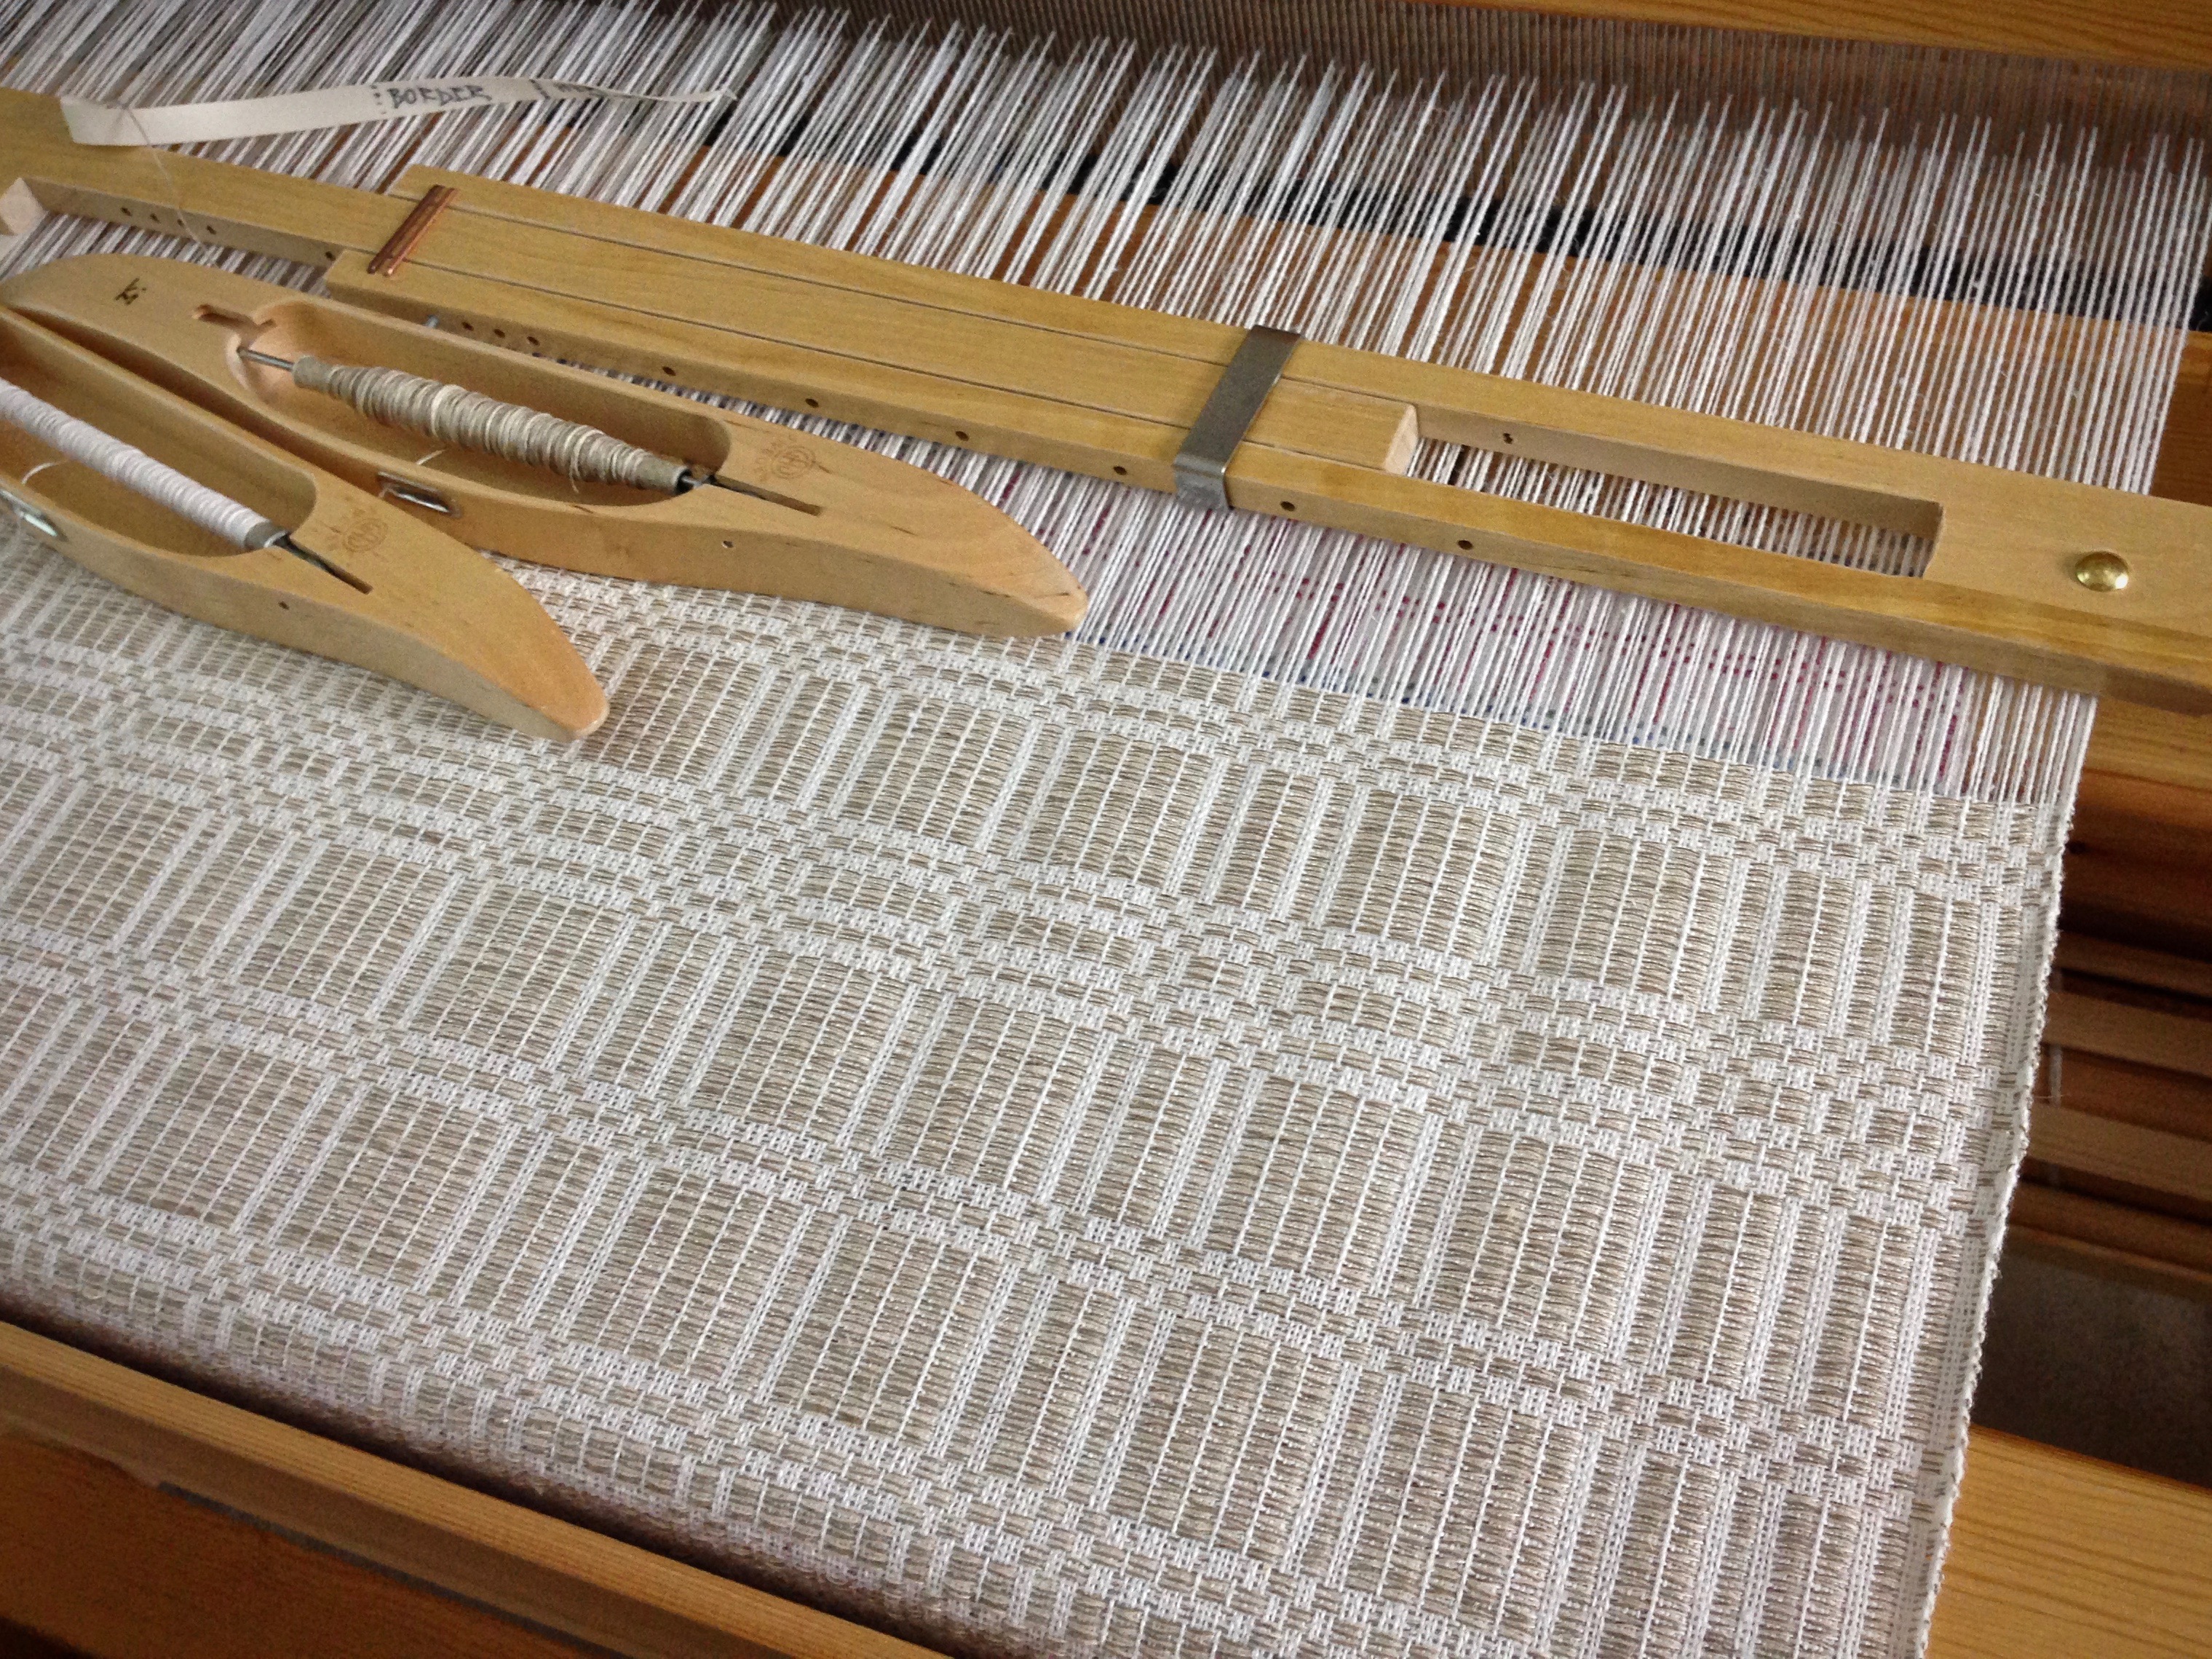
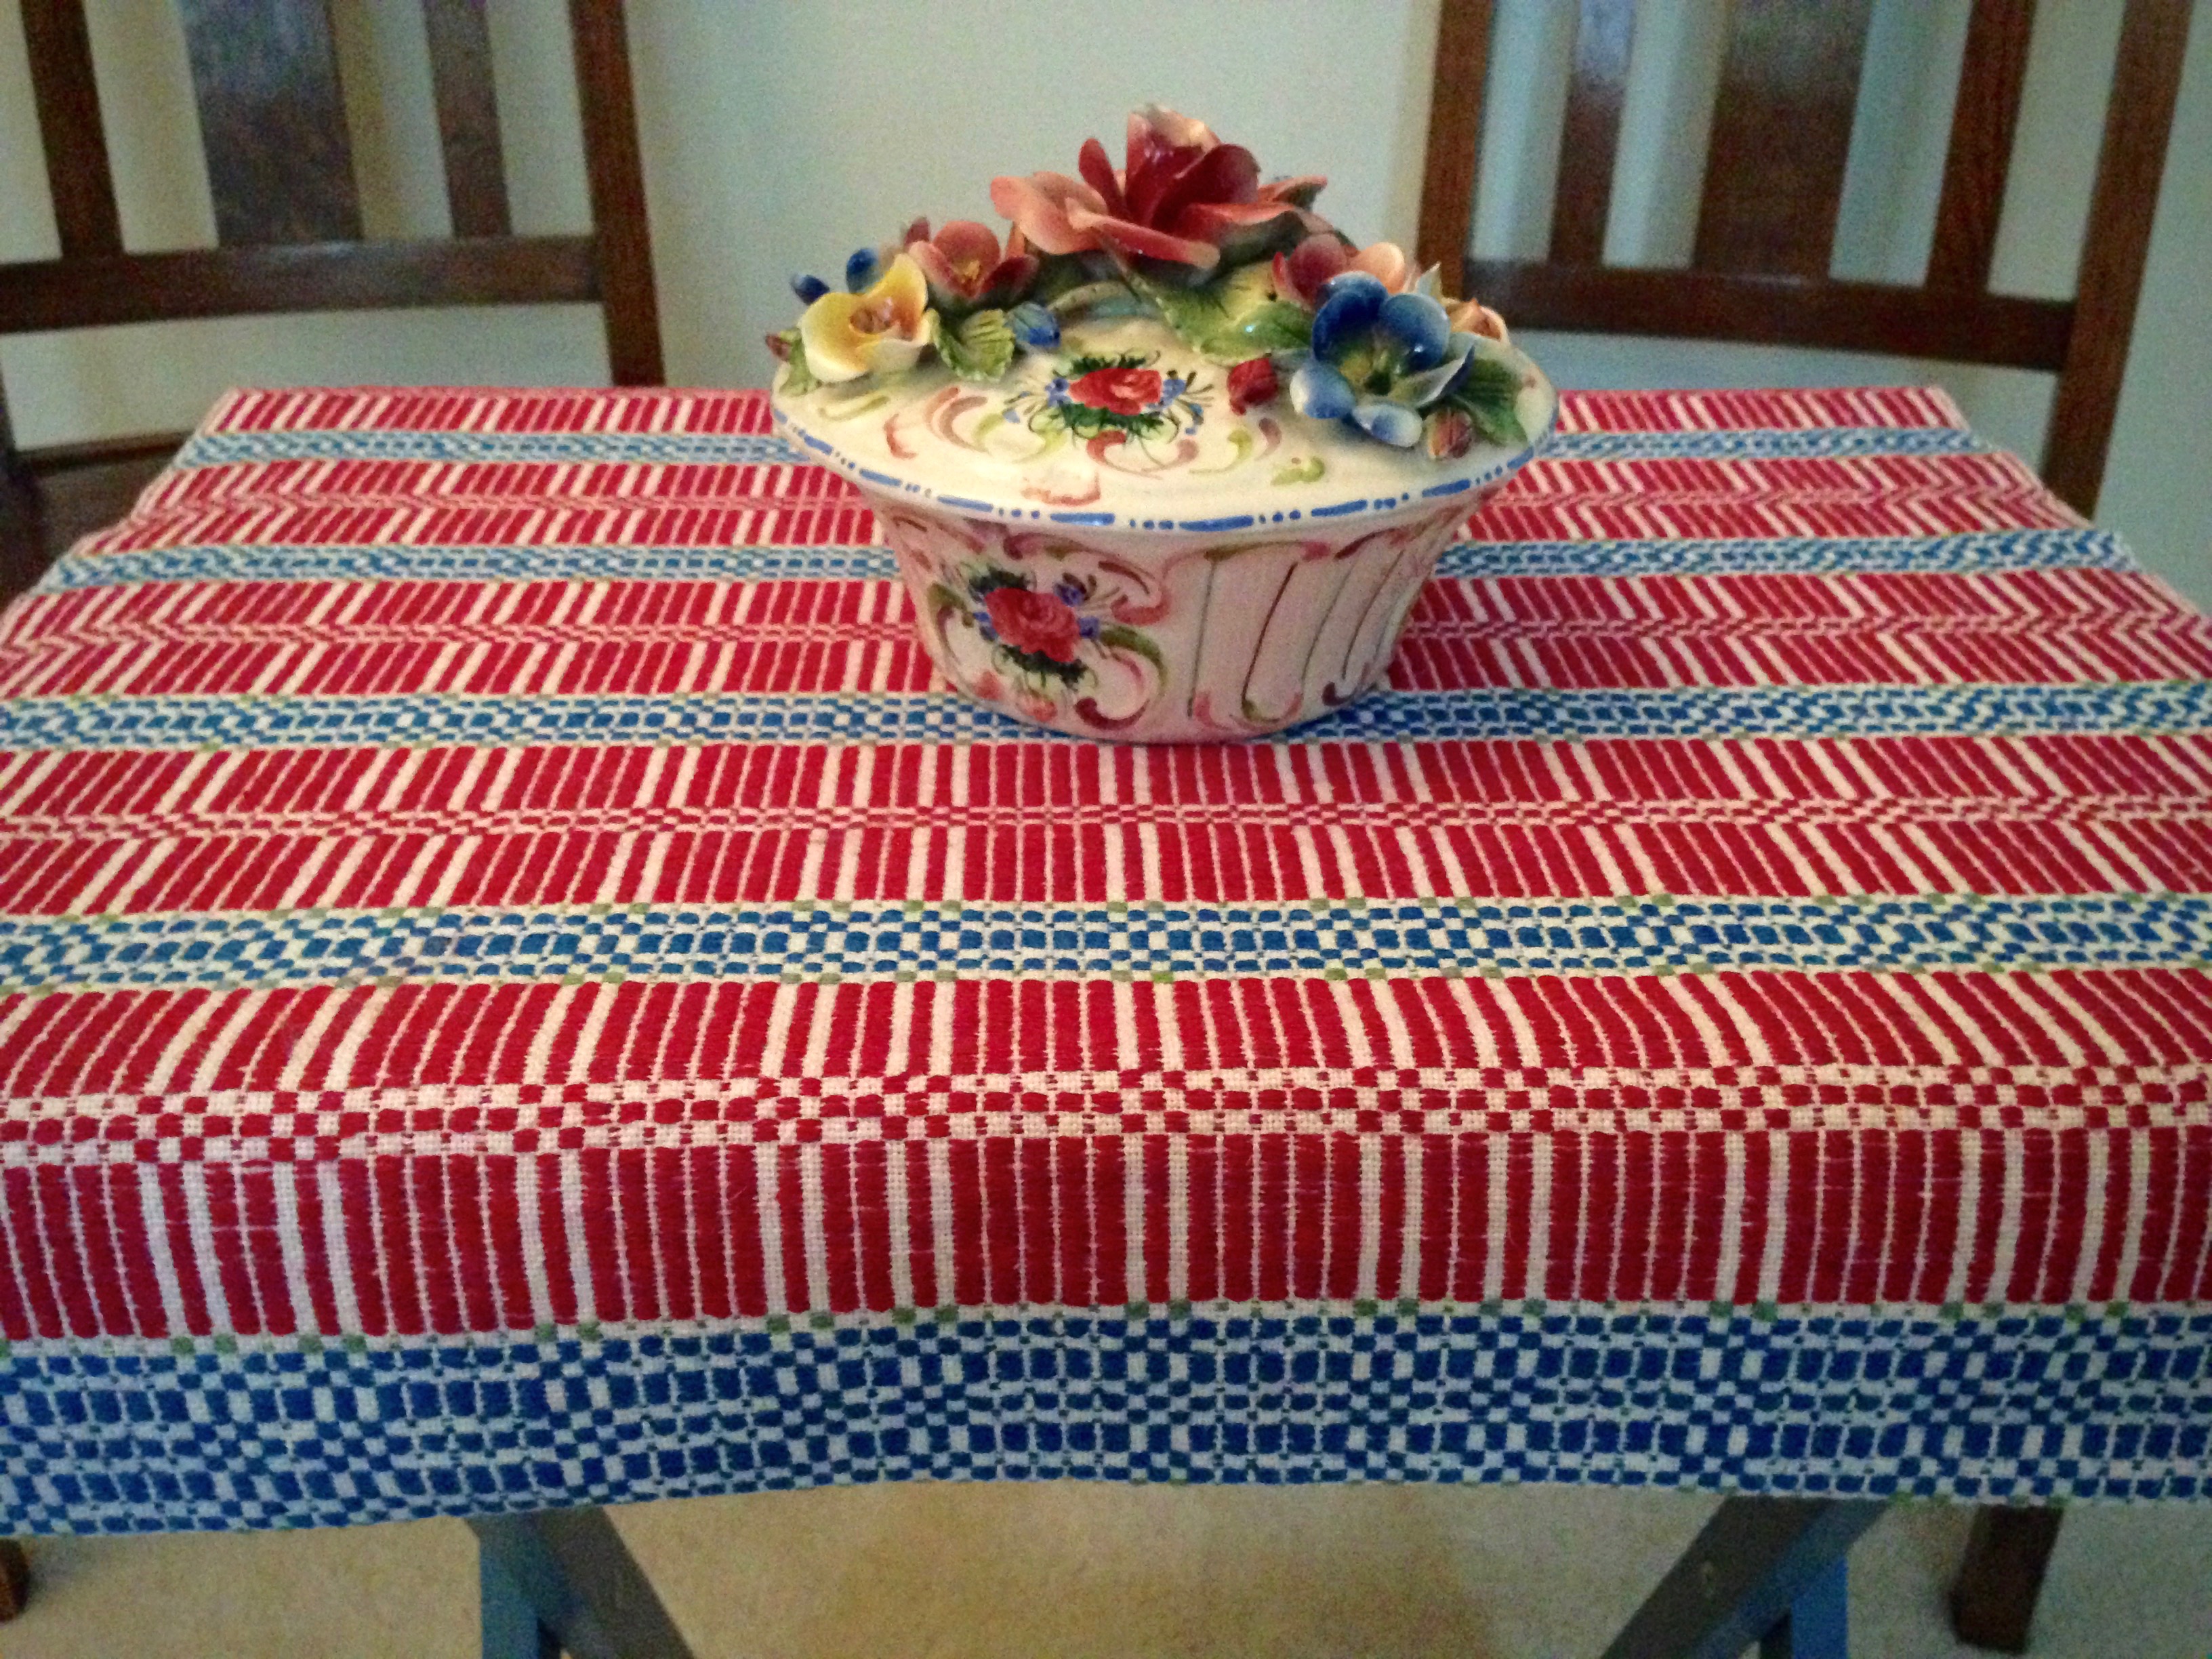
Halvdräll is one of those Swedish weaves that takes your breath away. How can I describe the exquisite simplicity and stunning splendor of this fascinating cloth? With halvdräll, every moment at the loom is pure joy. I keep thinking, I get to weave this! And every weaver knows no comparison to the delight of pulling beautiful just-woven fabric off the cloth beam.
Enjoy the journey with me now as I reflect on the halvdräll fabric from beginning to end.
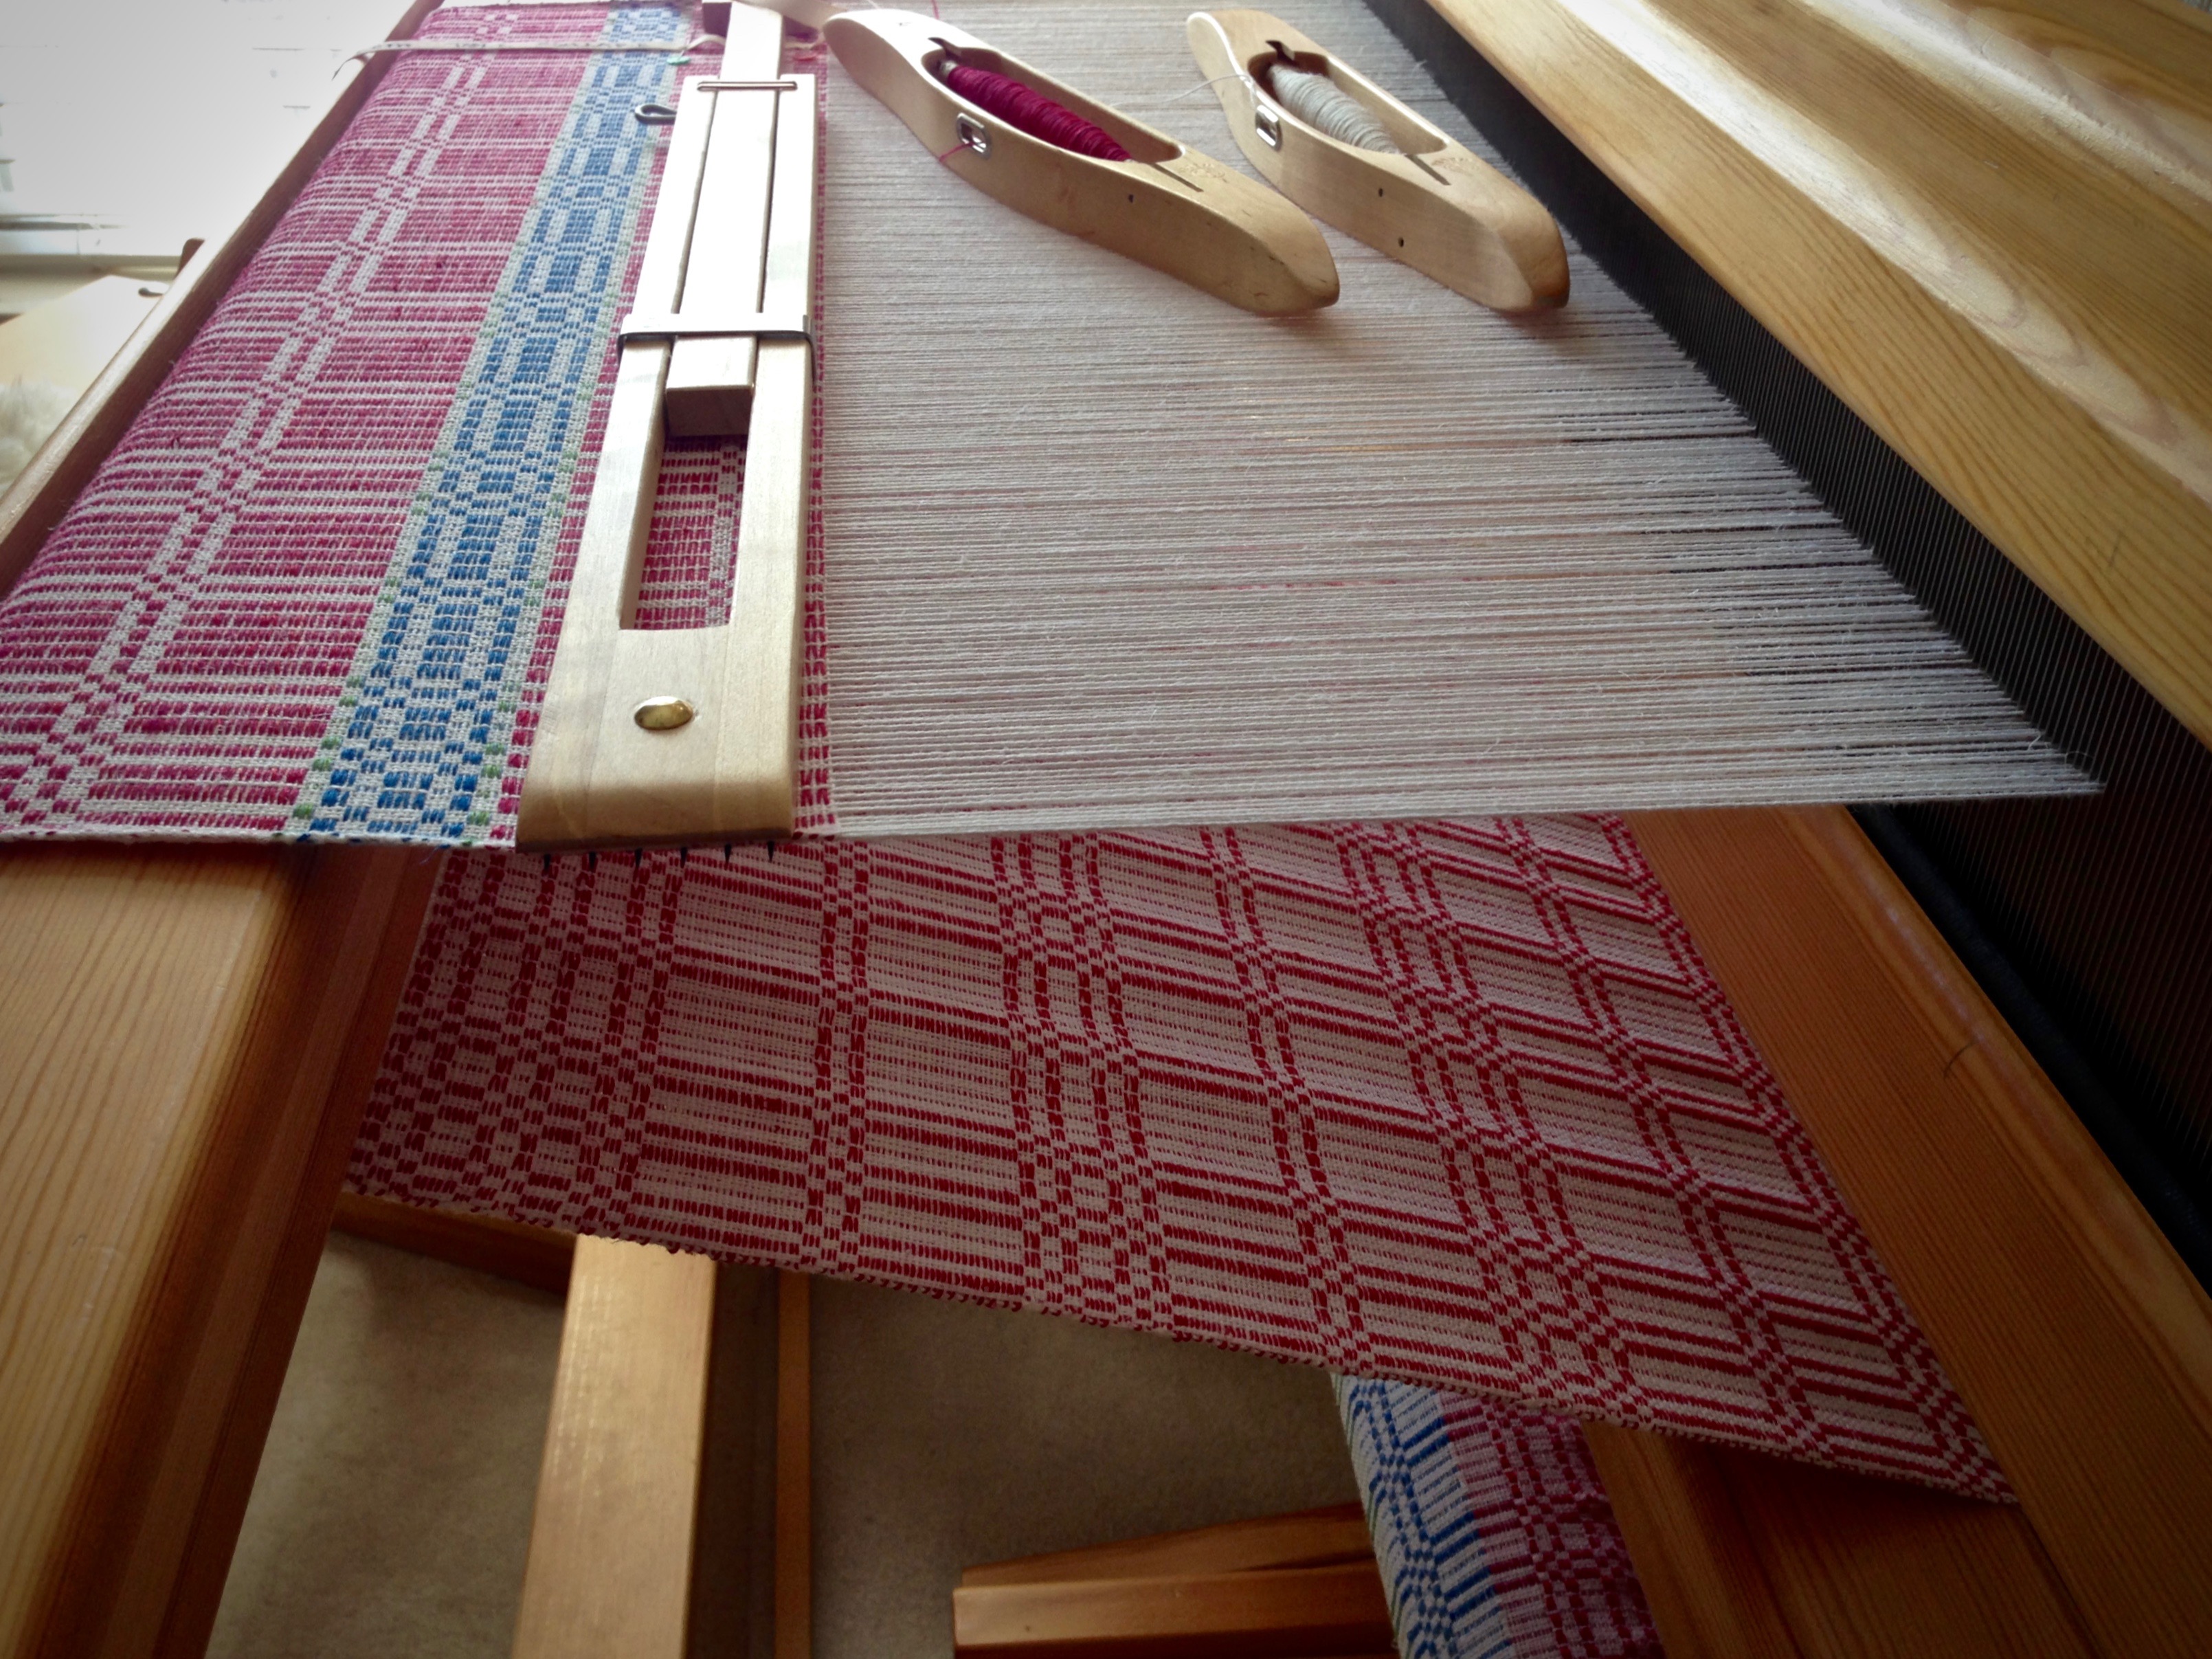
Red linen is anticipating a starring role as pattern weft.
Sampling various color options for the pattern weft. Red may be one star among several.
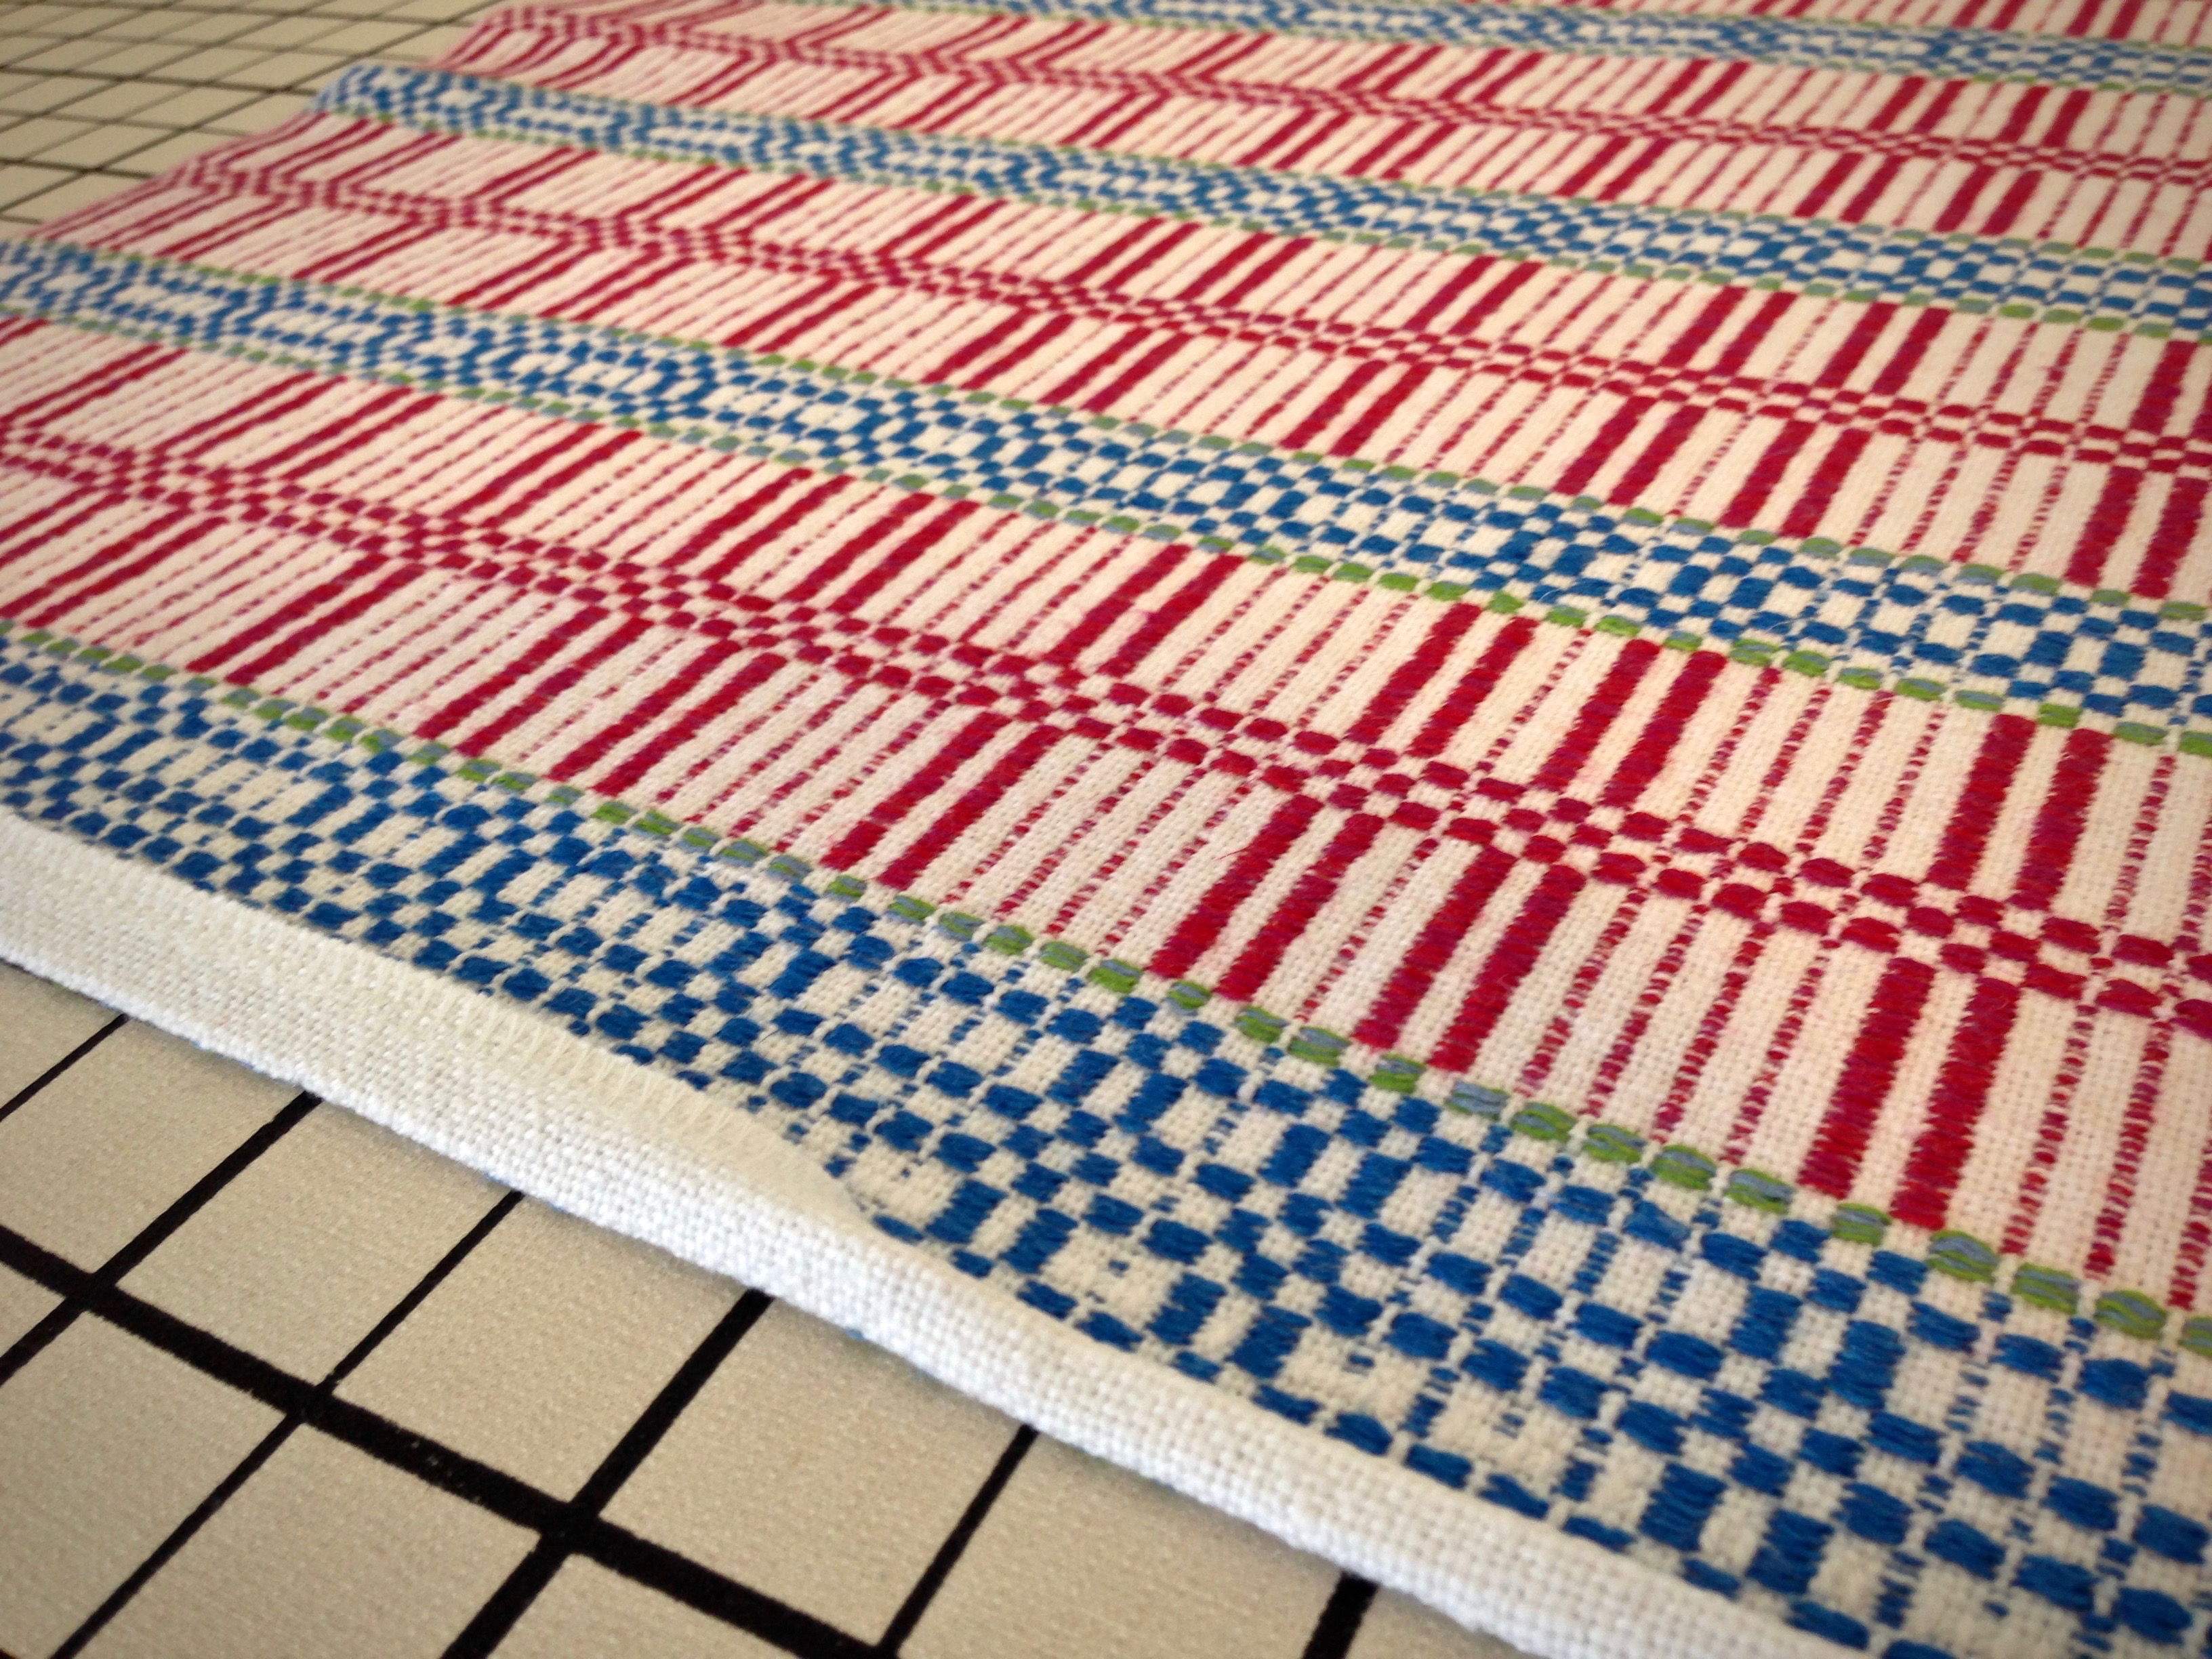
Second table square has blue and green for block I and red for block II. The back of the first table square, with all red pattern weft, is seen between the breast beam and the knee beam.
Neutral tones with subtle elegance.
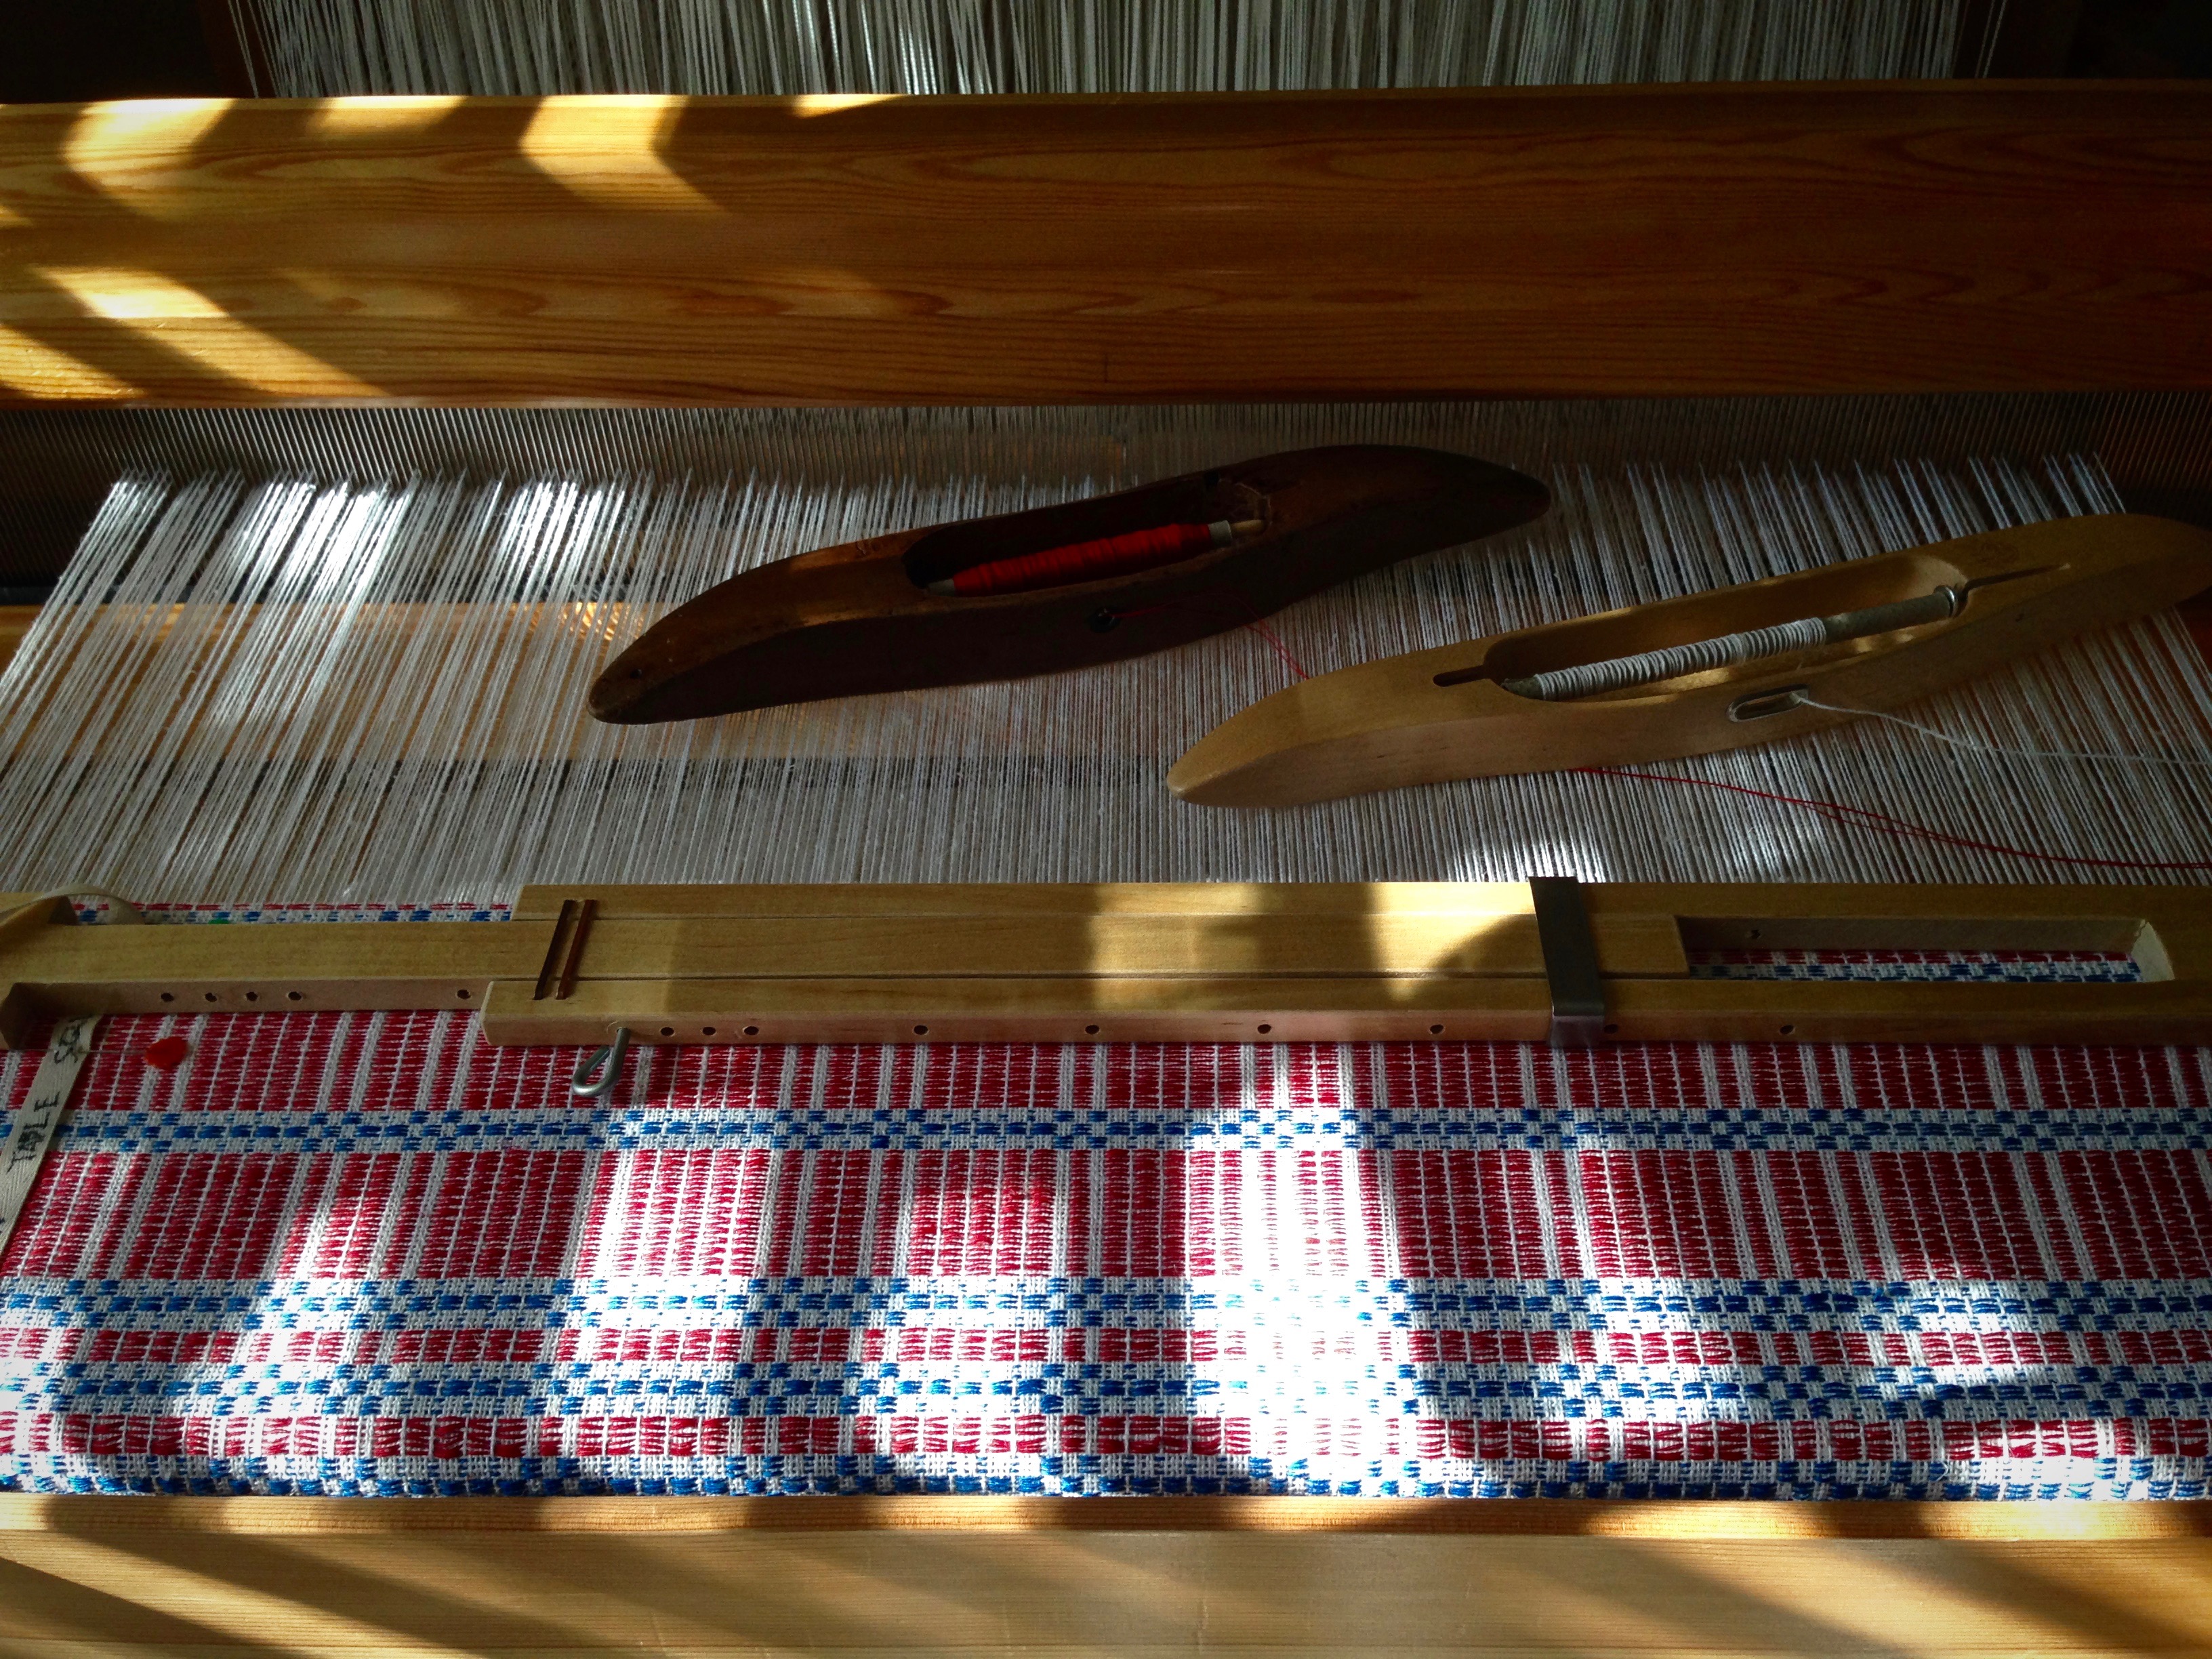
Light play dances on the colorful woven fabric.
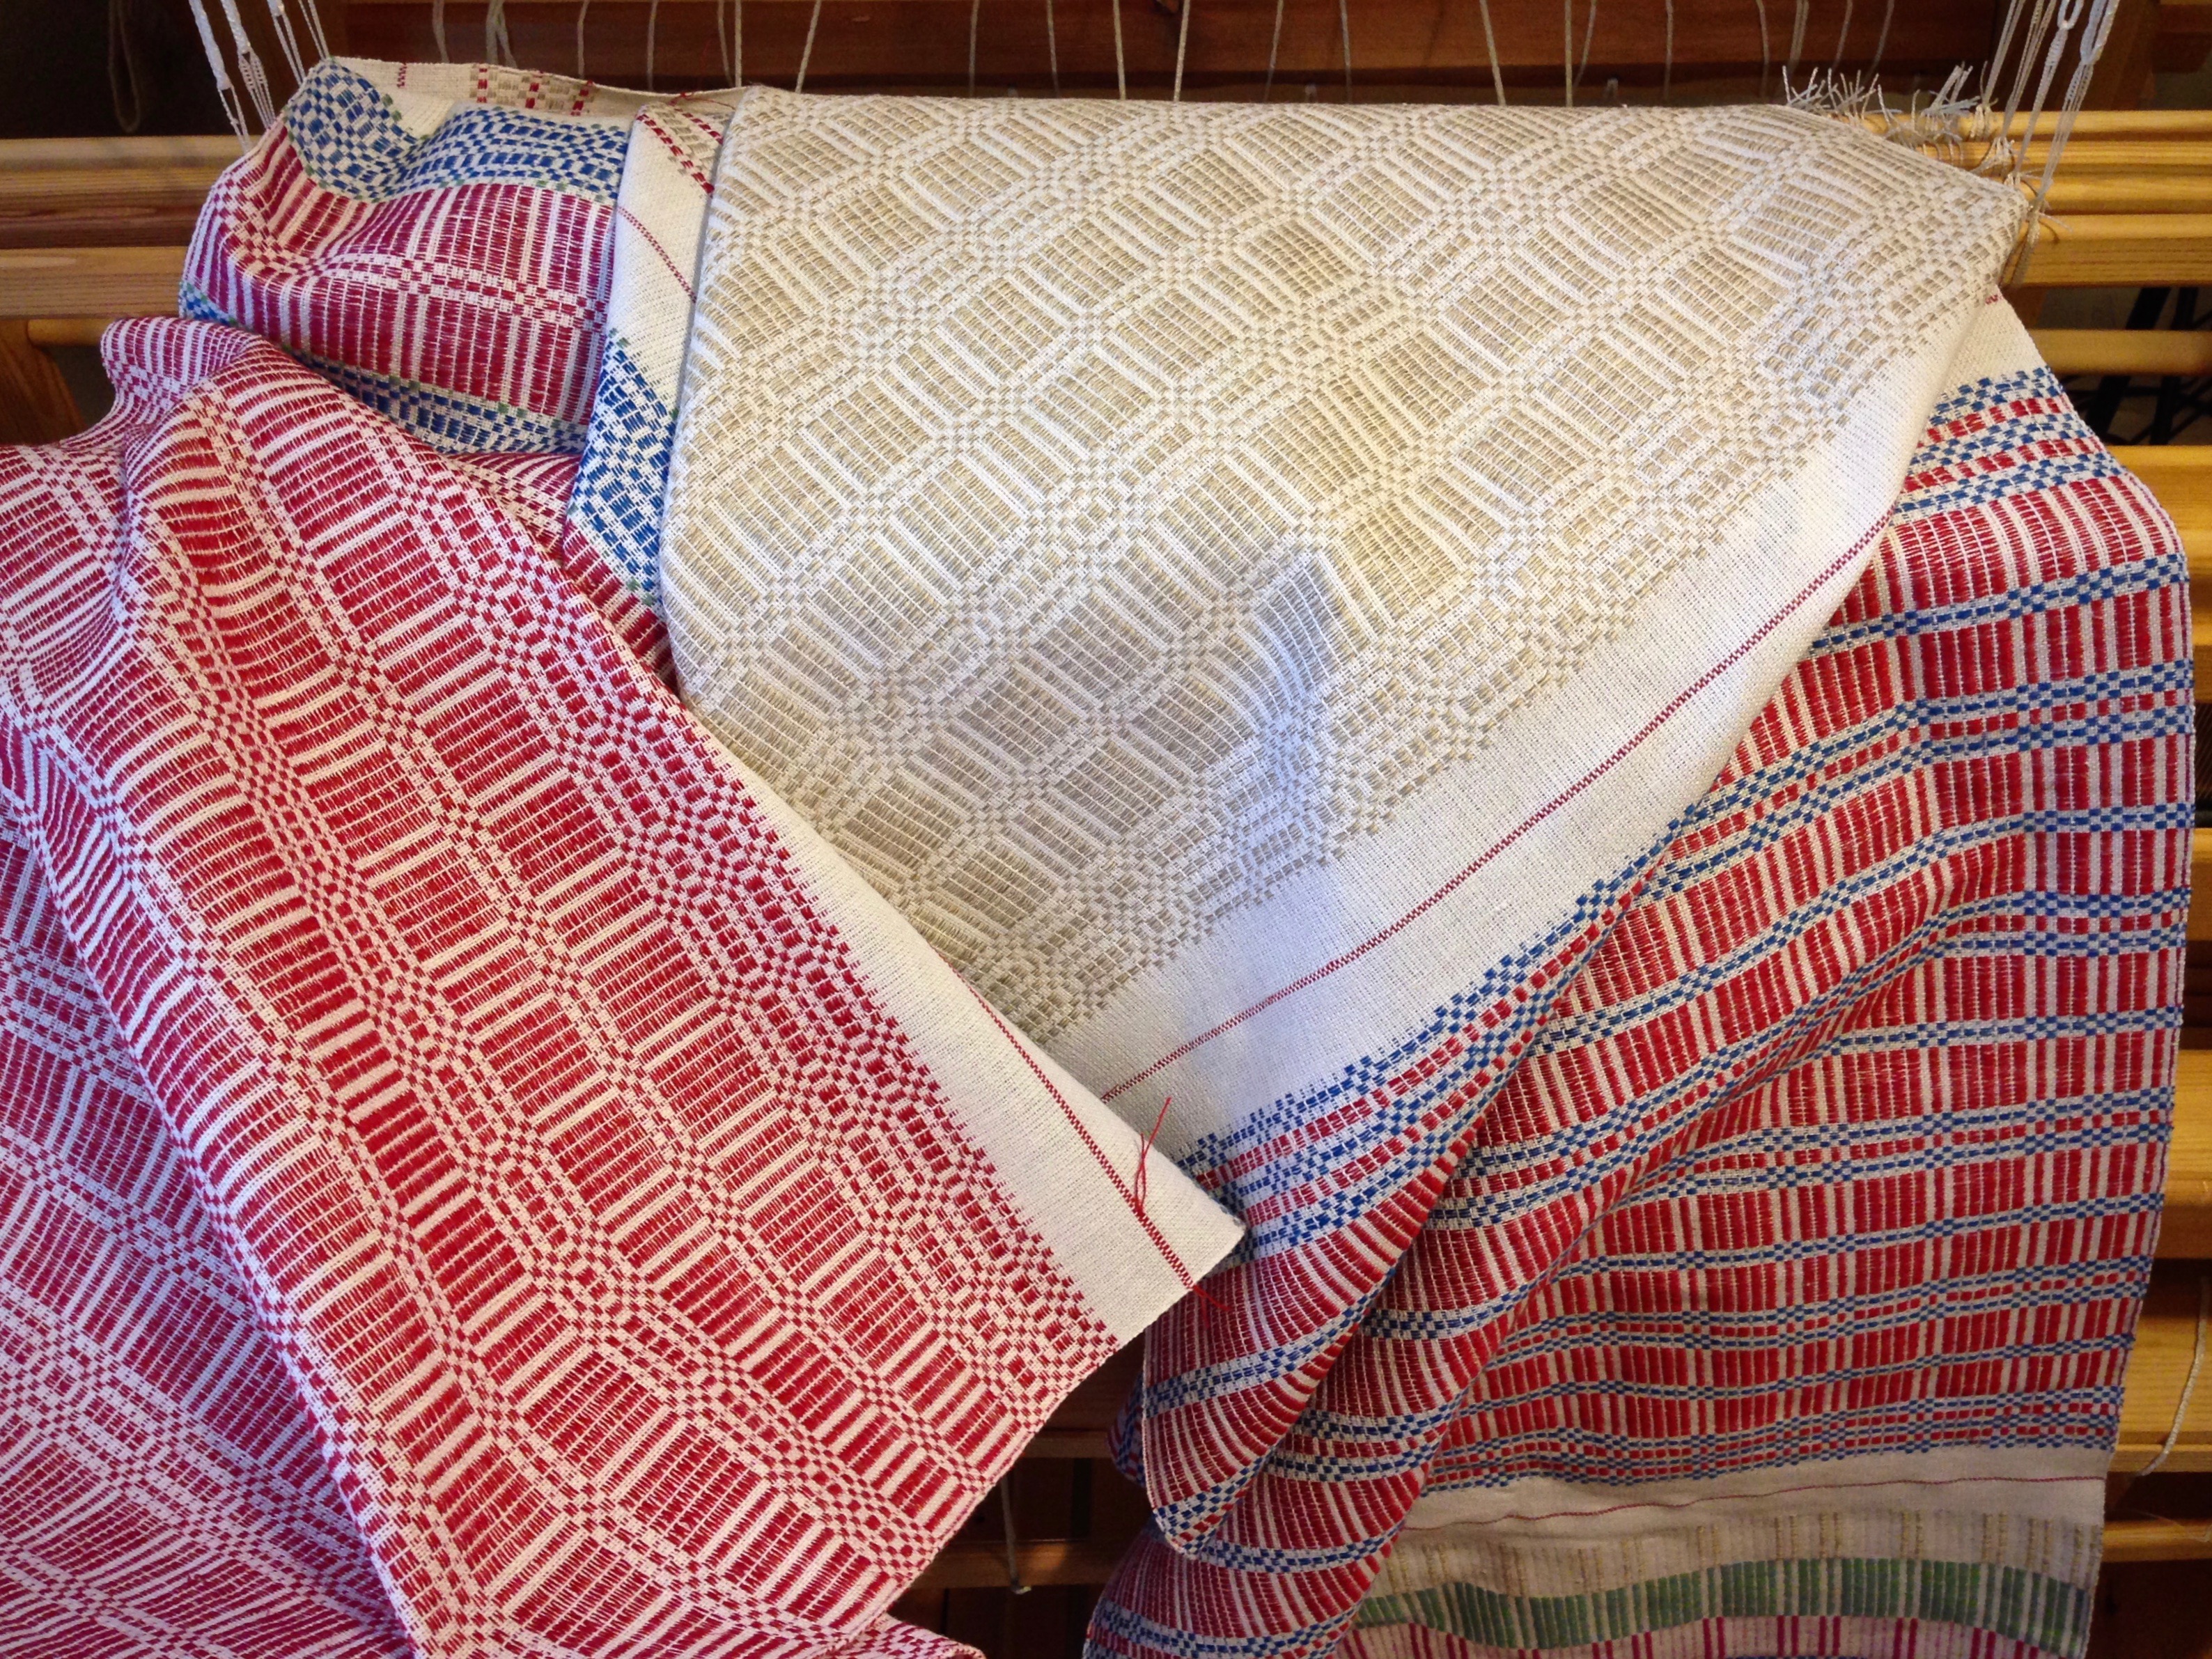
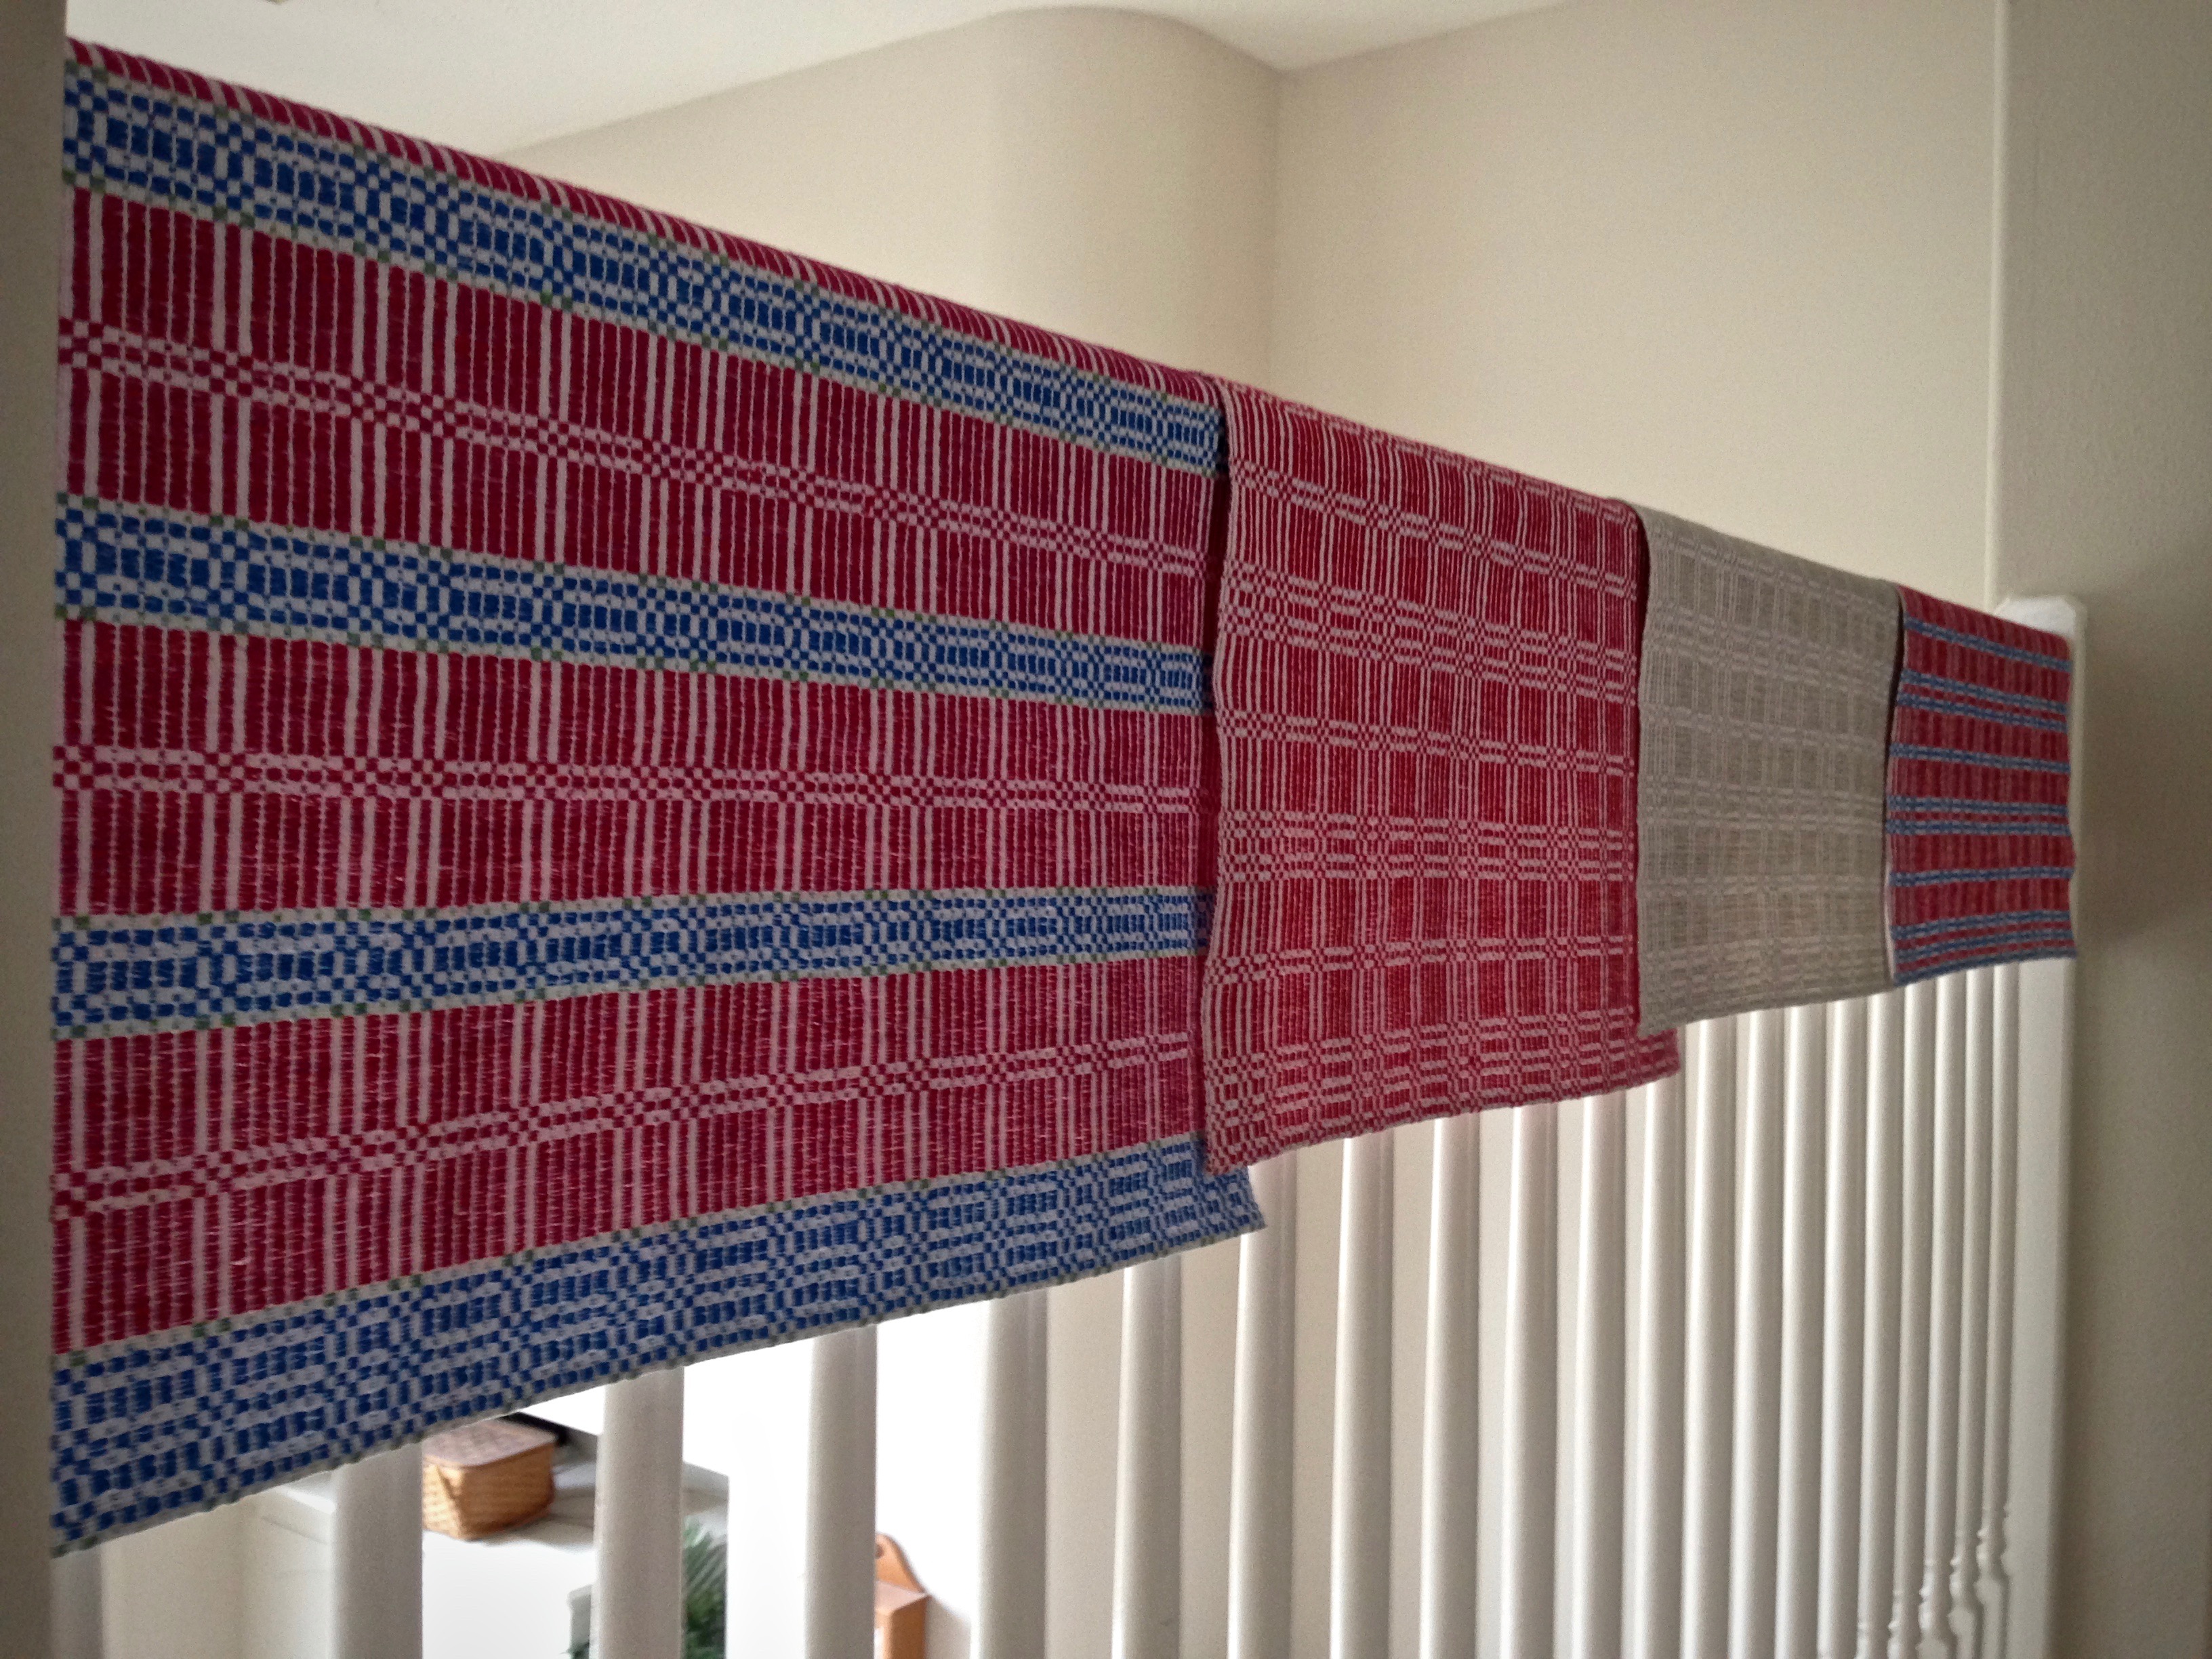
Celebration time! When the cloth is cut from the loom the weaver is able to see a complete view of the woven fabric for the first time. Woo hoo!
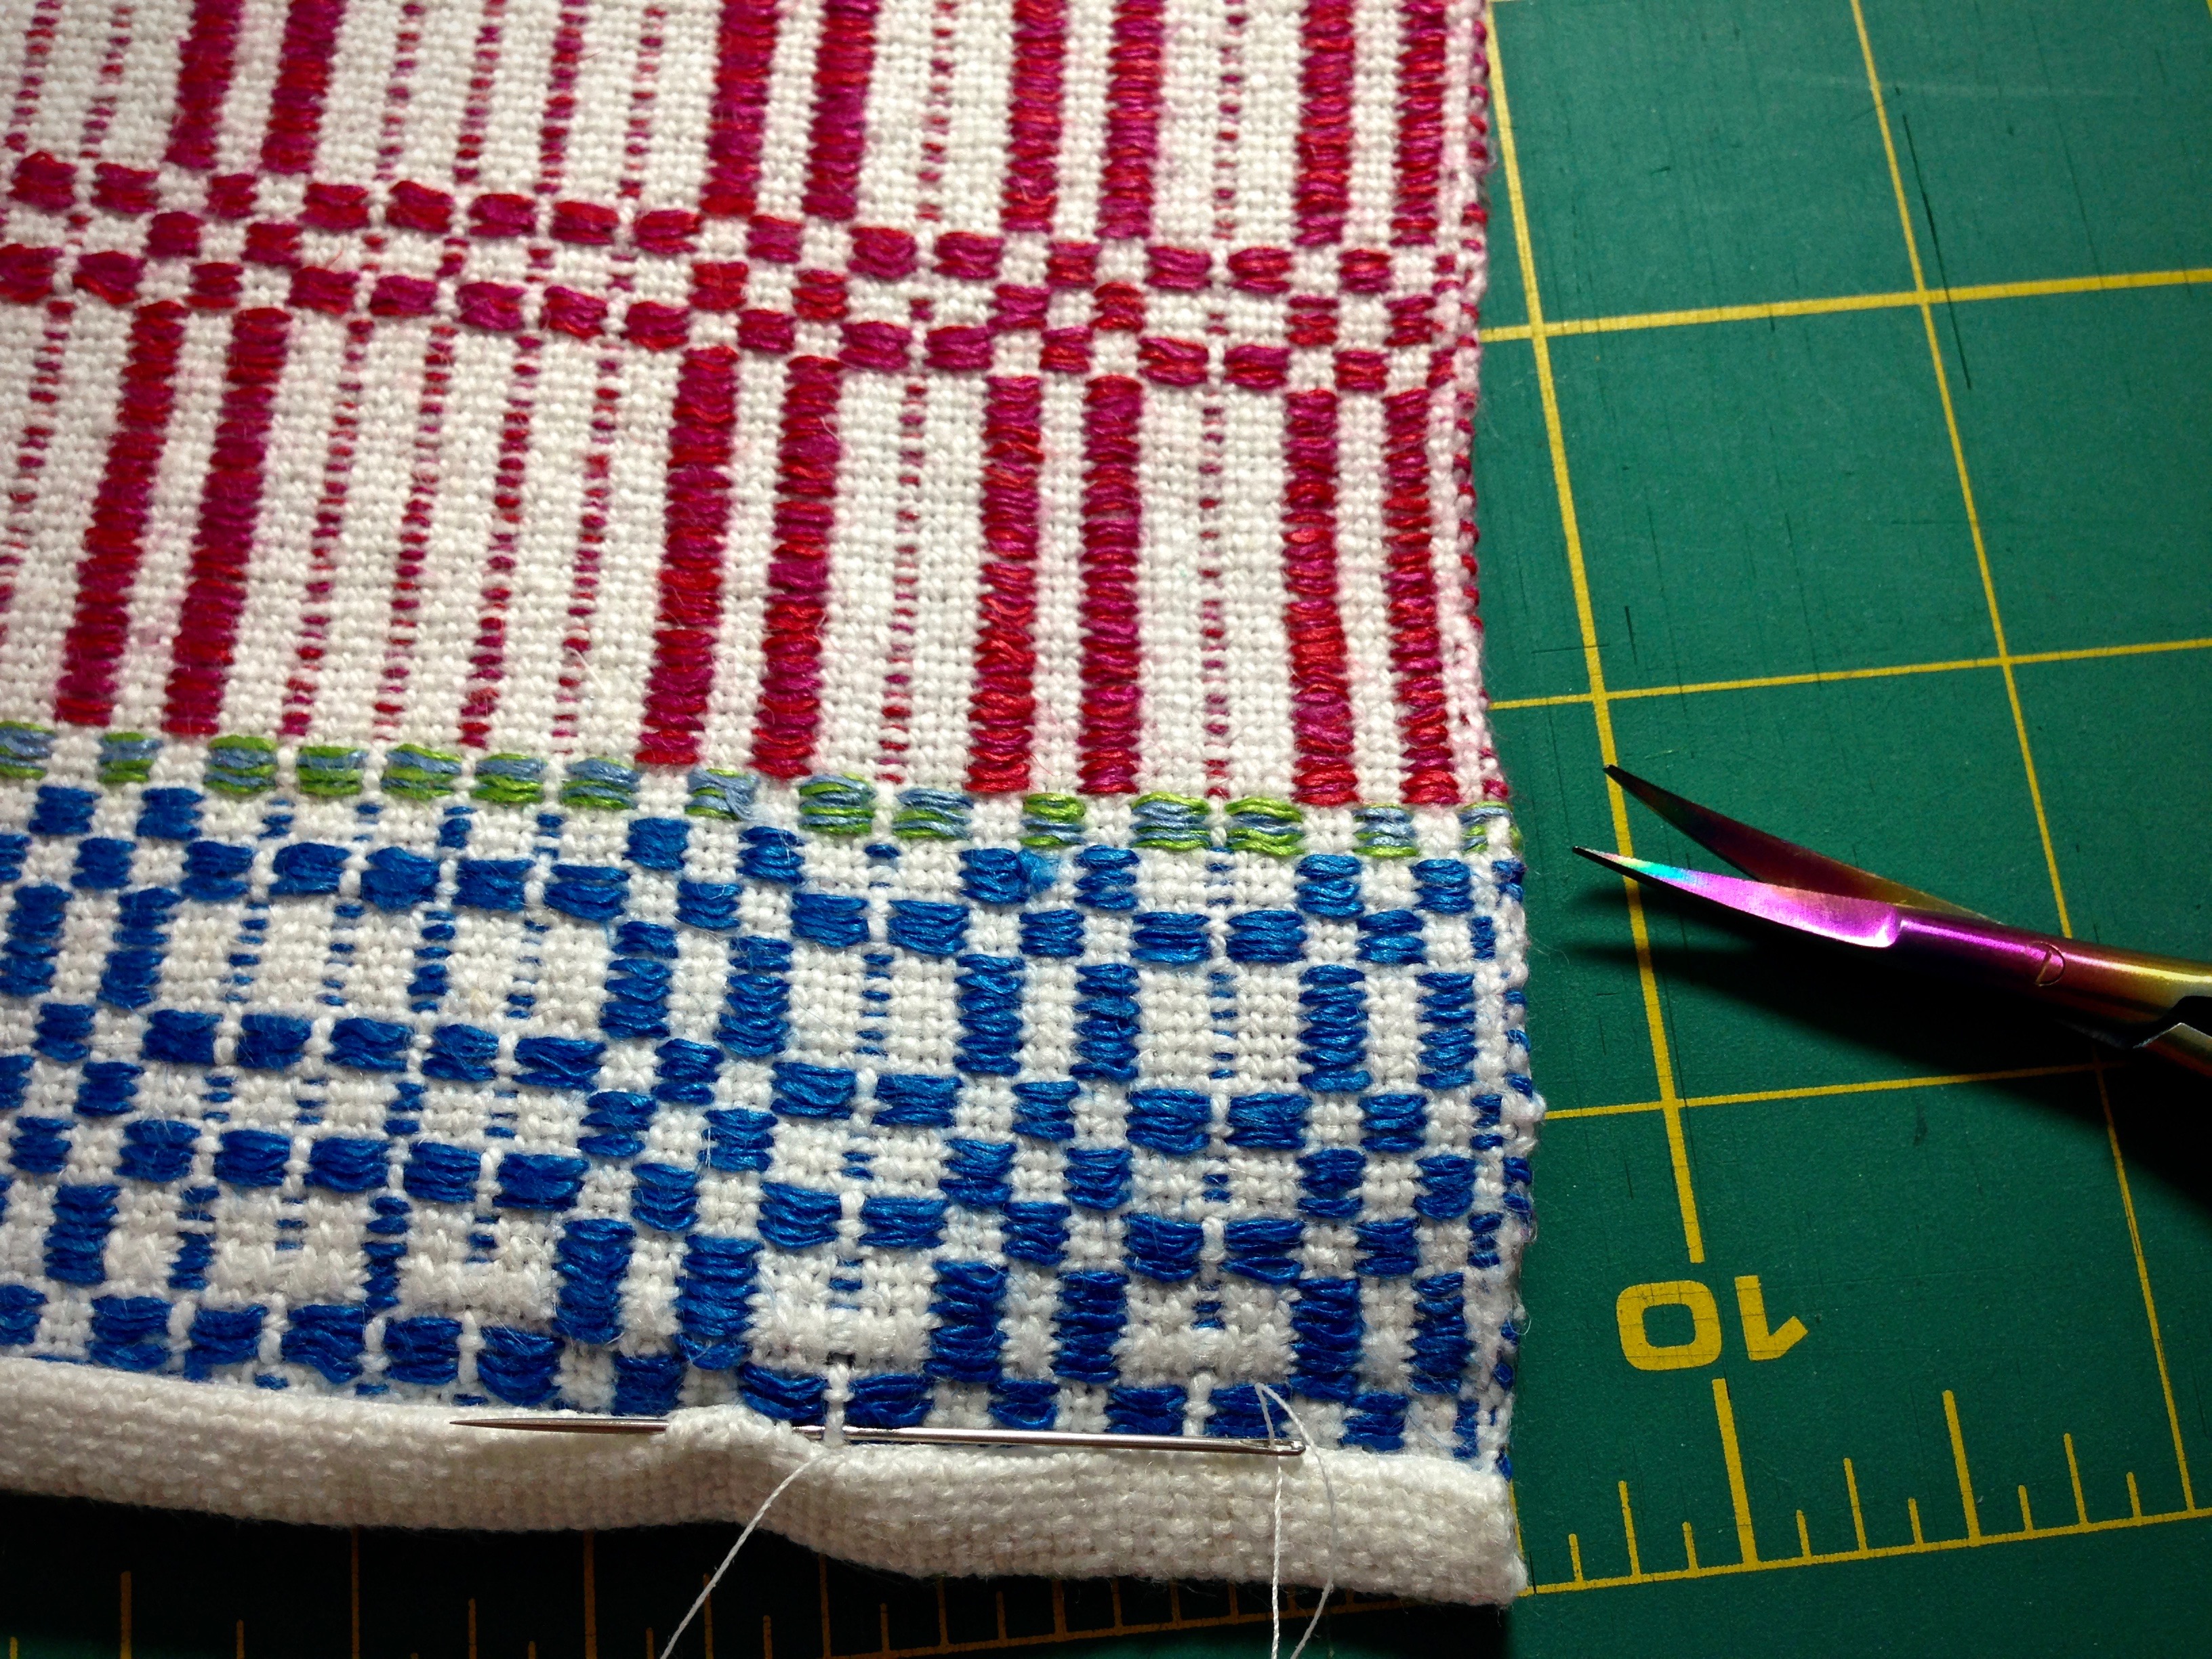
Blind hem, with sewing needle and thread. Needle goes under one warp end, and is inserted through folded edge of hem for 1/4 inch. Continued stitching across the hem is virtually invisible when complete.