Tapestry Story

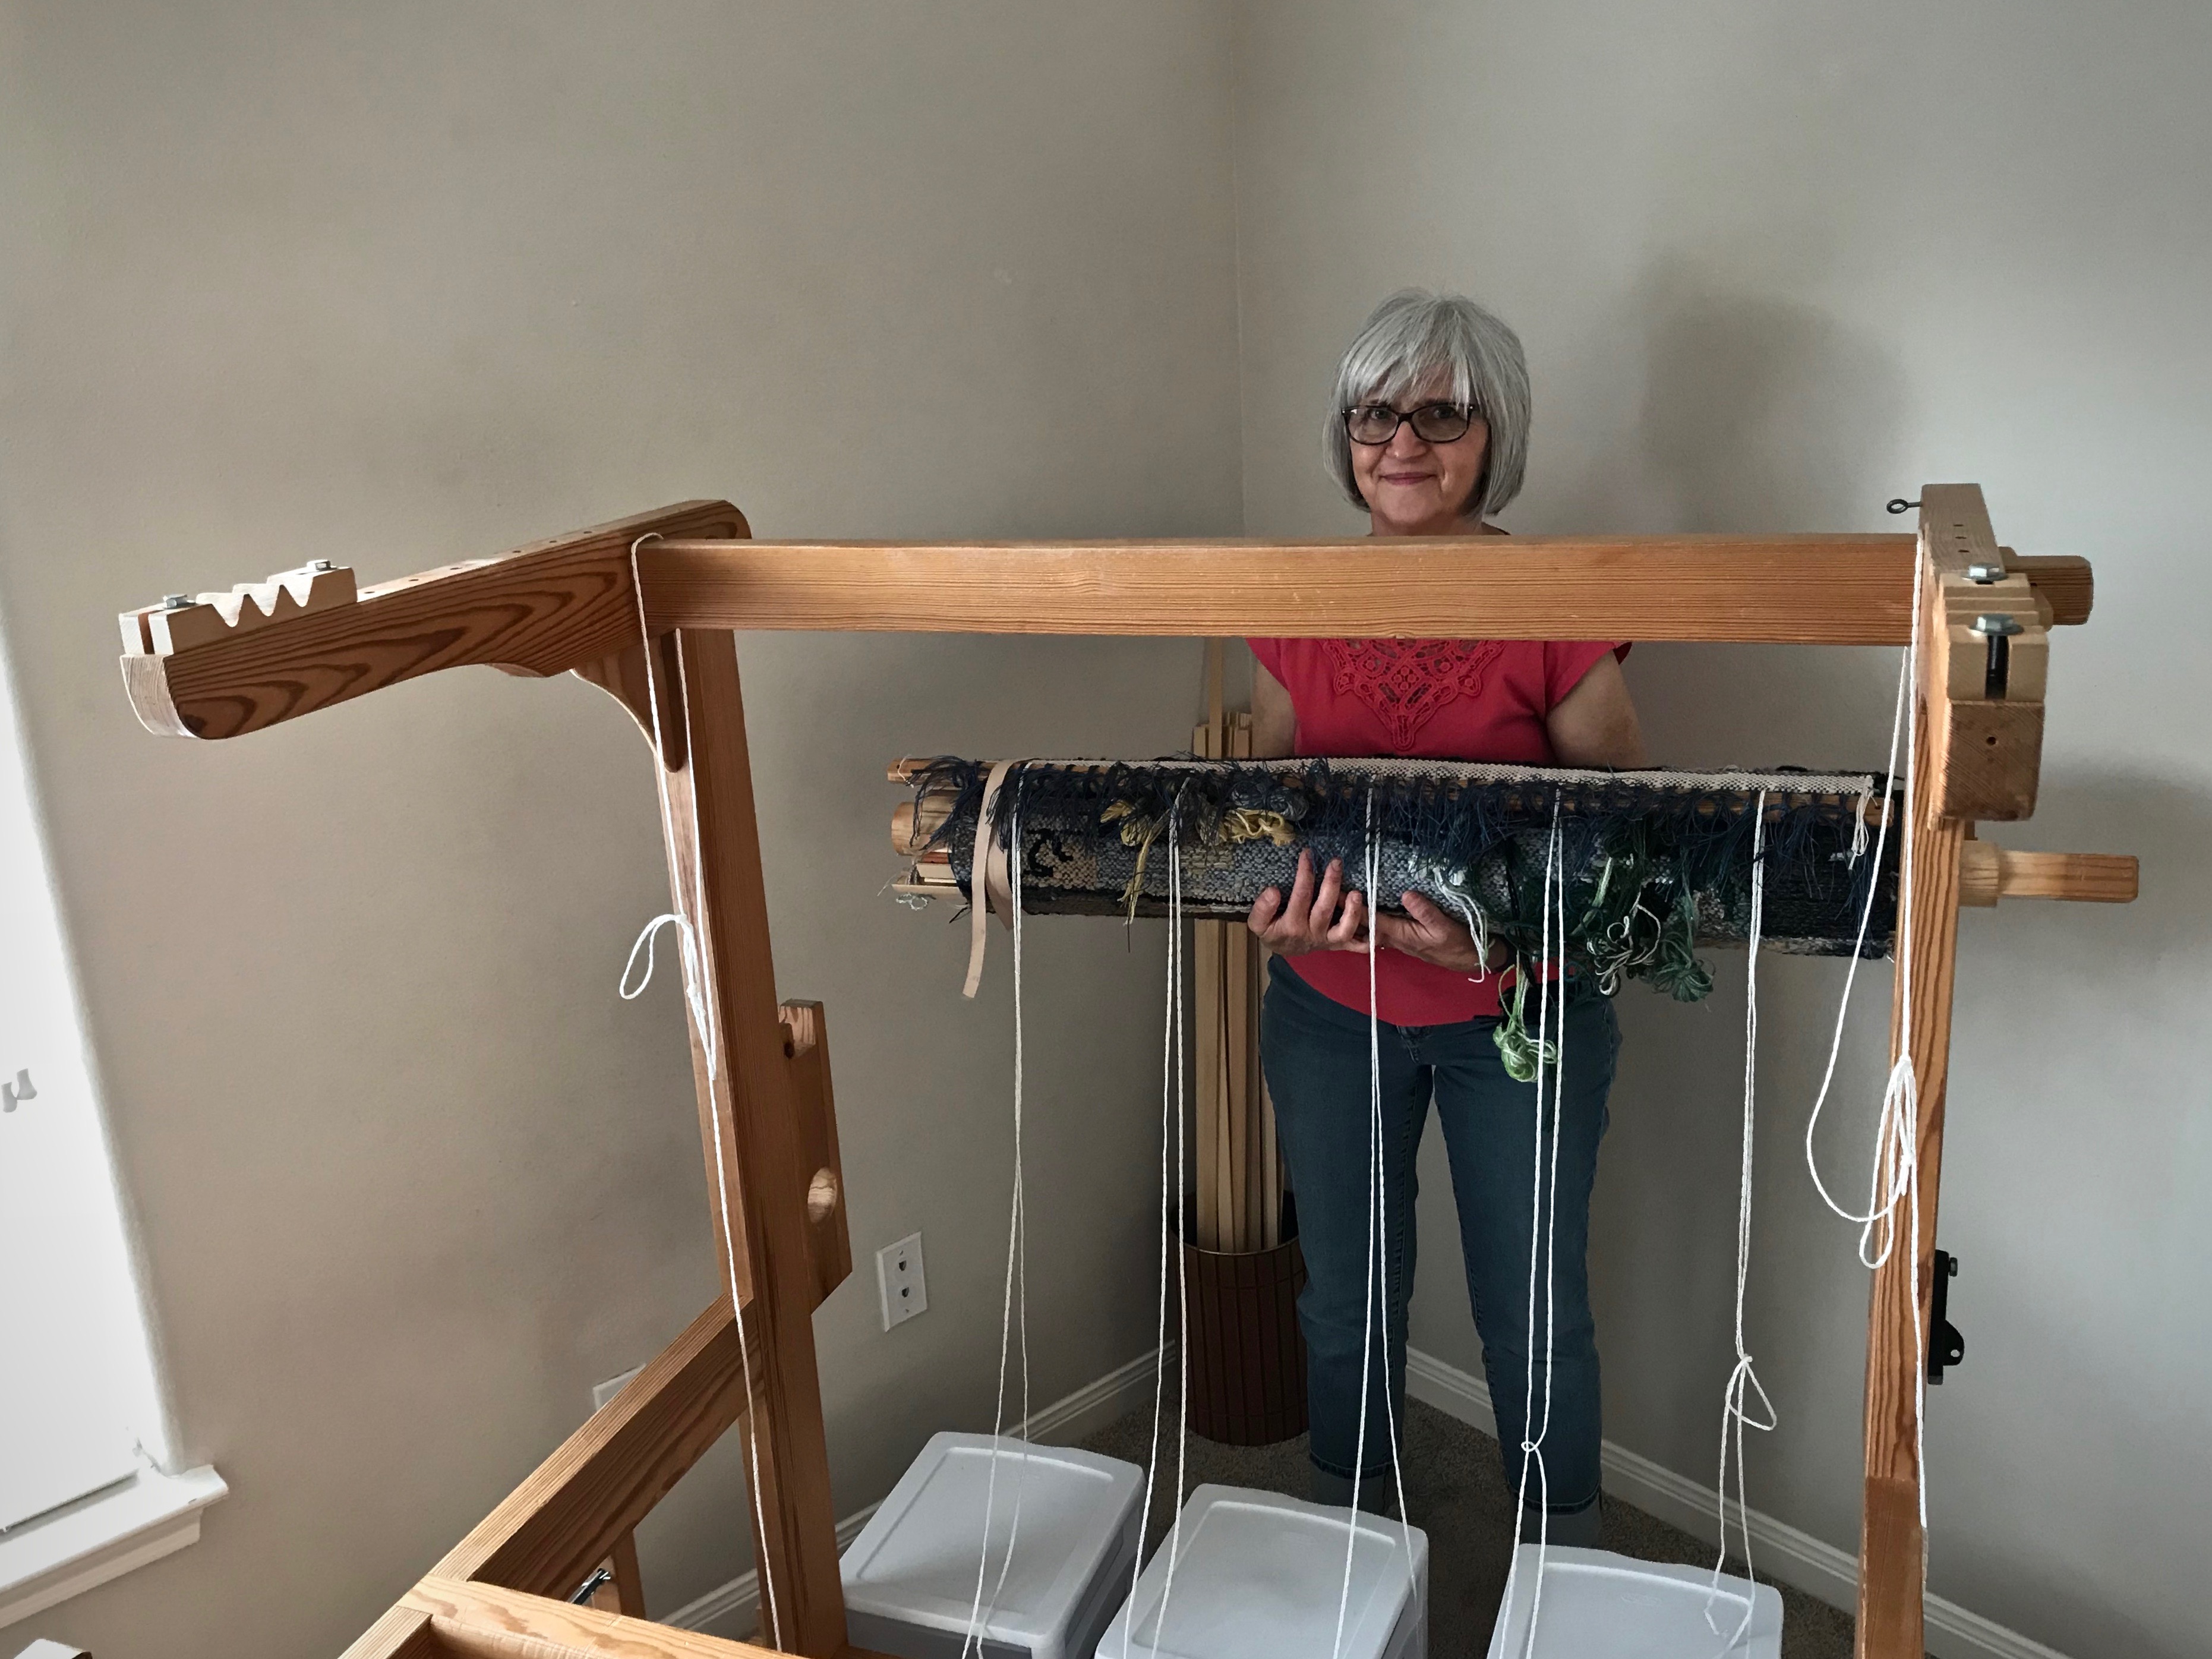
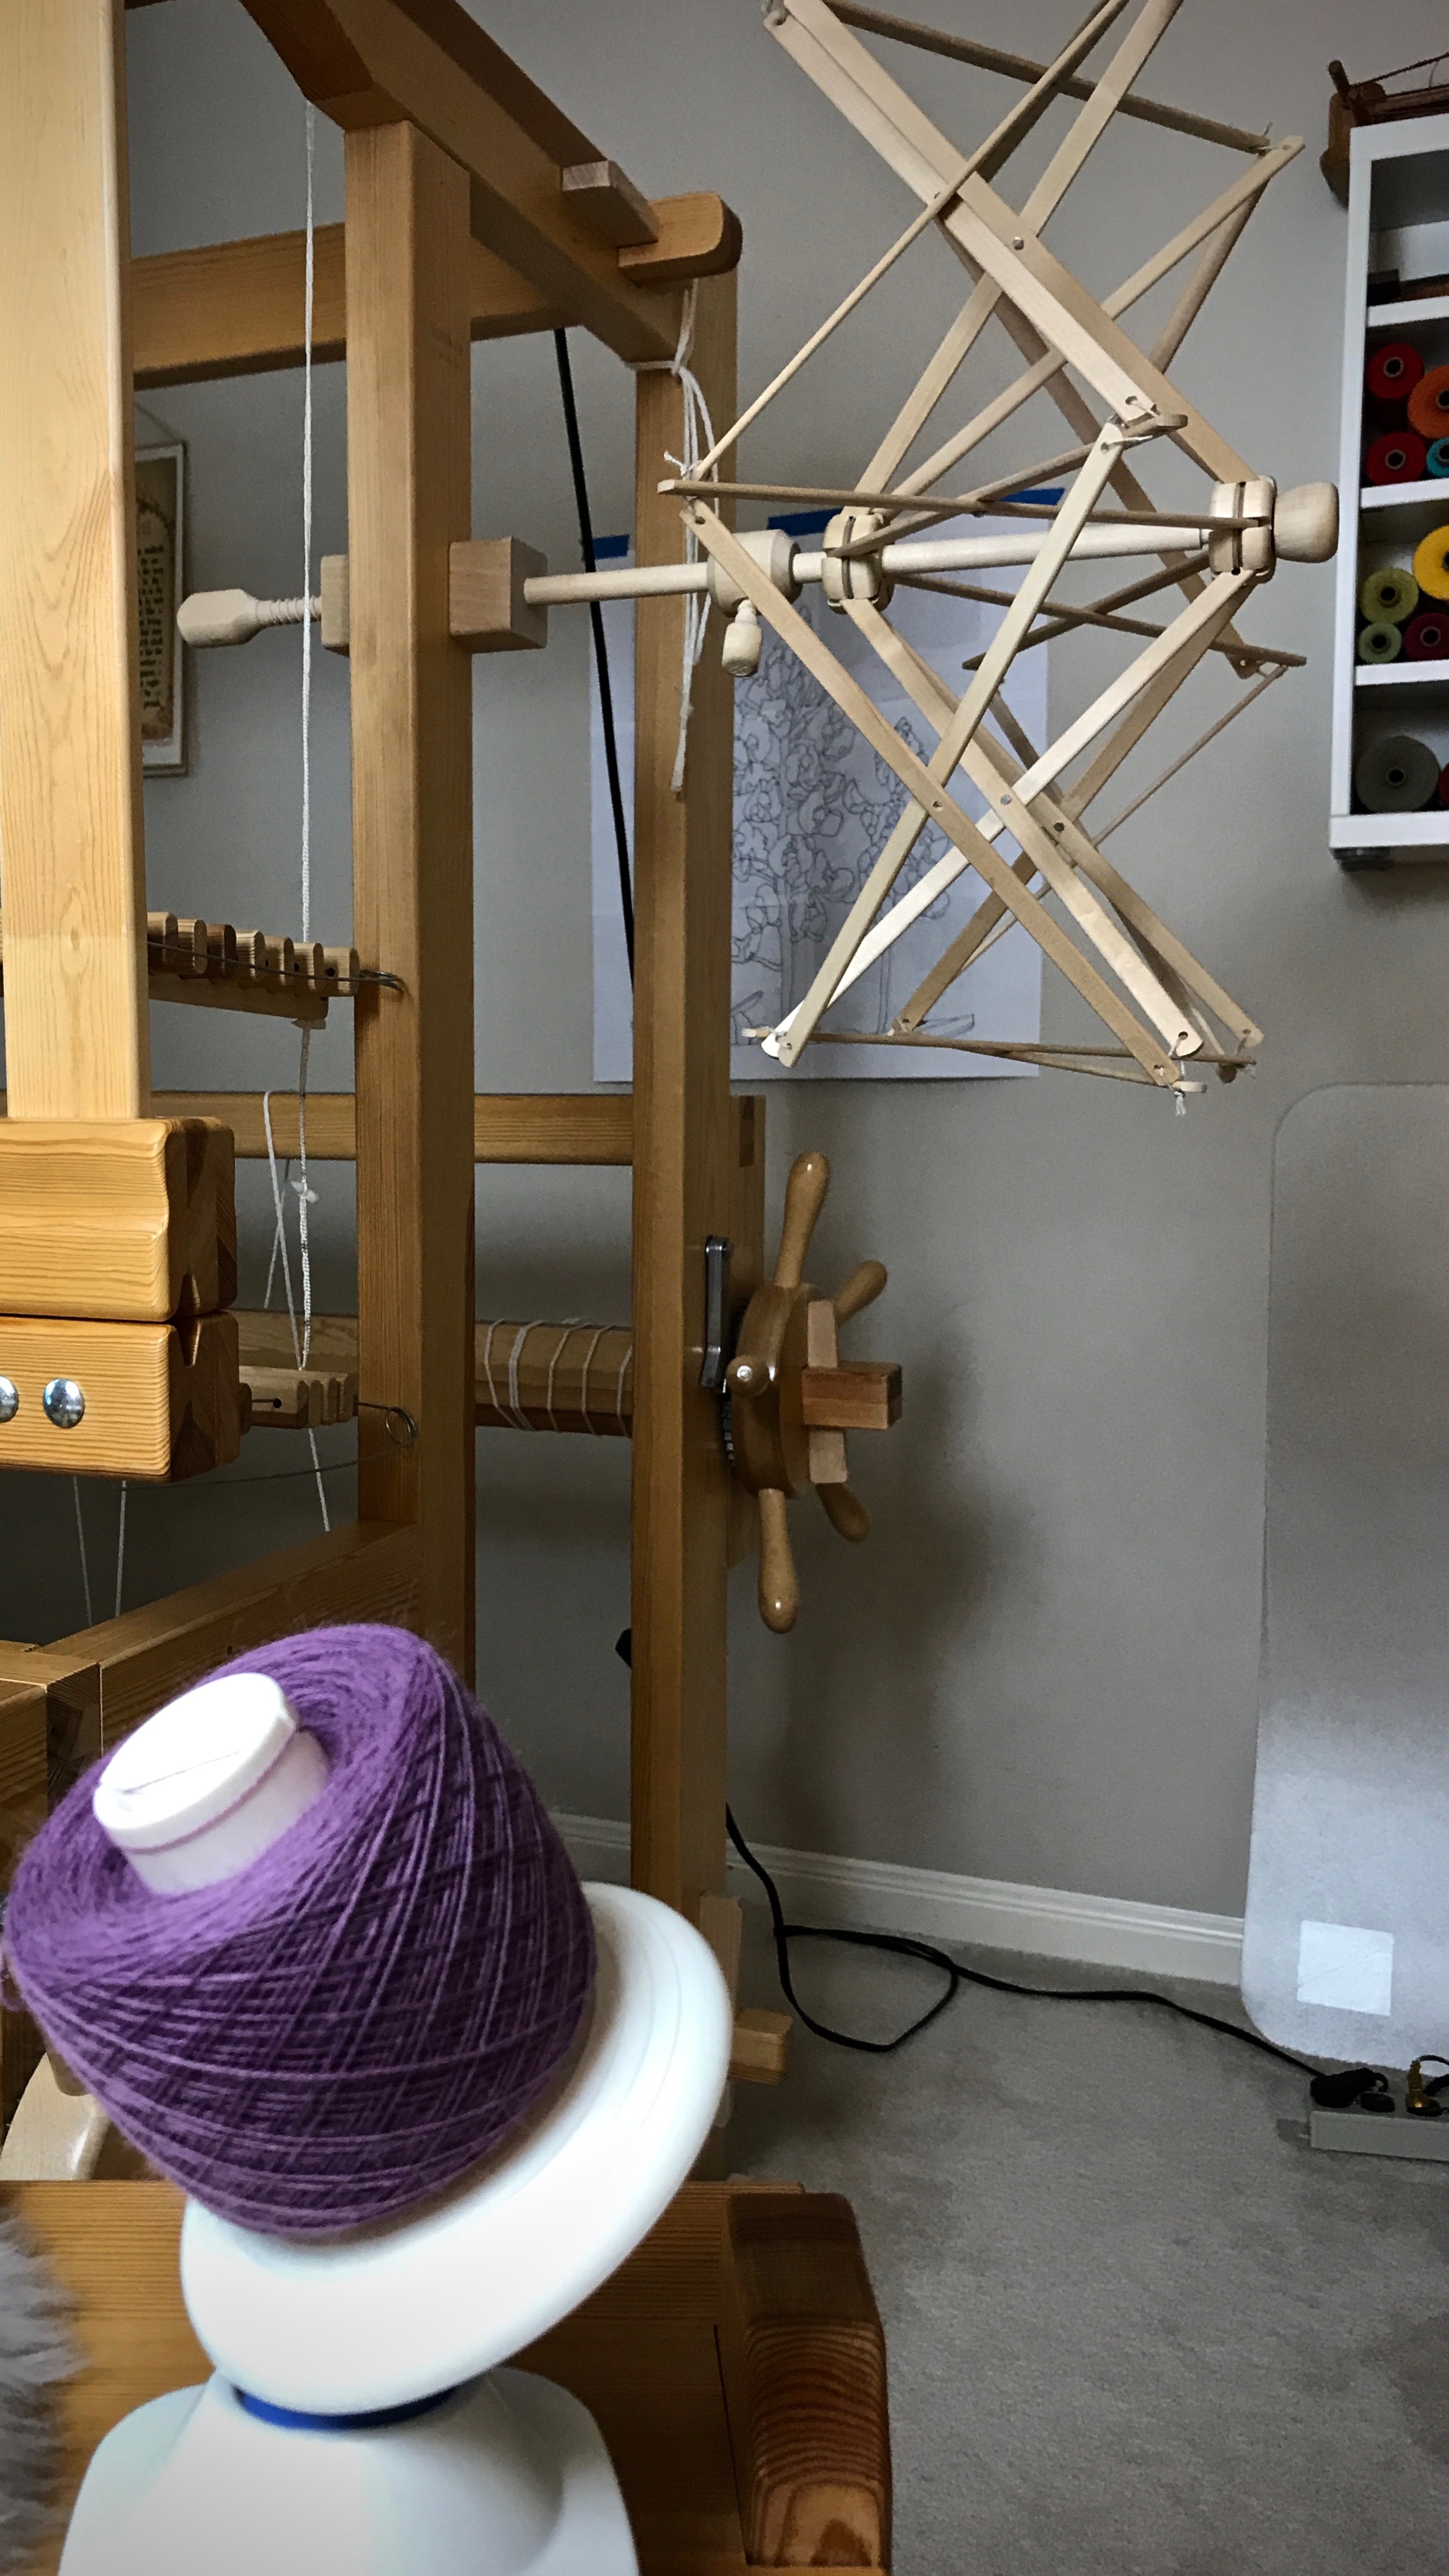
It’s as if every row ends with a cliffhanger, and I want to see what will happen next. I know the end of the story, but I’m still eager to see how it plays out. This is how I experience tapestry weaving. I linger here as long as I can. When I do walk away from the loom, I’m already anticipating the next time I get to do this.

Butterfly wing. This second butterfly image shows more detail than the first butterfly image on this warp (which is now beginning to touch the cloth beam).
Cart with balls of wool yarn sits beside the loom for making new yarn butterflies as I go.

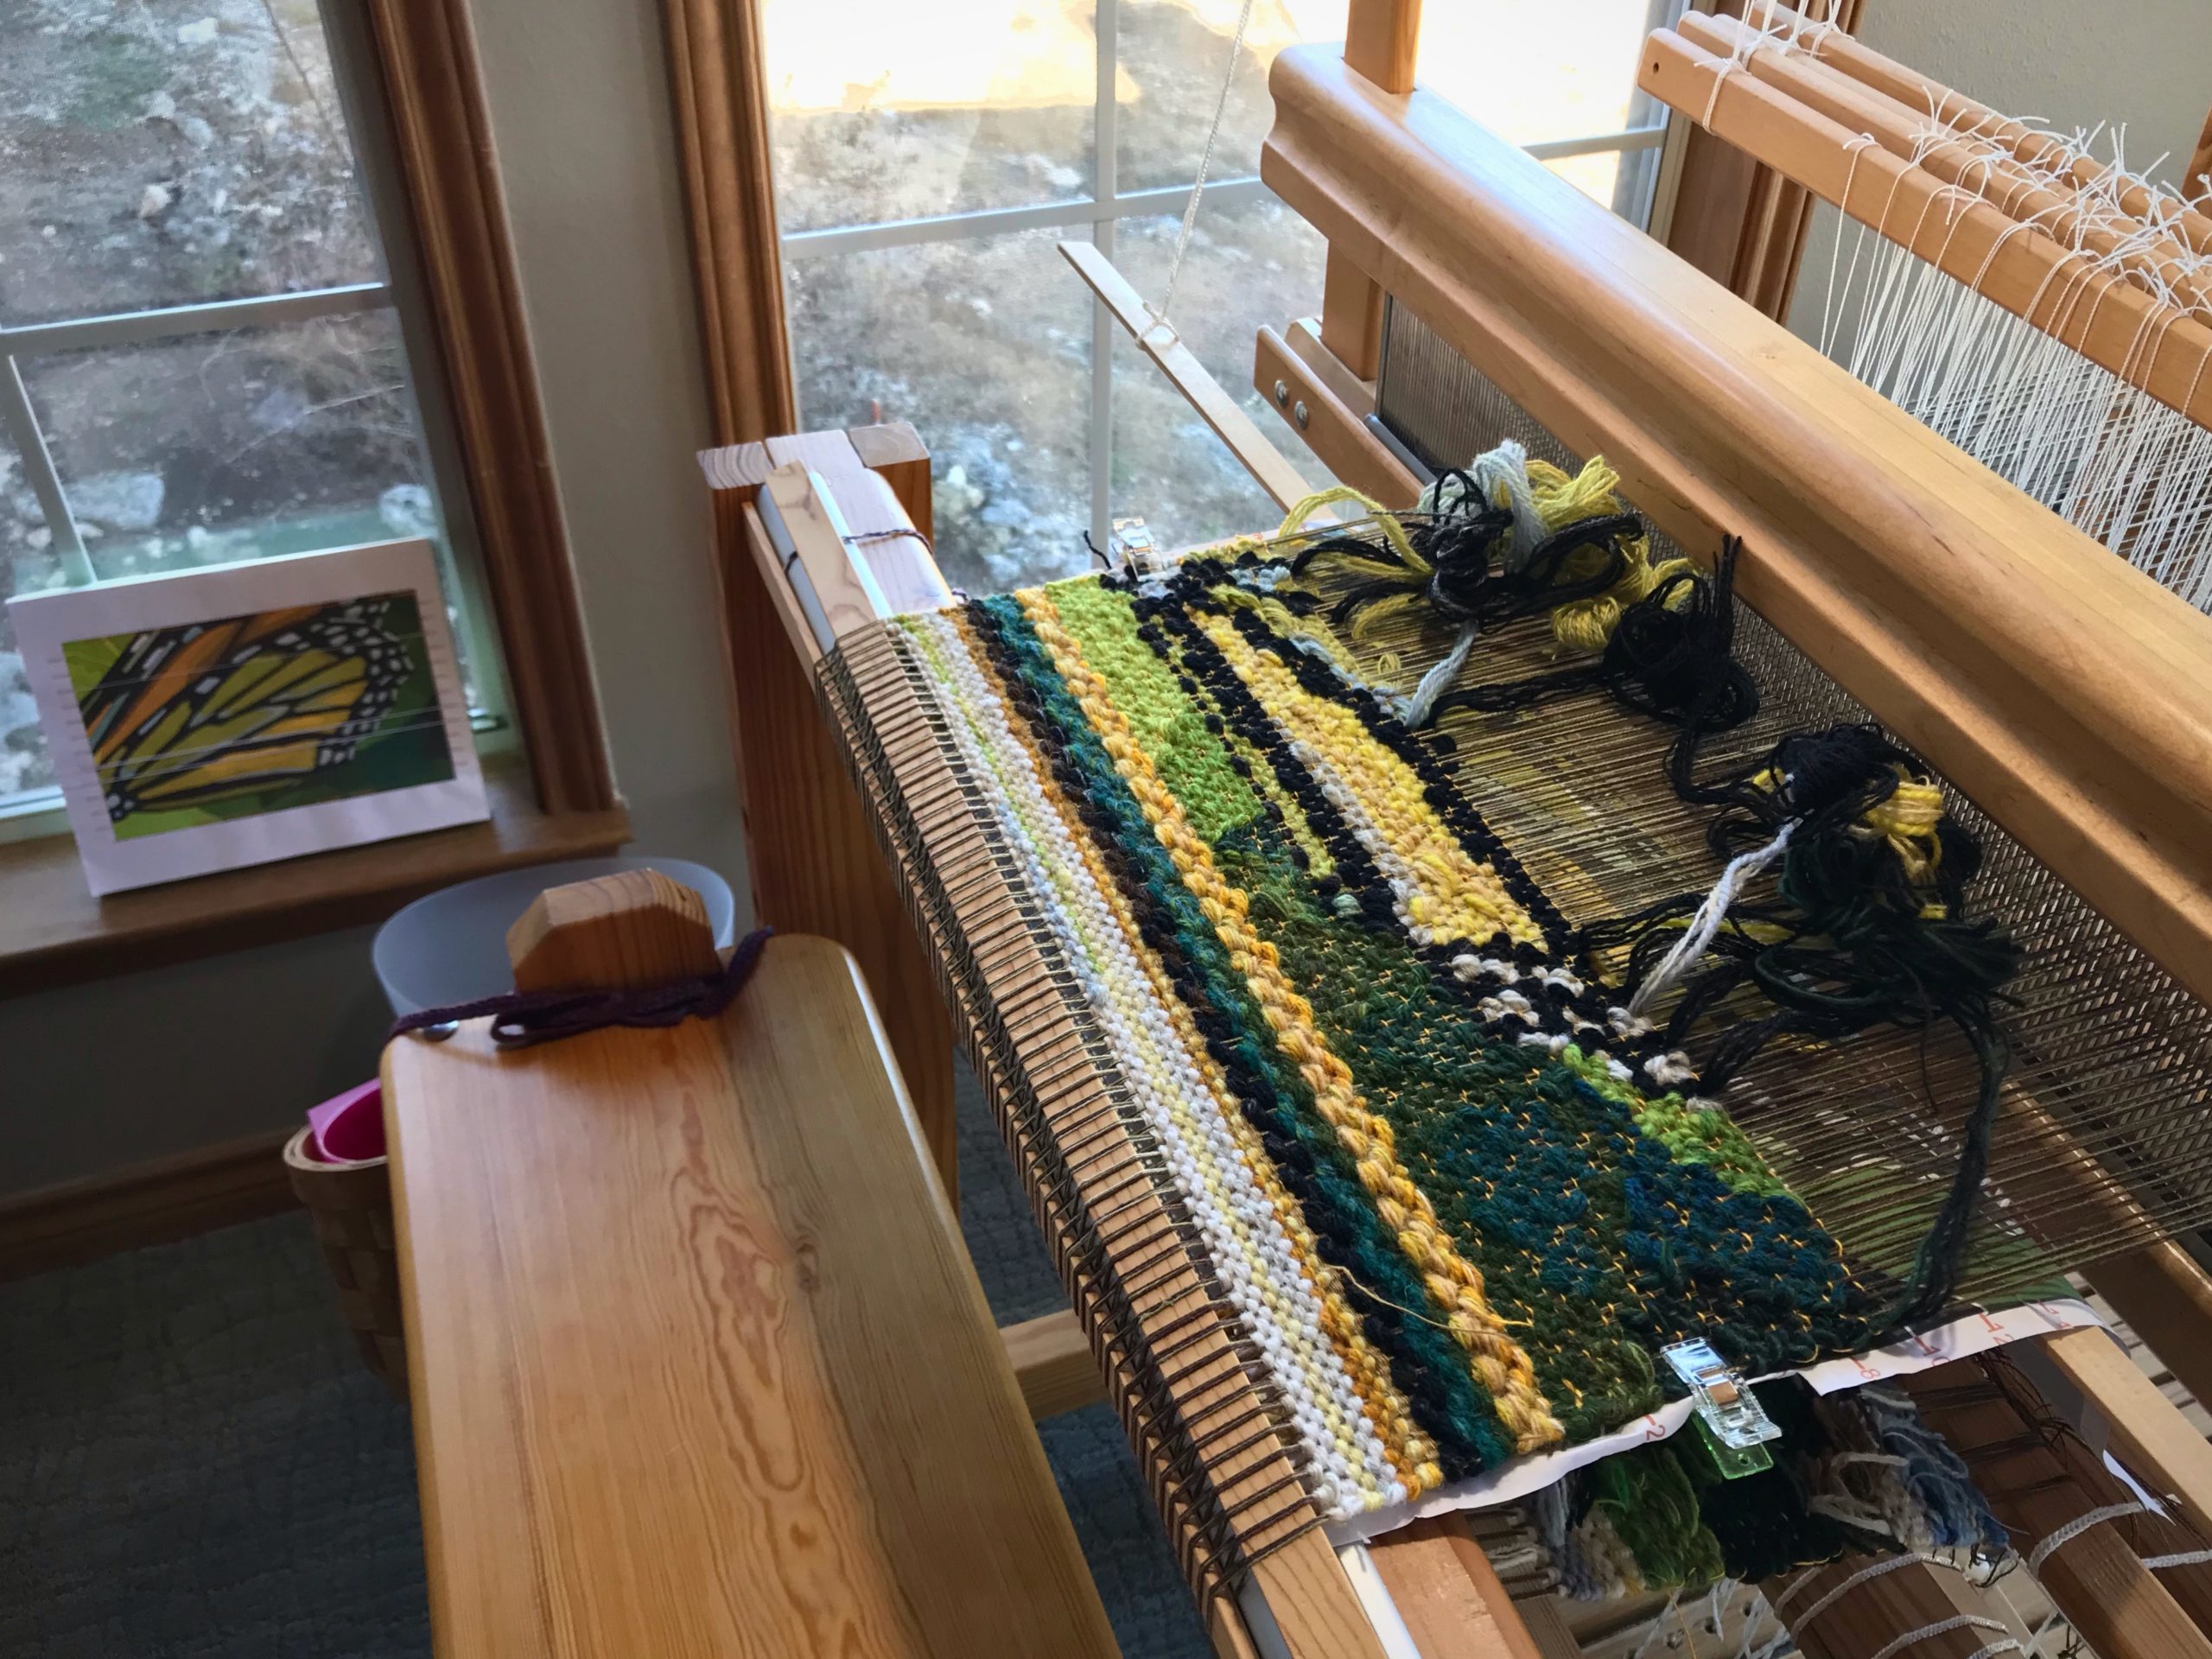
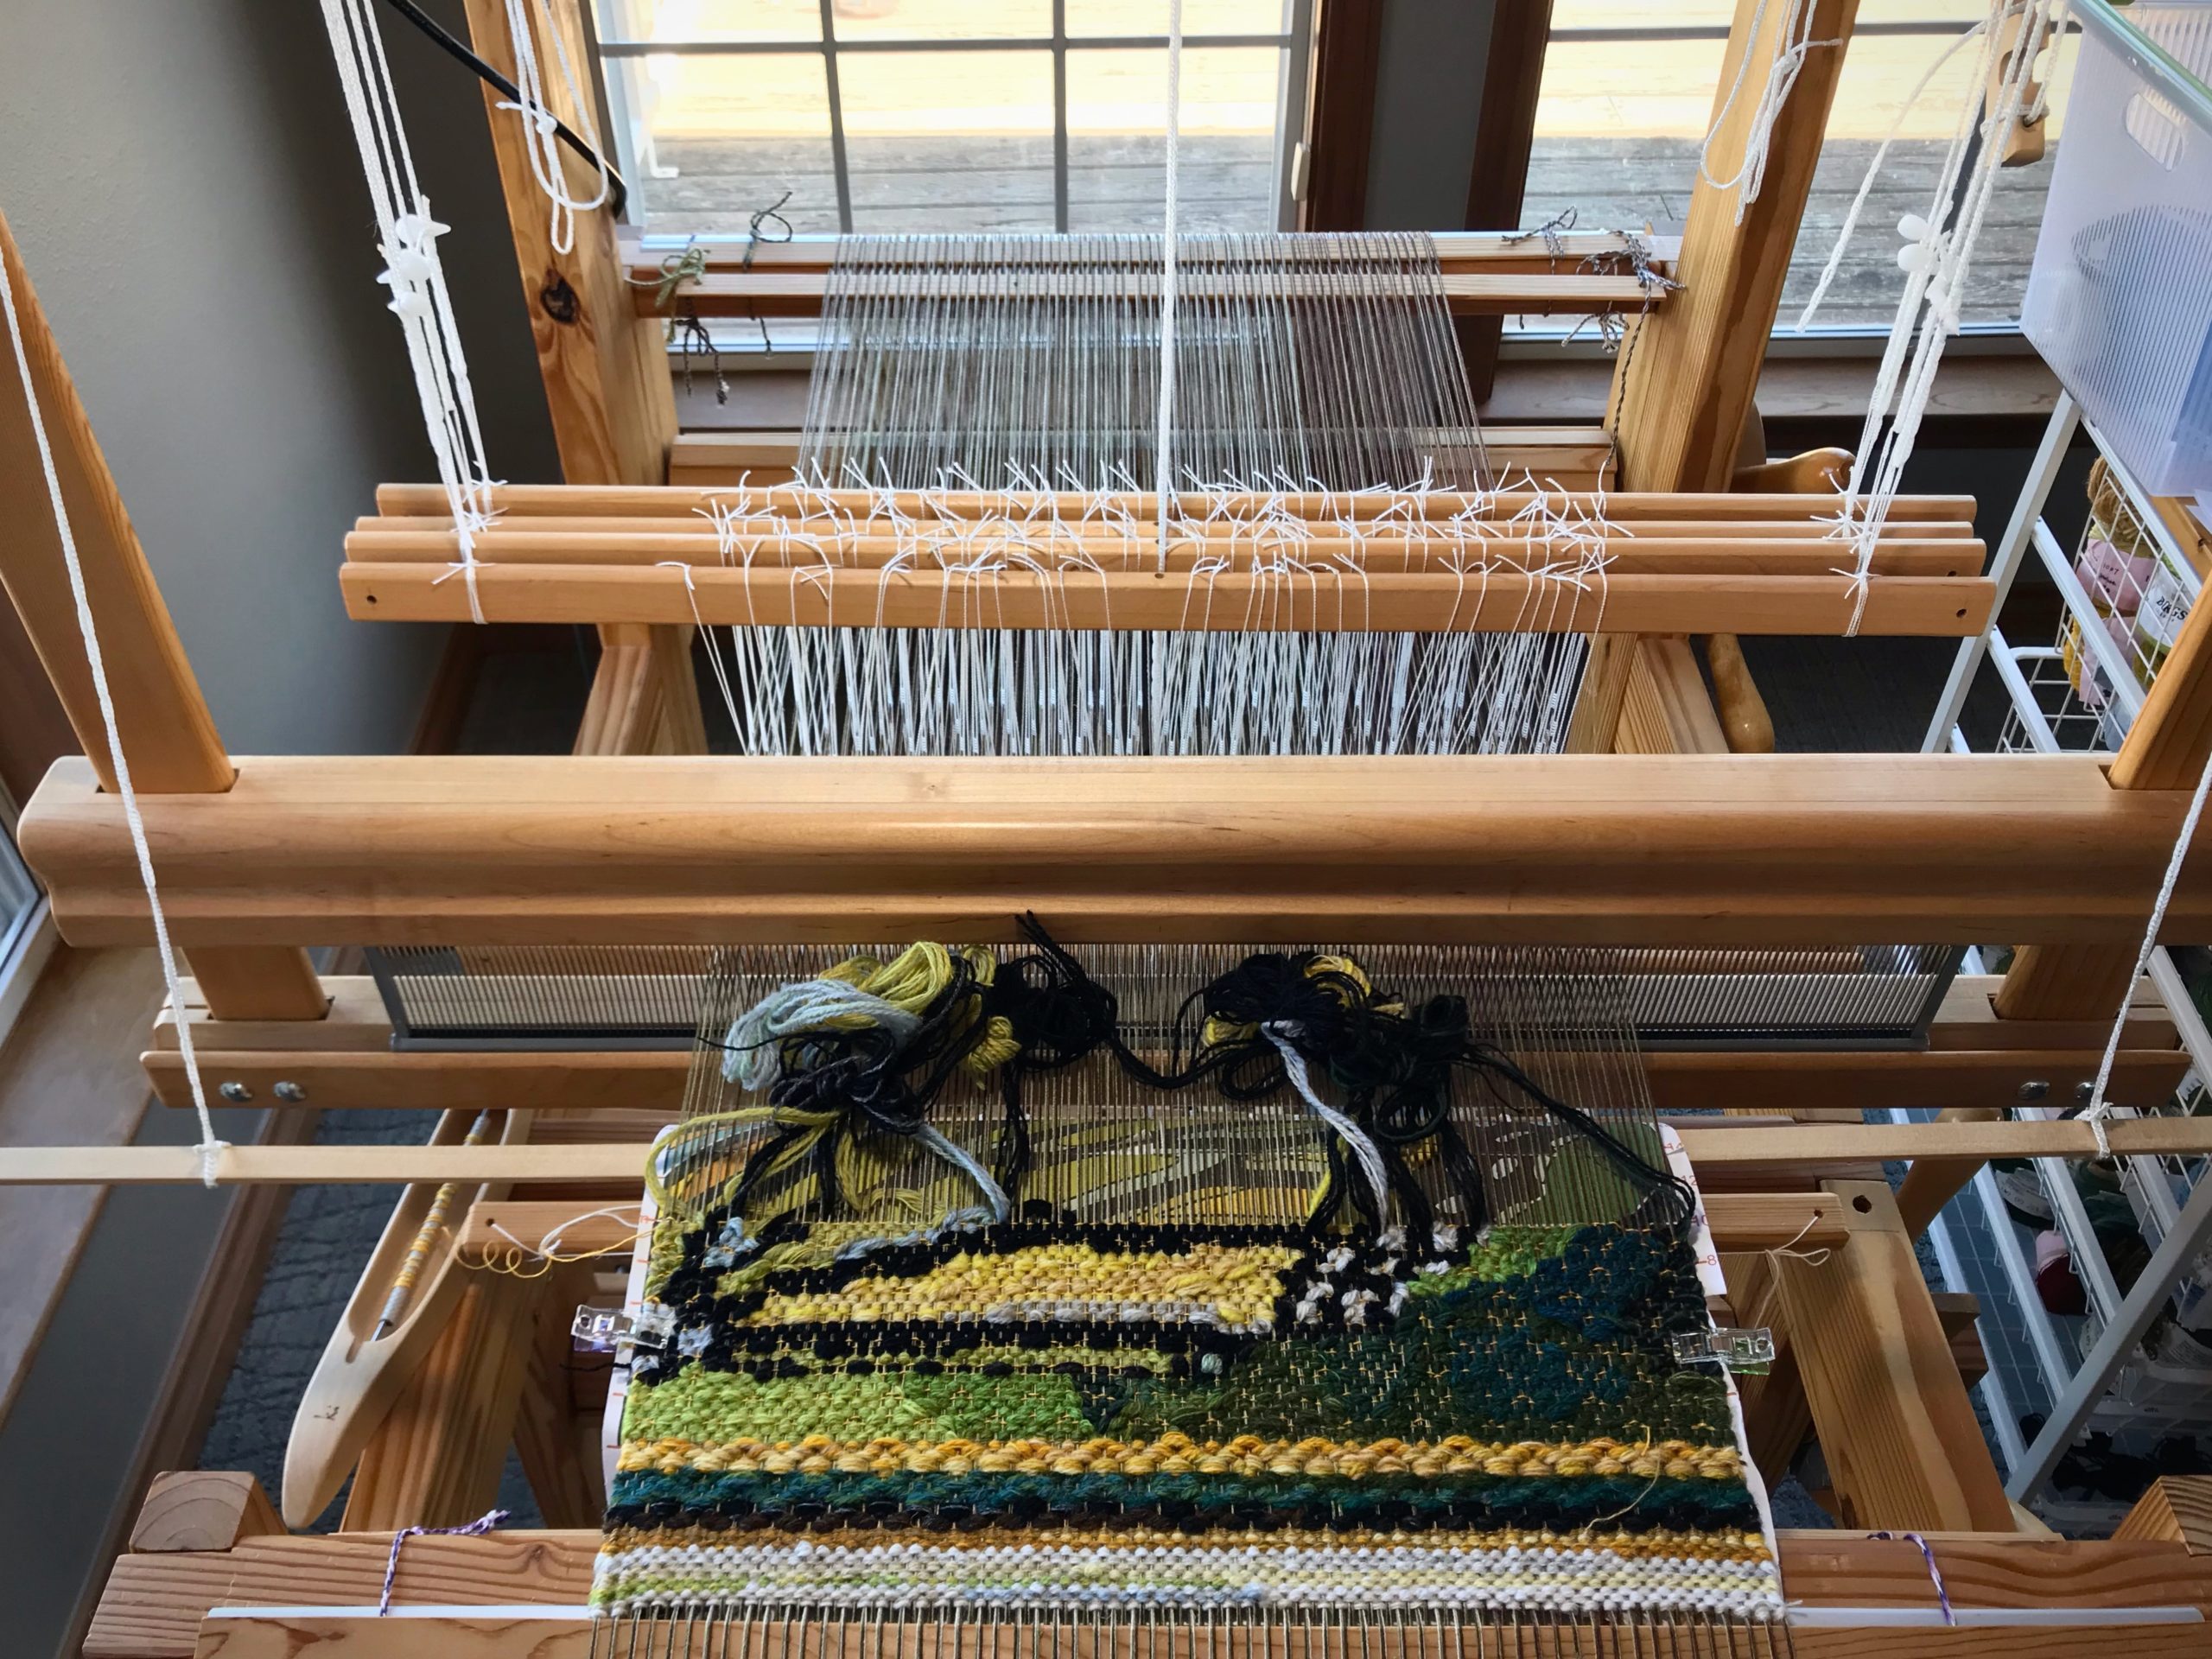
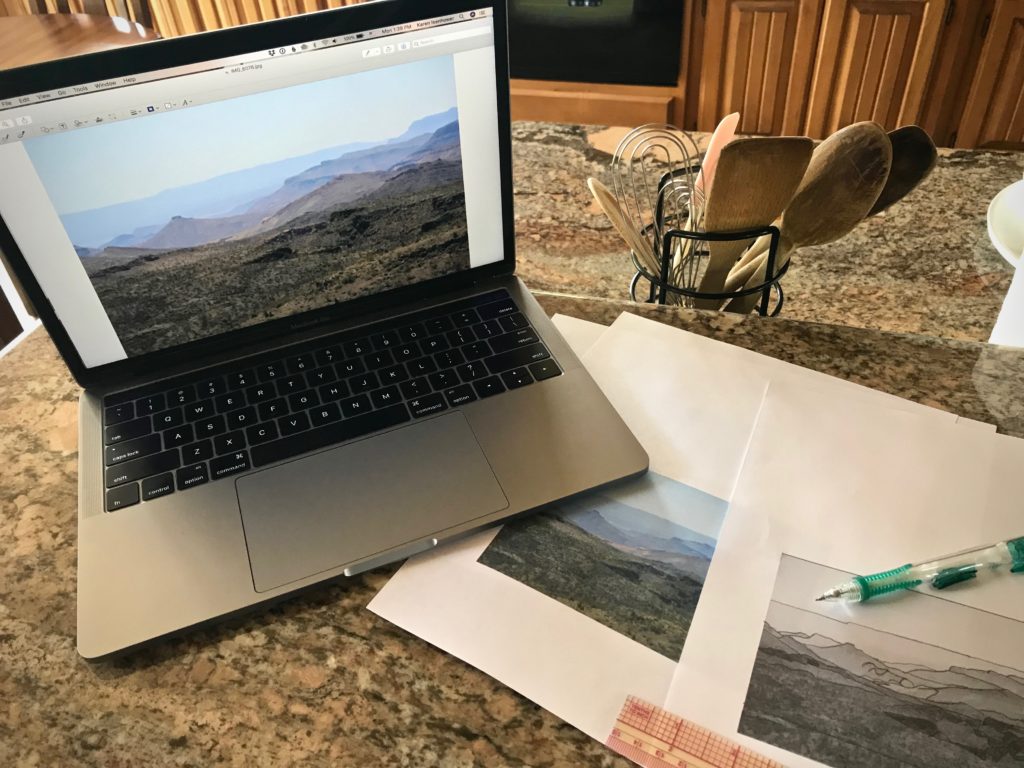
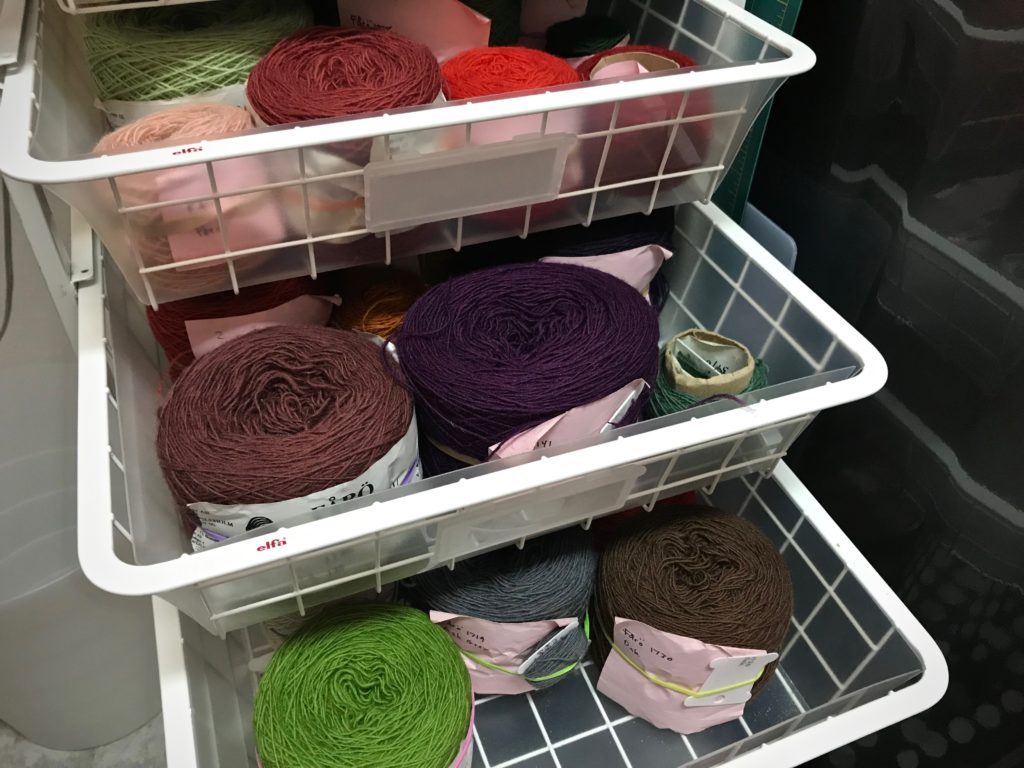
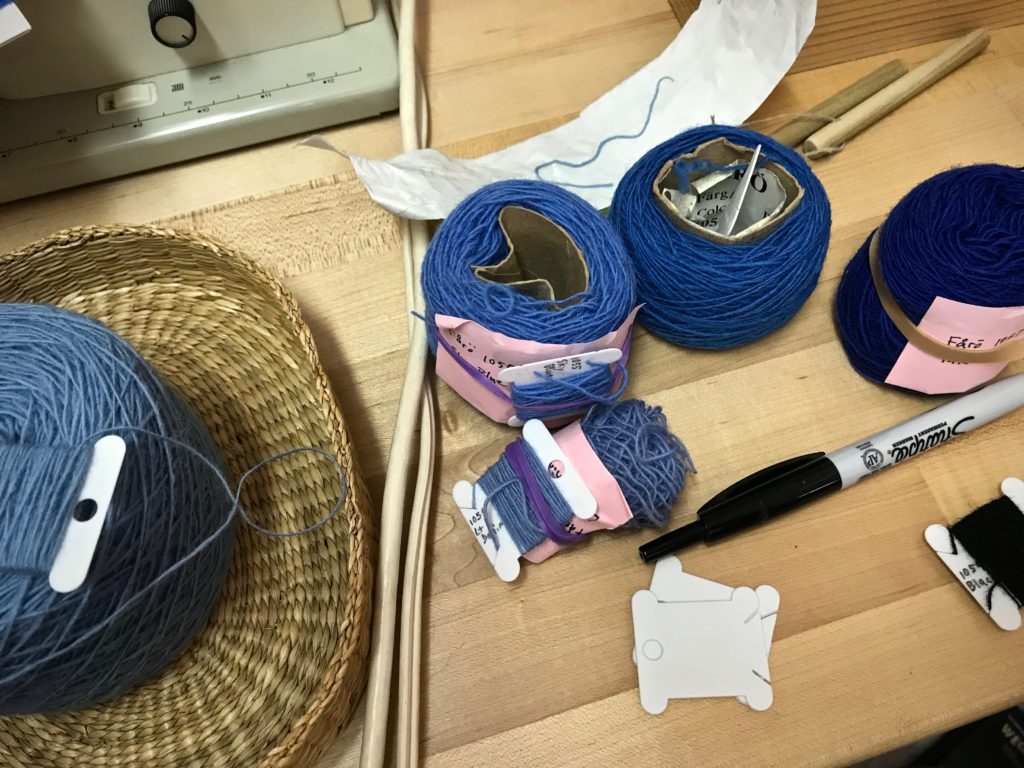
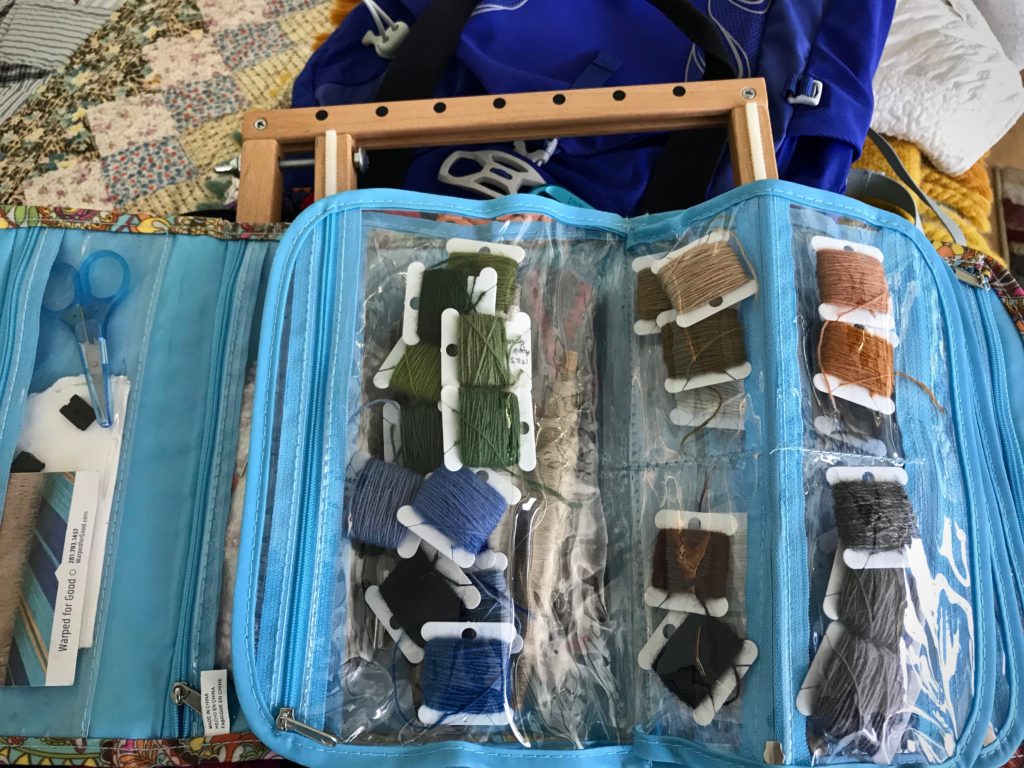
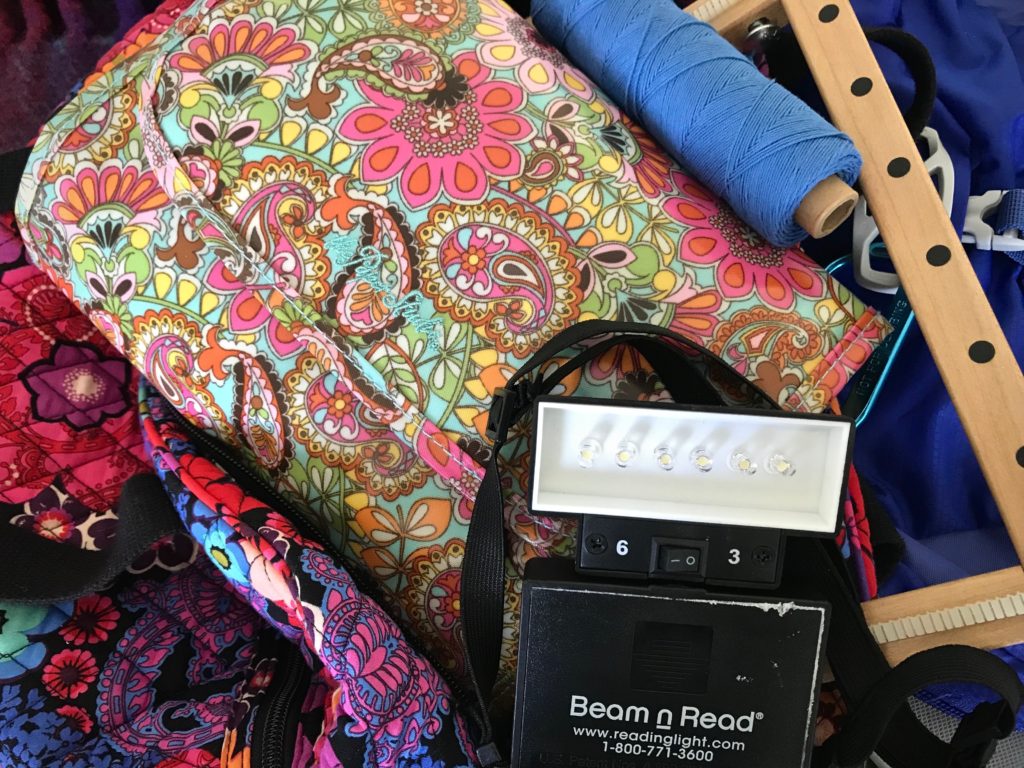
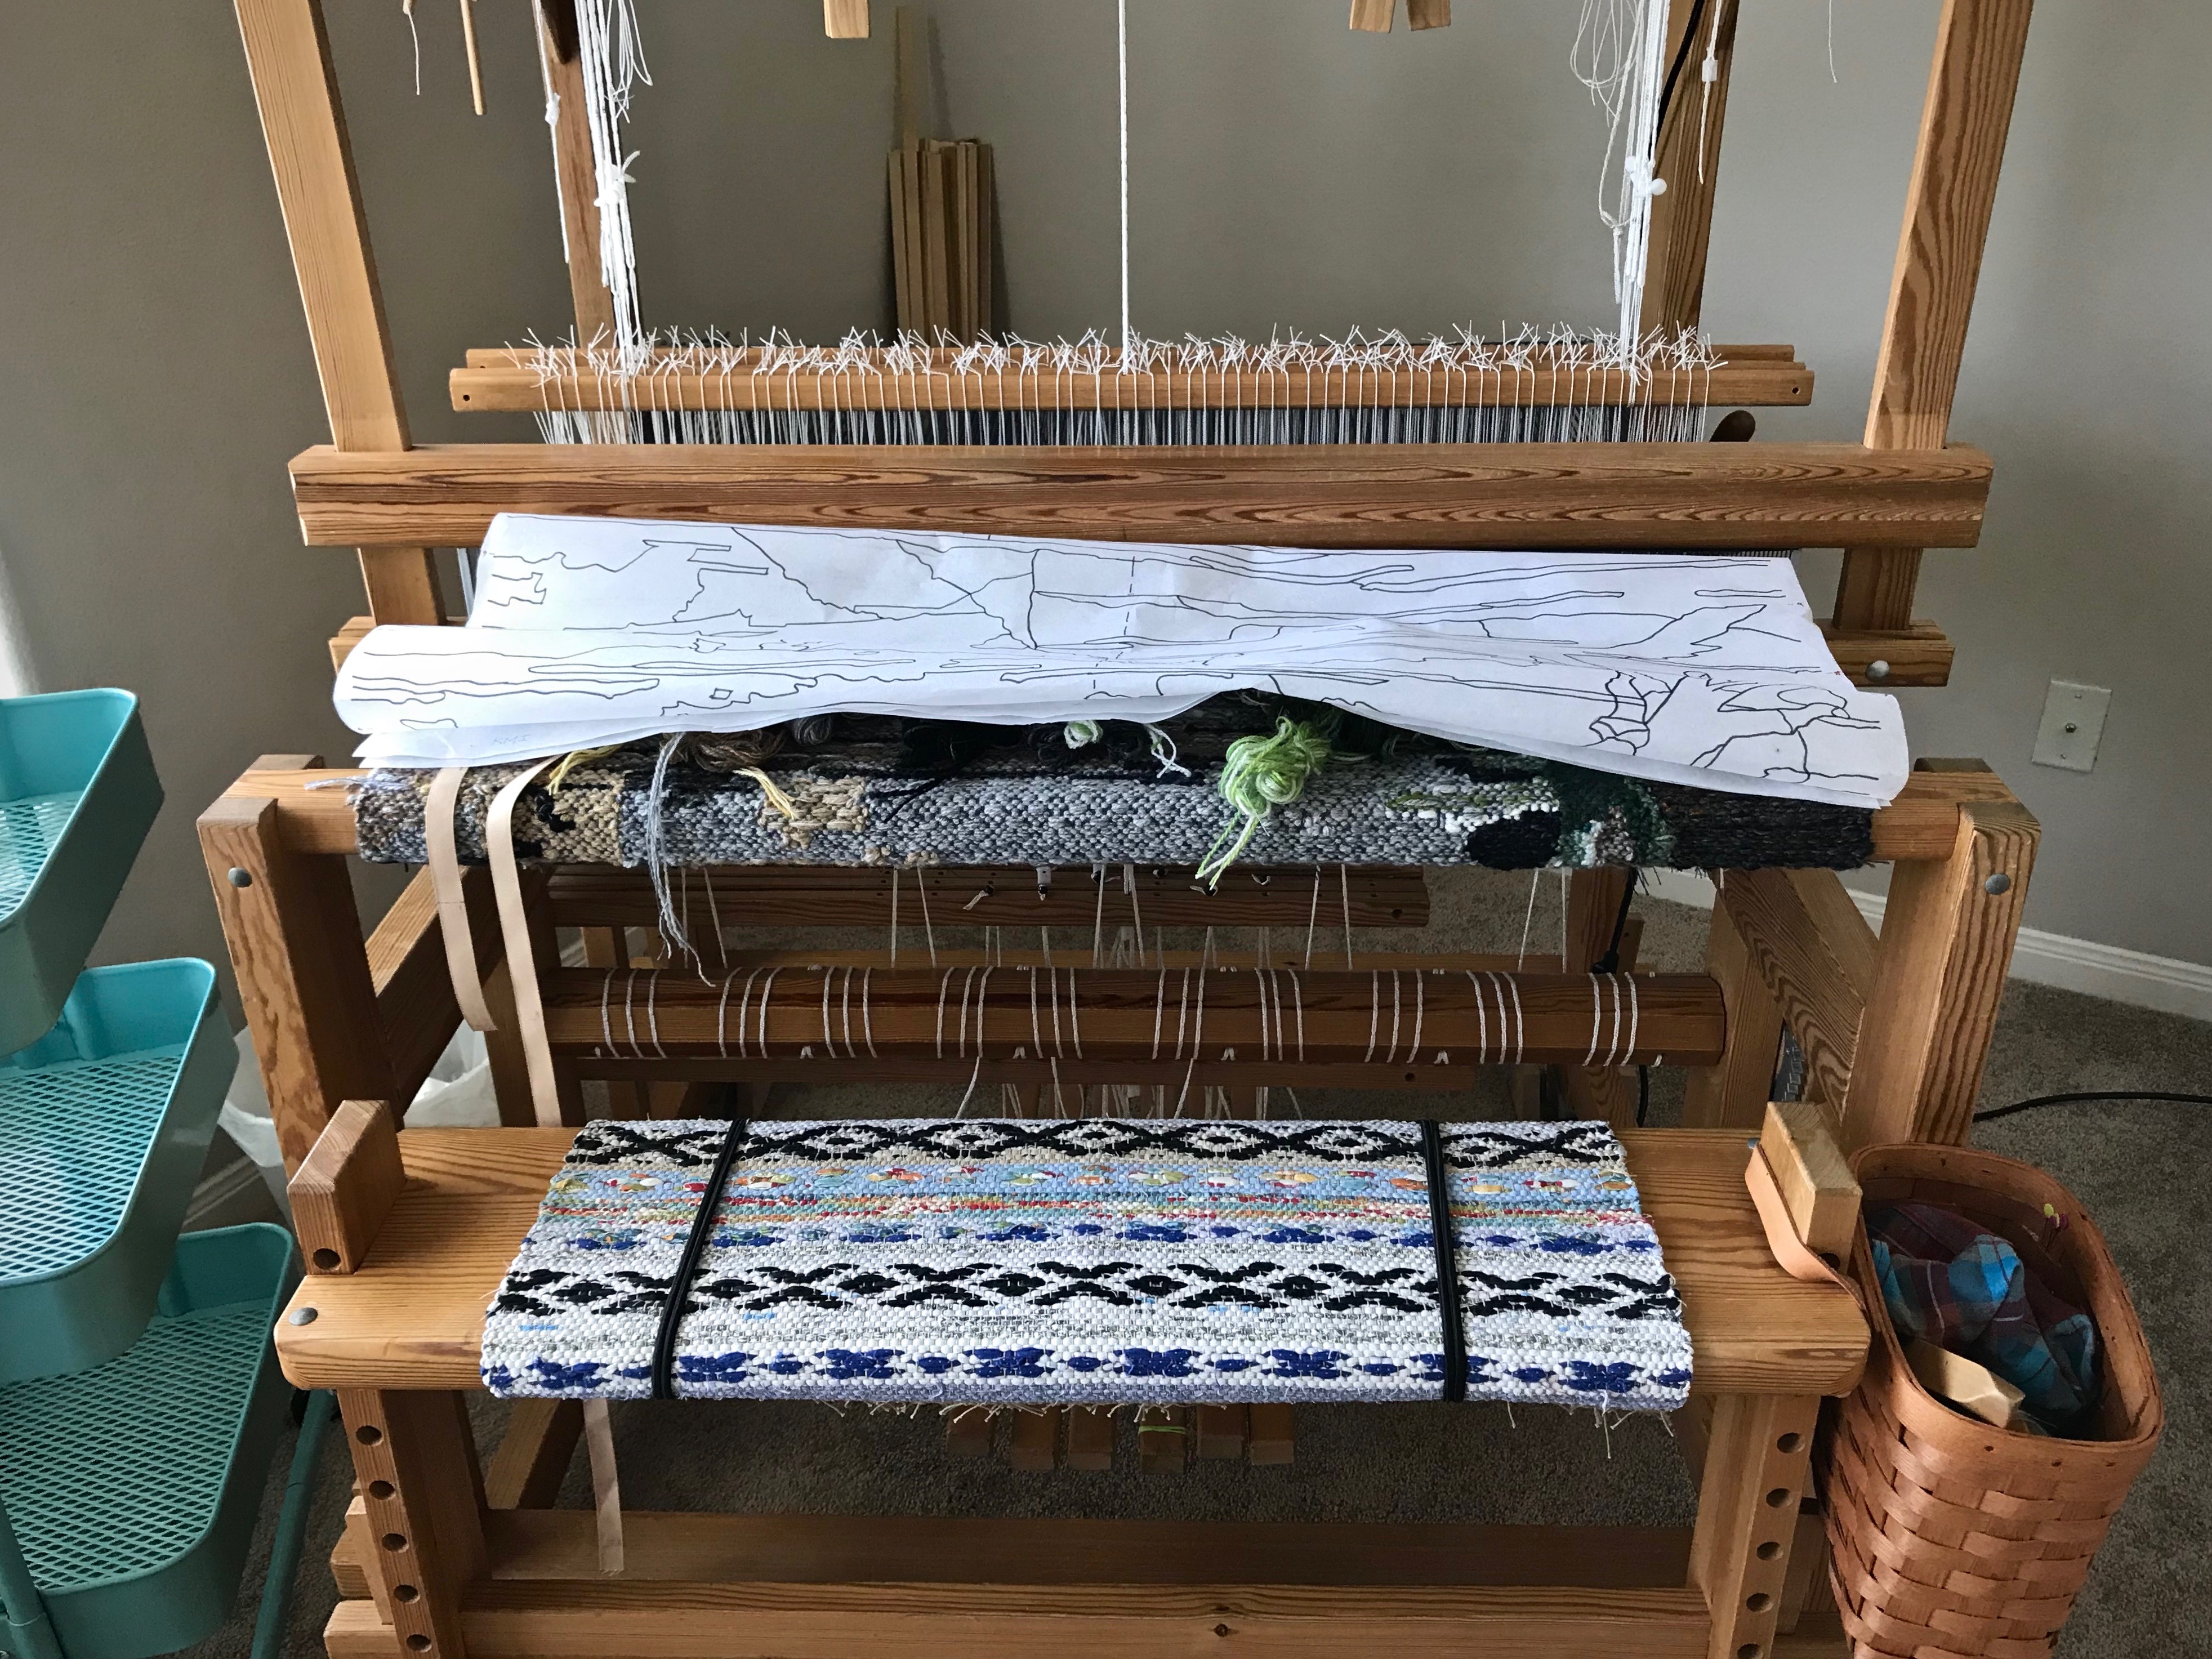
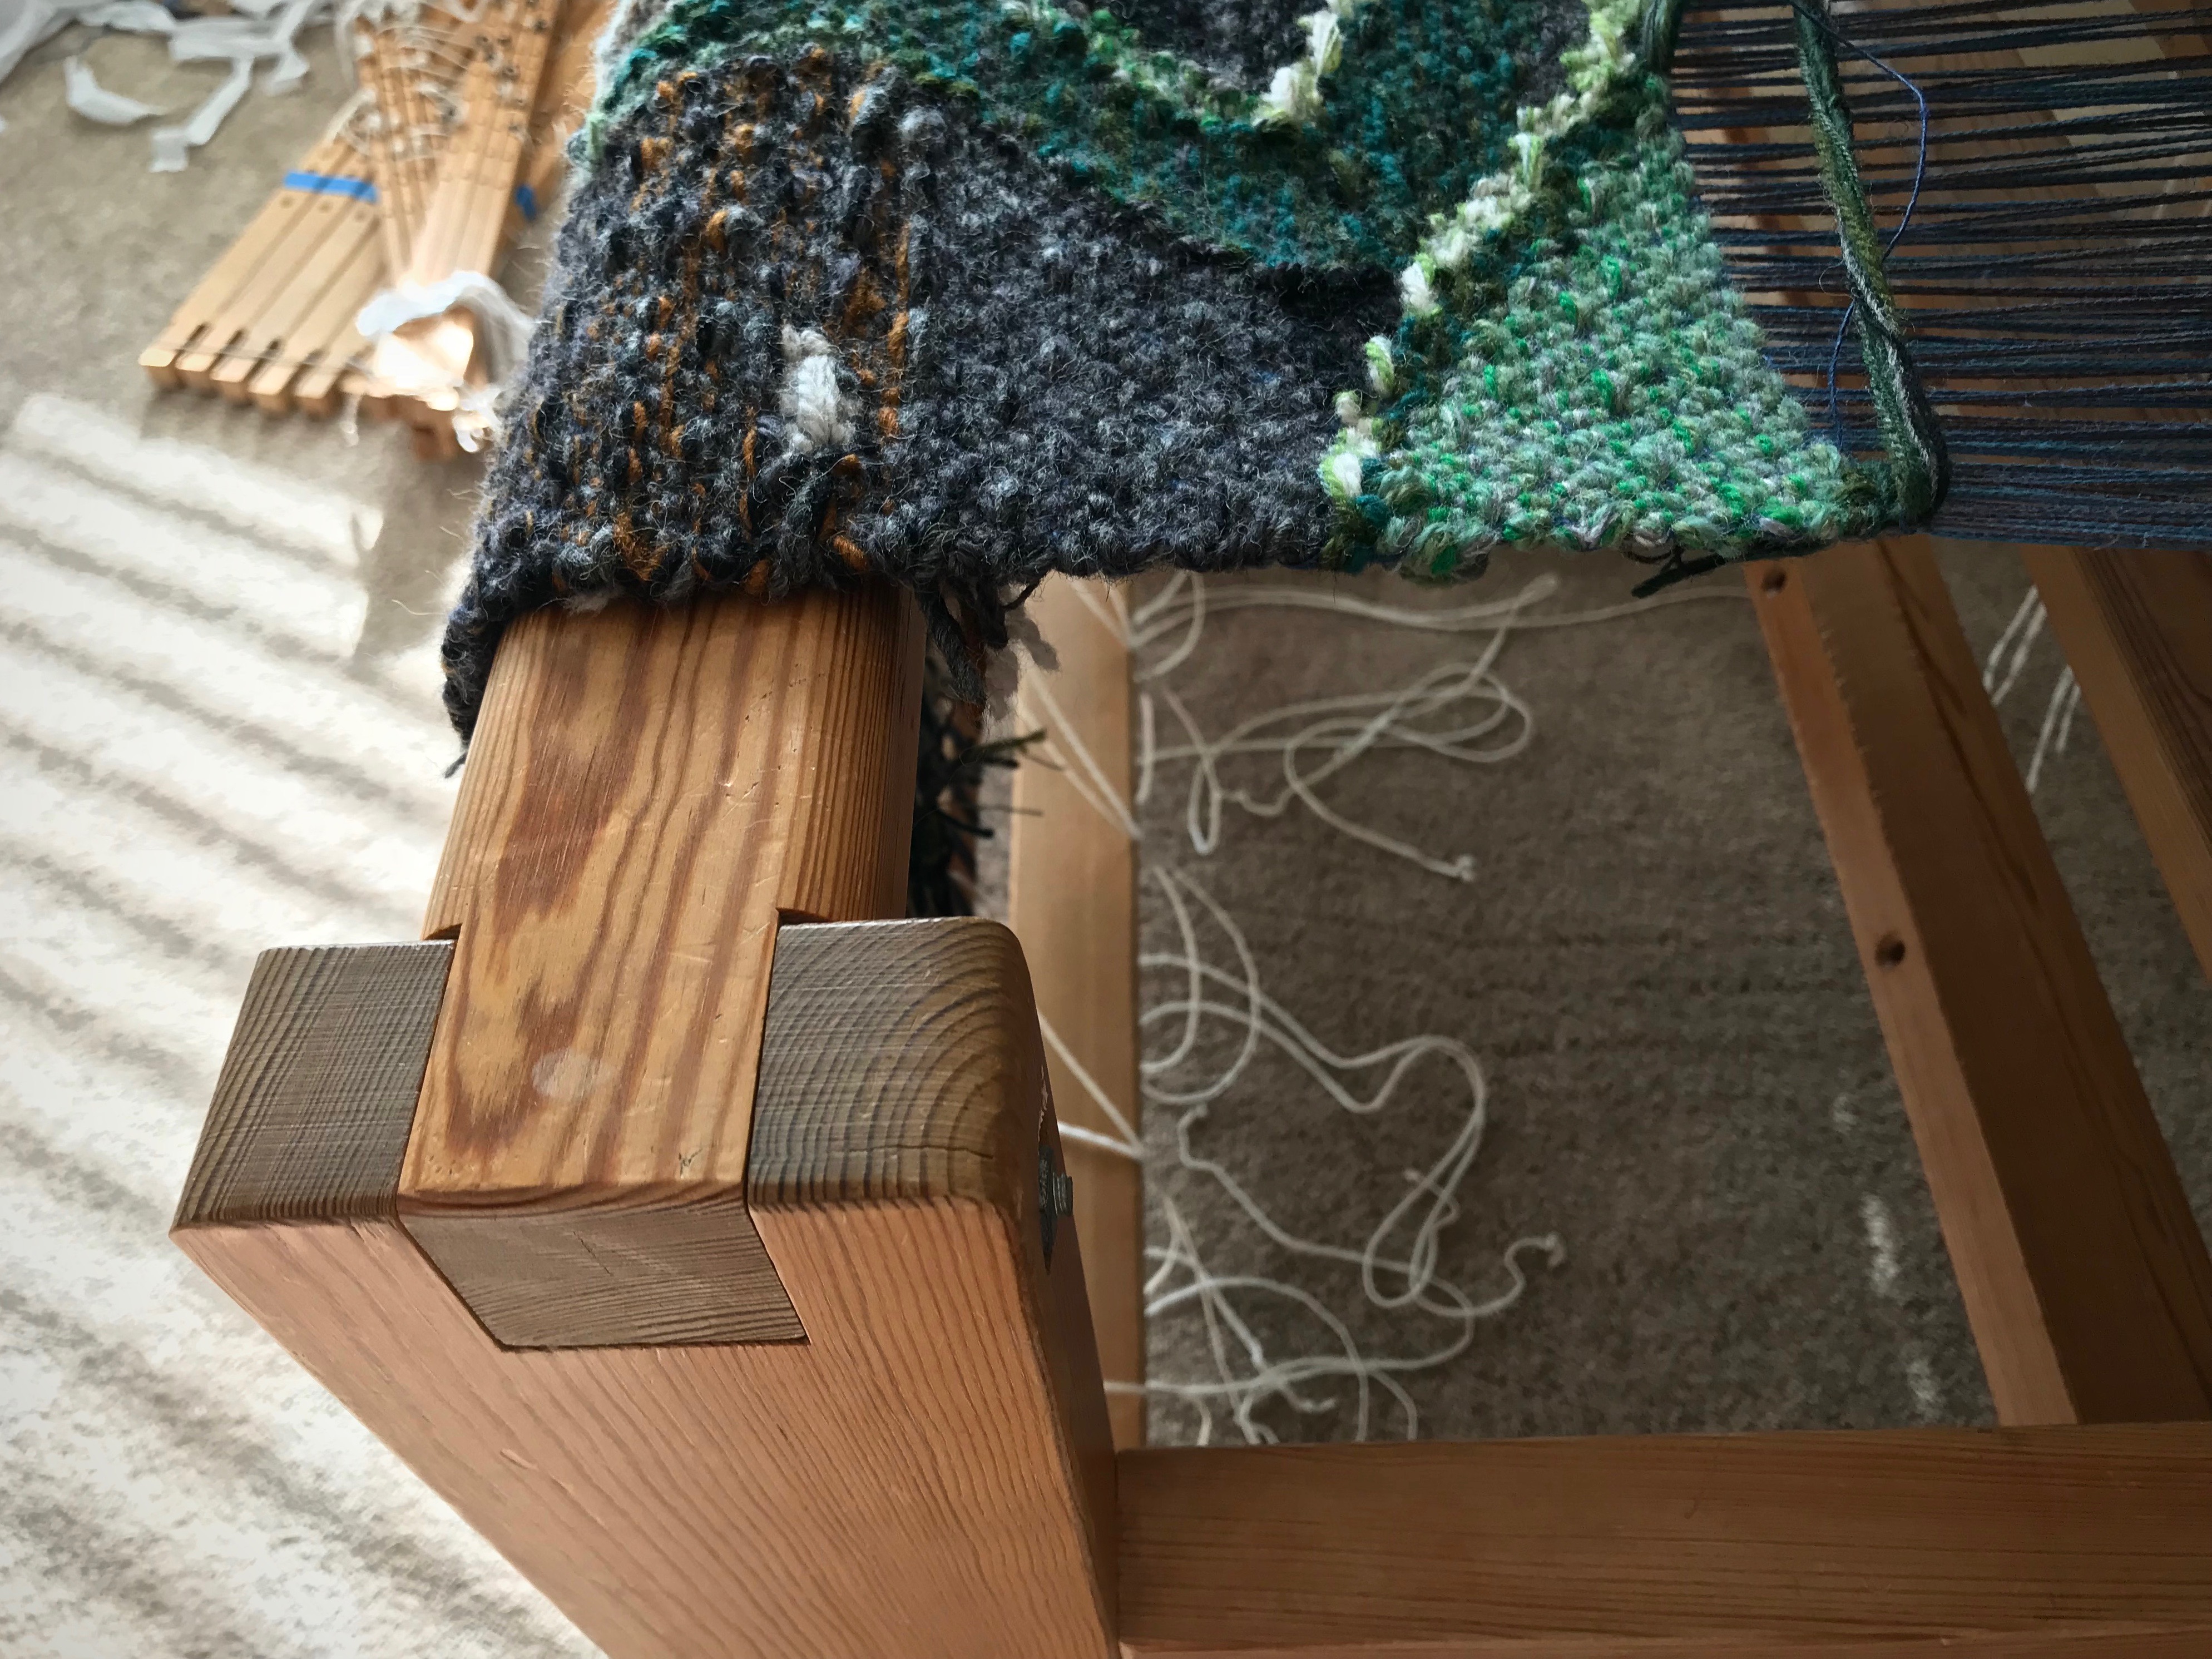
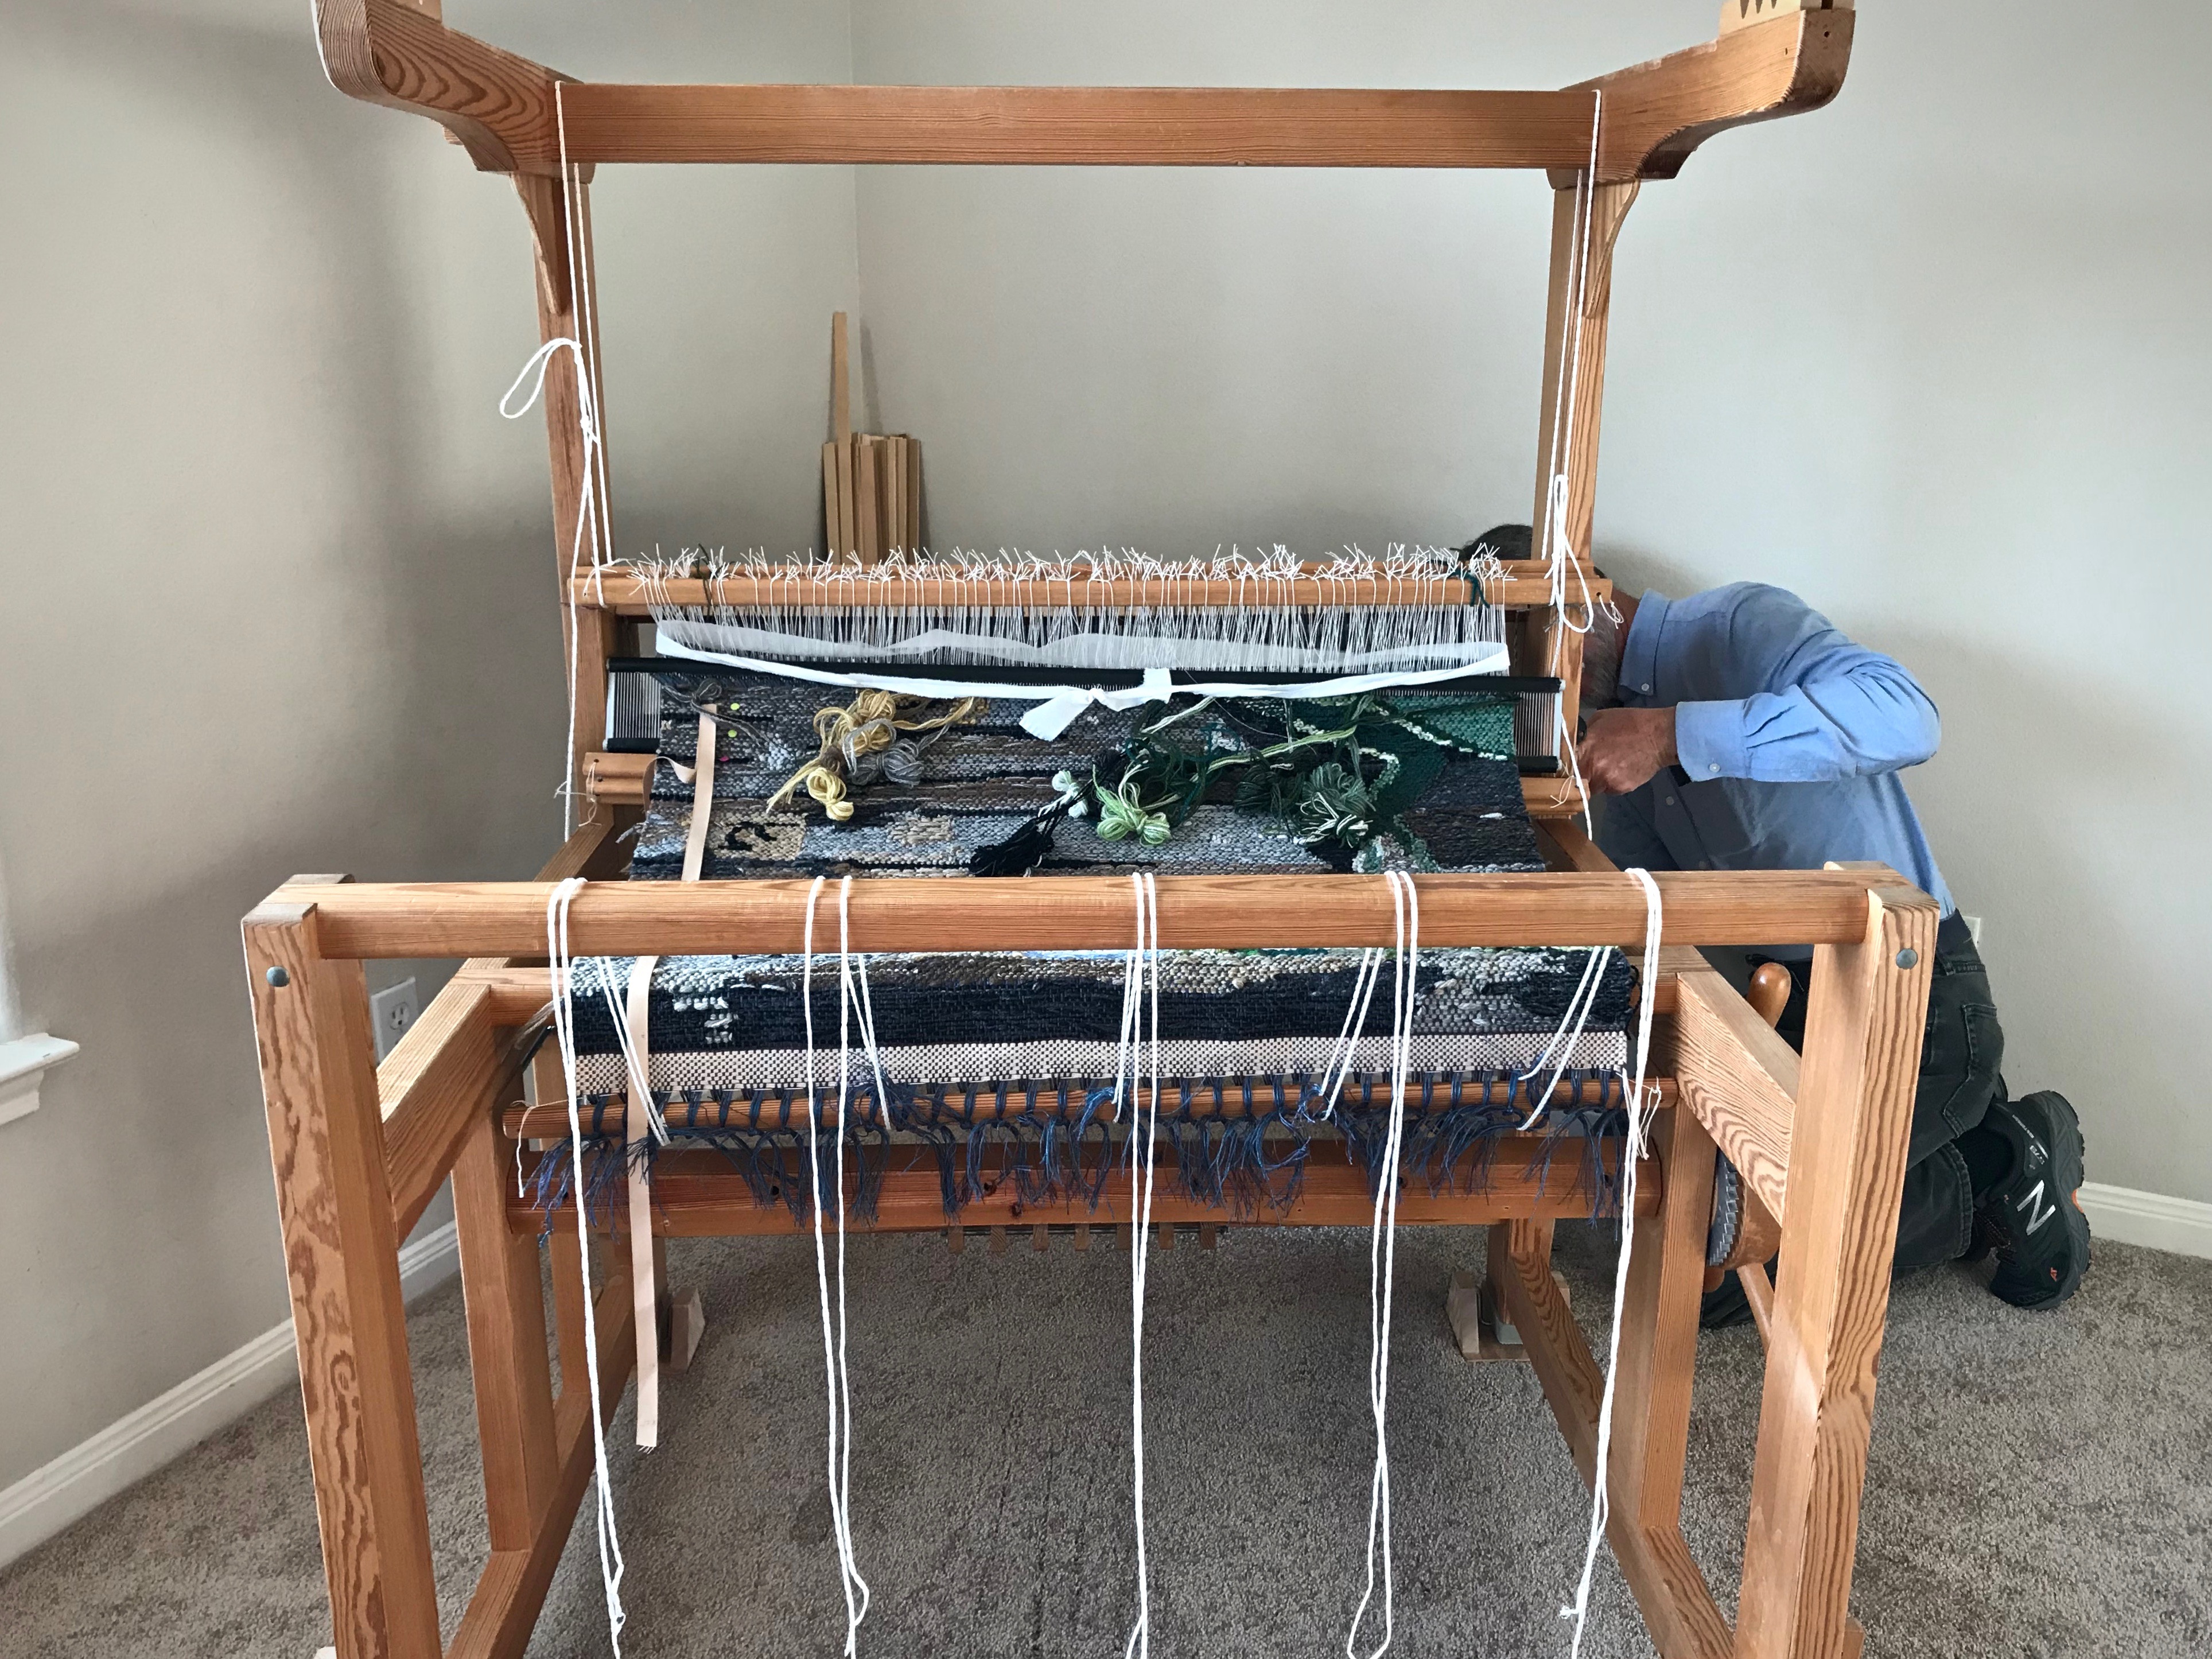
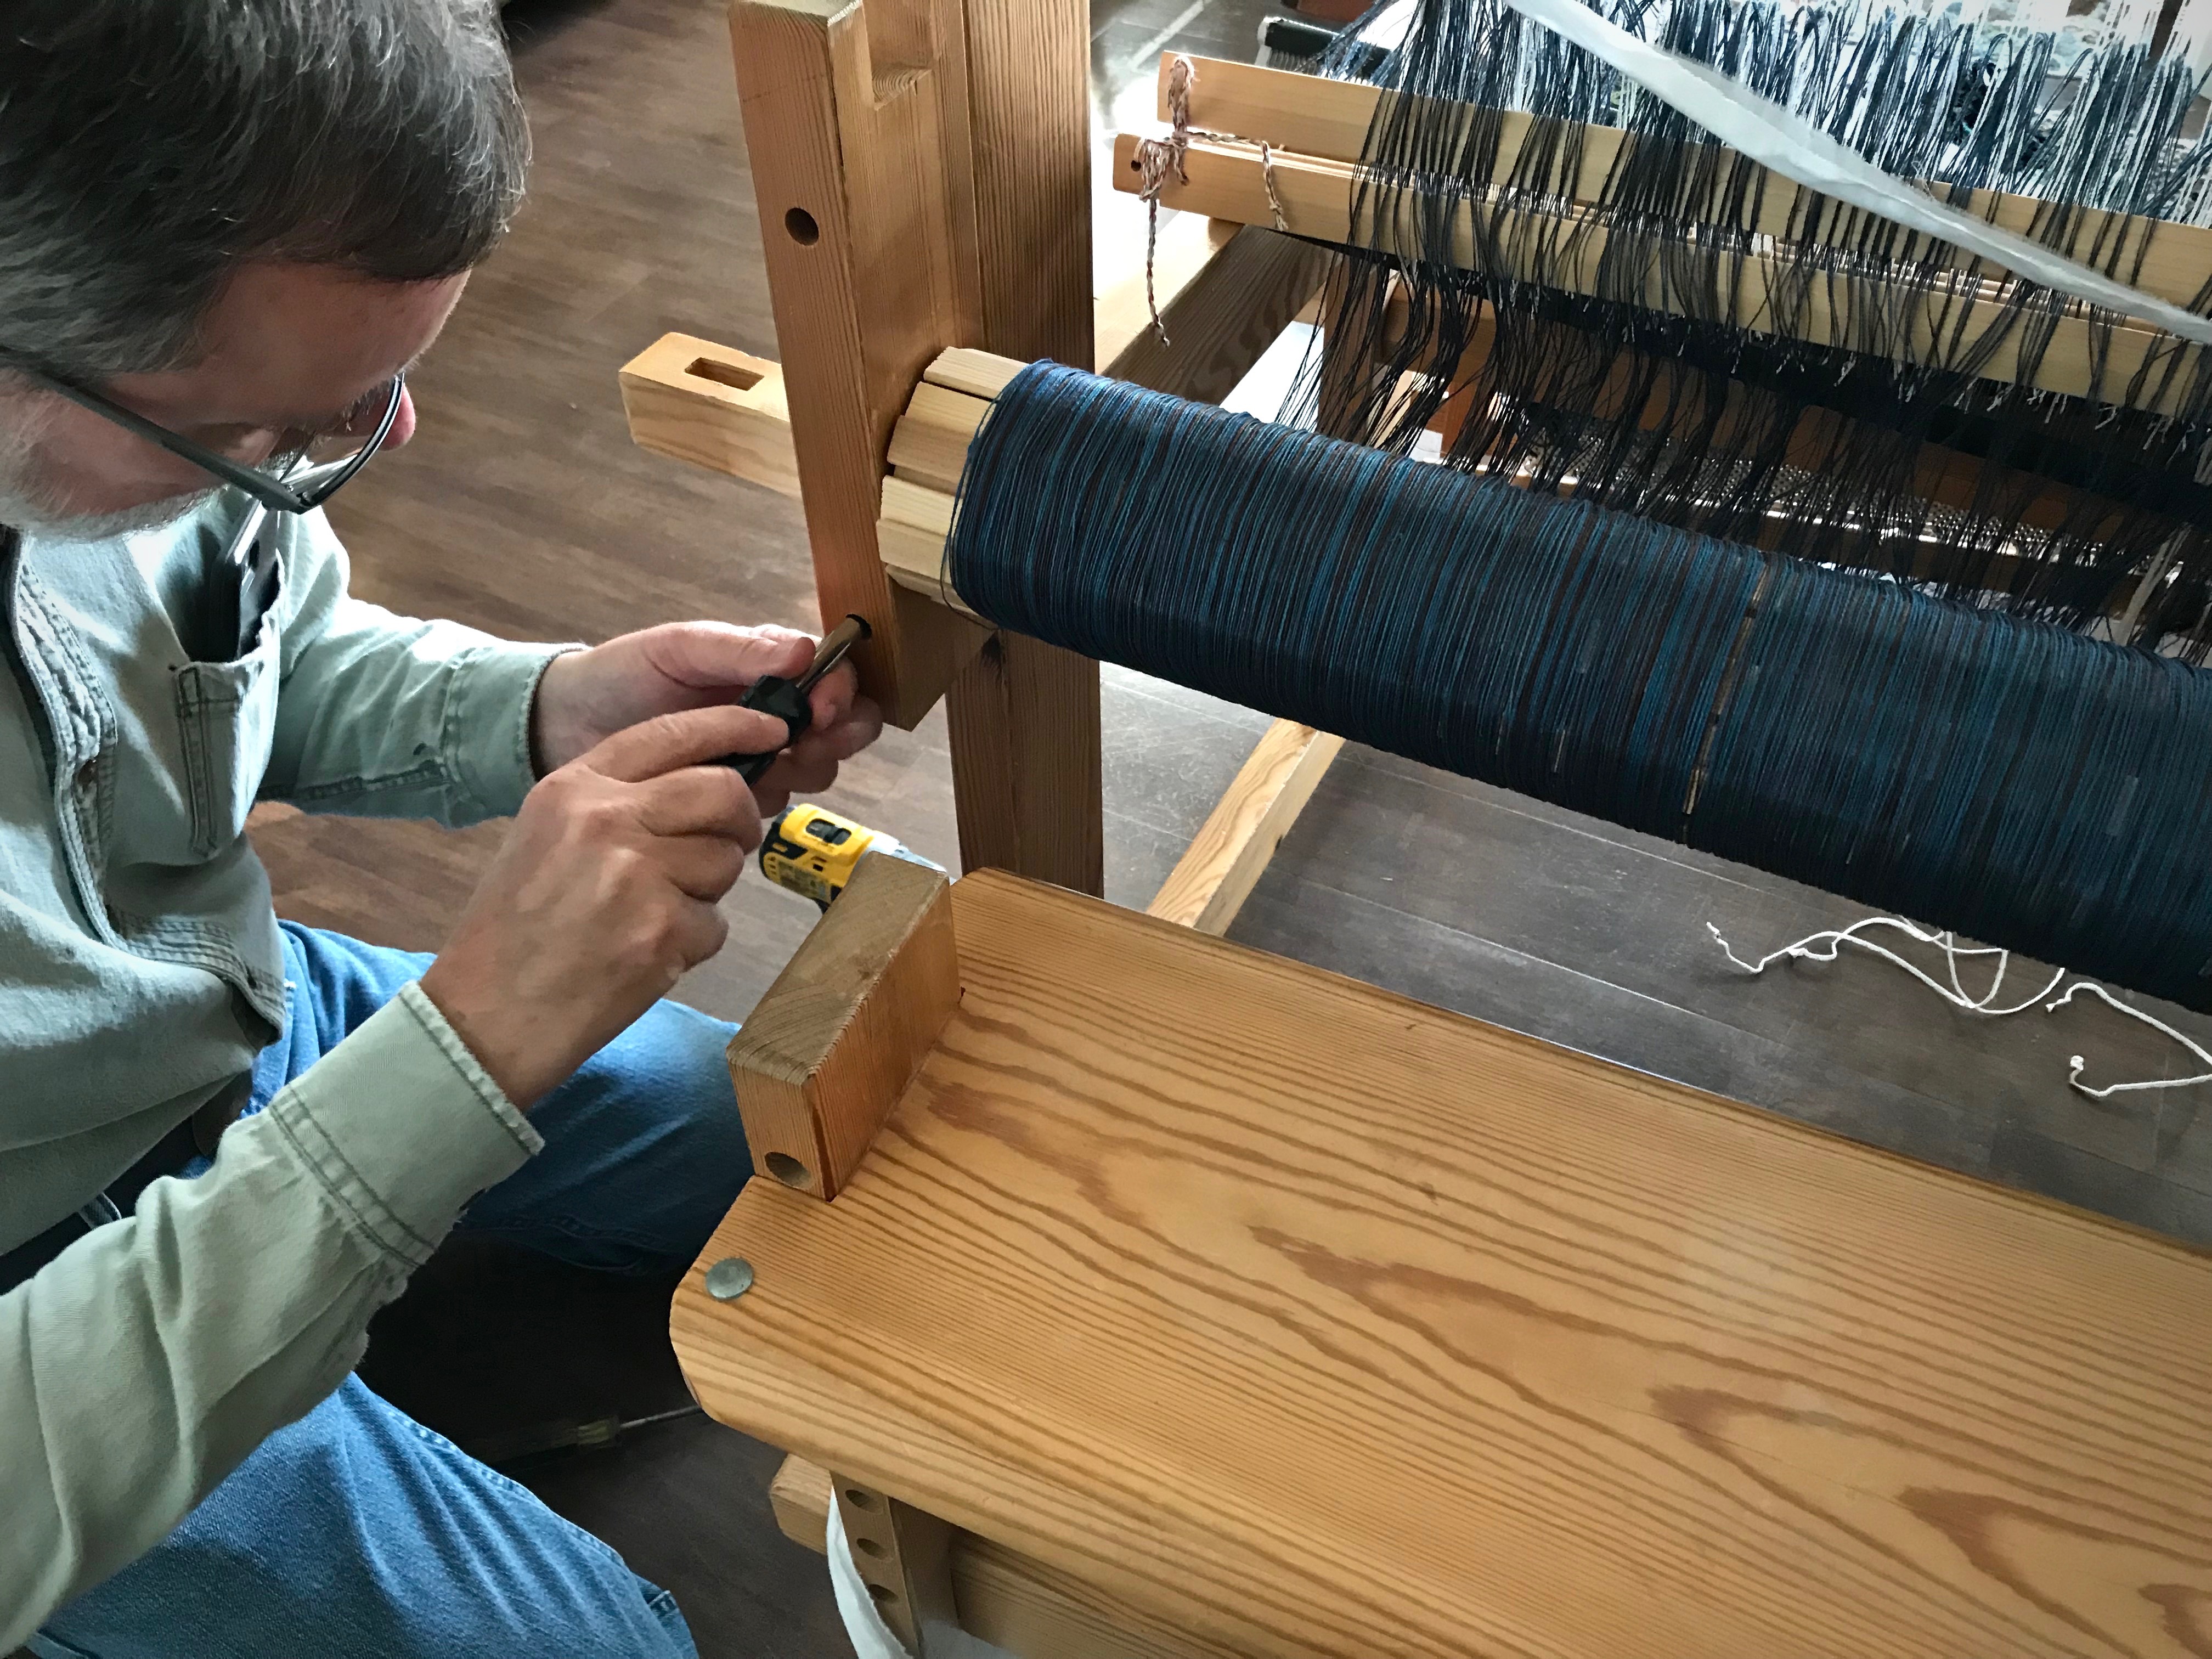
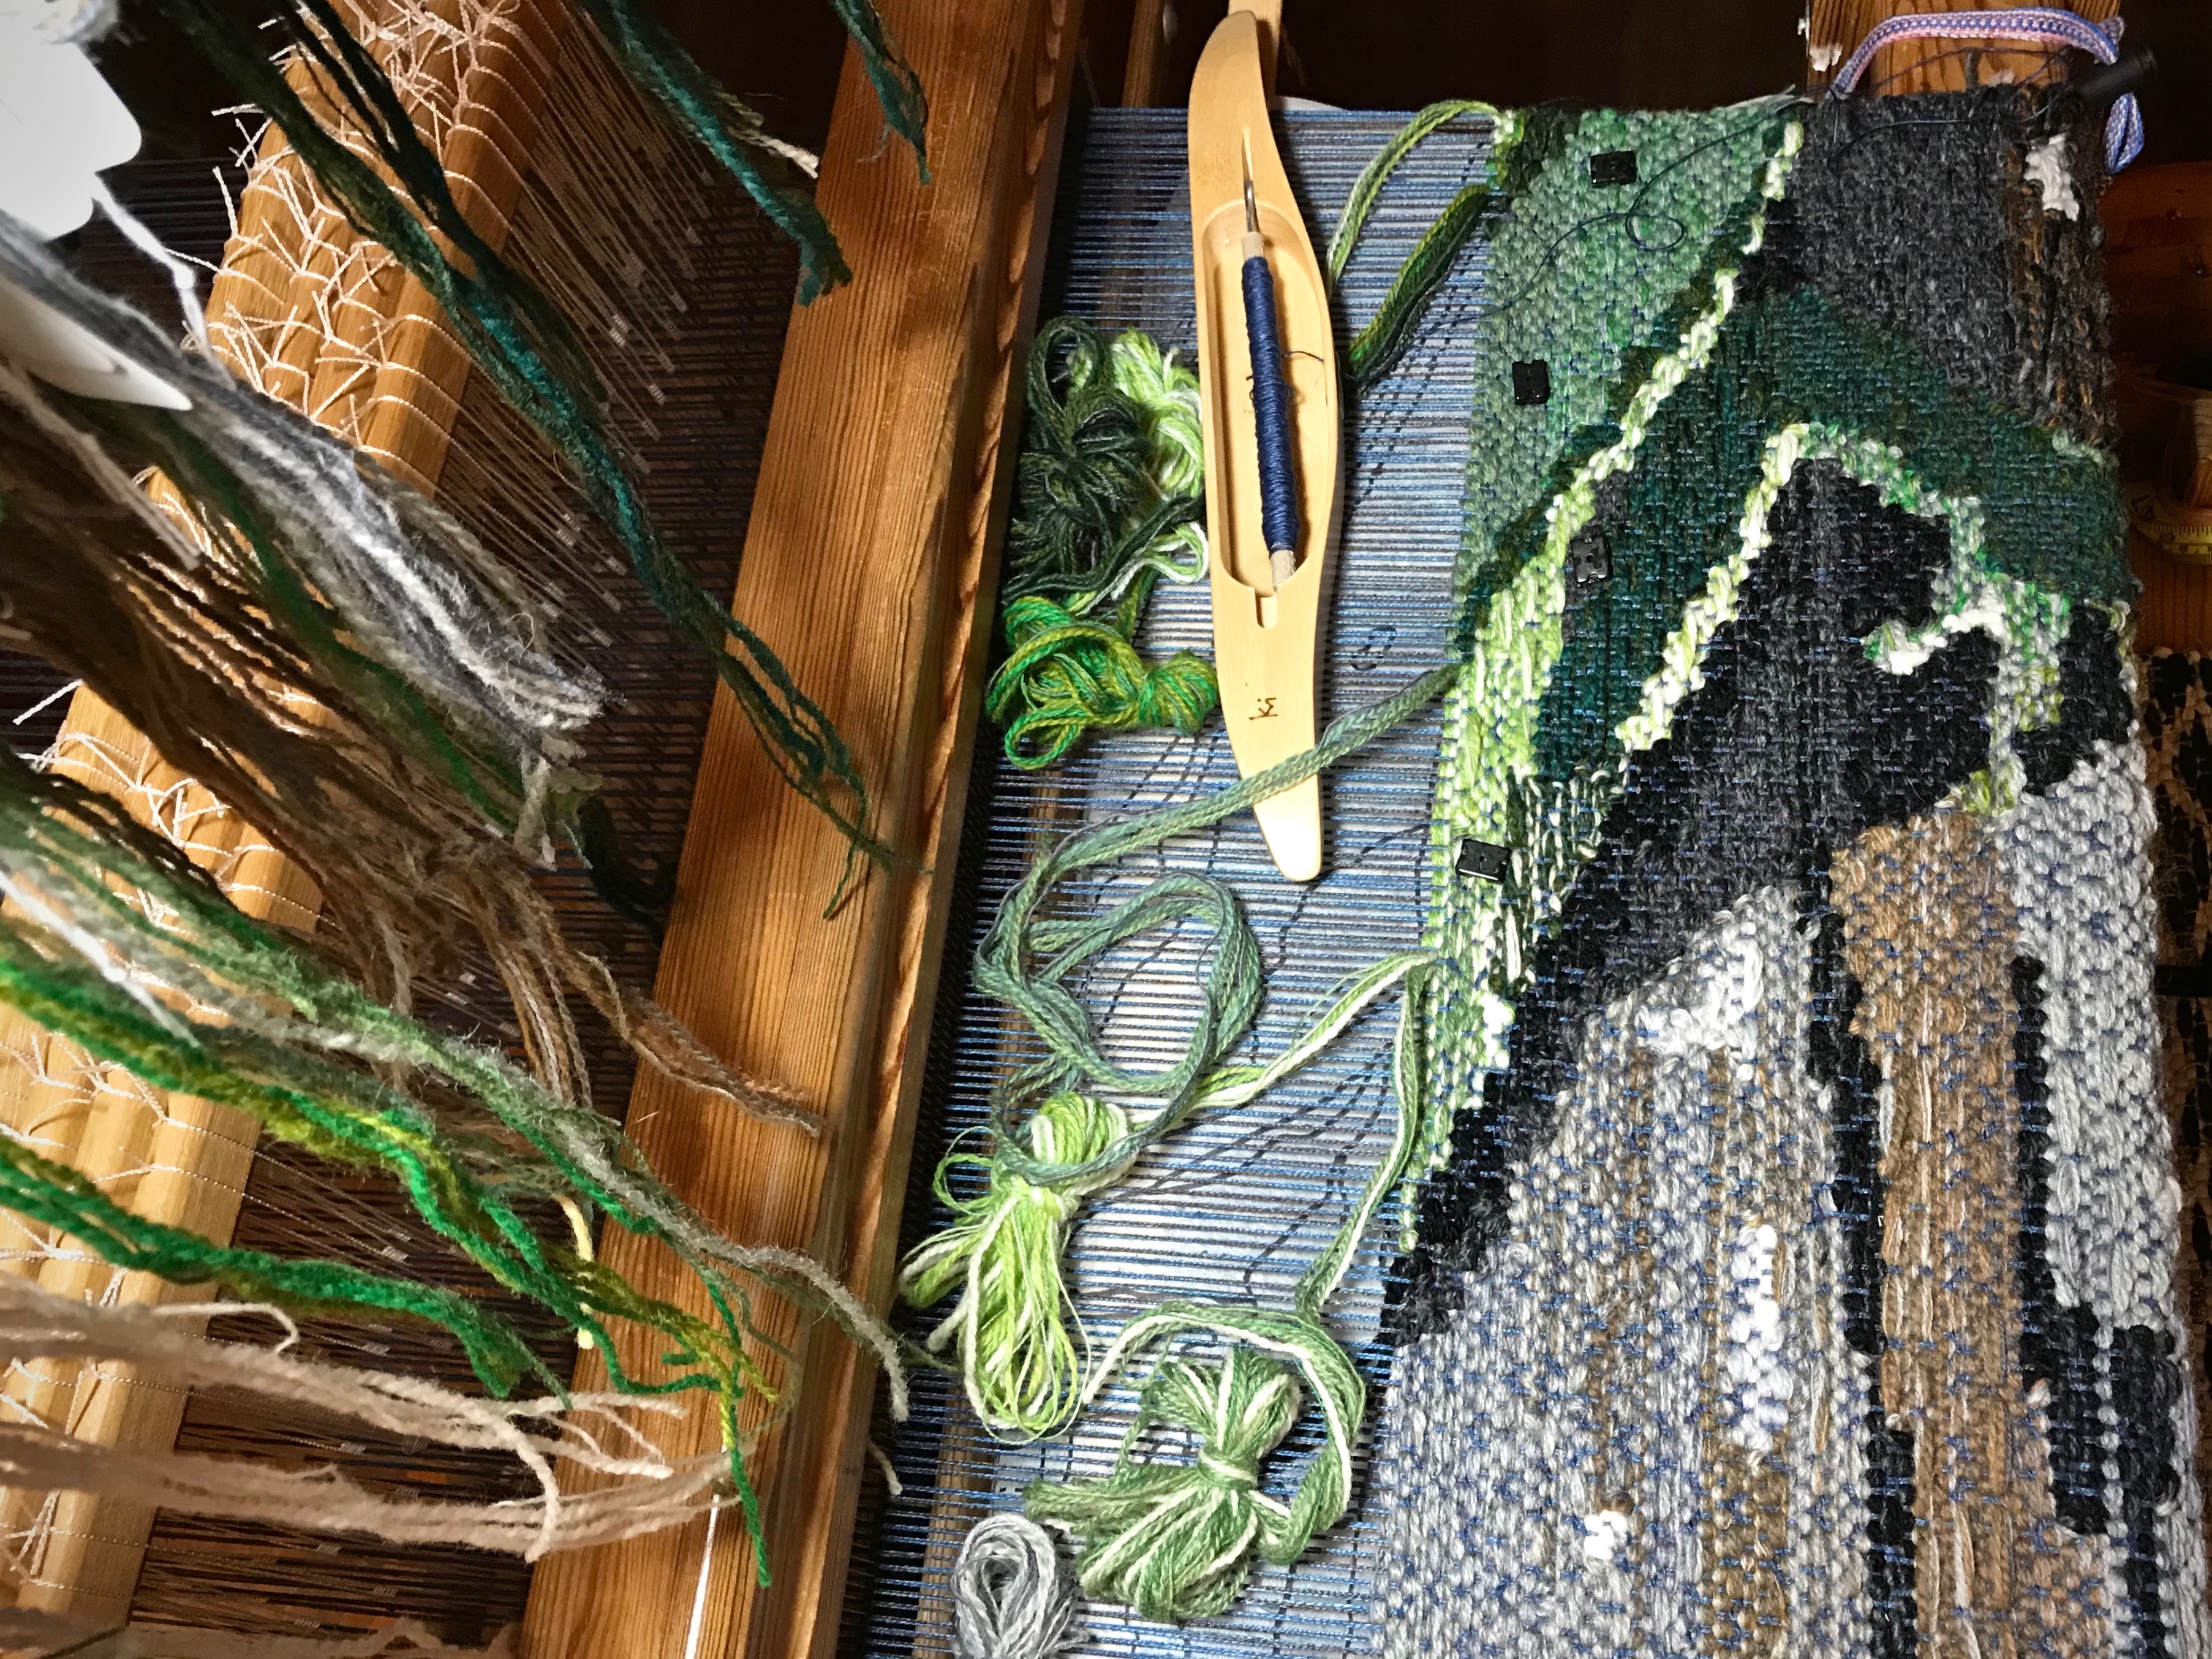
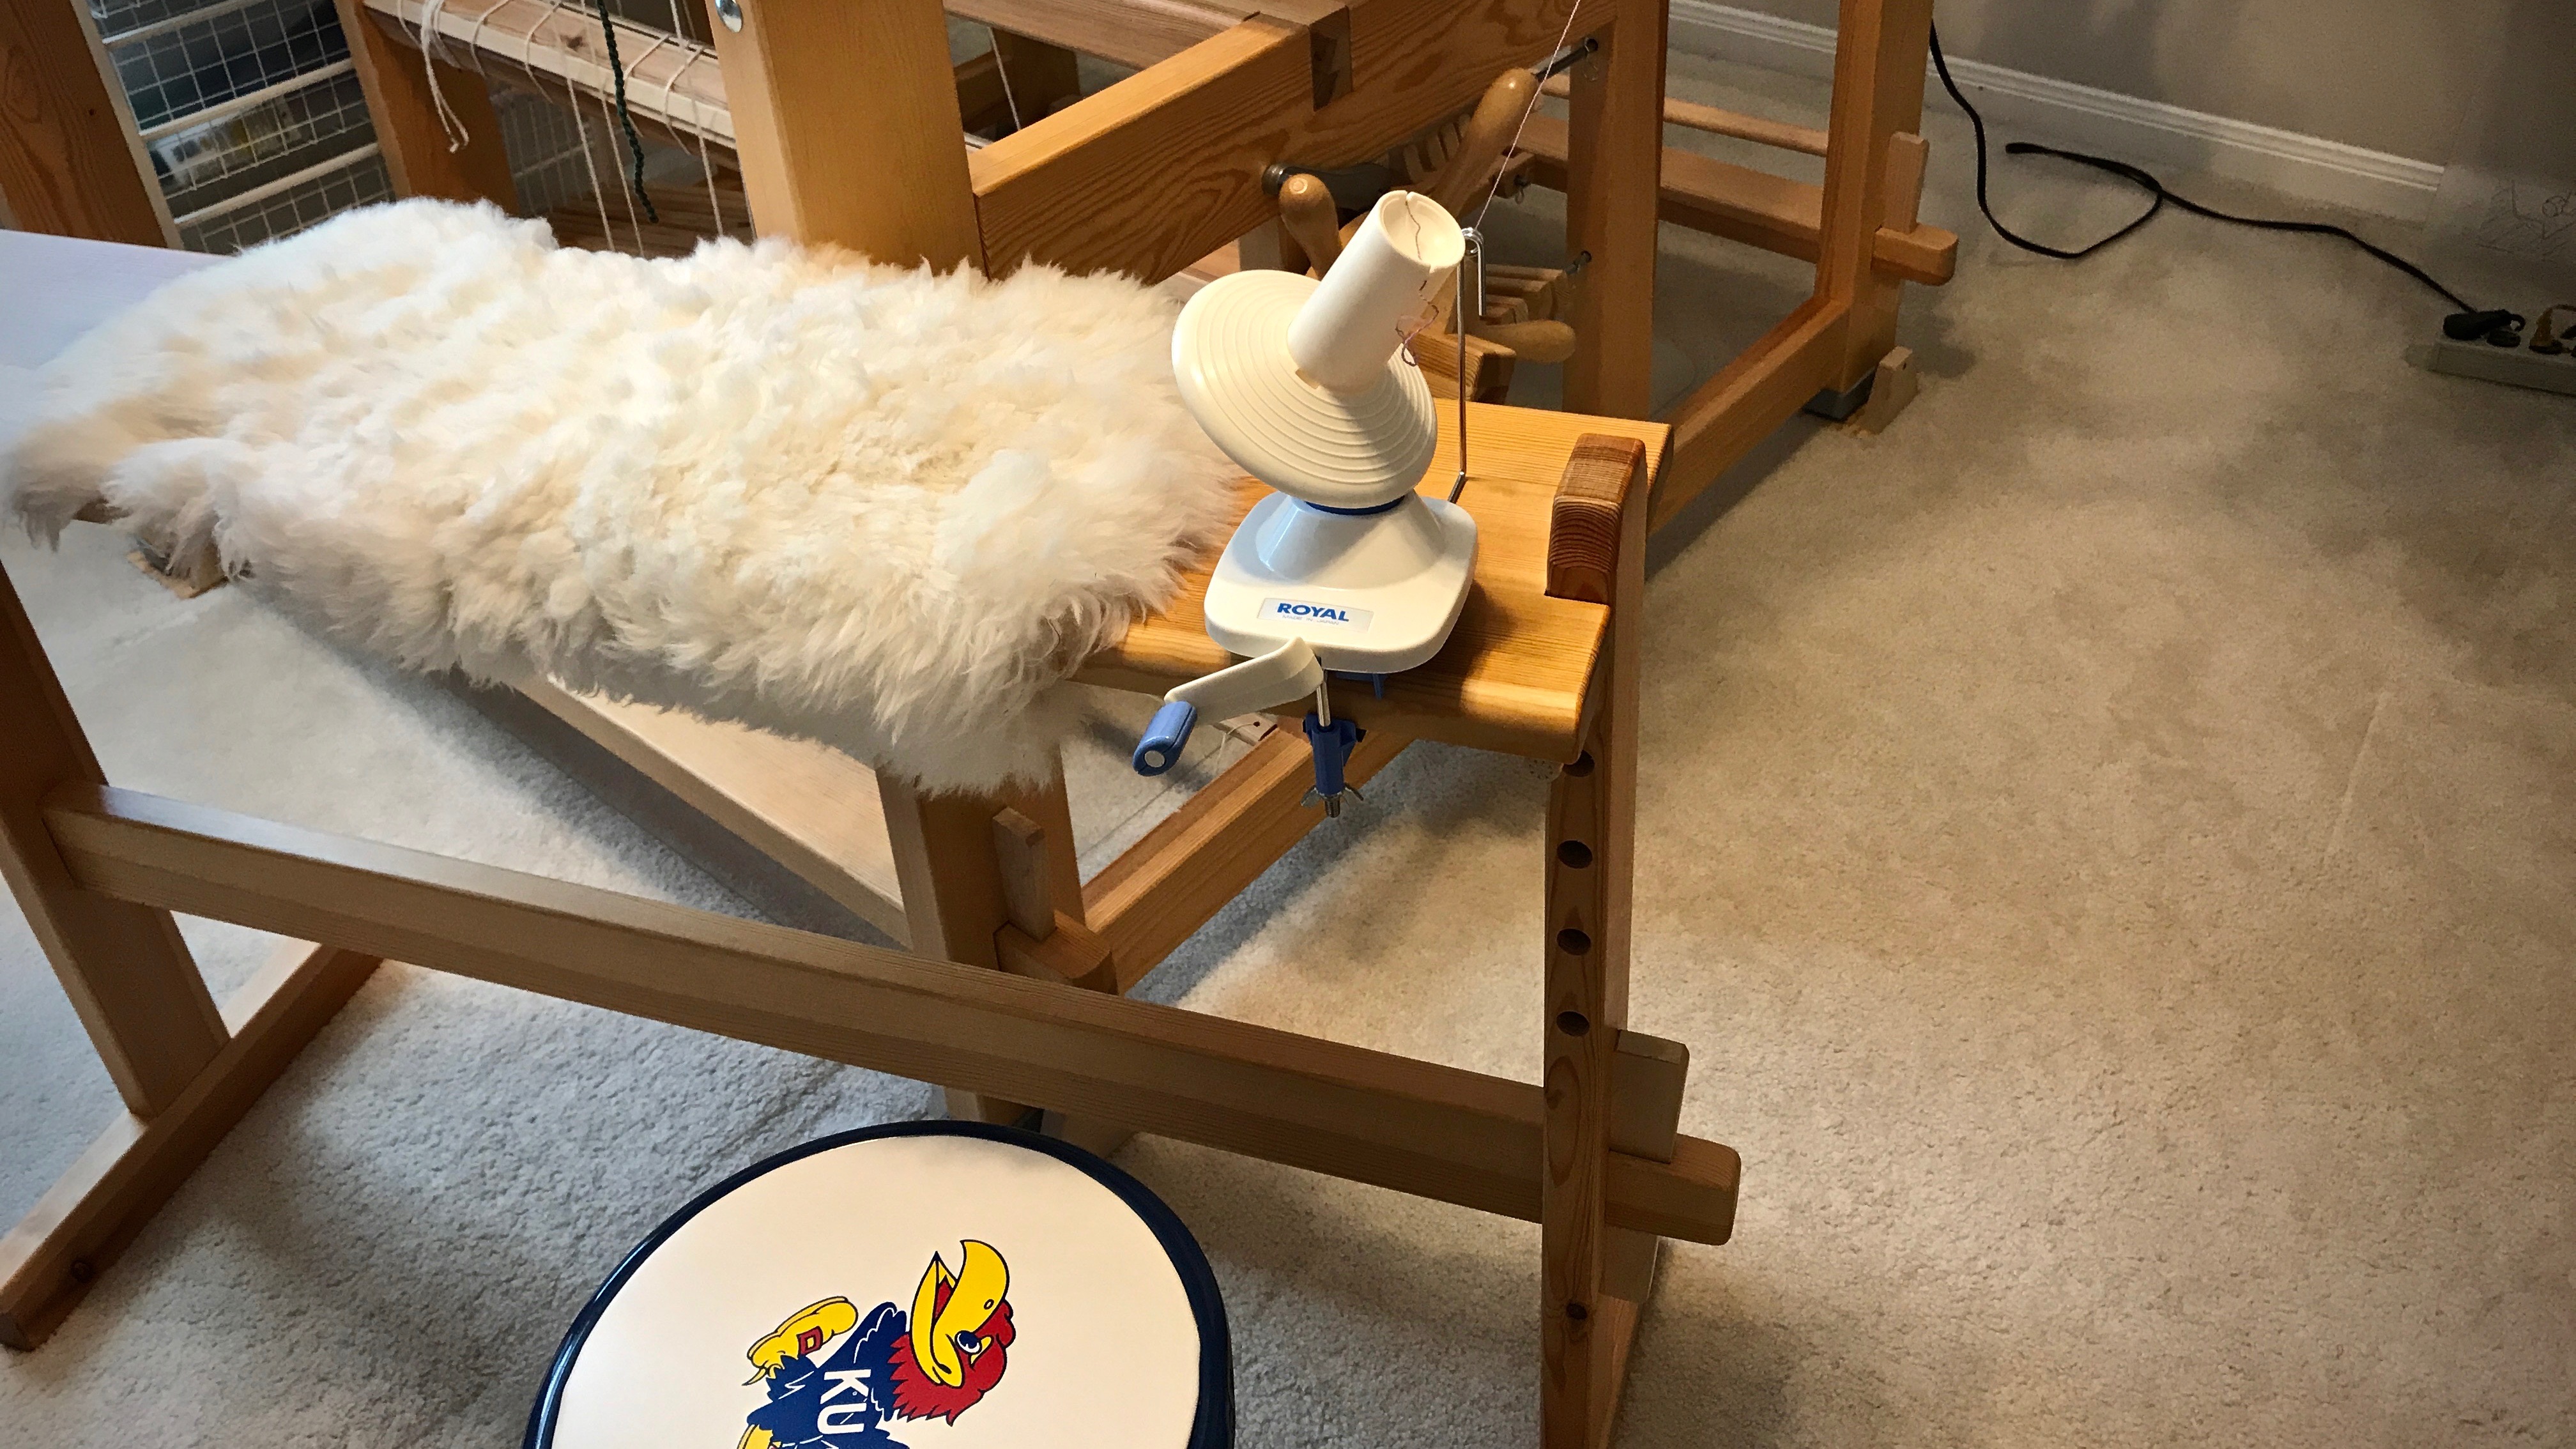
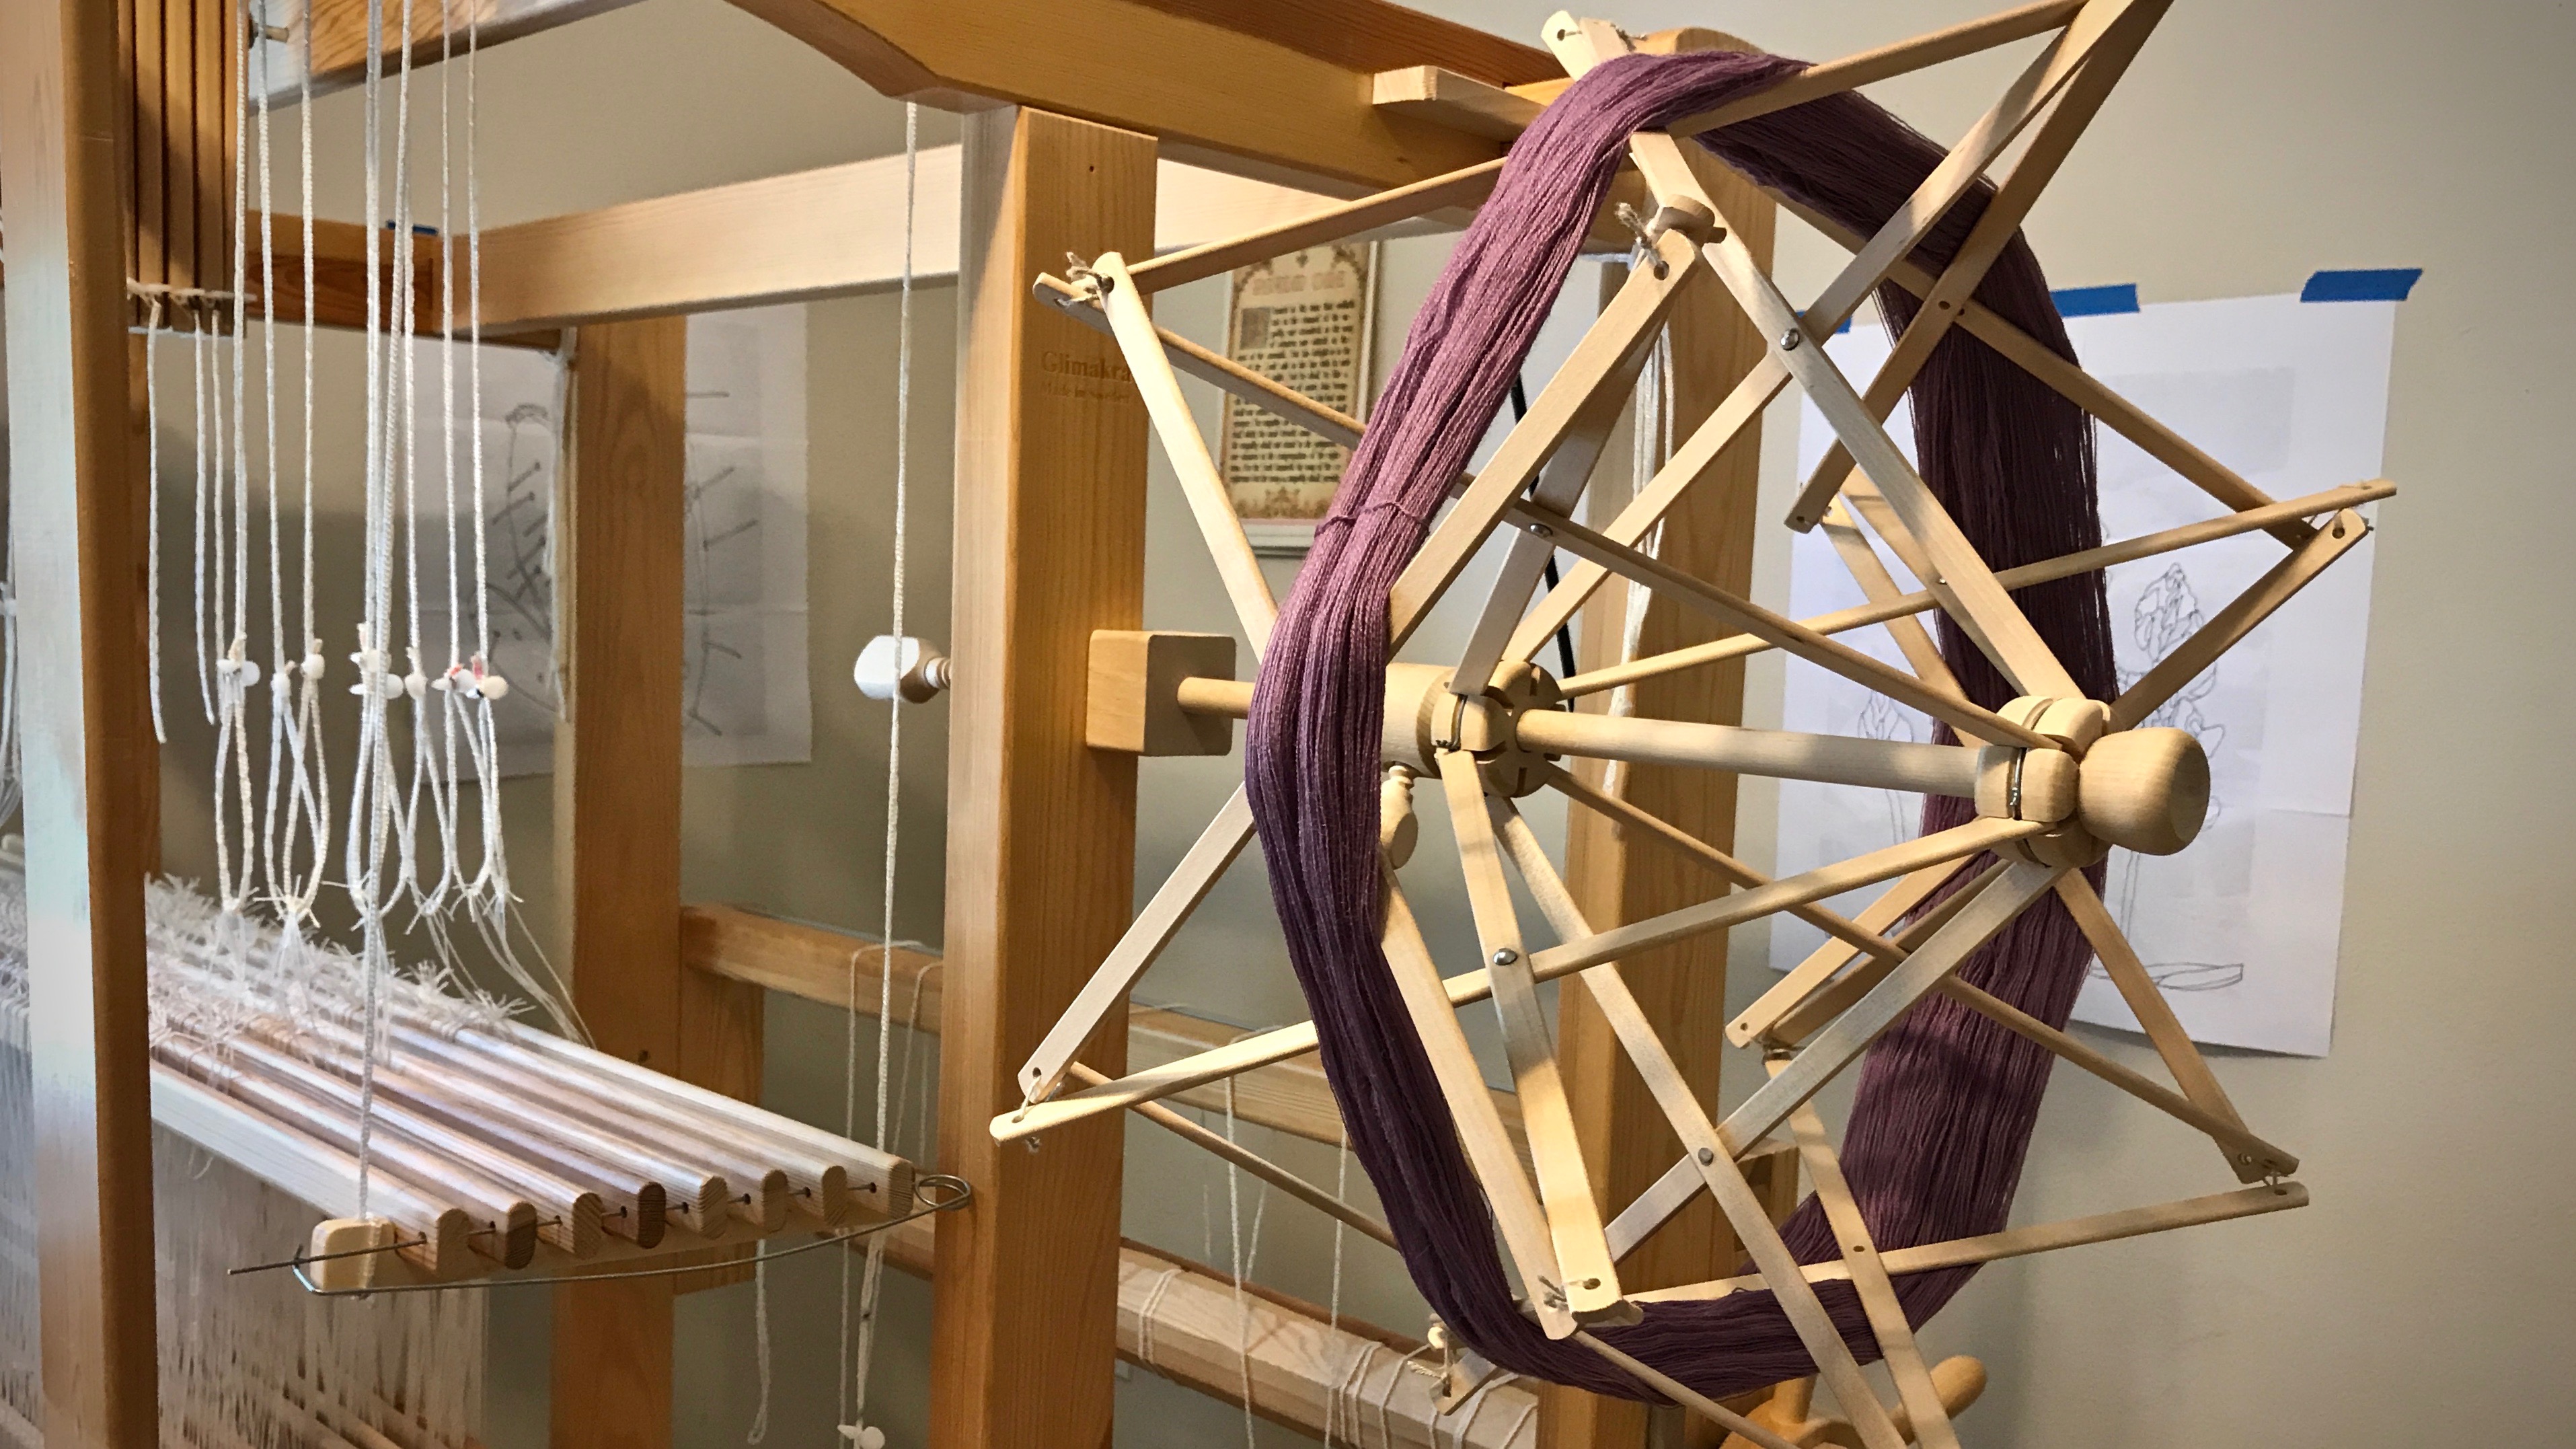
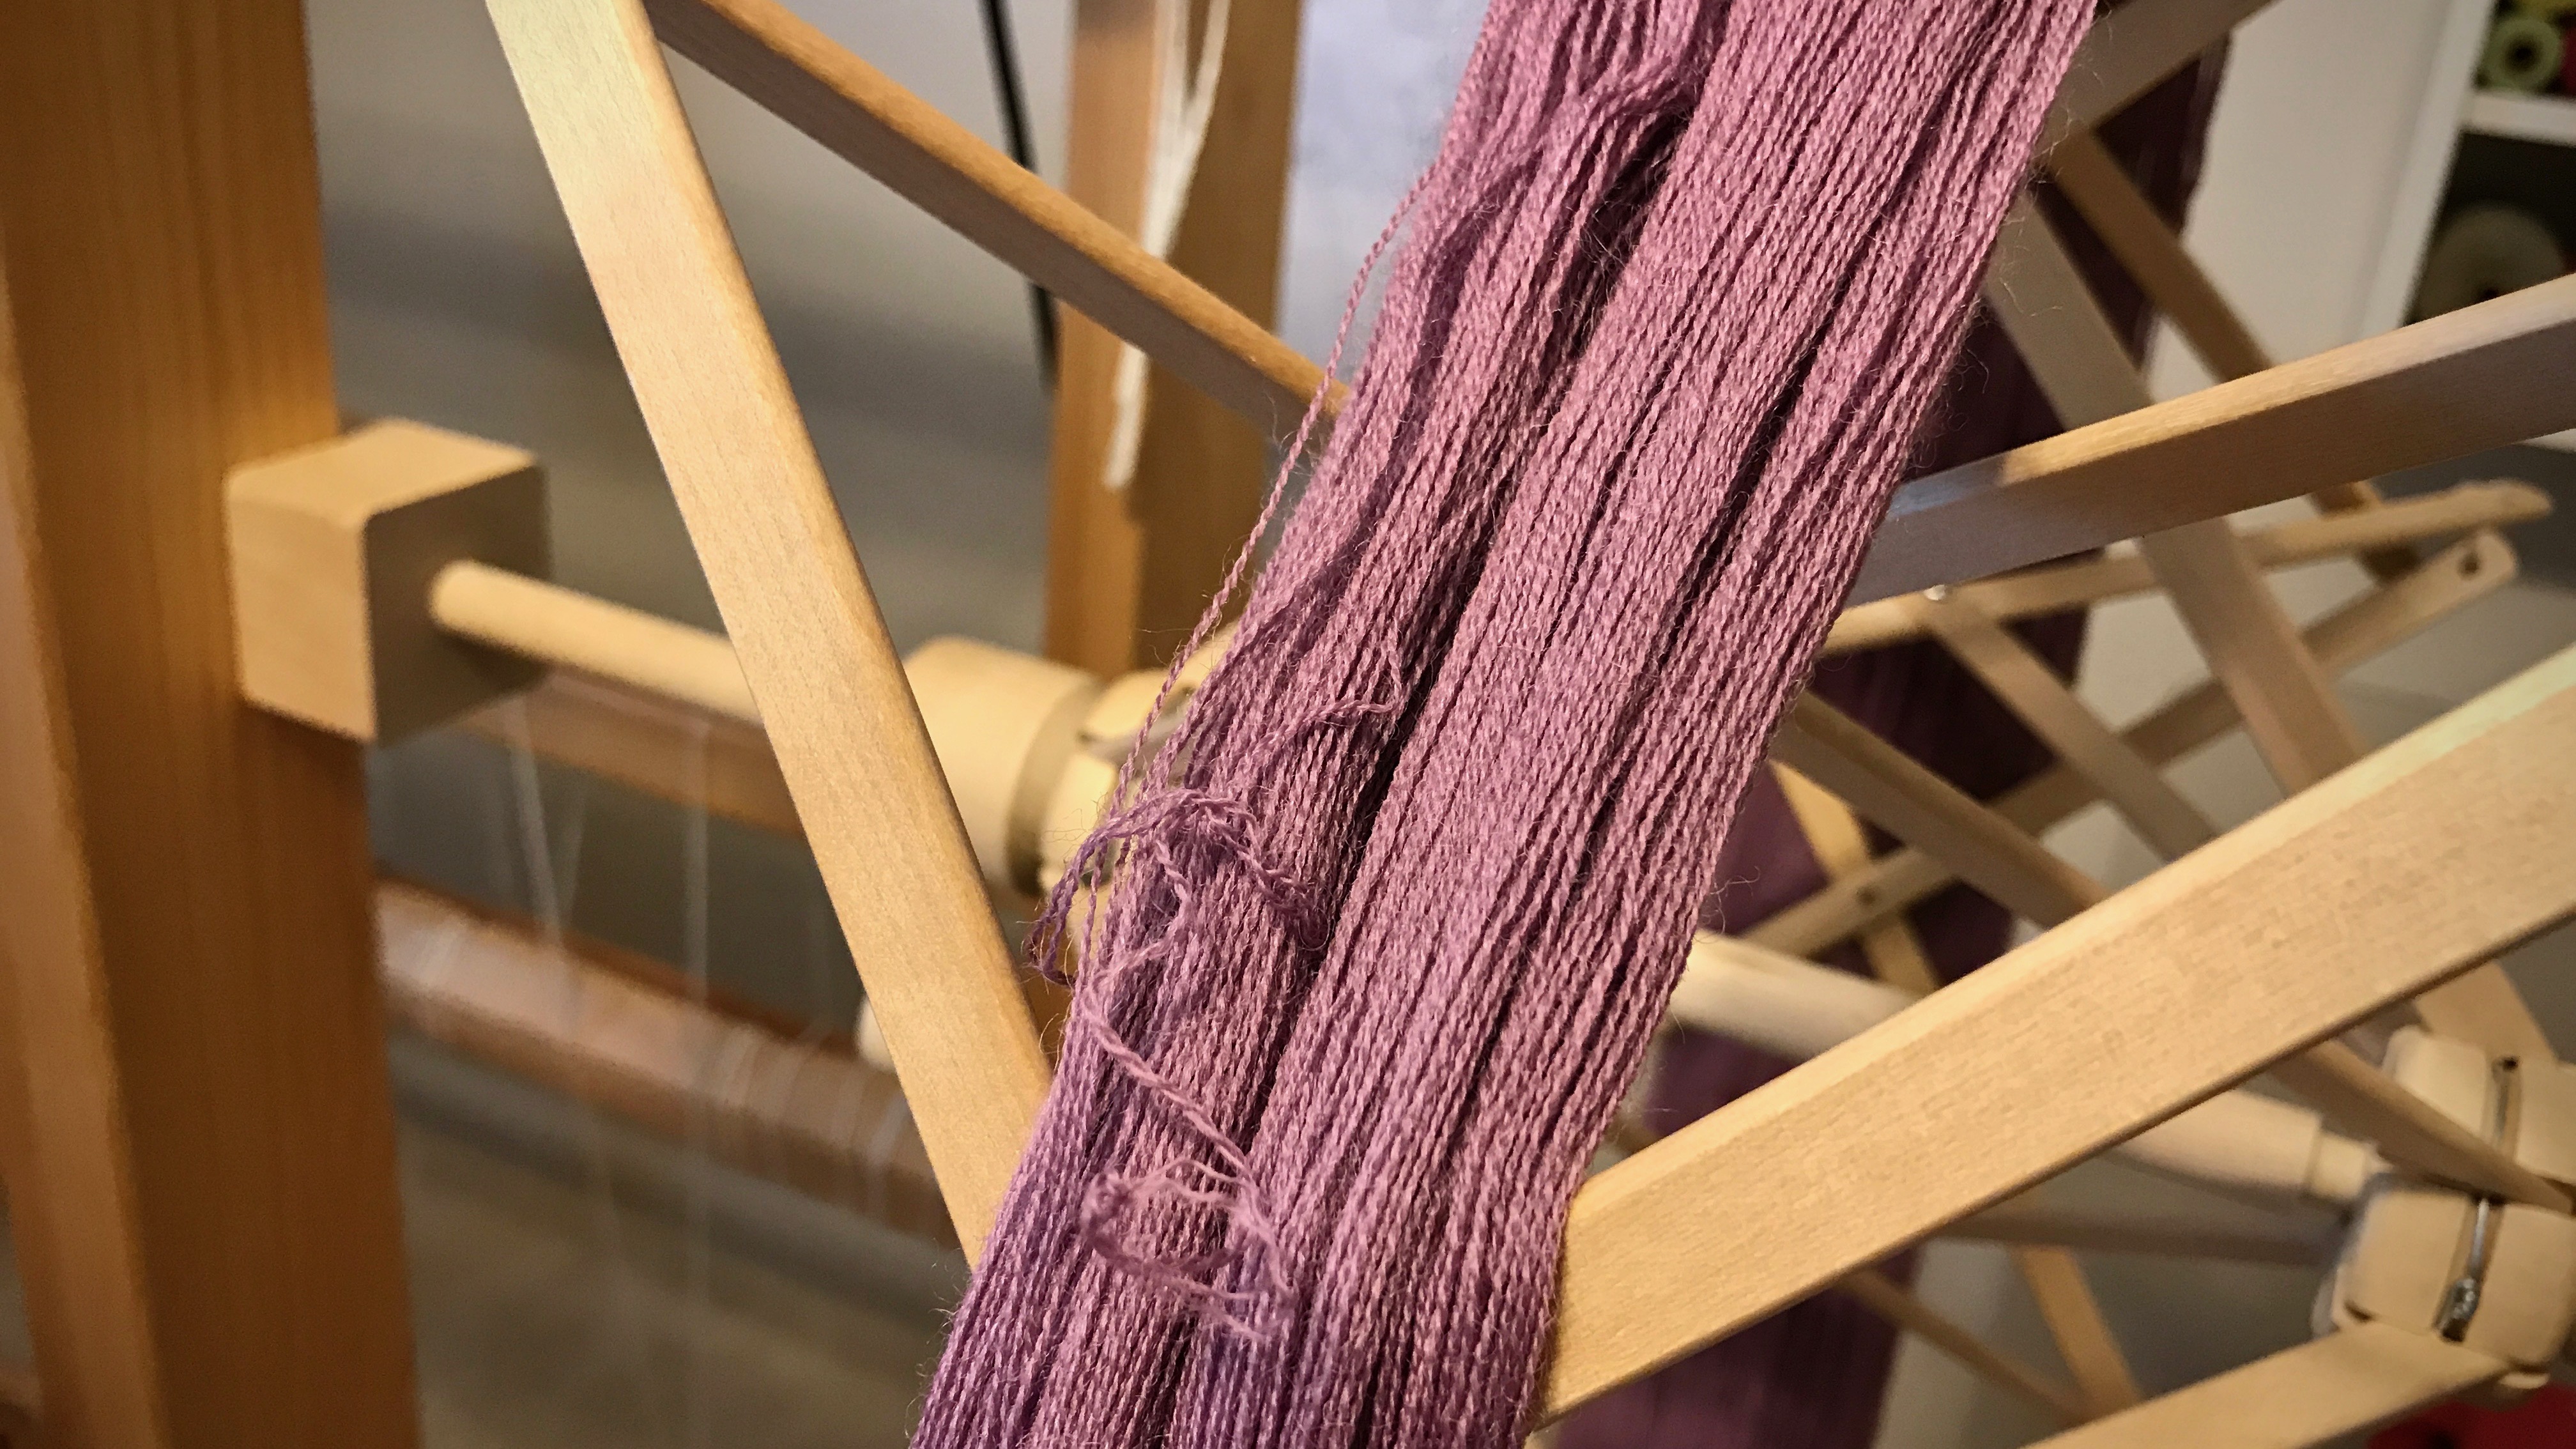
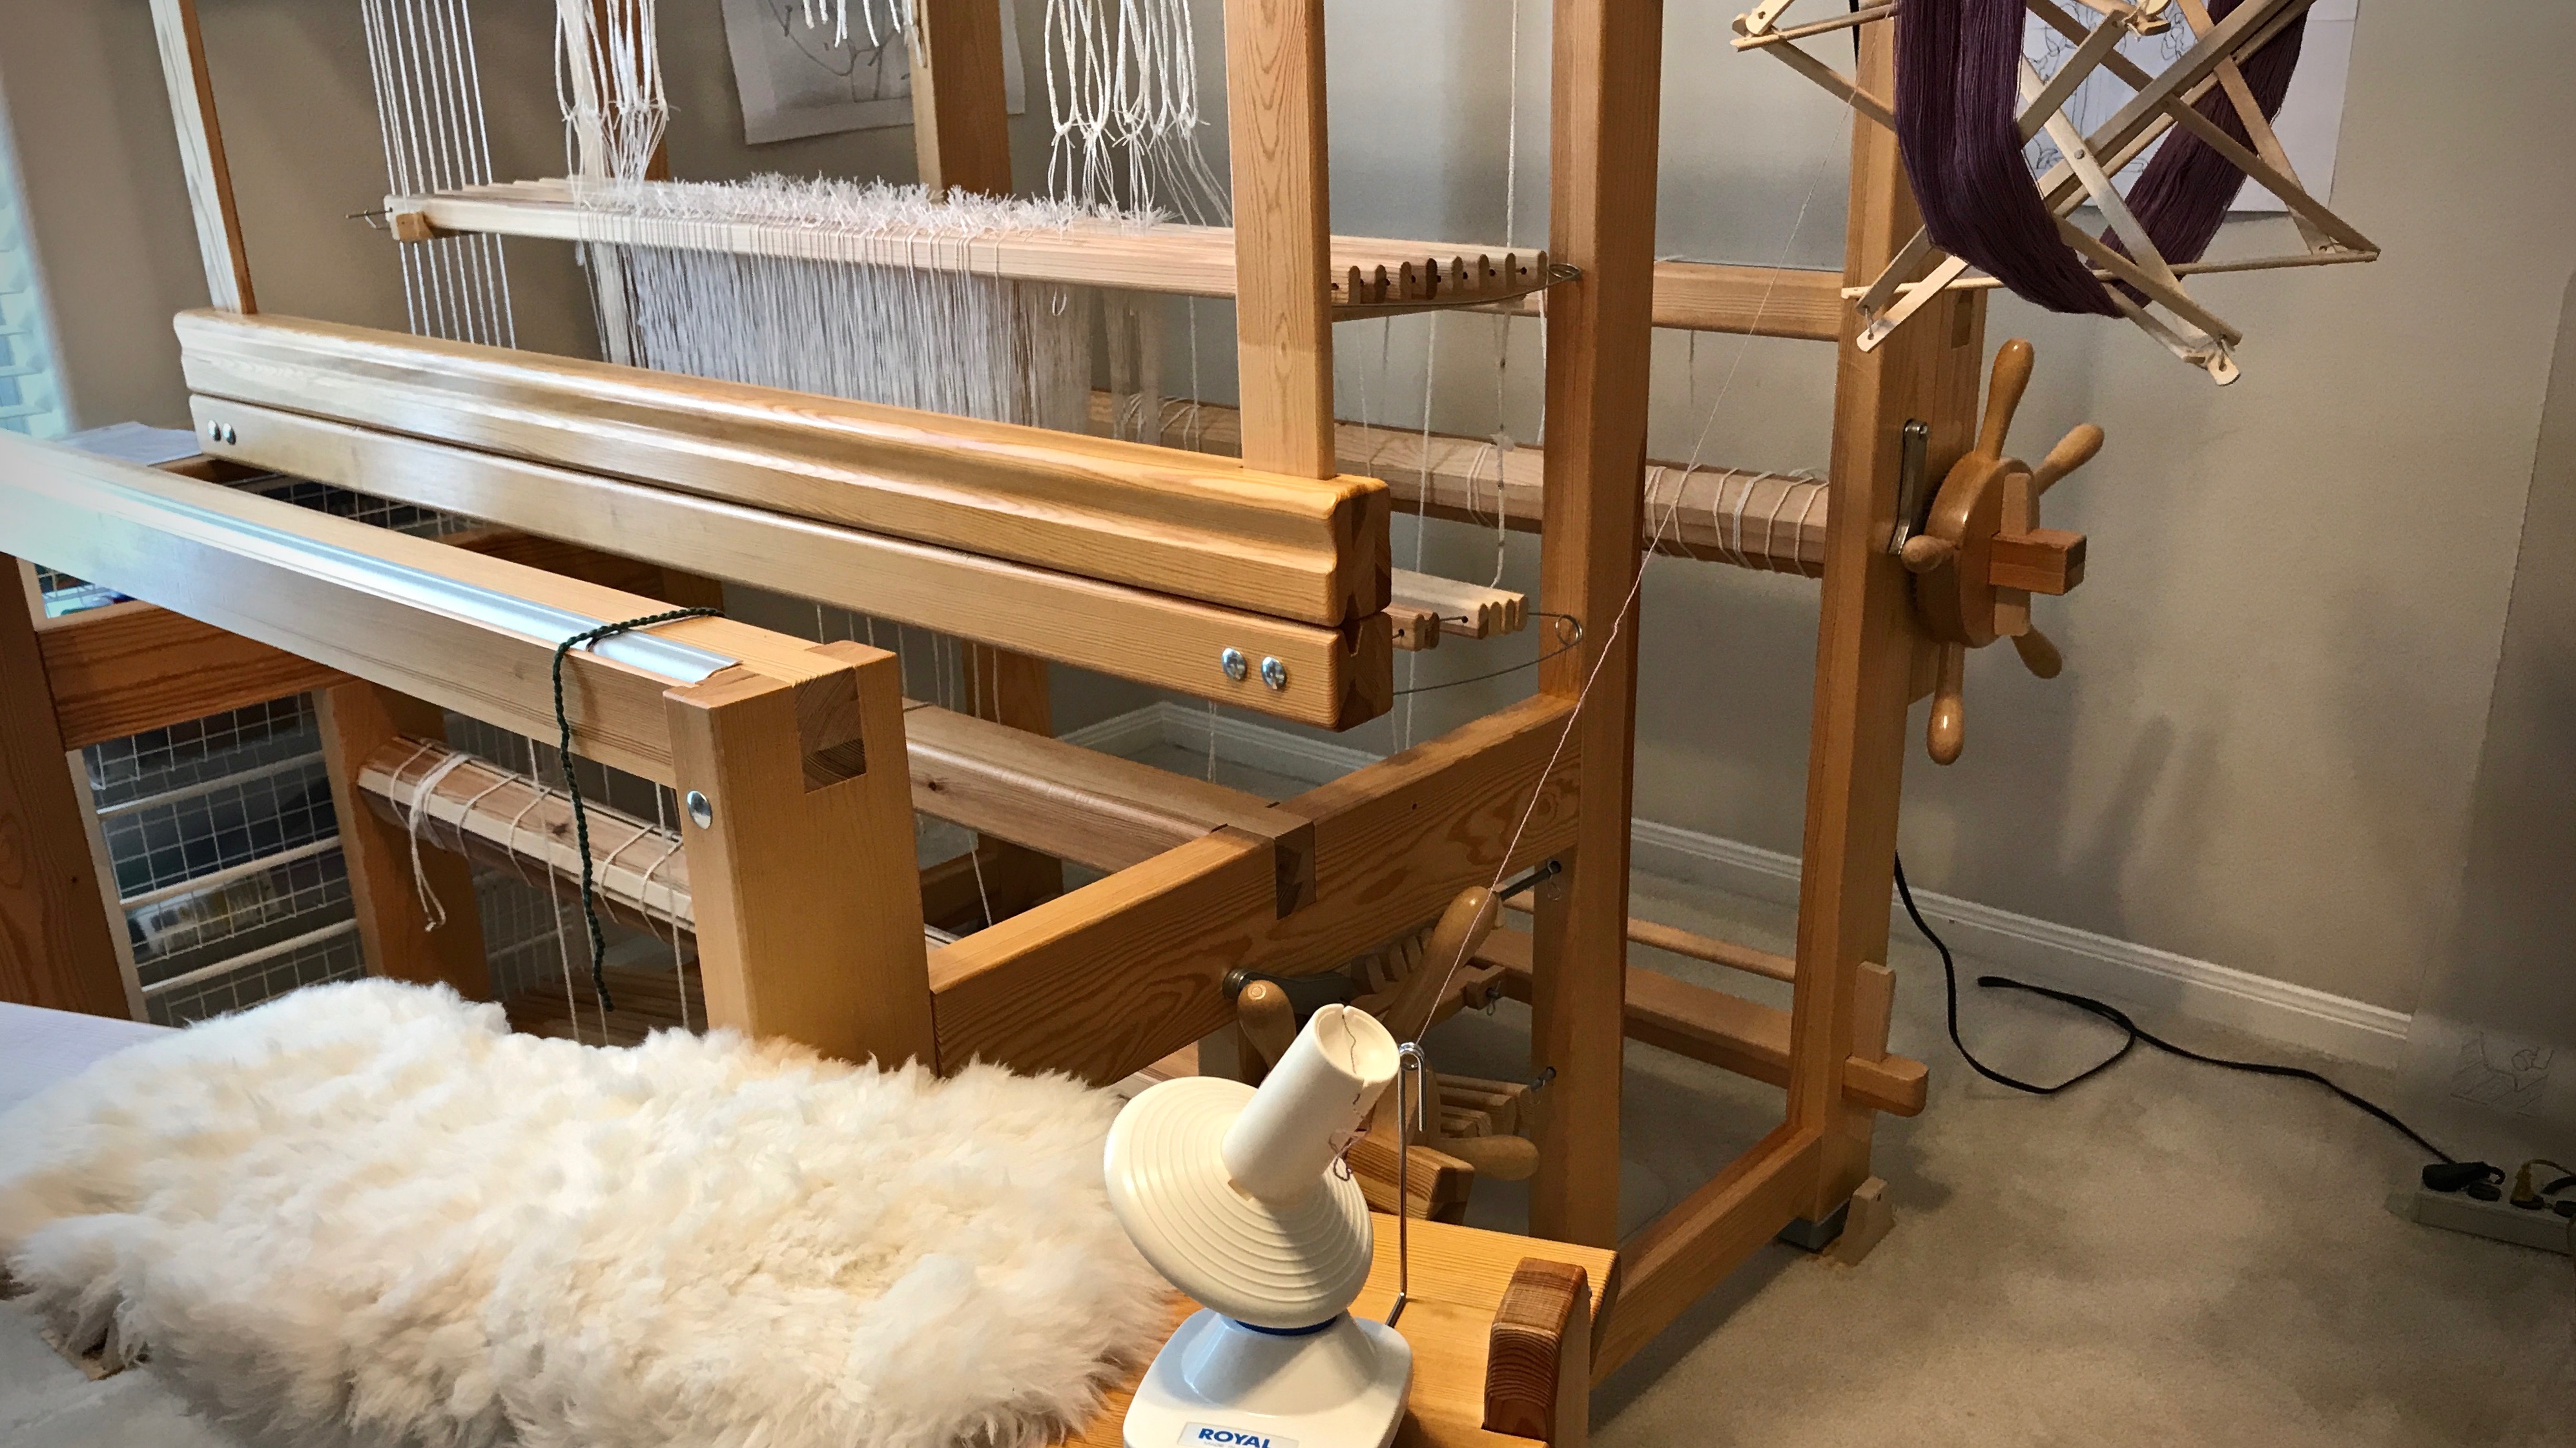
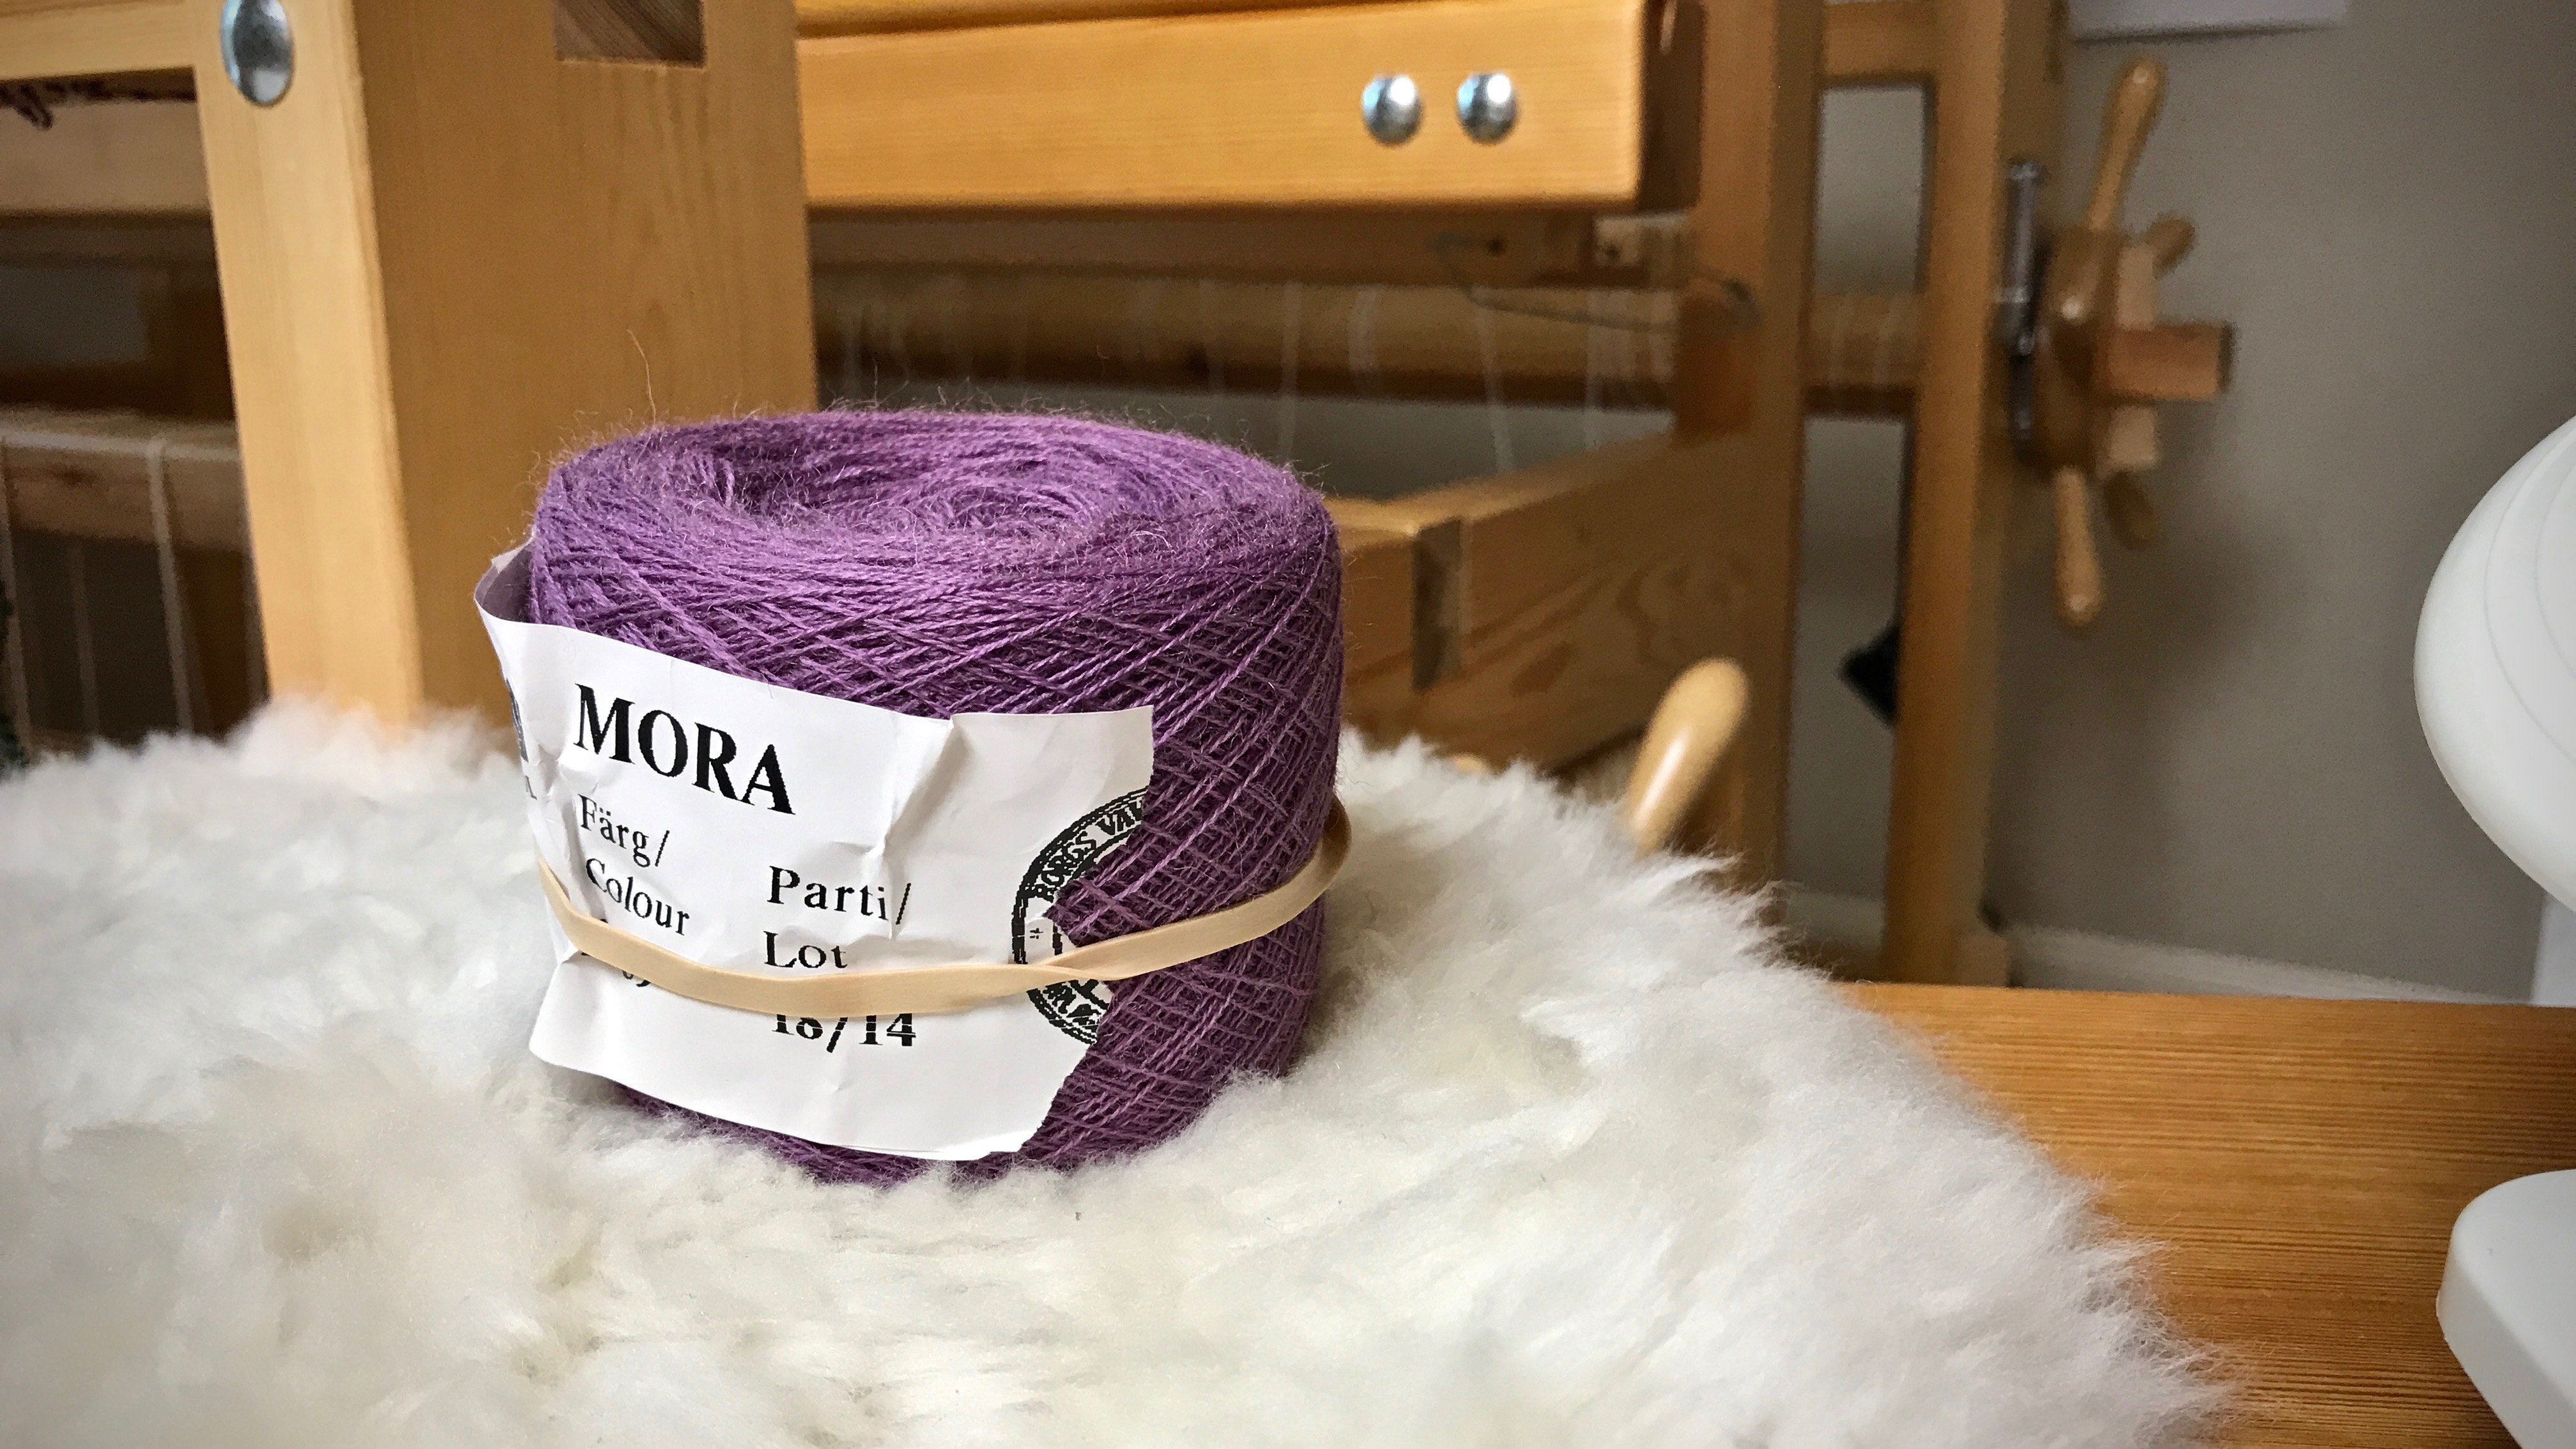
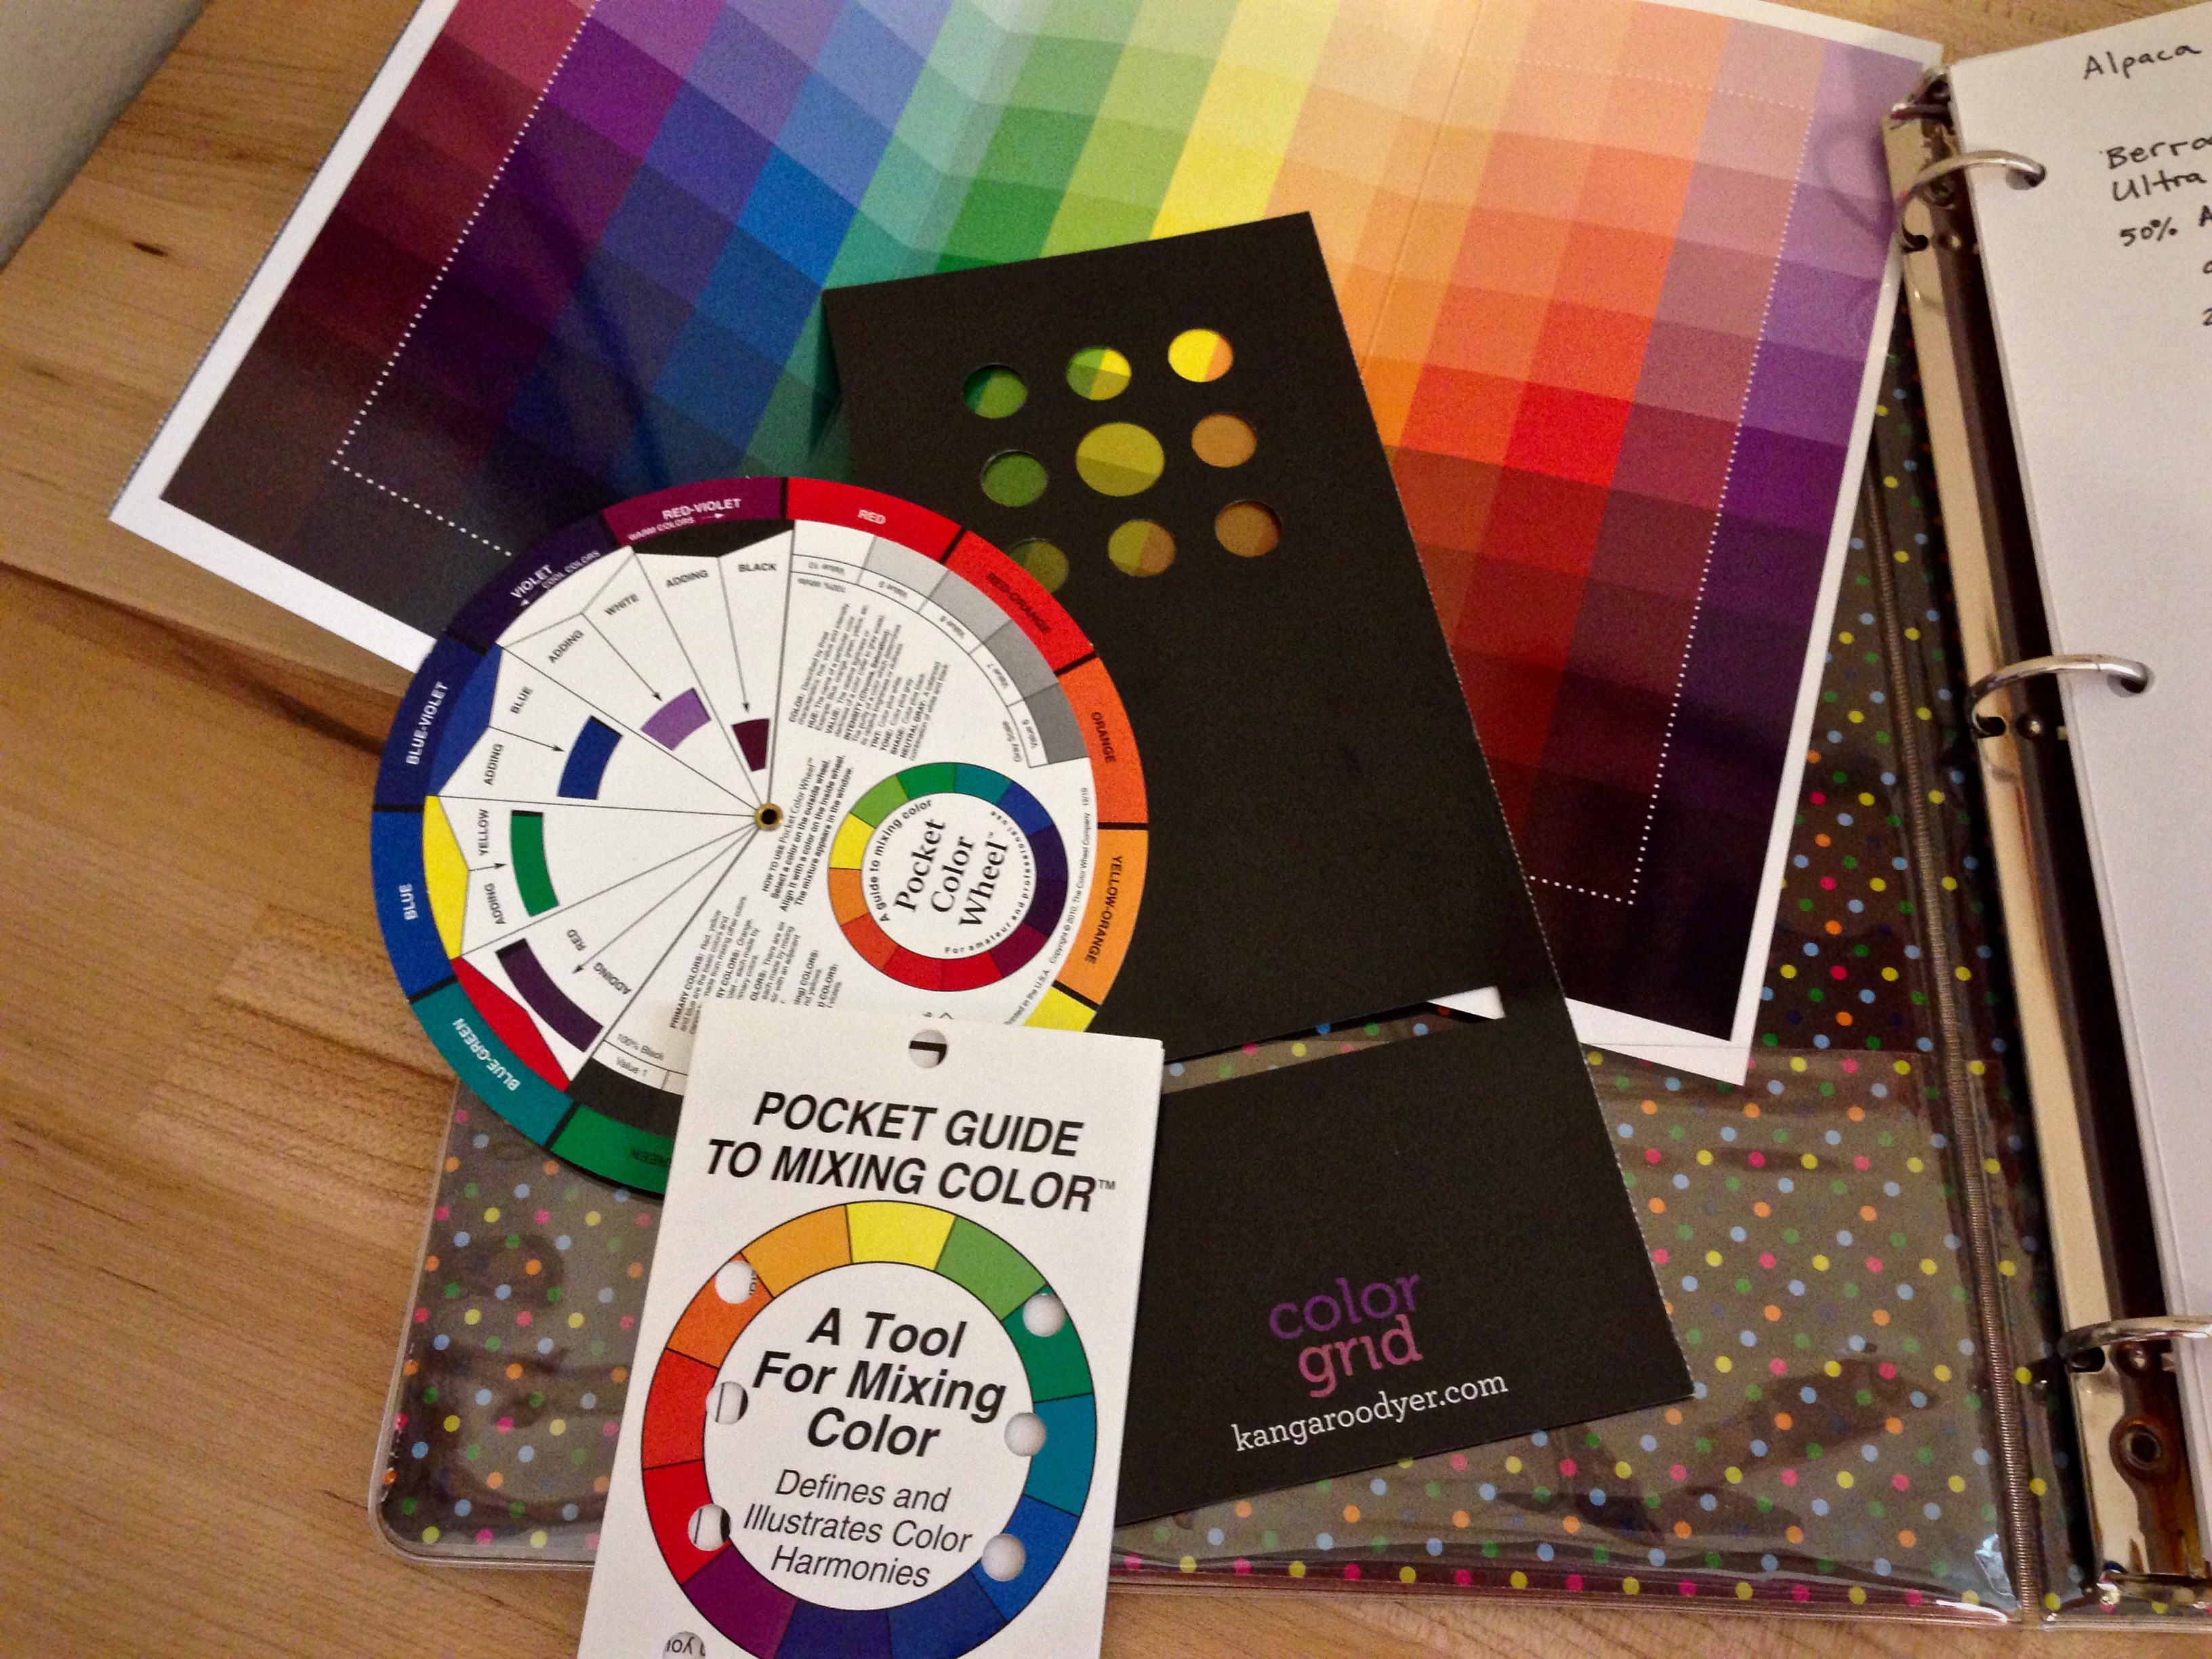
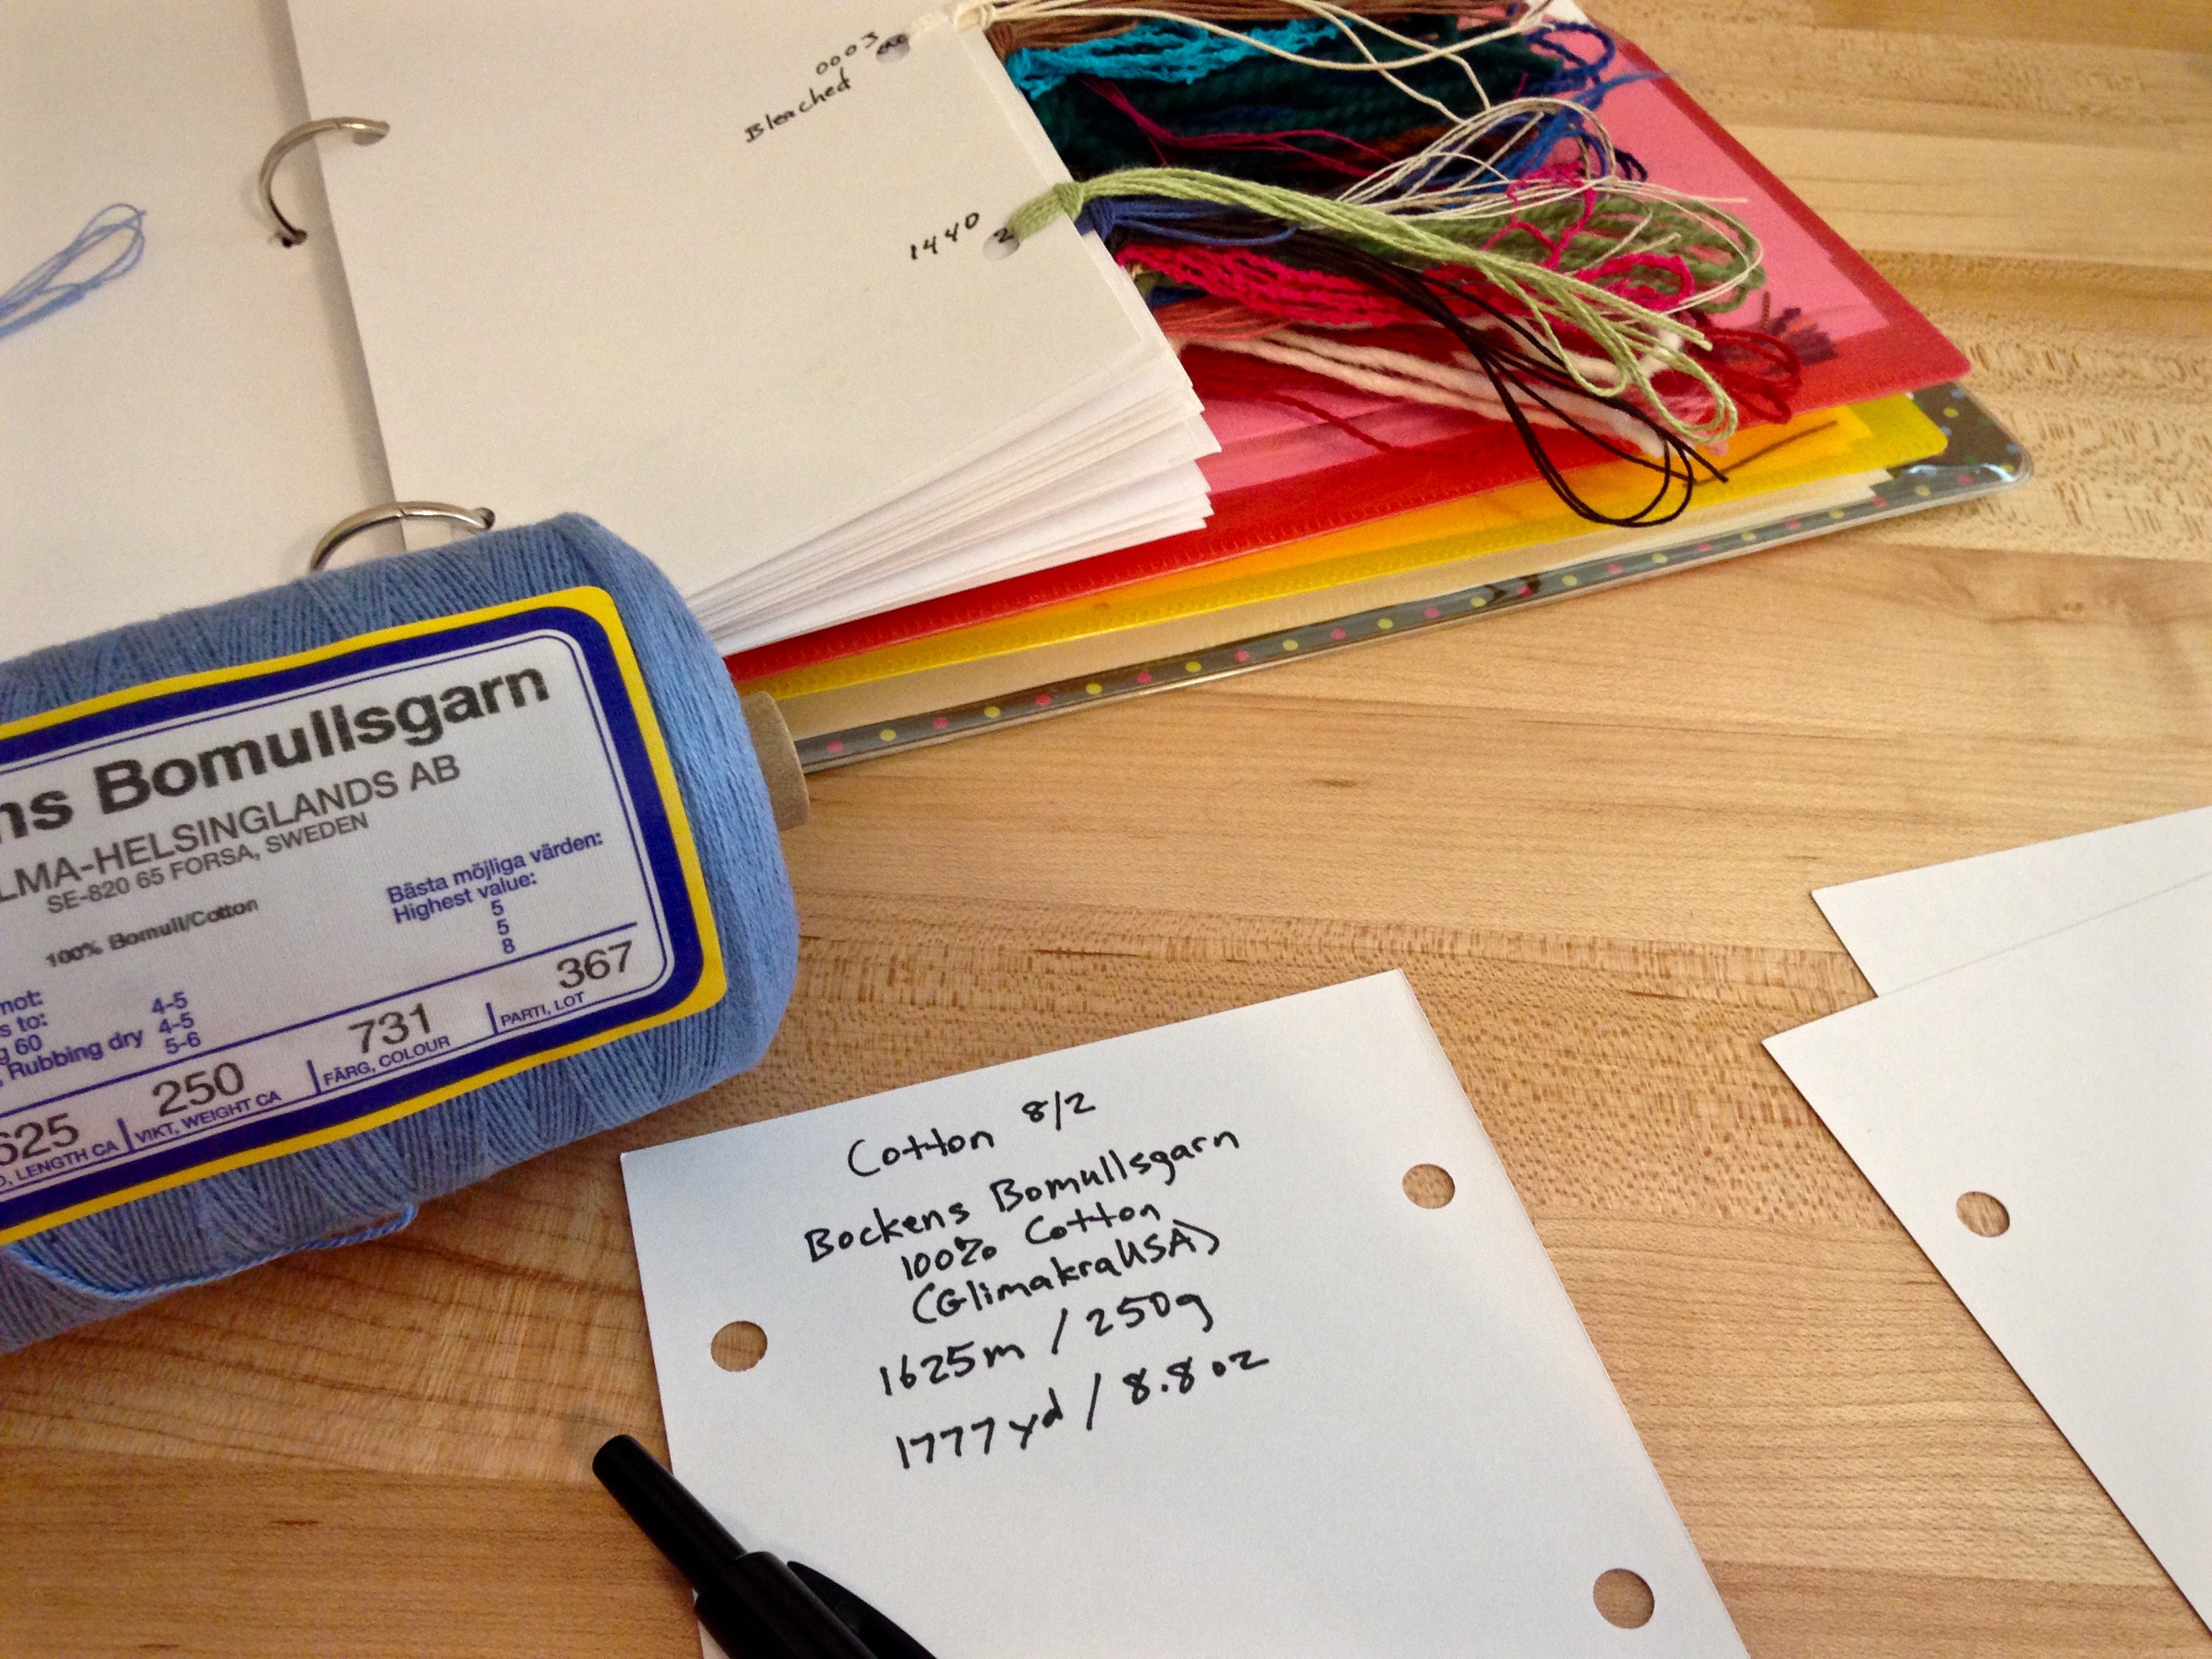
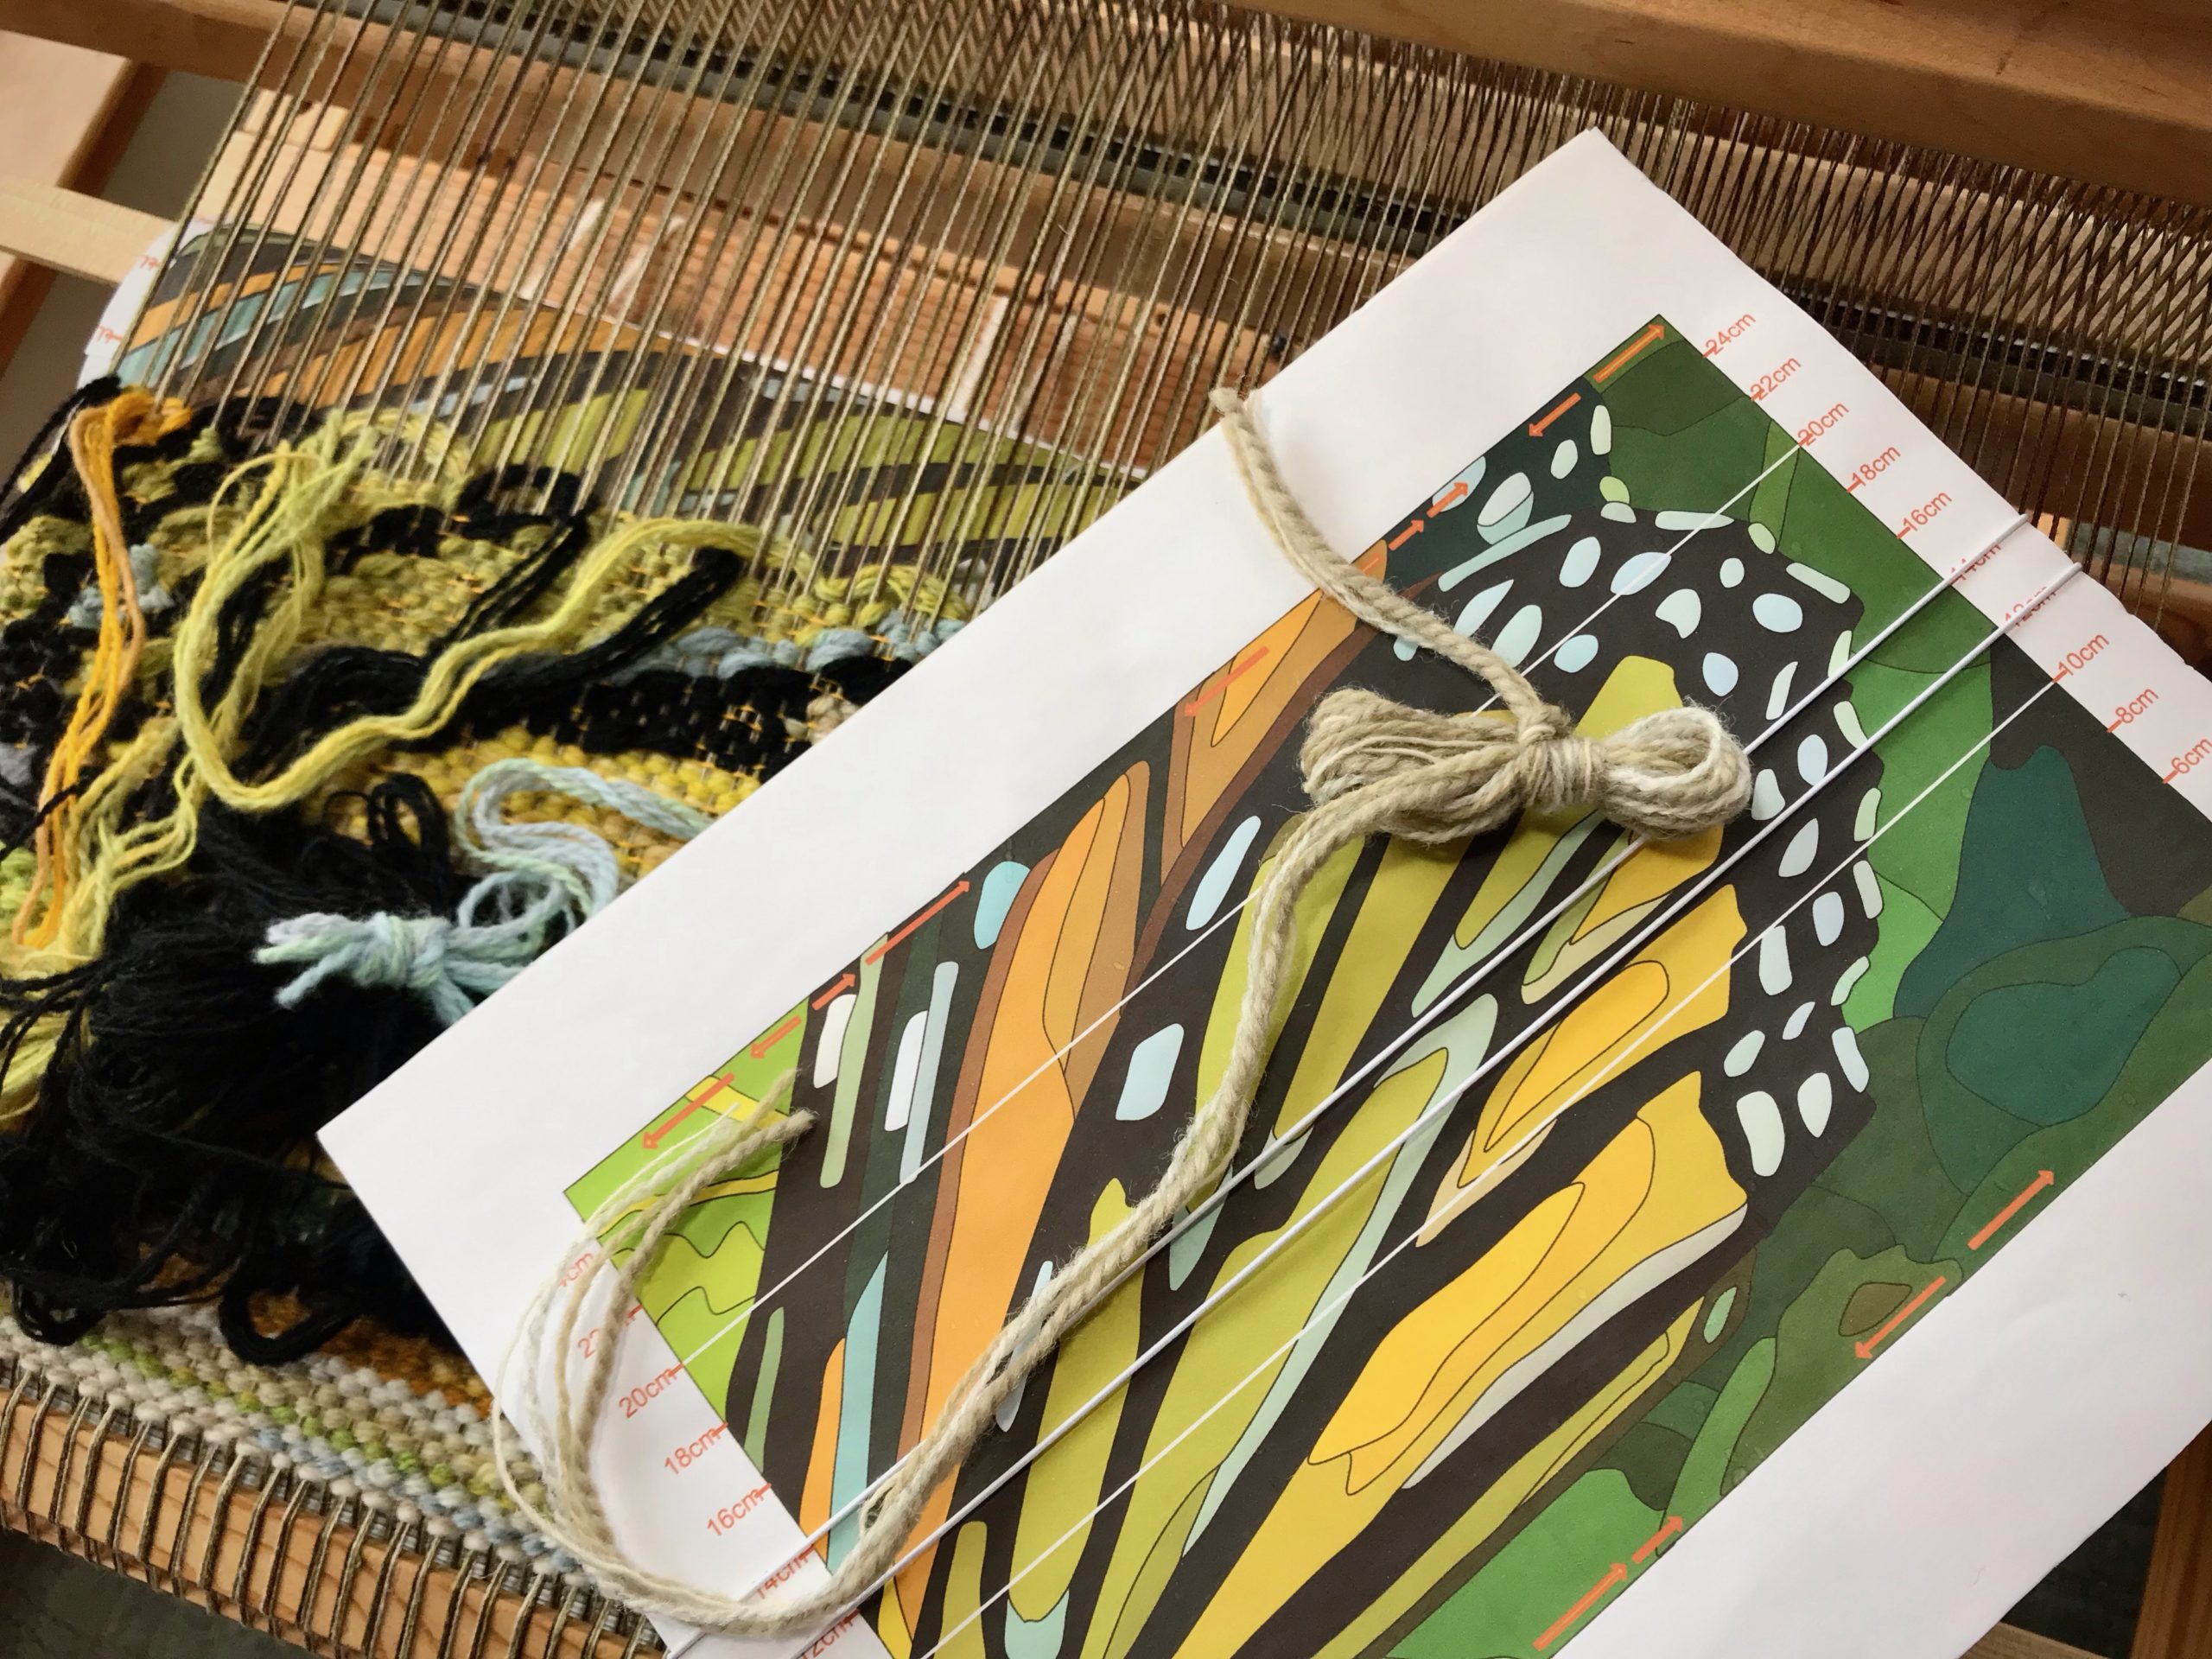
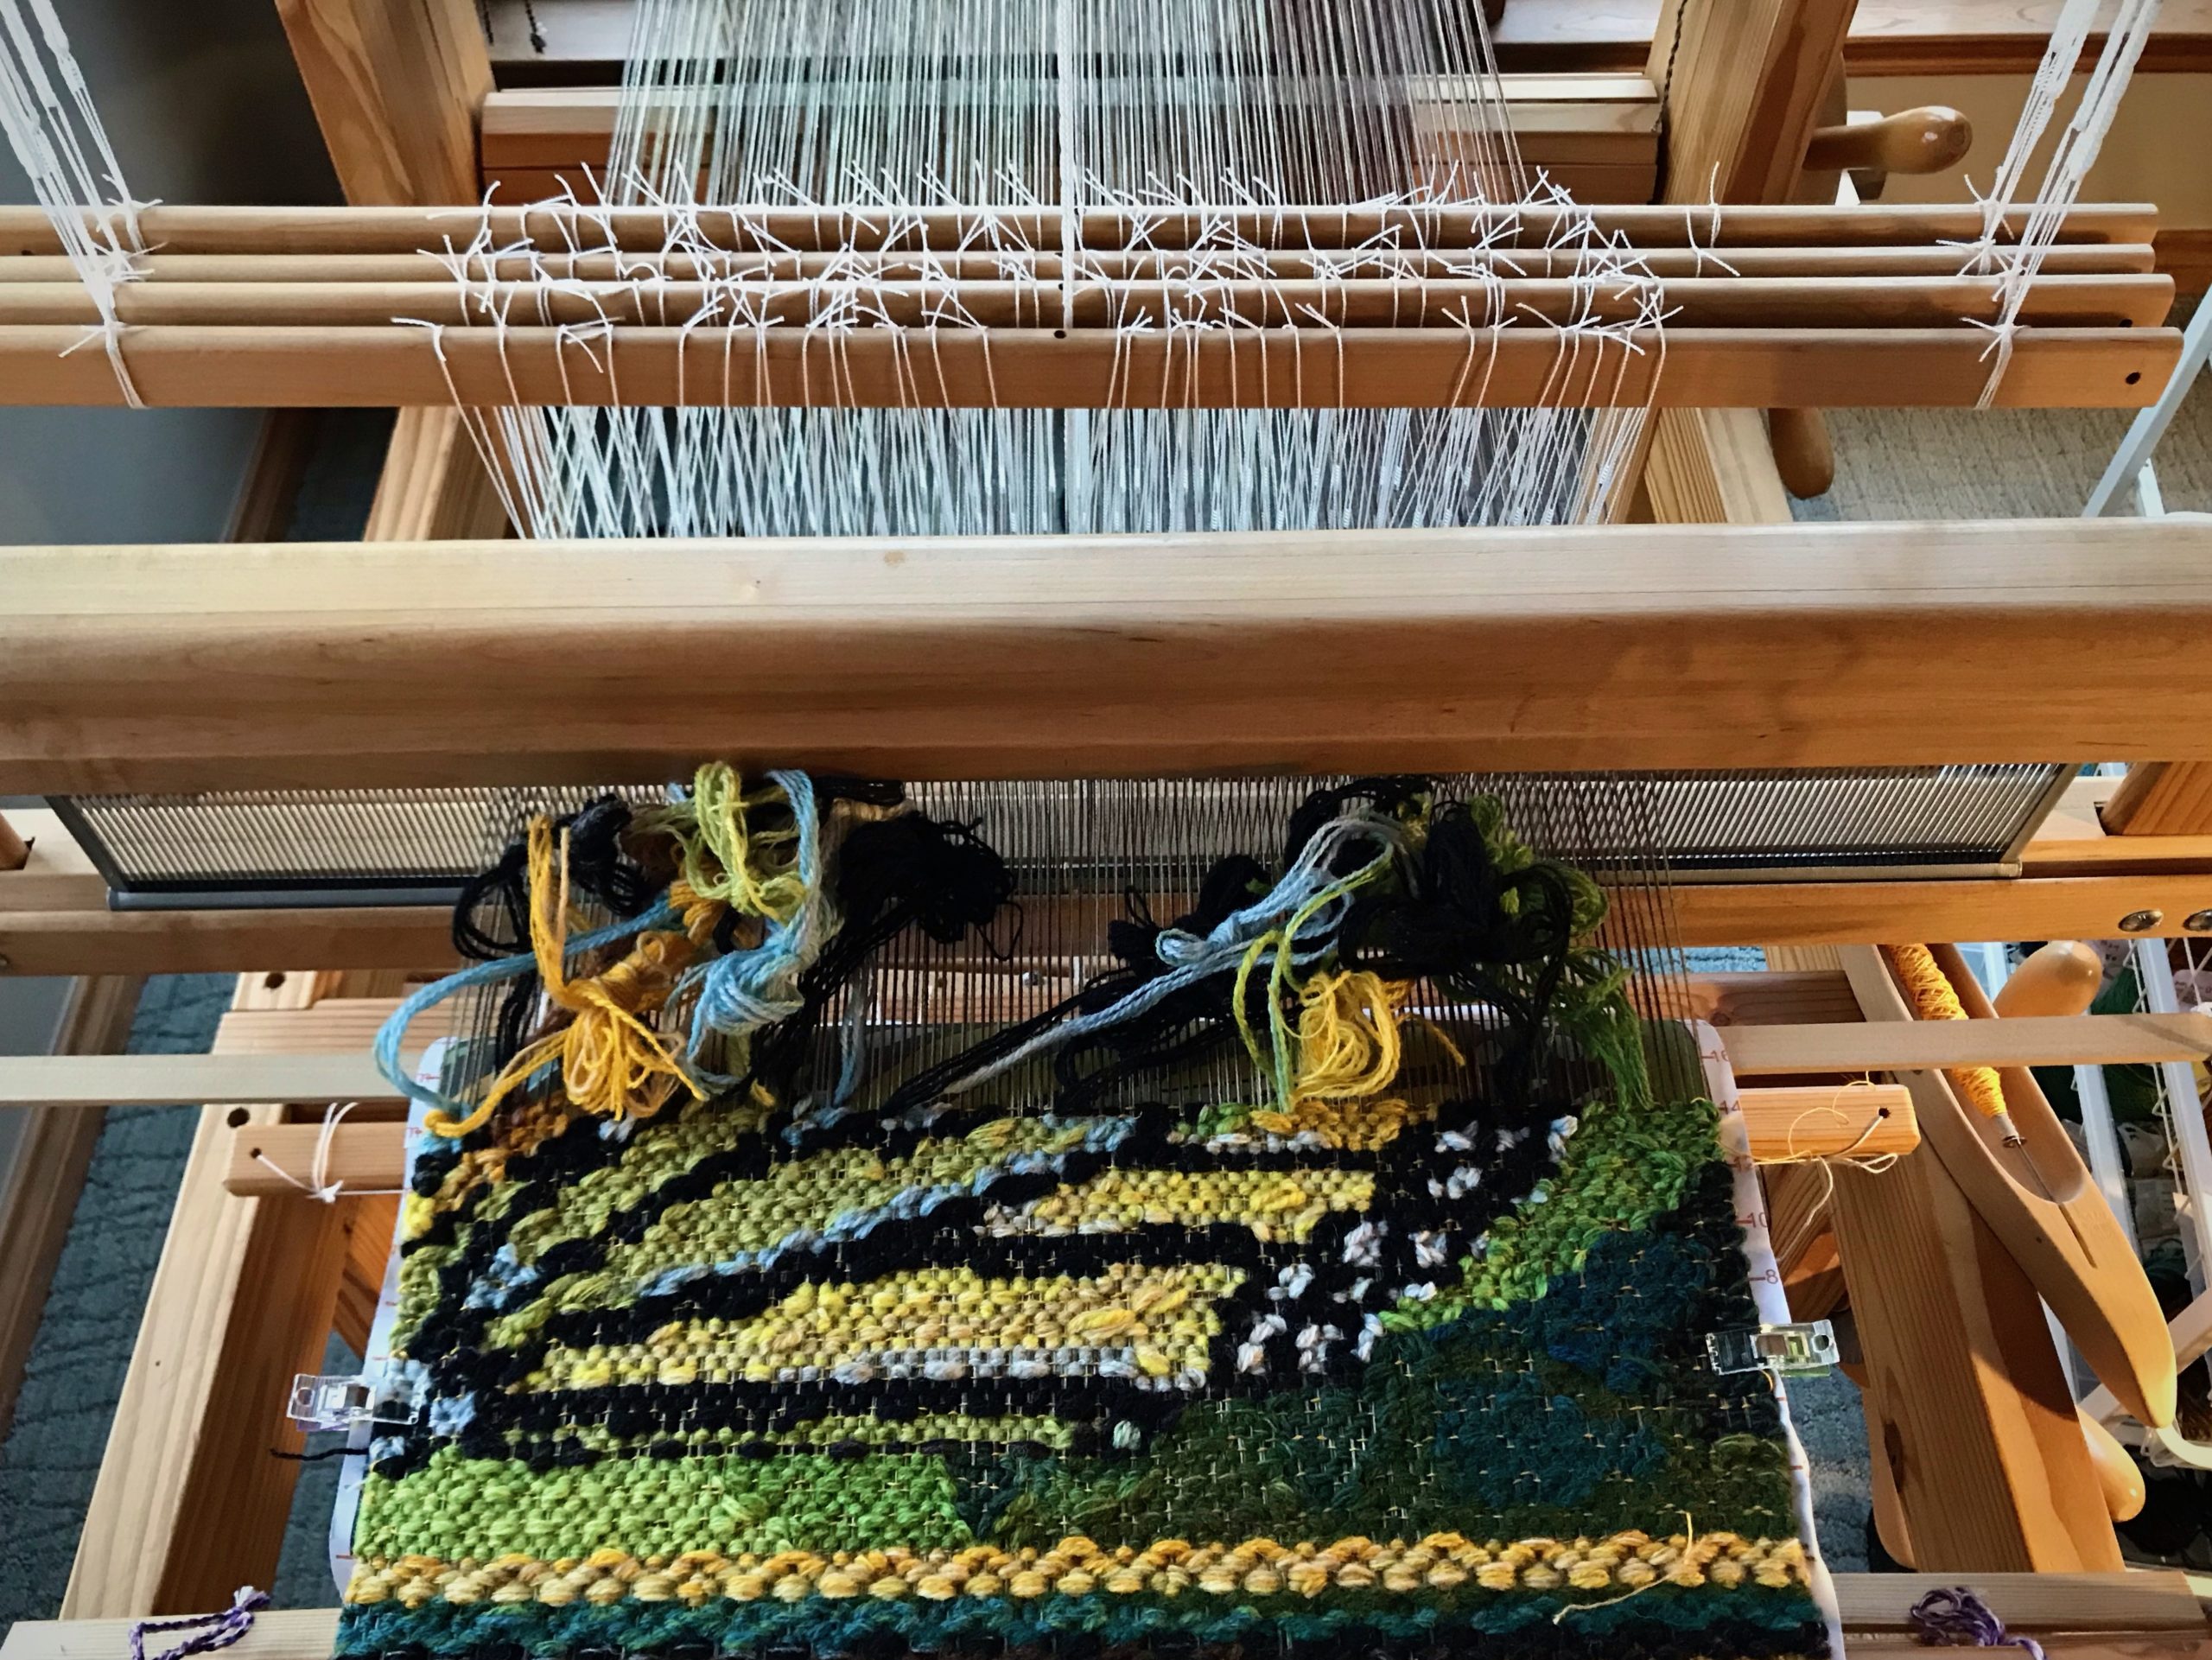
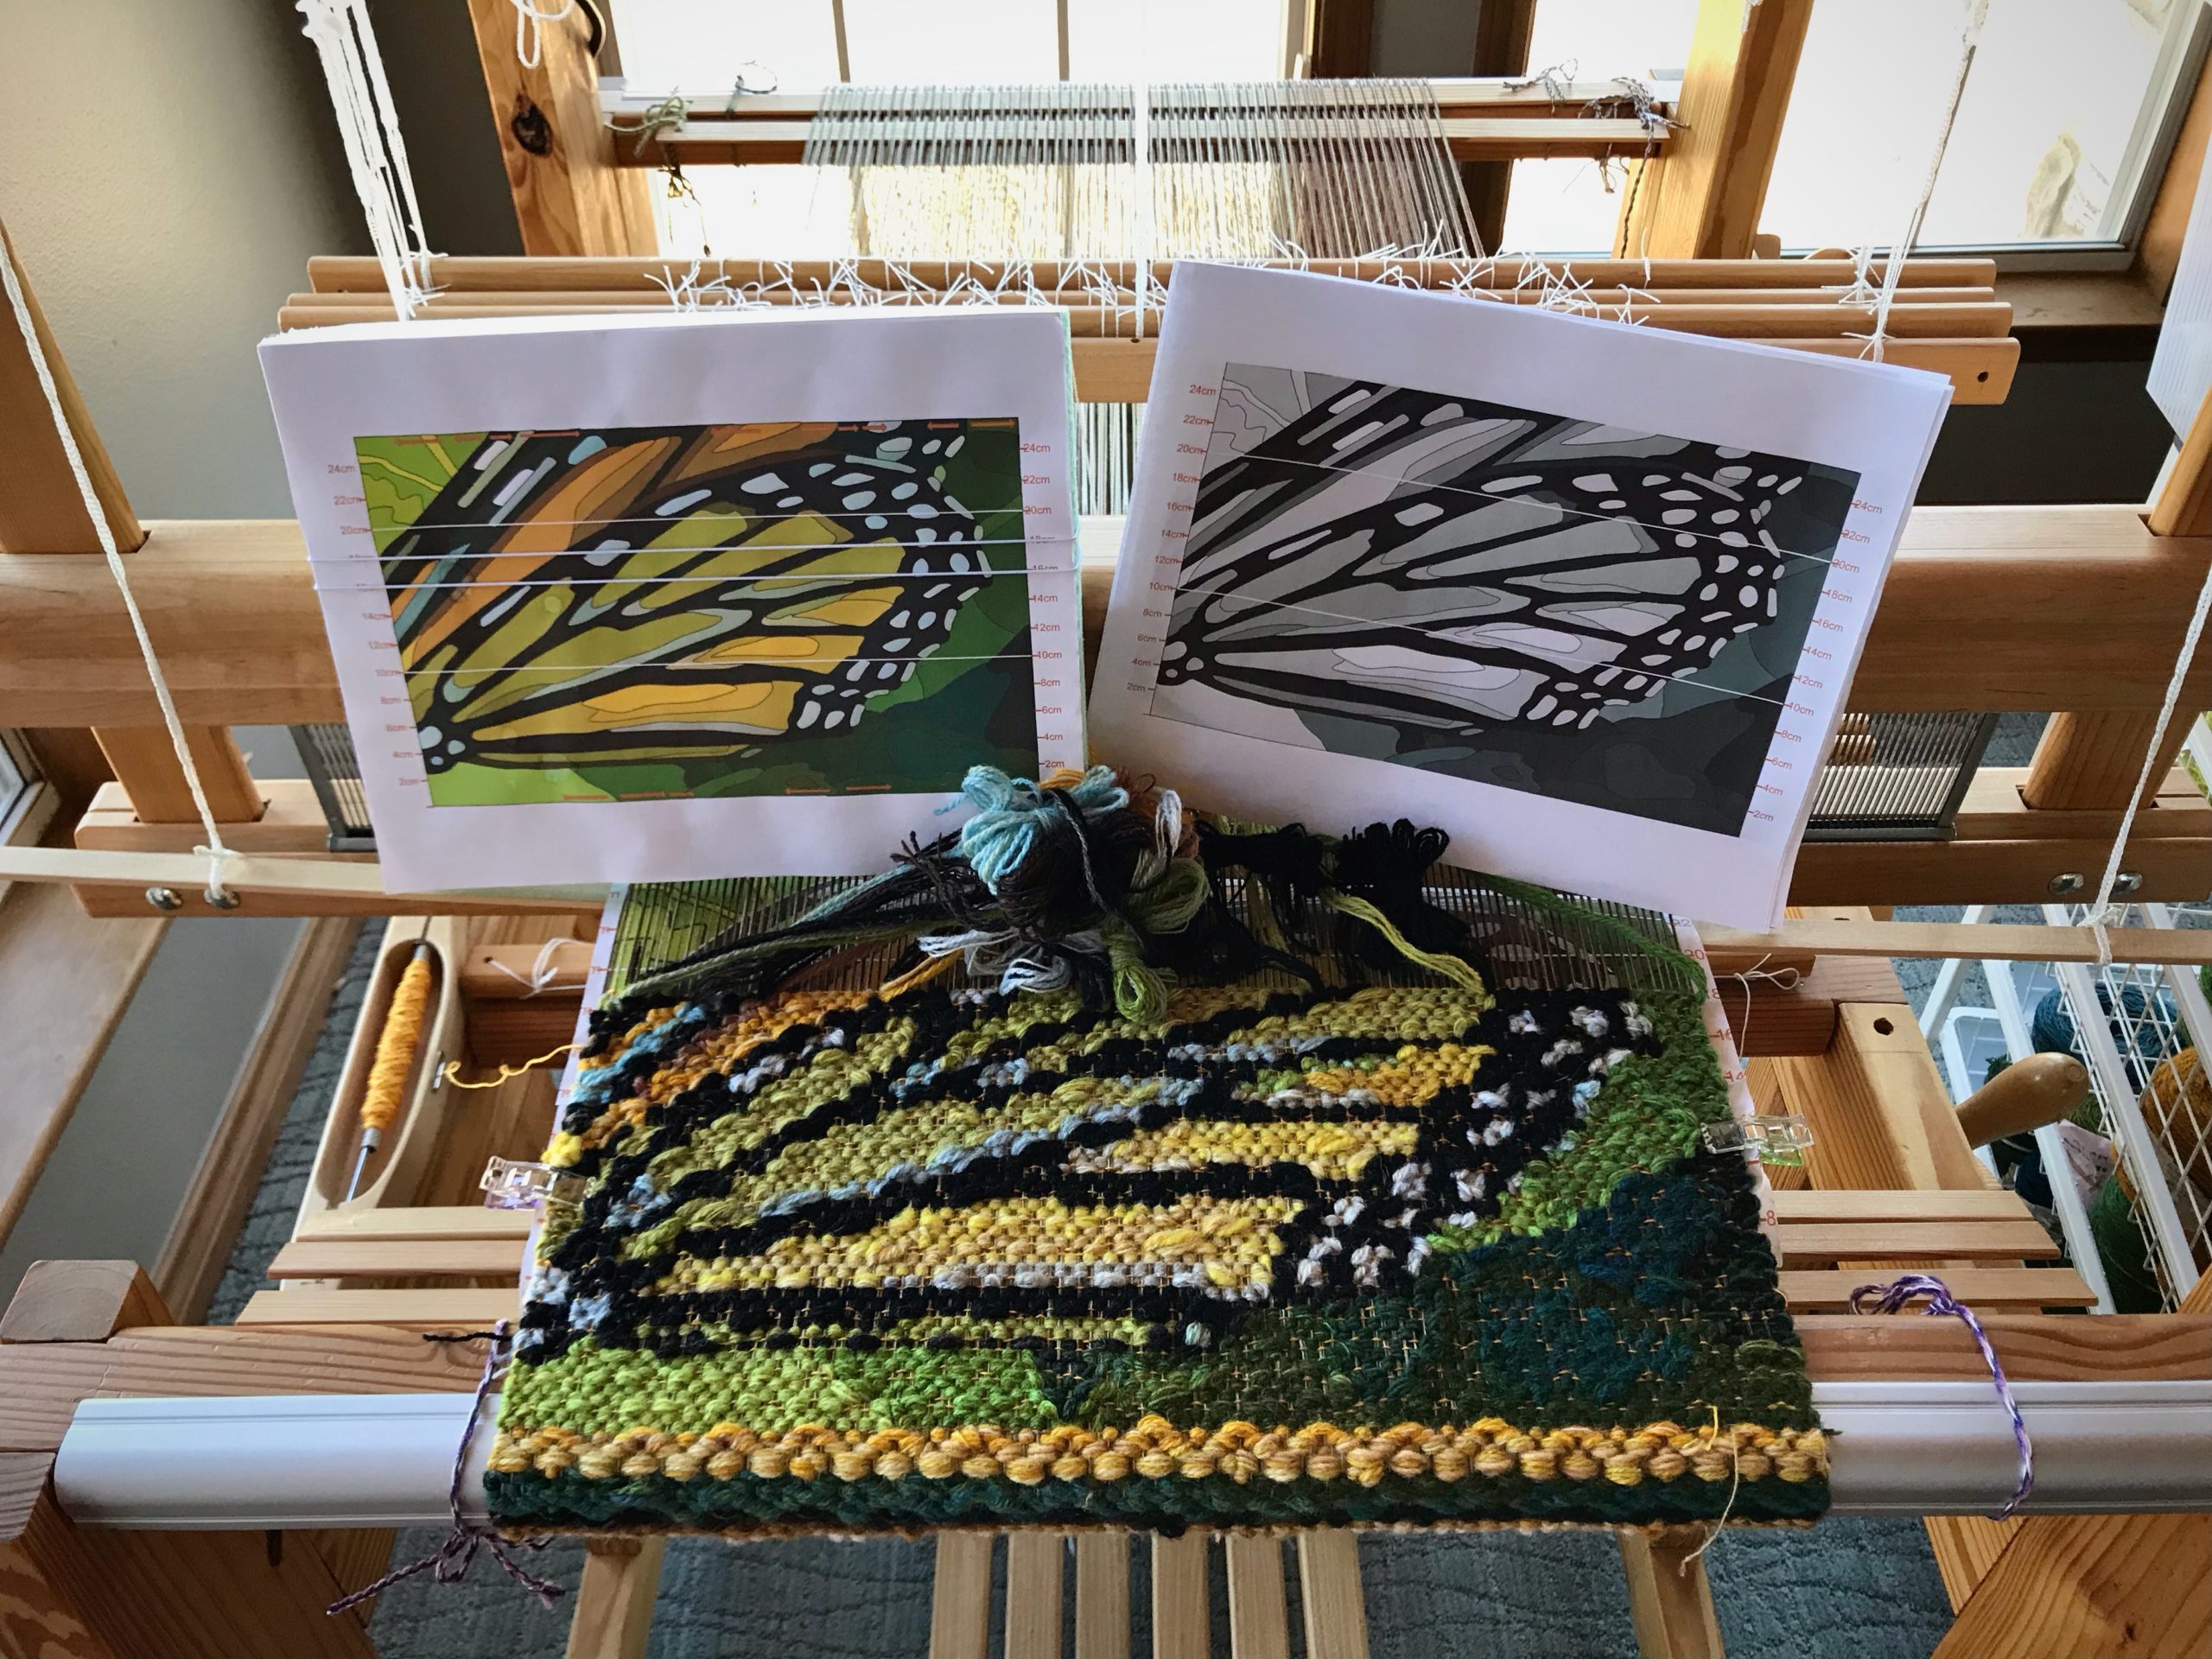
I use a cartoon of reduced size as a color reference for making butterflies. A black-and-white version shows me value contrasts. I twist strands of yarn together to find a specific hue and value. Each new butterfly becomes integral to the cliffhanger story. At the loom, my thoughts are fully engaged in the details of this story.

I combine various wool yarns until I find the right combination for the color I want to add to the tapestry. The thickness of each bundle of strands for a butterfly is approximately equivalent to the thickness of 4 strands of Borgs 6/2 Tuna wool yarn.
Every row brings new excitement.
Reduced-size cartoon helps me find the needed hue (color) and intensity (relative brightness or dullness) for yarn butterflies. The black-and-white version helps me see the value (range of light to dark as seen on a gray scale) in comparison to neighboring values.

When I pray, my thoughts are fully engaged in the details of life. Prayer answers our heavenly Father’s invitation to come and be alone with him. He listens as we talk to him about our life’s cliffhangers. Prayer is so much more than making requests. It’s about consulting with our Father to gain his heavenly point of view for the tapestry he is creating. When we see the strands come together just so, we know our life’s story is in the Grand Weaver’s hands.

May your cliffhangers have happy endings.

Your friend,
Karen

Travel Weaving to Germany

I am turning right around to head out on another travel adventure. This time it’s Potsdam, Germany and Innsbruck, Austria with my sister Barbara. You know what that means—prepare my smallest tapestry frame for travel weaving. Besides the loom, I need necessary tools, warp thread, weft yarn, a cartoon, extra paper and pencil, book light and extra batteries, and a small bag in which to carry it all.

Fresno Canyon in Big Bend Ranch State Park is breathtaking. Steve captured the awe last week with his Canon Rebel T3i Digital SLR camera. My dream now is to capture the view in yarn. I am making a cartoon directly from a black-and-white print of the photograph.
Choosing Fårö wool yarn for a tapestry.
My Fårö yarn is housed in three baskets of an Elfa cart. I look at a photo image of Fresno Canyon on my iPhone to select colors to use for the tapestry.
Preparing for some travel tapestry weaving.
Selected colors of yarn are wrapped on labelled embroidery floss bobbins to put in the travel tapestry bag.
Preparing for some travel tapestry weaving.
Weft colors are sorted and placed in the plastic pockets of this craft holder I found at Hobby Lobby.
Travel tapestry supplies.
Everything needed for a little 3 1/2″ x 6″ desert vista tapestry is being tucked away in travel bags.

After that, I can pack my clothes, etc. First things first.

(By the time you read this Barbara and I will be in Germany enjoying the food, listening to fine music, and scouting out fiber-y treasures whenever we get a chance.)

May your adventures be memorable.

Glückliches Weben,
Karen

Lizard Tapestry Disruption

I started the Lizard tapestry right before our big disruption. Selling your house means that every in-process project instantly becomes vulnerable. Yikes! After a sleepless night, I contacted my friend Joanne Hall. Can this weaving be saved? Yes!, she assured me, as she gave me instructions for dismantling the loom.

Getting ready to dismantle loom for relocation.
Yarn supply is packed up, including all the wool butterflies.

Getting ready to dismantle loom for moving.
Cartoon is removed.

Everything is logical about the process. Undo things, tie parts together, take things apart. And I don’t have to cut off the weaving? No. Remove the beam cords from the cloth beam. It’s that simple.

Lamms and treadles removed for moving the loom.
Lamms and treadles have been taken off.

Moving a loom without ruining a tapestry in progress!
Beam cords are removed from the cloth beam.

Removing the warp beam. Relocating the loom.
Steve unscrews a bolster that holds one side of the warp beam so I can remove the warp beam.

Warp beam removed! Hope to put this back together.
Holding the precious bundle!

Taking the loom apart.
Taken apart. Tapestry, reed, and shafts are rolled and bundled up in the fish beach towel.

Now all I have to do is wait

Relocating my loom.
Everything fits in the car, ready for transport.

All the dust has settled, the house transaction is done, and the loom has been re-located and put back together. It’s the first thing you see when you enter our ground-floor apartment.

Getting ready to re-assemble loom.
New location for the loom is in the living room of our apartment.

Simple Swedish loom assembling.

Re-assembling my loom after relocating.
Re-attaching the bolster to hold the warp beam.

Re-assembling loom after relocating.
Tapestry in view.

Using a spare heddle as a cord threader.
Spare Texsolv heddle works as a cord threader (I forgot to pack the “real” cord threader) to re-attach the cords on the cloth beam.

What about the Lizard? Can I resume where I left off? Good news: IT WORKED!

Ready to weave after relocating the loom!
Everything is put back together. Beam cords are re-attached. Yarn is unpacked. Warp is tensioned.

Lizard four-shaft tapestry.
Lizard foot grips the breast beam as weaving resumes!

When have you had to wait? Something you dearly long for is unreachable for a while. Waiting for the Lord is always waiting with hope. I trusted my friend’s advice. So, my hope was strong while I waited to see this lizard take shape again. In a similar way, I can trust the Lord when there is a disruption. Wait with strong hope. Wait for the grace to begin again.

May you wait patiently.

Happy Weaving,
Karen

Tools Day: Umbrella Swift

The umbrella swift earns the “Cool Tool” award! I have sixteen skeins of 20/2 Mora wool (as seen in Skeins of Colors). Before making them into little butterflies of color for a woven transparency, I am winding the skeins into balls. This means I get to use one of my favorite tools–the umbrella swift. My Glimåkra swift is simple to use and gives flawless results every time.

How to Use an Umbrella Swift

  • Attach the clamp of the umbrella swift to the side of the loom, or other secure structure, like a table. The swift functions vertically or horizontally. I prefer to position the swift horizontally so the yarn rolls off vertically. Also, I find it easier to hang the yarn on a horizontal swift than to place the yarn on a vertical swift, holding the yarn while expanding the umbrella.

How to use an umbrella swift. Tutorial.

  • Position the yarn ball winder so that it is in line with the umbrella swift, a short distance away. I clamp the yarn ball winder to my loom bench, and sit on a small stool behind the bench.

Yarn ball winder in use with umbrella swift.

  • Remove the yarn skein’s label and put it aside. Carefully unfold and untwist the skein of yarn and open it out to a big circle. Place both arms through the center of the circle of yarn and snap your arms outward. Repeat the snapping action one or two more times, with the yarn repositioned about a quarter turn each time. This helps straighten out the yarn for placing it on the swift.
  • Lower the “umbrella” of the swift by loosing the screw and pulling the bottom screw-piece toward the clamp. Place the opened and prepared skein of yarn around the swift.

Placing the skein on an umbrella swift. How to.

  • Push open the “umbrella.” Spread it open just far enough to hold the yarn taut. Tighten the screw to keep the swift in that position.

How to use an umbrella swift for weaving yarn.

  • Find the place(s) on the skein where the skein has been tied, and untie the knot(s). Identify the end of the yarn that is on the outer side of the skein and connect that end to the yarn ball winder. For consistency among multiple skeins of yarn, I have the umbrella swift turn in the same direction for each one, with the yarn unwinding from the top of the swift.

Putting skein of yarn on umbrella swift.

  • Turn the yarn ball winder until all the yarn has been unwound from the swift.

Set up for using umbrella swift. Tips.

Winding ball of yarn from umbrella swift.

Winding ball of yarn from umbrella swift.

  • Remove the yarn ball from the yarn ball winder and wrap the skein’s label on the new yarn ball.

New ball of yarn thanks to umbrella swift.

  • Collect the new balls of yarn and play with the colors in your imagination.

Mora wool. Getting ready for woven transparency!

May you take pleasure in your work of preparation.

All the best,
Karen

Tools Day: Yarn Record Book

Would you like to keep track of every type of thread and yarn you use? You need something you can refer back to for fiber content, color numbers, sett information, and where you purchased the yarn. I have a simple yarn record system that accomplishes that. Because it is easy to do, I update the records every time I start a new tube of thread or skein of yarn that is not already represented. I call it my Yarn Record Book.

How to Create a Yarn Record Book

1. Gather supplies:

  • Three-ring binder
  • 8 1/2 x 11″ white cardstock
  • Paper cutter or scissors
  • Three-ring hole punch or single-hole punch
  • Small color wheel and other color tools
  • Black fine point Sharpee
  • Pocket pages
  • New spectacular yarn and thread in colors and sizes you have never tried before!

Make a Yarn Record Book Tutorial

2. Cut cardstock. Cut a sheet of white cardstock lengthwise in half.

Making pages for yarn record book.

3. Punch holes. Punch three holes on one long side of the cut cardstock to coincide with three-ring binder, and punch five holes on the opposite side.

Preparing pages for yarn record book. Tutorial.

4. Insert color tools. Place color wheel and other color tools in front inside pocket.

Yarn Record Book Tutorial

Color tools in yarn record book.

5. Add yarn label information. Write information on front of prepared card:

  • Fiber type and size/plies; e.g., Cotton 8/2
  • Brand name
  • Fiber content
  • Where purchased
  • Length and weight

Making Yarn Record Book. How to.

6. Add yarn sample. Cut one meter of the new thread or yarn. (My loom bench, conveniently a meter in width, is my quick measuring guide.) Fold the length in half, in half again, and in half one more time. Push the loop at the fold of the yarn through a hole on the five-hole side of the card and pull the other end of the yarn through. Write the color number above the hole.

Adding yarn to yarn record book.

7. Insert yarn card into notebook. On the back of the card write the date the yarn is added. Include information about how the yarn is to be used, and the intended sett. (Later, if your plans change, or you determine the sett needs adjusting, come back and make notes here to reflect that.) Insert the card in the Yarn Record Book. I arrange fibers in alphabetical order, e.g., alpaca, cotton, linen, wool; and, within each fiber, by size of yarn from finest to coarsest.

Adding project info to yarn record book.

8. Add color cards. Put purchased yarn sample color cards in pocket pages at the end of the notebook.

Yarn samples in yarn record book.

9. Expand. When you accumulate so many types and colors of threads and yarns that your notebook is overflowing, get a bigger notebook!

Yarn Record Book. Karen Isenhower

May you make progress in putting things in order.

Happy Organizing,
Karen