New Life for an Old Rigid Heddle Loom Blanket

My weaving interest started in 1982 when I happened across a rigid heddle loom class by Lynn Tedder at Johnson Atelier in Tulsa, Oklahoma. I acquired a 32-inch Beka Rigid Heddle Loom and began weaving during snippets of time as I was being a full-time mommy to one, two, and then three little ones. One of my very first projects on that simple loom was a wool color gamp sampler. I wove full width for a length equal to two panels that I then hand-stitched together to make a small blanket. That little blanket got a lot of use and wear, and at some point I packed it away because some of the edges had become a little ragged over time.

In 2019 I finished one of my first warps on the drawloom–Tuna wool fabric in which I wove designs for a simple vest I would make for myself. I created the pattern for the vest, and after doing several muslins, I wanted to do a mockup in similar weight to the wool fabric from the drawloom. I dug out that old rigid heddle loom blanket! Perfect for this assignment as a mockup.
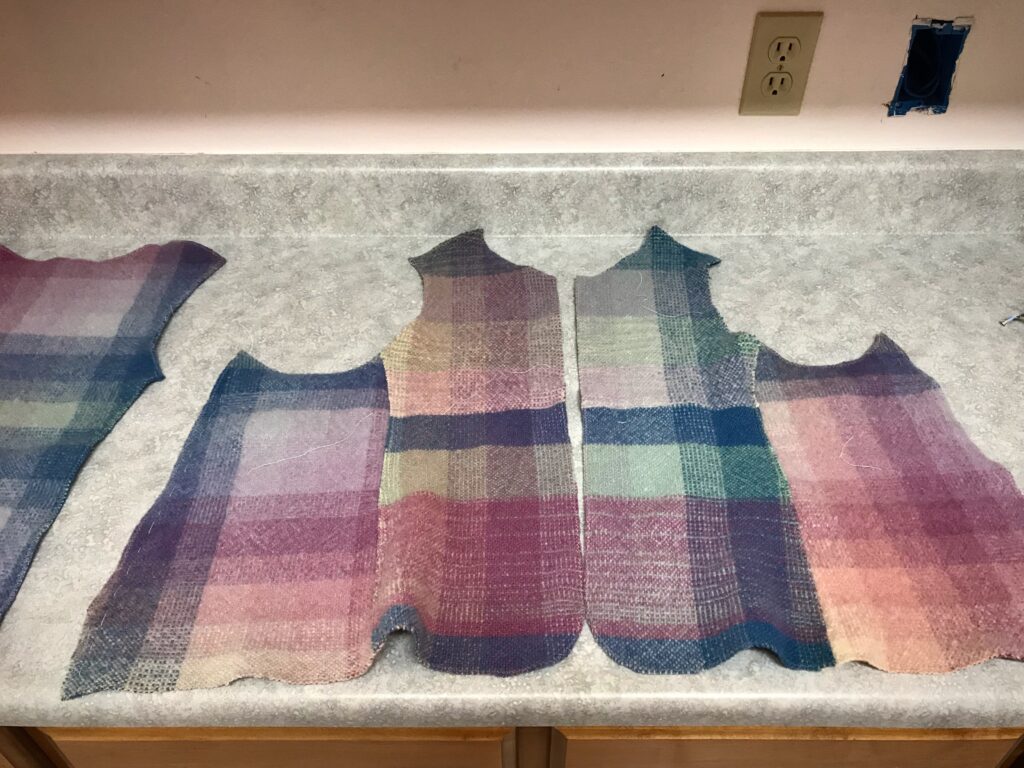
I made a mockup for the drawloom vest. I cut the mockup vest from a plain weave color gamp sampler blanket I wove on my 32″ Beka rigid heddle loom in 1982. The blanket was made from two panels hand-stitched together down the middle.
Wool vest made in January 2020 from fabric woven on the drawloom.

Why not make that color gamp mockup into a wearable vest on its own? That is what I have finished this week. The pictures that follow tell the story.
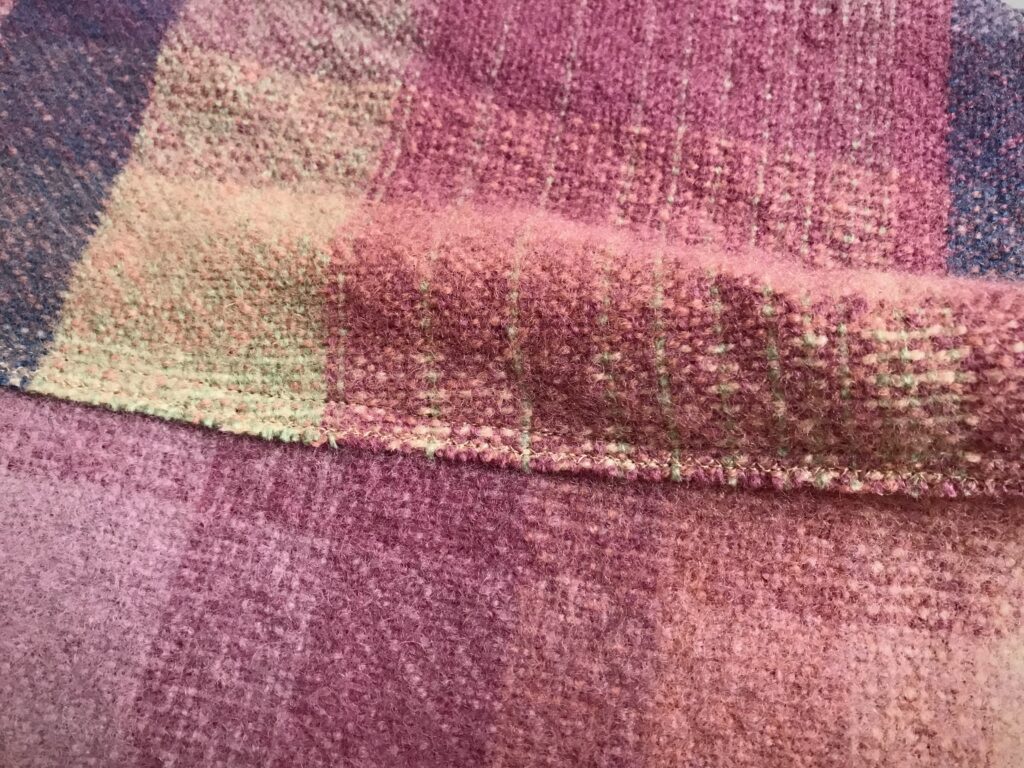
I made the mockup vest with overlapped seams.
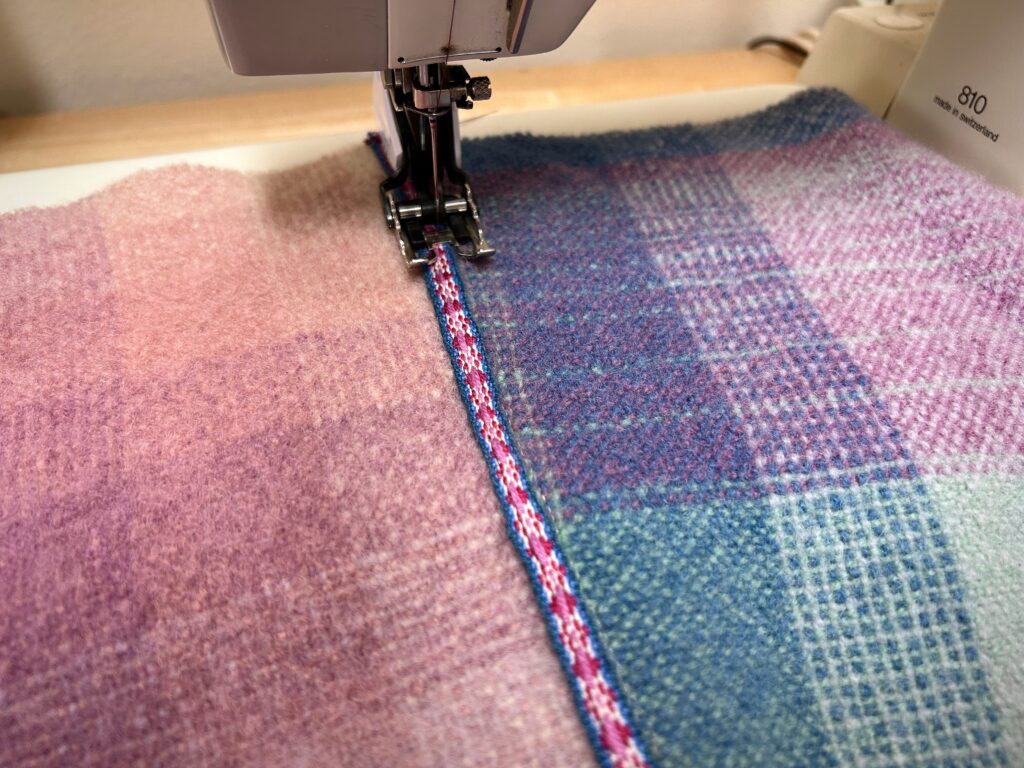
I am using handwoven bands to cover the seams on the vest. This pretty band was woven a couple years ago on a small band heddle that Steve made for me.
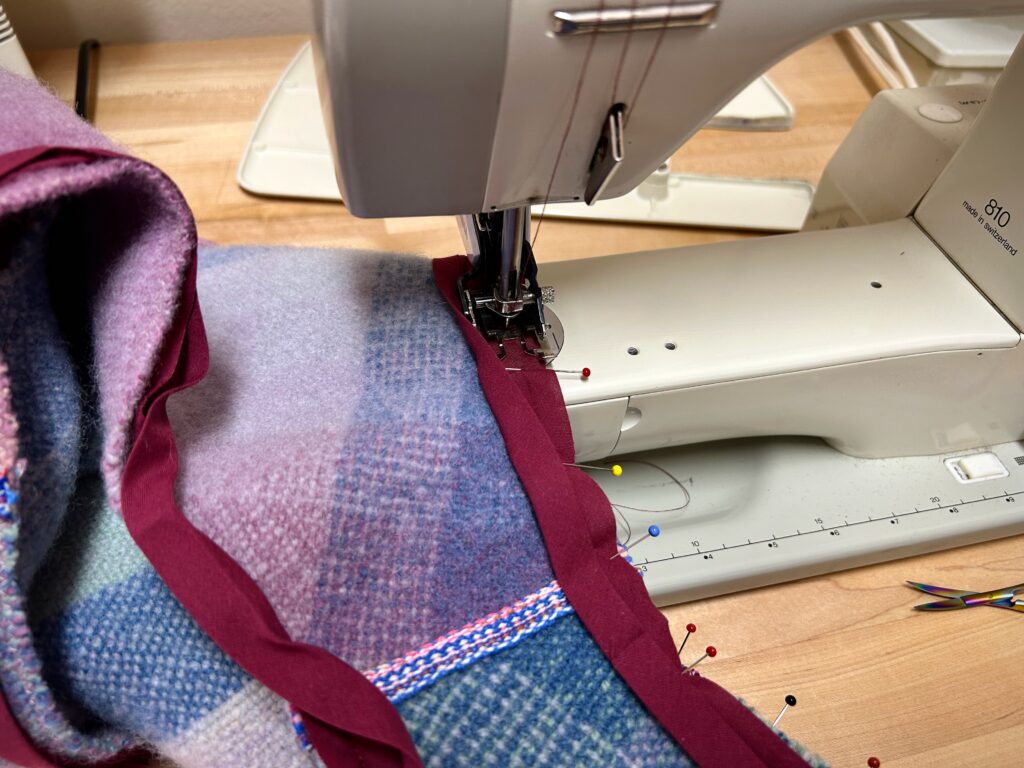
Double fold bias tape covers all the edges of the vest. First I stitch the tape to the edge of the vest, right sides together. You can see another handwoven band that I am using to cover the shoulder seams.
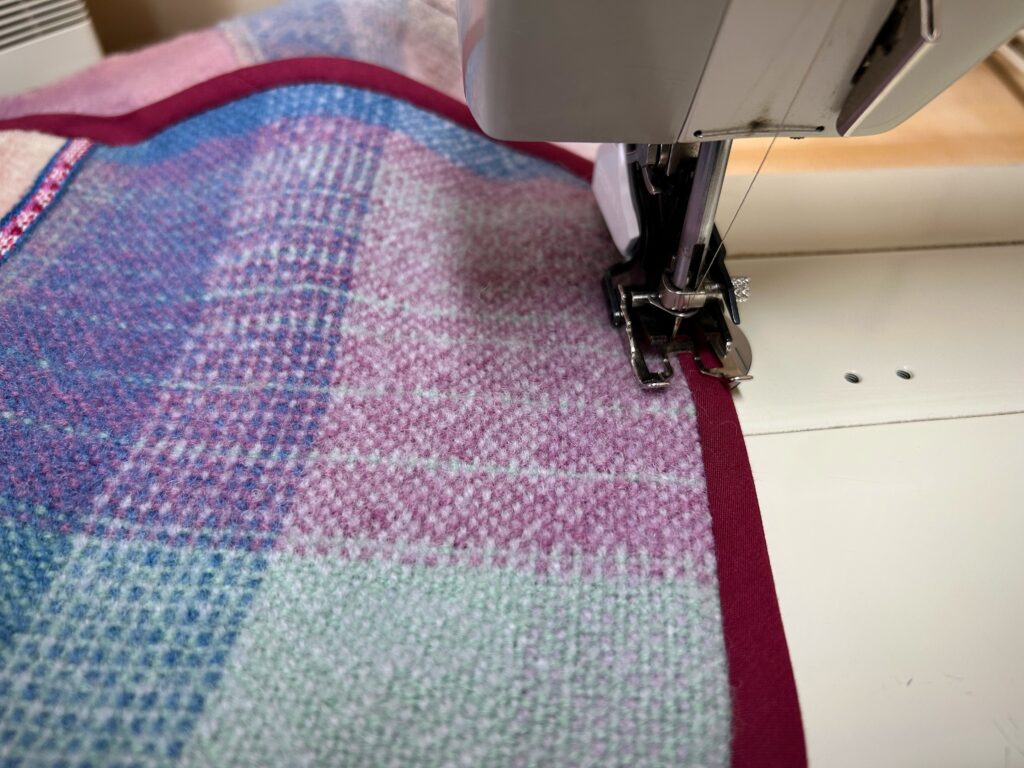
Next, I fold the bias tape around the edge and to the inside, and “stitch in the ditch” to catch the edge of the bias tape on the inside of the vest.
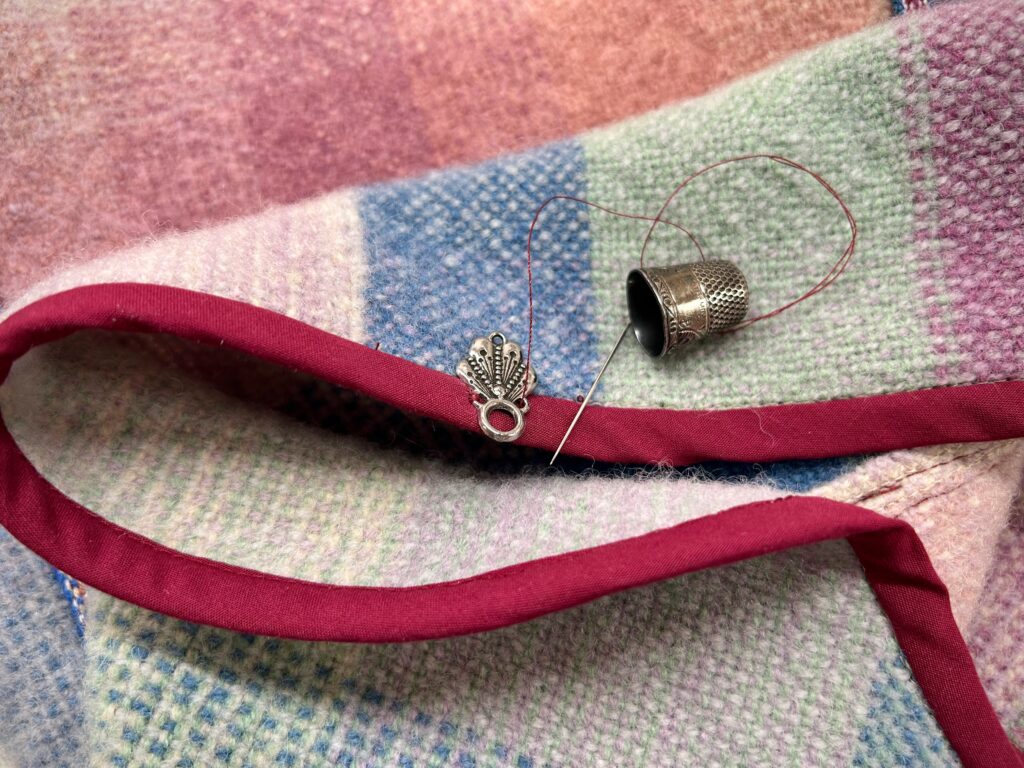
I found this two-part metal closure in my box of sewing odds and ends. It’s perfect for this vest. The thimble is one my grandmother used in her many hand-sewing projects.
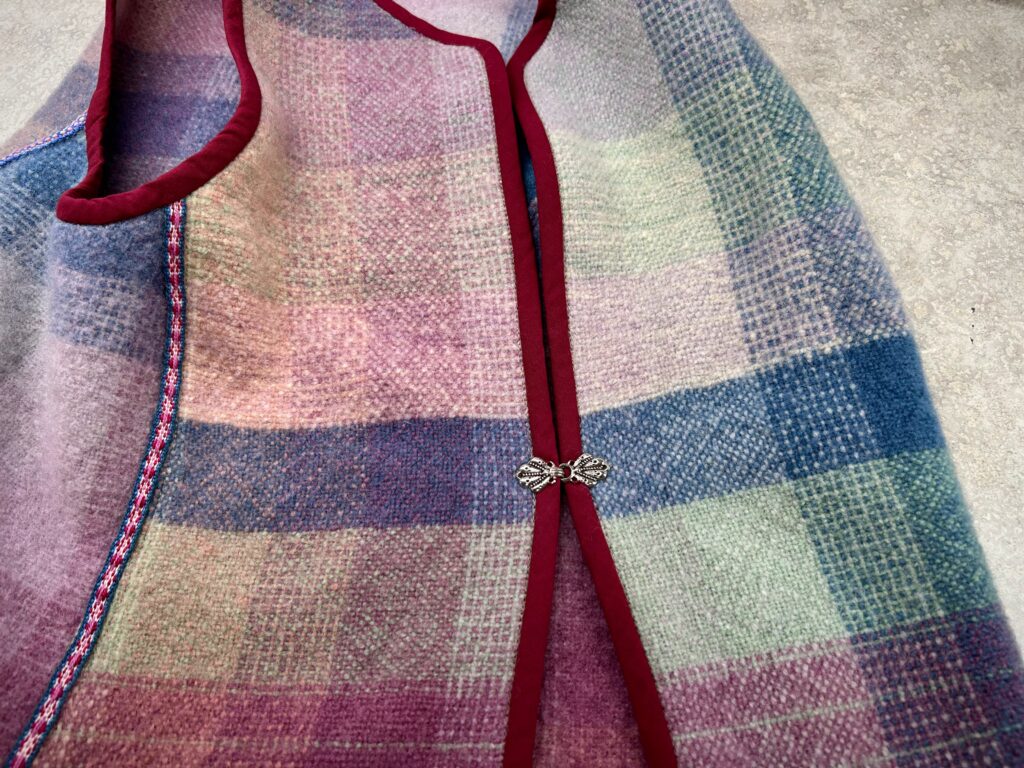
Simple closure for a simple vest.
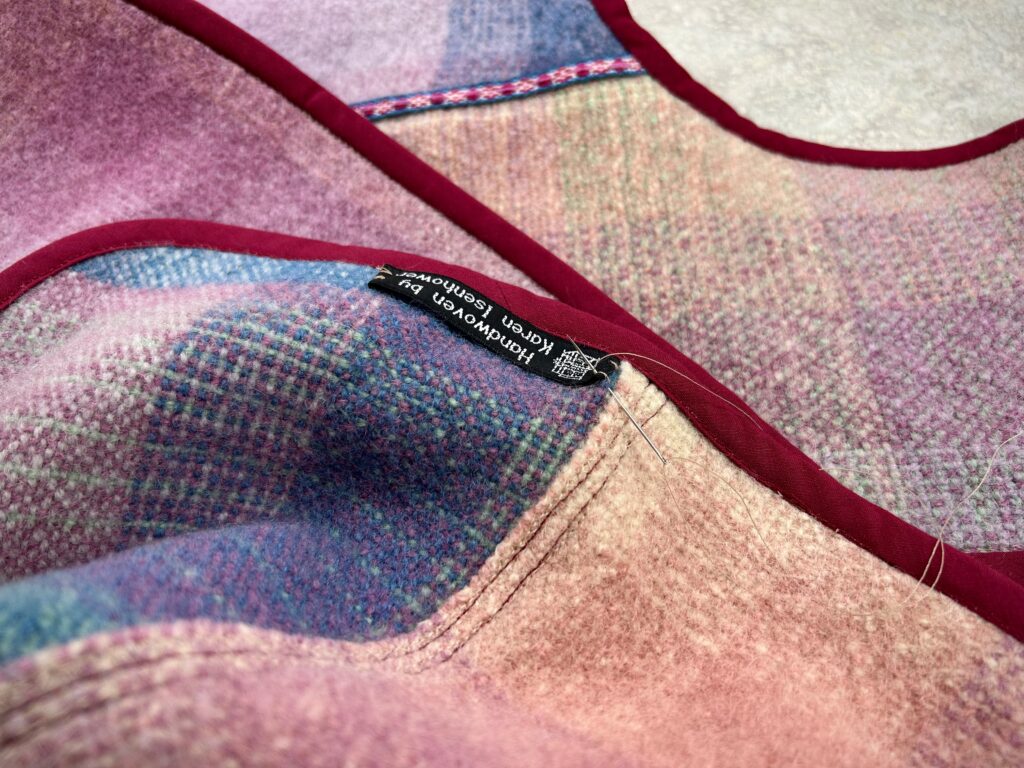
Sewing my handwoven label on the lower edge of the inside is the finishing touch.
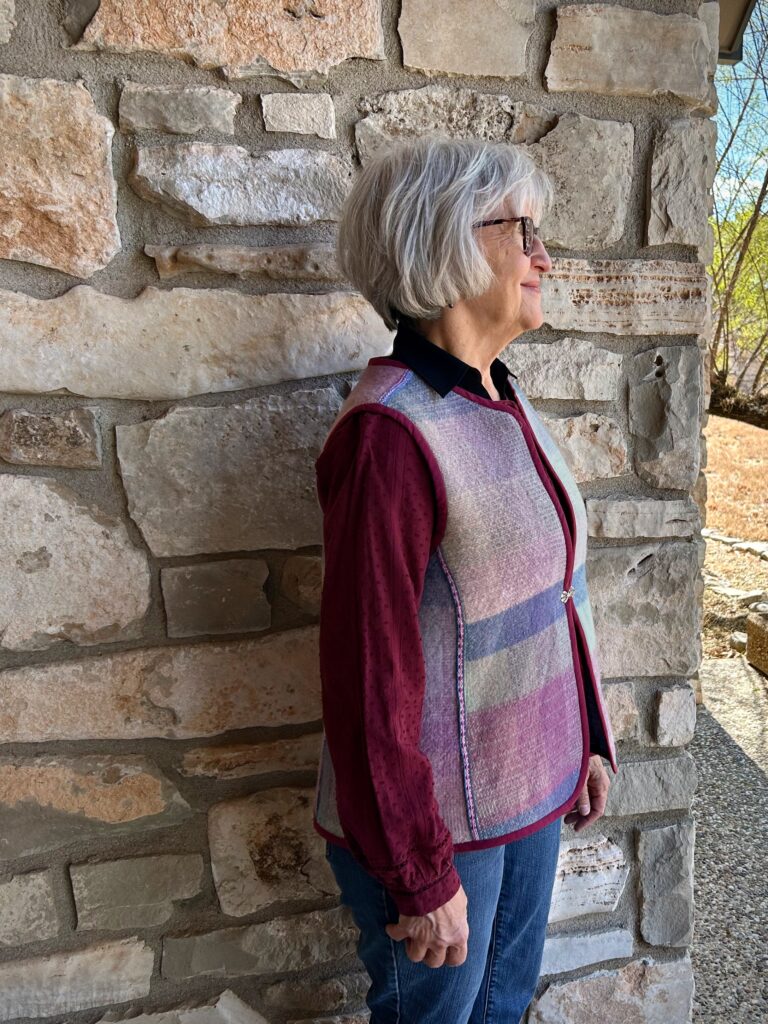
Rigid heddle blanket, now a wearable vest!

When I think about how the Lord allowed me to discover the joy of weaving on a simple little frame loom… And how He has allowed me to enjoy growing in these skills, and how I get to have the pleasure of weaving on a not-so-simple large drawloom… It reminds me of Psalm 16:11 “You reveal the path of life to me; in Your presence is abundant joy; at Your right hand are eternal pleasures.”

Happy to wear a remnant of my rigid heddle loom days!

Thanksgiving: Giving thanks to the Lord for allowing us to know the joy of walking in His path of life.

Happy Thanks Giving, Karen

Happy New Warp – Year in Review Video

The 2021 cloth is cut from the loom. Let’s unroll the year to see how it looks. I see cherished moments. Treasured memories. New friendships. Family relationships enjoyed. Mistakes made. A few heartbreaks. Sorrow and rejoicing are intertwined at times. Besides the finished fabric, there are a few odd remnants worth keeping in my heart. And, like most thrums, there are some things I am not going to hold on to.

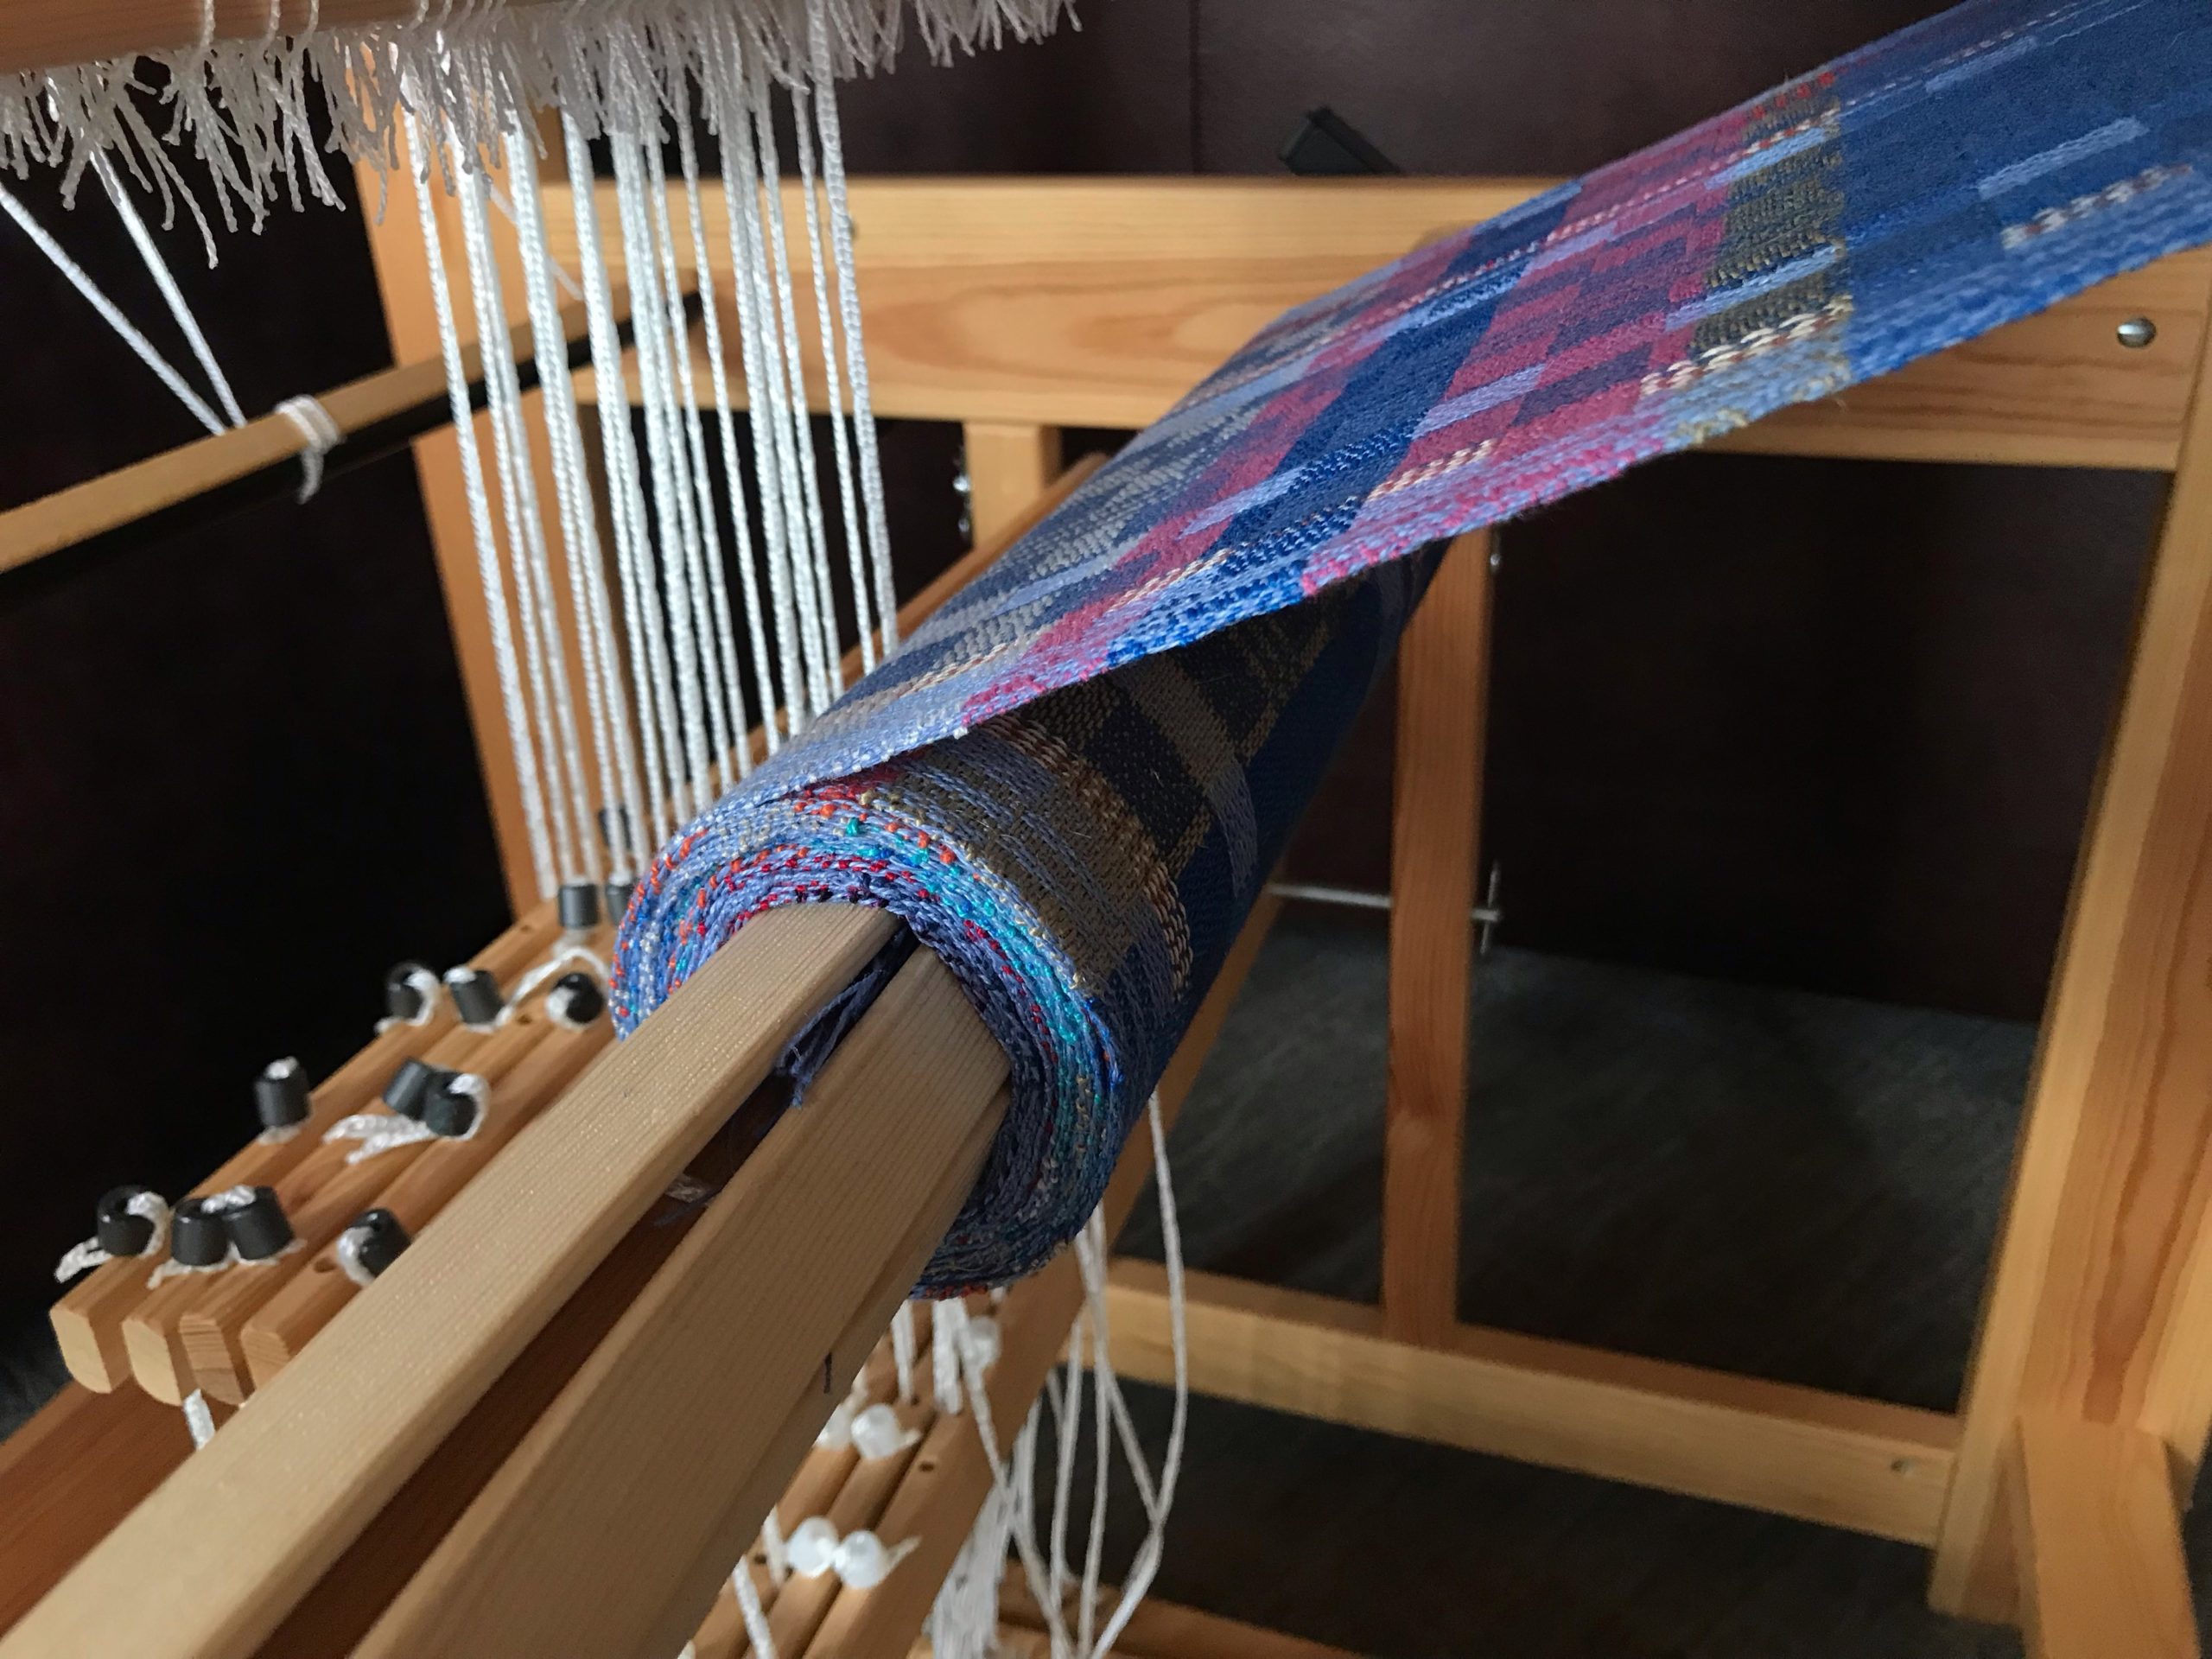
Cloth beam on the Glimakra Julia. Linen dish cloths.
Final project of 2021. Linen dish cloths, with warp made from what was left on several tubes of linen. Glimåkra Julia, using 8 shafts, 8 treadles.
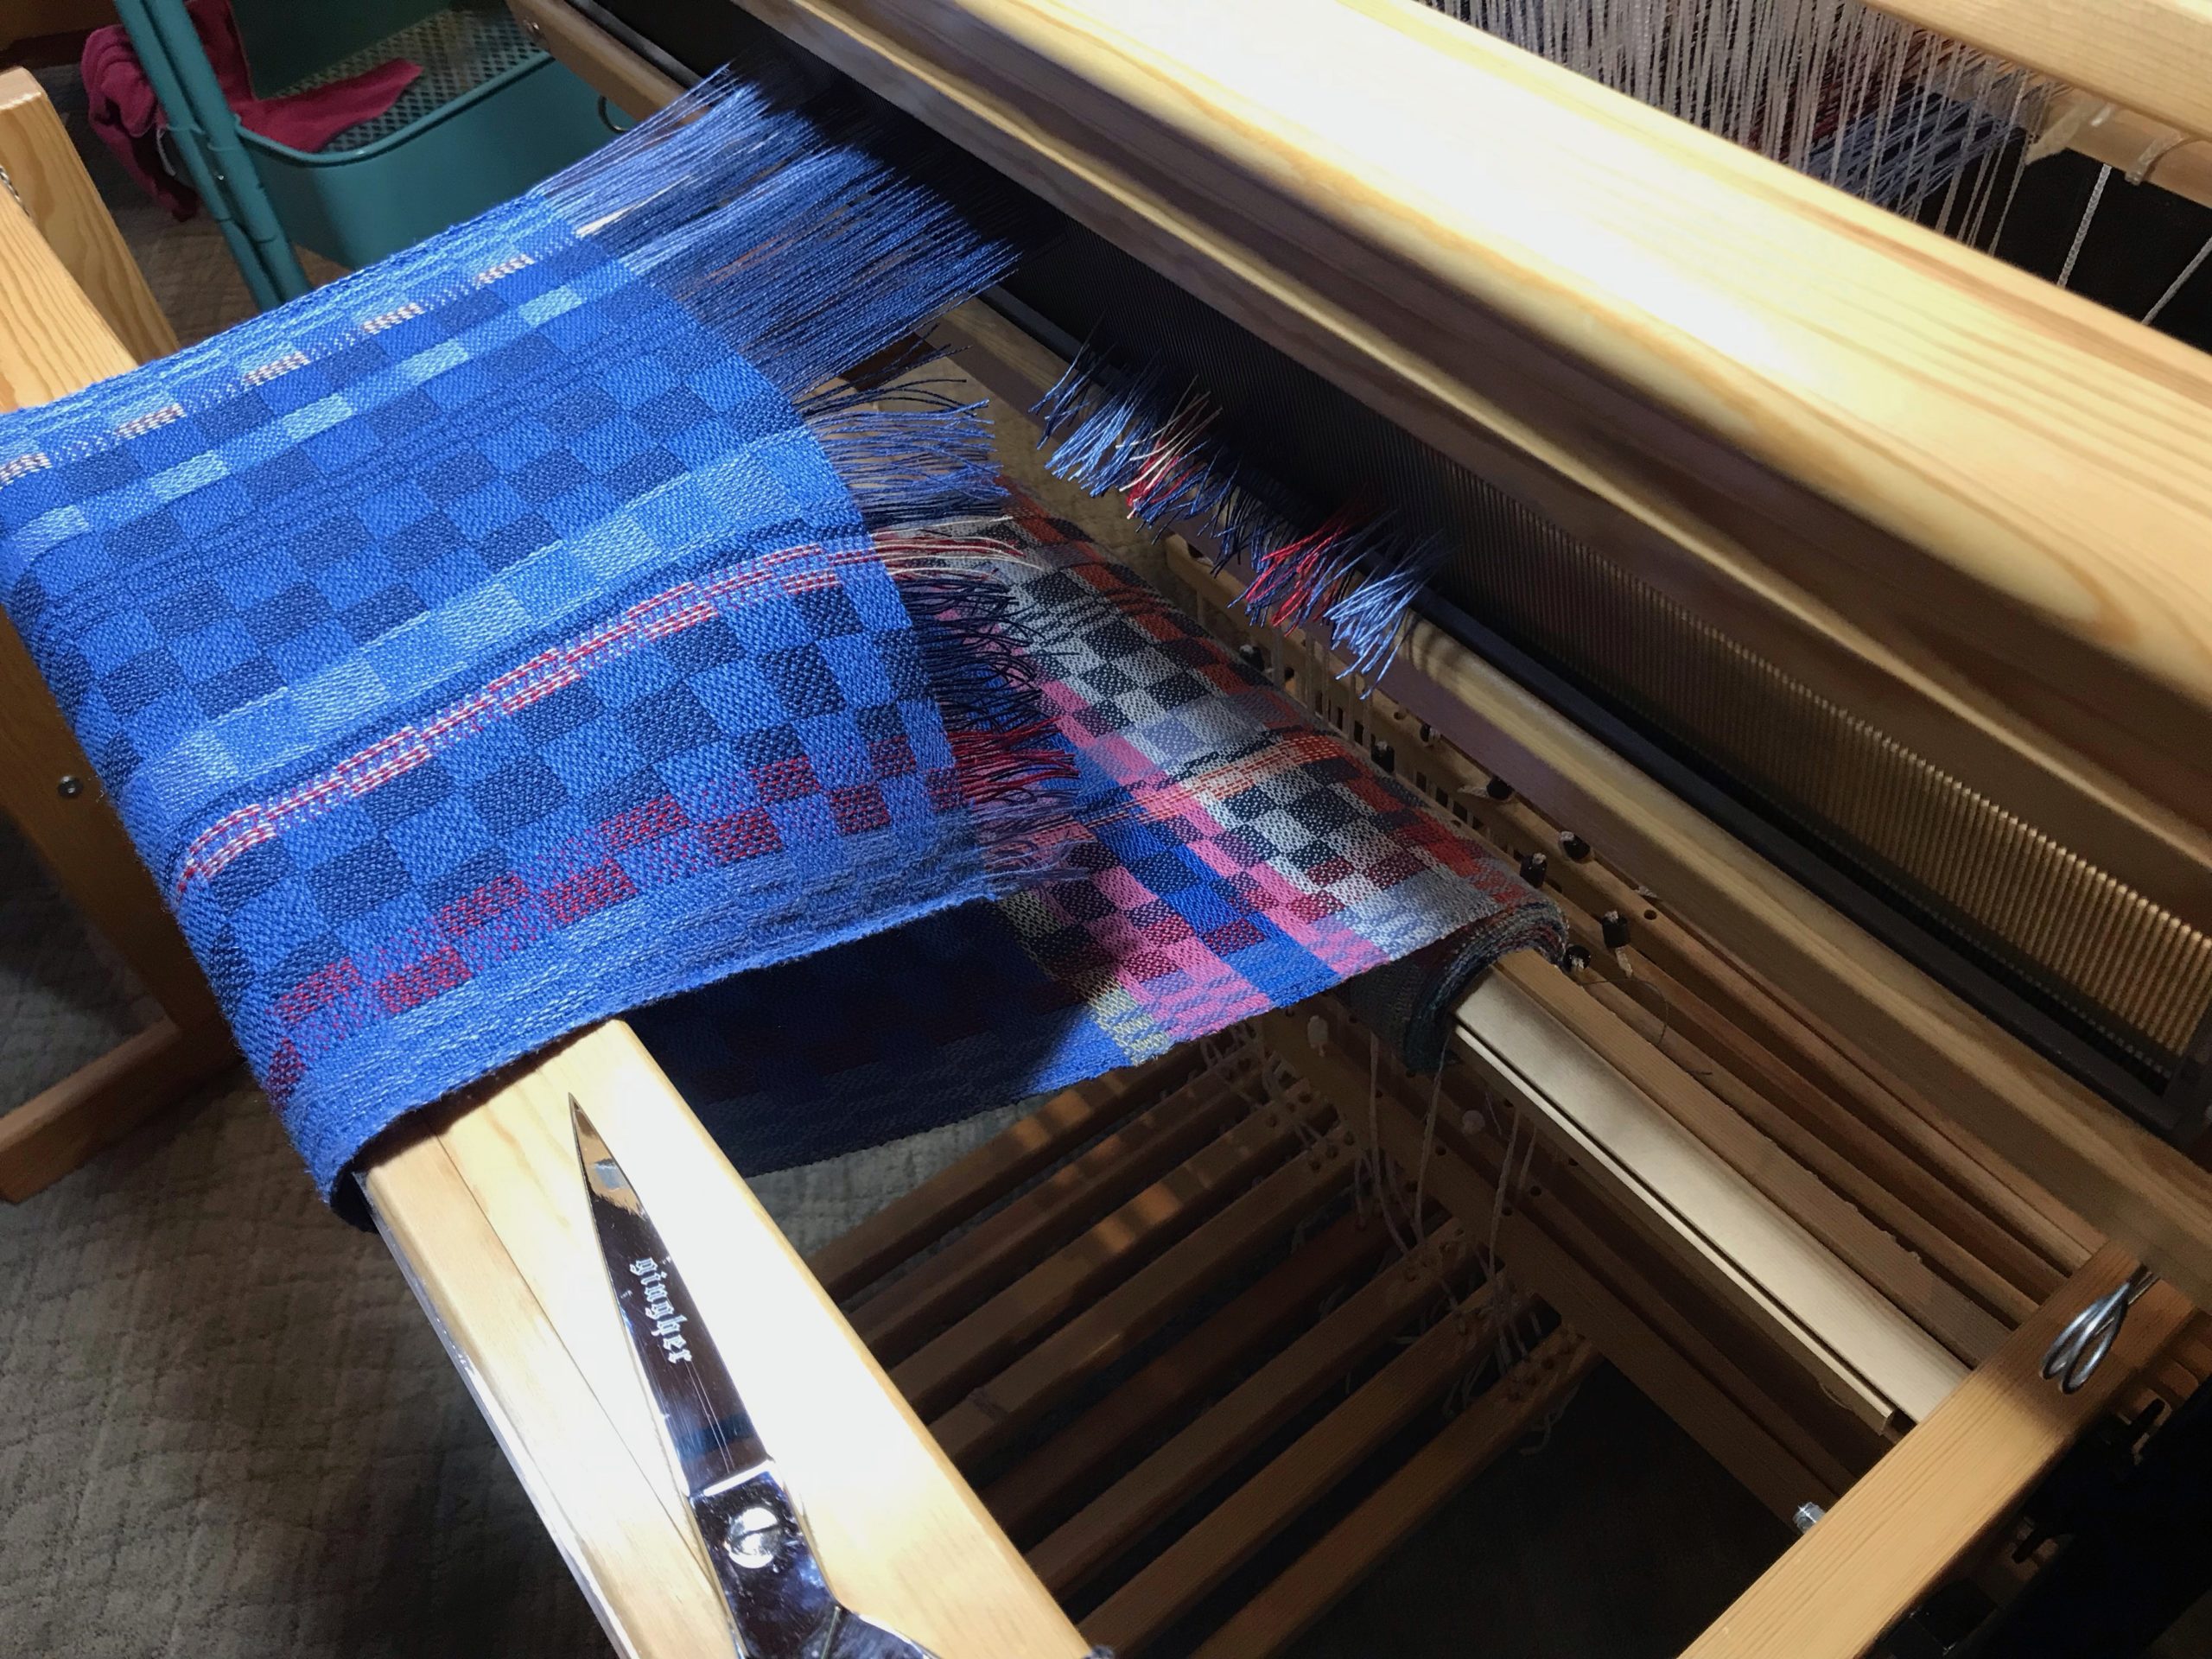
Glimakra Julia - linen dish cloths!
Good-bye, 2021. Nine linen dish cloths, plus one large blue rectangle at the end. Washing dishes has never looked so good!

Three weaving highlights: 1. Eye of the Beholdertapestry of my mom. The Lord used the making and finishing of this woven portrait to reiterate His nearness when I needed it most. 2. Siblings, tapestry from the previous year, earned the HGA (Handweavers Guild of America) Award at the Contemporary Handweavers of Texas Conference last summer. 3. The yellow huckaback three-tiered skirt, Tiers of Joy, ought to earn an achievement award. However, the real reward is a genuine sense of accomplishment through perseverance.

Rag rugs up next!
First warp of 2022. Glimåkra Ideal. Double-binding rag rugs coming up. Hooray!

Know when to let go. 2022 is a new warp on the loom. Some things from last year don’t belong. We have a fresh start with no room for complaints. Threads on the loom are rich with hope, ready for the intersection of thoughtful wonder and exploration. Look for results of tangible beauty.

Please enjoy looking back at the weaving journey of 2021 with me. I’m grateful to have you here, and look forward to more good times together!

The three highlights: Process Review: Eye of the Beholder, Siblings Tapestry and Process Video, Process Review: Tiers of Joy!

May you know what to hold, and what to let go.

Happy New Warp (Year),
Karen

Tried and True: What a Little Piece of Tape Can Do

You never know when you’ll need a piece of blue tape. A roll of blue painter’s tape is among my essential weaving supplies. My favorite way to temporarily mark just about anything is with a piece of blue tape.

Blue Painters Tape for Temporary Markings

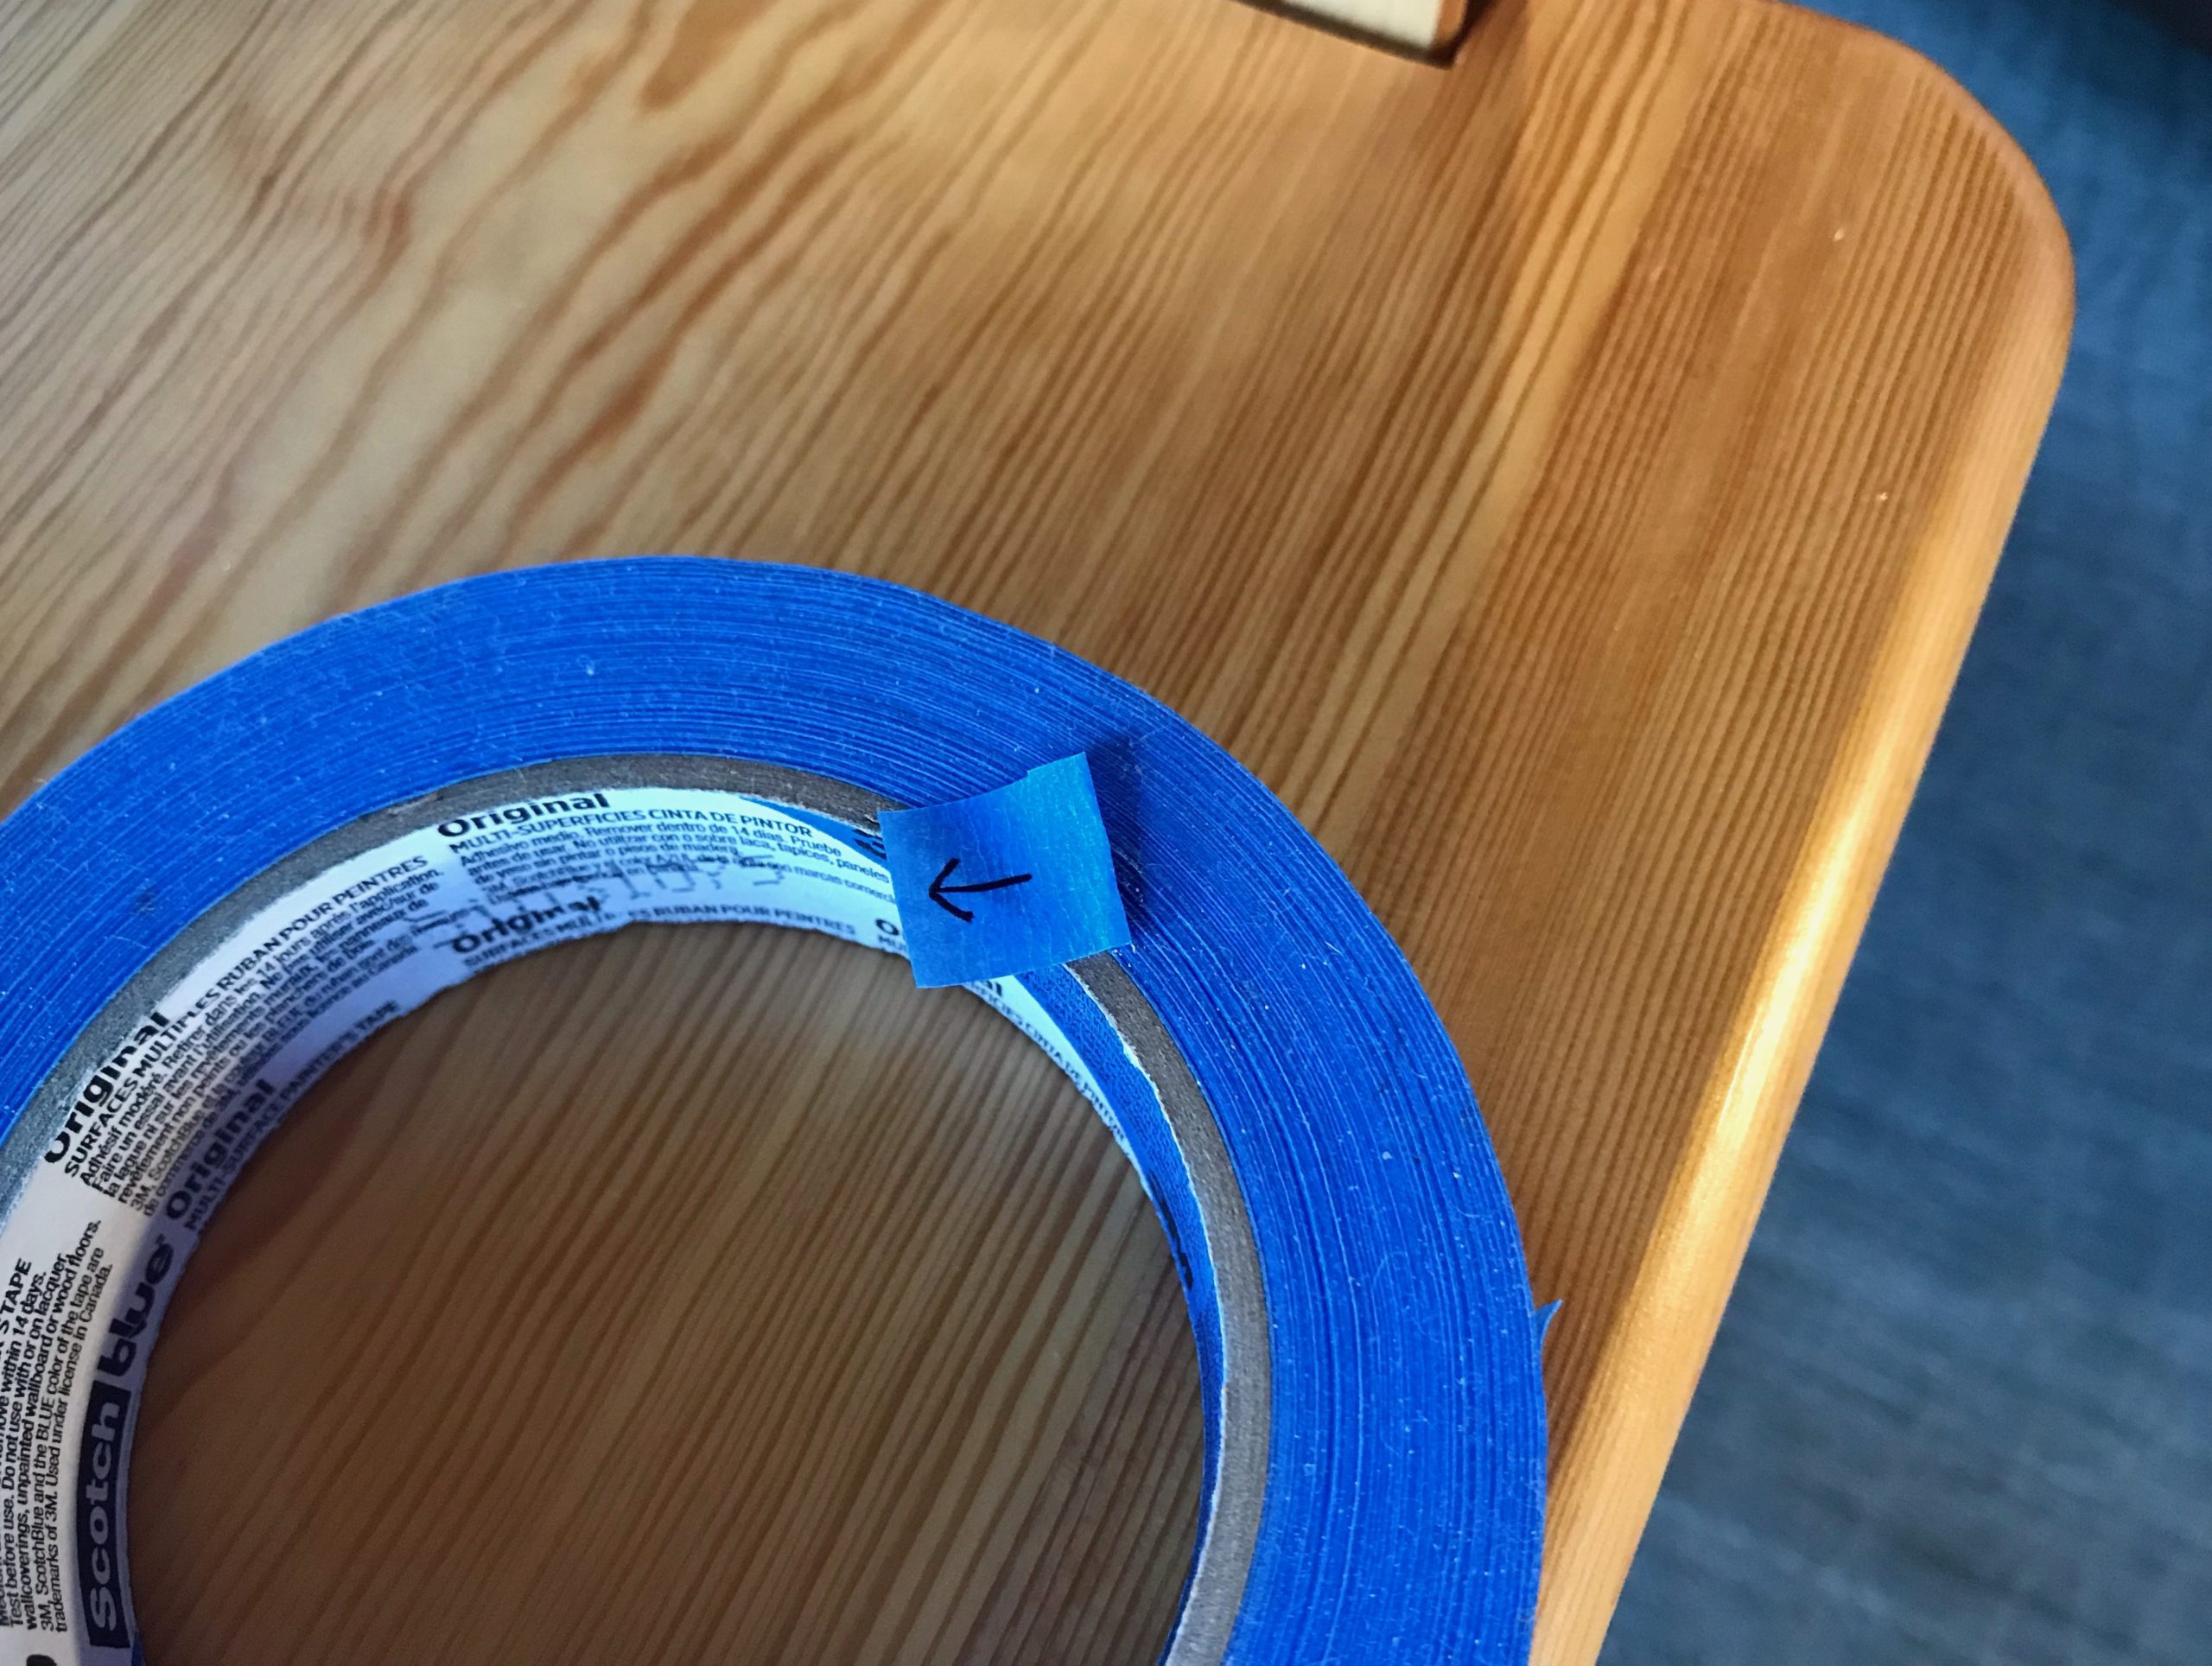
  1. Cut (or tear) the tape to size.
  2. Fold one edge of the tape under. This makes a little tab so that the tape is easy to remove or reposition.
  3. Use a fine point Sharpie to write on the tape.
Weaver's uses for blue painter's tape.
Tape prepared for pointing.

Three Examples

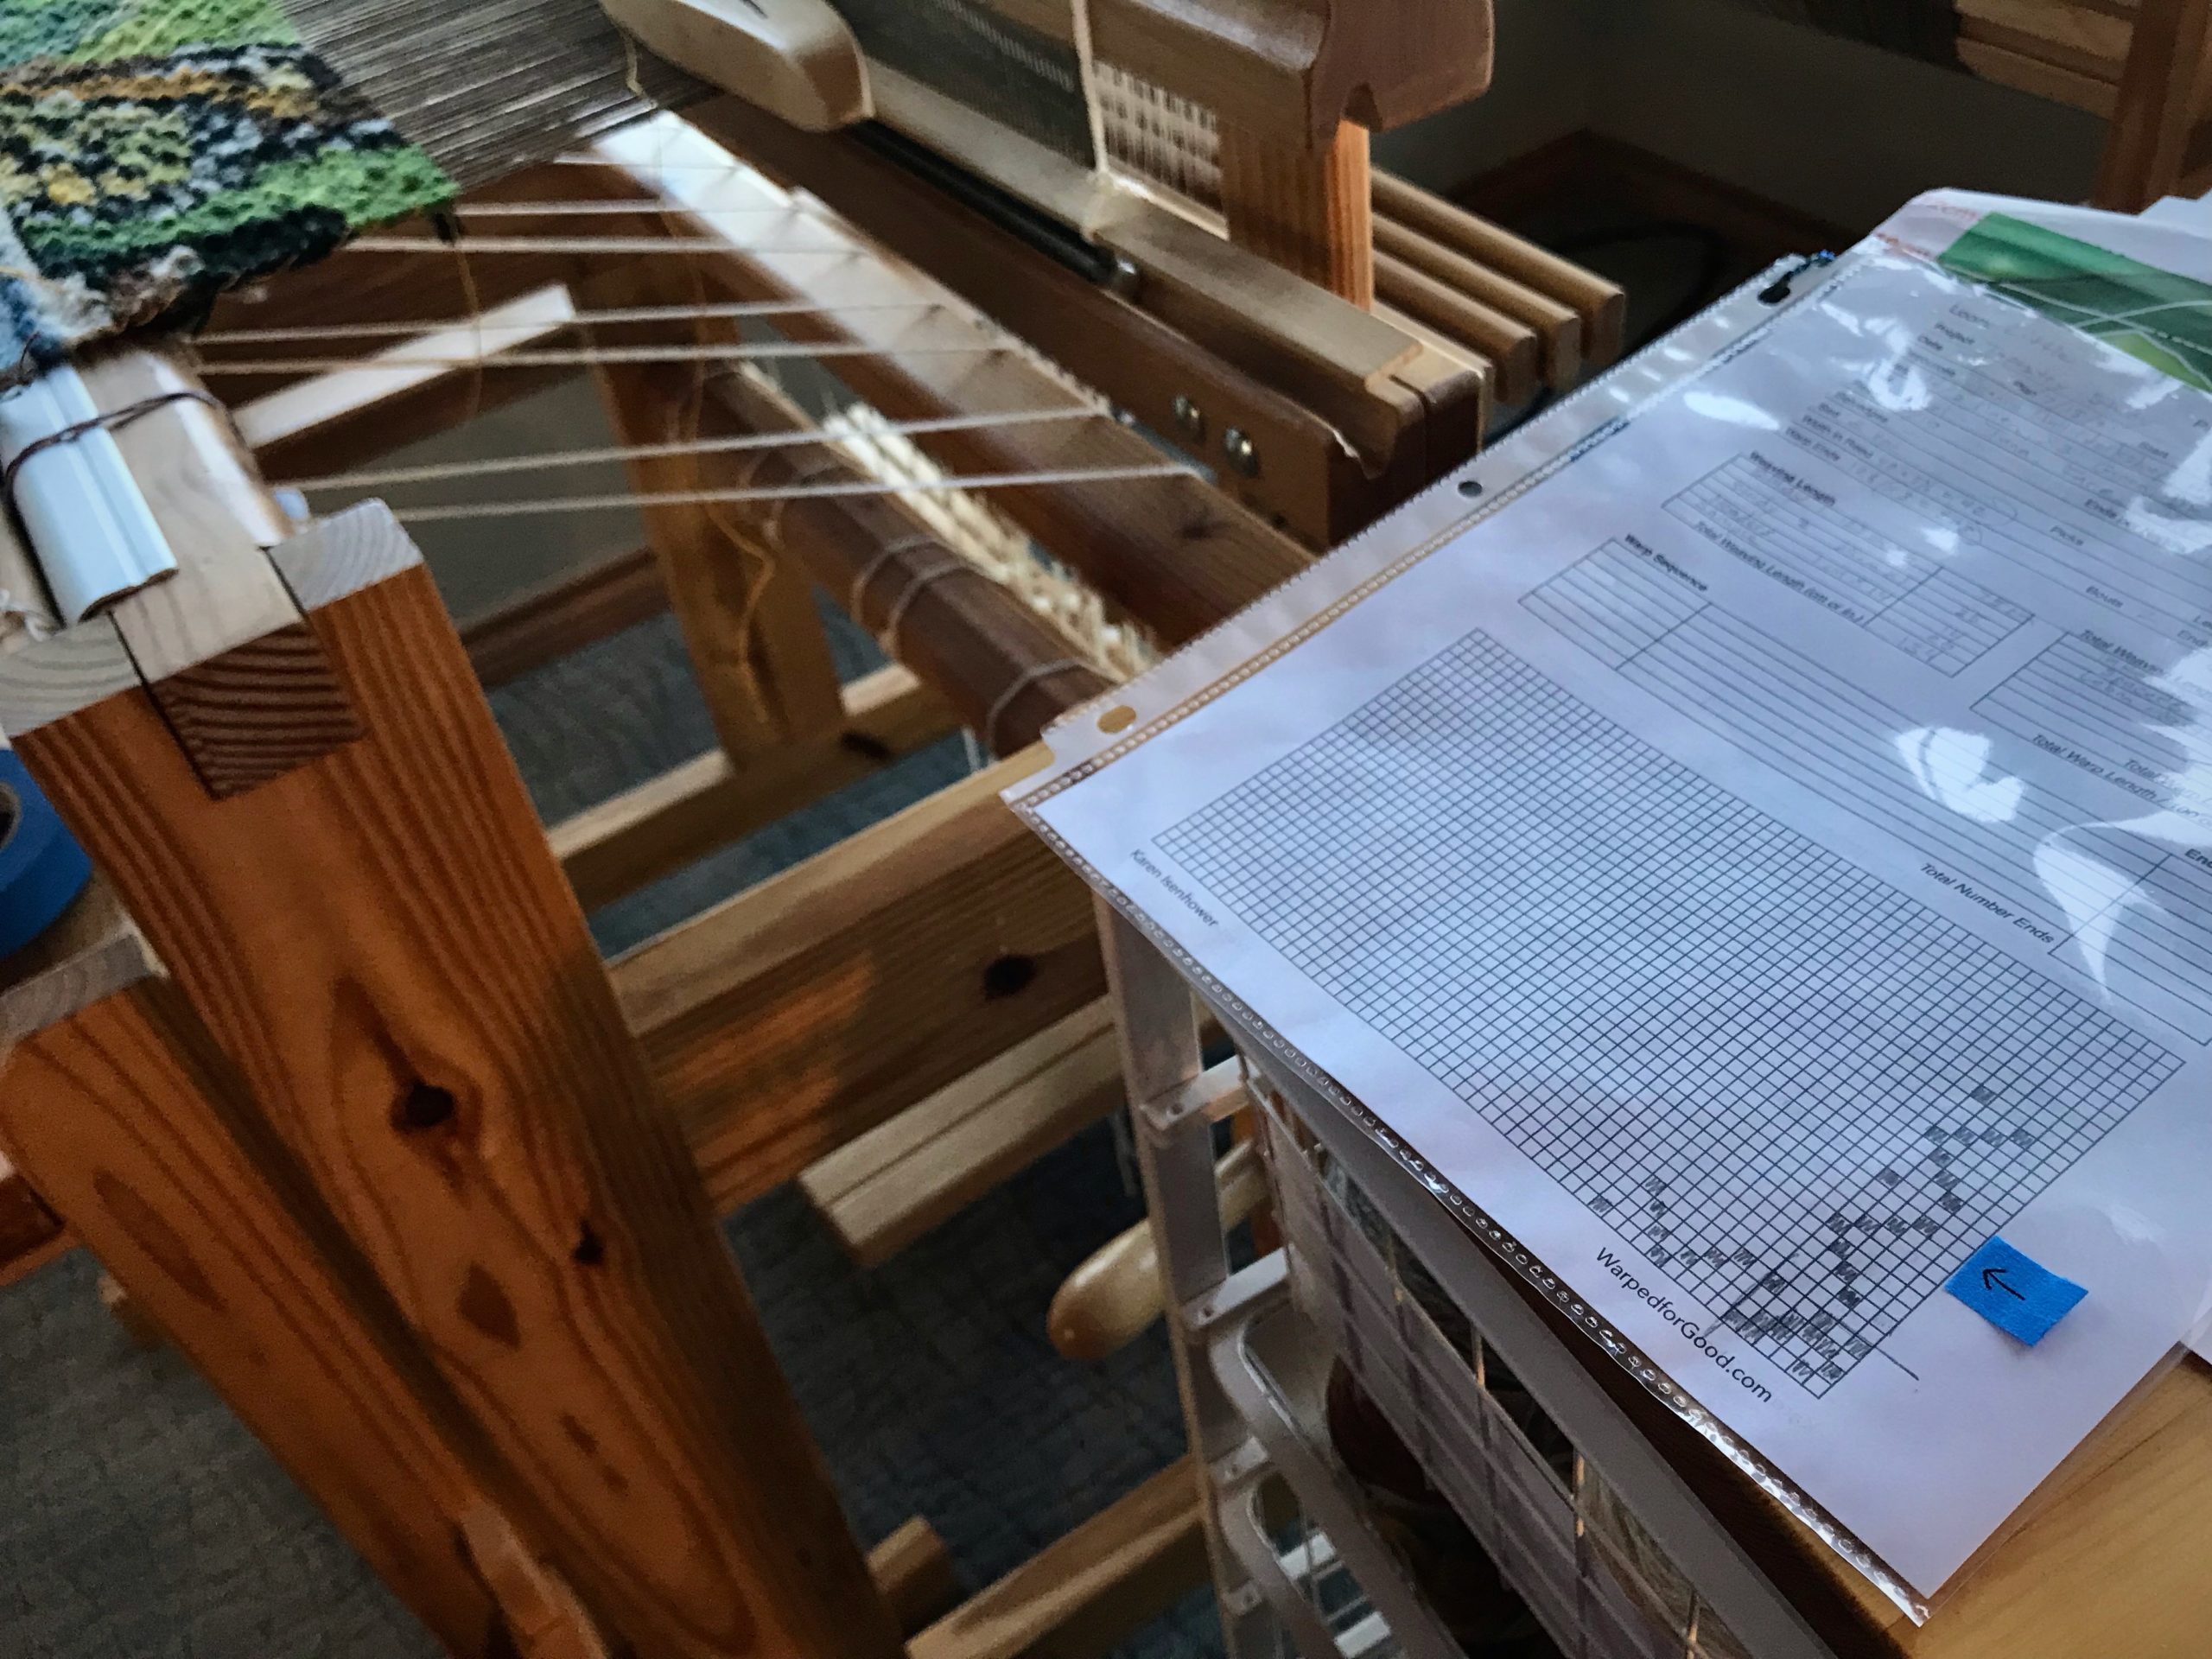
  • Keep your place. Draw an arrow on a small piece of blue tape. Use the arrow on the tape to follow along the threading or treadling draft. This eliminates confusion, especially after a pause.
Blue tape uses in the weaving studio.
Rosepath treadling for 4-shaft tapestry. Since there are plain weave picks between each rosepath row, I need something to remind me where I left off.

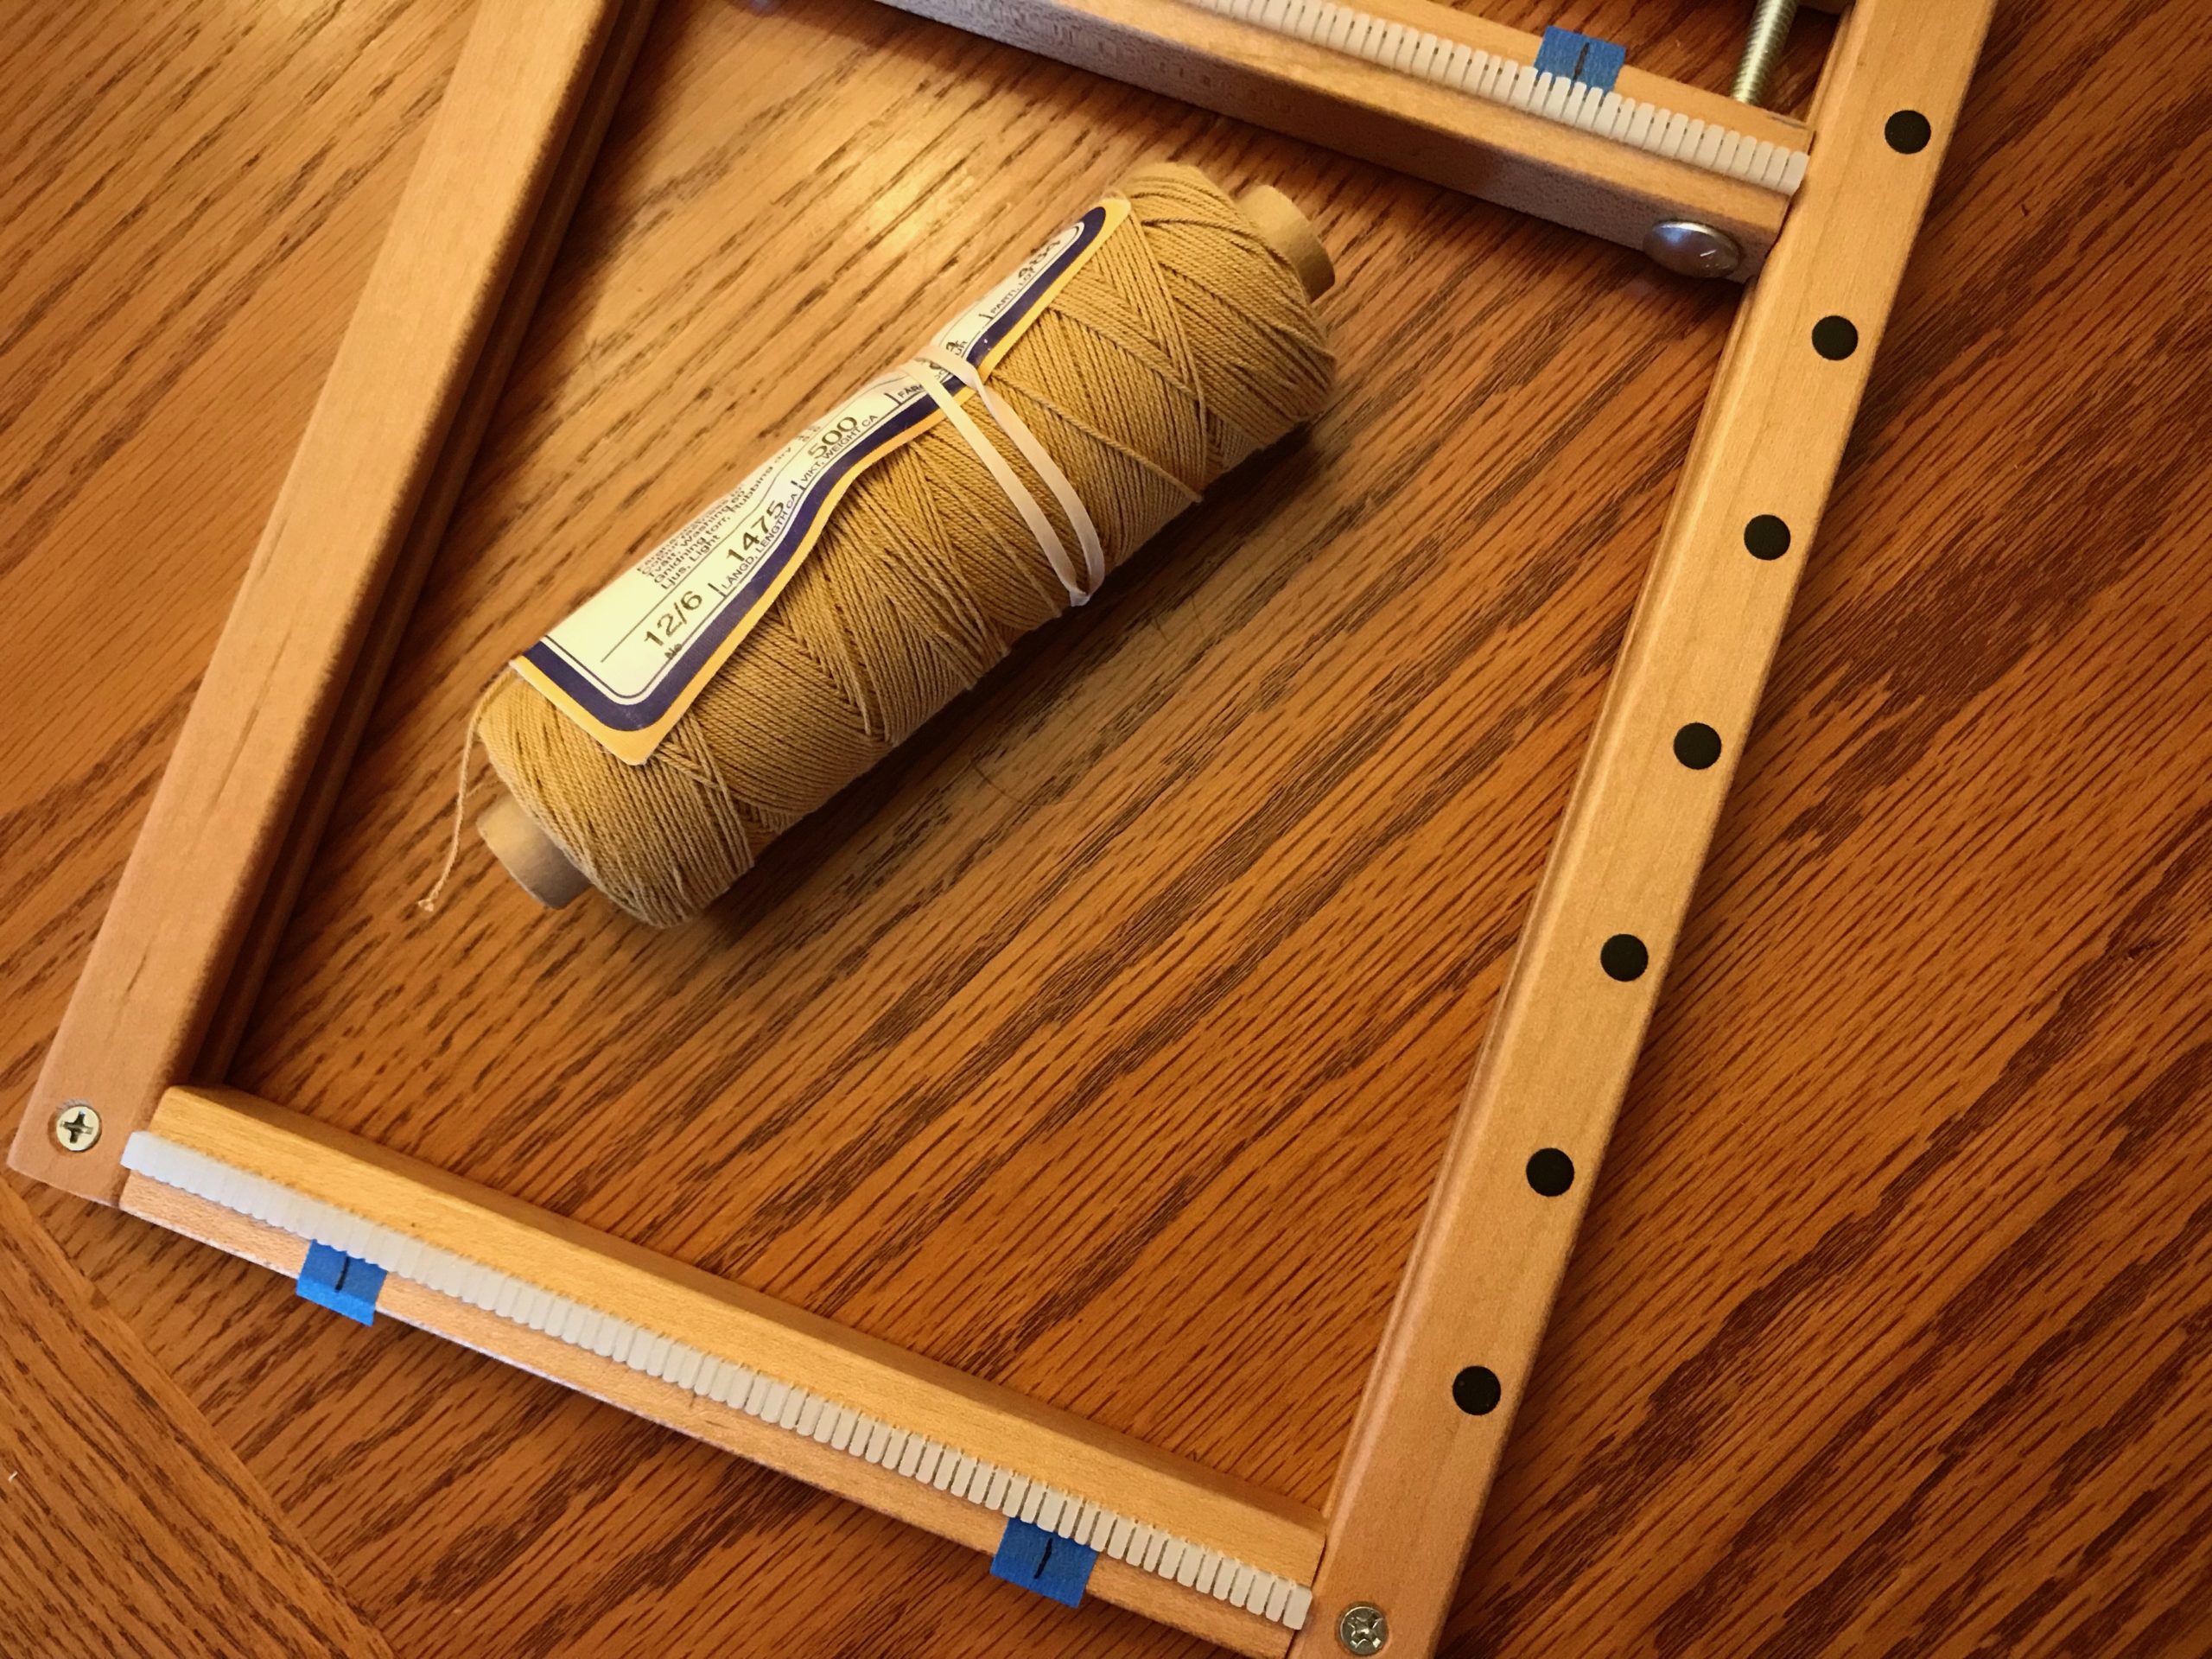
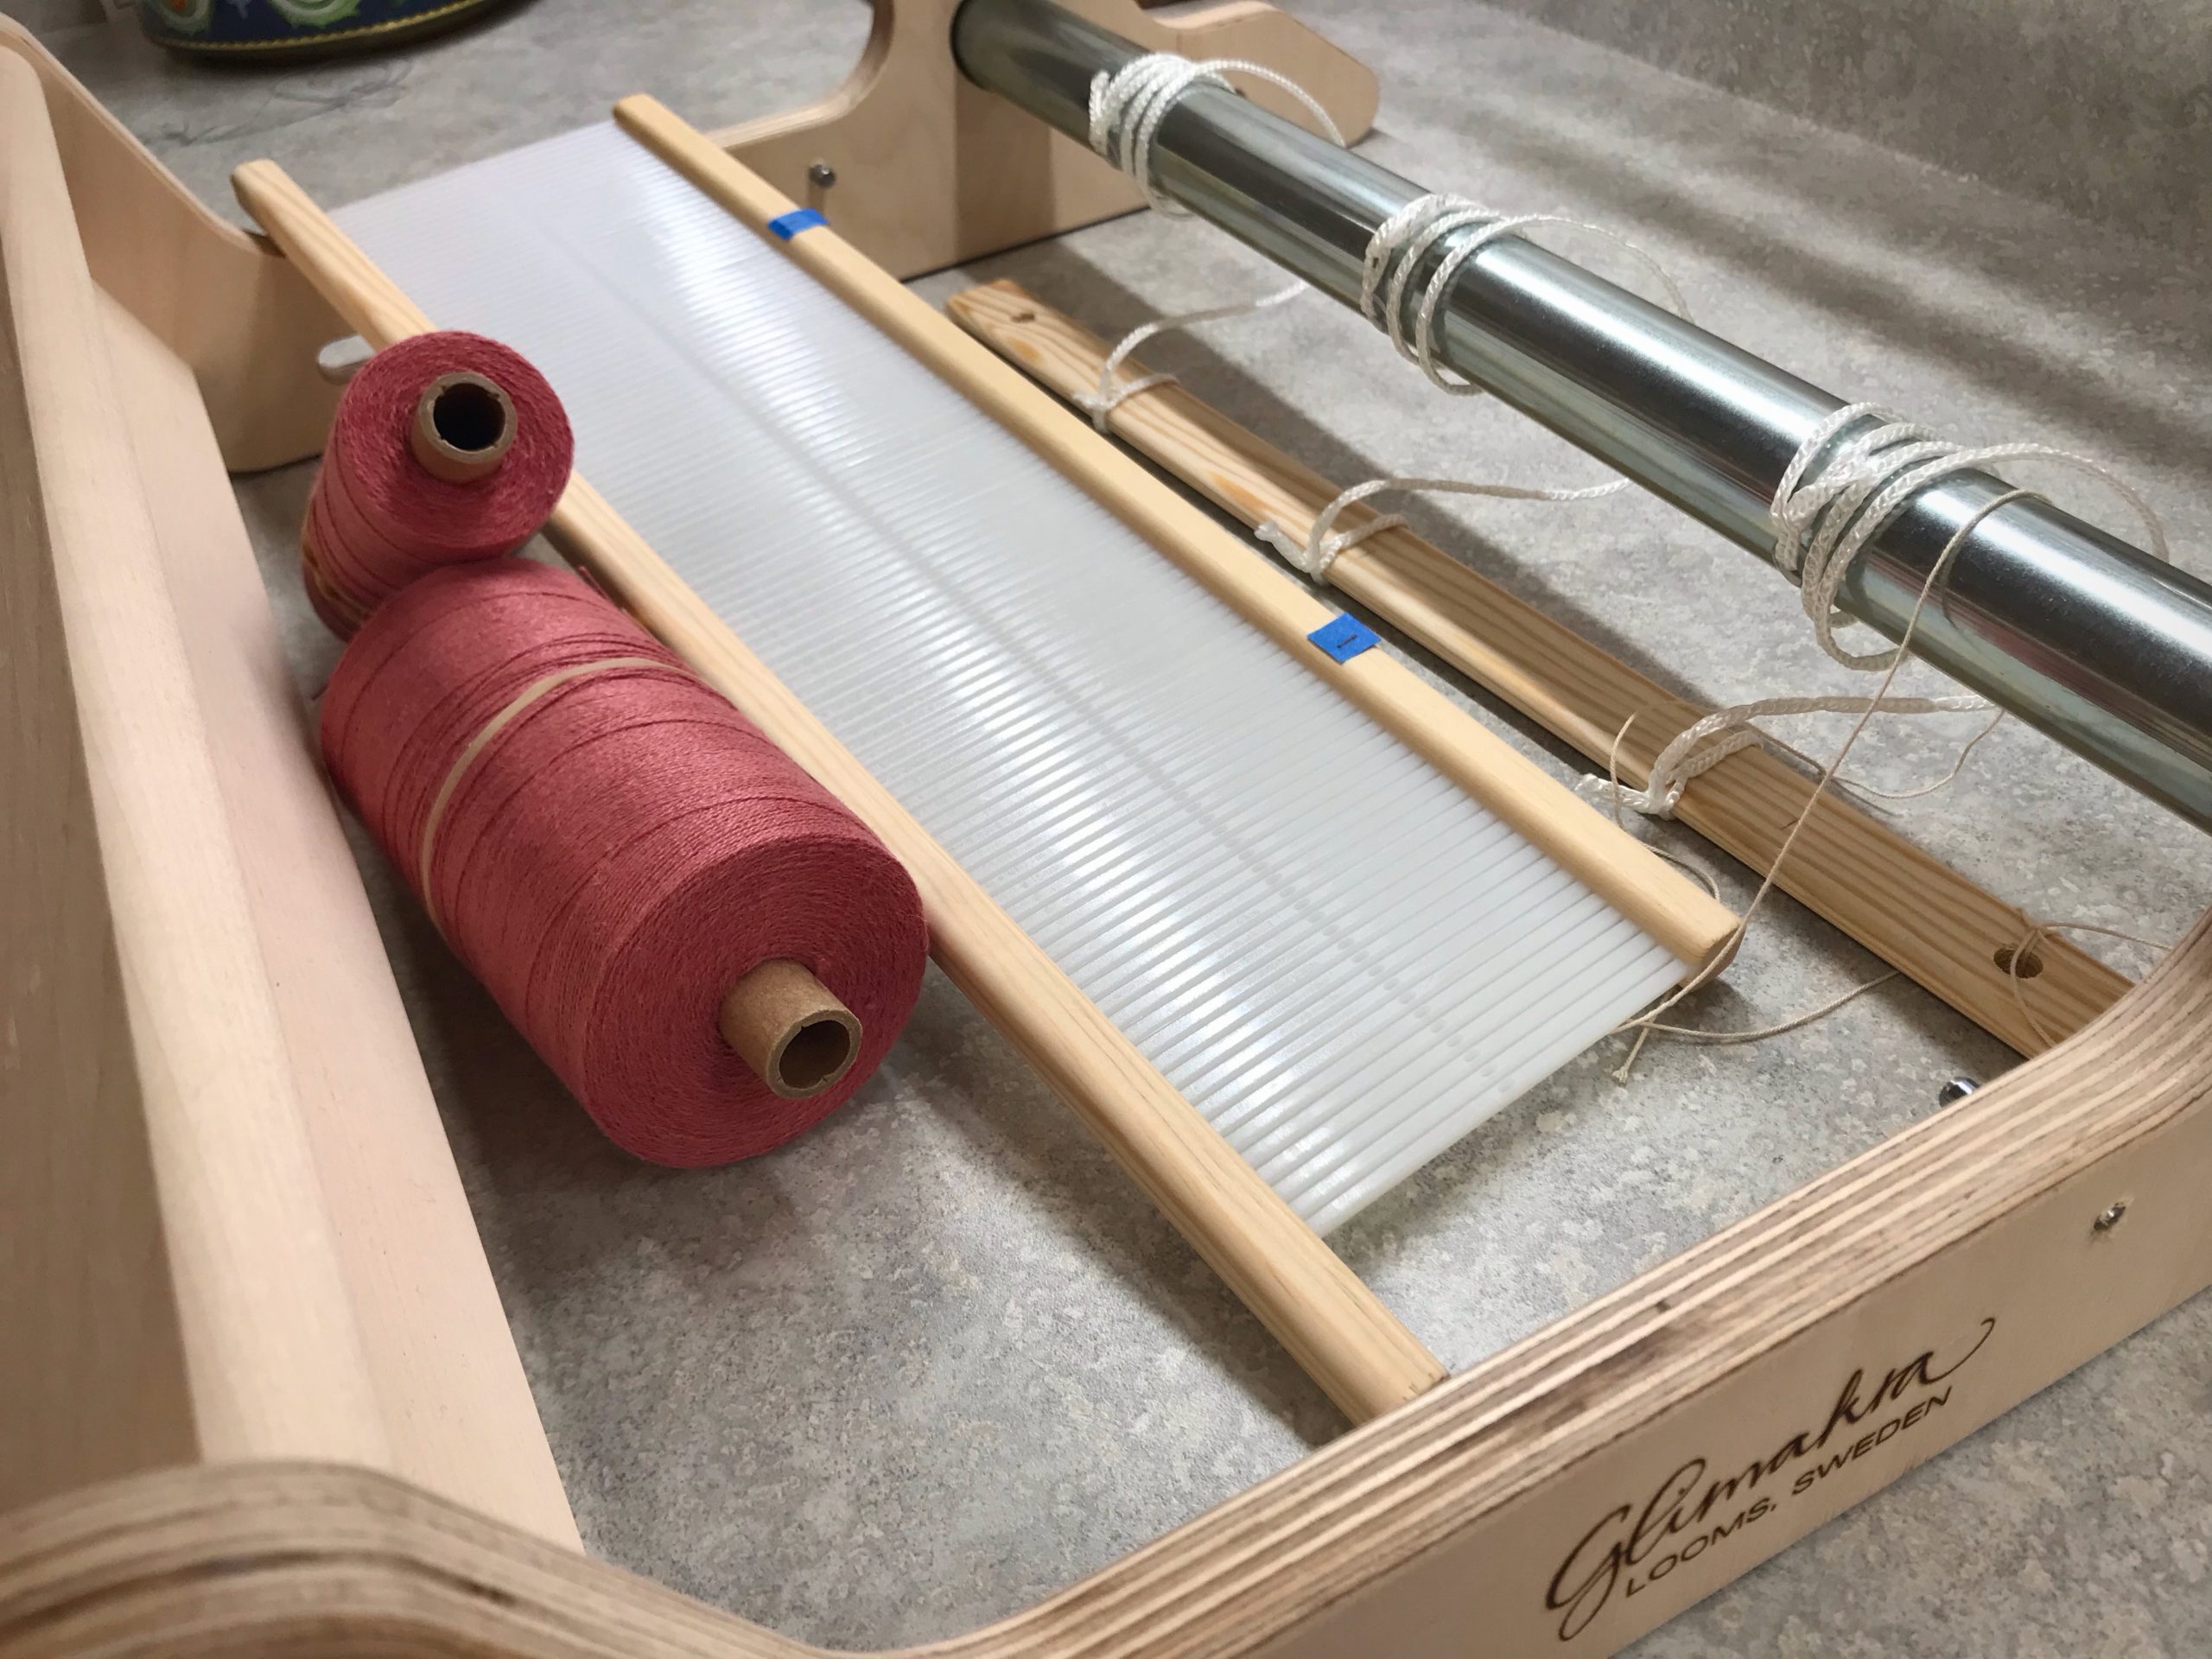
  • Measure the space. Draw a straight line on small pieces of tape. Measure the warp width on a tapestry frame or rigid heddle loom. Use the lines on the tape to mark where the first and last warp ends should lie on the loom. This eliminates guessing when warping the loom.
Uses for blue tape in my weaving studio.
Tapestry frame is ready for a new warp. After measuring for weaving width, and counting dents, I mark the dents with tape. No more guessing if I’m “almost there” when putting on the warp.
Blue tape to mark the rigid heddle. And other uses for blue tape.
By clearly marking the first and last slots/holes I can verify that my calculations are correct before I start warping the rigid heddle loom. This is helpful for direct warping and for indirect warping methods.

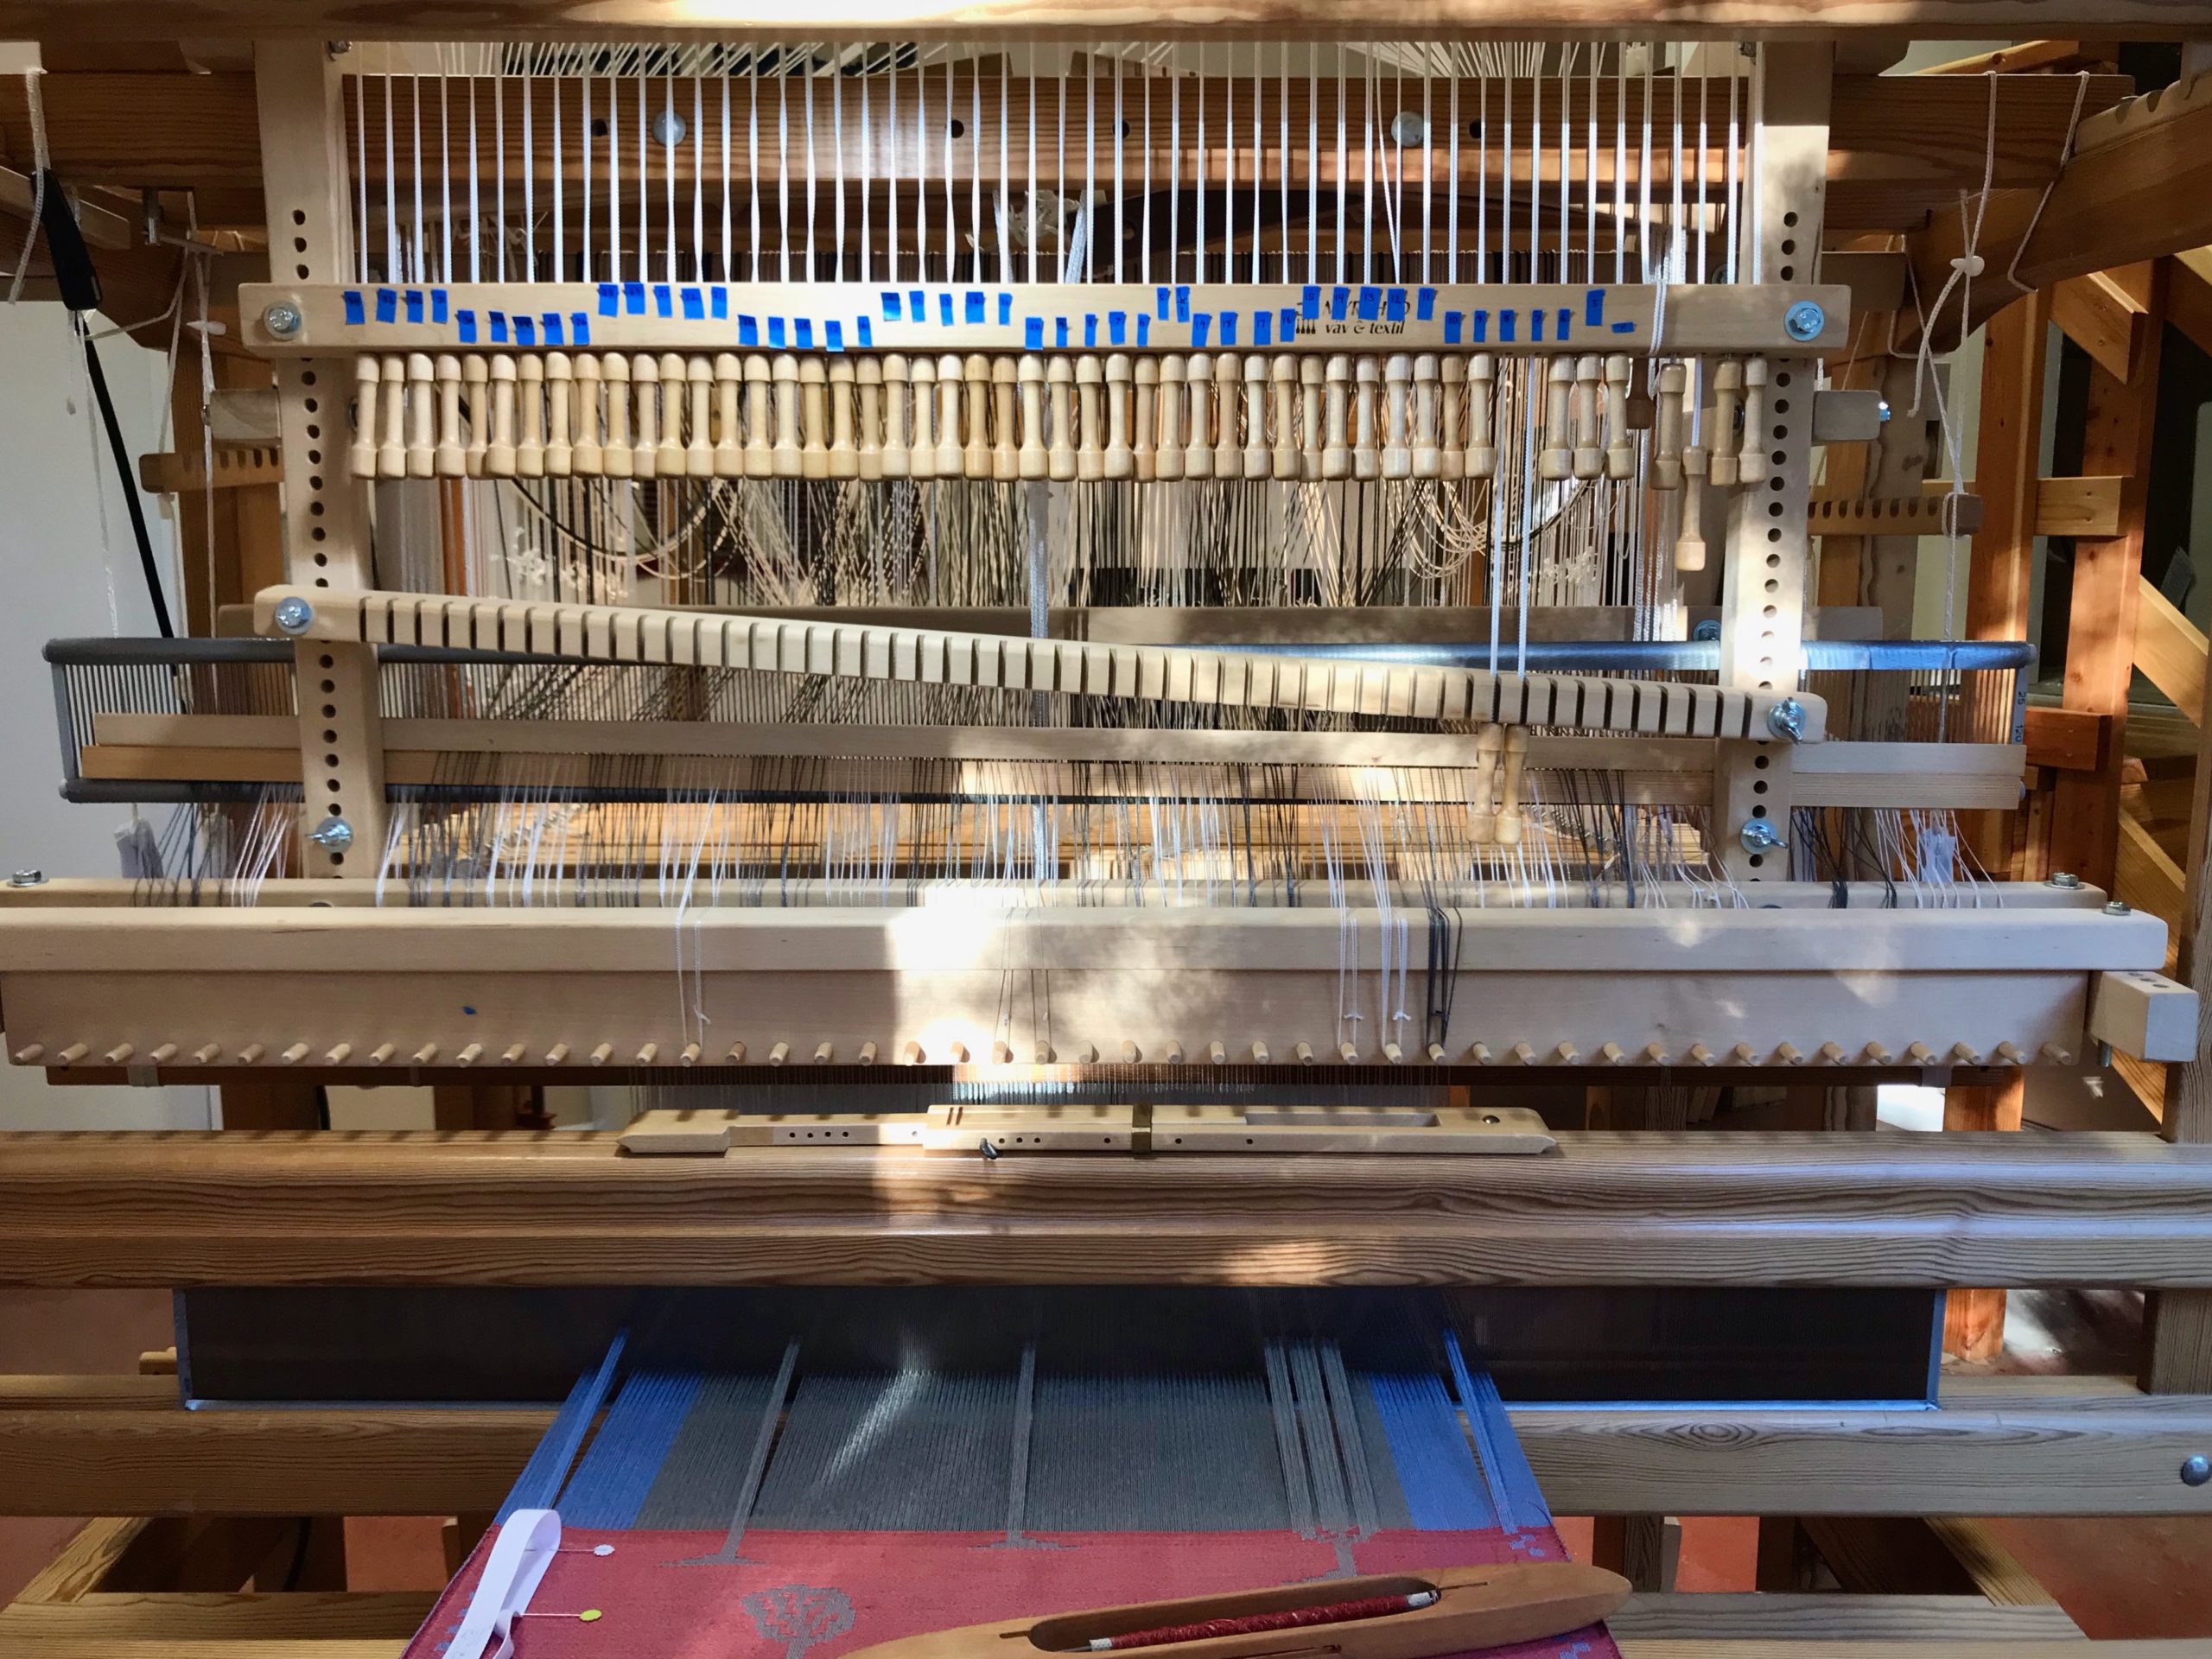
  • Number with Grace. Write out a series of numbers on a long piece of tape, leaving space between the numbers. Cut the numbers apart. Use the numbers to label pattern shaft draw handles on the drawloom. Place the numbers directly above the draw handles, arranged in groups of five for easy visual recognition. Use a separate series of numbers for border pattern shafts, if applicable. This temporary numbering system gives the advantage of being able to customize the numbering for each drawloom draft.
This is how I number my drawloom handles. Blue tape!
Using the Myrehed Combination Drawloom, I configure the numbers for the pattern shaft draw handles to coordinate with the single unit draw cords, which are grouped by tens. This makes my working chart that uses single units and pattern shafts much less complicated. For this reason, it doesn’t make sense to give my draw handles “permanent” numbers.

Have you found ways to use blue painter’s tape in your weaving studio? Share in the comments!

May your life leave marks that are more than temporary.

Have fun,
Karen