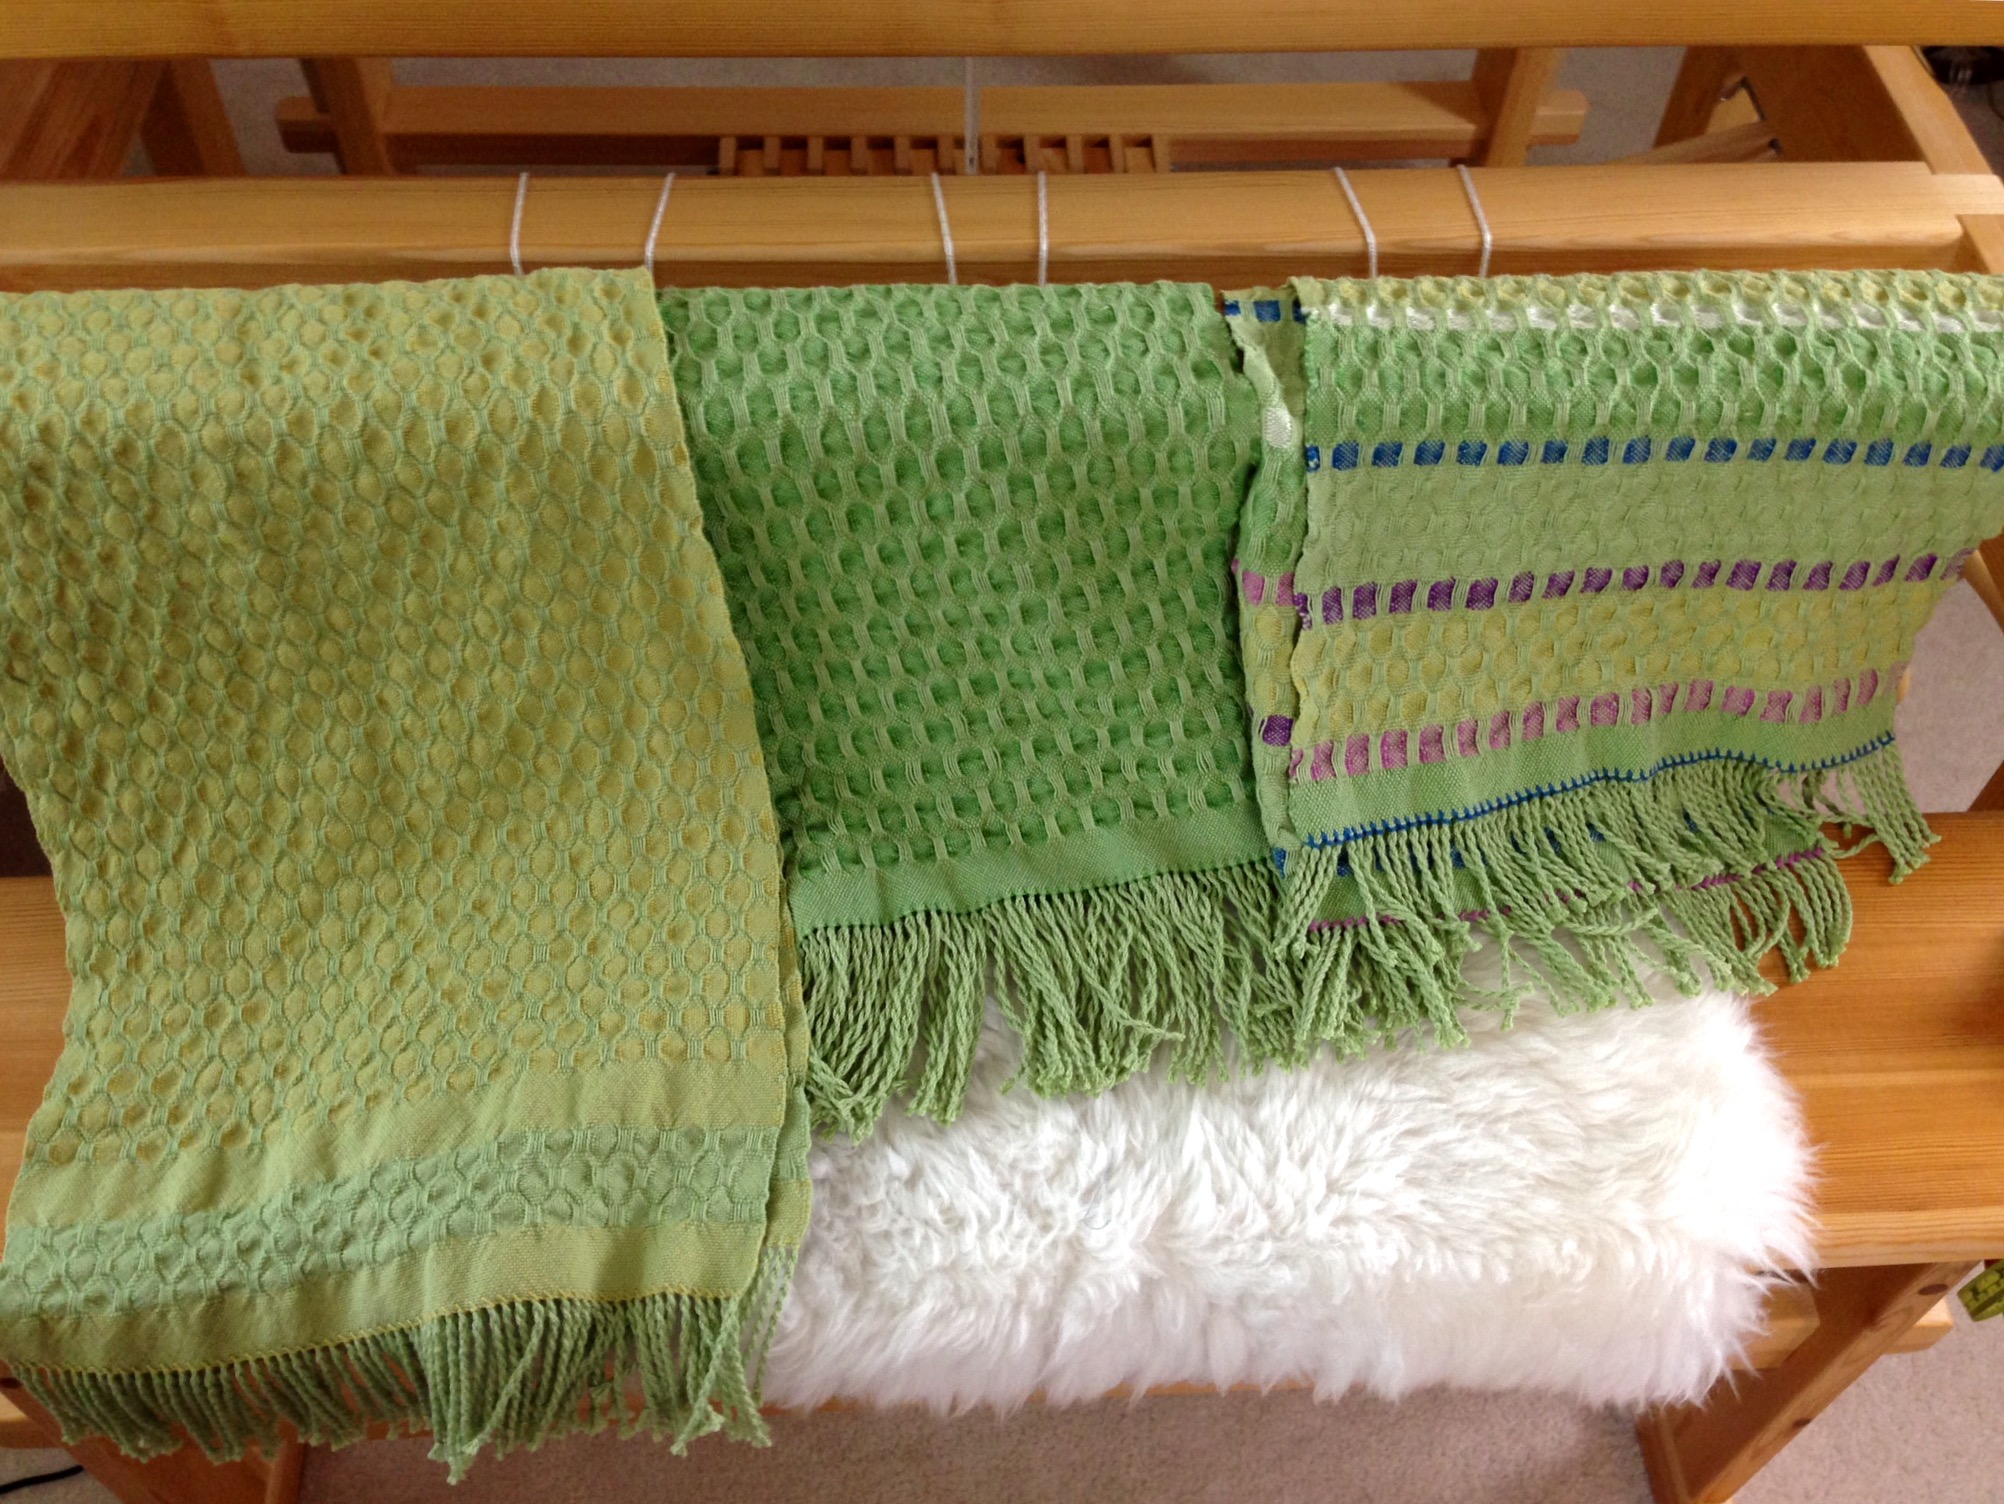
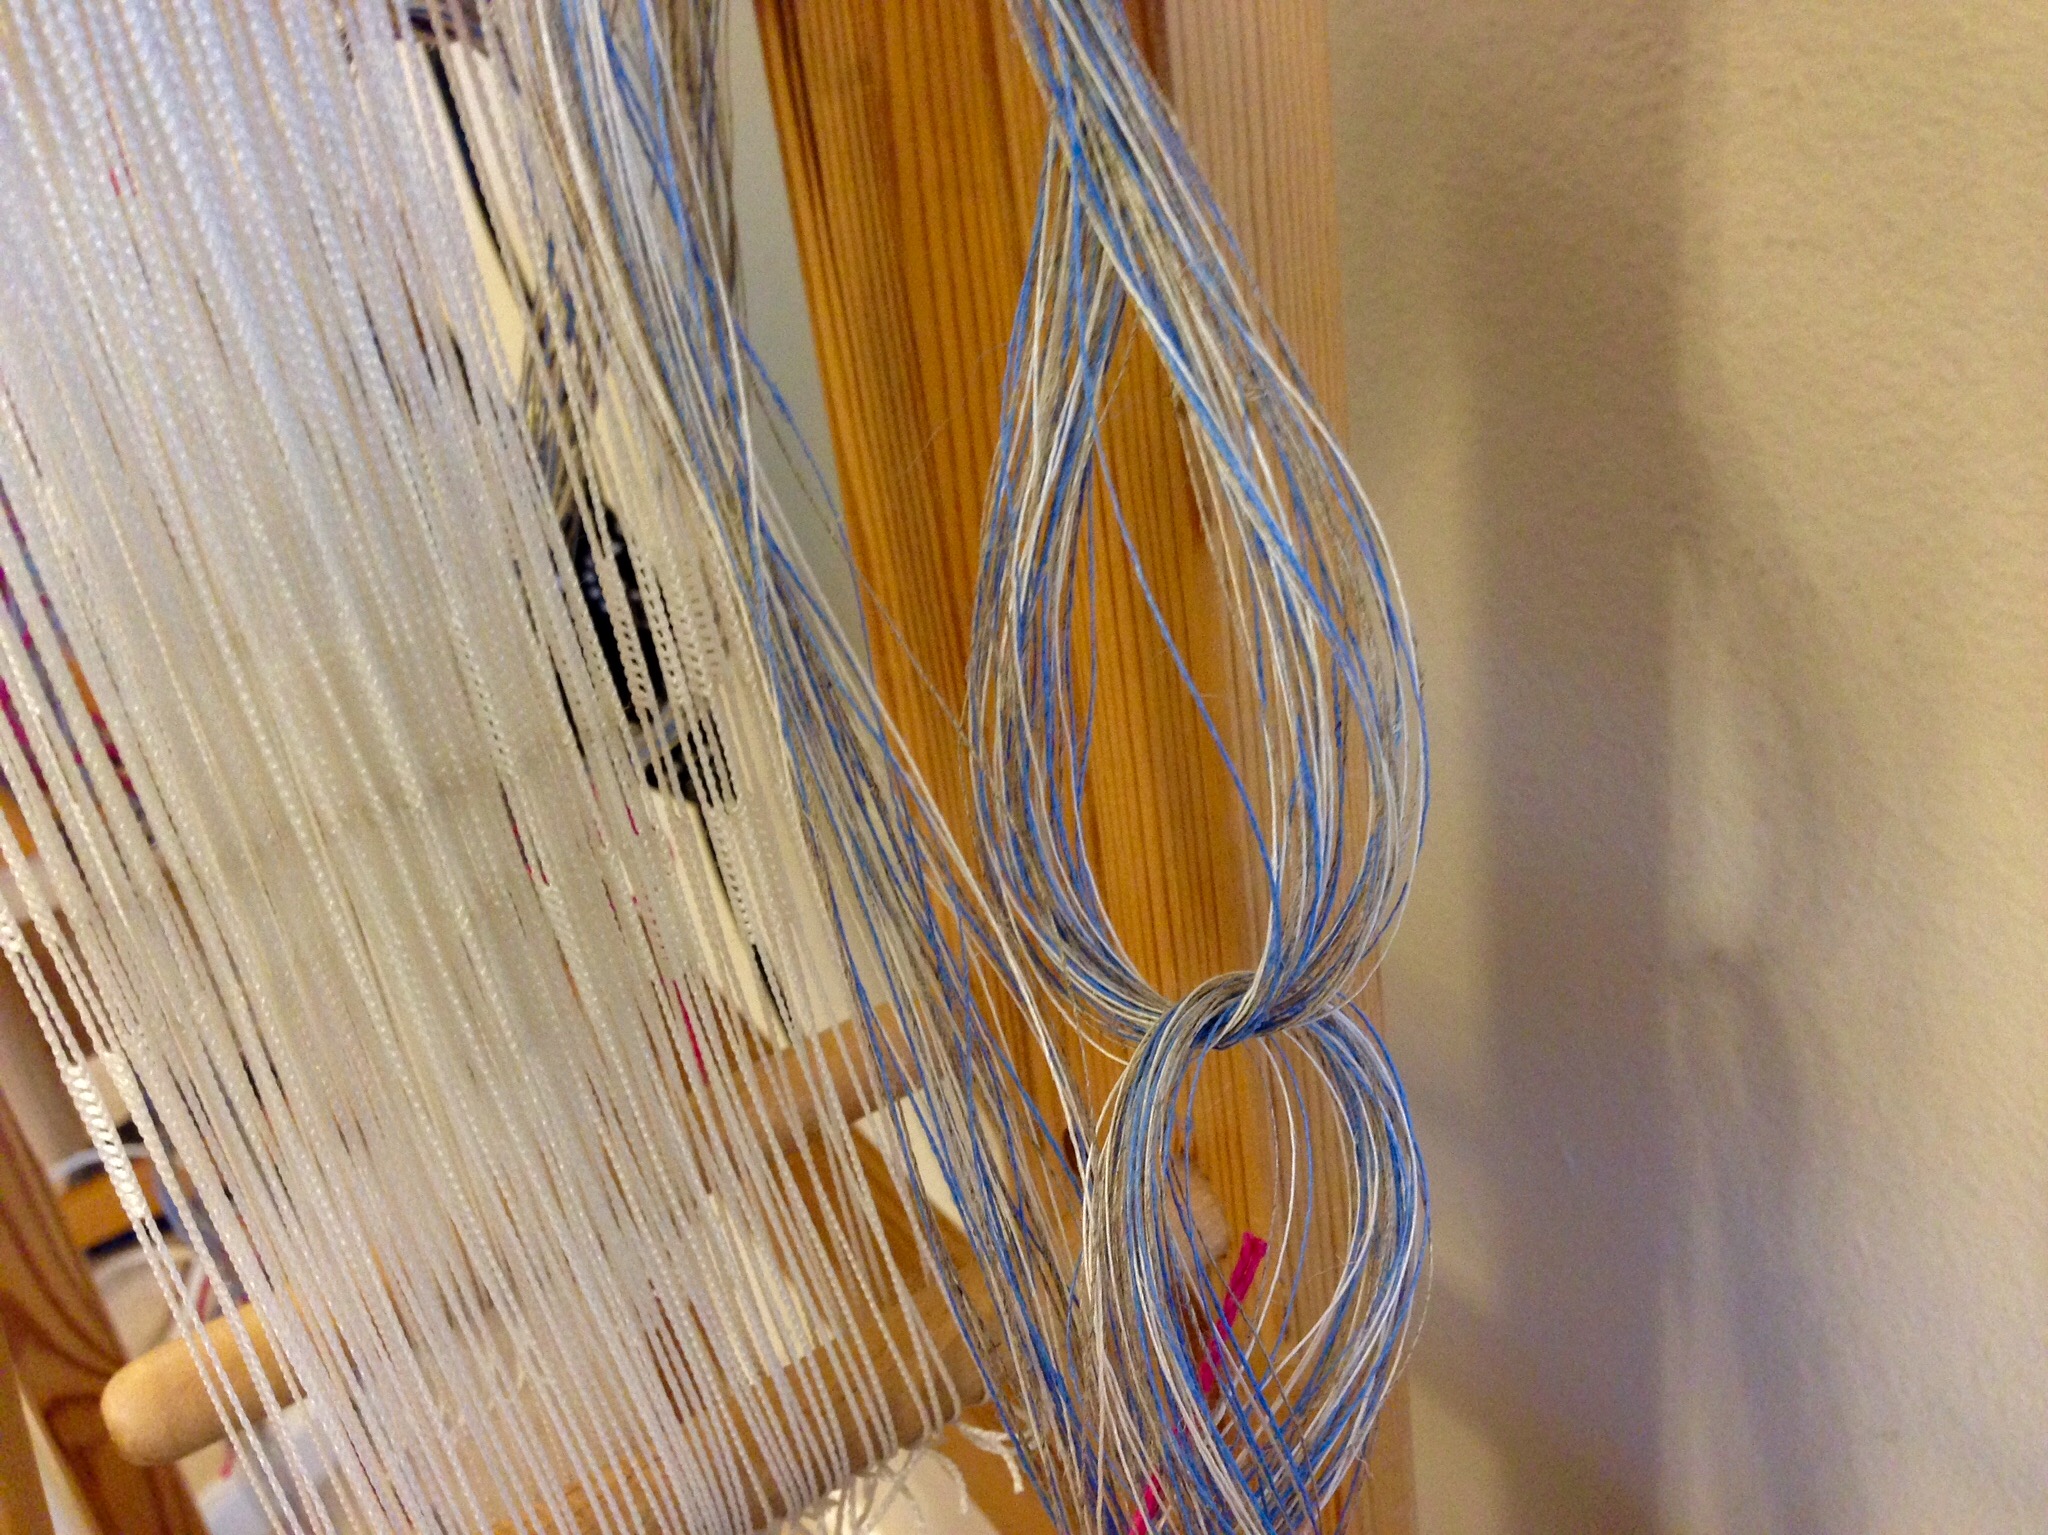
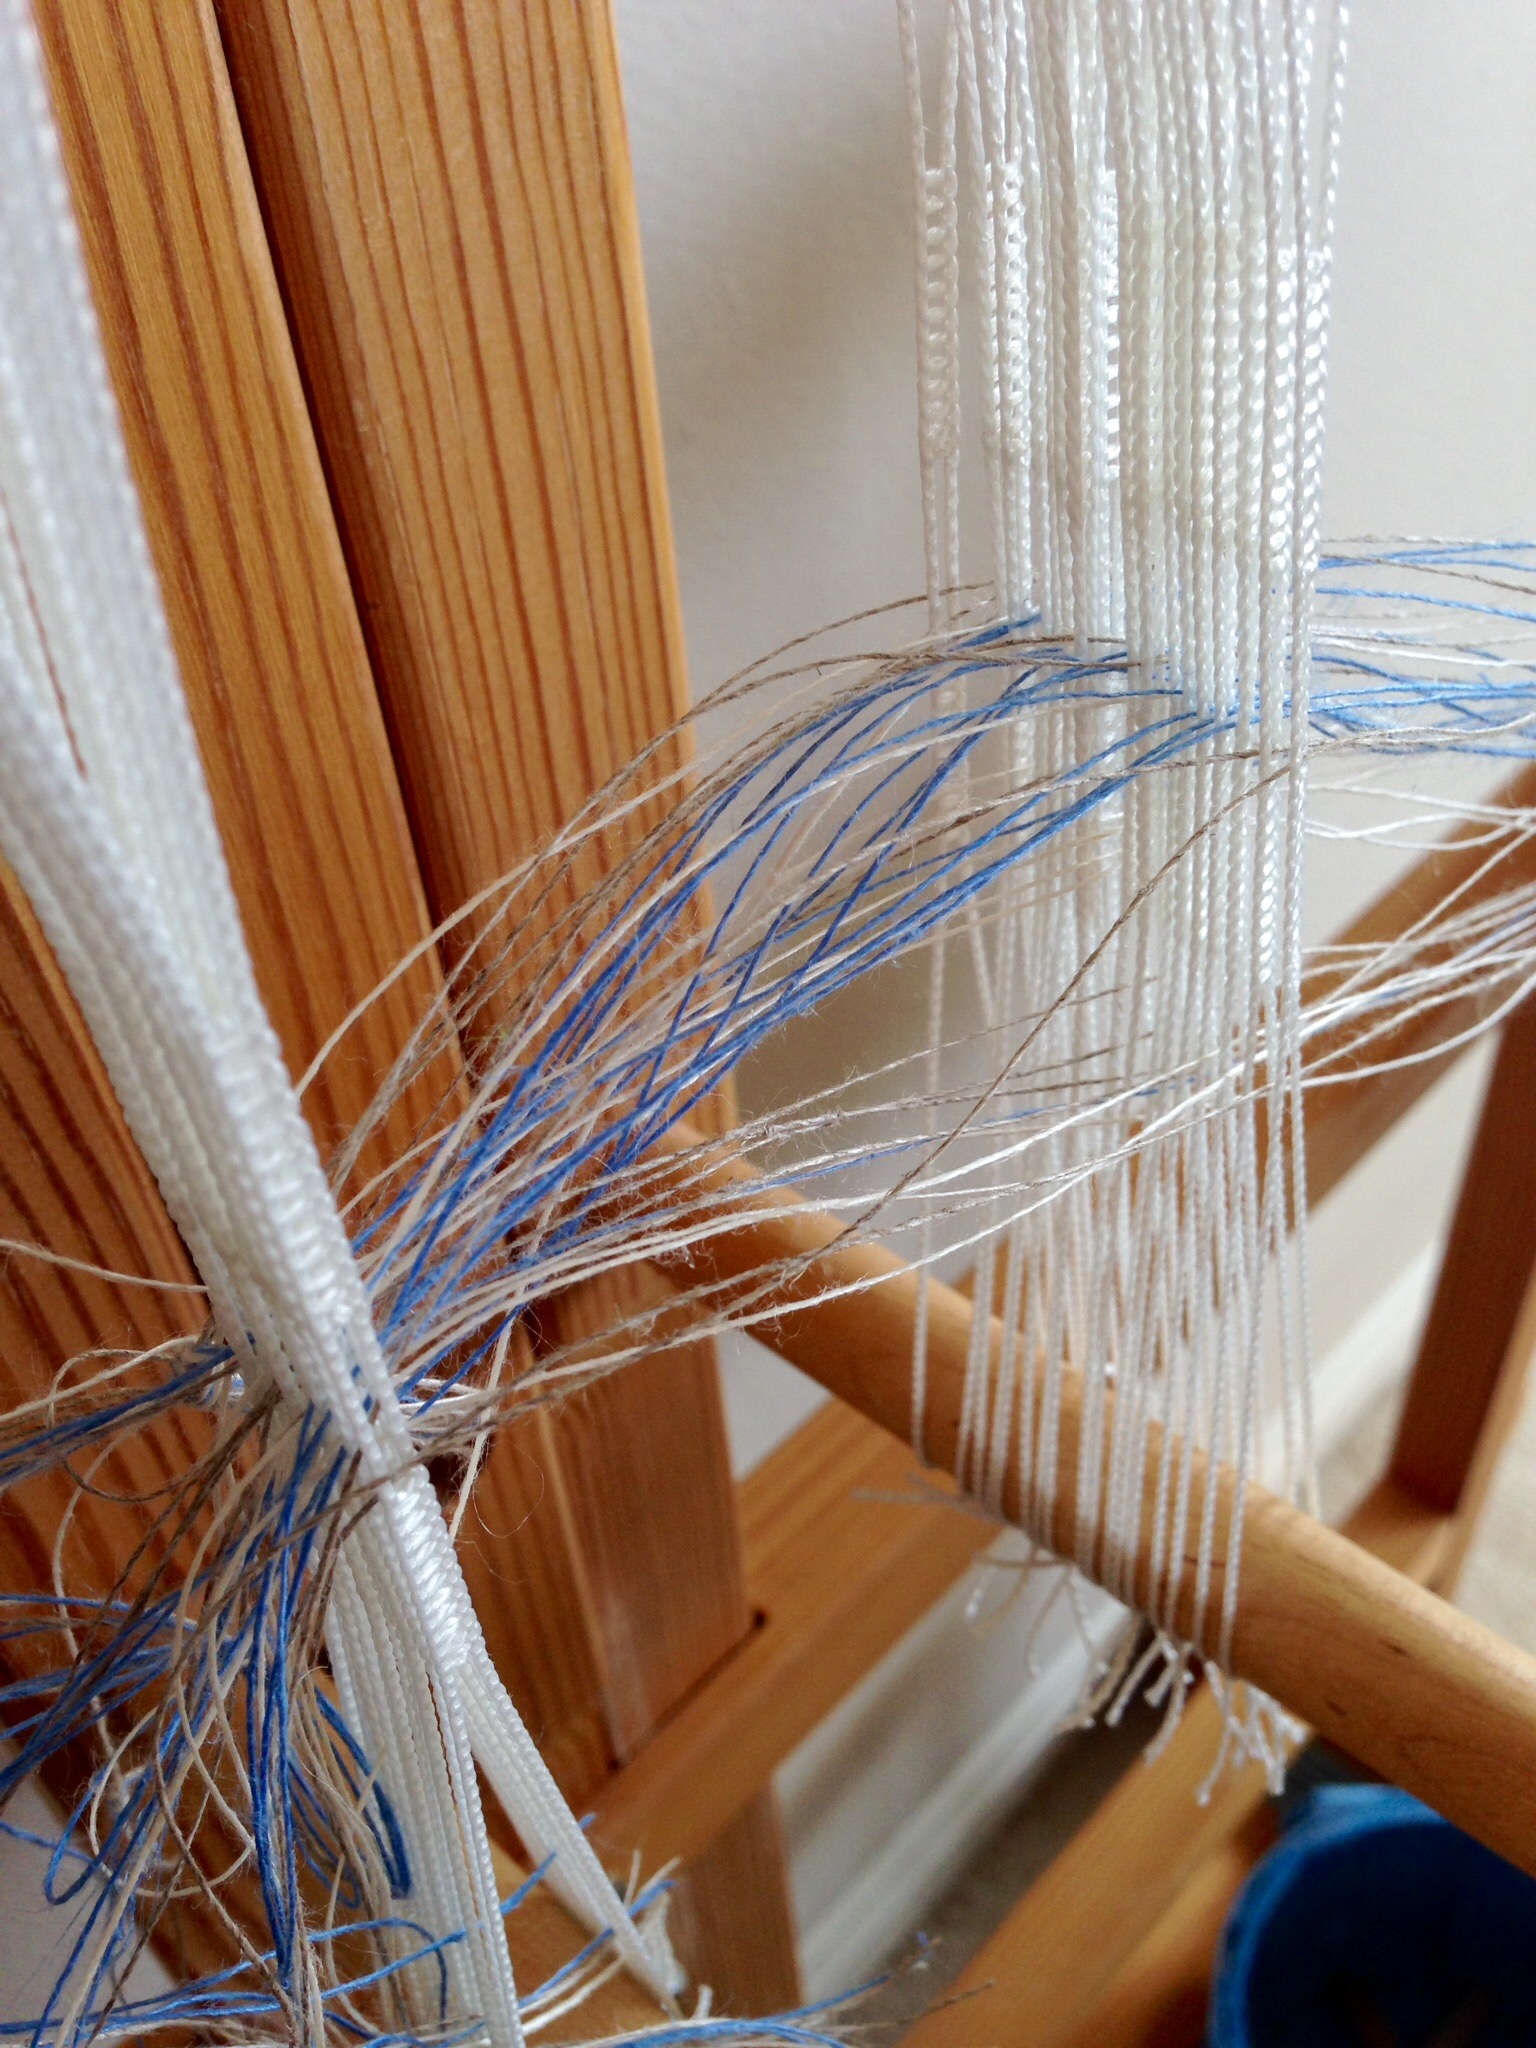
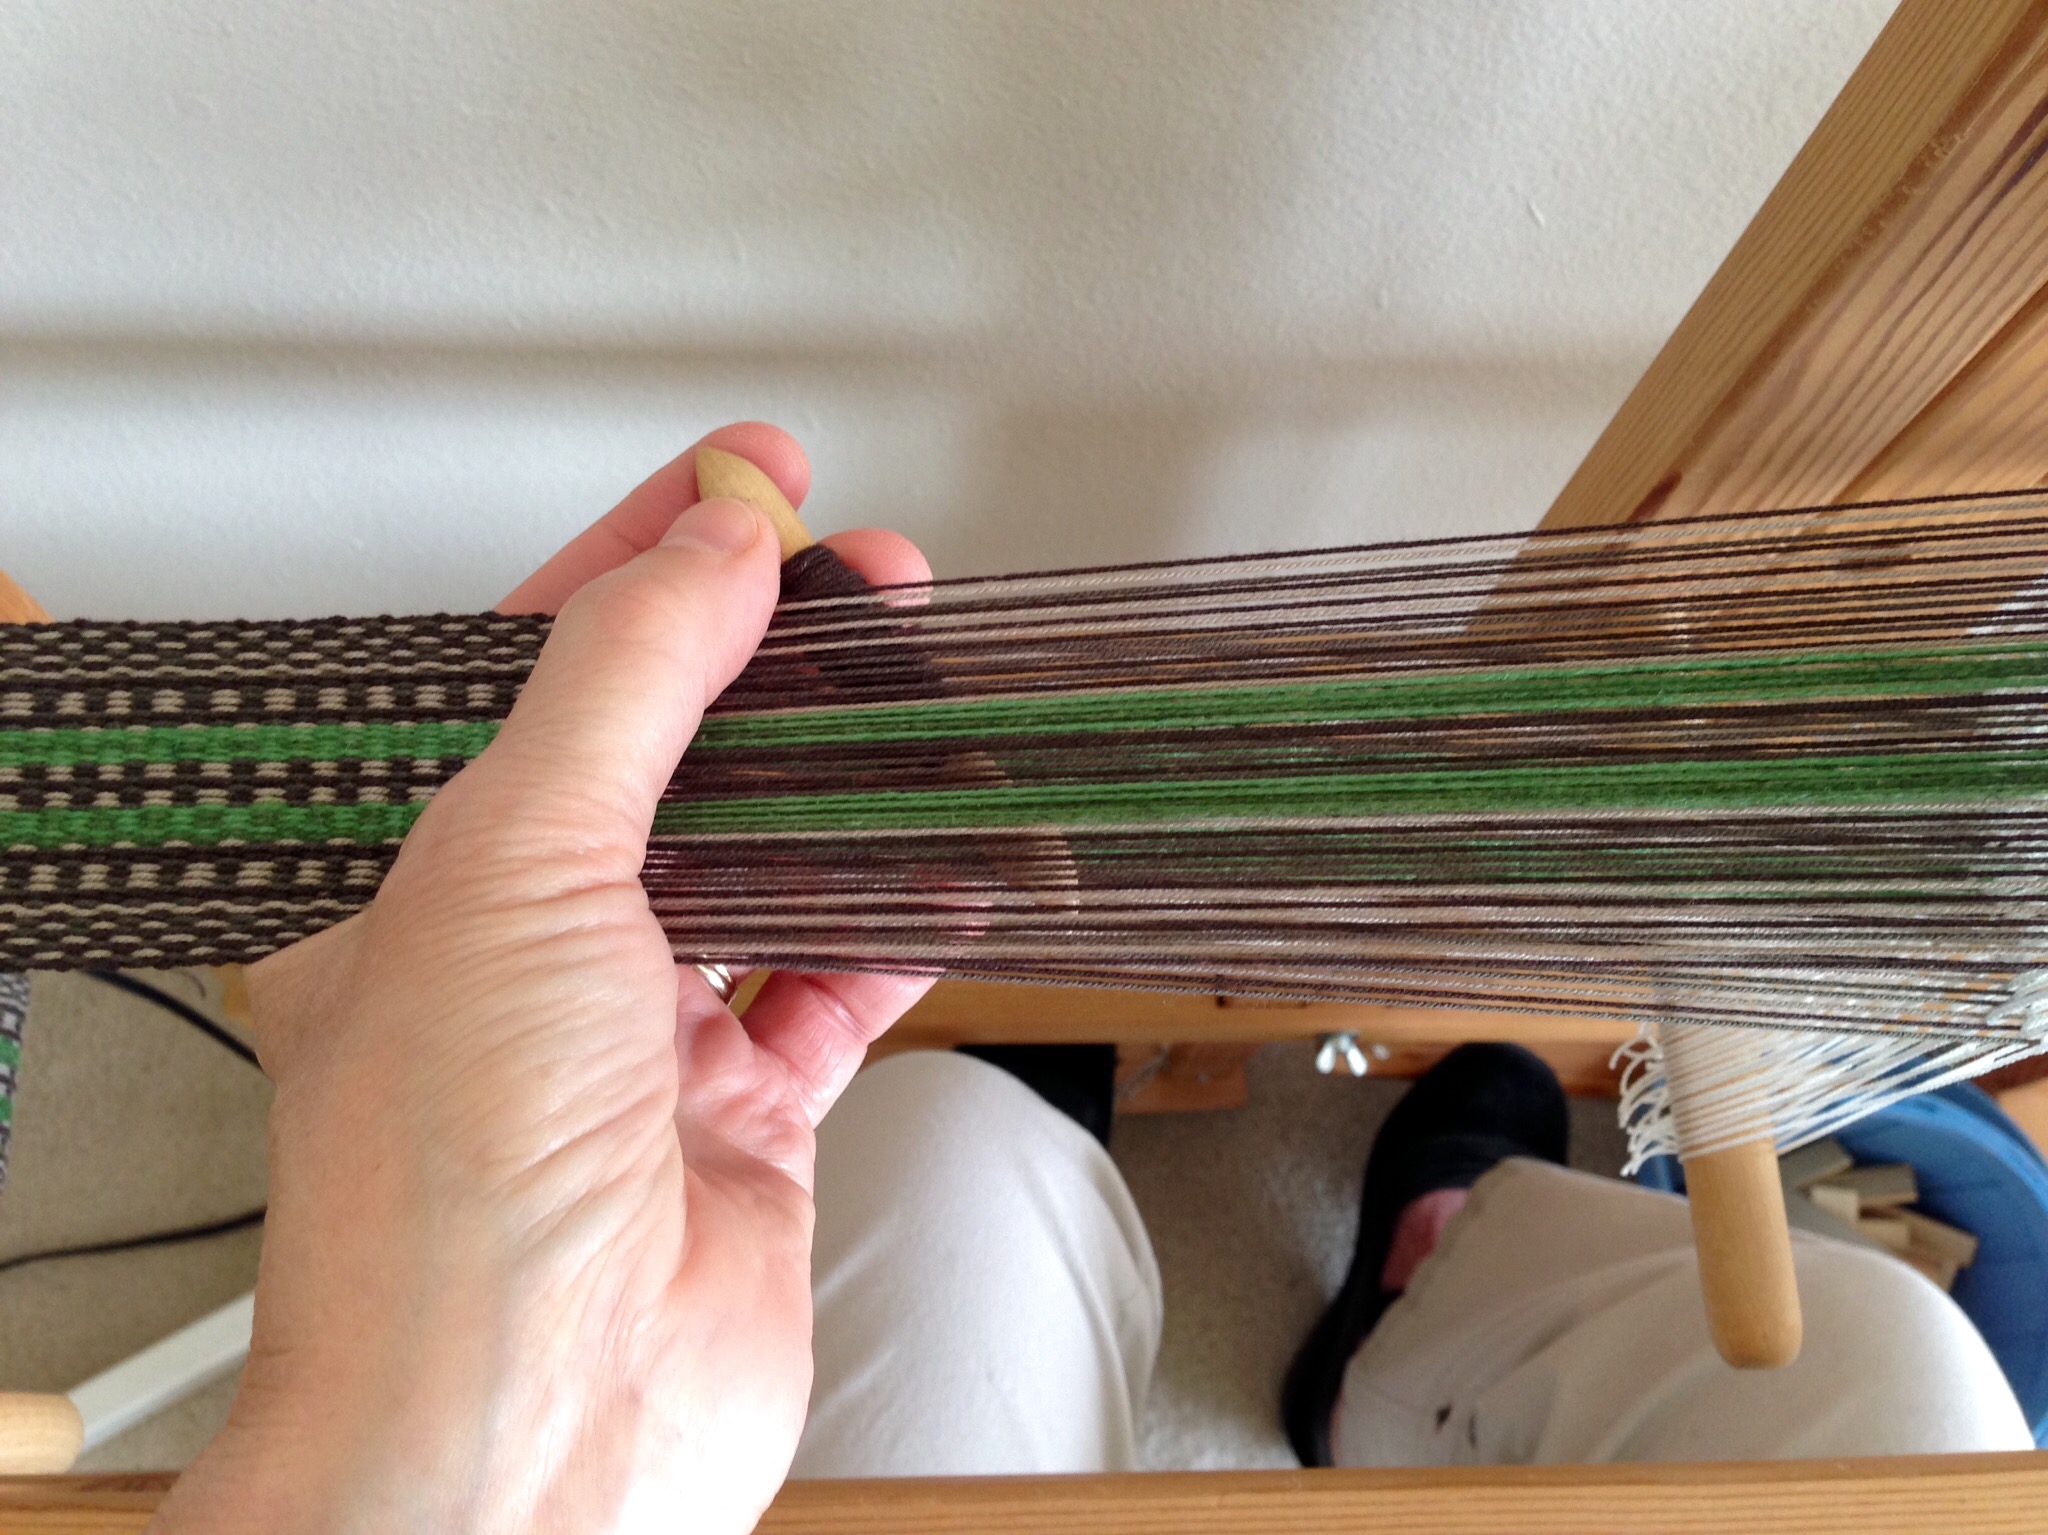
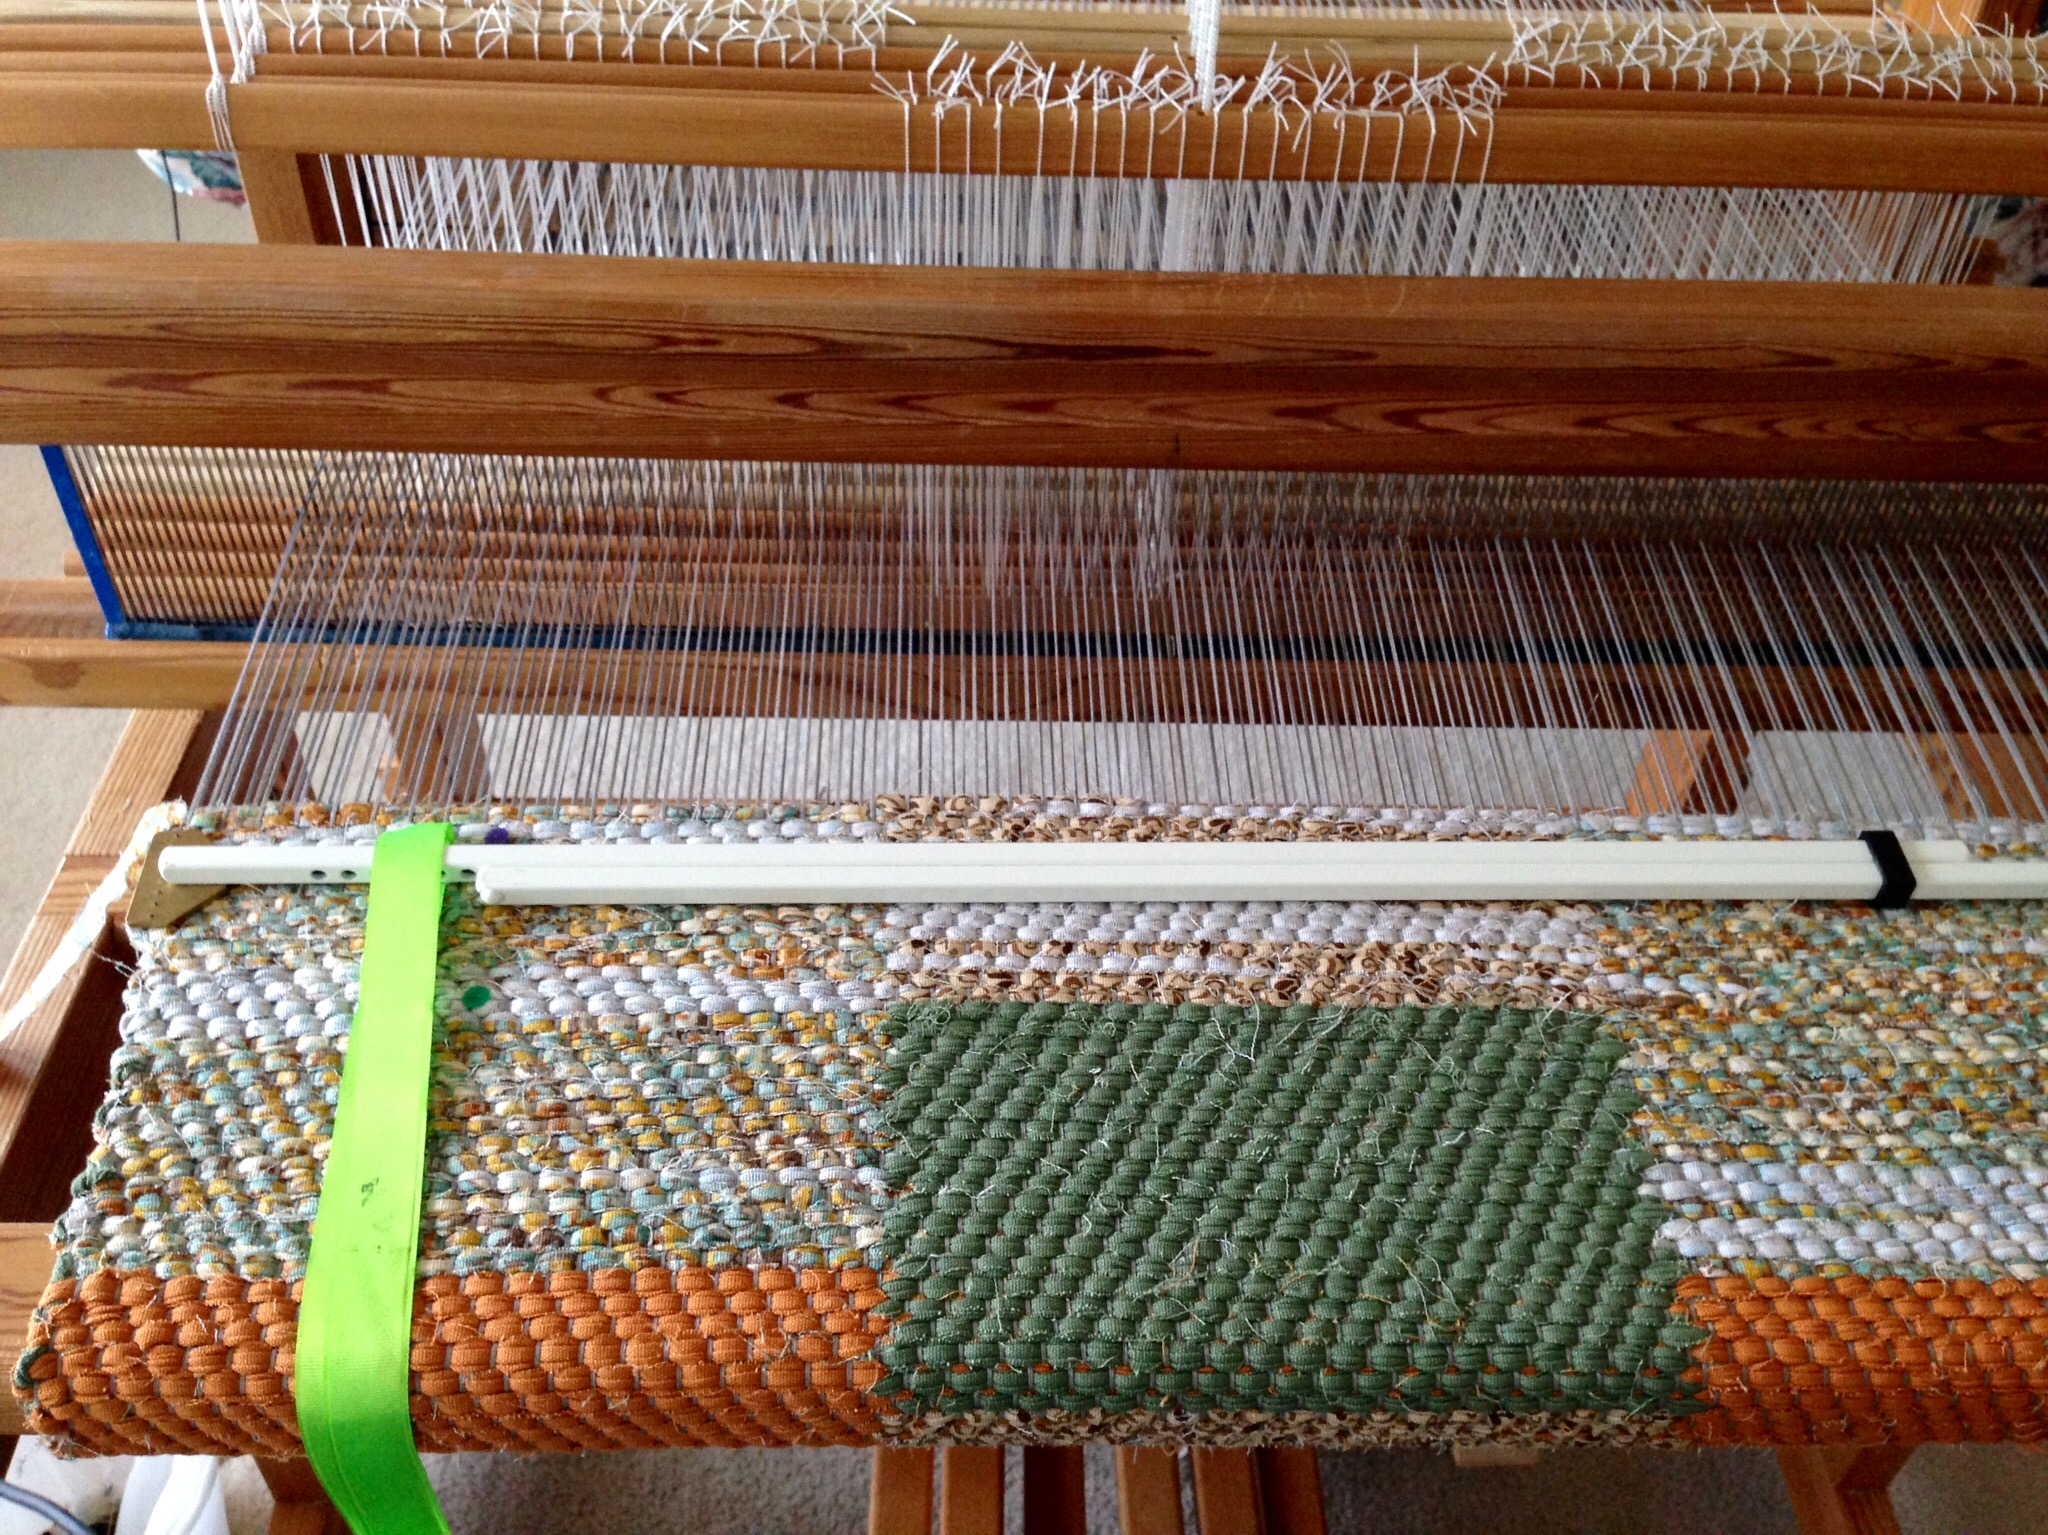
No improvising this time. Creating a rug to fit a particular space means staying true to the plan. In my measured design, each graph square represents two inches (5 cm) of woven length. So, I am not playing around with shortened or lengthened blocks. And no surprise colors, either. Every element has been determined in advance. I am paying close attention, being sure to measure accurately as I go. I keep thinking of my sister’s entryway, hopeful that this rug will be just right. (Sometimes I do play around with the design as I weave, like I described in Tools Day: Graph Paper)
If I only consider the fun of weaving another rag rug, and fail to keep in mind the intended destination, I may create an interesting rug, but it won’t end up inside my sister’s doorway. The “fun” will be short-lived, and will produce disappointment or regret instead of finished satisfaction. That reminds me of something C.S. Lewis once said:
Aim at Heaven and you will get earth ‘thrown in’: aim at earth and you will get neither.
Dream of heaven. It’s the place where God Himself removes every cause of tears. No death, no mourning, or crying, or pain. Every thread and every color will be in place, as it should be. Just imagine the Grand Weaver, making preparations for our home coming, as He places the final handwoven rug on the floor. Perfectfit.
An embroidered trim is what I have in mind for this scarf. Hemstitching is just that. Instead of the usual single strand, I am using two strands of the 8/2 cotton weft in a contrasting color to accentuate the embroidered look. The hemstitching marks the beginning and the end. You can make hemstitching barely noticeable if you want, or you can make it so bold it can’t be missed, like I am doing with this one.
Hemstitching, with Contrasting Color:
Preliminary
Weave an inch/2.5 cm or more of fabric for a header.
Thread a blunt tapestry needle with a single or doubled strand of weft thread four times the weaving width.
Starting an inch/2.5 cm away from the right-hand selvedge, weave the needle over and under, next to the first weft thread in the weaving, going toward the selvedge.
Pull the stitching thread almost all the way, leaving the end woven into the selvedge. Capture the woven end within the first several stitches of the hemstitching.
Step 1
From right to left, take the needle under several warpends. In this example, the needle goes under six ends.
Step 2
Pull the thread all the way through, keeping it taut at the woven edge.
Step 3
Take the needle back over the same (six) warp ends, and go under the same (six) warp ends, bringing the point of the needle back up between wefts, two or more rows away from the woven edge. In this example, the needle comes up between the third and fourth rows of weft.
Step 4
Pull the thread all the way through, keeping it taut at the woven edge.
Finishing
Repeat Steps 1 – 4 across the entire width.
Finish by needle weaving the stitching thread back into the selvedge for an inch/2.5 cm. Trim off the remaining stitching thread end.
Hemstitching at the end of the woven fabric:
Starting on the right-hand side, secure the end of the stitching thread as before, and follow Steps 1 – 4 for hemstitching across the width. The only difference is that the needle comes toward you under the cloth in Step 3, instead of away from you.
Everything that has a beginning has an end. Since the beginning of time, and through the ages, our Maker has been unfolding His mystery of life and love. There will come a day, though, when the mystery is finished. Certainly, there will be bold hemstitching at the end of the cloth as the Maker, the Grand Weaver himself, brings time as we know it to a close.
May your days begin and end with an embroidered edging of love.
Draw-in happens. It is a natural part of weaving. Sending a weft thread across the warp, weaving over and under, naturally pulls the warp threads closer together–this is draw-in. But excessive draw-in ruins selvedges, causes warp ends to fray and/or break, and wastes time because it creates problems. The width across the fell line needs to be the same as the width of the warp in the reed. If the cloth is narrower at the fell line, there is abrasion on the outer warp ends from the reed, as the beater comes to the cloth.
Two things work together to help prevent excessive draw-in:
1) Angling the weft. Placing the weft across the warp at an angle adds extra length to the weft, which helps to accommodate for the natural draw-in.
2) Using a temple(stretcher). The purpose of a temple is to maintain consistency in the width of the cloth. It does this by “stretching” the cloth out, holding it in place with little spikes on each end of the tool. Moving the temple frequently uses the tool to its best advantage. I move mine about every inch of weaving. For more instruction on how to set a temple, please see one of my most popular posts, Tools Day: Temple Technique.
I weave with a temple more often than not. The temple must be set properly, to the precise width, so I have several sizes in my growing collection of temples. Sometimes it works to combine two different sizes to get the measurement that is needed.
My first temple was a make-do tool that I used with my rigid heddle loom on lightweight weaving. It is not adjustable, so it only works with one specific warp width.
My wooden temples are from Glimåkra. They serve me well, and are the ones I use most often. Since they are adjustable, they cover a wide range of possible widths.
The metal temples are heavier, with thicker teeth, and work well for coarser weaving, especially rugs.
May your selvedges shine, and your broken ends be few.
Does fear of making a mistake keep you from experimenting with color? To be on the safe side, repeat something that you have done before. Or at least copy someone else. Isn’t that why we love Pinterest? You don’t have to think something up; just do what somebody else has done.
I have woven some wild color combinations. Including some that I regret. You know, the what-was-I-thinking kind of experiments. Those pieces get hidden away; or, I keep them only for personal use, but never for show. But here I go again, trying to make a handful of colors work together. We won’t see the overall results until the scarf is off the loom, when it is too late to undo it.
All of us have done things we regret. There’s no chance for a do-over, so we just hide it. We have to be careful not to be shaped by our regrets. Fear of making a mistake can keep us frozen in indecision. Yet, when I come to Jesus, he is able to keep me from stumbling, from repeating my missteps. Yes, I learn from my mistakes; but even better than that, the Master Weaver gives me an example to “copy.” His example is tried and true.
A good rug lasts many, many years. The finest rugs outlast their owners, being handed down as useable heirlooms, like the two aged rag rugs I have that were woven long ago by my grandmother’s neighbor. I get excited about making colorful rugs that are meant to be walked on for years and years.
I am hemming this rug by hand, using 12/6 cotton seine twine rug warp and a tapestry needle. This makes a tidy hem, with nearly invisible stitching. I secure the ends of the hemming thread by weaving them back and forth into the woven hem with the tapestry needle. (Refer to Related Posts in the sidebar to see other ways I finish rug hems.)
Pursue truth. That means doing what it takes to find answers. It’s as simple as examining what we are walking on. What are we basing our life on? It means seeing the created and looking for the Creator. Taking a closer look at a unique rug that catches our attention, we see evidence of the weaver and the stitching hand. Discovering truth is like finding a handmade rug that is intriguing enough to put on display, yet is placed on the floor to satisfy our needs for daily living. It gives our feet a sure place to walk, and it’s worthy of being handed down for generations.
May you experience a satisfying walk through life in all respects.