Wear and Tear Rag Rugs

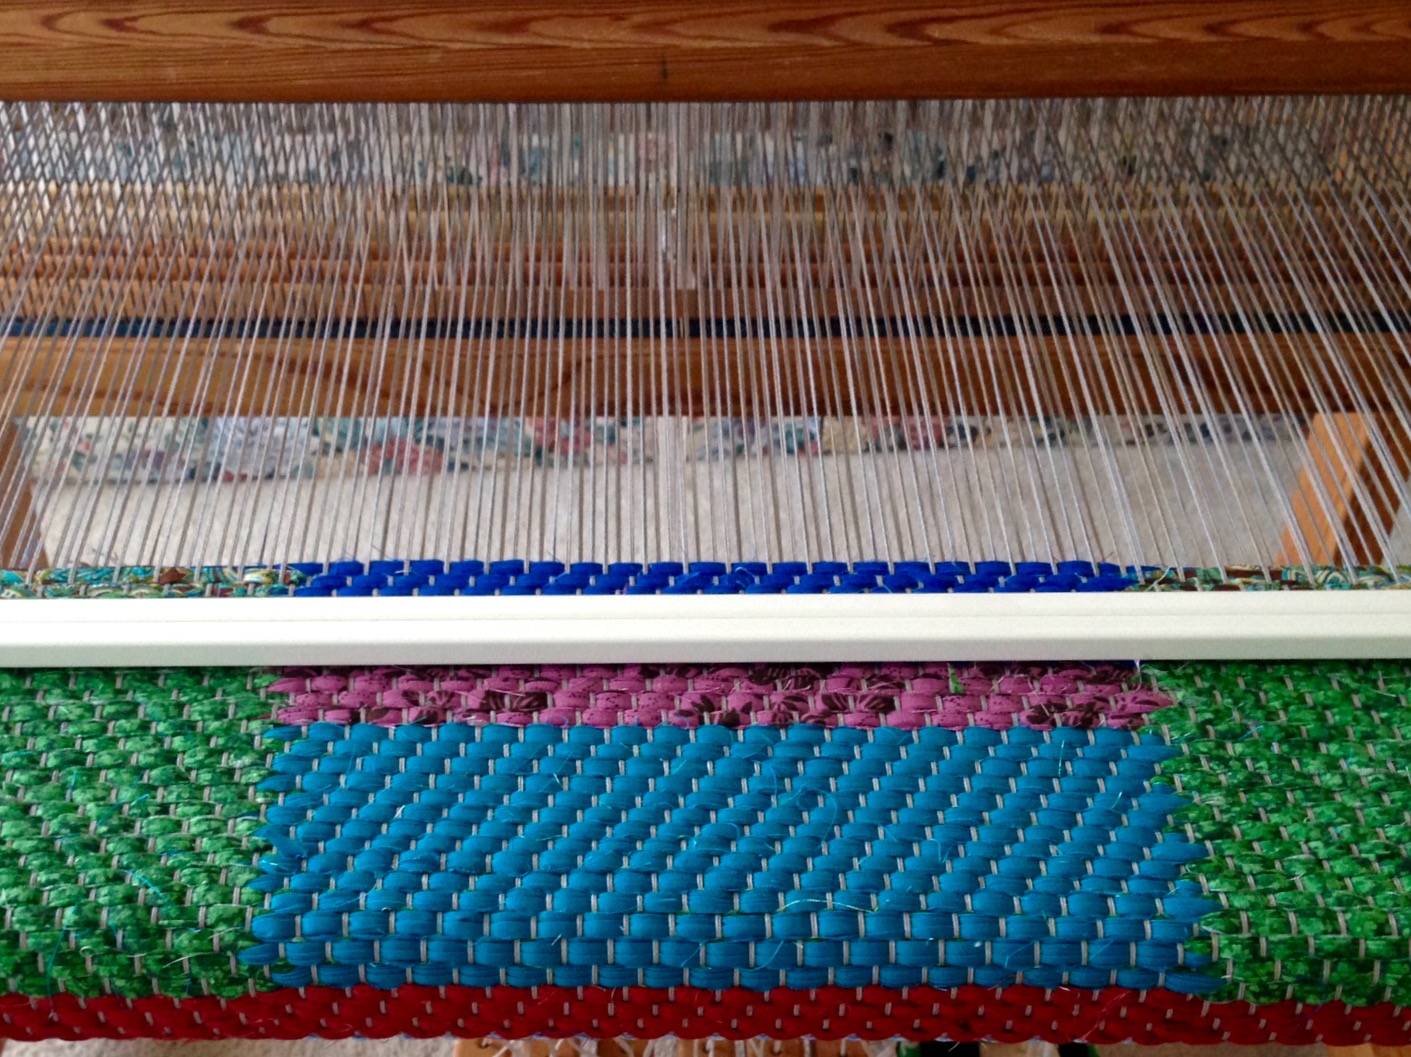
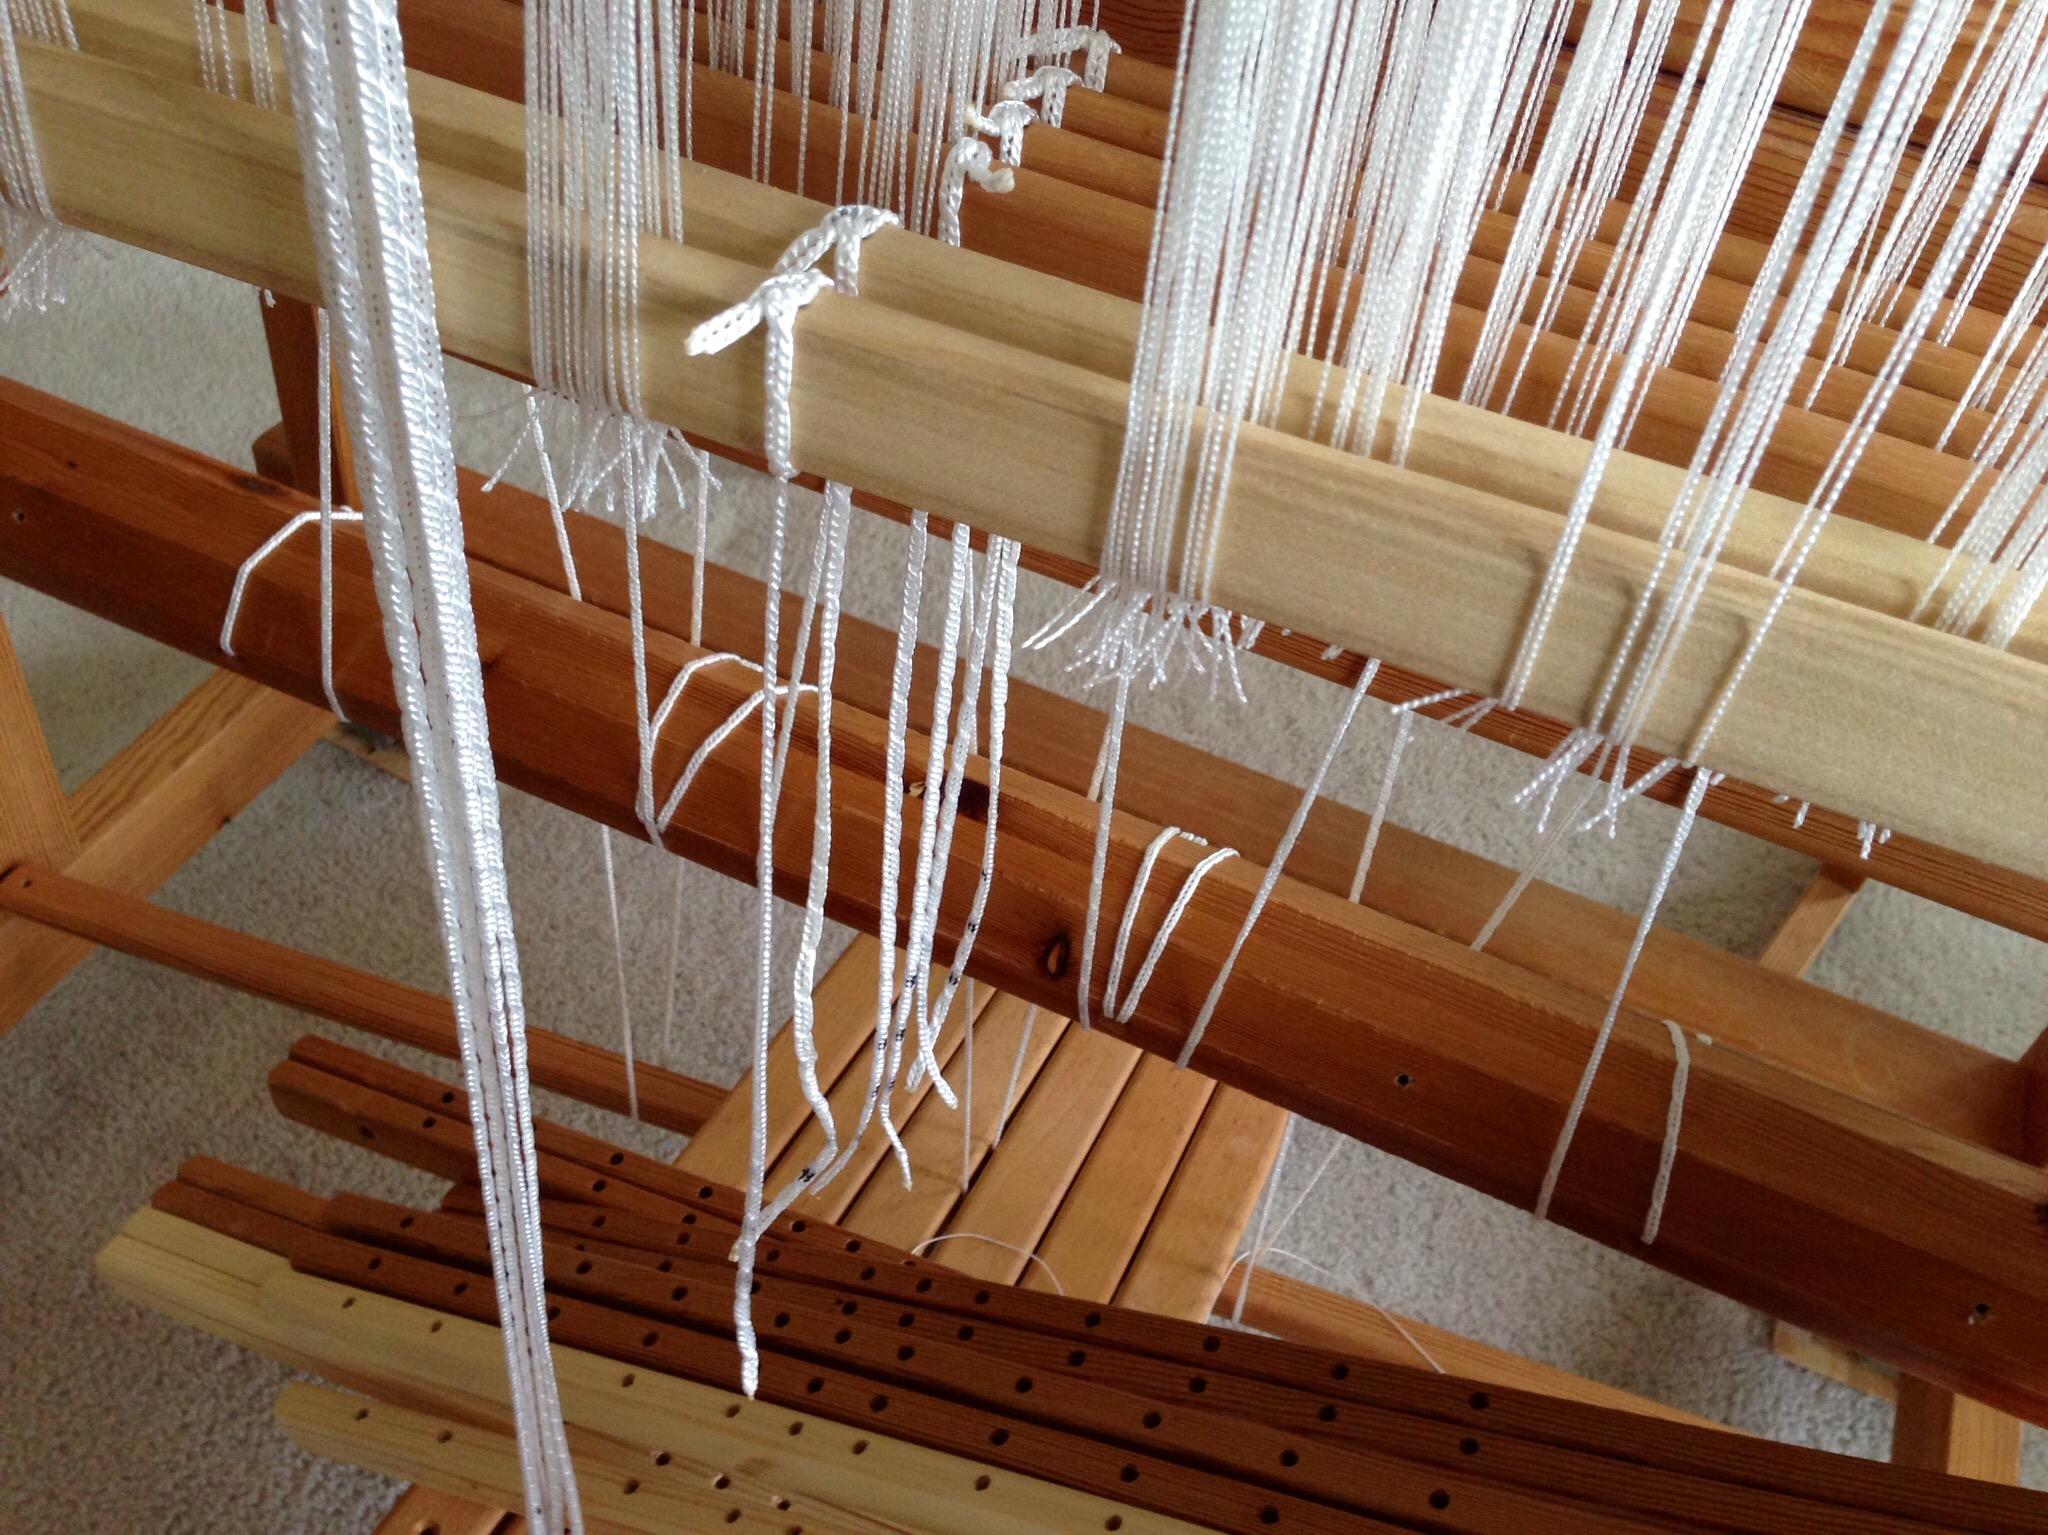
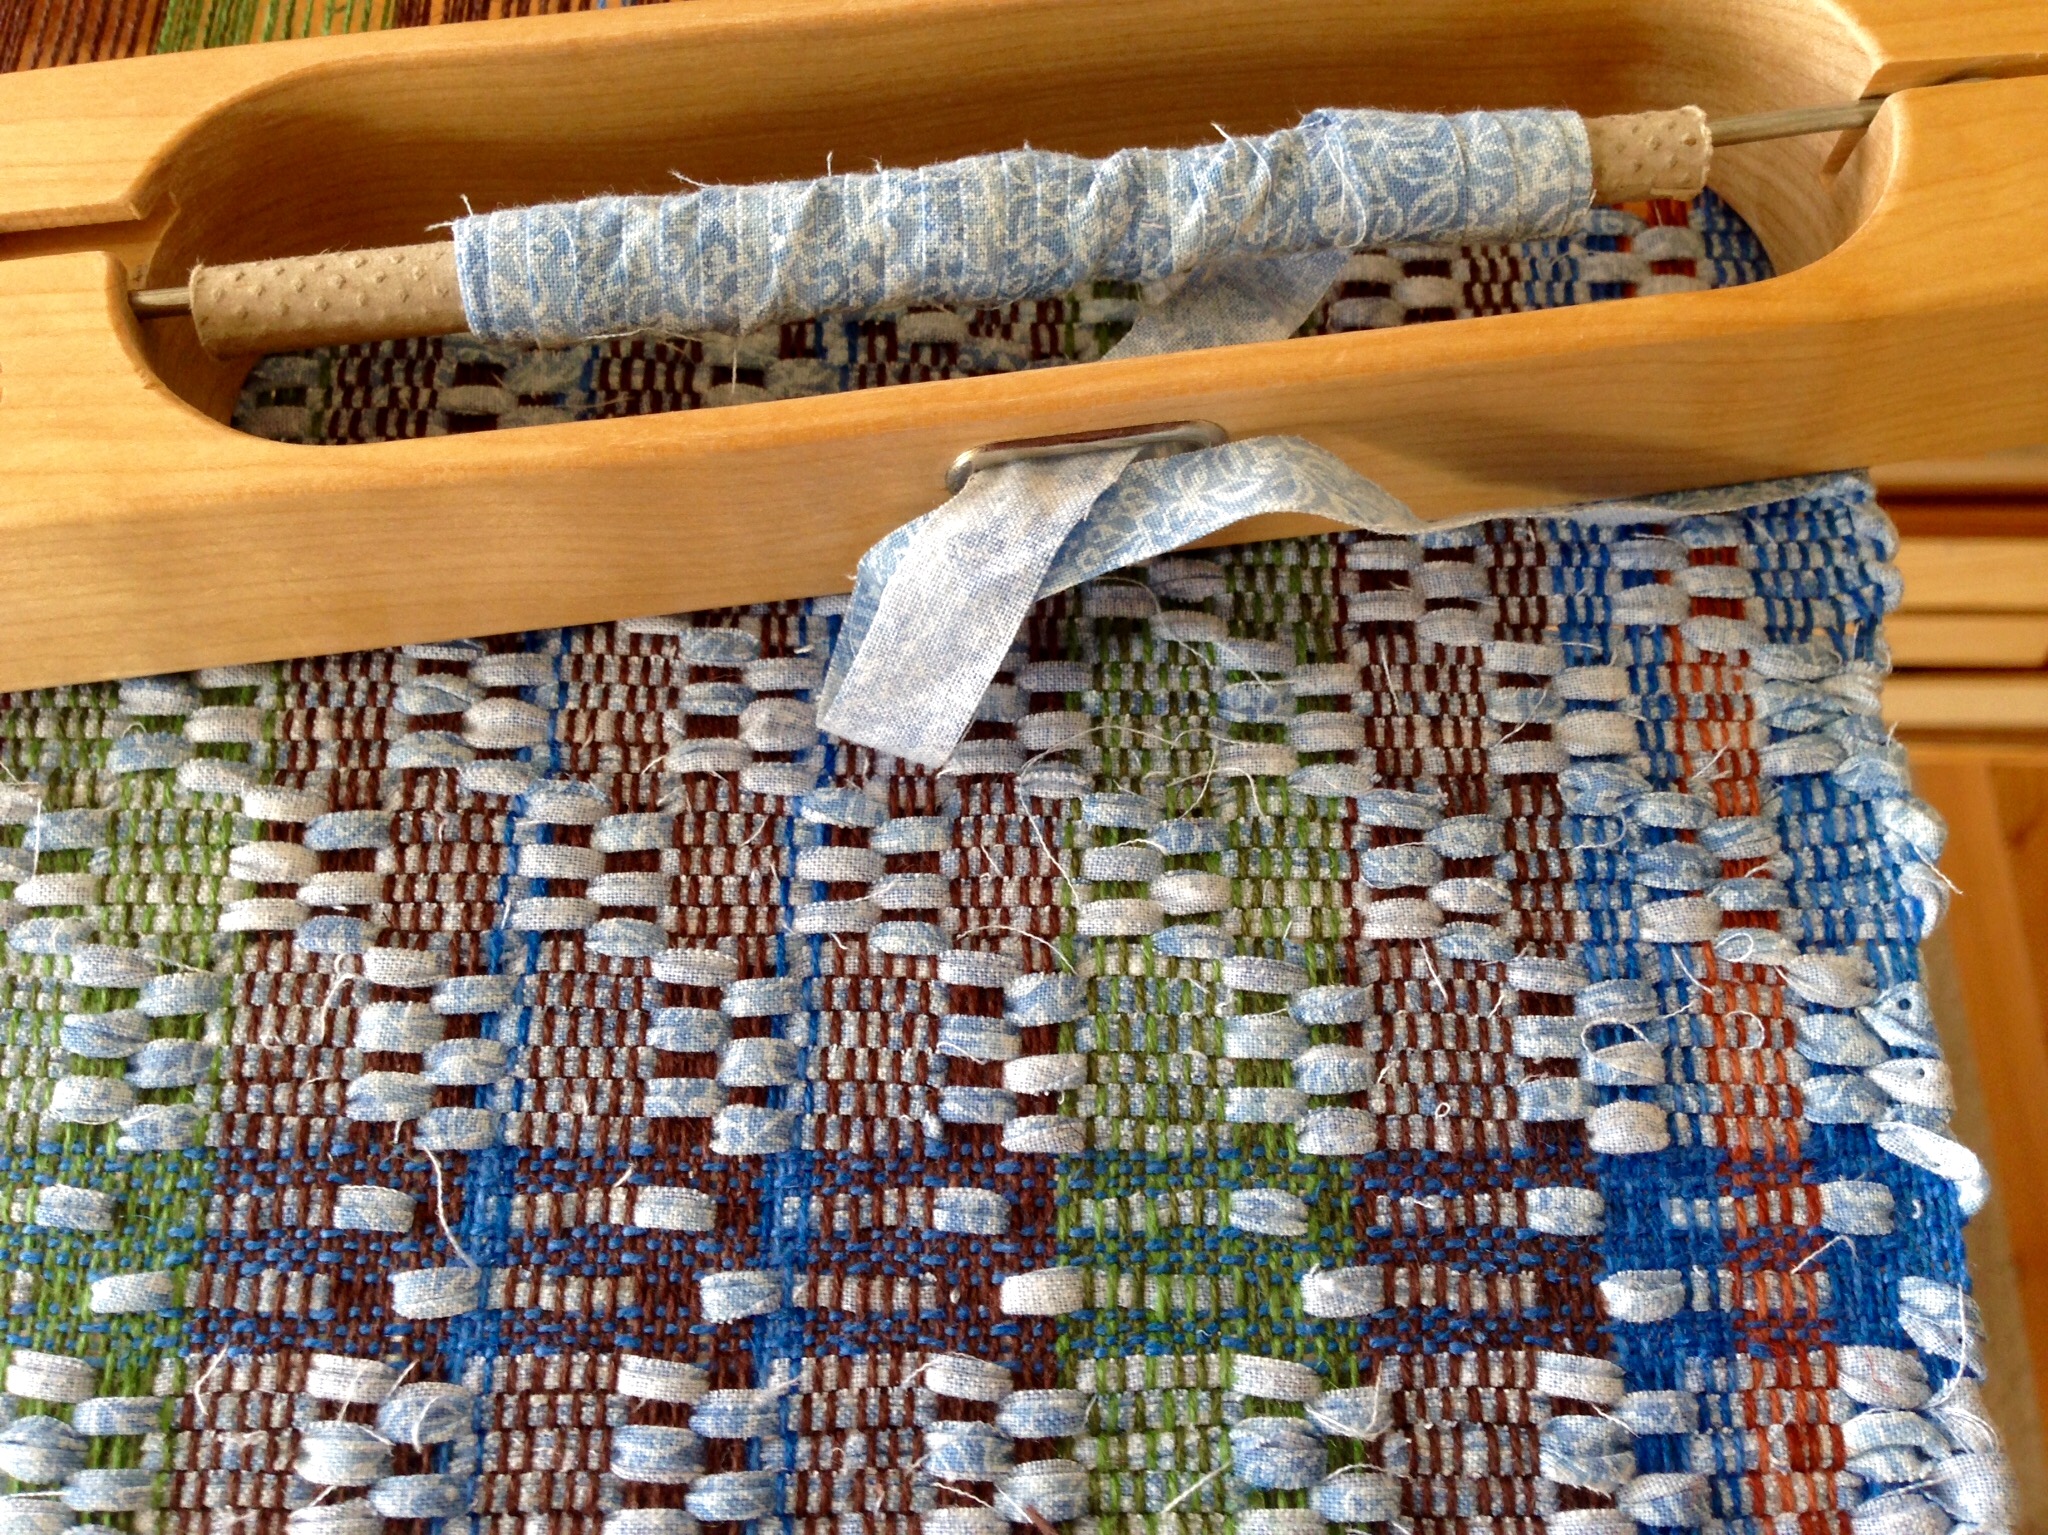
If the ends are not secured first, before hemming, the rug will unravel. Therefore, I end the weaving with ten rows of rug warp, and then three inches/eight cm of a scrap fabric header. When I cut the rug from the loom I leave four inches/ten cm of warp for tying knots.

Information for hemming rag rugs.
Walking weights hold the rug in place while I carefully remove the header and tie knots.

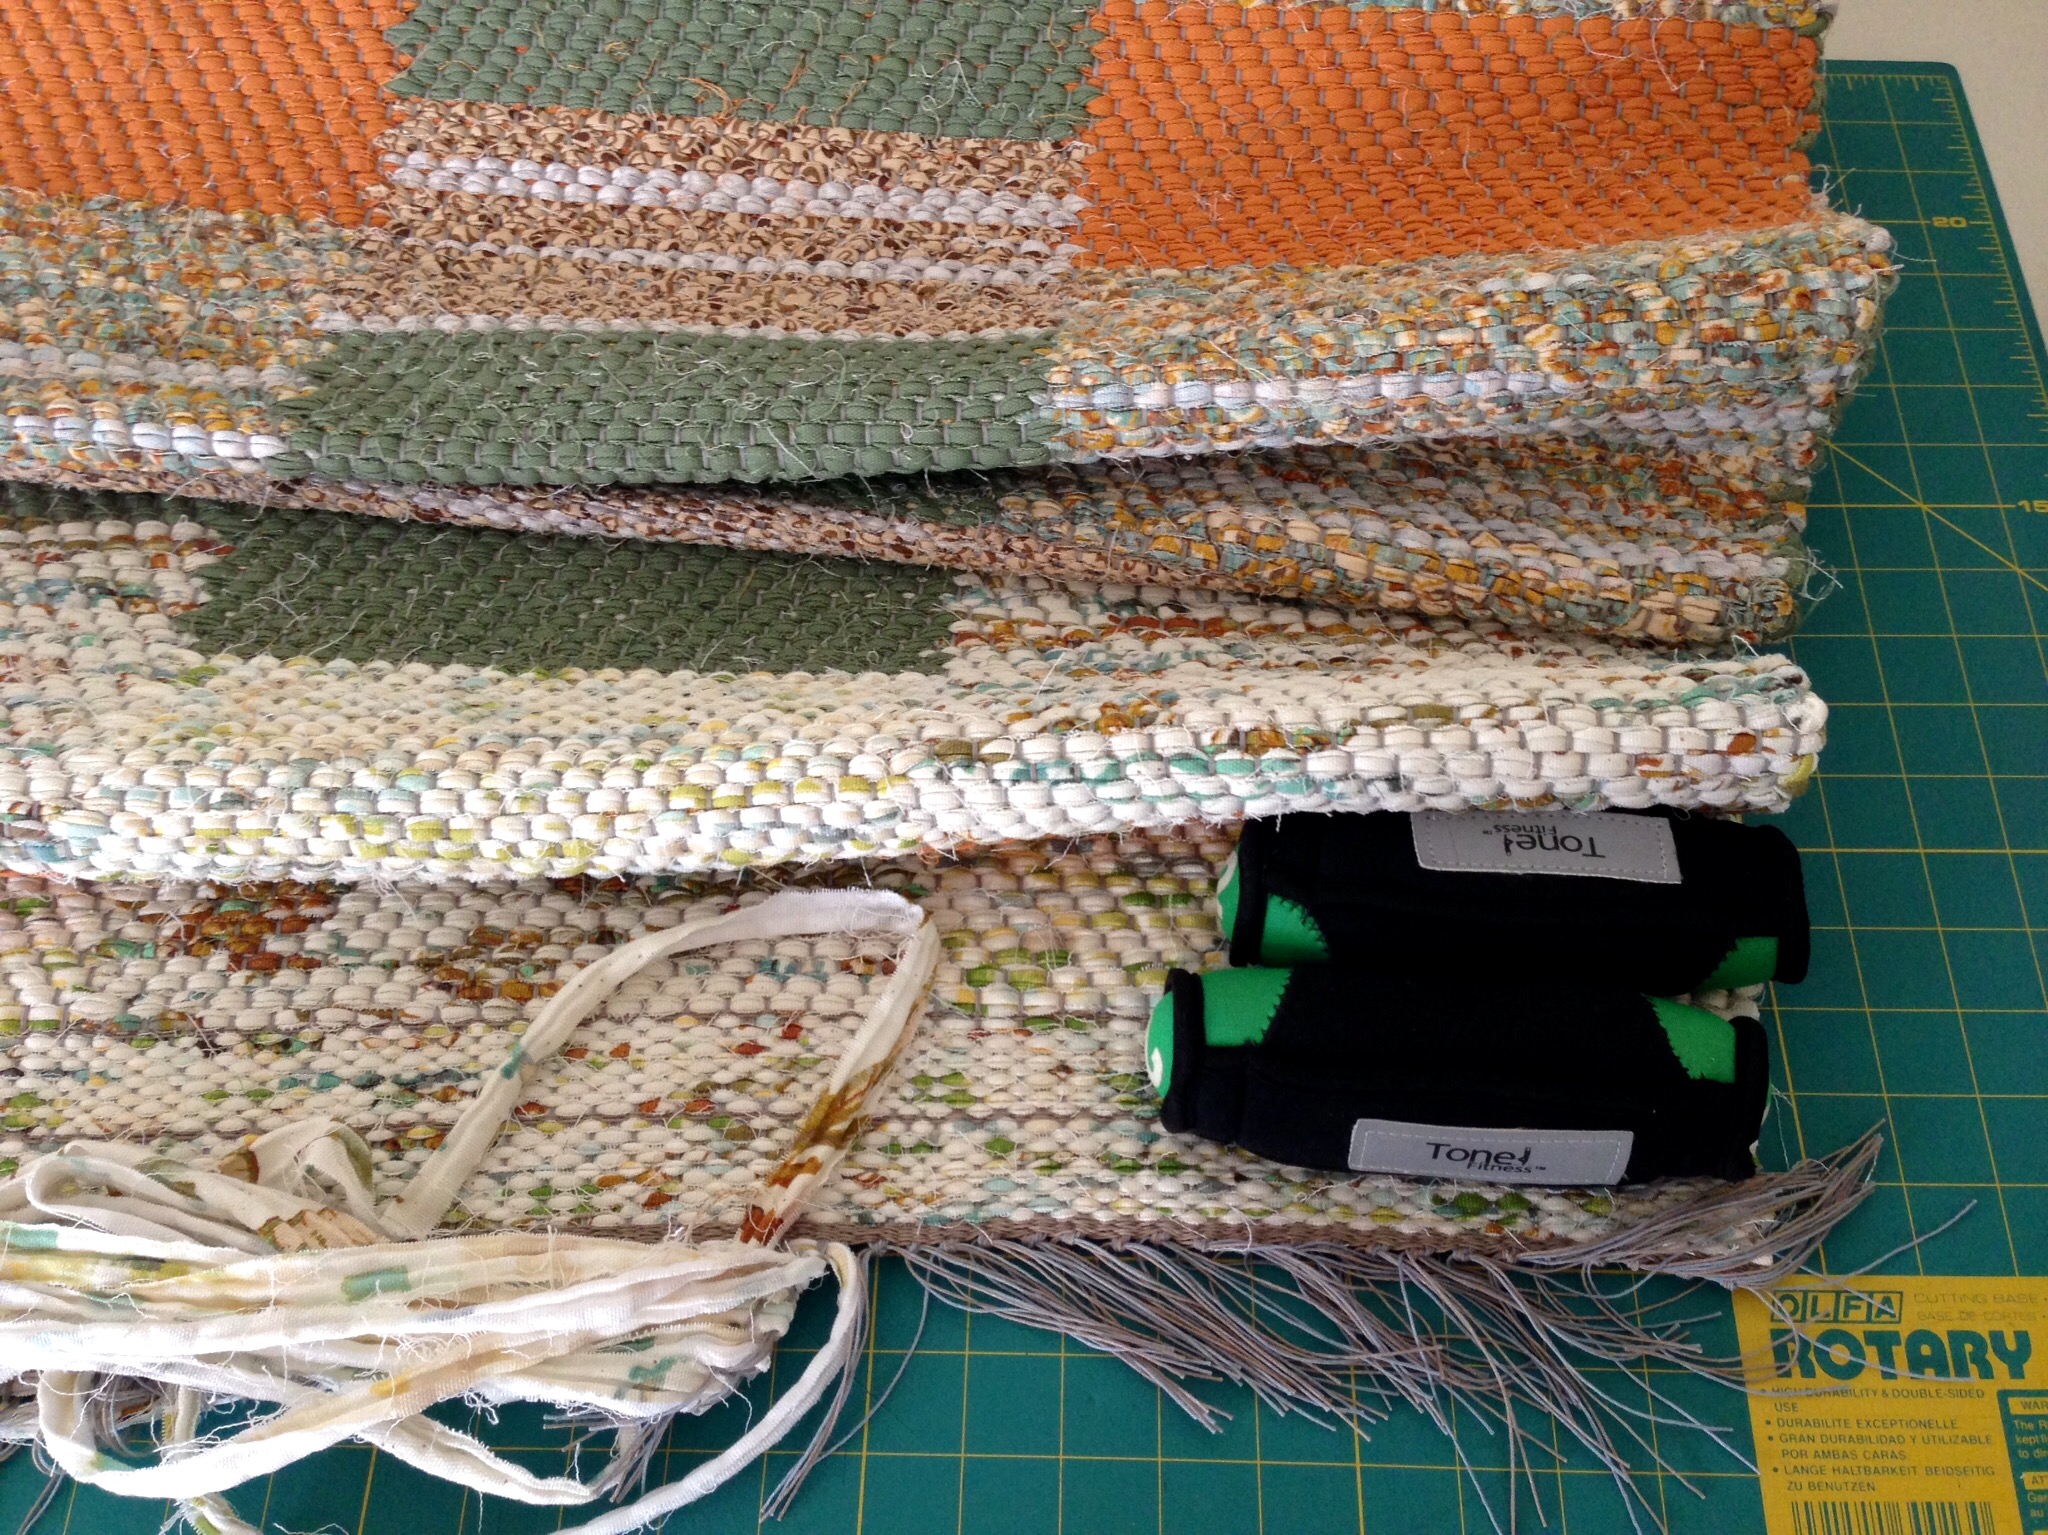
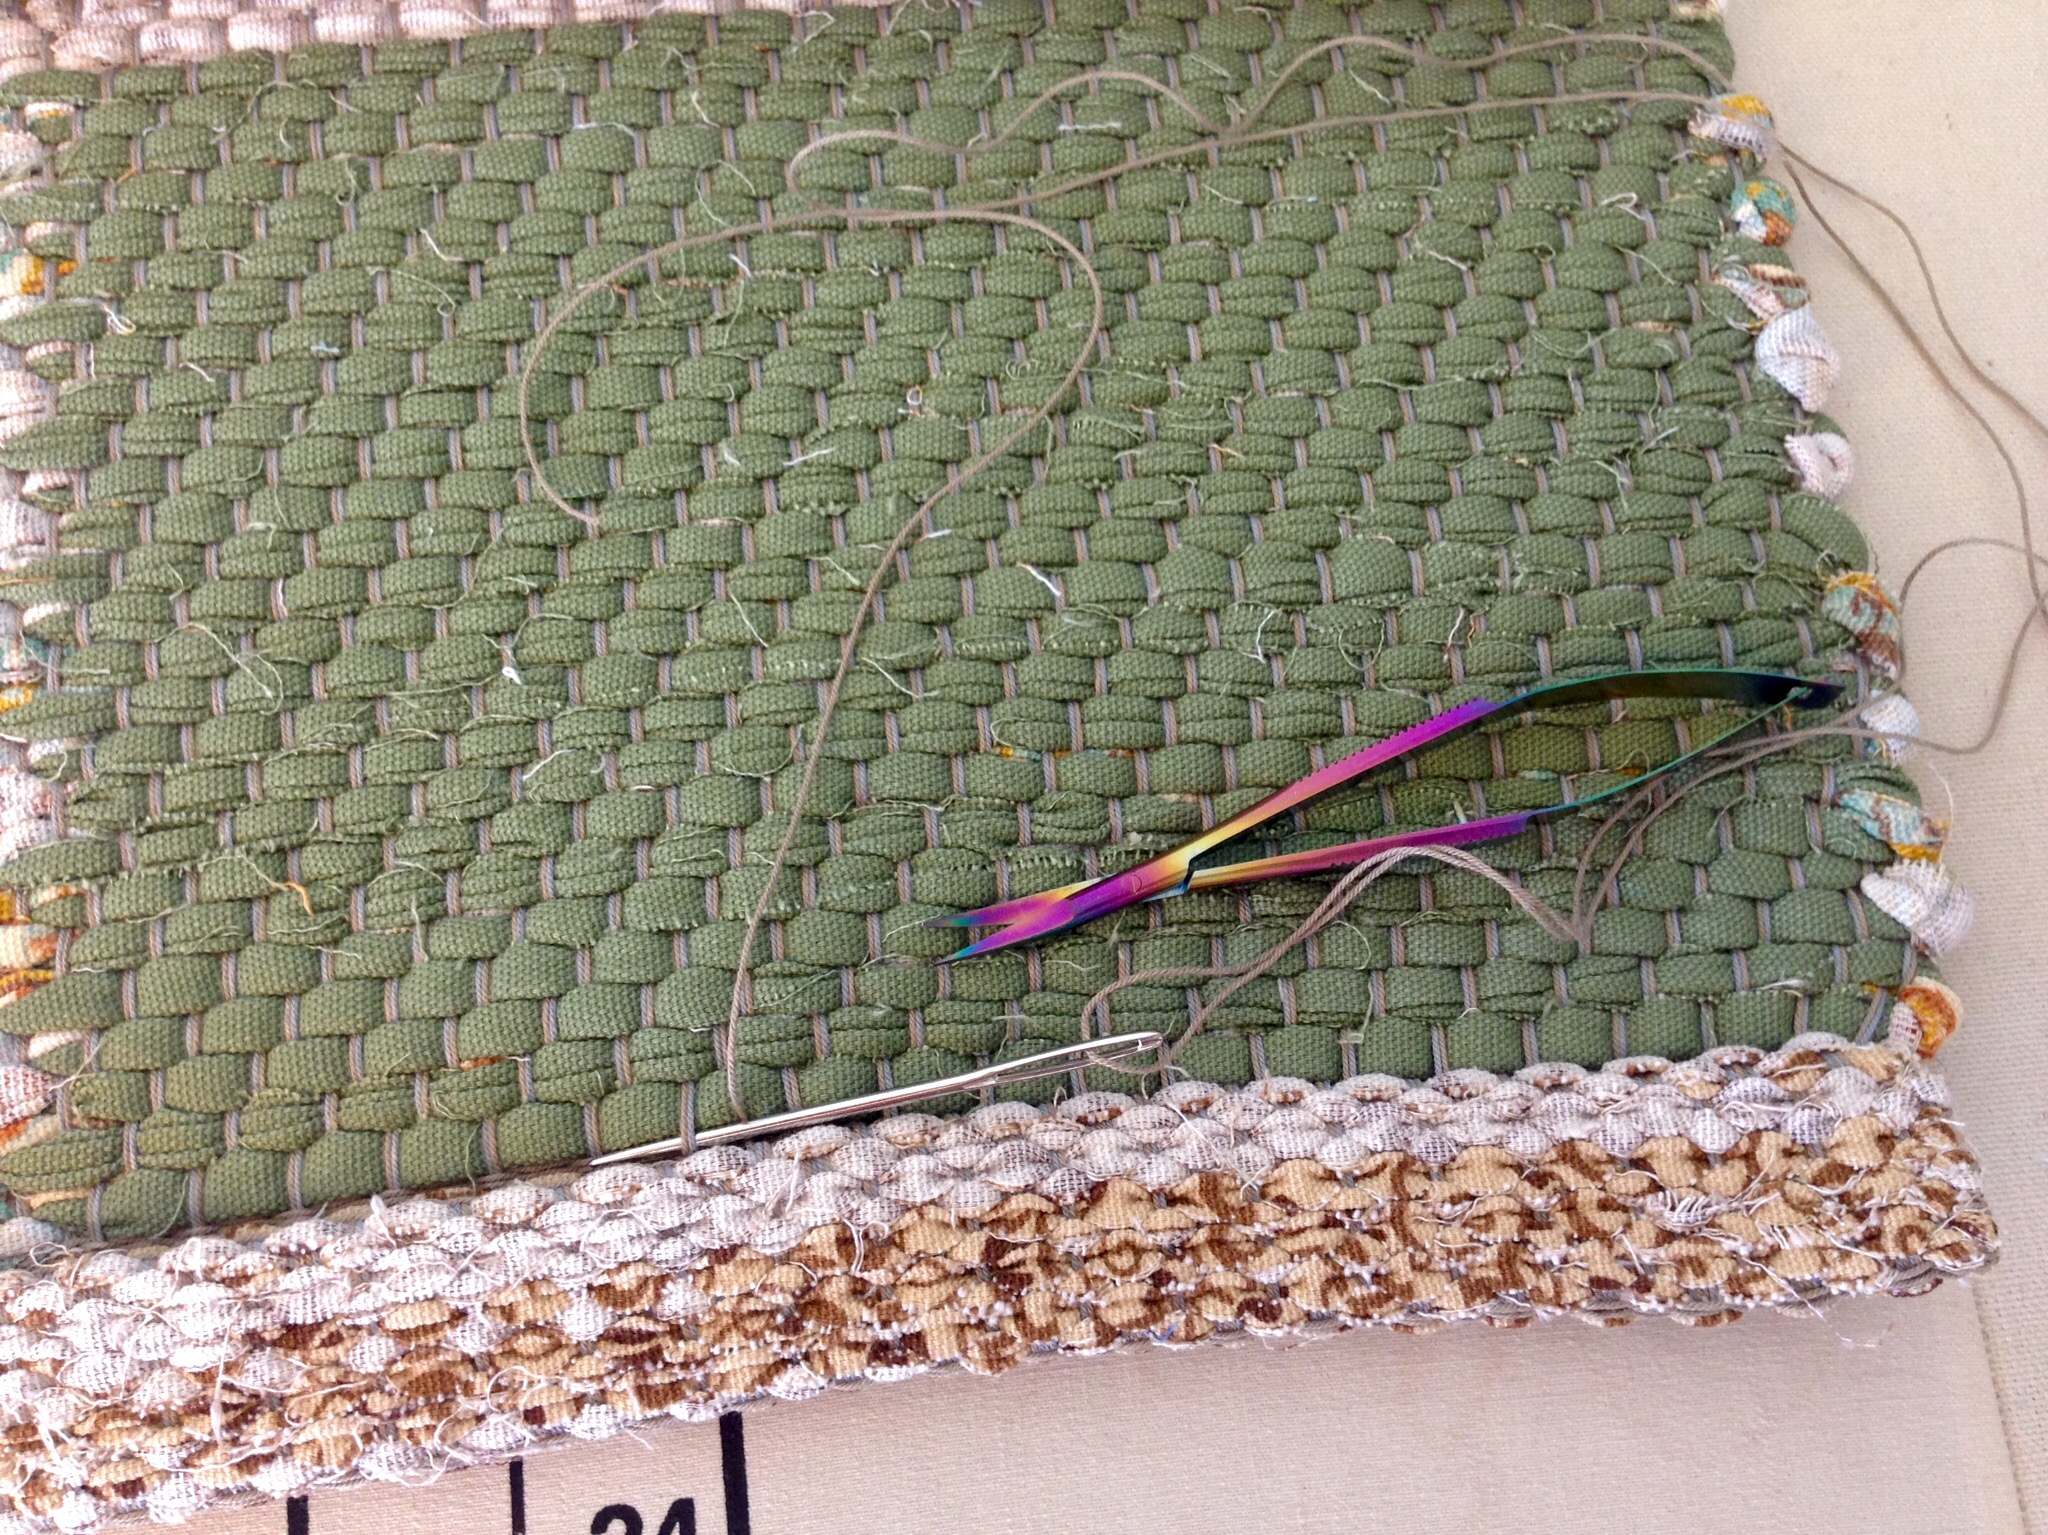
The header is removed little by little as I make my way across the rug, tying pairs of warp ends into square knots, and cinching them up to the edge of the rug. I trim the ends to 1/2 inch/1 cm. Next, I fold and steam press the hem. With a blunt tapestry needle and a length of warp yarn 1 1/2 times the width of the rug, I stitch the hem closed by catching the warp threads. The warp ends are fully secured and closed up in the hem. This rug will endure through years and years of wear and tear.

Tips for hand hemming rag rugs.
First I stitch the side of the hem closed, and then I stitch the hem, catching the warp ends with a blunt tapestry needle. This creates a nearly invisible hem seam, making the rug completely reversible.

Guard what you believe. It is what you believe that determines what you think, from which your behavior is formed. When beliefs are convictions, rather than mere philosophical ideas, they are firmly knotted in place, hemmed in by wisdom and truth. Nothing will unravel this cloth.

May your convictions stand the test of time.

Happy Finishing,
Karen

This Rug in Particular

No improvising this time. Creating a rug to fit a particular space means staying true to the plan. In my measured design, each graph square represents two inches (5 cm) of woven length. So, I am not playing around with shortened or lengthened blocks. And no surprise colors, either. Every element has been determined in advance. I am paying close attention, being sure to measure accurately as I go. I keep thinking of my sister’s entryway, hopeful that this rug will be just right. (Sometimes I do play around with the design as I weave, like I described in Tools Day: Graph Paper)

Cotton yardage ready to cut for weaving rag rugs.
New cotton yardage is ready for cutting into strips for weaving double binding twill rag rugs. I am choosing four out of these six fabrics for this rug design.
Design graph for weaving a patterned rag rug.
Design graph sits on the cart next to my loom. A sliver of each selected fabric is scotch-taped to its color block on the graph for reference.

If I only consider the fun of weaving another rag rug, and fail to keep in mind the intended destination, I may create an interesting rug, but it won’t end up inside my sister’s doorway. The “fun” will be short-lived, and will produce disappointment or regret instead of finished satisfaction. That reminds me of something C.S. Lewis once said:

Aim at Heaven and you will get earth ‘thrown in’: aim at earth and you will get neither.

Double-binding twill rag rug on the loom.

Dream of heaven. It’s the place where God Himself removes every cause of tears. No death, no mourning, or crying, or pain. Every thread and every color will be in place, as it should be. Just imagine the Grand Weaver, making preparations for our home coming, as He places the final handwoven rug on the floor. Perfect fit.

May you dream big.

To the Finish,
Karen

Tools Day: Graph Paper

I am using graph paper and colored pencils again to design double-binding rag rugs. Twill double-binding rag rugs this time. The draft comes from Swedish Rag Rugs 35 New Designs, by Lillemor Johansson. The graph paper squares are great for playing out my own ideas. I am not aiming for specific color combinations with this exercise. And I don’t strictly follow my colored design when I weave, but instead use it as a guide that suggests a design pathway. This allows me to improvise at the loom as I see the cloth taking shape.

Graph paper and colored pencils for rag rug design ideas.
Graph paper for playing with design ideas, using Prismacolor pencils.
Rag rug design experiments on graph paper.
Experiments with wide and thin blocks of color, unevenly spaced.
Twill double-binding rag rug on the loom.
Putting design experiments to the test. The twill structure gives more substance to the rug than plain weave, as well as adding to the textural appearance in the design.

May your best designs materialize.

Yours,
Karen

Tools Day: Texsolv Secrets

I am upgrading my “baby loom” from four shafts to six shafts. My woodworker husband fashioned the new pieces for this 100 cm / 39″ Glimakra Ideal countermarch loom. Since I need to add new Texsolv cords to the two new pairs of shafts and accompanying horizontal jacks, I decided to replace the thirty-year-old cords that are on the original pieces at the same time.

Tips for preparing Texsolv cord.
Measuring, marking, and cutting Texsolv cord for new six-shaft shaft holders. Tools, from top to bottom: Cord threader, rotary cutter, black Sharpie, Thread Zapp II.

Tools:

  • Spool of Texsolv cord
  • Rotary cutter with sharp blade, and cutting mat; or, sharp scissors
  • Permanent marker
  • Cordless thread zapper (I got my Thread Zap II at Hobby Lobby)
  • Cord threader (Steve made mine; GlimakraUSA carries a similar one)
Adding new Texsolv cord to updated countermarch loom. Texsolv tips.
Upgrade to six shafts from four meant adding two pairs of shaft bars, two upper lamms, and two lower lamms, plus expanding the jacks at the top of the loom. New Texsolv cord was measured, marked, and cut the same for all six shafts. The cords seen on the lower shaft bars connect to the center hole in the upper (shorter) lamms when the loom is tied up.
Top of Glimakra Ideal horizontal countermarch.
Viewed from above, the horizontal countermarch now has 8-shaft capability. Steve guessed I might eventually want a total of eight shafts, and decided to get the hard part out of the way now. The six jacks in use are connected via a long center Texsolv cord to the lower lamms below when the loom is tied up. The outer ends of the jacks in view have cords that connect to the top shaft bars. Countermarch is a nifty mechanism. Simple, really.

Texsolv Tips:

  • Measure length of Texsolv cord. “Measure twice; cut once.”
  • Cut with very sharp blade on the “line” between holes. A sharp blade reduces the cord’s tendency to fray apart when cut.
  • Use thread zapper tool to melt the cut ends. Roll melted end between fingers to form a firm tip at the cut end.
  • Especially for countermarch looms: This one tip greatly simplifies countermarch loom tie-ups because it eliminates guessing about getting everything even. Use permanent marker to make consistent marks on like cords, to enable even tie-ups; e.g., with the marker, put a mark on the second hole from the top, and on four holes (alternate with unmarked holes) near the bottom end of shaft-to-lamm cord, so that when you attach shafts to lamms, all the cords can be precisely aligned. (All my cords are measured and marked. I keep one of each marked cord in a labeled Baggie as a sample to make it easy to replace or add any cord.)
  • Use threader, if needed, to thread cord through holes in the loom parts.

Quiet Friday: Cutest Loom Ever is a look back to the first renovation this little old loom experienced.

May you find new ways to do old things.

Getting ready,
Karen

Textured Textiles for Christmas

This is exactly what I had hoped for! Wet finishing made textured textiles out of flat fabric. One look at these pot holders and you know they have been through the washer and dryer. The rag weave table runner tells the same story. It’s true, wet finishing made positive permanent changes.

Rag weave table runner in M's and O's - on the loom.
Rag weave table runner on the loom. M’s and O’s, with Cottolin warp, and narrow cotton fabric strips for weft.
M's and O's pot holders and table runner cut from the loom.
Time to celebrate cutting the pot holders and table runner from the loom.
Rag weave table runner and string yarn pot holders in M's and O's. Karen Isenhower
Textured textiles, after wet finishing and hemming. Twisted cording was added to pot holders for hanging loops.
Detail of textured textiles. M's and O's with creative treadling.
Creative treadling for two pot holders produced design variations.

Christmas is a true story. Love came down. You have heard the story: Jesus came as a baby, grew up, and gave up his life to save us, all in the name of love. When this Jesus story is written on our hearts it changes everything. This love story is the wet finishing we need. It is the only thing that can truly complete us. Your life already tells a story. It is an open book that people read. When we let the Christmas story of God’s love shape us, the fabric of our life becomes characterized by the texture of love.

May your loved ones enjoy reading “your” book.

(Shoppes at Fleece ‘N Flax in Eureka Springs, Arkansas is carrying a few of my rugs. If you are near the area, drop by the shop and say Hi to Debbie!)

Happy Holy Day,
Karen