Linen Is Special

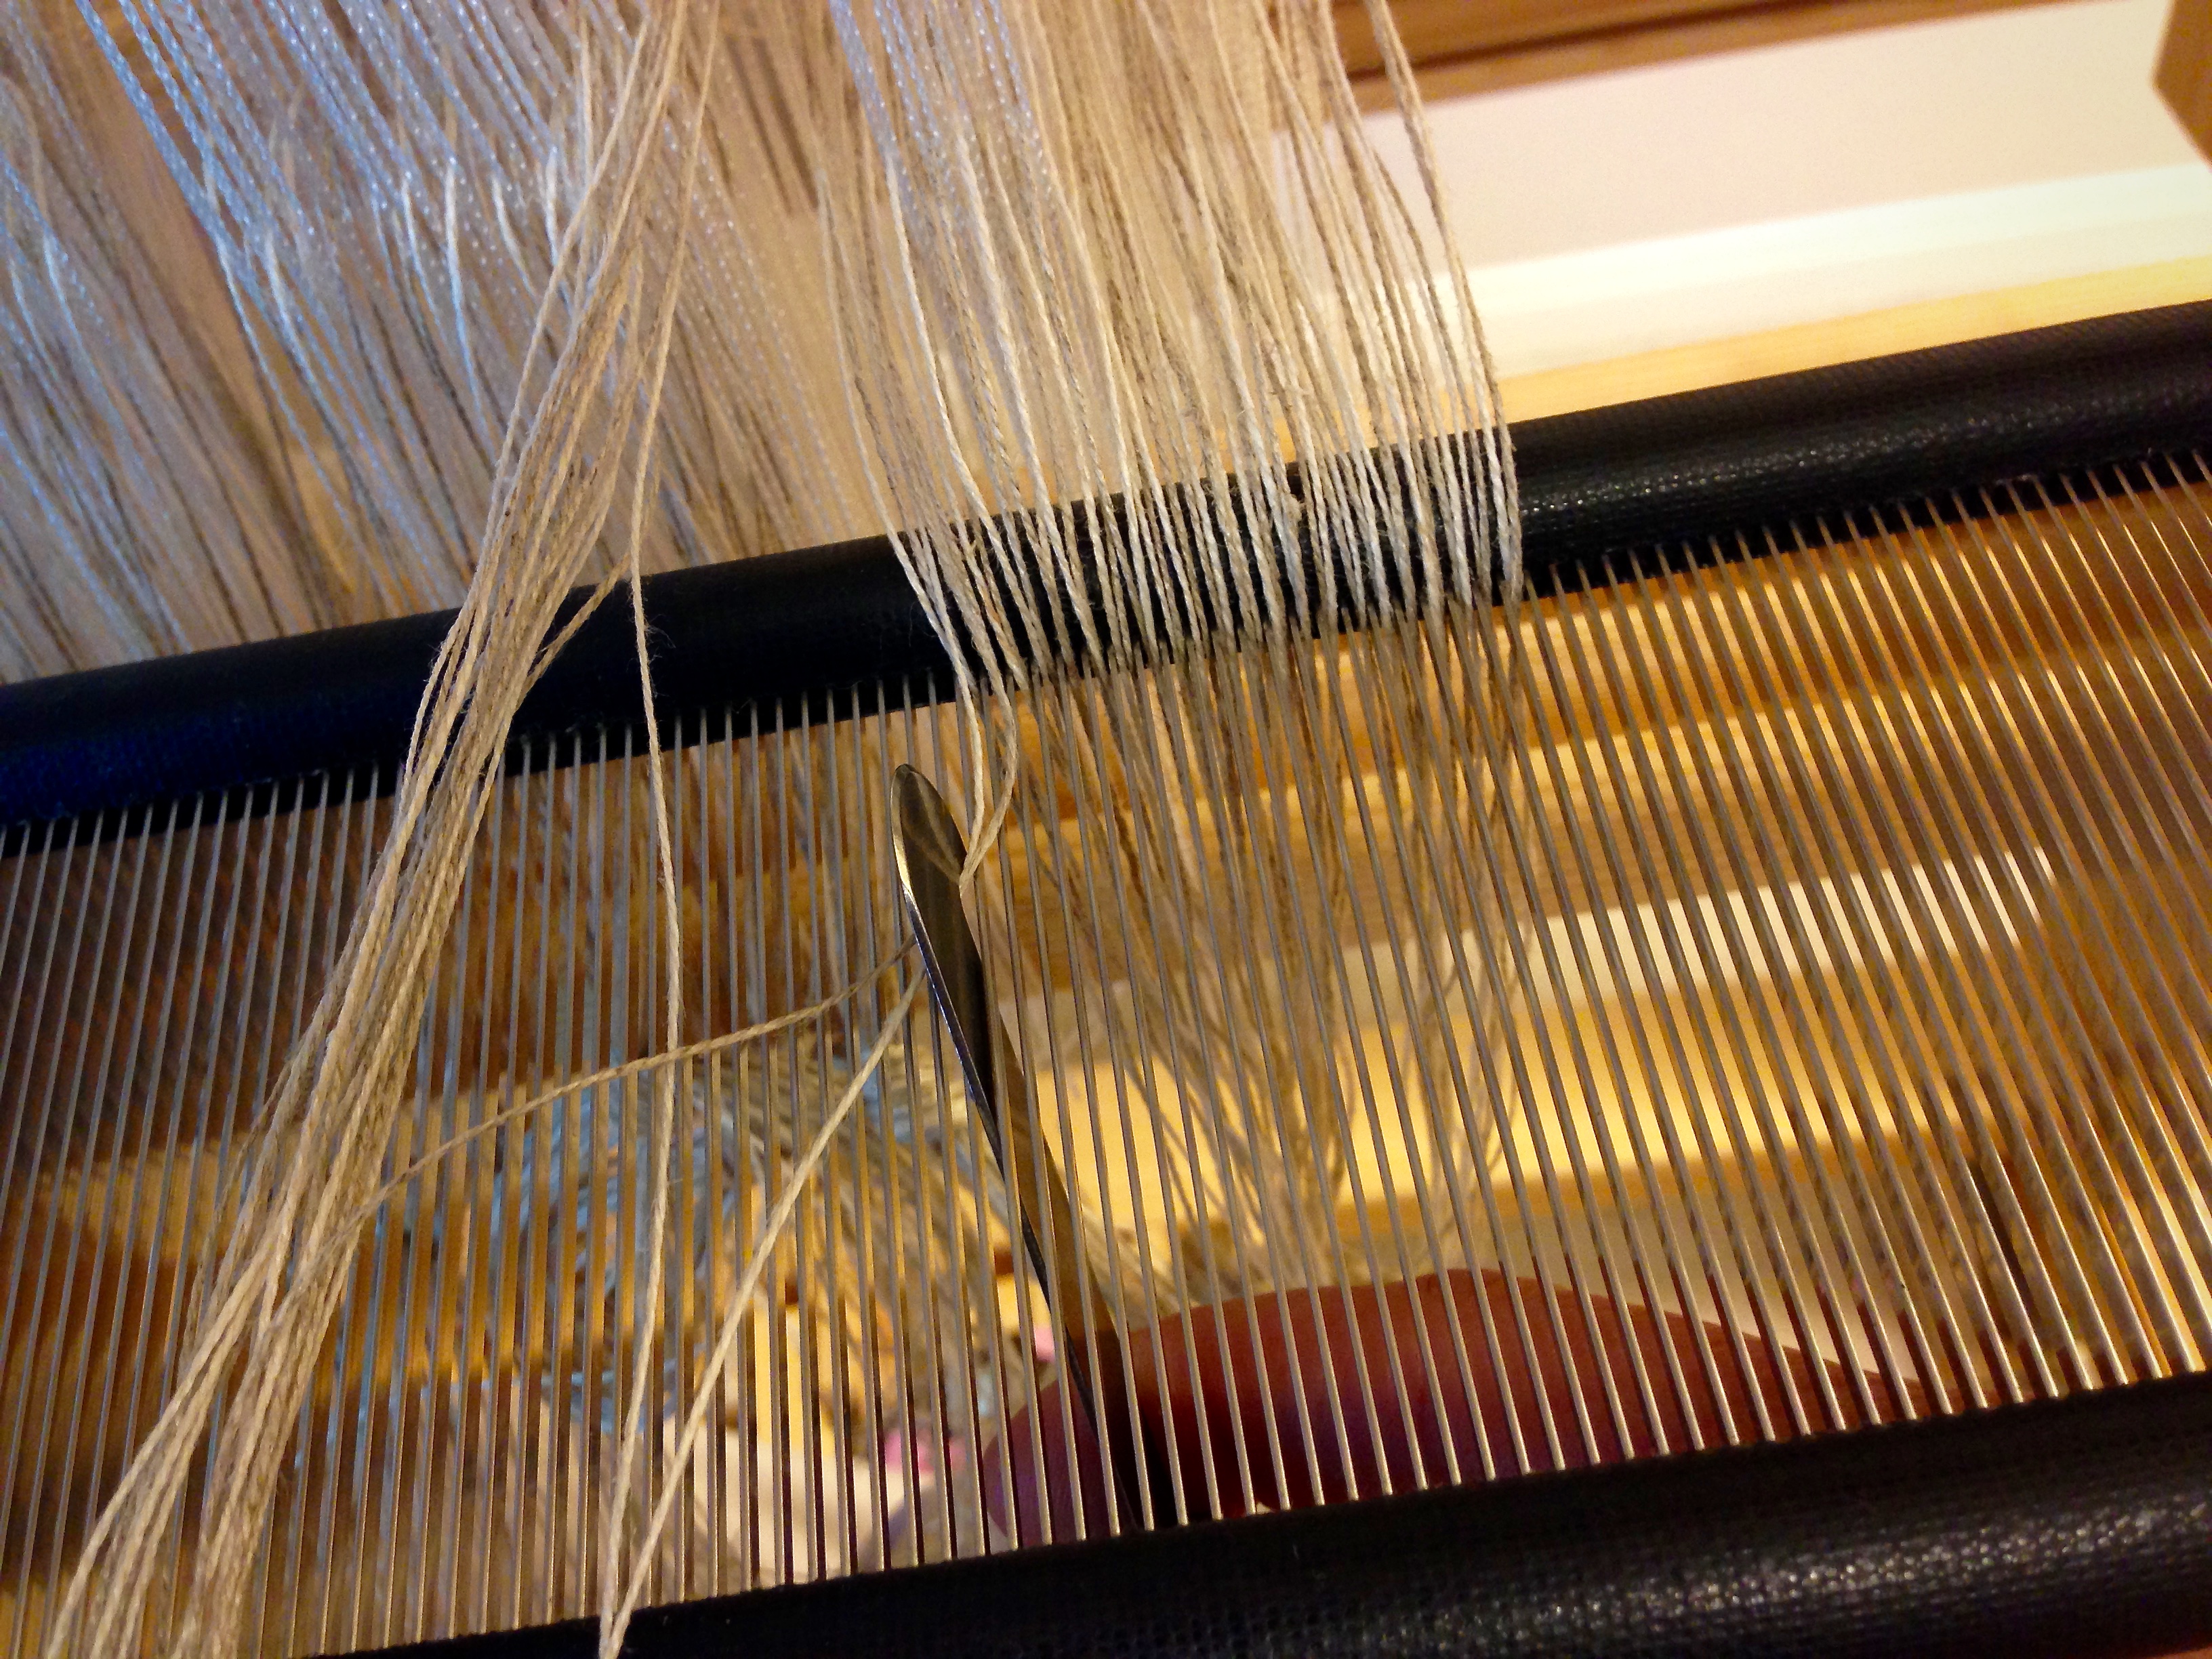
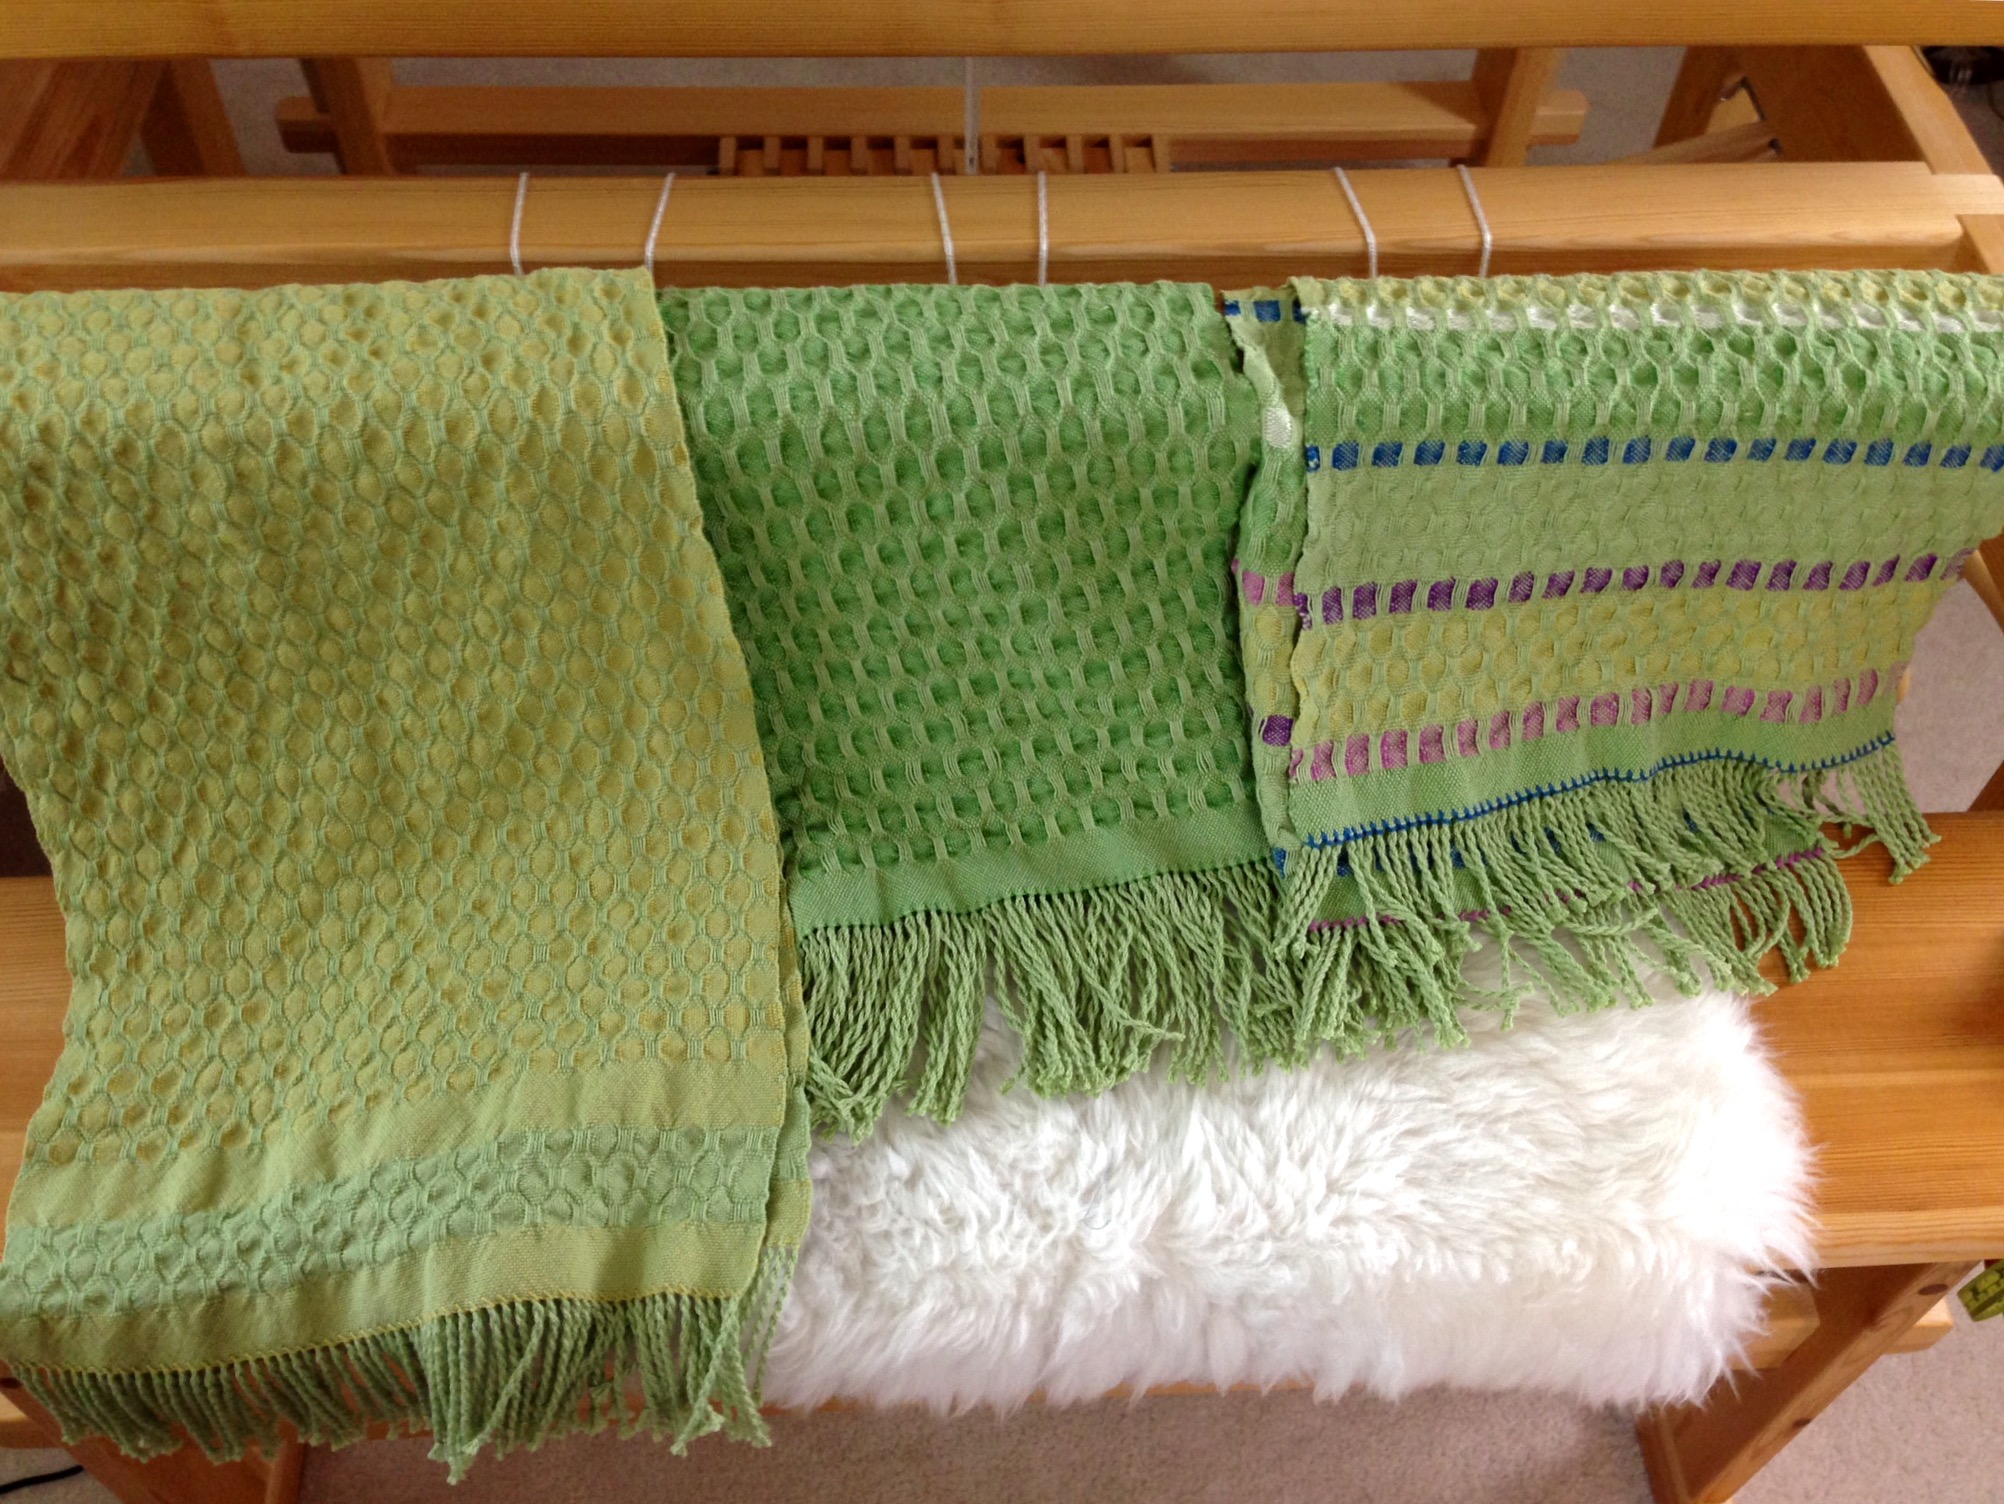
Linen is special. This is nothing new. Even in biblical history, linen is mentioned as fabric for sacred purposes. But weaving with linen requires attentiveness. The inelasticity of linen means extra care is needed in every stage of dressing the loom and weaving. Of first importance is an even warp tension.

Getting ready to weave with linen. Tying on.
Tying on linen in small 1-inch/2.5 cm increments is one thing that helps contribute to an even warp tension.

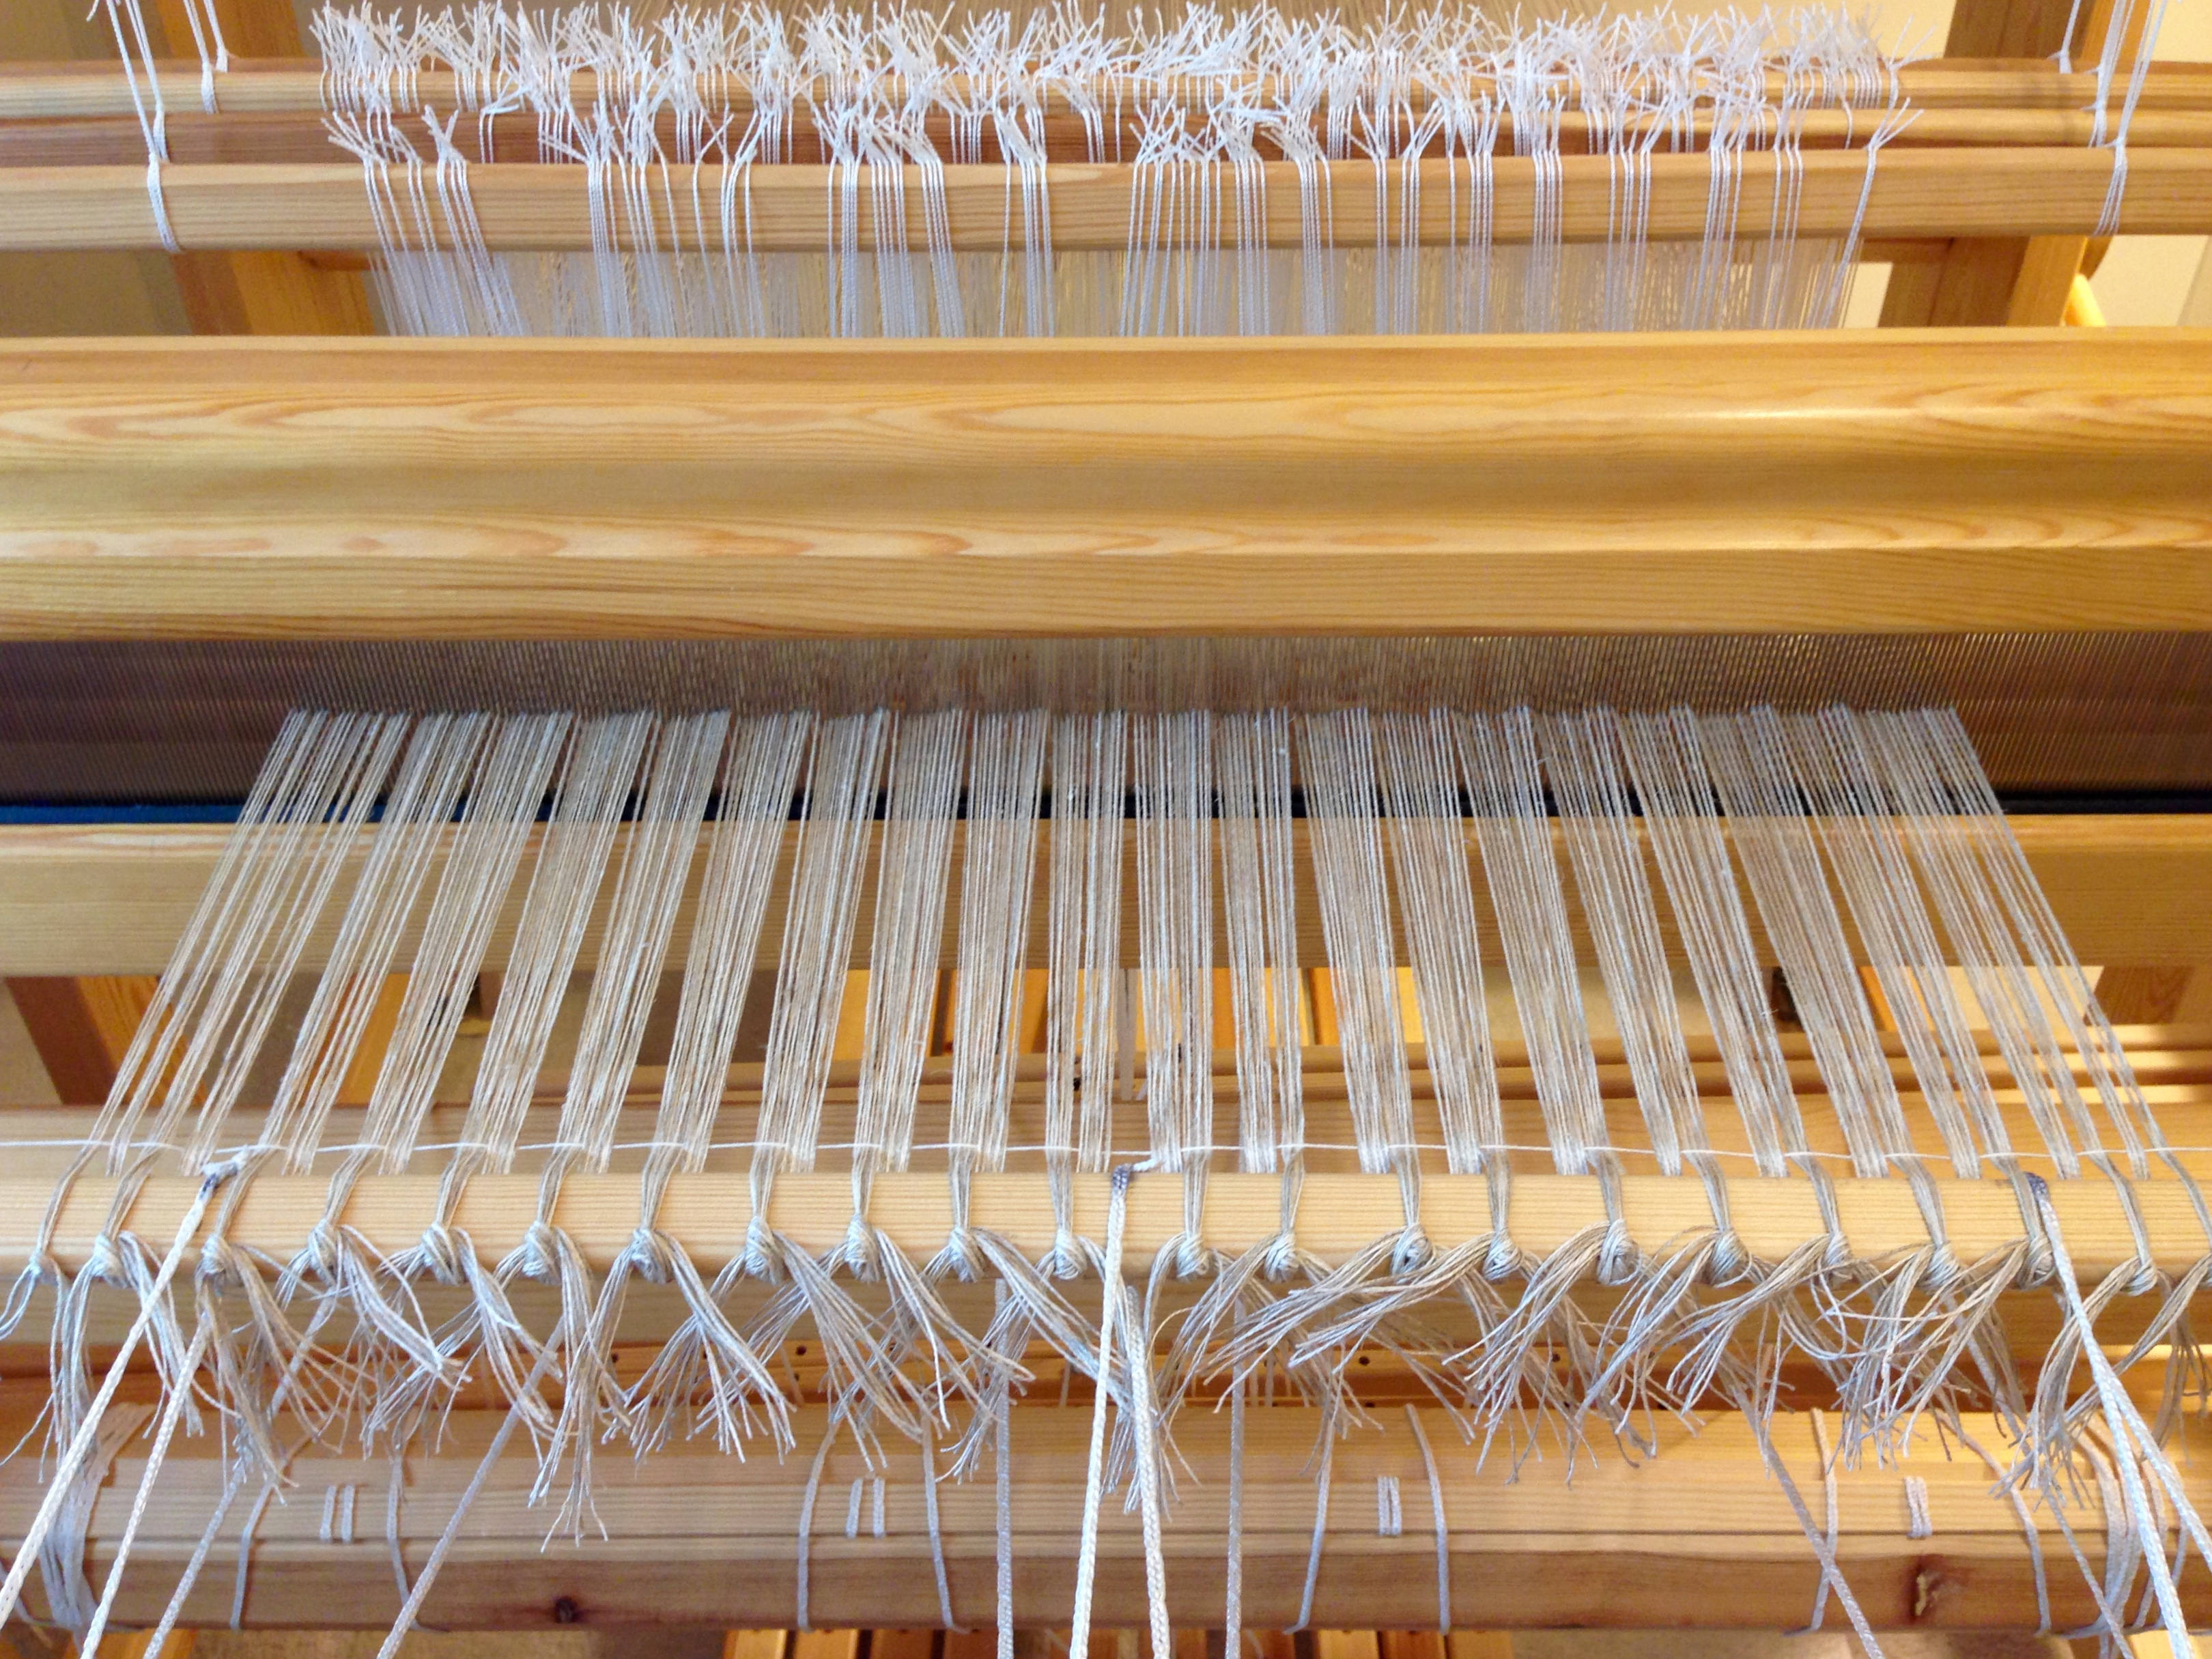
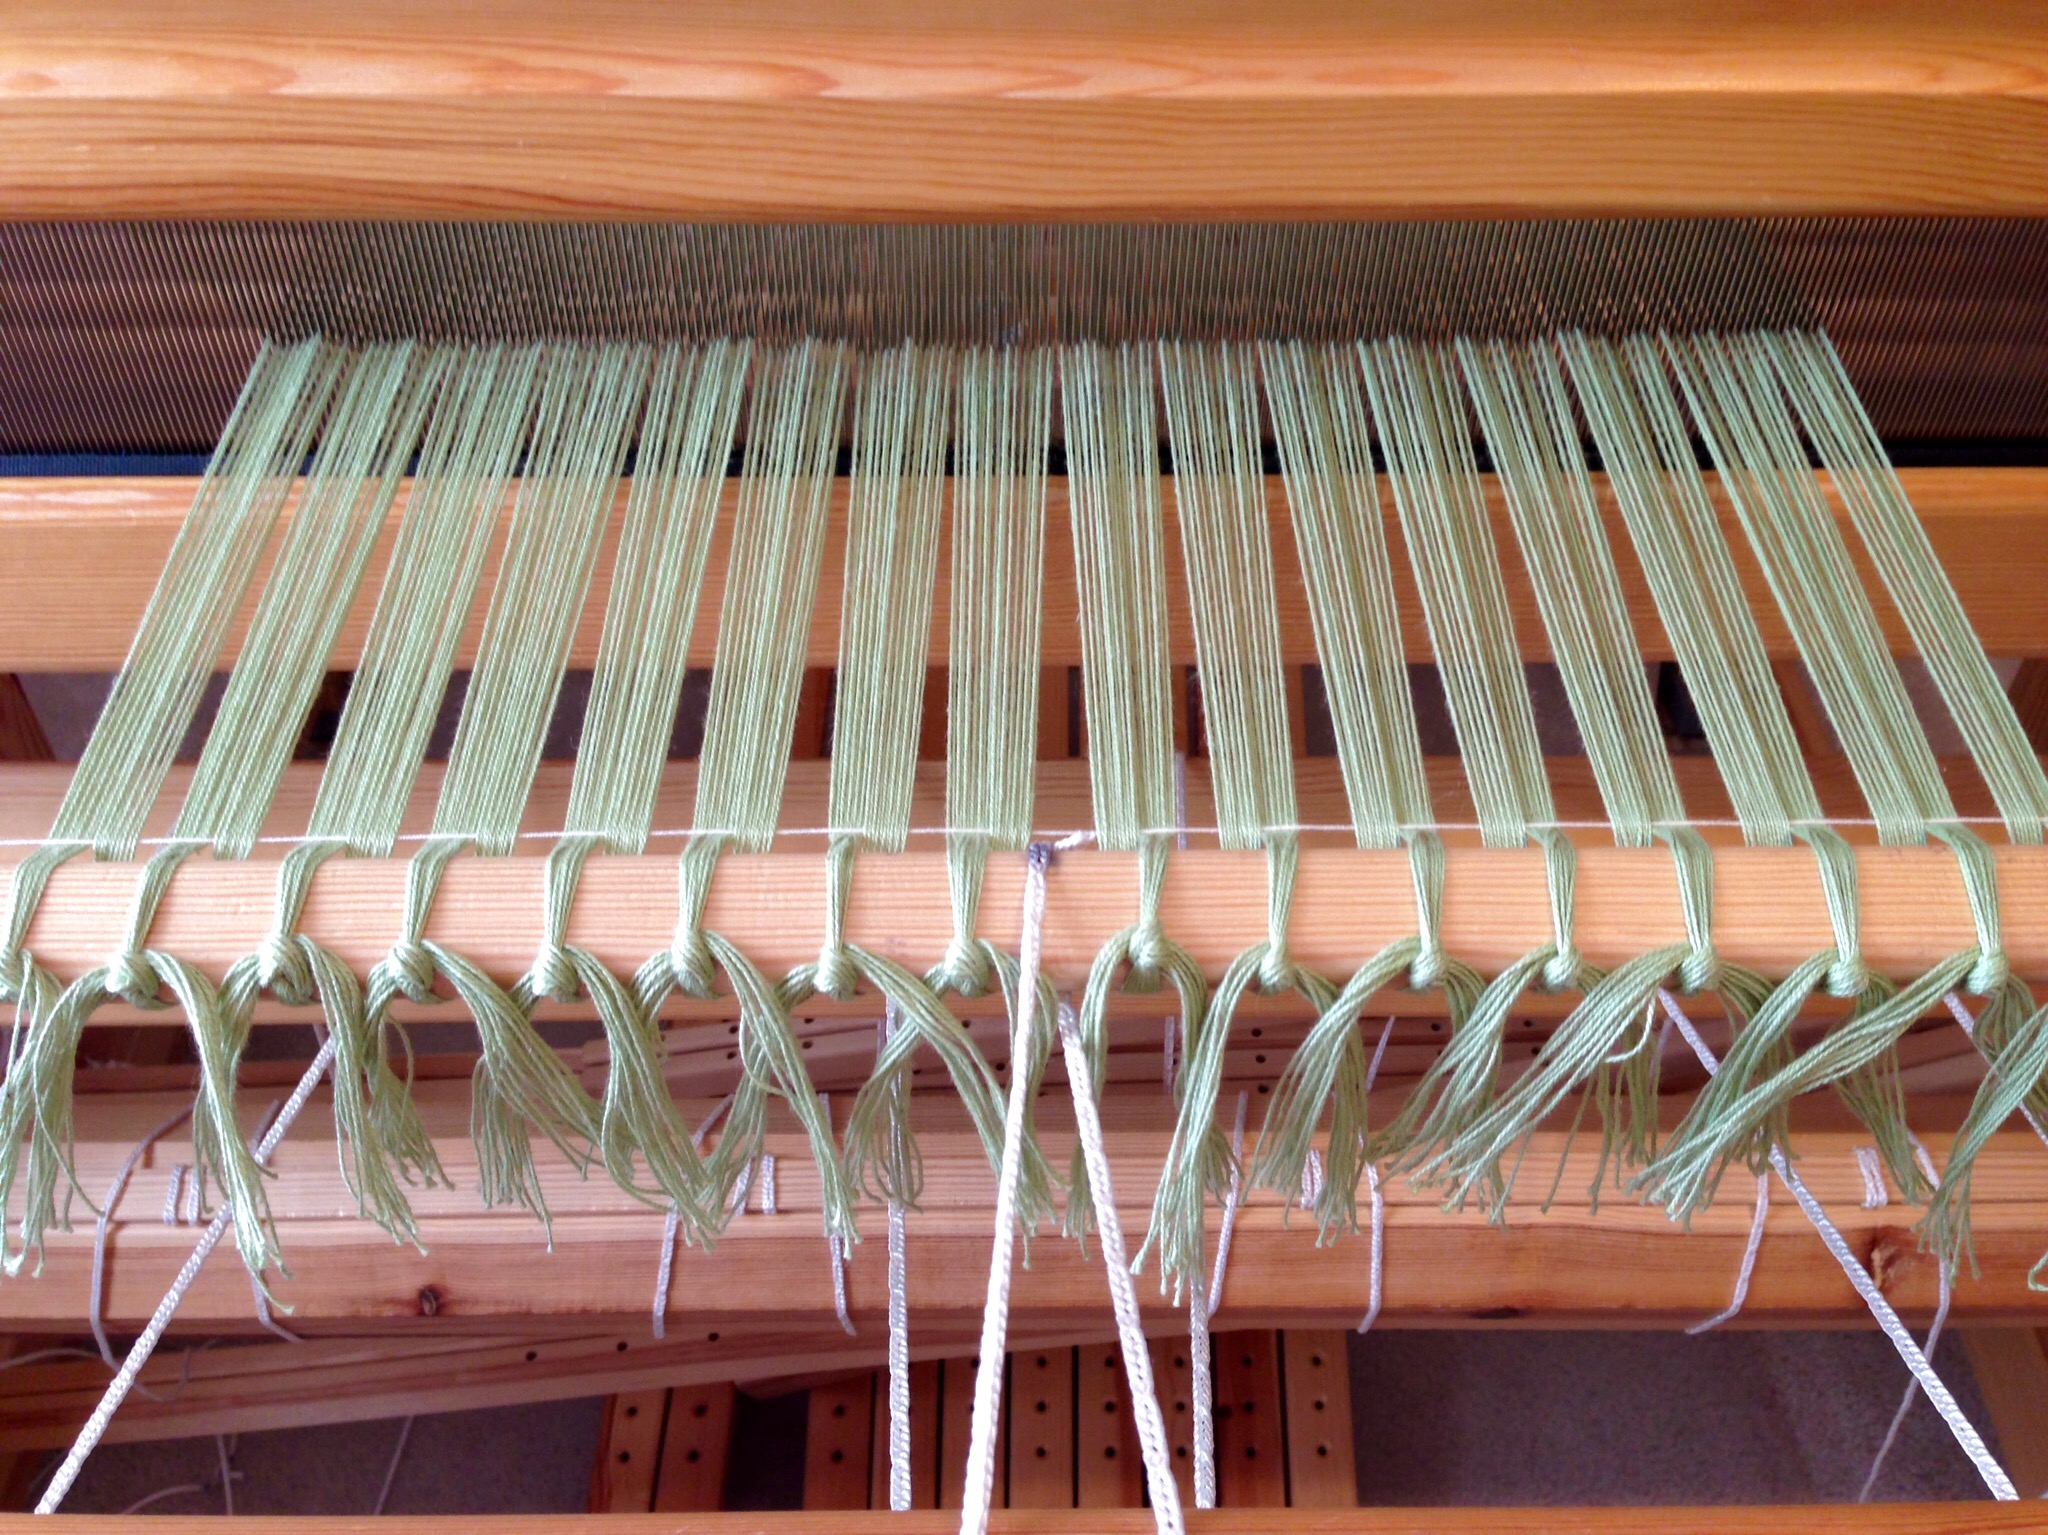
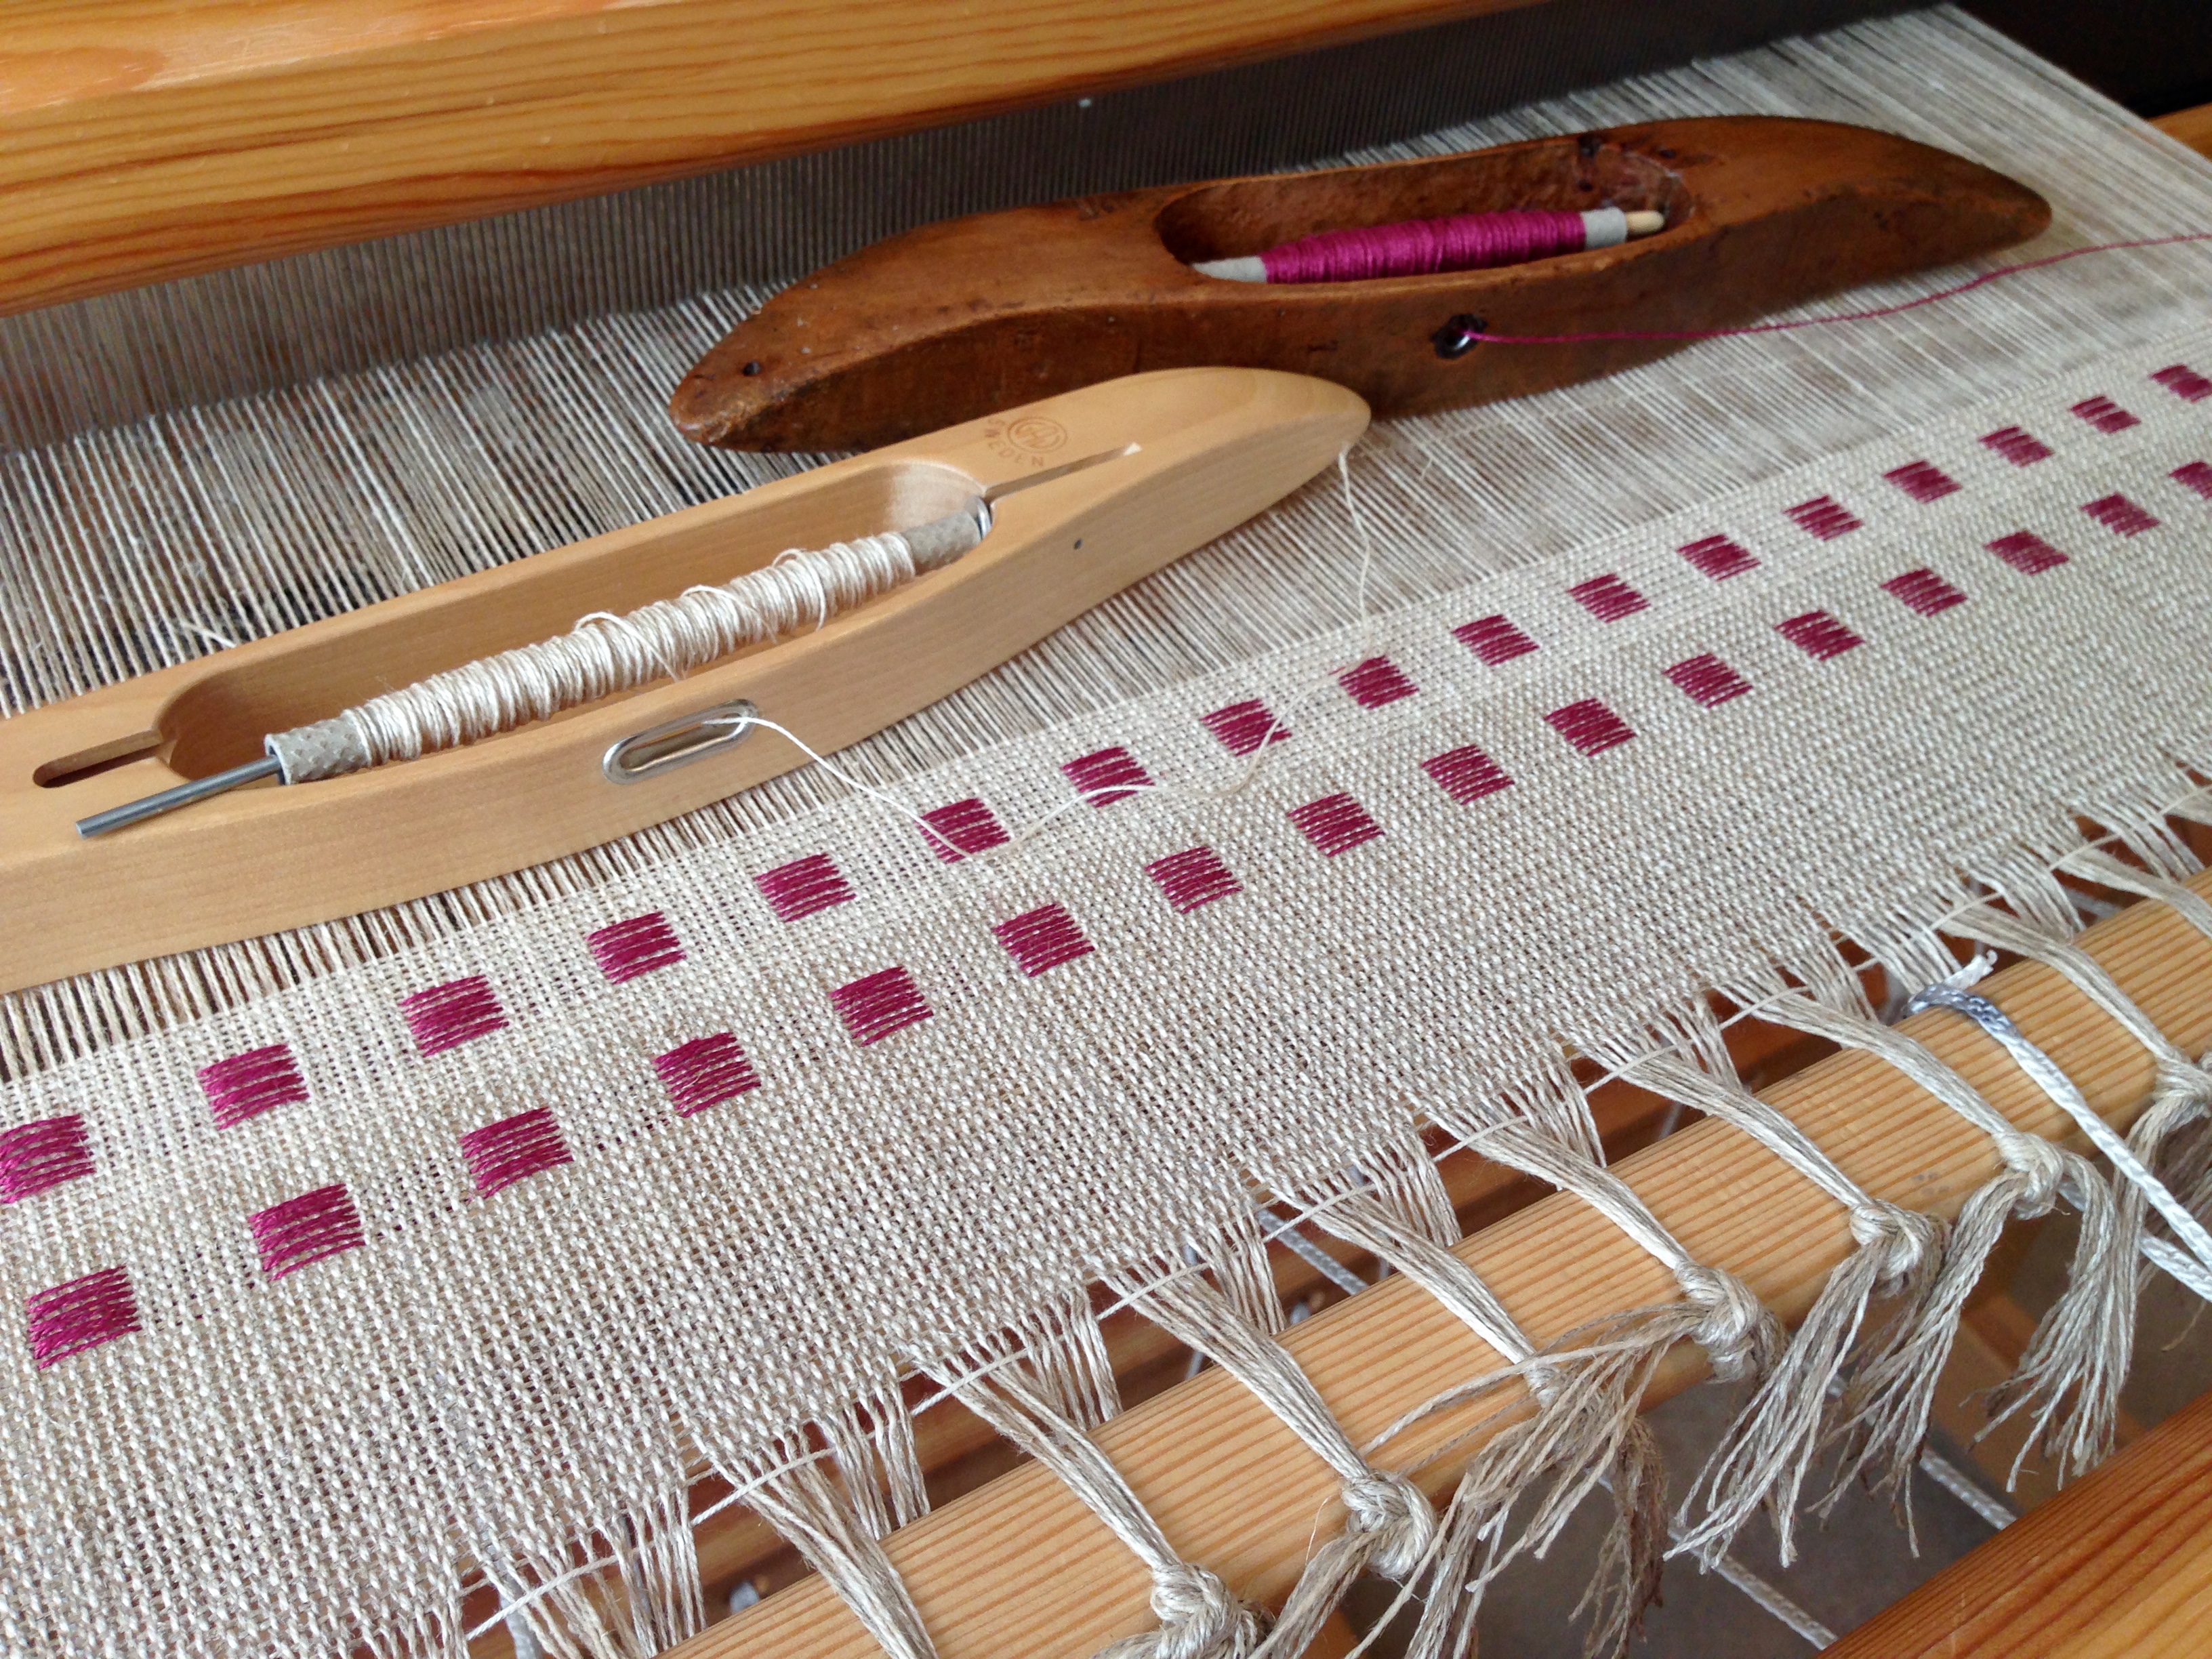
This method of tying on* is perfect for weaving rag rugs. The 12/6 cotton rug warp stays snugly in place. Not so with linen. The even warp tension that I have been so careful to maintain can be lost in a moment. The sneaky linen is smooth and slick enough to tie on easily, and then loosen up just as easily. So I take the double precaution of tying an additional overhand knot, AND moistening that knot with a dab of water which helps the linen grip itself. I never have to worry about these knots slipping loose.

Beginning dice weave in linen.
Additional overhand knot, with a dab of water, secures the tie-on threads. I am using sample space to try weft colors and work on getting optimum weft density.

What do you worry about? I have bigger things I worry about, too. But my heavenly Father assures me that He has secured all the knots that concern me. “Don’t worry,” he tells me. “Your Father knows your needs.” Be attentive to keep first things first. Put yourself in the Father’s care, and find that he takes care of you. Special you.

May you forget your worries.

With you,
Karen

* I learned this method of tying on from Becky Ashenden. You can see it fully explained by Becky, with pictures, in Dress Your Loom the Vävstuga Way: A Benchside Photo-guide.

Tools Day: Sley the Reed

I am dressing the big loom with linen. This flaxen thread brings a worthwhile challenge I find hard to resist. Beaming the warp was slow and deliberate. It pays to be attentive to everything at this stage. Threading for this dice weave could not be simpler; it was finished before I knew it. Now, it is time to sley the reed.

Tools:

  • Reed     I am using a 12-dent reed for this project.
  • Texsolv cord for hanging the reed in front of the shafts
  • Tape measure     I remove the metal ends.
  • Reed hook     Mine is from Vävstuga.
  • Bench, set at comfortable height for threading and sleying     With my Glimåkra Standard, I get to put the bench “in” the loom. It’s like going into my own little playhouse.
  • Good lighting     I use a small Ott Lite Task Lamp when natural light in the room is dim.
Everything is ready for sleying the reed.
Reed is positioned right in front of the threaded heddles. Shafts and reed hang at optimum height for visibility and ease of hand mobility.
Sleying the reed.
Left hand index finger separates the end(s) to be sleyed.
Sleying the reed.
And the right hand holds the reed hook under the reed to pull the end(s) through the dent. (These two pictures show why a third hand would be nice. Normally, I sley the reed with two hands, so a third hand would be useful for taking a picture.)
  1. Form two loops of Texsolv cord that hang down from the top of the loom, one on the right and one on the left, to hold the reed for sleying.     My Texsolv loops hang from the countermarch frame.
  2. Adjust the length of the Texsolv loops so that the reed will fall just below the eyes of the heddles.
  3. Rest the reed horizontally in the Texsolv holders.
  4. Use the tape measure to find the center of the reed.     I mark the center of my reeds permanently by tying a small piece of 12/6 cotton seine twine at the center.
  5. Find your weaving width measurement on the tape measure. Fold that measurement in half and place the folded tape measure at the center point on the reed, to the right, to find the starting dent for sleying the reed. Place one end of the tape measure in that starting-point dent to keep your place.     Some people use the reed hook as a place holder, but when I pick up the reed hook to sley the first dent, I invariably loose my place.
  6. Pull ends through the reed with the reed hook, referring to your draft for the correct number of ends per dent, starting at the dent on the right hand side that has the place holder in it. Good lighting helps to prevent errors.     This is especially true with finer dents and darker threads.
  7. After sleying each group of warp ends, visually examine the sleyed dents to look for missed dents or extra ends in dents.
  8. Tie the sleyed group of ends into a slip knot.
  9. Finish sleying all the ends; and smile, knowing you are a step closer to weaving fabric.

May all your looms be dressed.

Happy Dressing,
Karen

Quiet Friday: Cotton Scarves

One thing I learned is the scarf with the longest warp floats has the greatest shrinkage rate. Another thing I learned – again – is to plan a longer warp than what I think I need. The third scarf is significantly shorter than the first two because I ran out of warp. Table runner, anyone? I always include length for sampling, but I need to include more, more, more. Still, I am very happy with the finished results. And, you have a new video to watch! (Scroll down to see it.)

Cotton warp for scarves is tied on.
Warp of 8/2 cotton is tied on in 1-inch/2.5 cm sections. The leveling string evens out the warp for immediate weaving.
Cotton lace weave scarf on the loom. Fringe twister video.
First scarf, with dark green weft, has the longest warp floats. This scarf ended up shorter than the second scarf, even though the first scarf’s length on the loom was longer than the second scarf.
Cotton lace weave scarves on the loom. Fringe twisting info, too.
Second scarf, with citrine weft, has a border element created with light green weft (same as the warp), including warp floats. The plain weave before and after the border element helps create a natural ruffle at each end of the finished scarf.
Cotton lace weave scarves on the loom. Springtime colors!
Saving the best for last, I used a series of springtime colors to create this scarf. The varied lengths of the floats give an illusion of colored ribbons crossing the scarf.

I wet finished the scarves in the washing machine, adding a small amount of Eucalan, on the gentle cycle, with warm wash and warm rinse, and very short spin. They went in the dryer on low heat until damp, and then hung to dry the rest of the way. The scarves came out lightly puckered, which is exactly what I had hoped for. I could have washed them in hot water and left them in for a longer amount of time if I had wanted the scarves more dramatically puckered.

Twisting fringe using a fringe twister tool.
Two scarves with fringes twisted. One waiting to be a film star in “Using a Fringe Twister.” This is before wet finishing.
Three cotton lace weave scarves, and fringe twisting video. Karen Isenhower
Wet finishing happens after the fringe has been twisted. These scarves have done it all. They are finished.
My favorite scarf. For now...
First seen on Instagram @celloweaver #warpedforgood

There’s nothing like finishing a fun project! Clearly, I know what to do next… Dress the big loom and keeping on weaving.

May you learn something new every day.

Happy Weaving,
Karen

Copying Springtime Colors

Does fear of making a mistake keep you from experimenting with color? To be on the safe side, repeat something that you have done before. Or at least copy someone else. Isn’t that why we love Pinterest? You don’t have to think something up; just do what somebody else has done.

Color combination for a cotton scarf.
8/2 cotton, with the self-imposed challenge of using seven different colors of weft on the light green warp.

I have woven some wild color combinations. Including some that I regret. You know, the what-was-I-thinking kind of experiments. Those pieces get hidden away; or, I keep them only for personal use, but never for show. But here I go again, trying to make a handful of colors work together. We won’t see the overall results until the scarf is off the loom, when it is too late to undo it.

Cotton puckered scarf on the loom. Springtime colors!
Final scarf on this cotton warp. Three different shades of green are separated by narrow stripes of springtime colors, with slightly longer floats in the narrow stripes. Will it work? We will see…

All of us have done things we regret. There’s no chance for a do-over, so we just hide it. We have to be careful not to be shaped by our regrets. Fear of making a mistake can keep us frozen in indecision. Yet, when I come to Jesus, he is able to keep me from stumbling, from repeating my missteps. Yes, I learn from my mistakes; but even better than that, the Master Weaver gives me an example to “copy.” His example is tried and true.

May your regrets be few.

Always learning,
Karen

Practice Weaving Like a Musician

As a classically trained musician, I tend to approach my time at the loom as practice. This means being mentally alert–for every little gesture, the synchronization of movements, and the quality being produced. Little by little, with this mindfulness, I see improvement in releasing and catching the shuttle, treading my feet on the treadles, and efficiency of movement overall. I still struggle with getting an even beat and with keeping my place in the treadling pattern. My pace of weaving is increasing, though.

Hemstitching at the beginning of another cotton scarf.
Hemstitching begins another cotton lace scarf. The ease of weaving with only one shuttle allows ample opportunity to focus on improvement of weaving technique.

Will I ever reach perfection in these skills? I don’t think so. I have come a long way, but have you noticed that learning never ends? My practice won’t make me perfect, but it does provide a way for me to grow as a weaver.

Faith is more than a belief, it is a practice. Faith in Jesus is always the entrance door into the Kingdom of heaven. And don’t think of heaven simply as a destination. Think of heaven as a Kingdom where everything is right. The day will come when that Kingdom is no longer a mystery. In the meantime, let’s practice weaving worthwhile cloth.

May you practice what you believe.

With you,
Karen