Smiles and Linen Band Weaving

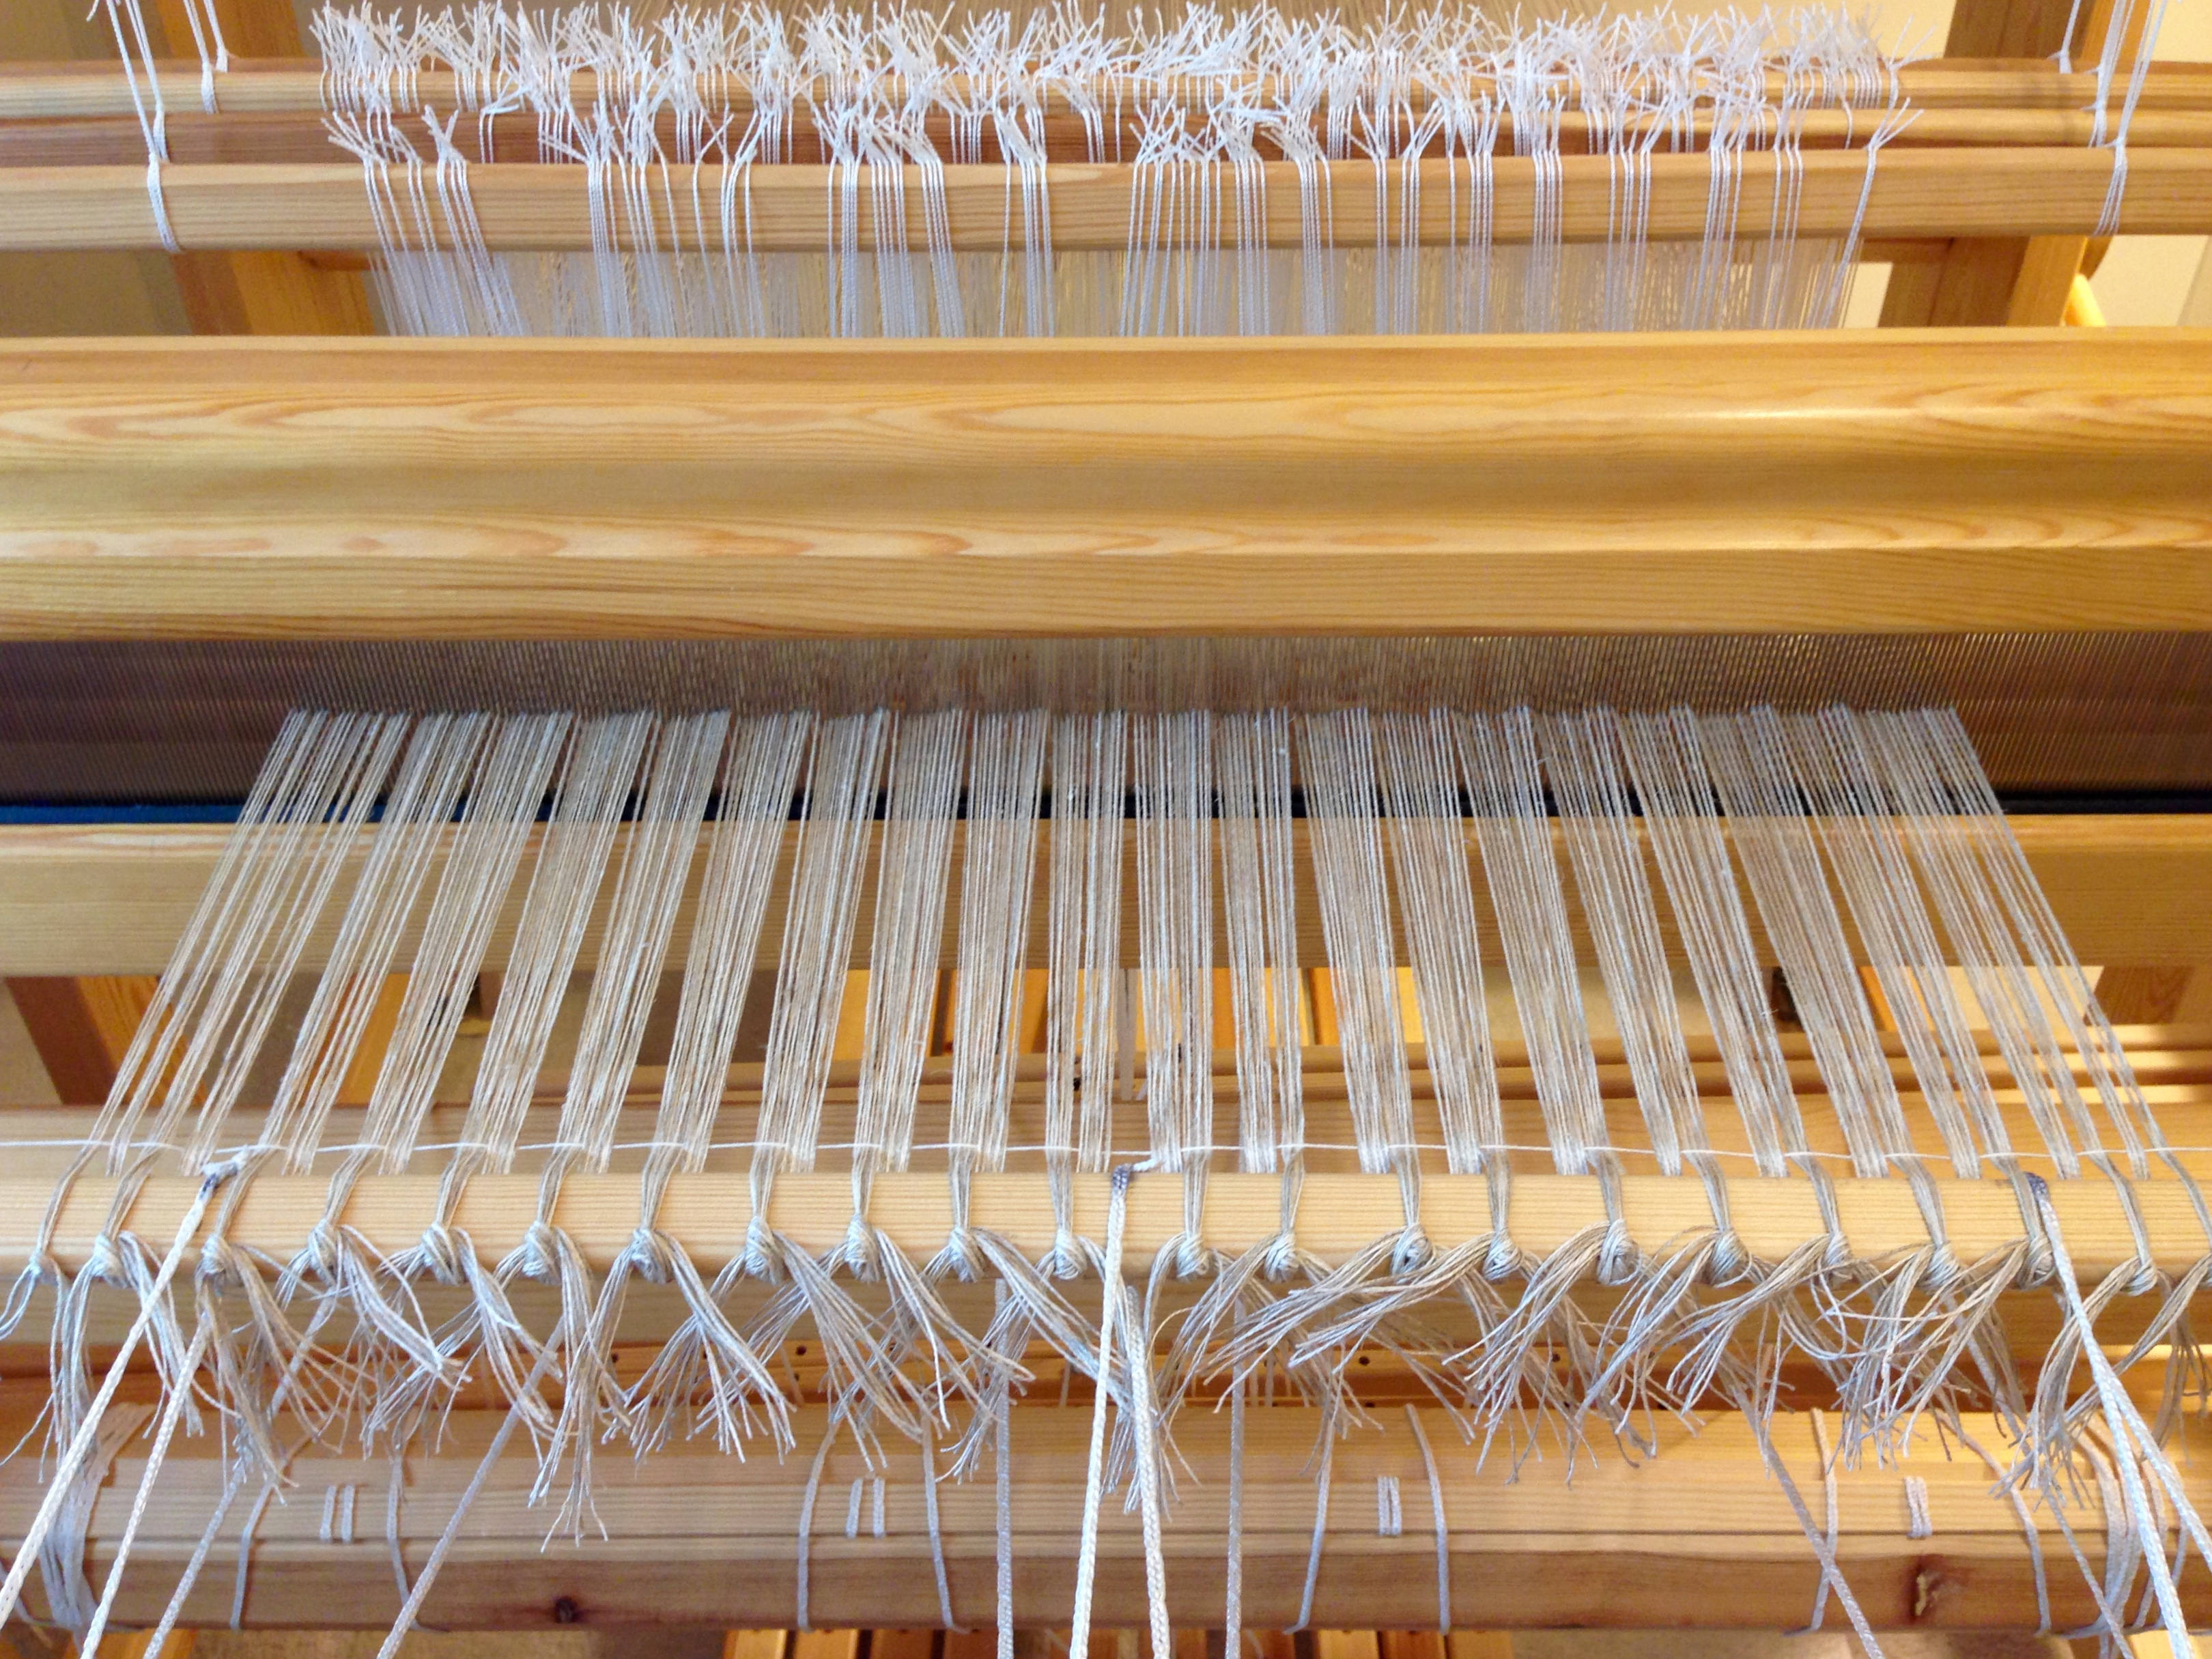
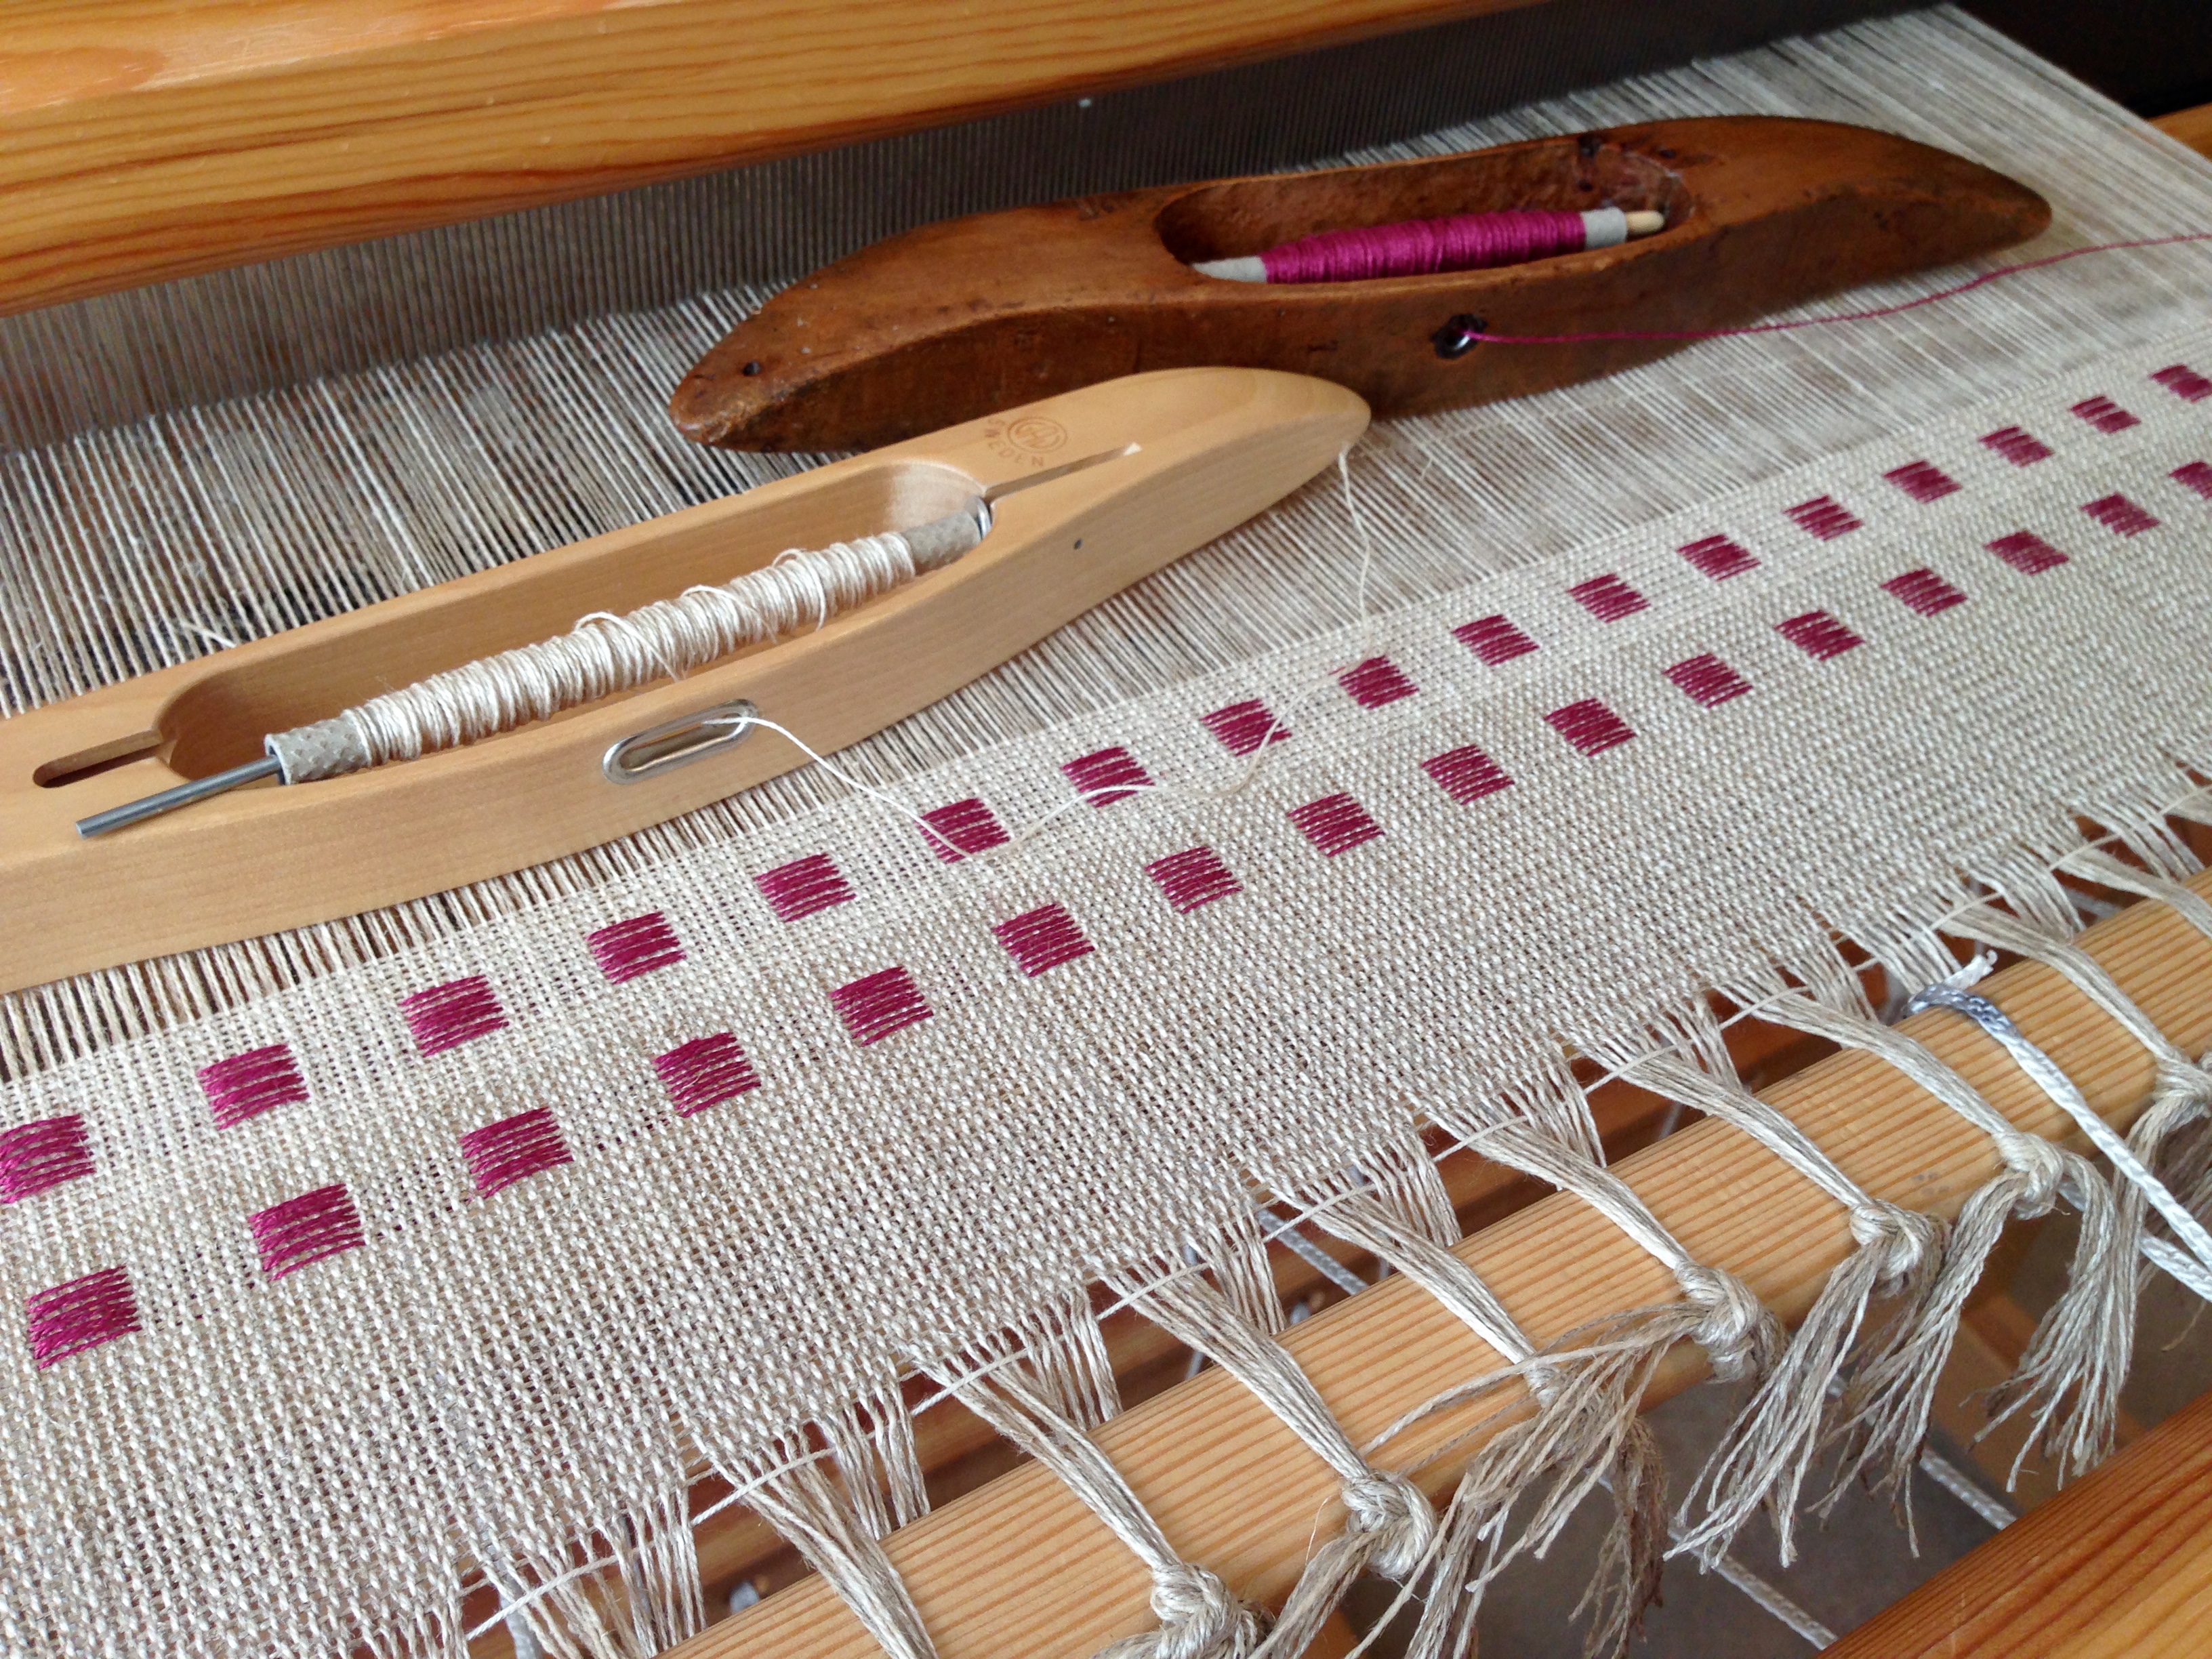
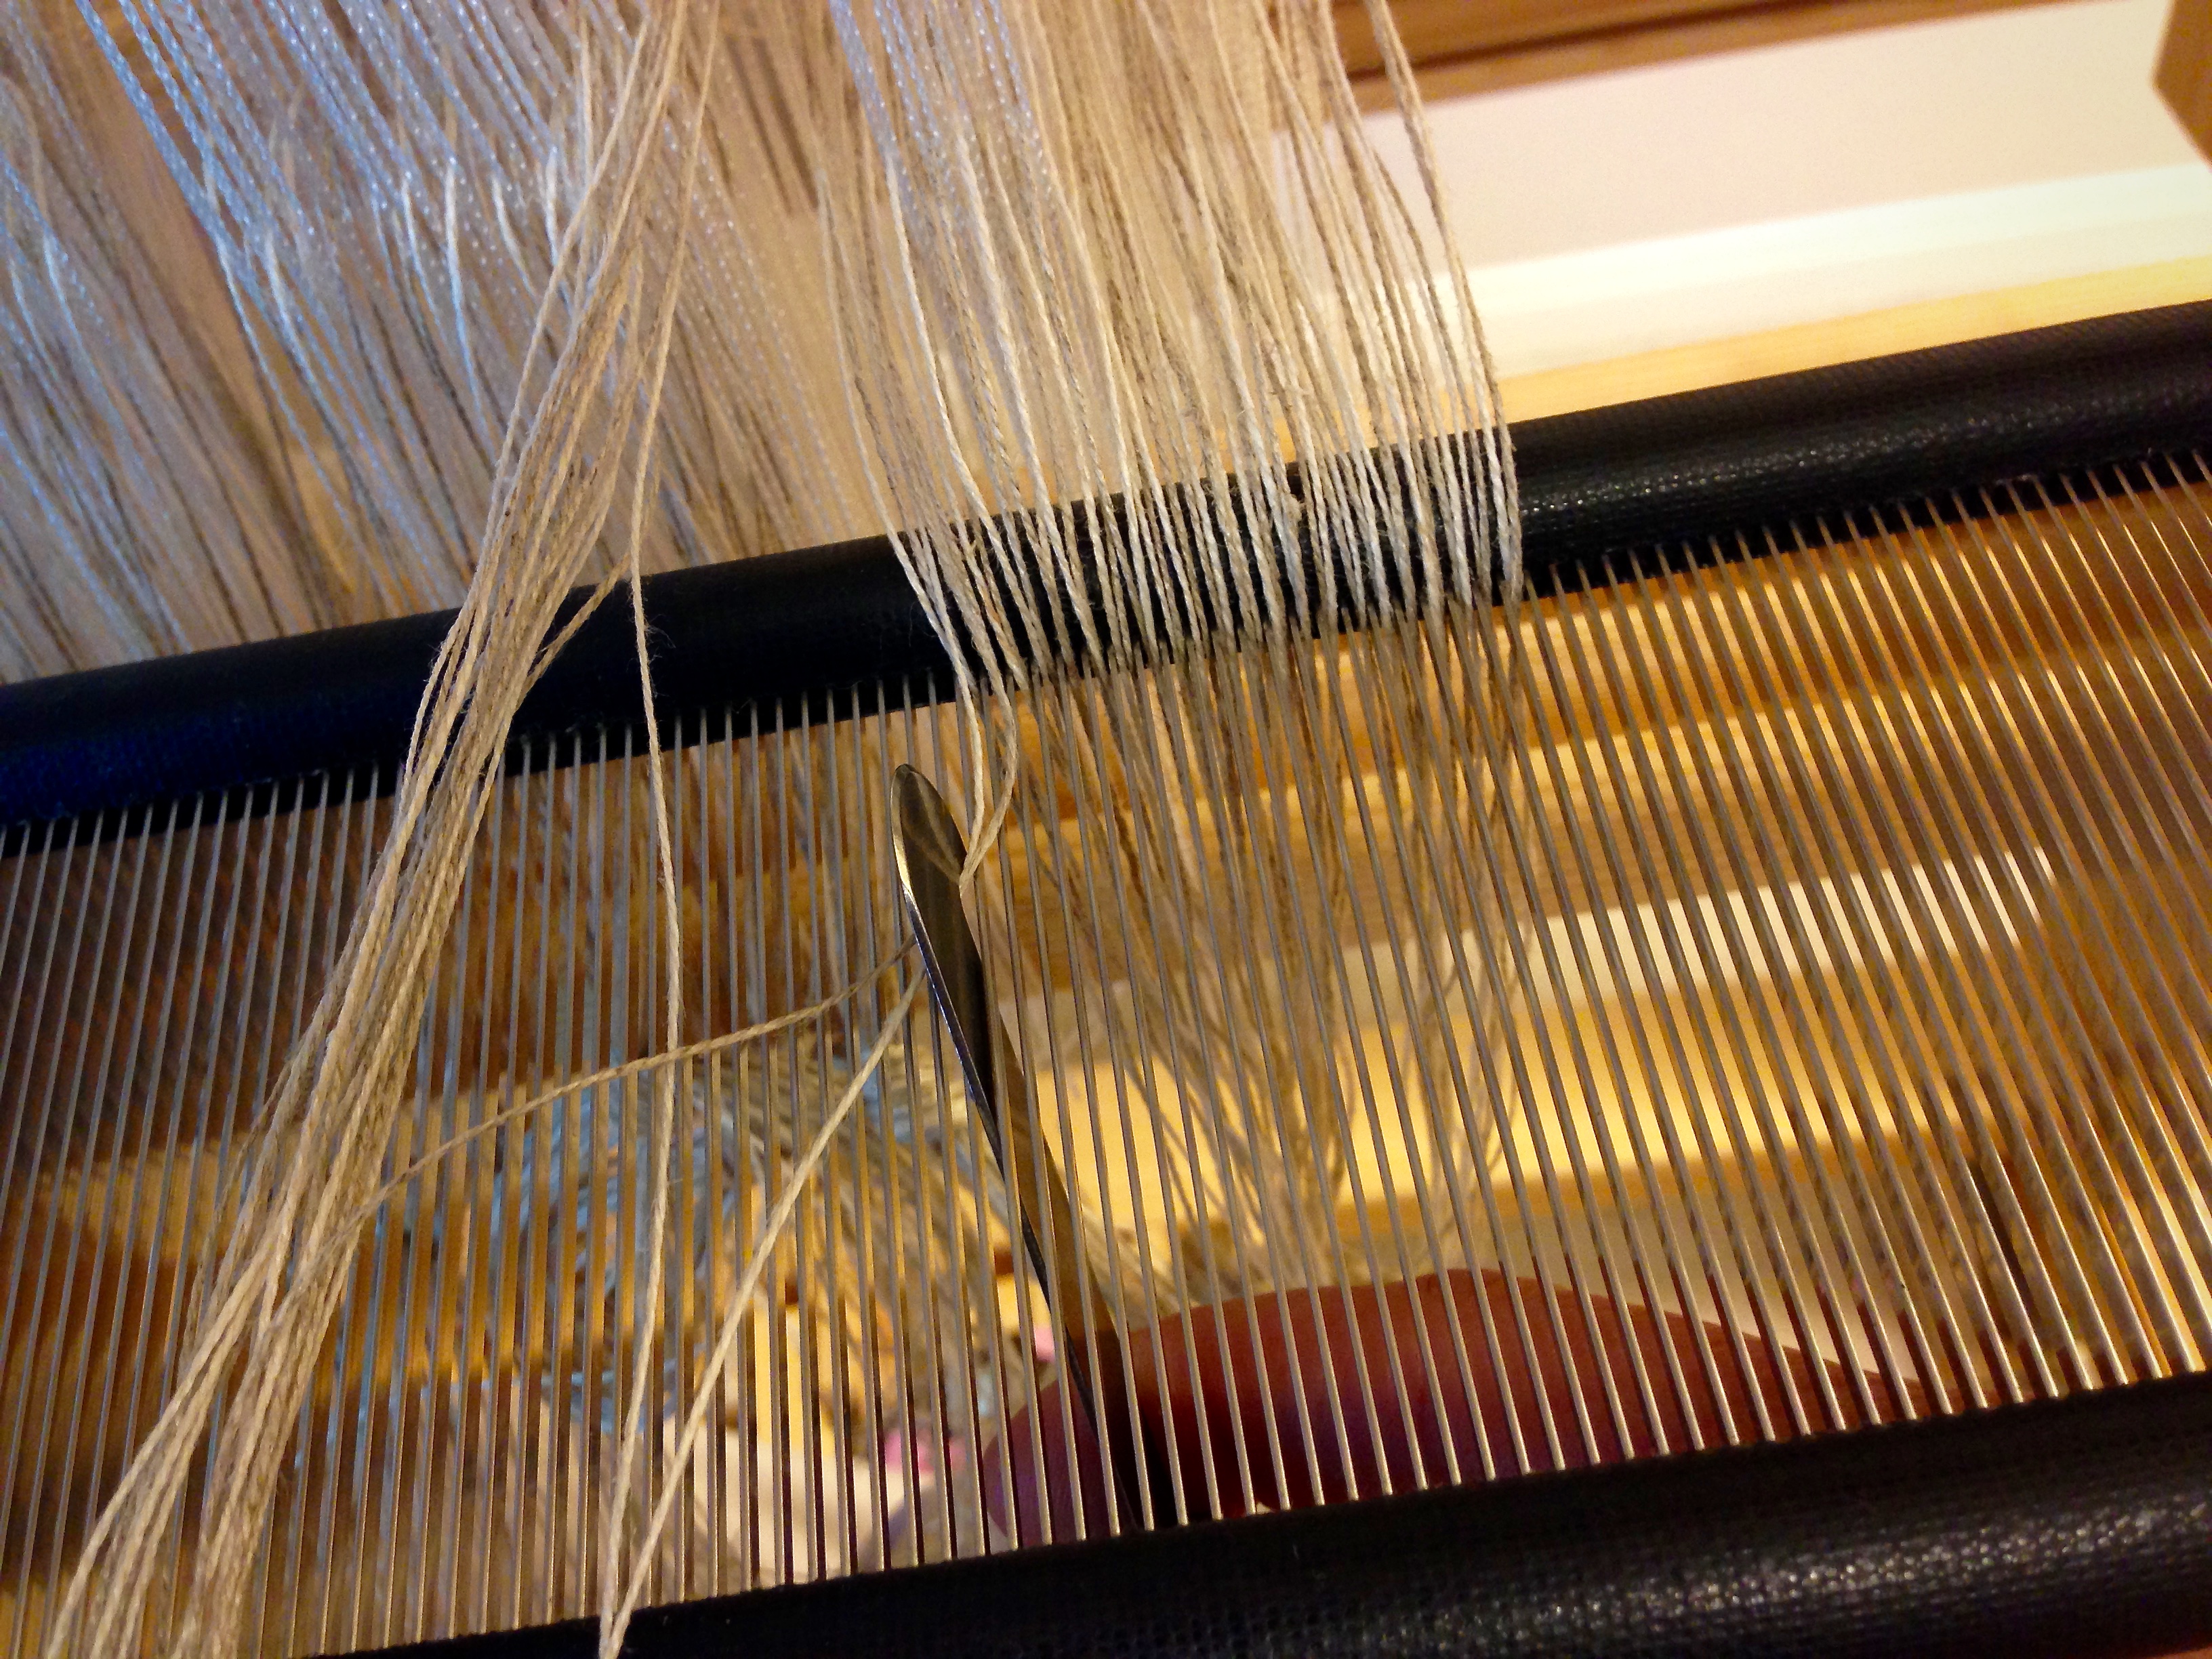
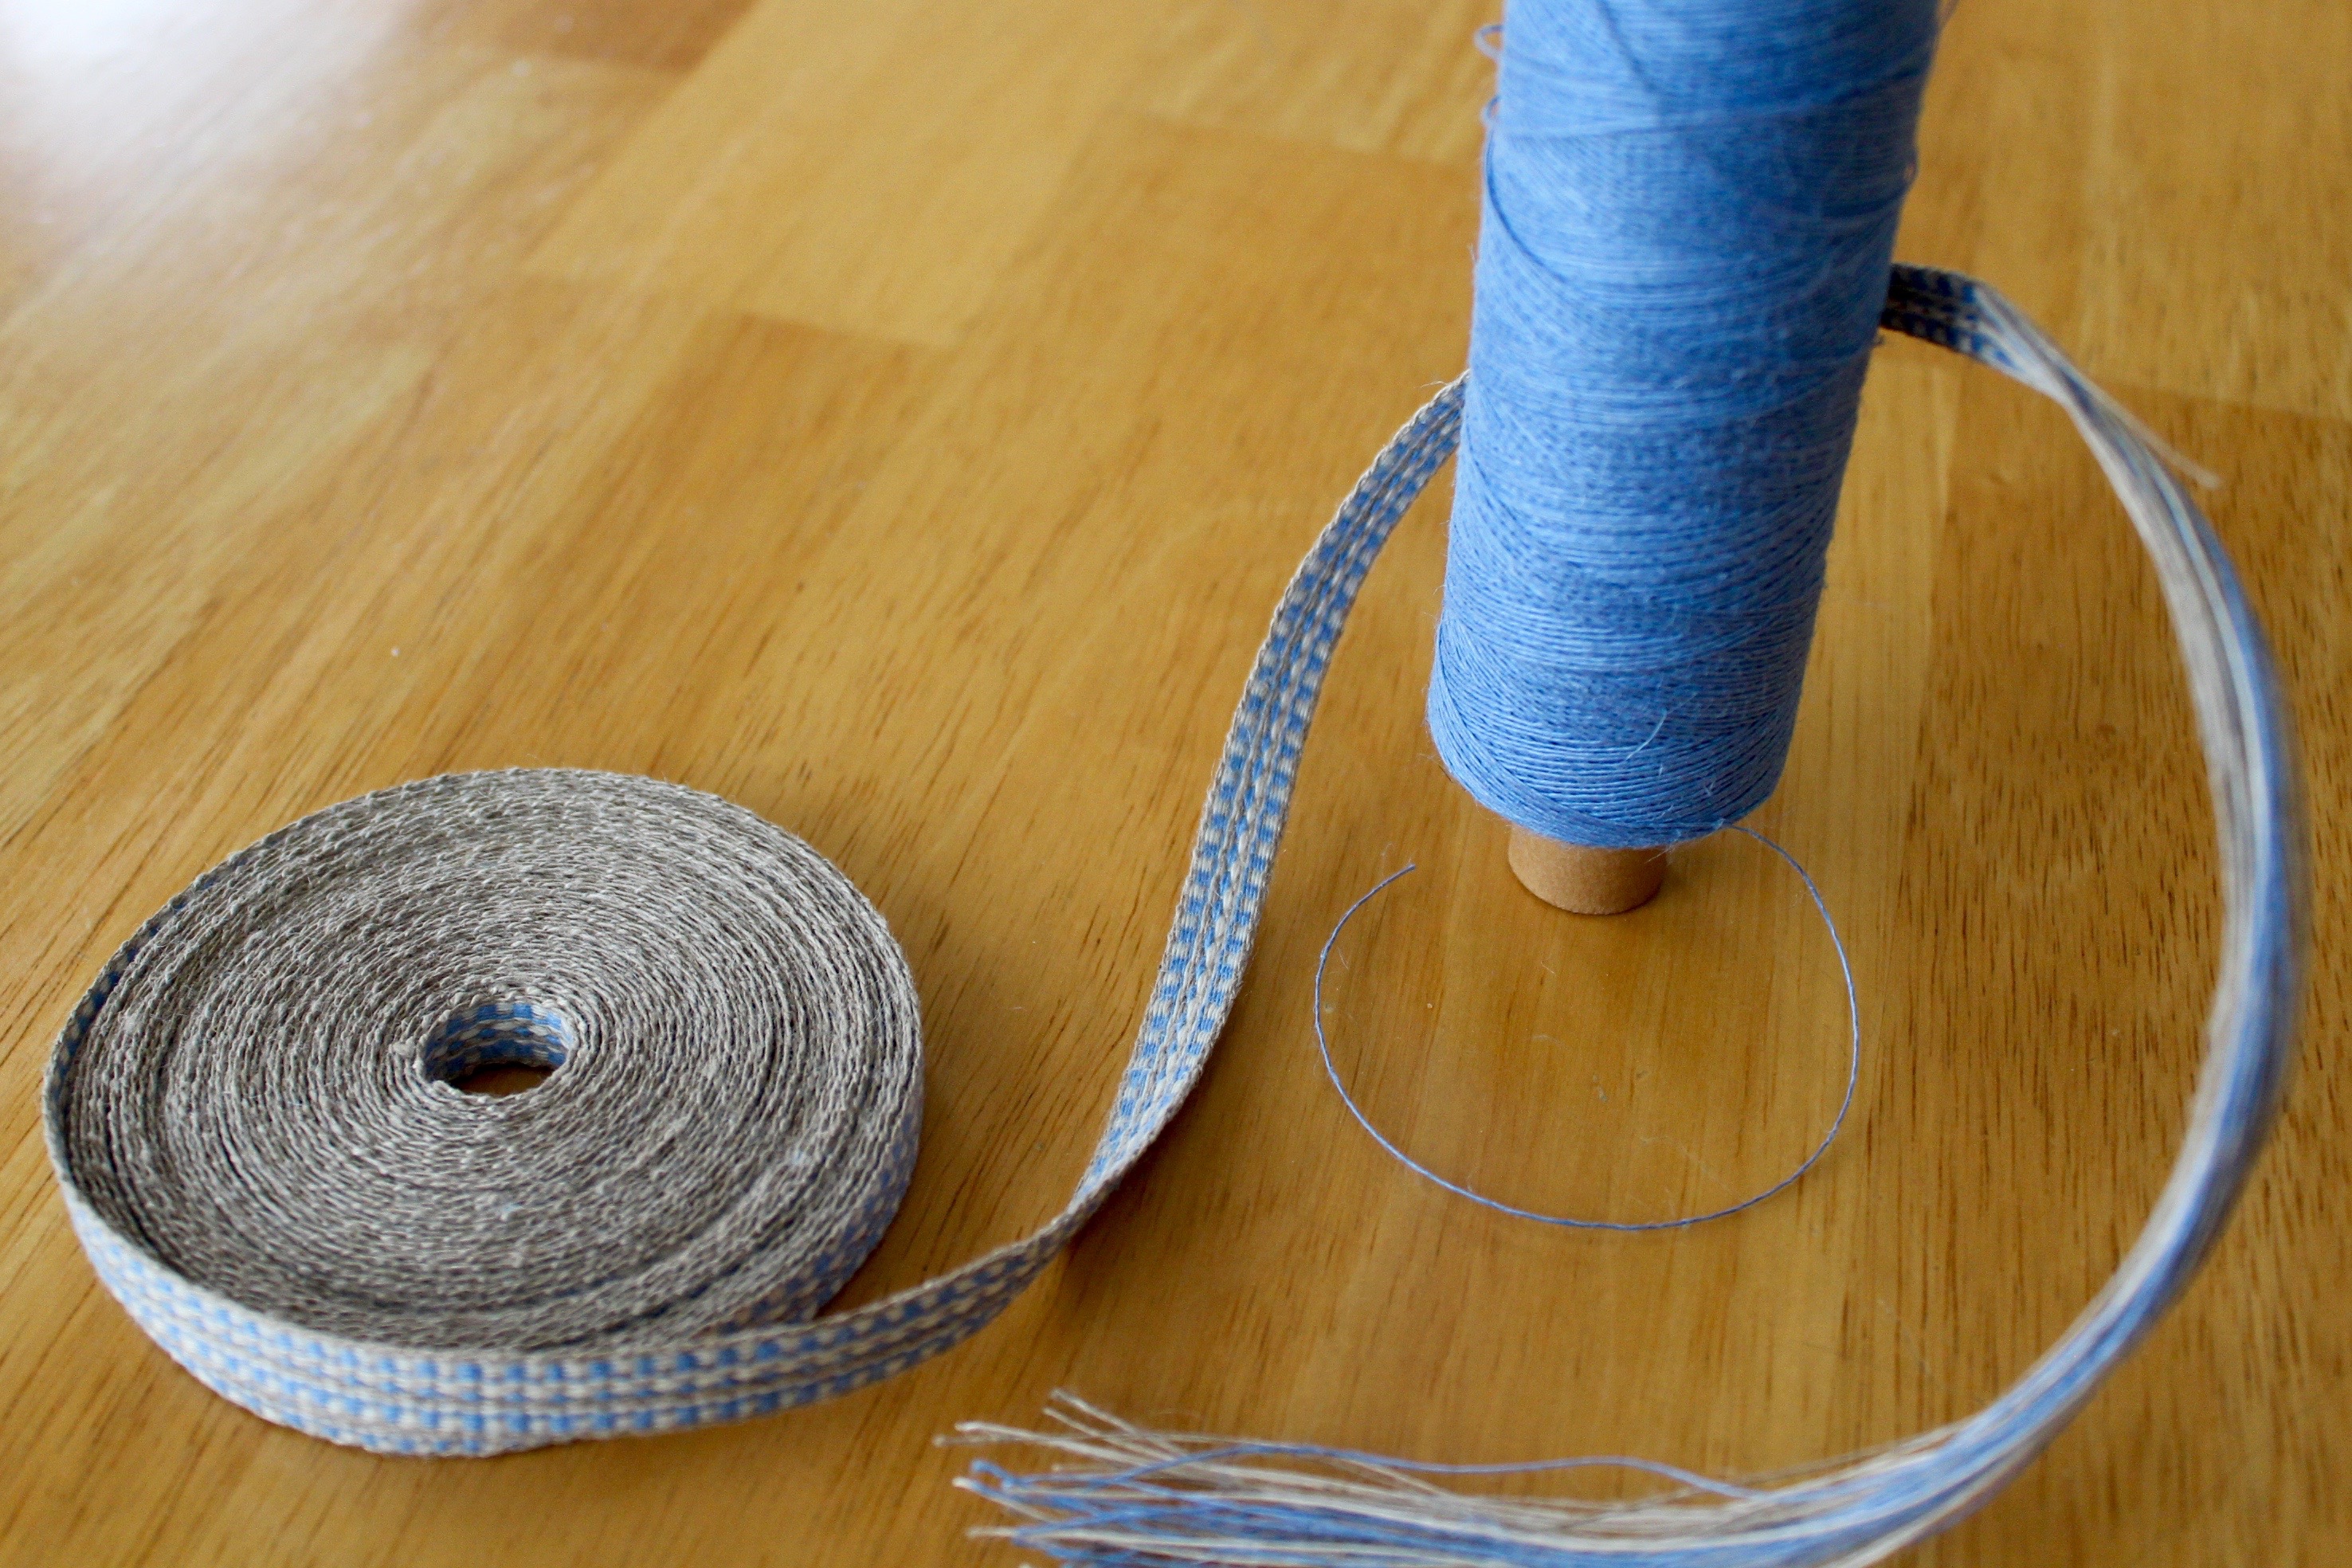
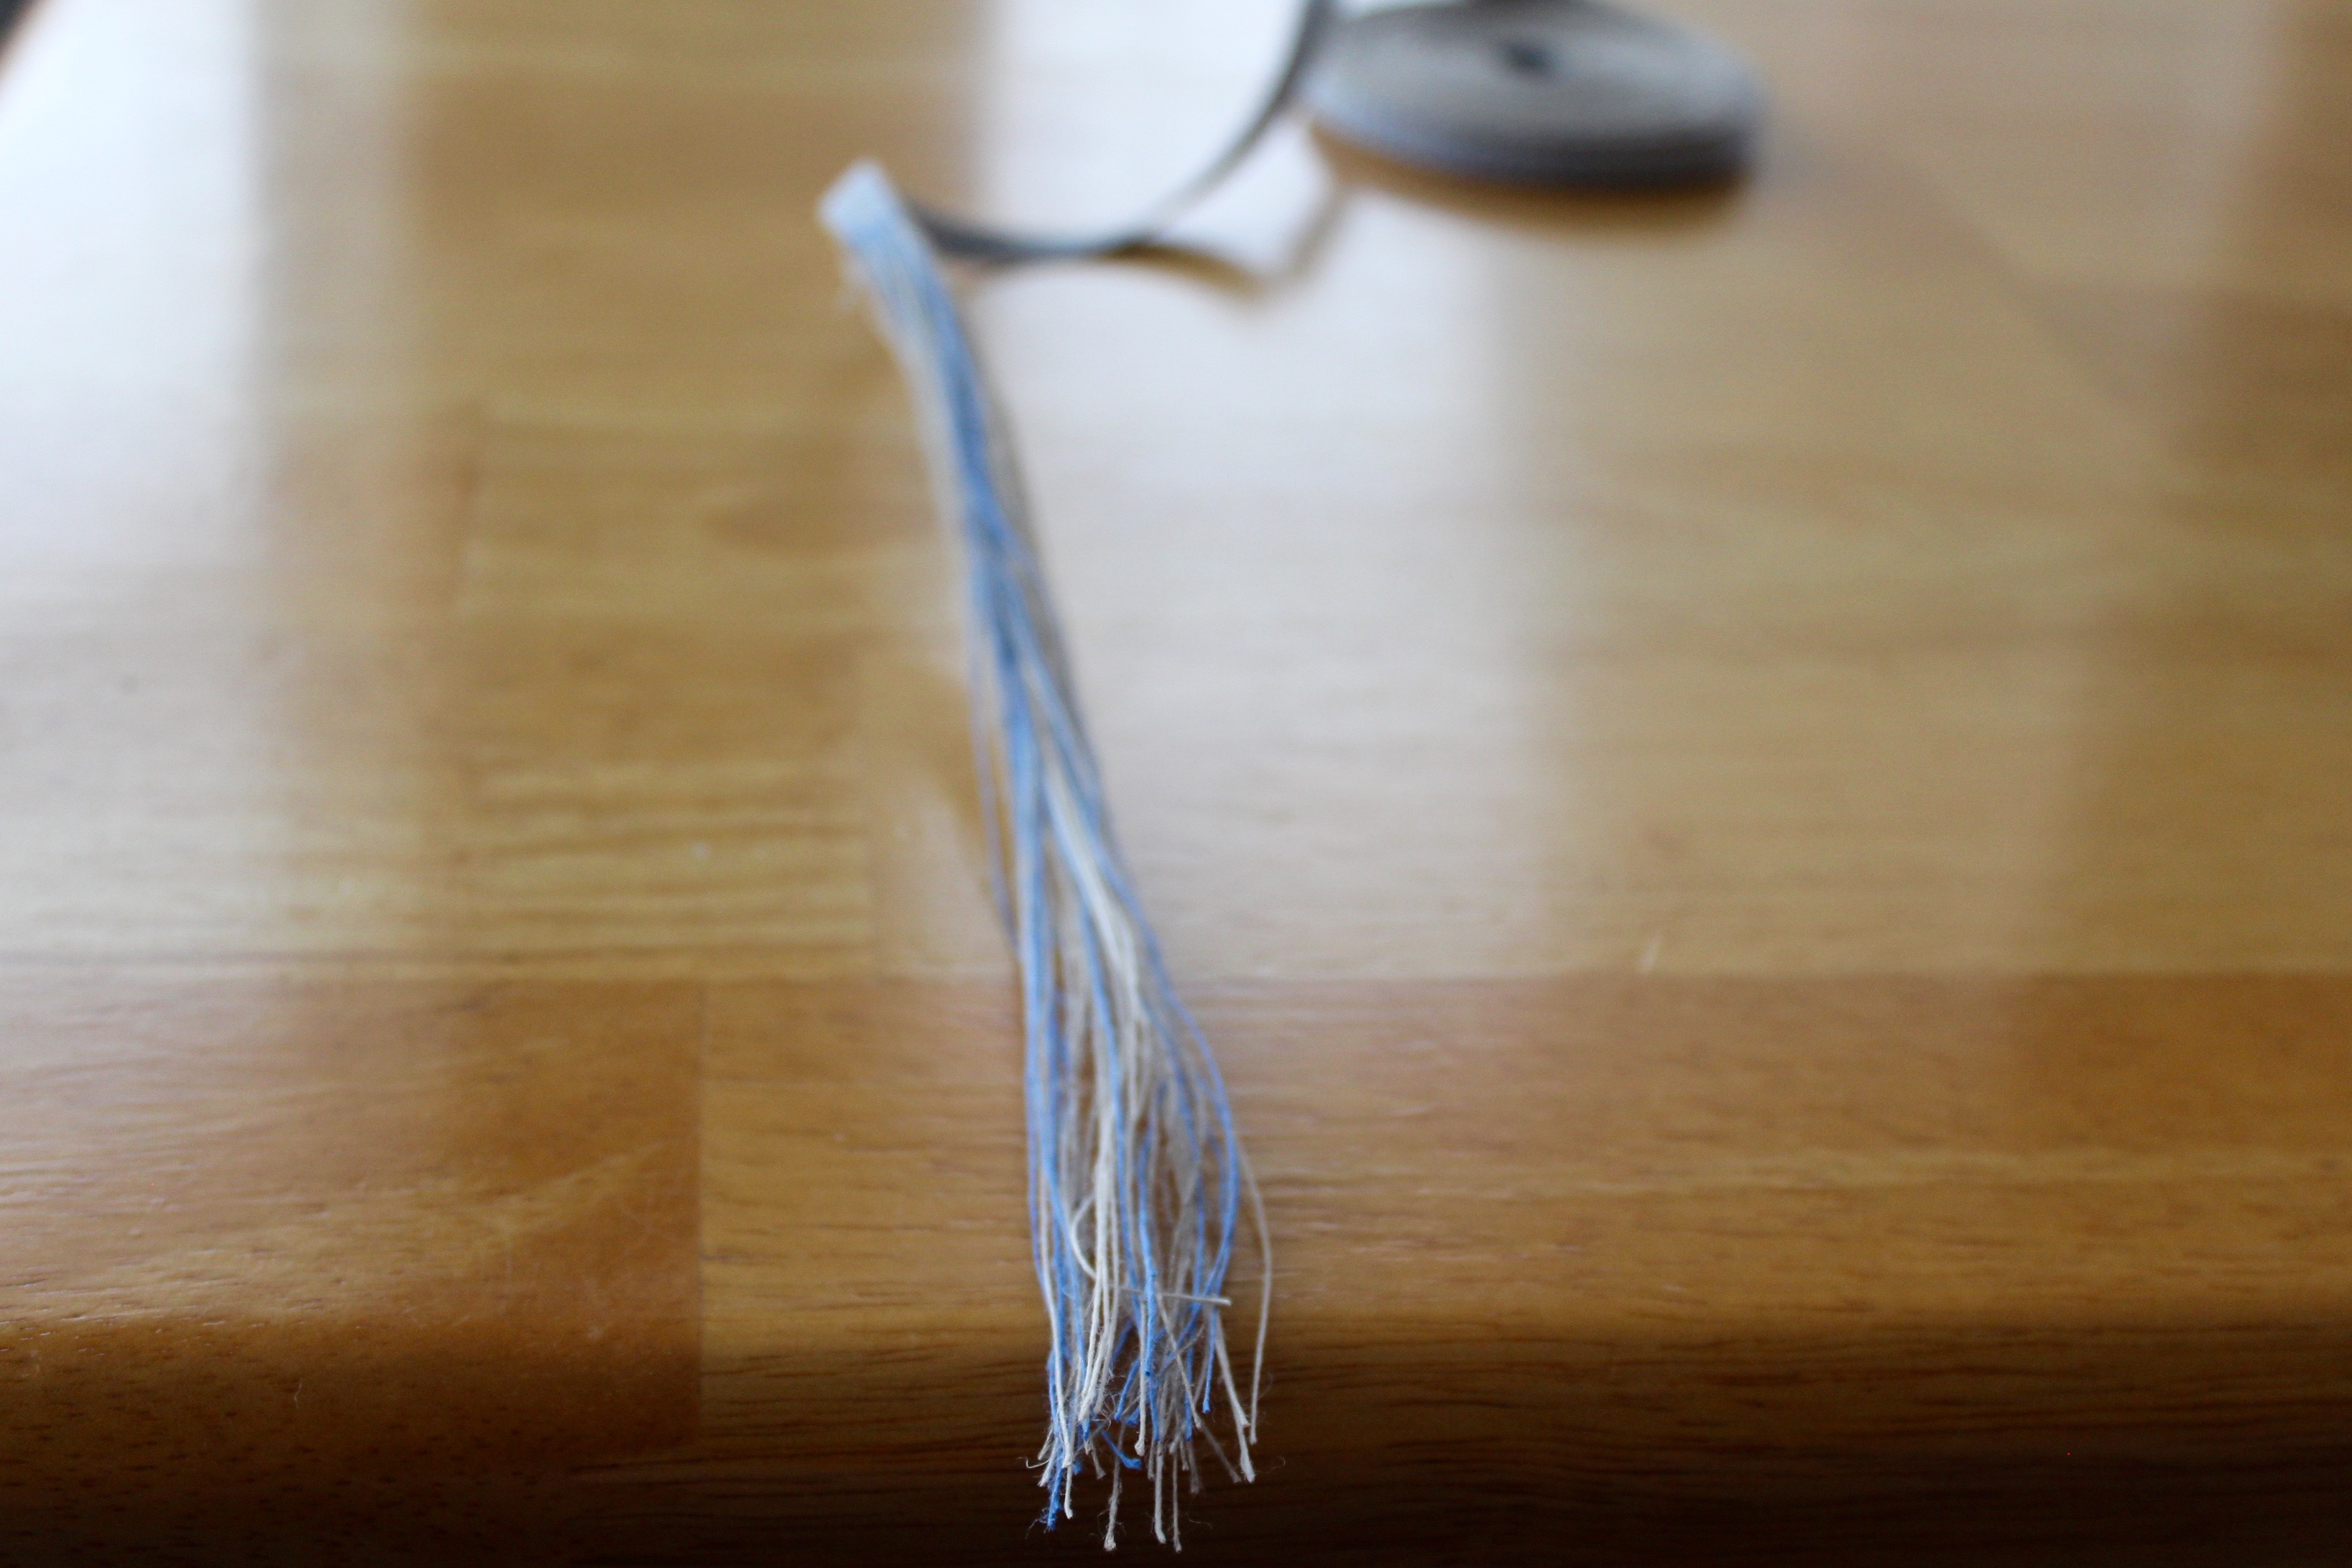
This is linen singles; so, yes, I did have a few broken warp ends. Despite that, I think linen makes the very best band weaving experience. Linen holds its shape. Linen feels good in the hand. Linen looks good. The finished band looks good. That makes me glad.

Linen band woven on band loom.
Band loom creation of 16/1 linen in unbleached, golden bleached, and pure blue. Unbleached 16/1 linen weft. Photo credit: Steve Isenhower
Linen band from linen singles.
Photo credit: Steve Isenhower

Real joy lasts through broken warp ends and all, and is not deterred by temporary heartaches and setbacks. To tell the truth, I wasn’t happy when warp ends broke. Especially the one that broke two times in a row. If I look for that spot now, I may be able to find it, but I doubt you could. I think joy is the thing that takes a bigger look at what is happening, and is able to see the finished version. If I can step into that insight when I am in the middle of a problem, I am better off.

Band loom woven band. Karen Isenhower
Photo credit: Steve Isenhower
Woven on Glimakra band loom. Linen singles. Karen Isenhower
Photo credit: Steve Isenhower

Live joyously. That is my goal. The Lord makes me glad in His presence. That is the joy that sustains us through big occasions and little mishaps. There is joy where the Lord is. That is where I want to be. I am eager to start another linen band, if only to practice repairing broken warp ends…with a smile.

Linen singles woven band.
Photo credit: Steve Isenhower

(This linen band is my contribution to the “Way Out West Weavers” basket that will be up for bid at Warp Speed Ahead! Contemporary Handweavers of Texas Convention in Austin this summer. If you are the highest bidder on our basket, this band, as well as other very fine items, will be yours.)

May your face be a picture of gladness.

With Joy,
Karen

Quiet Friday: Rag Rug Bag

Think of this as an experiment. A first try. A specimen with which to work out procedures and details. I like the bag, and I will certainly use it; however, there are a few things that I will do differently when I make the next one. And I do intend to make another one, or two, or three. Experiments are like that. One idea leads to another. This warp was all about double binding rag rugs. As always, though, it is delightful to have some warp left at the end for play.

Weaving bag handles into the rag rug bag.
Length of 1-inch/2.5 cm black cotton webbing is woven in. The webbing that extends beyond both selvedges will form the bag handle. Rag weaving continues for a few inches before placing the webbing ends back into the shed.
Placing bag strap ends in the shed.
Both ends of the webbing strap are tapered, and then overlapped in the shed before beating them in.
Temple maintains the weaving width.
Temple maintains the weaving width as the rag weave continues past the woven-in handle straps.
Securing warp ends of rag rug.
Warp ends are secured, as usual. First, square knots, and then cut off to 1/2 inch/1 cm.
Stitching up a rag rug bag.
Sewing the sides of the bag, right sides together. I am using the four rows of woven rug warp at the beginning of the woven hem as my stitching line.
Creating lining for rag rug bag.
After turning the bag right-side out, and pressing the seams open, I created a simple flat lining, with added pocket, to fit inside the bag.
Pinning lining into the rag rug bag.
Lining is pinned into the bag, matching seams and mid-points at front and back.
Lining is inserted into the rag rug bag.
Lining is stitched into place with narrow topstitching.
Rag rug bag, with handle woven in. Karen Isenhower
Voila!
Finished rag rug tote bag! Karen Isenhower
Fun tote bag to carry to and fro.

Next time… Find a strap that is not as stiff, so it will beat in better. Weave in a strap that is the same color as the warp. Make the strap longer. Find a way to secure the cut ends of the strap (this is the biggest issue). Possibly use a band woven on my inkle or band loom for the strap.

What would you use for the strap? Can you think of a good way to secure the ends of the strap together? What other suggestions or thoughts do you have to improve a bag like this? I would love to hear your ideas.

May your experiments lead to fresh ideas.

Always trying new things,
Karen

Linen Is Special

Linen is special. This is nothing new. Even in biblical history, linen is mentioned as fabric for sacred purposes. But weaving with linen requires attentiveness. The inelasticity of linen means extra care is needed in every stage of dressing the loom and weaving. Of first importance is an even warp tension.

Getting ready to weave with linen. Tying on.
Tying on linen in small 1-inch/2.5 cm increments is one thing that helps contribute to an even warp tension.

This method of tying on* is perfect for weaving rag rugs. The 12/6 cotton rug warp stays snugly in place. Not so with linen. The even warp tension that I have been so careful to maintain can be lost in a moment. The sneaky linen is smooth and slick enough to tie on easily, and then loosen up just as easily. So I take the double precaution of tying an additional overhand knot, AND moistening that knot with a dab of water which helps the linen grip itself. I never have to worry about these knots slipping loose.

Beginning dice weave in linen.
Additional overhand knot, with a dab of water, secures the tie-on threads. I am using sample space to try weft colors and work on getting optimum weft density.

What do you worry about? I have bigger things I worry about, too. But my heavenly Father assures me that He has secured all the knots that concern me. “Don’t worry,” he tells me. “Your Father knows your needs.” Be attentive to keep first things first. Put yourself in the Father’s care, and find that he takes care of you. Special you.

May you forget your worries.

With you,
Karen

* I learned this method of tying on from Becky Ashenden. You can see it fully explained by Becky, with pictures, in Dress Your Loom the Vävstuga Way: A Benchside Photo-guide.

Something Old in a New Way

This rug is using up bits and pieces. Normally, I begin with a few choice fabrics in five-yard lengths to create a specific rag rug design. Not this time. With the exception of the grey print, there is not enough of any one color to suit me. Some favorite prints are here, but in very small amounts. Other fabrics have been around too long; it’s time to use them up. And some, like the denim, are in short lengths, which means annoyingly frequent joins. My task is to take these misfits and make something worthwhile.

Double binding rag rug on the loom.
Double binding rag rug that is using up fabric stash pieces. Wide white stripes across the width in regular intervals give definition to the uneven assortment of fabric scraps.

Even though I can’t guarantee the results with this mishmash, I am taking the dive. It is good to try something new, or do something old in a new way. Take fabric that is leftover, outdated, or unsuitable for anything else, and turn it into an artisan rag rug. Can I take ordinary and turn it into extraordinary? It is worth a try.

Do what you know, and take it further than you think you can. Go where you don’t usually go. Step out a little deeper to practice what you already know. Let the struggle push you to find new horizons. You could end up with a charming rag rug.

May this be your day to go a little deeper.

Happy Weaving,
Karen

Tools Day: Sley the Reed

I am dressing the big loom with linen. This flaxen thread brings a worthwhile challenge I find hard to resist. Beaming the warp was slow and deliberate. It pays to be attentive to everything at this stage. Threading for this dice weave could not be simpler; it was finished before I knew it. Now, it is time to sley the reed.

Tools:

  • Reed     I am using a 12-dent reed for this project.
  • Texsolv cord for hanging the reed in front of the shafts
  • Tape measure     I remove the metal ends.
  • Reed hook     Mine is from Vävstuga.
  • Bench, set at comfortable height for threading and sleying     With my Glimåkra Standard, I get to put the bench “in” the loom. It’s like going into my own little playhouse.
  • Good lighting     I use a small Ott Lite Task Lamp when natural light in the room is dim.
Everything is ready for sleying the reed.
Reed is positioned right in front of the threaded heddles. Shafts and reed hang at optimum height for visibility and ease of hand mobility.
Sleying the reed.
Left hand index finger separates the end(s) to be sleyed.
Sleying the reed.
And the right hand holds the reed hook under the reed to pull the end(s) through the dent. (These two pictures show why a third hand would be nice. Normally, I sley the reed with two hands, so a third hand would be useful for taking a picture.)
  1. Form two loops of Texsolv cord that hang down from the top of the loom, one on the right and one on the left, to hold the reed for sleying.     My Texsolv loops hang from the countermarch frame.
  2. Adjust the length of the Texsolv loops so that the reed will fall just below the eyes of the heddles.
  3. Rest the reed horizontally in the Texsolv holders.
  4. Use the tape measure to find the center of the reed.     I mark the center of my reeds permanently by tying a small piece of 12/6 cotton seine twine at the center.
  5. Find your weaving width measurement on the tape measure. Fold that measurement in half and place the folded tape measure at the center point on the reed, to the right, to find the starting dent for sleying the reed. Place one end of the tape measure in that starting-point dent to keep your place.     Some people use the reed hook as a place holder, but when I pick up the reed hook to sley the first dent, I invariably loose my place.
  6. Pull ends through the reed with the reed hook, referring to your draft for the correct number of ends per dent, starting at the dent on the right hand side that has the place holder in it. Good lighting helps to prevent errors.     This is especially true with finer dents and darker threads.
  7. After sleying each group of warp ends, visually examine the sleyed dents to look for missed dents or extra ends in dents.
  8. Tie the sleyed group of ends into a slip knot.
  9. Finish sleying all the ends; and smile, knowing you are a step closer to weaving fabric.

May all your looms be dressed.

Happy Dressing,
Karen