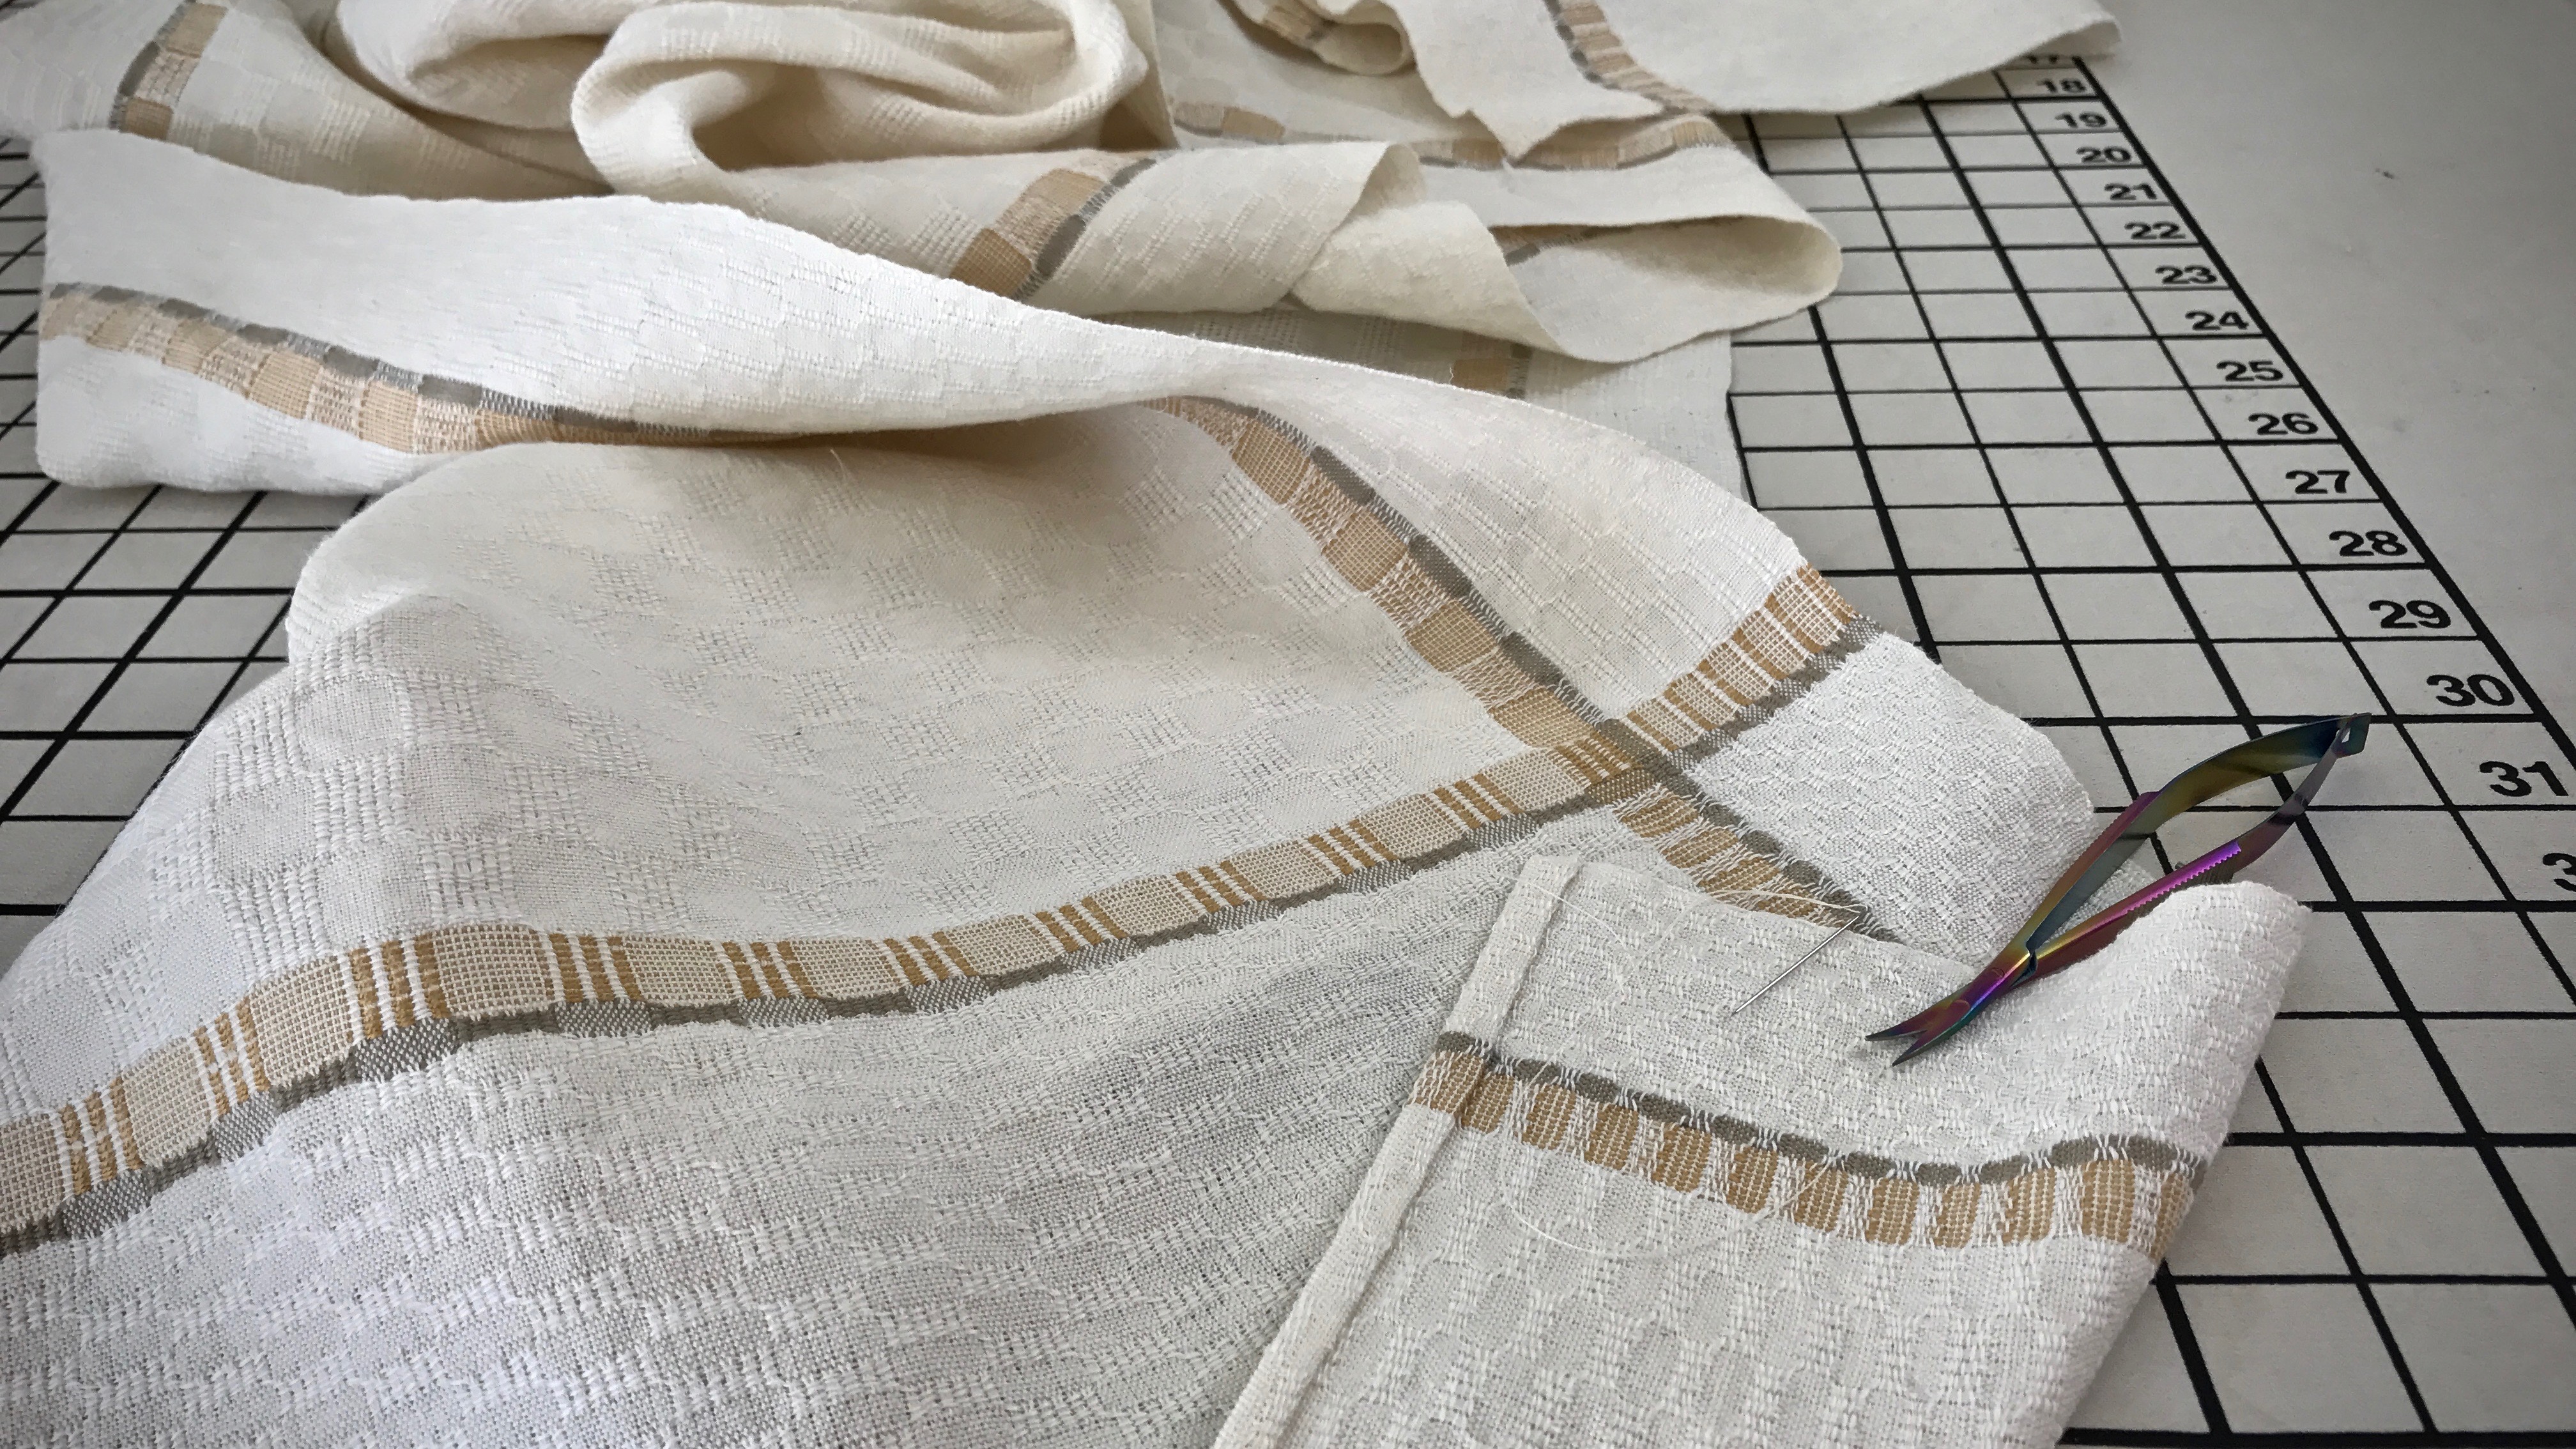
Hems shouldn’t be noticed. At least, not at first glance. I don’t want the stitching of the hem to detract from the overall handwoven quality. Decorative items, like this table runner, deserve a hand-stitched hem. But for functional pieces, like these tea towels, I stitch the hems on my trusty old Bernina sewing machine. This ensures the durability I want for something that will be thrown in the washer and dryer again and again.
Long M’s and O’s table runner is hemmed by hand using an invisible hem stitch.
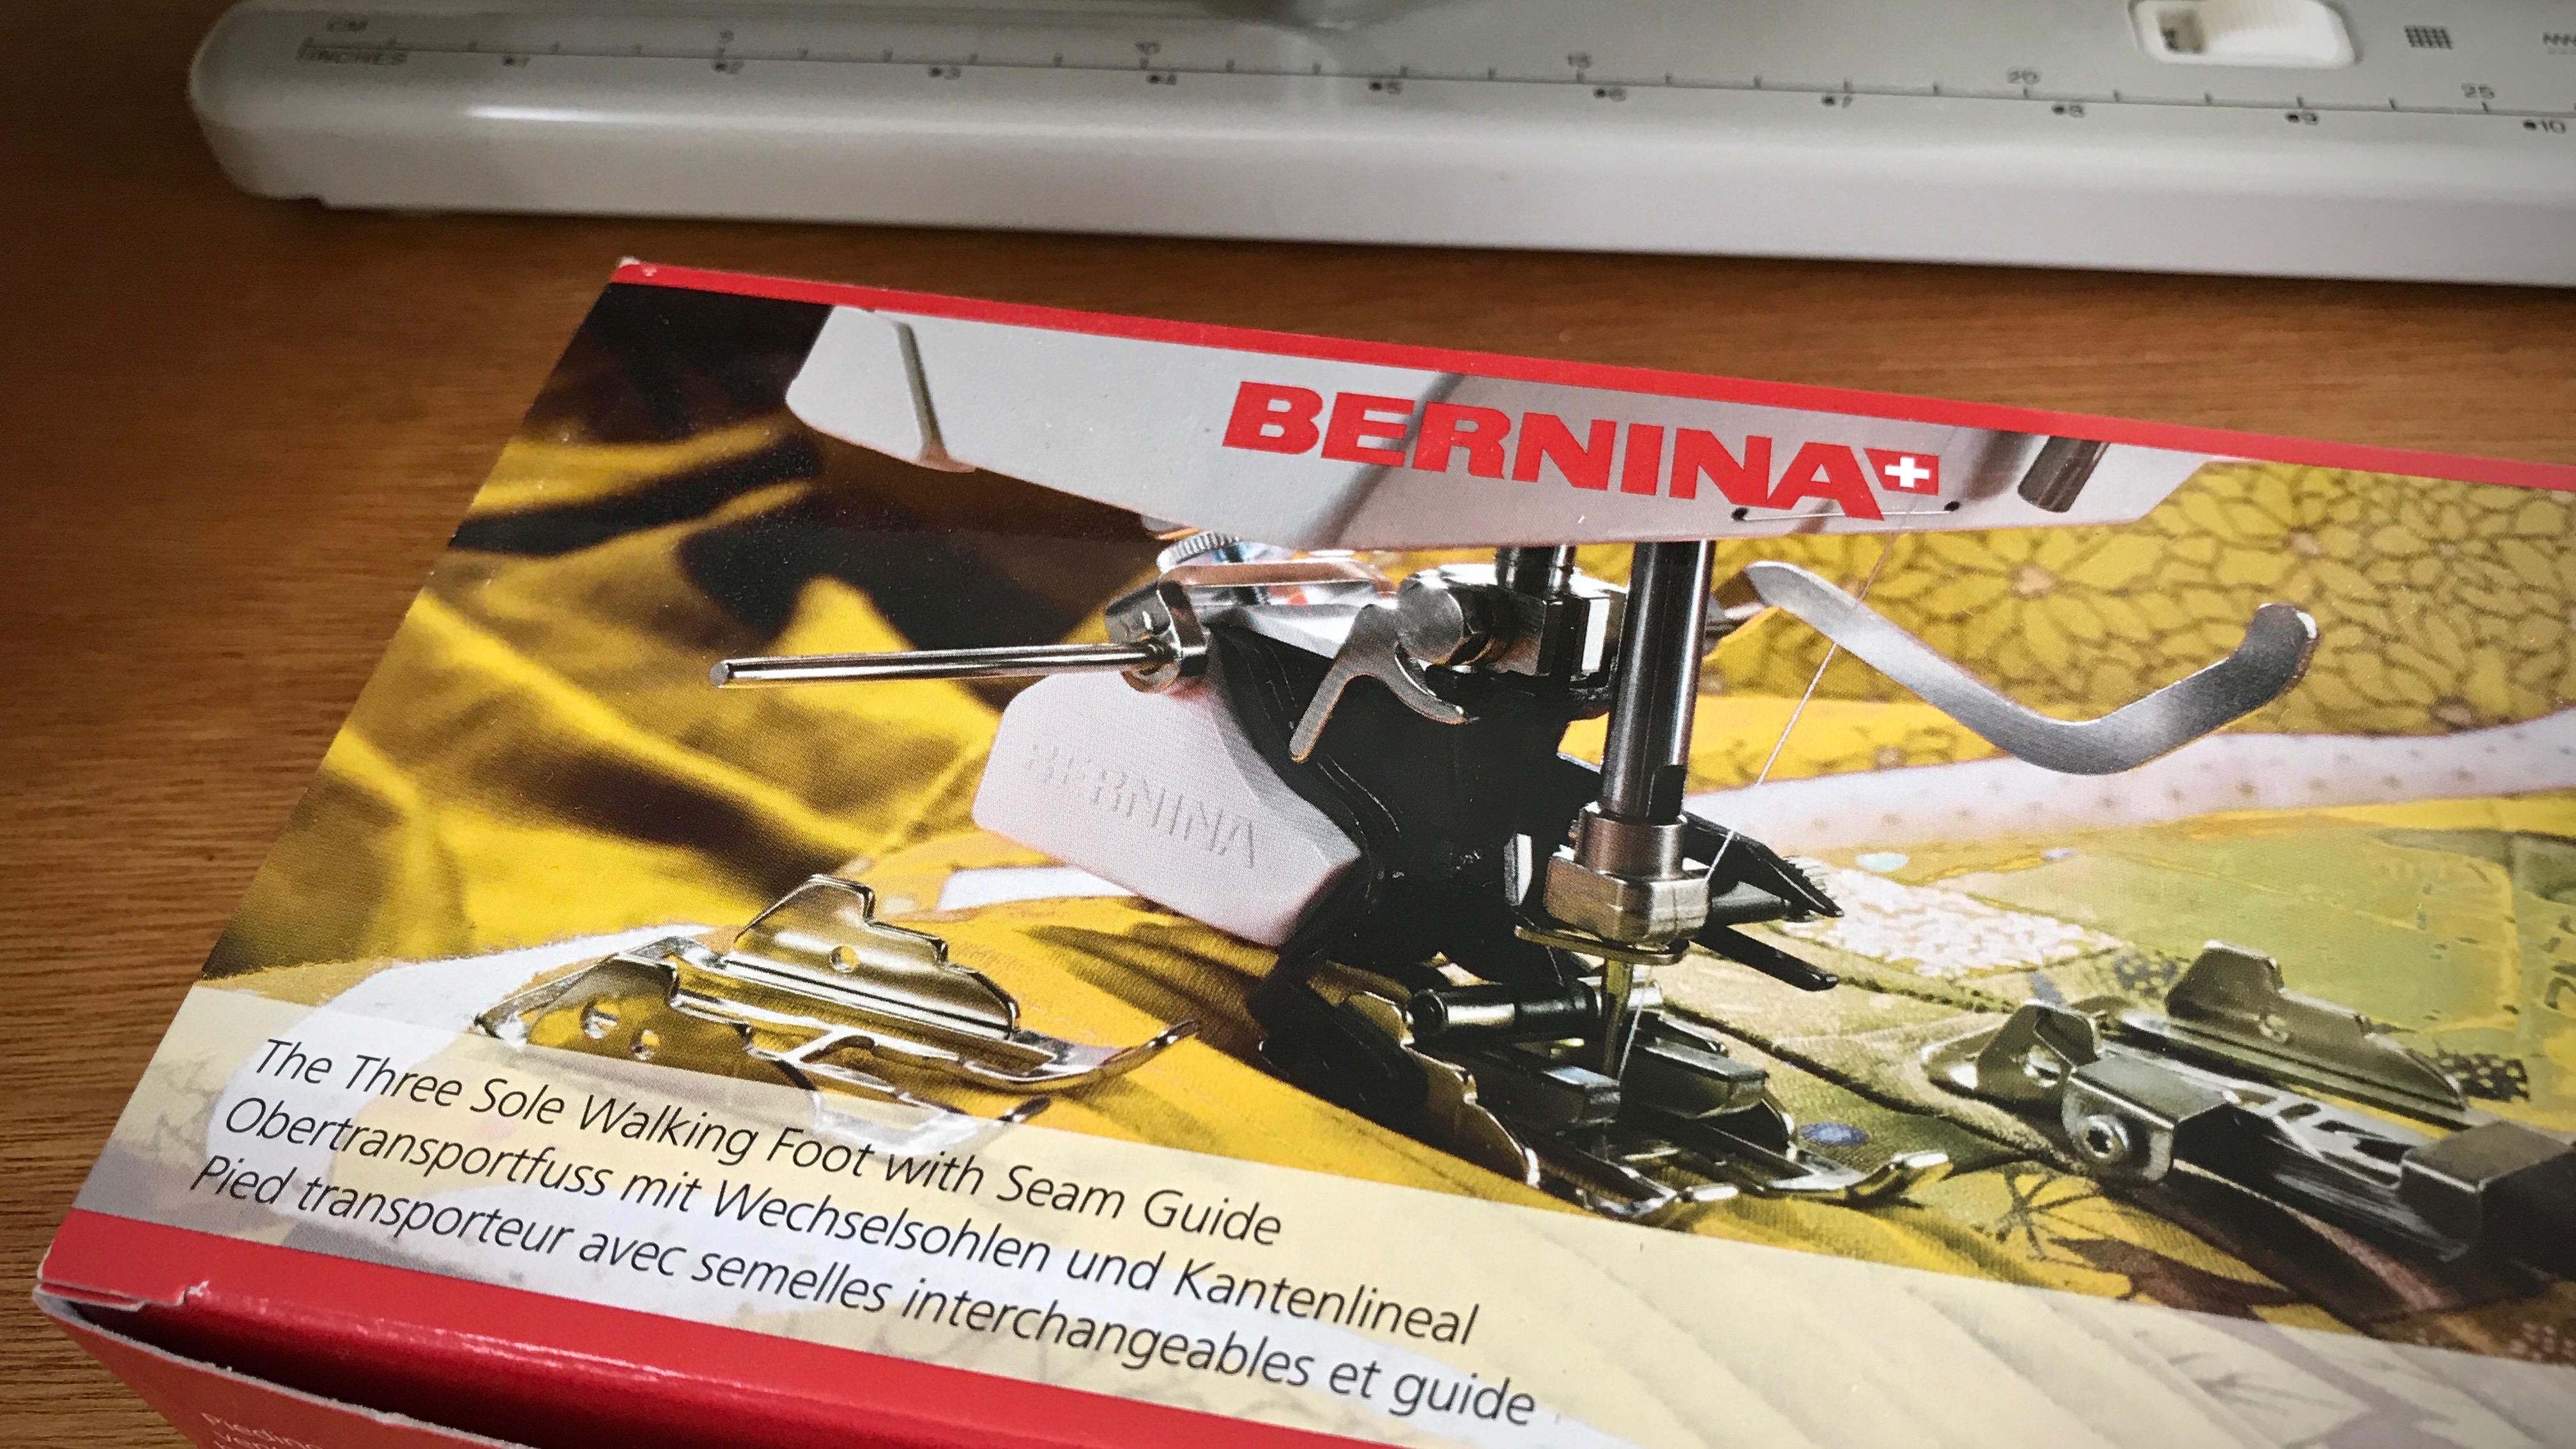
Last year I purchased a Bernina walking foot through my local Bernina repairman. It was one of the best sewing investments I have made. (Don’t be fooled by off-brand “Bernina compatible” products.) The advantage of a walking foot is that it evenly feeds layers of fabric, which is especially useful for sewing handwoven fabric. And for the towel hem, it means the top of the hem won’t become skewed and slanted as you sew, like it might with a regular sewing machine foot.
Bernina Three Sole Walking Foot with Seam Guide. The walking foot stays on my Bernina sewing machine almost all the time.
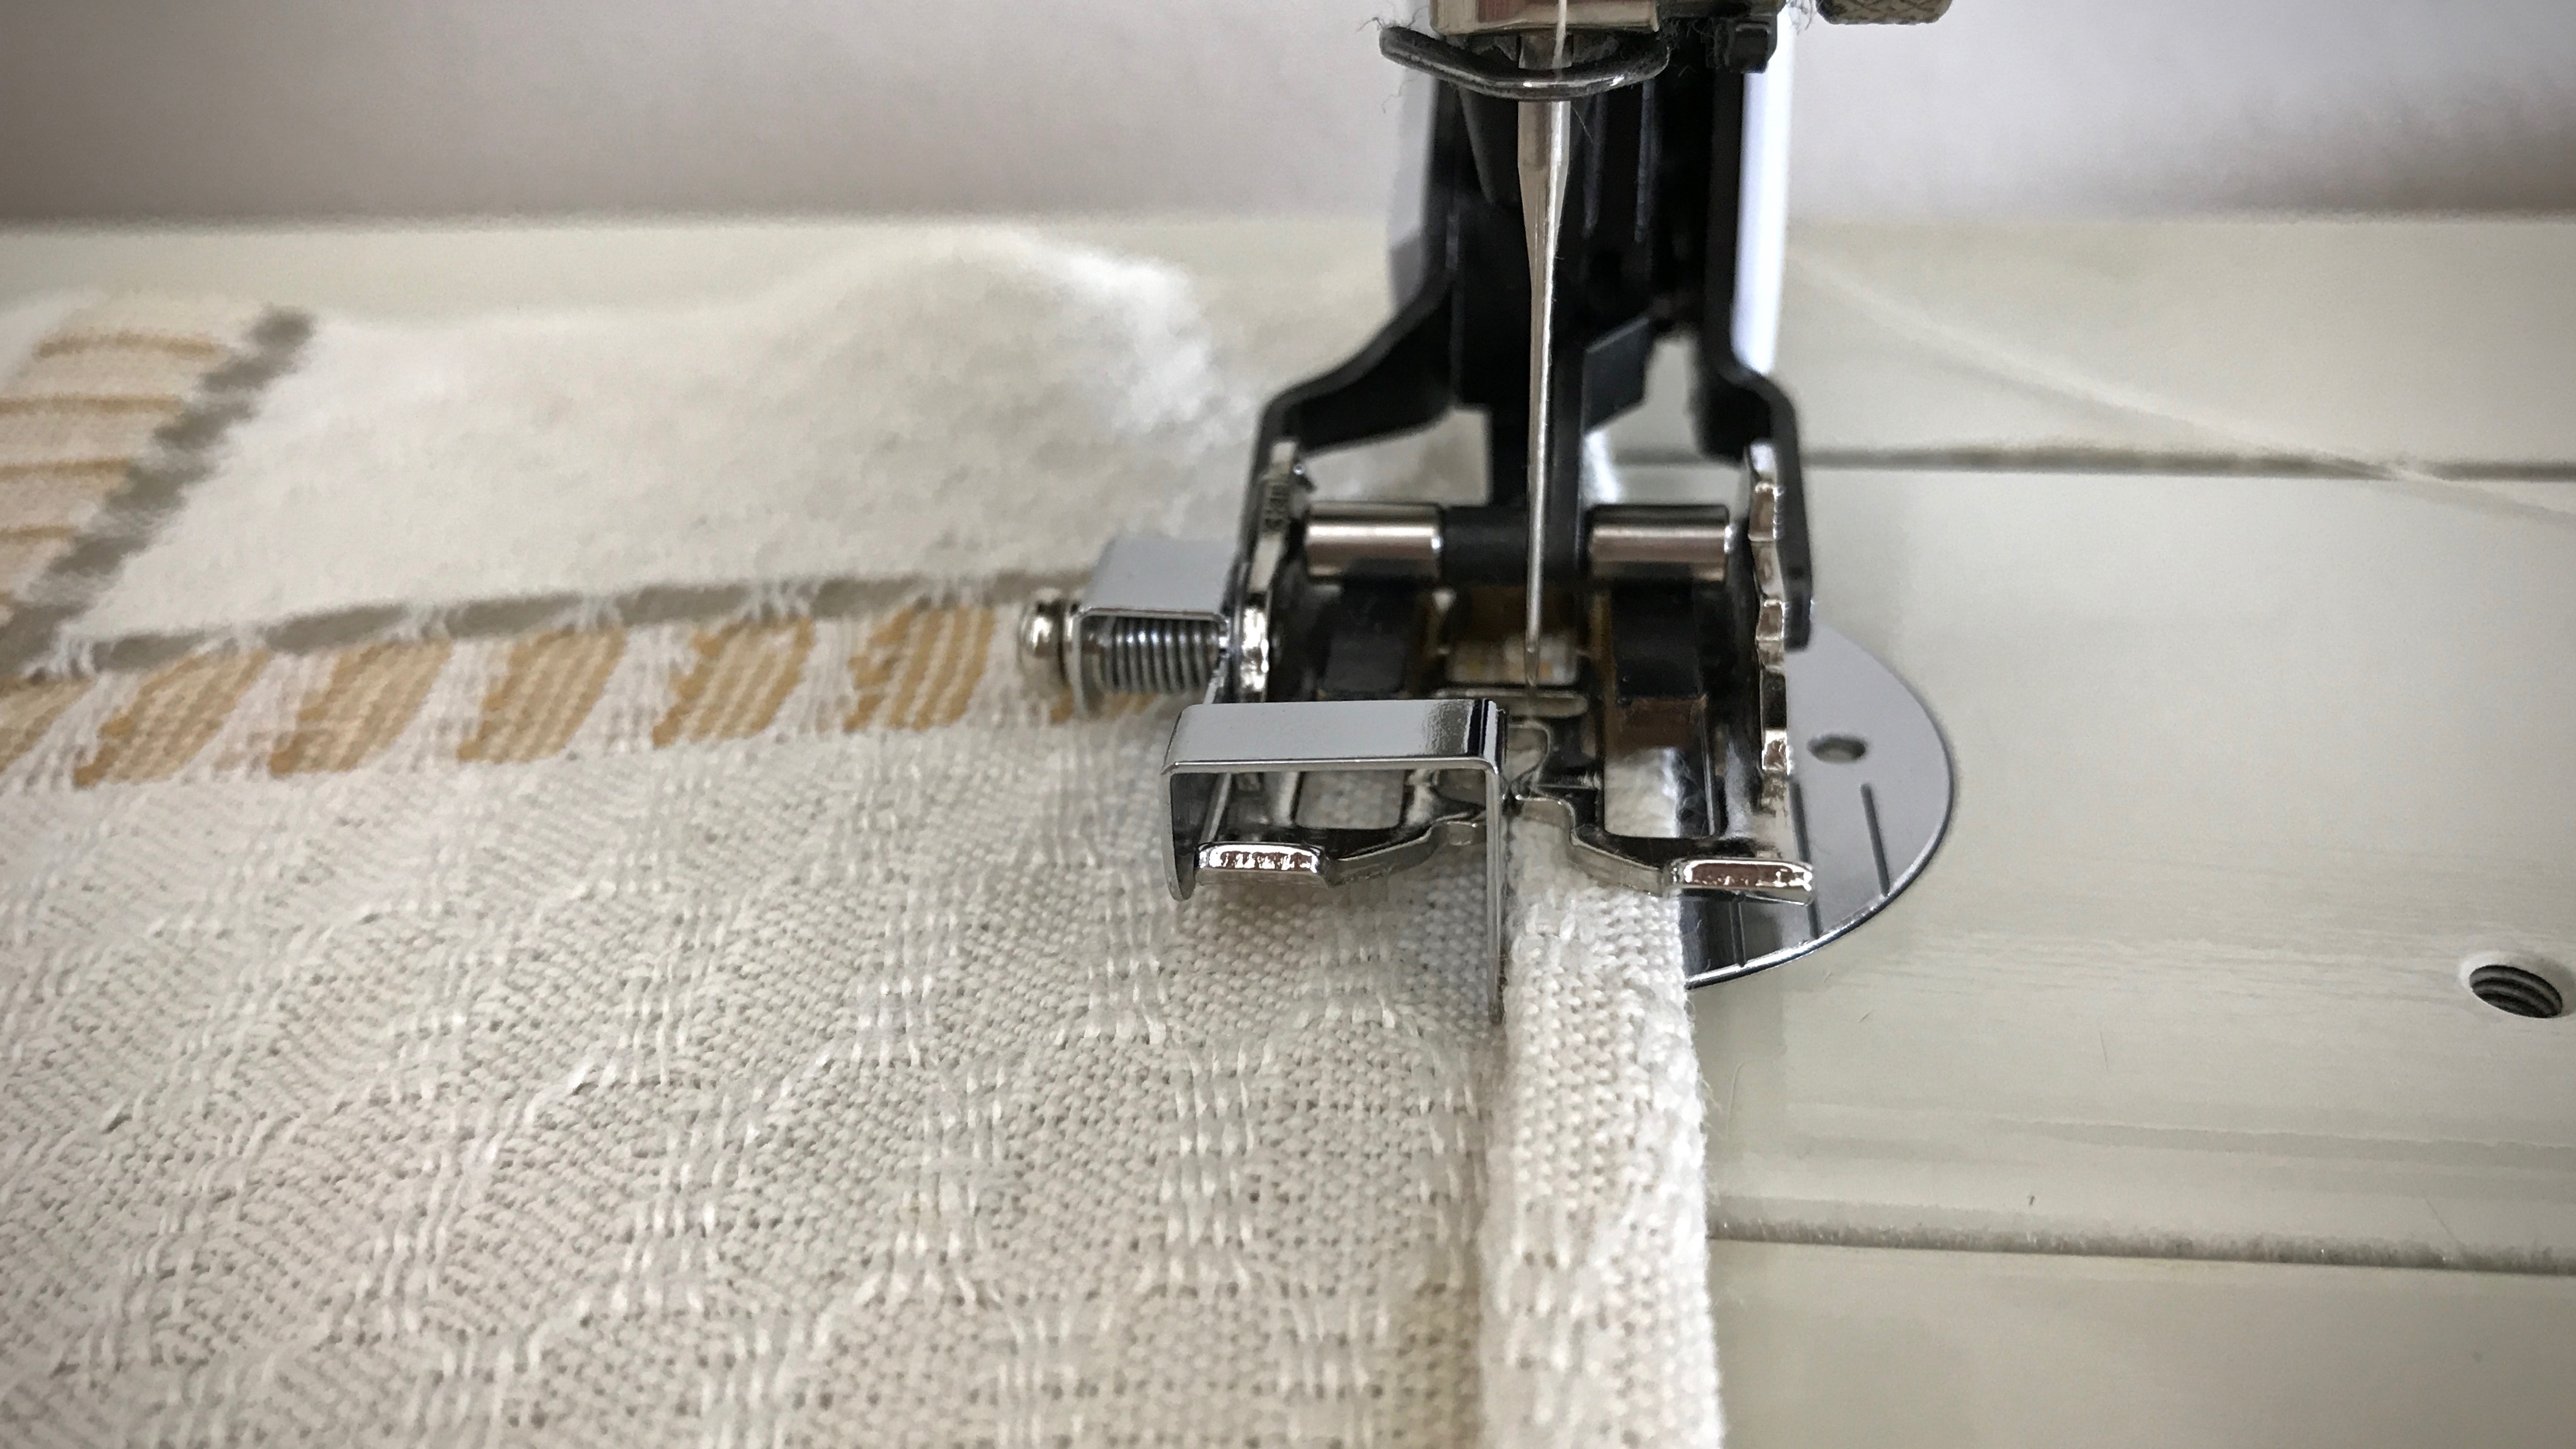
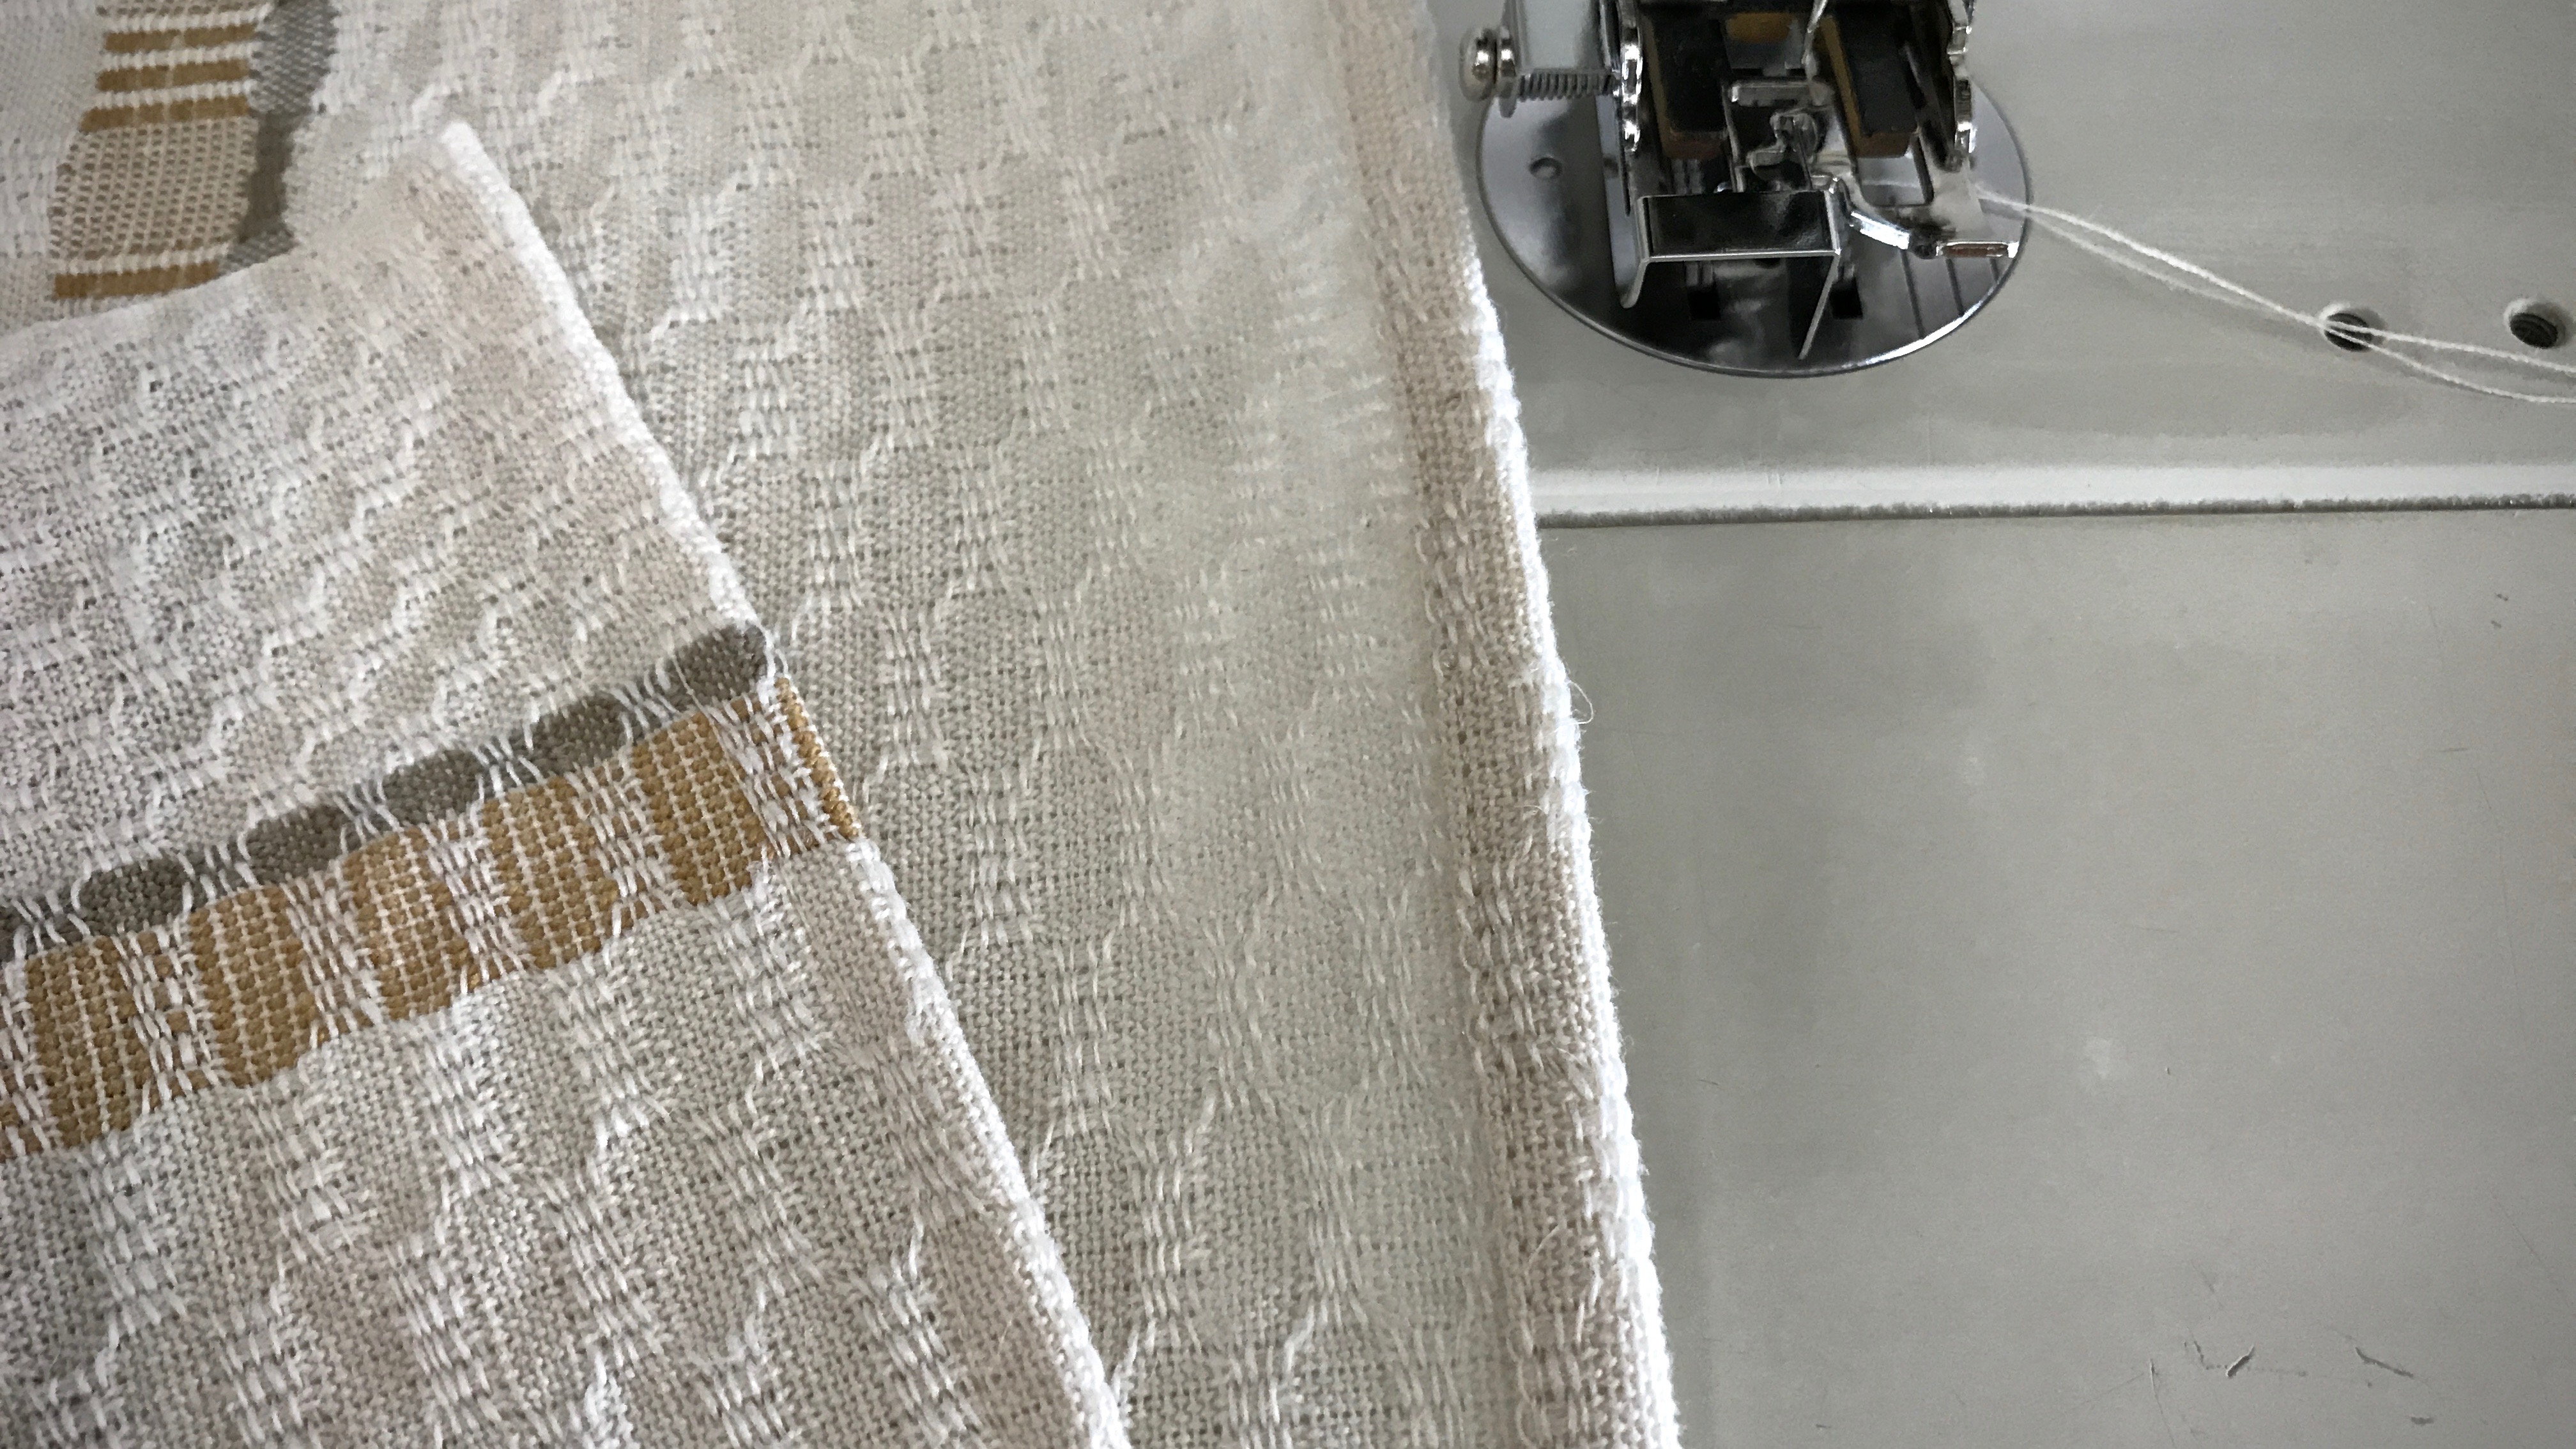
One of the three sole plates that comes with the Bernina walking foot is a sole for edge stitching. This works beautifully for stitching a narrow hem on lighter-weight fabric, like these airy cotton and linen towels.
My process for a machine-stitched narrow hem
Turn and press the 1/4″ hem twice. Hold the folded edge in place with small fabric clips.
Small fabric clips hold the folded and pressed towel hem in place, in preparation for stitching the hem.
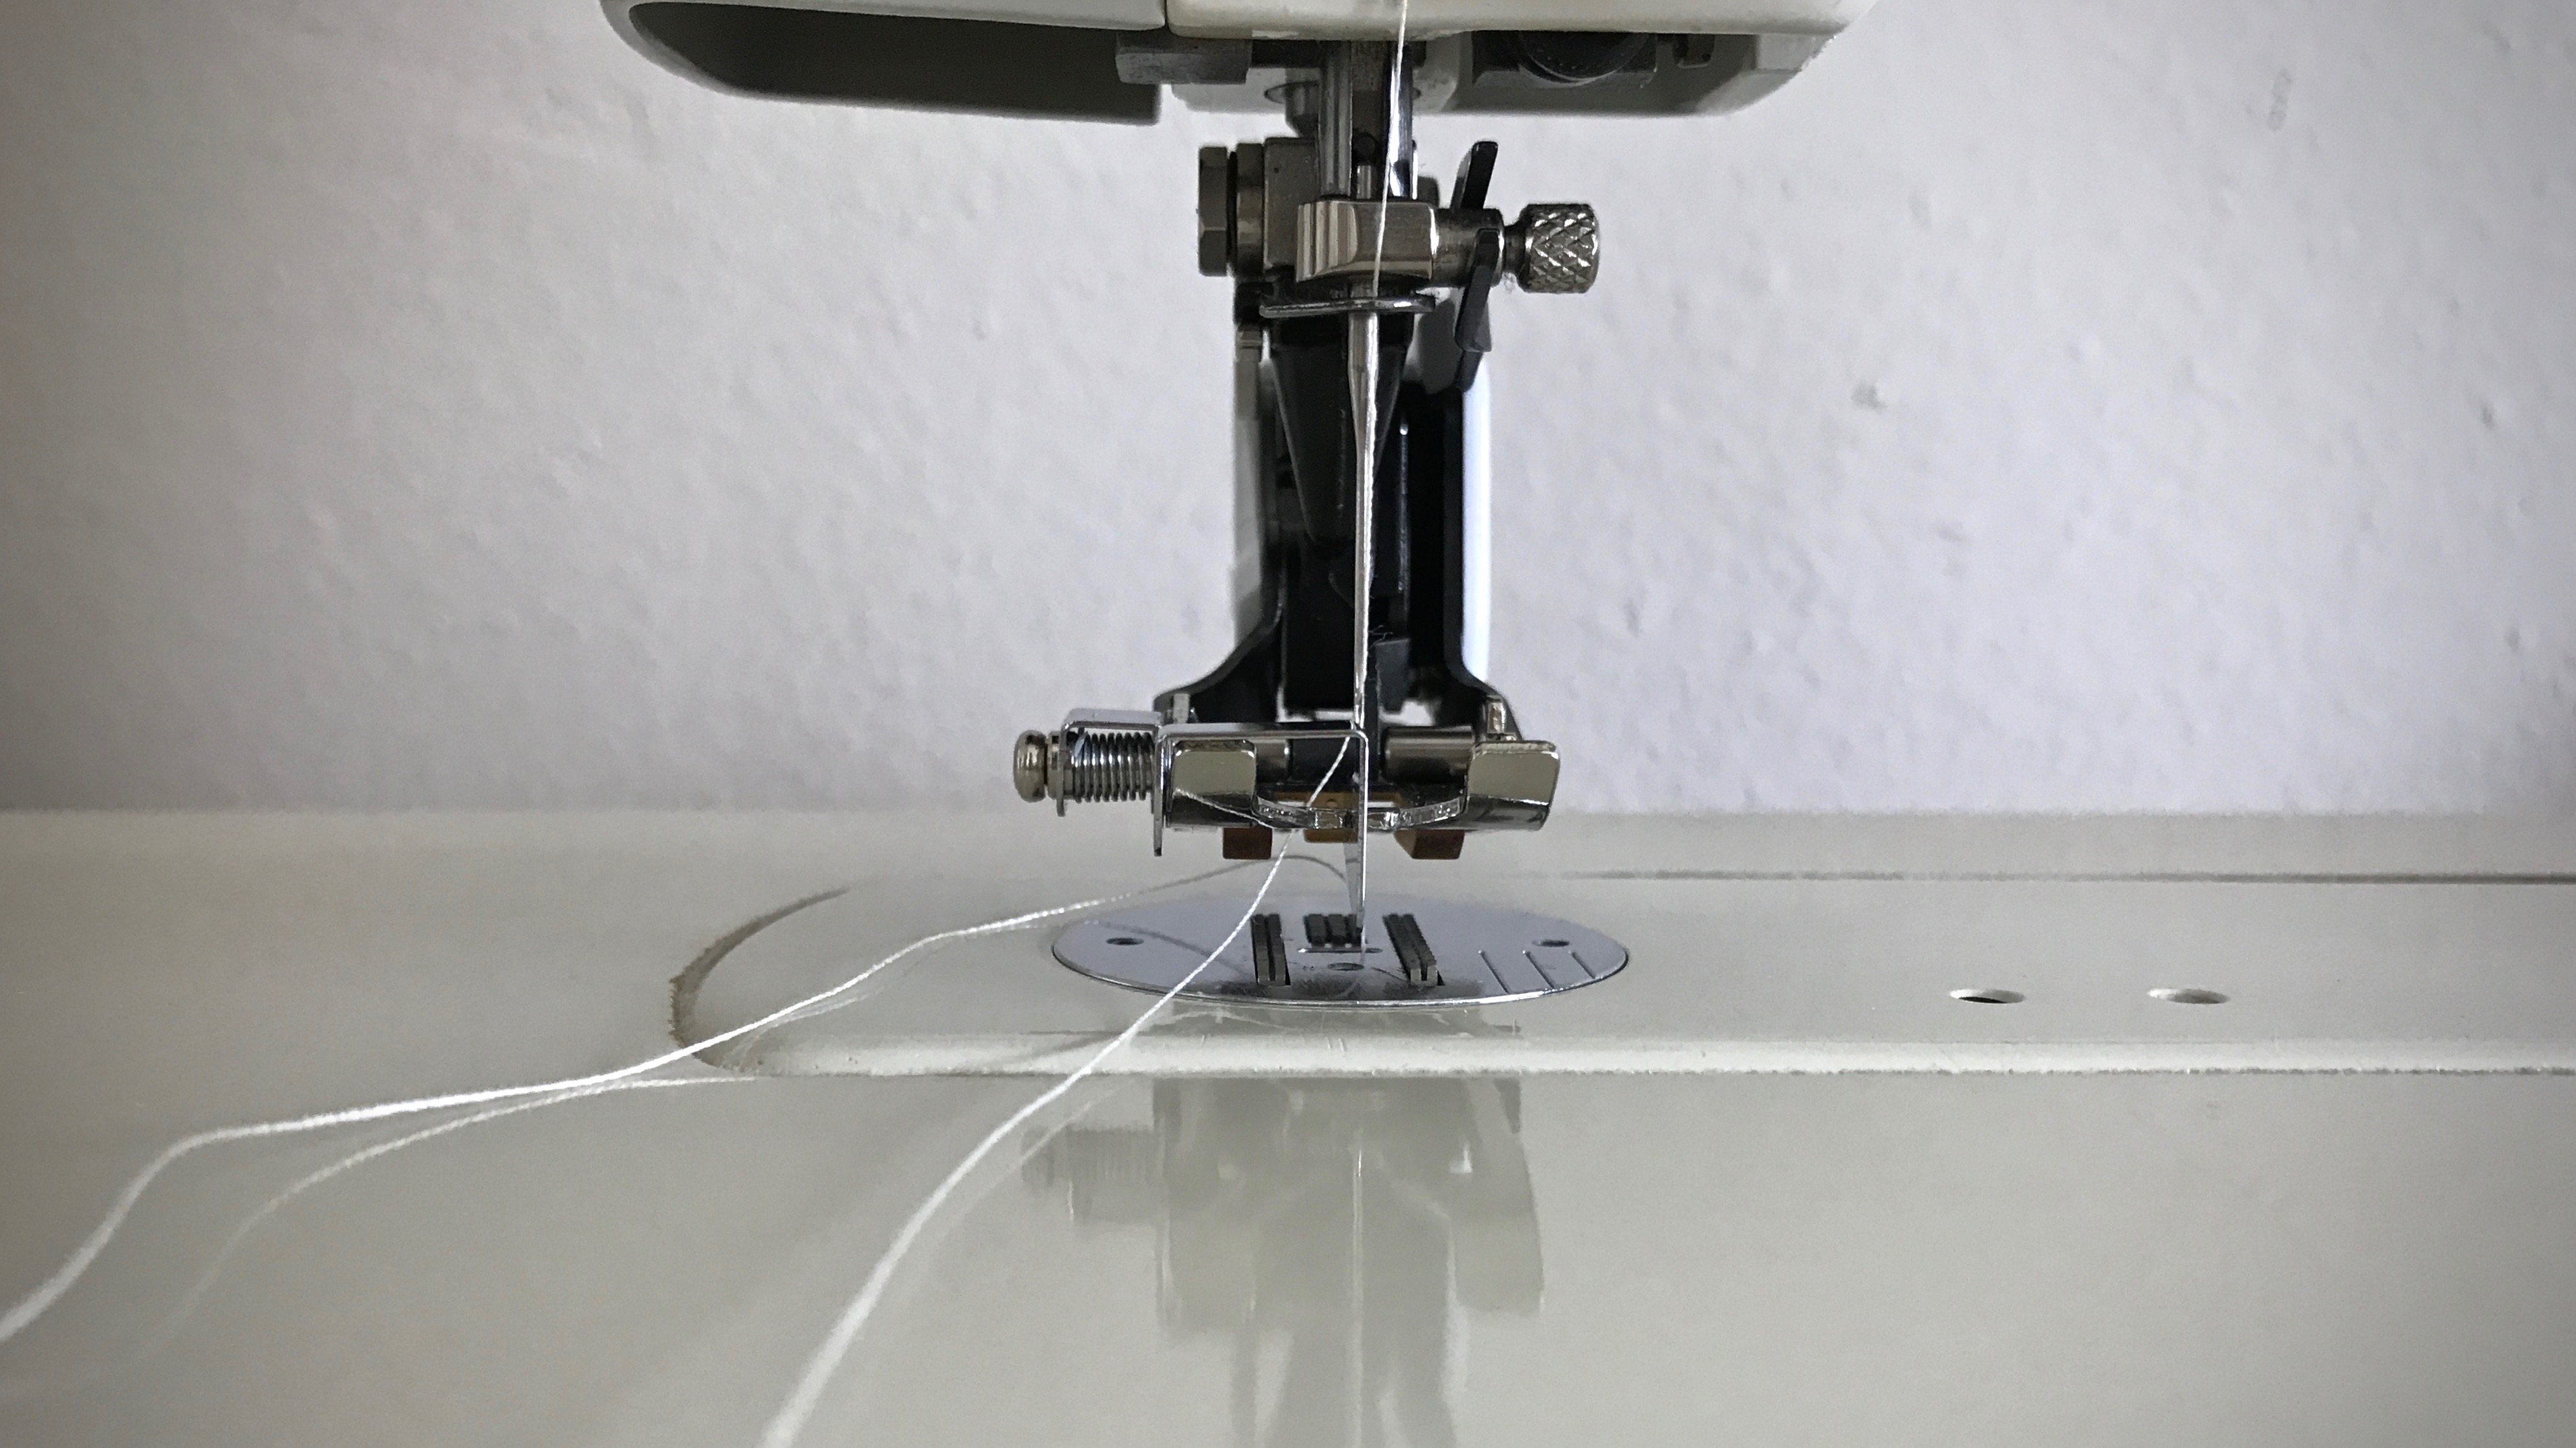
At the sewing machine, attach the edge-stitching sole plate to the walking foot. Align the fold of the hem with the edge-stitching guide.
Sole with stitch guide. The metal plate that extends below the foot is a steady guide that works for sewing a narrow hem, as well as for top-stitching, or “stitch-in-the-ditch” techniques.
Adjust the sewing machine needle to the right, so that it catches the fabric just inside the edge of the fold.
Sewing the narrow hem. Needle is positioned so that it is to the right of the hem fold.
Slowly sew a narrow hem, keeping the folded edge next to the walking foot’s edge-stitching guide. Remove fabric clips before they come to the needle.
Front and back of the hem have consistent, straight stitching. The narrow hem (not yet pressed) will be barely visible.
May your hems be a suitable frame for your handiwork.
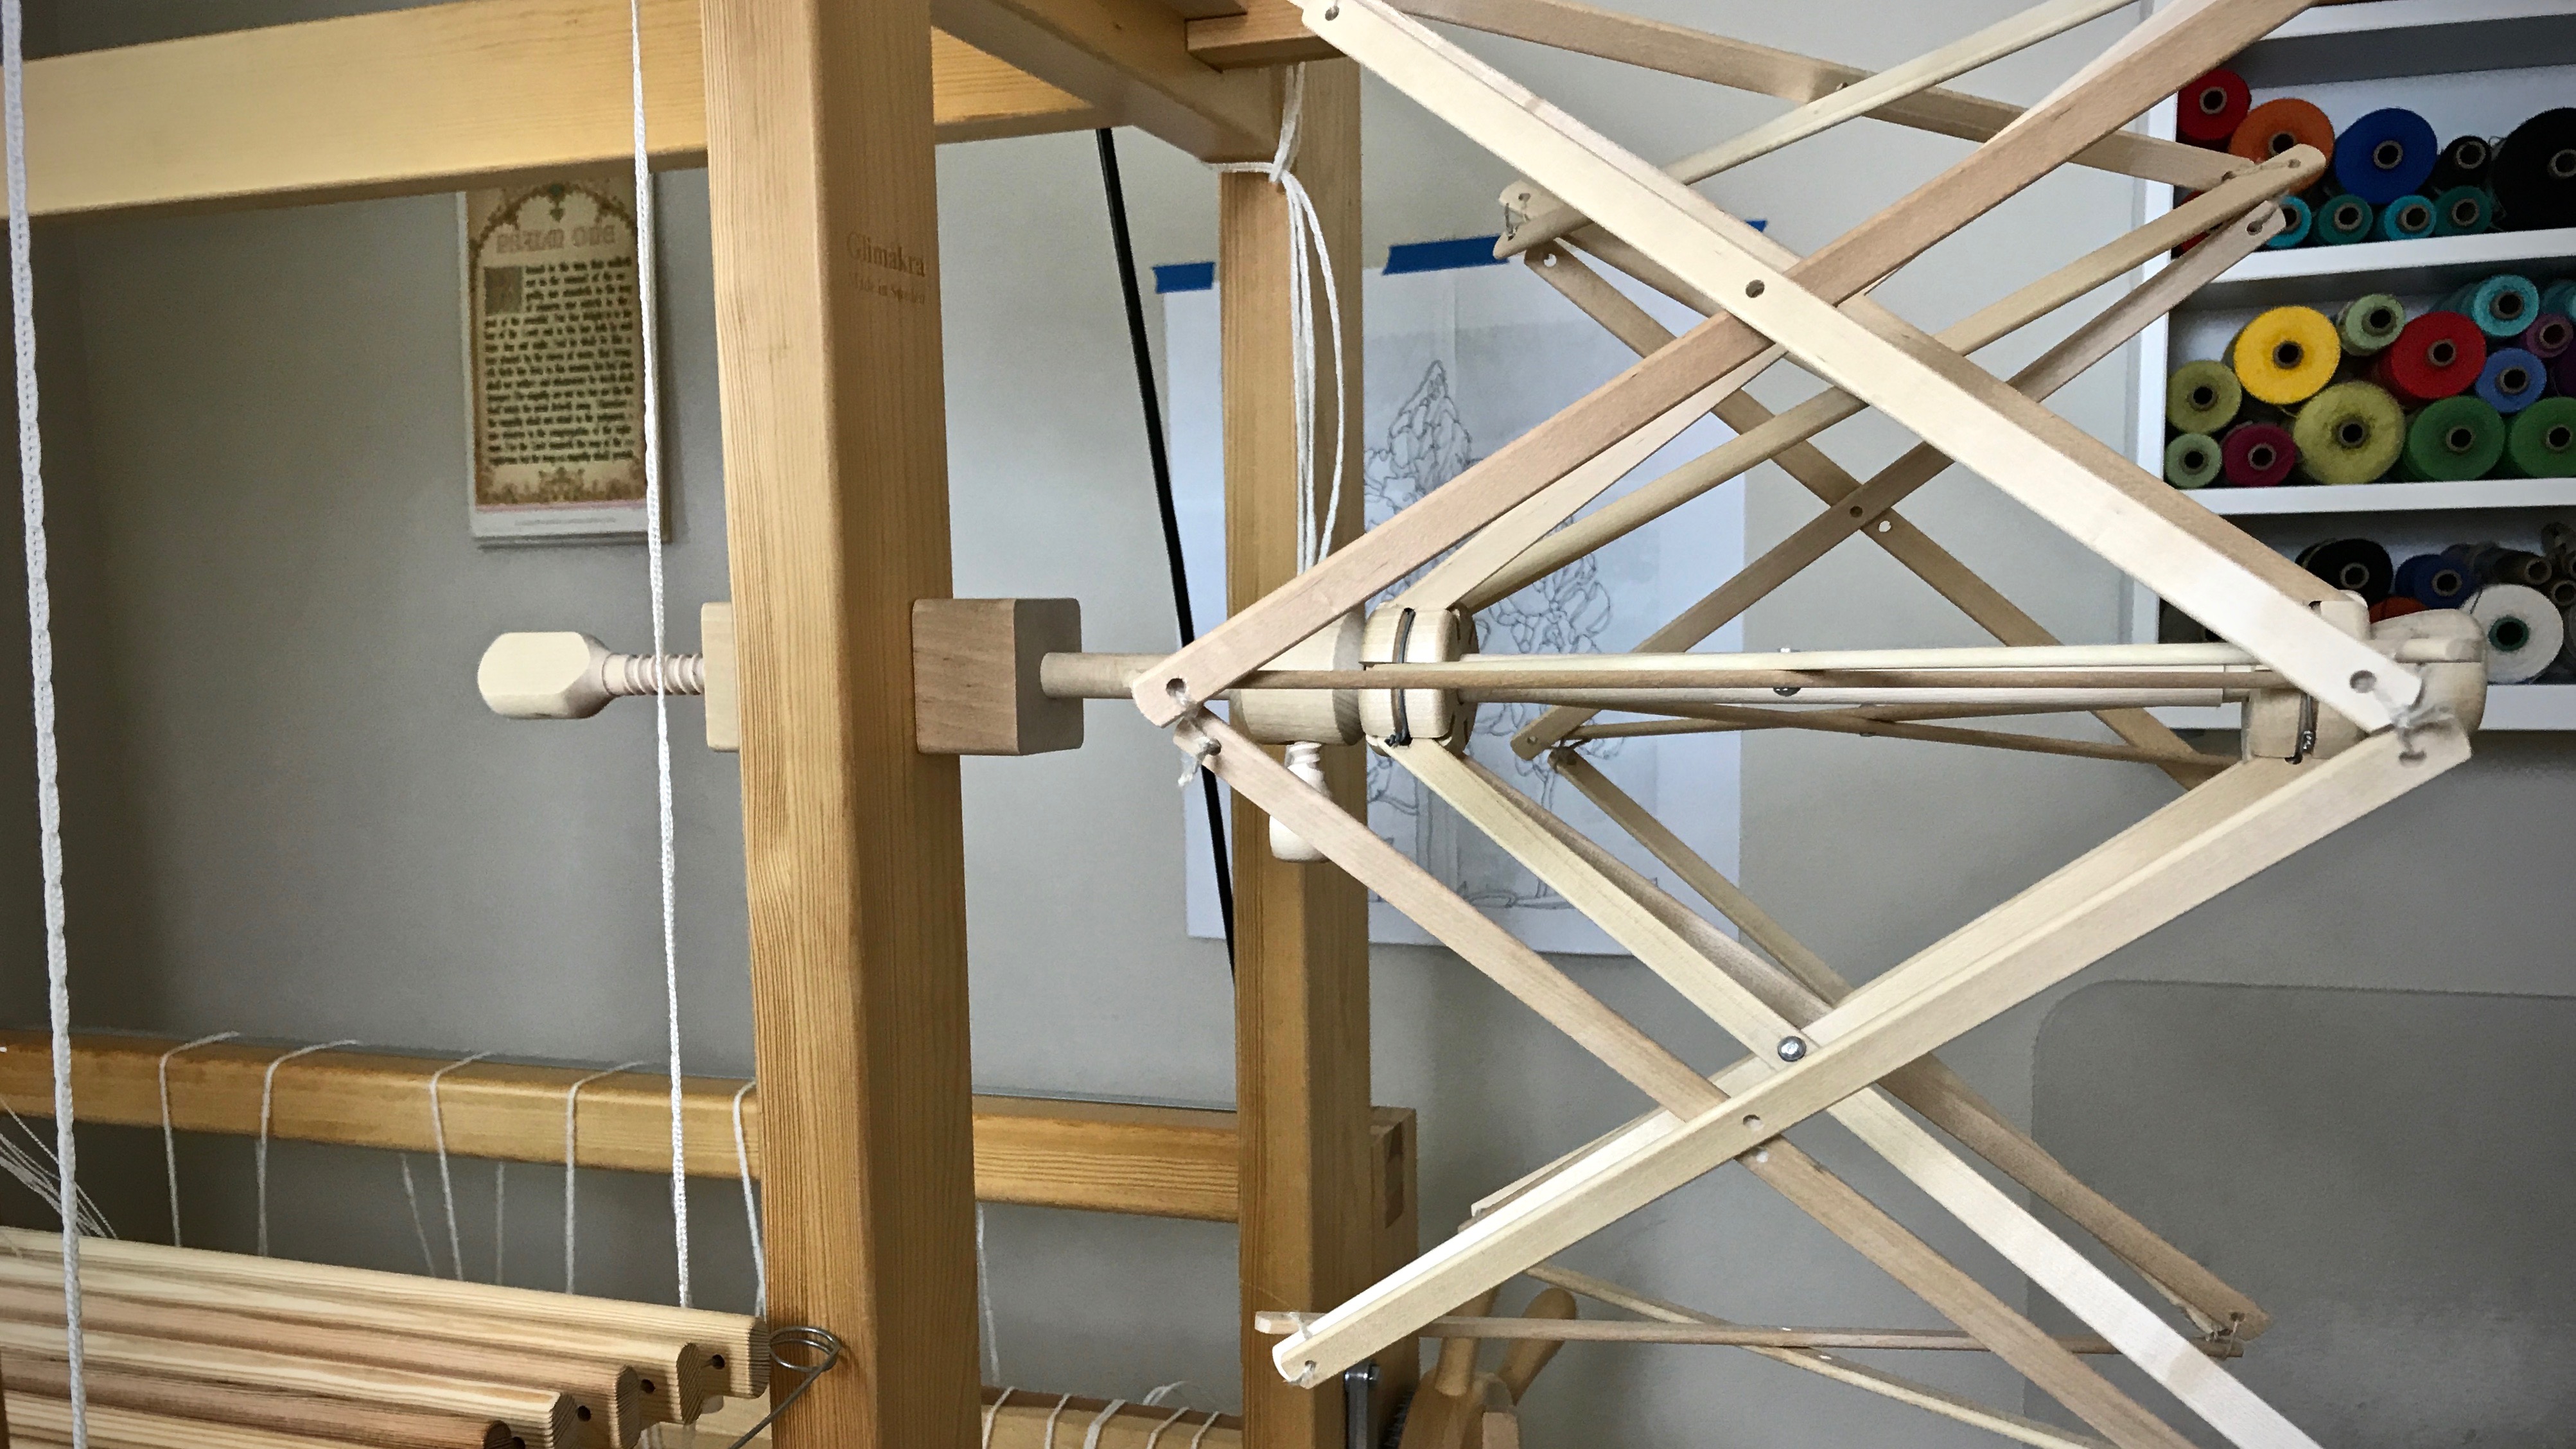
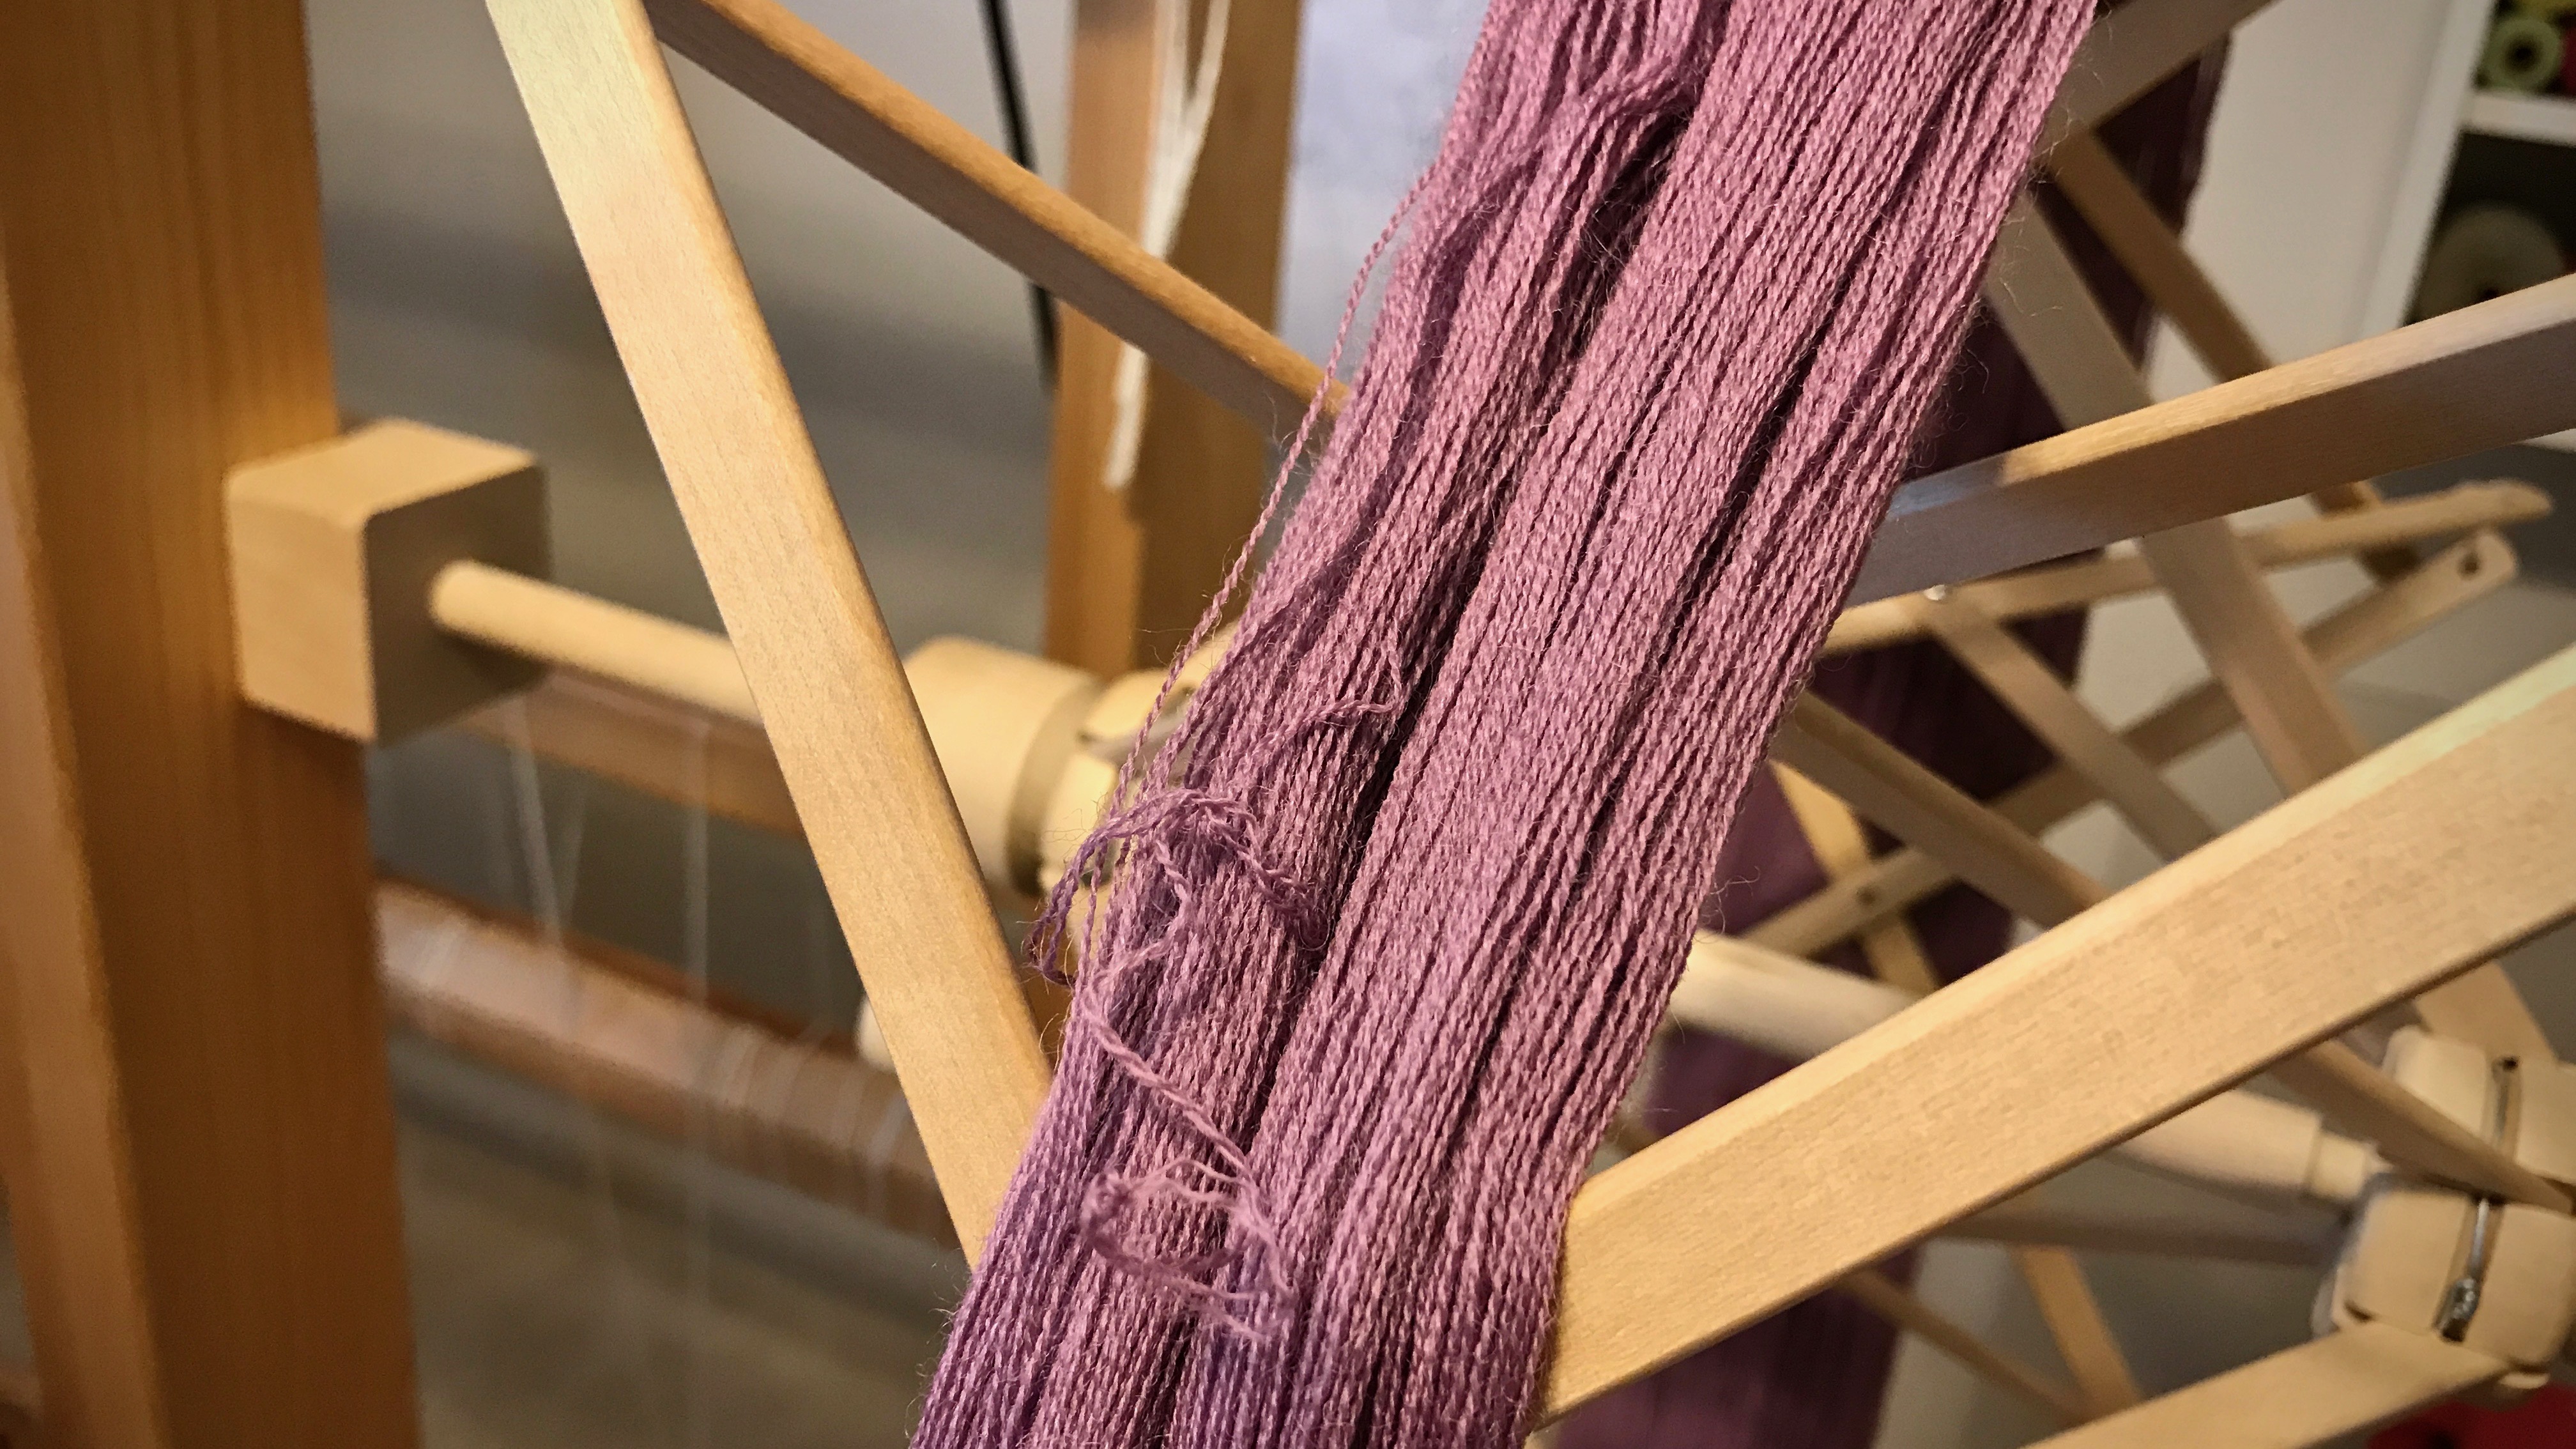
The umbrella swift earns the “Cool Tool” award! I have sixteen skeins of 20/2 Mora wool (as seen in Skeins of Colors). Before making them into little butterflies of color for a woven transparency, I am winding the skeins into balls. This means I get to use one of my favorite tools–the umbrella swift. My Glimåkra swift is simple to use and gives flawless results every time.
How to Use an Umbrella Swift
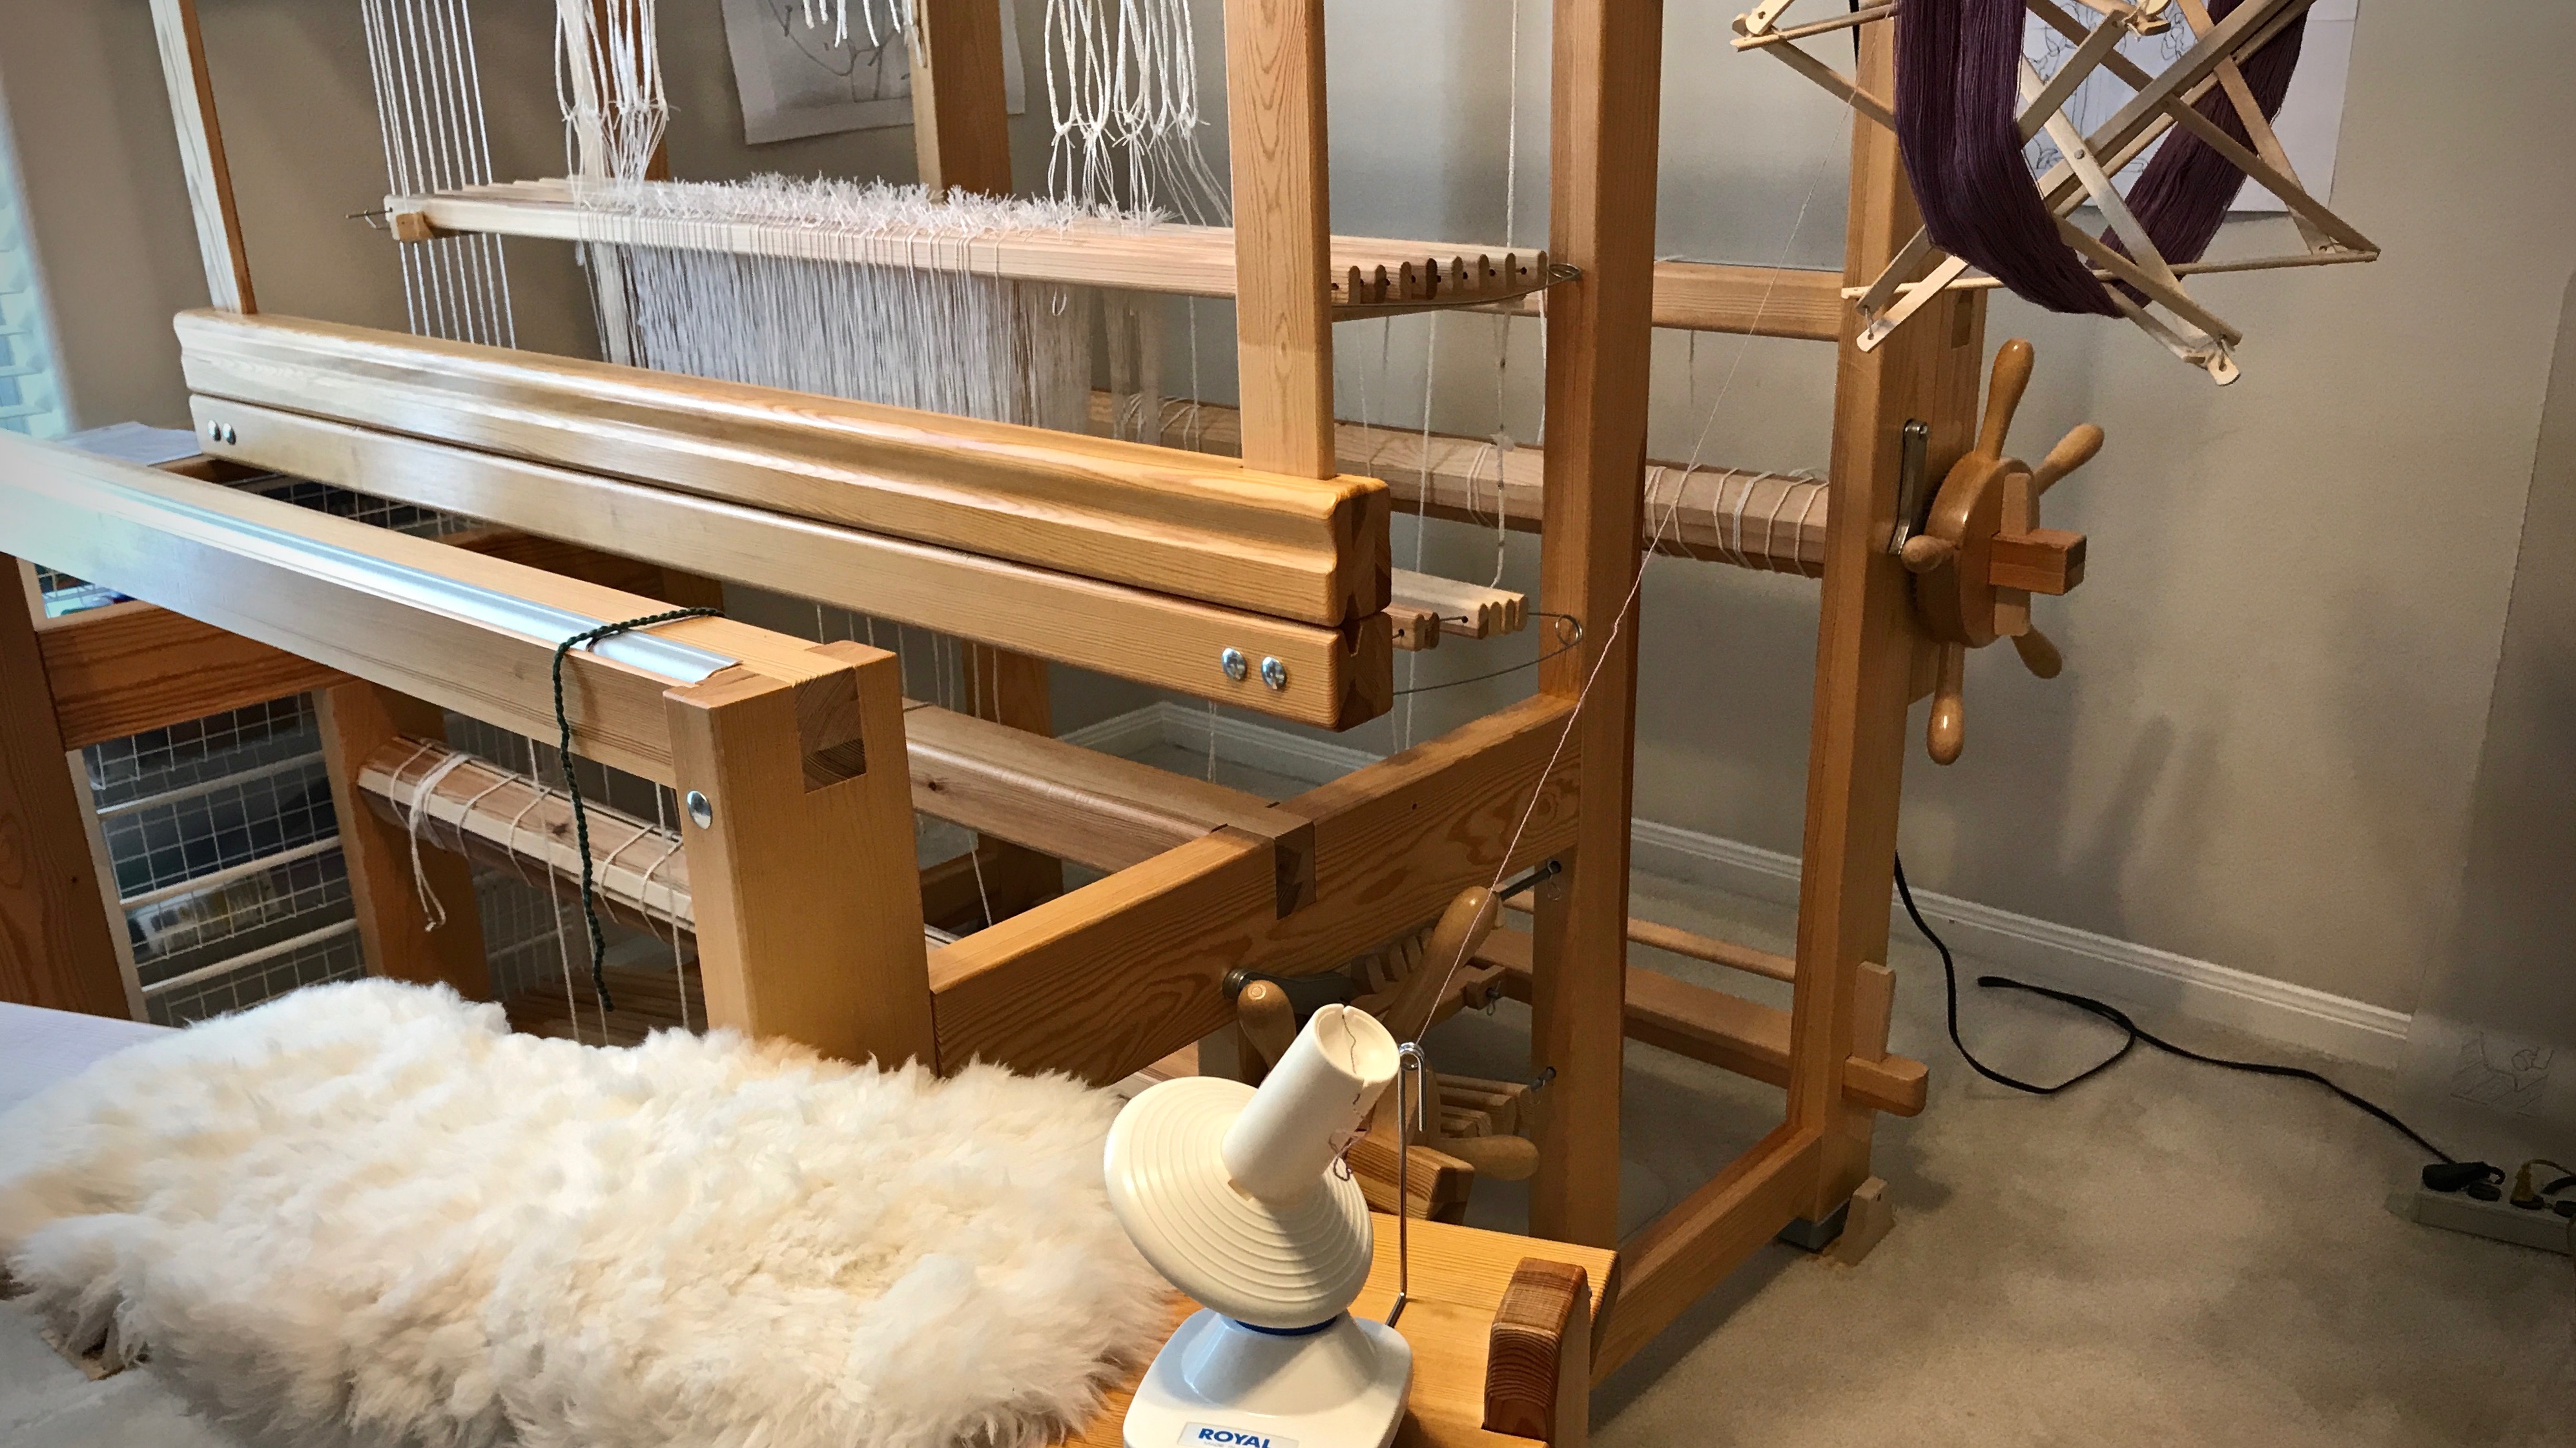
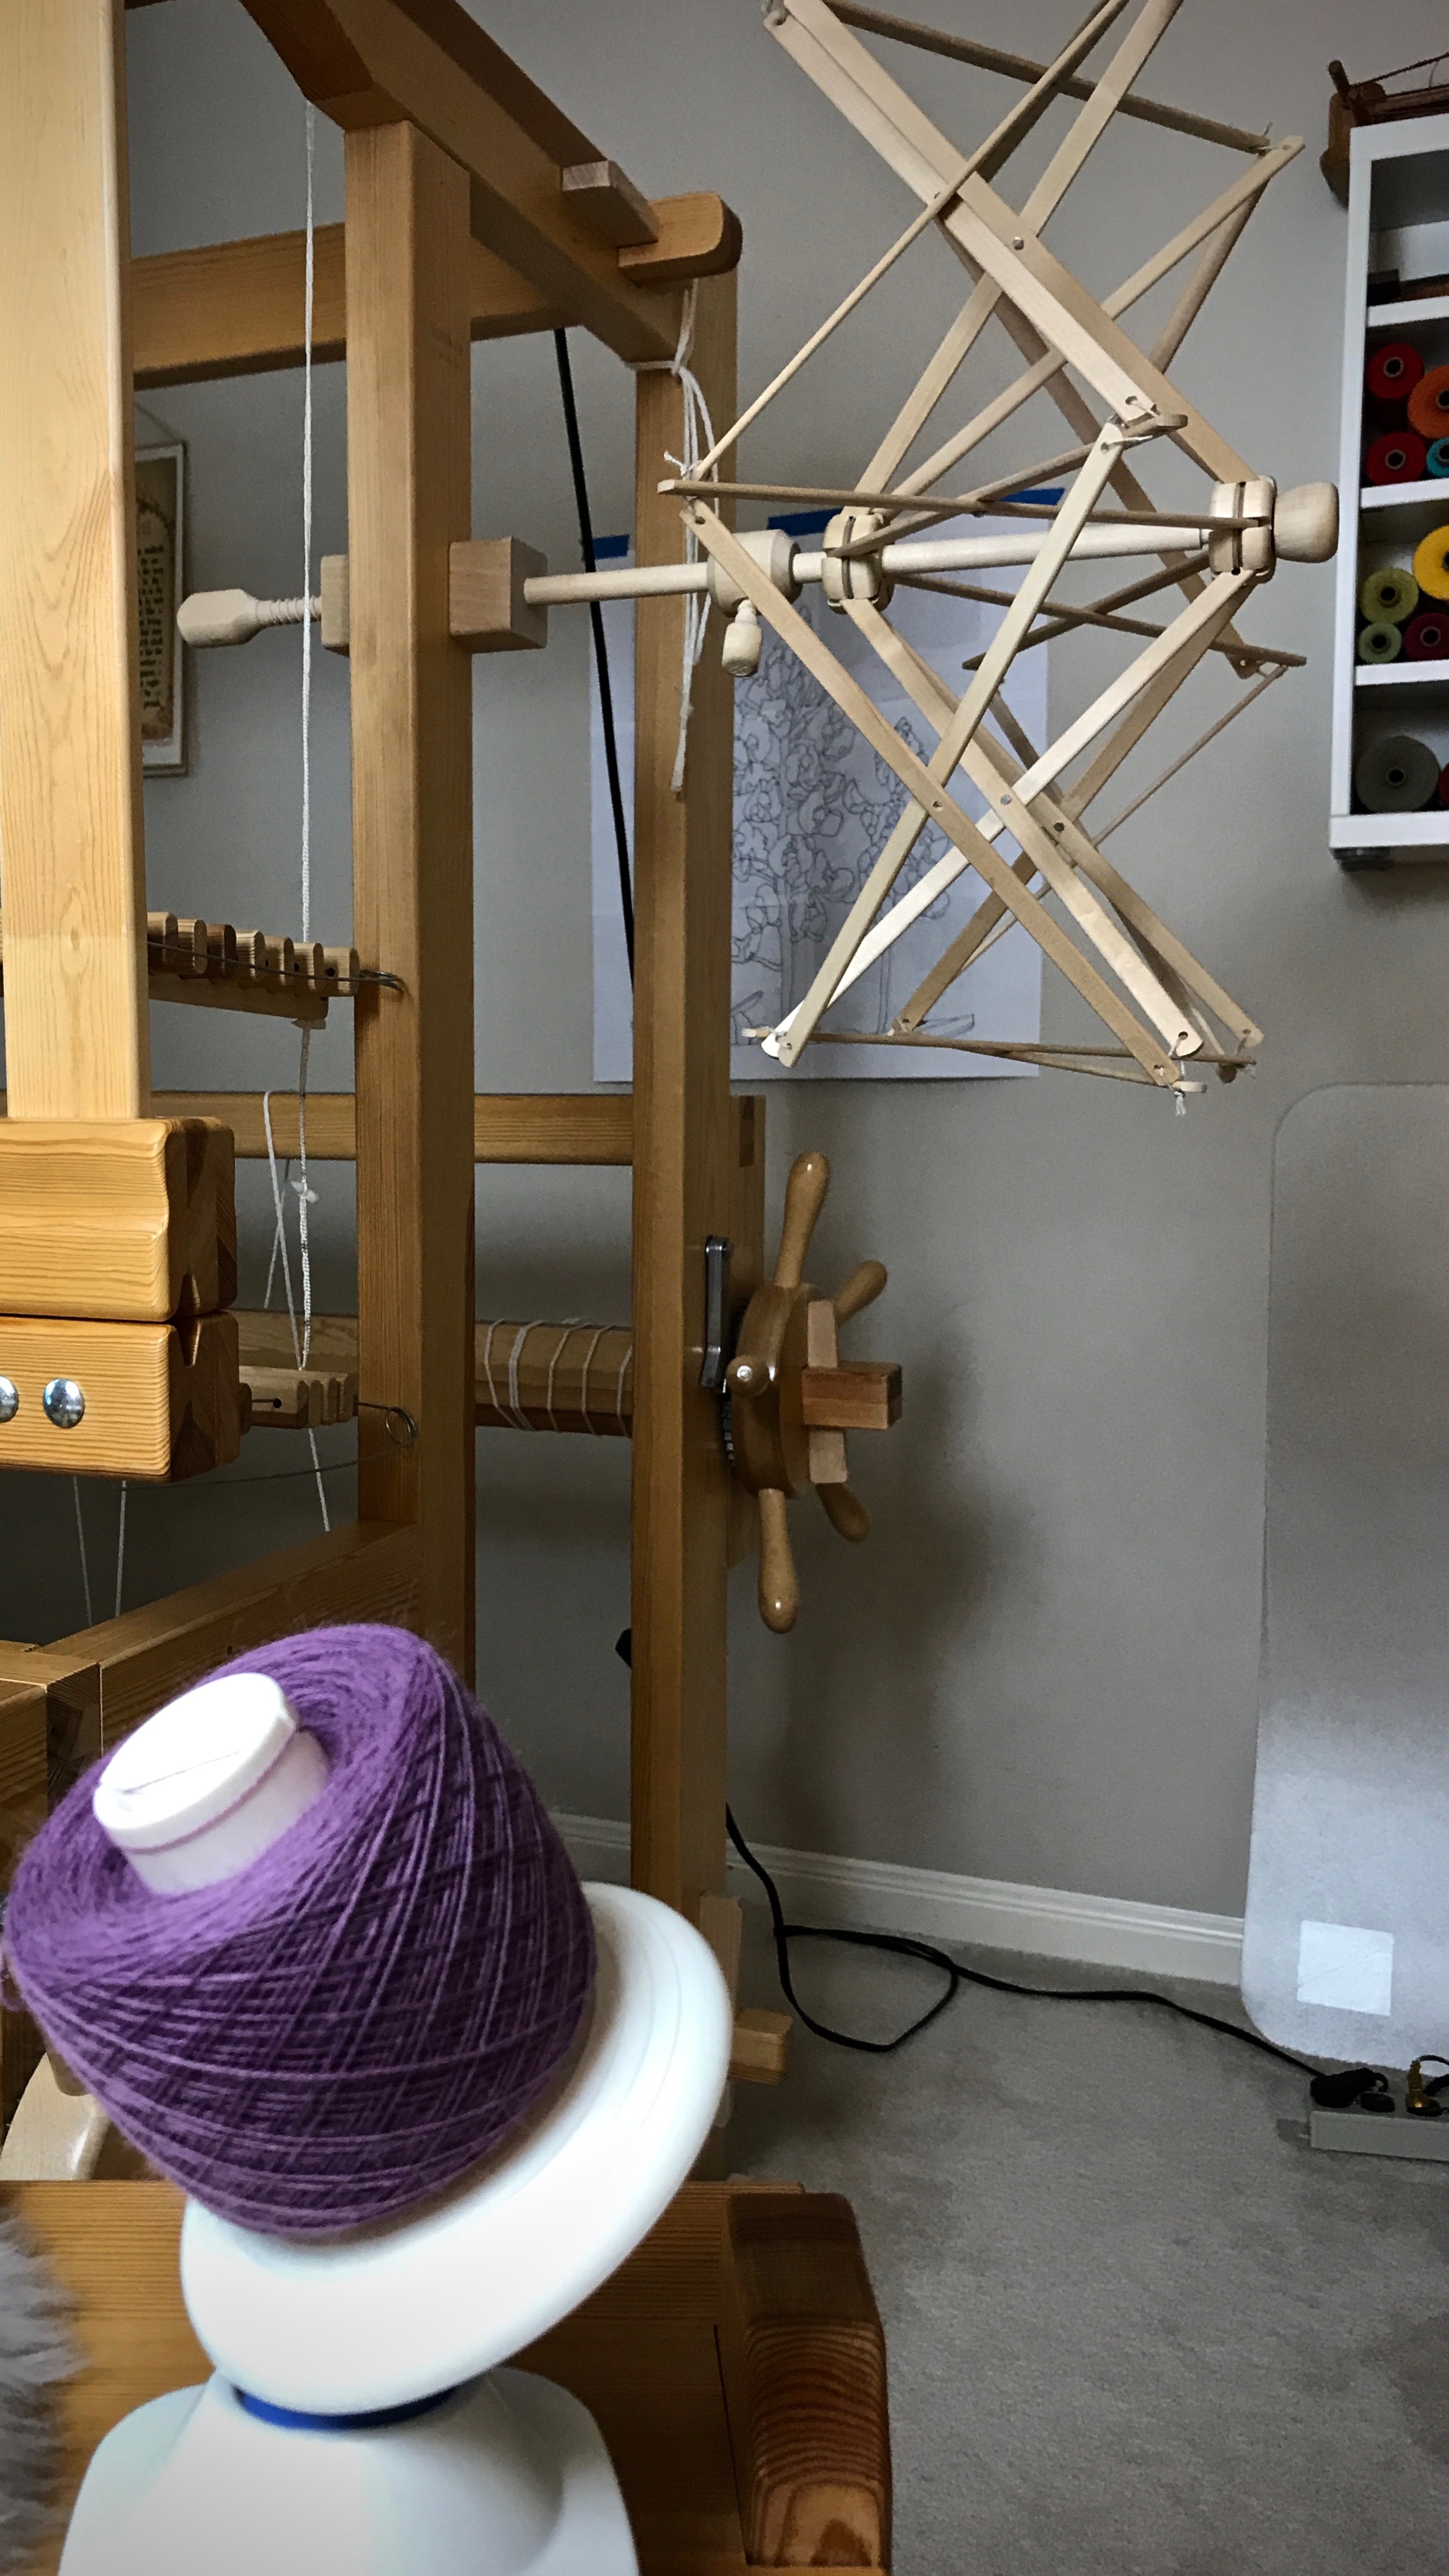
Attach the clamp of the umbrella swift to the side of the loom, or other secure structure, like a table. The swift functions vertically or horizontally. I prefer to position the swift horizontally so the yarn rolls off vertically. Also, I find it easier to hang the yarn on a horizontal swift than to place the yarn on a vertical swift, holding the yarn while expanding the umbrella.
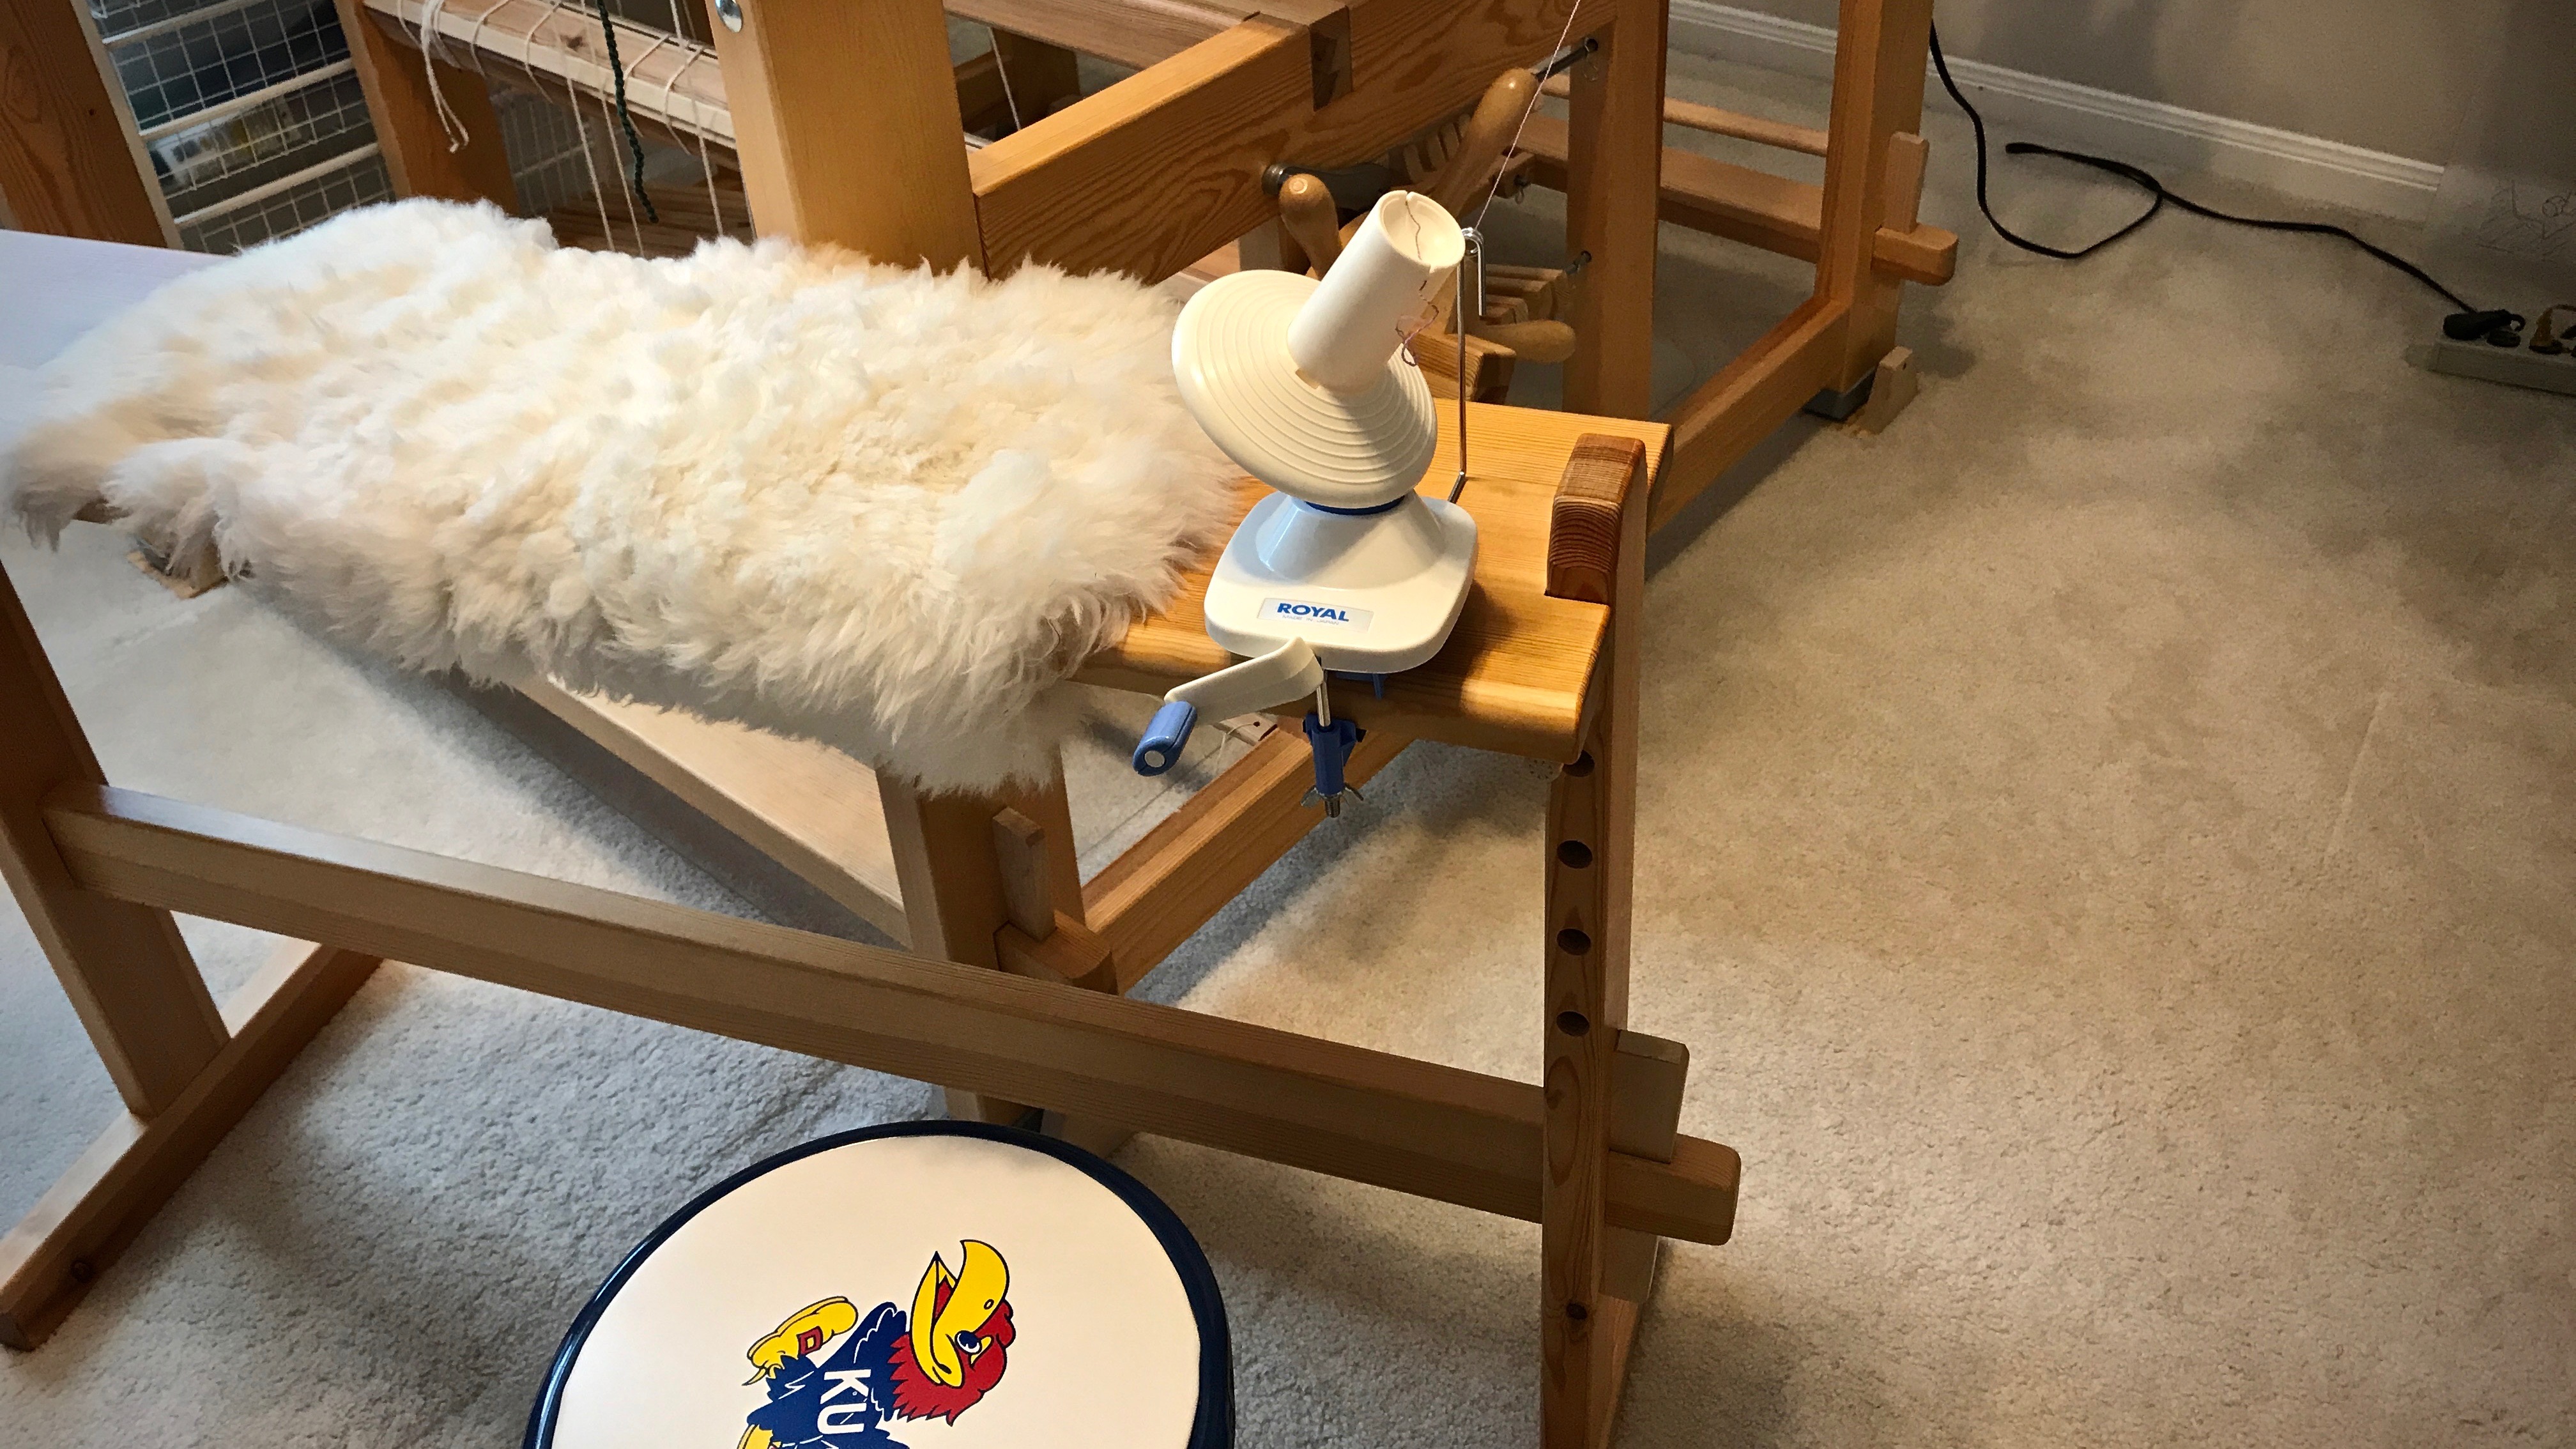
Position the yarn ball winder so that it is in line with the umbrella swift, a short distance away. I clamp the yarn ball winder to my loom bench, and sit on a small stool behind the bench.
Remove the yarn skein’s label and put it aside. Carefully unfold and untwist the skein of yarn and open it out to a big circle. Place both arms through the center of the circle of yarn and snap your arms outward. Repeat the snapping action one or two more times, with the yarn repositioned about a quarter turn each time. This helps straighten out the yarn for placing it on the swift.
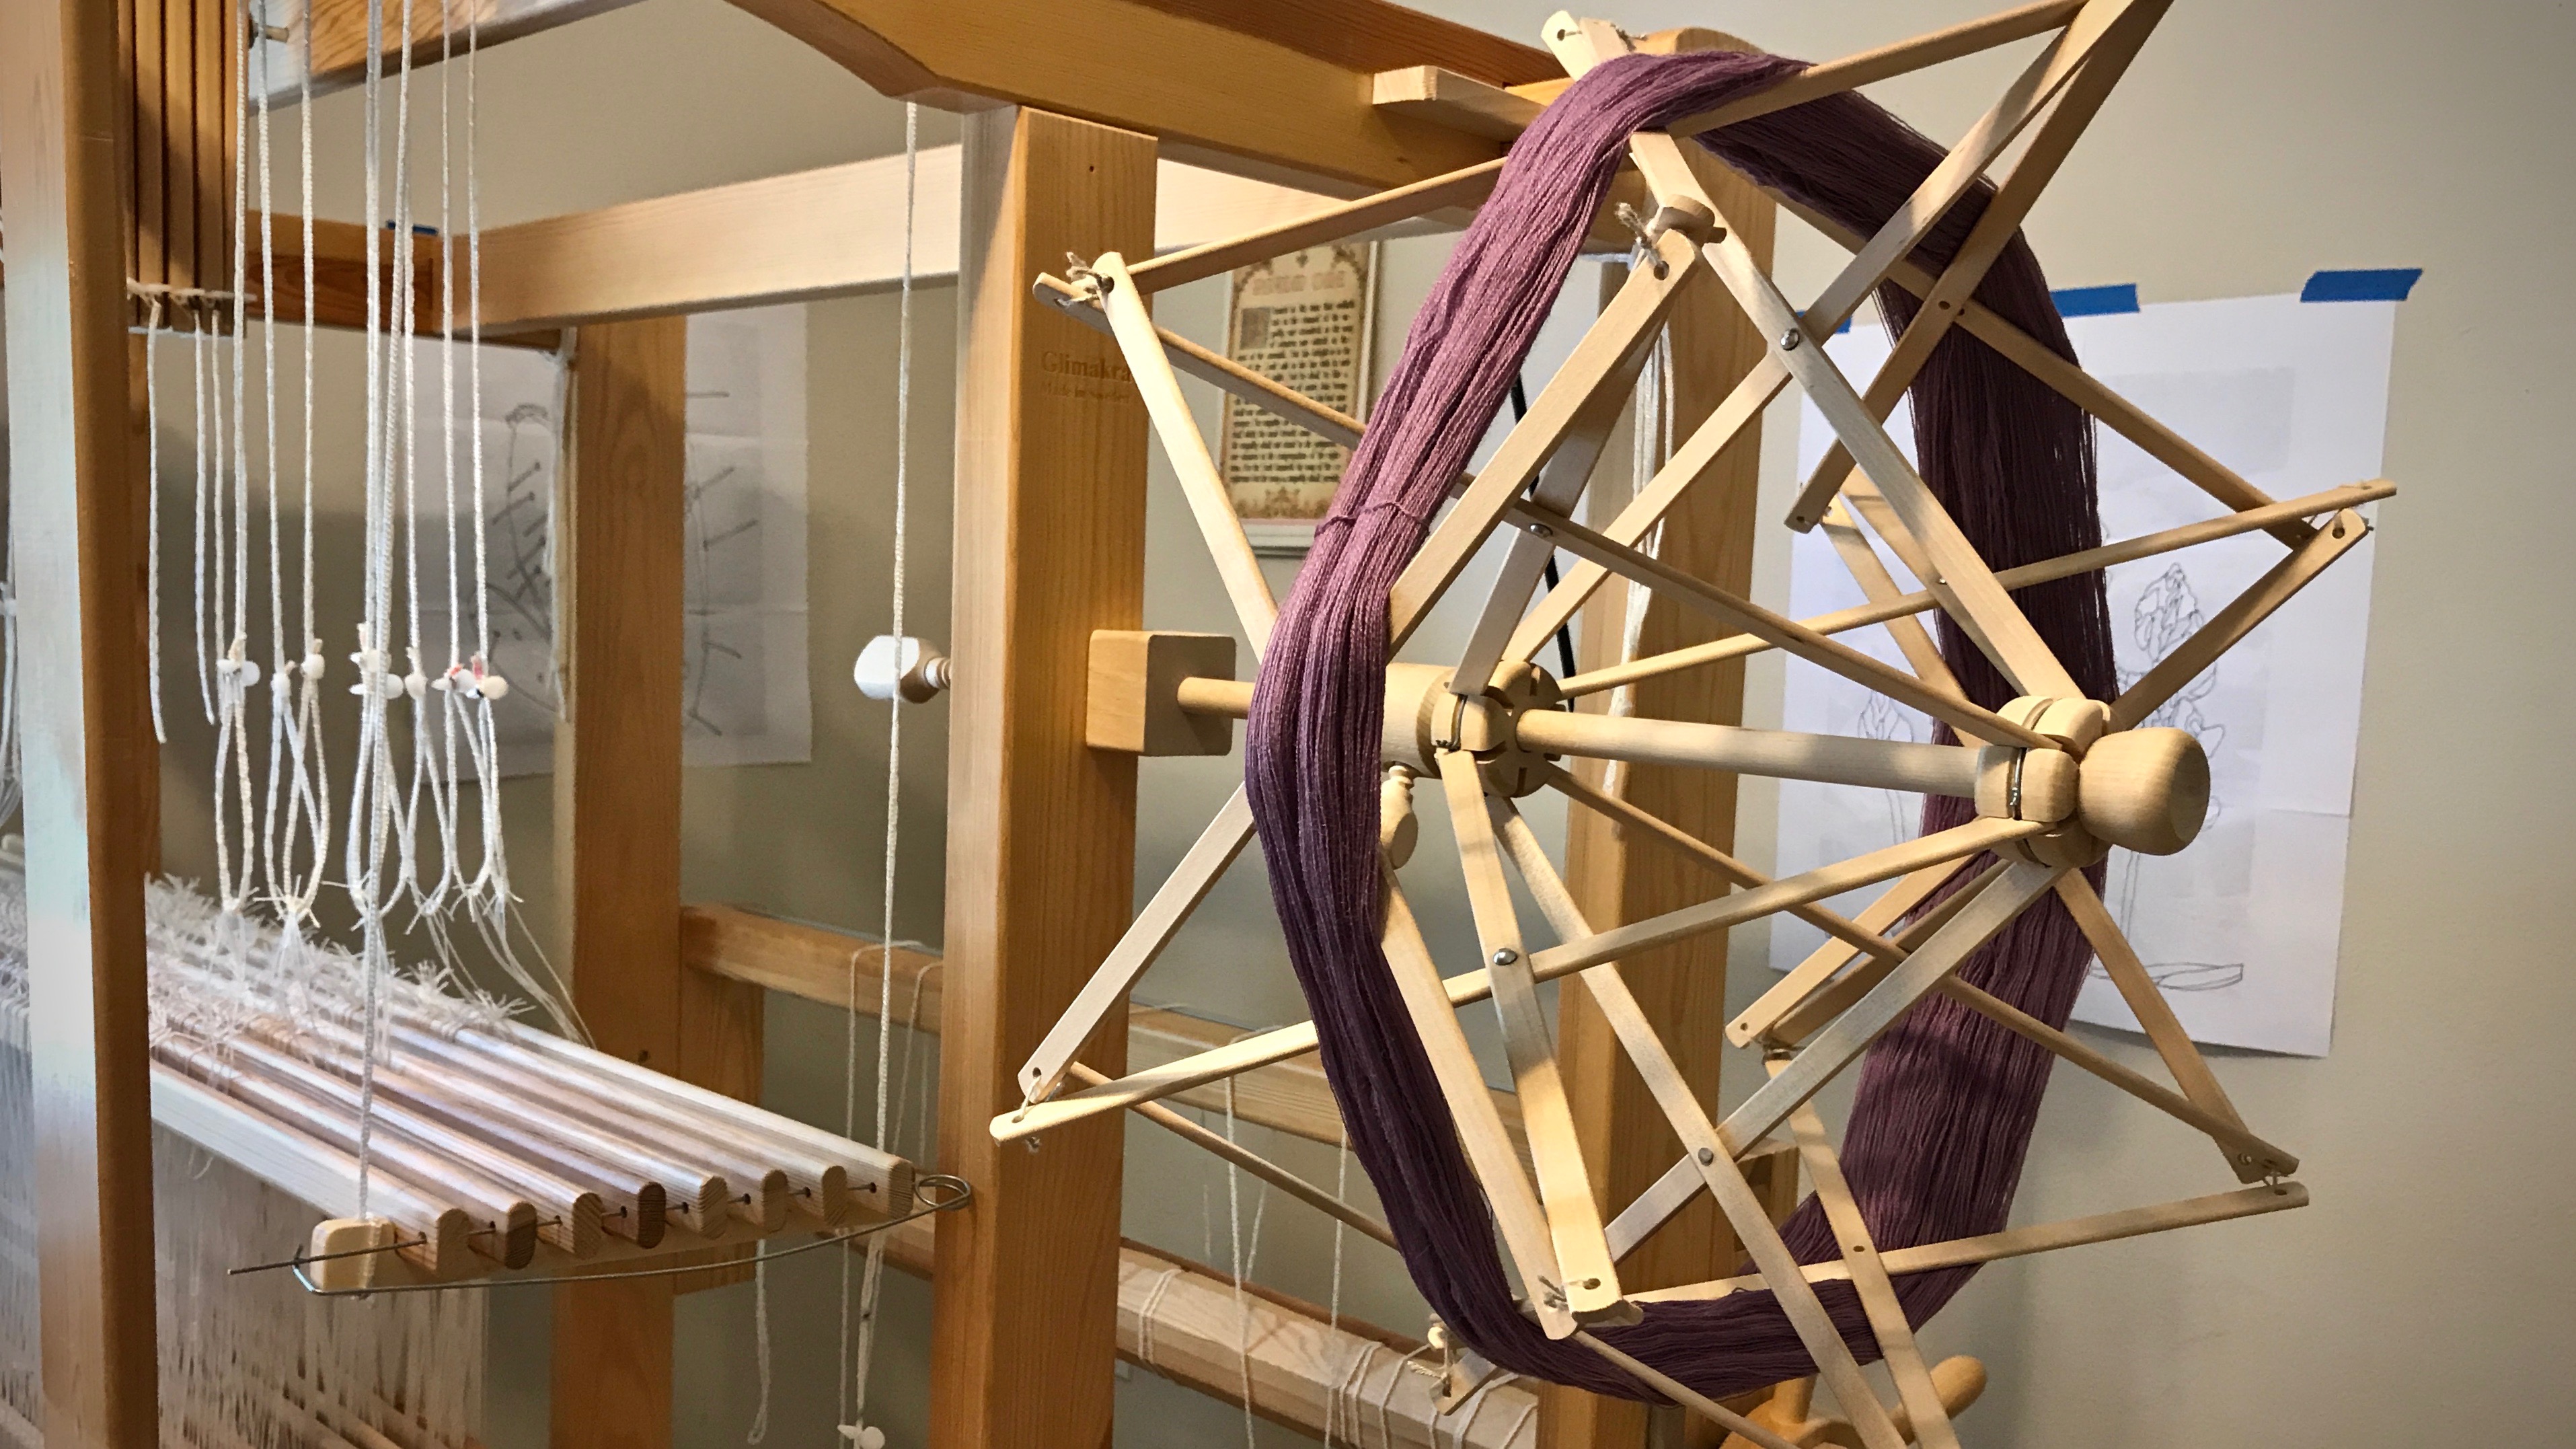
Lower the “umbrella” of the swift by loosing the screw and pulling the bottom screw-piece toward the clamp. Place the opened and prepared skein of yarn around the swift.
Push open the “umbrella.” Spread it open just far enough to hold the yarn taut. Tighten the screw to keep the swift in that position.
Find the place(s) on the skein where the skein has been tied, and untie the knot(s). Identify the end of the yarn that is on the outer side of the skein and connect that end to the yarn ball winder. For consistency among multiple skeins of yarn, I have the umbrella swift turn in the same direction for each one, with the yarn unwinding from the top of the swift.
Turn the yarn ball winder until all the yarn has been unwound from the swift.
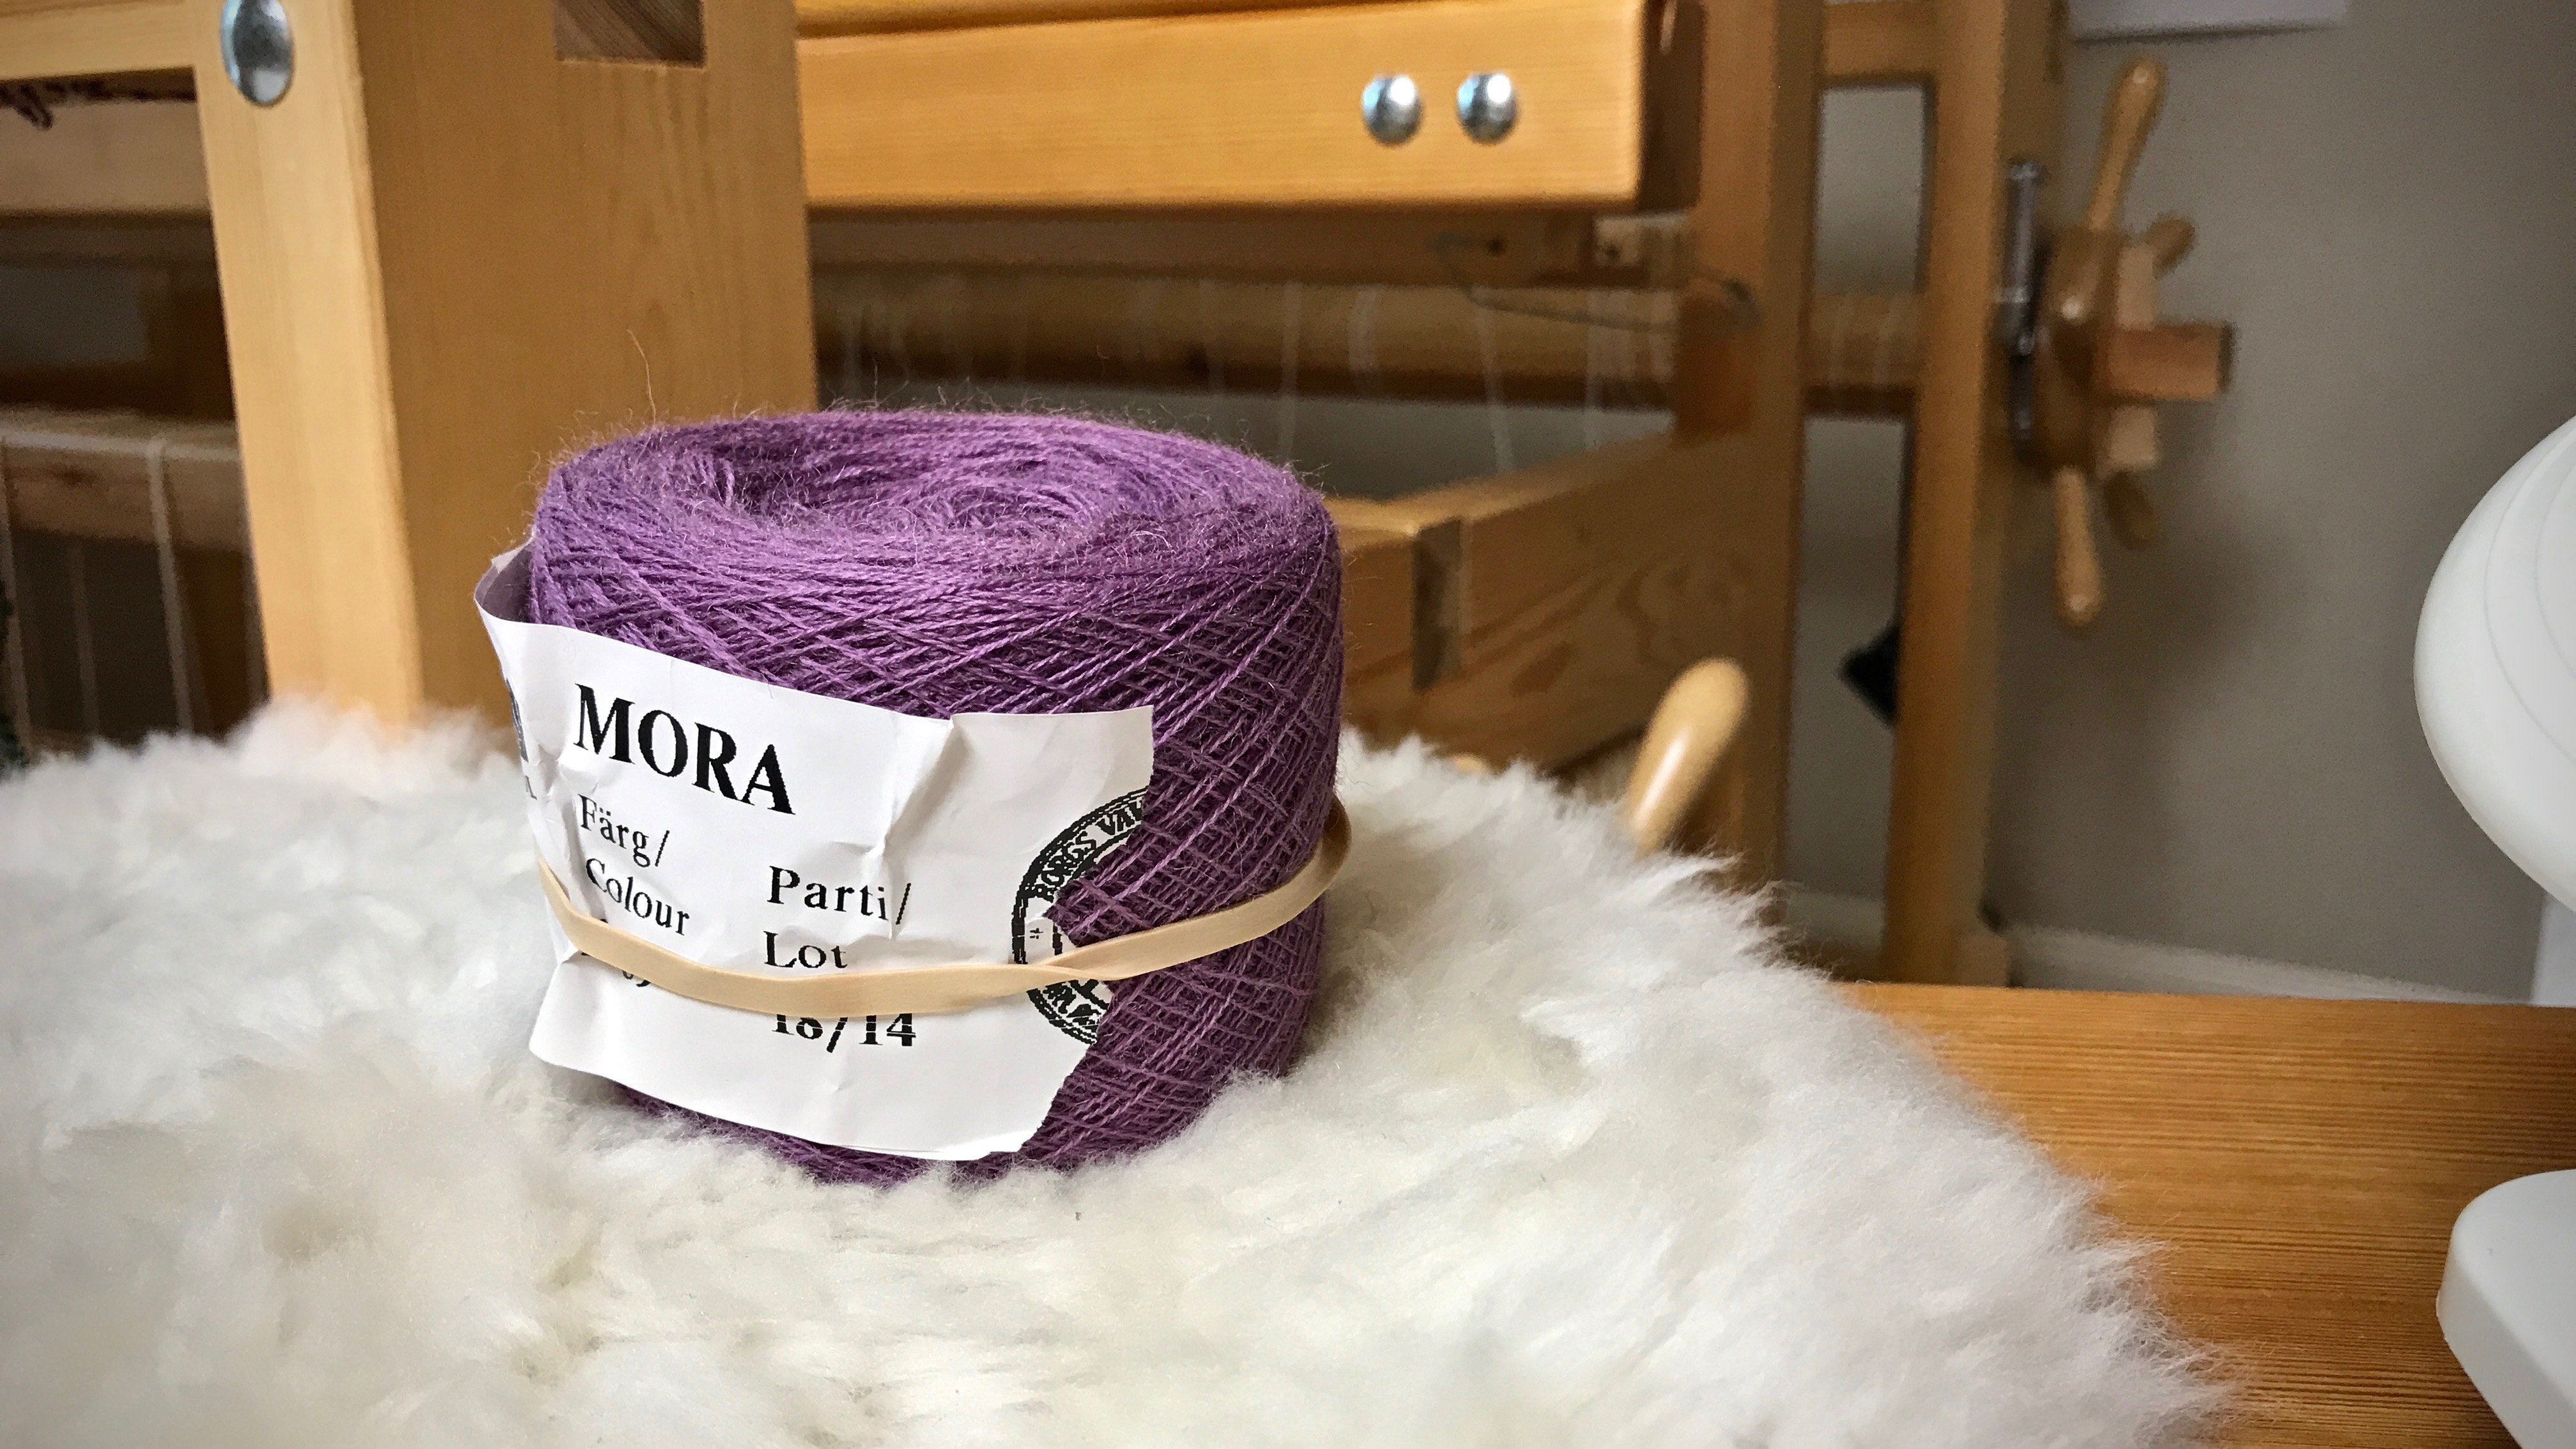
Remove the yarn ball from the yarn ball winder and wrap the skein’s label on the new yarn ball.
Collect the new balls of yarn and play with the colors in your imagination.
May you take pleasure in your work of preparation.
Eventually, I would like to have a metric reed (or two) in every possible size. Until then, I will be happy with what I have, while I gradually add to my supply, as needed, one reed at a time.
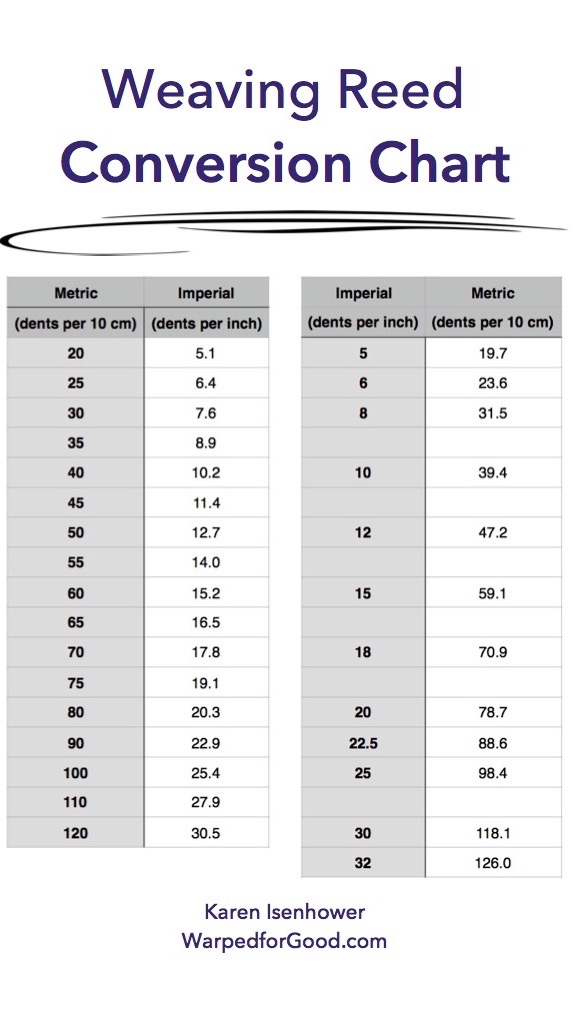
I prefer metric reeds (dents per 10 centimeters) over imperial reeds (dents per inch). For one thing, the math is easier for project planning. And because there are smaller increments between sizes, there are more sett choices with metric reeds. It could be my imagination, but it often seems that the metric reed yields a Goldilocks “just right” sett.
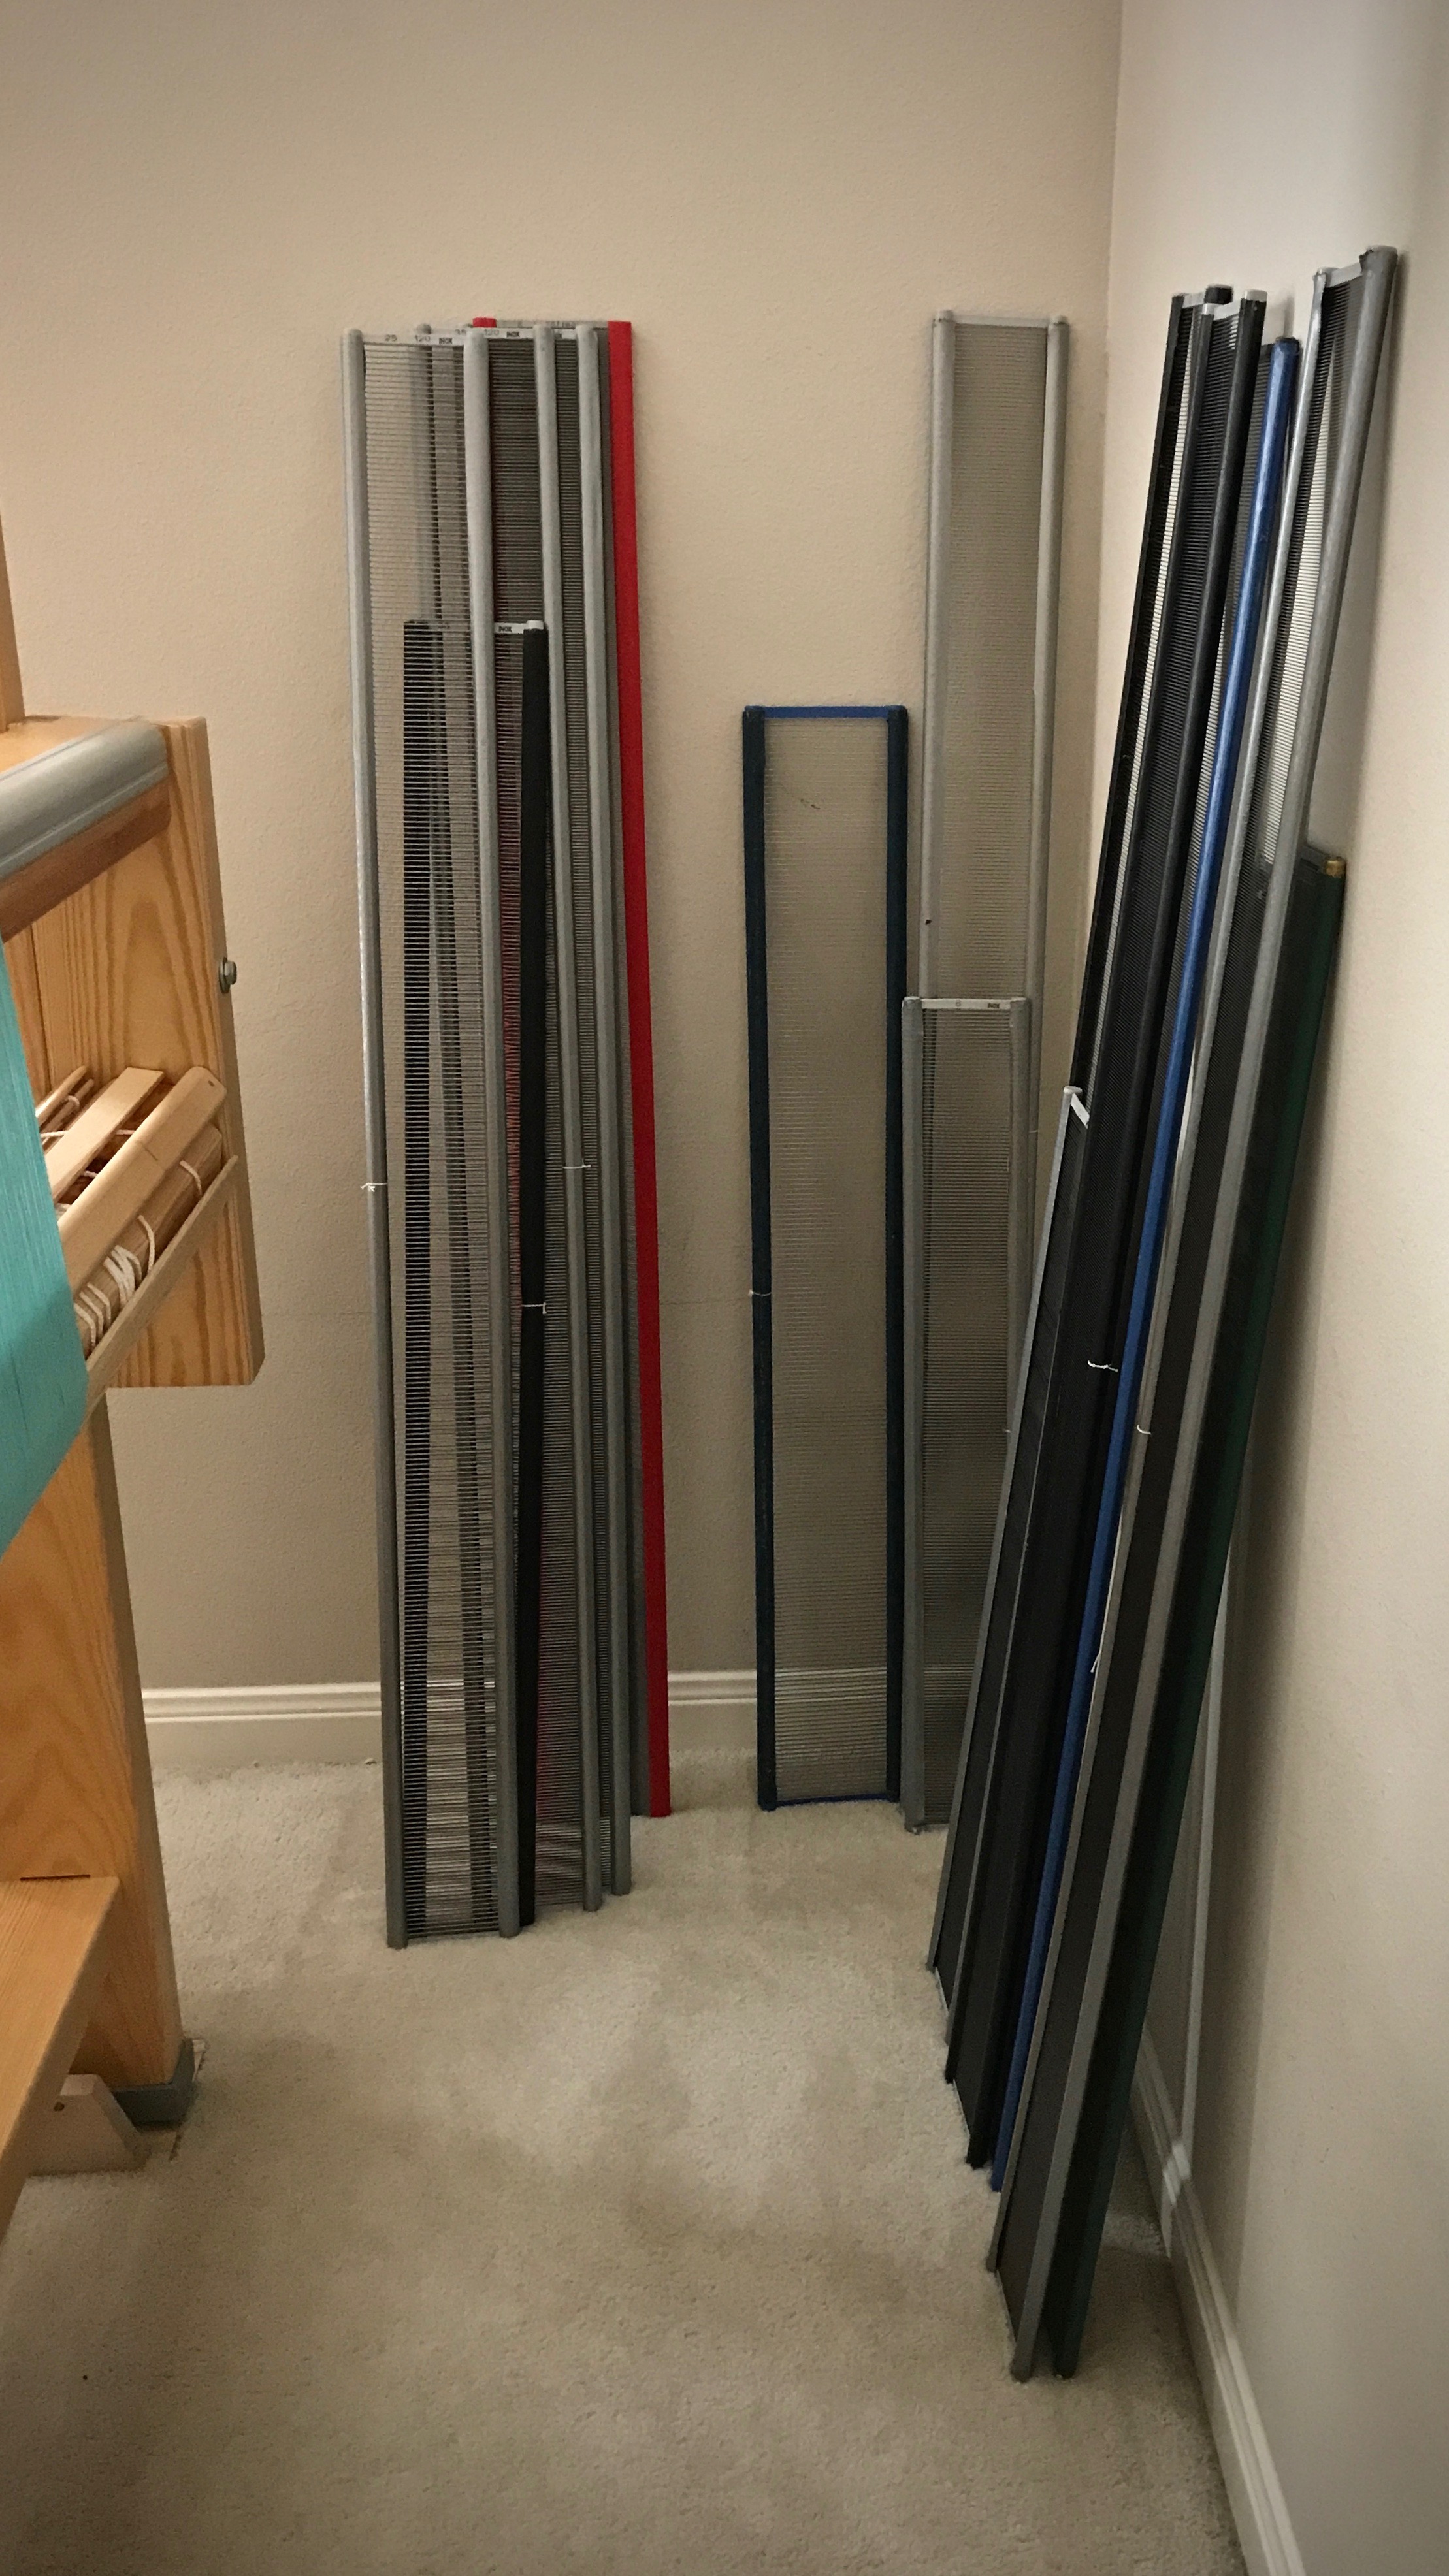
Supply of reeds. Some purchased new, some second-hand purchases, and some received as gifts. All but one have been used on my looms. The reeds usually reside in my weaving supply closet.
My selection of reeds vary in length, from 70 cm (27″) to 120 cm (47″), to fit the weaving widths of my looms. But Glimåkra countermarch looms have beaters that are open on the sides, so I can use any length reed in any loom.
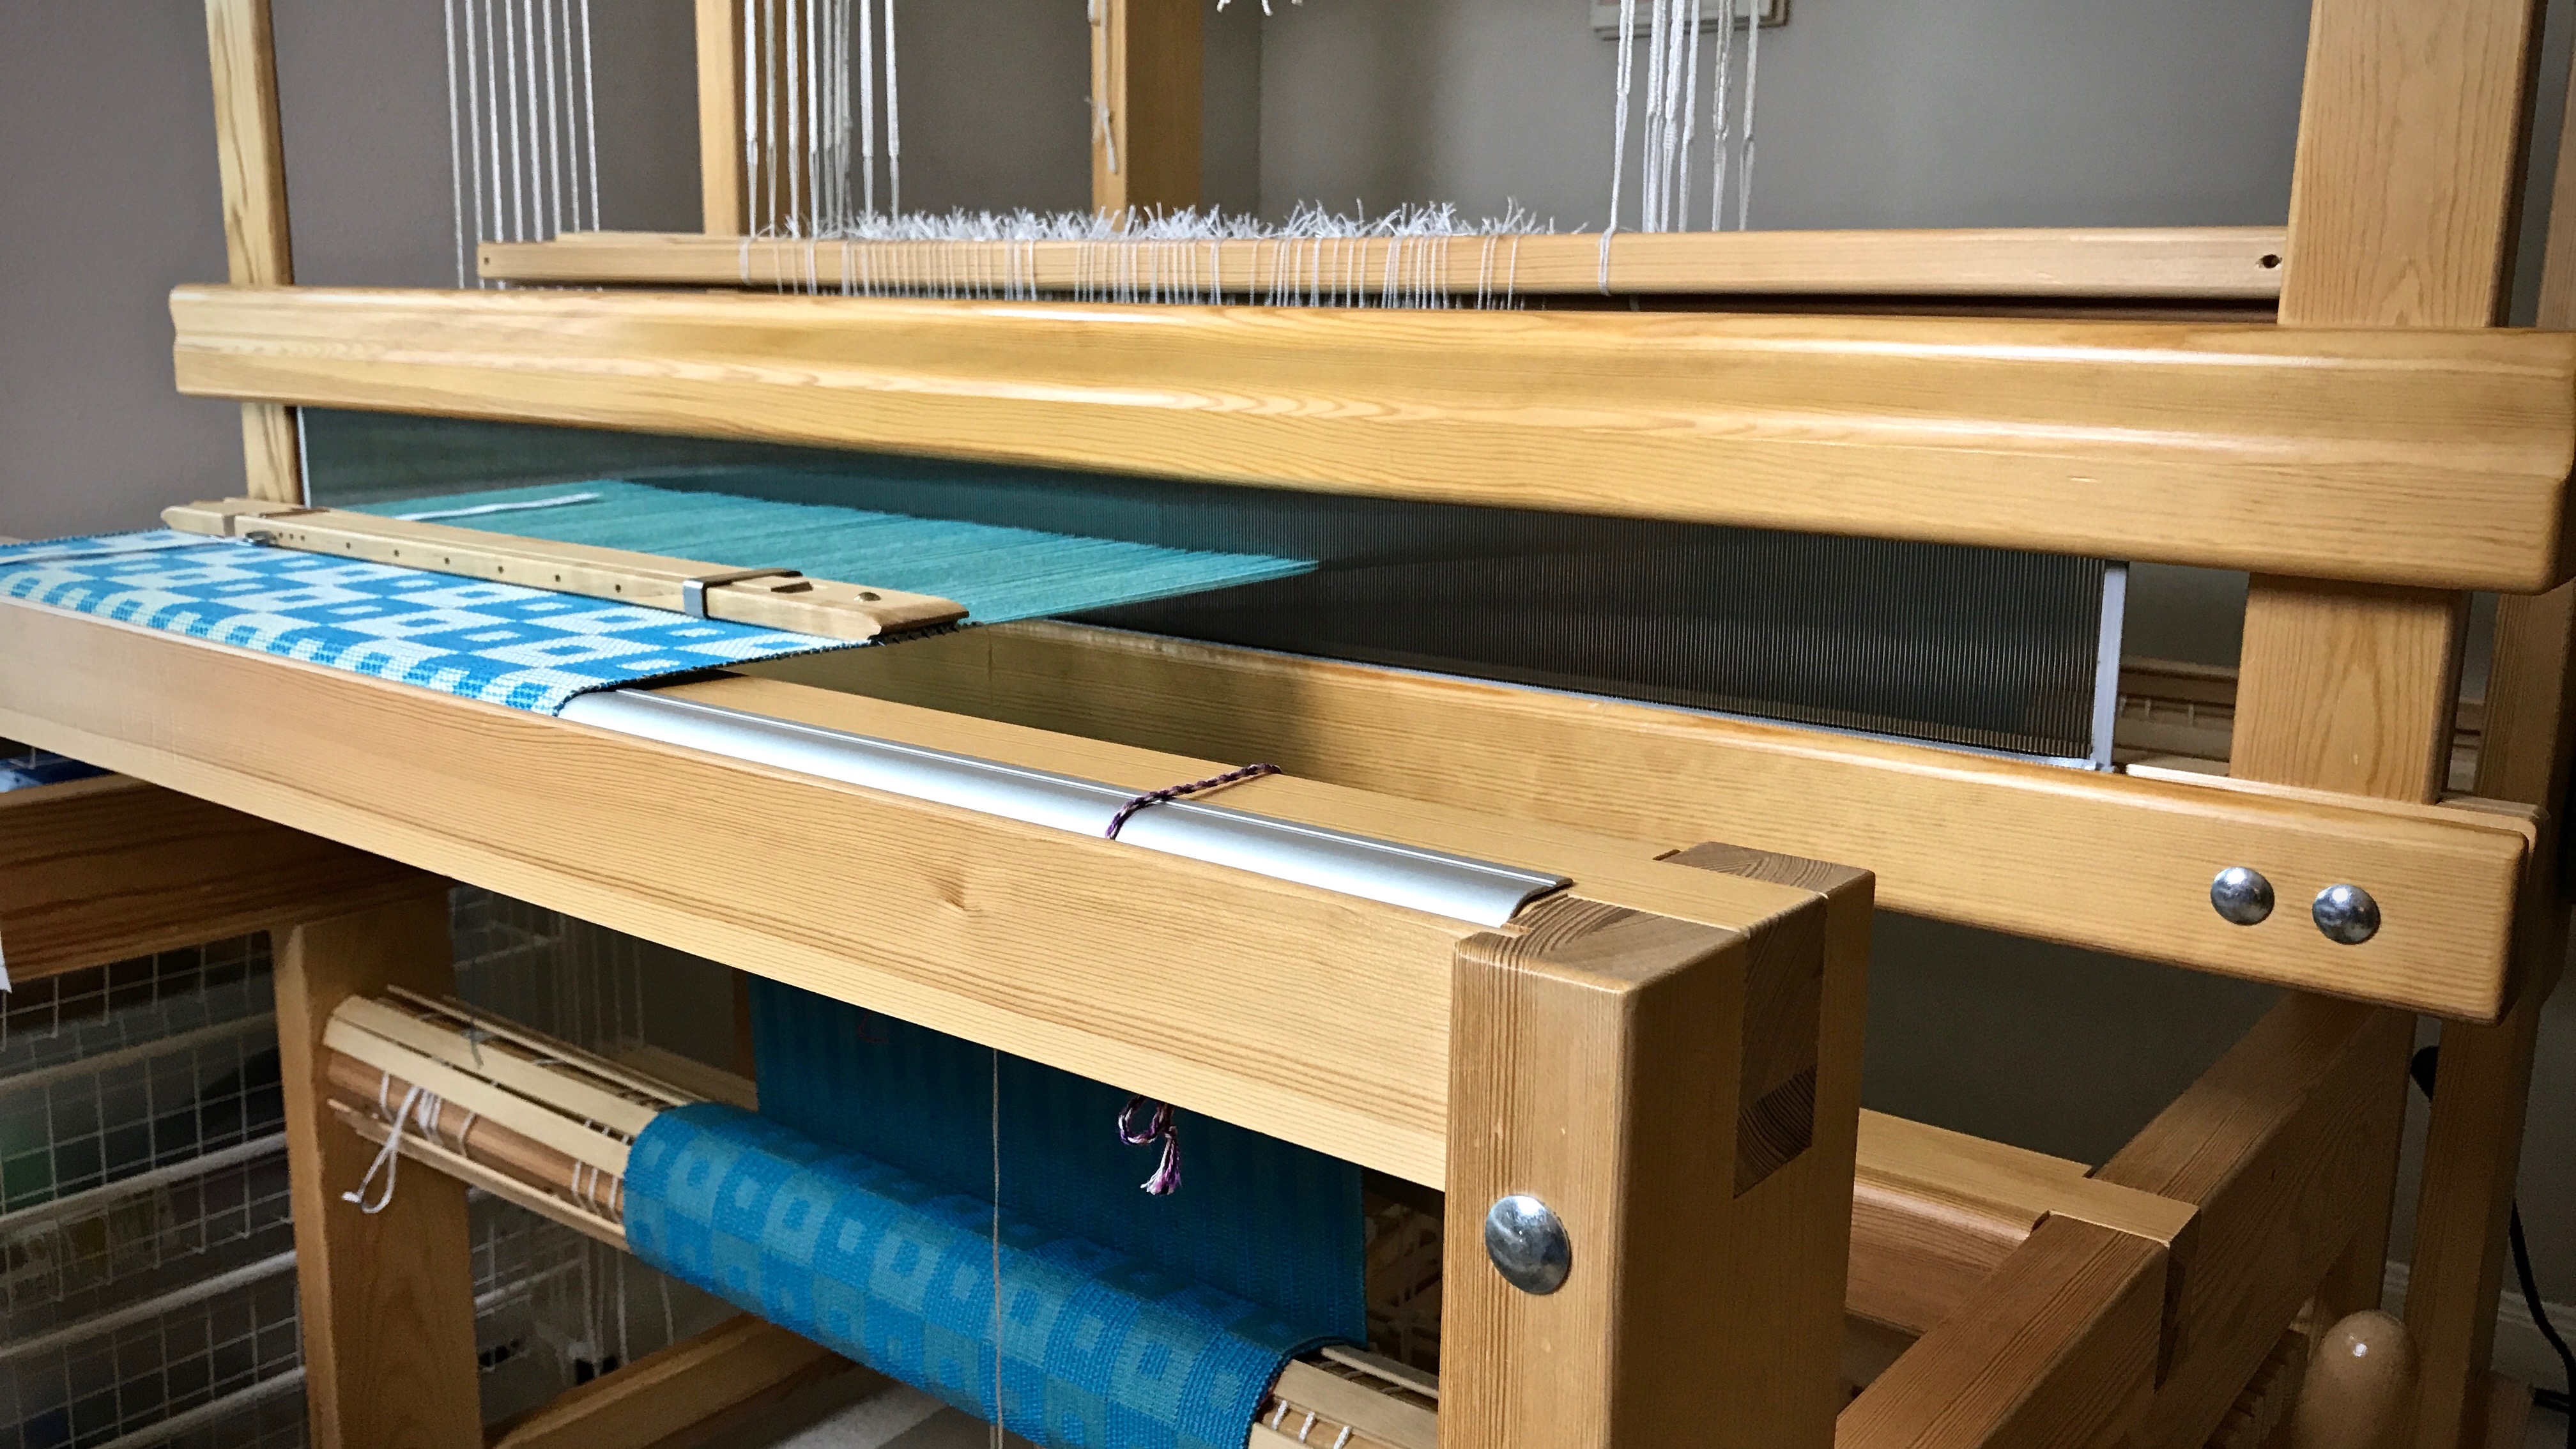
Reed with 120 cm weaving width is being used on this 100 cm Glimåkra Ideal. This is a 22.5 dents/inch reed, sleyed two ends per dent. Notice that the warp is high in the reed? That’s because the front tie-on bar is going over the breast beam.
My all-around favorite reeds are those made by Glimåkra because they are lightweight and easy to handle, …and they come in metric sizes. (Of course, you need to choose reeds that work with your loom.)
This 120 cm reed is a perfect fit for the weaving width of the 120 cm Glimåkra Standard loom. This is a 50/10 metric reed, giving a Goldilocks “just right” sett for this 8/2 tencel taqueté.
I put together a reed conversion chart so that we can see our options at a glance. You never know when a new project will “require” a new metric reed!
May your next project have a Goldilocks “just right” sett.
The first time I wove fabric that required a doubled weft I did not use a double-bobbin shuttle. I didn’t own one. I used a regular boat shuttle and sent it across twice, going around the outer warpend. Those first thick and thin towels came out beautifully. So I know it can be done.
The first time I used a double-bobbin shuttle I wondered if it was worth it. It was awkward and clumsy in my hands. Since that rocky introduction a few years ago, I have woven many meters with my double-bobbin shuttles. They have become cherished tools and efficient accomplices to some of my favorite fabric-making endeavors!
Tips for Weaving with a Double-Bobbin Shuttle (and a short video demonstration)
Practice. Make sure you allow extra warp length for practicing. You will probably need it at first. Have fun and laugh, and refrain from throwing the shuttle across the room.
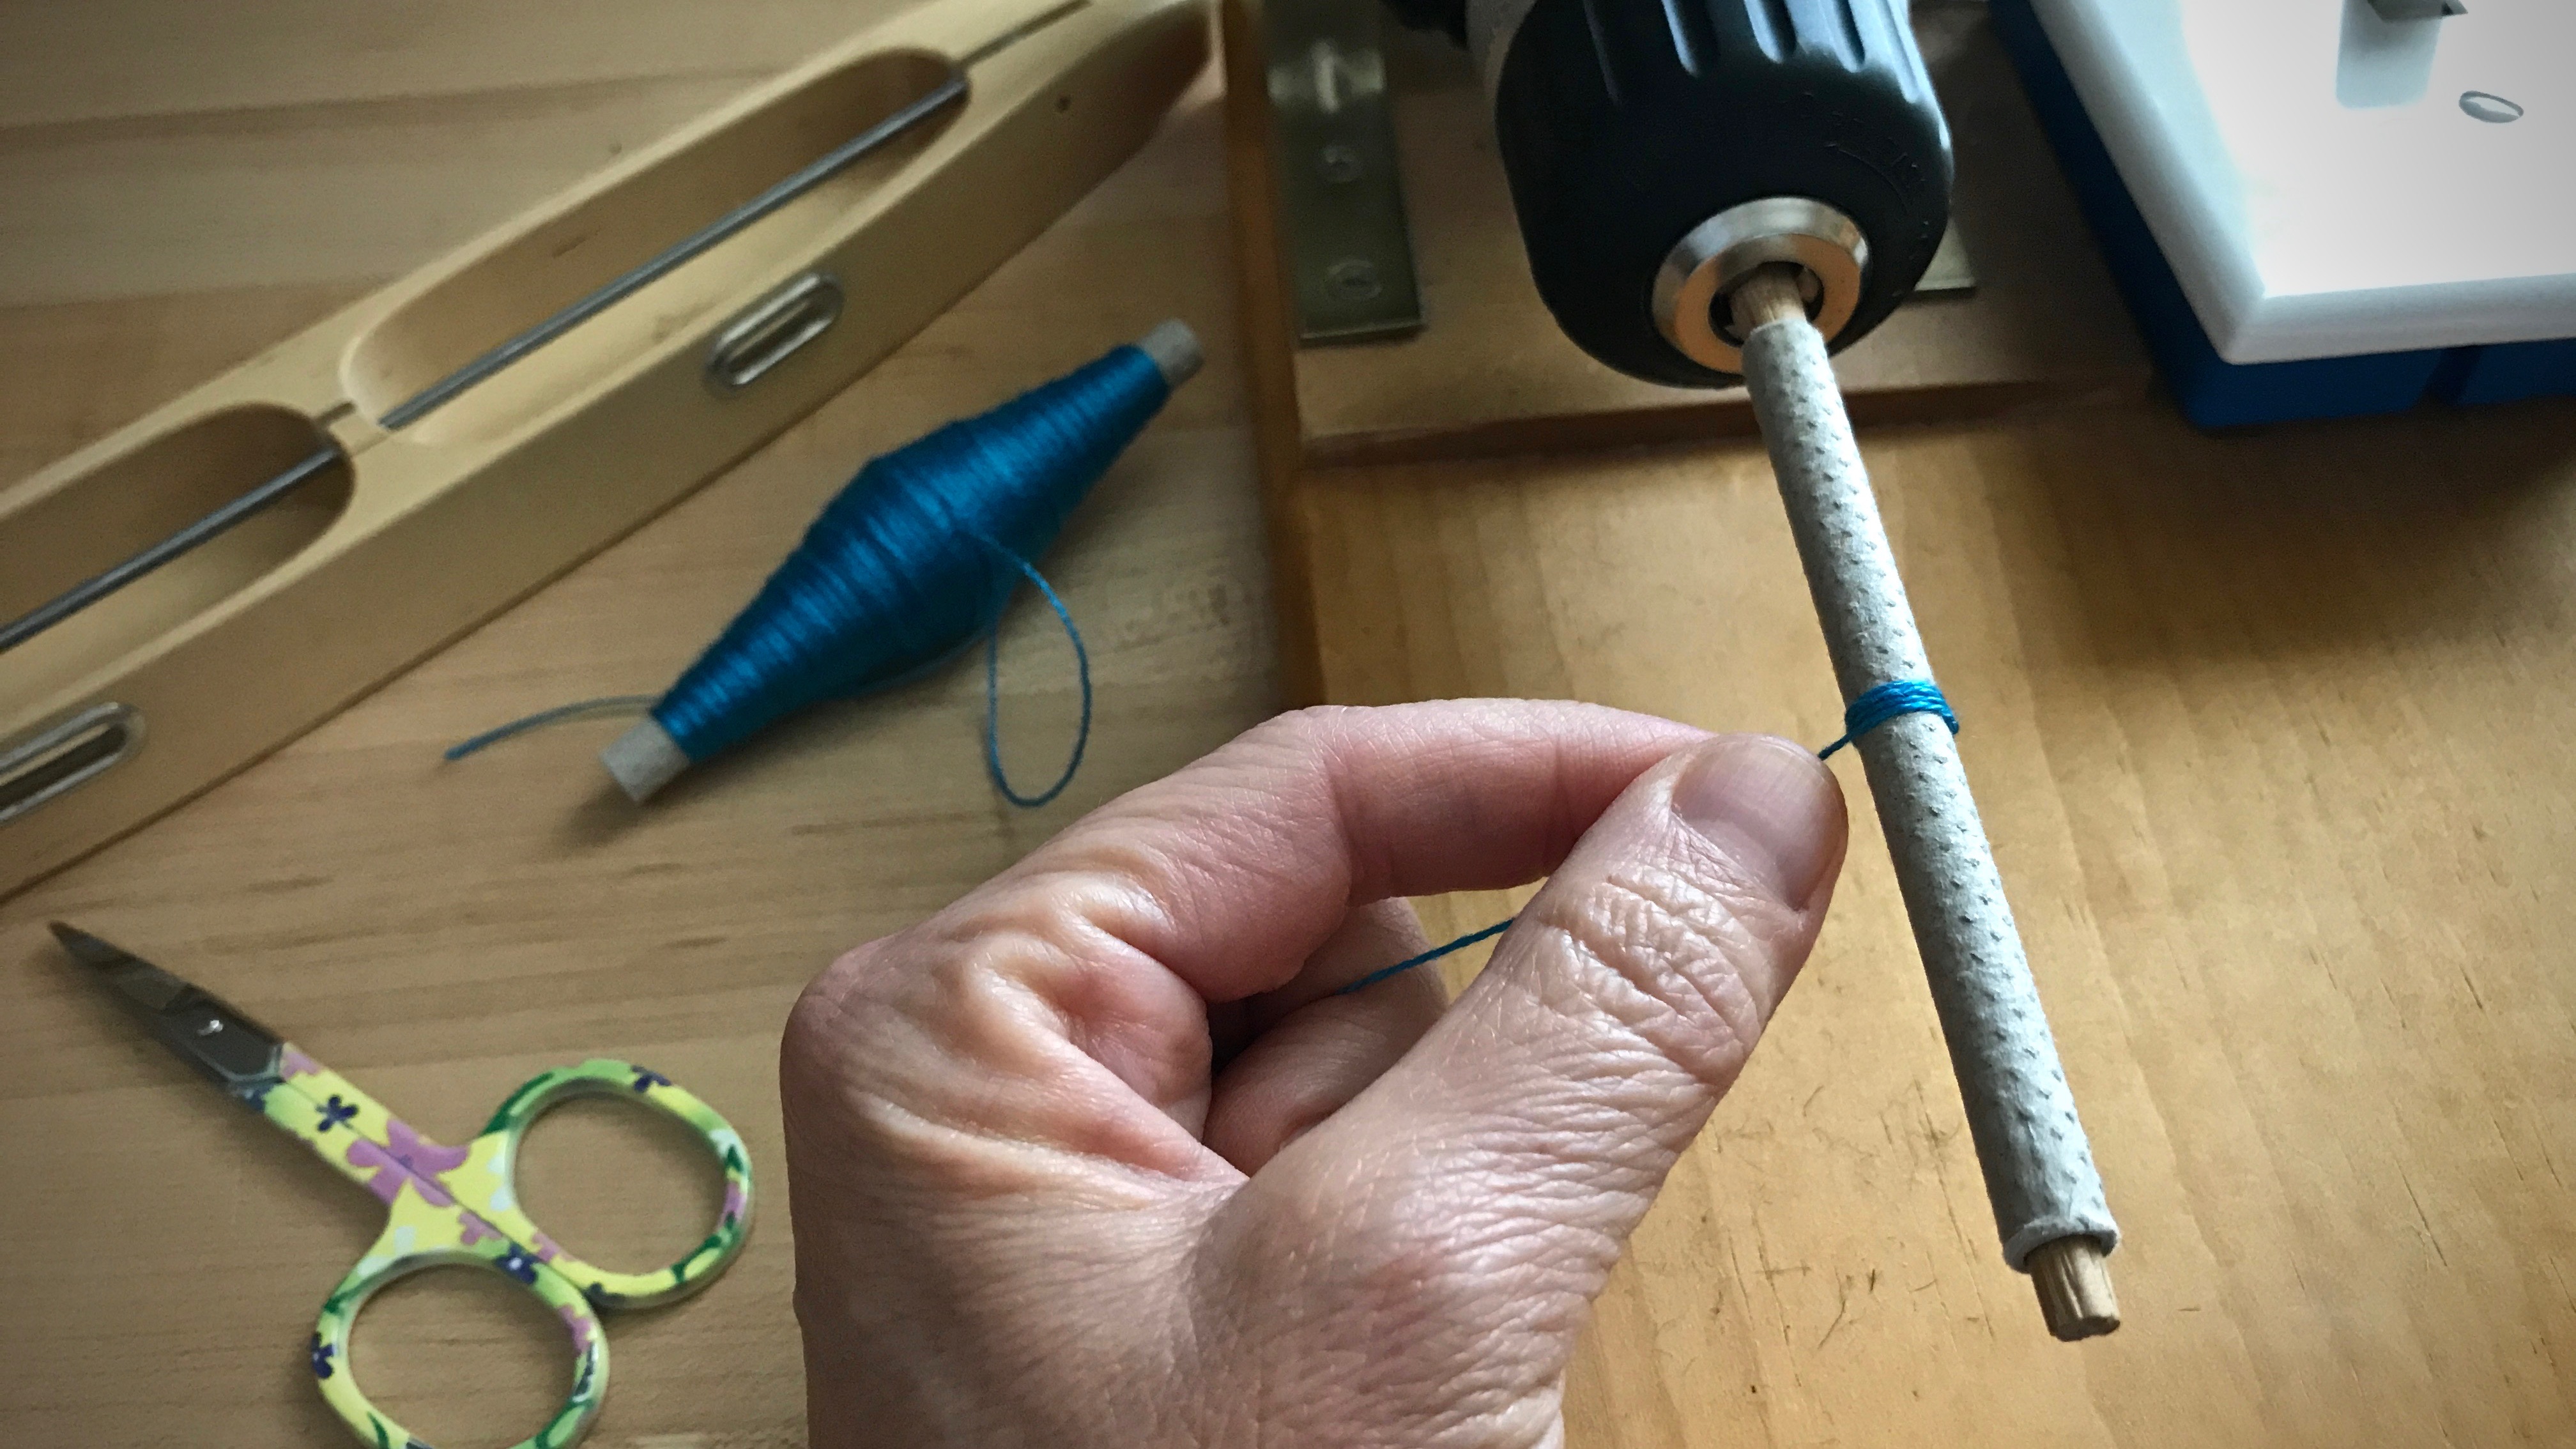
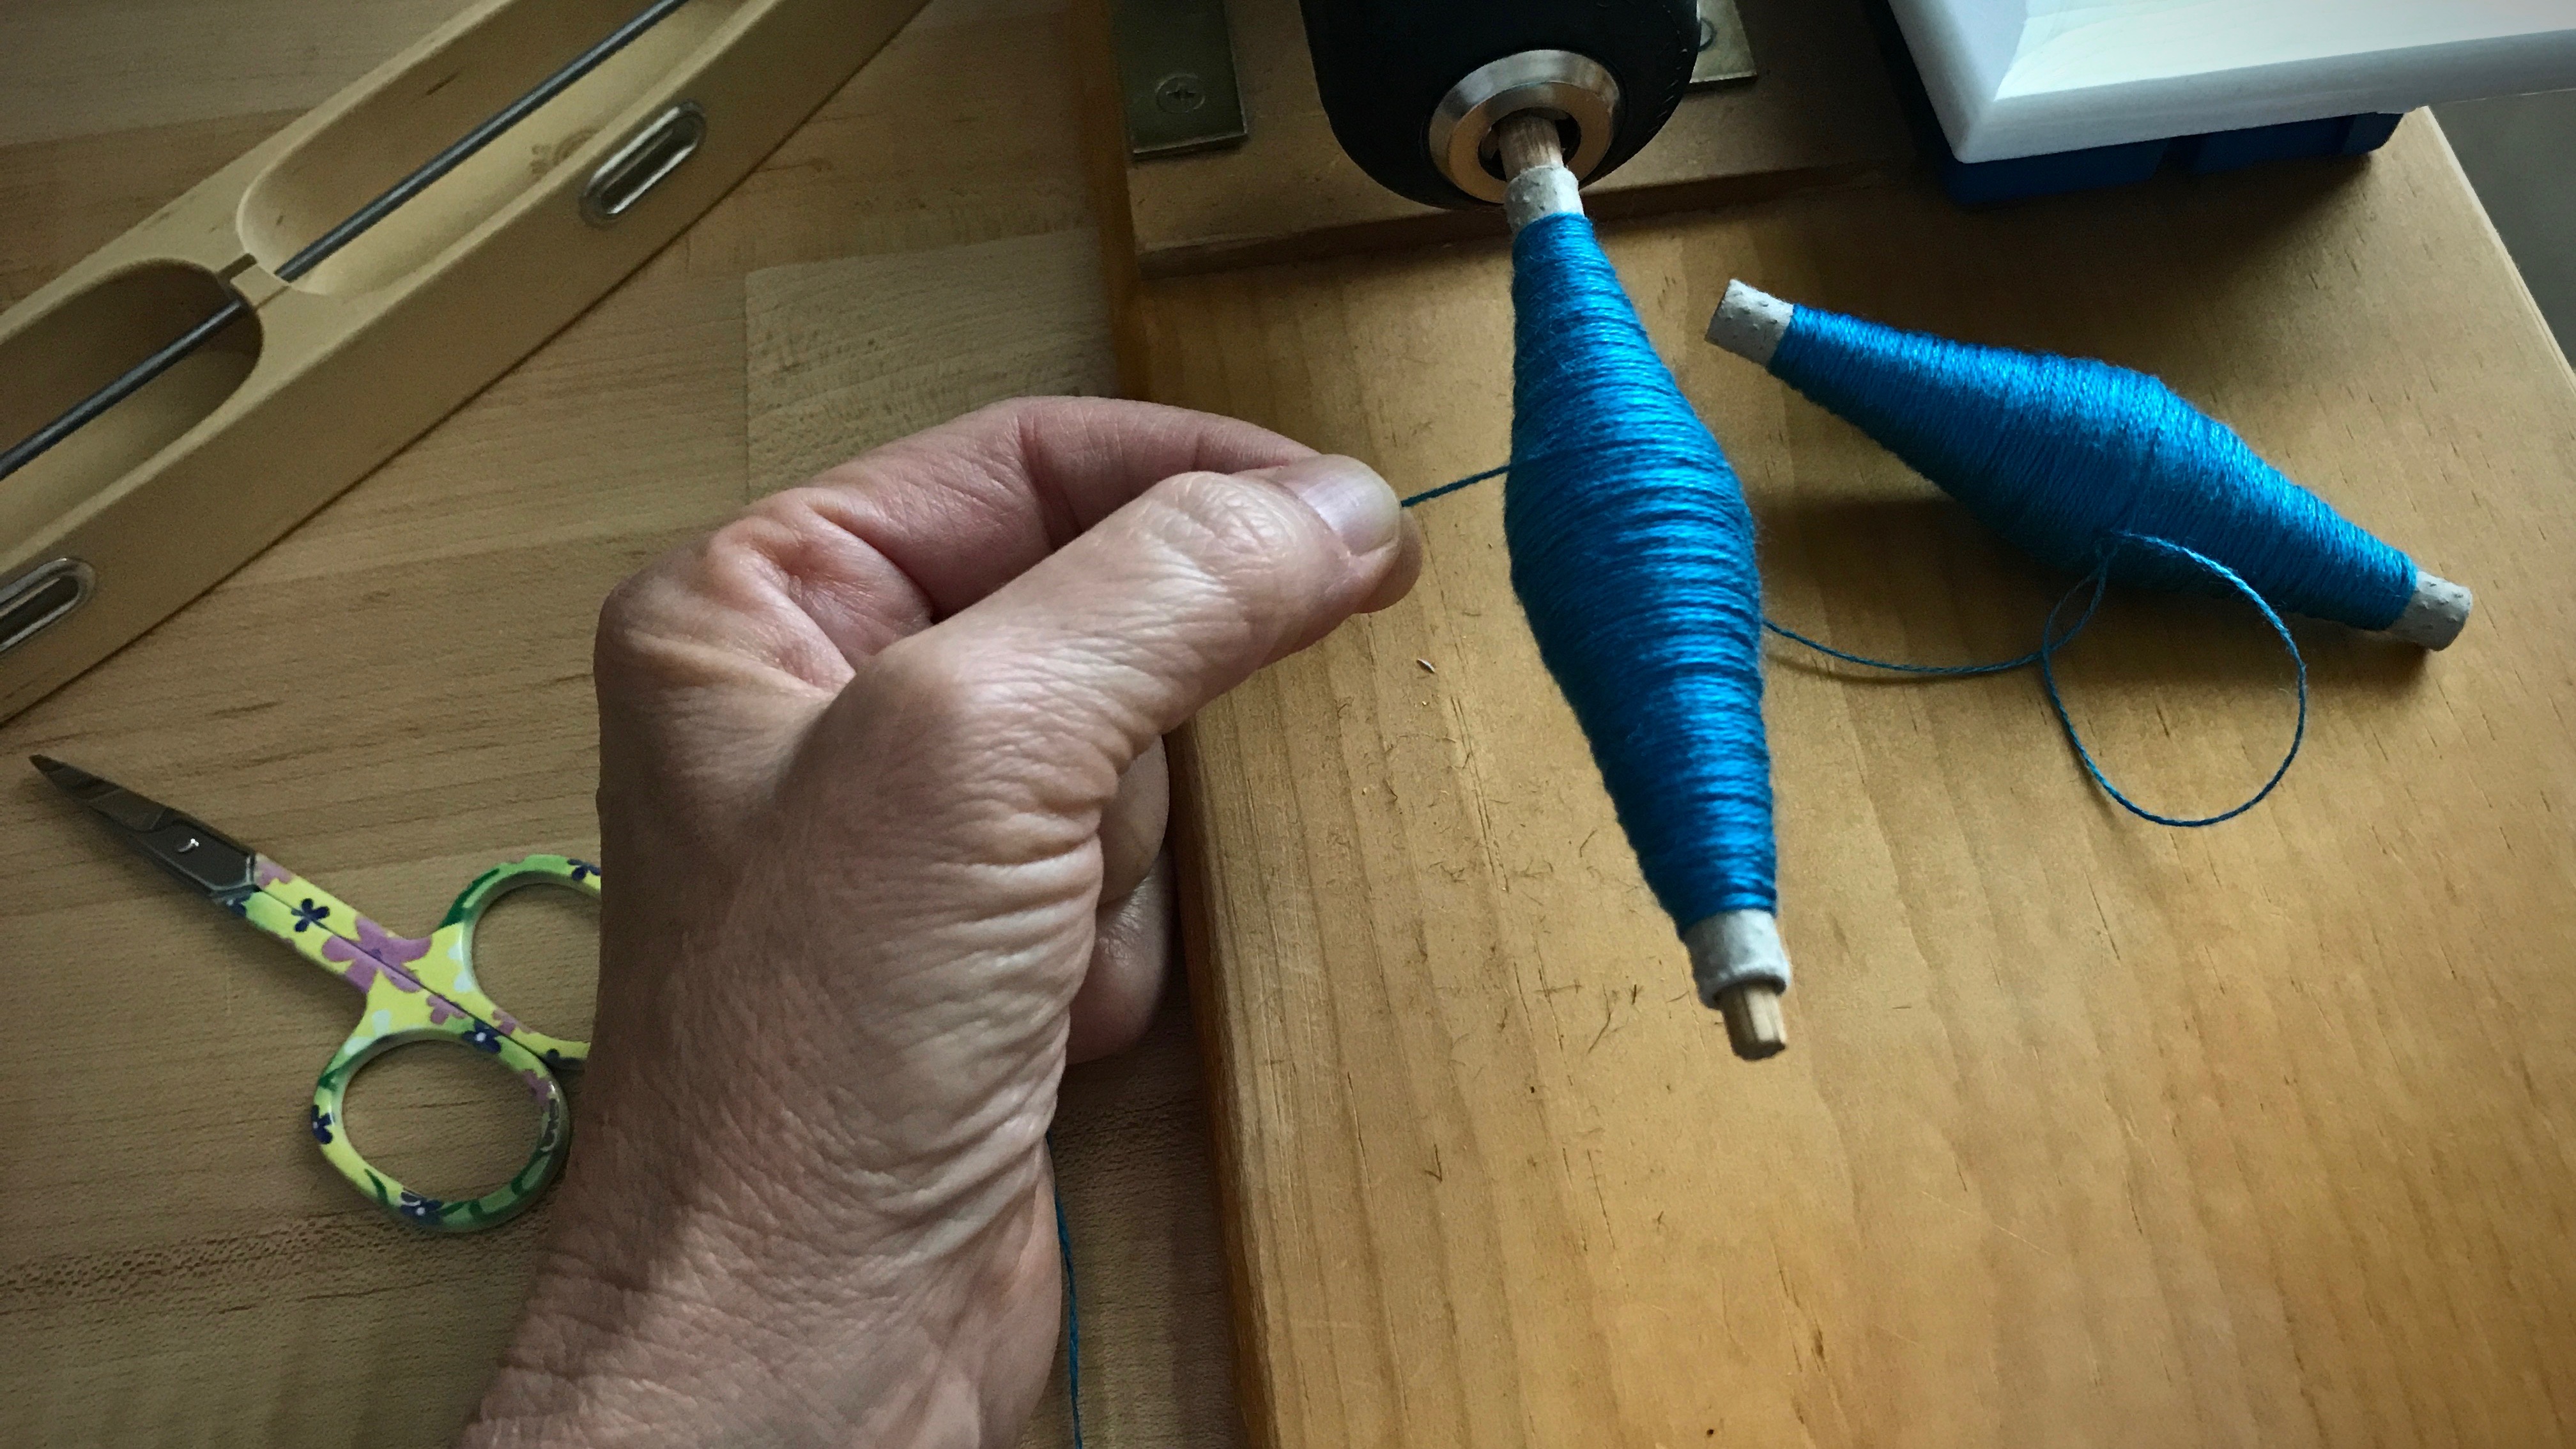
Winding Equal Bobbins. Wind the first quill. Lay it close to the bobbin winder where you can see it easily. As you wind the second quill, attempt to match it in size to the first one. (Winding two quills with equal amounts of thread is no small challenge.)
Visibility of the first wound quill is key for judging how much thread to wind on the second quill.Knowing when to stop is the trick. The ideal is for both quills to become empty at the same time. This only happens in your dreams. But sometimes you can get pretty close.
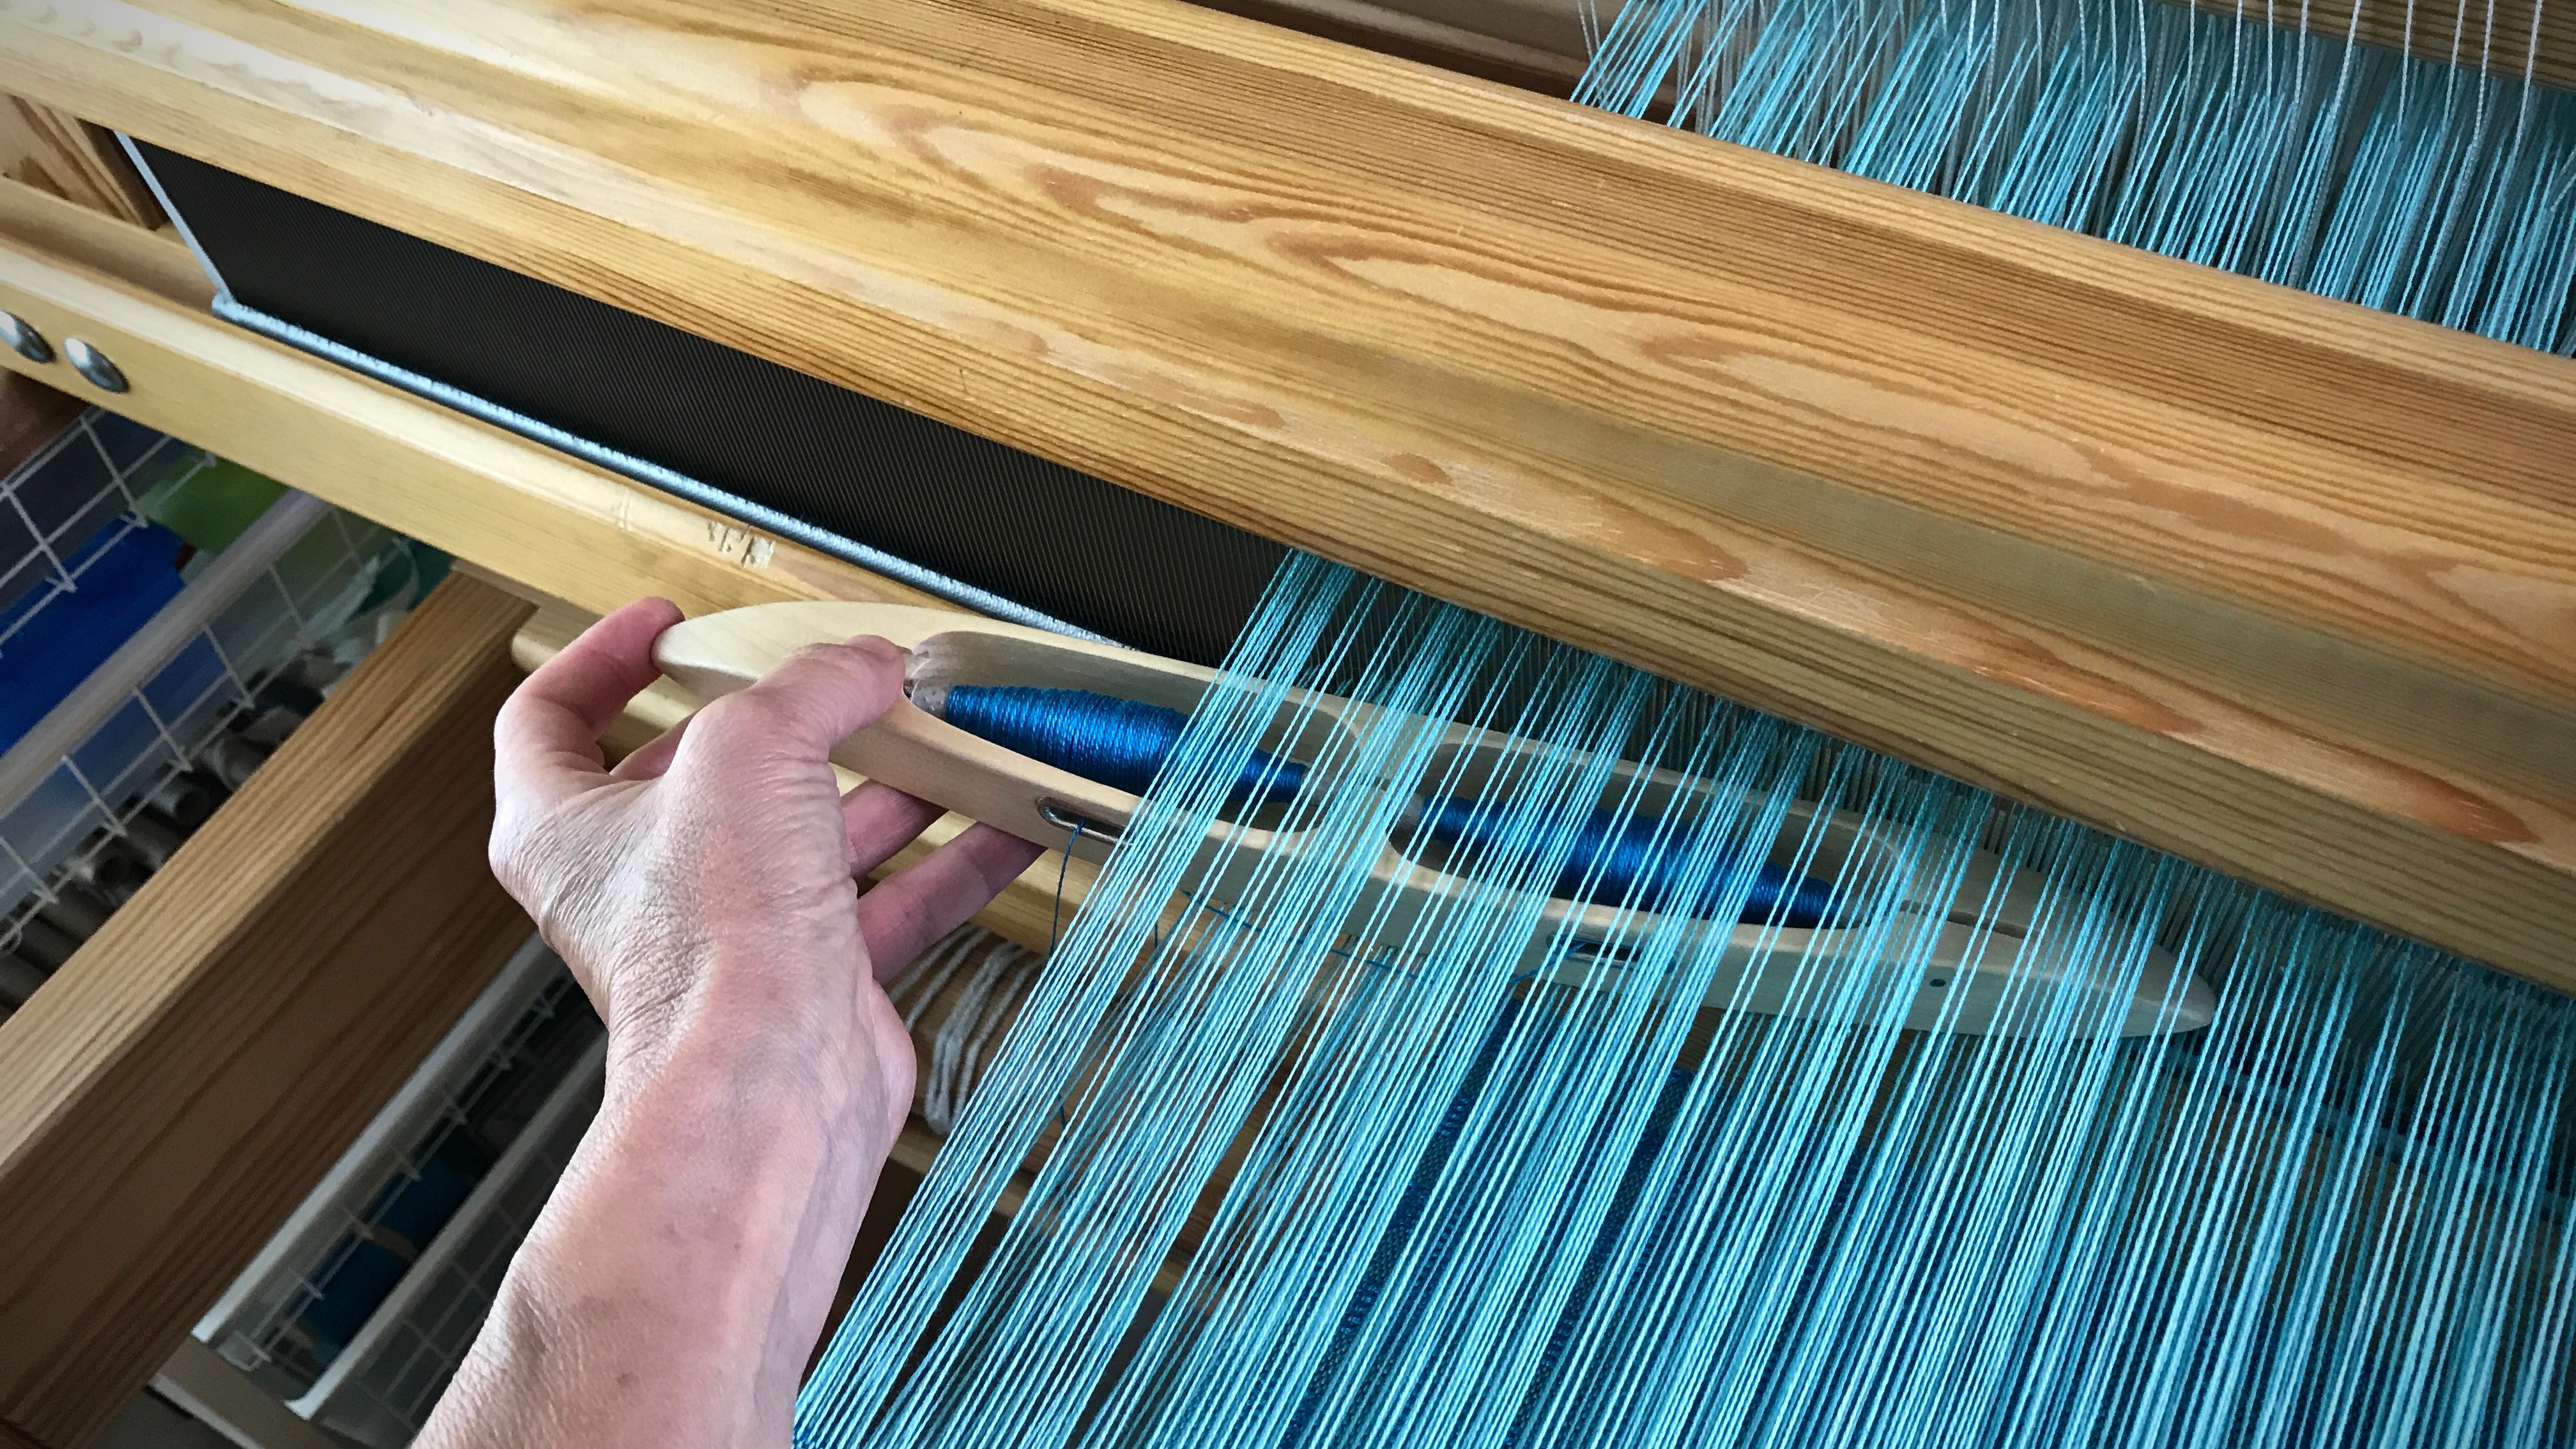
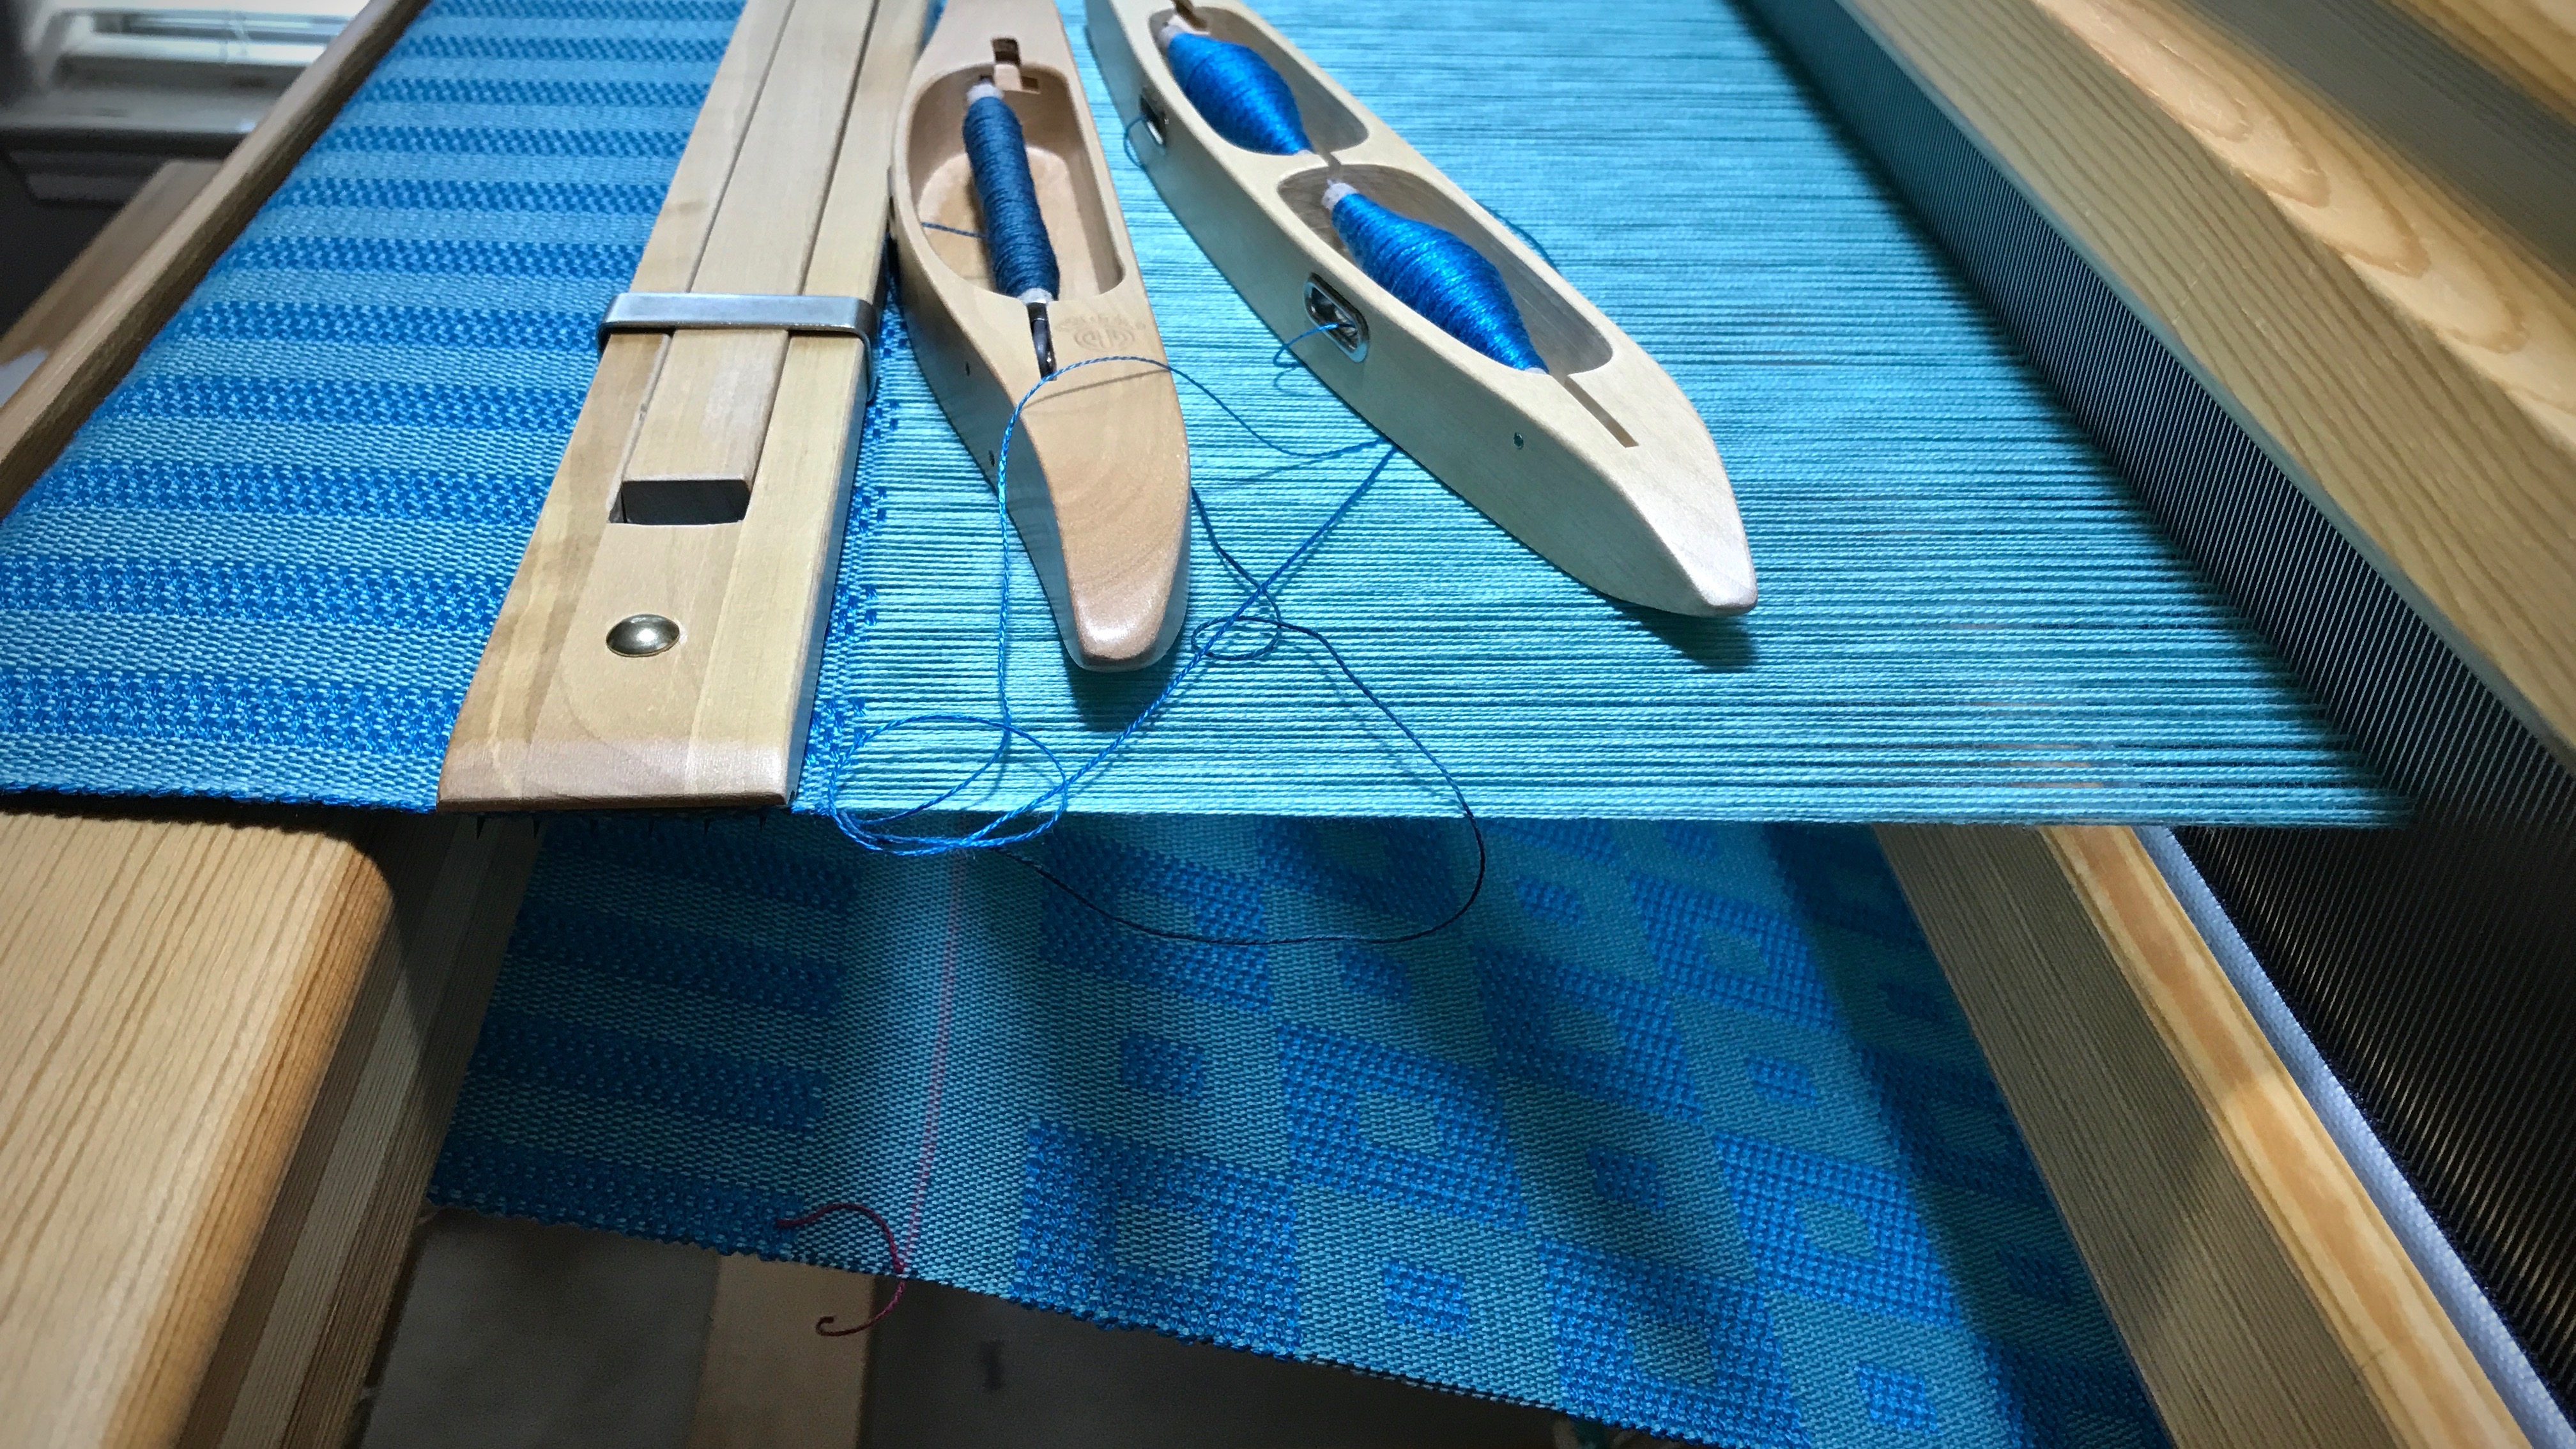
Sending the Shuttle. Sending the double-bobbin shuttle through the shed is the same as sending a regular boat shuttle across. The best release is done with a flick of the forefinger so the shuttle speeds across. Then, the doubled weft naturally snugs the selvedge, and the two threads are neatly aligned across the shed. With a slower, more timid shuttle send-off, the quills unwind unequally.
Holding the shuttle palm up, the forefinger launches the shuttle to glide quickly through the shed.Timid or sluggish shuttle send-off lays unequal lengths of threads in the shed.Deliberate send-off of the shuttle helps the threads to lay across the shed in equal lengths.
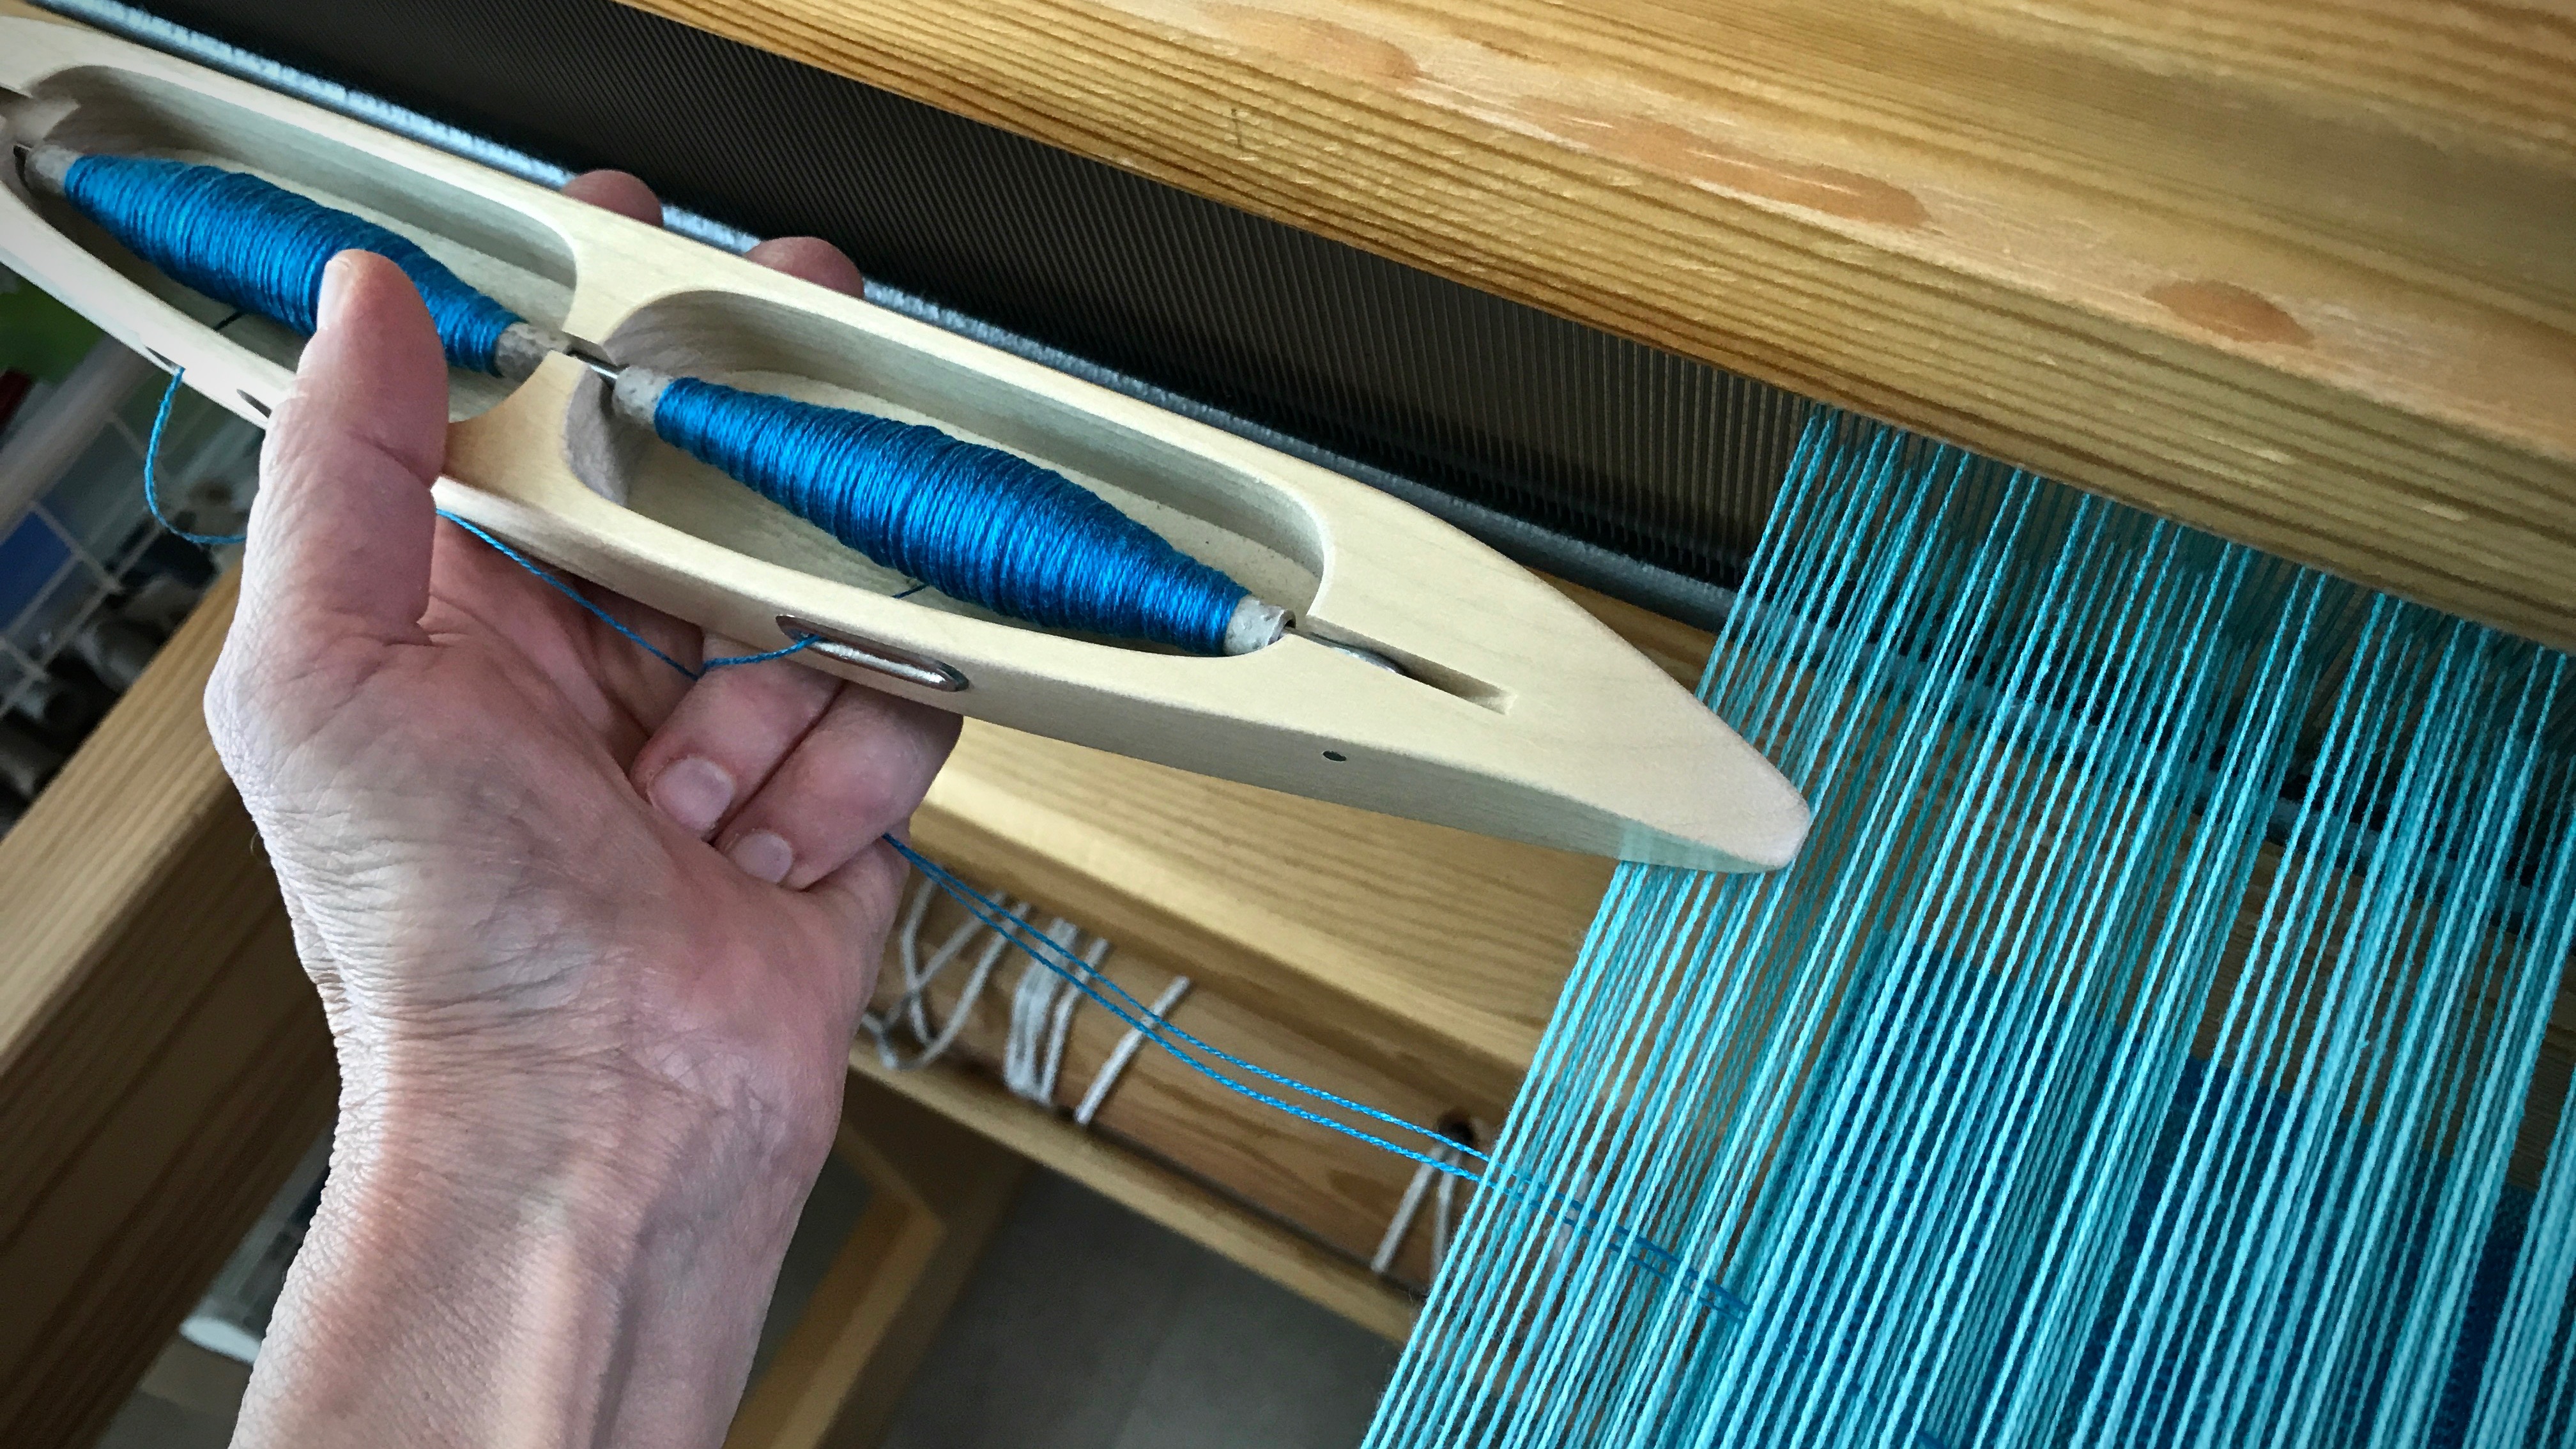
Receiving the Shuttle. Receiving the shuttle can be the awkward and clumsy part at first. Especially if you are trying to practice a quicker send-off. I catch the shuttle as for any boat shuttle, palm up. And then, if needed, I fold my two bottom fingers around the threads, guiding them to fall equally across the shed.
After catching the shuttle, I gently close my fingers around the two threads, as needed, to guide them to fall evenly across the warp.
Weave. Enjoy the process.
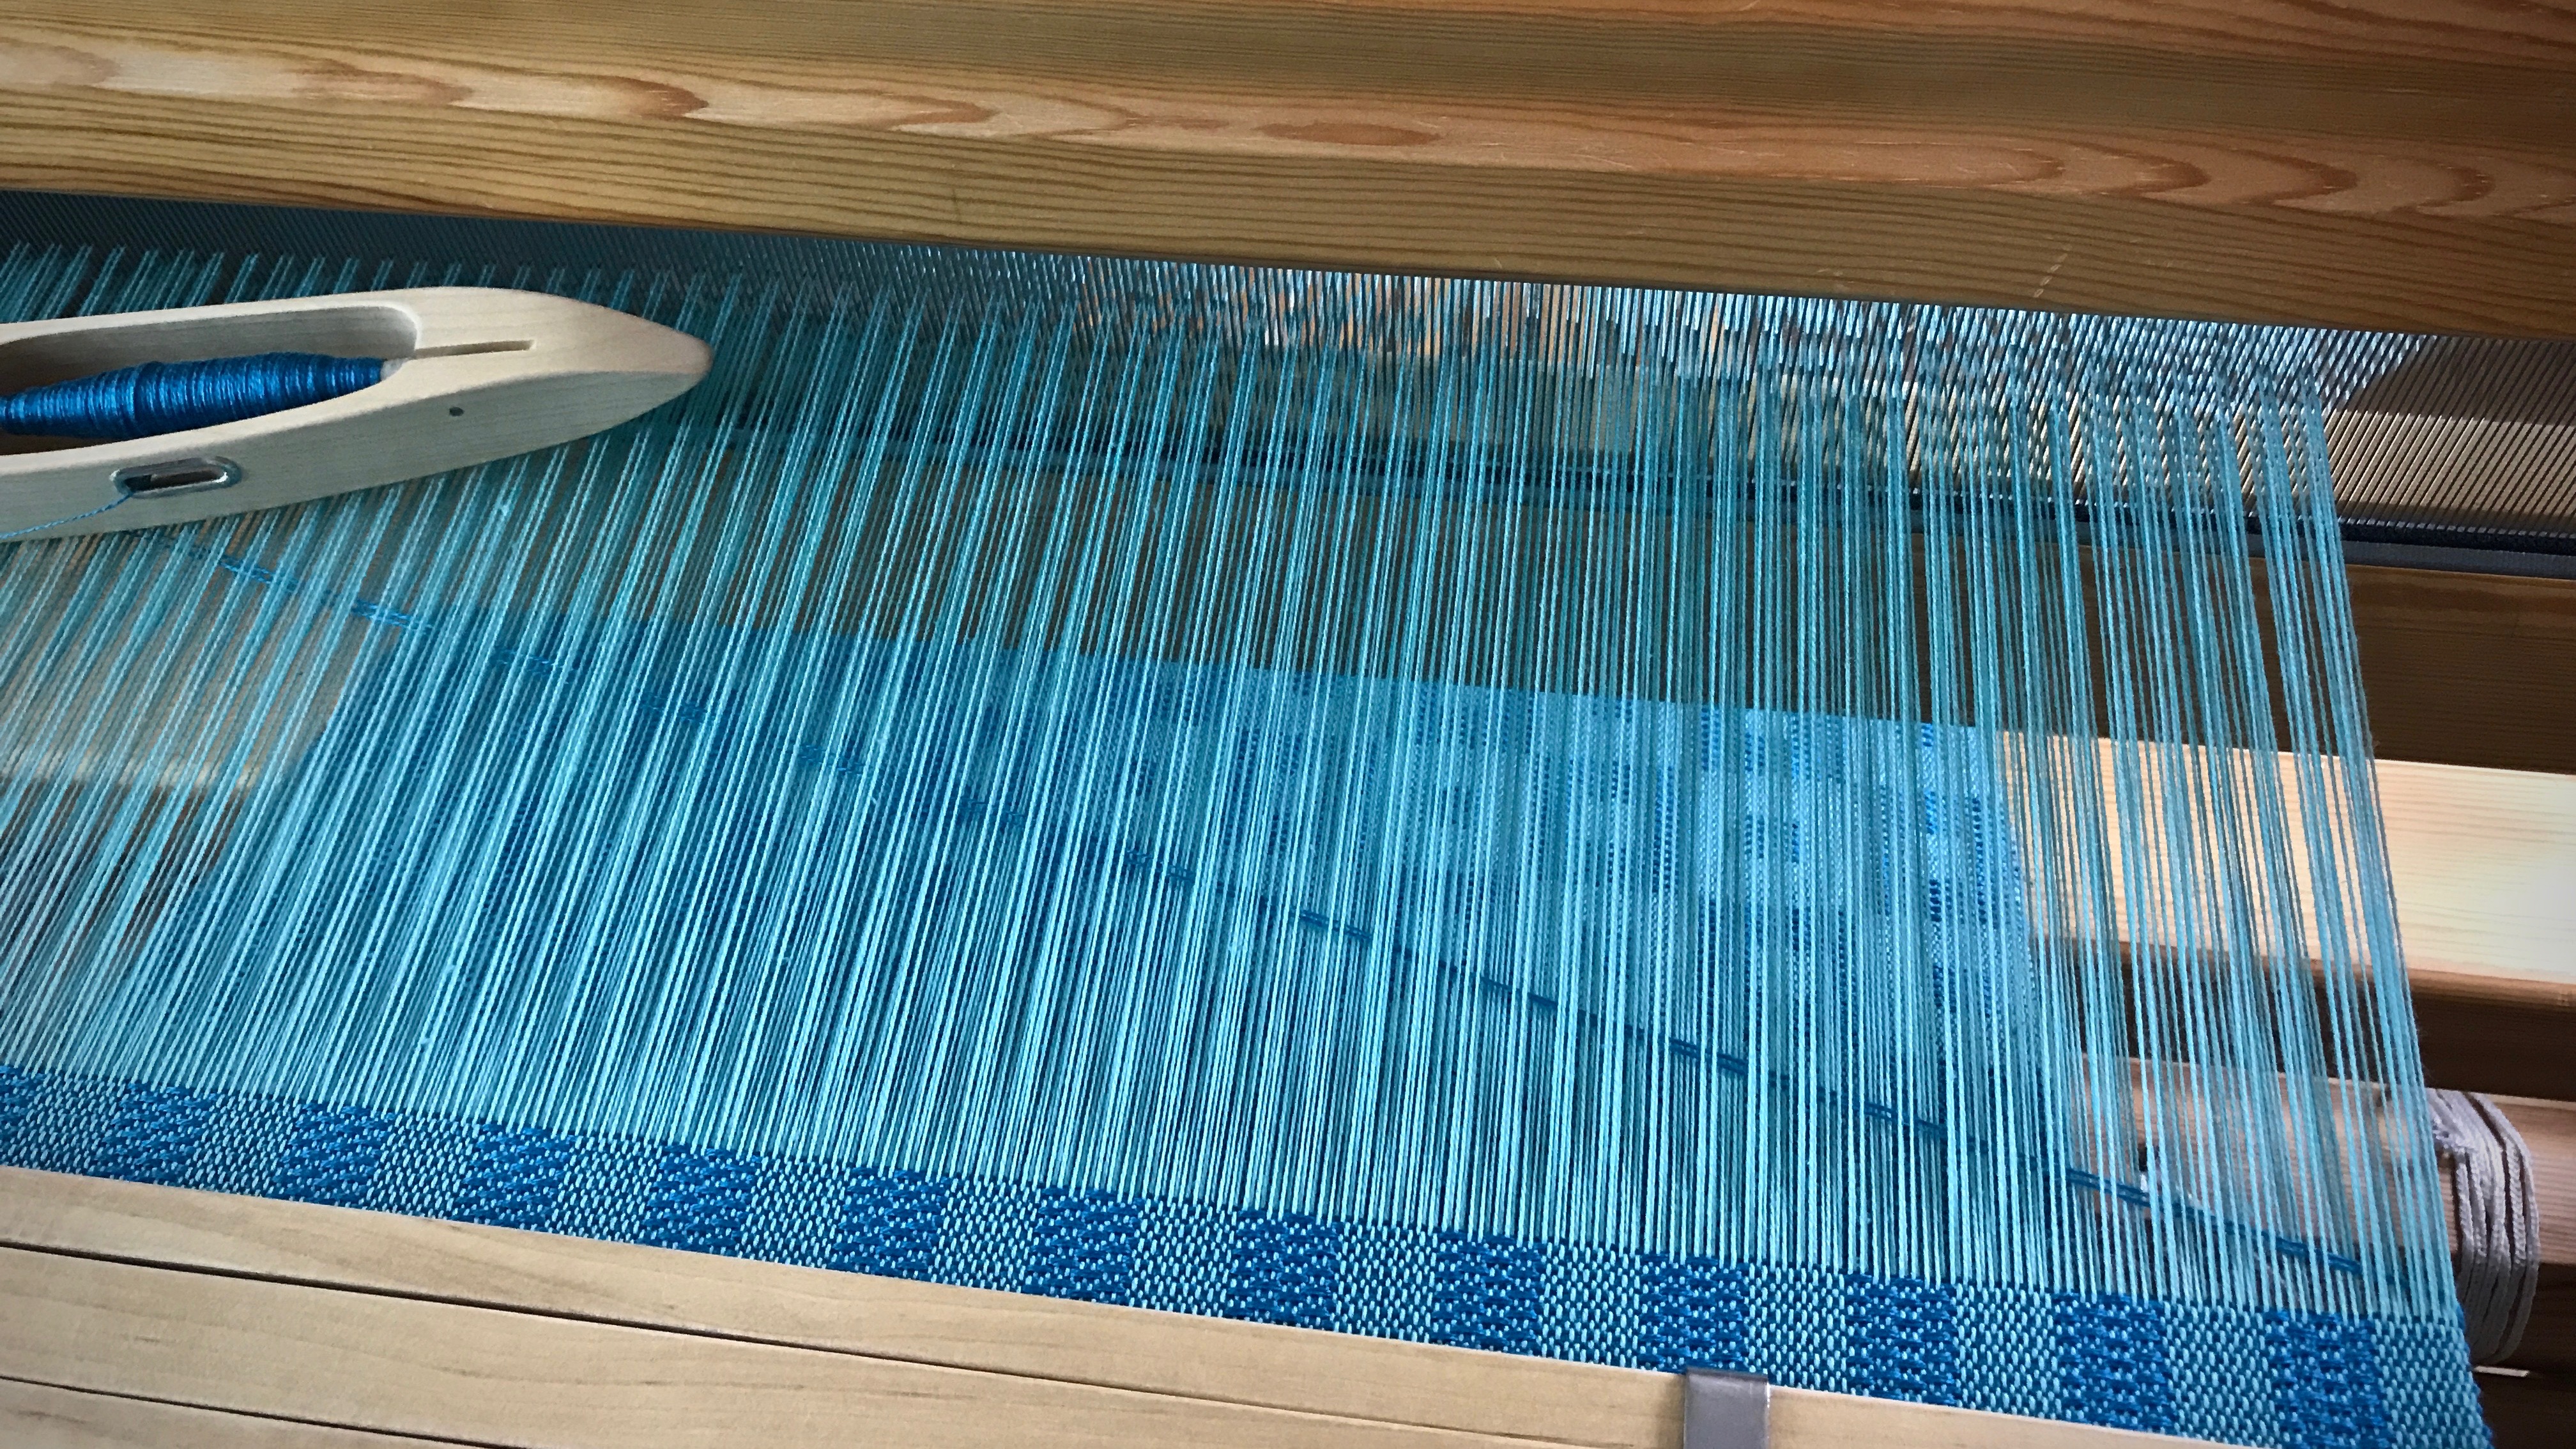
Shuttle shadows.
May your practice produce perfection. (Well, maybe not perfection, but at least improvement.)
Cooks have recipes, builders have blueprints, and handweavers have weaving drafts. There are a few different formats, but all drafts carry the same essential information. There is the tie-up box, the threading pattern, and the treadling sequence. Finally, there’s the drawdown, a graphic representation of how all the threads intersect.
The two formats I see most often are the typical American draft (e.g., Handwoven), and the Swedish draft (e.g., VÄV Magasinet). Many American drafts assume jack looms; whereas, Swedish drafts usually assume counterbalance or countermarch looms. However, any loom can weave from any draft.
As Madelyn van der Hoogt says in The Complete Book of Drafting, “Any tie-up can be used for any type of loom. Discover from the tie-up which shafts must be up and which down for each shed, and do to the loom whatever is required to get them there.”
All the draft formats have this in common: The tie-up box is the starting point. The threading pattern and treadling sequence begin at that point, and go out from there.
The Swedish draft makes perfect sense (remember, of course, I weave on Swedish countermarch looms). I picture the draft as if it is lying flat in front of me.
Becky Ashenden says in the forward to Weave Structures the Swedish Way, “With this orientation of tie-up, treadling, and threading, the draft has a direct relationship to the weaving of the fabric. The tie-up’s location in the lower right-hand corner of the draft allows all other information to match as closely as possible the physical aspects of the loom.”
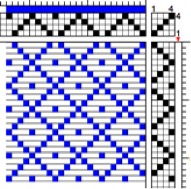
Here is a comparison of the Swedish and American draft formats:
Tie-up is in upper right corner, and uses numerals to designate shafts that rise / white squares for shafts that sink
Threading is above the drawdown
Shafts are numbered from front of loom to the back, with the first shaft the closest to the weaver seated at the loom
Treadling sequence is on the right, and reads from top to bottom
Treadles are numbered from left to right
For a “sinking shed” loom (countermarch or counterbalance loom), use the white squares to tie up sinking shafts
For a “rising shed loom” (jack loom), use the squares with numerals to tie up rising shafts
Similarities between Swedish and American Drafts
Threading reads right to left
Squares in the tie-up box represent treadle cords that attach treadles to corresponding shafts
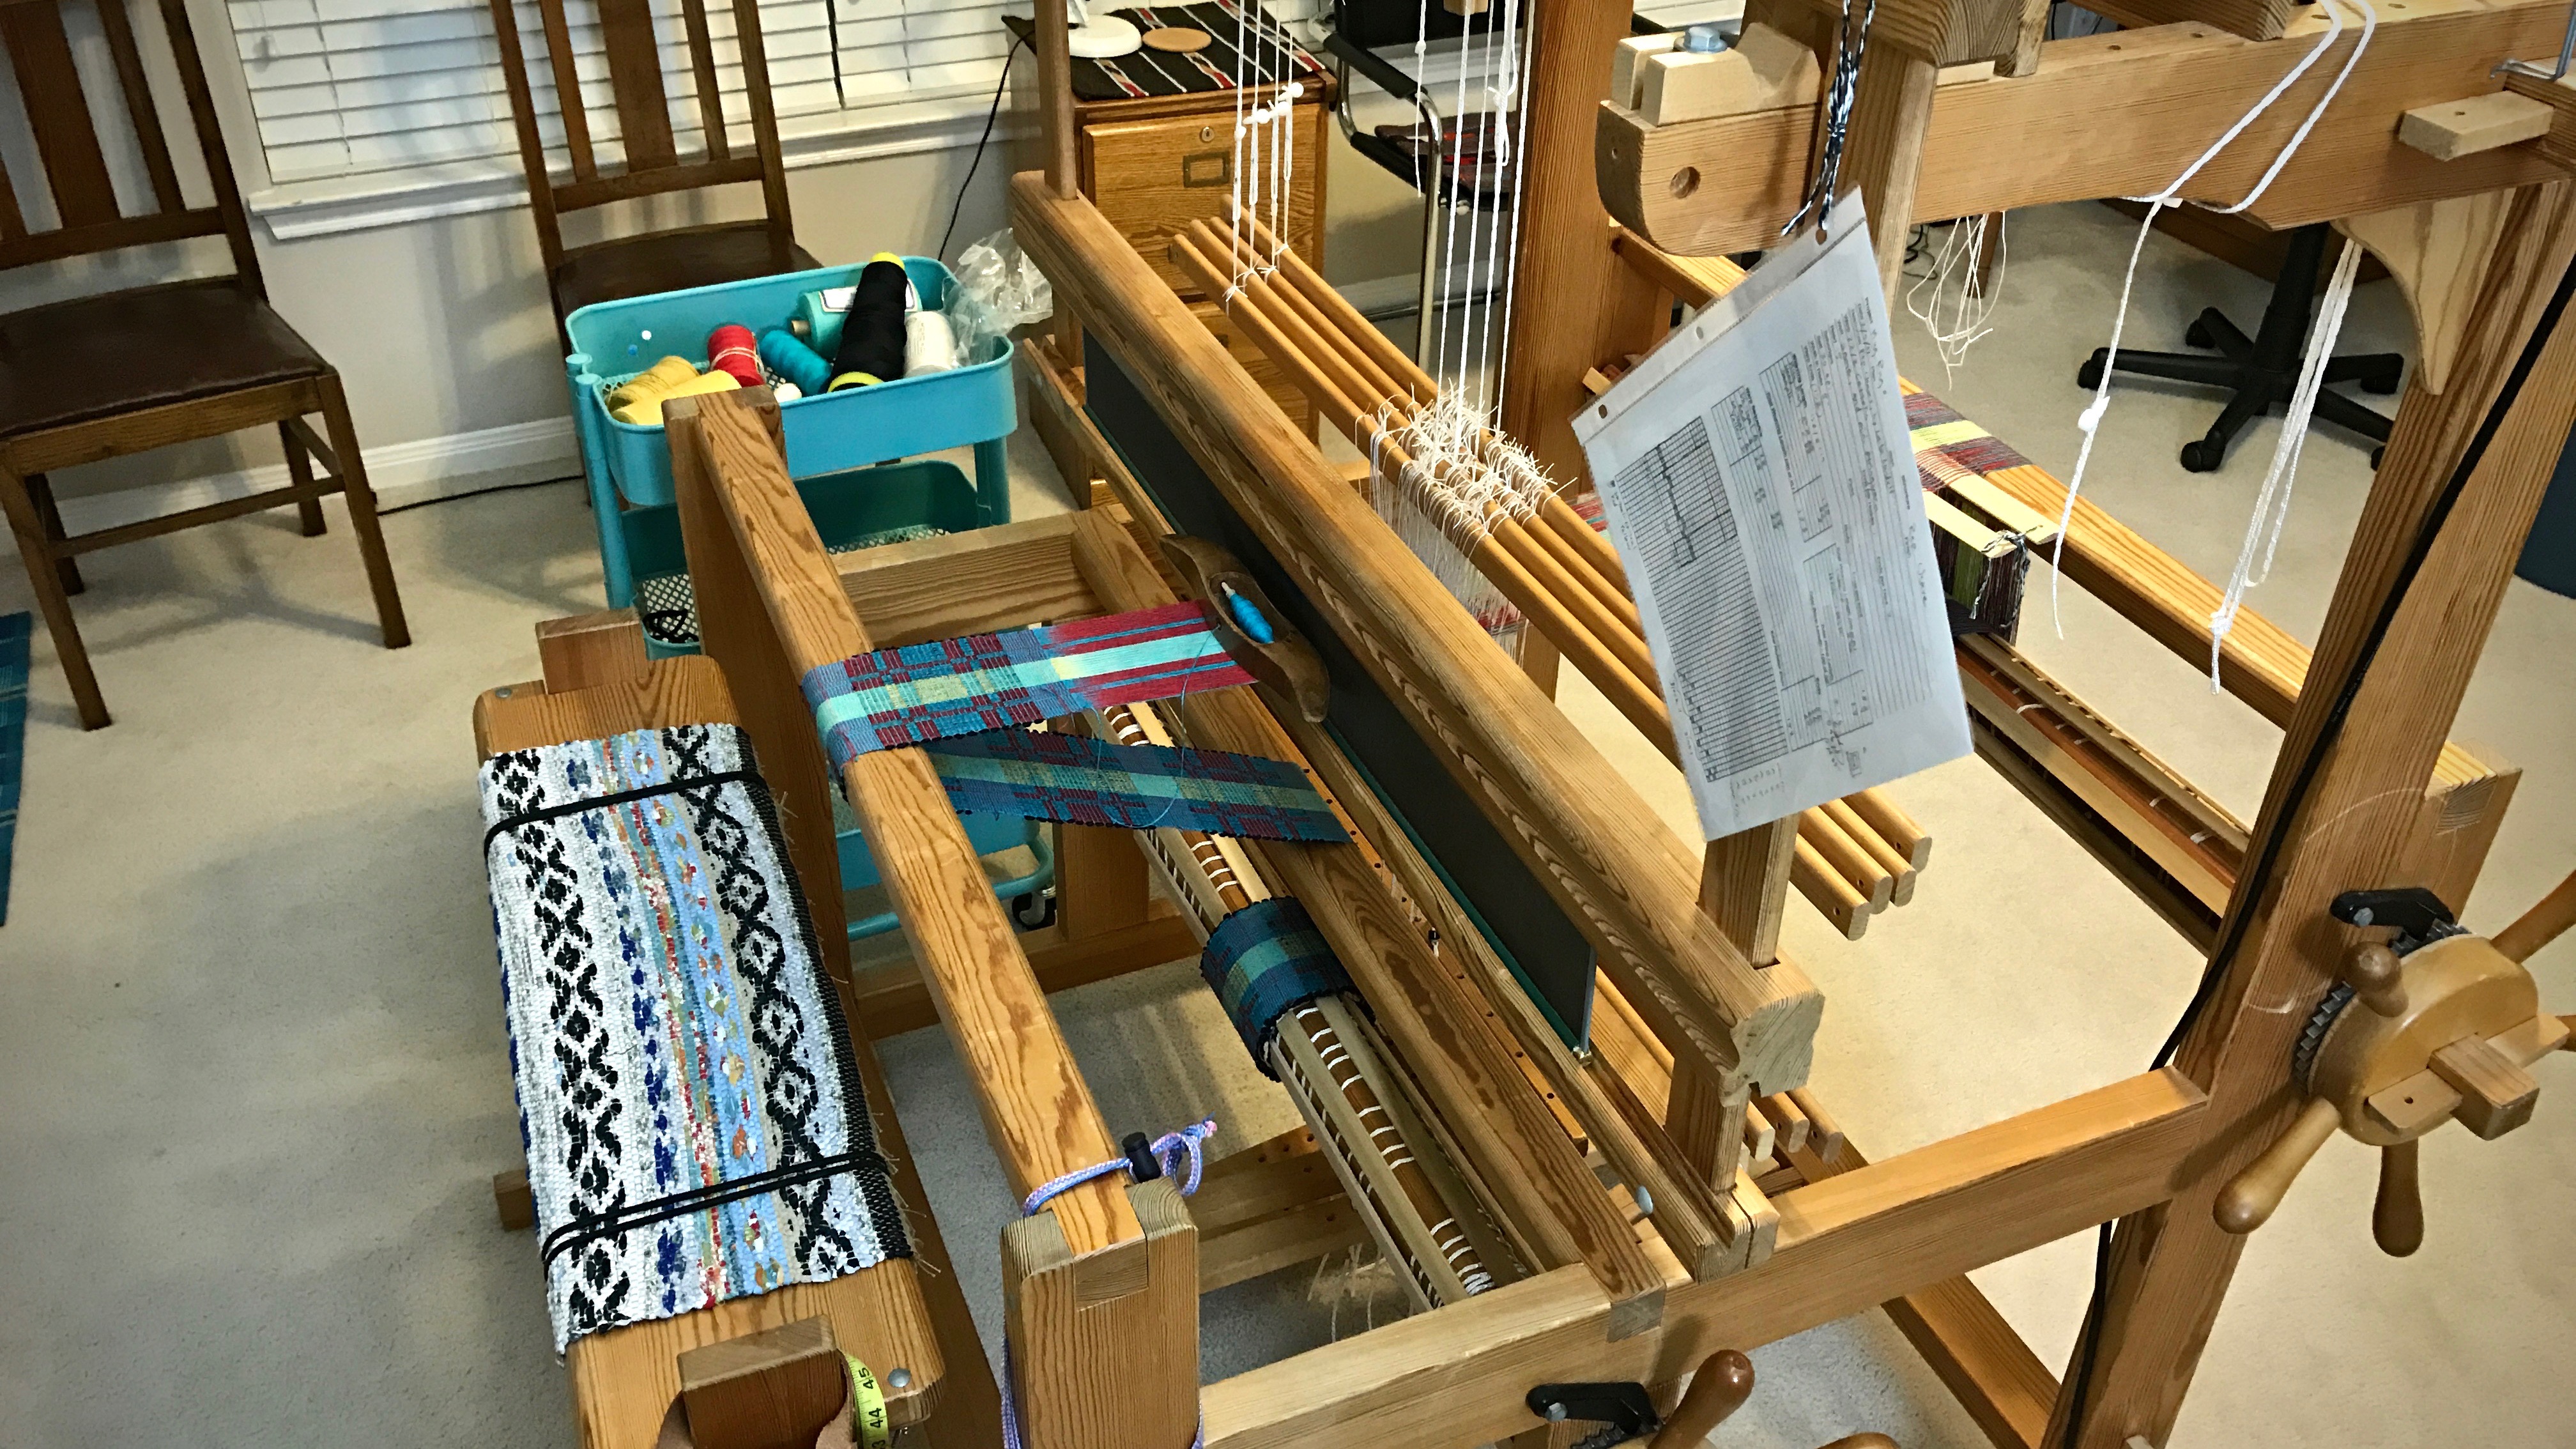
Draft is hanging at the corner of the loom. The fabric logically grows in the same direction as the sequence of weft picks as seen on the treadling draft.
Resources
Getzmann, Ulla, and Becky Ashenden. Weave Structures the Swedish Way. Shelburne, MA: Väv Stuga Press, 2006.
Hoogt, Madelyn Van der. The Complete Book of Drafting for Handweavers. Coupeville, WA: Shuttle-Craft Books, 1993.