Tried and True: How Far Will Your Quill Go?

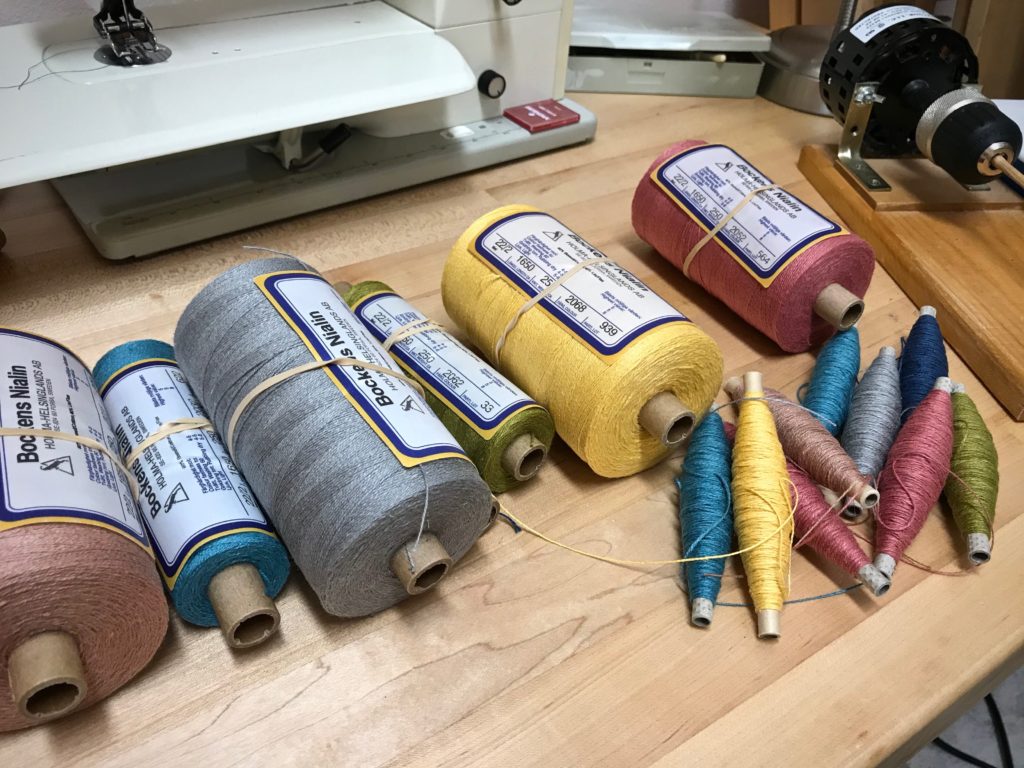
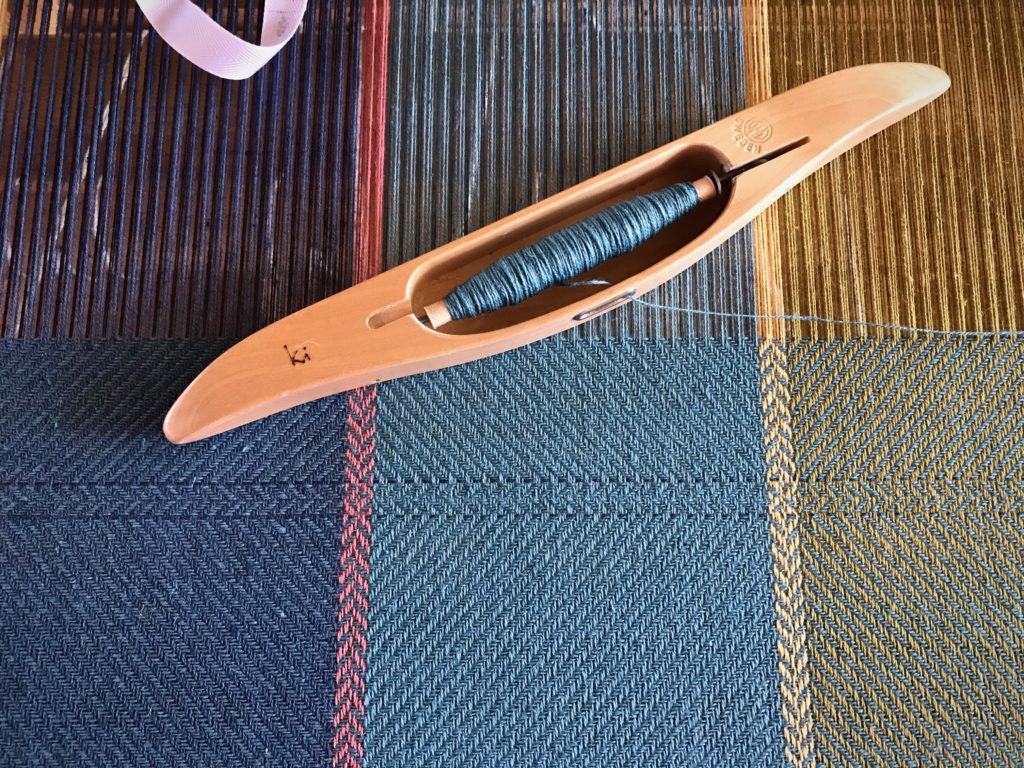
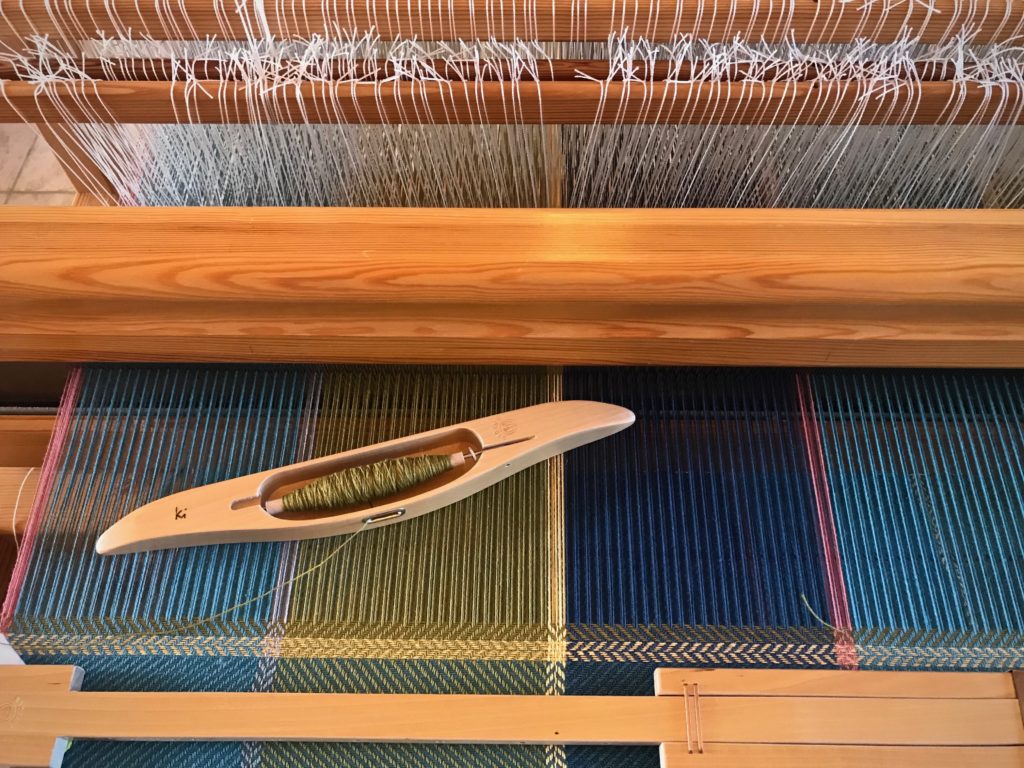
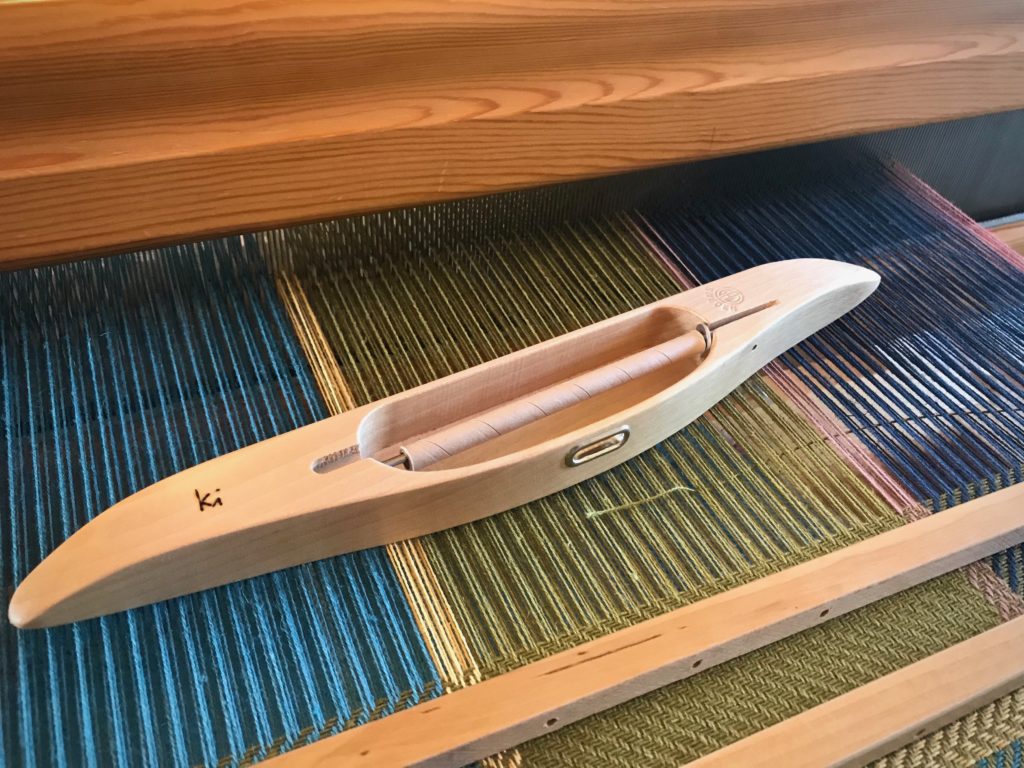
Do not overfill your quills. It may seem efficient to load the quill as much as possible so you can weave as far as possible. Like me, you may have to learn this the hard way. A too-chubby quill that has to be coaxed through the shed takes more time and effort than winding a few extra quills. So much for efficiency.

Cottolin bath towels on the Glimåkra Standard.
Cottolin bath towels on the Glimåkra Standard, in twill, broken twill, and reverse twill.

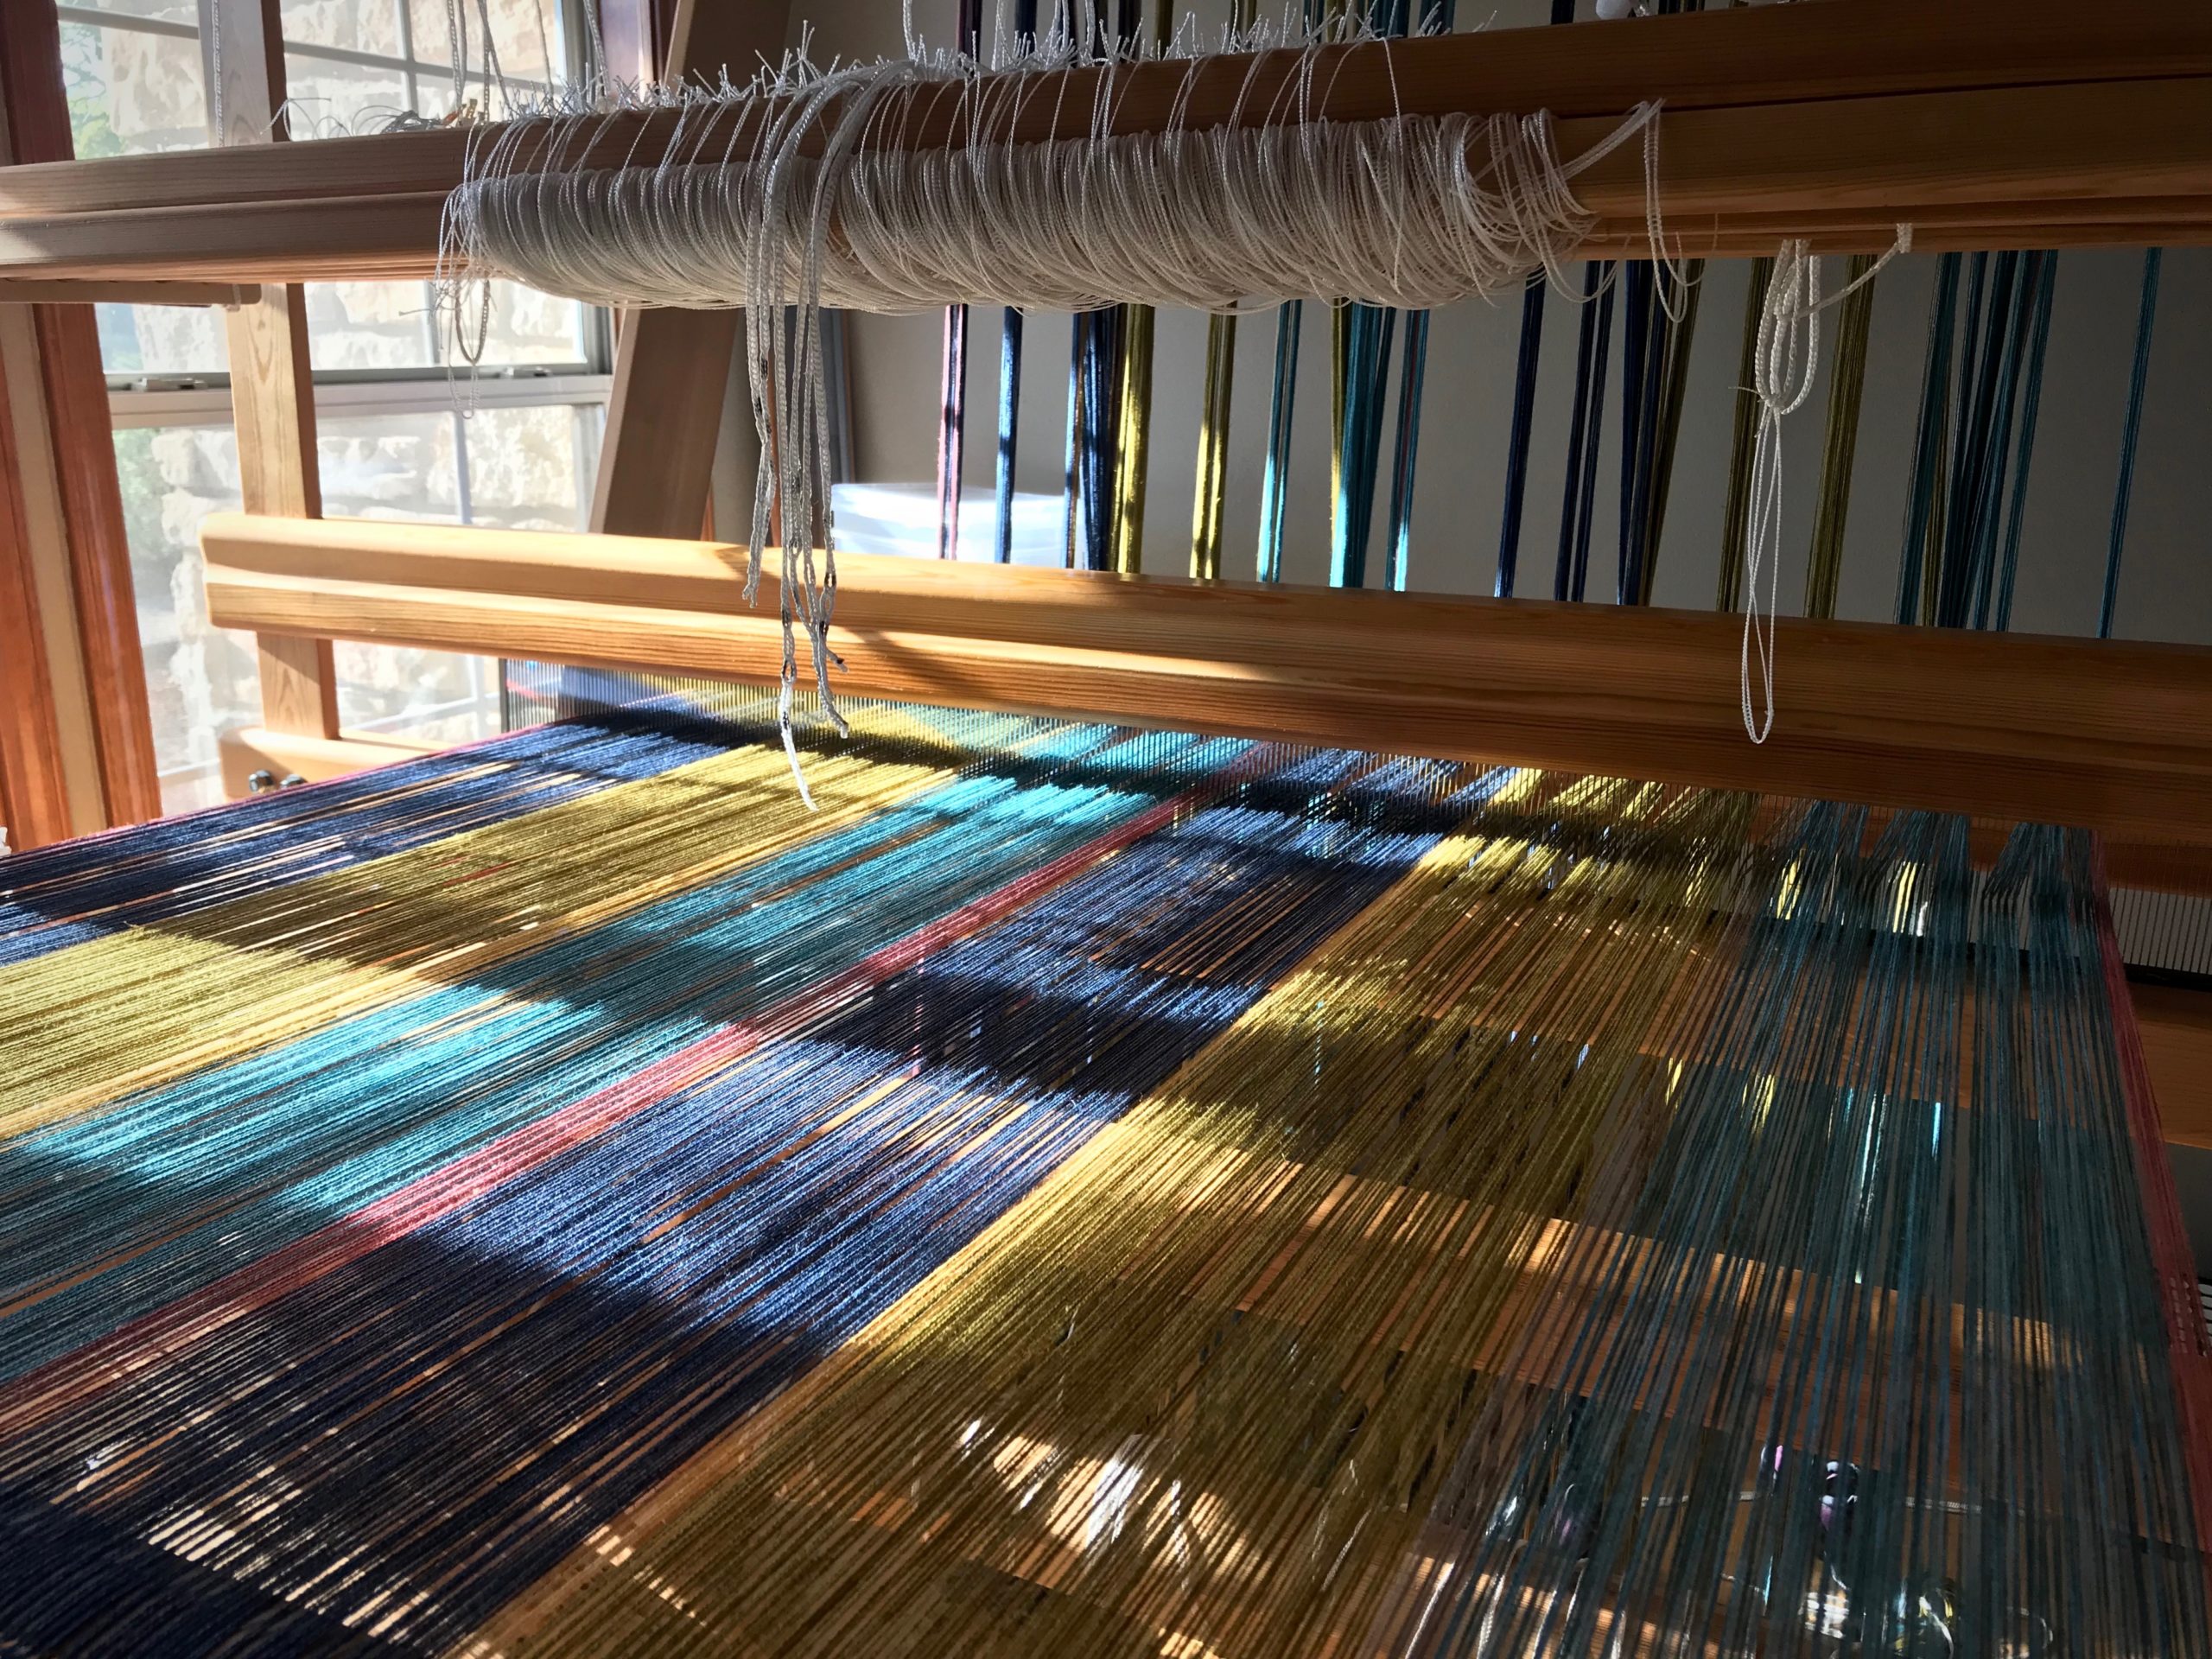
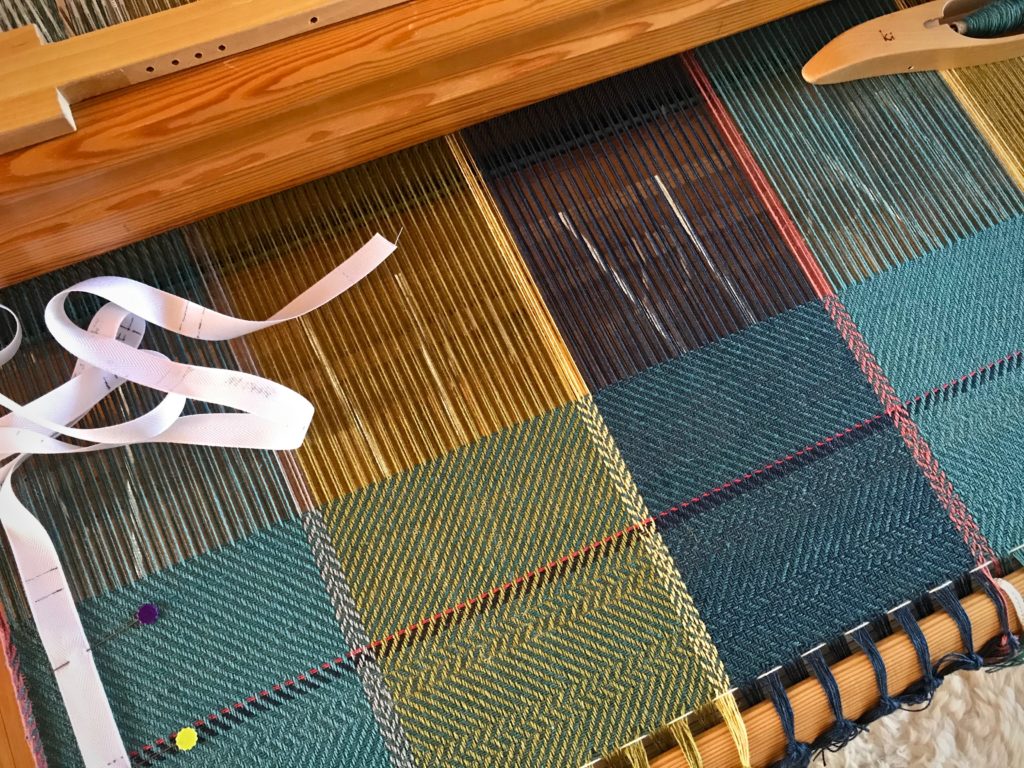
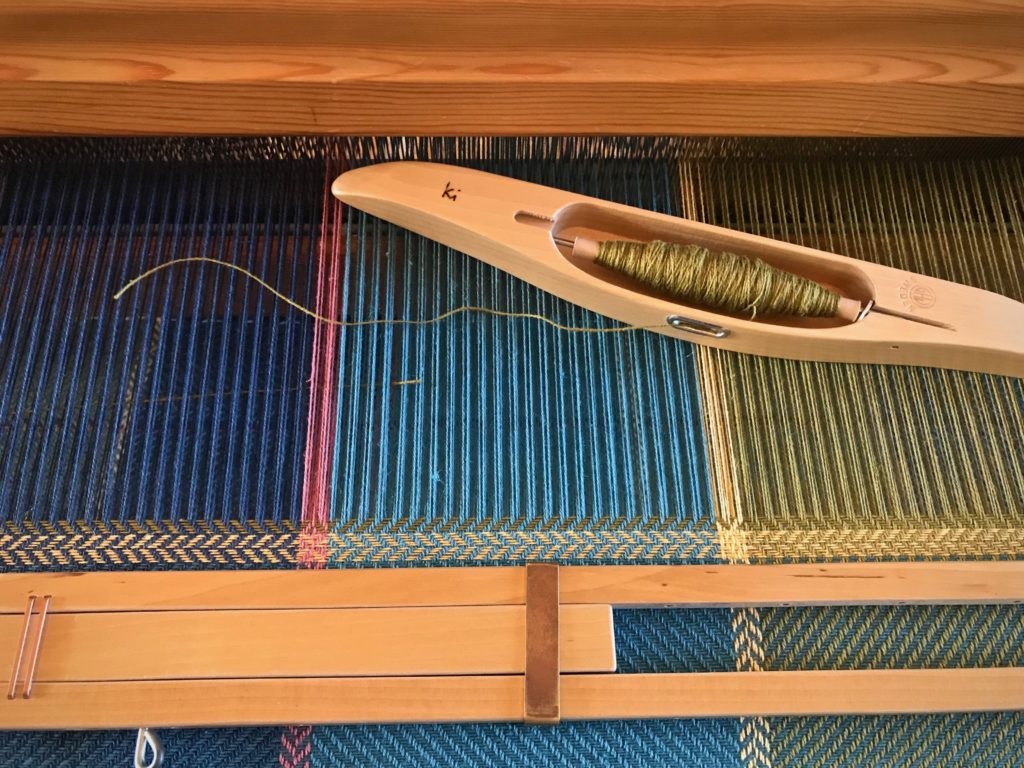
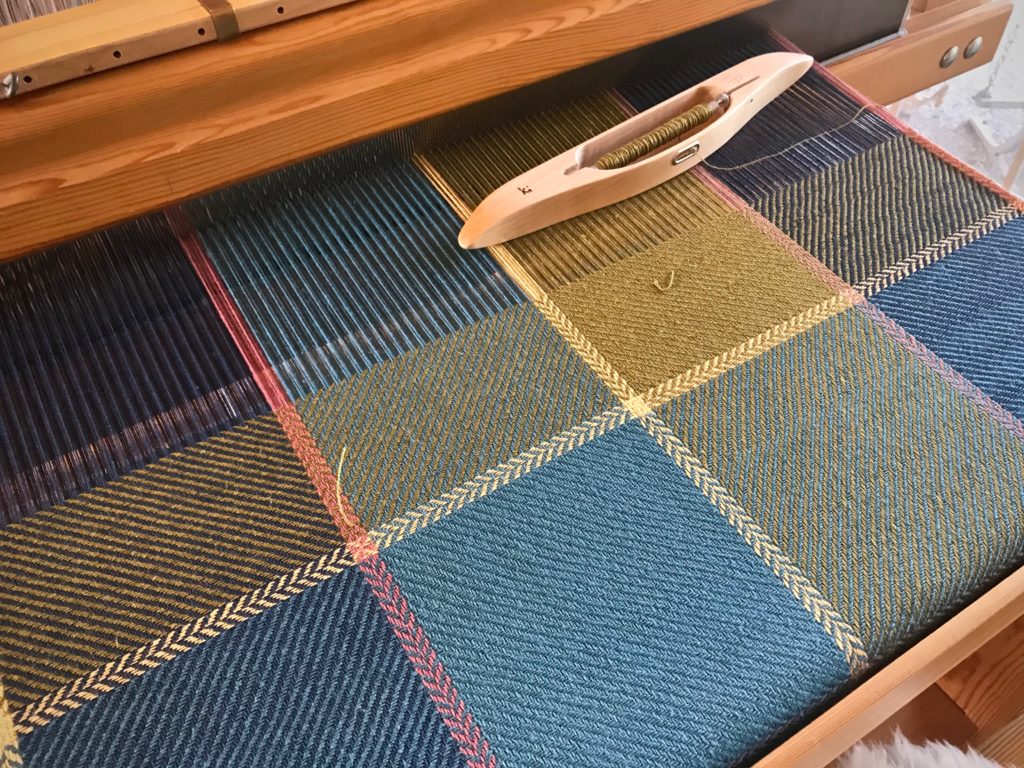
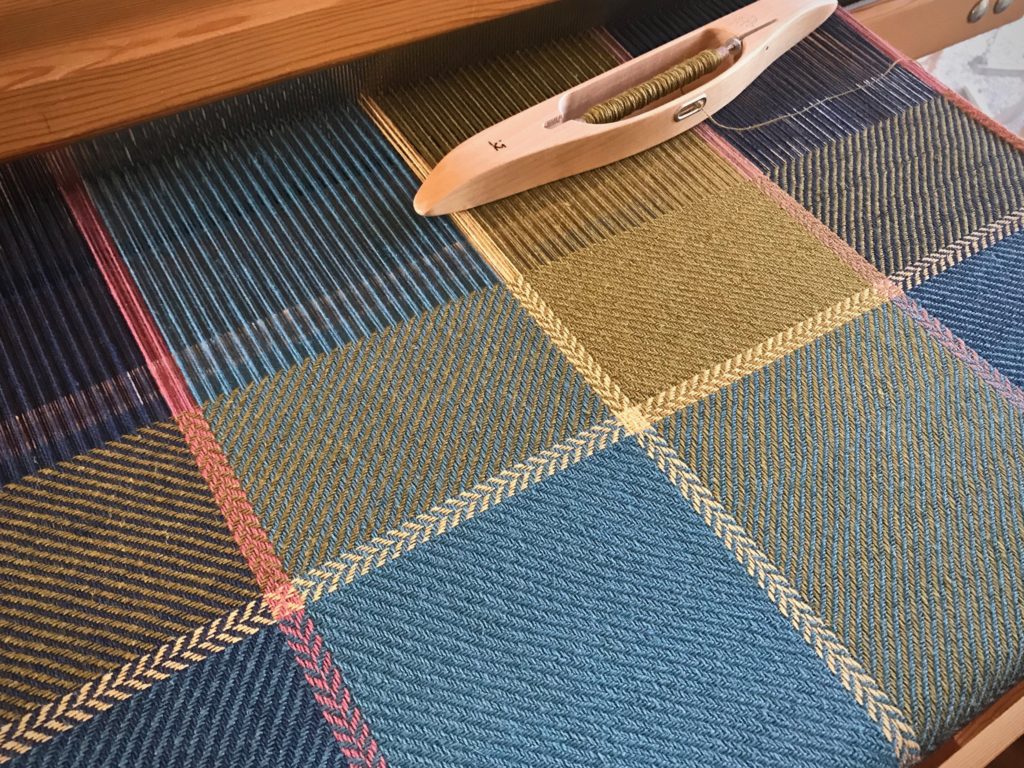
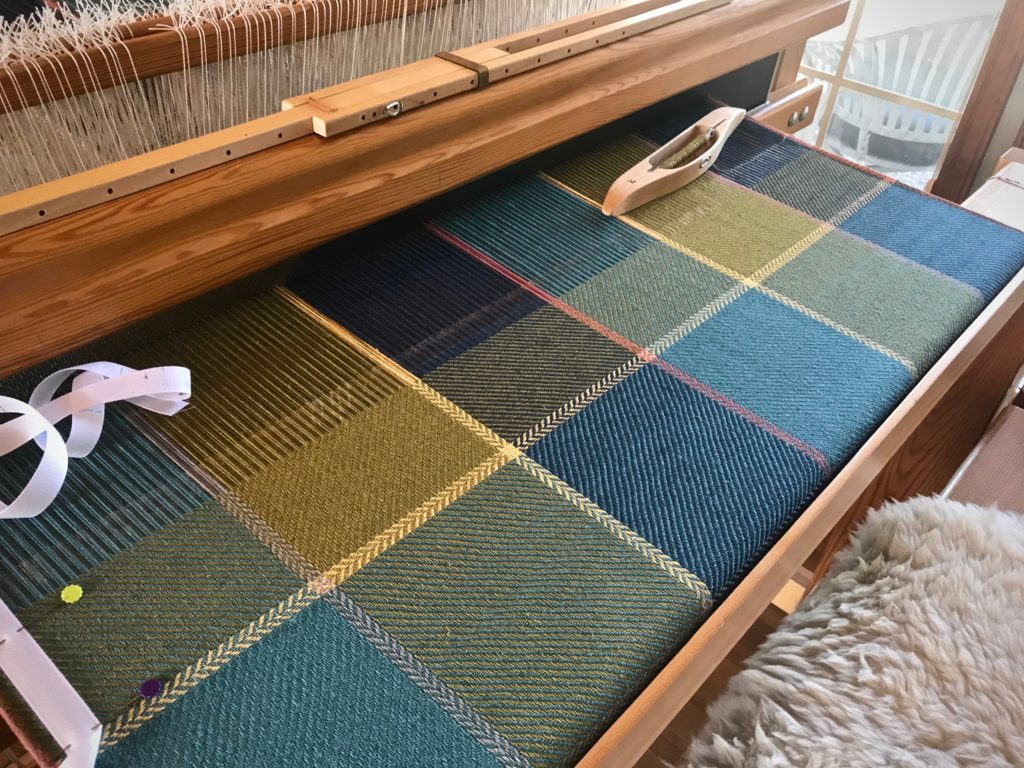
It helps to have an idea of how far the thread on a quill will go. With this information, you can wind a few in advance without ending up with an excess of wound quills at the end of your project. I like to have the next quill ready to go when I am weaving so that I can put the new quill in my shuttle and keep weaving with very little interruption. This is especially helpful when the treadling sequence is tricky, like with the reverse twill in every other large color block on these cottolin bath towels. 3-2-1-6-5-4

How to Estimate Weaving Distance for Filled Quills

1 Start a new quill, leaving a 4 – 5 cm tail on the surface of the cloth. Or, start a new quill at the beginning of a color change.

How to measure how far a quill will weave.
End of one thread. Ready for a new quill.
How to know how far a quill will weave. Tutorial.
With the threads overlapping in the shed, the tail of the thread on the new quill lies on the surface.

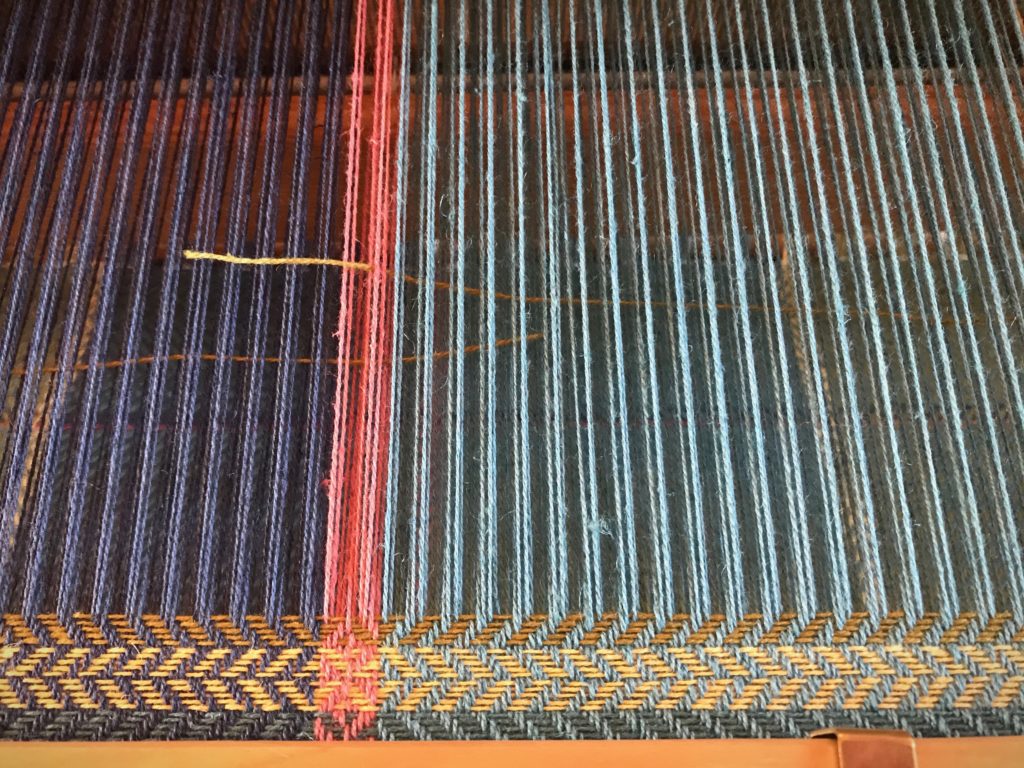
2 Weave until the quill has emptied. Leave a 4-5 cm tail on the surface of the cloth.

How to know how far a full quill will weave.
Quill has emptied. Tail is brought out to the surface of the cloth.

3 Replace the empty quill in the shuttle with a new quill and continue weaving 1 – 2 cm further.

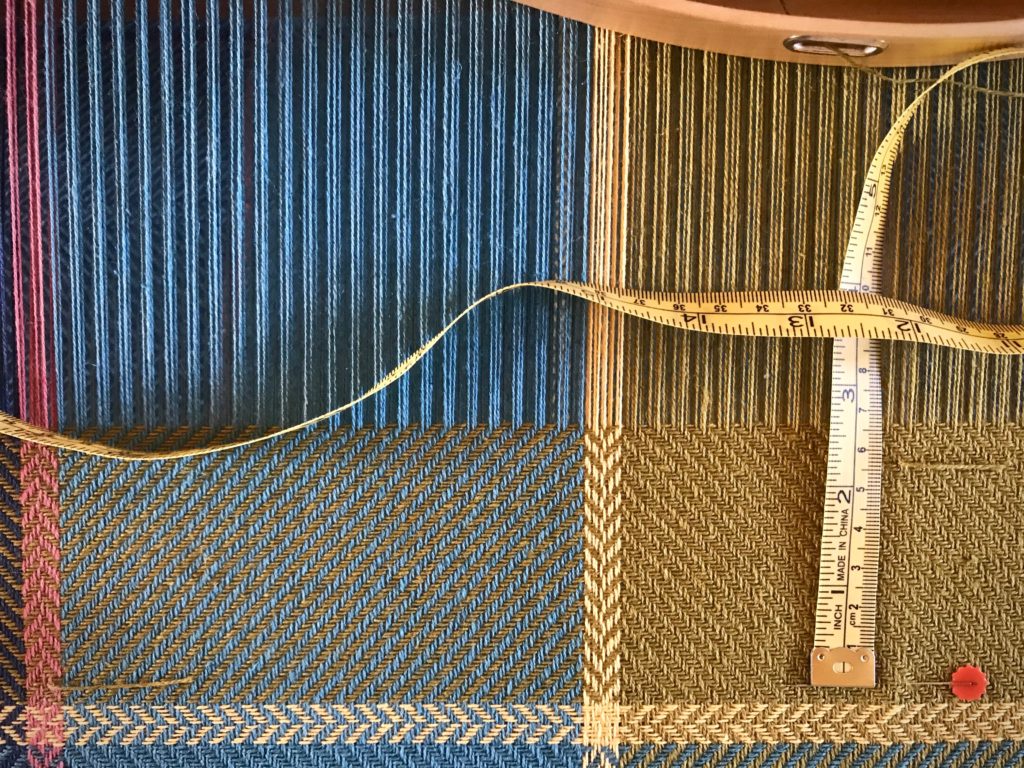
4 Measure the distance from the first weft tail, or line of color change, to the second weft tail. Place a straight pin, in line with the first weft tail, directly under the second weft tail. Measure from the pin to the second weft tail. This is the approximate weaving distance you can expect to cover with a new quill. Notate the quill’s estimated weaving distance on your project notes for future reference.

Tutorial on how to know how many quills you need to wind.
Measure the woven distance.

5 Trim the weft tails close to the surface.

6 Increase accuracy by repeating the process three times, and then use the average as your quill’s estimated weaving distance.

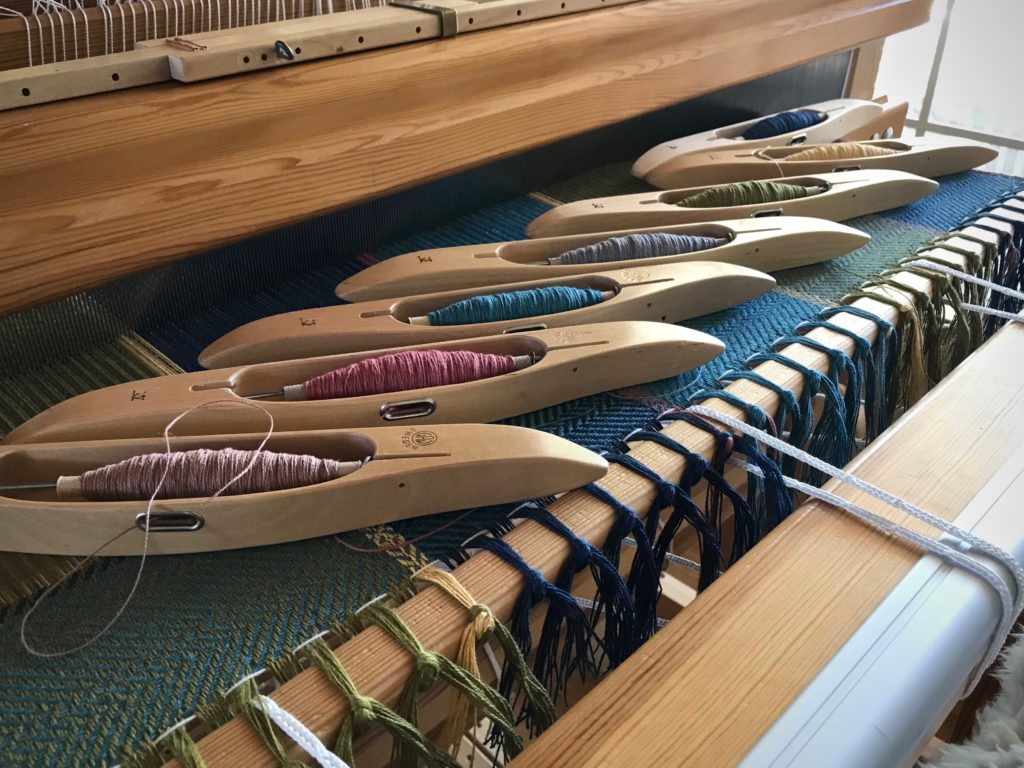
The large color blocks on this bath towel are 14 cm long. A single full quill will weave 5 1/2 – 6 cm; therefore, I make sure I have 2 full quills, plus at least another half-filled quill before I start a new color block section. It’s nice to be able to leave my foot on the treadle while I change out quills, so I don’t lose my place.

Cottolin bath towels.

May your efforts prove to be efficient.

Happy Weaving,
Karen

Handwoven Detail Notes

It is the smallest of details that set handwoven towels apart from ordinary towels. With that in mind, I am writing some detail notes in the margin of my project notes. Borders: Towel 1 – sea blue, apple green – contrast thread – ultramarine; Towel 2 – ultramarine, sea blue – contrast thread – maize; Towel 3 – apple green, ultramarine – contrast thread – sea blue; Towel 4 – dusty, sea blue – contrast thread – apple green.

Cottolin bath towels coming up!
Beaming the cottolin warp for bath towels.
Warp is tied on and leveling string is attached.
Preparing to weave 7-color bath towels.
Seven different colors of wound quills. All seven colors are in each towel, warp and weft. The weft sequence varies with each towel.
Boat shuttles vie for the starting line, like in a regatta.
One boat shuttle for each color. This reminds me of sailing with my dad and my sisters. Boat captains would vie for the regatta starting line, shouting, “Starboard!”

There are seven colors of cottolin in the warp, and the same seven colors in the weft, just like the accompanying hand towels I completed in April. (See Process Review: Jubilation Hand Towels.) Narrow warp-wise and weft-wise stripes of broken twill produce interesting patterns in the cloth. The deep borders I am planning on the bath towels give me a chance to add simple details that only a handweaver can do.

White ribbon shows where to place details on the handwoven bath towel.
After weaving a short section to test the threading, I start the first towel. A red line, as always, denotes the cutting/starting line. I placed marks on the white ribbon at the left that show me where to place details along the length of the towel.
Simple handwoven details make all the difference.
Single ultramarine thread is laid in with the sea blue to outline a change of treadling. A simple handwoven detail.

Have you ever identified a master craftsman by the specific details that show up in the hand-crafted article? In the same way, we can recognize our Maker’s hand through the magnificence of the details we see in each other. You are his masterpiece. Hand-written instructions guide the details. When we come to the Lord as our Maker and Redeemer, we find his hand-written details woven into our hearts, something only the Grand Weaver can do.

May you attend to the details.

Happy Weaving,
Karen