Weave Beyond Your Momentum

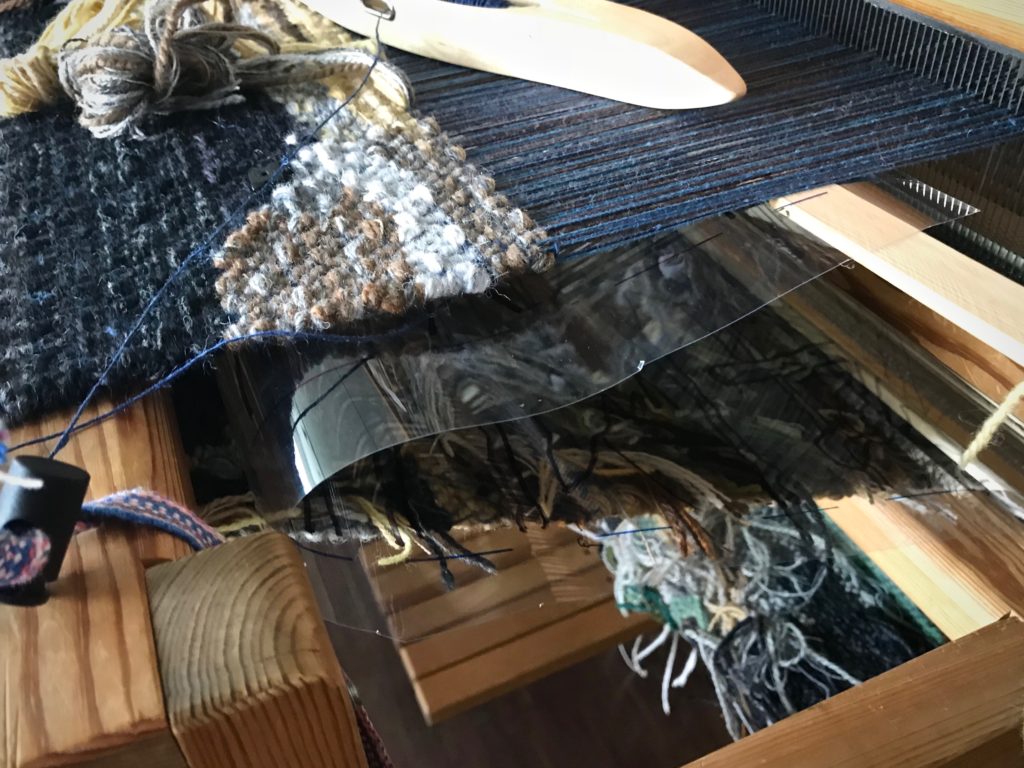
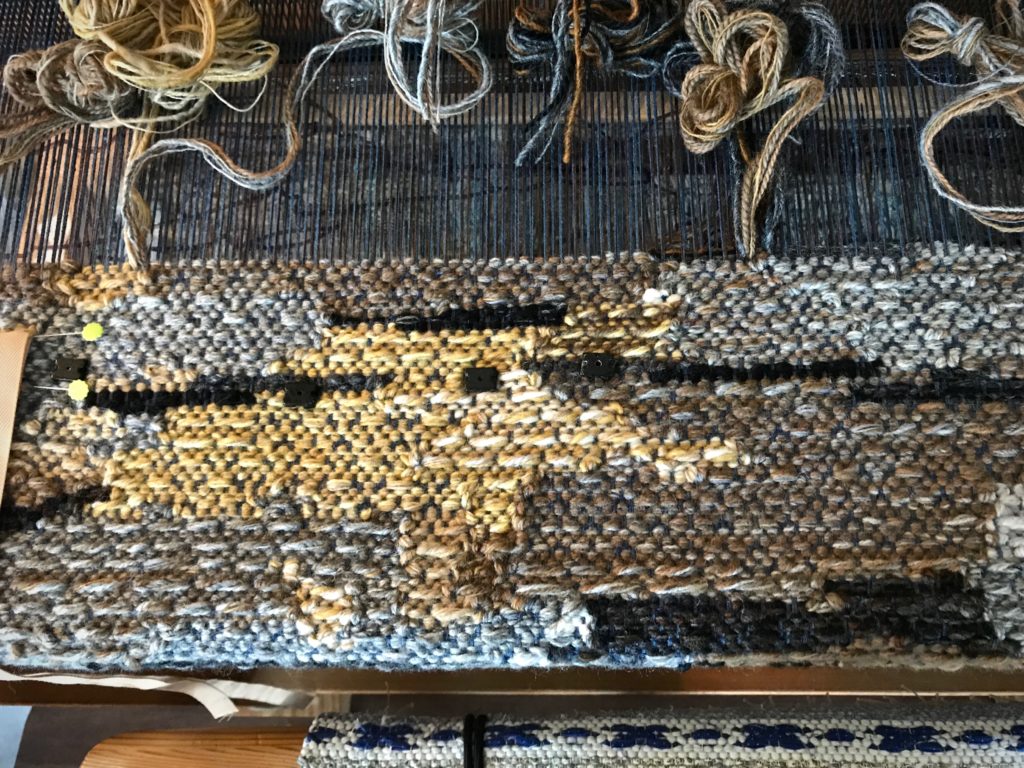
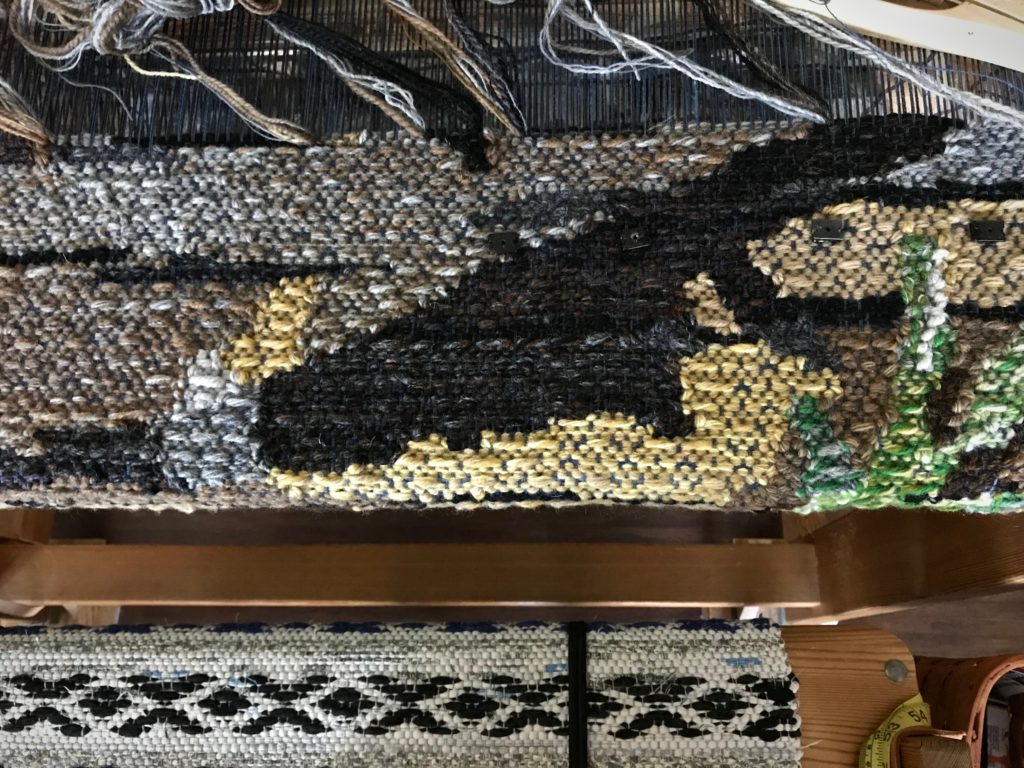
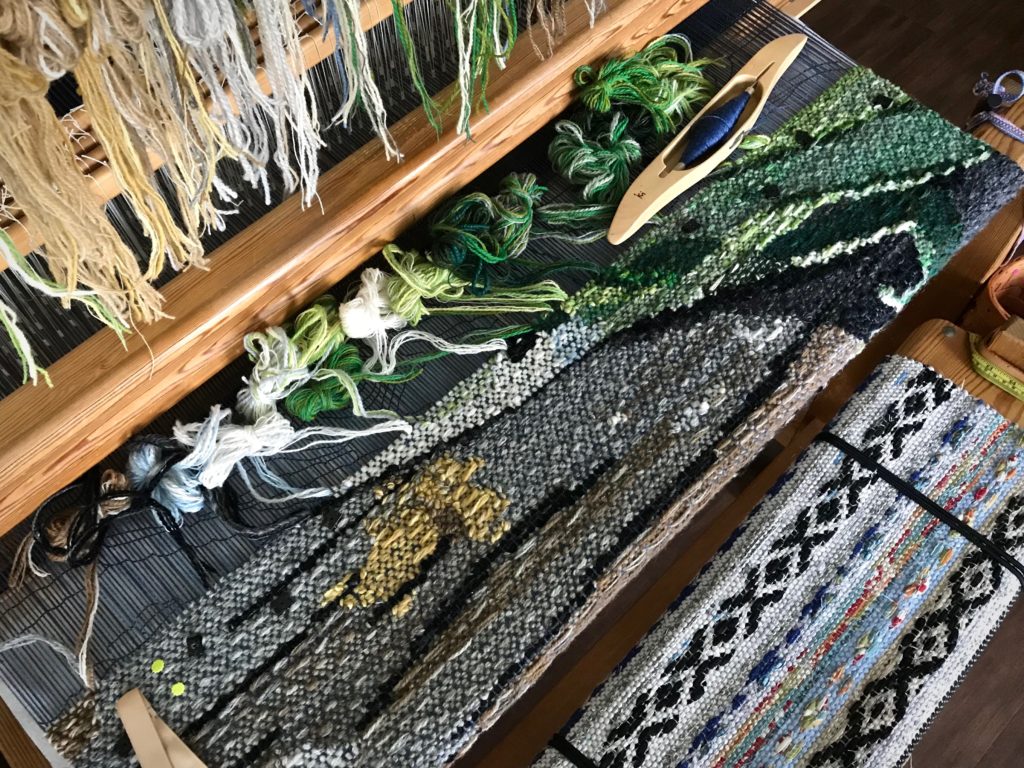
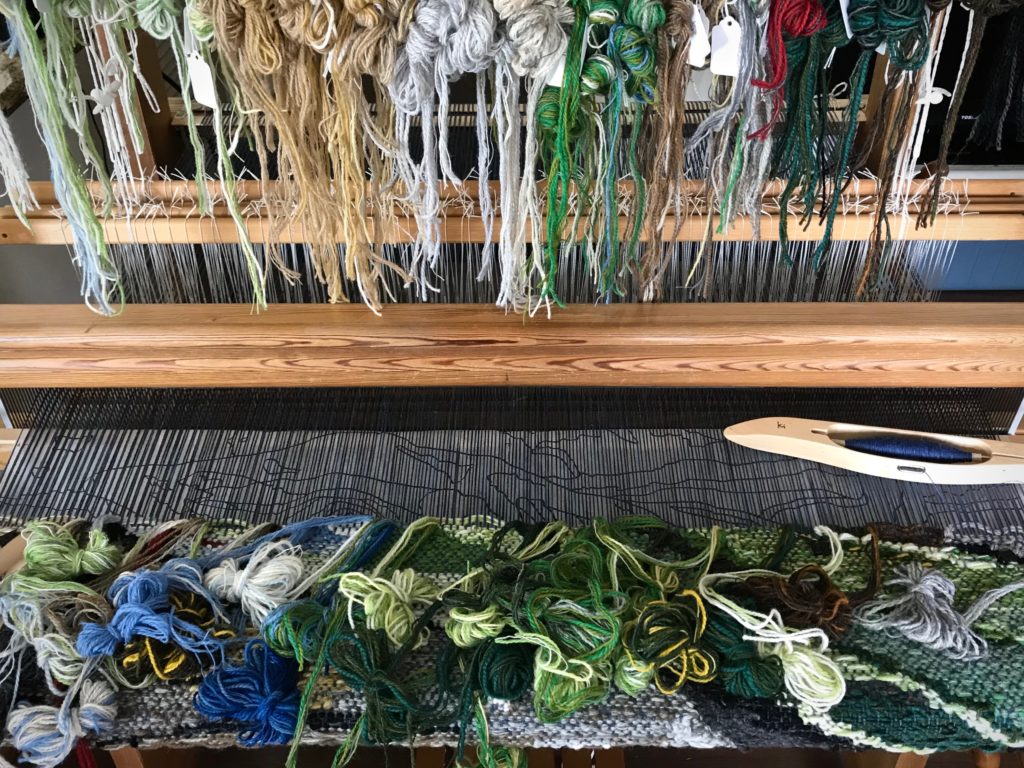
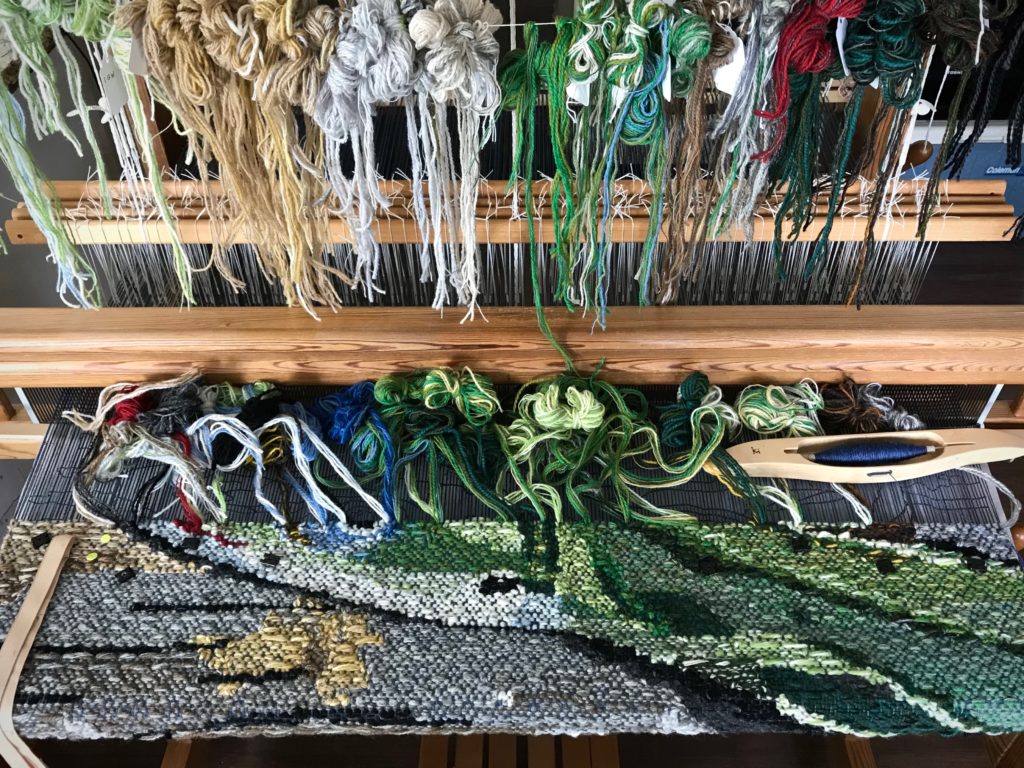
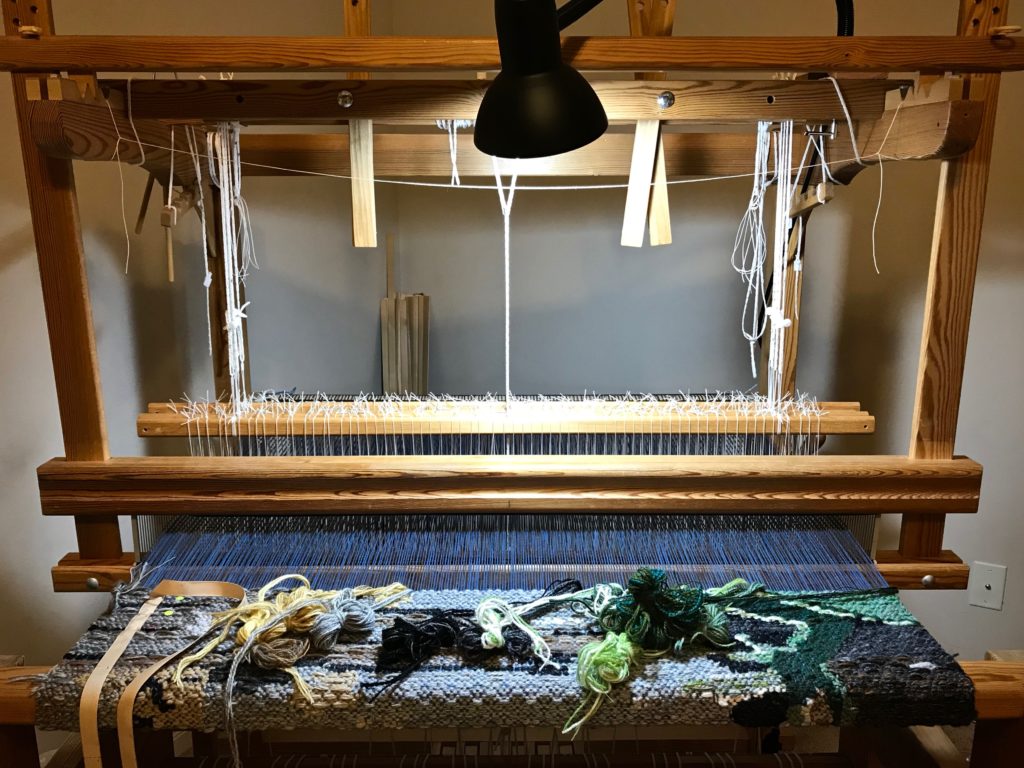
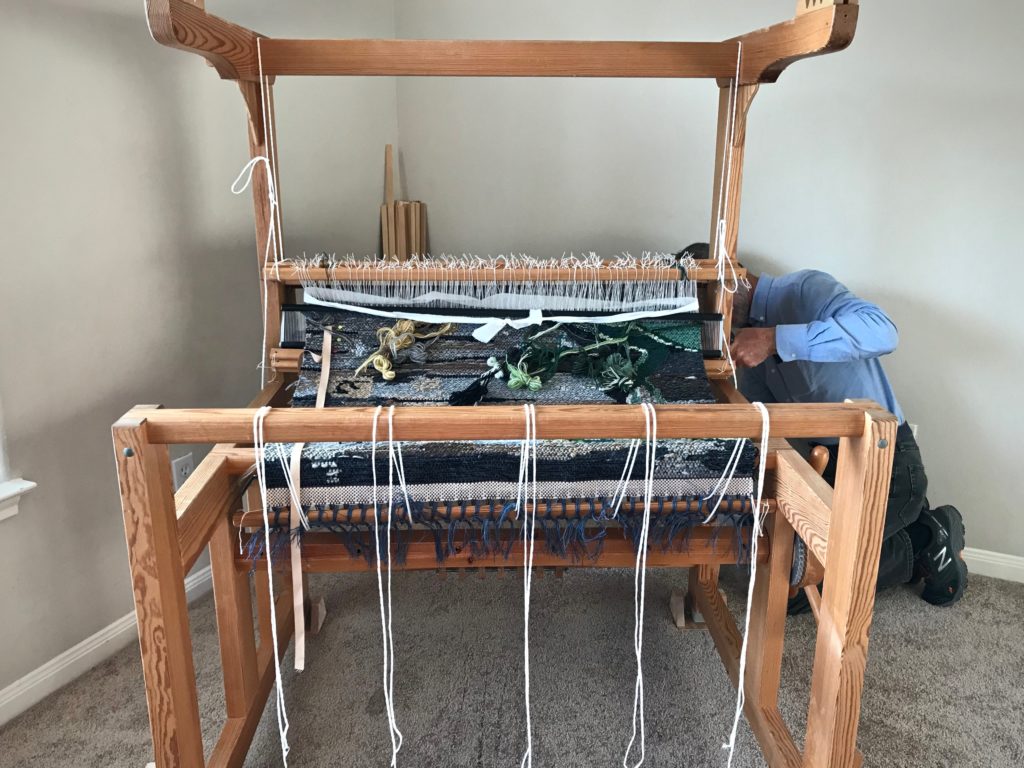
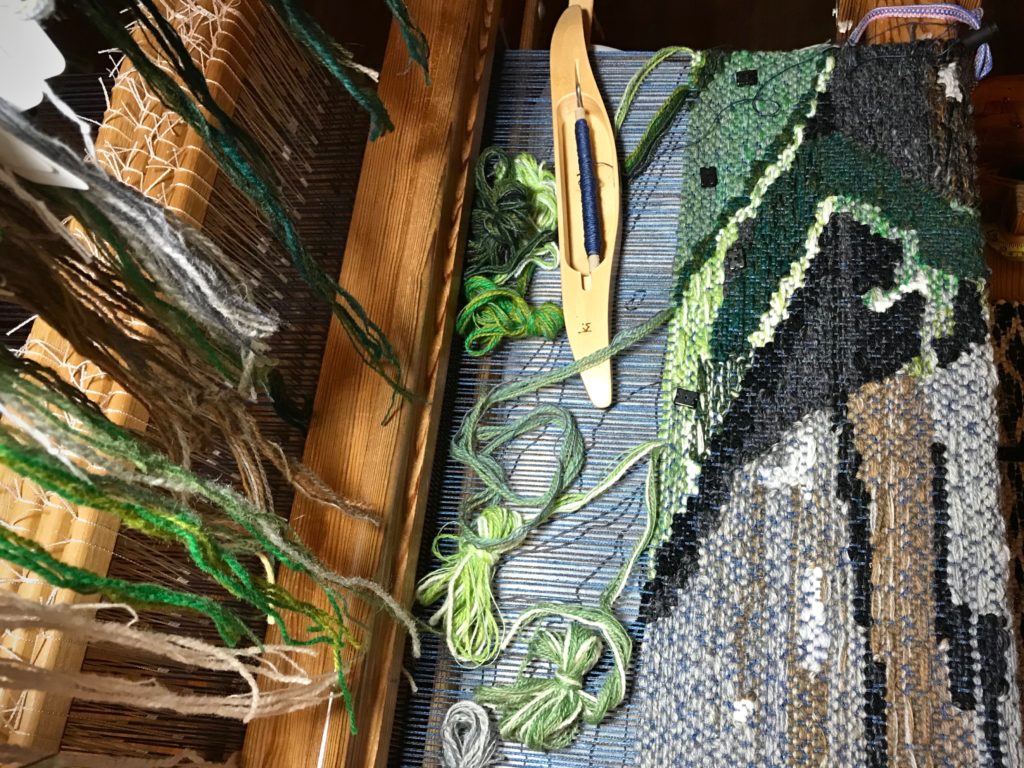
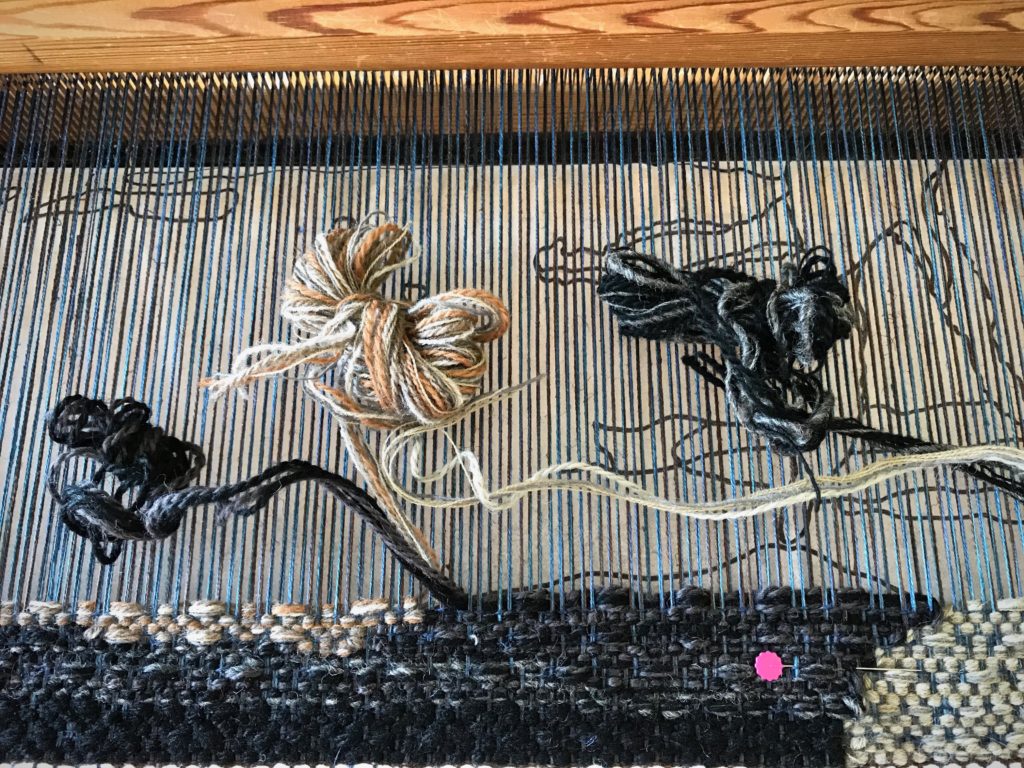
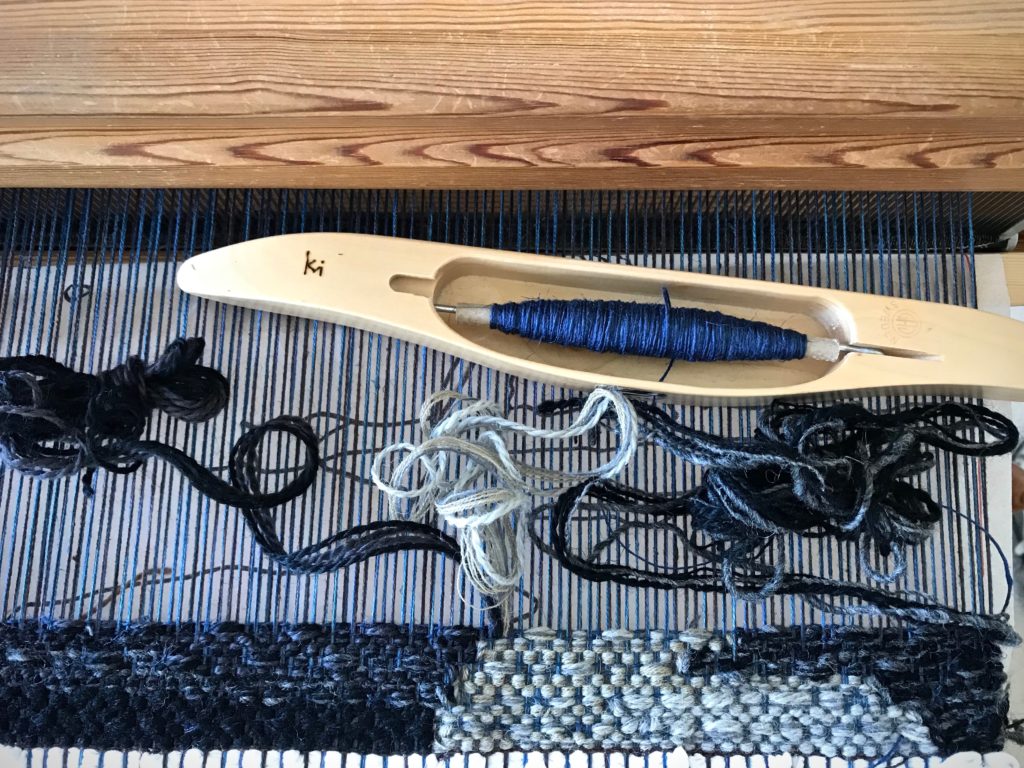
Do you remember that I said the background is less interesting to weave? I take that back! Blending these colors and forming the shapes is no less interesting than weaving the lizard. The green anole is the featured subject, filled with detail and many minute color changes. Weaving that lizard was a skill stretcher! But as I continue, I am weaving details of a different kind. The background is a log, not easily recognizable. It’s like looking at wood grain patterns through a magnifying glass. I’m hopeful everything in the final image will fit together when we see it from a distance.

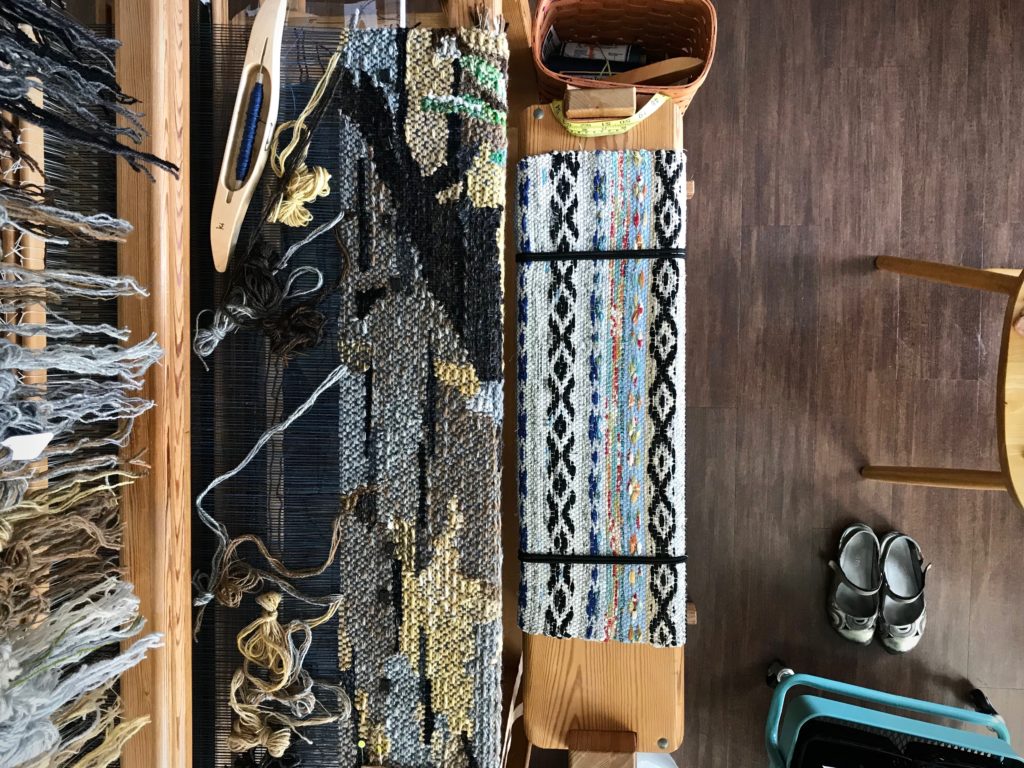
Four-shaft tapestry. Shading and texture.
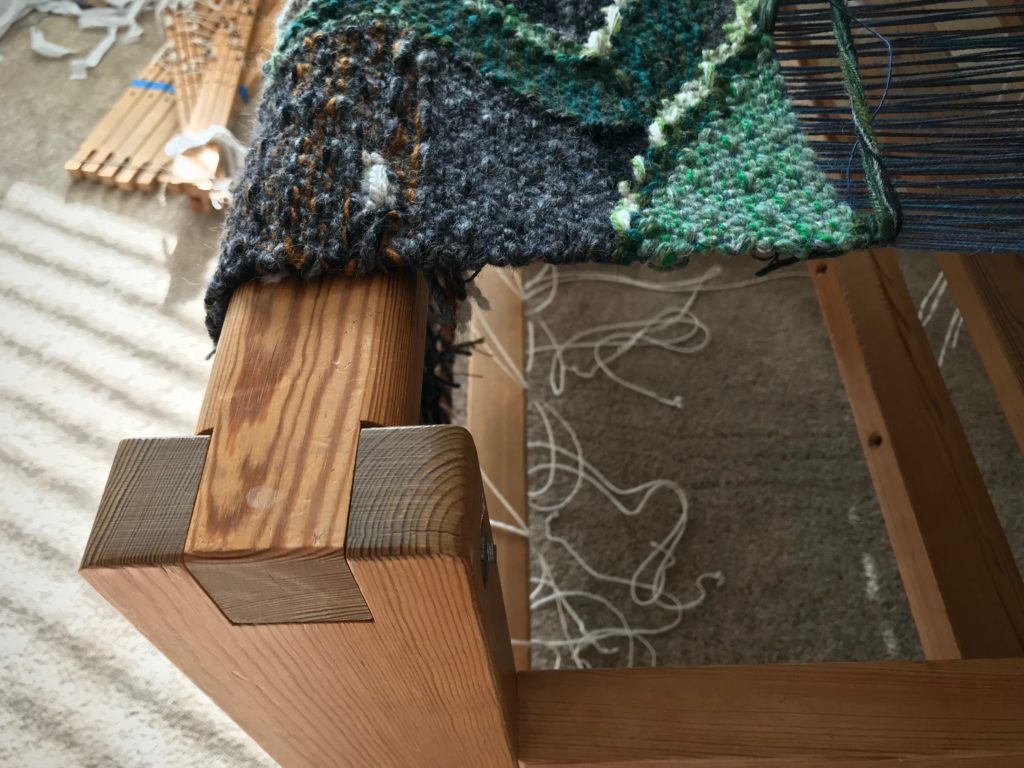
Color, shading, and texture work together to make the surface appear uneven. Some areas look as if they are raised, and others, especially the dark places, look like they are indented.
Detail of lizard tapestry.
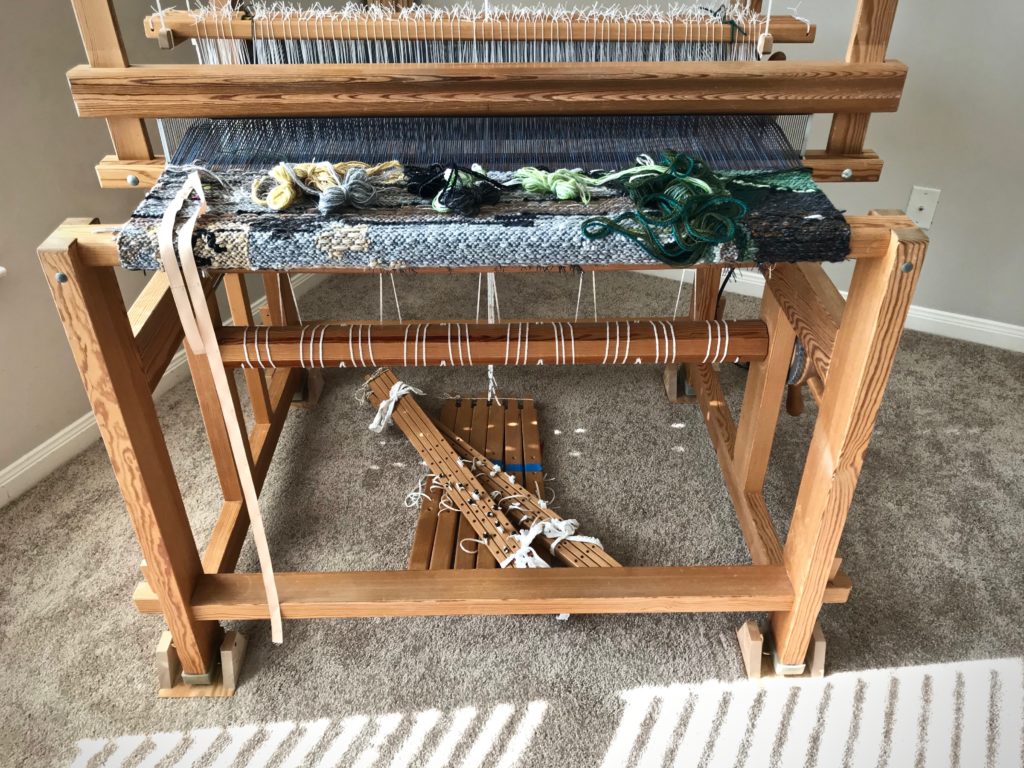
After about three more warp advancements, the lizard and his green toes will be nowhere to be seen.
Four-shaft tapestry. Glimakra Ideal.
Little by little…
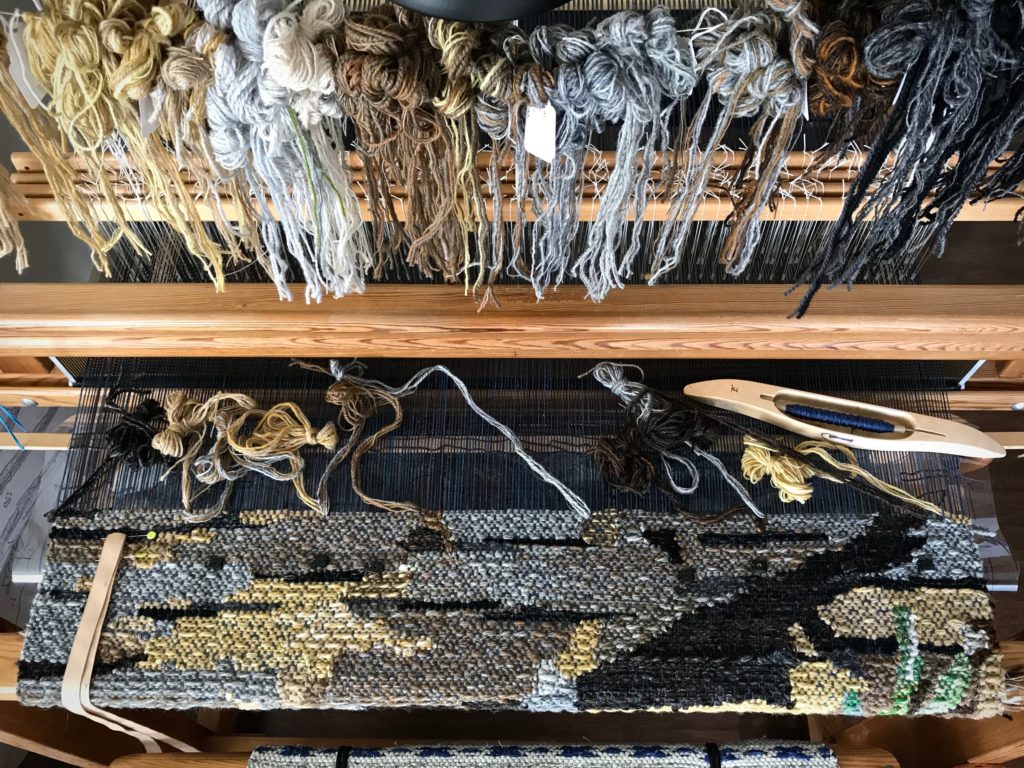
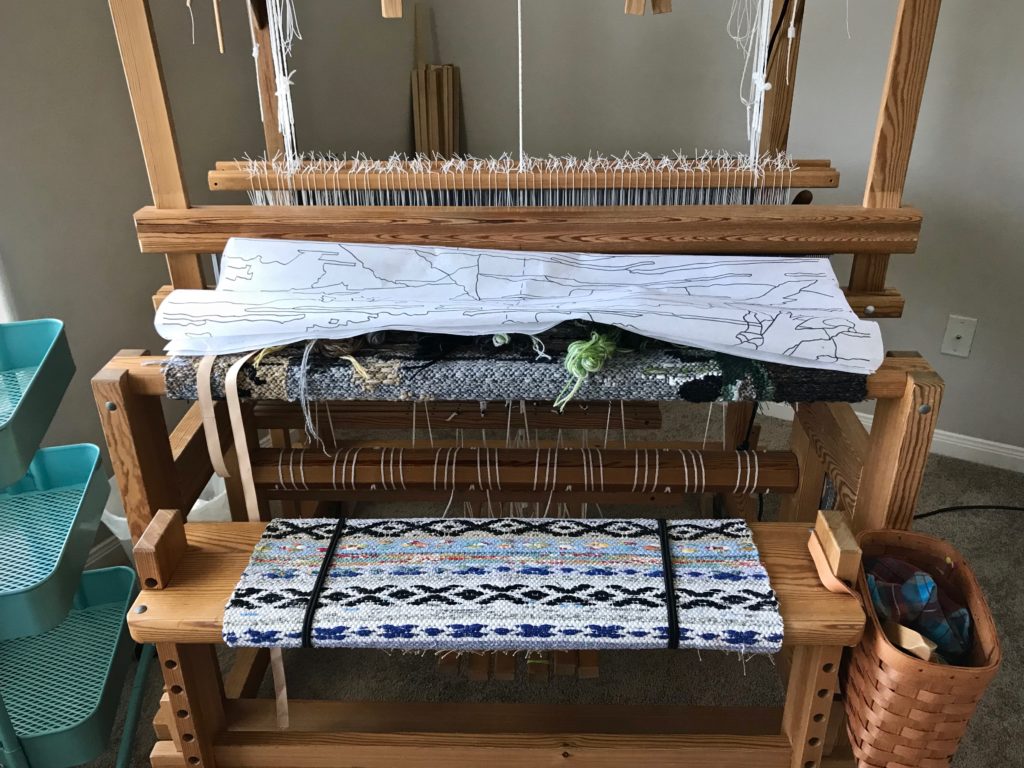
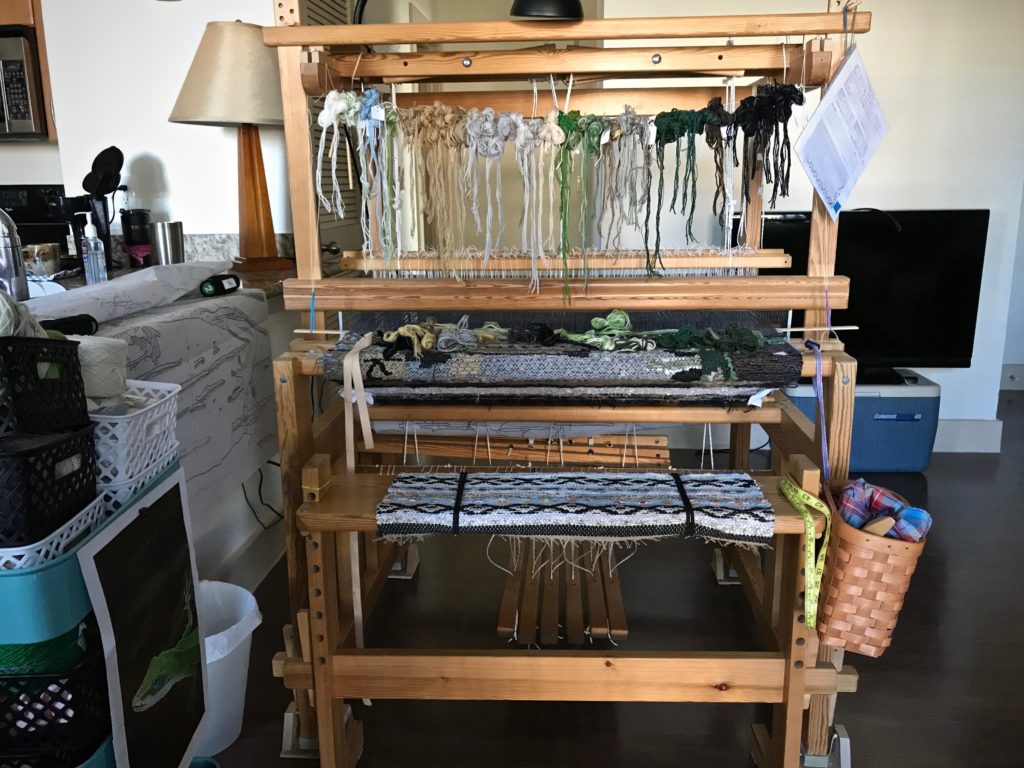
View of the tapestry in the direction it will hang.
Standing on a chair, I get a view of the tapestry in the direction it will hang. This is only one slice of the tapestry image, but it helps me imagine what the finished piece will be like.

Continue. I don’t want to lose momentum just because I finally made it through the hardest part. Keep going, being faithful to what you know to do. Faithful to what you know is true. Don’t be fooled by compelling, convincing, and subtle messages that divert from the truth. Continue walking by faith, trusting the outline, the cartoon, that the Grand Weaver prepared for us. It will all fit together when we see it from heaven’s eternity. That’s real hope.

May you keep your momentum.

In faith,
Karen

Grow Lizard Grow

There are no growth spurts with this lizard. He is certainly growing, but at a slow and steady rate. If I can keep this pace of about ten centimeters a week, I will be able to finish this tapestry before we move from the apartment—our temporary residence. The timeline is set. Will this slow-going, slow-growing lizard cross the finish line before I must dismantle the loom again? Time will tell. I have woven fifty centimeters. I have seventy-five centimeters to go.

Weaving a tapestry of a lizard.
Lizard’s foot and leg are starting to disappear around the breast beam on the right-hand side of the loom.
Many wool butterflies in action for this detailed tapestry.
Head of the lizard is visible on the cartoon under the warp. Many wool butterflies crowd each other, due to frequent color changes in the details.
Weaving the lizard's mouth and eye. Tapestry fun!
Lizard is visibly growing. Currently working on the red mouth and blue eye.

Grow. We are woven together by loving each other. Each of us, like strands of wool yarn, with our own degree of hue, saturation, and value, not to mention twist and plies, are united with each other when we hold fast to Jesus Christ, the designer and weaver. His tapestry grows, not in spurts, but slow and steady, year after year, century after century. Always teaching us to love his way—sacrificially. And we know he has just enough time to finish the tapestry masterpiece that he has envisioned from the very beginning.

May you see slow and steady progress in things that matter.

Happy Weaving,
Karen

Lizard Tapestry Disruption

I started the Lizard tapestry right before our big disruption. Selling your house means that every in-process project instantly becomes vulnerable. Yikes! After a sleepless night, I contacted my friend Joanne Hall. Can this weaving be saved? Yes!, she assured me, as she gave me instructions for dismantling the loom.

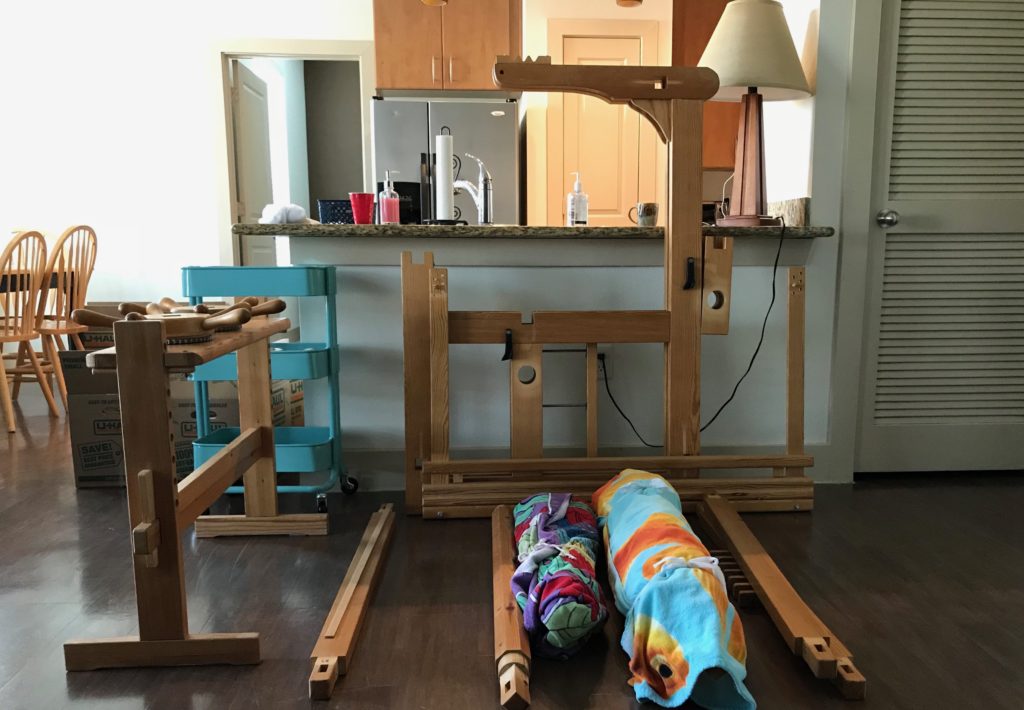
Getting ready to dismantle loom for relocation.
Yarn supply is packed up, including all the wool butterflies.
Getting ready to dismantle loom for moving.
Cartoon is removed.

Everything is logical about the process. Undo things, tie parts together, take things apart. And I don’t have to cut off the weaving? No. Remove the beam cords from the cloth beam. It’s that simple.

Lamms and treadles removed for moving the loom.
Lamms and treadles have been taken off.
Moving a loom without ruining a tapestry in progress!
Beam cords are removed from the cloth beam.
Removing the warp beam. Relocating the loom.
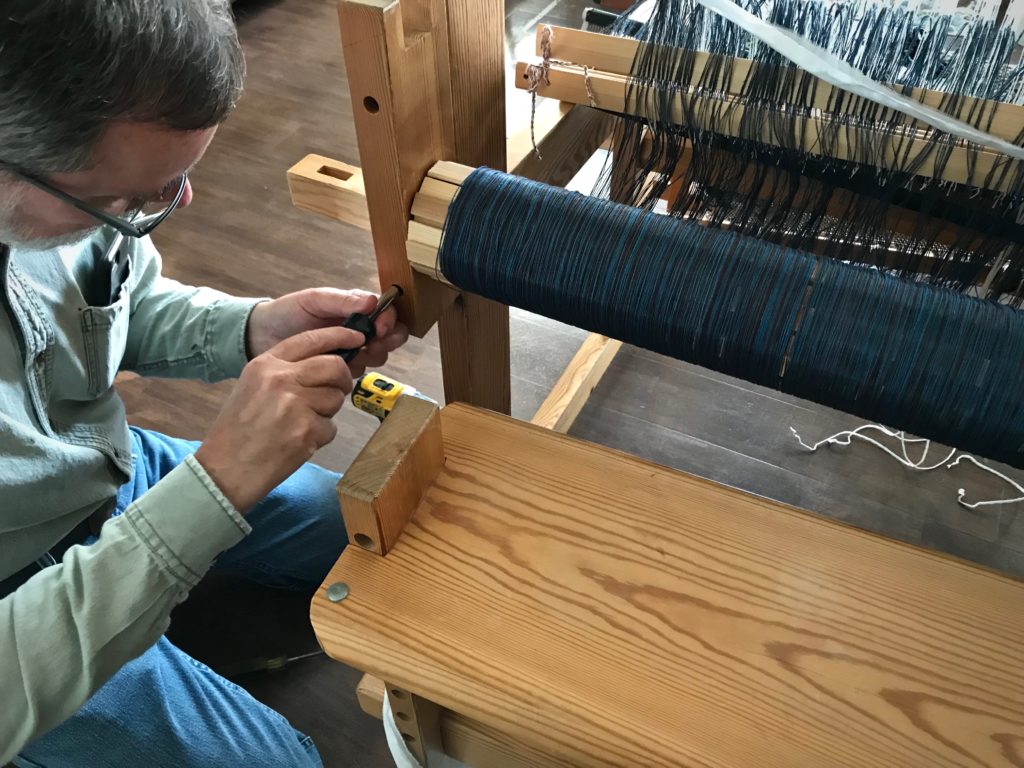
Steve unscrews a bolster that holds one side of the warp beam so I can remove the warp beam.
Warp beam removed! Hope to put this back together.
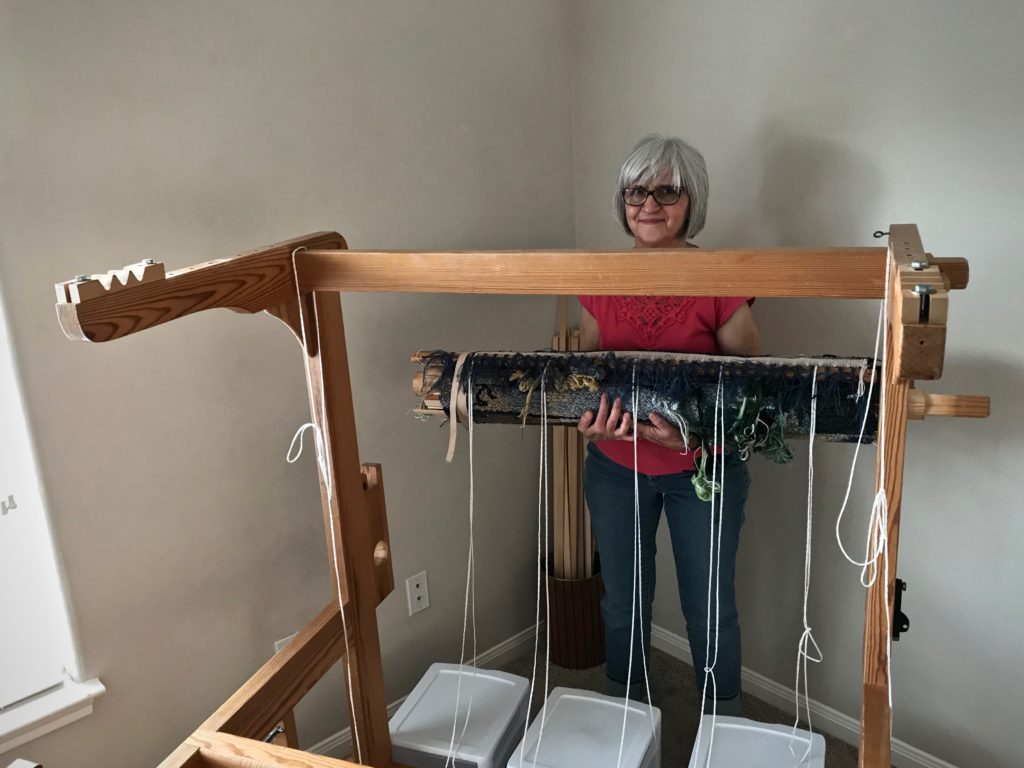
Holding the precious bundle!
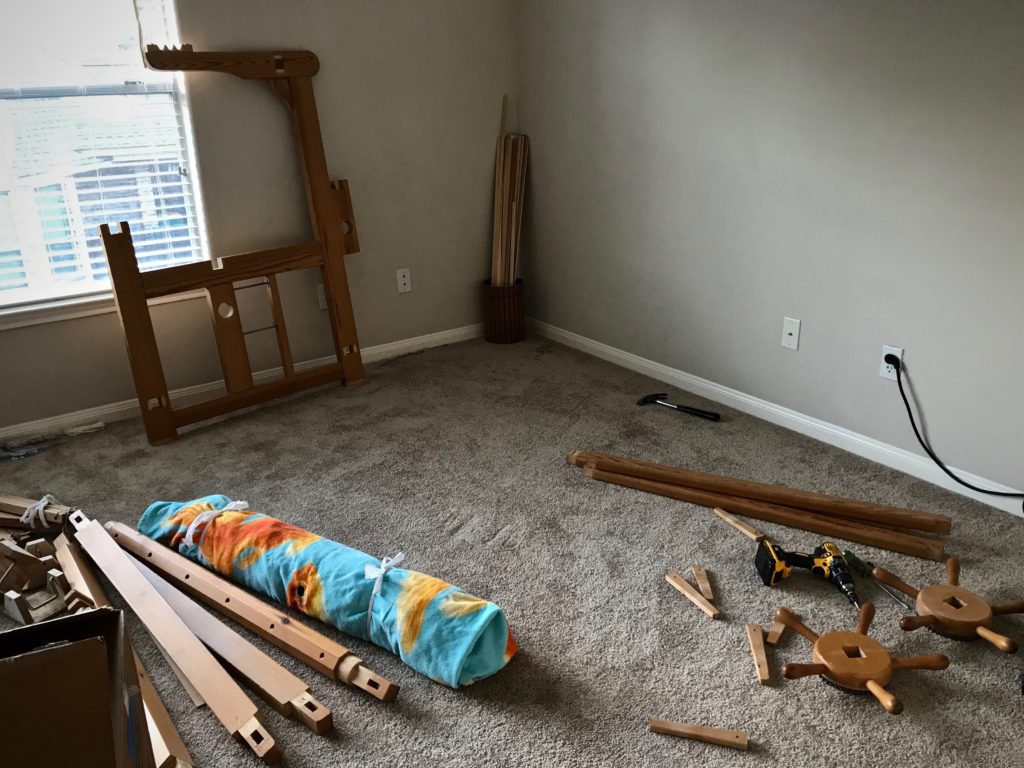
Taking the loom apart.
Taken apart. Tapestry, reed, and shafts are rolled and bundled up in the fish beach towel.

Now all I have to do is wait

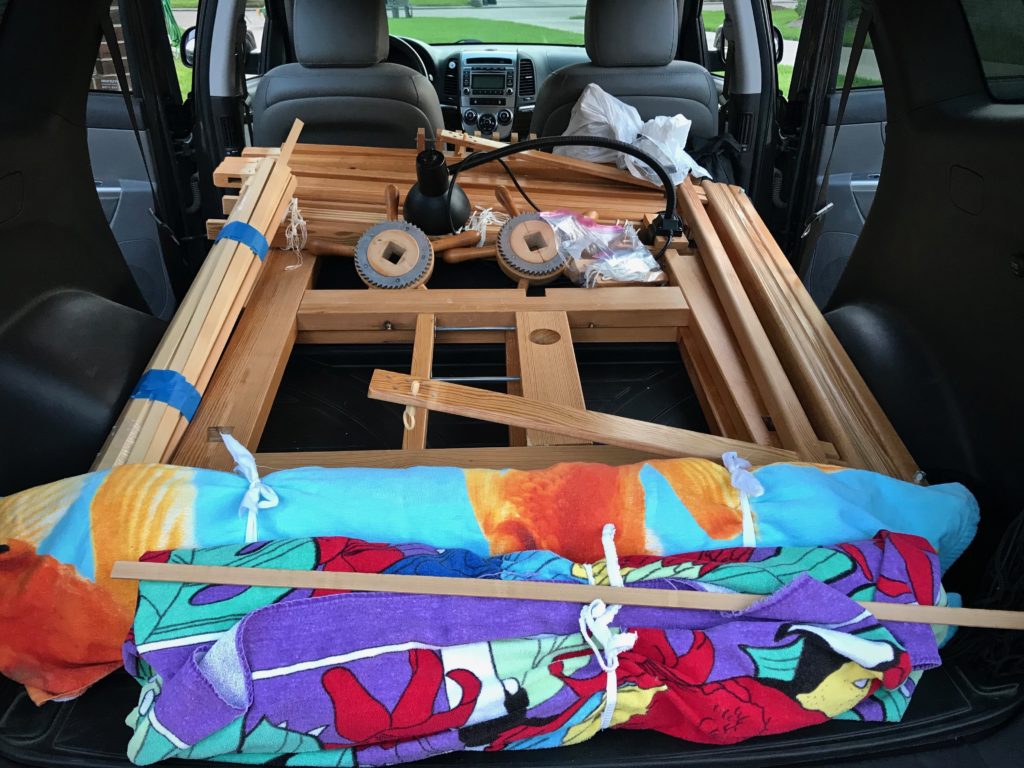
Relocating my loom.
Everything fits in the car, ready for transport.

All the dust has settled, the house transaction is done, and the loom has been re-located and put back together. It’s the first thing you see when you enter our ground-floor apartment.

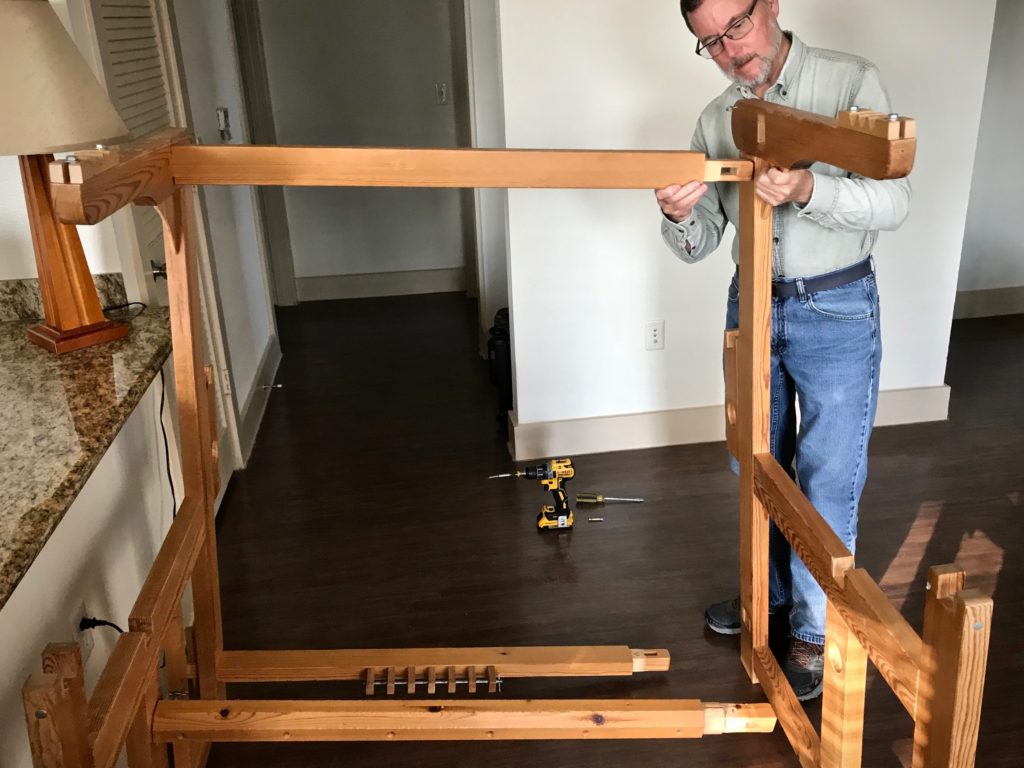
Getting ready to re-assemble loom.
New location for the loom is in the living room of our apartment.
Simple Swedish loom assembling.
Re-assembling my loom after relocating.
Re-attaching the bolster to hold the warp beam.
Re-assembling loom after relocating.
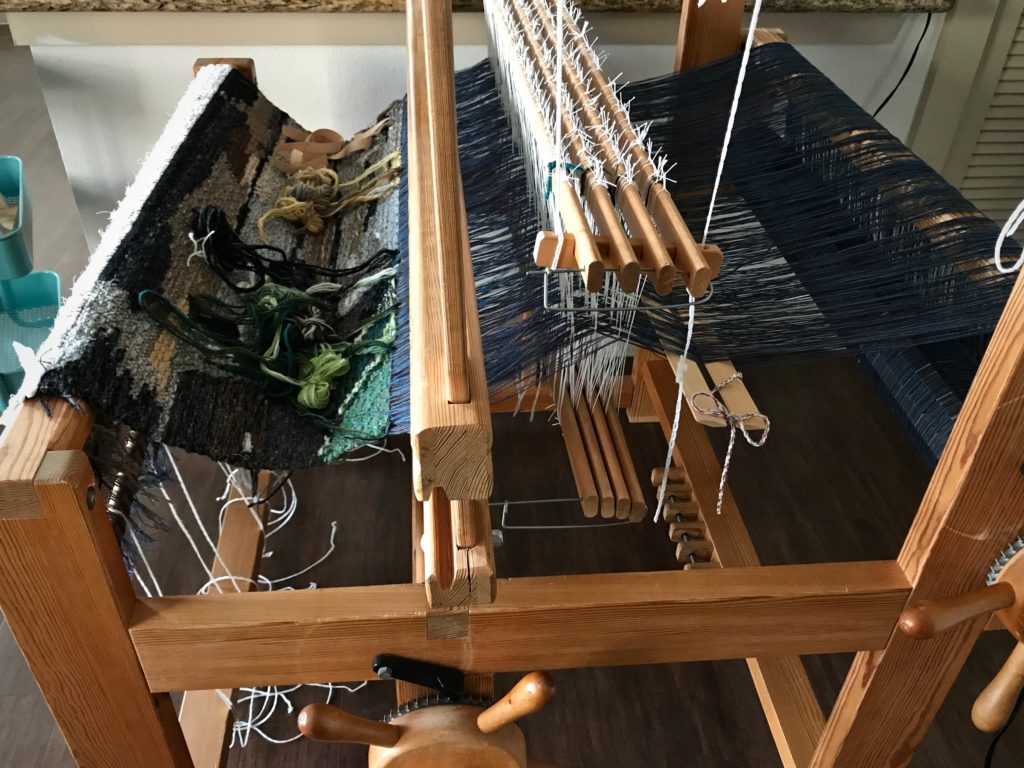
Tapestry in view.
Using a spare heddle as a cord threader.
Spare Texsolv heddle works as a cord threader (I forgot to pack the “real” cord threader) to re-attach the cords on the cloth beam.

What about the Lizard? Can I resume where I left off? Good news: IT WORKED!

Ready to weave after relocating the loom!
Everything is put back together. Beam cords are re-attached. Yarn is unpacked. Warp is tensioned.
Lizard four-shaft tapestry.
Lizard foot grips the breast beam as weaving resumes!

When have you had to wait? Something you dearly long for is unreachable for a while. Waiting for the Lord is always waiting with hope. I trusted my friend’s advice. So, my hope was strong while I waited to see this lizard take shape again. In a similar way, I can trust the Lord when there is a disruption. Wait with strong hope. Wait for the grace to begin again.

May you wait patiently.

Happy Weaving,
Karen

Tapestry Territory

Here we go on this adventure! The yarn is plentiful, and sorted into color groups by value. I have tweaked and updated the cartoon, putting measurement marks along the edges and adding shading to places where I want texture. I wove a header after the sample, but it drew in too much. I pulled it out and redid it, making sure to use adequate weft this time. I am now ready! I’m walking into four-shaft tapestry territory!

Beginning of a four-shaft tapestry.
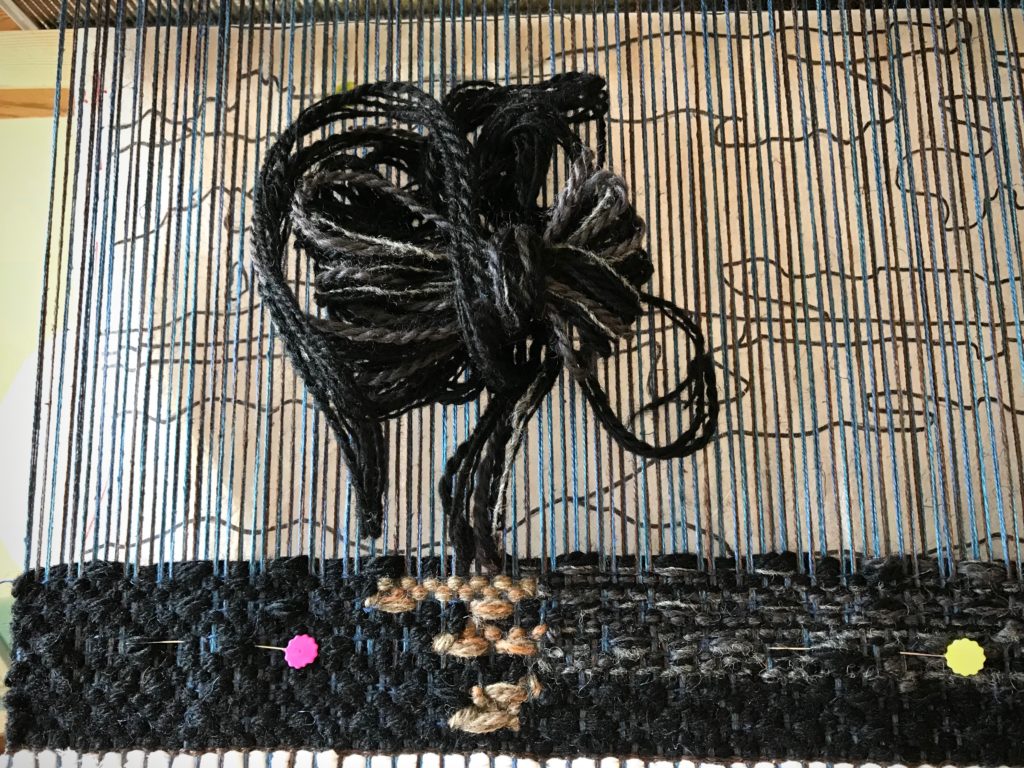
Background begins with wool butterflies in shades of black.
Wool butterflies for a four-shaft tapestry on the Glimakra Ideal.
Several butterflies are introduced across the beginning section of the four-shaft tapestry.
Four-shaft tapestry just beginning.
Linen weft is used between some of the wool picks.

Walking. It’s how we live our life. Step by step into an unknown future. To walk in a manner worthy of the Lord, we follow the Grand Weaver’s cartoon, which he reveals to us, sometimes row by row. And he supplies us with the yarn butterflies in the right colors and values to create the tapestry of his design. We may never see his whole cartoon, but we have the sure hope of seeing the finished tapestry in all its glory!

May you be ready for an adventure.

Happy weaving,
Karen

Tools Day: Cartoon Support

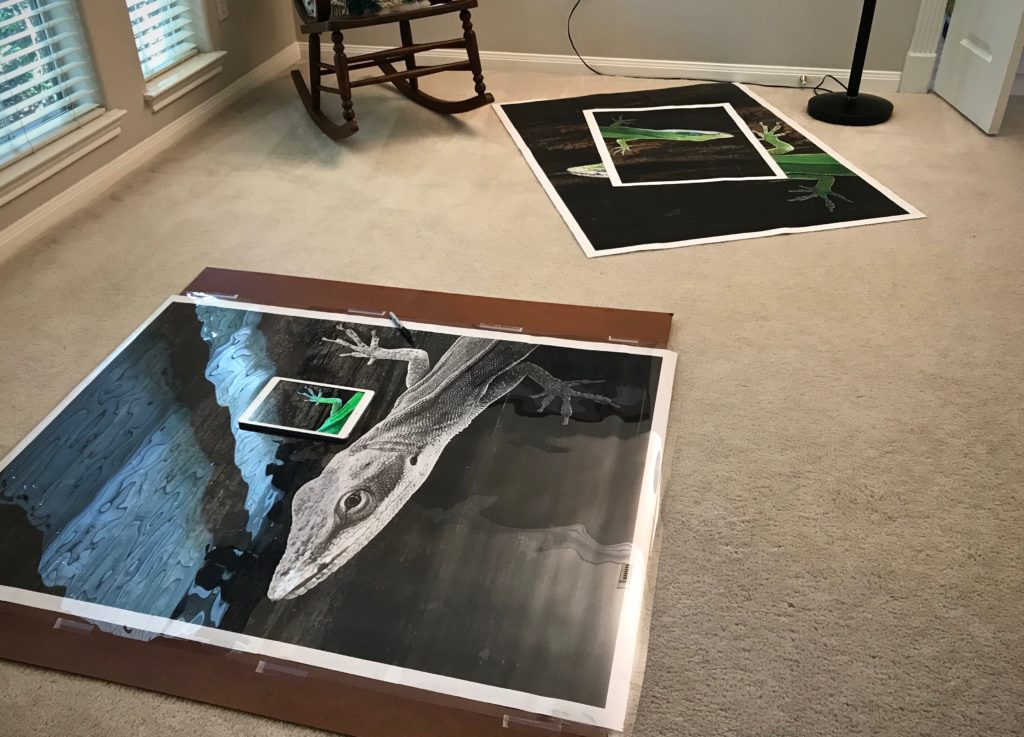
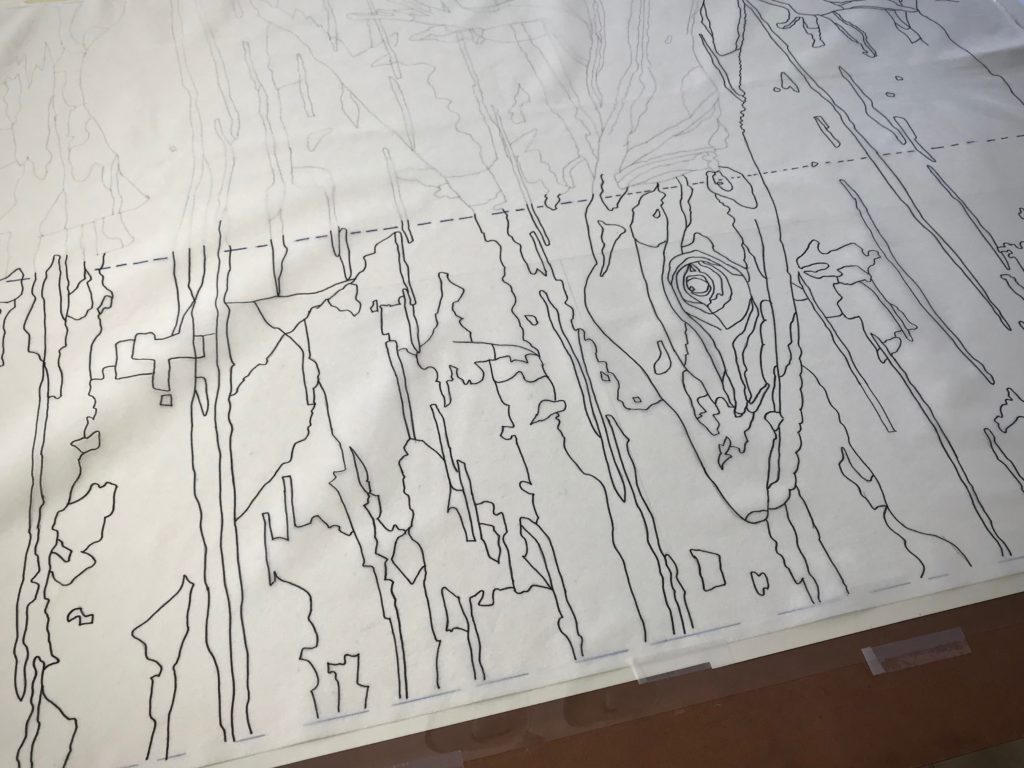
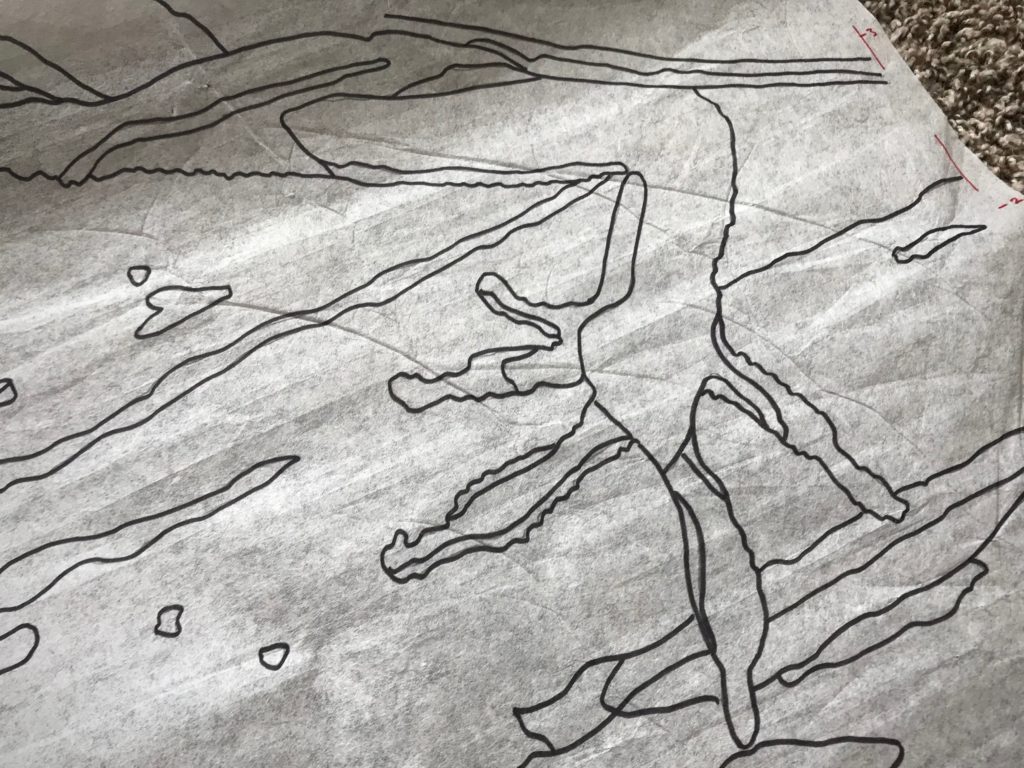
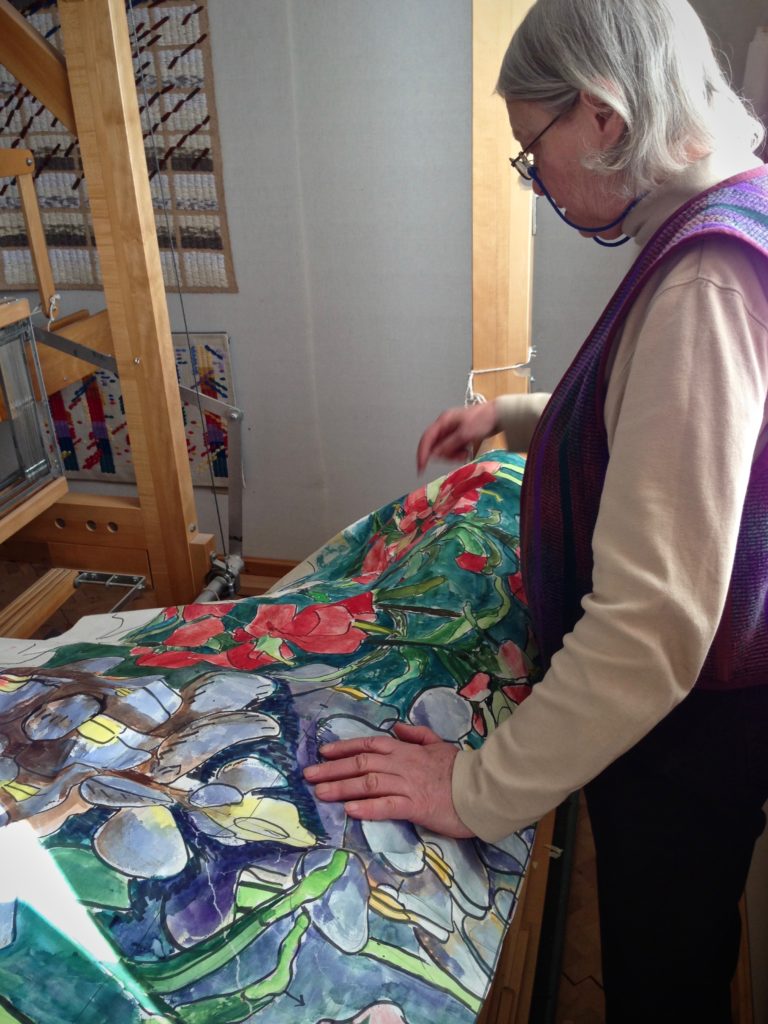
Alignment, security, and visibility are the main things I think about in regard to attaching and supporting the cartoon. In order to weave a tapestry this size, or any size for that matter, you need a good way to manage the cartoon. My cartoon is drawn onto a thin Pellon product (Pellon 830 Easy Pattern, 45″ wide) that is meant for pattern making. This material is easy to pin, doesn’t tear, and only barely wrinkles.

Alignment
Align center of cartoon to center of warp.

A blue dashed line from top to bottom of the cartoon marks the center. I also have a pencil mark on the exact center of my beater. When the blue line on the cartoon is perfectly aligned with the center warp end, as seen from the mark on the beater, I know my cartoon is in the correct position.

Beginning a new tapestry.
Pencil mark on the beater is above the center warp end.

Security

  • Pin the cartoon in two places on each side of the woven tapestry.
    This warp is too wide for me to reach all the way to pin the cartoon in the center. So, on both sides of the weaving I place one flathead pin near the selvedge, and another one as far as I can comfortably reach toward the center. I move the pins forward each time I am ready to advance the warp.
Beginning a new four-shaft tapestry.
Two flat-head pins hold the cartoon under the tapestry weaving on the right-hand side.
  • Hang a support slat under the cartoon.
    I learned this from The Big Book of Weaving, by Laila Lundell, p. 239, 2008 edition. I used this method previously for a rag rug that had a cartoon for a large inlay pattern. It also works well for holding the cartoon for a woven transparency.
Positioning a cartoon under the warp.
Seine twine loop with rubber band hangs from beater cradle. Slat holds cartoon up against the warp.

Supplies: 12/6 cotton seine twine, 2 rubber bands, long warping slat

1 Make a loop with the seine twine to hang from the beater cradle to just below the warp, with a rubber band on the loop.

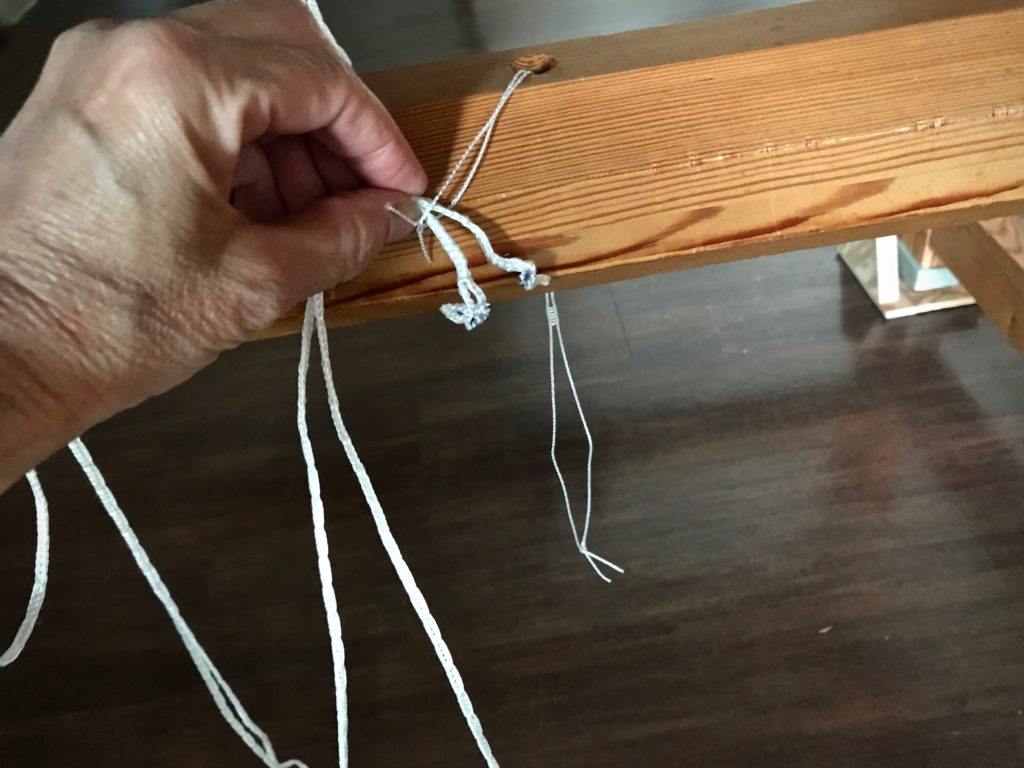
2 Tie the ends of the loop with a bow knot or a weaver’s tie-up knot (this useful knot is described in How to Warp Your Loom, by Joanne Hall, p. 39).

Cartoon management for tapestry.
Top of loop tied in a bow knot.
Weaver's tie-up knot helps hold the tapestry cartoon.
Weaver’s tie-up knot is perfect for this application, since it is quick and easy to undo and re-tie if repositioning is needed.

3 Make another loop the same way, with rubber band, and hang it on the other beater cradle.

4 Place the warping slat in the hanging rubber bands, underneath the cartoon.

5 Adjust the length of the loops so that the slat lightly presses up on the cartoon and the warp.

One way to manage a tapestry cartoon.
Rubber band gives flexibility to the seine twine loop that is holding up the cartoon.
  • Pin the rolled-up cartoon underneath.
    I roll up the Pellon cartoon under the warp and pin it once on each side. As the warp and cartoon advance I can reposition the pin as needed.
Cartoon management for tapestry.
Under the warp, the cartoon is loosely rolled up and pinned.
  • Move the slat toward the breast beam, out of the way, to beat in the weft.
    Because of the rubber bands, the slat support has flexibility and does not impede the movement of the beater.

Visibility
Move the slat near to the fell line.

With the slat under or near the fell line, it presses the cartoon up to the warp. By doing this, I can easily see what comes next as the tapestry weaving develops row by row.

Managing a cartoon for tapestry weaving.
Placing the slat under the fell of the weaving raises the cartoon to visibility where it is needed most.

I wait for my ordered yarn to arrive. Meanwhile, I dream of this tapestry becoming a reality as cartoon meets wool.

May you have the alignment, security, and visibility you need.

All the best,
Karen