Zebra Warp

I changed my mind. A long zebra warp (formerly known as black and white) will not be boring. When I come to the end I’m certain I will wish I had an even longer warp. The first few picks are already amazing. Design possibilities are flying through my mind!

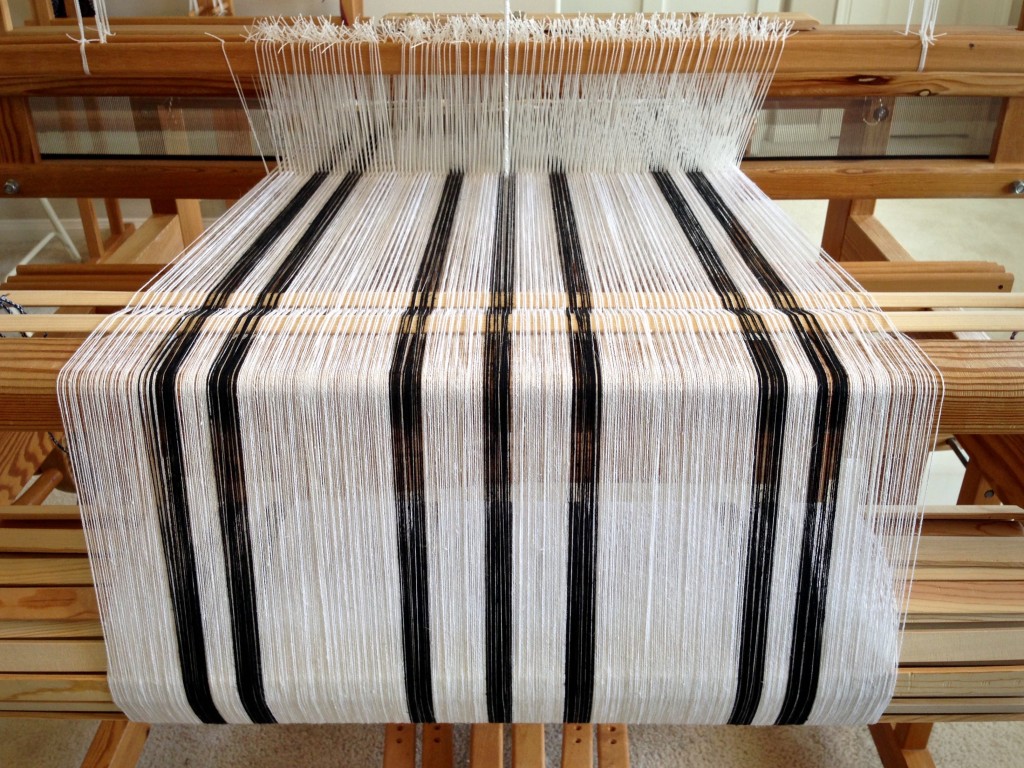
Zebra warp on Glimakra Ideal loom.
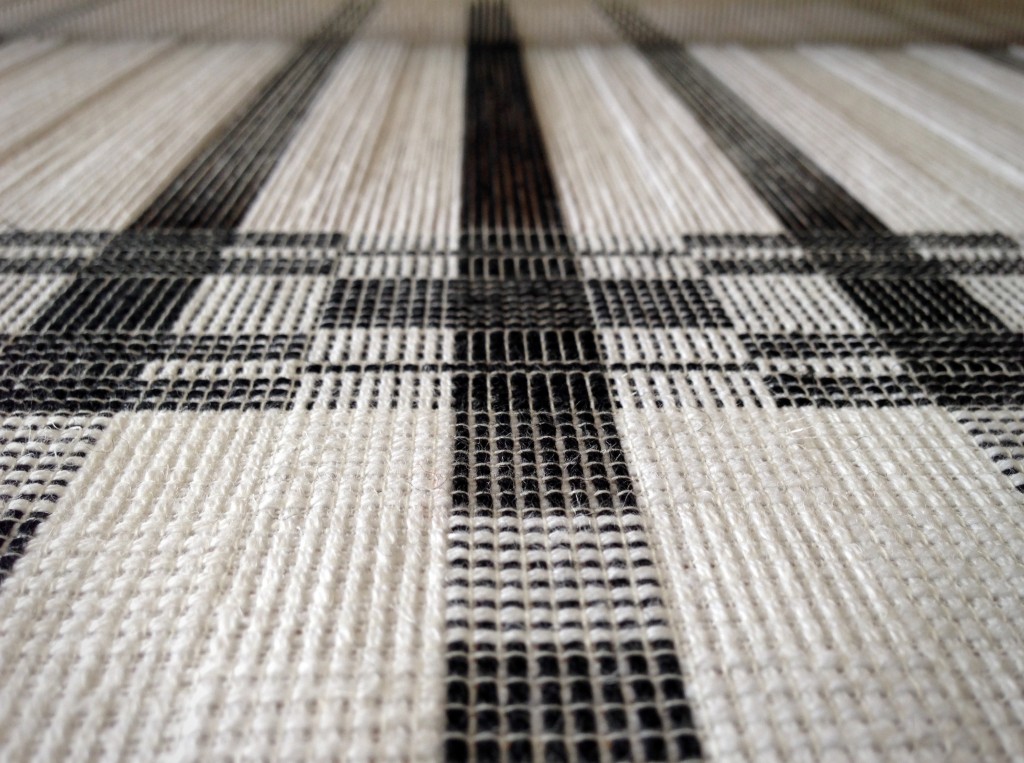
Zebra warp has taken over my Glimåkra Ideal loom. There are 10 1/2 meters (11 1/2 yards) of thick and thin threads.

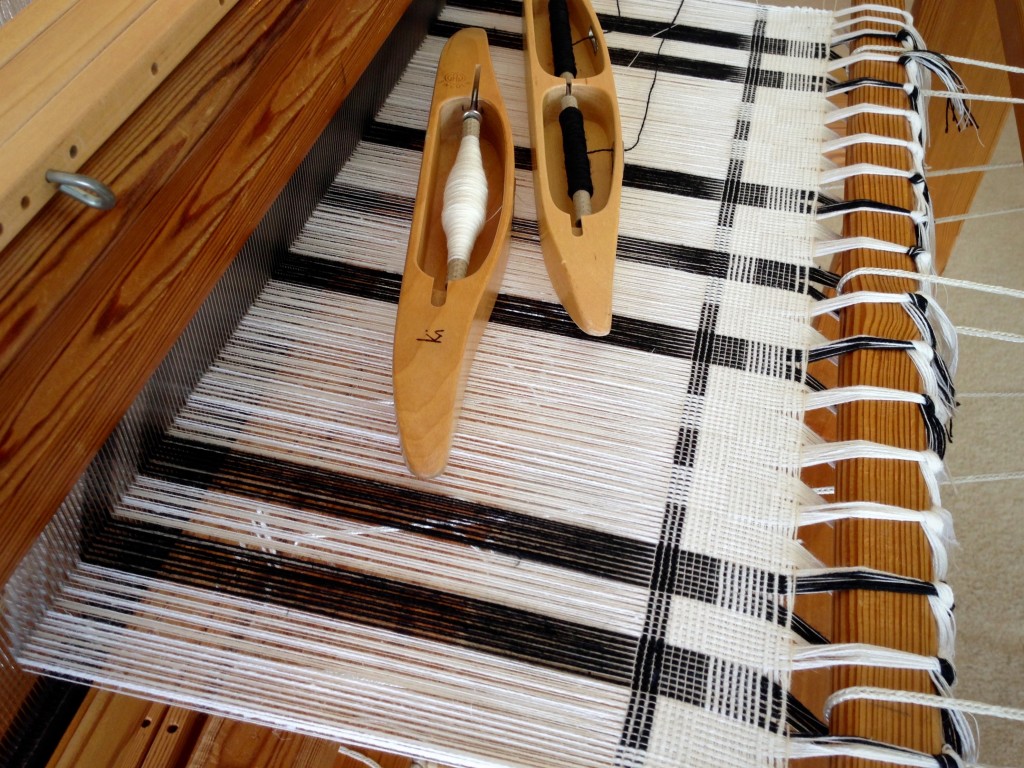
This is plain weave. But here, the plain weave is transformed with thick and thin threads–in warp and weft. Combining thick (doubled 22/2 cottolin) and thin (30/2 cotton) gives me two blocks to work with. I am using two shuttles, one of which is a double bobbin shuttle. As always, weaving feels like magic. All I do is dress the loom and throw the shuttles, and exquisite cloth magically appears!

Black and white towels on the loom.
First few picks reveal interesting design options. Leveling string across the beginning of the warp eliminates the need to weave scrap yarn to spread the warp.
Black and white towels on the loom. Karen Isenhower
First towel has a border design–one element that sets a handwoven towel apart.

God’s faithfulness is like a long zebra warp. It doesn’t seem elaborate or noticeably fancy. It’s been there forever. His faithfulness is known among the angels and all of heaven. God’s faithful love is as constant as day and night. We take notice when we see beauty appear, like kindness from a stranger, or love from a friend, or inner peace from doing the right thing. As the shuttles of life traverse the threads, the evidence of God’s faithful love is revealed. Always and forever.

May you enjoy endless design possibilities.

Happy weaving,
Karen

How Hard Is it to Stamp the Warp?

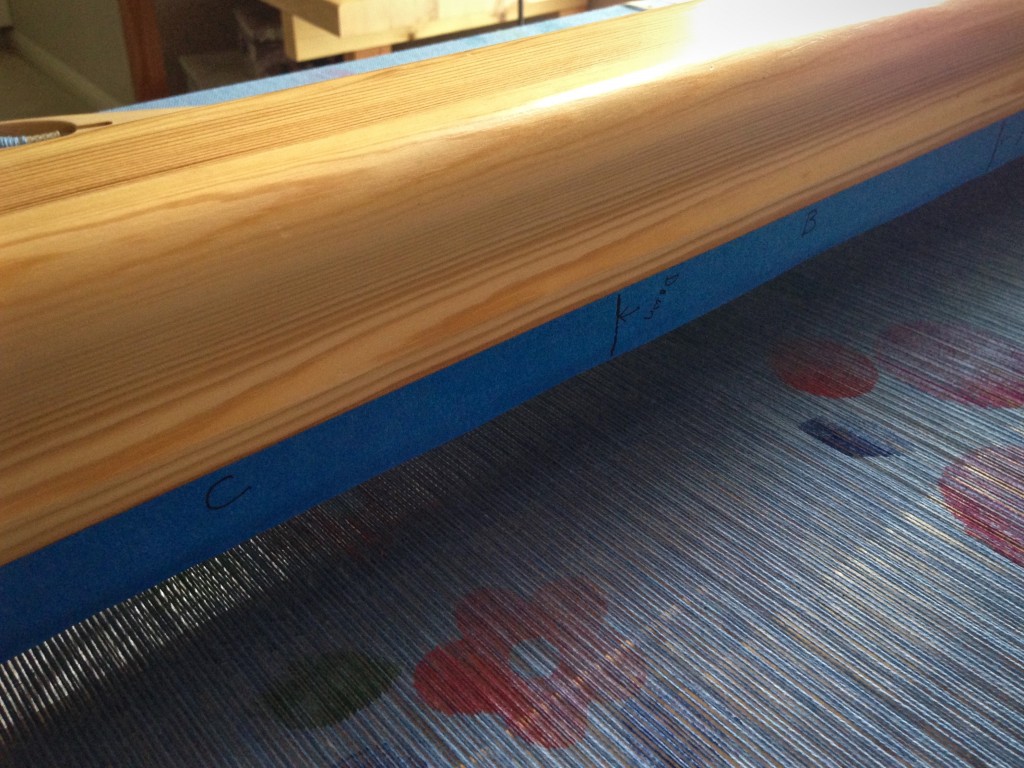
To stamp the warp, I stand on the foot beam at the front of the loom and reach over the beater. A six-inch board hangs just below the warp on loops of Texsolv cord, behind the beater, as the platform for the stamping and painting. A strip of blue painter’s tape stuck onto the backside of the beater divides the warp into three sections–A, B and C. The sections denote three tiers of a tiered skirt for which this fabric is intended to be used.

Warp painting and stamping on the loom.
Back of the beater is marked with blue tape that shows the A, B, and C sections of the warp.

I was concerned that this would be hard to do–thinning the paint, reaching over, stamping in sections, letting it dry before advancing the warp, and so on. But it is not nearly as hard as I anticipated. It’s not actually hard at all.

Painting and stamping warp on the loom. Karen Isenhower
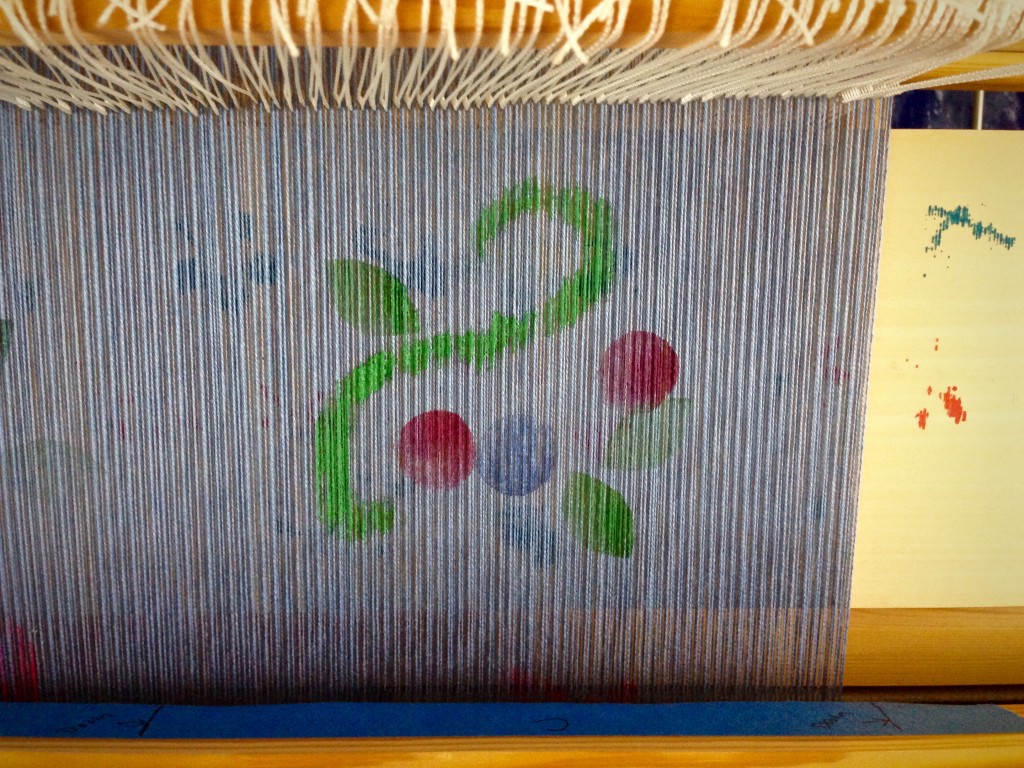
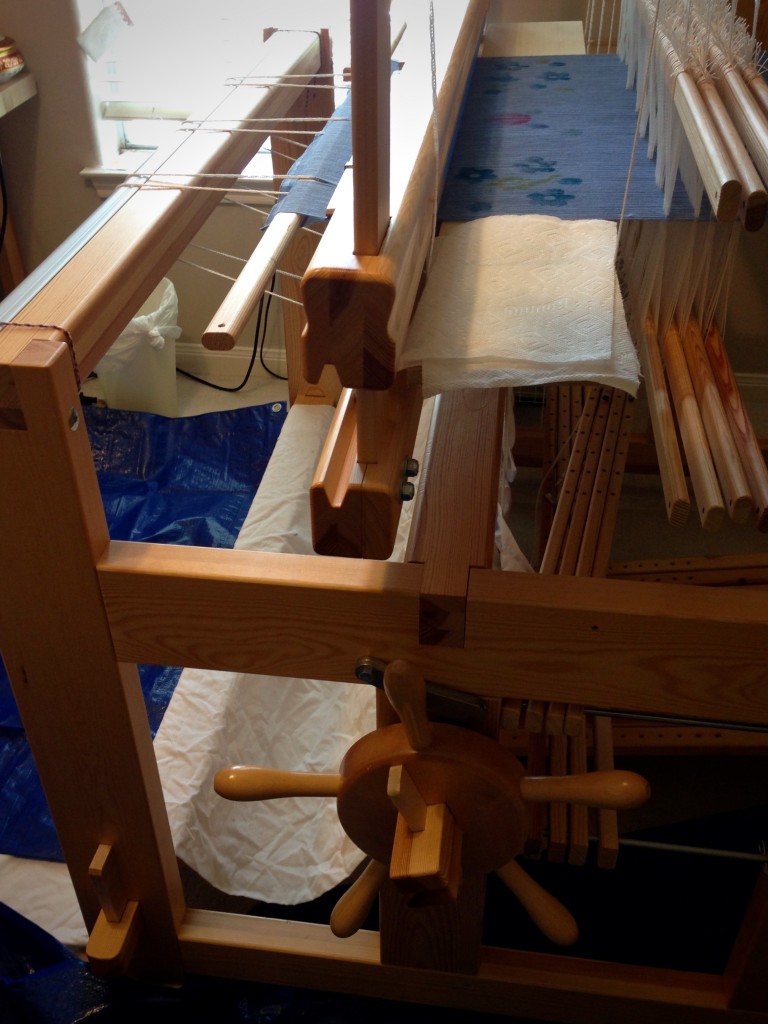
When I step on the foot beam at the front of the loom, and reach over the beater, with paint palette (disposable plastic picnic plate) in one hand, and stamp or paintbrush in the other, this is my view.

Similarly, at times it seems hard to do the right thing, even though I know that loving God means walking in his ways. Simply thinking something is hard to do, though, is not reason enough to avoid doing it. And, more often than not, we find that doing the right thing is not hard to do, after all.

May you do the right thing.

Love,
Karen

Plain Weave in a Fancy Mess

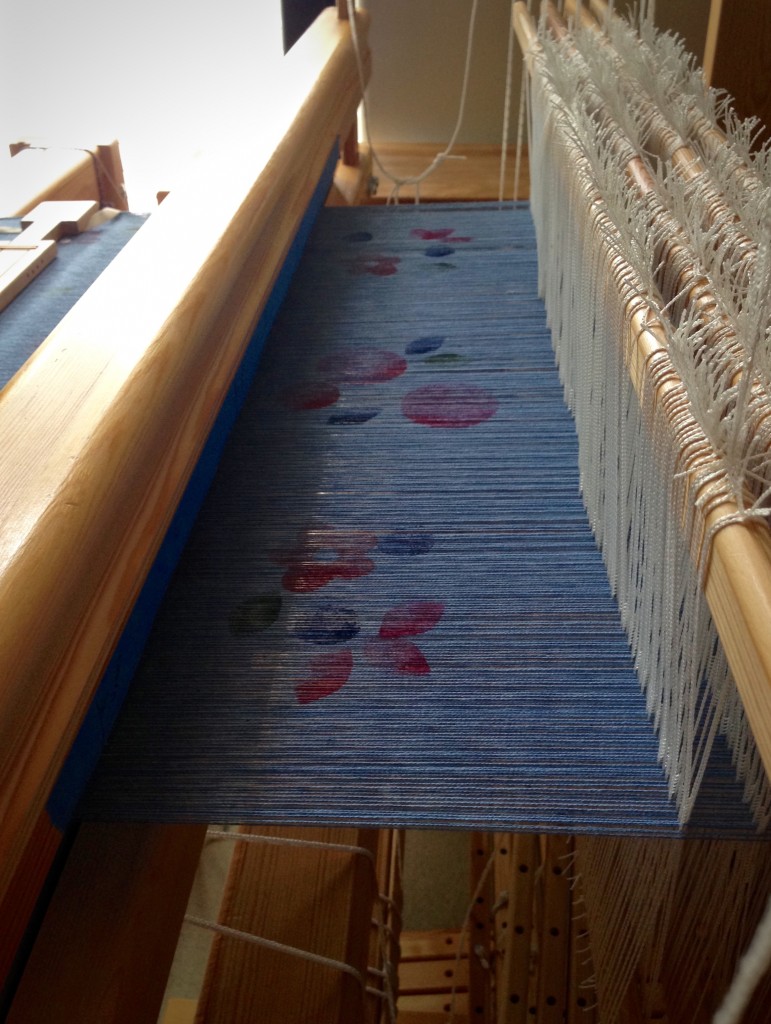
Plain weave has never been this interesting! I am painting and stamping the warp on the loom. Imagine applying colors onto the warp between the shafts and the beater! Weaving on the printed warp produces lovely subdued woven images. And, I had forgotten how fast two treadles and one shuttle can be. After having slowly woven many rag rugs, plain weave feels like a speedboat ride now.

Stamped warp between shafts and beater.
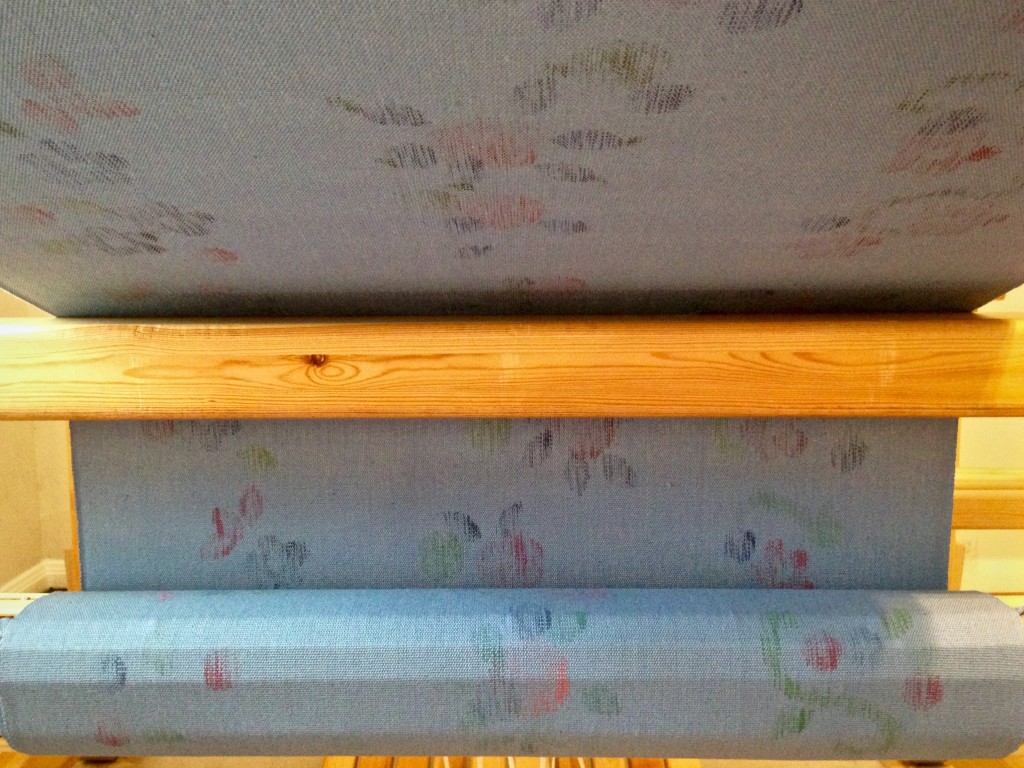
Stamped warp between shafts and the beater, waiting to dry.

The only problem is, I don’t like the mess. Paint is messy, and I am not fond of getting my hands dirty. Yes, I wear gloves when painting, but there’s the sink, the carpet, and the loom to think about, too. No, I don’t like the mess.

Painting and stamping warp on the loom.
Tarps and drop cloths cover the carpet and some of the loom in case of paint spills. Paper towels stand ready for emergencies.
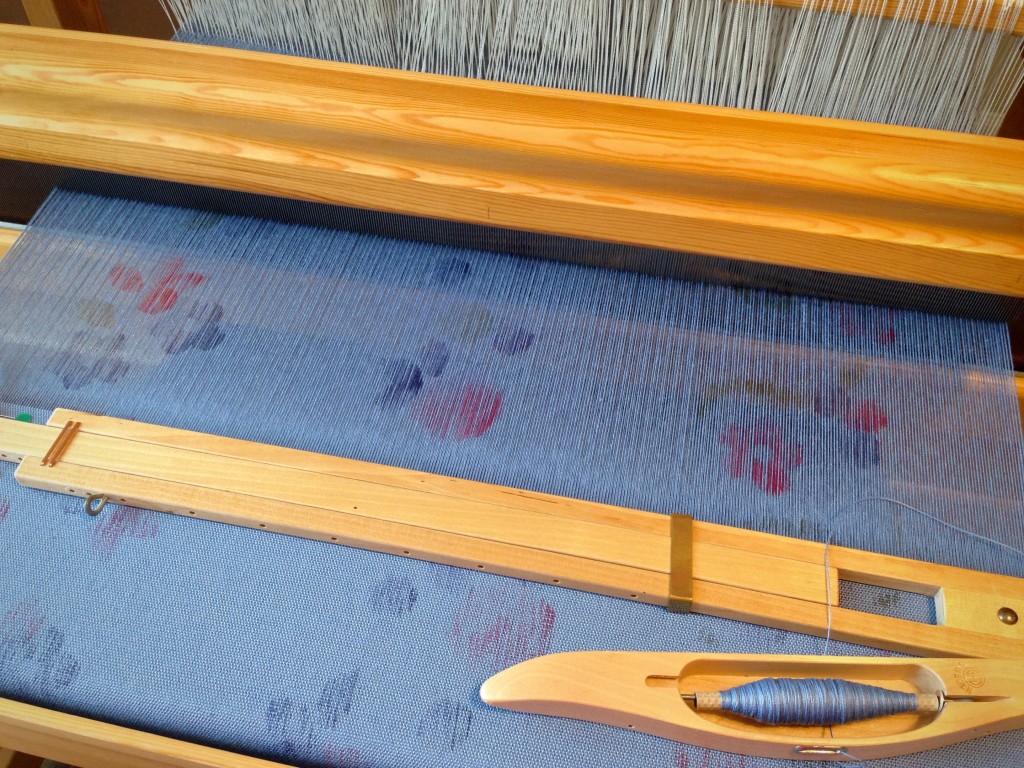
Stamped warp being woven.
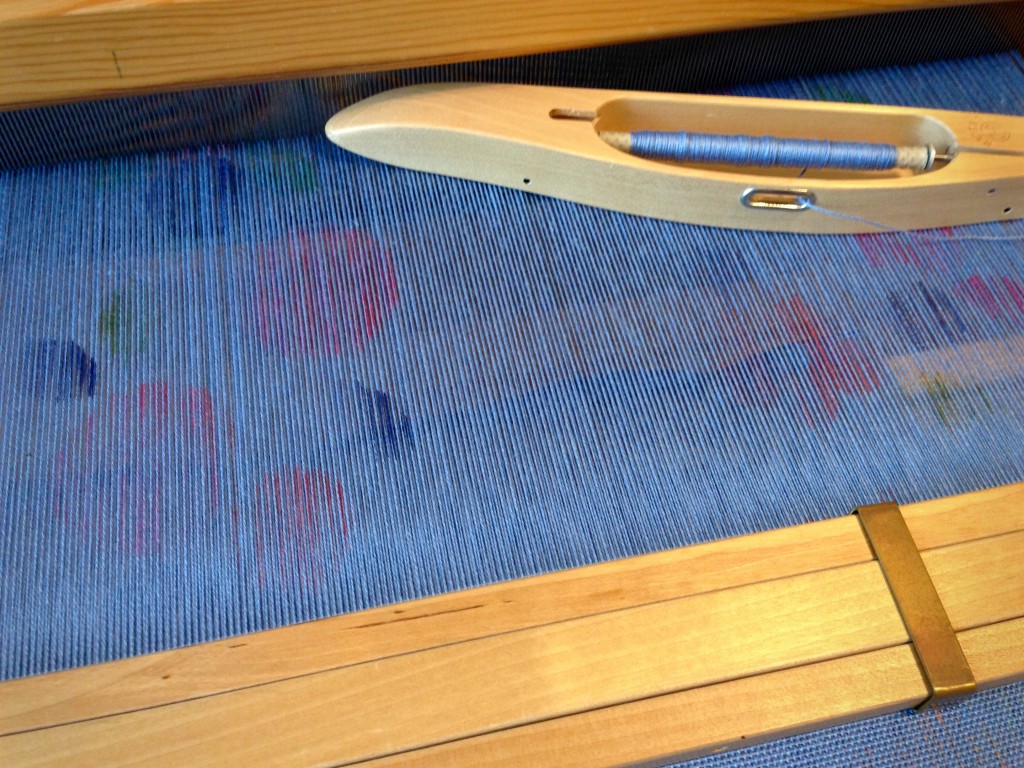
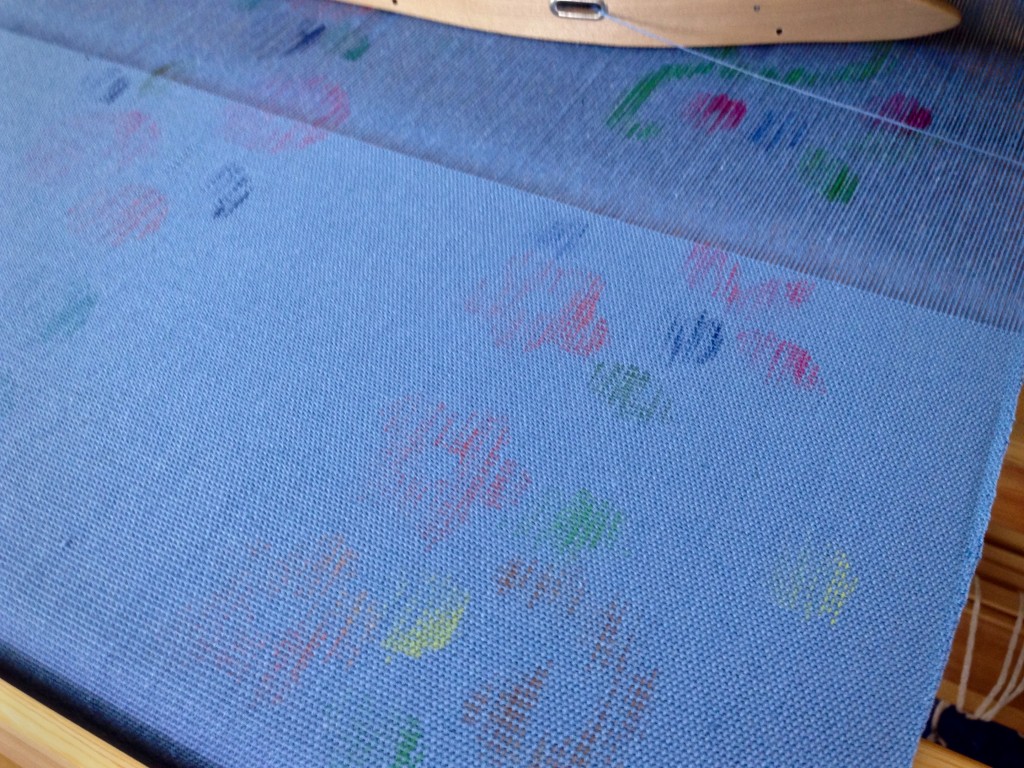
When dry, the printed area comes through the beater as the warp is advanced.
Weaving a warp that is painted on the loom.
Stamped shapes become subdued as the weft goes across.

Have you ever been in a mess in life? I have. Others see the pretty fabric you produce, but never see the mess behind the scenes. Appeal to the one who can help. There is one who sees the mess, but loves us anyway. When we appeal to God as Shepherd, we acknowledge our need, and that we want him to lead us–even through the mess. Then, the fabric that is produced has beauty that is truly woven in.

May you enjoy creating beauty, despite the mess.

In process,
Karen

Threads Where They Belong

Does your mind wander for repetitive tasks? Each of 780 threads must pass through the small eye of a heddle–the correct heddle–to create the cloth that I have in mind. Threading 8/2 cotton in a straight draw, 1-2-3-4, is easy enough that I do it almost without thinking. Precision at this stage, however, is critical.

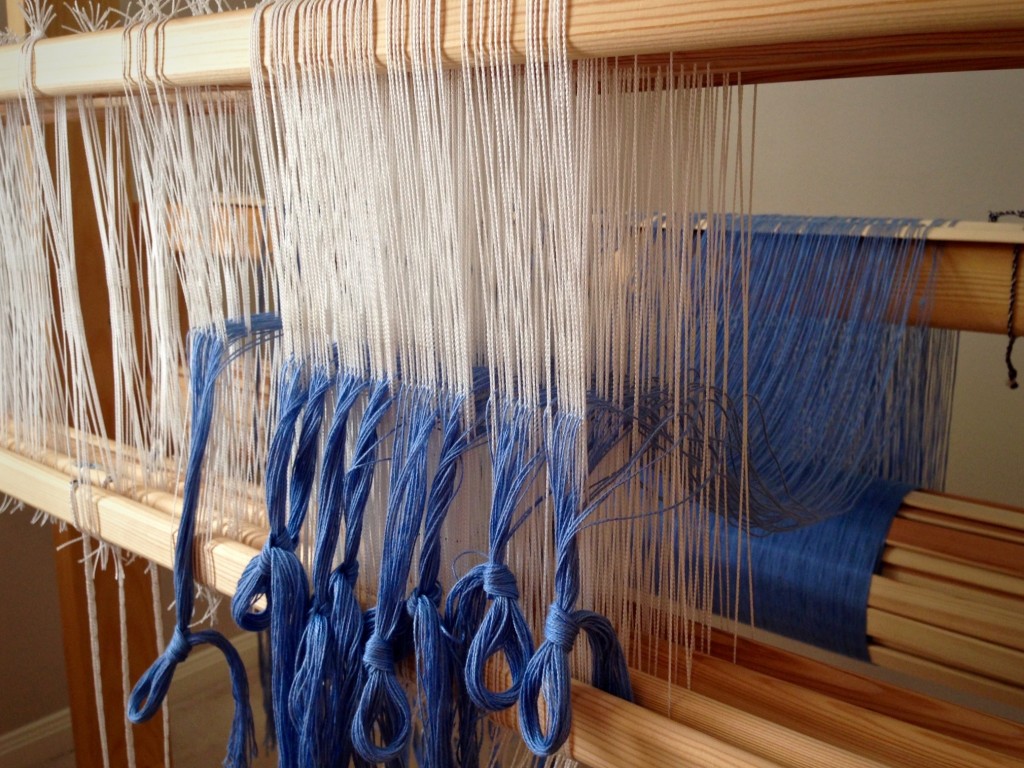
Threading heddles with Bockens 8/2 cotton.
Each section of 32 threads is tied into an overhand knot after the threading has been double checked for accuracy.

My mind goes in a thousand directions, sometimes, while my fingers continue to place the threads. With my hands on “autopilot,” anything can happen. For this reason, I make it a habit to double check the threading accuracy for each section I finish, thread by thread, saying out loud, “1-2-3-4; 1-2-3-4; …”

Like a thread going through the eye of the correct heddle, I want each of my thoughts to go through the door of truth. Truth is the key to a purposeful life. We get trapped by faulty thinking, but truth brings us to our senses and unlocks the trap. Bringing cohesiveness and clarity to all aspects of life, truth enables us to see the cloth that is being woven. Isn’t it time to stop and double check the threads of our thinking to make sure each thread is going right through the eye of the heddle?

May you fulfill your purpose.

Yours truly,
Karen

Quiet Friday: Weave a Bag with Handles

Voila! A rag-weave bag with the handles woven in. First, the handle straps were woven on my band loom. And then, I wove the straps into the rag-weave bag on my floor loom. Lastly, I cut the weaving from the loom and sewed the bag together. This is a warp for double binding rag rugs. I take advantage of this double cloth structure to make handles that are extremely secure. The pictures show how it all comes together. (Quiet Friday: Rag Rug Bag shows my first attempt at this feat. Be sure to read the comments. My amazing readers helped me develop the idea for this workable solution.)

As a bonus, at the end of this post you will see a new video that demonstrates my method of cutting fabric strips for weaving rag rugs.

1. Weave bag handles. (First seen on Is My Weft Showing?)

Unwoven warp (length equal to the rag rug warp width on the loom, plus 2″/5cm) comes before and after each of two bag handles, which are woven to desired length. Unwoven warp is held together at the beginning, and in between the two handles, and at the end, with 1″/2.5cm of woven band.

Bag handle woven on band loom. Karen Isenhower

2. Insert unwoven band warp for one handle.

Weave approximately 1/3 of the bag.

Cut the two handle straps apart in the middle of the 1″/2.5cm woven section that separates the two lengths of unwoven band warp. Entering from the right-hand side, insert one unwoven band warp, used here as weft, into the first shed of the double binding weave, with 1/2″/1cm of the band-woven handle strap reaching into the shed. Tap the weft in with the beater, but do not beat it in firmly, yet.

Steps for weaving handle into rag weave bag.

Weave handle into rag weave bag. How to.

3. Insert unwoven band warp for the second handle.

Entering from the left-hand side, insert the unwoven band warp, used as weft, from the second handle strap into the second shed of the double binding weave, with 1/2″/1cm of the band-woven handle strap reaching into the shed. Beat firmly, packing in both layers of weft together.

Weave handle into rag weave bag on the loom.

4. Weave the center 1/3 of the bag.

Step-by-step weaving handle into bag.

5. Insert remaining unwoven warp of first handle.

Repeat Step 2 with the unwoven band warp attached to the handle on the right-hand side. Make sure the handle strap is not twisted.

Inserting bag handles during weaving. Tutorial.

6. Insert remaining unwoven warp of second handle.

Repeat Step 3 with the unwoven band warp attached to the handle on the left-hand side. Make sure the handle strap is not twisted.

How to insert bag handles into the weaving.

7. Weave the final 1/3 of the bag.

Double binding rag rug bag.

8. Finishing work.

Cut rag-weave bag from the loom. Remove header and knot the ends. Press. (For more about finishing the ends, see Quiet Friday: Rag Rug Finishing and Wear and Tear Rag Rugs)

Finishing ends to make bag.

9. Stitch the bag.

Fold the bag, right sides together. Stitch side seams. Turn right side out. For whimsical detail, form box corners on the outside, and stitch in place by hand with warp thread. (You could form box corners on the inside just as well, stitching flattened corners by machine or by hand.)

Creating a rag rug bag.

10. Take your bag with you wherever you go.

Rag rug bag with woven handles. Karen Isenhower

Rag rug bag detail. Karen Isenhower

May your ideas turn into fruitful efforts.

Happy weaving,
Karen