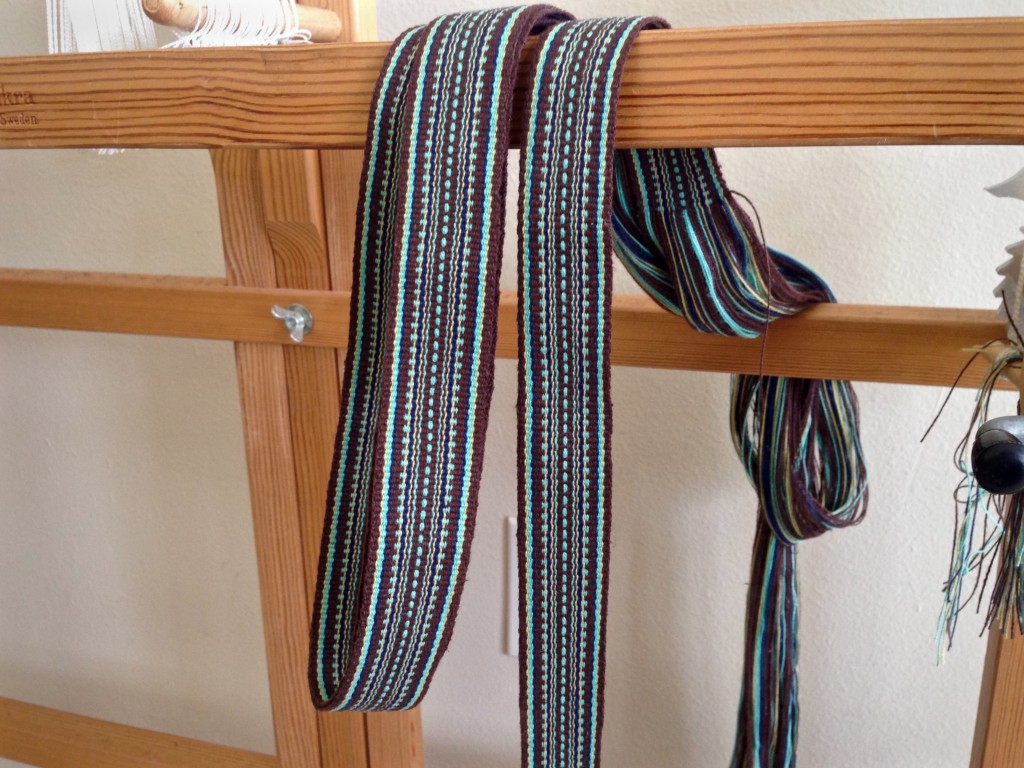
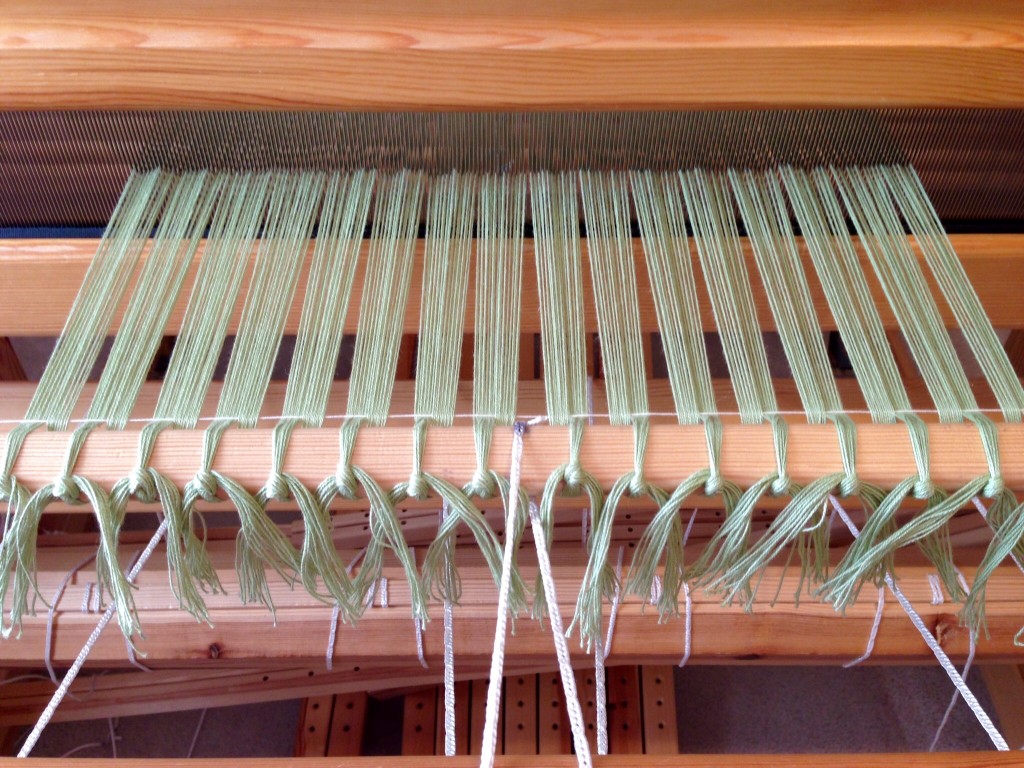
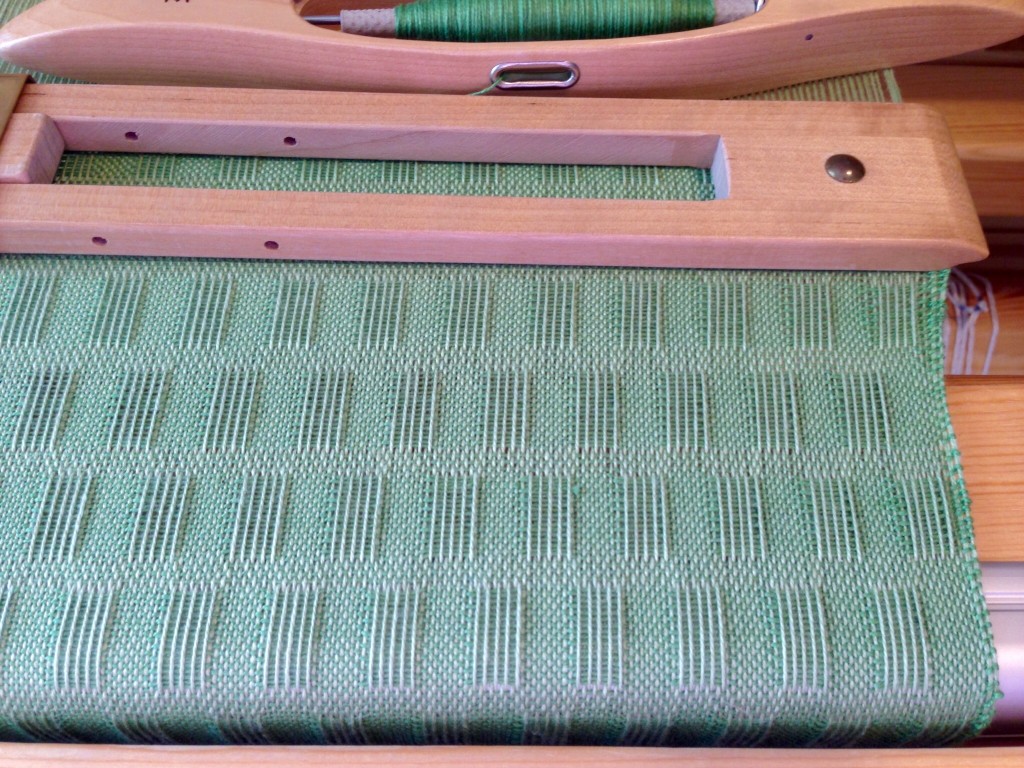
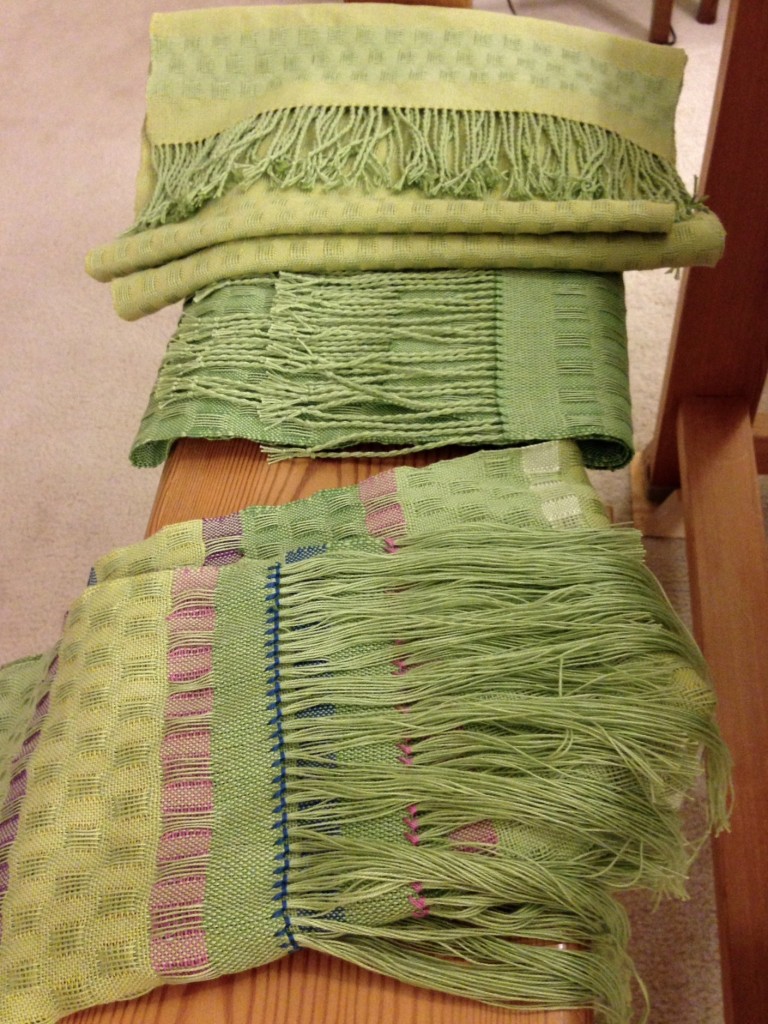
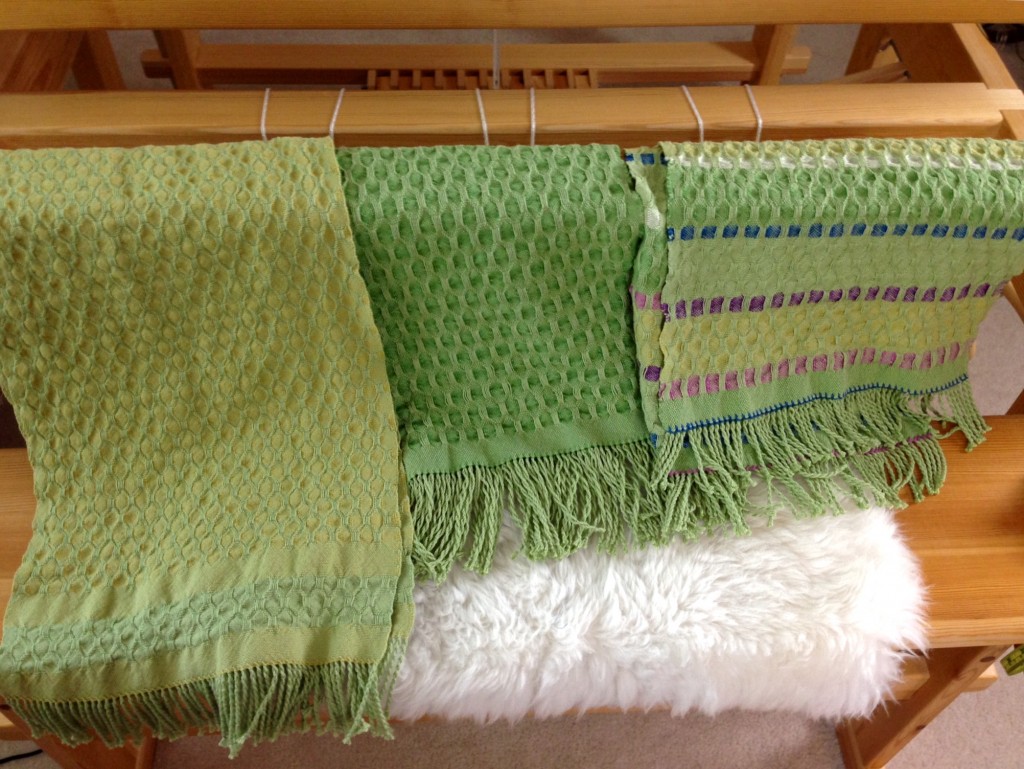
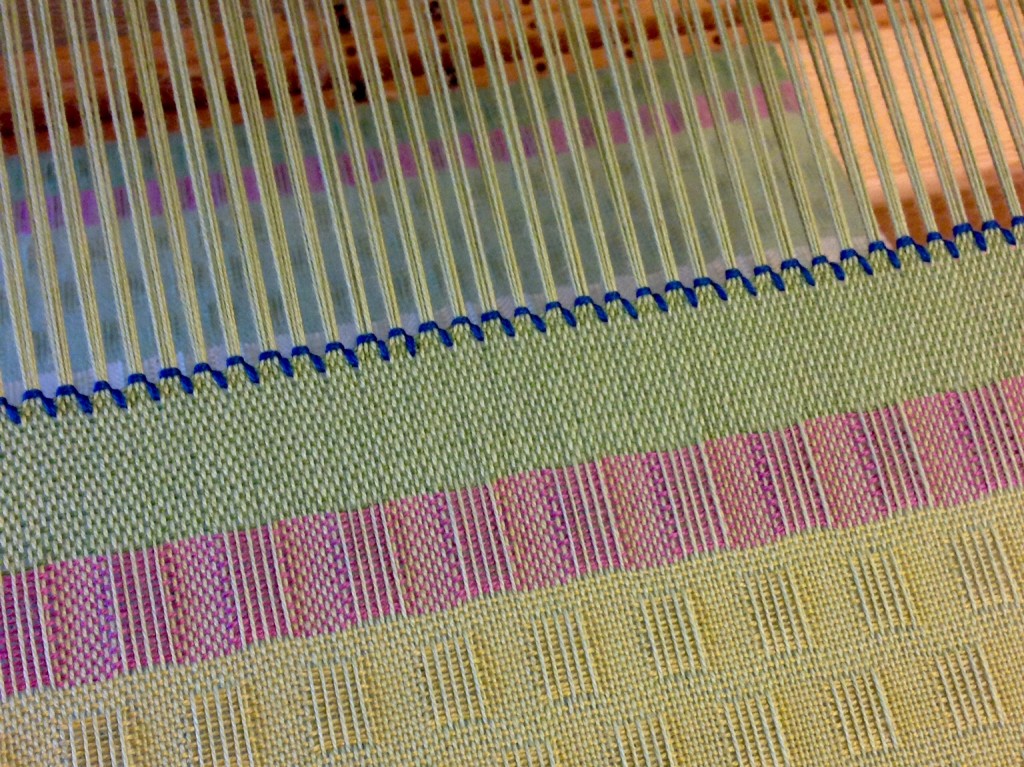
One thing I learned is the scarf with the longest warpfloats has the greatest shrinkage rate. Another thing I learned – again – is to plan a longer warp than what I think I need. The third scarf is significantly shorter than the first two because I ran out of warp. Table runner, anyone? I always include length for sampling, but I need to include more, more, more. Still, I am very happy with the finished results. And, you have a new video to watch! (Scroll down to see it.)
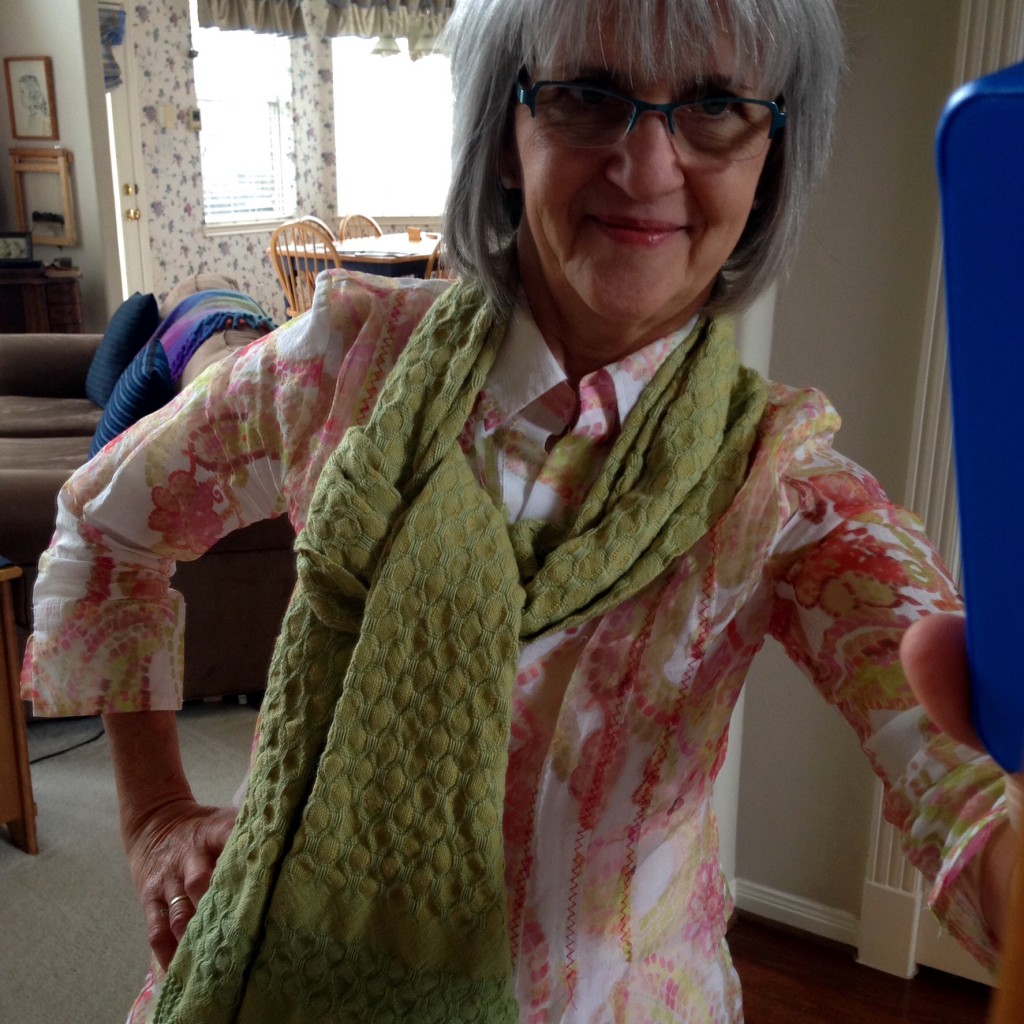
I wet finished the scarves in the washing machine, adding a small amount of Eucalan, on the gentle cycle, with warm wash and warm rinse, and very short spin. They went in the dryer on low heat until damp, and then hung to dry the rest of the way. The scarves came out lightly puckered, which is exactly what I had hoped for. I could have washed them in hot water and left them in for a longer amount of time if I had wanted the scarves more dramatically puckered.
There’s nothing like finishing a fun project! Clearly, I know what to do next… Dress the big loom and keeping on weaving.
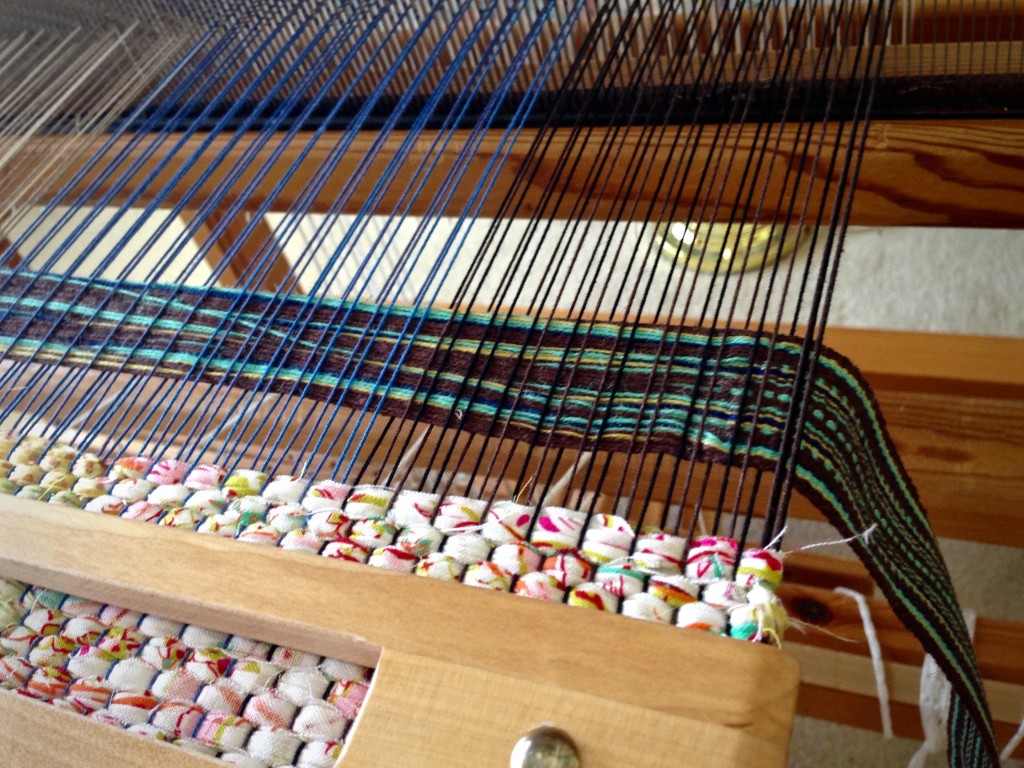
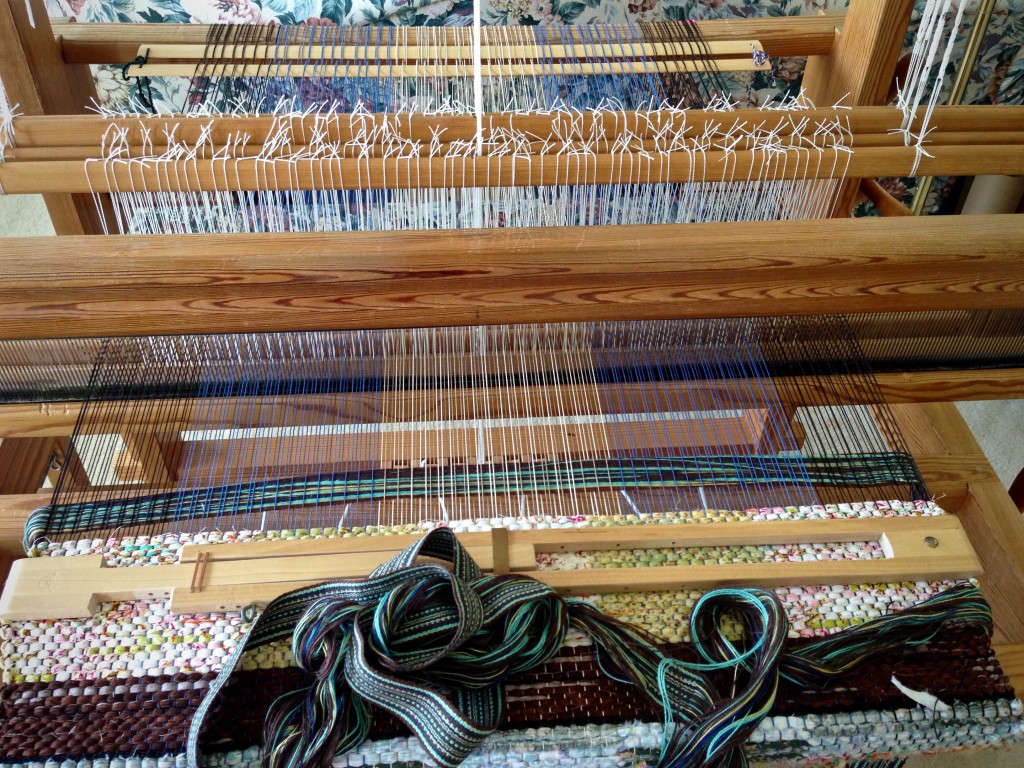
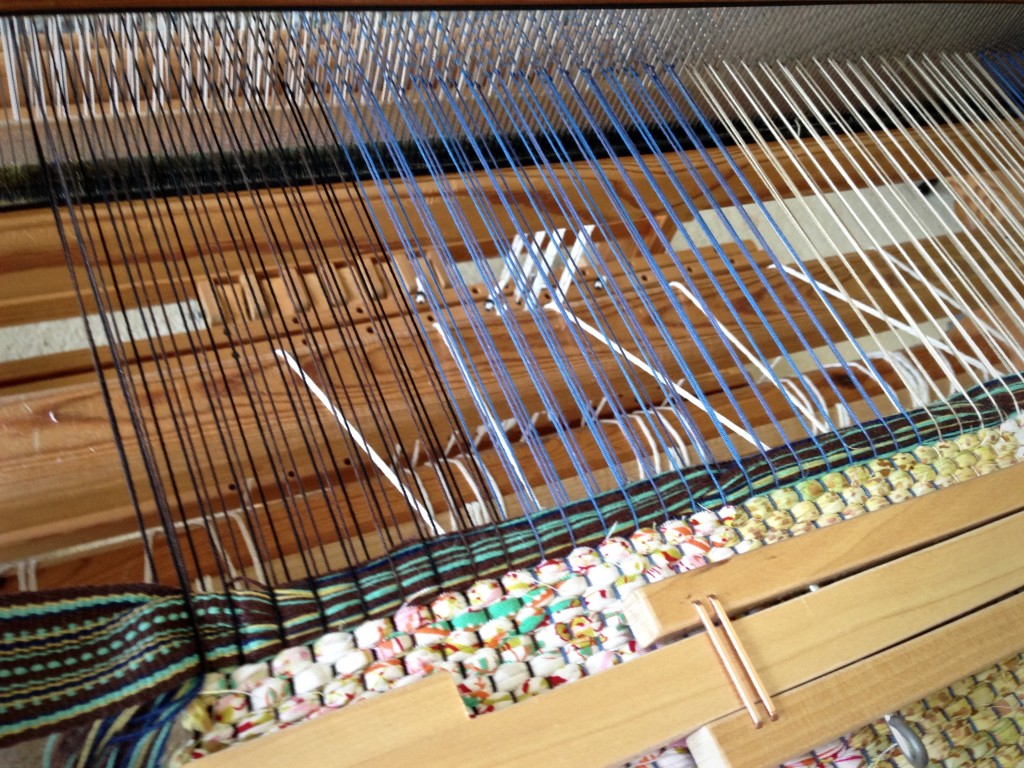
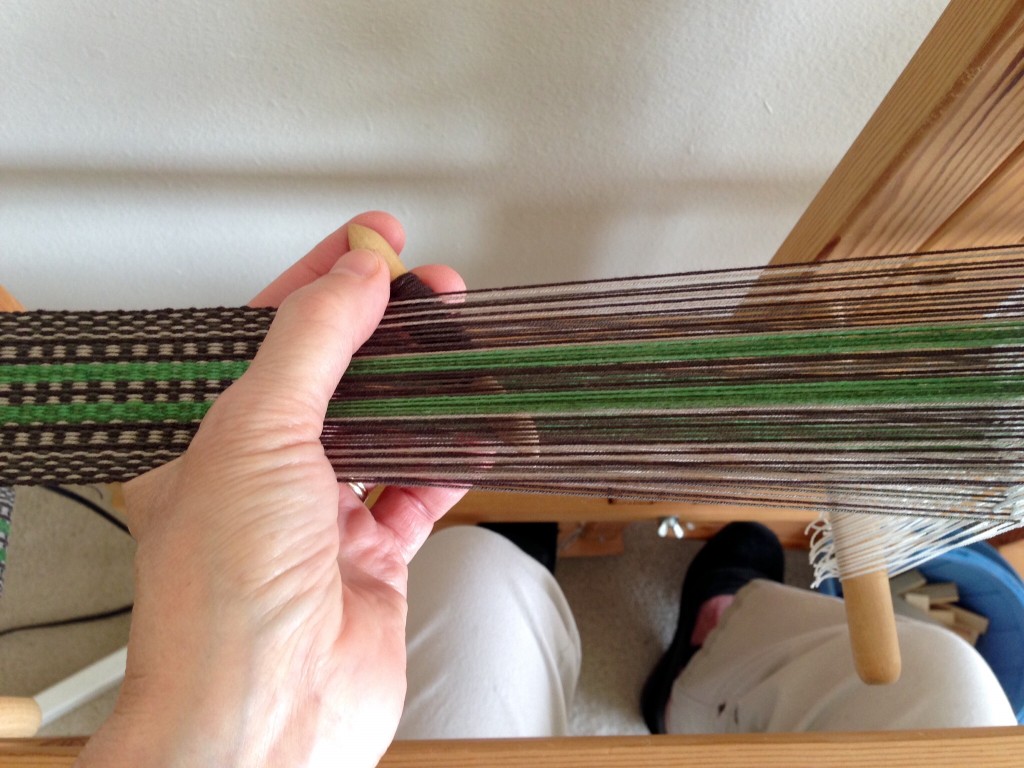
I wanted to make a video for you, showing how I weave on the band loom. Unfortunately, I put on a wider warp than usual. My small hands can barely weave this wider band, putting me to the test. It is slow and sloppy as I struggle to make progress. Finally, though, the end is in sight! So much for pointing out common errors in band weaving. Ha.
My difficulty in weaving this will show up in the finished piece. The main problem is lack of consistency. Some stretches are embarrassingly uneven and may not be usable. If I want to show someone else how to weave a wider band, I need to work on my own technique. I better get it right before I try to demo this for anyone else.
It is a virtue to correct your own mistakes before pointing out the faults of others. How easy it is to notice someone else’s “blind spot.” I wonder if sometimes we are seeing our own flaw, but we don’t recognize it until we see it on someone else. The next time I am tempted to highlight someone else’s mistake, I want to remember what it took to weave this band, errors and all.
May you always give, and receive, the benefit of the doubt.
P.S. I do have another video in the making. I’ll show you next week.
P.P.S. I will do a video on band weaving. Eventually.
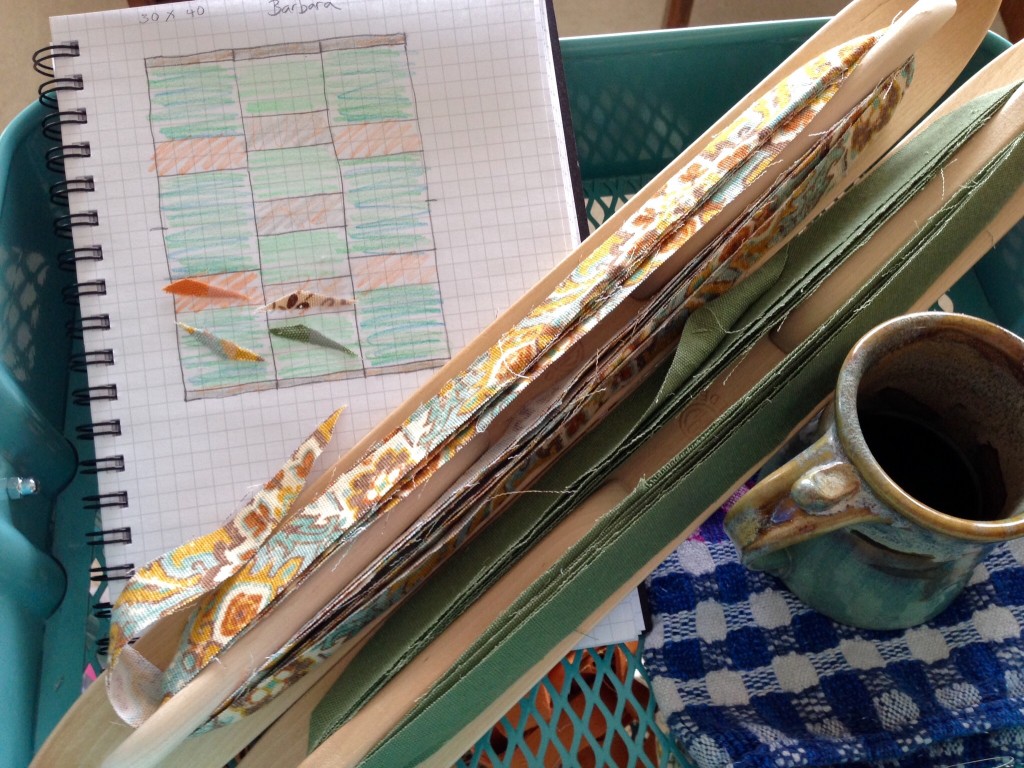
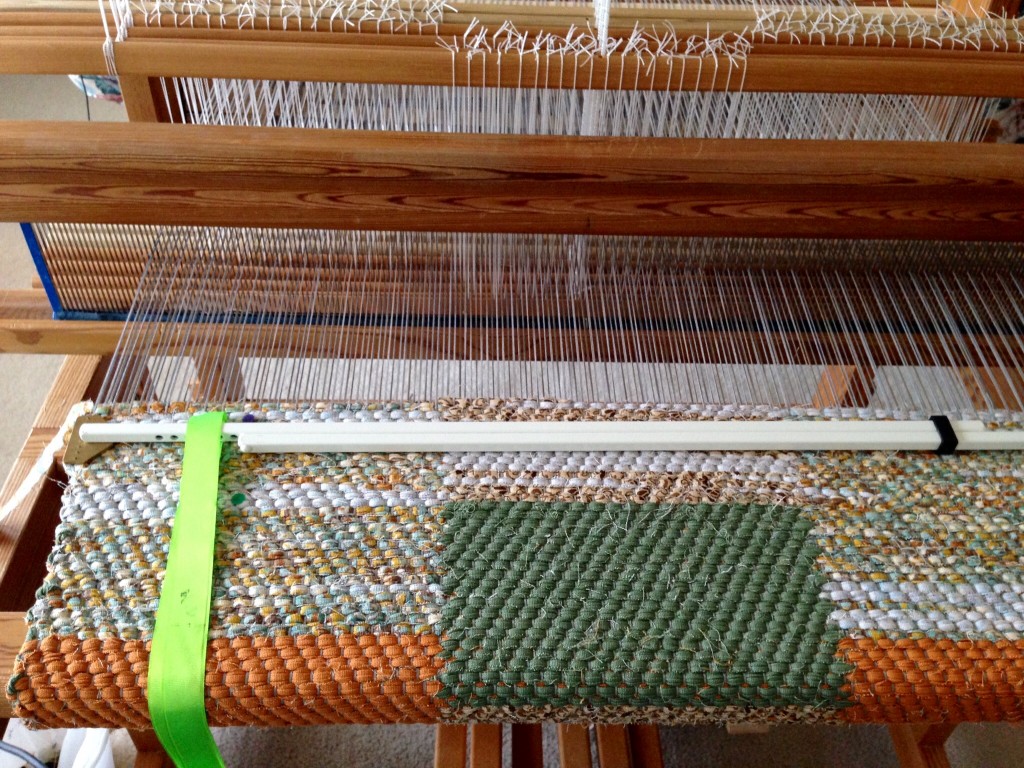
No improvising this time. Creating a rug to fit a particular space means staying true to the plan. In my measured design, each graph square represents two inches (5 cm) of woven length. So, I am not playing around with shortened or lengthened blocks. And no surprise colors, either. Every element has been determined in advance. I am paying close attention, being sure to measure accurately as I go. I keep thinking of my sister’s entryway, hopeful that this rug will be just right. (Sometimes I do play around with the design as I weave, like I described in Tools Day: Graph Paper)
If I only consider the fun of weaving another rag rug, and fail to keep in mind the intended destination, I may create an interesting rug, but it won’t end up inside my sister’s doorway. The “fun” will be short-lived, and will produce disappointment or regret instead of finished satisfaction. That reminds me of something C.S. Lewis once said:
Aim at Heaven and you will get earth ‘thrown in’: aim at earth and you will get neither.
Dream of heaven. It’s the place where God Himself removes every cause of tears. No death, no mourning, or crying, or pain. Every thread and every color will be in place, as it should be. Just imagine the Grand Weaver, making preparations for our home coming, as He places the final handwoven rug on the floor. Perfectfit.
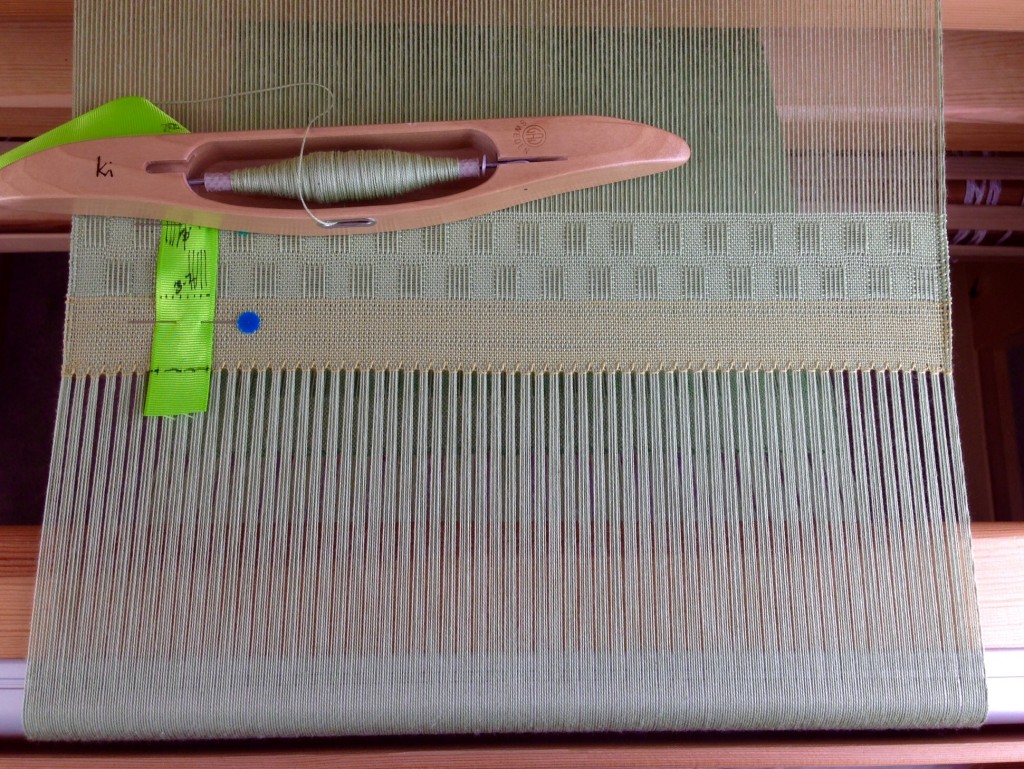
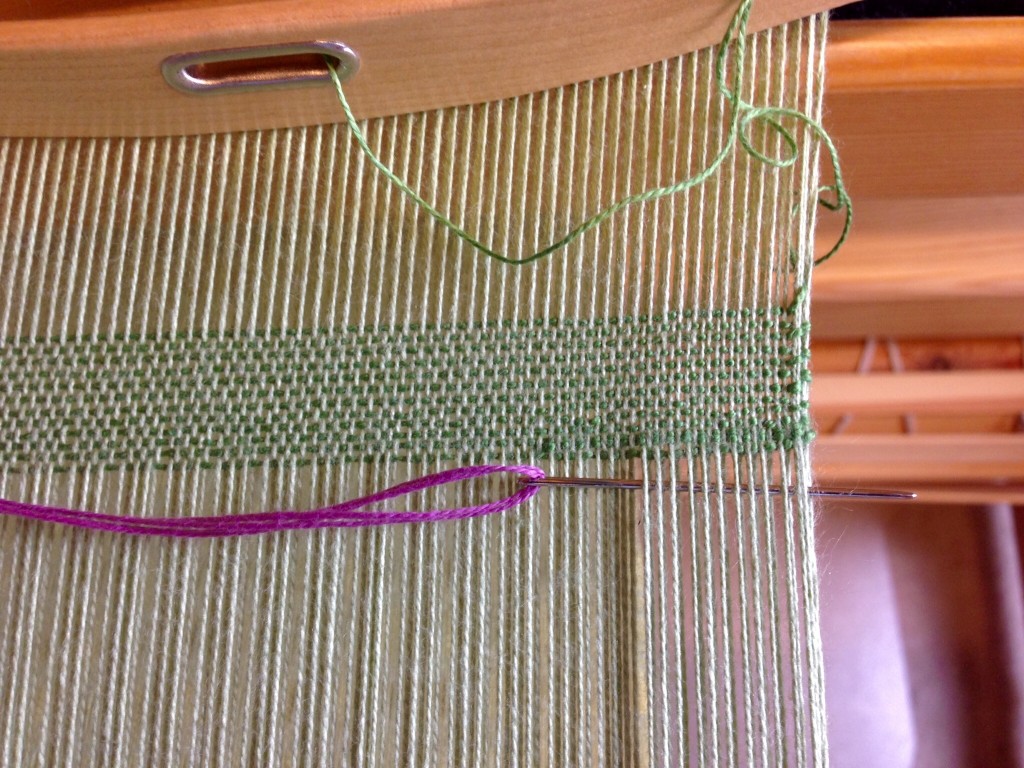
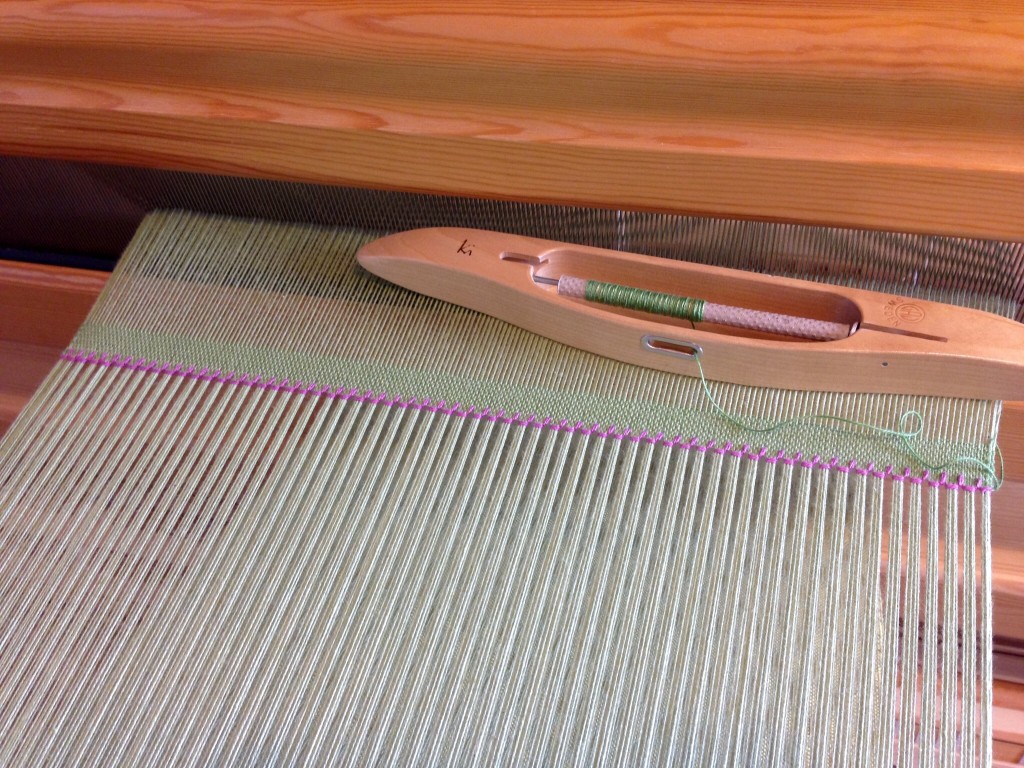
An embroidered trim is what I have in mind for this scarf. Hemstitching is just that. Instead of the usual single strand, I am using two strands of the 8/2 cotton weft in a contrasting color to accentuate the embroidered look. The hemstitching marks the beginning and the end. You can make hemstitching barely noticeable if you want, or you can make it so bold it can’t be missed, like I am doing with this one.
Hemstitching, with Contrasting Color:
Preliminary
Weave an inch/2.5 cm or more of fabric for a header.
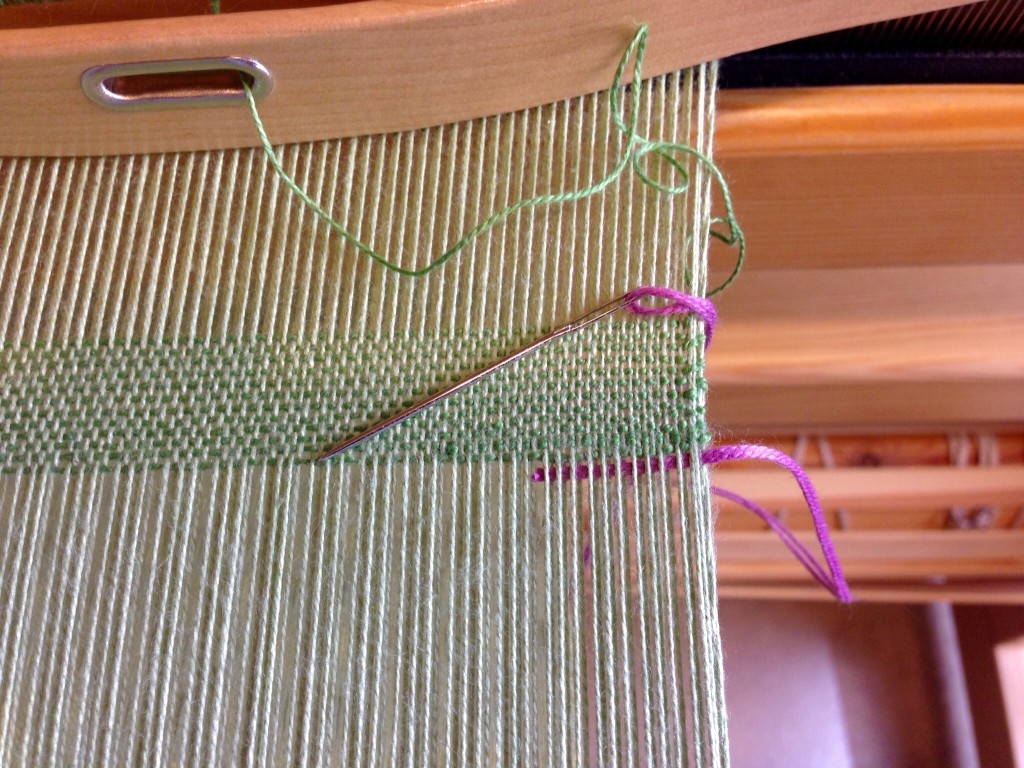
Thread a blunt tapestry needle with a single or doubled strand of weft thread four times the weaving width.
Starting an inch/2.5 cm away from the right-hand selvedge, weave the needle over and under, next to the first weft thread in the weaving, going toward the selvedge.
Pull the stitching thread almost all the way, leaving the end woven into the selvedge. Capture the woven end within the first several stitches of the hemstitching.
Step 1
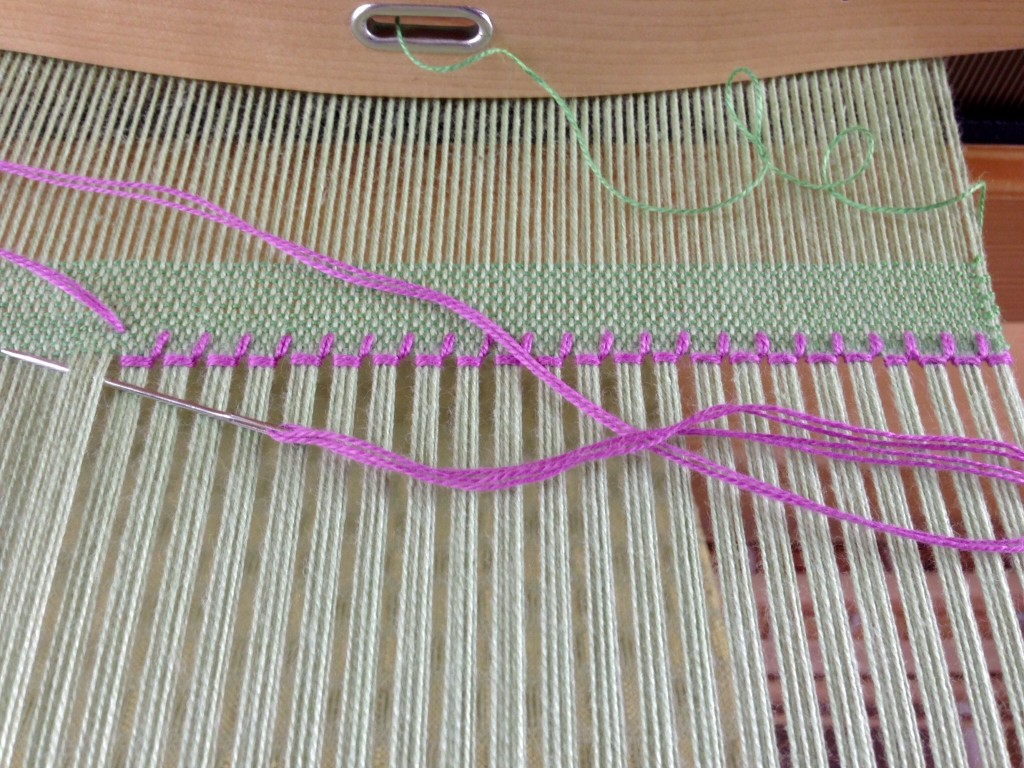
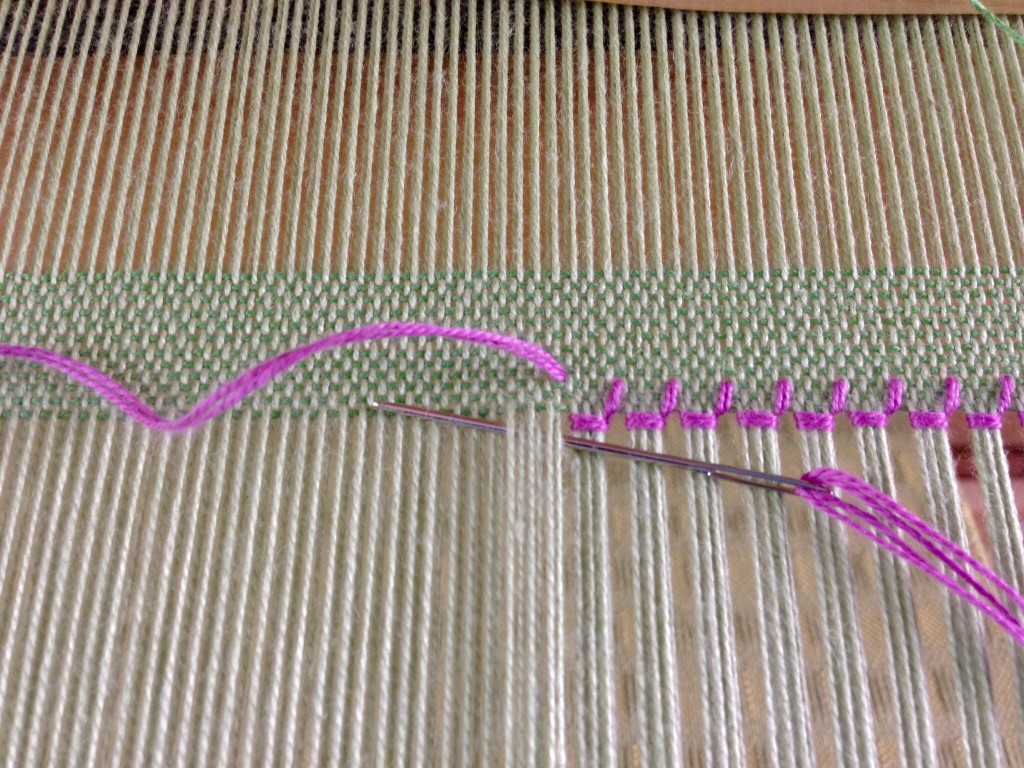
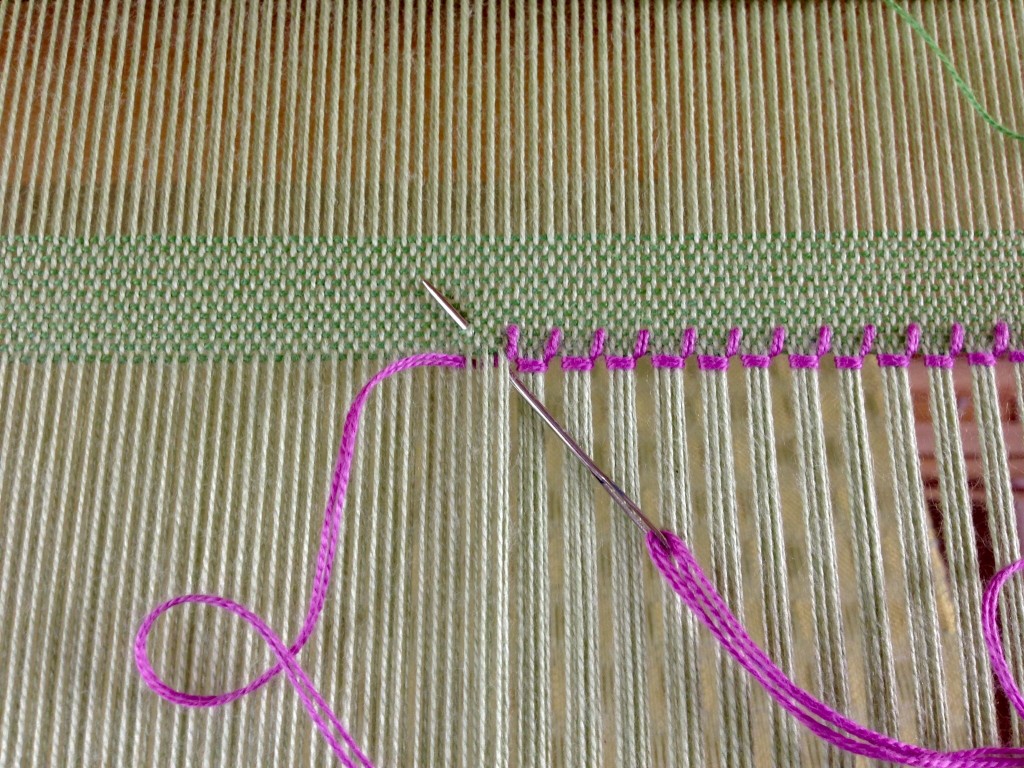
From right to left, take the needle under several warpends. In this example, the needle goes under six ends.
Step 2
Pull the thread all the way through, keeping it taut at the woven edge.
Step 3
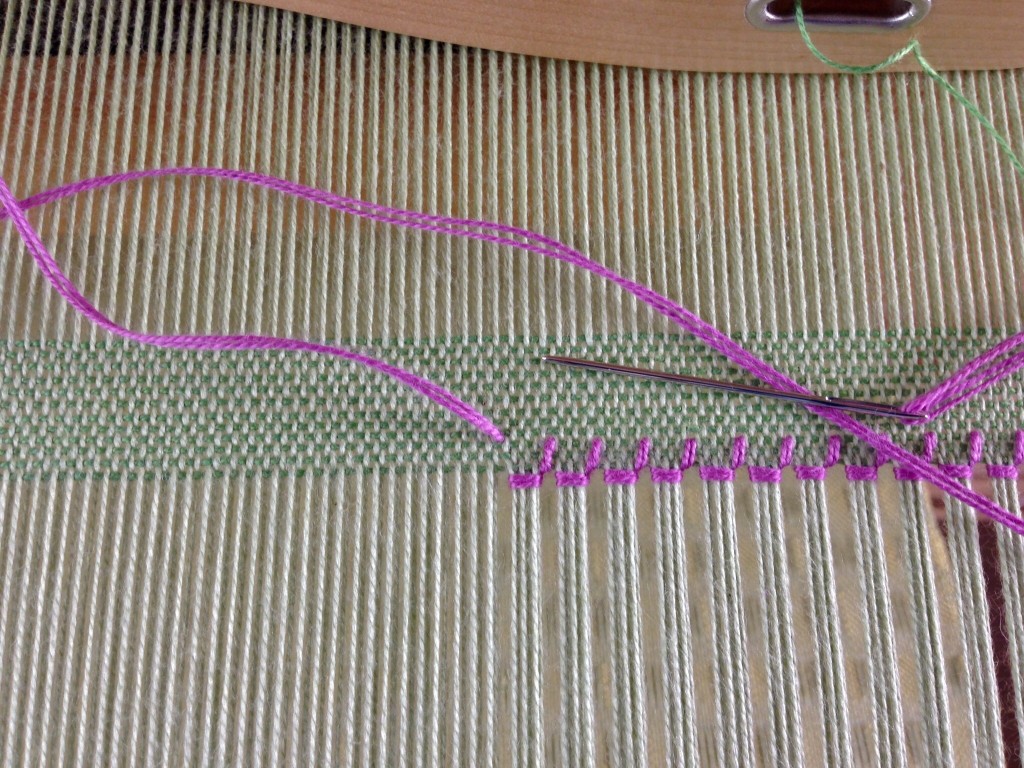
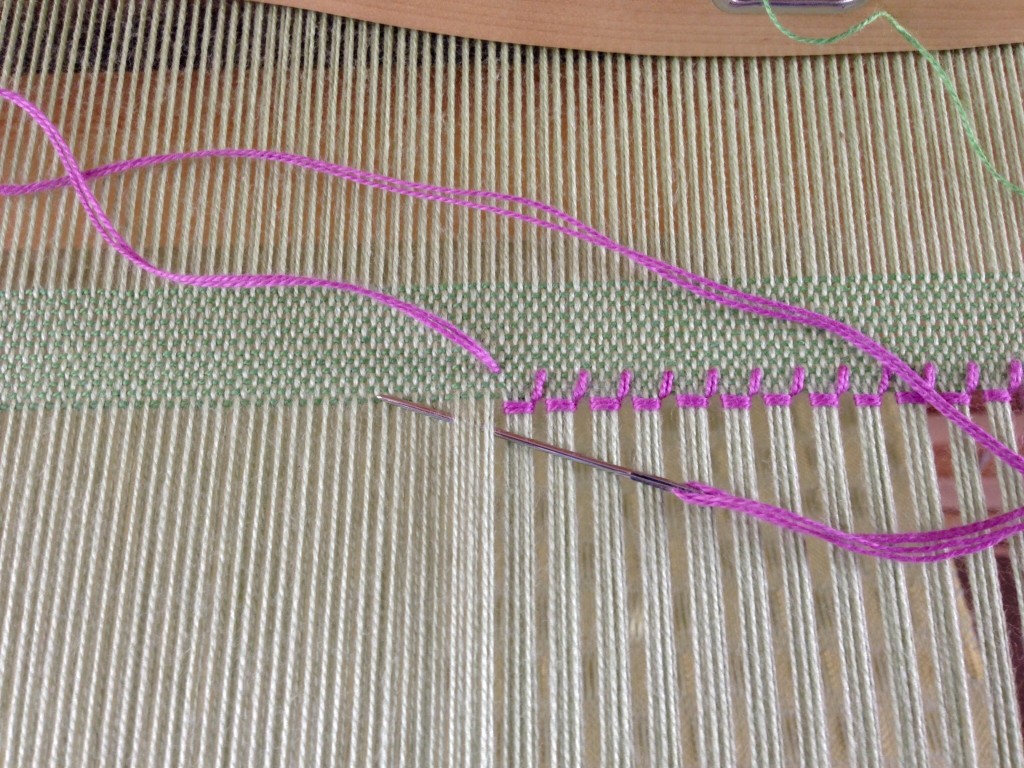
Take the needle back over the same (six) warp ends, and go under the same (six) warp ends, bringing the point of the needle back up between wefts, two or more rows away from the woven edge. In this example, the needle comes up between the third and fourth rows of weft.
Step 4
Pull the thread all the way through, keeping it taut at the woven edge.
Finishing
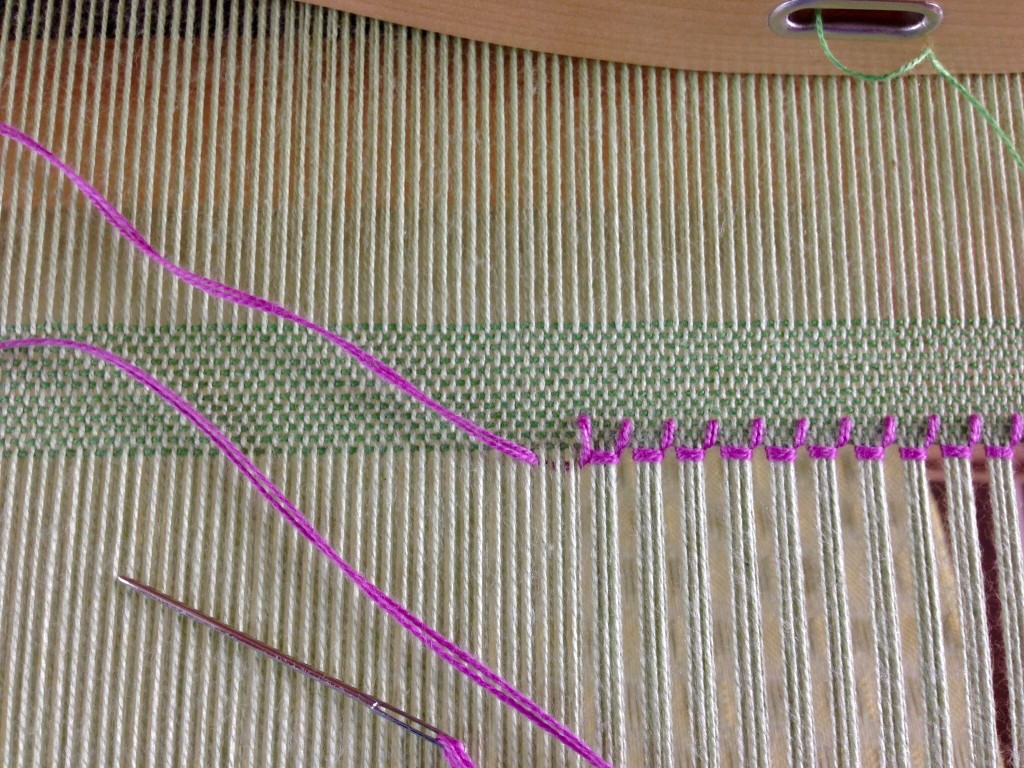
Repeat Steps 1 – 4 across the entire width.
Finish by needle weaving the stitching thread back into the selvedge for an inch/2.5 cm. Trim off the remaining stitching thread end.
Hemstitching at the end of the woven fabric:
Starting on the right-hand side, secure the end of the stitching thread as before, and follow Steps 1 – 4 for hemstitching across the width. The only difference is that the needle comes toward you under the cloth in Step 3, instead of away from you.
Everything that has a beginning has an end. Since the beginning of time, and through the ages, our Maker has been unfolding His mystery of life and love. There will come a day, though, when the mystery is finished. Certainly, there will be bold hemstitching at the end of the cloth as the Maker, the Grand Weaver himself, brings time as we know it to a close.
May your days begin and end with an embroidered edging of love.
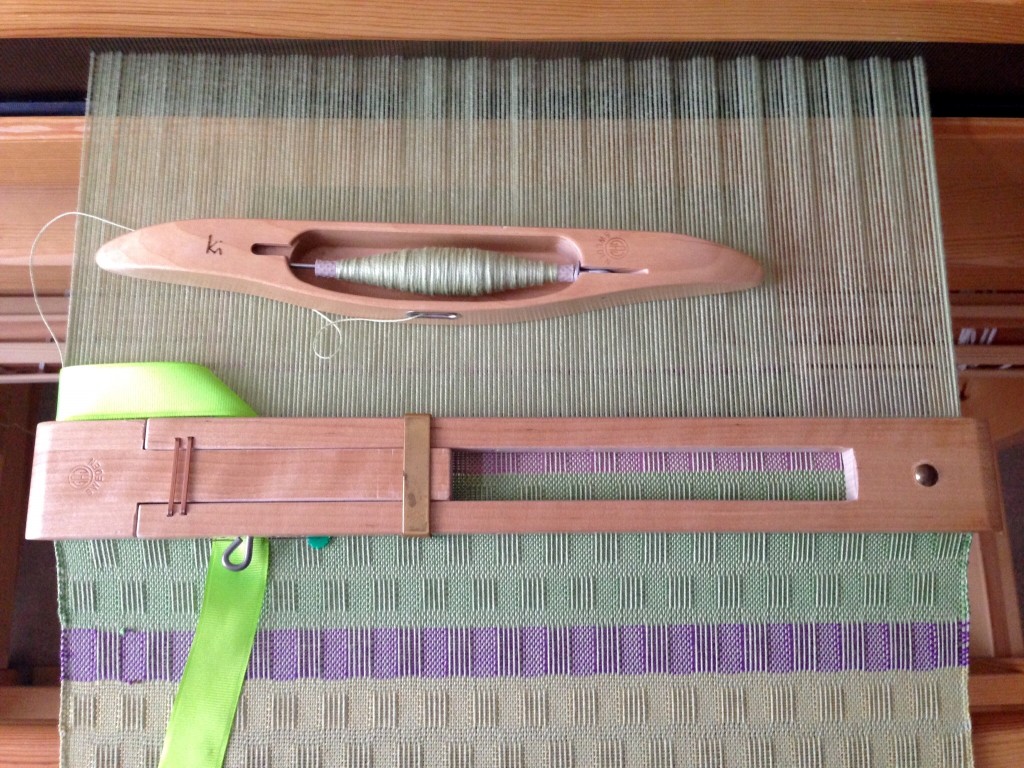
Does fear of making a mistake keep you from experimenting with color? To be on the safe side, repeat something that you have done before. Or at least copy someone else. Isn’t that why we love Pinterest? You don’t have to think something up; just do what somebody else has done.
I have woven some wild color combinations. Including some that I regret. You know, the what-was-I-thinking kind of experiments. Those pieces get hidden away; or, I keep them only for personal use, but never for show. But here I go again, trying to make a handful of colors work together. We won’t see the overall results until the scarf is off the loom, when it is too late to undo it.
All of us have done things we regret. There’s no chance for a do-over, so we just hide it. We have to be careful not to be shaped by our regrets. Fear of making a mistake can keep us frozen in indecision. Yet, when I come to Jesus, he is able to keep me from stumbling, from repeating my missteps. Yes, I learn from my mistakes; but even better than that, the Master Weaver gives me an example to “copy.” His example is tried and true.