Armadillo Leads Critter Parade on the Drawloom

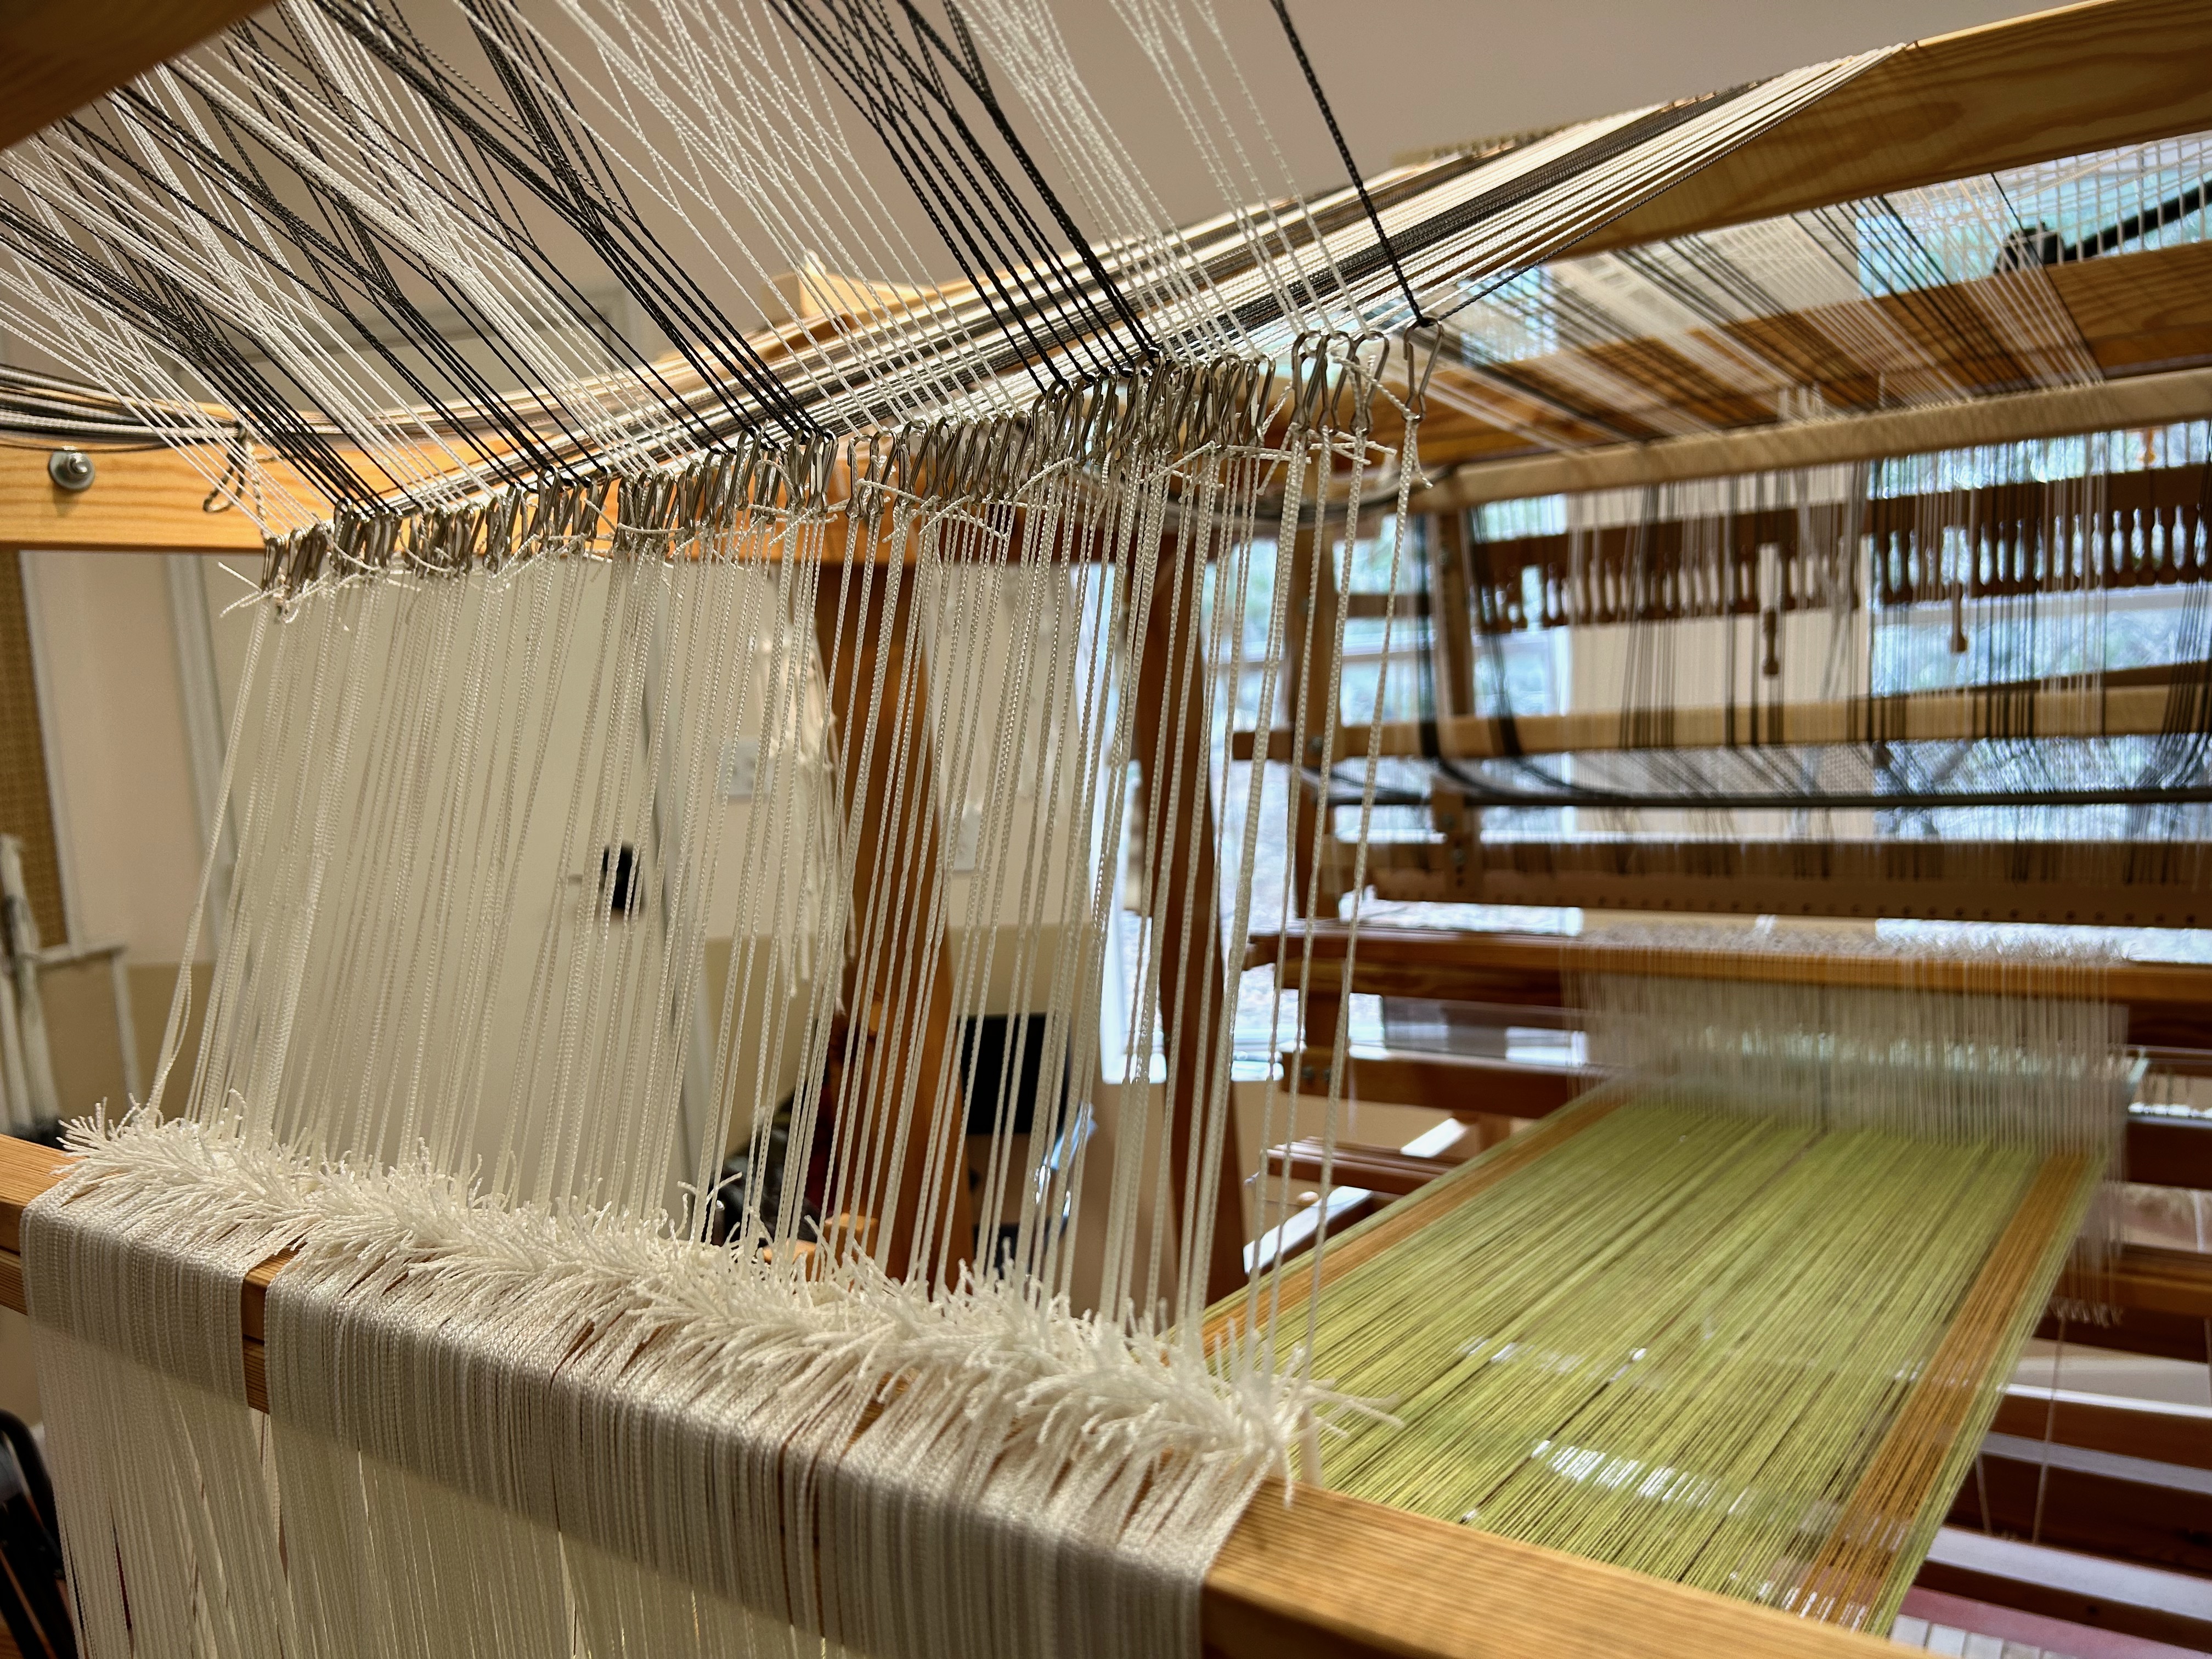
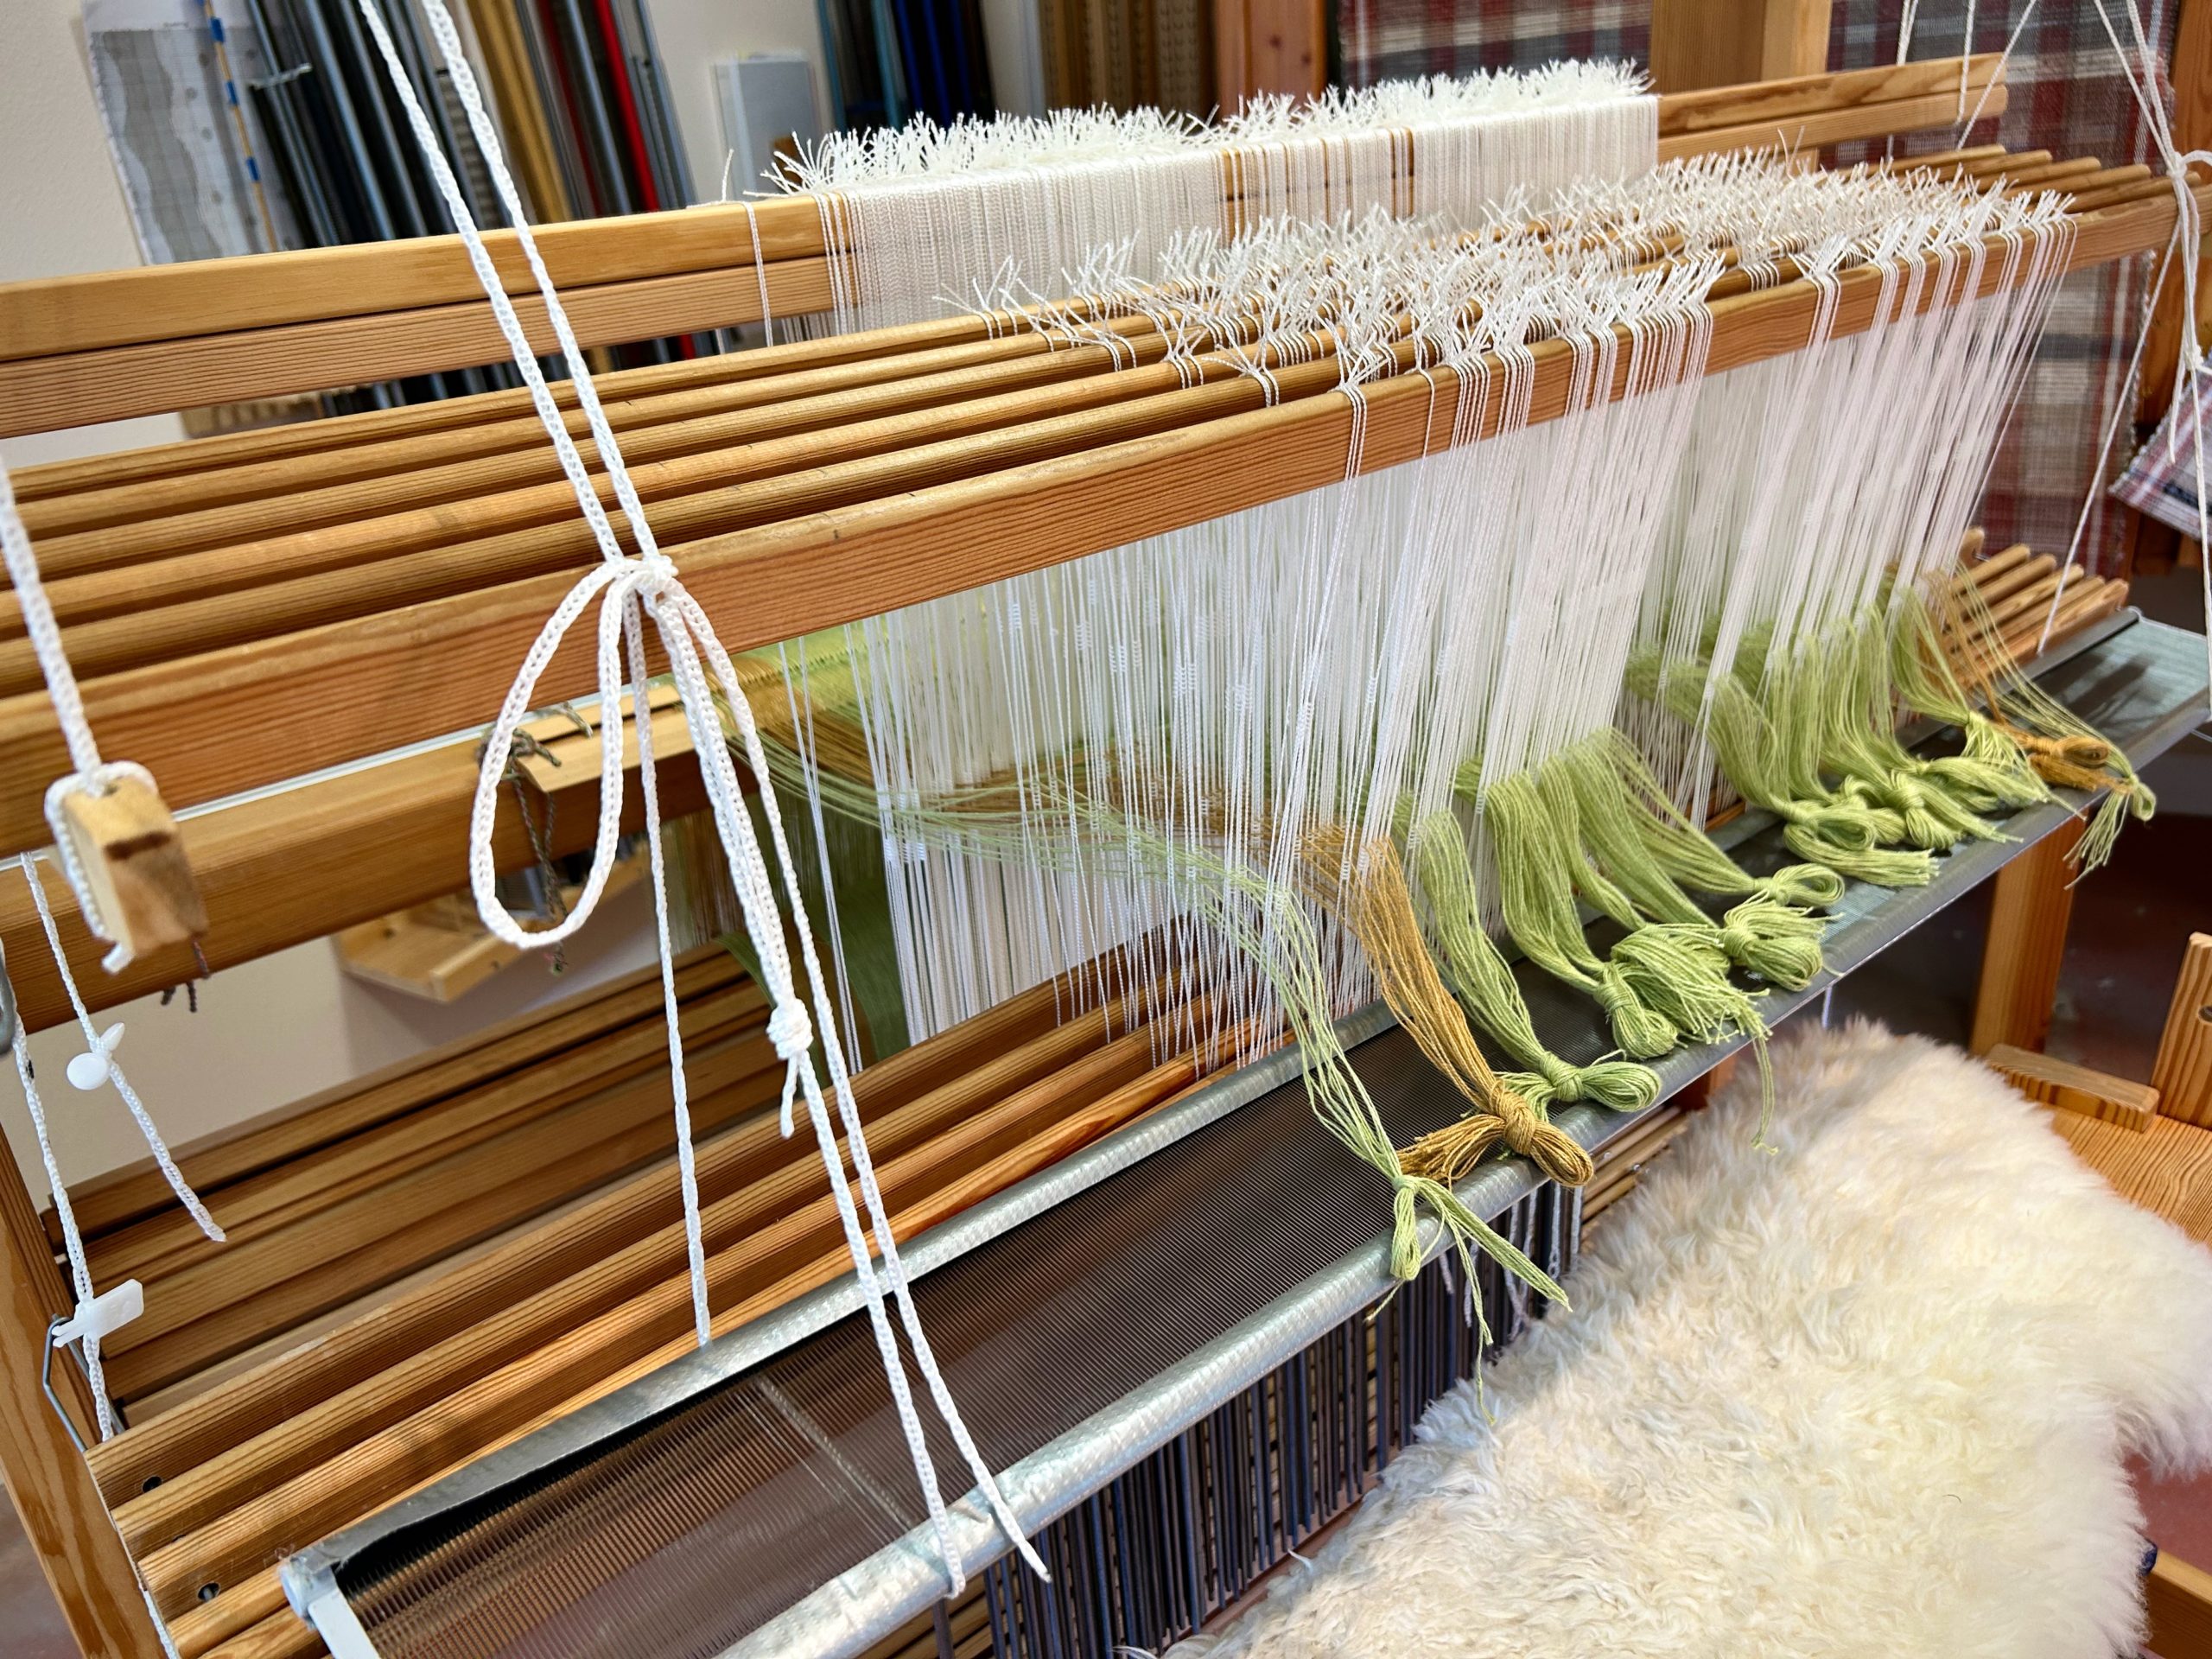
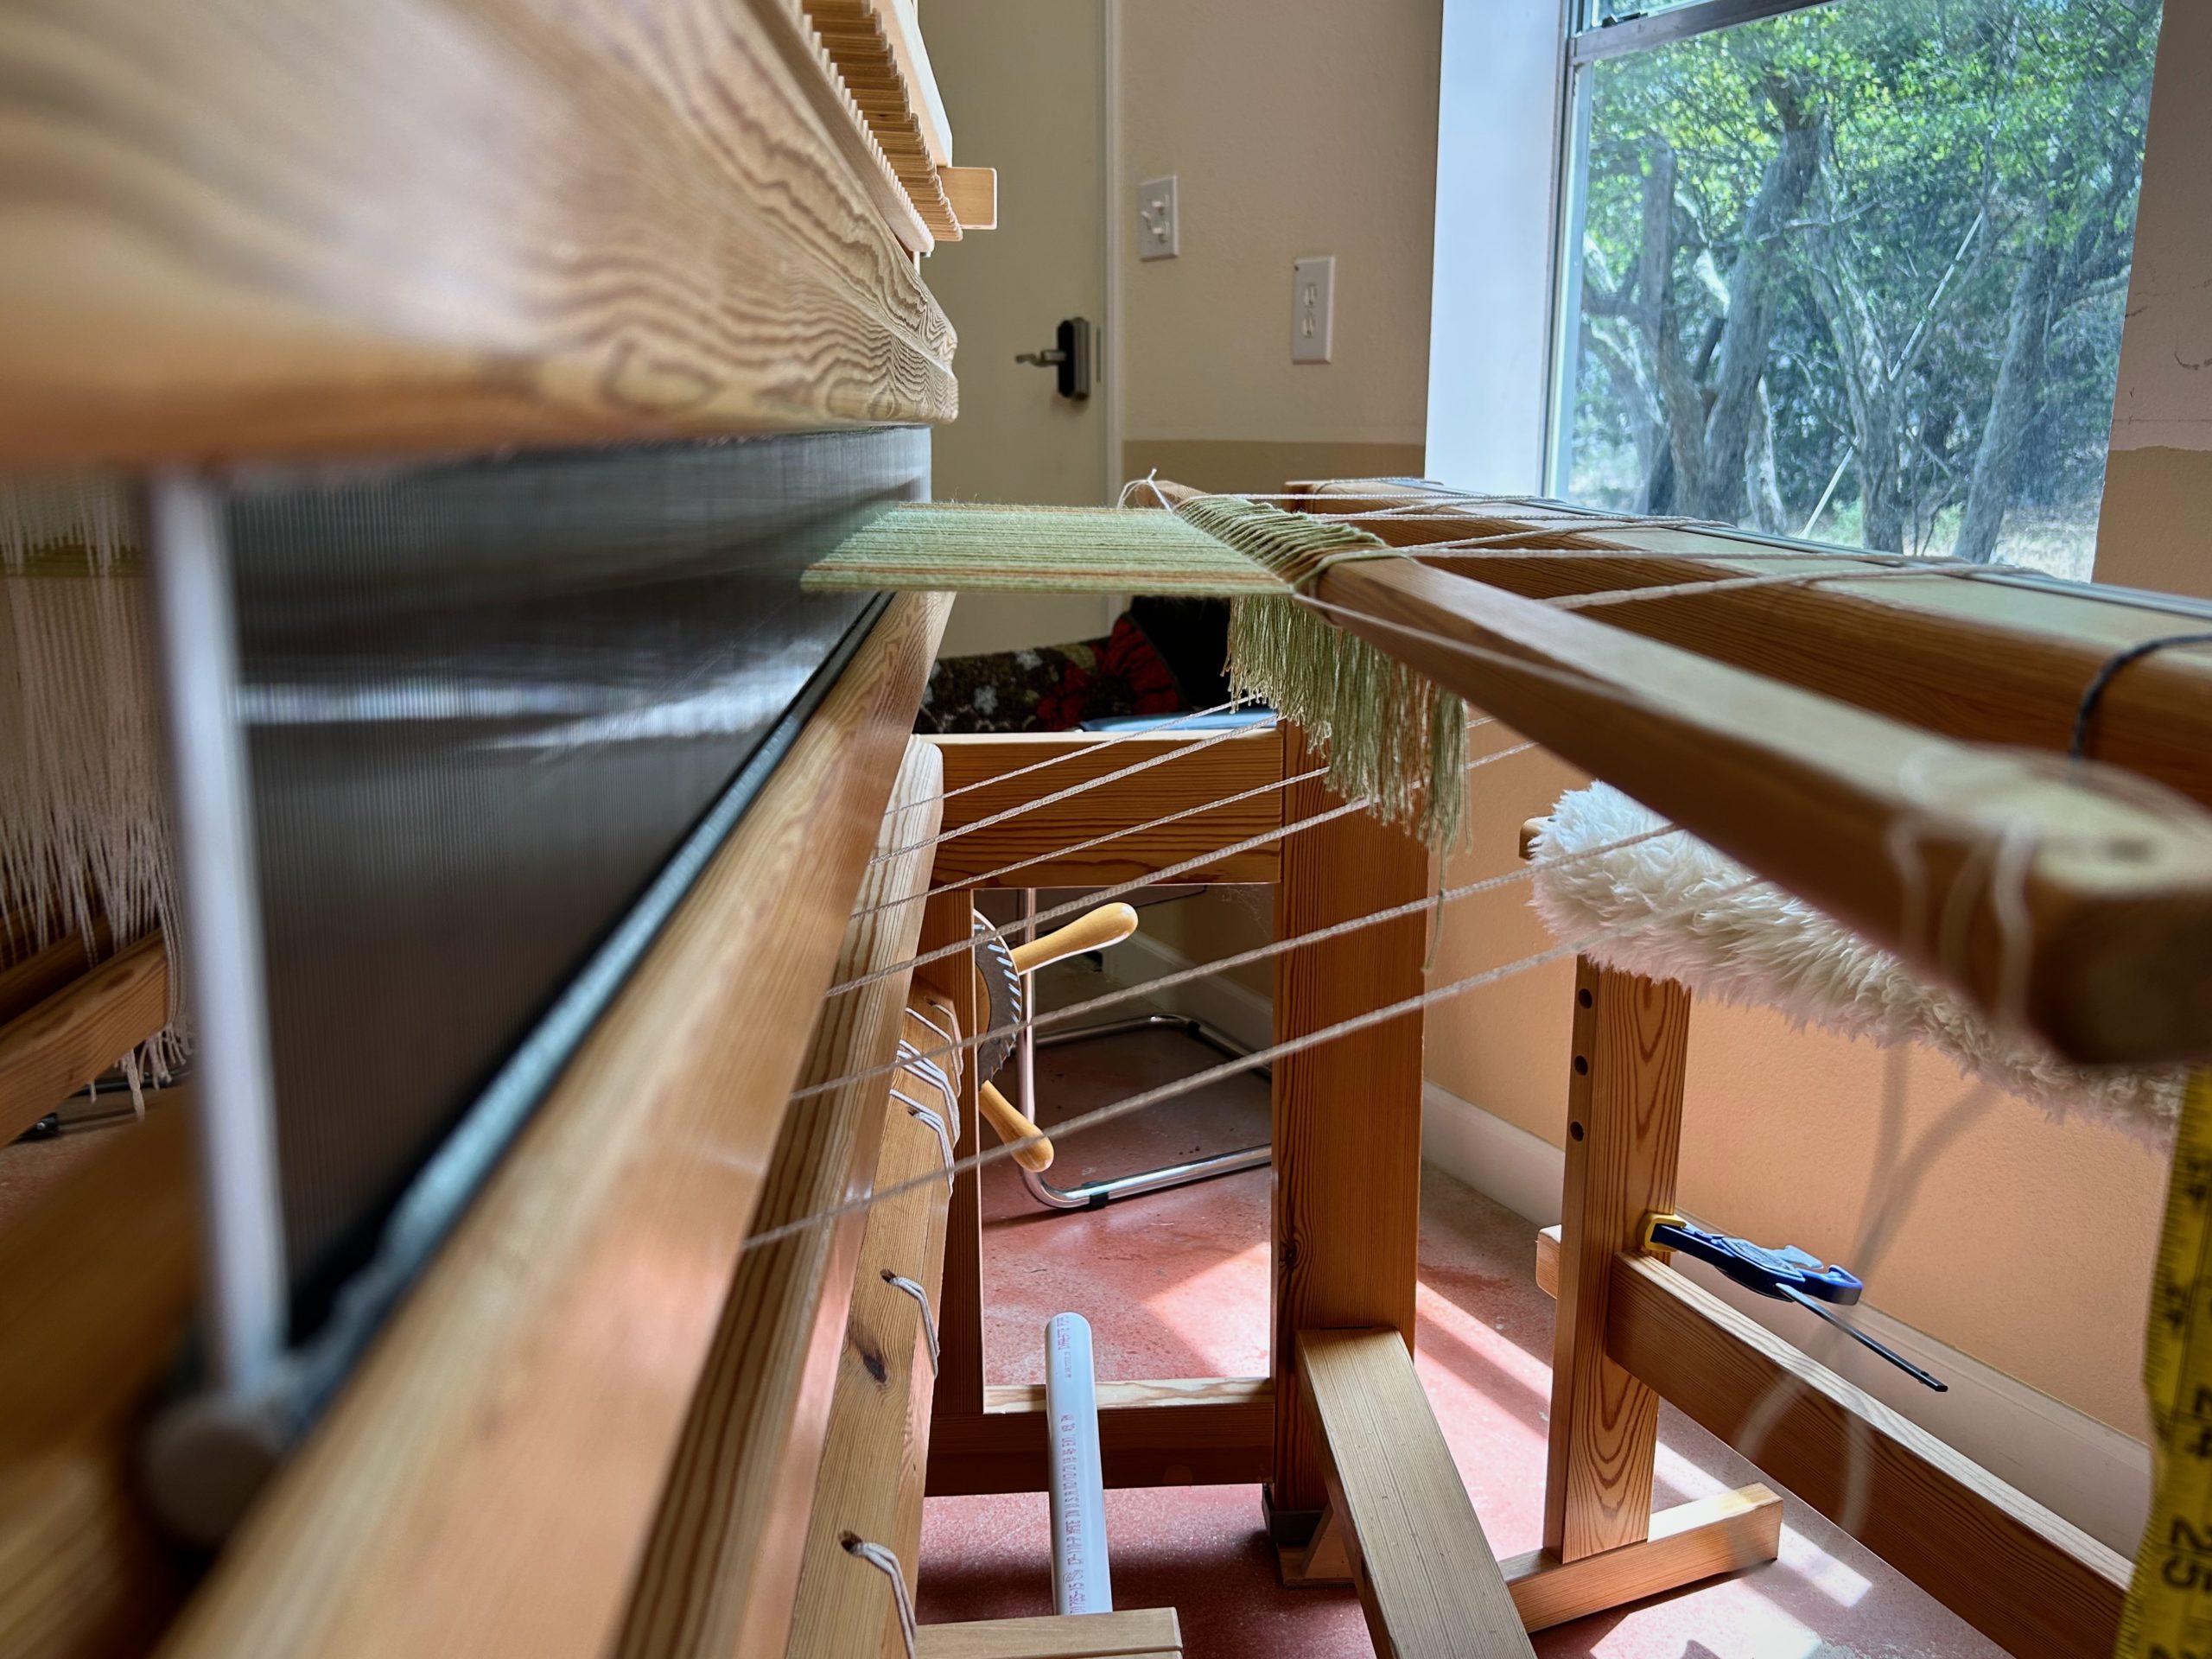
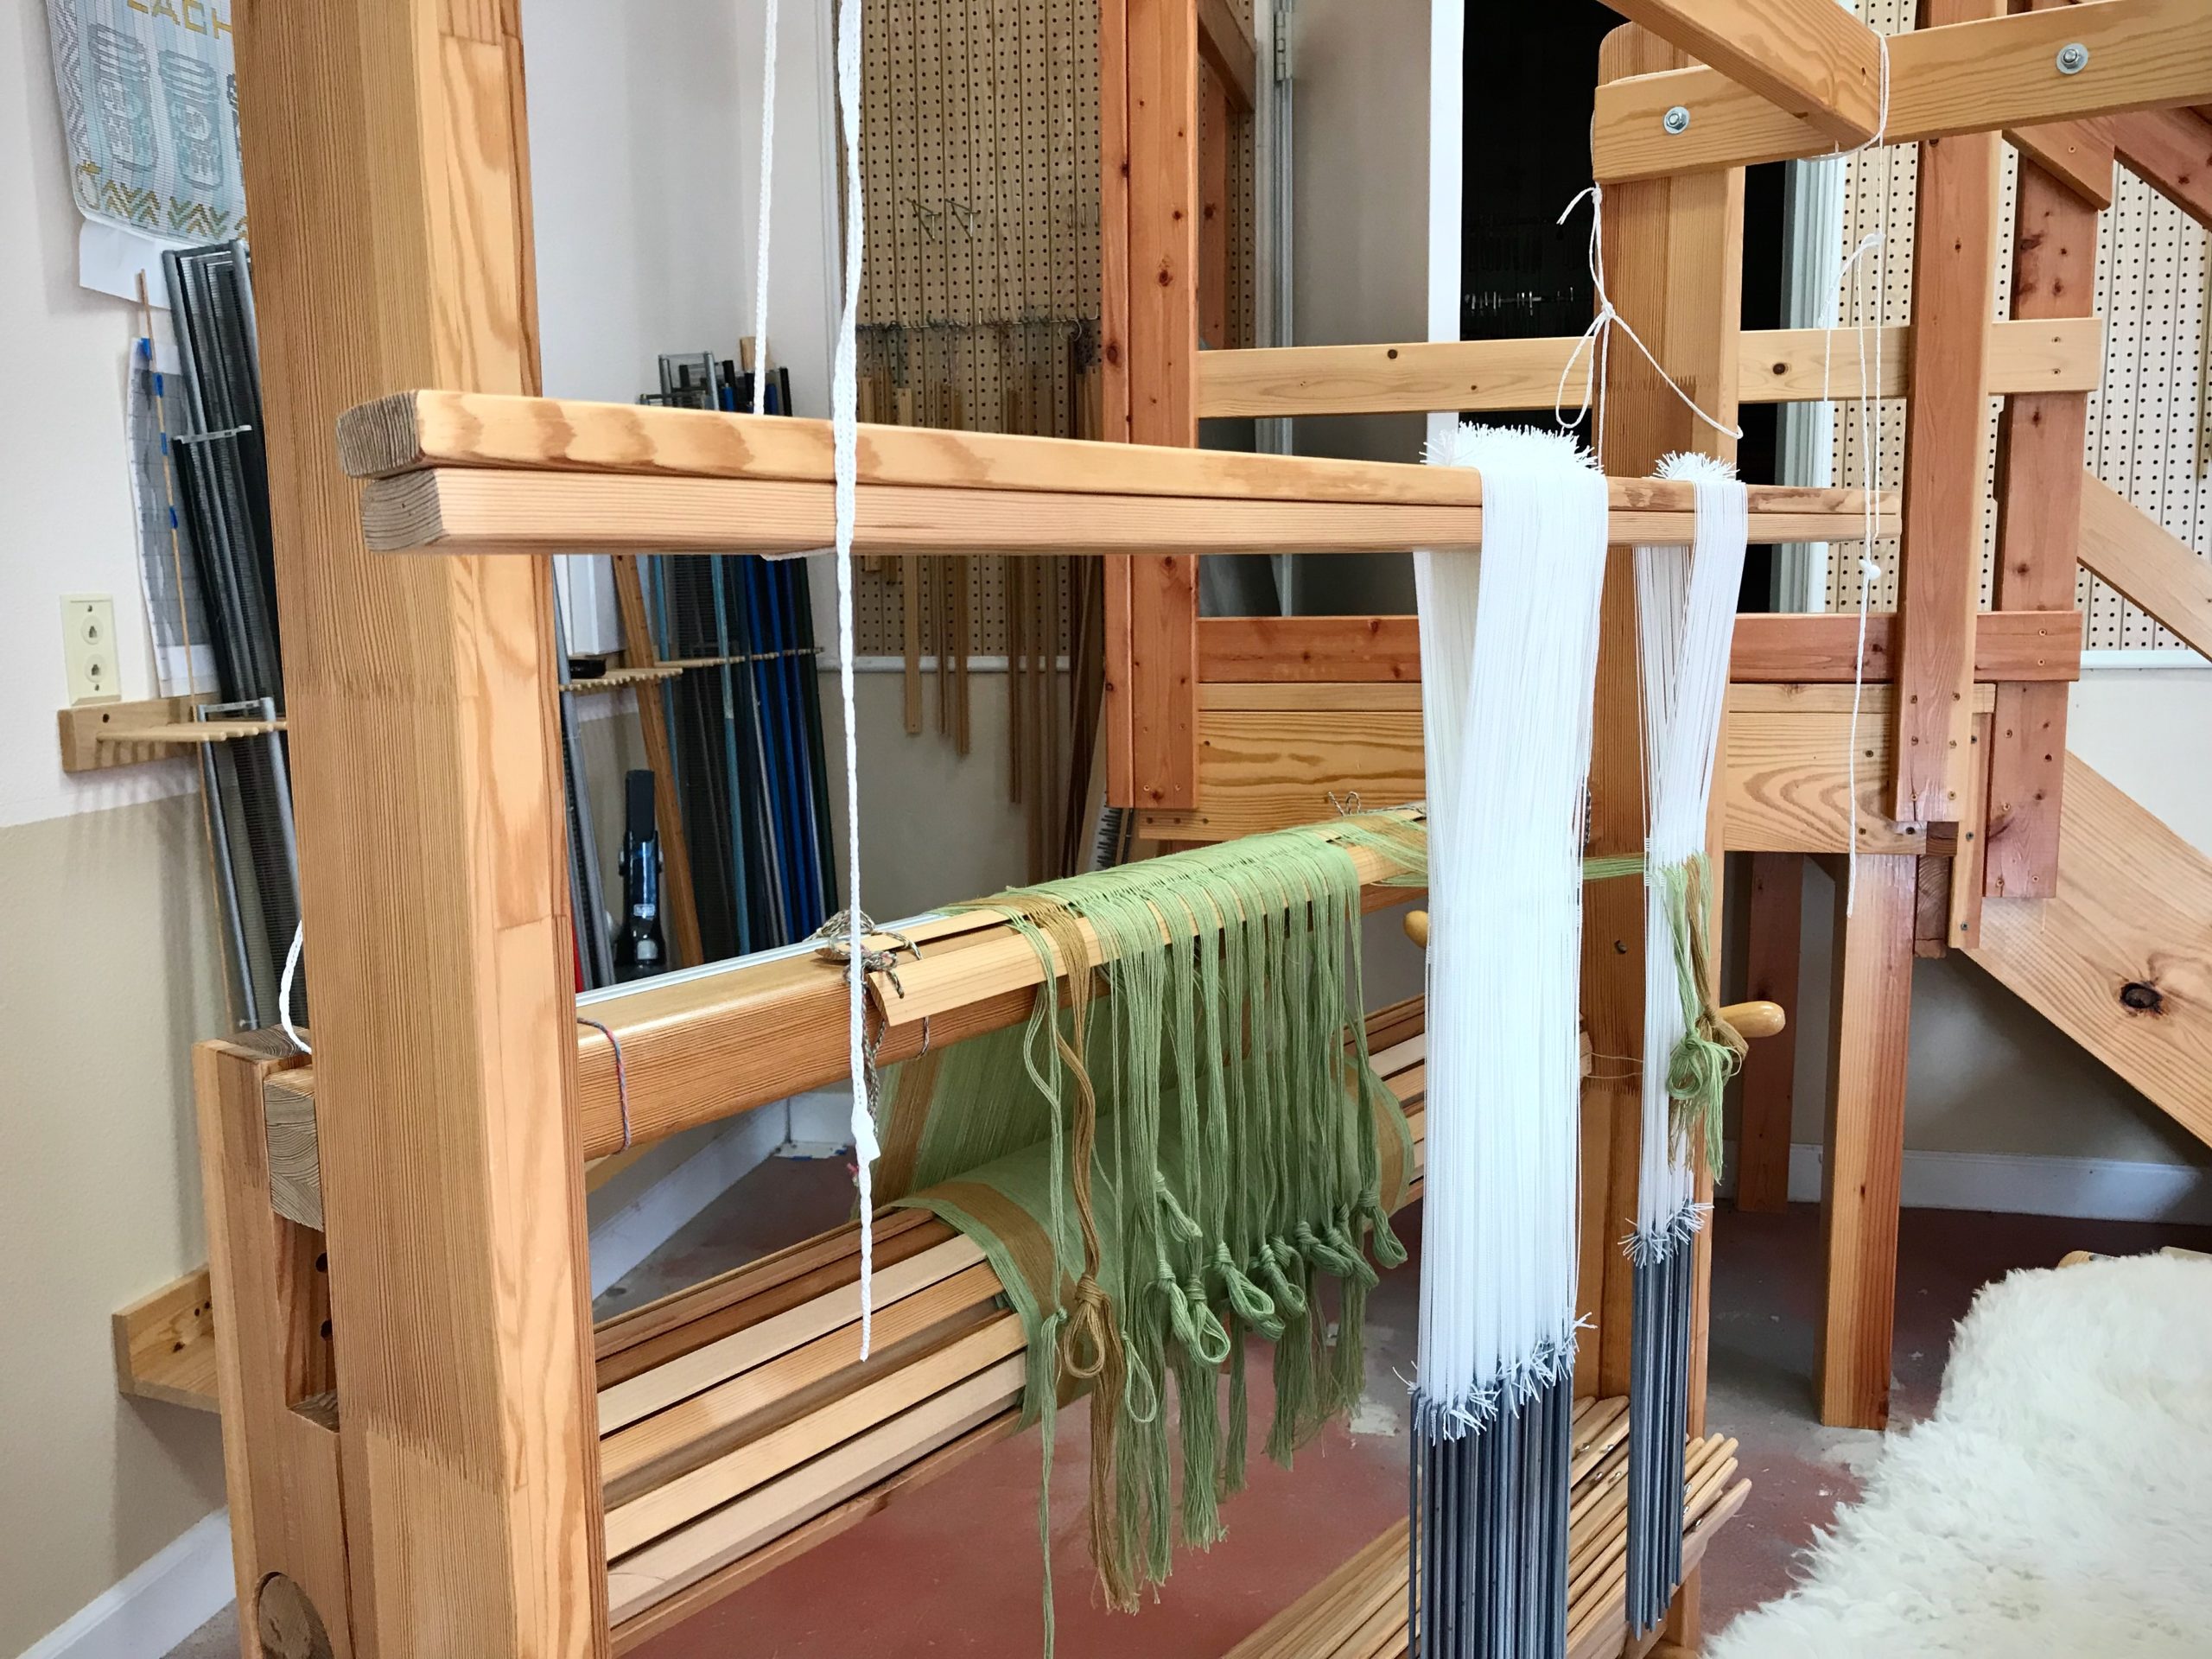
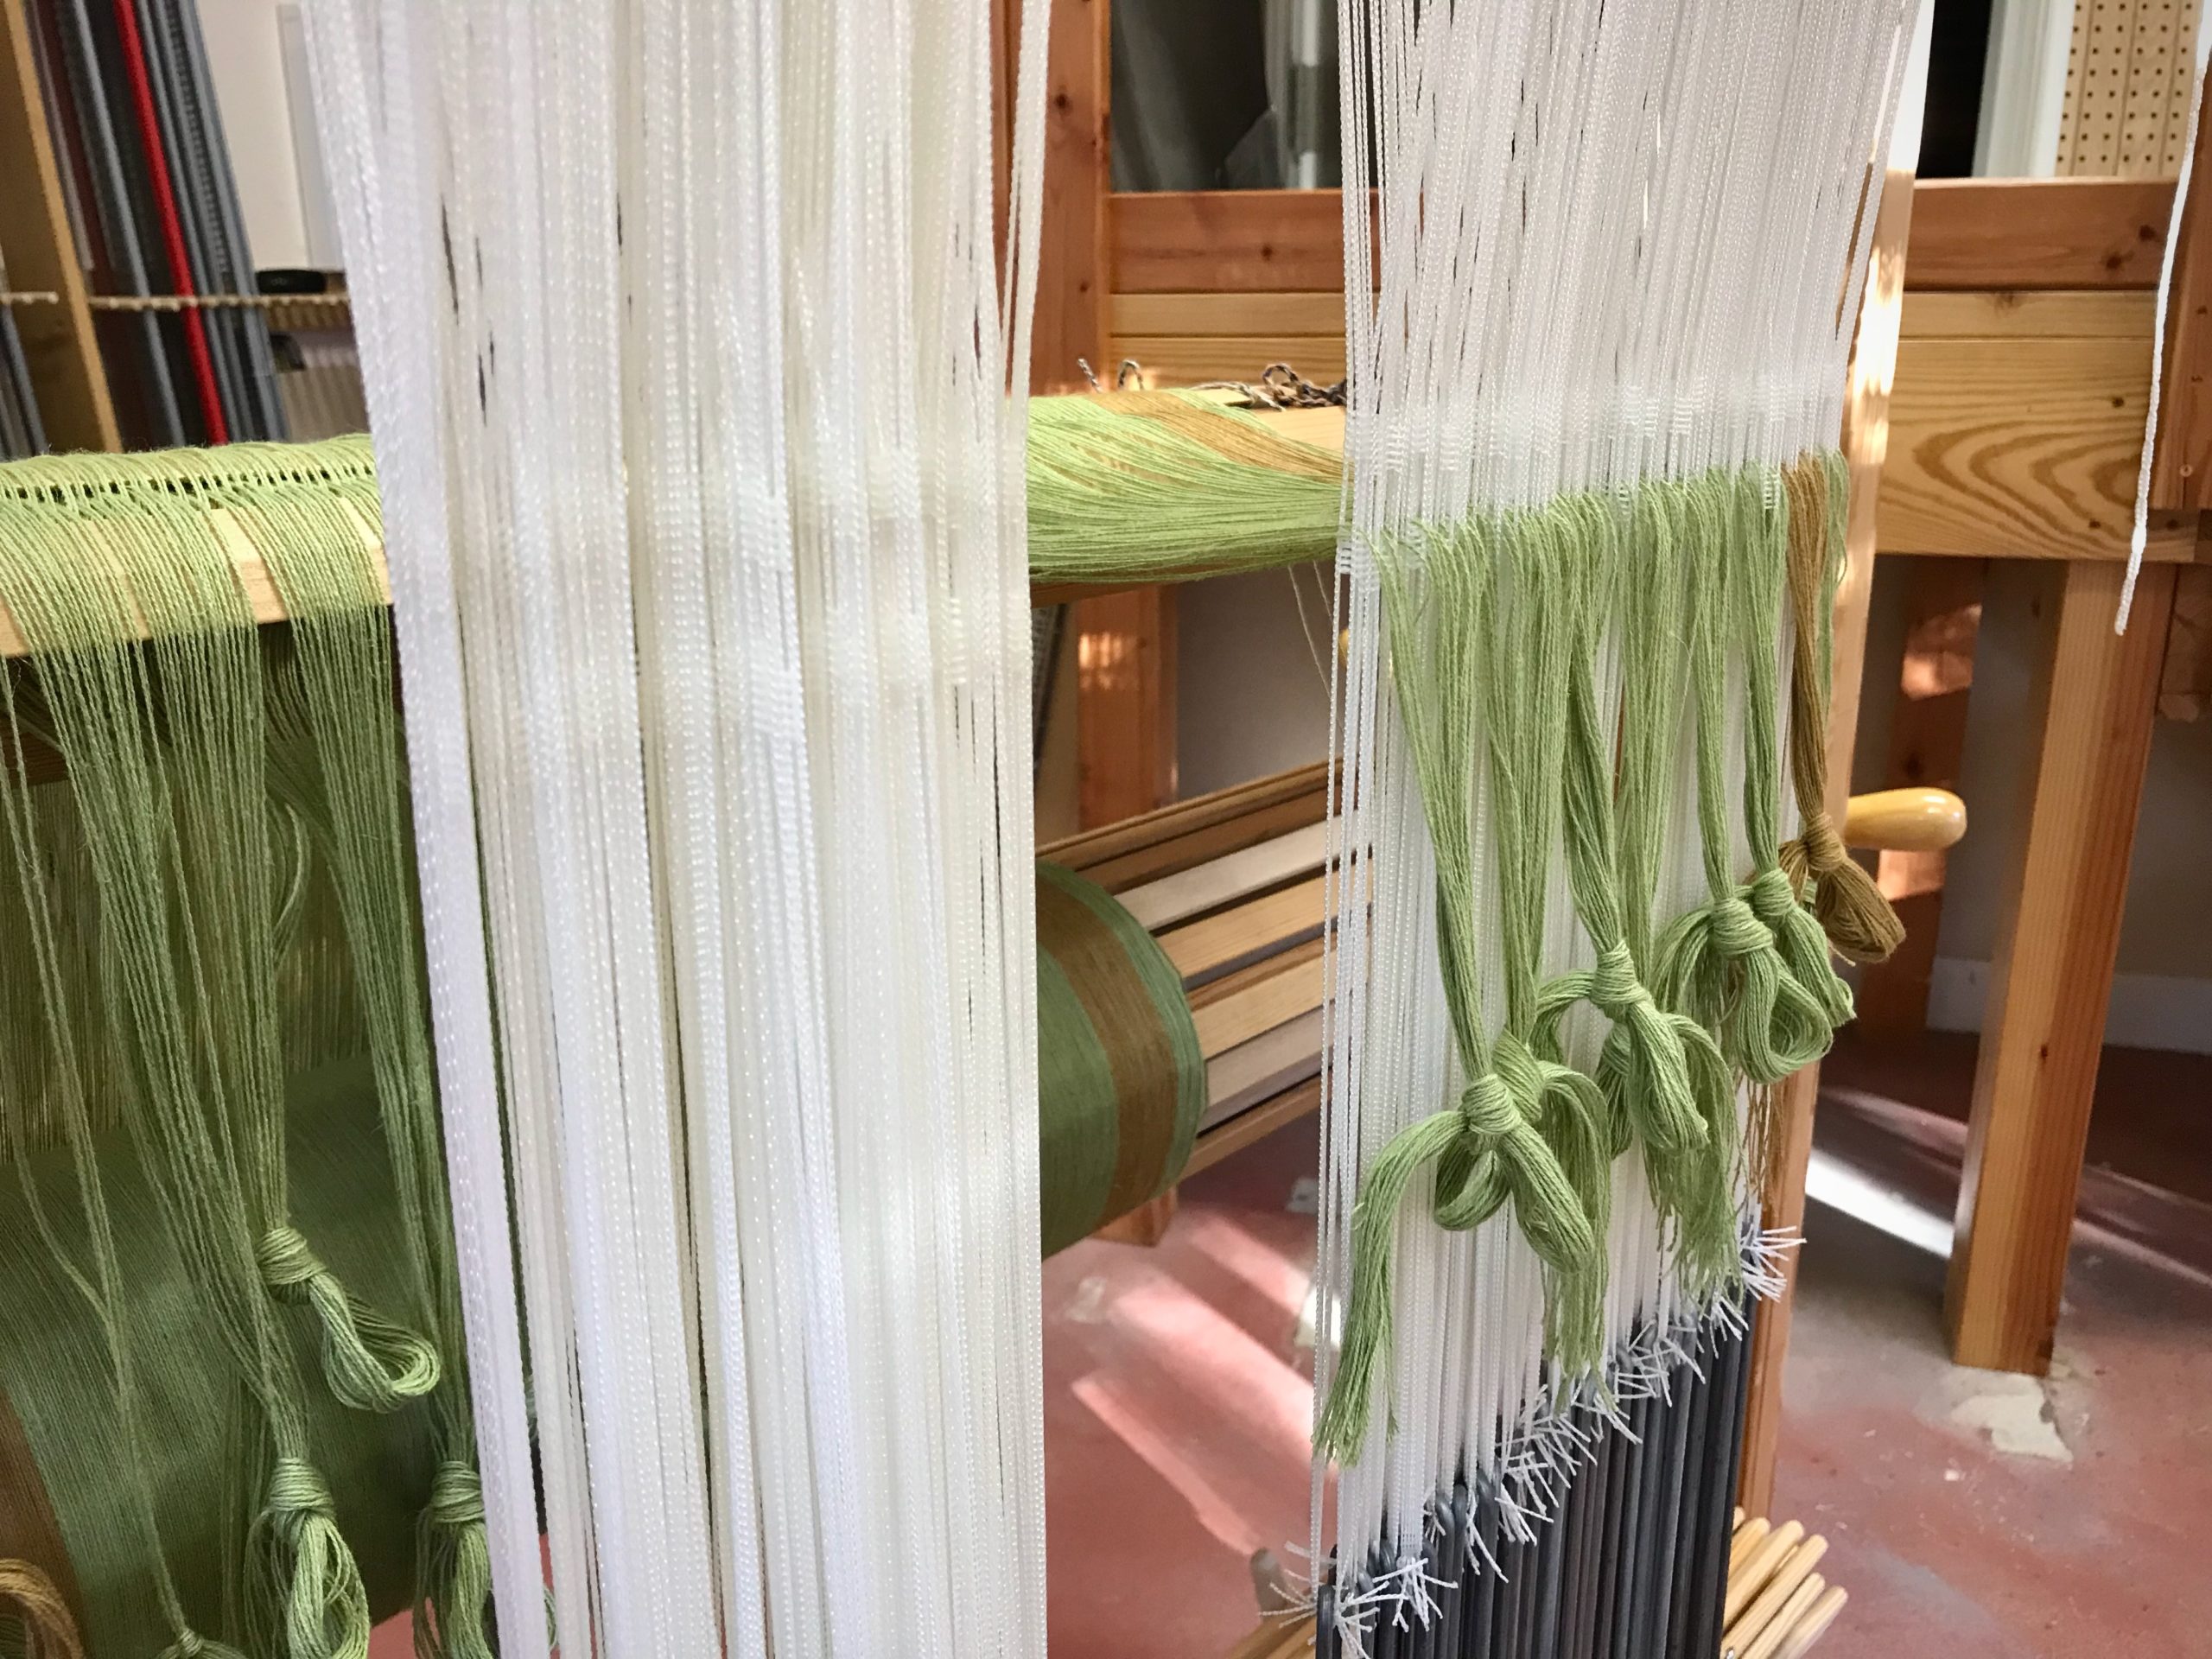
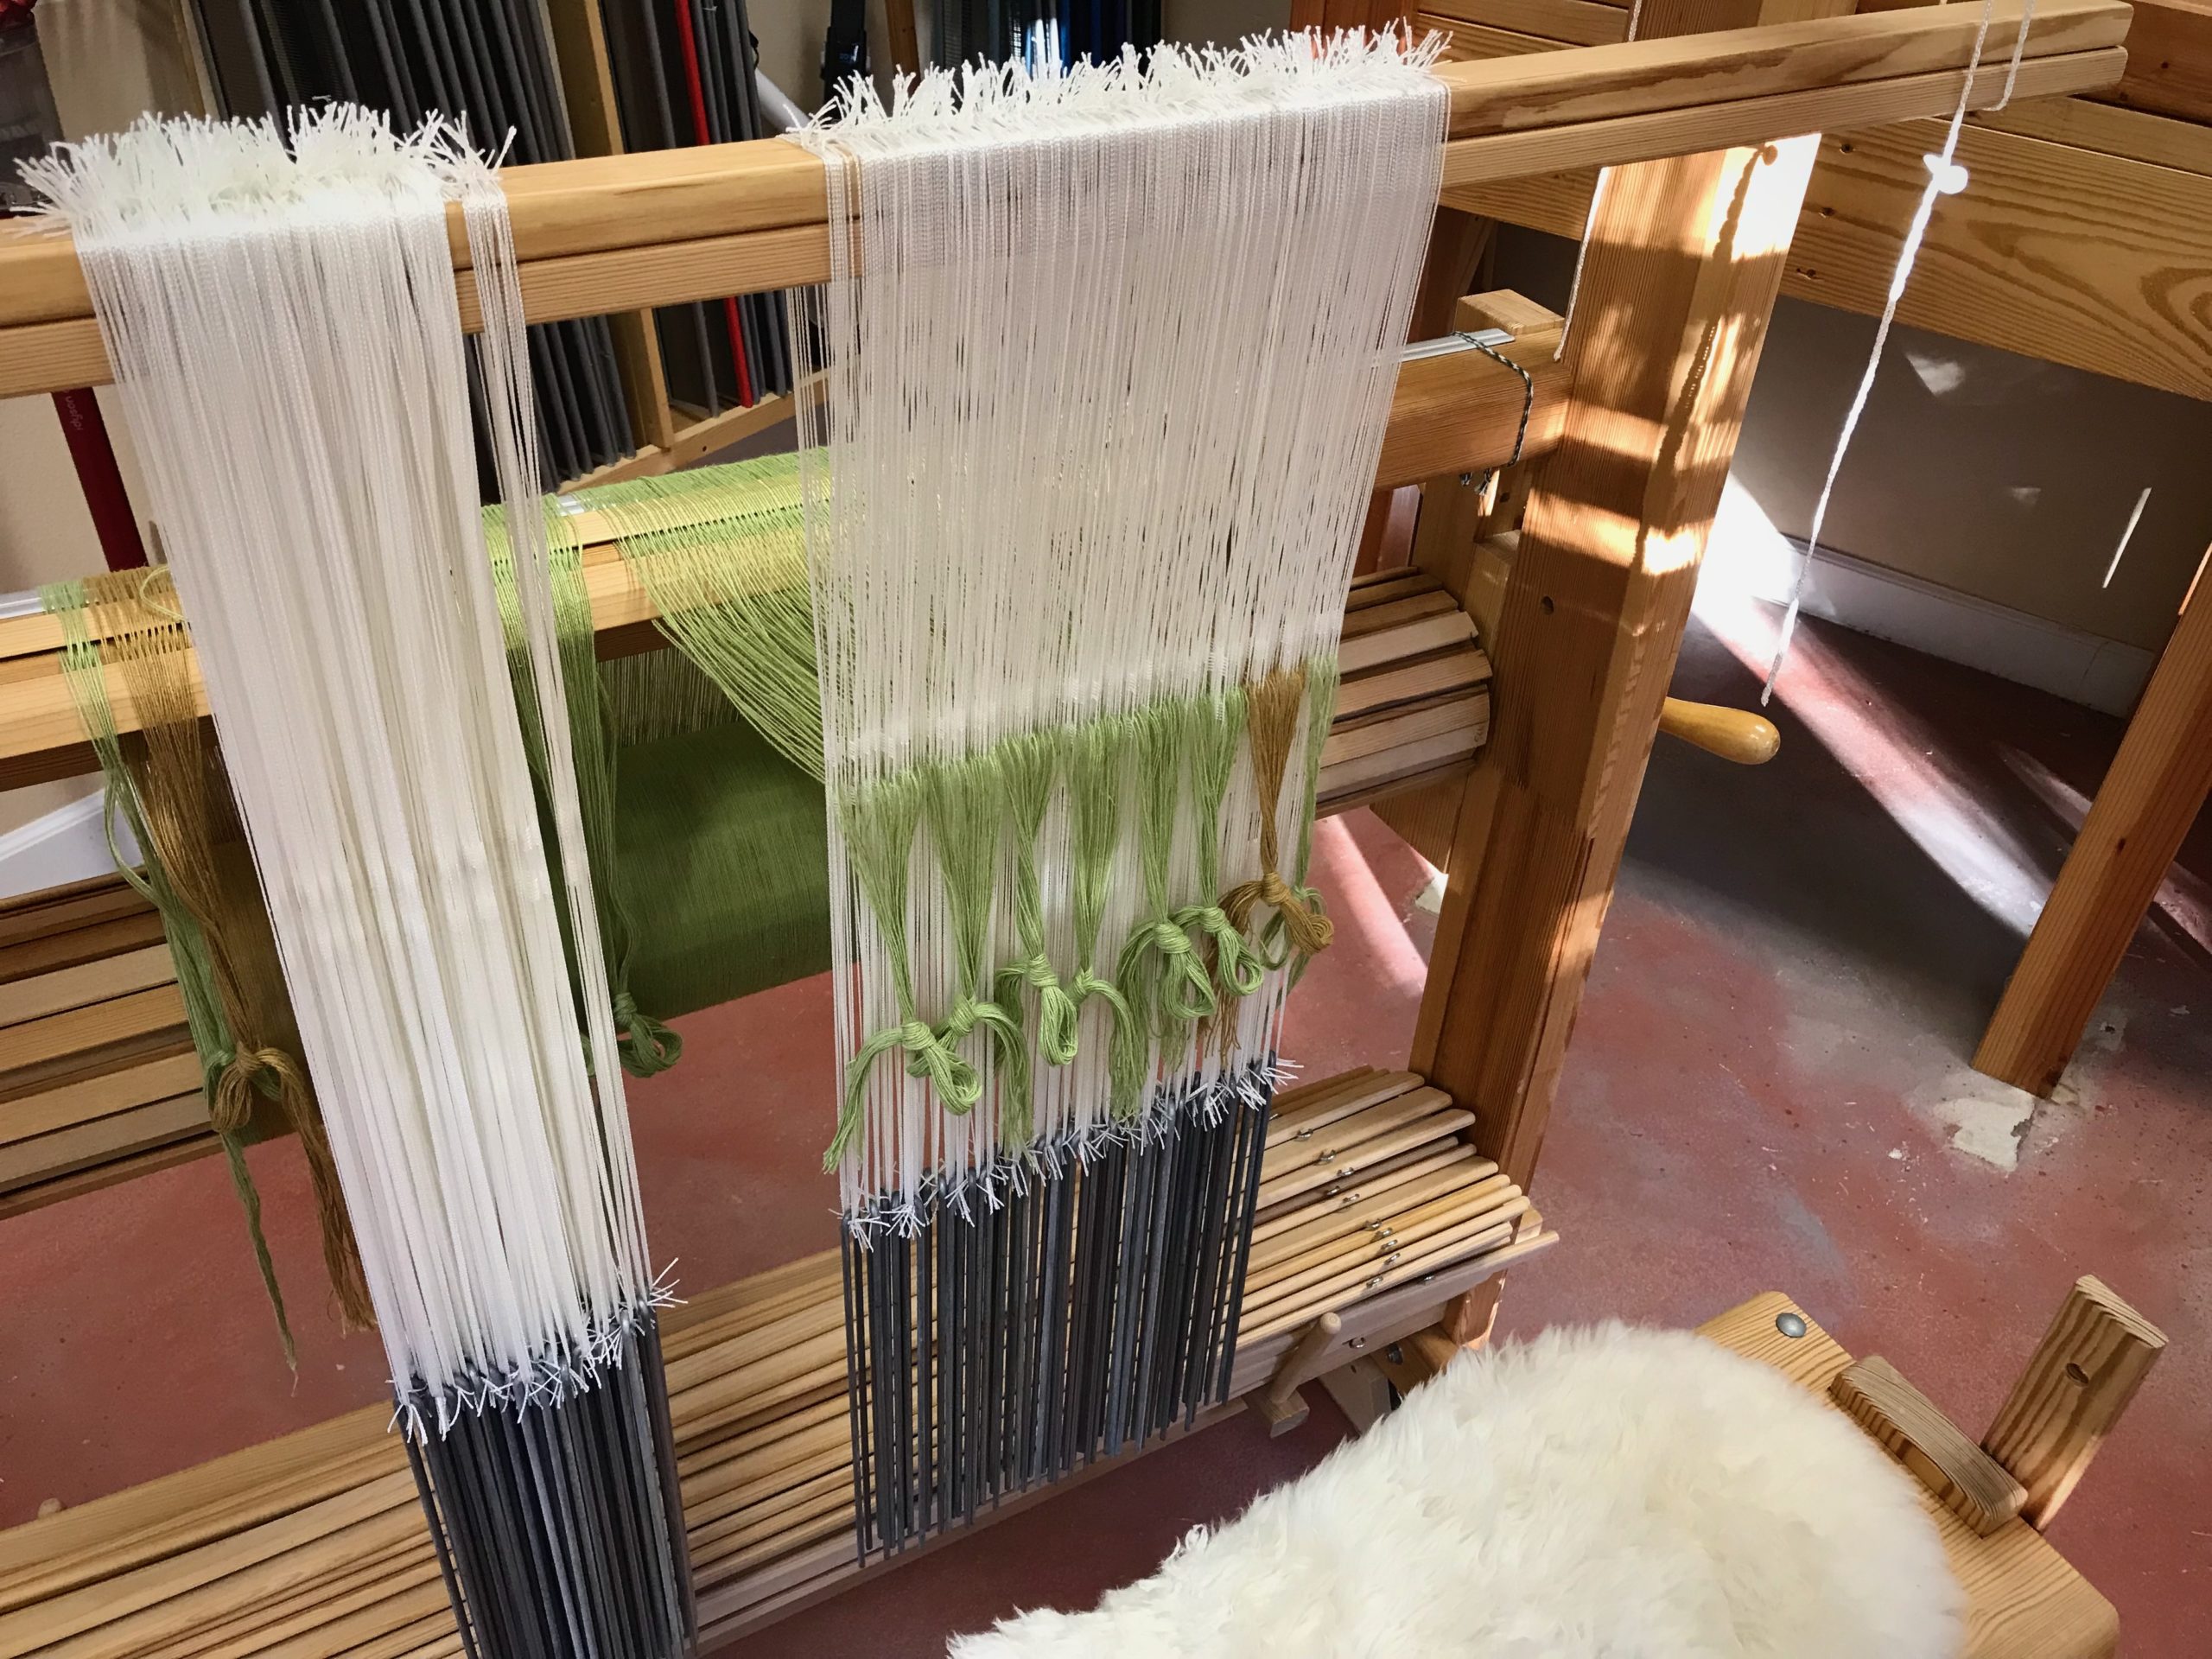
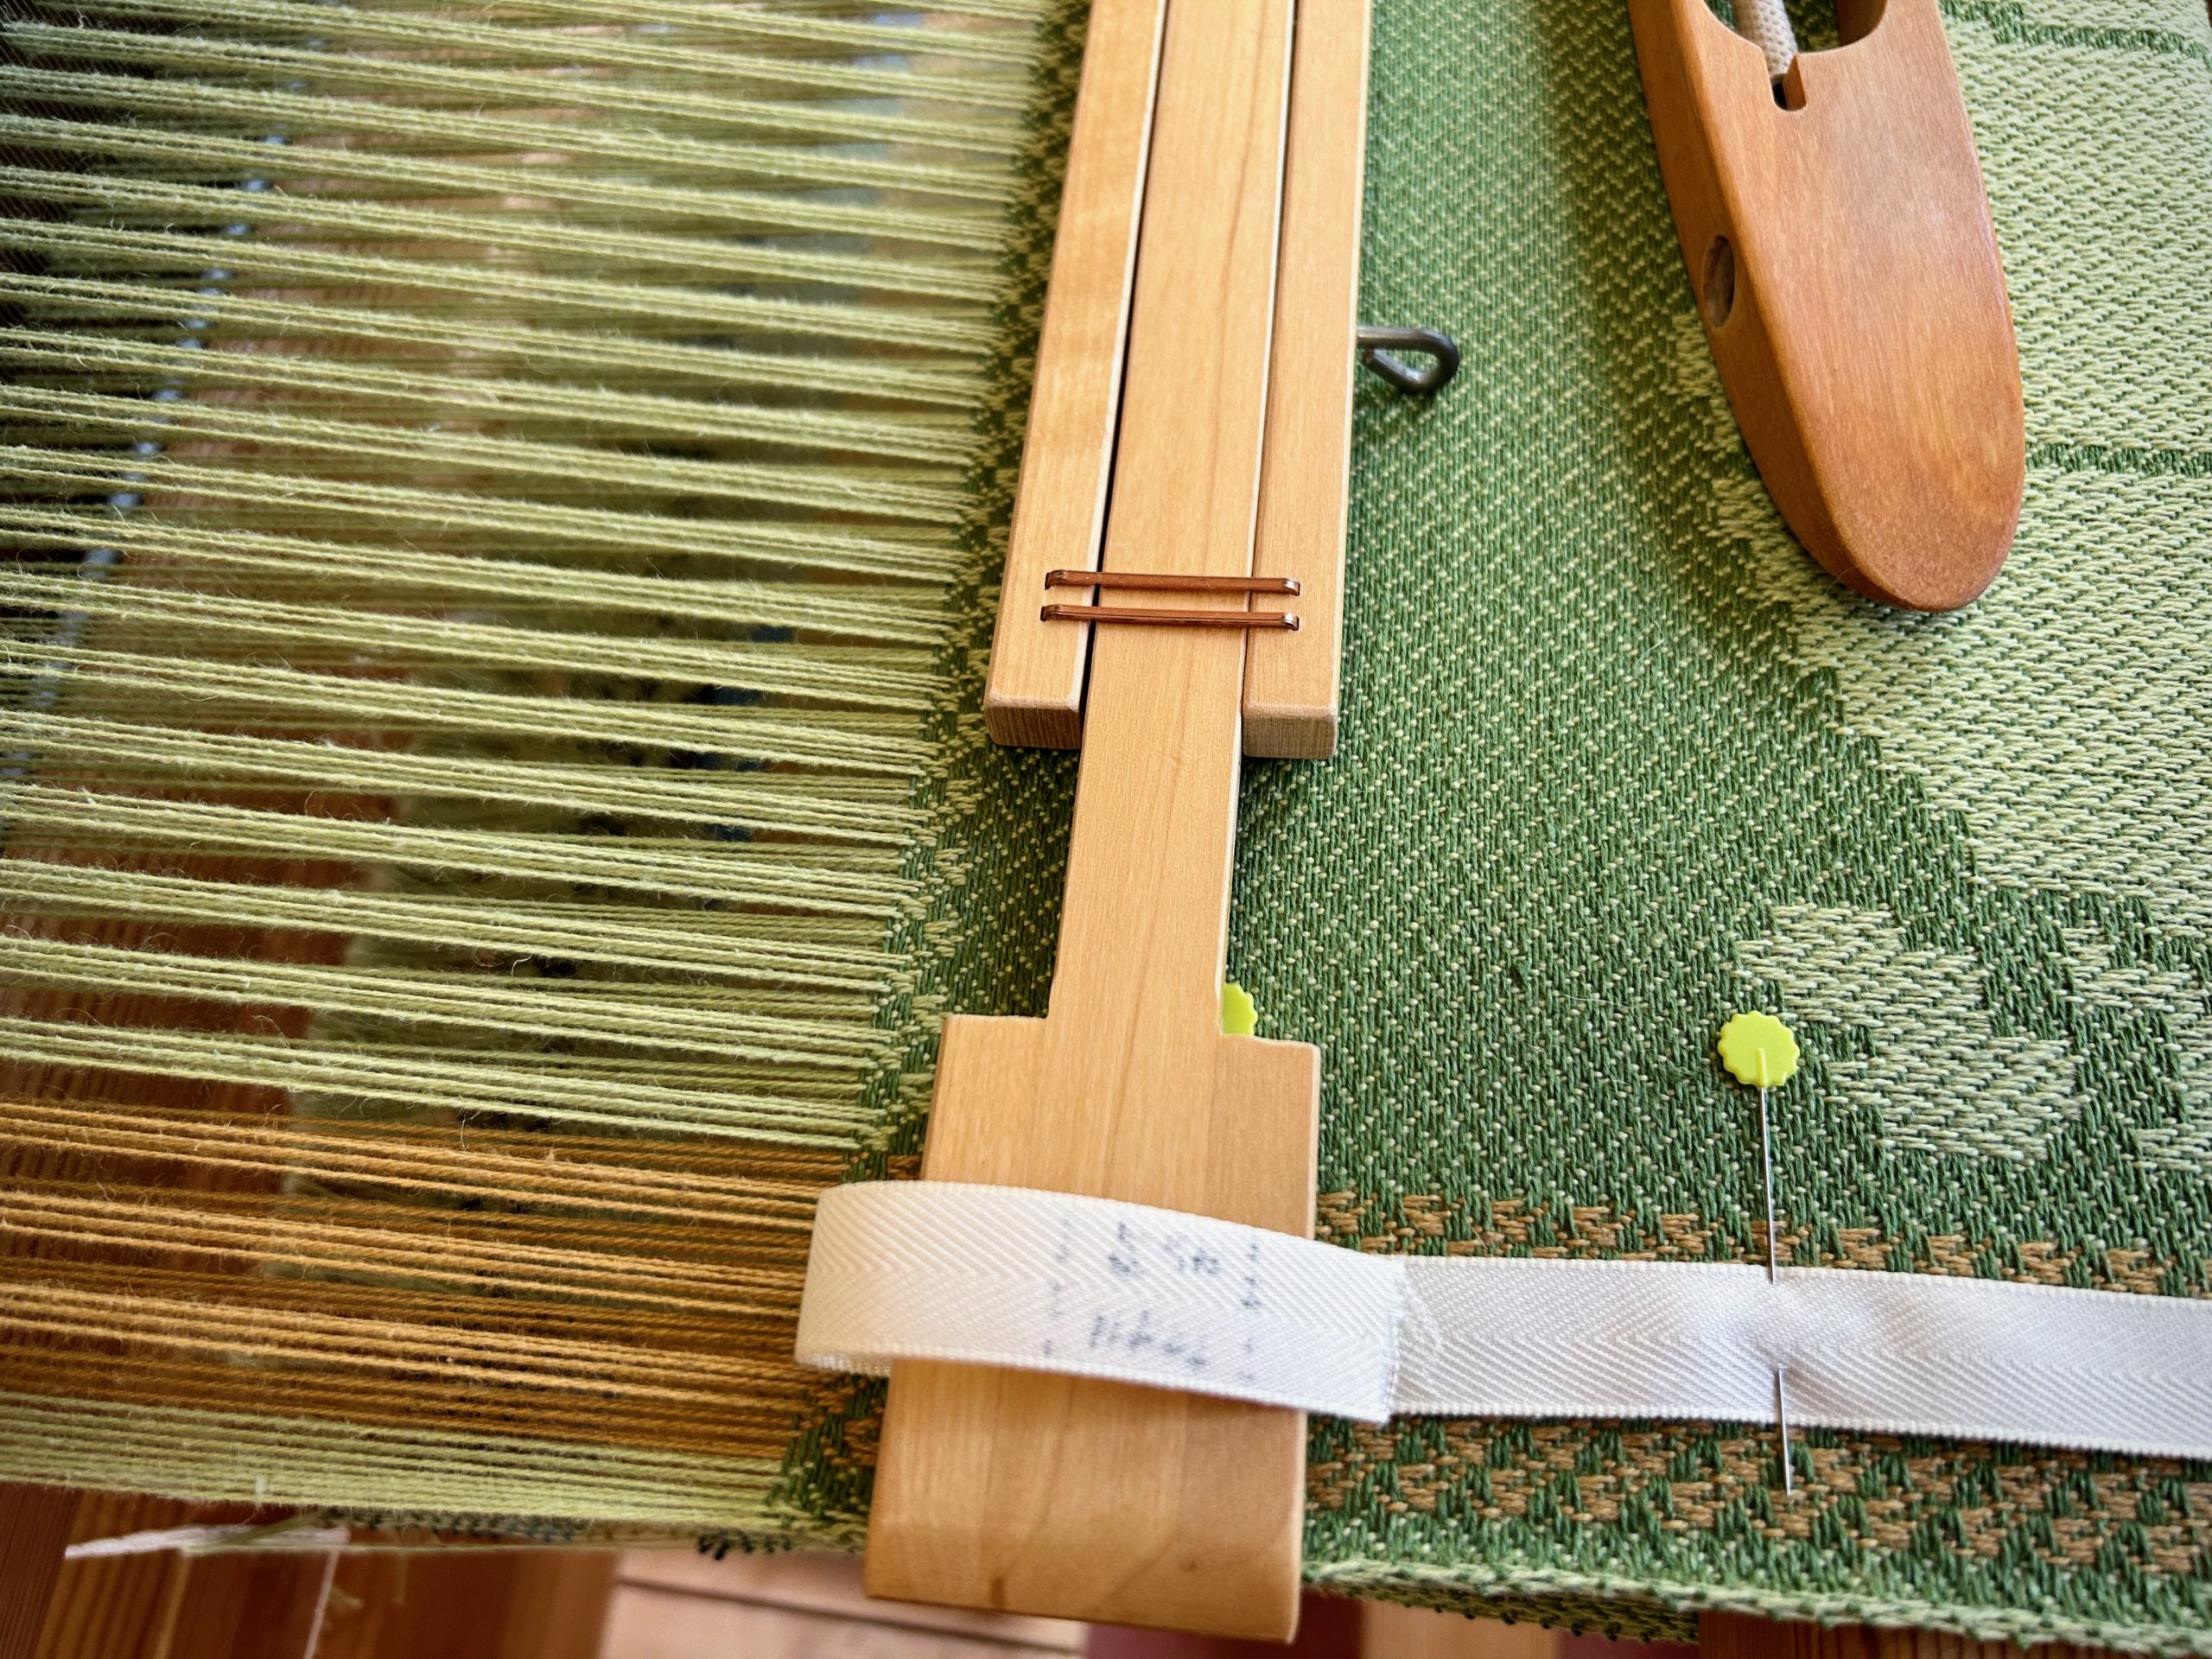
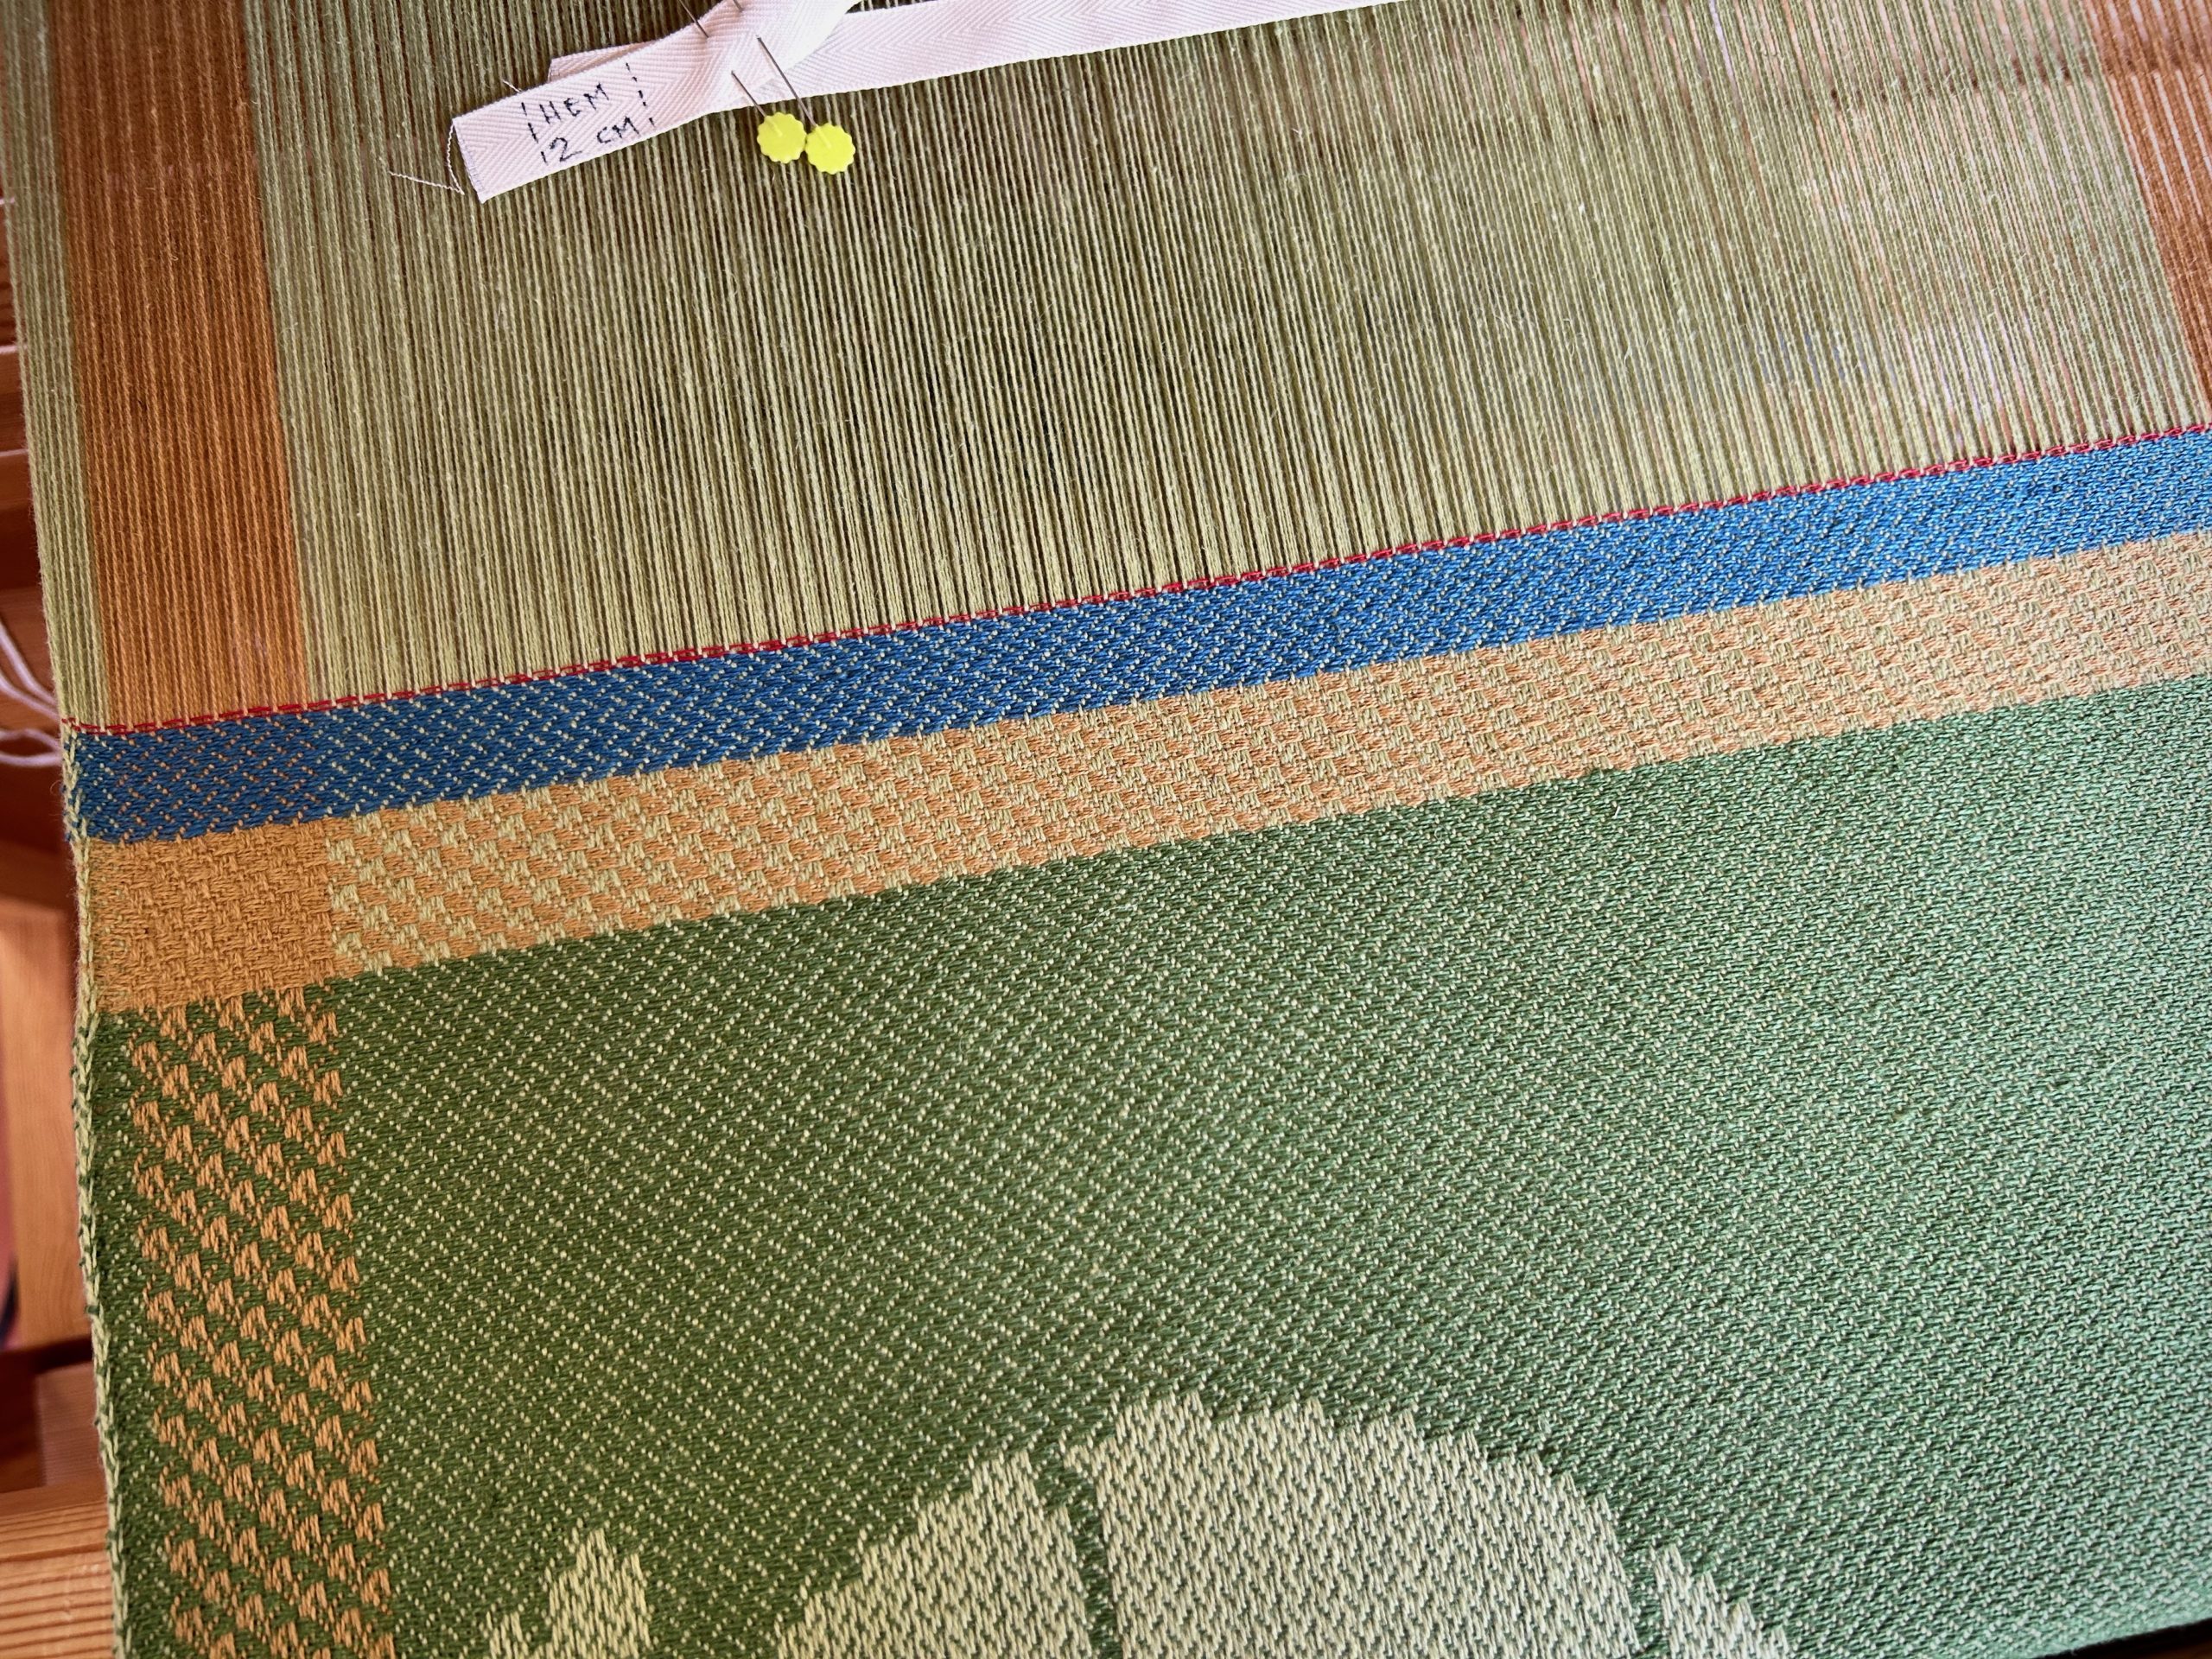
My husband and I coined the word “lapkin” when our children were young. Lap + napkin = lapkin. We wanted our children to learn the courtesy of placing a napkin on their lap when they were seated for a meal. “Lapkin check!” was a fun game we made of it. The armadillo on the drawloom is a lapkin, if I ever saw one. This thirsty cloth will soak up any drips and spills, smeary hands, or messy mouths that come in contact with it.

Napkin starts with a dark blue hem and gold checkerboard border. I like this view which makes it look like the armadillo feet have really long legs. Single unit draw cords are pulled (drawn) to raise warp ends that form the pattern in the cloth.
Armadillo reaches into one border with its snout, and into the other border with its tail.

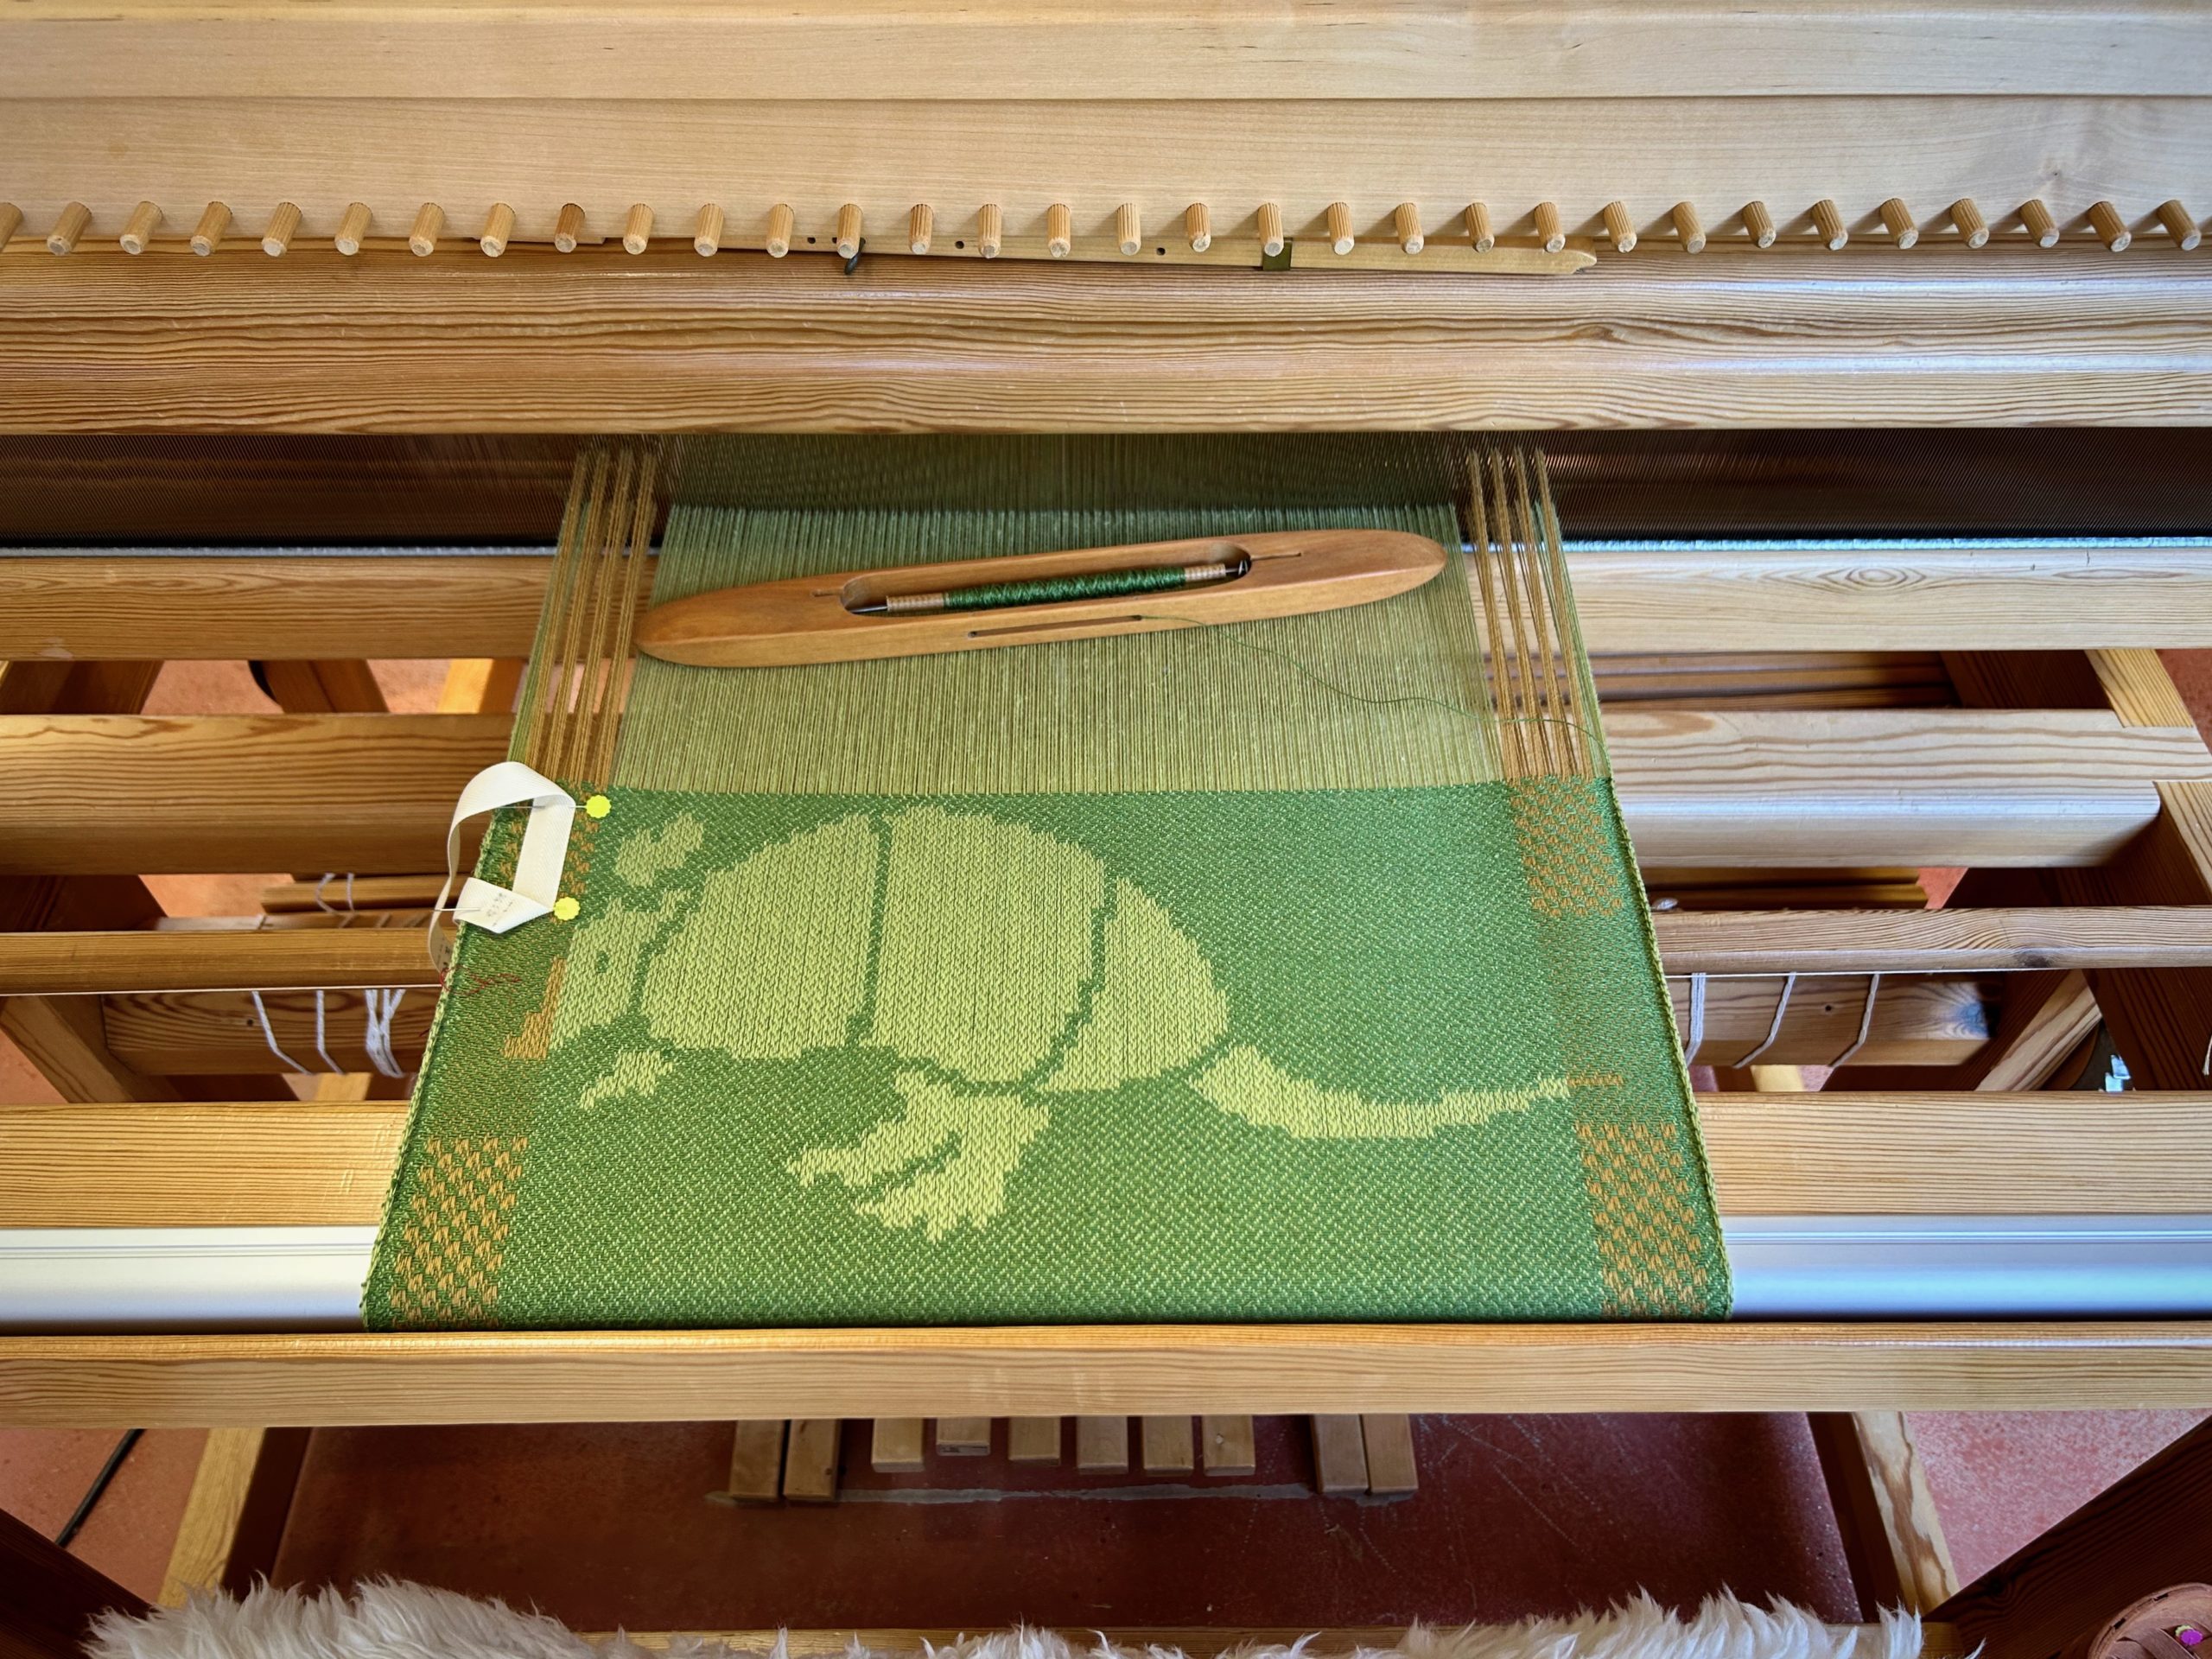
Armadillo is the first of a dozen critters that will parade across this loom. Armadillo napkin is the only one of its kind. I’m certain of that. (Fox is up next.)

Simple checkerboard side borders give a fun outline to every napkin.
Just a few pattern shafts (six draw handles) are needed for making the horizontal checkerboard border across the width of the napkins.
Six-shaft broken twill makes an interesting all-over pattern in the cloth.
Teal blue hem ends the Armadillo napkin. Red picks serve as a dividing/cutting line. Fox is next!

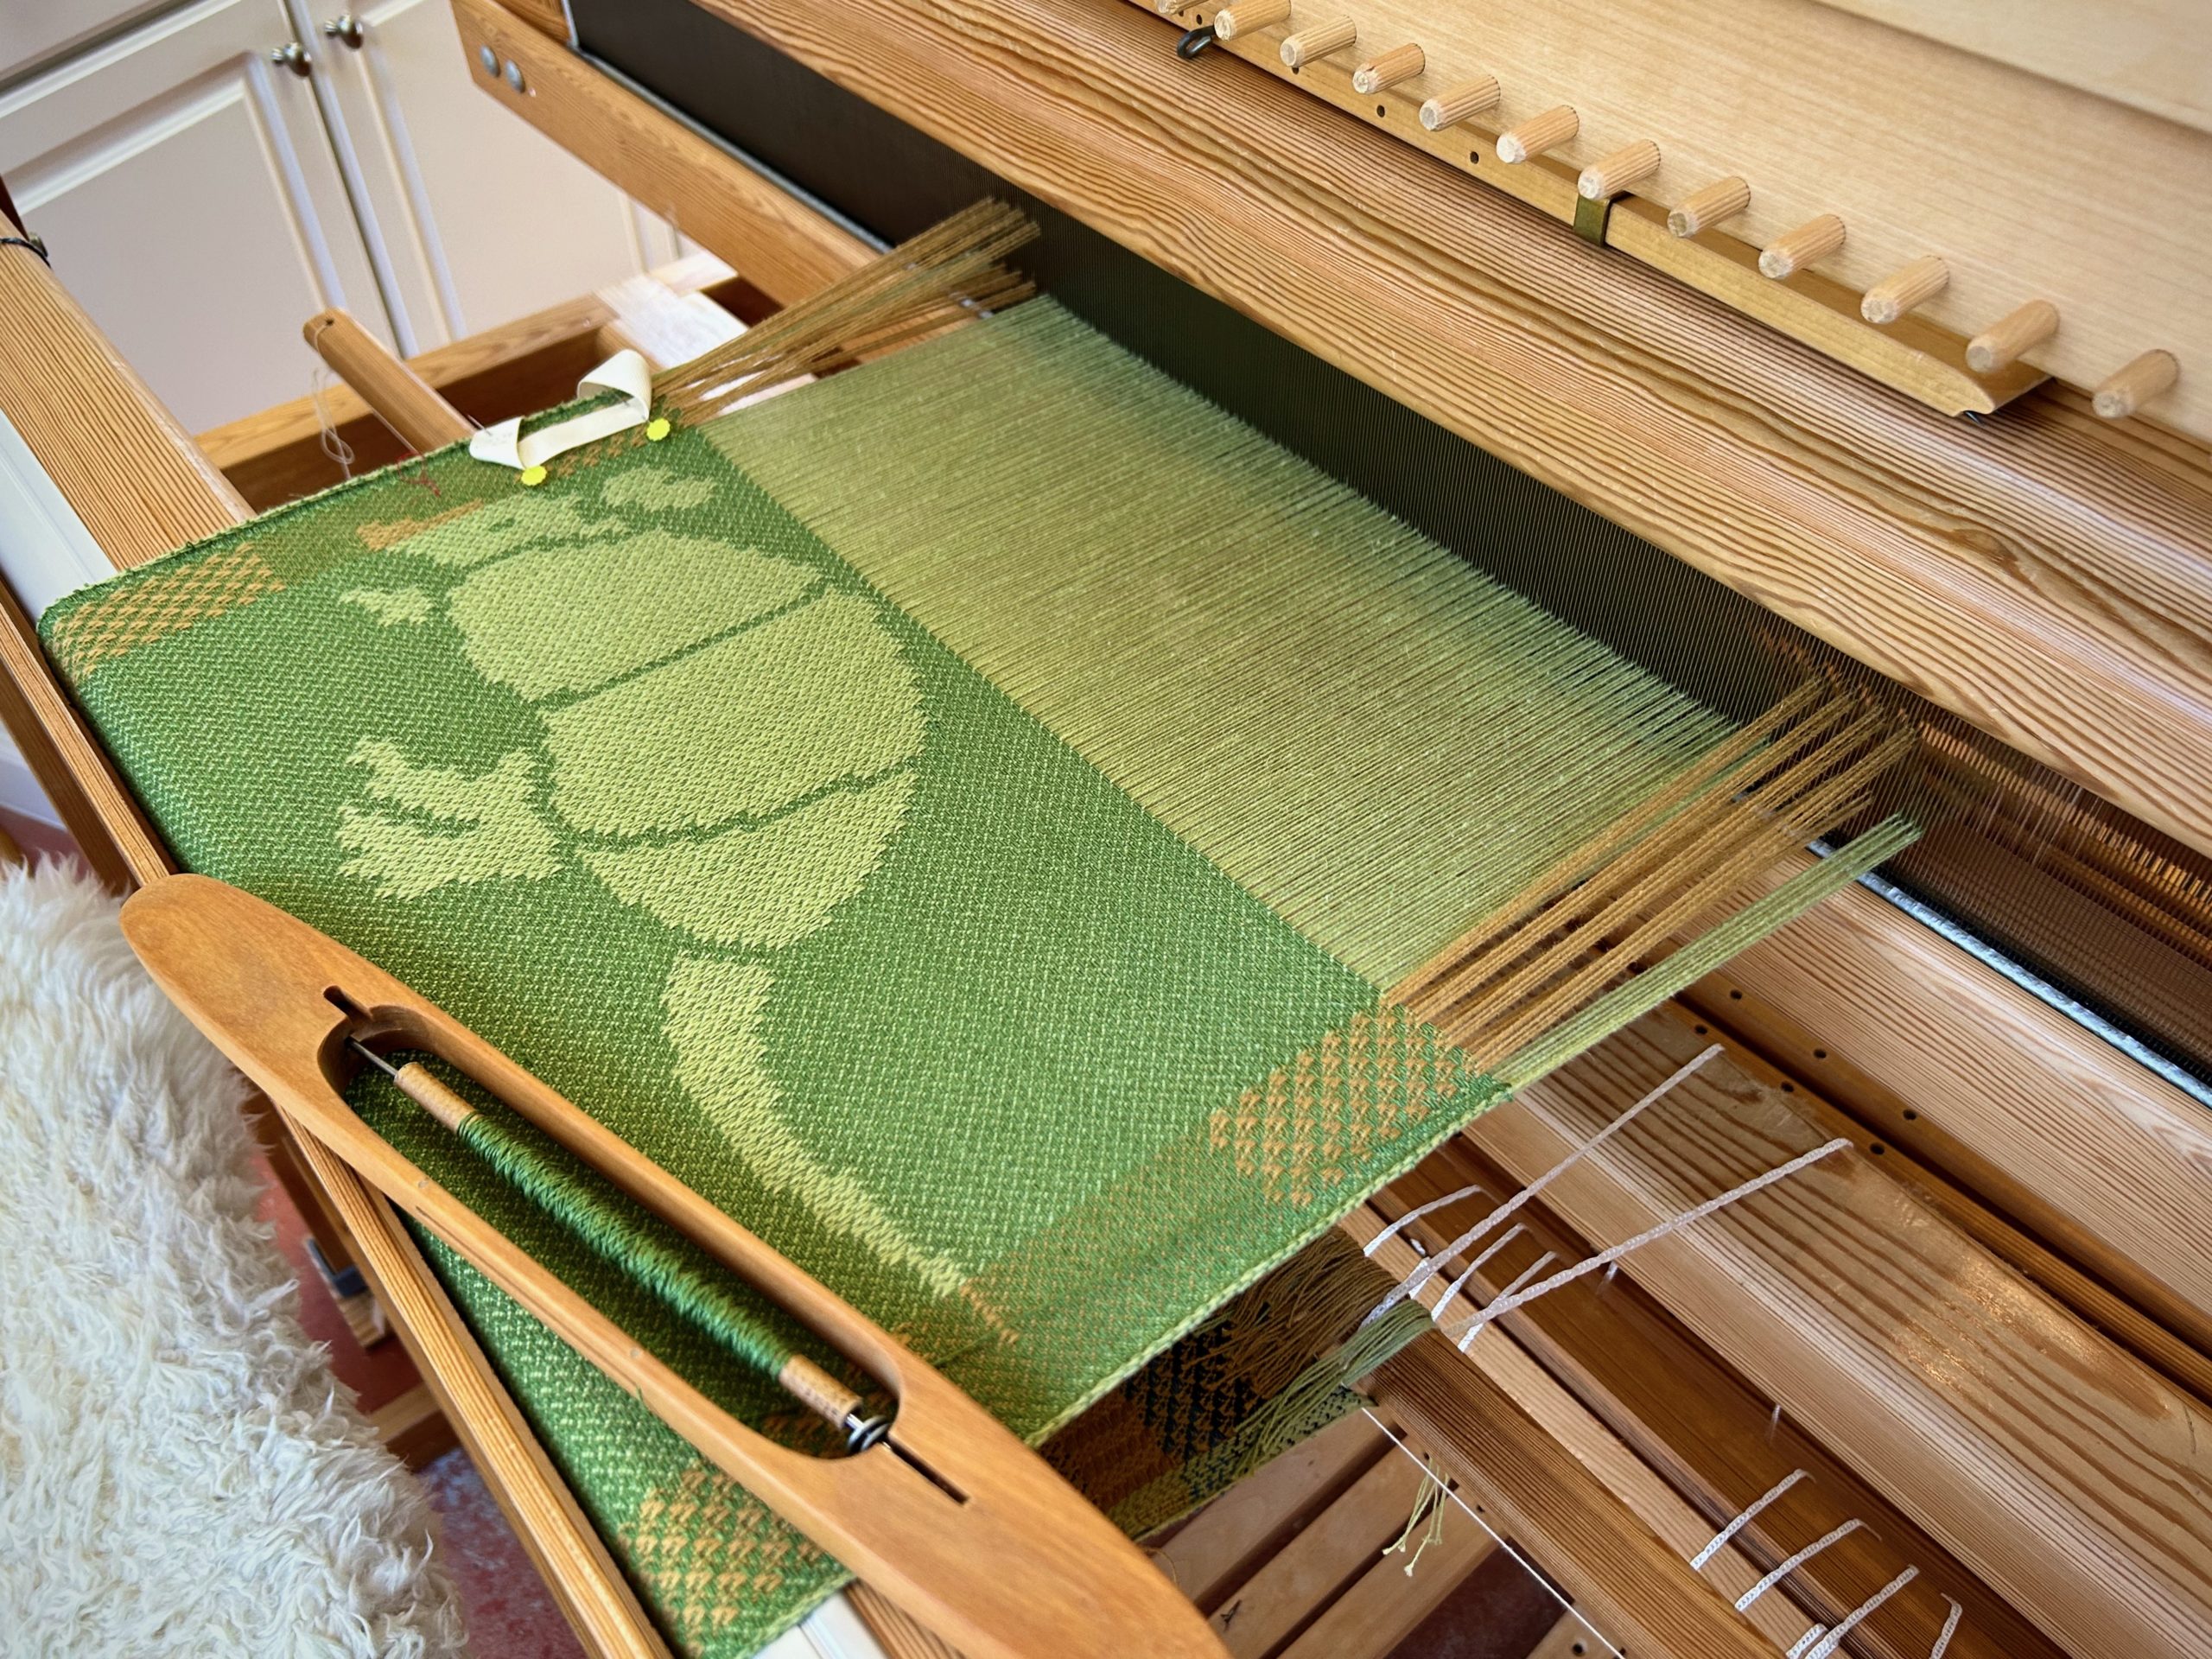
Lapkins give us a discreet way to stay tidy at the table. Armadillo, however, doesn’t intend to stay discreet. I’m pretty certain of that, too.

May your courtesy lessons be fun.

Happy weaving.
Karen

Check for Accuracy Now or Backtrack Later

It pays to check your work. I have reached a new level of experience in distributing patterns shafts. I know how to do it backwards and forwards now. Literally. Unfortunately, I moved almost all of the pattern shafts before noticing that the spacing between units is not quite right. Uh oh! So, one by one, I reversed the distribution of pattern shafts to get back to the point of error—the very beginning. The reverse move was …more complicated.

Distribution of pattern shafts is part of the setup for the drawloom. It is a multi-step process that moves the pattern shafts, one at a time, from the heddle bar at the back of the loom to the pattern shaft holders just behind the ground shafts at the front of the loom. Sound complicated? It’s not that hard, and is fun to do after you’ve done it a few times.

Lesson learned: Check my work. I am off by only one unit of threads. That small miss, however, is enough to sabotage the whole project if not corrected. The sooner I check my work against the master plan the better. Fortunately, everything at the loom is fixable. It’s never too late to start again.

First, I use an old inkle band to slip between heddles that I am separating to transfer to a pattern shaft. Because I am using a combination of pattern shafts AND single units, I separate the heddles on the “front” side. If I were usining only pattern shafts and no single units, I could separate the heddles from the back while standing behind the loom.
I insert a pattern shaft through the separated pattern heddles. Then I remove the inkle band and hang it around my neck, ready for the next transfer.
I slip the waiting heddle bar through the pattern shafts that have not been separated…
…and remove the first heddle bar. This releases the separated pattern heddles onto the pattern shaft, which is hanging in a pair of holding cords. From here, the pattern shaft is moved forward to the pattern shaft holders. (I also adjust the clip overhead that connects the thread unit to a single unit draw cord.)
After backtracking and starting over, I now diligently check the number and spacing of units on the heddle bar after every pattern shaft is moved into position. Success!
Twelve pattern shafts, plus one X shaft. This project uses pattern shafts for the borders only – top, bottom, and sides. The rest of the pattern areas will use single-unit designs.

The sooner I check my life against God’s master plan the better. Fortunately, everything is forgivable. It’s never too late to start again.

All set and ready to go! Everything works. After a bit more testing of weft colors and patterns, it’s critter time. Watch for Mr. Armadillo first!

May you check for accuracy sooner than later.

Be blessed,
Karen

Ninety-One Draw Cords

Ninety-one pattern units are matched up with single-unit draw cords.

Combination drawloom. Pattern heddles hang on the heddling bars in units of 6 threads each. Each pattern unit is attached to an overhead single-unit draw cord with a lift heddle attached to a small metal clip. I use the clips so that I can leave the single-unit draw cords on the loom all the time, instead of removing and adding them for each project.

I’m one step closer to weaving these critter napkins. All the pattern heddles are hanging from the heddling bars in front of the back beam. I use little metal clips on lift heddles to attach each 6-thread unit to the single-unit draw cords. The next activity is distributing the pattern shafts—only thirteen this time, including the X shaft.

I hope you can overlook my “drawloom speak,” and just dream with me about the woven critters that will show up here soon!

May you keep getting ready for your next adventure.

All the best,
Karen

Getting to the Fun Part of the Drawloom

Now for the fun part at the drawloom! Pattern heddles are threaded, ground heddles are threaded, reed is sleyed. Ground shafts are put in place at the front of the loom, hanging under the countermarch where they belong (thanks to Steve’s help with this awkward maneuver). Warp is tied on and leveling string is in place.

Two set of heddles are threaded. Ready to sley the reed.
Warp ends are grouped in small segments for tying on.
Warping slat on each end hold up the tie-on bar for ease of tying on the first few groups of ends. I start in the center and work outward.
Warp is tied on and leveling string is secured.

It is no small matter to have this much setup completed on the drawloom. Now that I think of it, all of it is the fun part! Yes, I am looking forward to getting the single unit cords ready and distributing the pattern shafts. And yes, I am super eager to be sitting on the loom bench reaching for draw cords and pull handles, but I can wait.

Just look at that flatness! This is what I appreciate about the leveling string–it makes the warp ready for weft right at the beginning.

I am taking my time, determined to enjoy every intricate part of the process. I’m deeply grateful to know the satisfaction of being a weaver. Patience is built in.

May you appreciate each step of your journey.

Happy Weaving,
Karen

Creative Handweavers Need Persistence

It’s good for a handweaver to flow in creativity. That’s where designs, colors, and out-of-the-box thinking thrive. Add the virtue of persistence, and those creative ideas become tangible articles of cloth. Making things takes more persistence than it does creativity.

Threading pattern heddles. 22/2 cottolin warp.

Threading pattern heddles is a repetitive task that I enjoy. I find greater joy, though, in the actual weaving phase of the project. That is when I get to sit at this marvelous instrument and challenge my hands and feet to work together to make the glorious sounds of a loom producing patterned cloth. It does take persistence to get to that point. Even when weaving, my focus is on the outcome – creative napkins for our family meals. The end purpose not only drives my persistence to the finish line, it brings enjoyment to each necessary task along the way.

Will be napkins with fun designs. Green, with gold borders, and various linen weft colors.
Near the halfway point of threading pattern heddles. Six ends per unit.

You and I are God’s creative work. He is persistent in the forming of our character, desiring to weave the image of Christ in us. His end purpose brings meaning to all the steps it takes to complete the fabric. Imagine his enjoyment every time we allow his hands to do each necessary task.

May your persistence out pace your creativity.

Blessings,
Karen