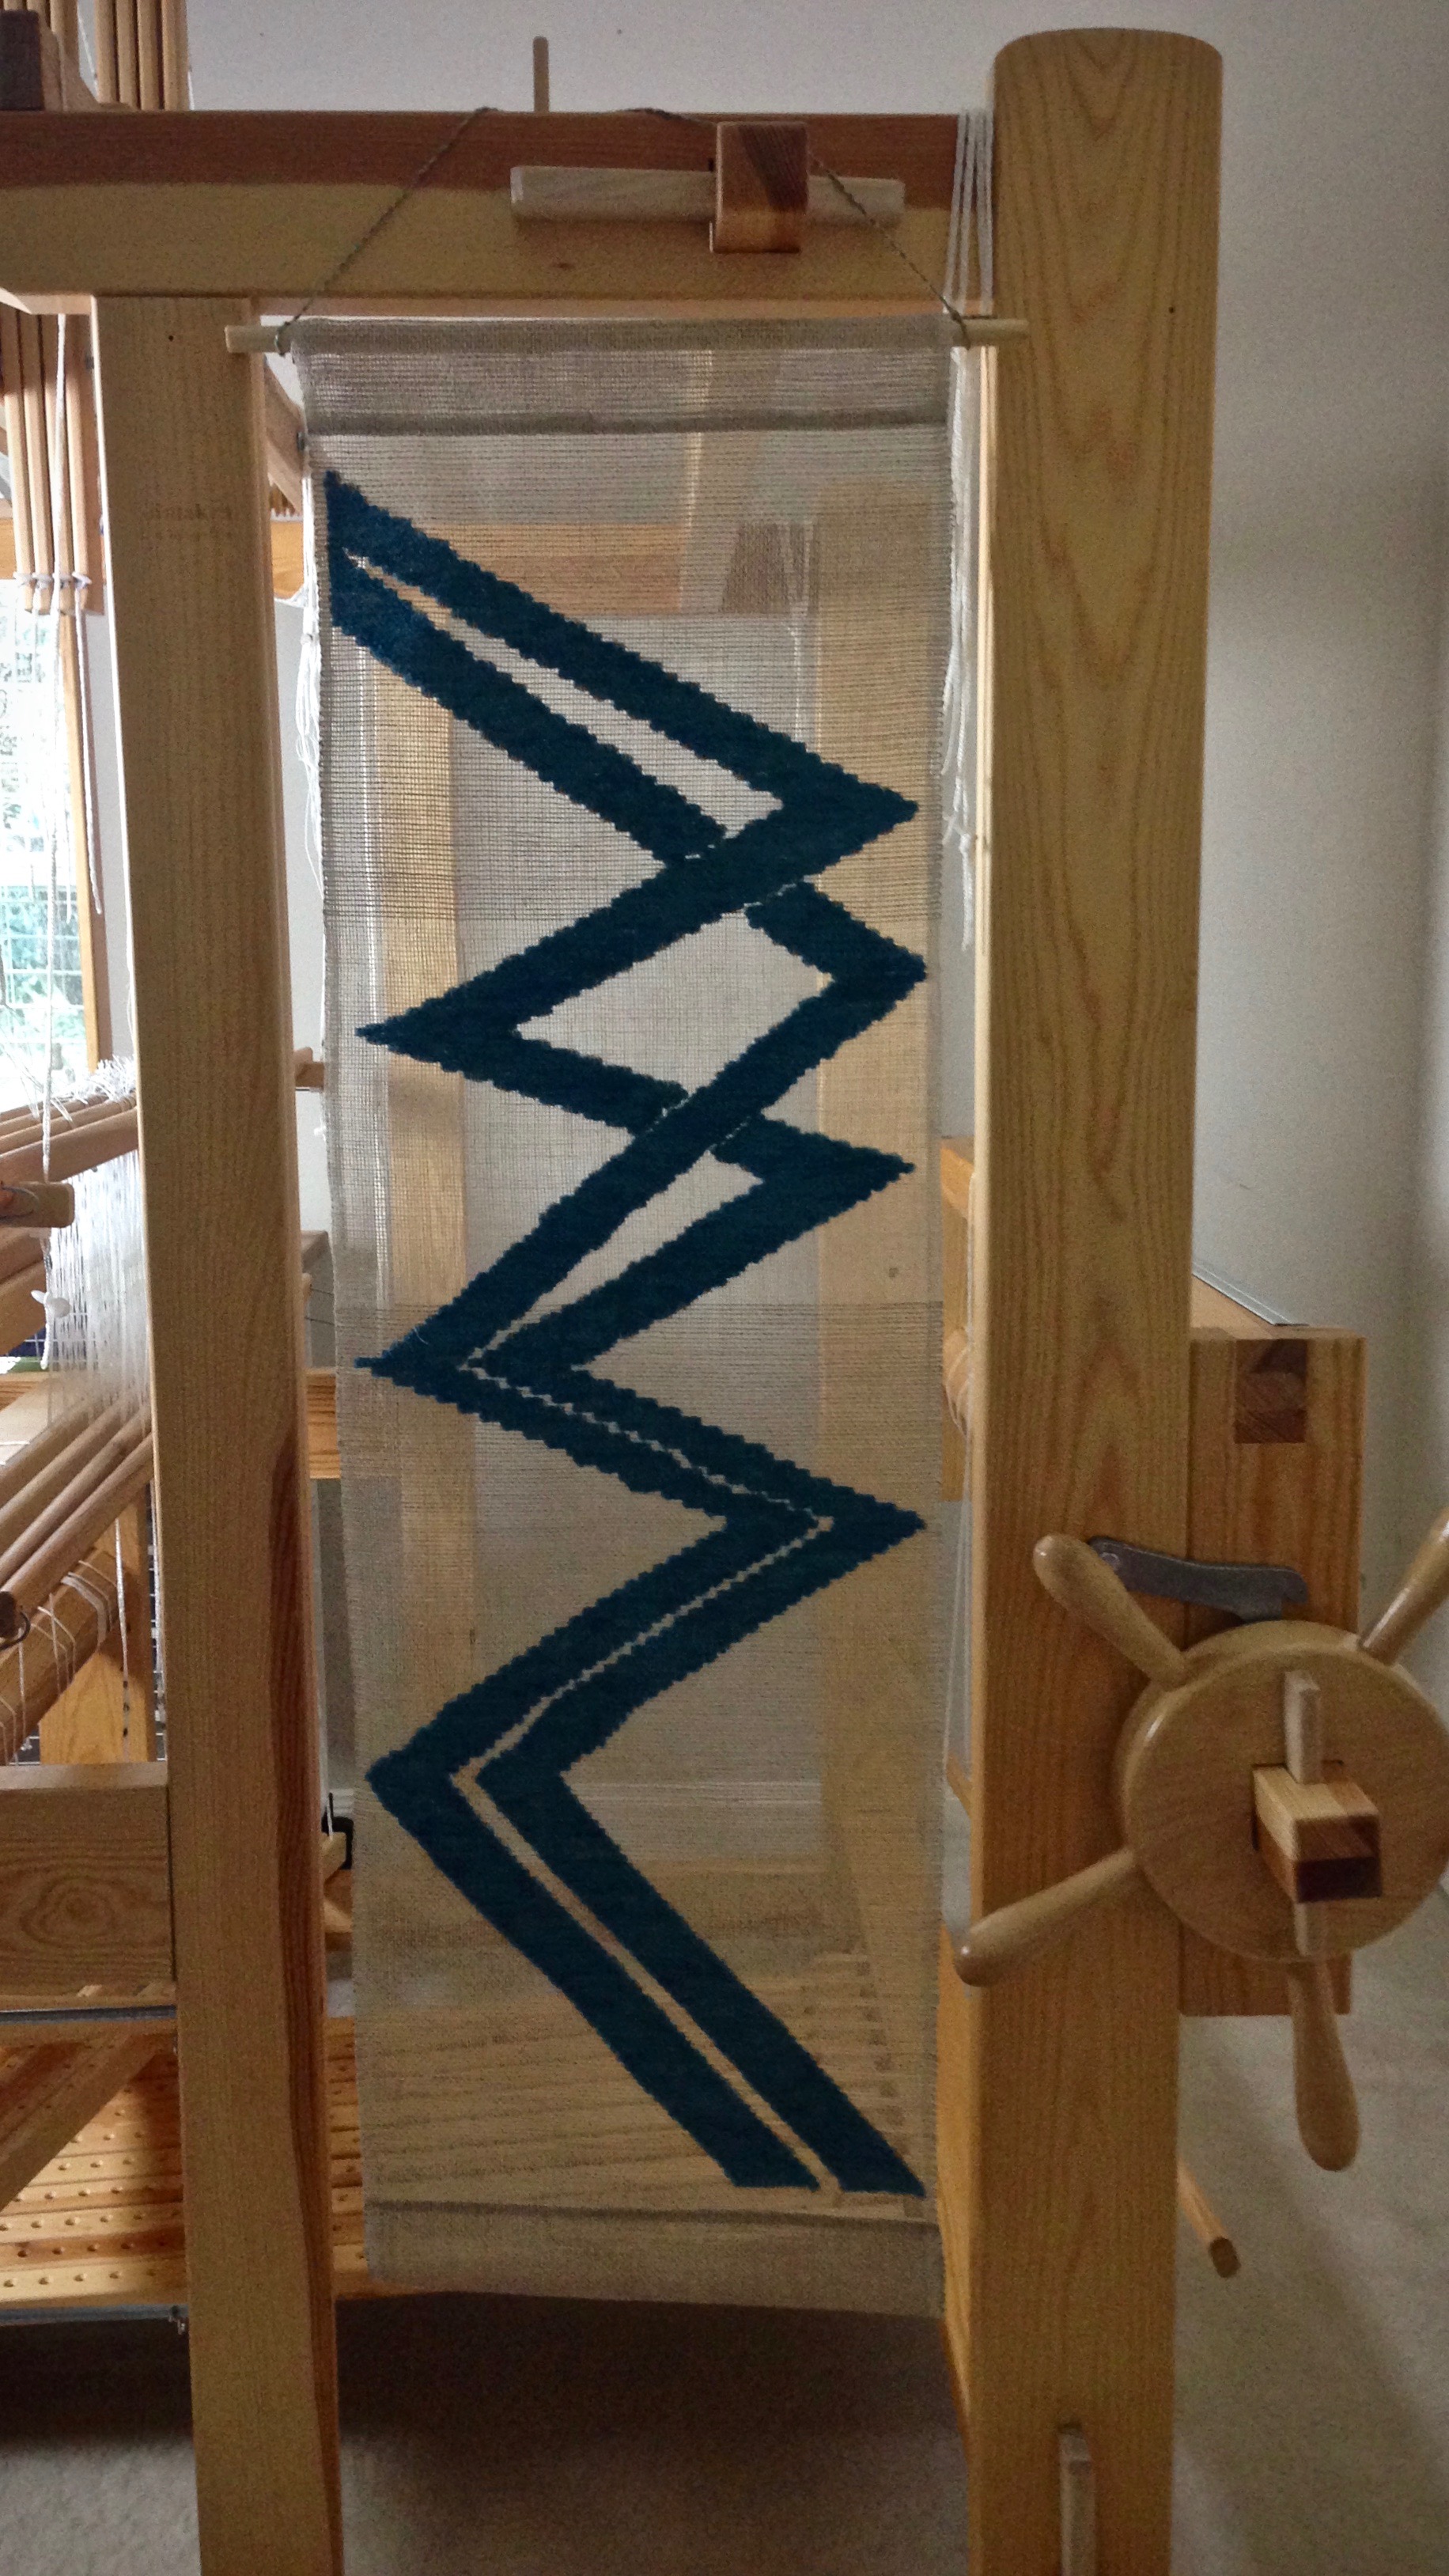
The fascinating thing about weaving a transparency is that it feels like color-by-number with yarn. There are similarities to tapestry weaving, for sure. But this seems ten times faster. I found it to be engaging and fun! I echo what my transparency-weaving friend says when it’s time to stop and do something else, “Just one more row…”
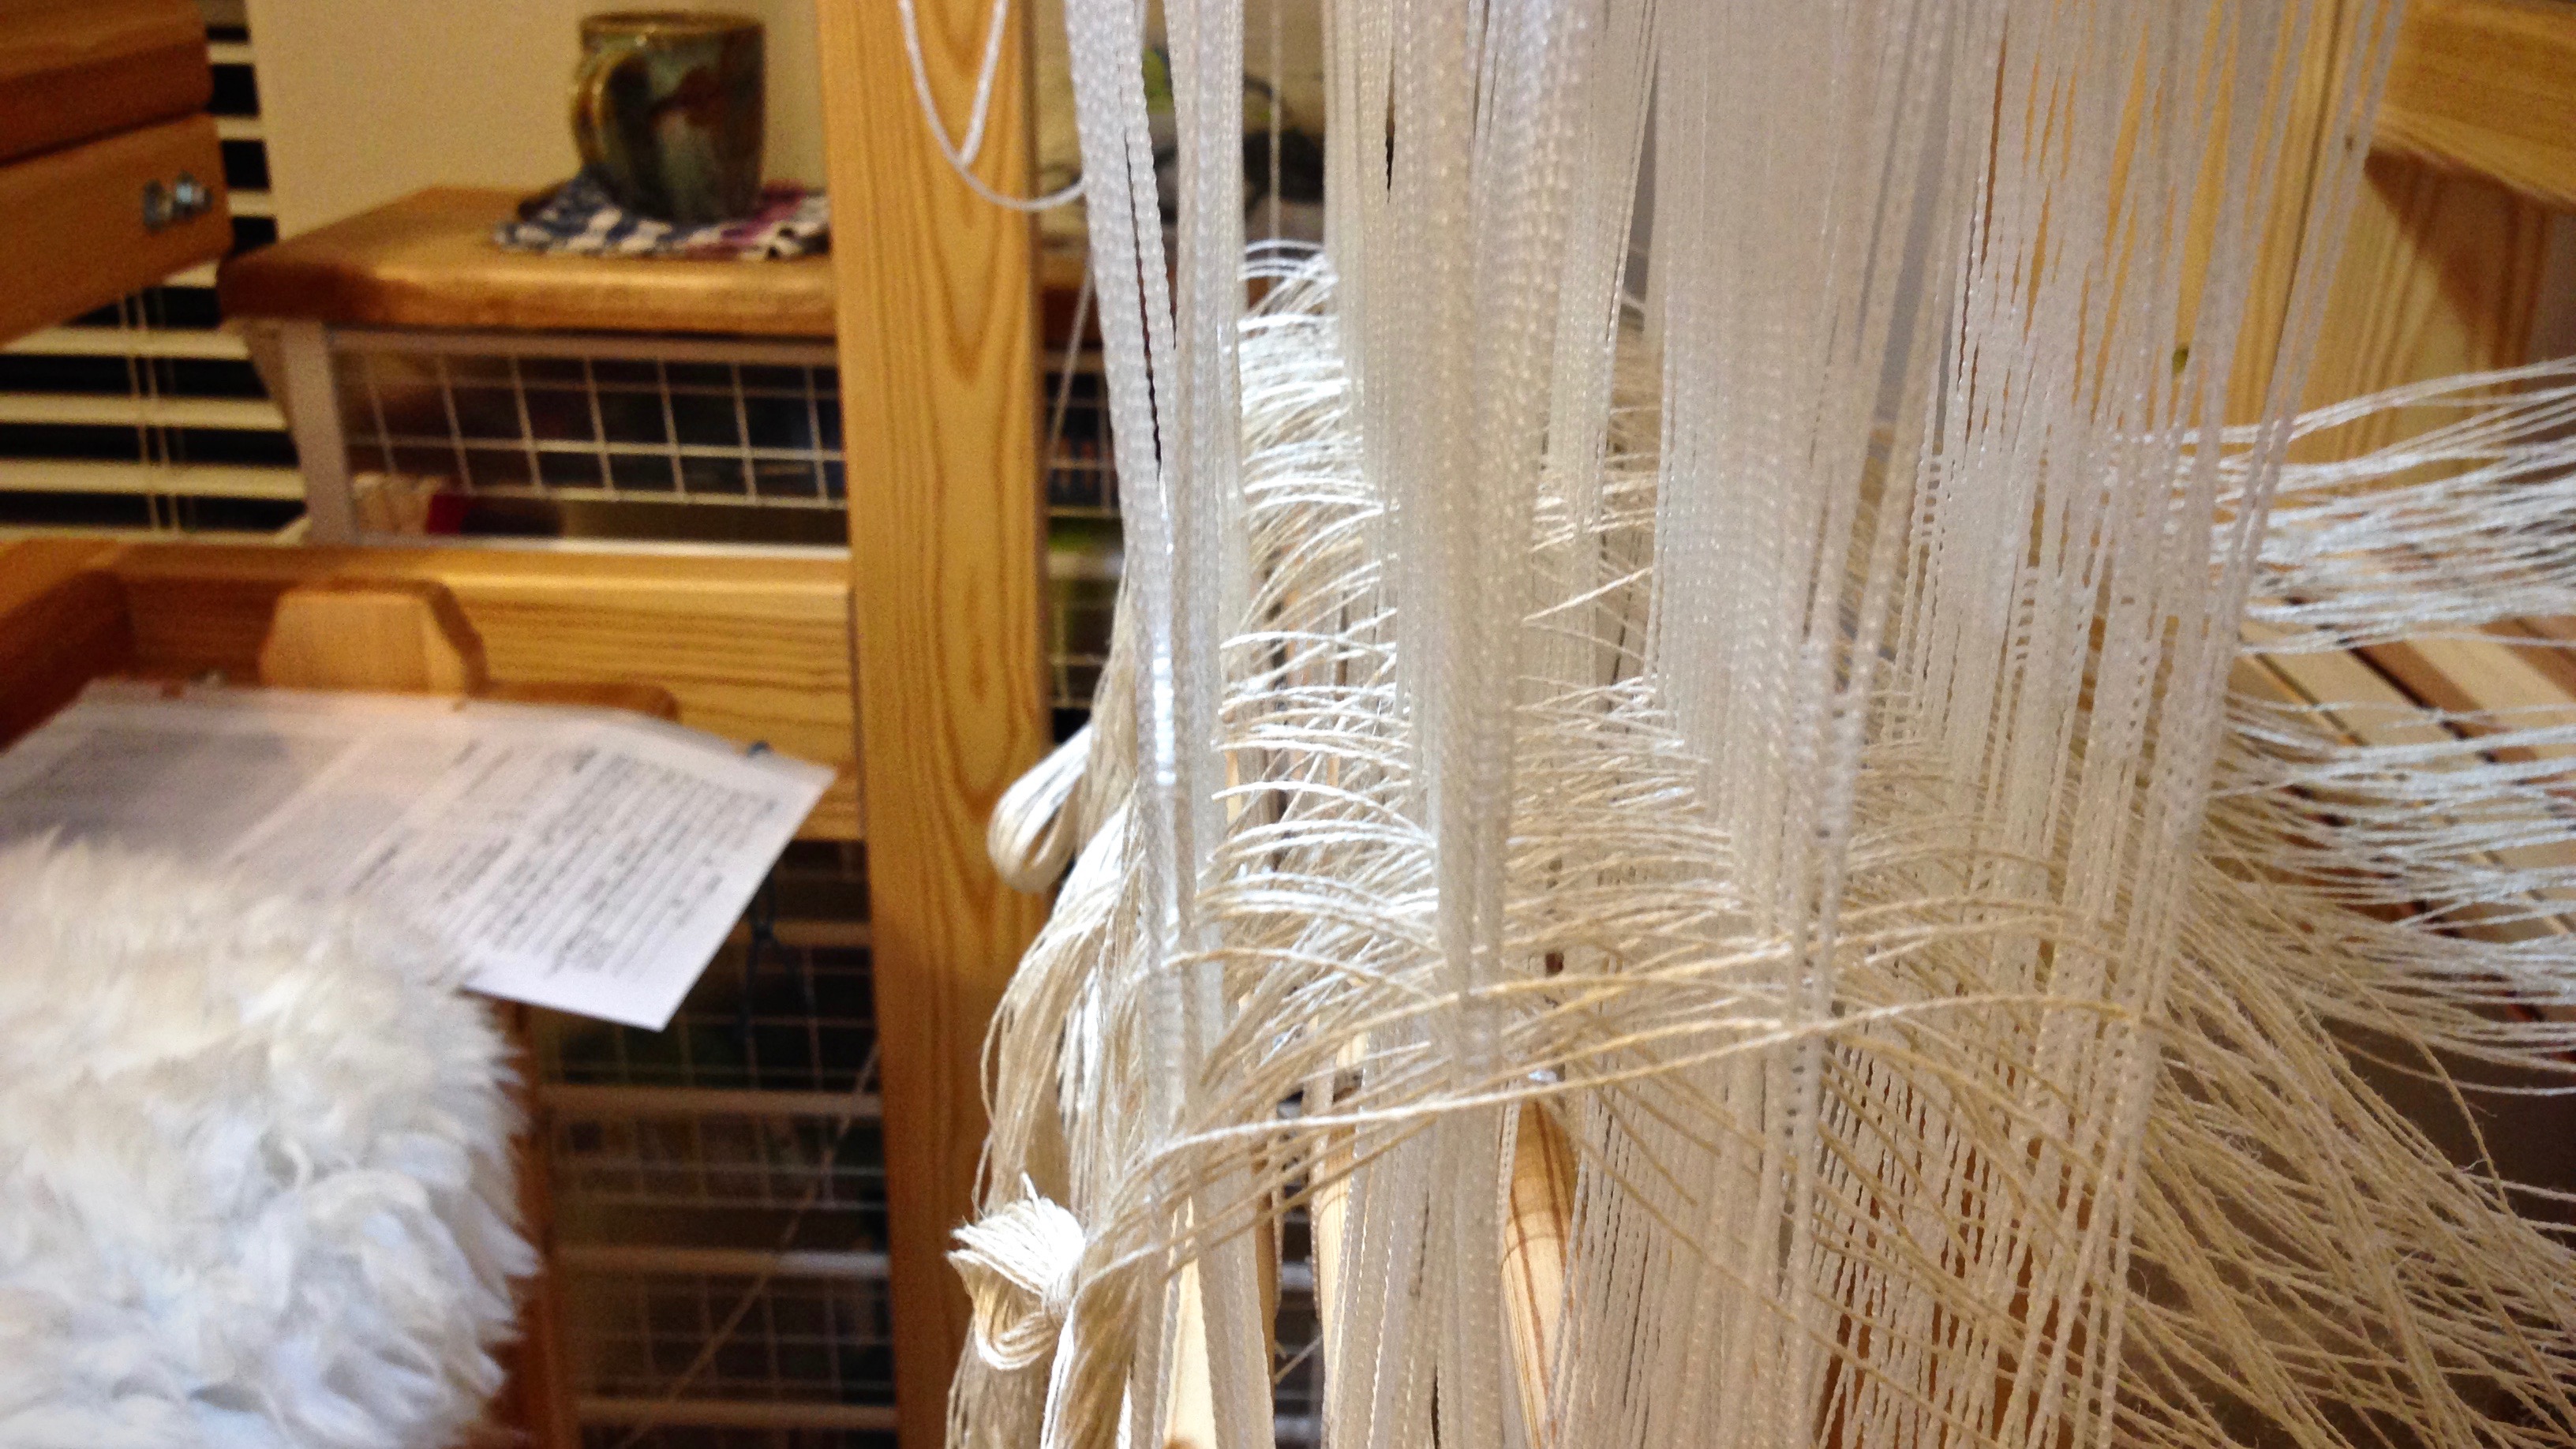
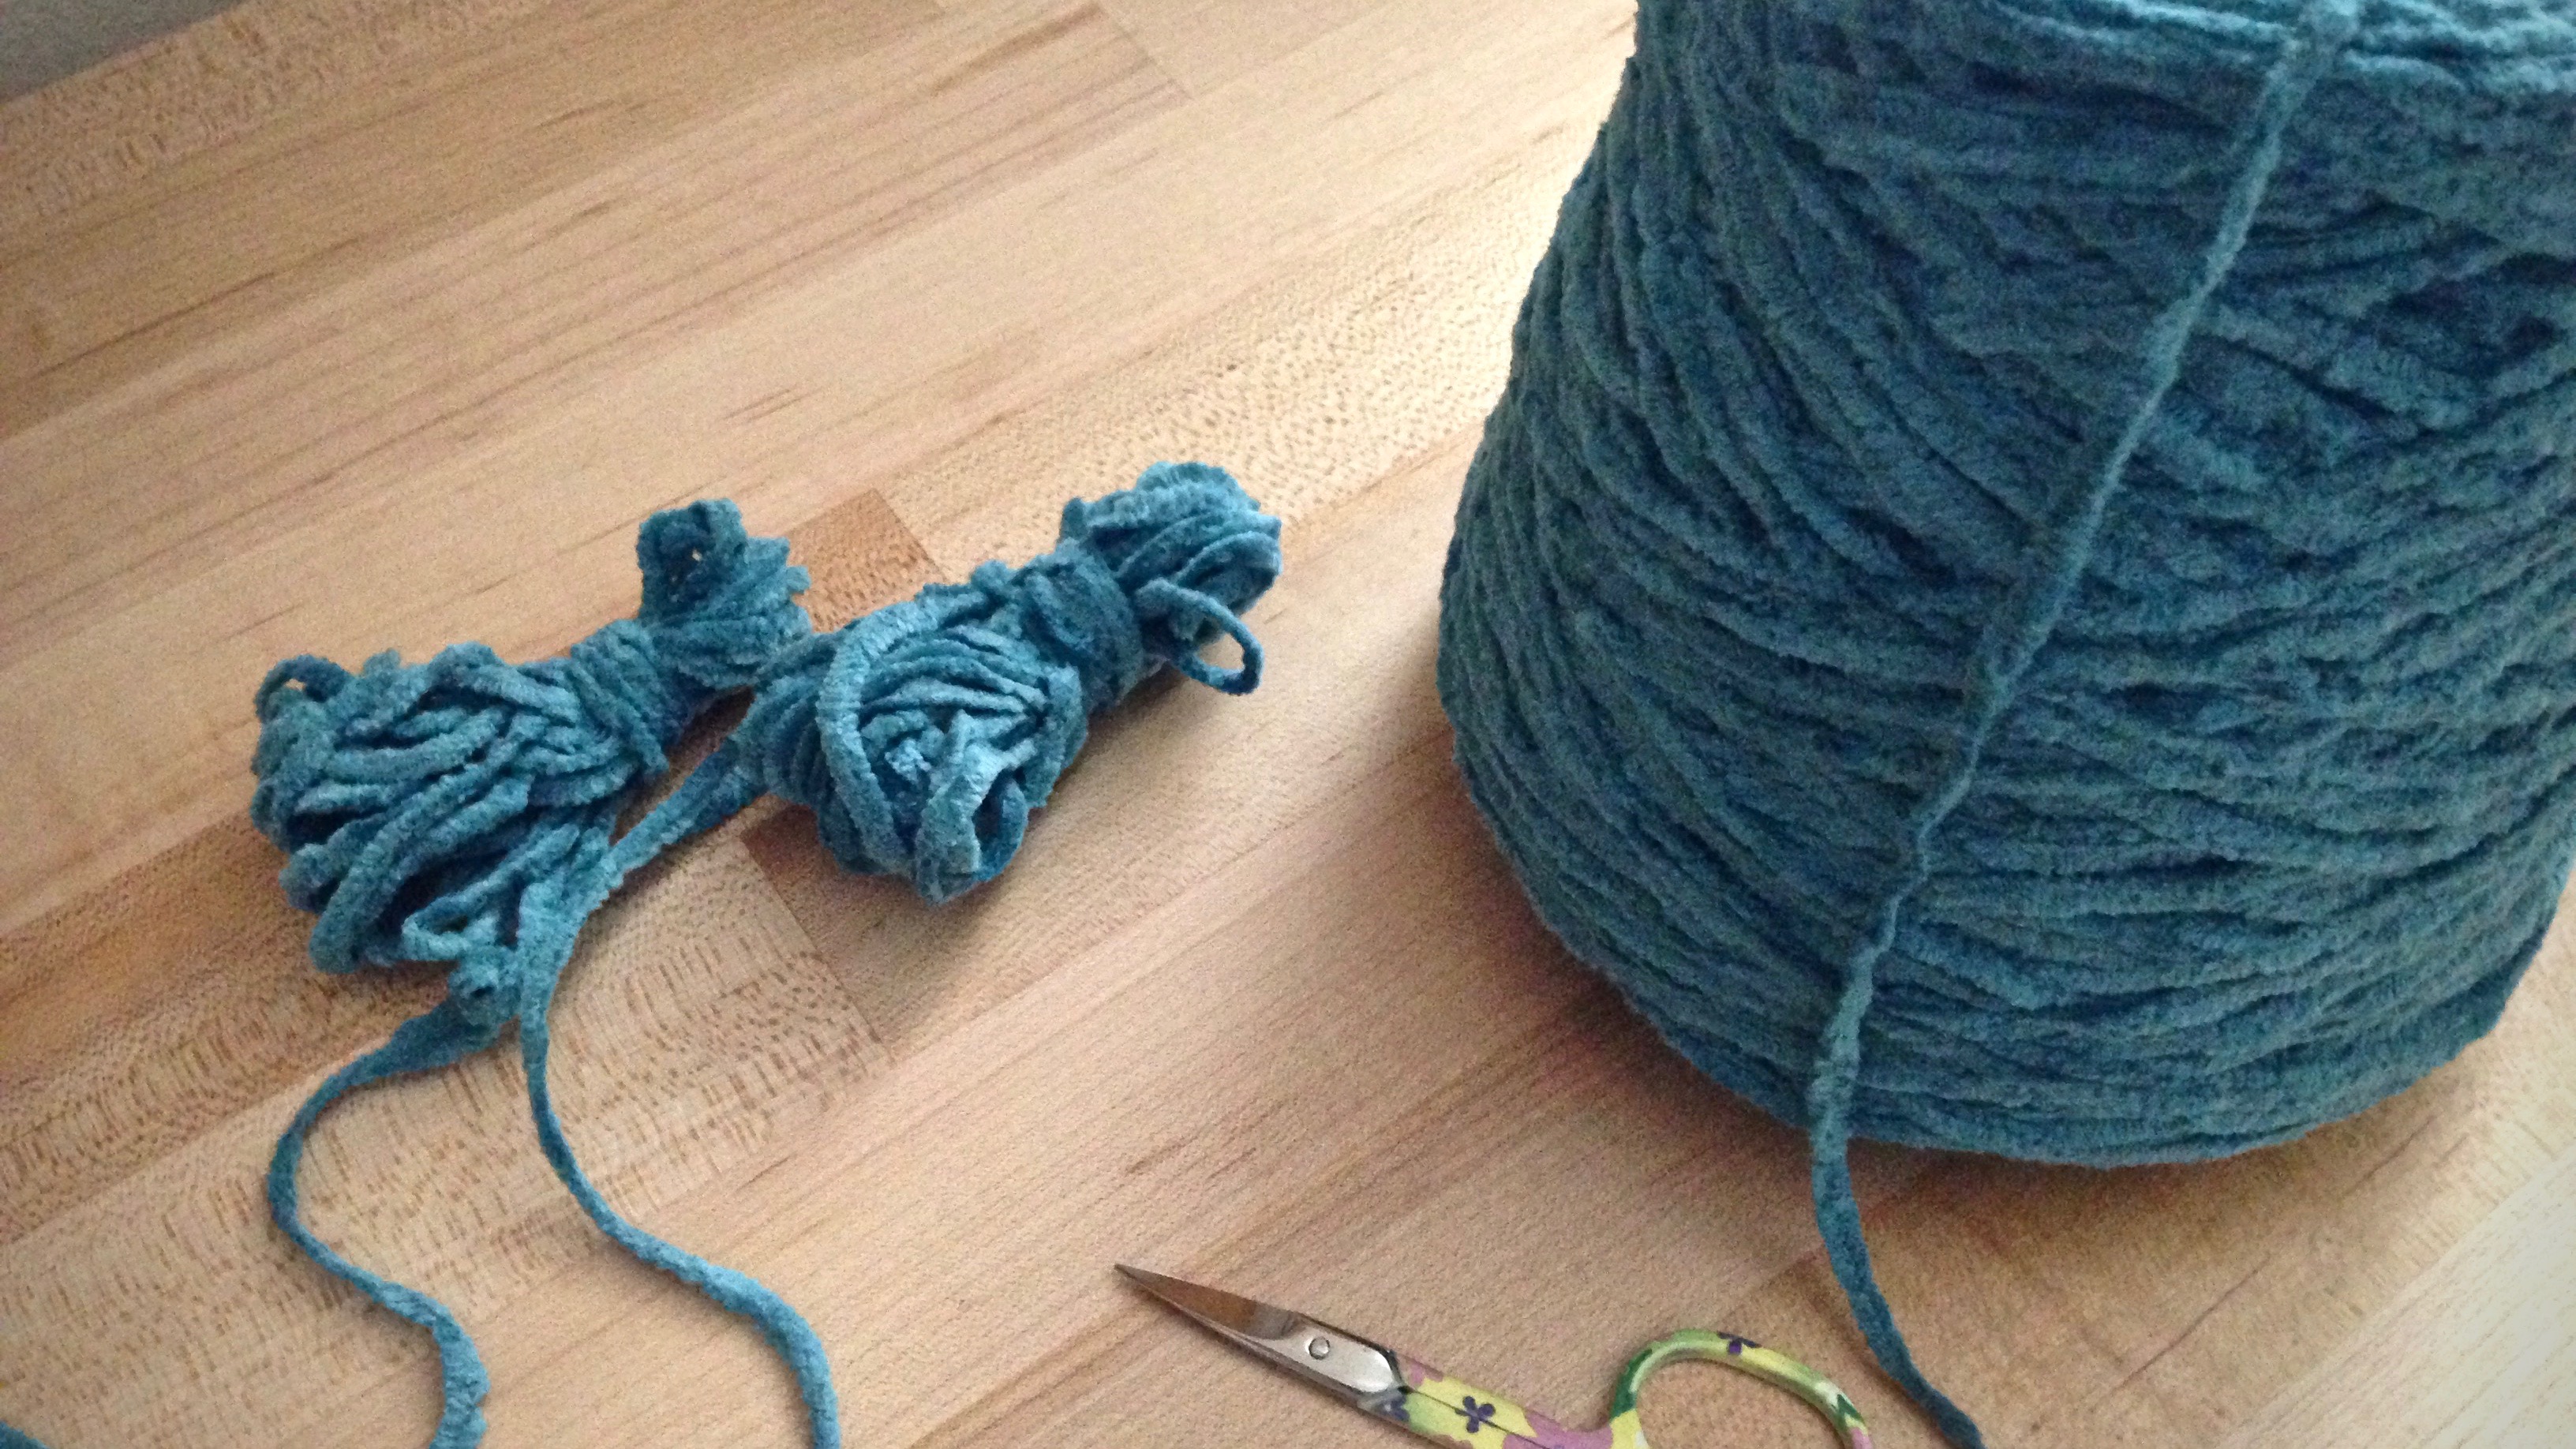
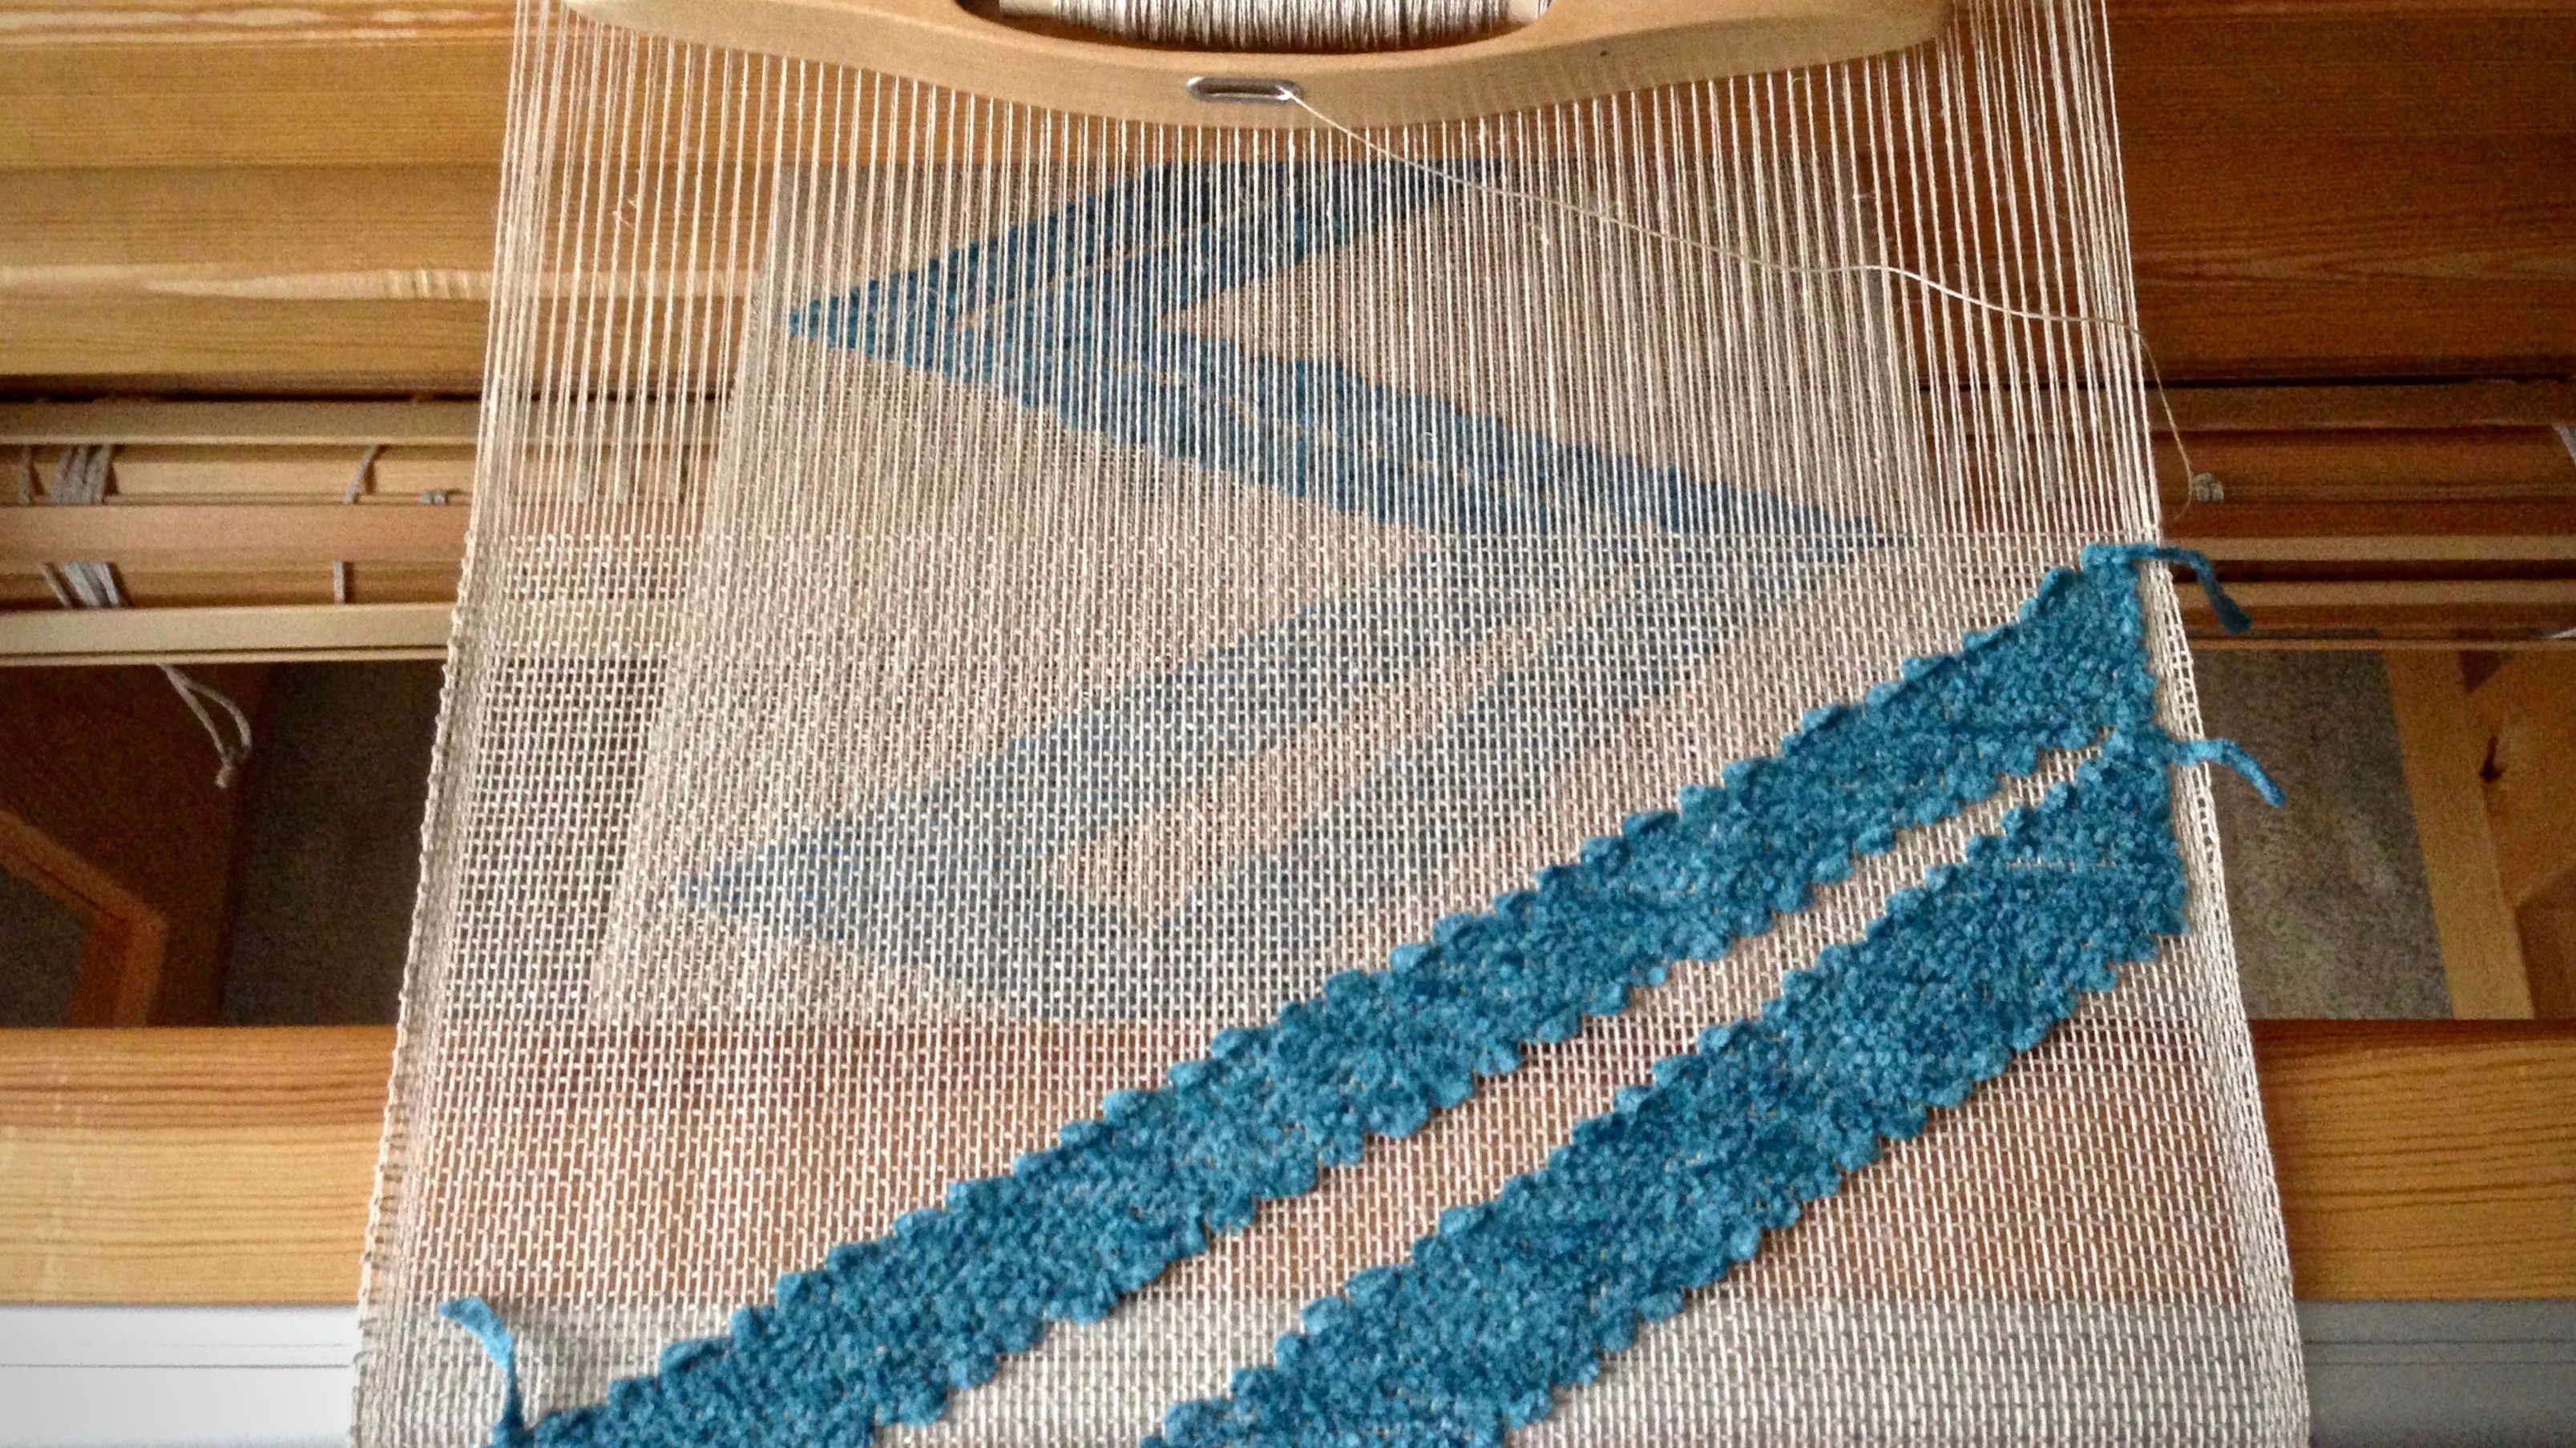
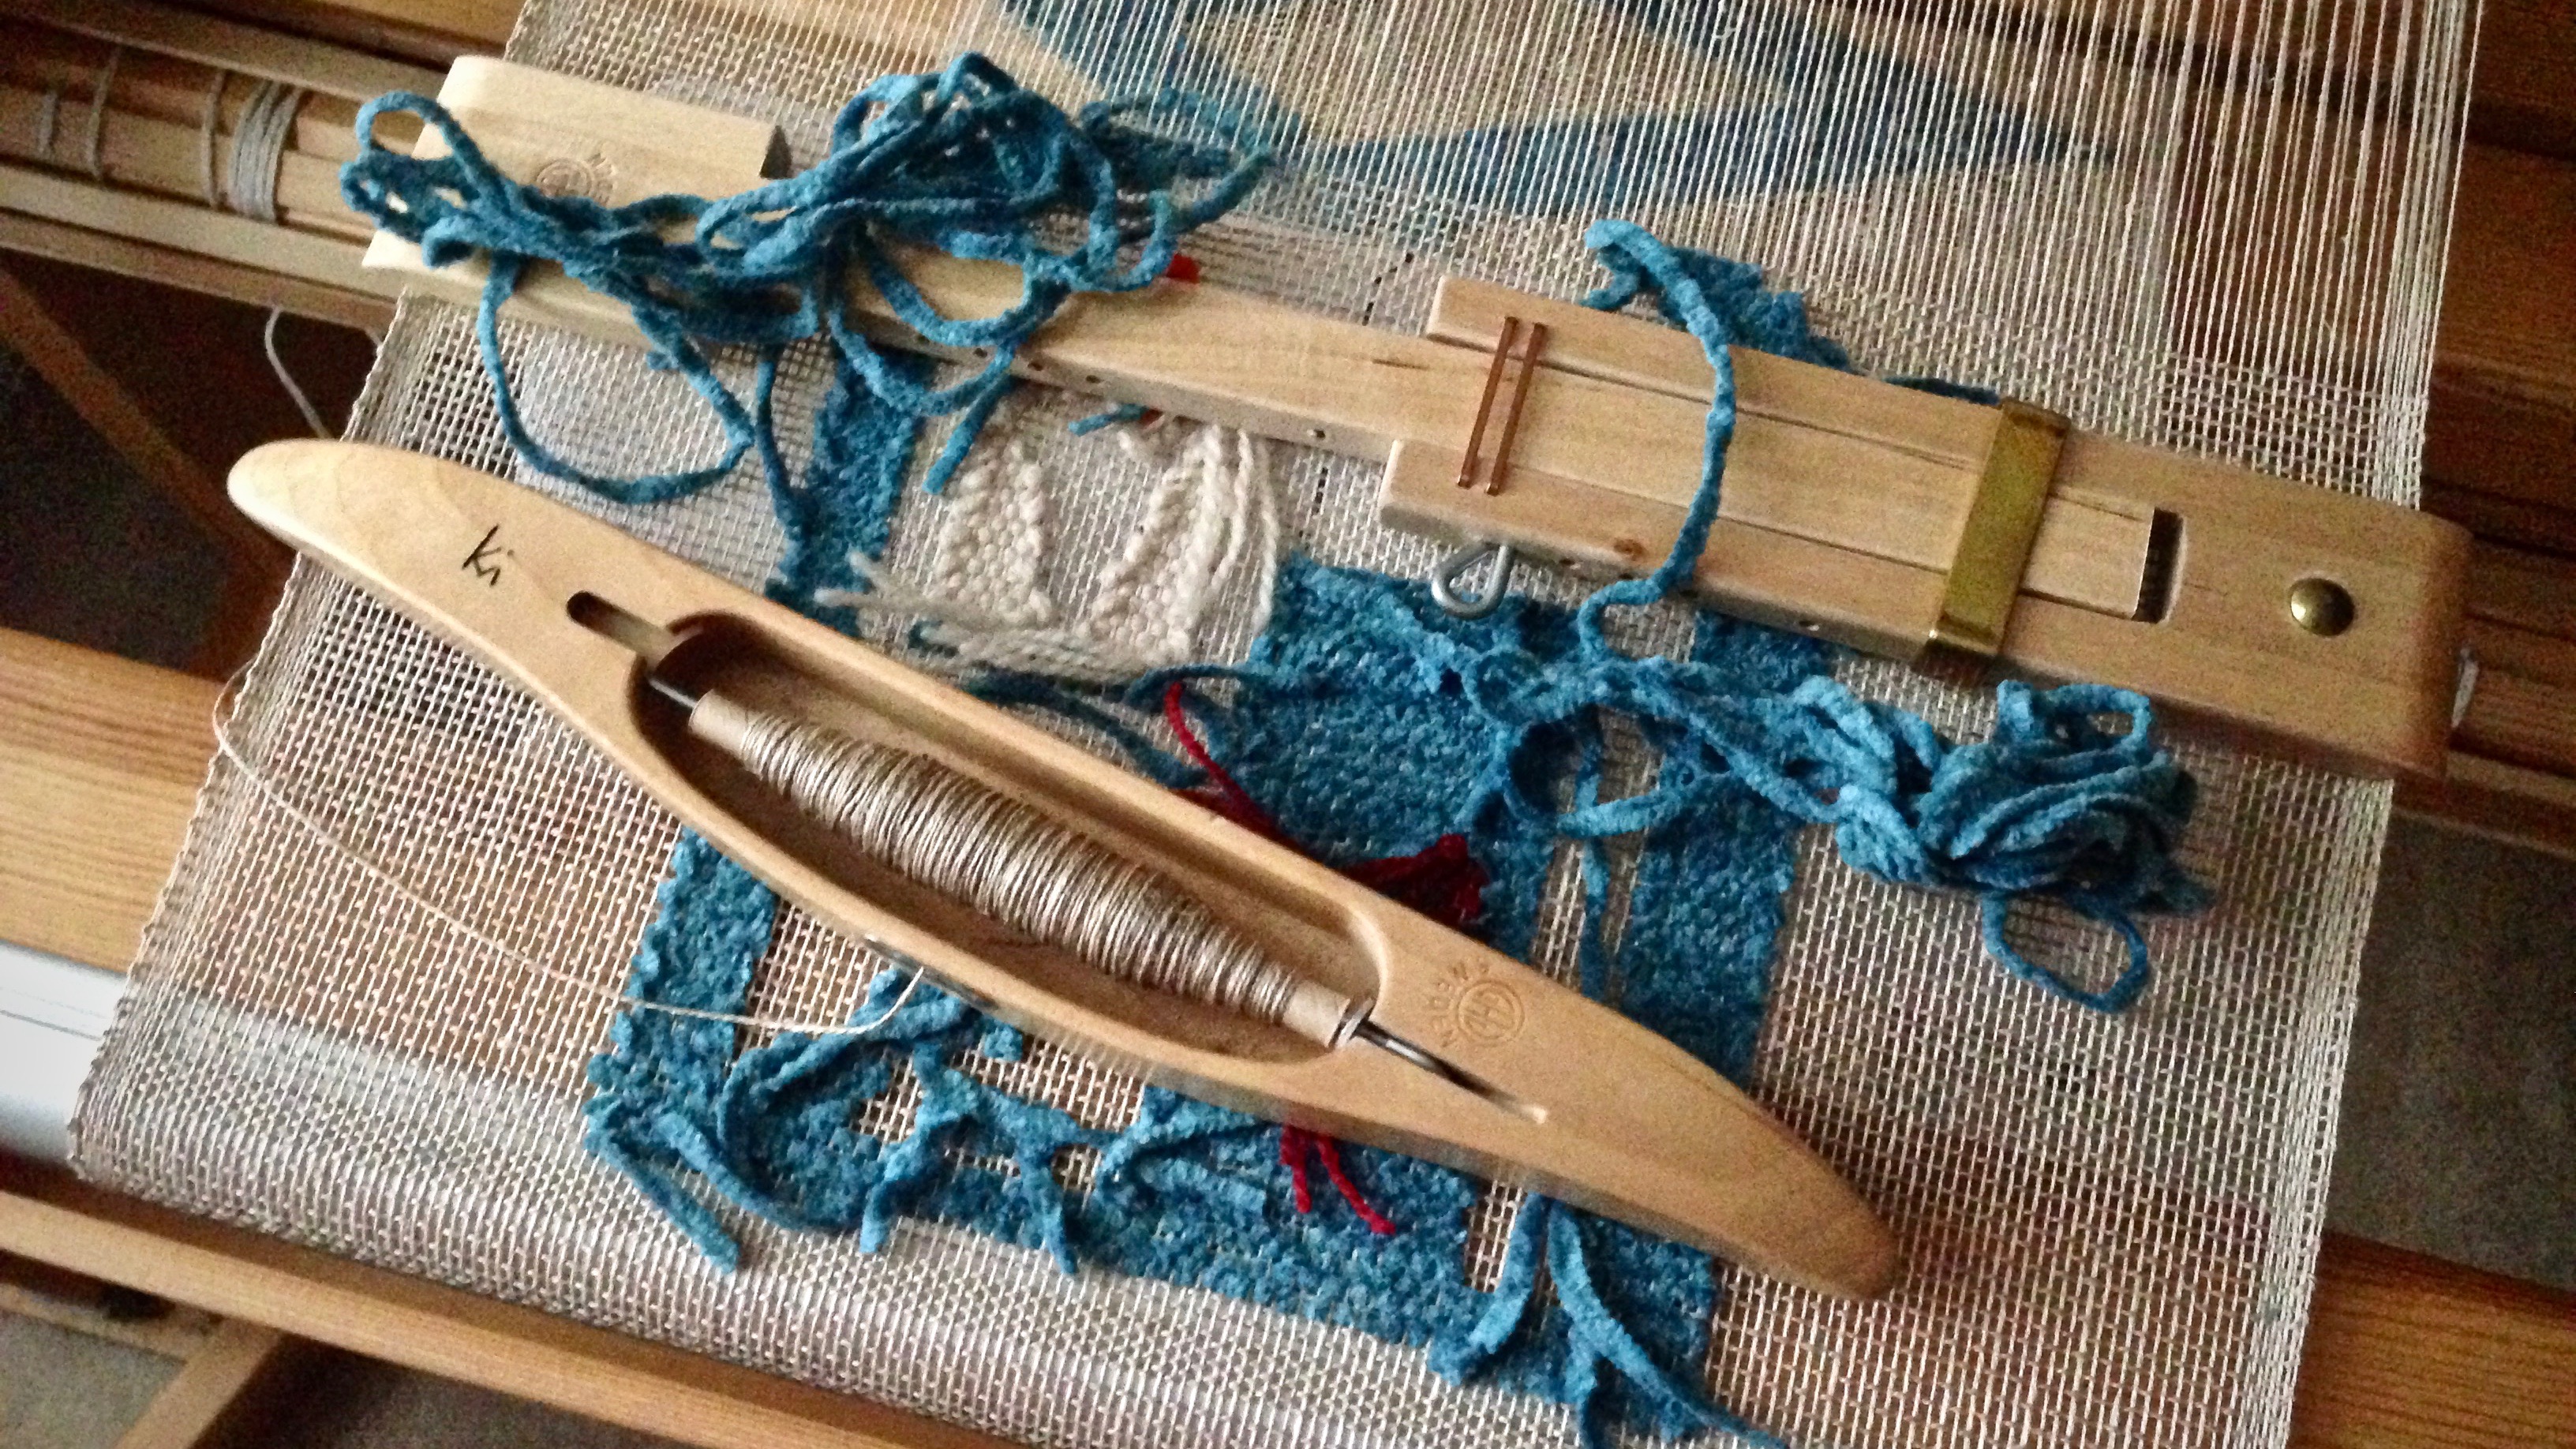
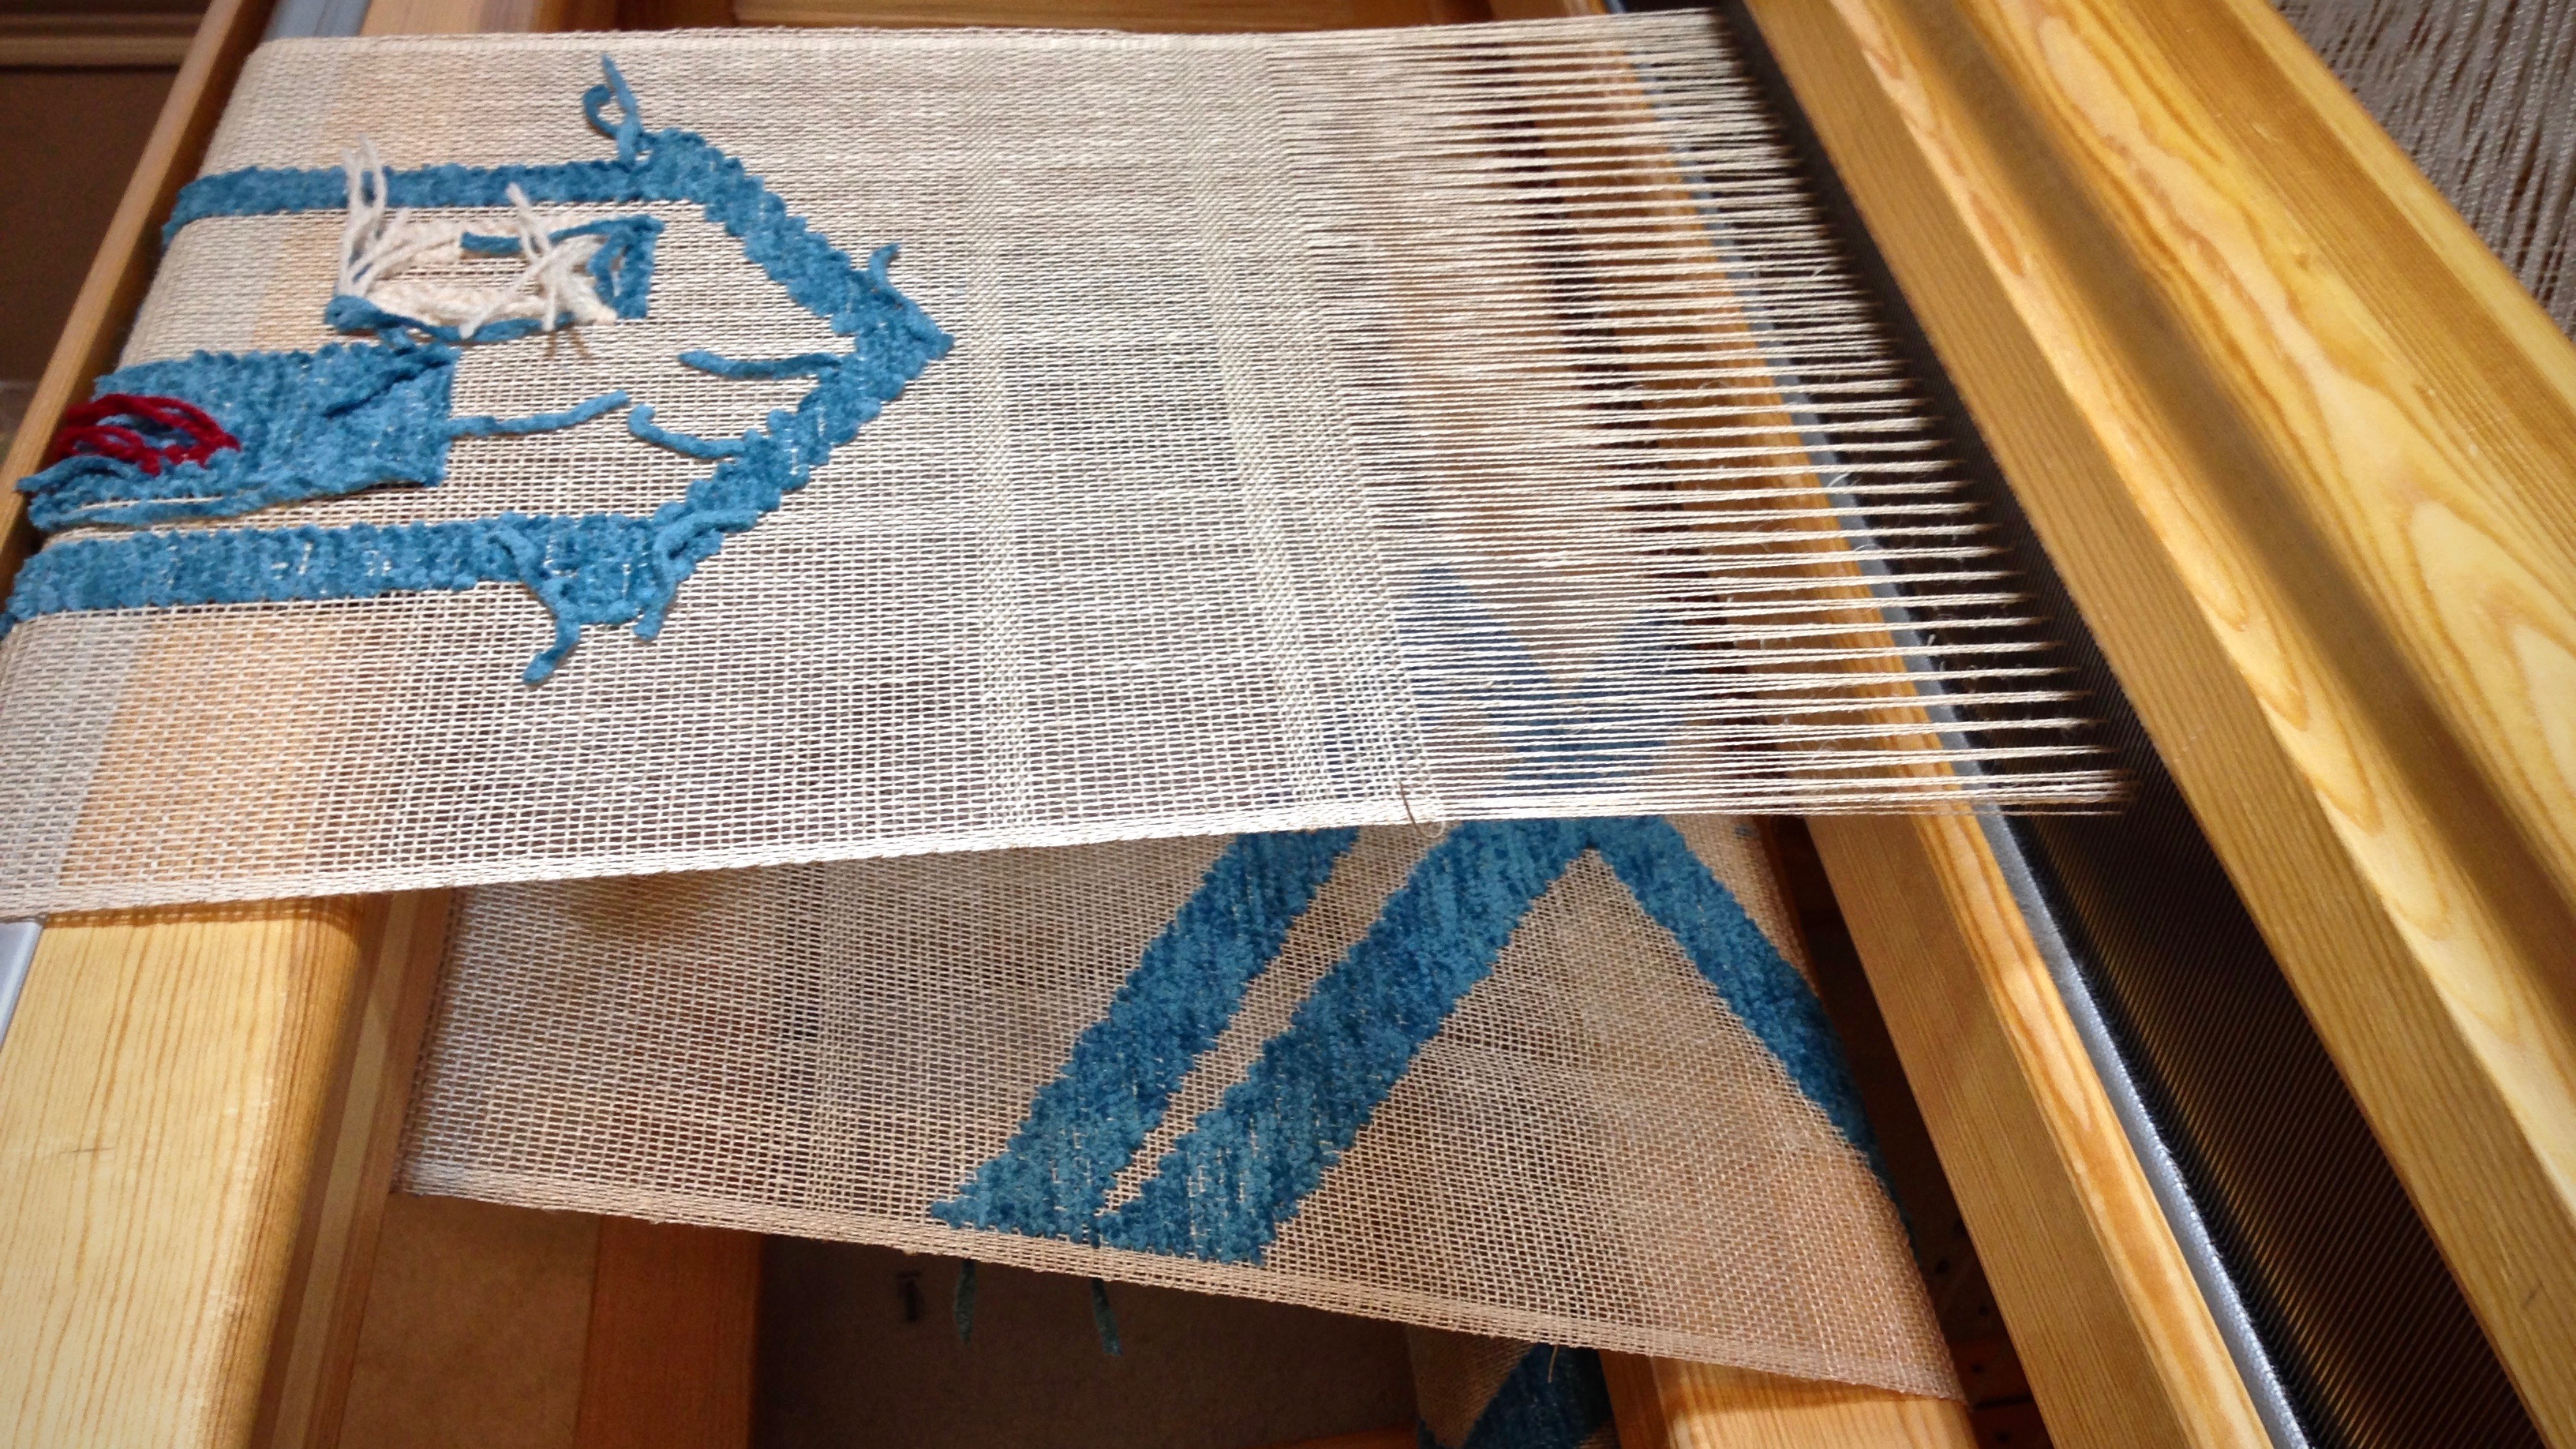
Warp chain of 16/2 golden bleached linen, before beaming the warp.Threadingheddles in my little playhouse, with project notes by my side, and a cup of coffee on the side cart.Leveling string is added with extra care so that abrasion of the linen warp is kept to a minimum.Butterflies are made from the hefty cotton chenille yarn.Weaving without a cartoon. I am counting warp ends to keep the pattern angle consistent.Cartoon has been added. The pattern weft follows the lines drawn on the buckram cartoon, which is pinned in place.Cartoon is removed.Now, for the end of the warp…
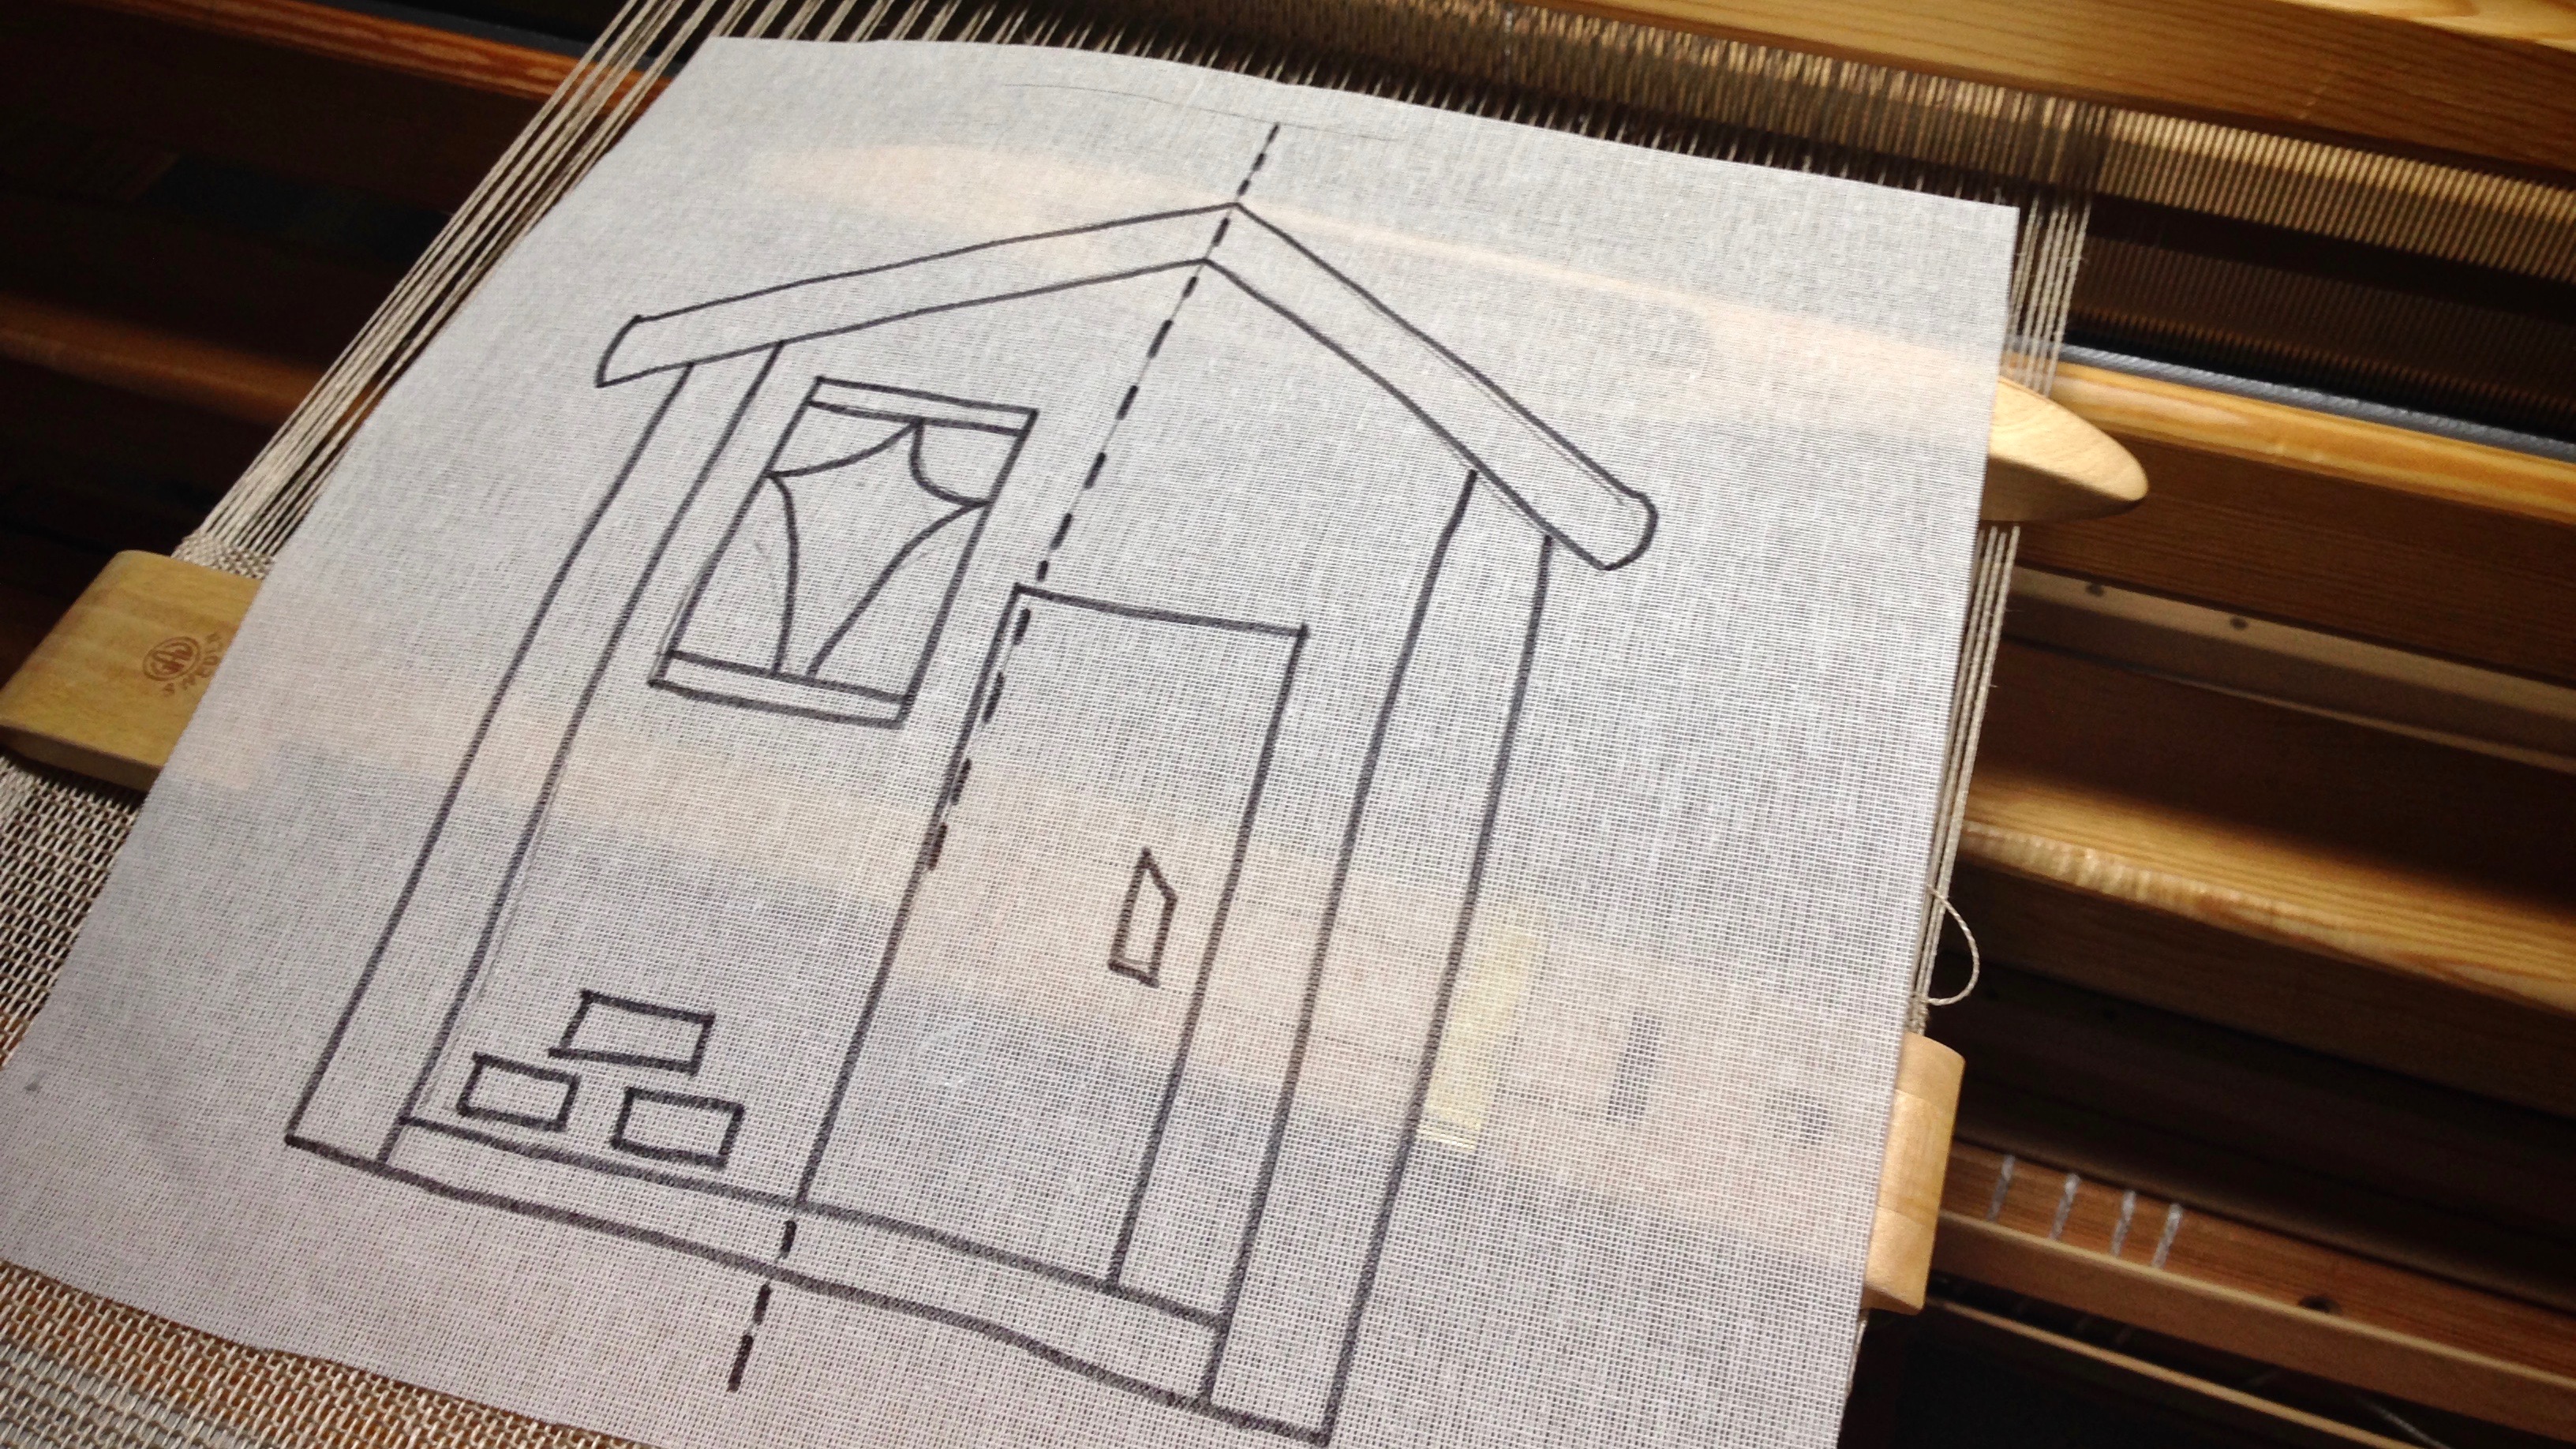
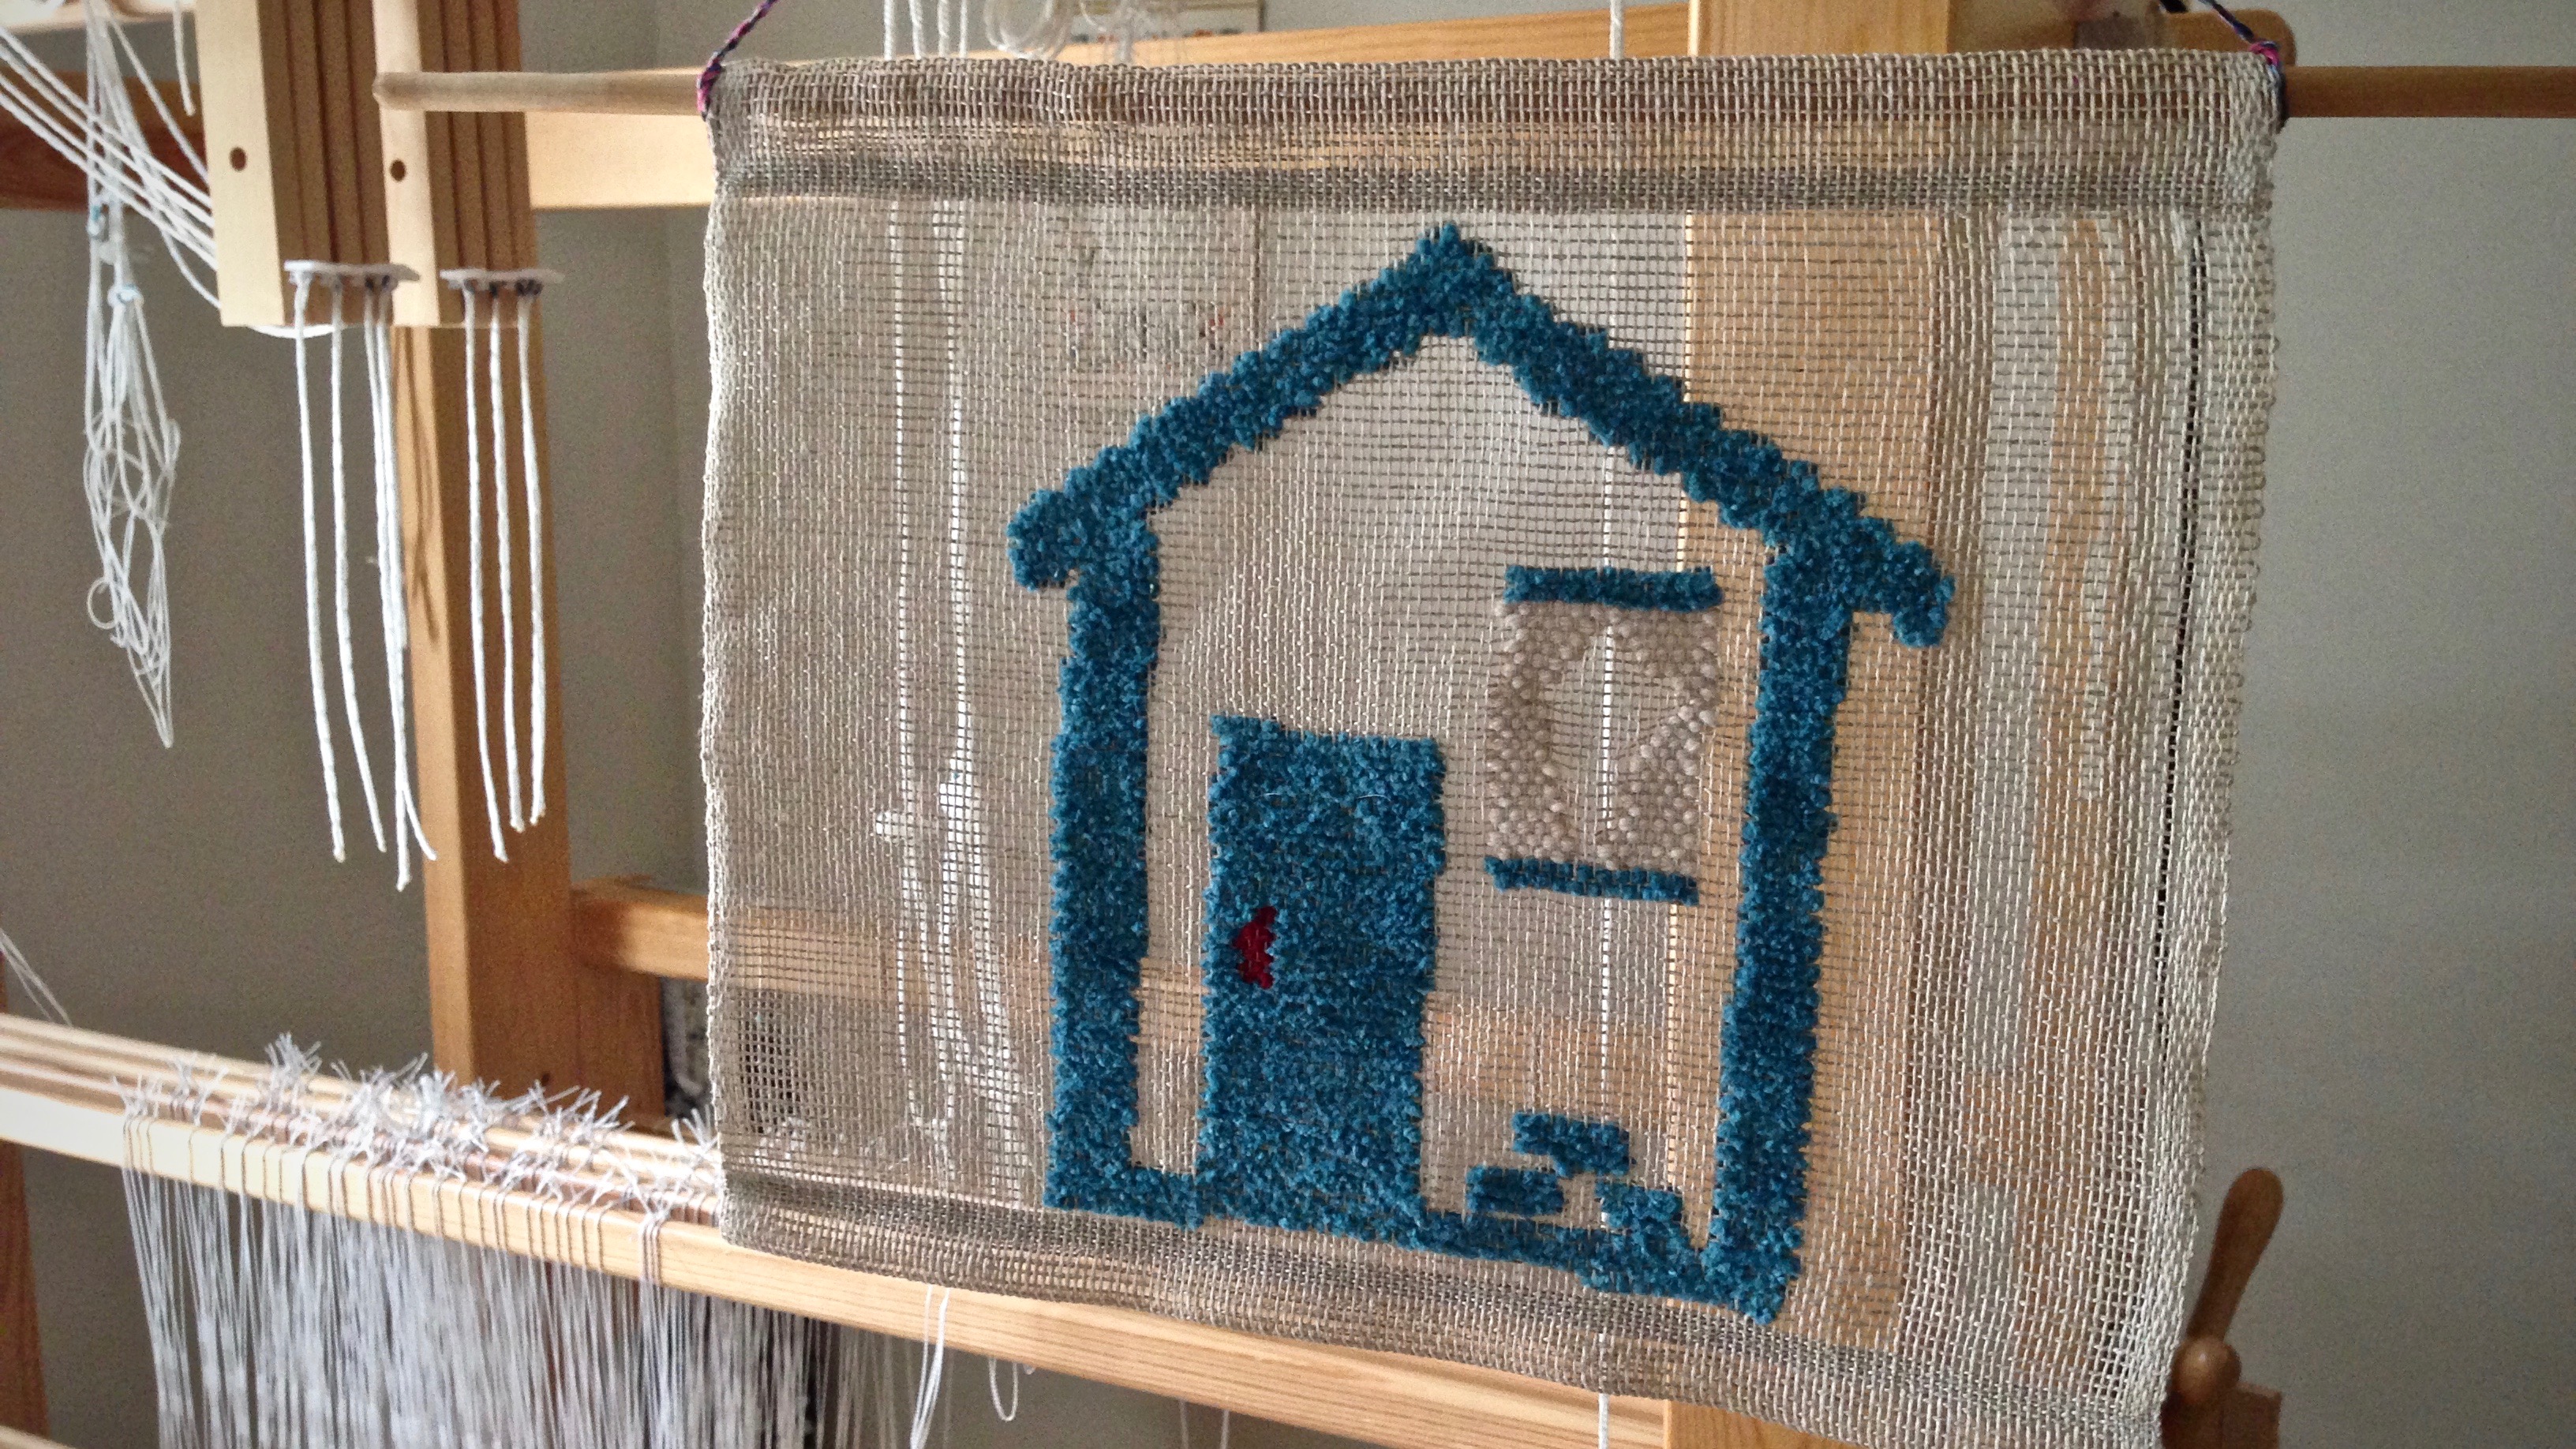
After the main transparency with the zigzags, I had room to play on the remaining warp. I made another cartoon–a “cartoon” house. This gave me a chance to use a few more yarn butterflies, without it being overwhelming. Home. Sweet. Home.
“Cartoon” house cartoon. Ready for playtime at the end of the warp.With several butterflies going at once, the transparency weaving gets even more interesting!Now, the actual end of the warp is here.Cartoon house just off the loom.Welcome home! Home. Sweet. Home.
May you enjoy the fascination of learning something new.
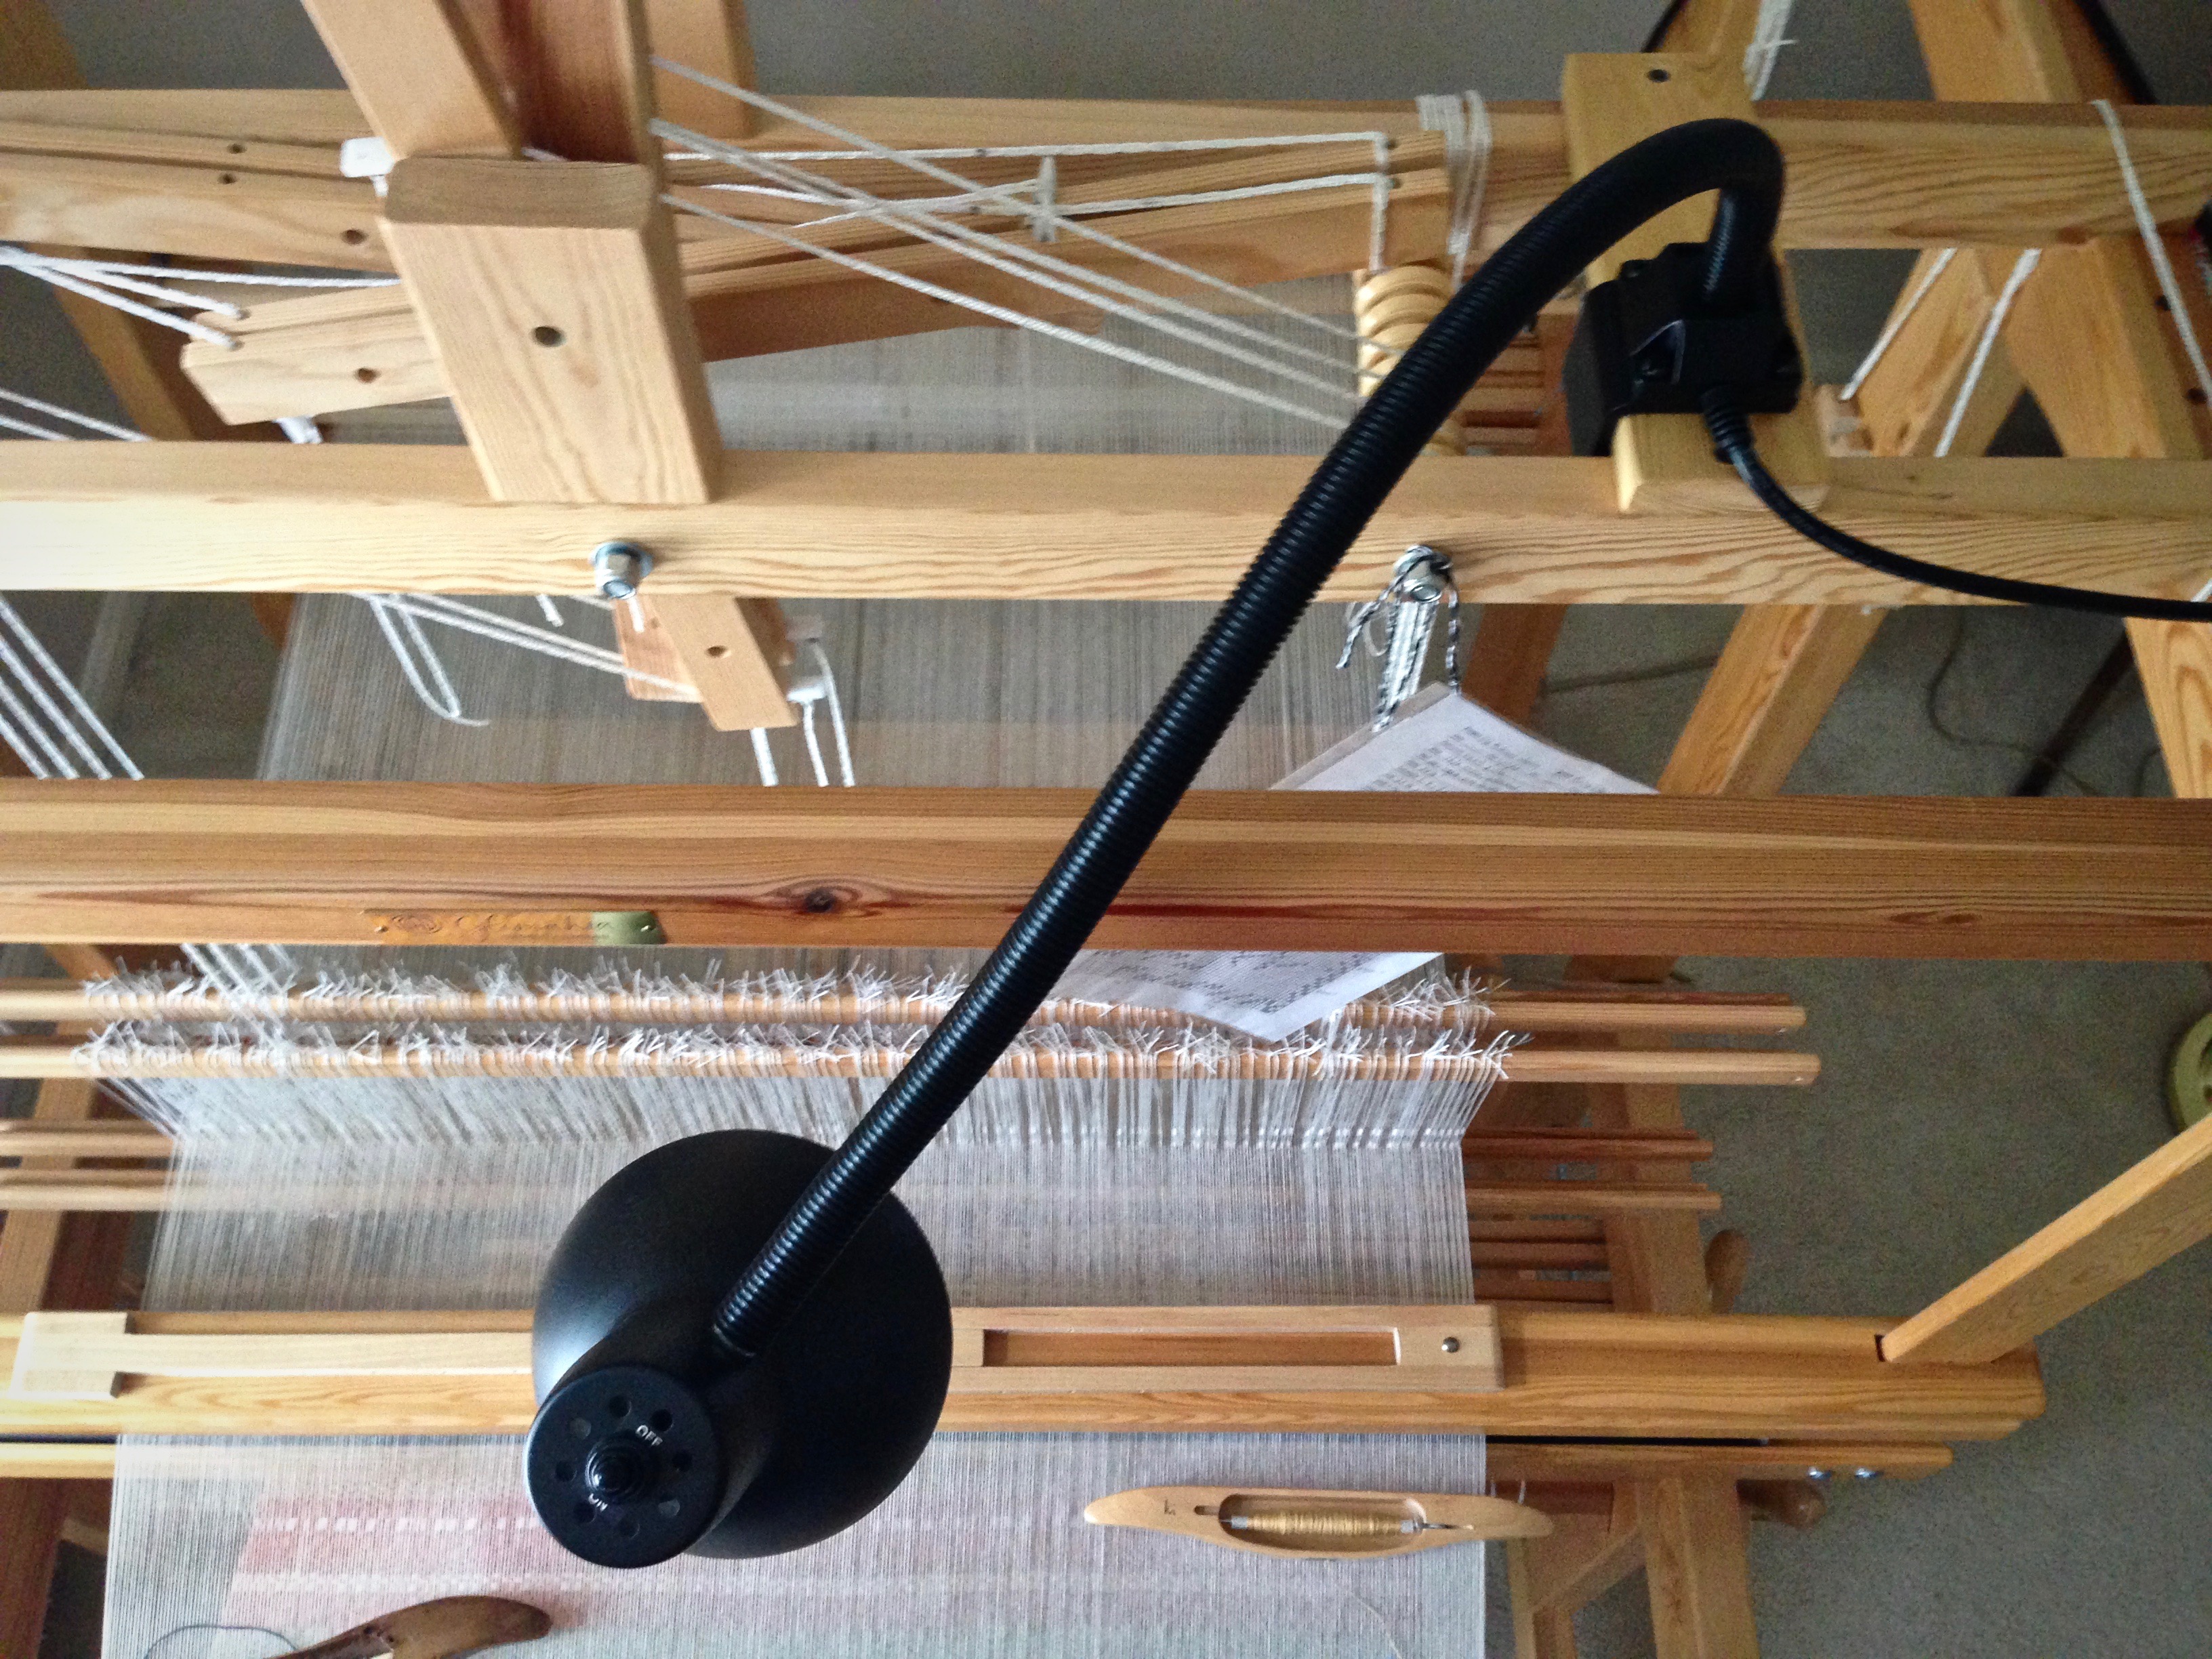
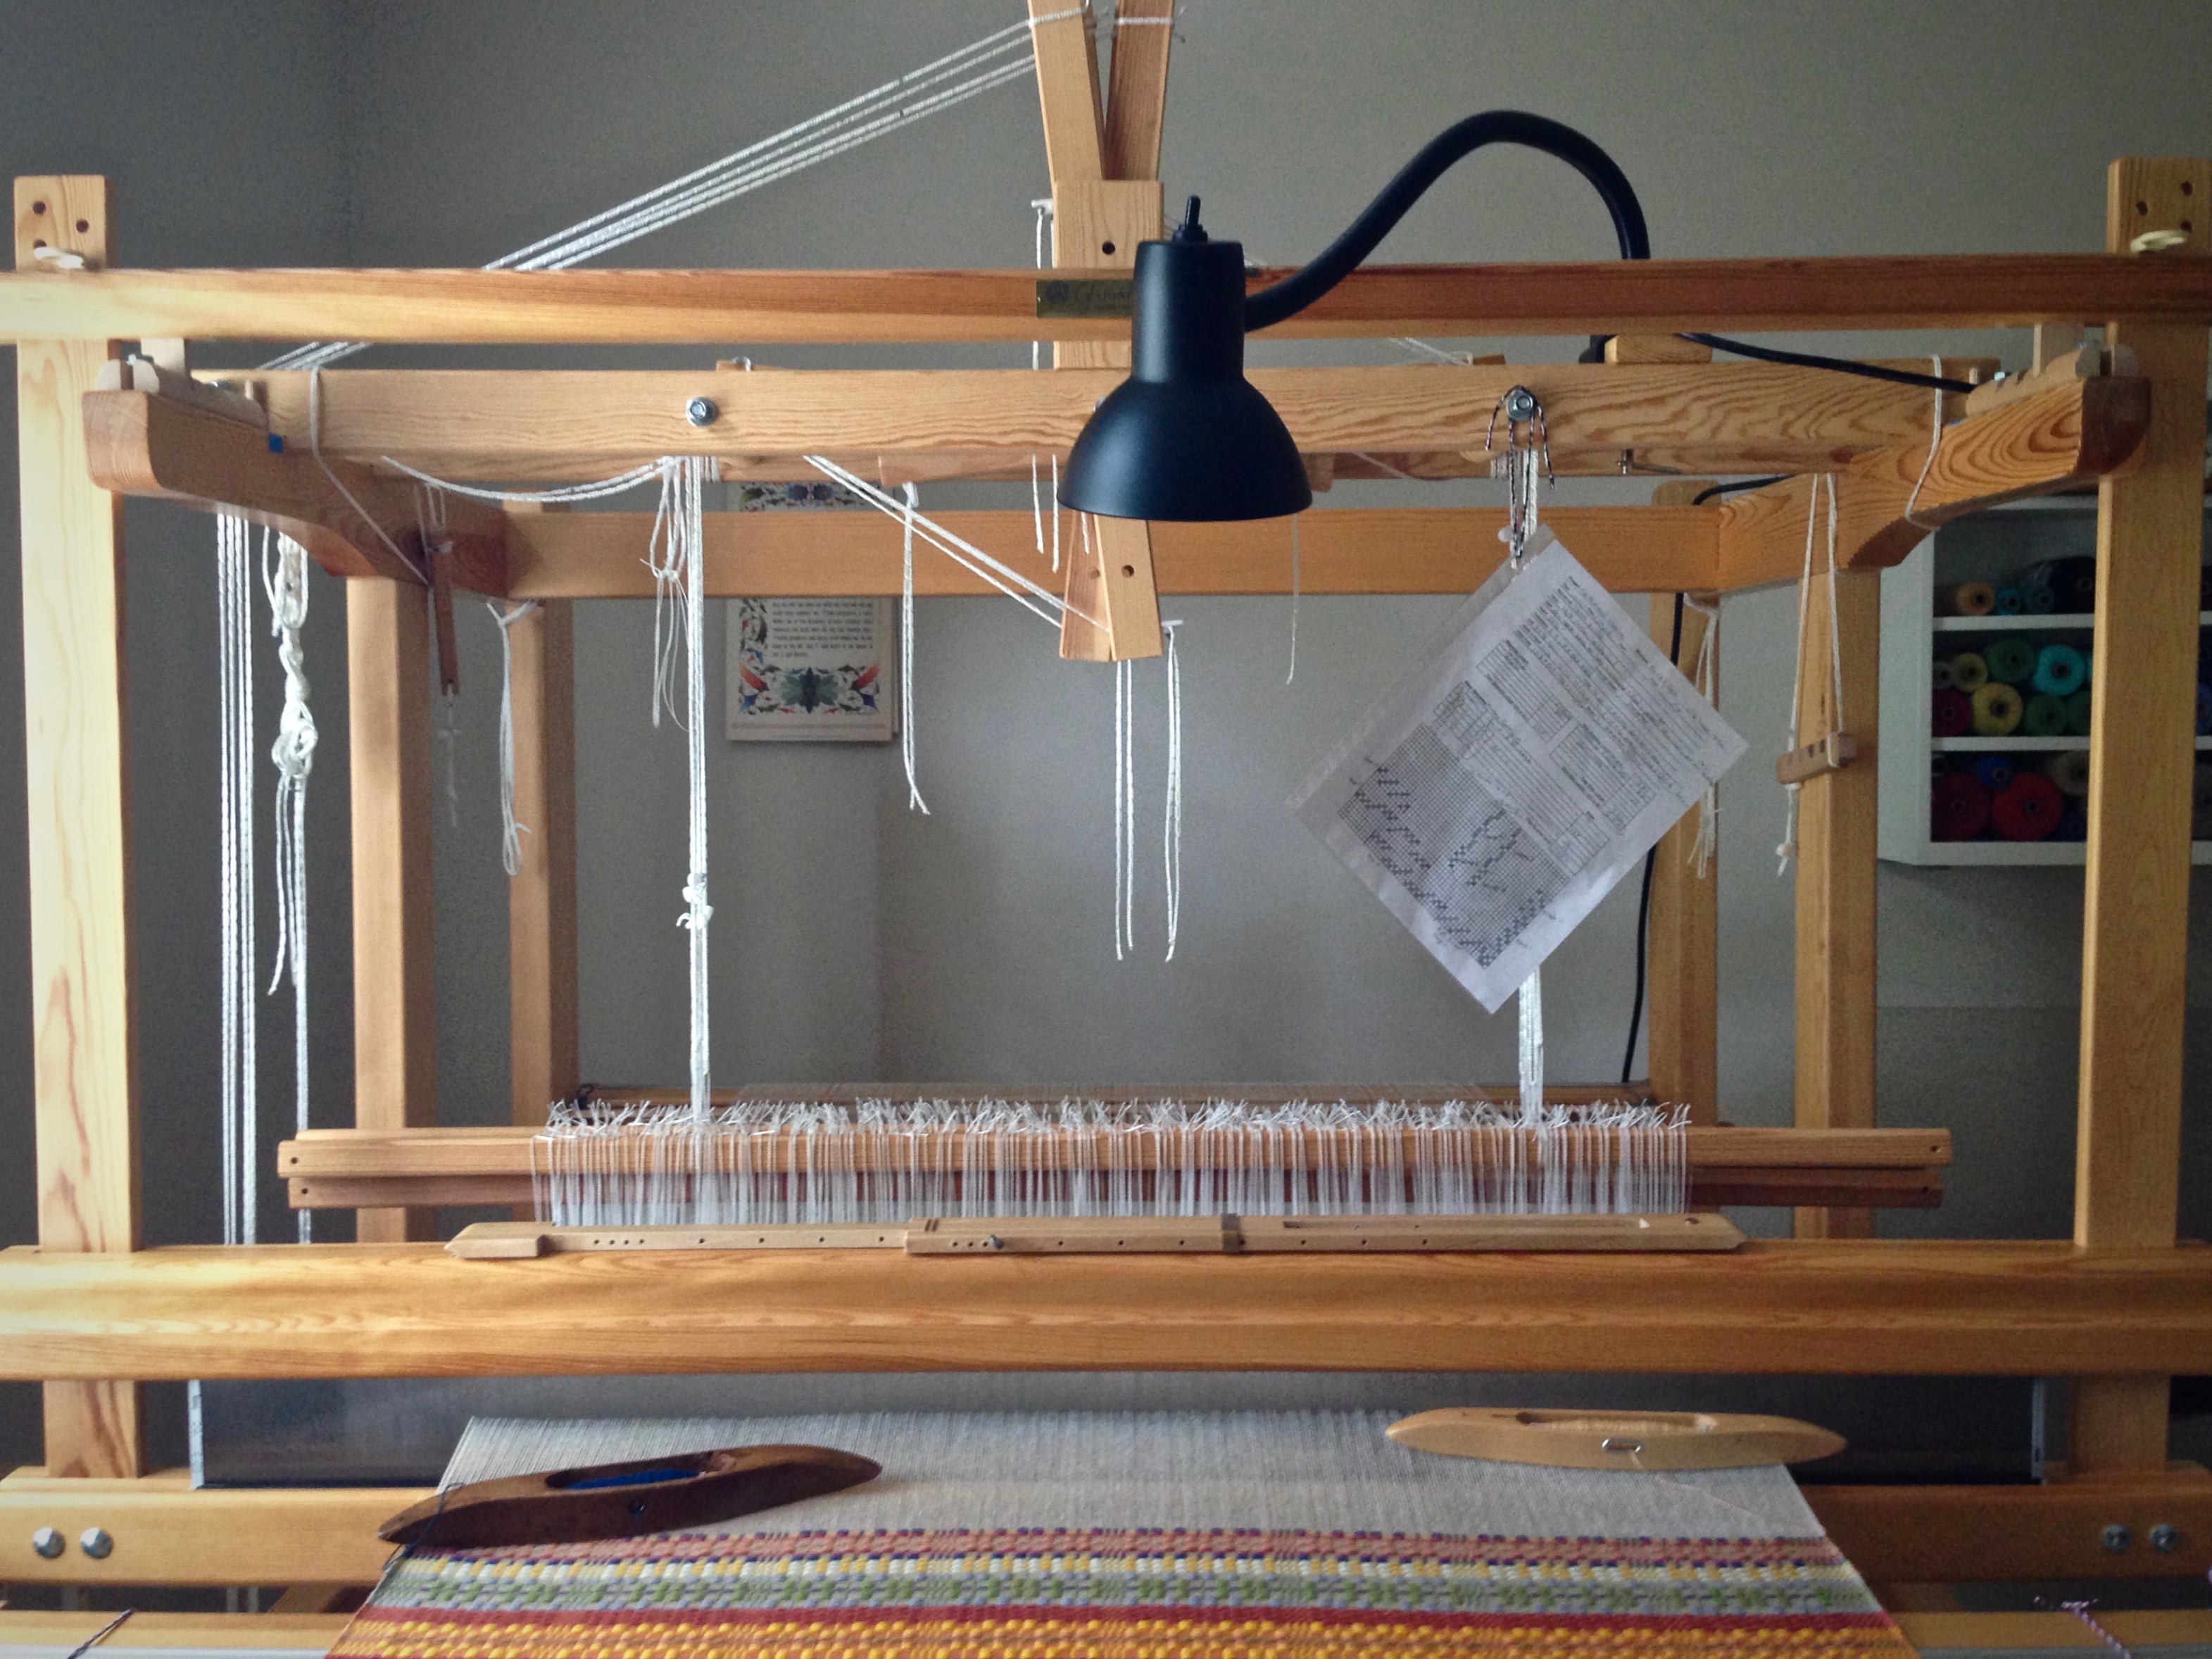
Let there be light! I now have exceptional lighting at my weaving looms. Steve installed a snake arm lamp on both of my Glimåkra looms. This wonderful illumination gives me greatly improved visibility, especially when working with fine threads. These lamps meet my lighting needs much better than the floor lamps I had been using. Good riddance, floor lamps!
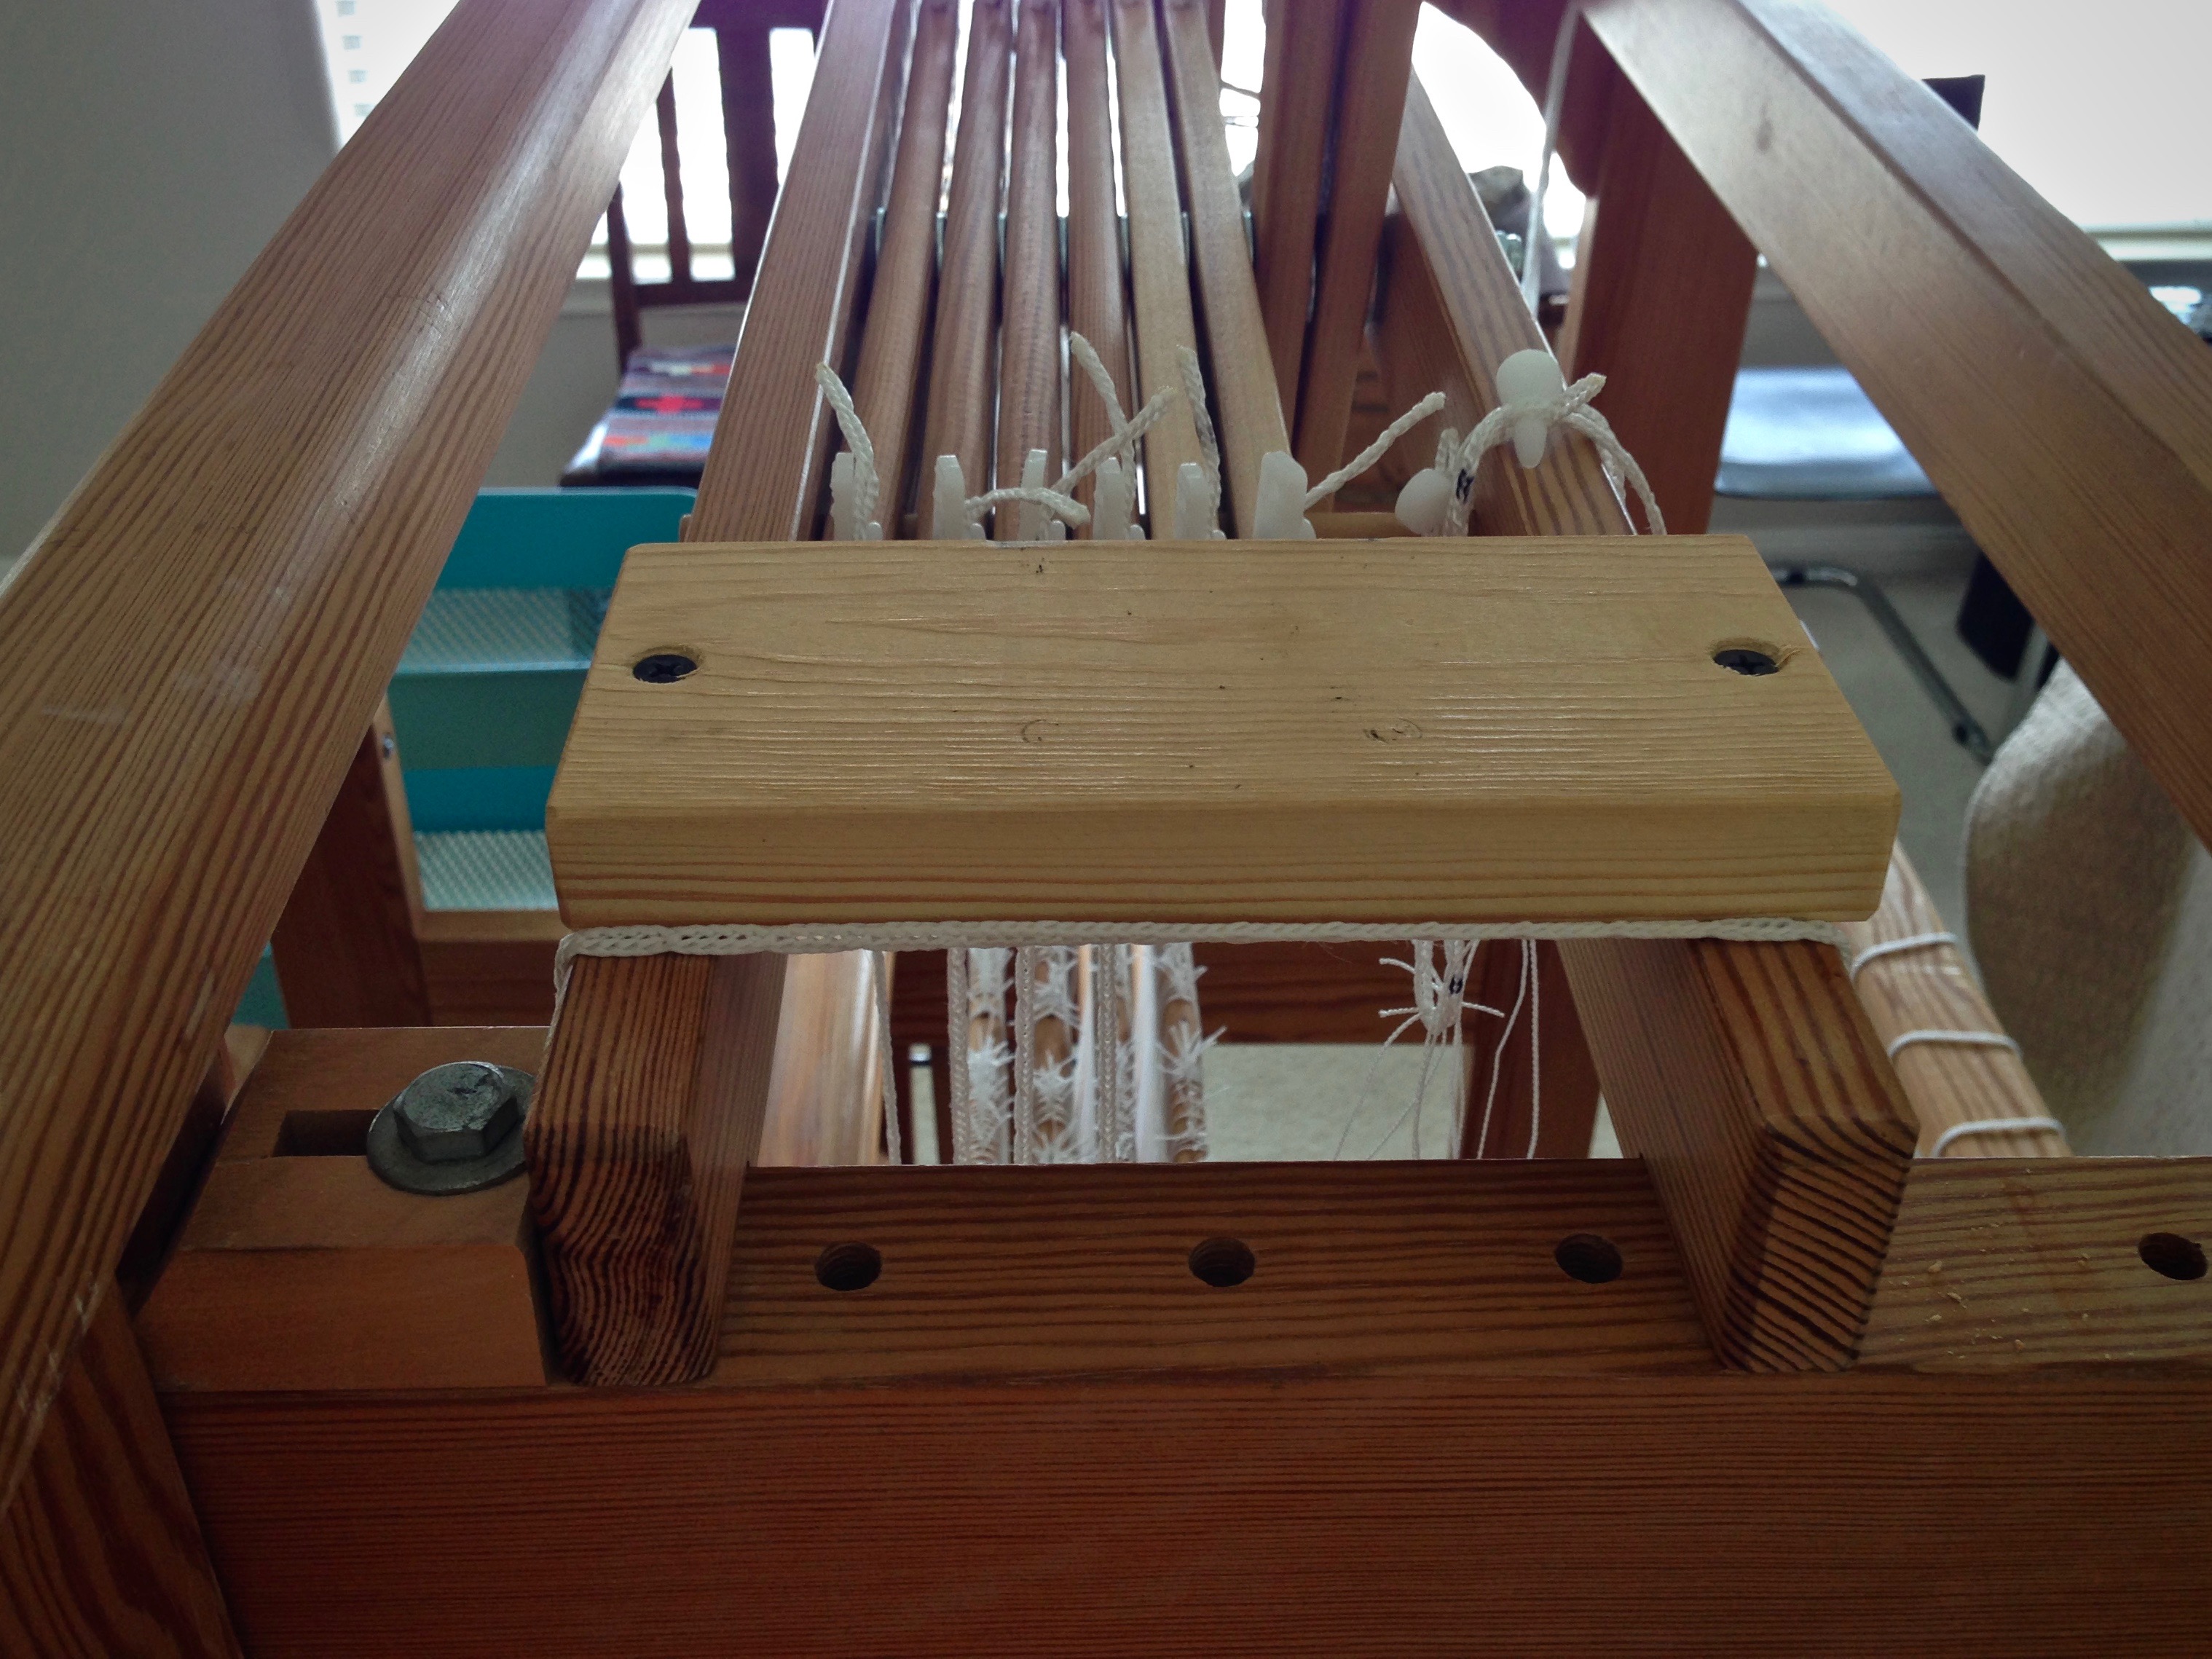
Wood block, sized to fit on loom (mine is installed on the countermarch frame; 8 1/2″ x 2 3/4″ x 3/4″ for the Glimåkra Standard 8-shaft loom; 6 1/2″ x 2 3/4″ x 3/4″ for the Glimåkra Ideal 6-shaft loom)
Electric drill and pilot bit
2 drywall screws
Short three-prong extension cord
Steps
Prepare wood block by drilling screw holes (screw threads slip through the holes without biting)
Position prepared wood block on loom, mark loom for screw placement
Drill pilot holes
Screw wood block in place
Block of wood is screwed into place on the Glimåkra Ideal loom countermarch frame for mounting the loom lamp.
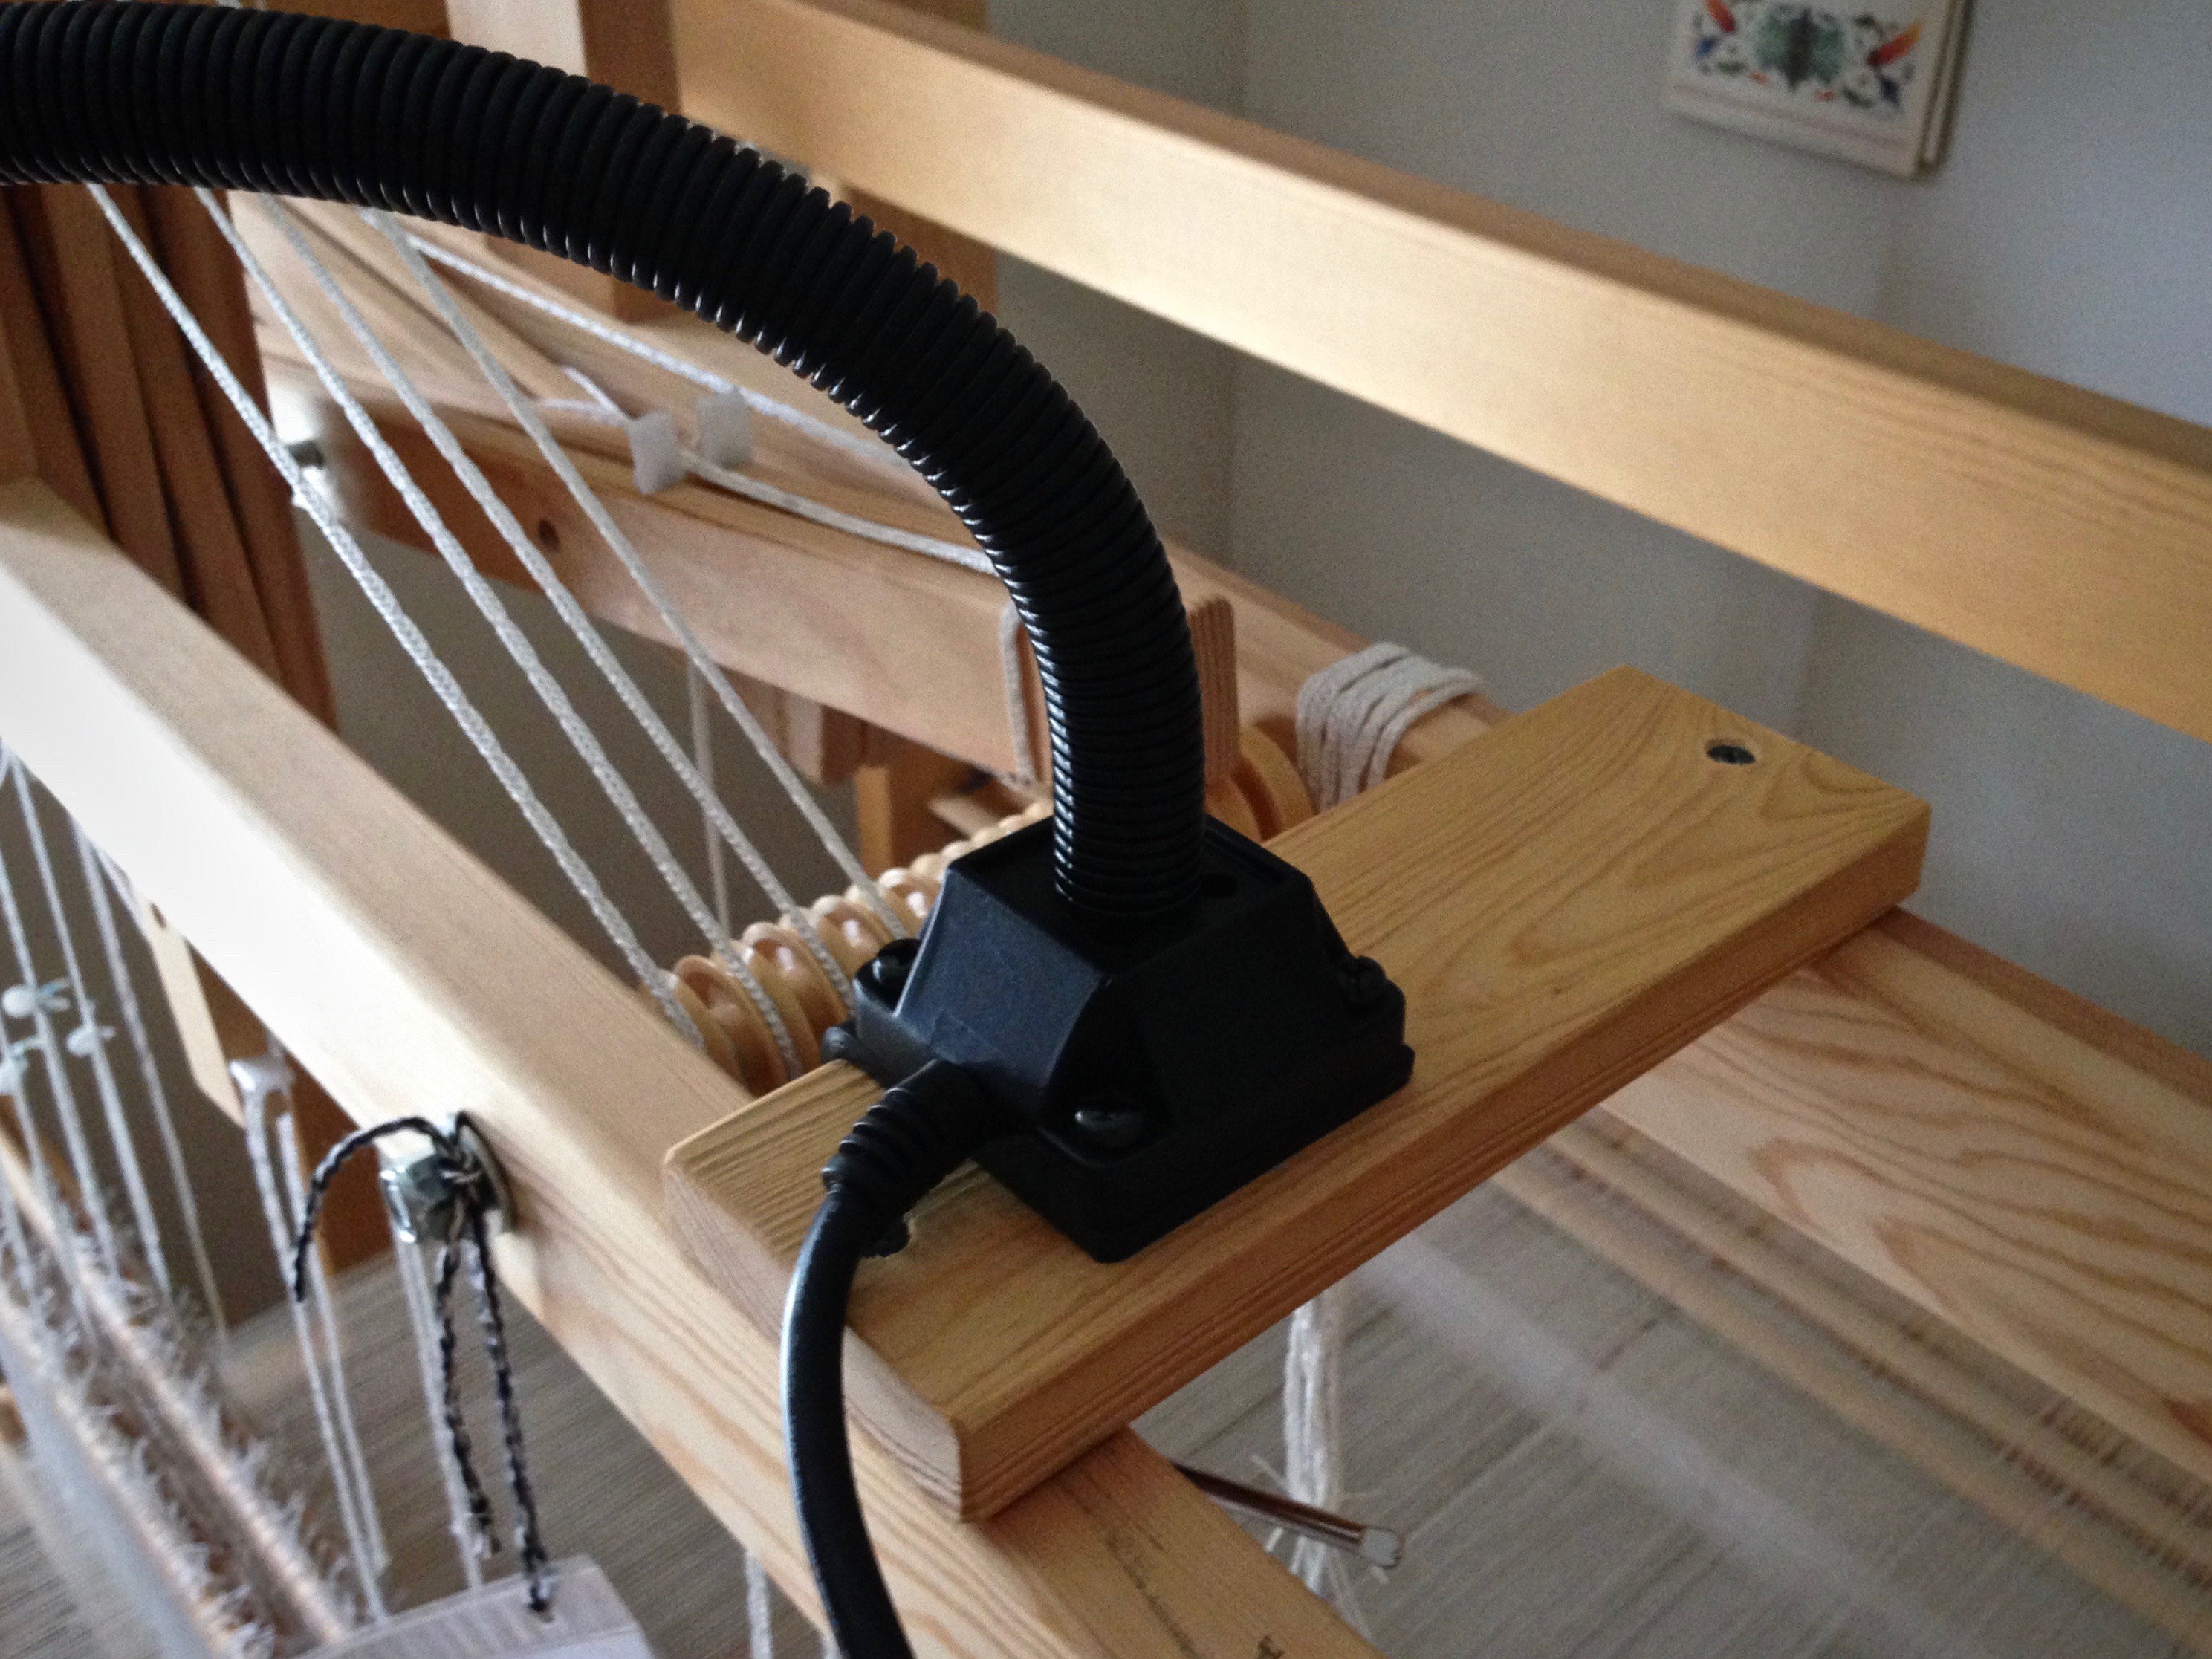
Position lamp and clamp into place
Lamp is positioned on the mounting that is attached to the Glimåkra Standard countermarch frame.Snake arm gives flexibility for directing the light onto the weaving surface, or over the area of work; e.g., threading, sleying the reed, etc.Lamp is clamped onto the mounting. Project notes hang for easy referral while weaving. The back of the sheet shows yarn snippets used in the project.
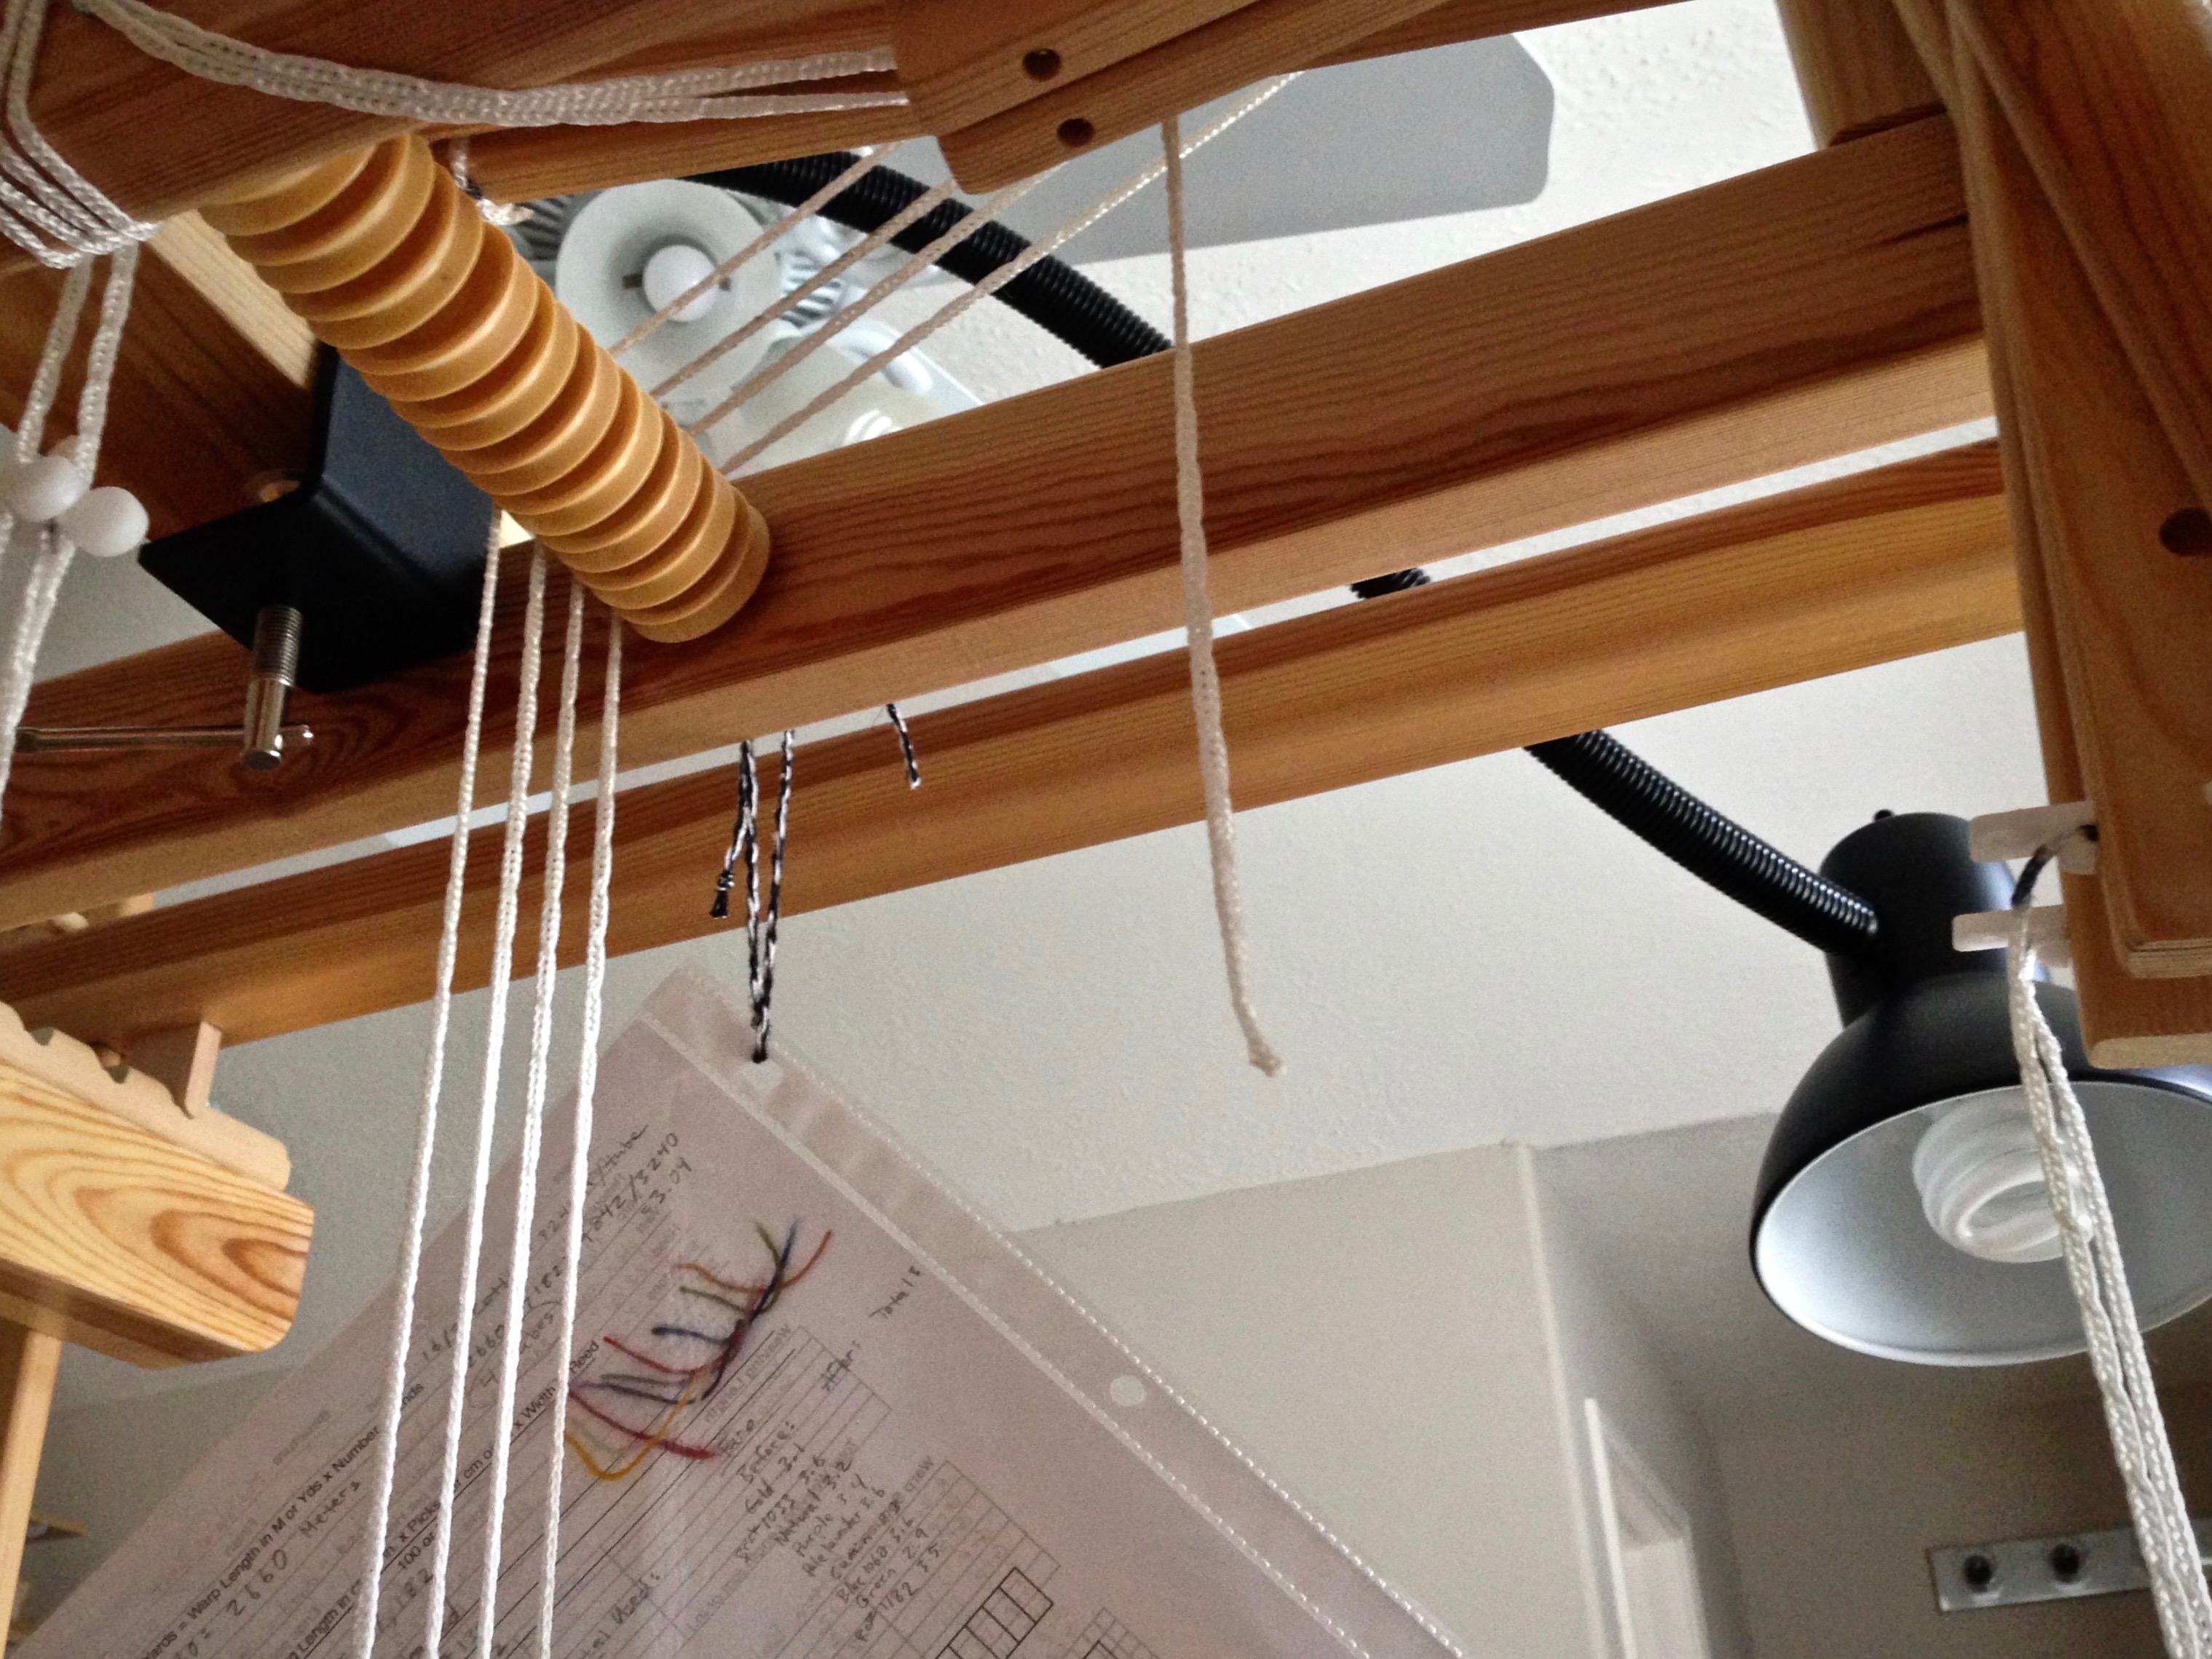
Plug lamp cord into extension cord; plug extension cord into outlet
Simple on/off switch controls the lamp. Monksbeltpicks are easier to count with the new loom light turned on.
Illuminate!
Lamp cord runs along the frame of the loom and down to the floor, where an extension cord continues to a wall outlet.