Meet and Separate Strategies

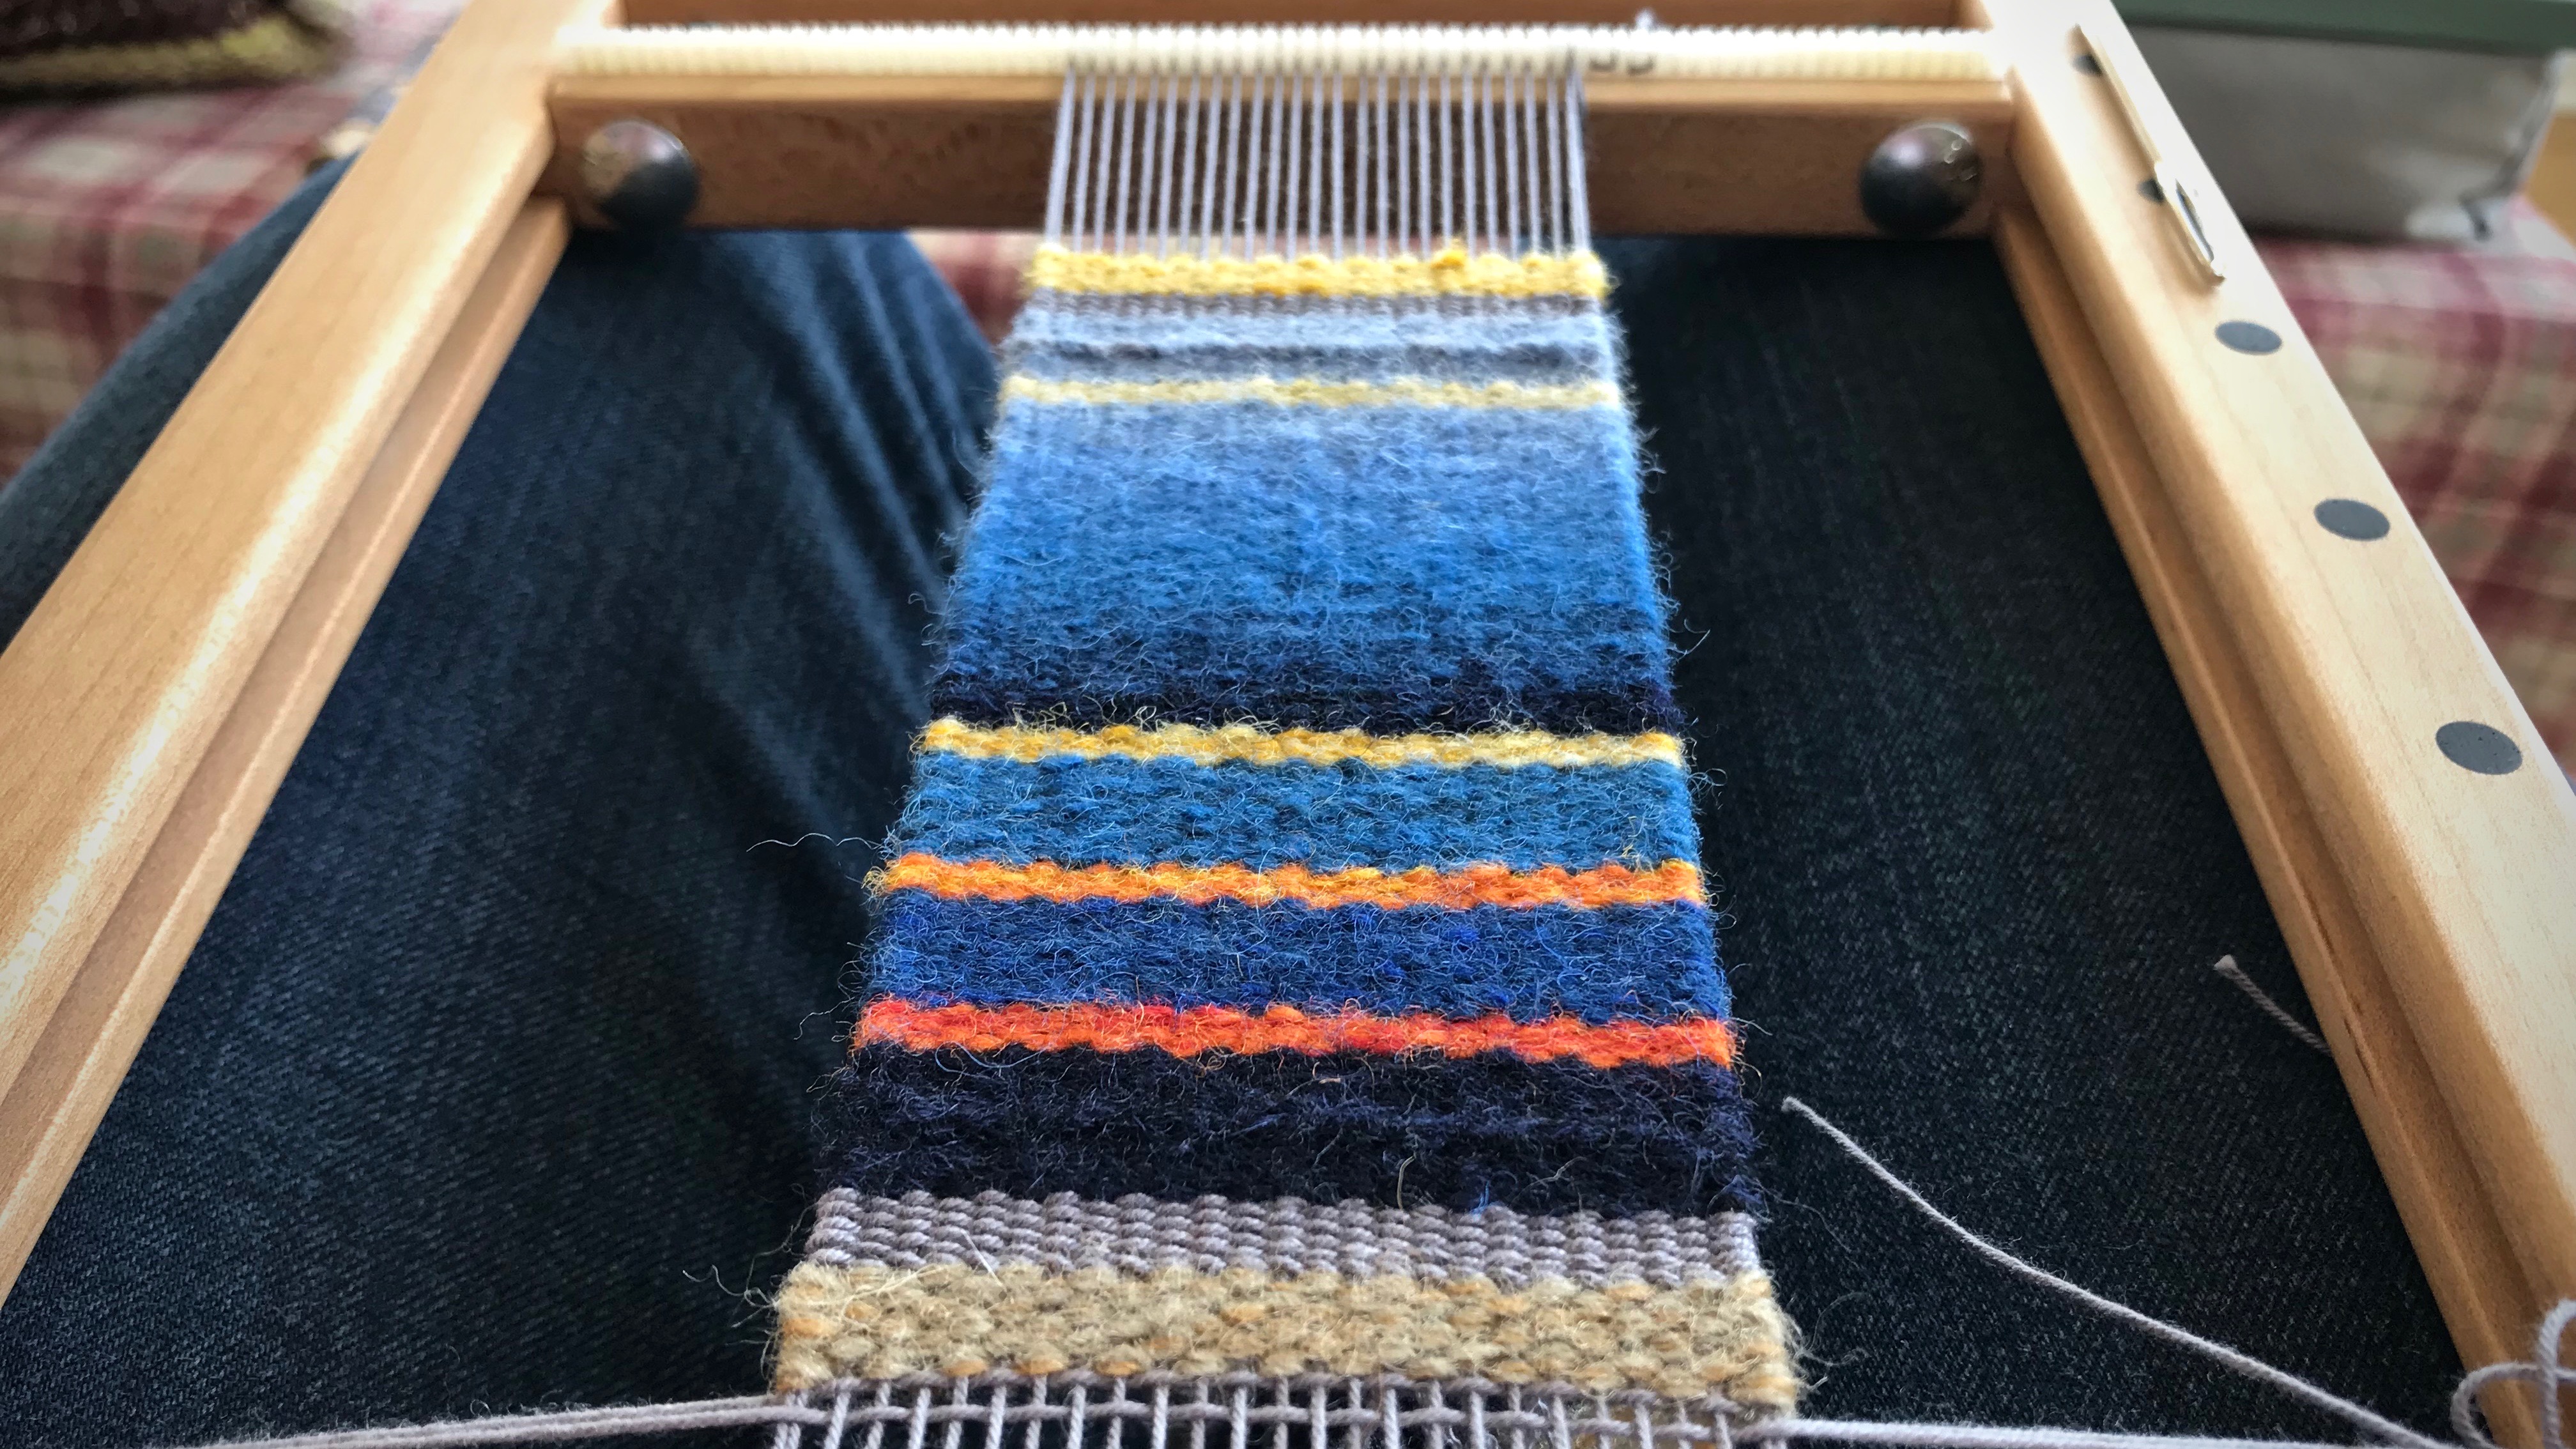
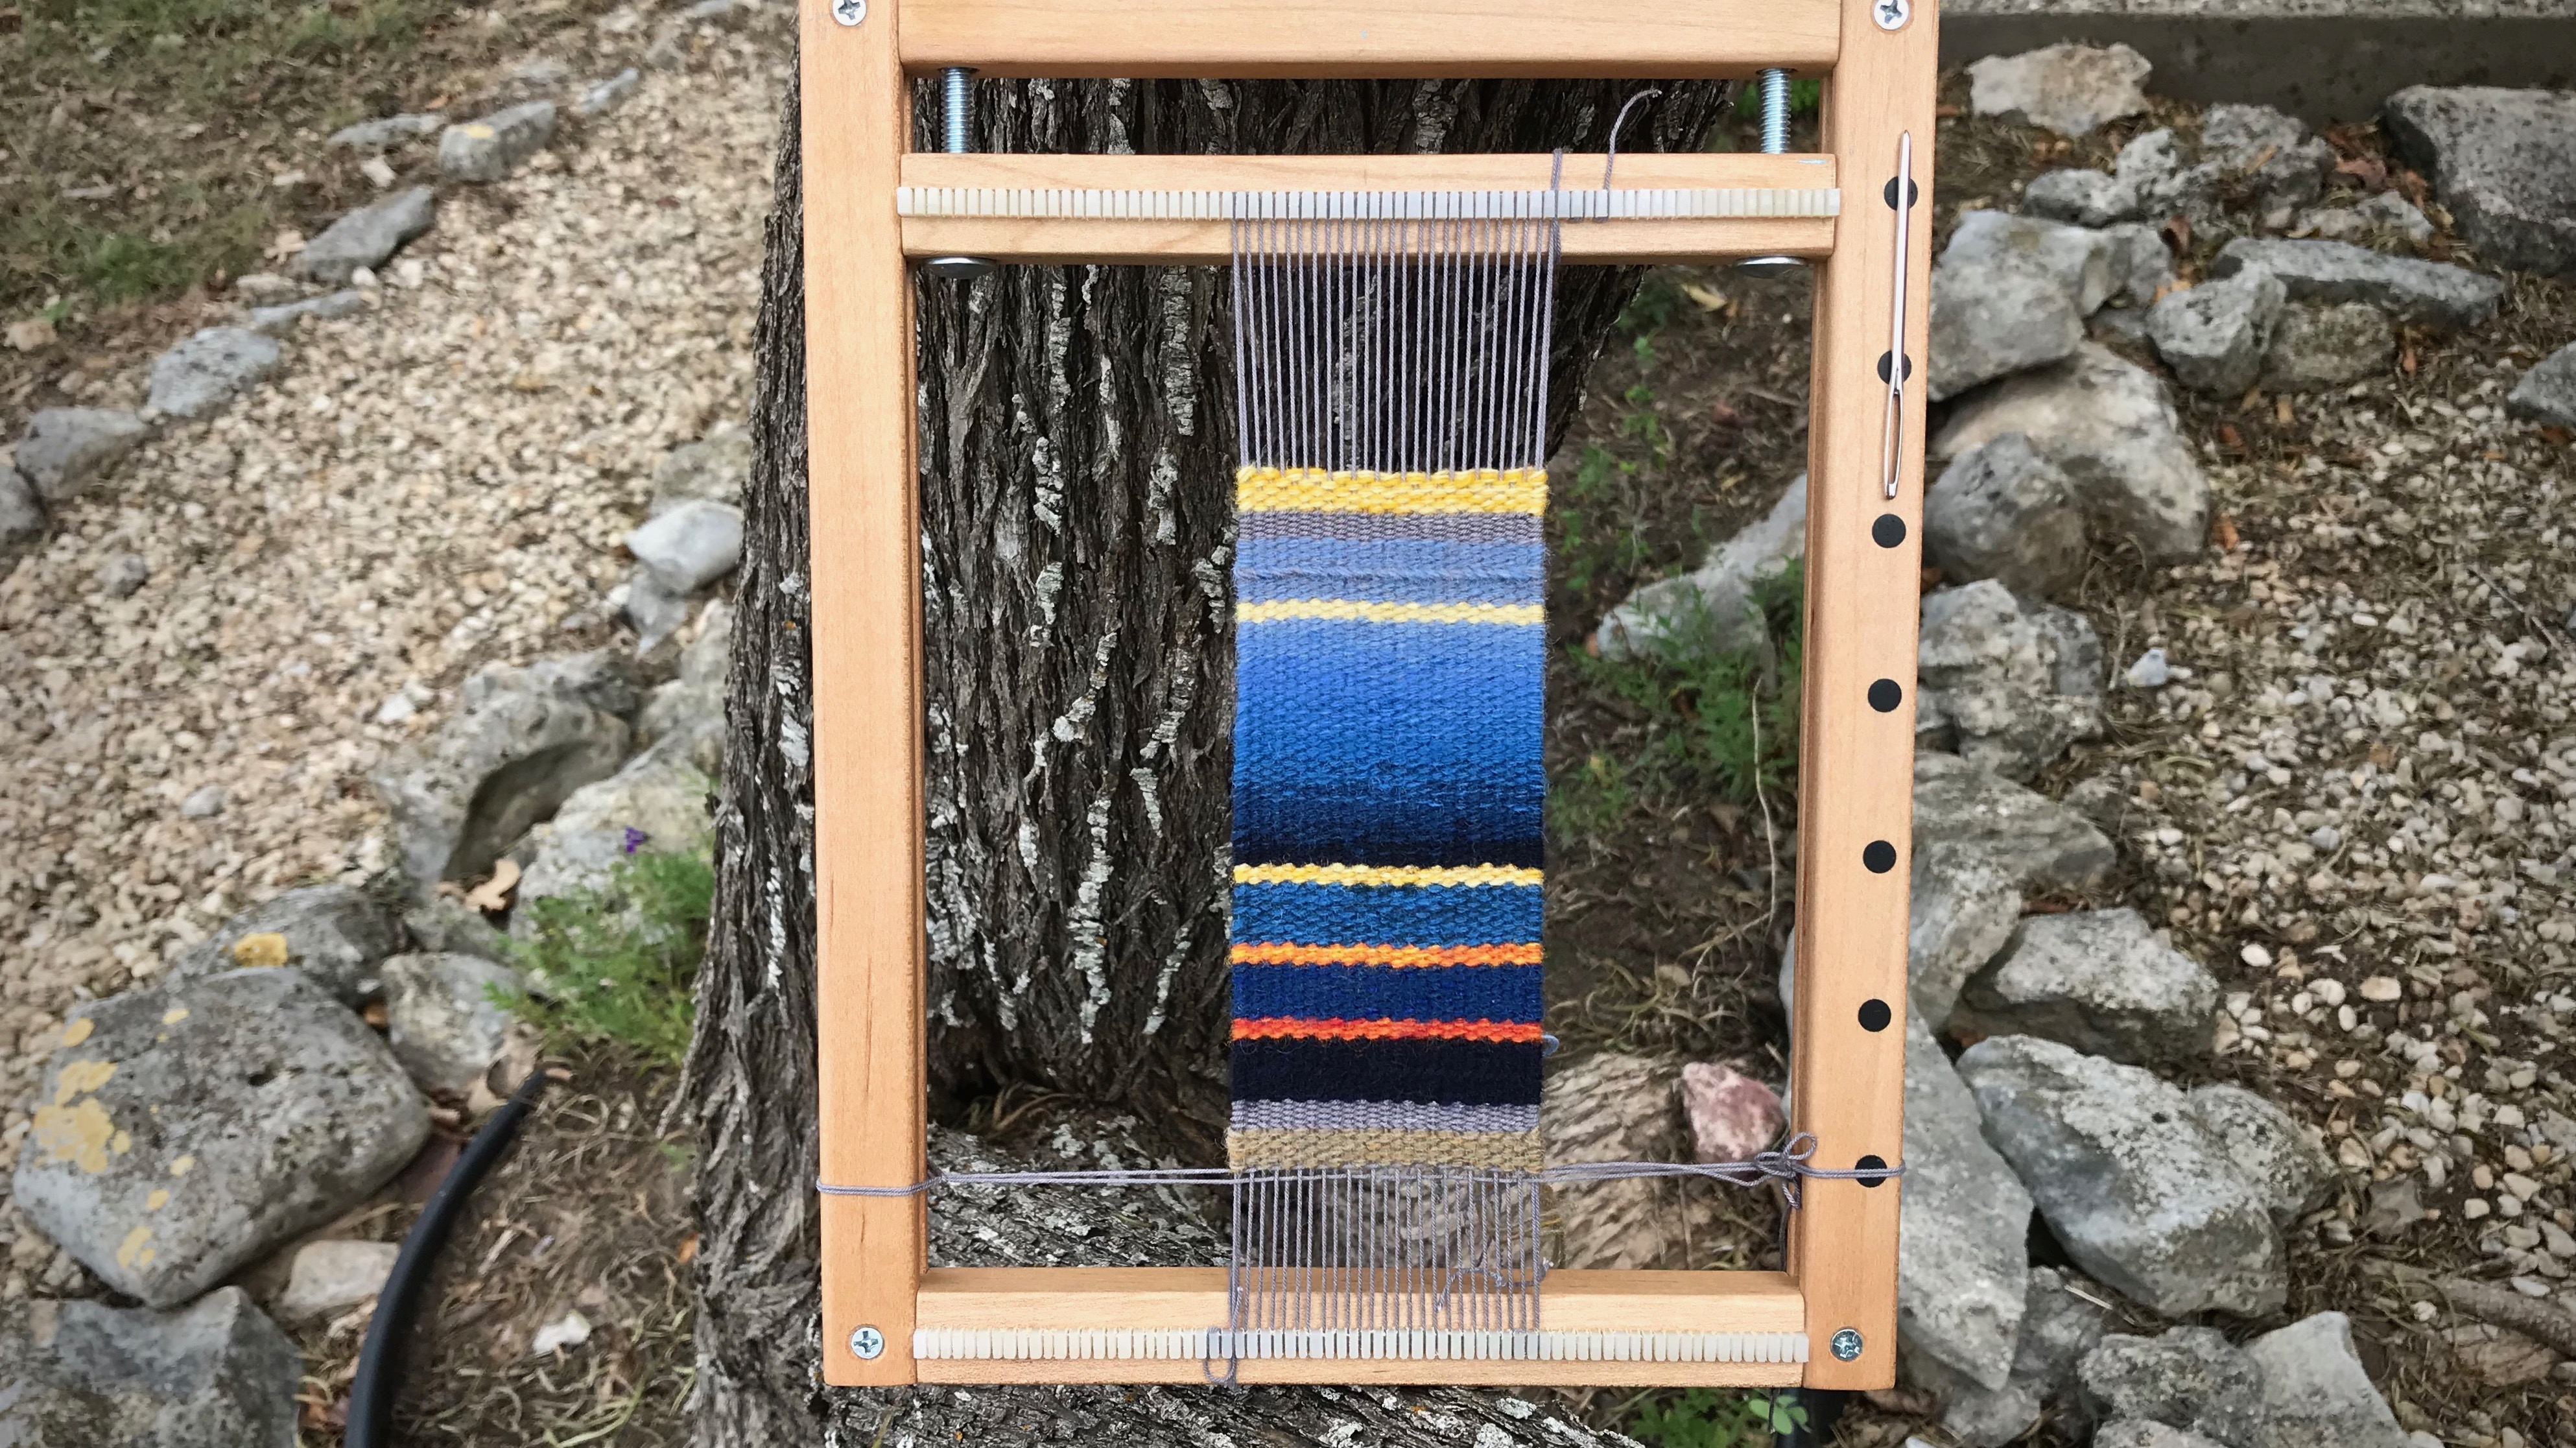
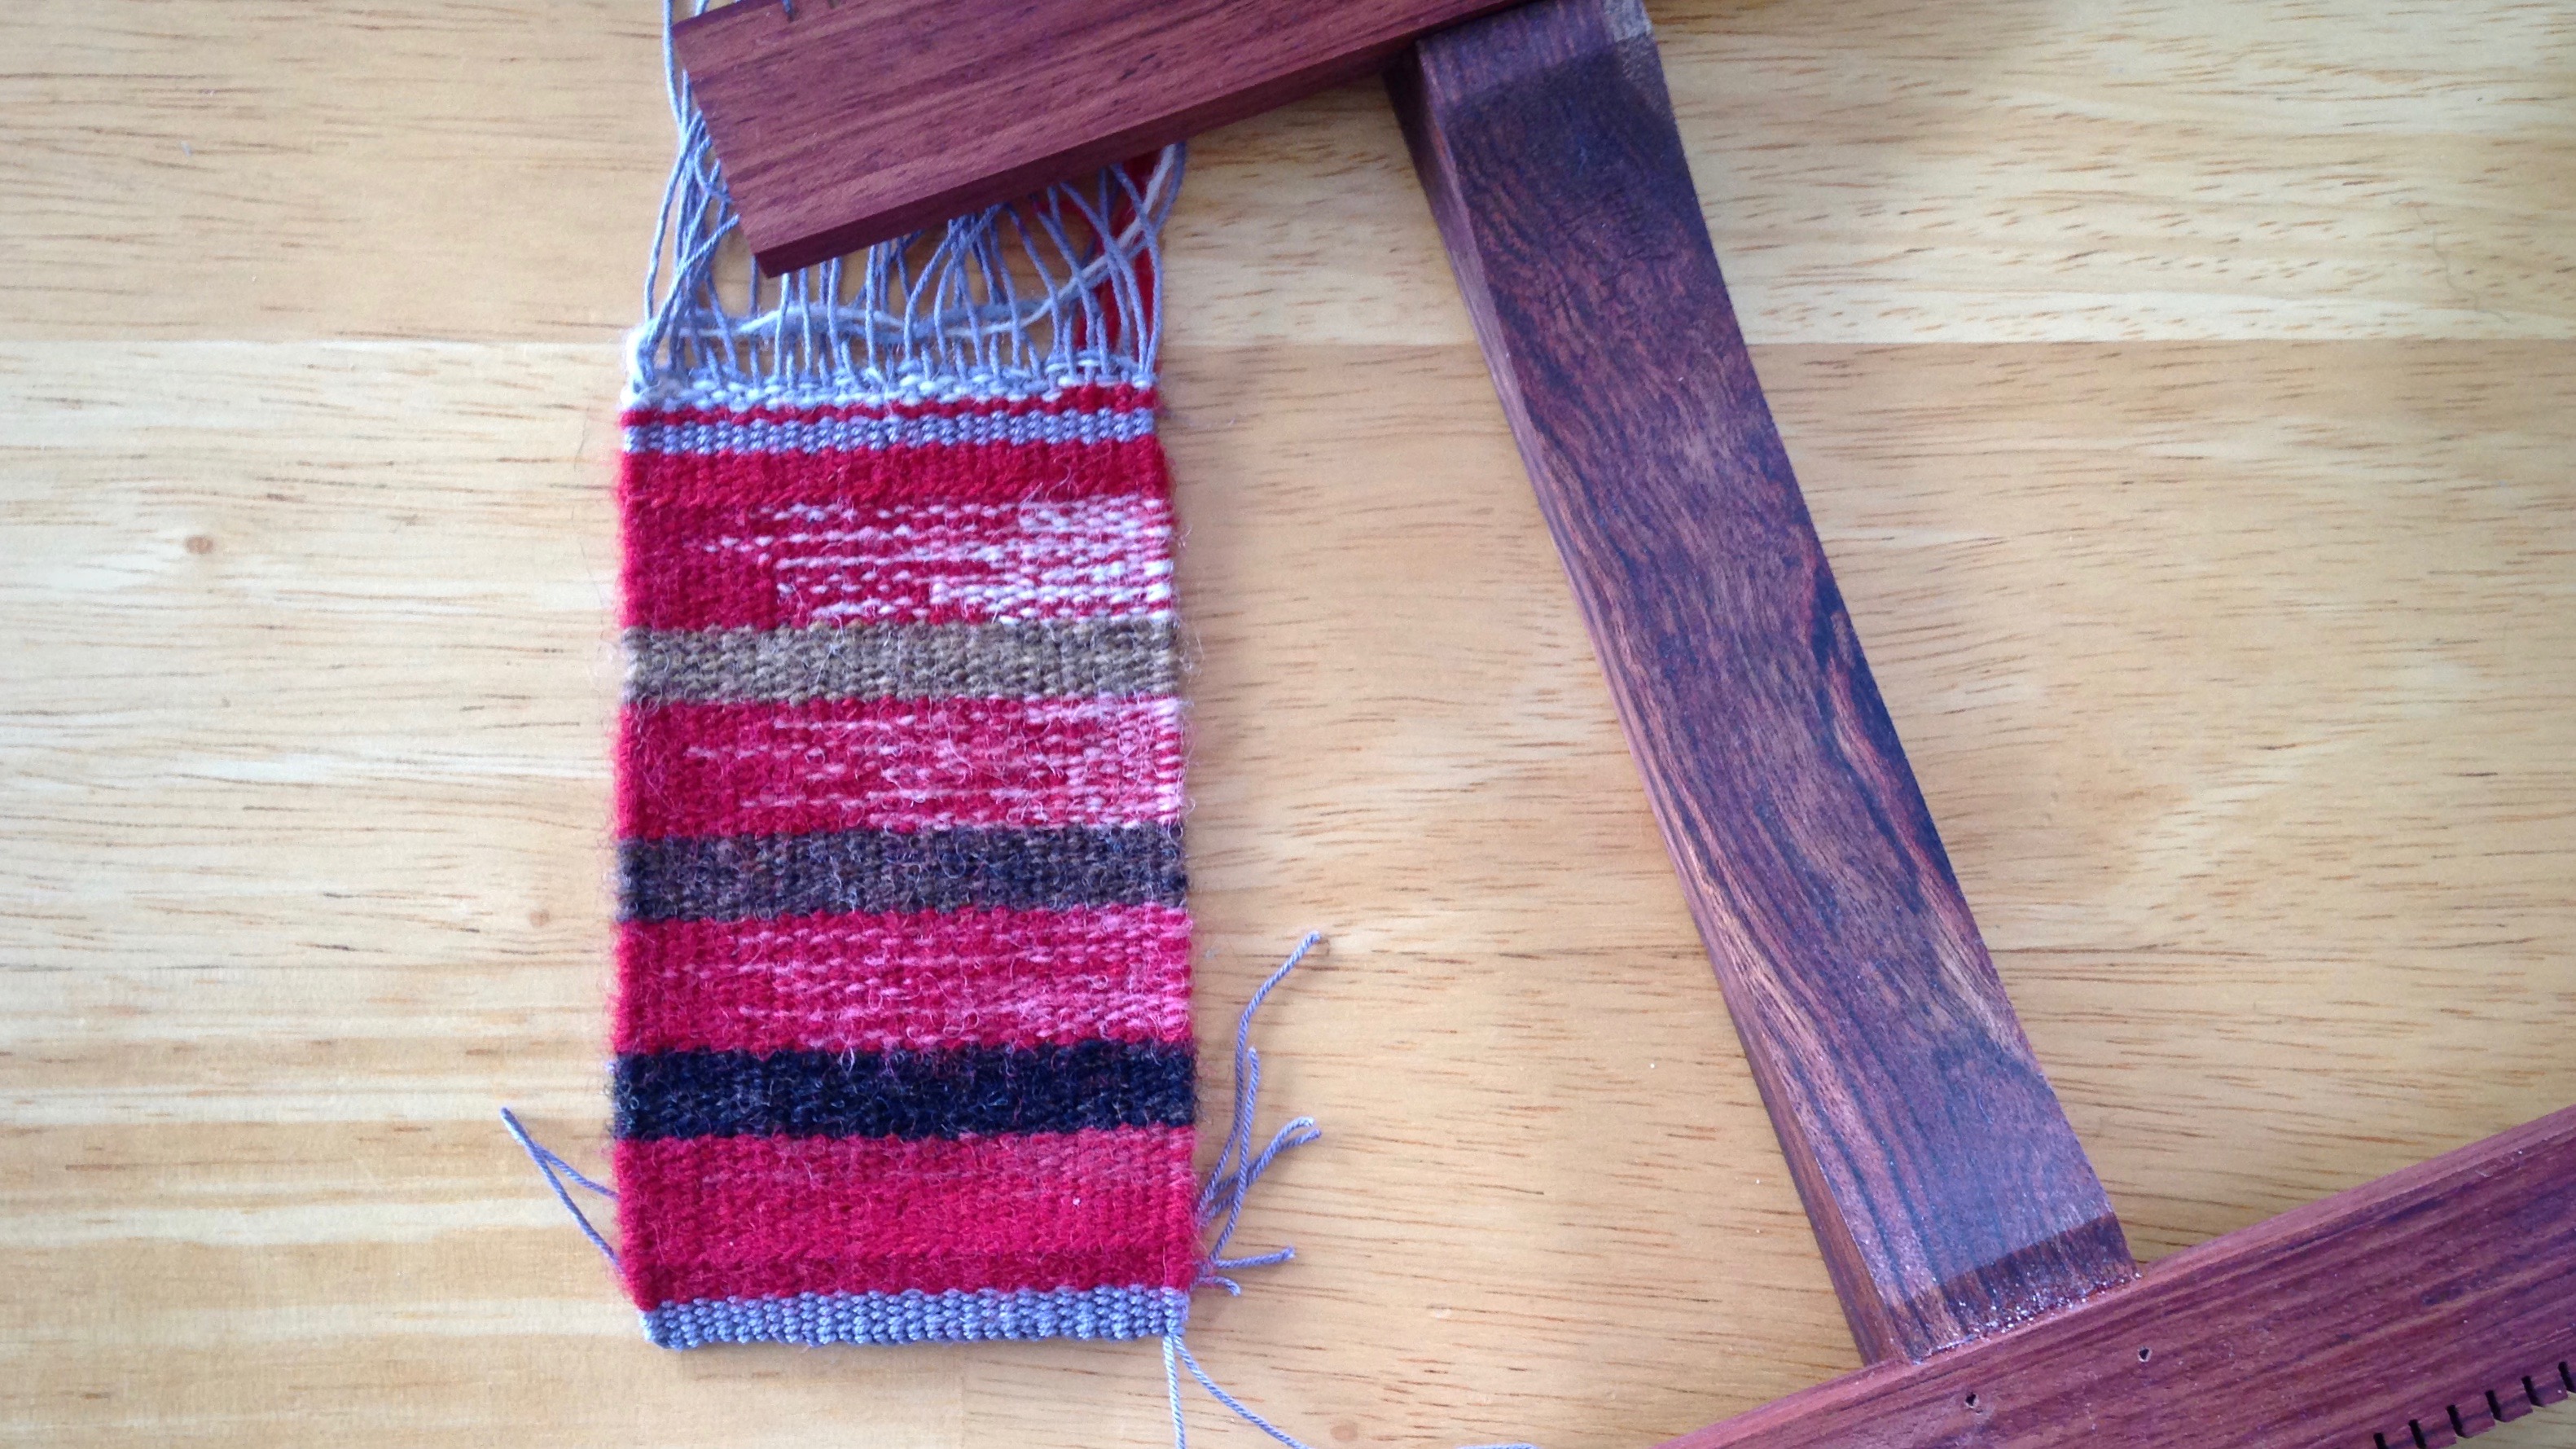
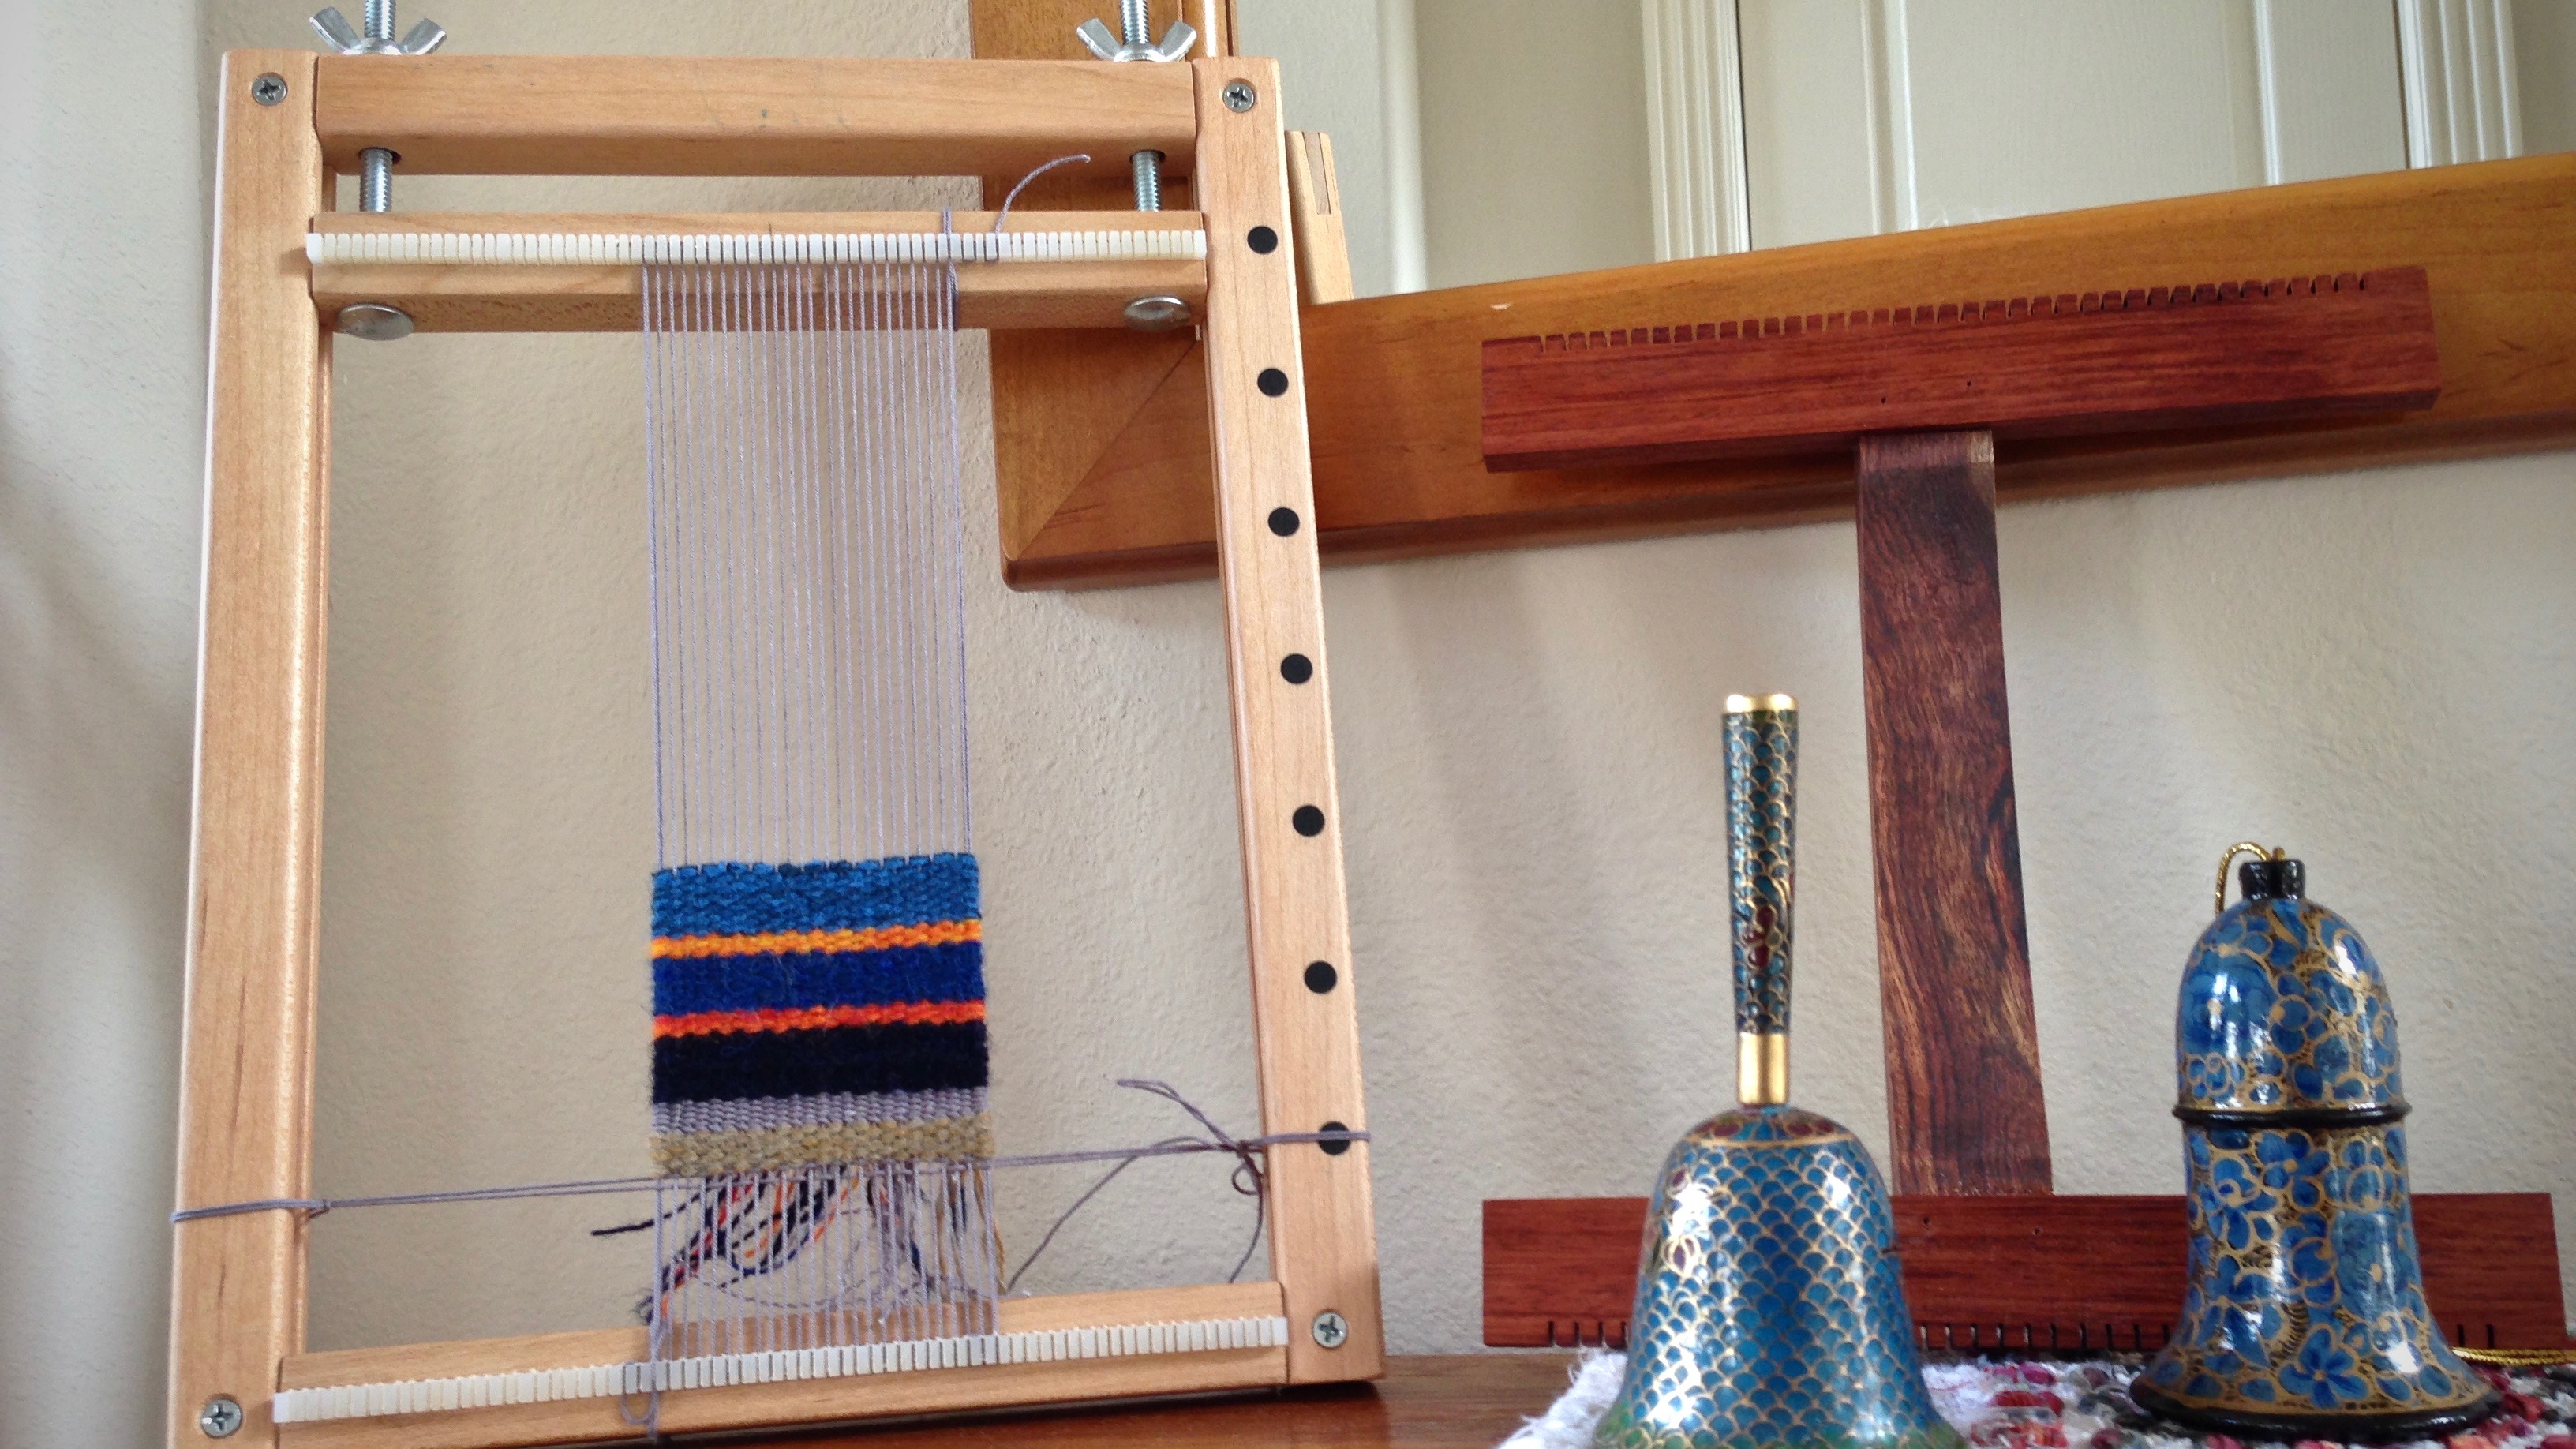
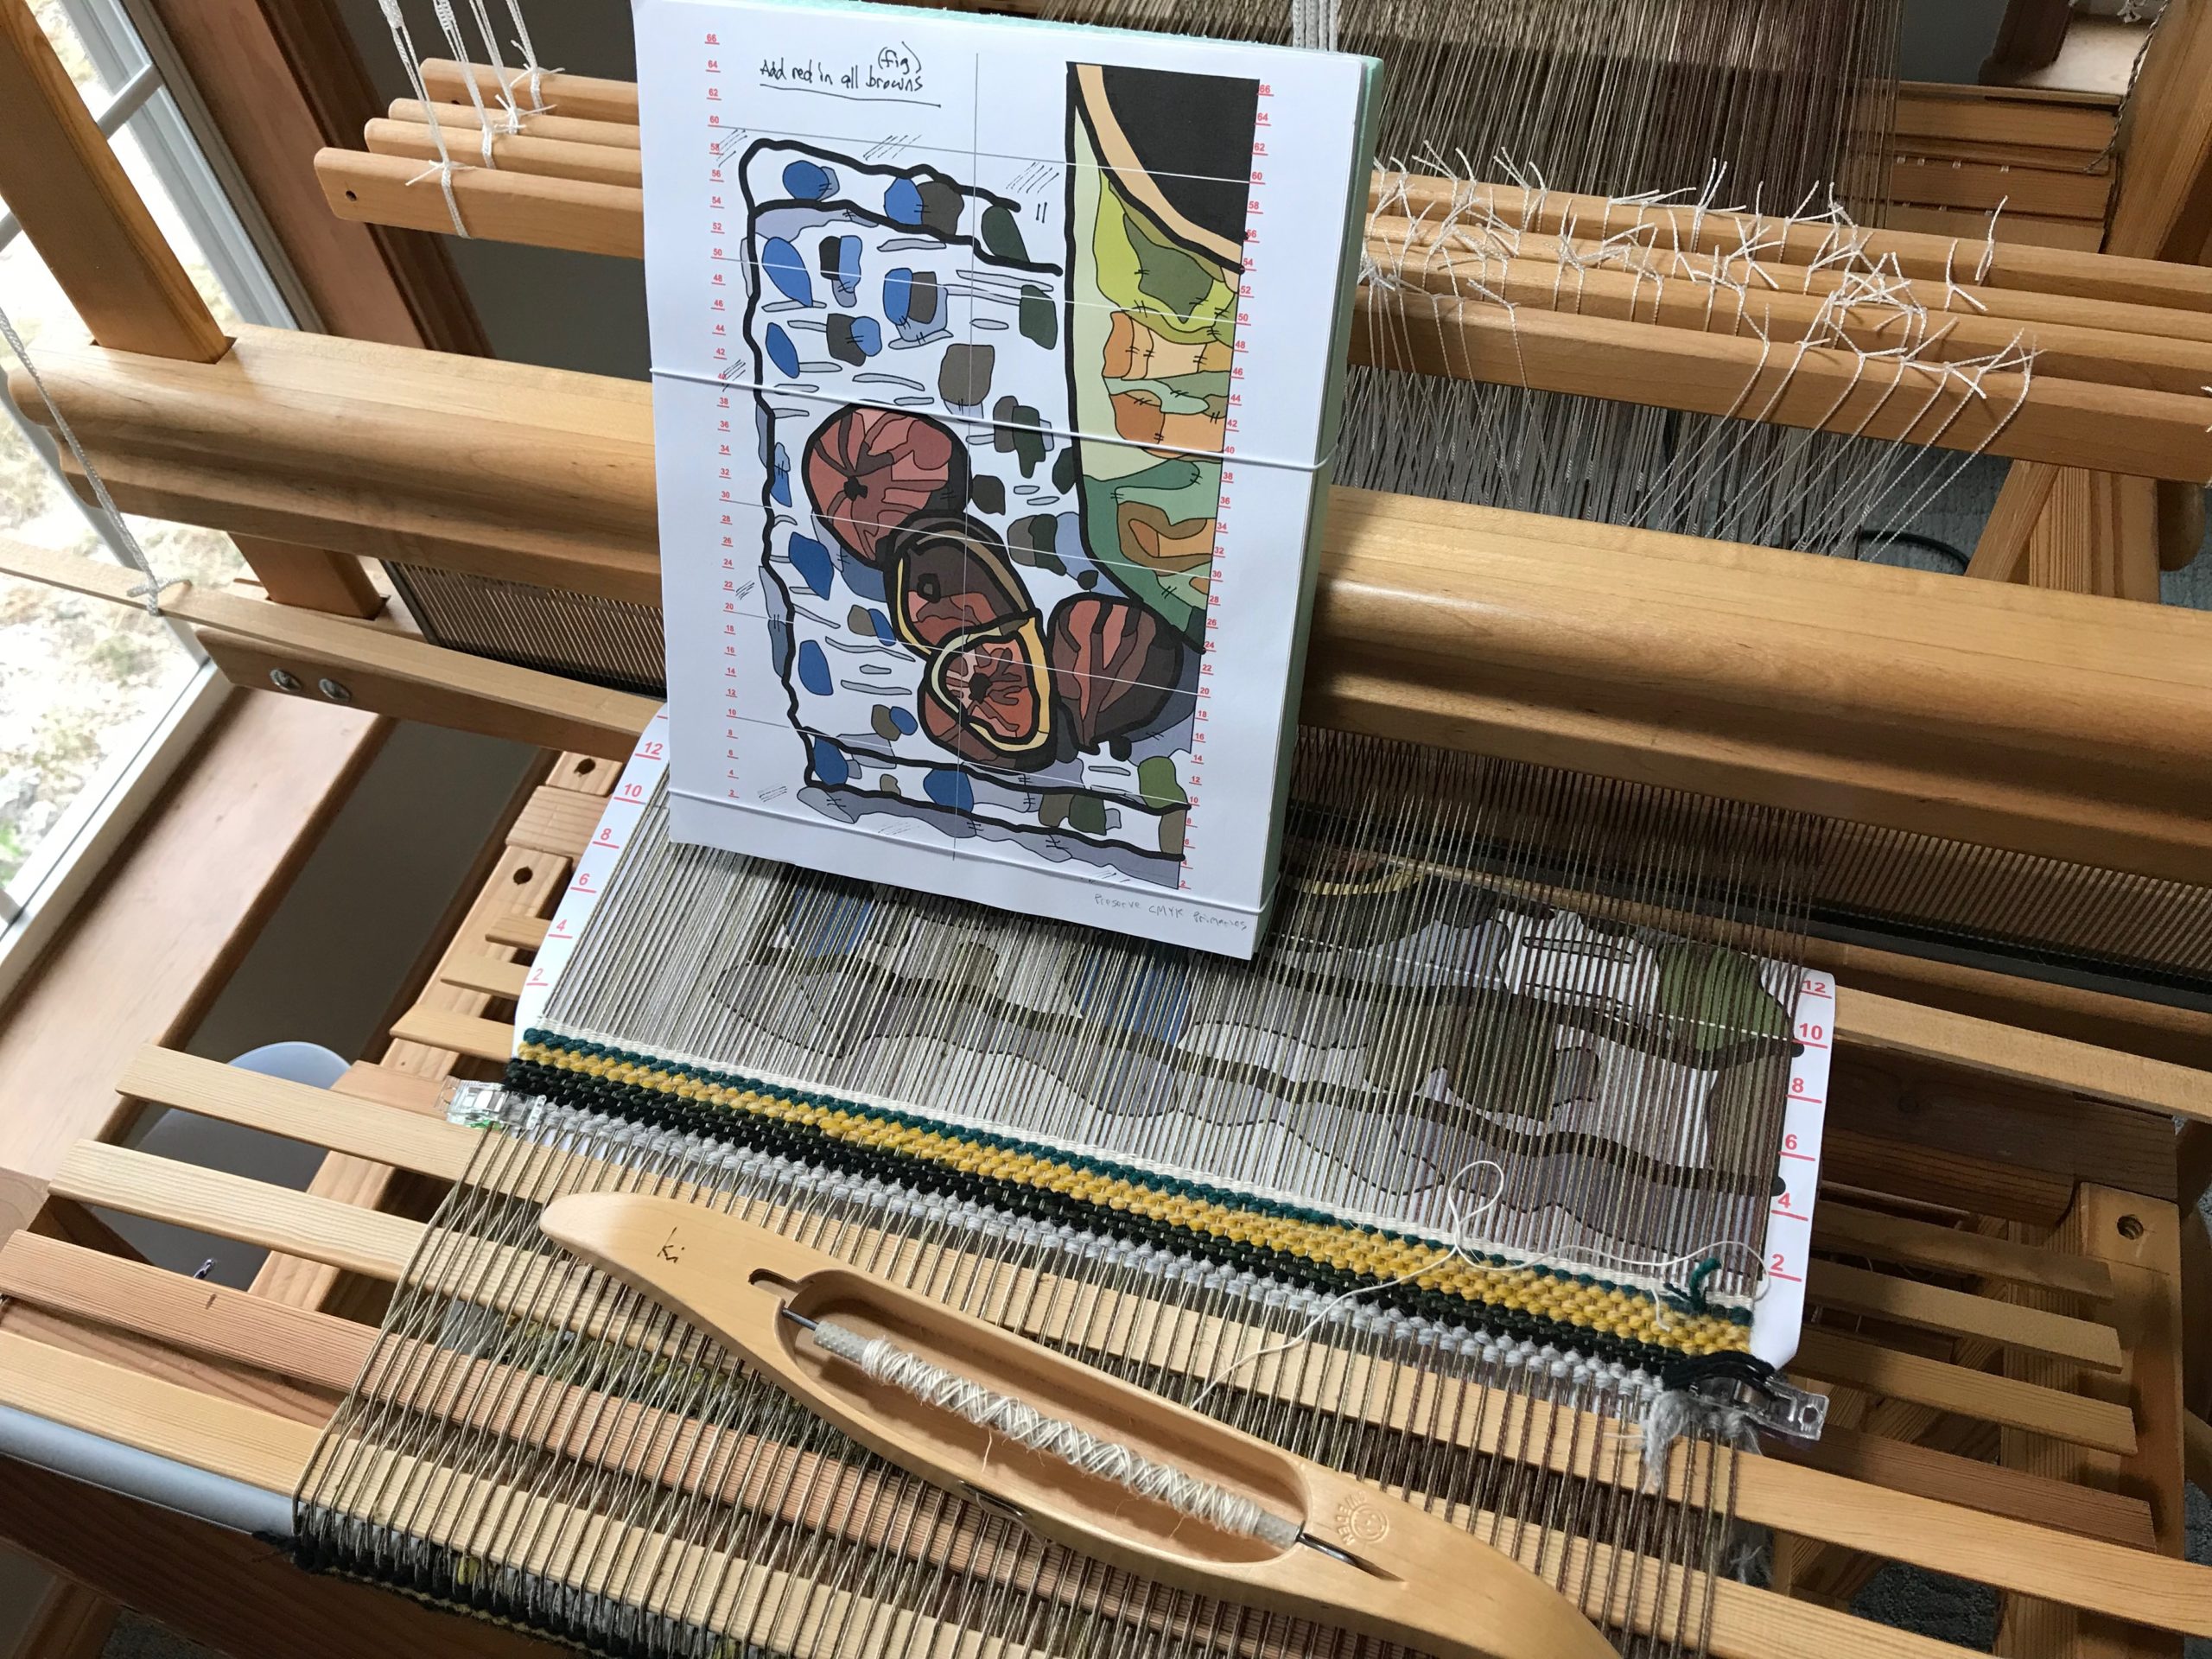
Pictorial tapestry on the floor loom requires a good working knowledge of basic tapestry techniques. Doing small tapestries on a tapestry frame loom, line by line, is one thing I do to hone these basic skills. I have finally reached the happy realizaton that I am no longer frustrated by meet and separate.

After several rows of scrap wool to space the warp, I weave ten rows of 6/1 tow linen as a header.

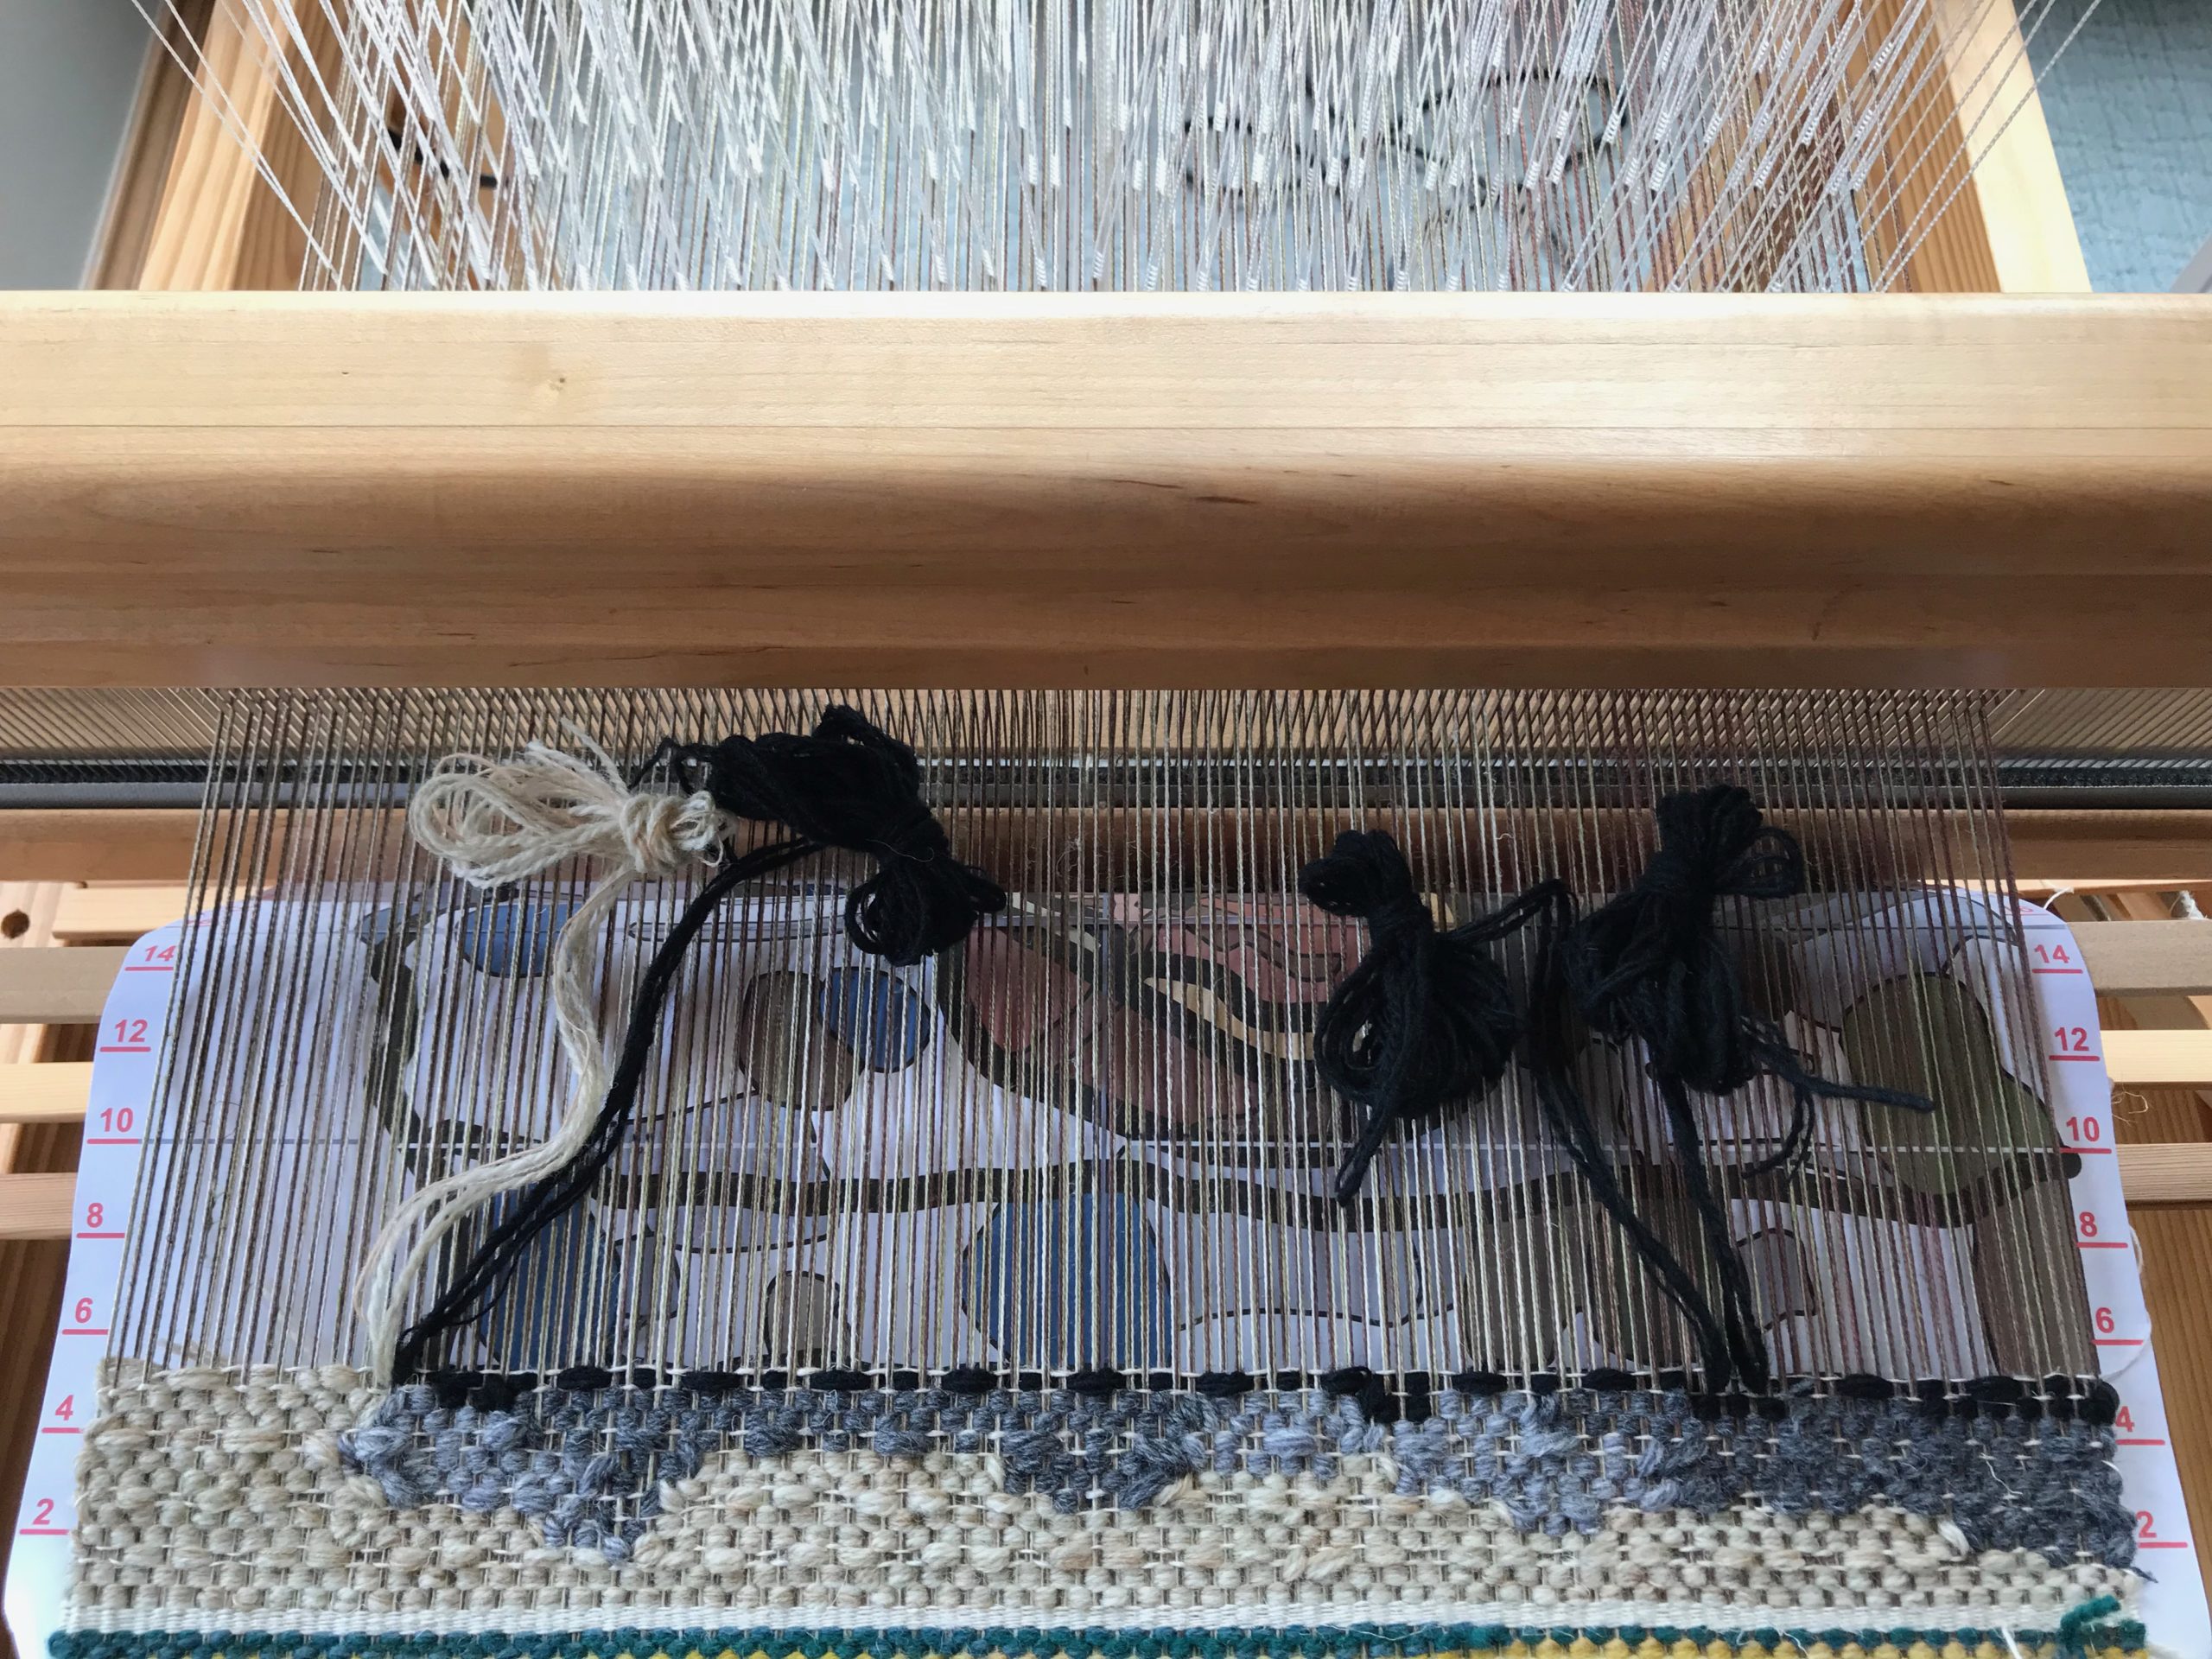
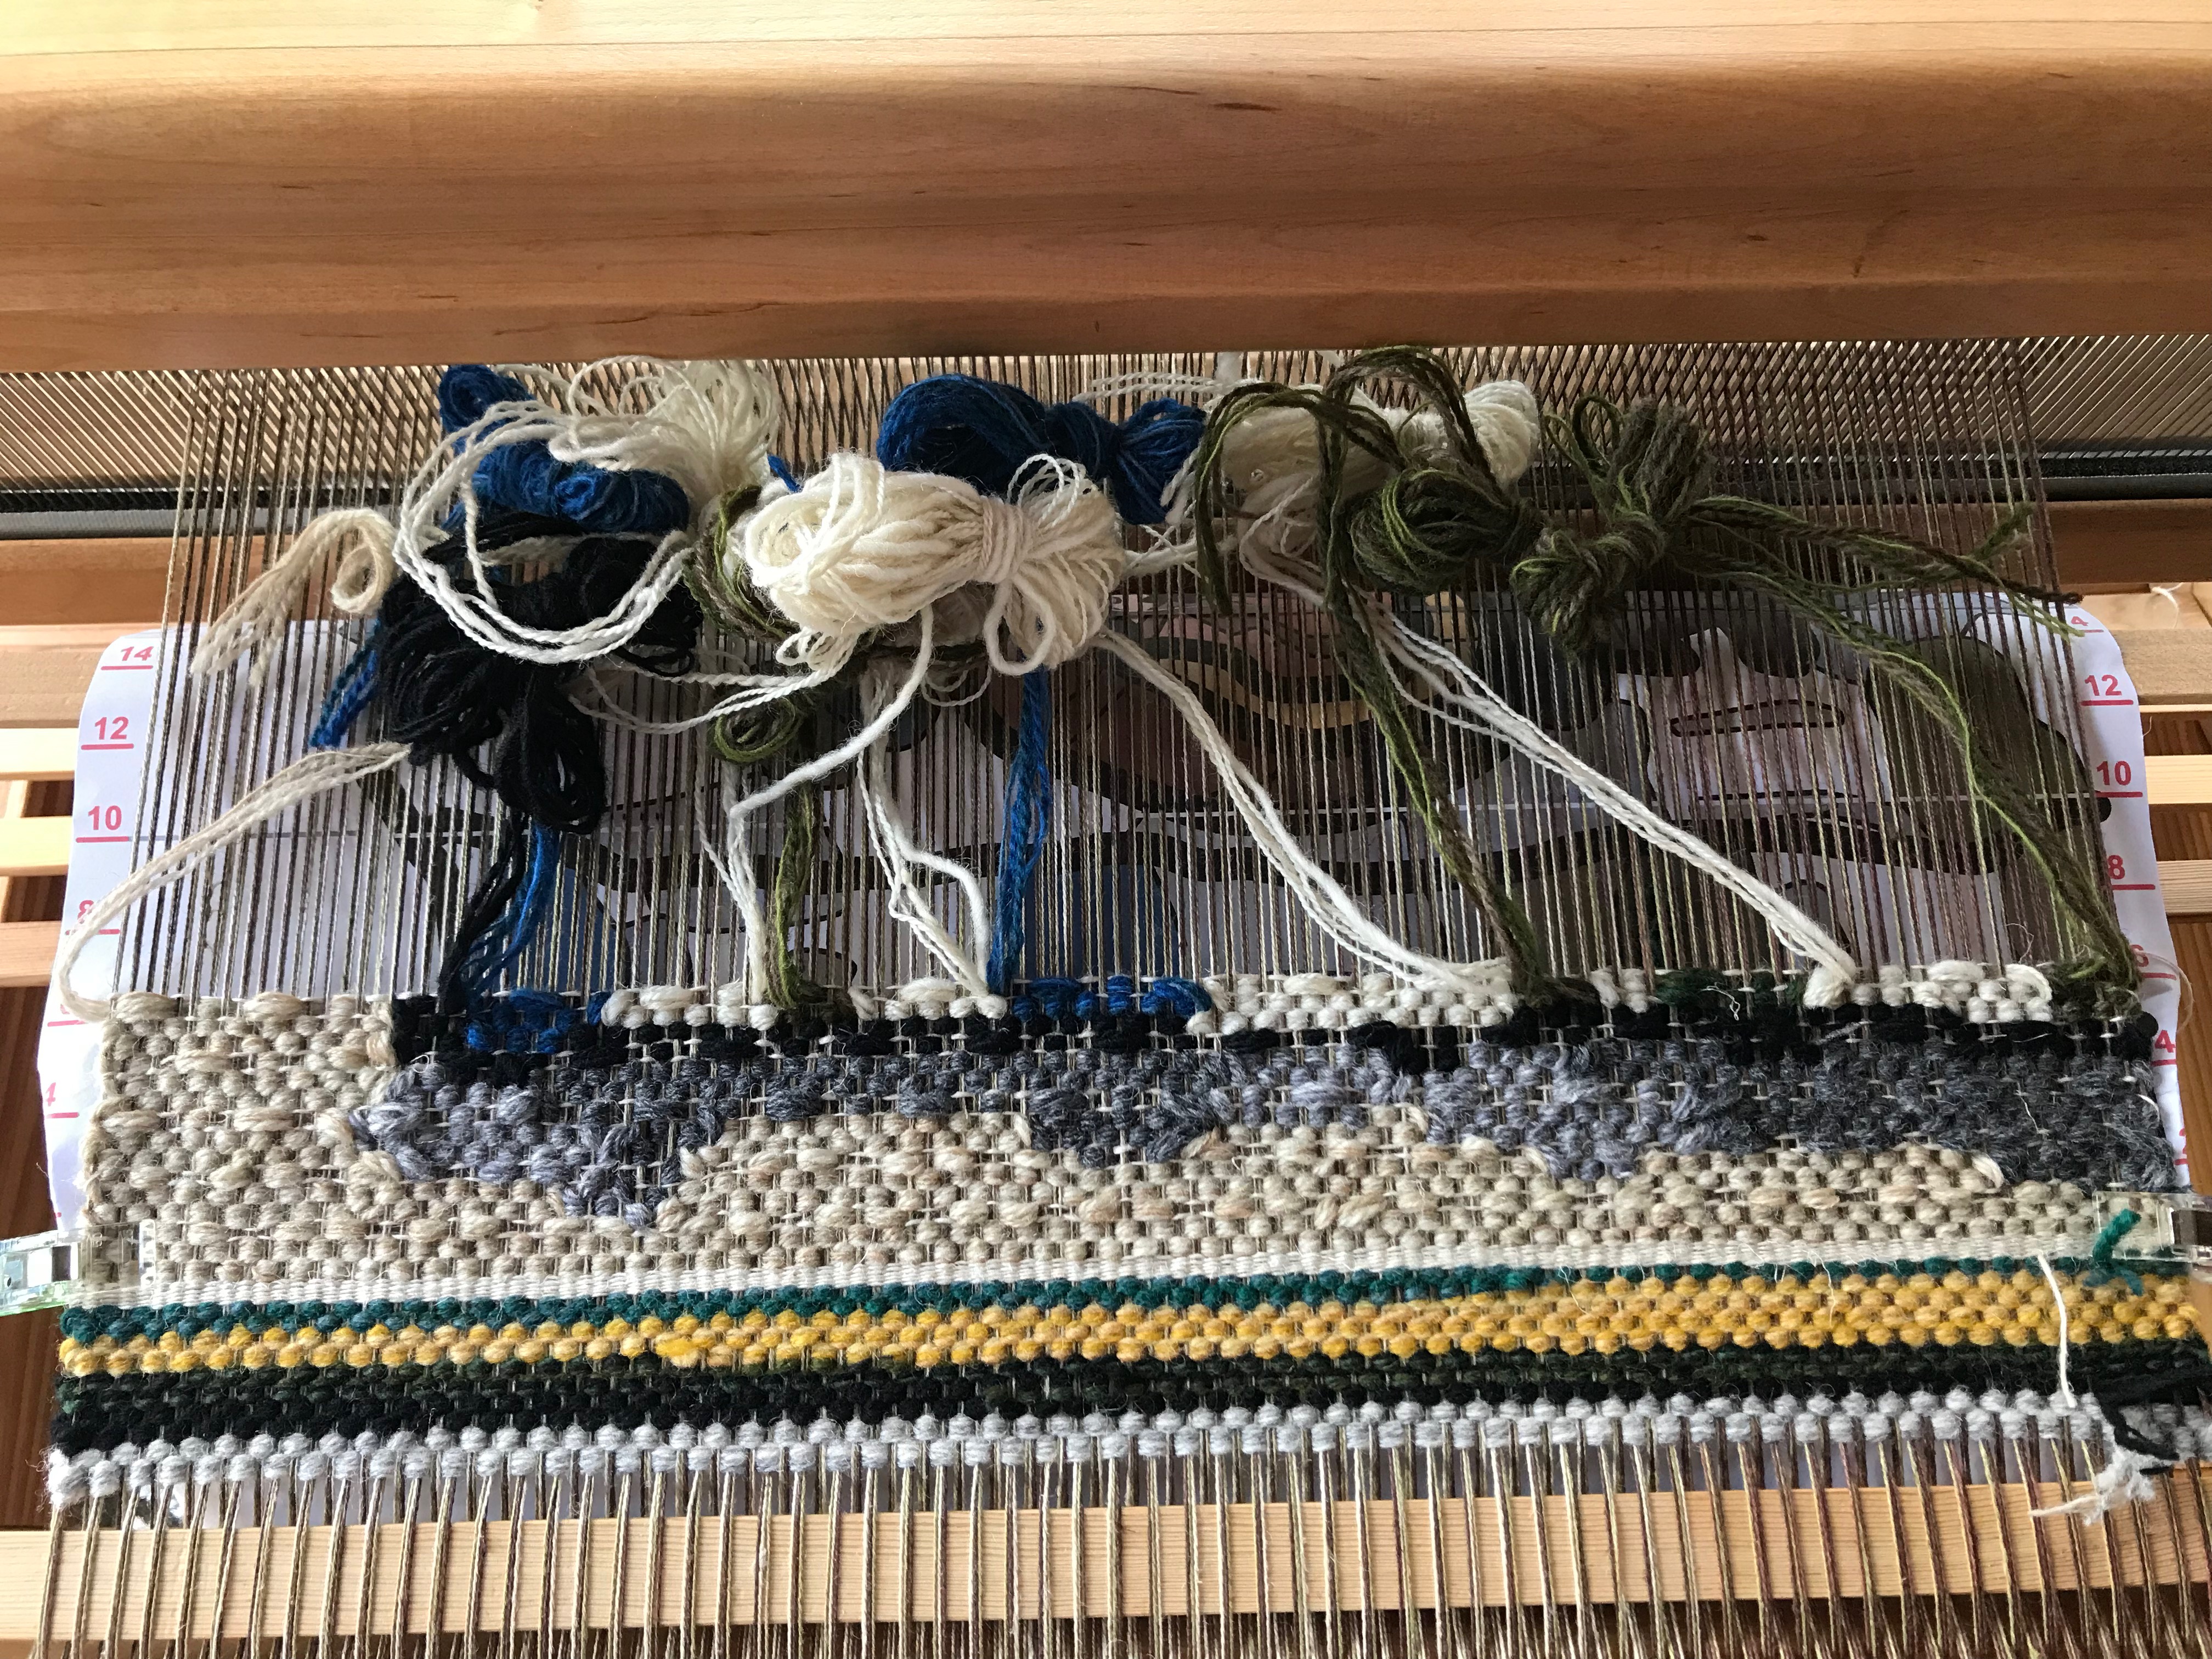
Meet and separate is a simple concept. It’s not hard to understand. Two butterflies come toward each other (meet) in one shed, and they move away from each other (separate) in the next shed. If you are working with only two butterflies — piece of cake! But when you need to add one more butterfly in a row you can find yourself in a pickle!

Butterflies are arranged so that the heads of butterflies are next to each other, and tails of butterflies (which have been tucked to the back) are together.

Resources that help me understand basic tapestry techniques, including meet and separate:

The Art of Tapestry Weaving, by Rebecca Mezoff

Tapestry Design Basics and Beyond, by Tommye McClure Scanlin

Tapestry Weaving, by Kirsten Glasbrook.

Workshops by Joanne Hall for weaving tapestry on a frame loom.

Meet and separate. Two butterflies on the right-hand side don’t have “partners.” New butterflies will be added in the next row that will balance the meet-and-separate order.

Meet and Separate strategies:

  1. Add two butterflies at a time. Remove two butterflies at a time. (Easier said than done.)
  2. Add one butterfly near where you are ending another butterfly.
  3. Add a “two-headed” butterfly, with the two heads going in opposite directions.
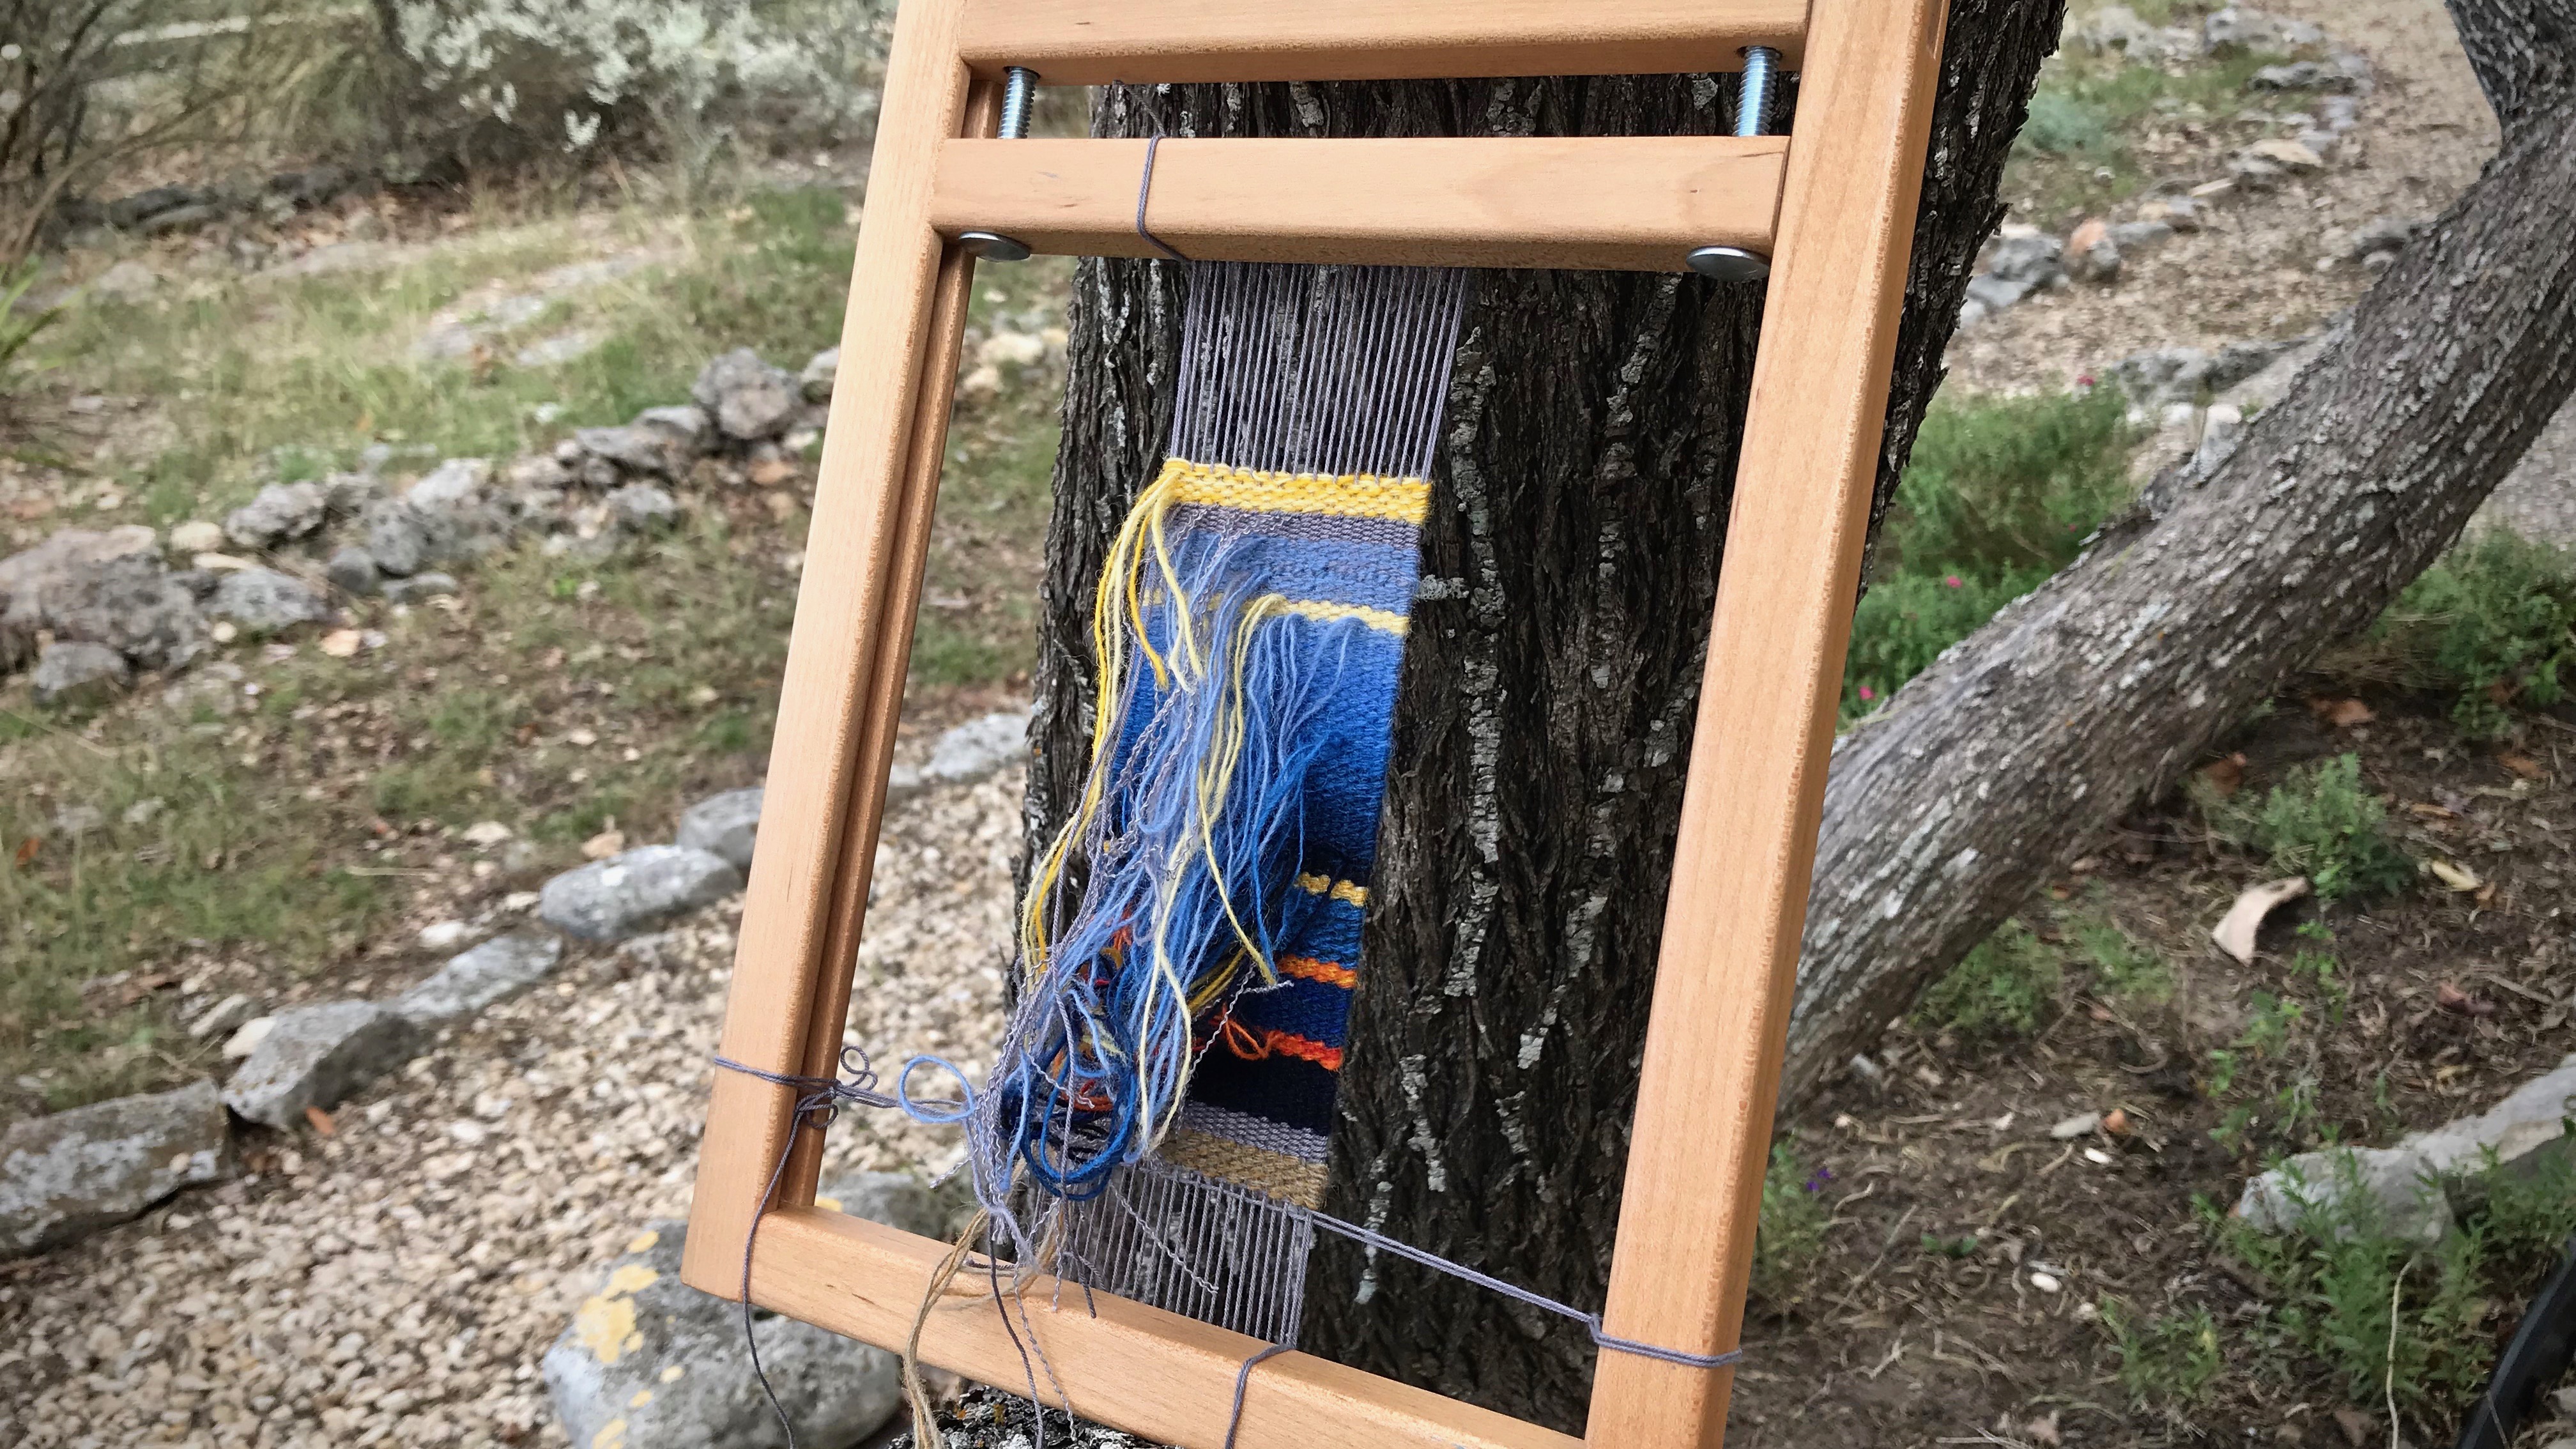
  4. If you must add or remove a single butterfly, expect to reset one or more other butterflies. (To reset a butterfly, cut it off and tuck in the tail, and then reverse its direction.)
  5. Think ahead. You may find that the next row will need one more (or one less) butterfly, and the problem will resolve itself.
So far, not too complicated for meet and separate.
As the tapestry progresses it’s a continual dance of the butterflies.
More butterflies. More fun.

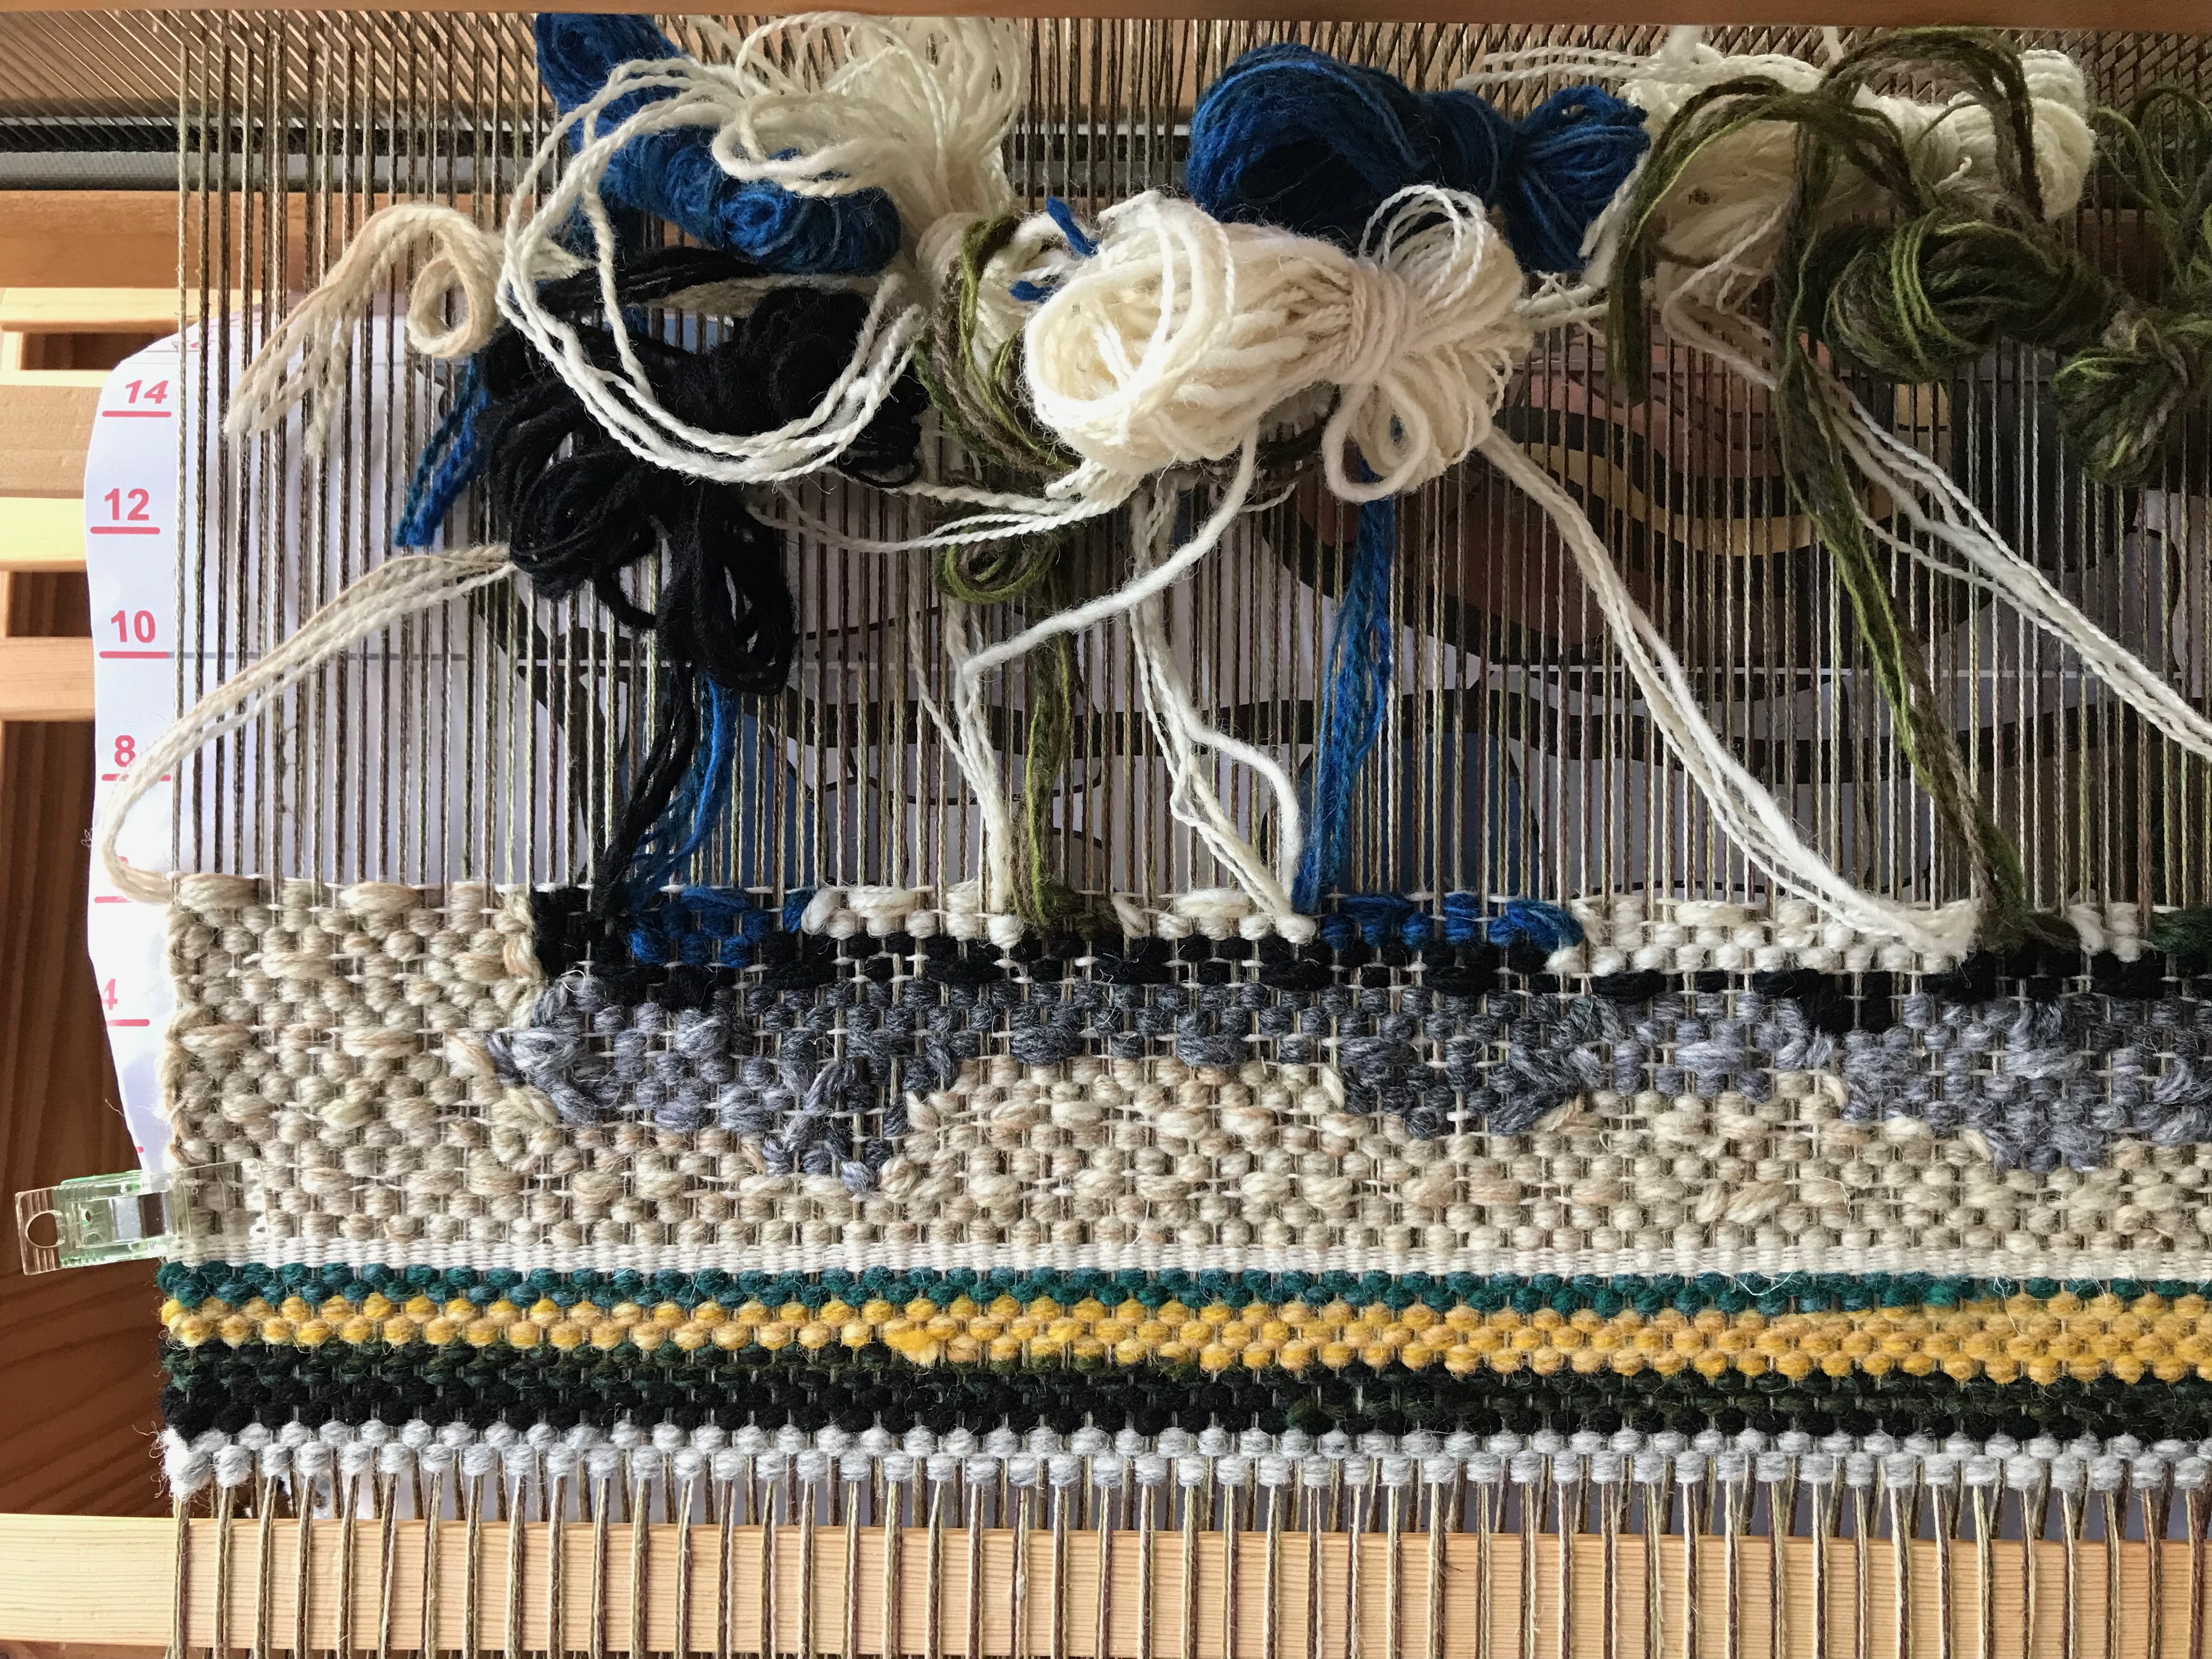
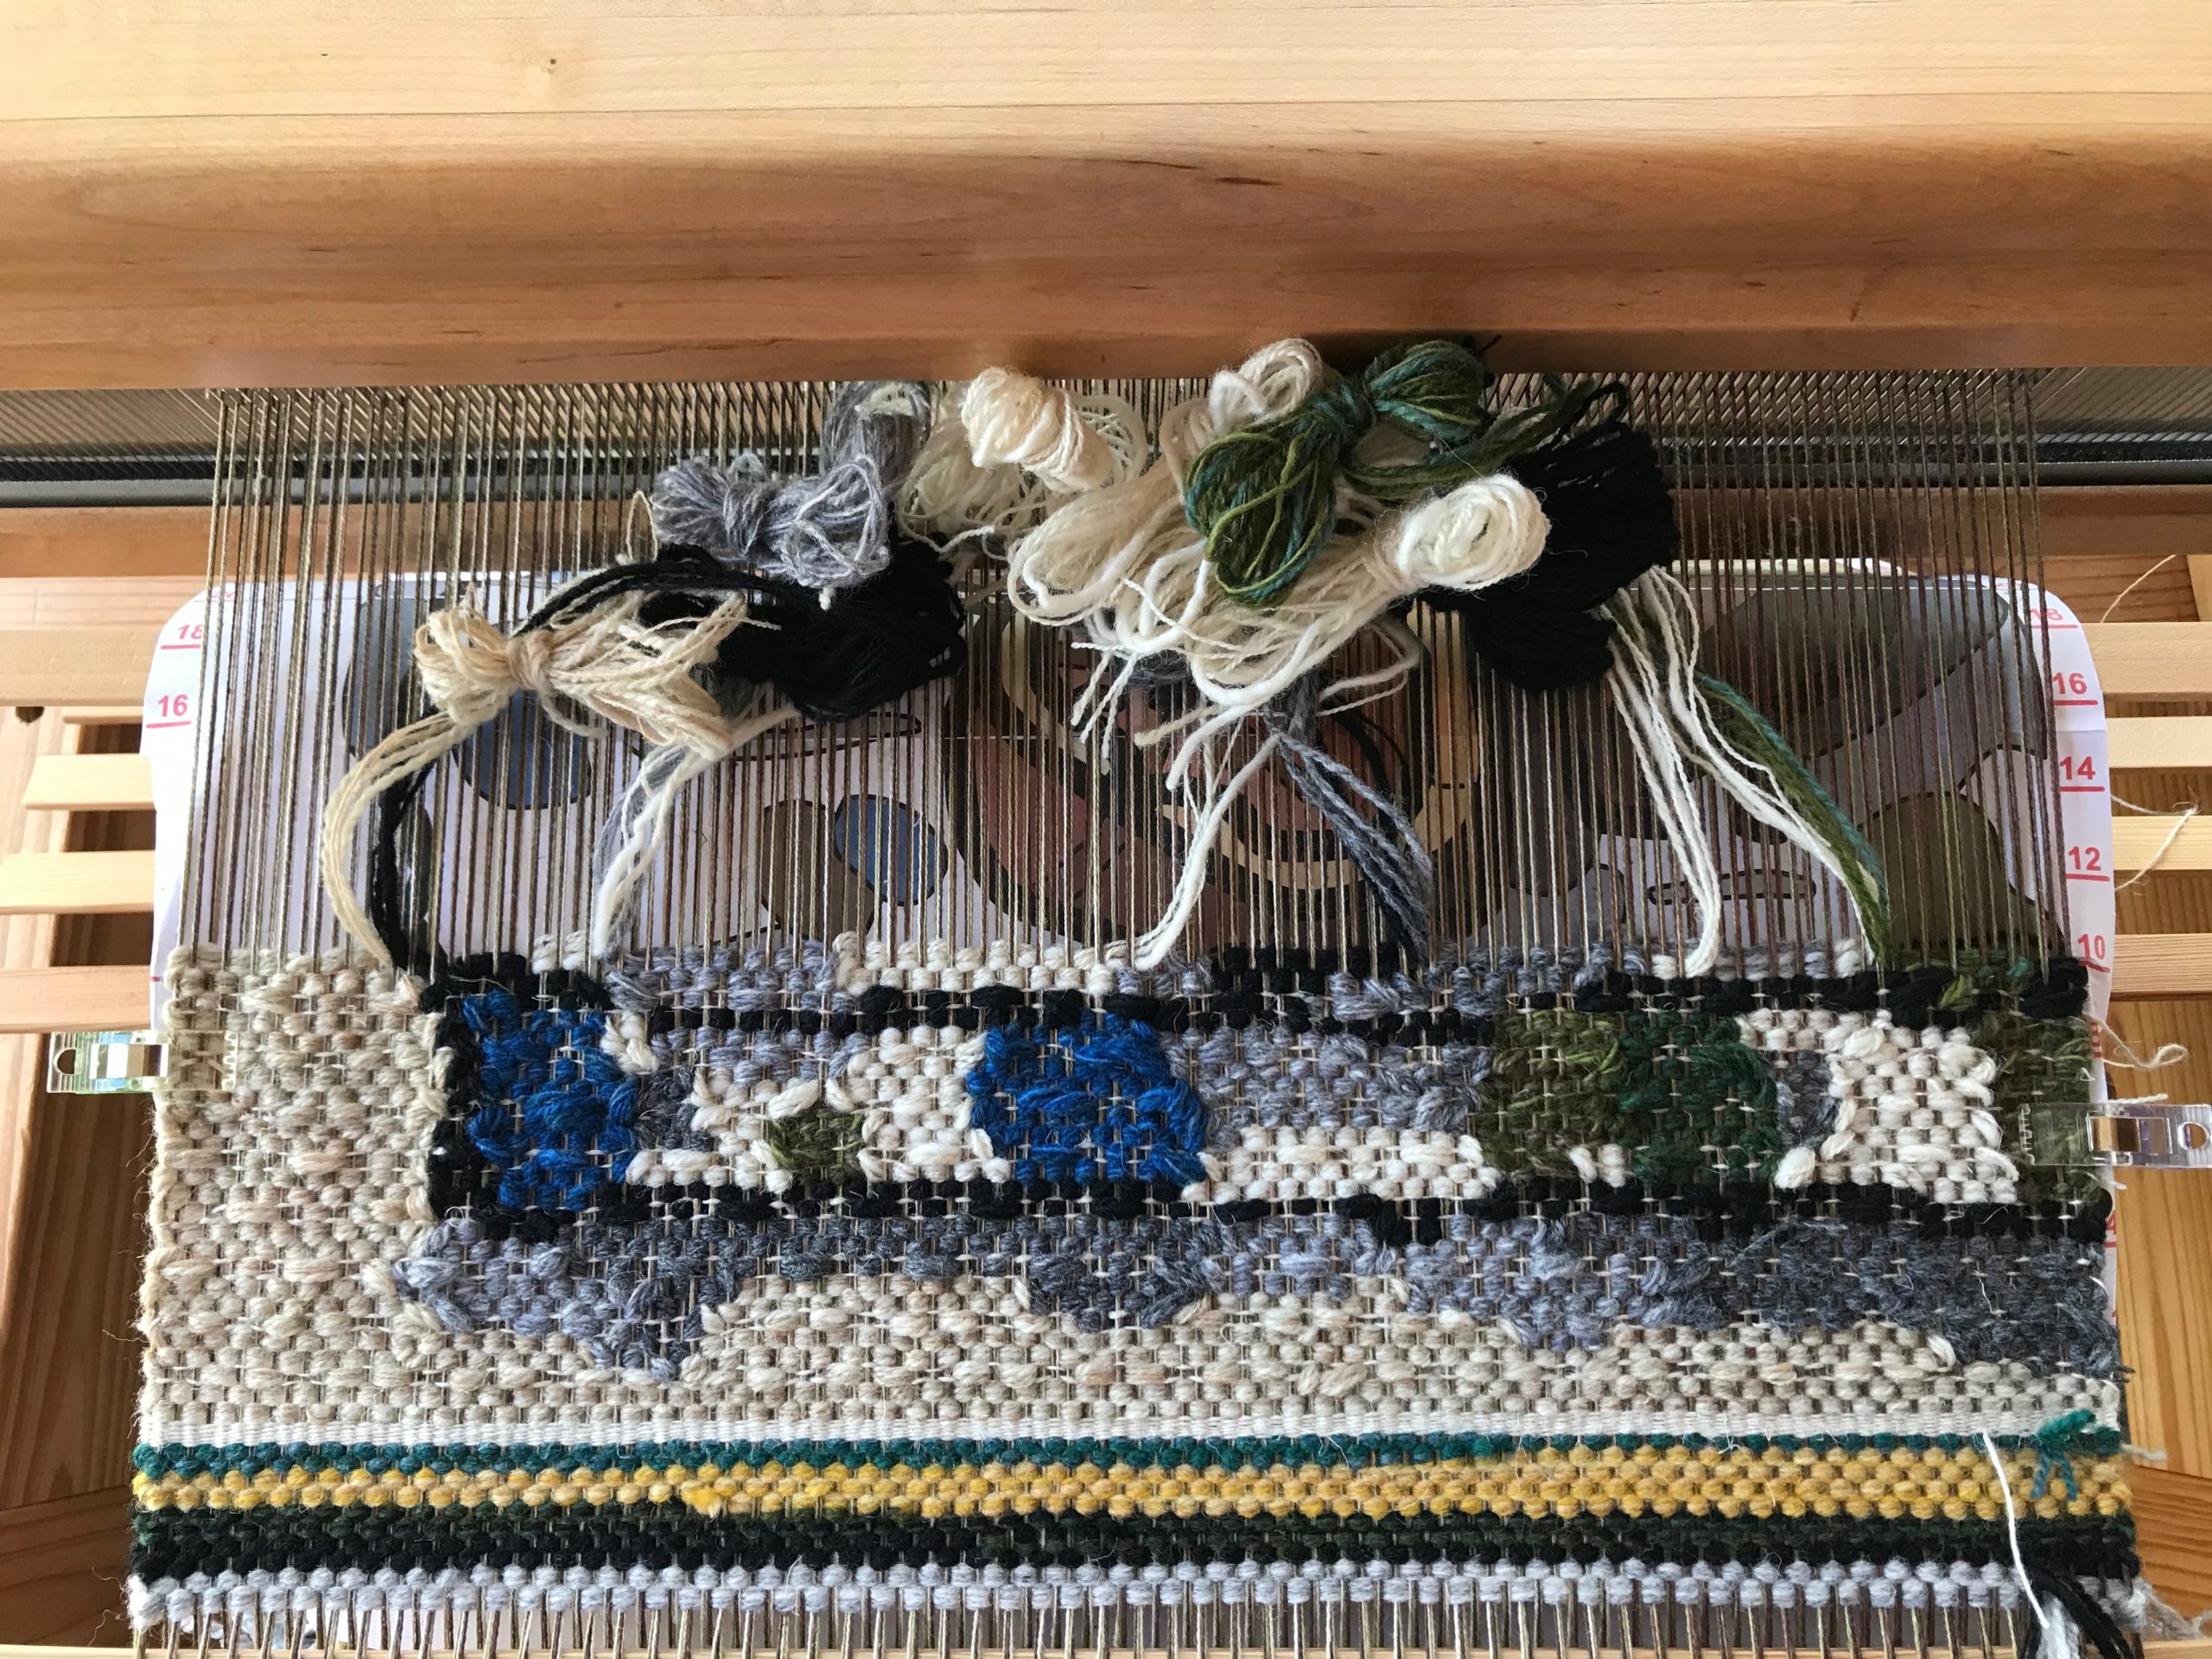
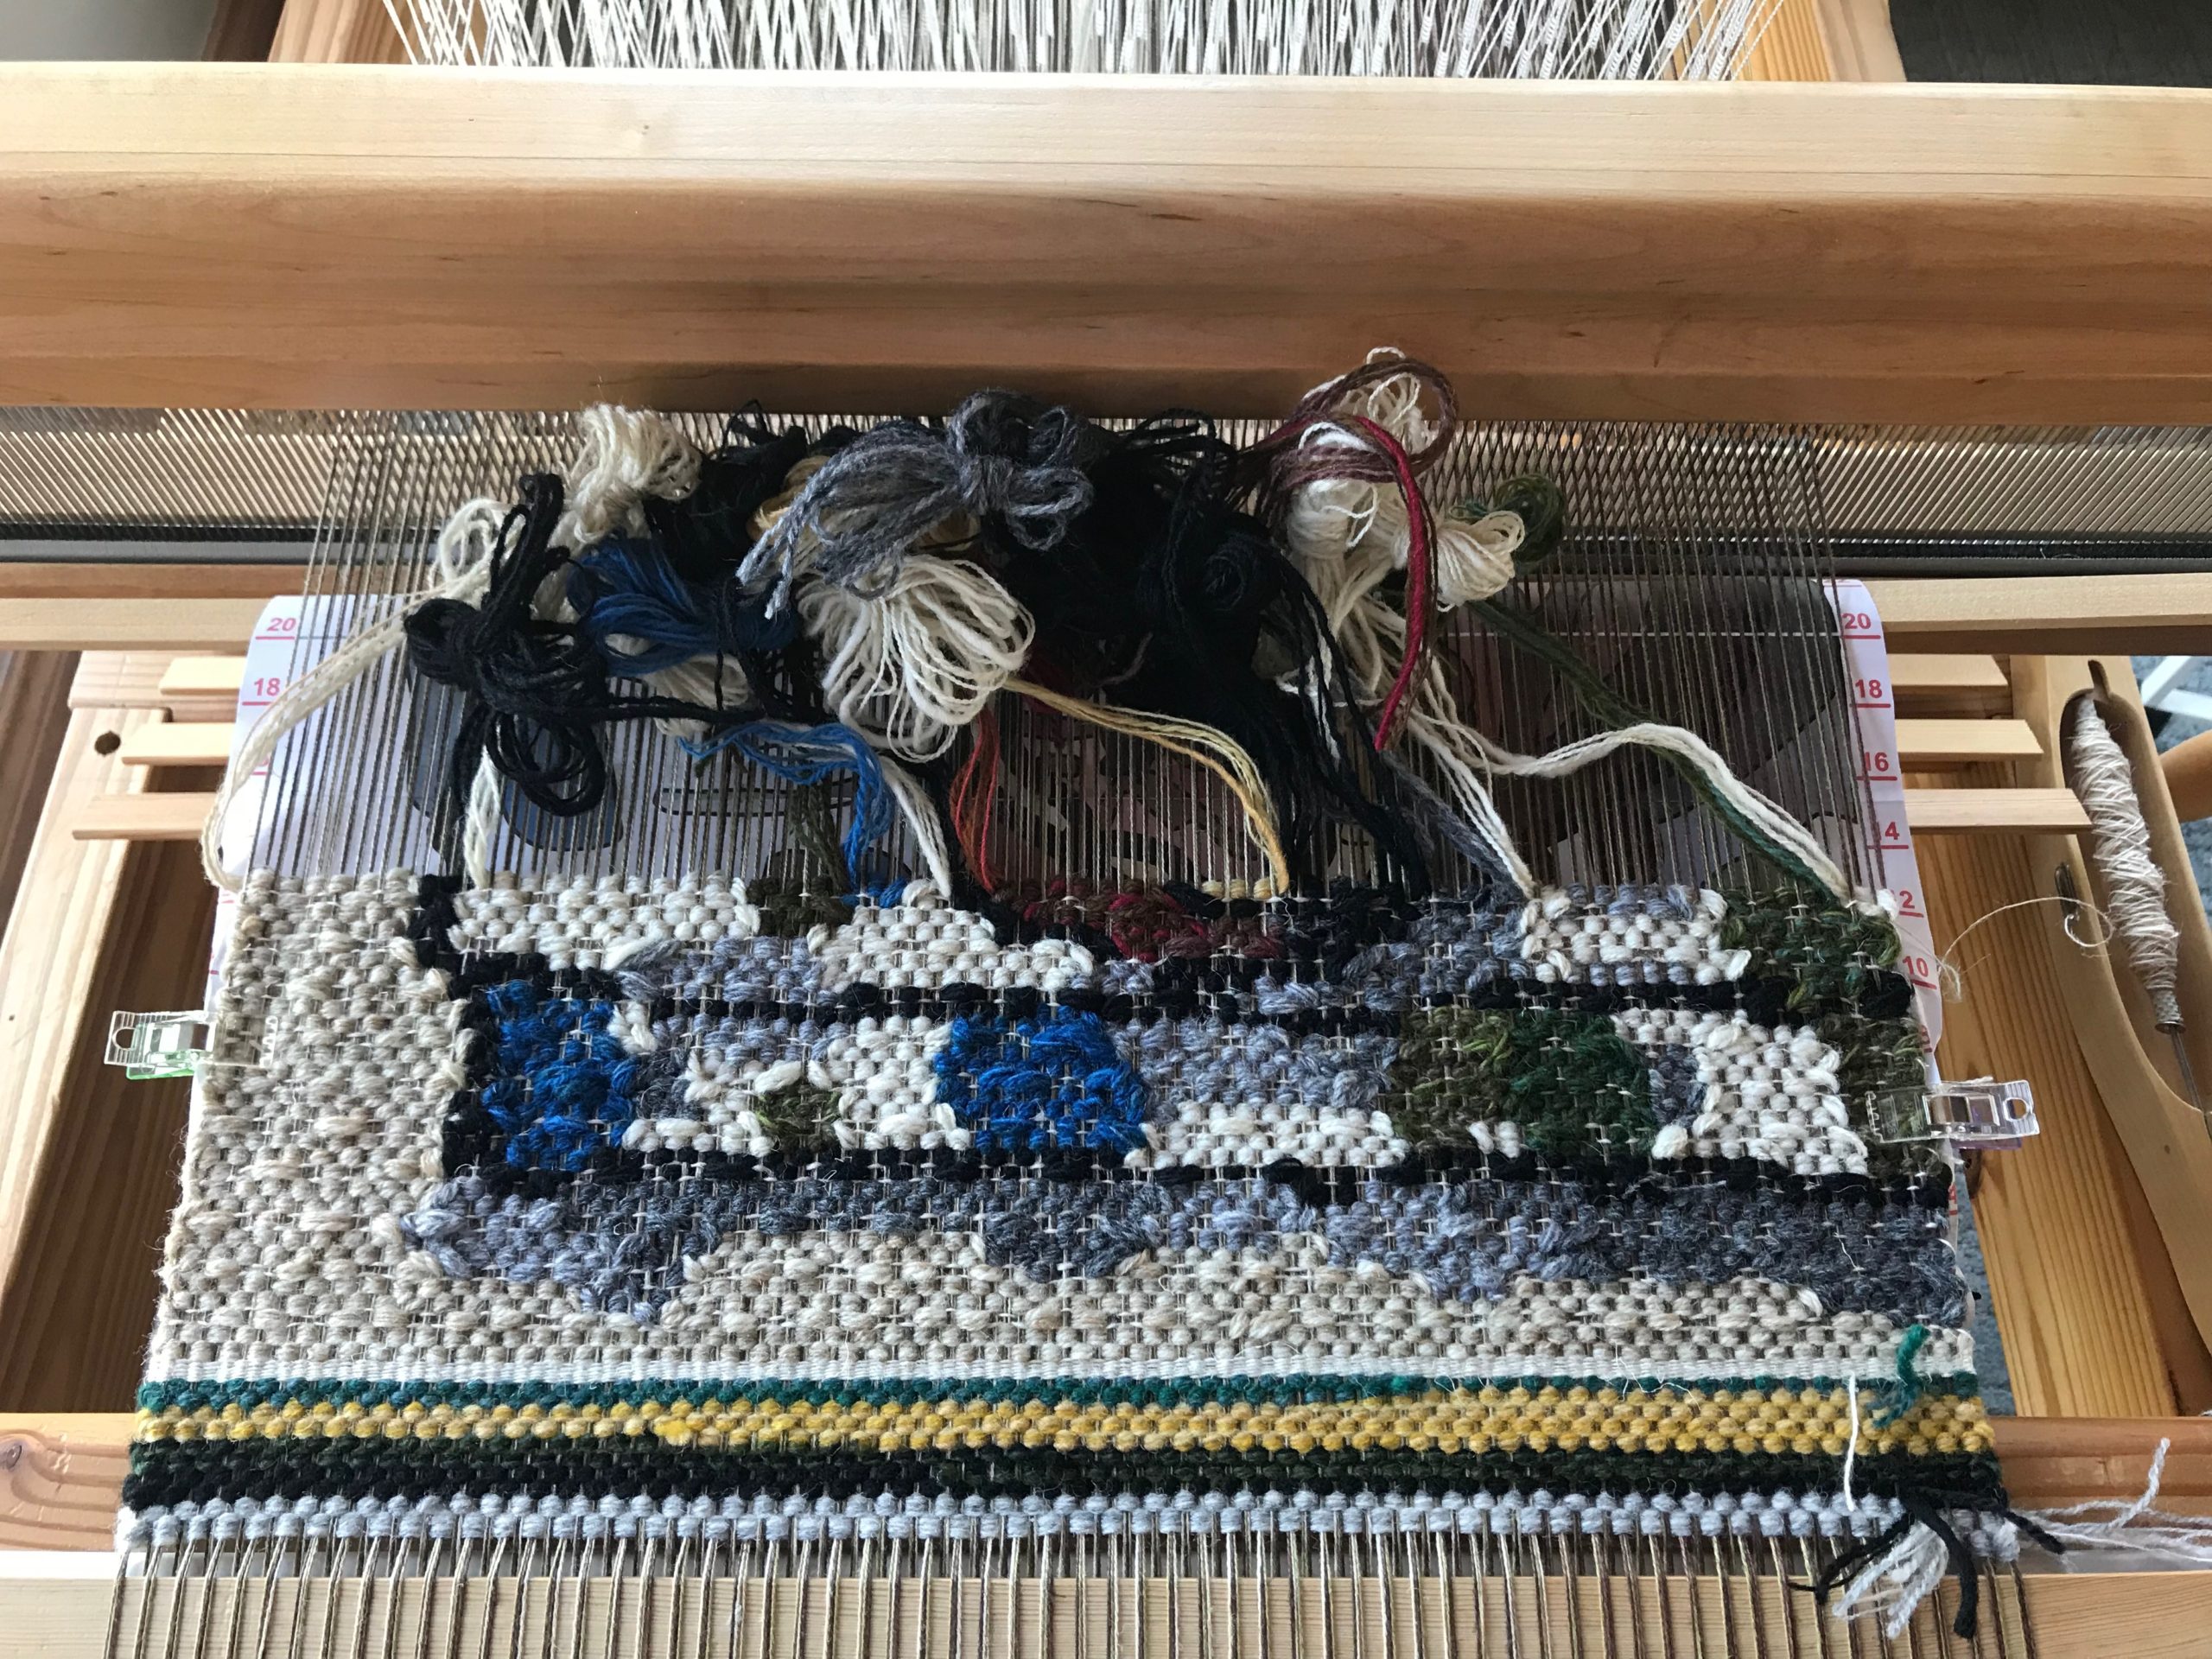
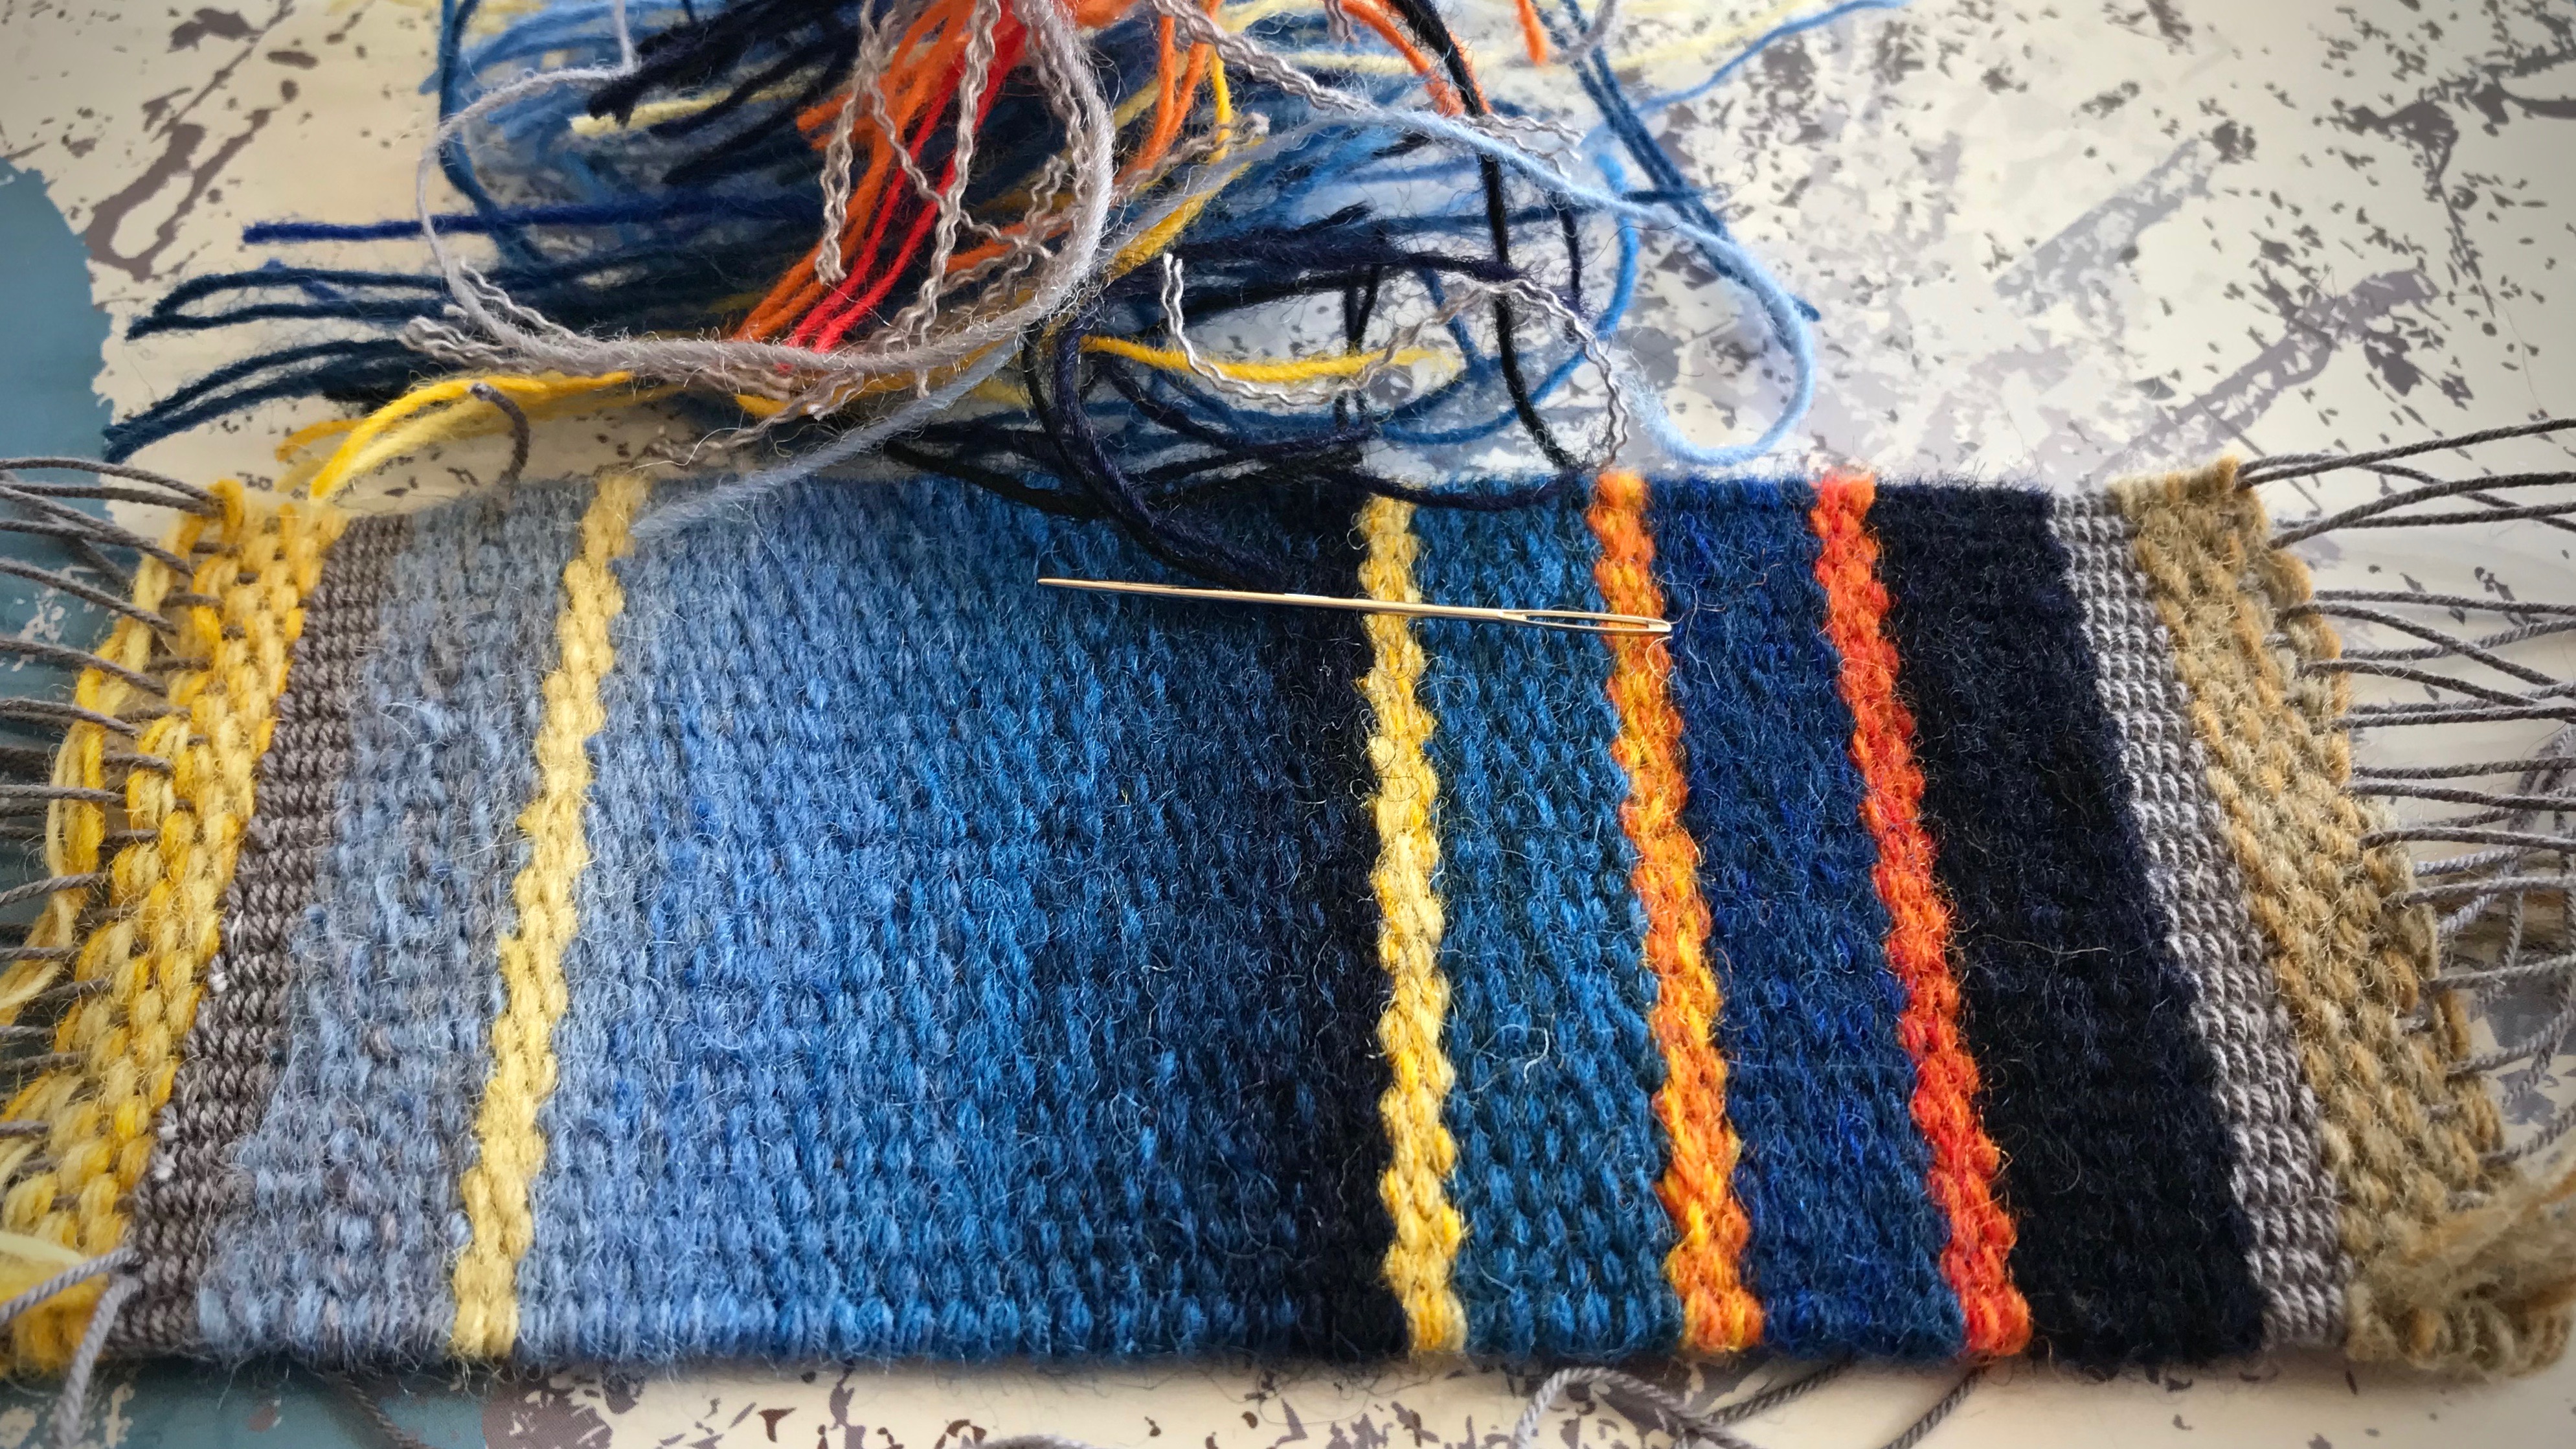
Every row is a game of strategy. Where is the best place to add in a new color butterfly? How can I add or remove a butterfly and cause the least disruption? It’s an intriguing puzzle. The frustrating part has become the fascinating part.

May your frustrations become your fascinations.

Glad to Meet,
Karen

Small Tapestry Revived

This little tapestry has been almost finished for a very long time. I stopped short of completion months ago. I’ve missed my small tapestry weaving, so I’m back at it. Only a few steps remain with this one. Soon this little color gradation sweetheart will be on the wall, to be enjoyed.

Small tapestry with color gradation.
Last few picks of this small tapestry are woven in one sitting. Warp thread header and waste yarn are added.

Small tapestry with color gradation.
Small tapestry frame makes an interesting artwork frame. But this tapestry must be removed so another tapestry can begin.

The finishing steps are not difficult. (Rebecca Mezoff gives excellent instructions in Weaving Tapestry on Little Looms.) After the piece is removed from the loom, it is steamed. Then, weft tails are sewn in and/or trimmed on the back. Half Damascus knots secure the warp ends. The hems will be folded under and stitched down. Then, this little masterpiece will be ready for mounting and display.

Weft tails that will be sewn in and/or trimmed.
Tapestry was woven from the front, so all the weft tails are on the back.

Sewing in and trimming weft tails.
Weft tails have been sewn in and/or trimmed on the back of the weaving.

Finishing ends on a small tapestry.
Warp ends are secured with half damascus knots. Two-pound walking weight helps hold the little tapestry in place.

Here is an ancient description of an interesting woman, as told by another woman.

Strength and dignity are her clothing,
And she smiles at the future.
She opens her mouth in wisdom,
And the teaching of kindness is on her tongue.
—from Solomon’s book of Proverbs

Small tapestry is ready to be hemmed.
Small tapestry with color gradation is ready to be hemmed. Ends will be folded under at the soumak lines, and stitched into place.

This is the type of woman I admire. Wear the best clothes that money can’t buy—strength and dignity. She has optimism. No anger. She speaks with wisdom and kindness. These are finishing touches I ask my Maker to work in me. To be a woman ready for what she was made for.

May you be finished.

Kindest regards,
Karen

Small Tapestry Looms

The Hokett loom is proof that we don’t need everything we want. Simplicity often comes with fewer features, but it is still enough. I finished weaving one small tapestry sample on the simple Hokett loom, and I am pleased with the results. Now, I’m back to my little hand-built loom for the second sample. I’m spoiled by it’s tensioning device and the inlaid magnets that hold my needle.

Finishing small tapestry. Woven on Hokett loom.
Half-damascus knots, as demonstrated by Rebecca Mezoff, are used for finishing the edge of the small tapestry.

Hokett loom and small woven piece. Finishing in progress.
Finishing in progress. This small piece was woven with short hems that will be folded under.

The Weaving Tapestry on Little Looms online class (self-paced) by Rebecca Mezoff is going well. It’s great to view demonstrations that show details regarding yarn direction, headers, finishing, hems, and mounting, and more, from an expert tapestry weaver. My tapestry toolbox of skills is expanding! I’m thankful to have options of different looms to weave what I am learning.

Comparing two small looms--hand-built and Hokett.
The Hokett loom is smaller and more portable, even though the hand-built loom and Hokett loom have nearly the same weaving space.

What we need is more important than what we want. We don’t always see the difference between need and want. Lord, give us what we need today. May we long for nothing more than what you have promised to give. And may we show appropriate gratitude when given more than enough.

May you have what you need for today.

Softly,
Karen

Another Small Tapestry Loom

One more little tapestry loom? I signed up for Rebecca Mezoff’s Weaving Tapestry on Little Looms online class, and ordered a Hokett loom to go with it. This petite 7″ x 8″ loom is made by Jim Hokett, who uses exotic woods for the looms. Mine is made of bubinga and chechen woods. Very pretty and nice to the touch! This is a 6-dent loom, and I have warped it double, to have 12 ends per inch.

Hockett loom warped for weaving a small tapestry.
Hokett 6-dent loom is warped 12 ends per inch by warping 2 ends per dent. I am not accustomed to using a tapestry beater or a shed stick. It will be fascinating to try some new things!

New Hokett loom - starting sample for Rebecca Mezoff's class.
I did some weaving while riding in the car. I finished the header, a short hem, and a row of special knots for the hem’s turned edge.

In this course, I am practicing some basic small loom tapestry techniques. Rebecca has a very organized, clear teaching style, so it’s a joy to learn from her. As I practice, I am reviewing things I have learned previously; and I am picking up great tips that are new to me. And, for once, lo and behold, I am weaving tapestry from the front!

May your new year start with learning something new.

Happy Year End,
Karen