Big Dream Tapestry Starts Here

I dream of doing four-shaft tapestry with rosepath threading on my floor loom. I’m not there yet. It is an ambitious goal. I am inching my way toward that goal by facing little problems on my tiny frame loom and working out solutions as I go. Learning to follow a cartoon is part of the process.
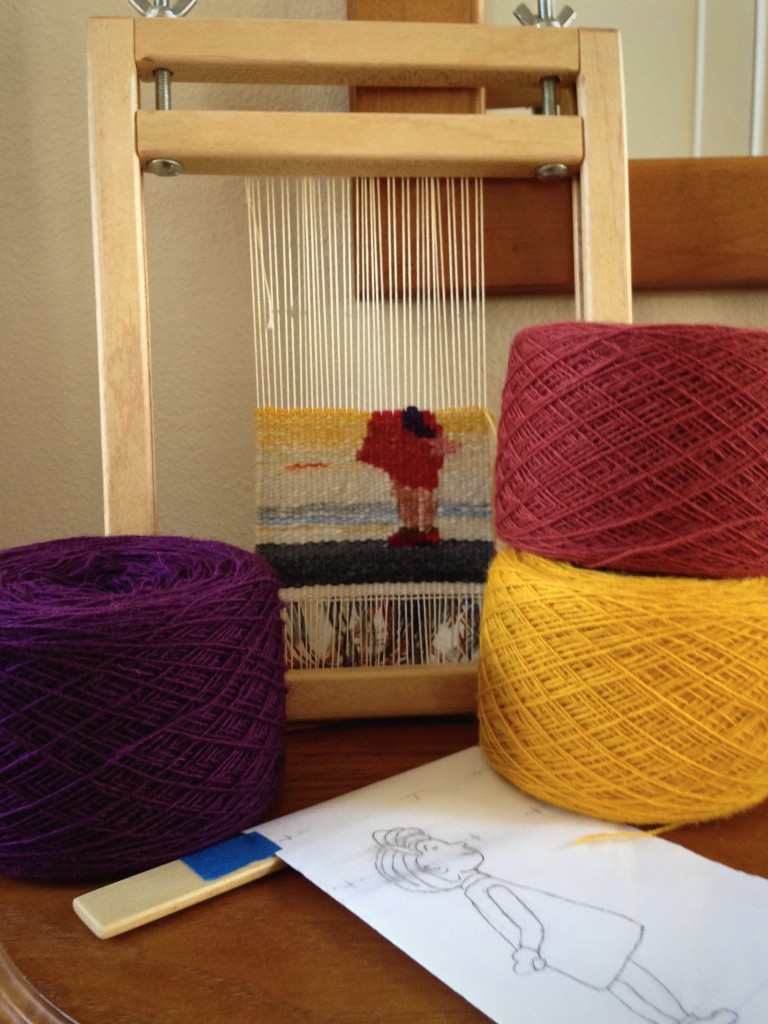
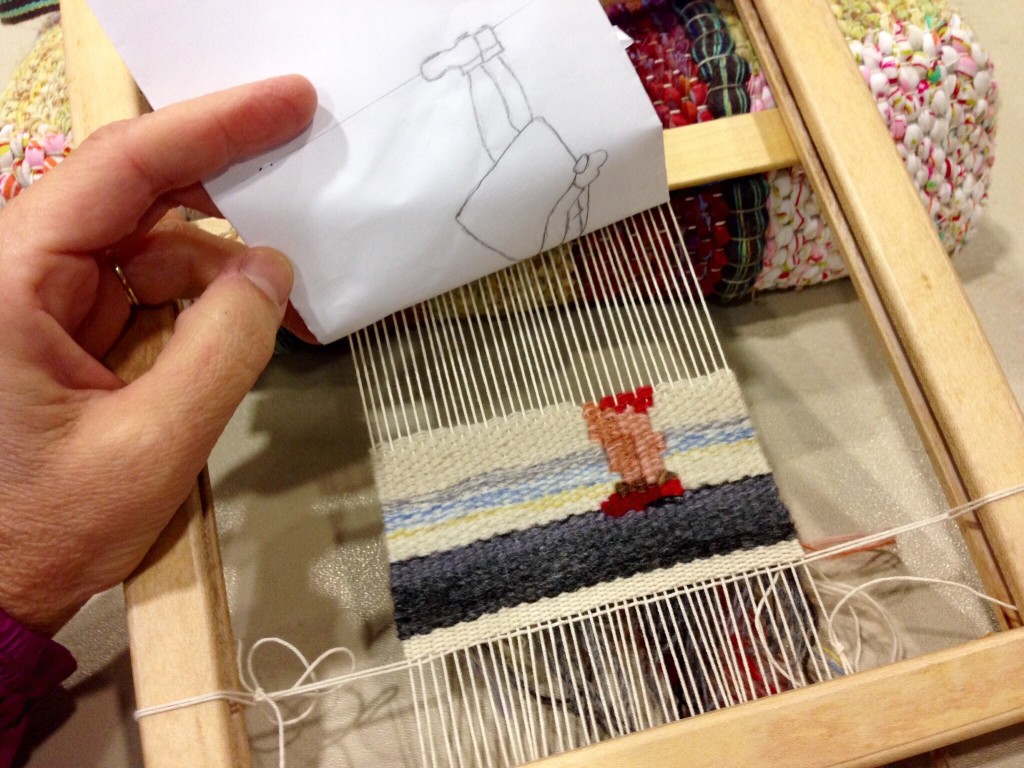
Little girl tapestry in process, with Borgs Faro wool.
Little girl is being woven from the back, one row across at a time. The weft is Borgs Fåro wool, a single-ply that packs together nicely for tapestry weaving.

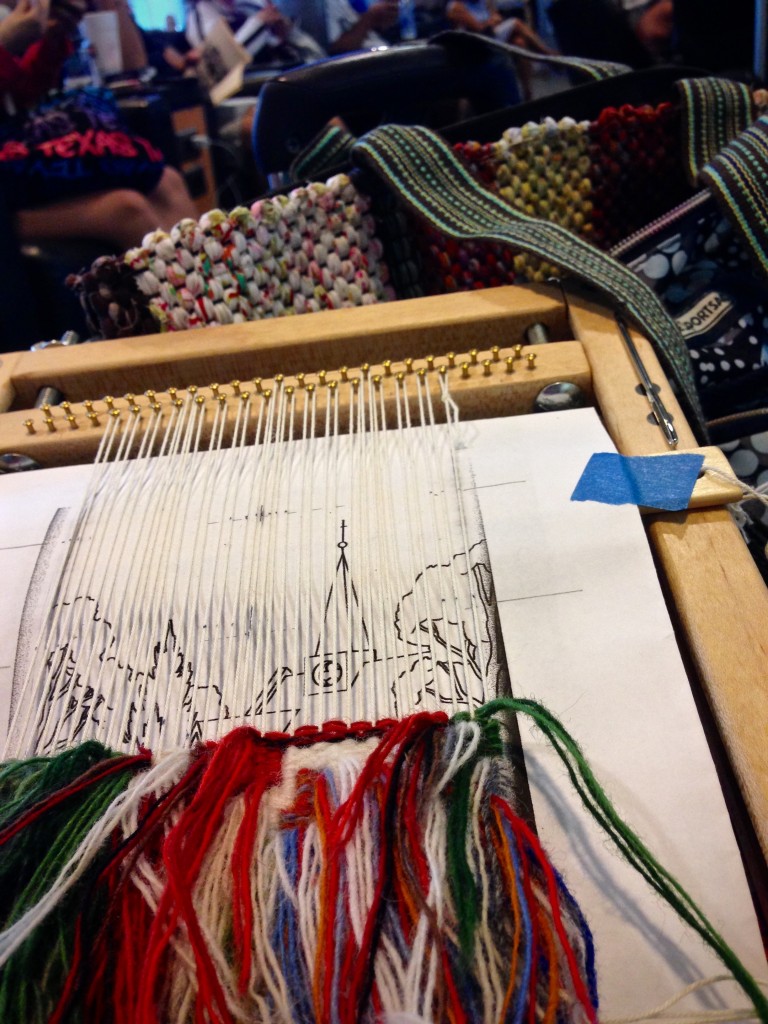
I derived the cartoon for this tapestry from a picture in a children’s book. The cartoon, held in place behind the warp threads, is my constant guide. As I make ongoing judgments about colors and other details, the cartoon keeps me on course and shows me the desired outcome.

Life is full of choices. If I purposely align myself with integrity, like a tapestry weaver following a cartoon, I have a guideline for decisions. But if I carelessly keep things in my path that tempt me, it’s like covering up parts of the cartoon with random post-it notes. The picture gets obscured. Our surroundings can set the stage for making good choices. And one good choice leads to another good choice. That’s the beauty of practicing with small things. When the time comes for four-shaft tapestry, I’ll be ready.

May you flourish in your surroundings.

A step at a time,
Karen

Weave the Portable Way

What do you do when you are away from your looms for a week? Portable weaving, of course. I thought about bringing my band loom, but fitting the band loom in the car turned out to be more of a hassle than it is worth. So the band loom stayed home.

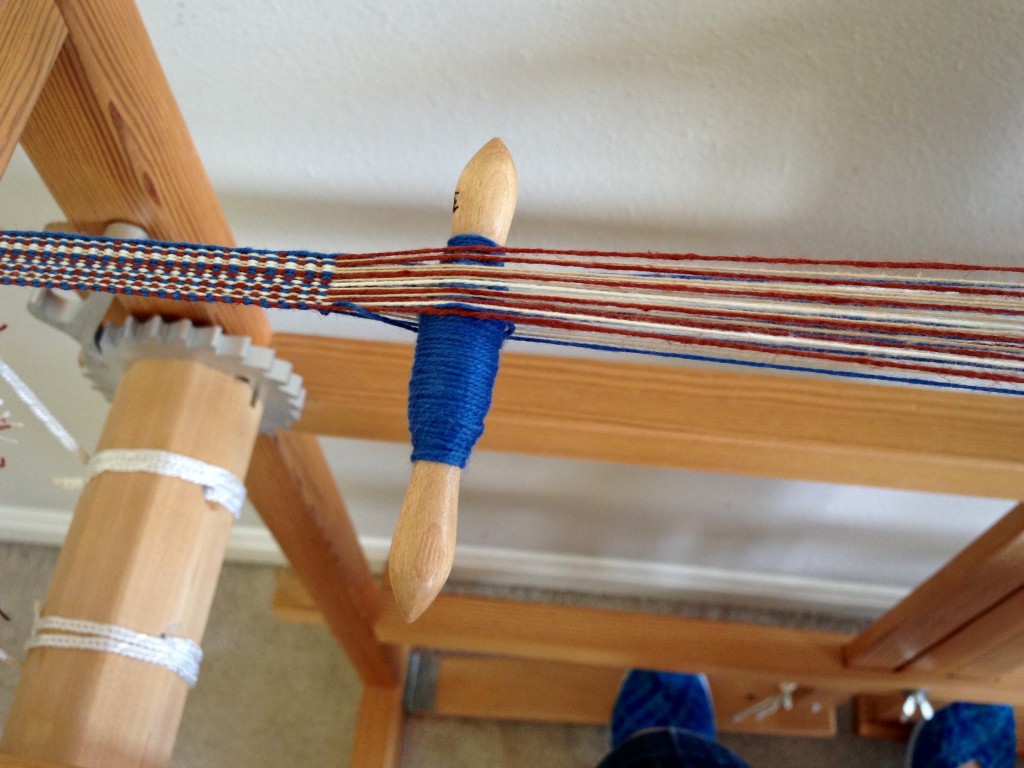
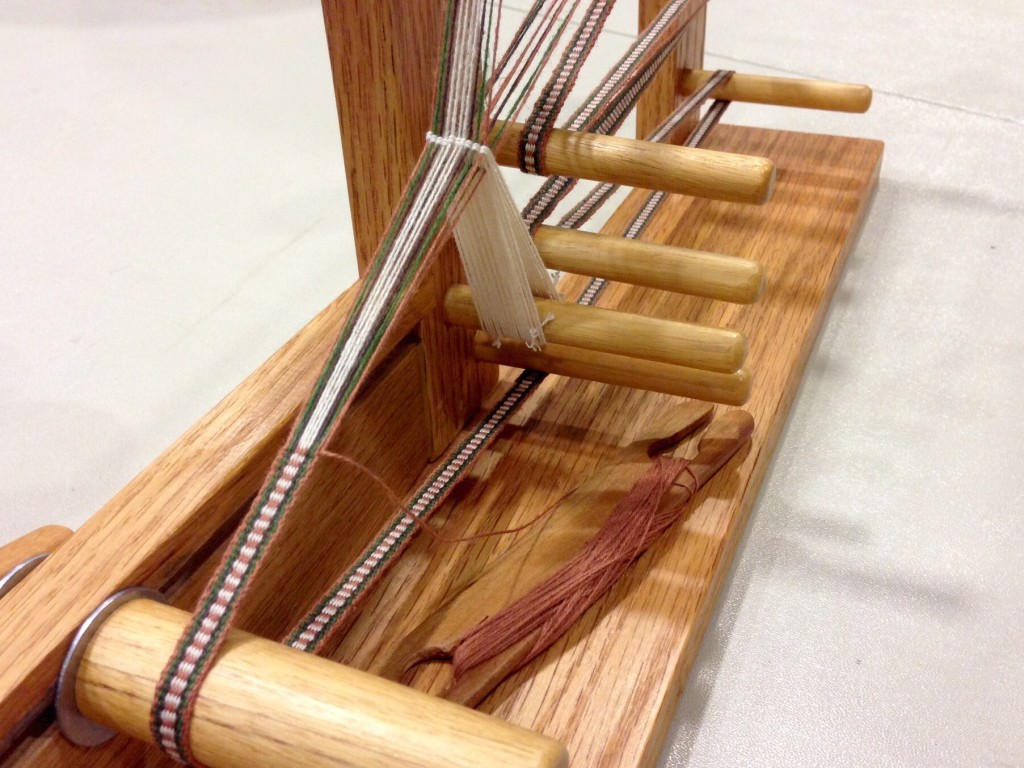
Glimakra band loom with cottolin warp.
Band loom stays home.

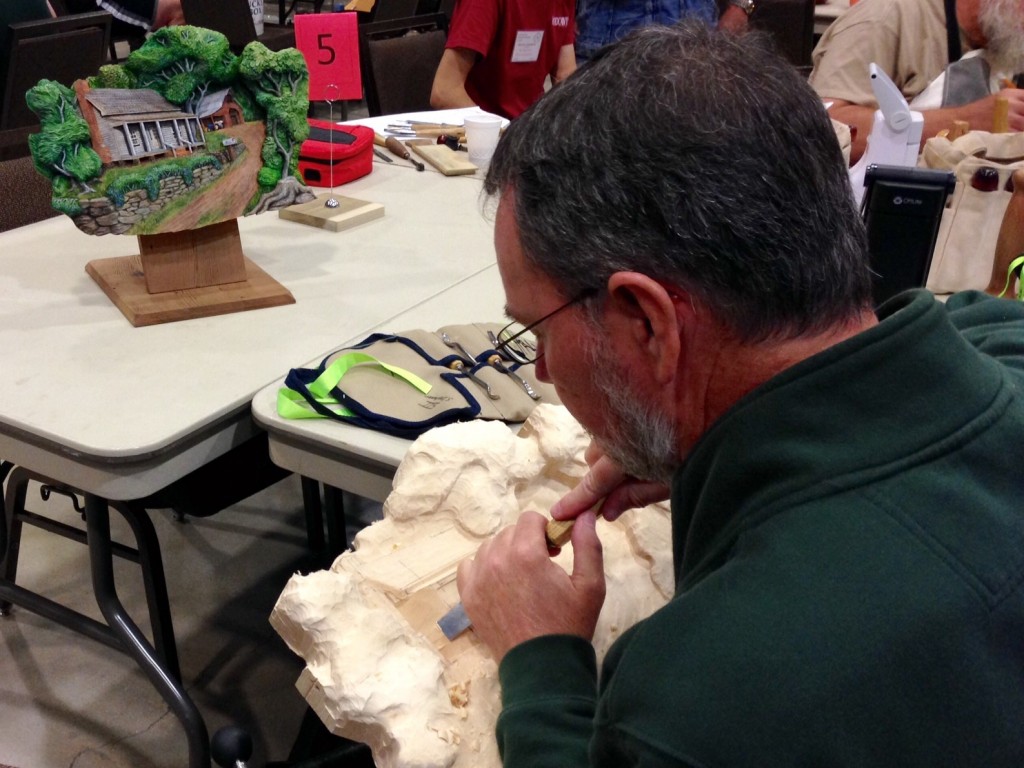
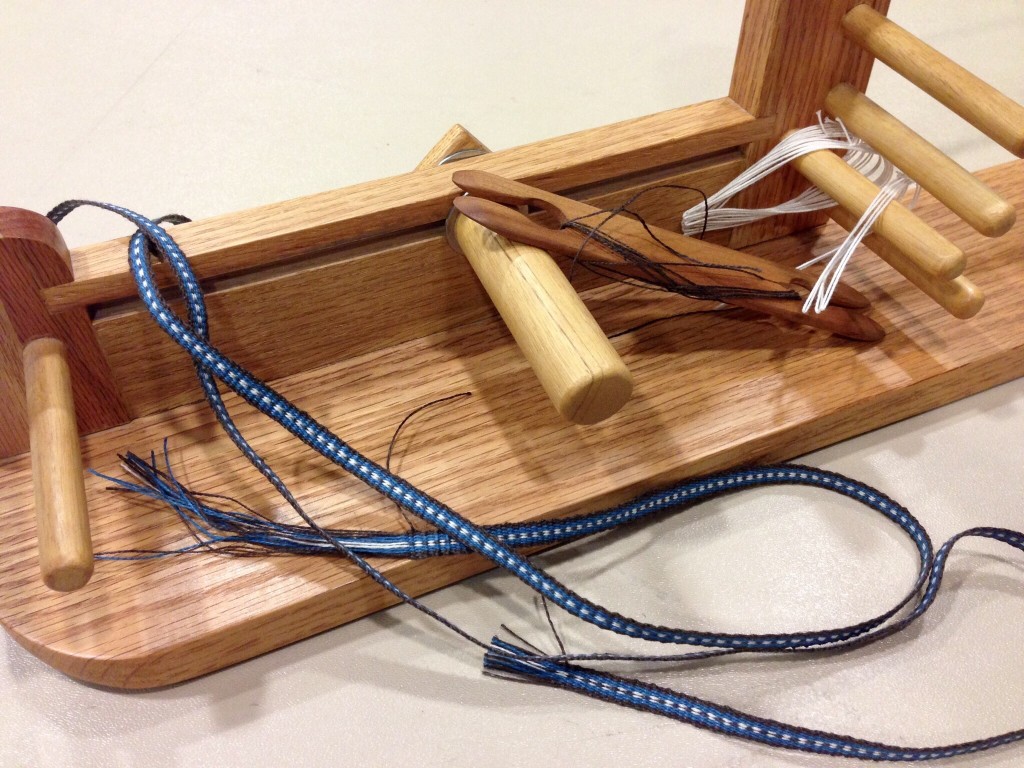
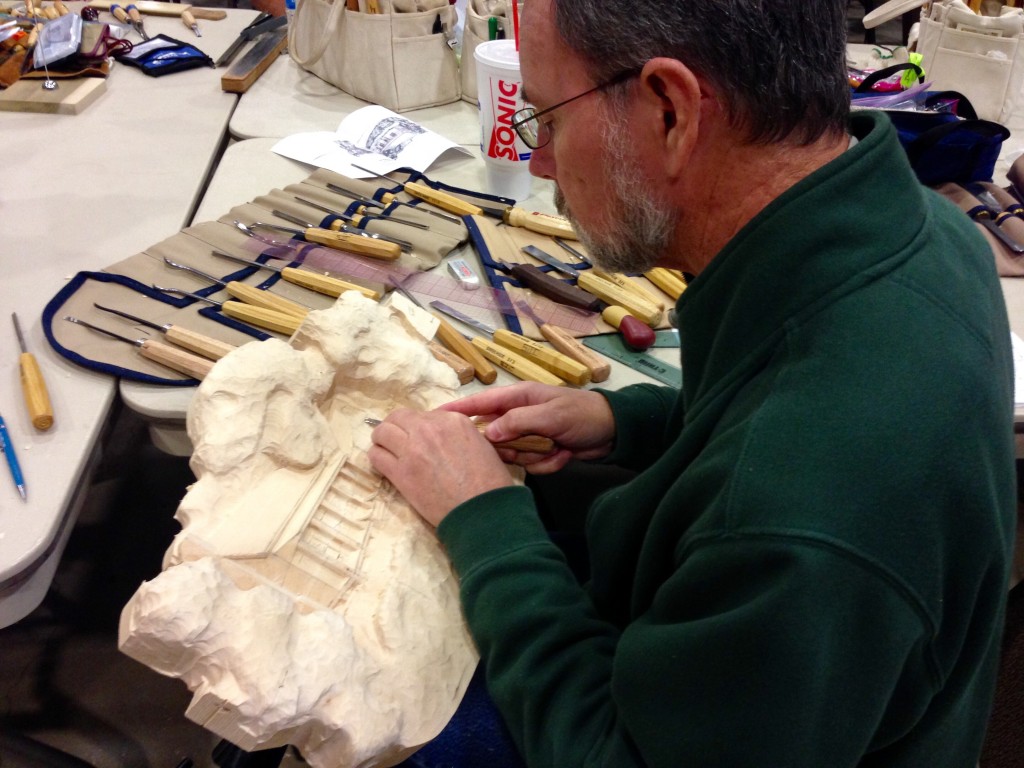
I have my inkle loom with me instead, as well as my small tapestry frame. Steve is taking a woodcarving class from Dylan Goodson this week at the Texas Woodcarvers Guild Seminar; and while he is in class I am keeping my hands busy with portable weaving.

Woodcarving class by Dylan Goodson.
Steve beginning to shape his relief carving, following the finished example by his instructor, Dylan Goodson.
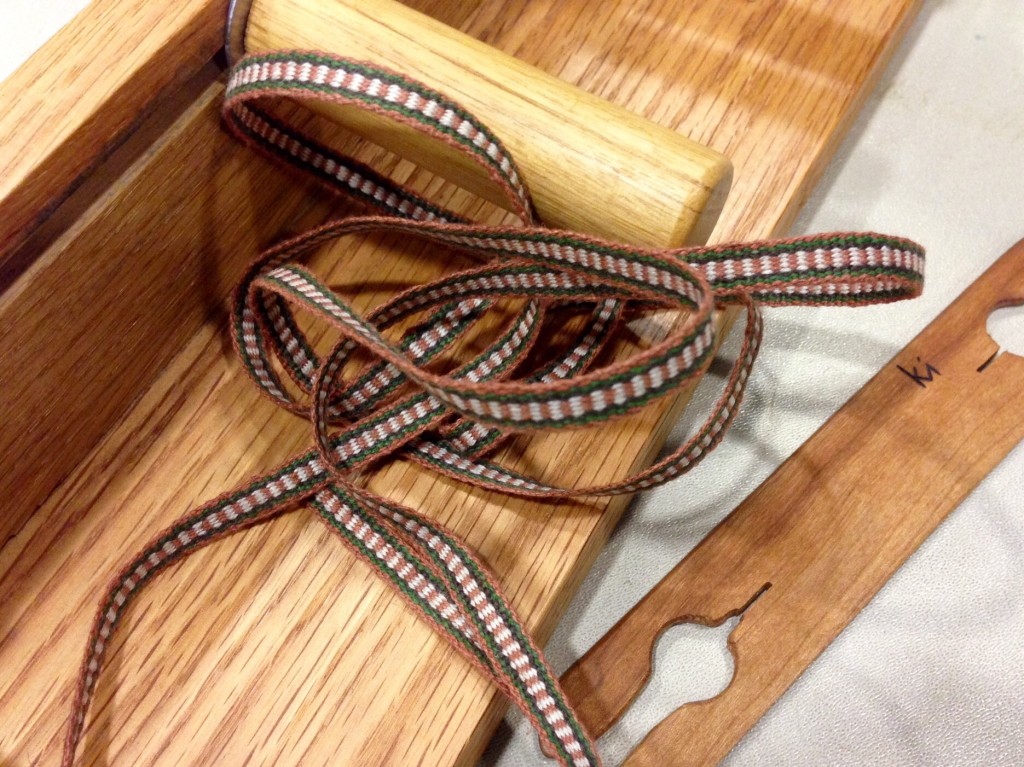
Linen inkle band.
First inkle band of the week is linen.
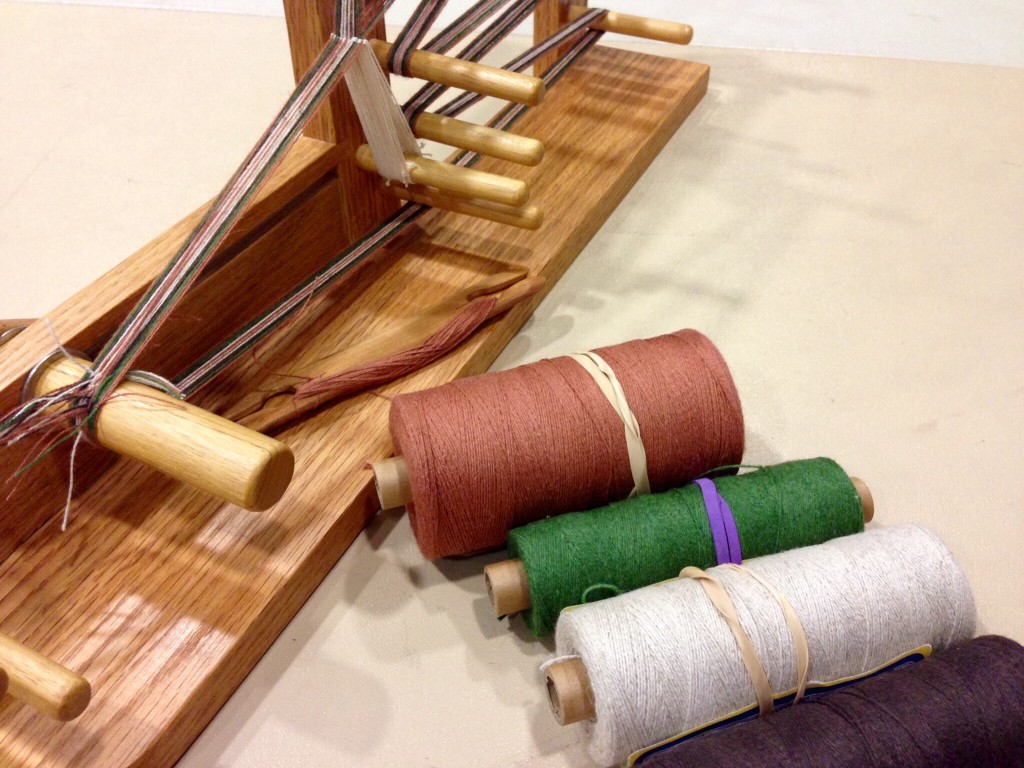
Cottolin inkle band warp.
Cottolin warp for the second narrow inkle band.
Cottolin inkle band.
Second inkle band almost finished.
Small tapestry on portable frame loom.
Start of a small tapestry of a little girl, derived from a picture in a children’s book.
Cottolin inkle band. Karen Isenhower
Time to put on one more inkle warp!
Woodcarver doing relief carving.
Adding more details to the relief carving. Good carving takes time and patience. Like weaving.

May you enjoy passing the time away.

Happy portable weaving,
Karen

Quiet Friday: Custom Lining for a Handwoven Bag

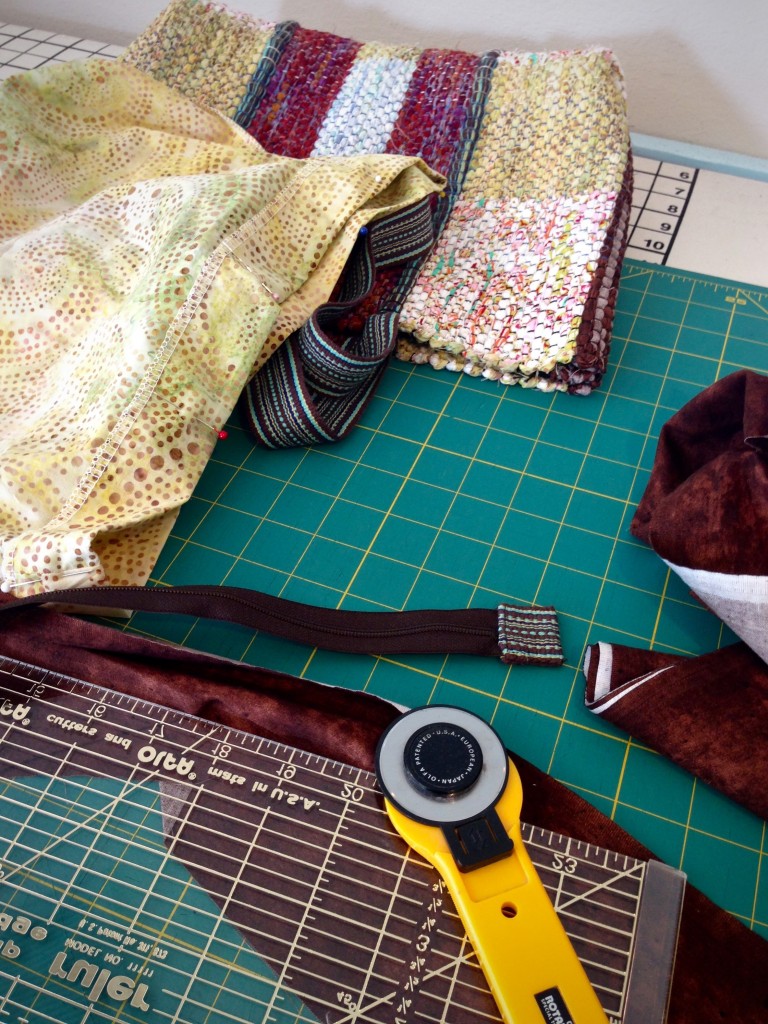
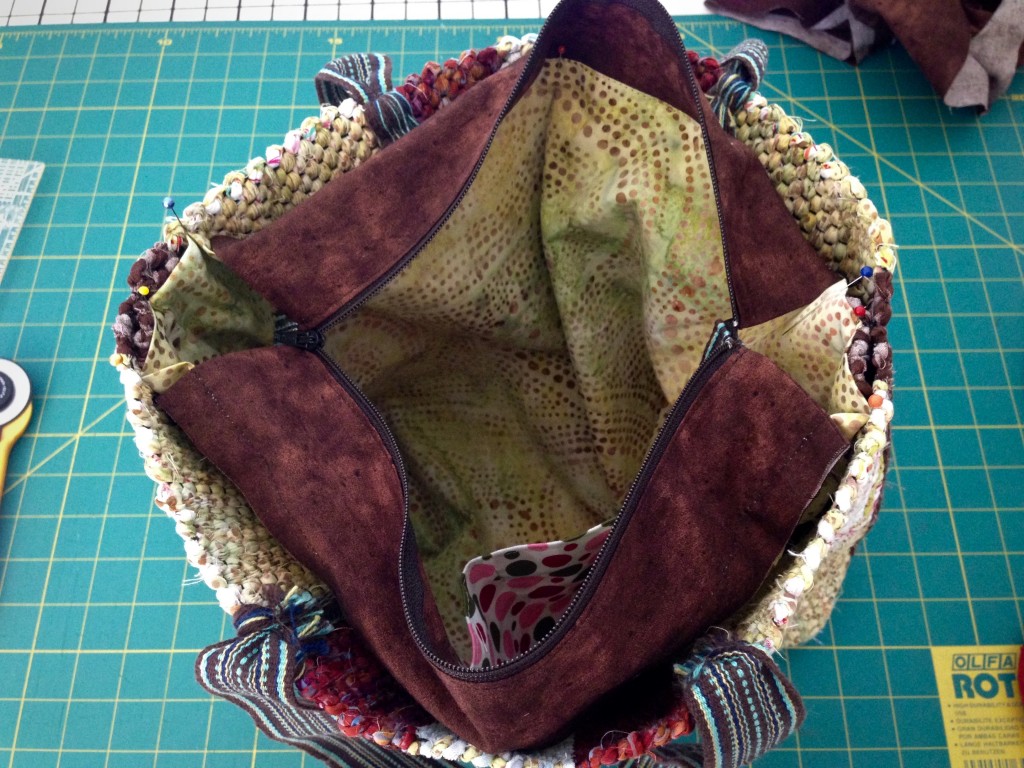
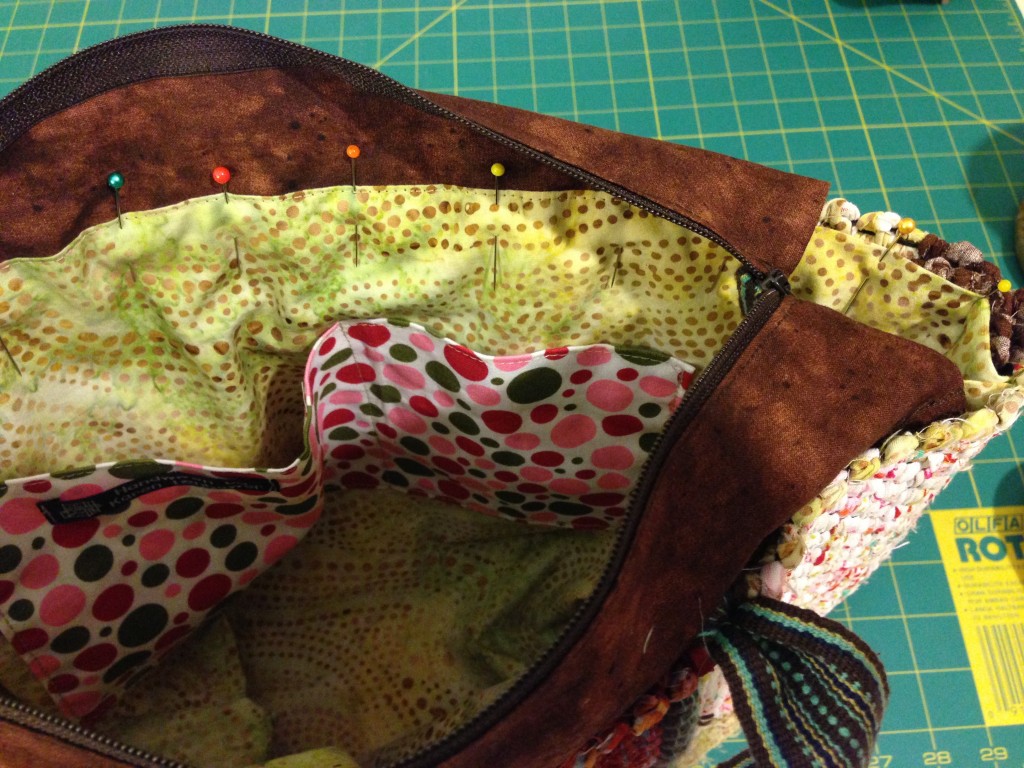
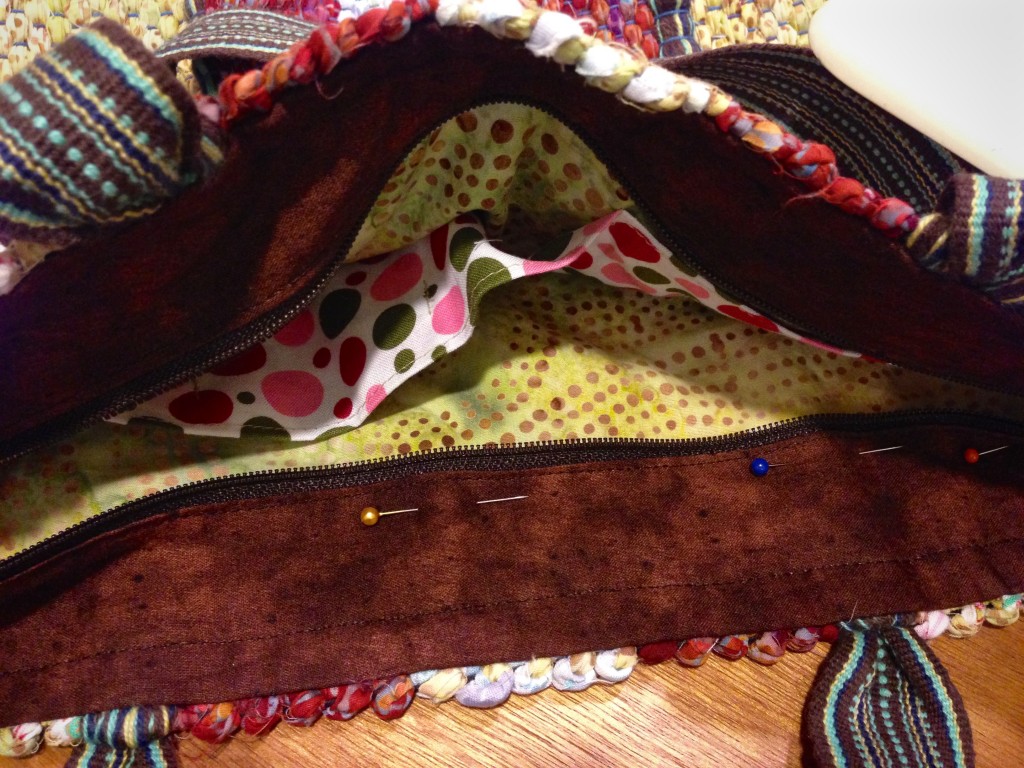
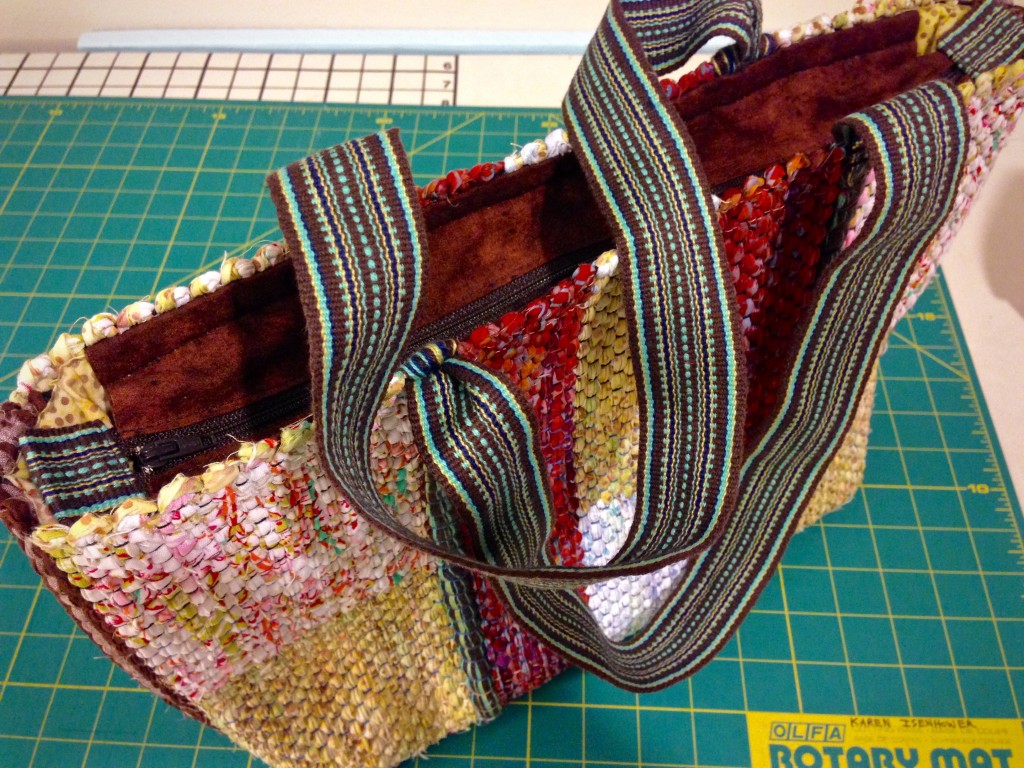
Every good bag deserves a good lining, with pockets inside and a zipper on top. This handwoven rag rug bag is no exception. The lining fabric is some of the same fabric that is woven in the bag. The polka dot pocket fabric is a cheery piece from a visit to The Philippines. The completed zippered tote is a perfect fit for my small tapestry frame, and goes with me when I travel. Quiet Friday: Weave a Bag with Handles shows how I made the bag.

How to add zippered lining to a bag.

How to Add a Custom Zippered Lining to a Bag

Tools

  • Sewing machine
  • Zipper foot
  • Walking foot (recommended, but not required)
  • Steam iron
  • Straight pins
  • Tool for pushing out corners
  • Needle and sewing thread
  • Disappearing ink fabric marker
  • Fabric scissors

Supplies

  • Fabric for lining. Lay bag on top of folded lining fabric, with bottom of bag aligned with the fold of the lining fabric. Cut the folded fabric a generous 1 1/2″ wider and 1 1/2″ taller than the bag.
  • Fabric for pocket. Mark two pieces of fabric (or use a folded piece of fabric) the desired pocket size. Add 1/4″ seam allowance. Cut along the marked lines. Stitch, right sides together, leaving an opening for turning. Turn right side out, pushing out corners. Press. Topstitch all four sides.
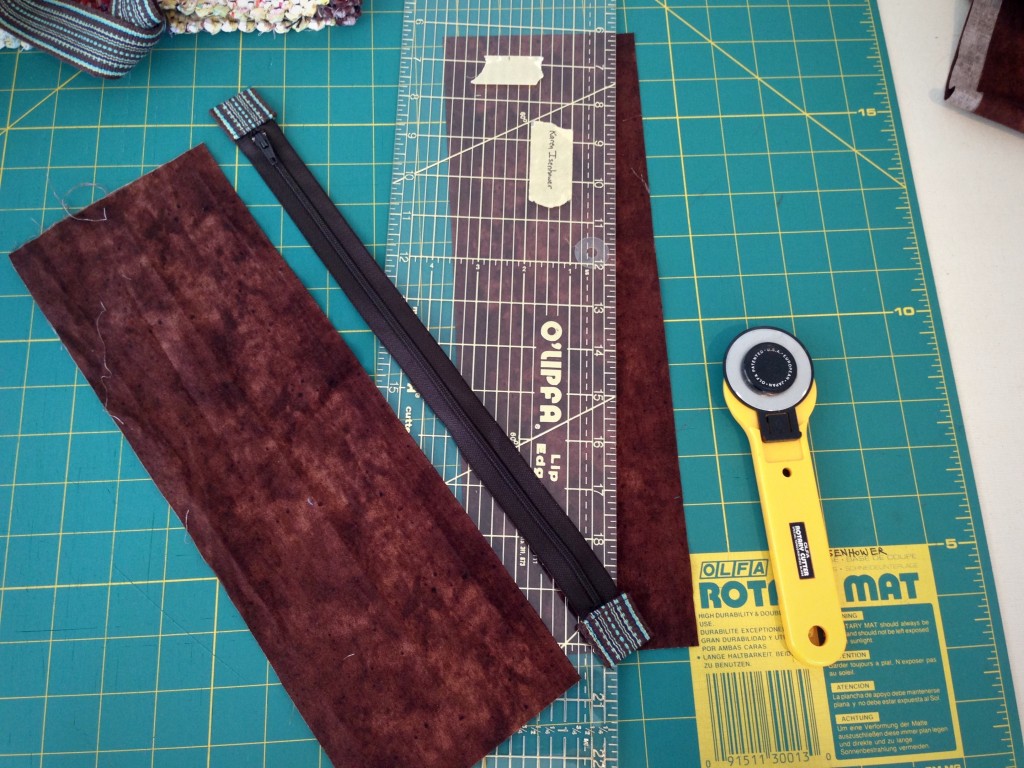
  • Fabric for zipper insert pieces. Cut two pieces of fabric 4 1/2″ wide by the length of the zipper plus 1″.
  • Tabs for ends of zipper tape. Cut from handwoven band or piece of fabric with sides folded under.
  • Zipper. Regular, non-separating zipper, as long as, or longer than, bag opening

Steps

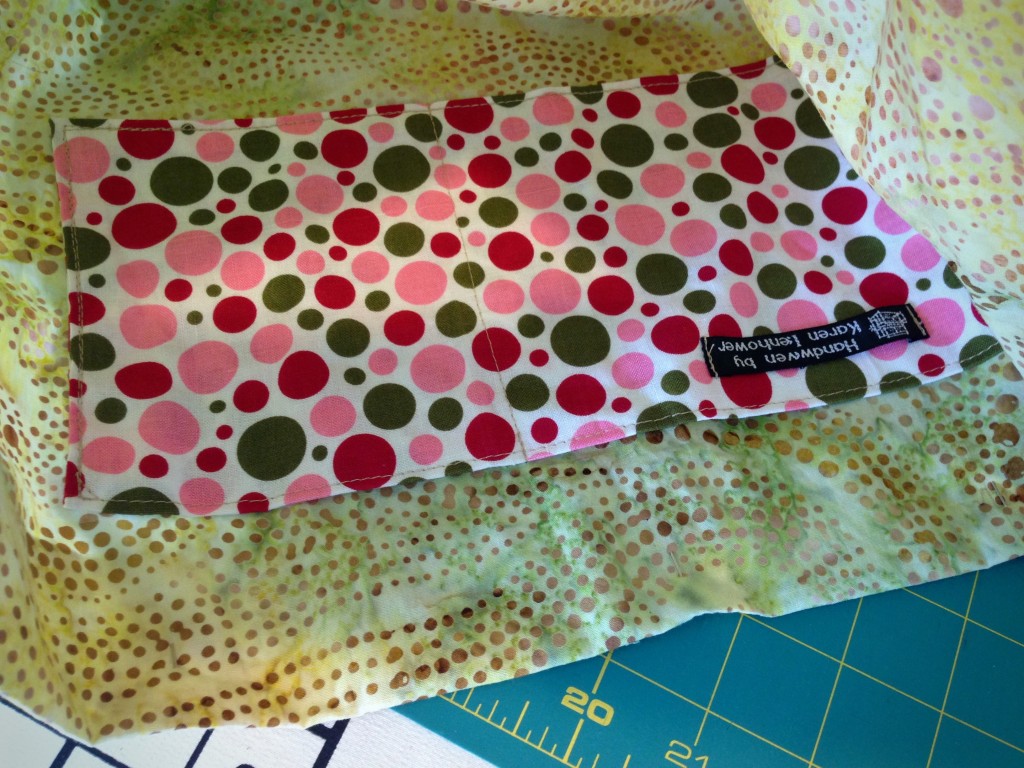
  1. Sew bottom three sides of pocket onto lining fabric. Stitch a dividing line on pocket.Adding pocket to lining for bag.
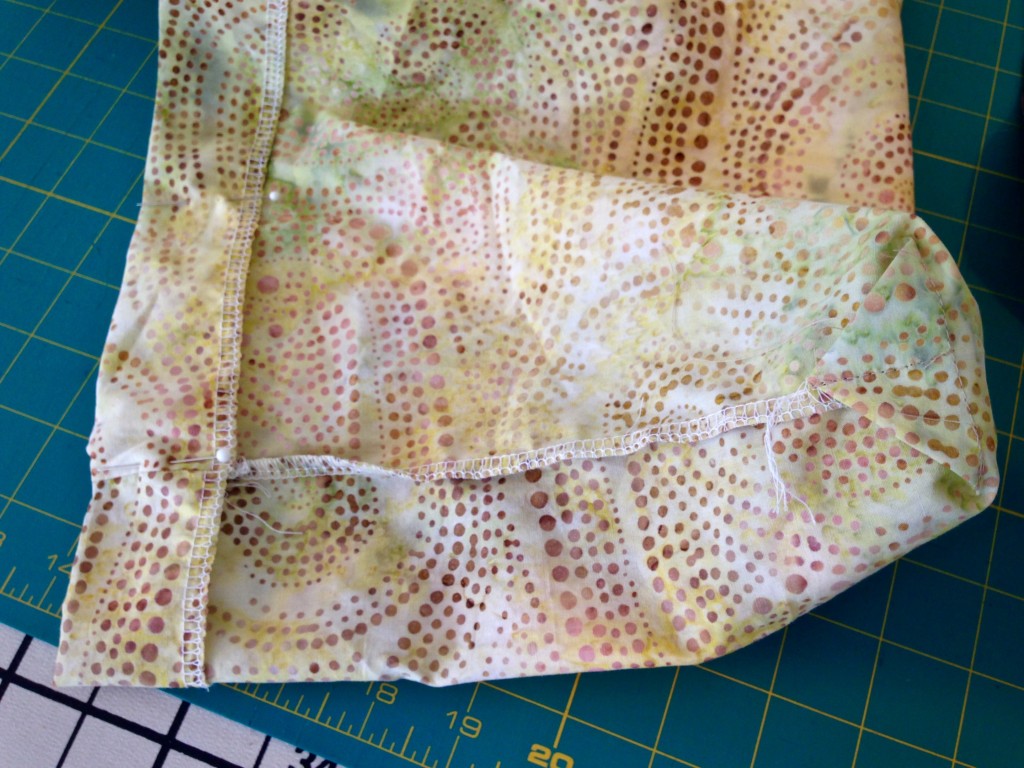
  2. Stitch sides of lining, right sides together. Fold and stitch box corners.Box corners on lining for a bag.
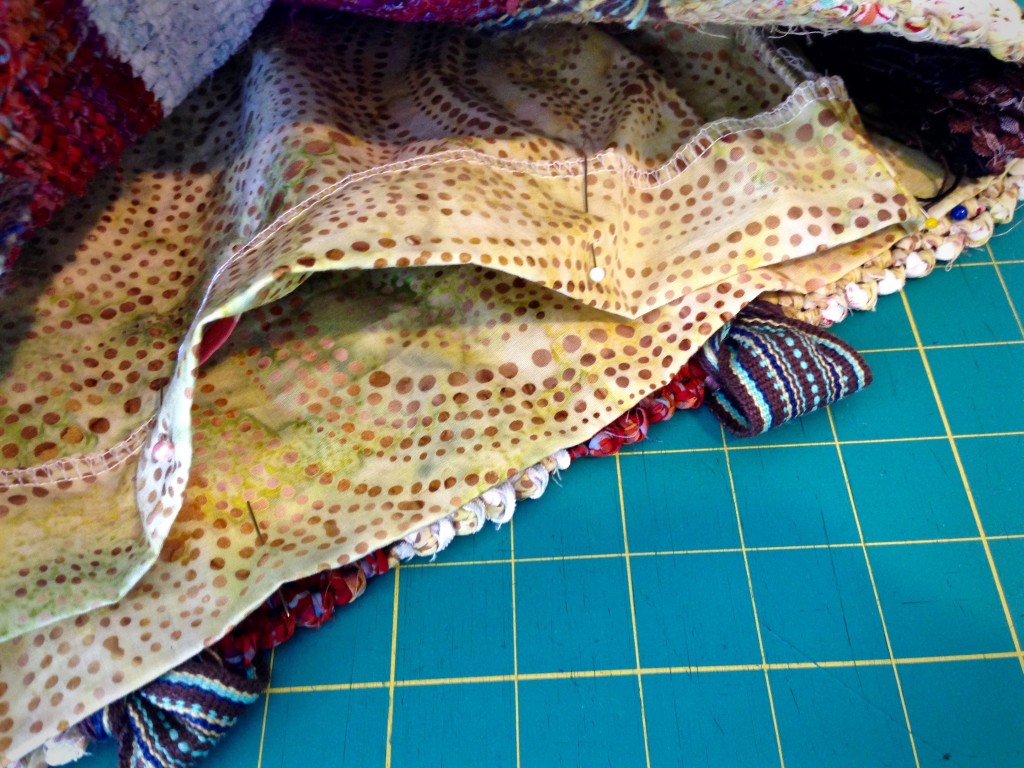
  3. With lining seated in bag, fold down top edge of lining, so that folded edge fits just inside top edge of bag. Pin folded edge of lining and remove from bag. Set aside. Fitting lining for a handwoven bag.
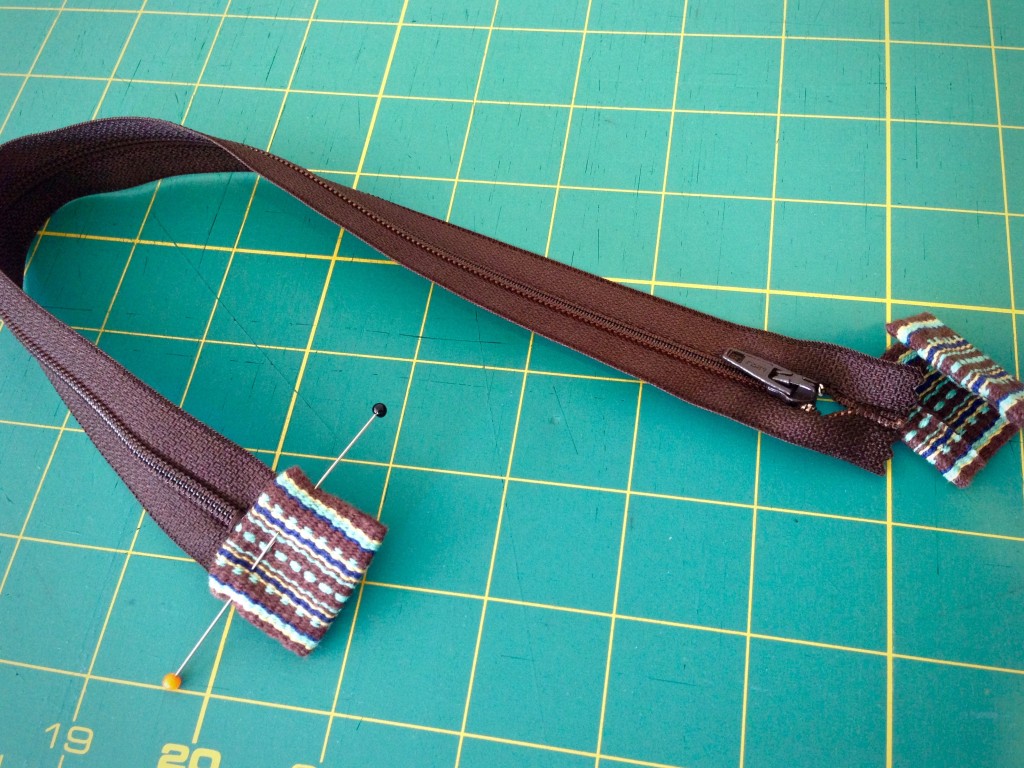
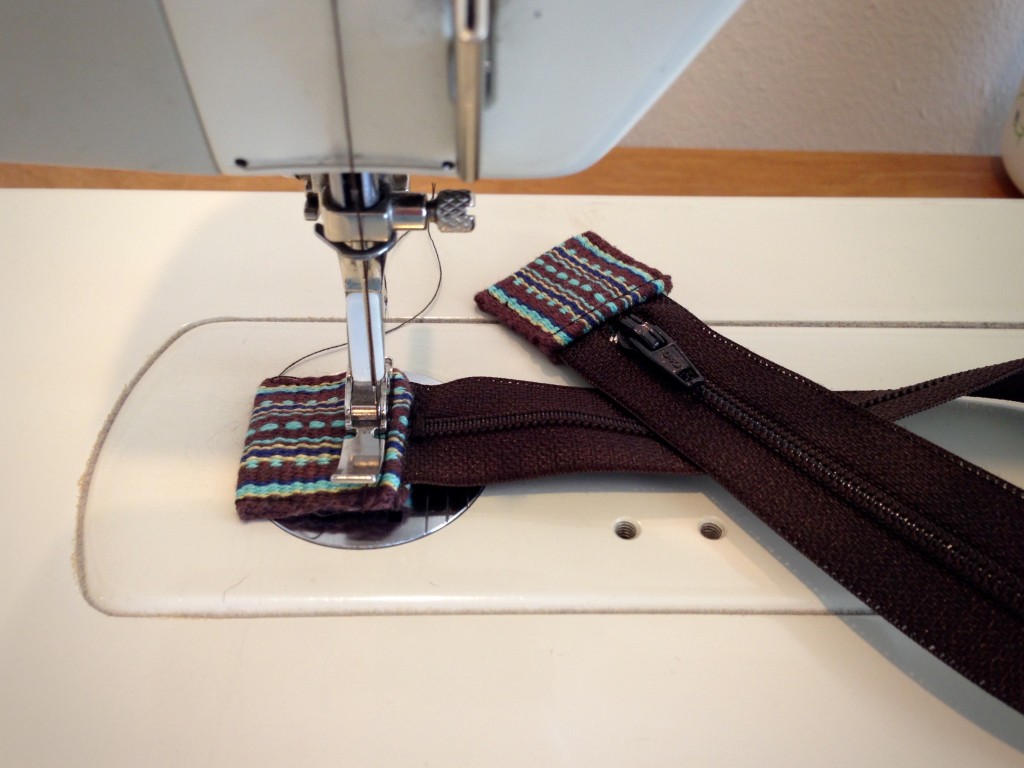
  4. Bar tack top ends of zipper tape together. Bar tack over end of desired zipper length. Cut off excess. Cut a tab from a woven band, or from fabric with sides folded in, to fold over each end of zipper tape. Use zipper foot to stitch tabs over zipper tape ends. Preparing zipper to add to bag.
    Handwoven tabs for ends of zipper tape.
  5. For zipper insert, cut two pieces of complementary fabric 4 1/2″ wide by the length of the zipper, plus 1″. Making zipper insert for top of bag. Tutorial with pics.
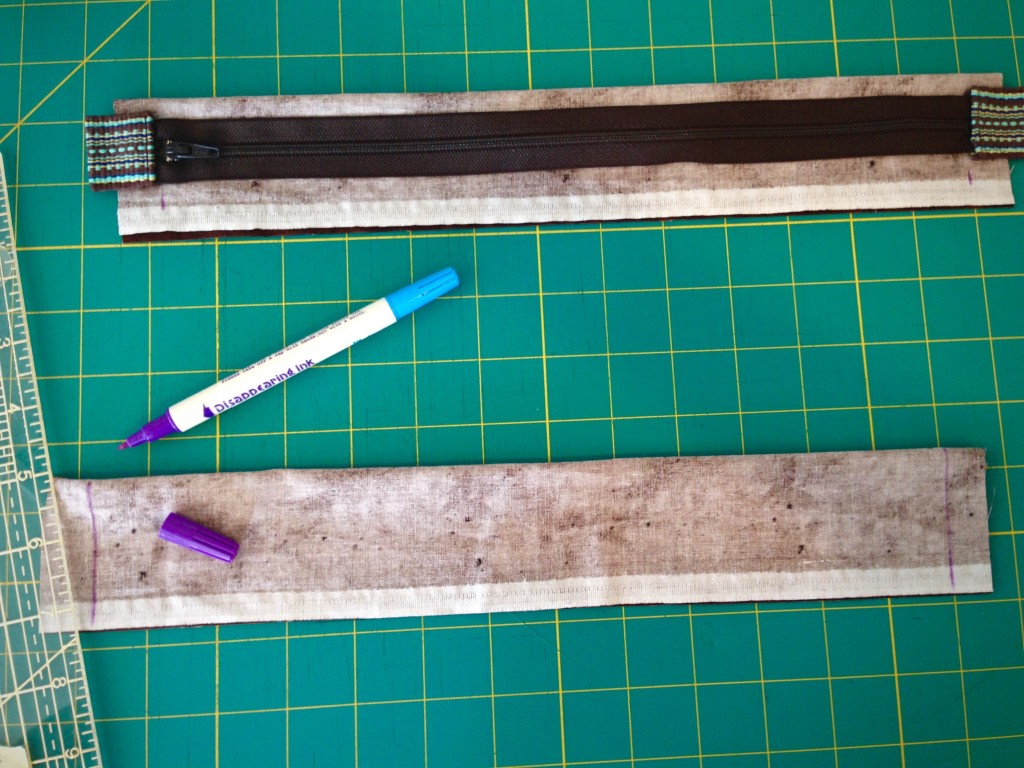
  6. Fold each zipper insert piece lengthwise in half, right sides together. Draw stitching line that matches length of zipper. Zipper insert for top of bag. Tutorial.
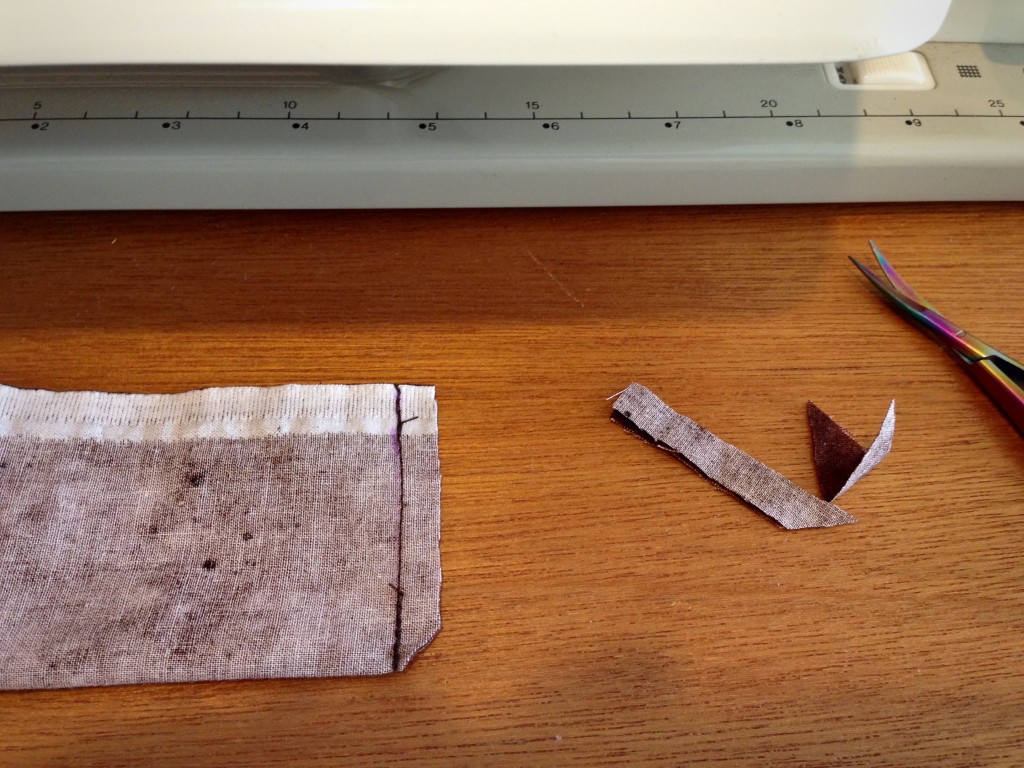
  7. Stitch both short ends of zipper insert pieces. Clip corners and trim seams. Making zipper insert for top of bag.
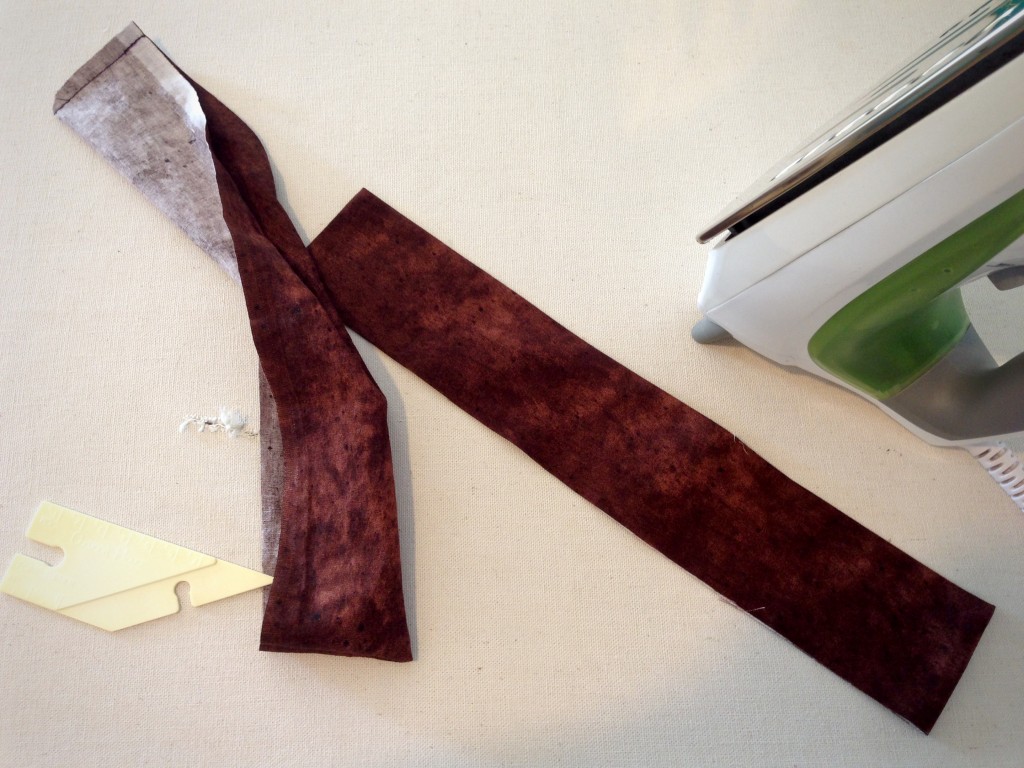
  8. Turn zipper insert pieces right side out. Push corners out. Press. Making zipper insert for top of bag.
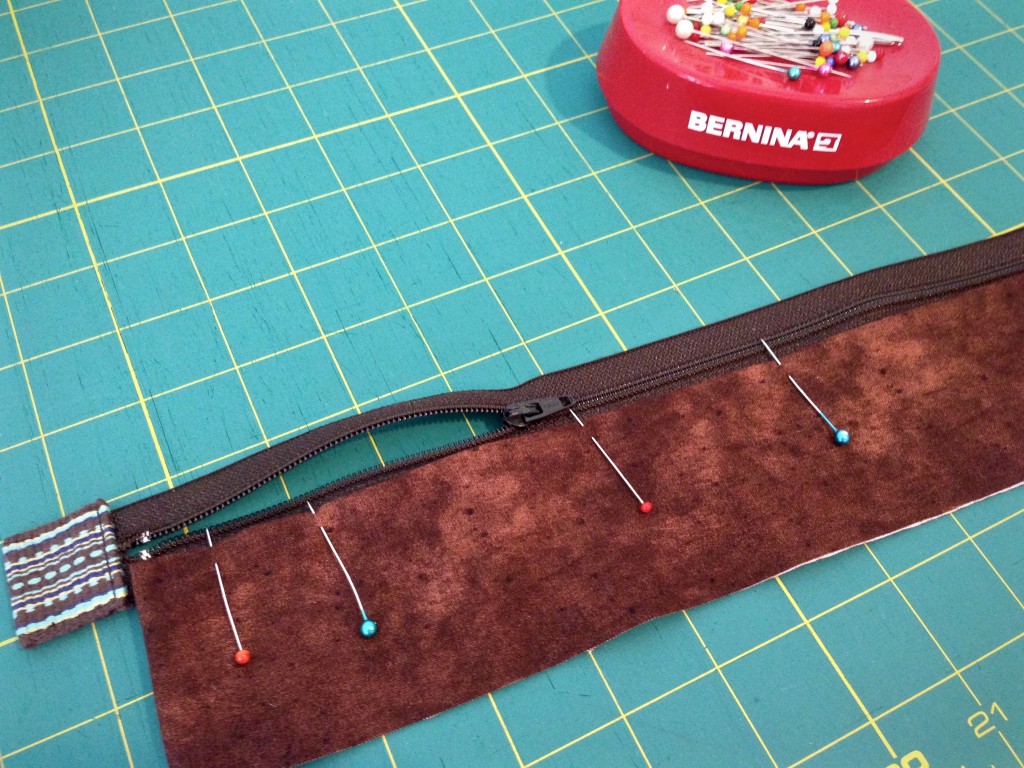
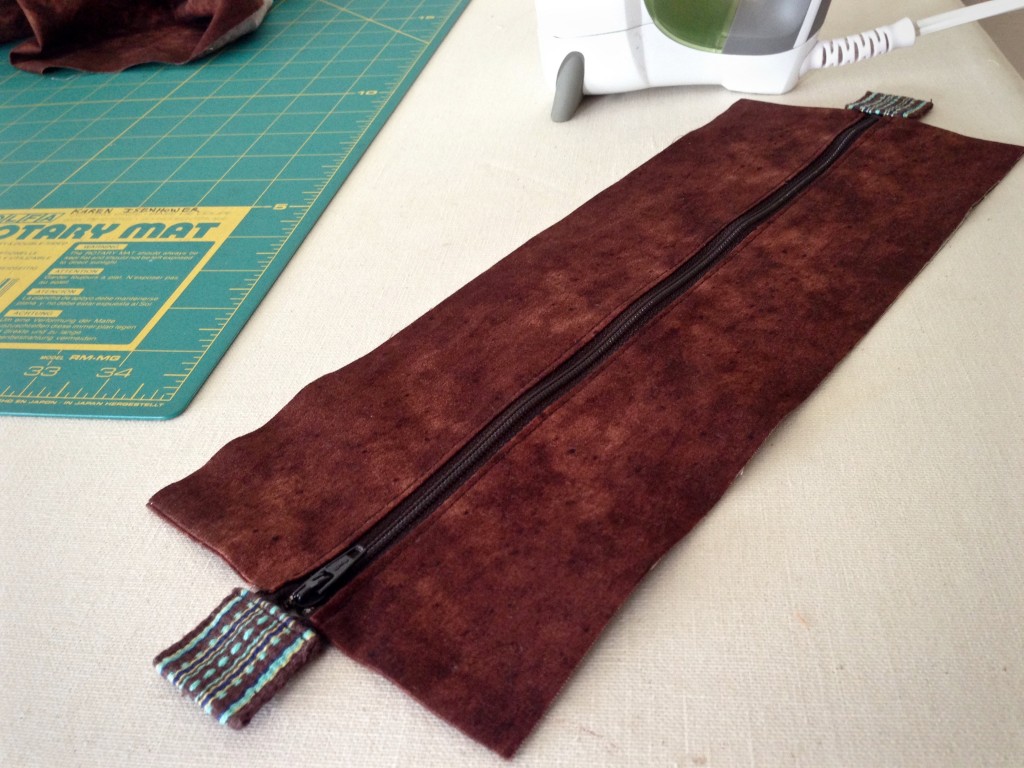
  9. Pin folded edge of zipper insert fabric to right side of zipper tape, centered lengthwise, 1/8″ away from zipper teeth. Open zipper partway. With zipper foot, starting at top end of zipper, topstitch close to folded edge. After stitching a third of the way, with needle down, close zipper, and then continue topstitching to bottom of zipper. Repeat for other side of zipper insert. Press. Making zippered lining for handwoven bag. Tutorial.
    Adding zippered top to handwoven bag.
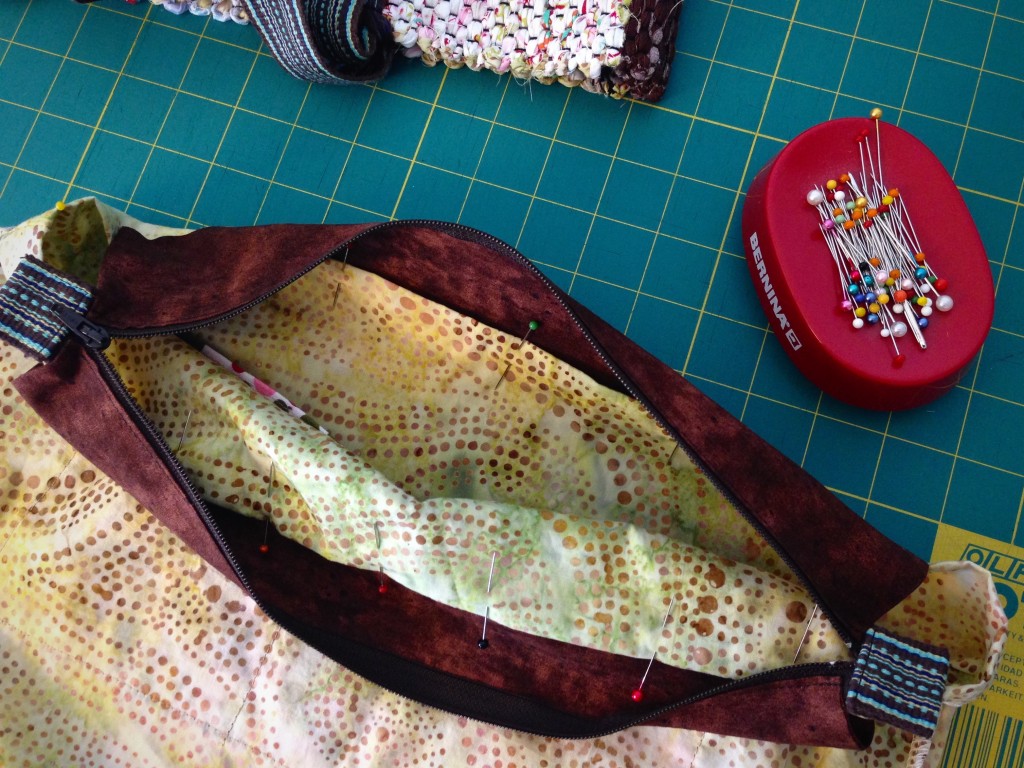
  10. With zipper opened, and zipper tab down (picture shows zipper tab up, after having pinned both sides), center and pin one side of zipper insert under one side of folded top edge of lining, so that lining overlaps insert 1/2″. Repeat with other side of zipper insert and lining. Making zippered lining for handwoven bag. How to pics.
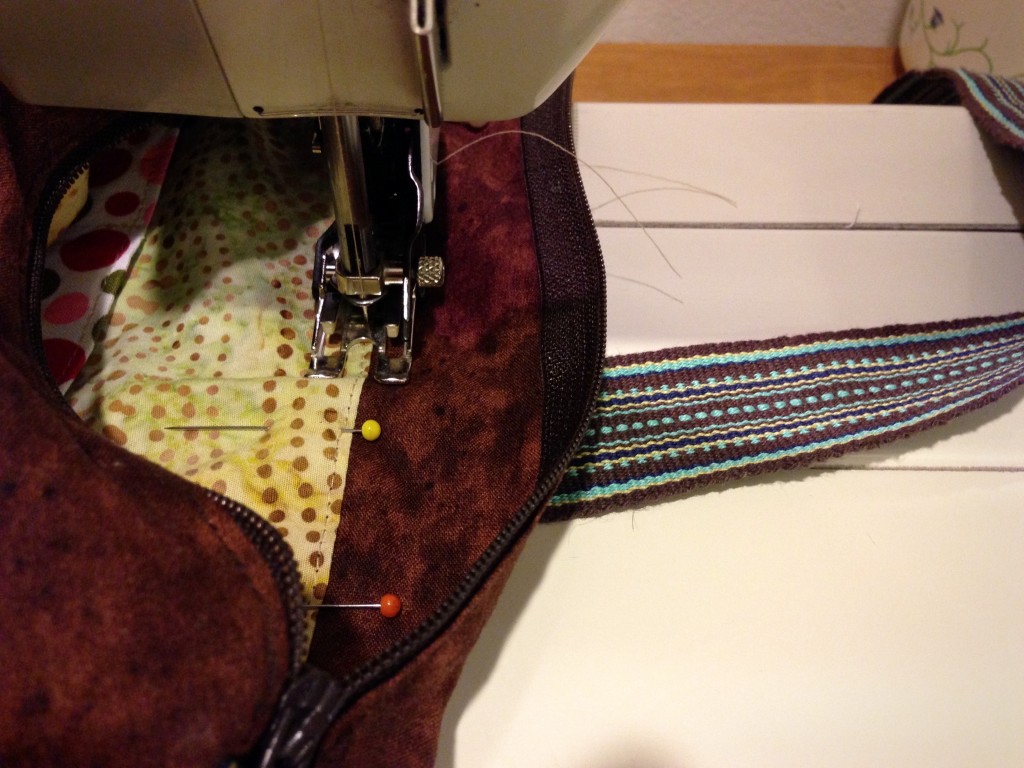
  11. Insert lining into bag, matching side seams and mid points on bag and lining, with top folded edge of lining 1/4″ below top edge of bag. (Edge of zipper insert is sandwiched between lining fold and bag.) Make sure bag handles are up and out of the way of stitching. From inside of bag, use walking foot to stitch 1/8″ from lining fold, all the way around top of lining, keeping zipper insert up and out of the way of stitching. (Walking foot helps ensure even feed of fabric layers.) Adding zippered lining to handwoven bag. Instructions.
    Pinning lining into handmade bag. Instructions.
    Sewing lining into Handmade bag. How to.
  12. Fold zipper inserts down into bag. Press. Stitch across zipper inserts 1/2″ below top of lining on inside of bag. Press again.Last step of tutorial for inserting lining in bag.

Give your new bag a special purpose.

Handwoven bag with custom lining. Karen Isenhower

May your lining on the inside be as attractive as your handbag on the outside.

Happy Creating,
Karen

Little Chapel Tapestry

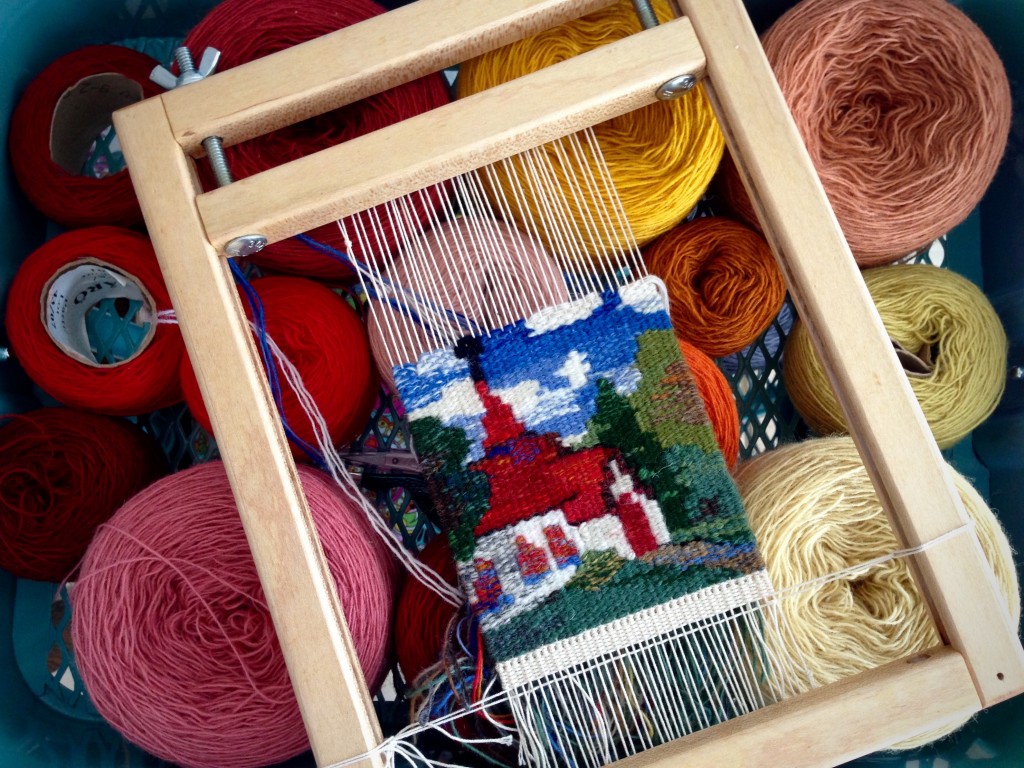
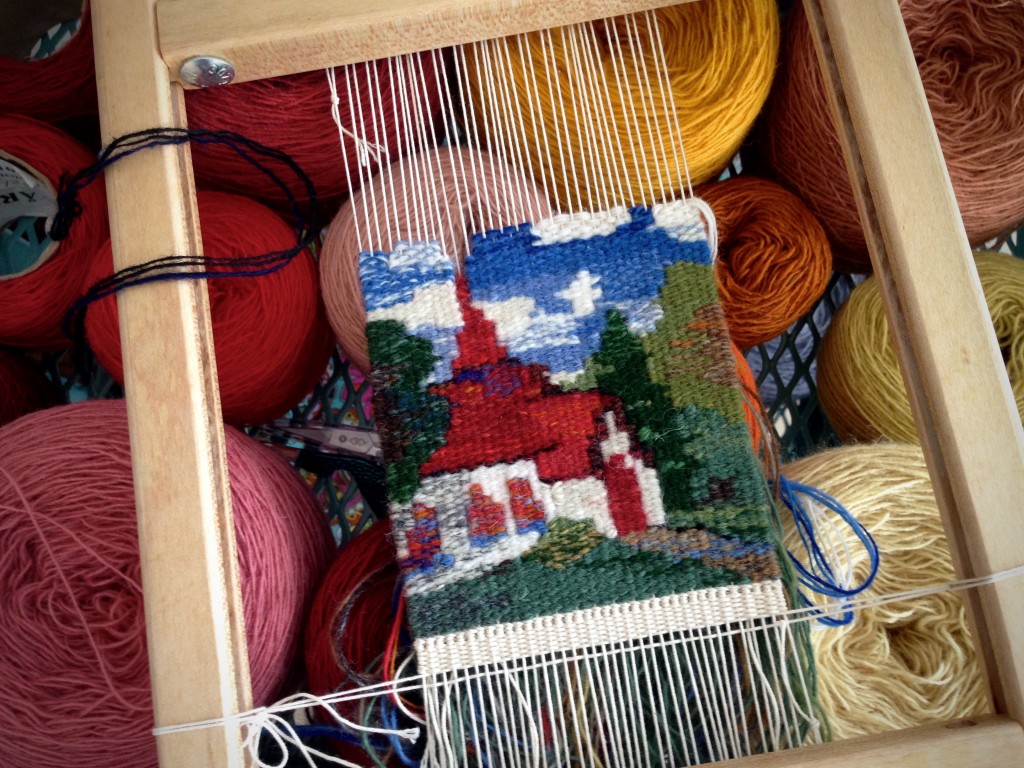
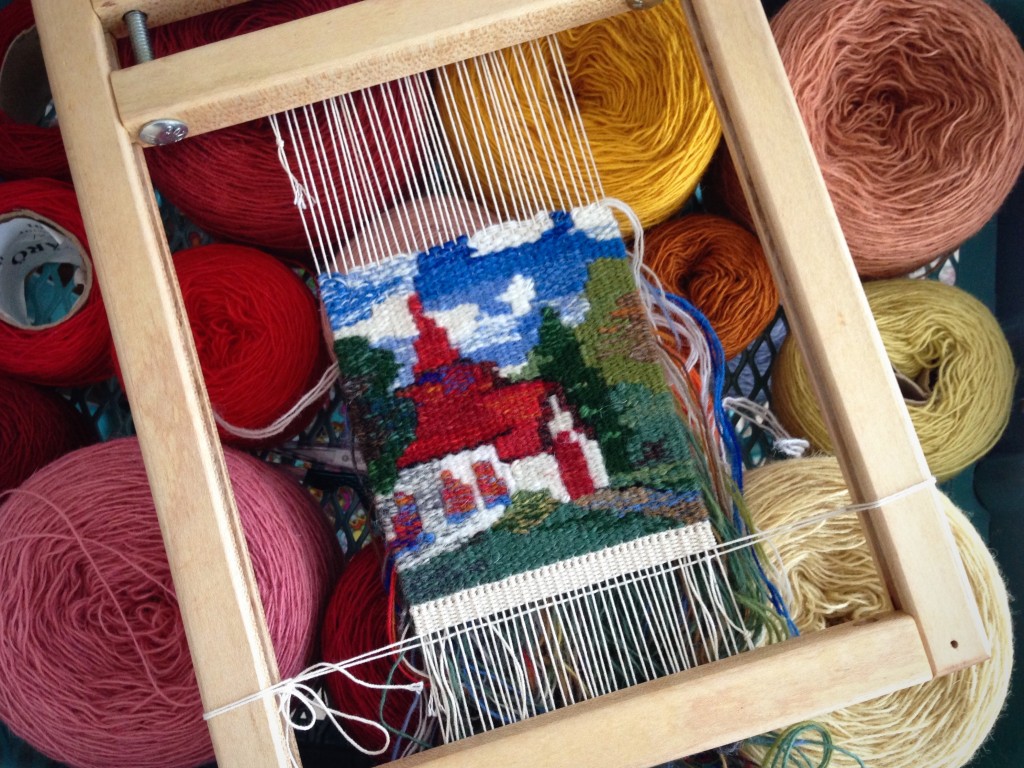
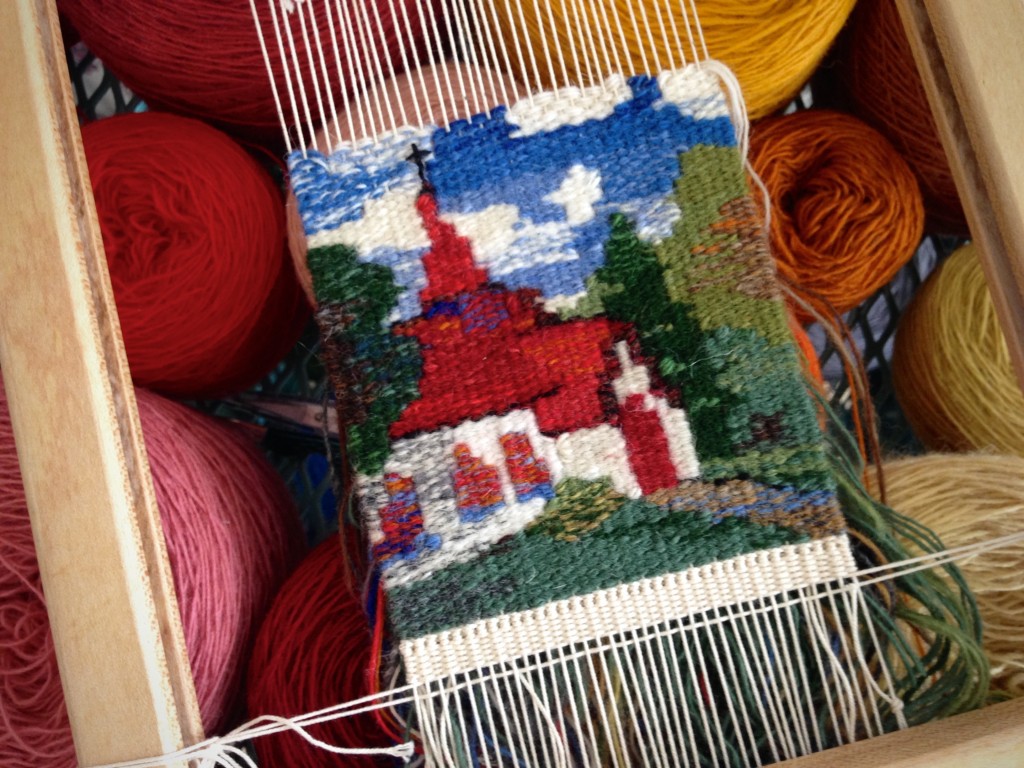
This little chapel tapestry is growing line by line. I am weaving from the back, left to right, a single line at a time, following a cartoon. I create shades of color by blending three strands of soft Fåro wool in seemingly thousands of combinations.

Weaving small tapestry while traveling.
Weaving small chapel while waiting for my delayed flight at the airport. Chapel steeple in cartoon presents a challenge.

I knew all along that the slim spire of the steeple would be a challenge. Will I have to leave off the uppermost thin line and cross? Honestly, leave the cross off the chapel? I don’t think so. Maybe wrap around a single warp end with half-hitches, and weave the short horizontal line over just three warps… Hmm, that doesn’t work–too robust for this little chapel spire.

First steeple cross attempt fails.
First attempt to weave the steeple cross. Bulky and distracting.

Take it out.

Working on the steeple cross.
Black yarn that formed the cross is removed, leaving a gap.

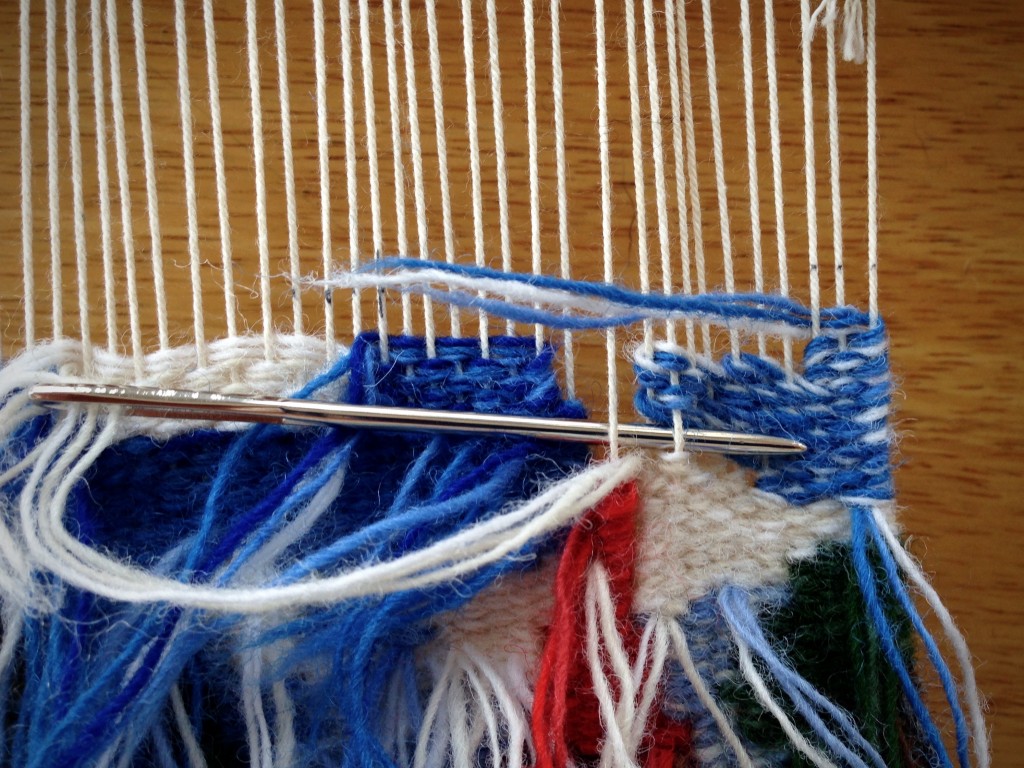
Weave through the empty spaces.

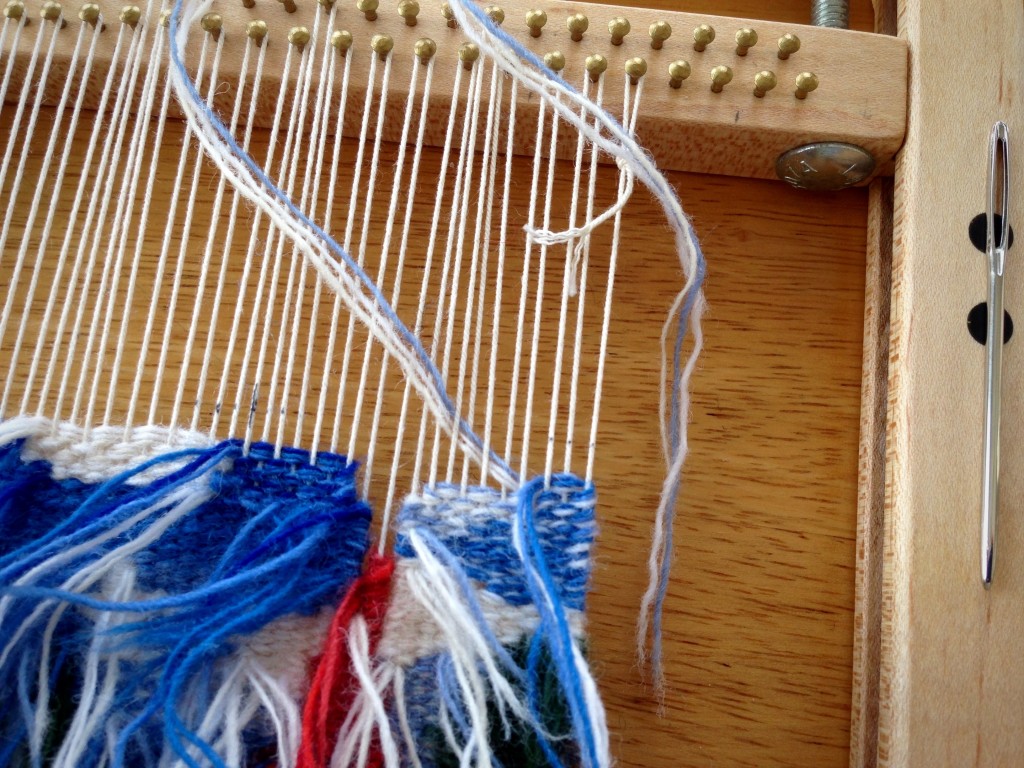
Undoing part of the tapestry.
Some of the sky is removed in order to sufficiently weave over the gap.
Weaving small tapestry from the back.
Closing the gap by weaving existing threads across, and weaving removed threads back in.

Study the scene…

Adding a cross to the small chapel steeple.
Chapel steeple without a cross.

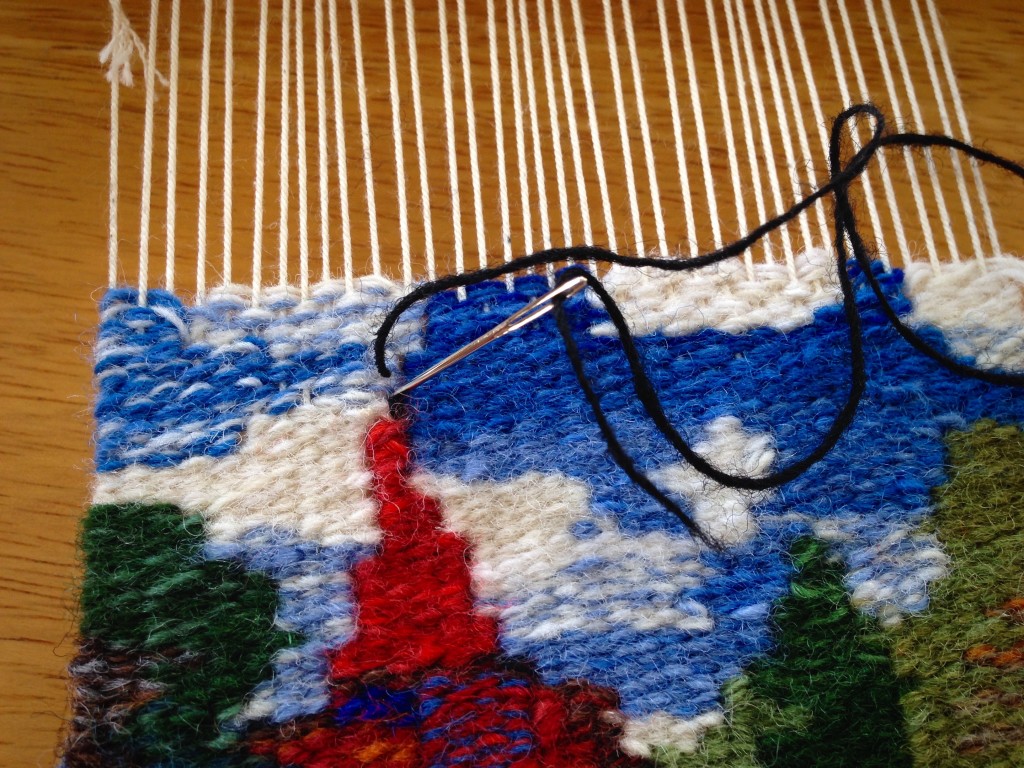
Aha! …Embroider a single-thread cross.

Embroidery on a small tapestry.
Single strand of Fåro wool is used to backstitch a cross on the steeple top.

Yes, that works.

Small tapestry chapel. Karen Isenhower
Elevated cross on the chapel’s steeple gives meaning to the woven scene.

Keep your eyes on the destination. If a cross is needed on the tip of the spire, keep trying until you find a way. With your heart set on the destination, the Lord gives strength for the journey. Don’t give up when things are not working out. Take a step back to view the whole scene, and you will see how the cross completes the picture.

May you have strength for the journey.

With love,
Karen
Sun Rising

The little village is waking up. Sun rising. This small tapestry is near completion, and I am happy with the things I have learned in the process. Now, I am preparing a cartoon and gathering an array of Fåro wool colors for the next small tapestry. I may be jumping in over my head with this next one, but I will learn new things to practice.

Sun Rising. Small tapestry project on Freja loom.
Little woven village at the start of a new day. Sky is developed with hatching. Small ojos form three birds in the sky. Freja Tapestry Frame.

In my tea and tapestry time (tapestry diary) in the evenings, my intention is to improve my tapestry skills by practicing the little that I know. The concept is to learn by doing. Find what works, and do it more. For example, in the class I recently attended at Weaving Southwest, Teresa Loveless worked with me on the hatching technique. When I came home to this little tapestry village, I wanted to implement that new understanding right away. The sunrise sky, created with hatching, came as a result of Teresa’s coaching and my desire to learn by doing.

Isn’t that how we navigate through life? Take what you know about how to live, and how to please God. And then do it more. Learn by doing. Every new insight builds, not on what we know, but on what we have put into practice.

May you enter a sunrise season of life.

With pleasant anticipation,
Karen