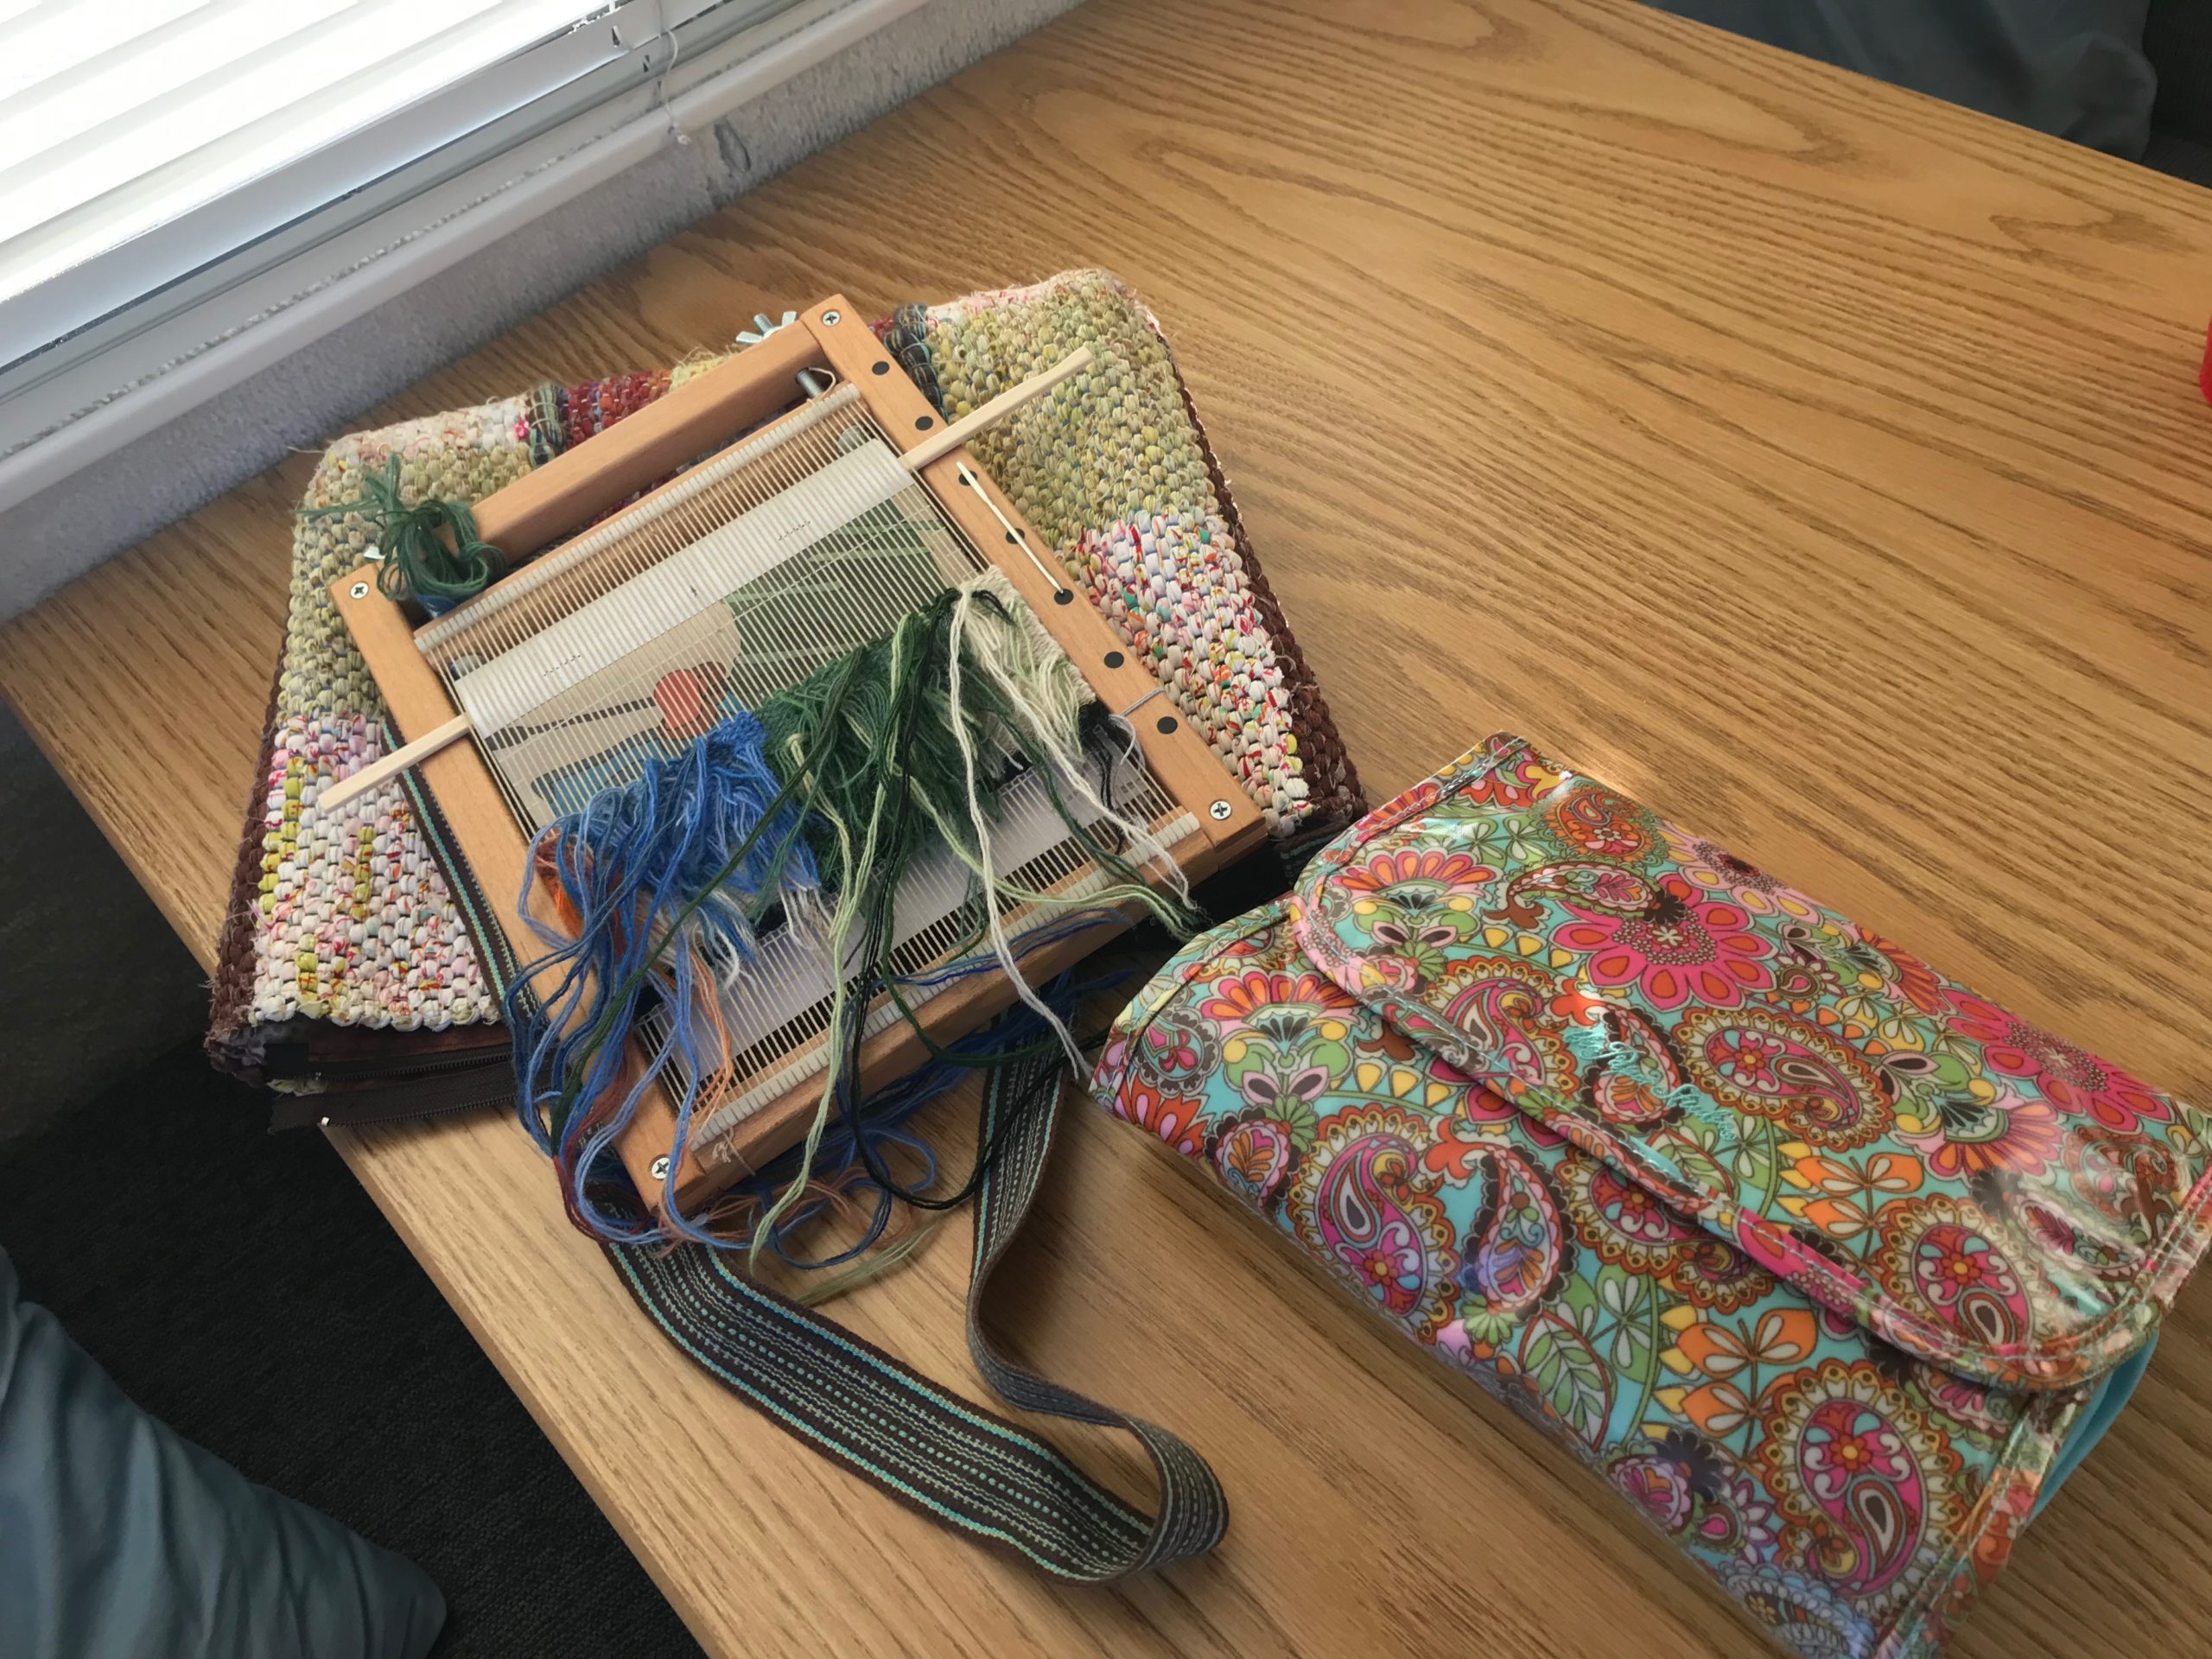
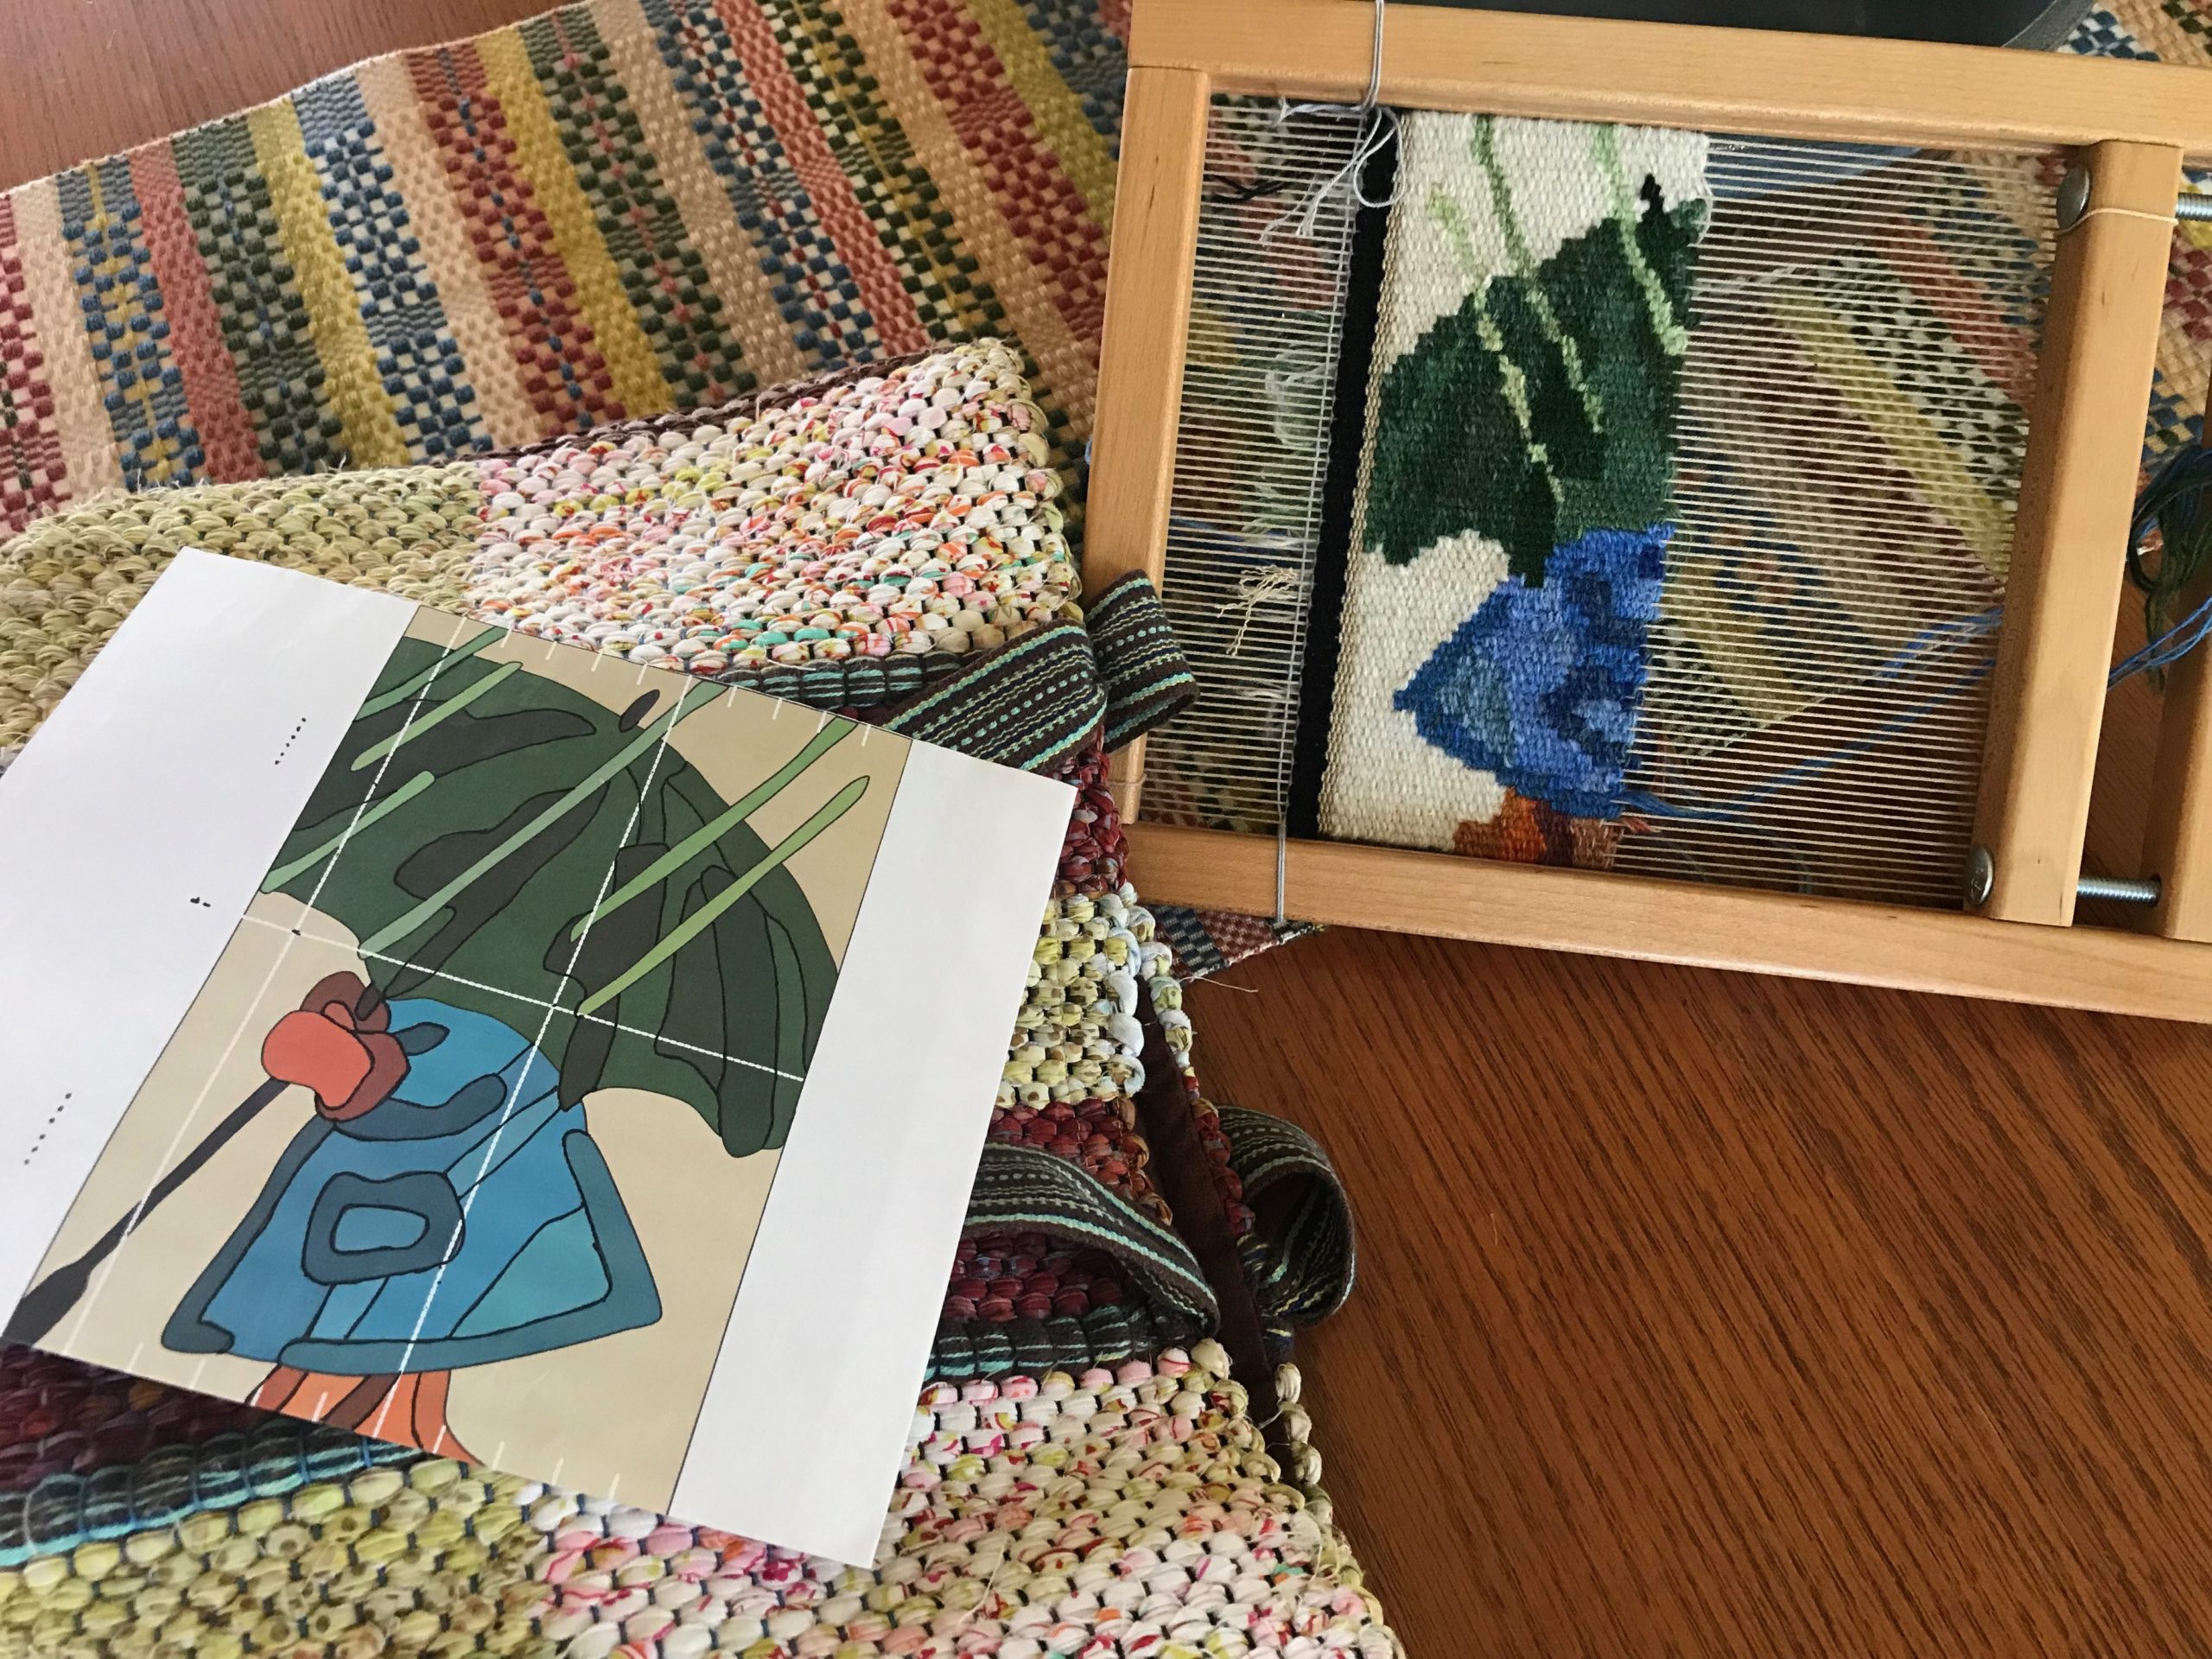
I like to come prepared when we travel. Prepared to weave, that is. Our recent camping trip to Grand Canyon National Park, North Rim is no exception. Relaxing after a full morning of hiking? That’s tapestry time. Rainy day? No problem. Time to pull out my small tapestry frame and do some tapestry weaving.
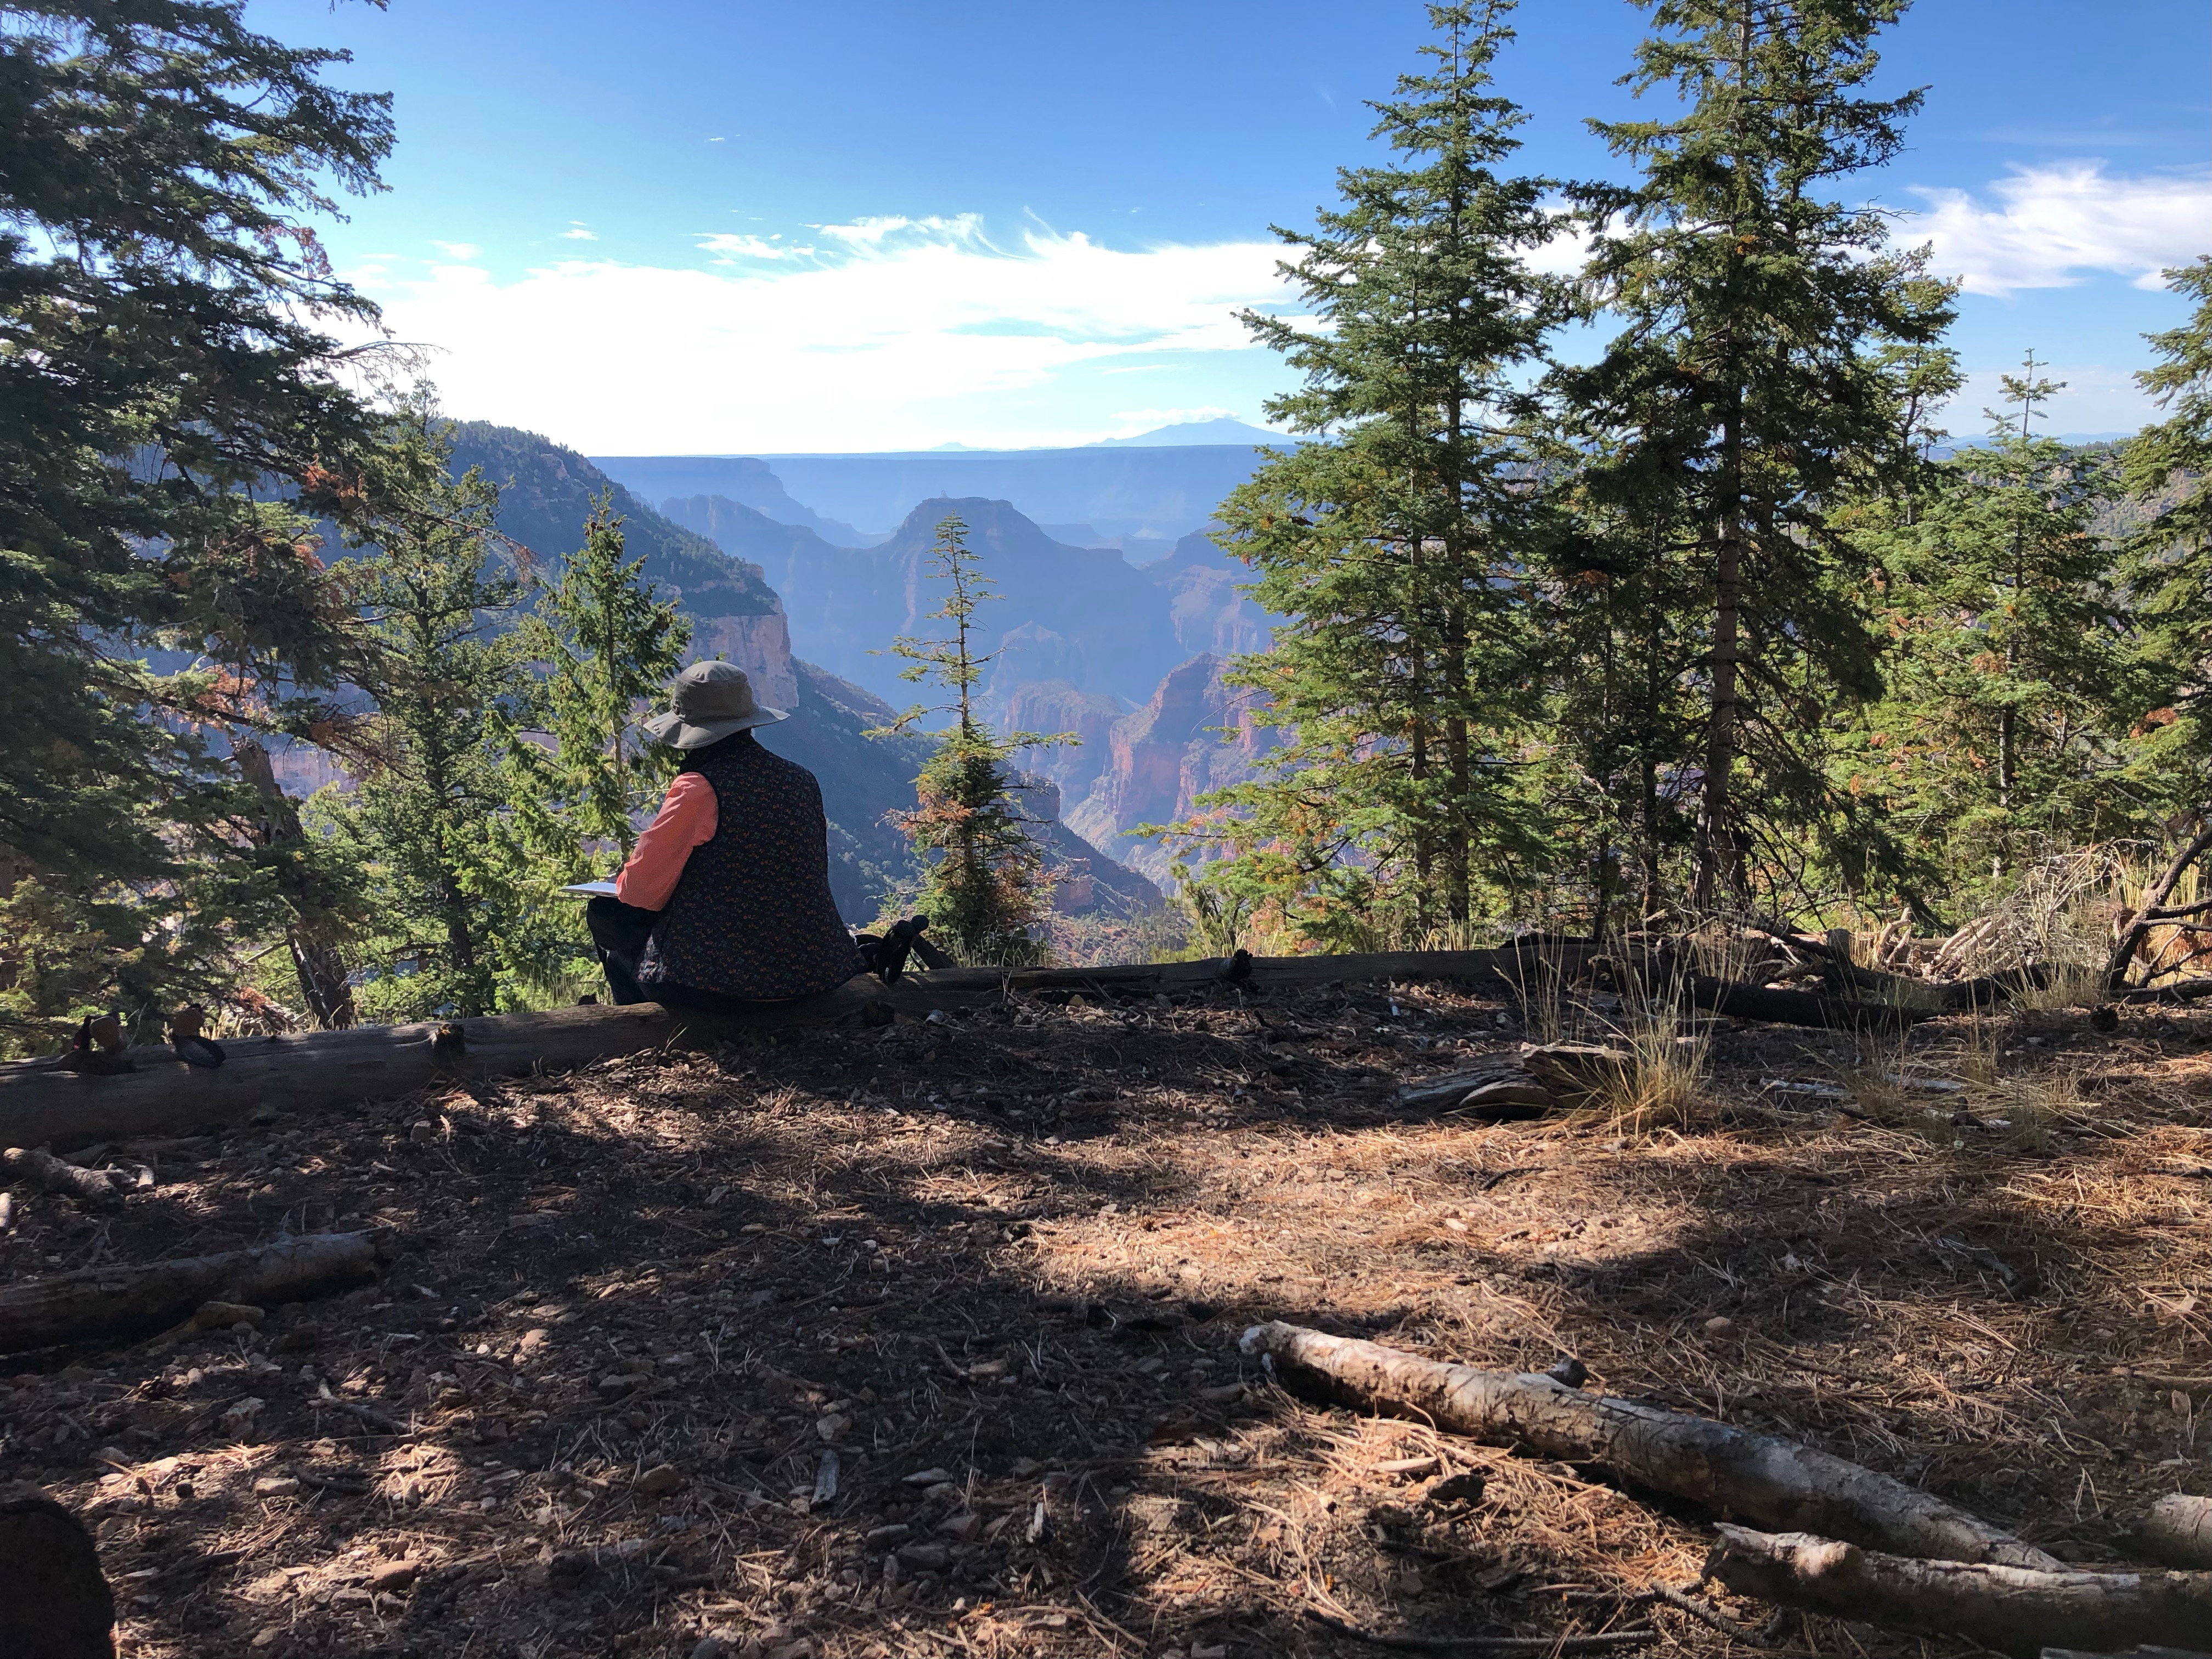
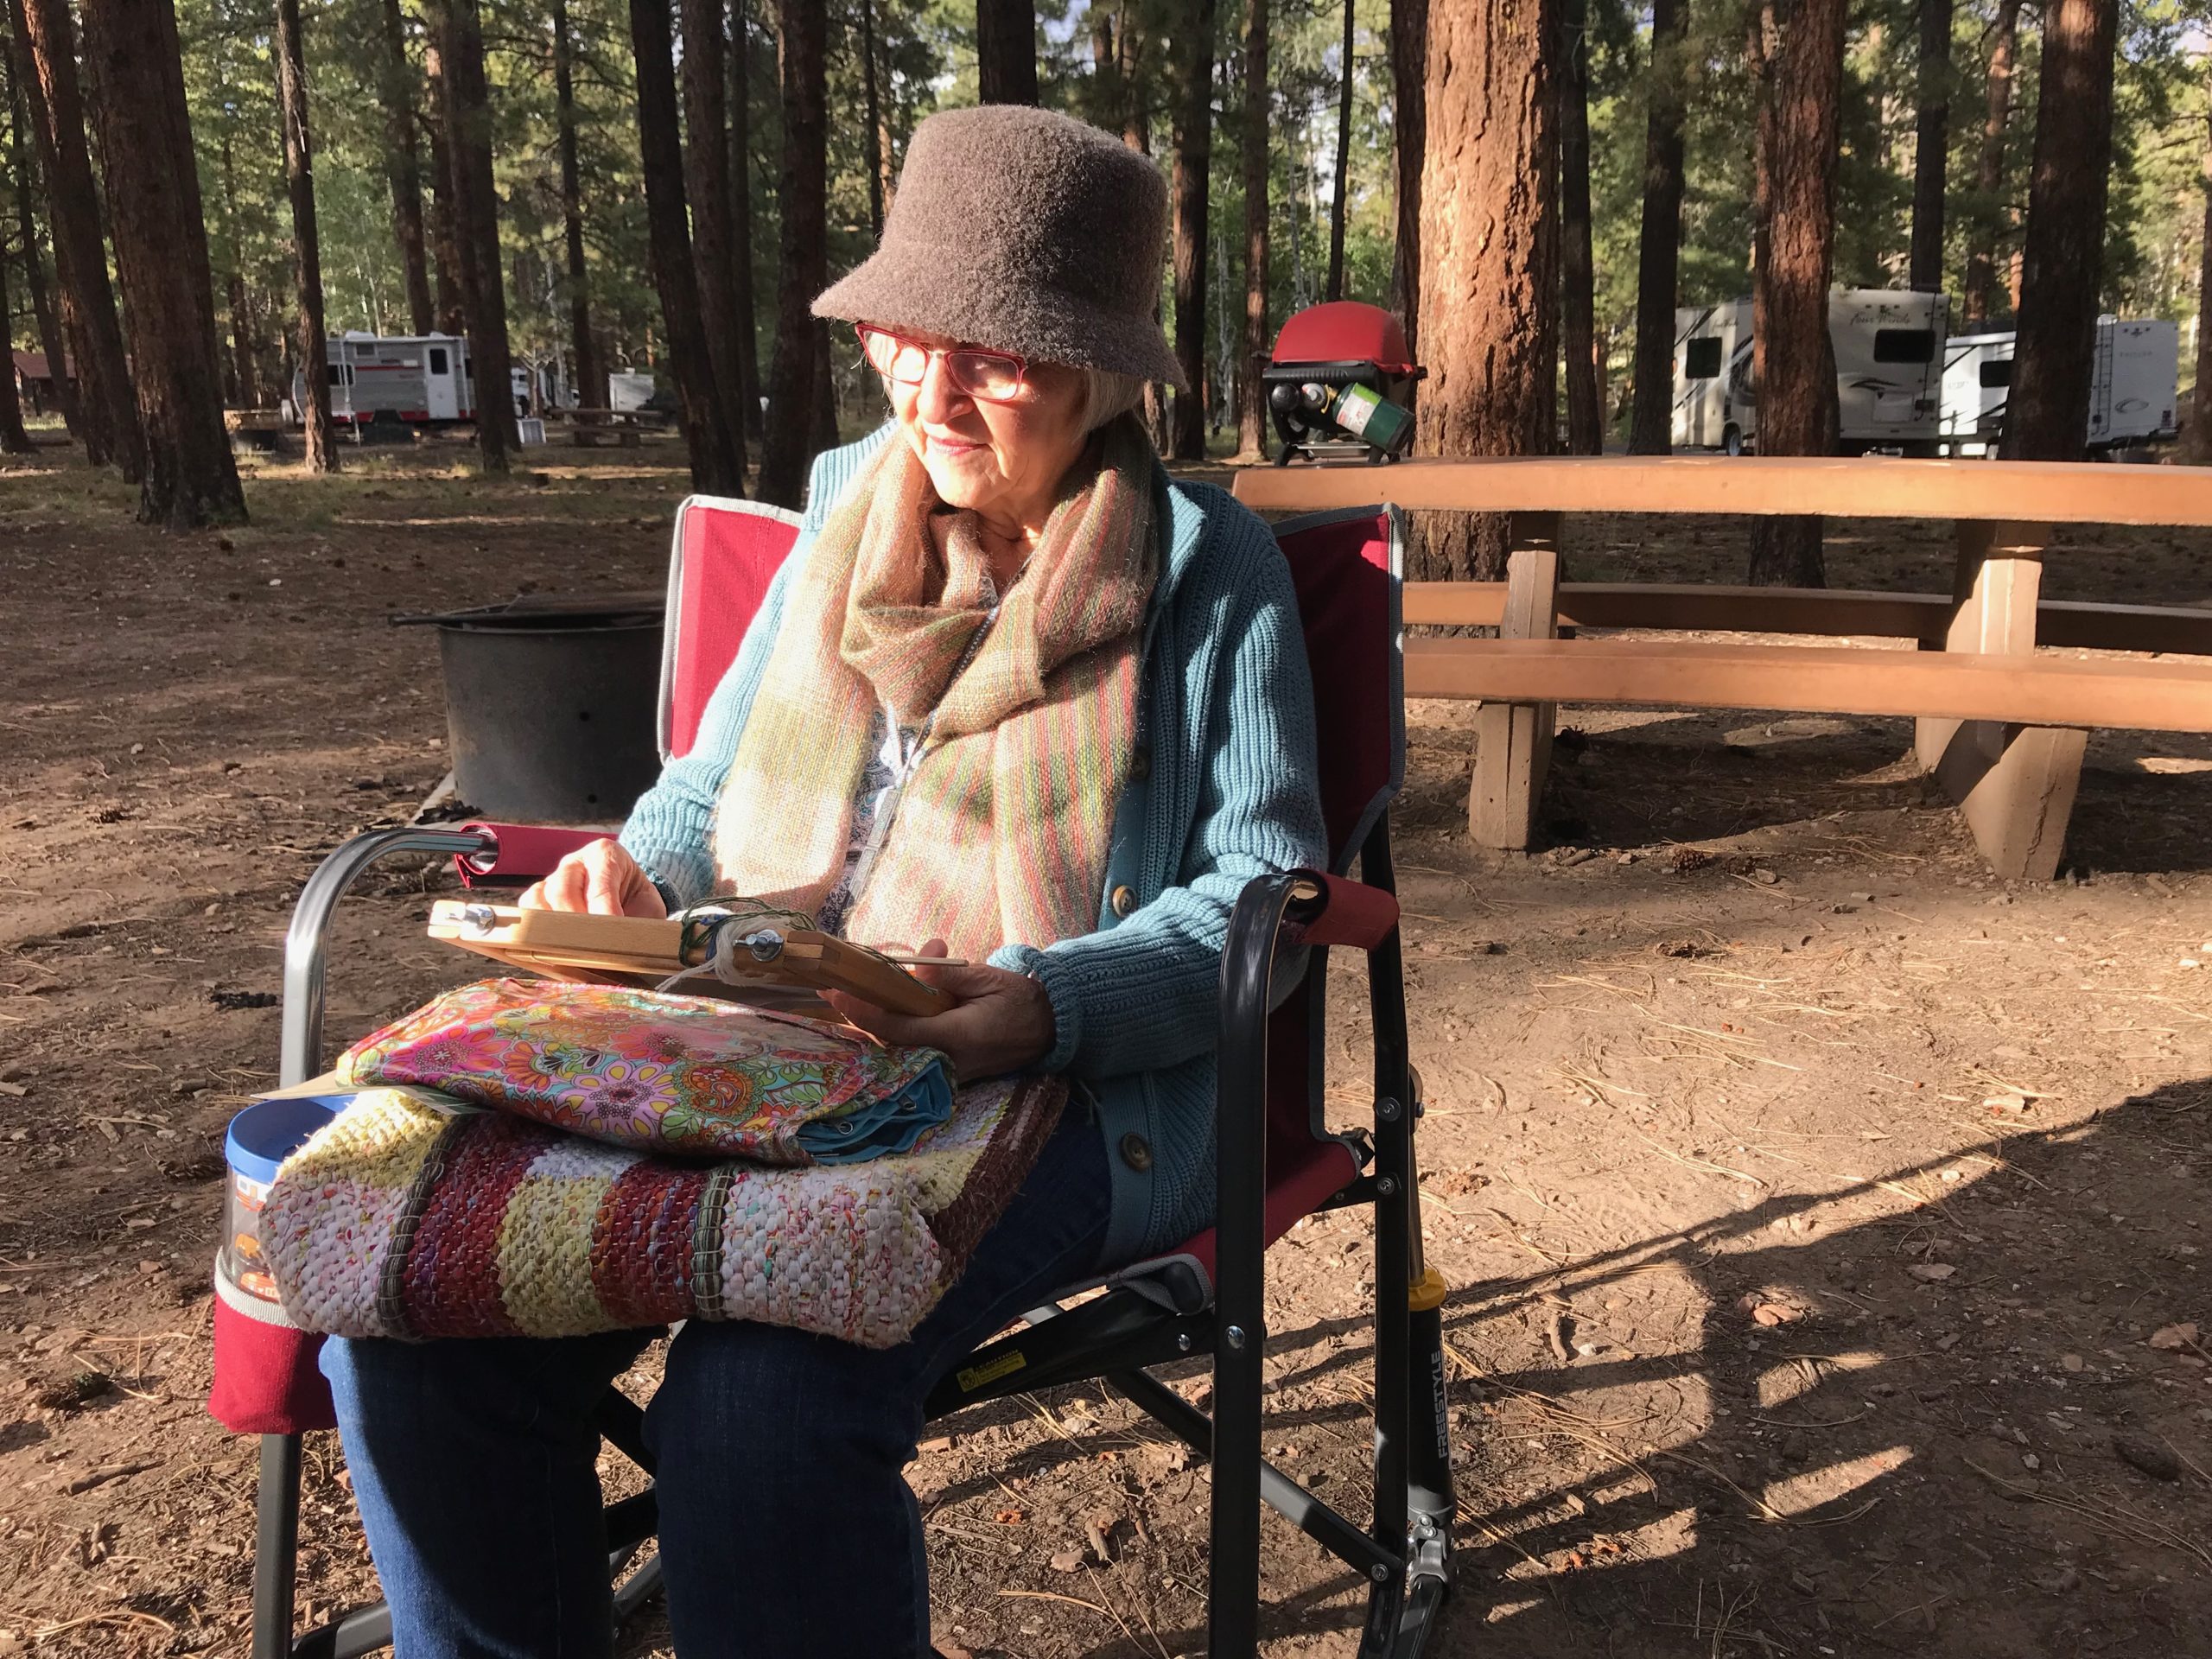
Sitting on a log to do a quick sketch. Widforss Trail on a Sunday morning was a wonderful way to worship our Creator.Ponderosa Pines fill the North Rim Campground. It is refreshing to sit there for some relaxed tapestry weaving. Weaving from the back, meaning the face of the tapestry is facing away from me.Weaving outside in the cool afternoon.
To view the incomparable expanse of the Grand Canyon leaves me in awe. It’s as if the glory of our Creator is on full display. Oh, the colors, textures, and breathtaking drama!
Sunset brings a hush over the vast Grand Canyon. Vibrant colors, phenomenal textures, in an unfolding dramatic ending–this is the language of a weaver.Weaving inside the Casita Travel Trailer until the skies clear up. Messy back of tapestry because I’m not trimming any more than necessary – fewer scraps to keep track of.
Our hearts turn to recognize God’s authority when we view the wonders of his creation. And, in the awe of it all, we pause to consider the vastness of his personal love, such that the Grand Weaver grants us the pleasure of creating something small with colored bits of yarn. Oh, the wonder of it all!
Pondering the deep questions of life.There is still work to be done. This (second) Rain Girl is not in a hurry. She is ready for me anytime I decide to add more colored bits of yarn.
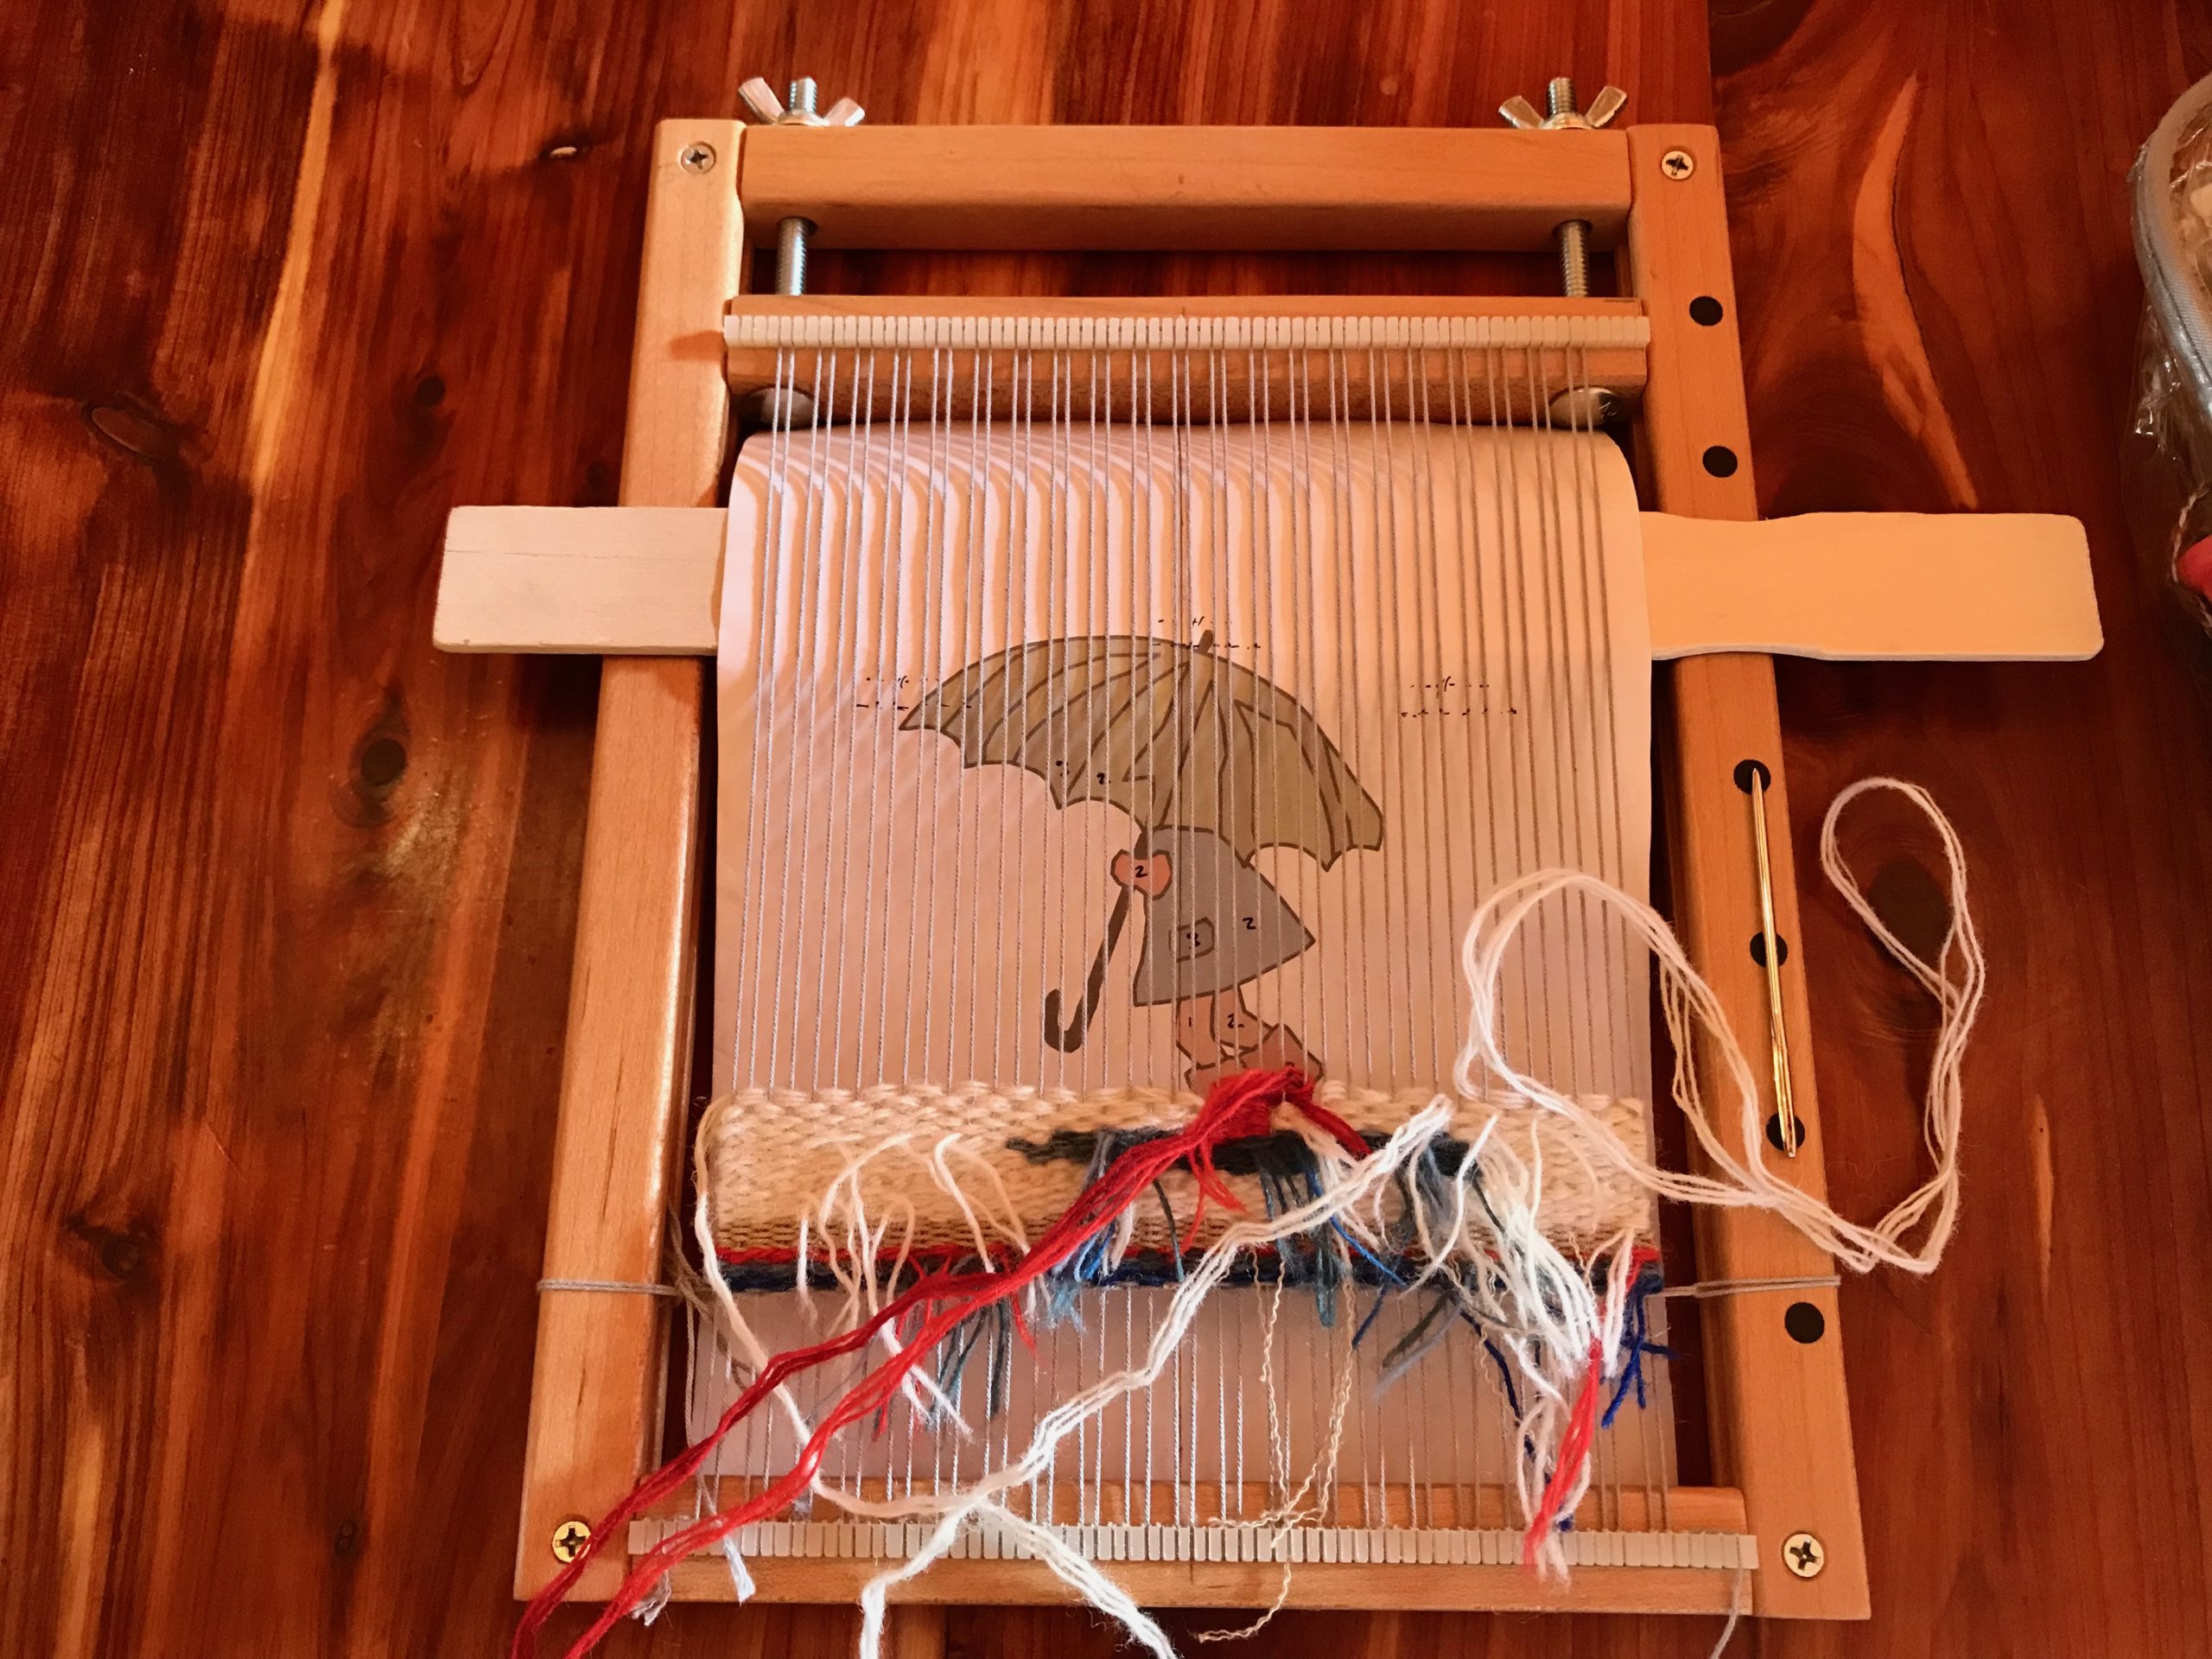
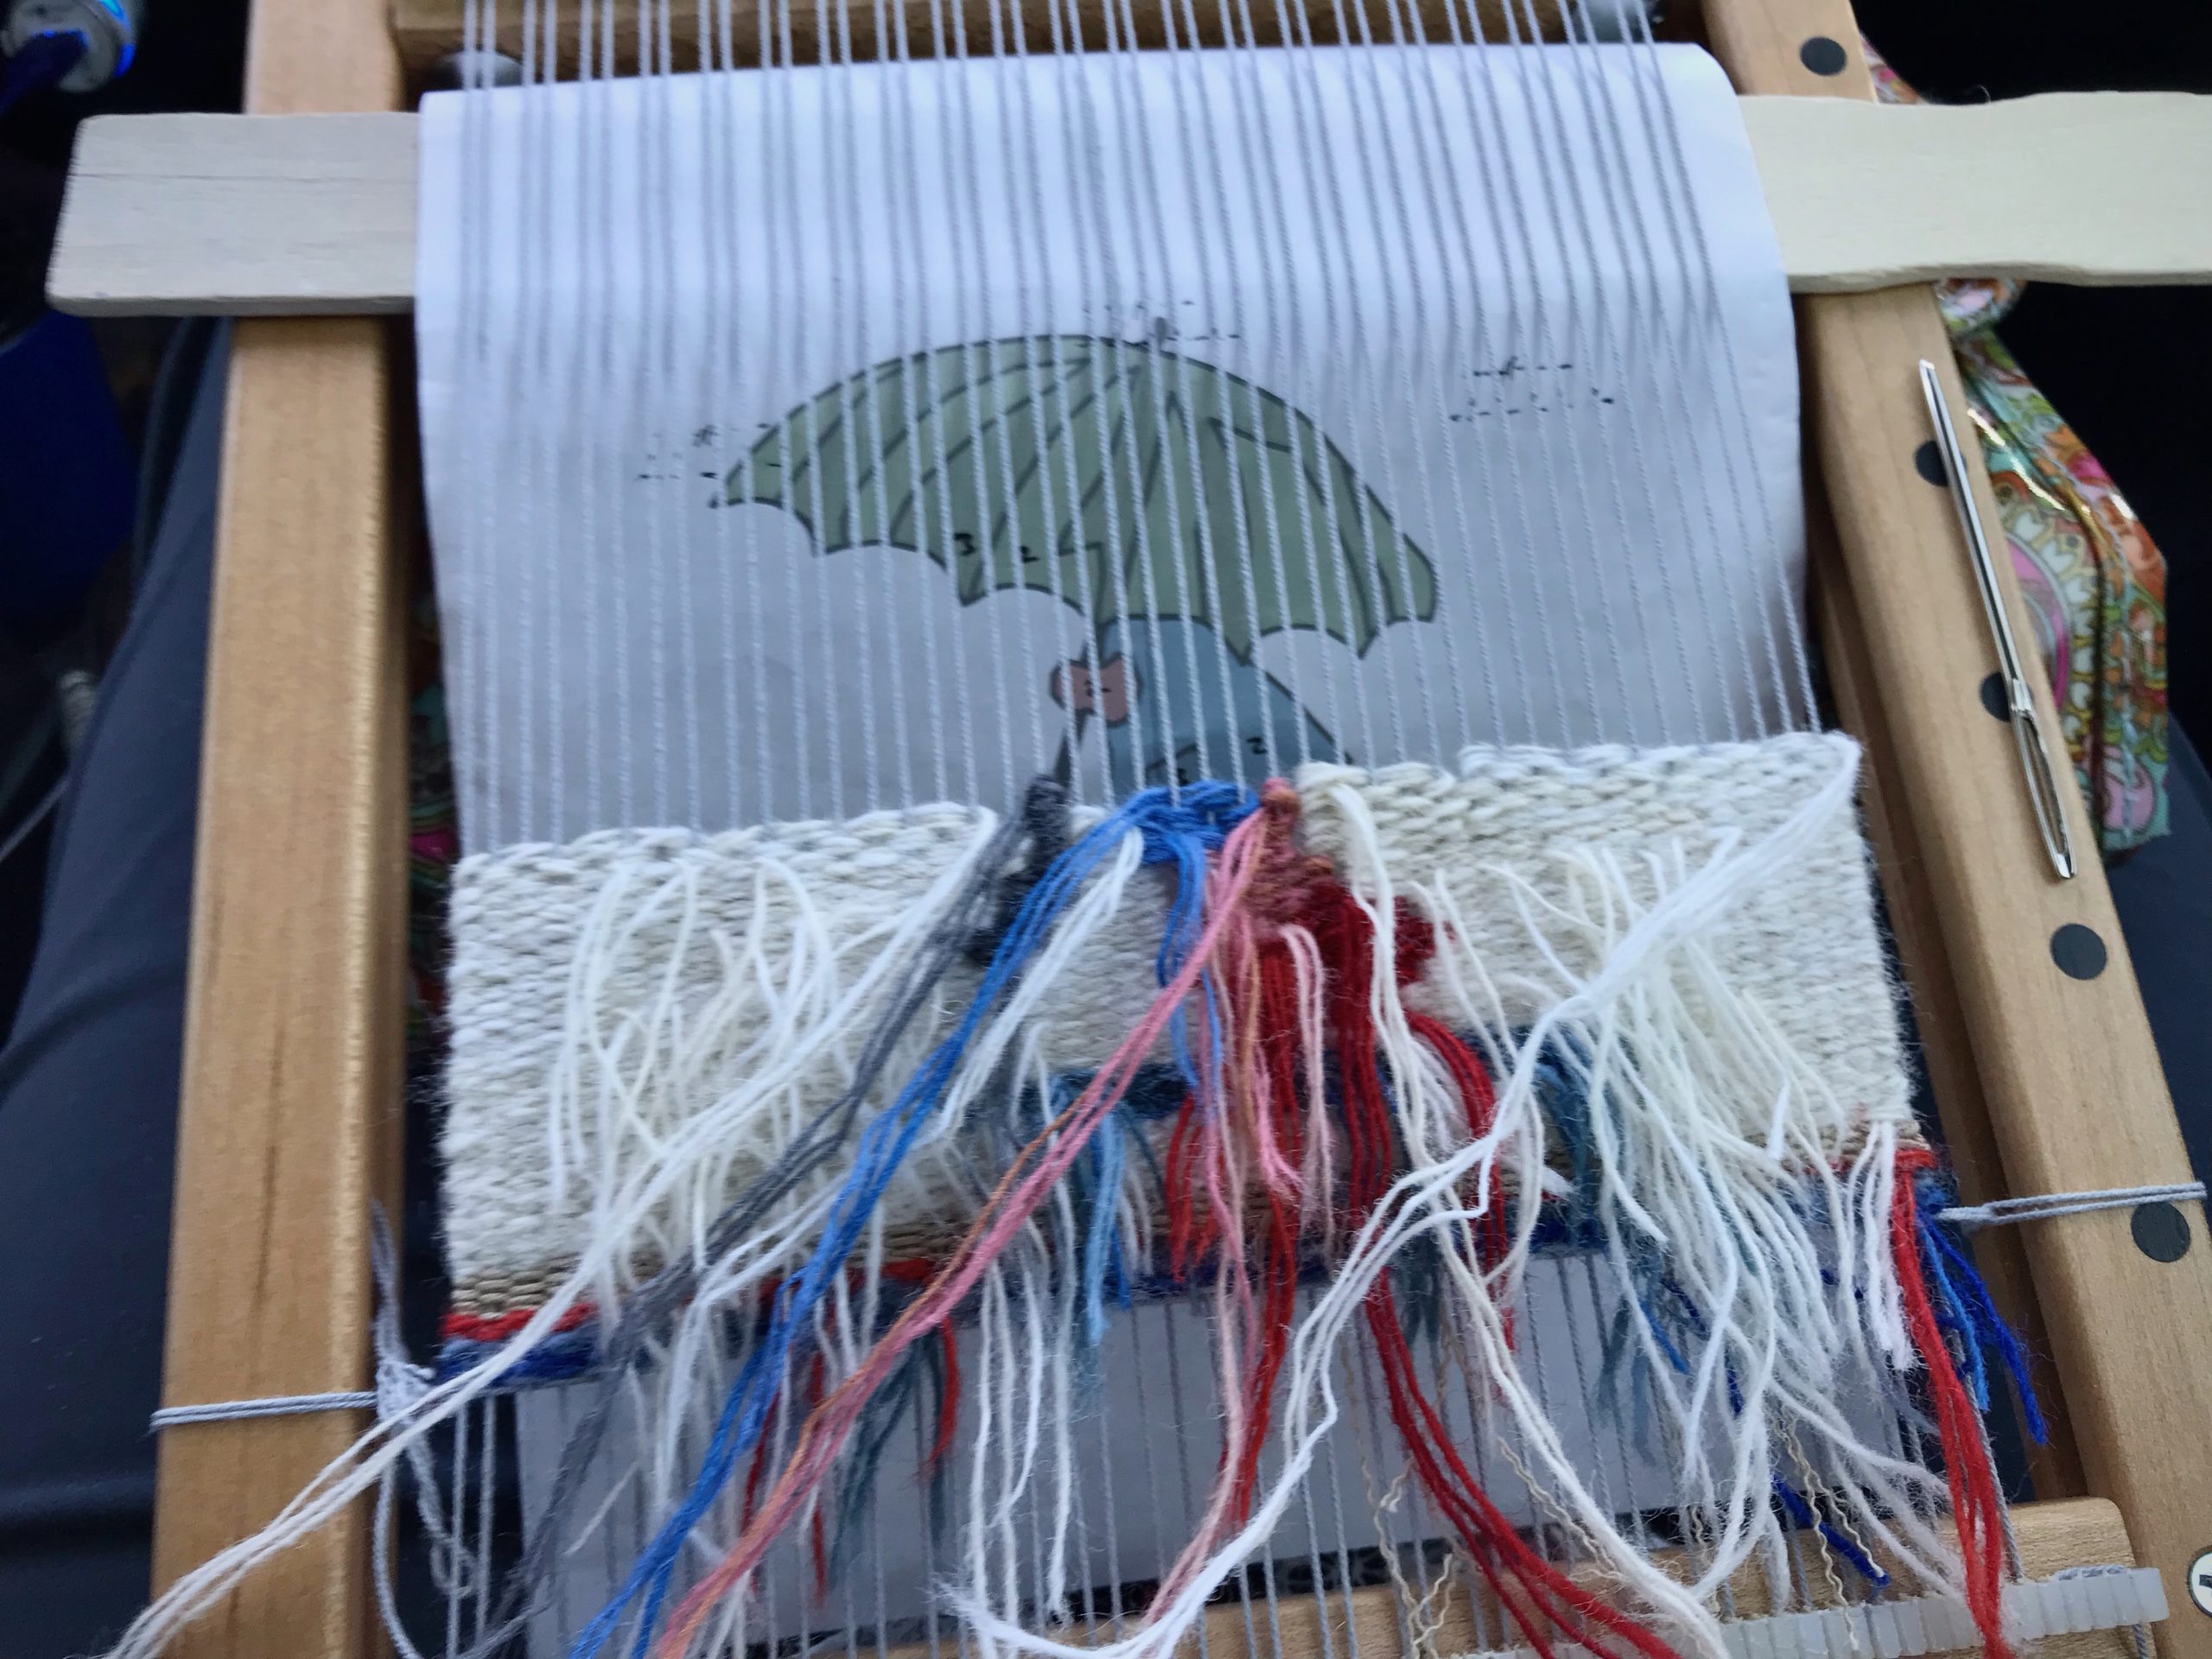
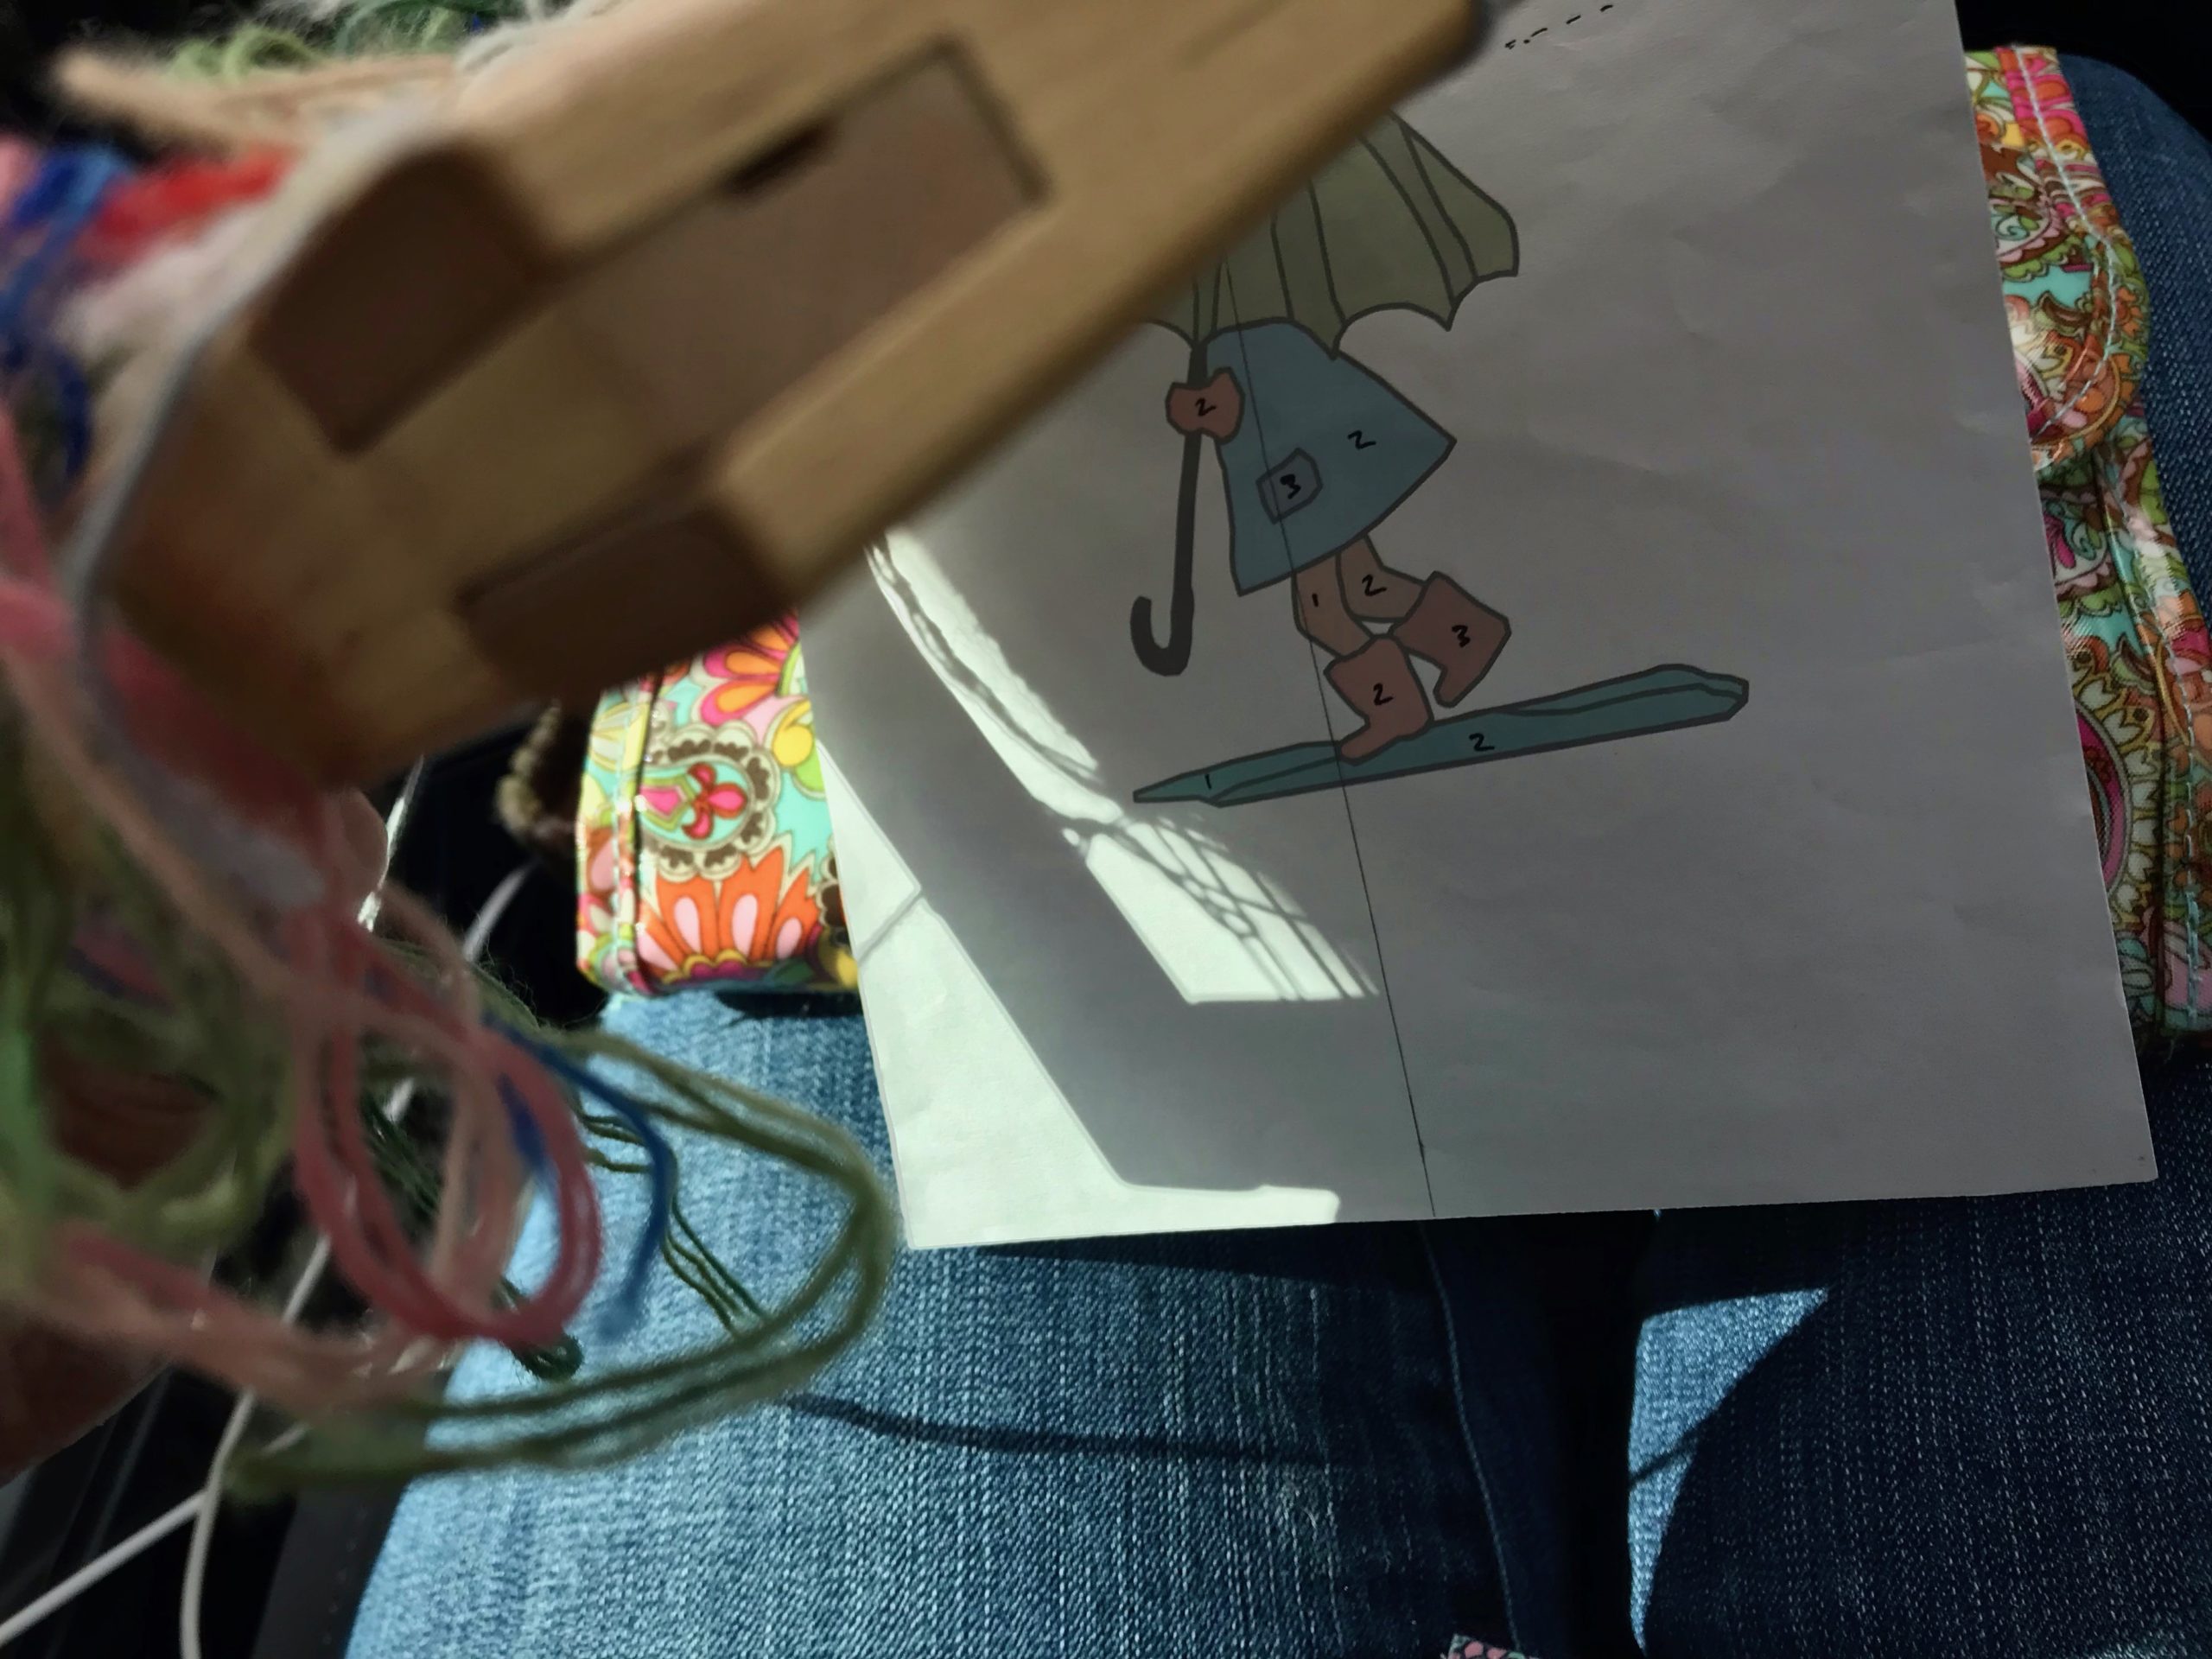
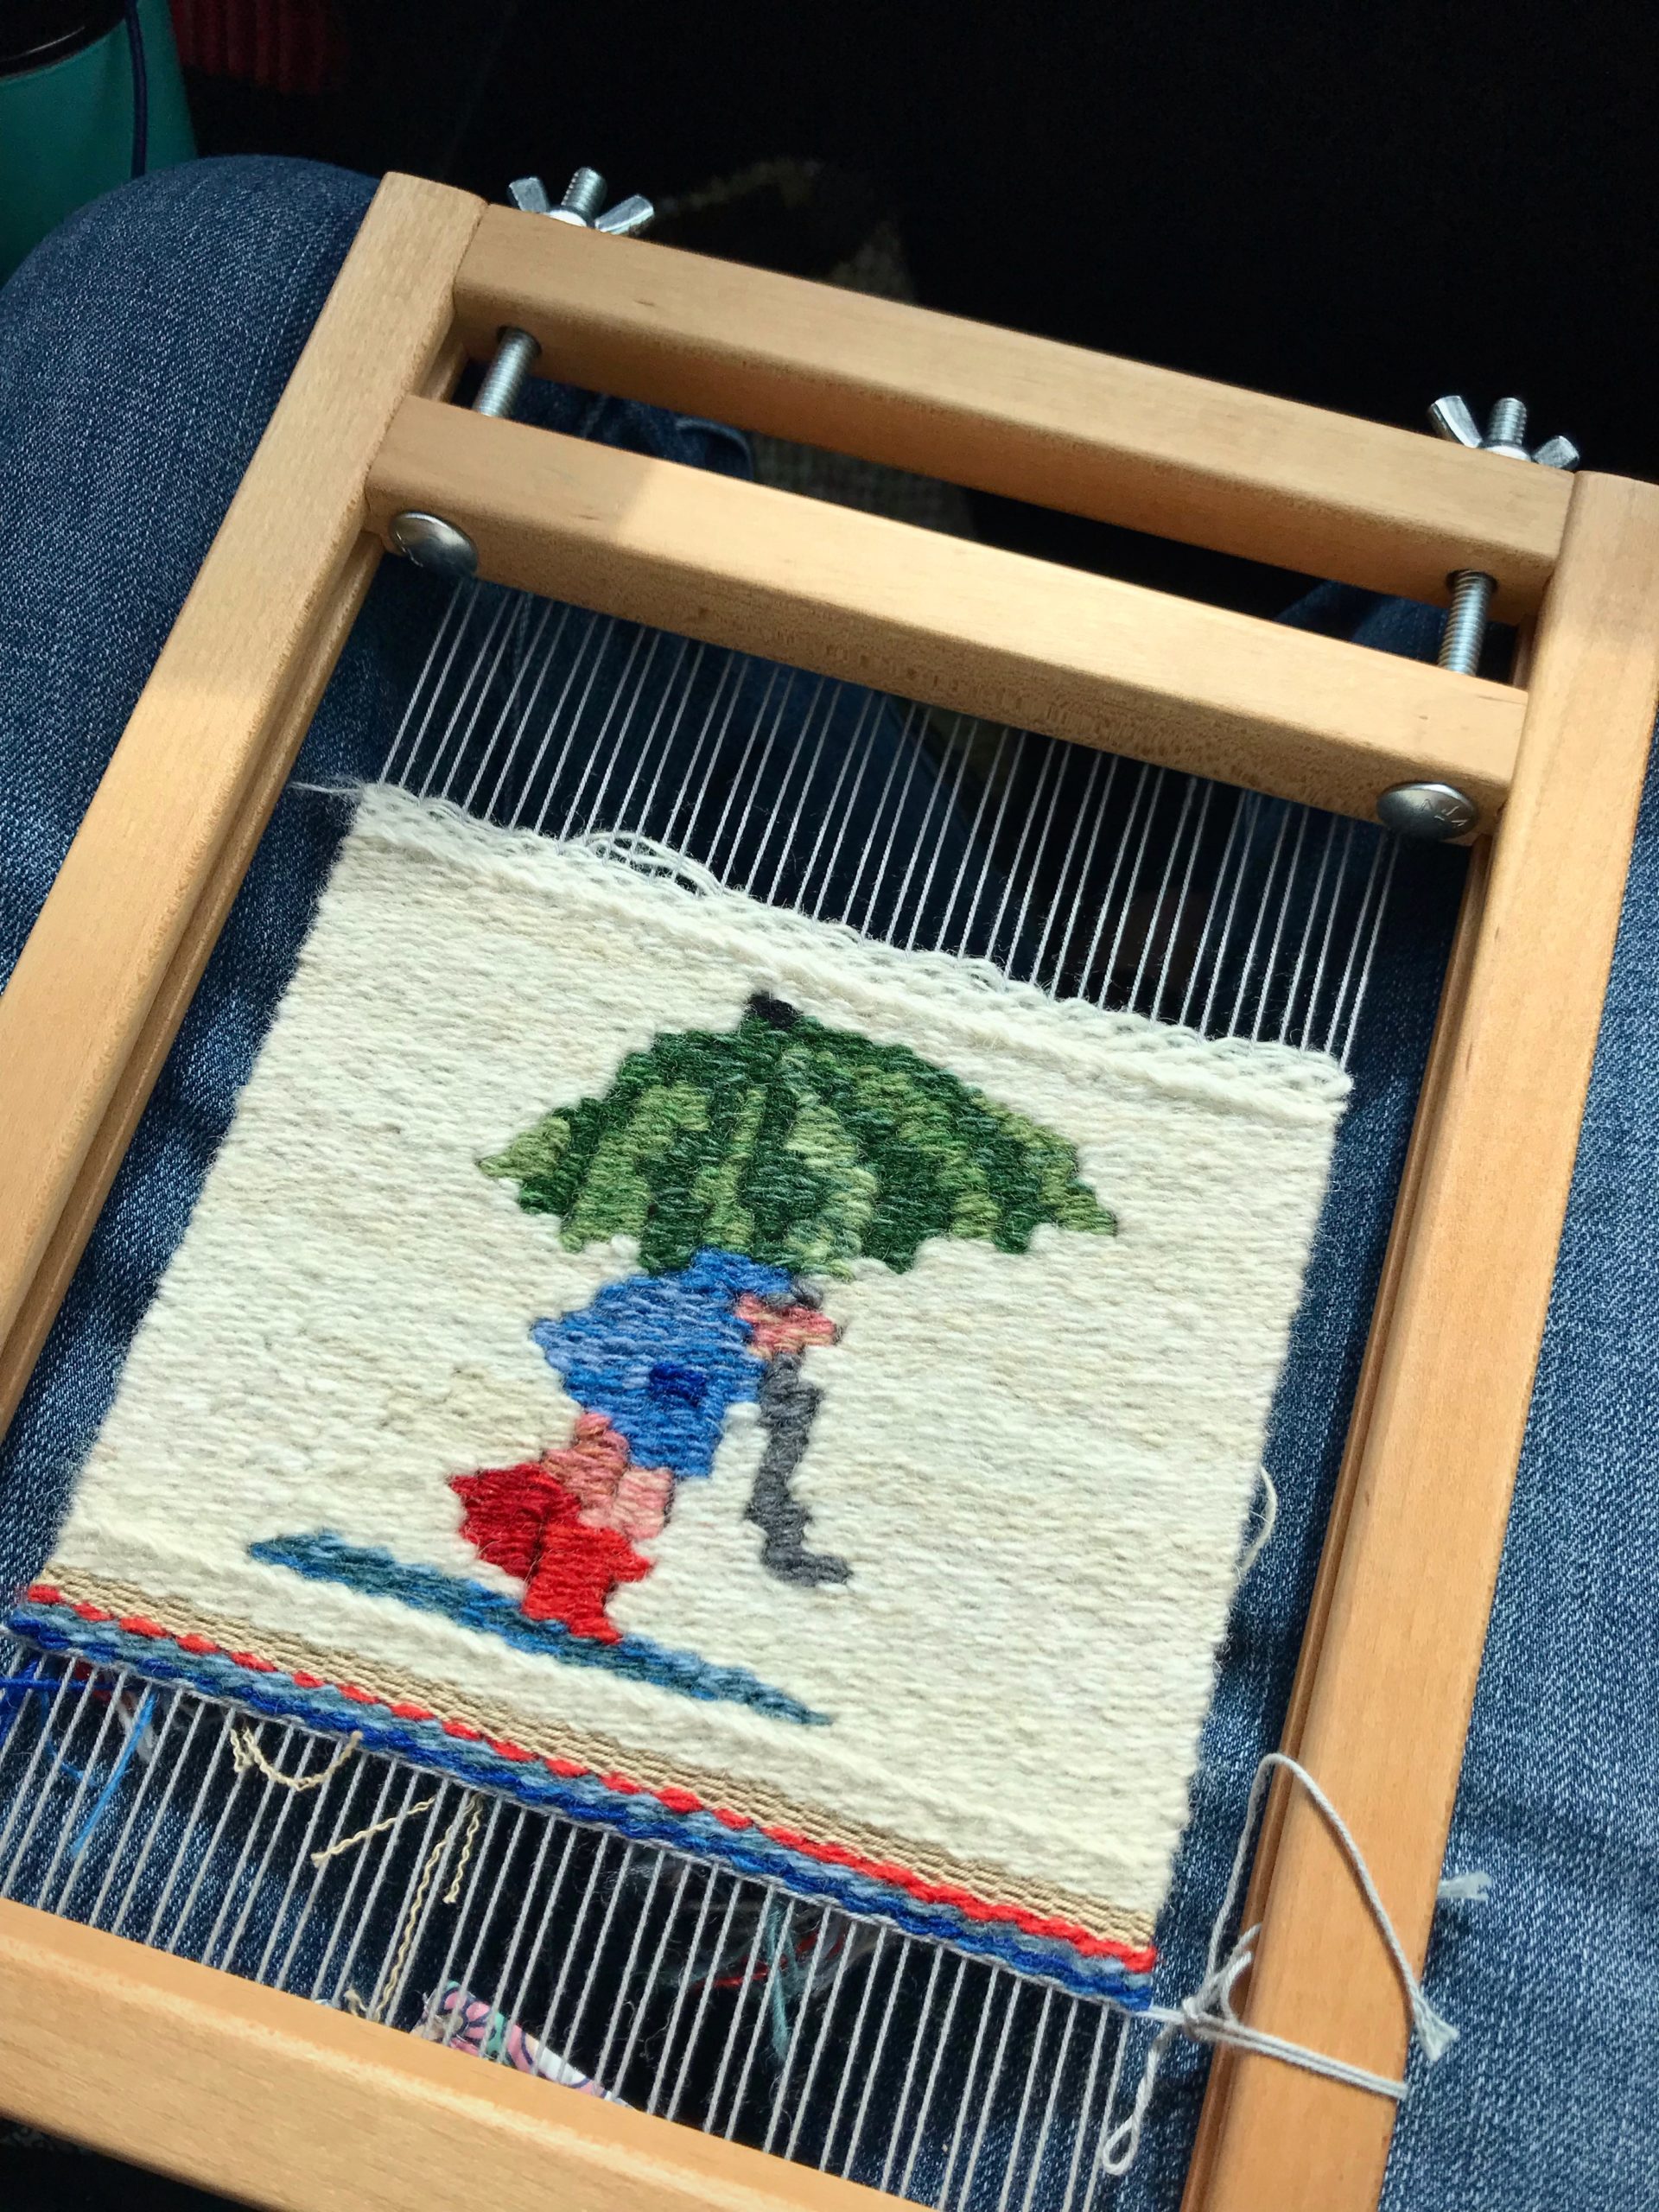
I call her the ”Rain Girl.” She comes from an illustration in a very old children’s book on our bookshelf. The small tapestry is cute. But with its many slits and single warp wrappings, it falls short of what it could be. I compromised best practices to make it work.
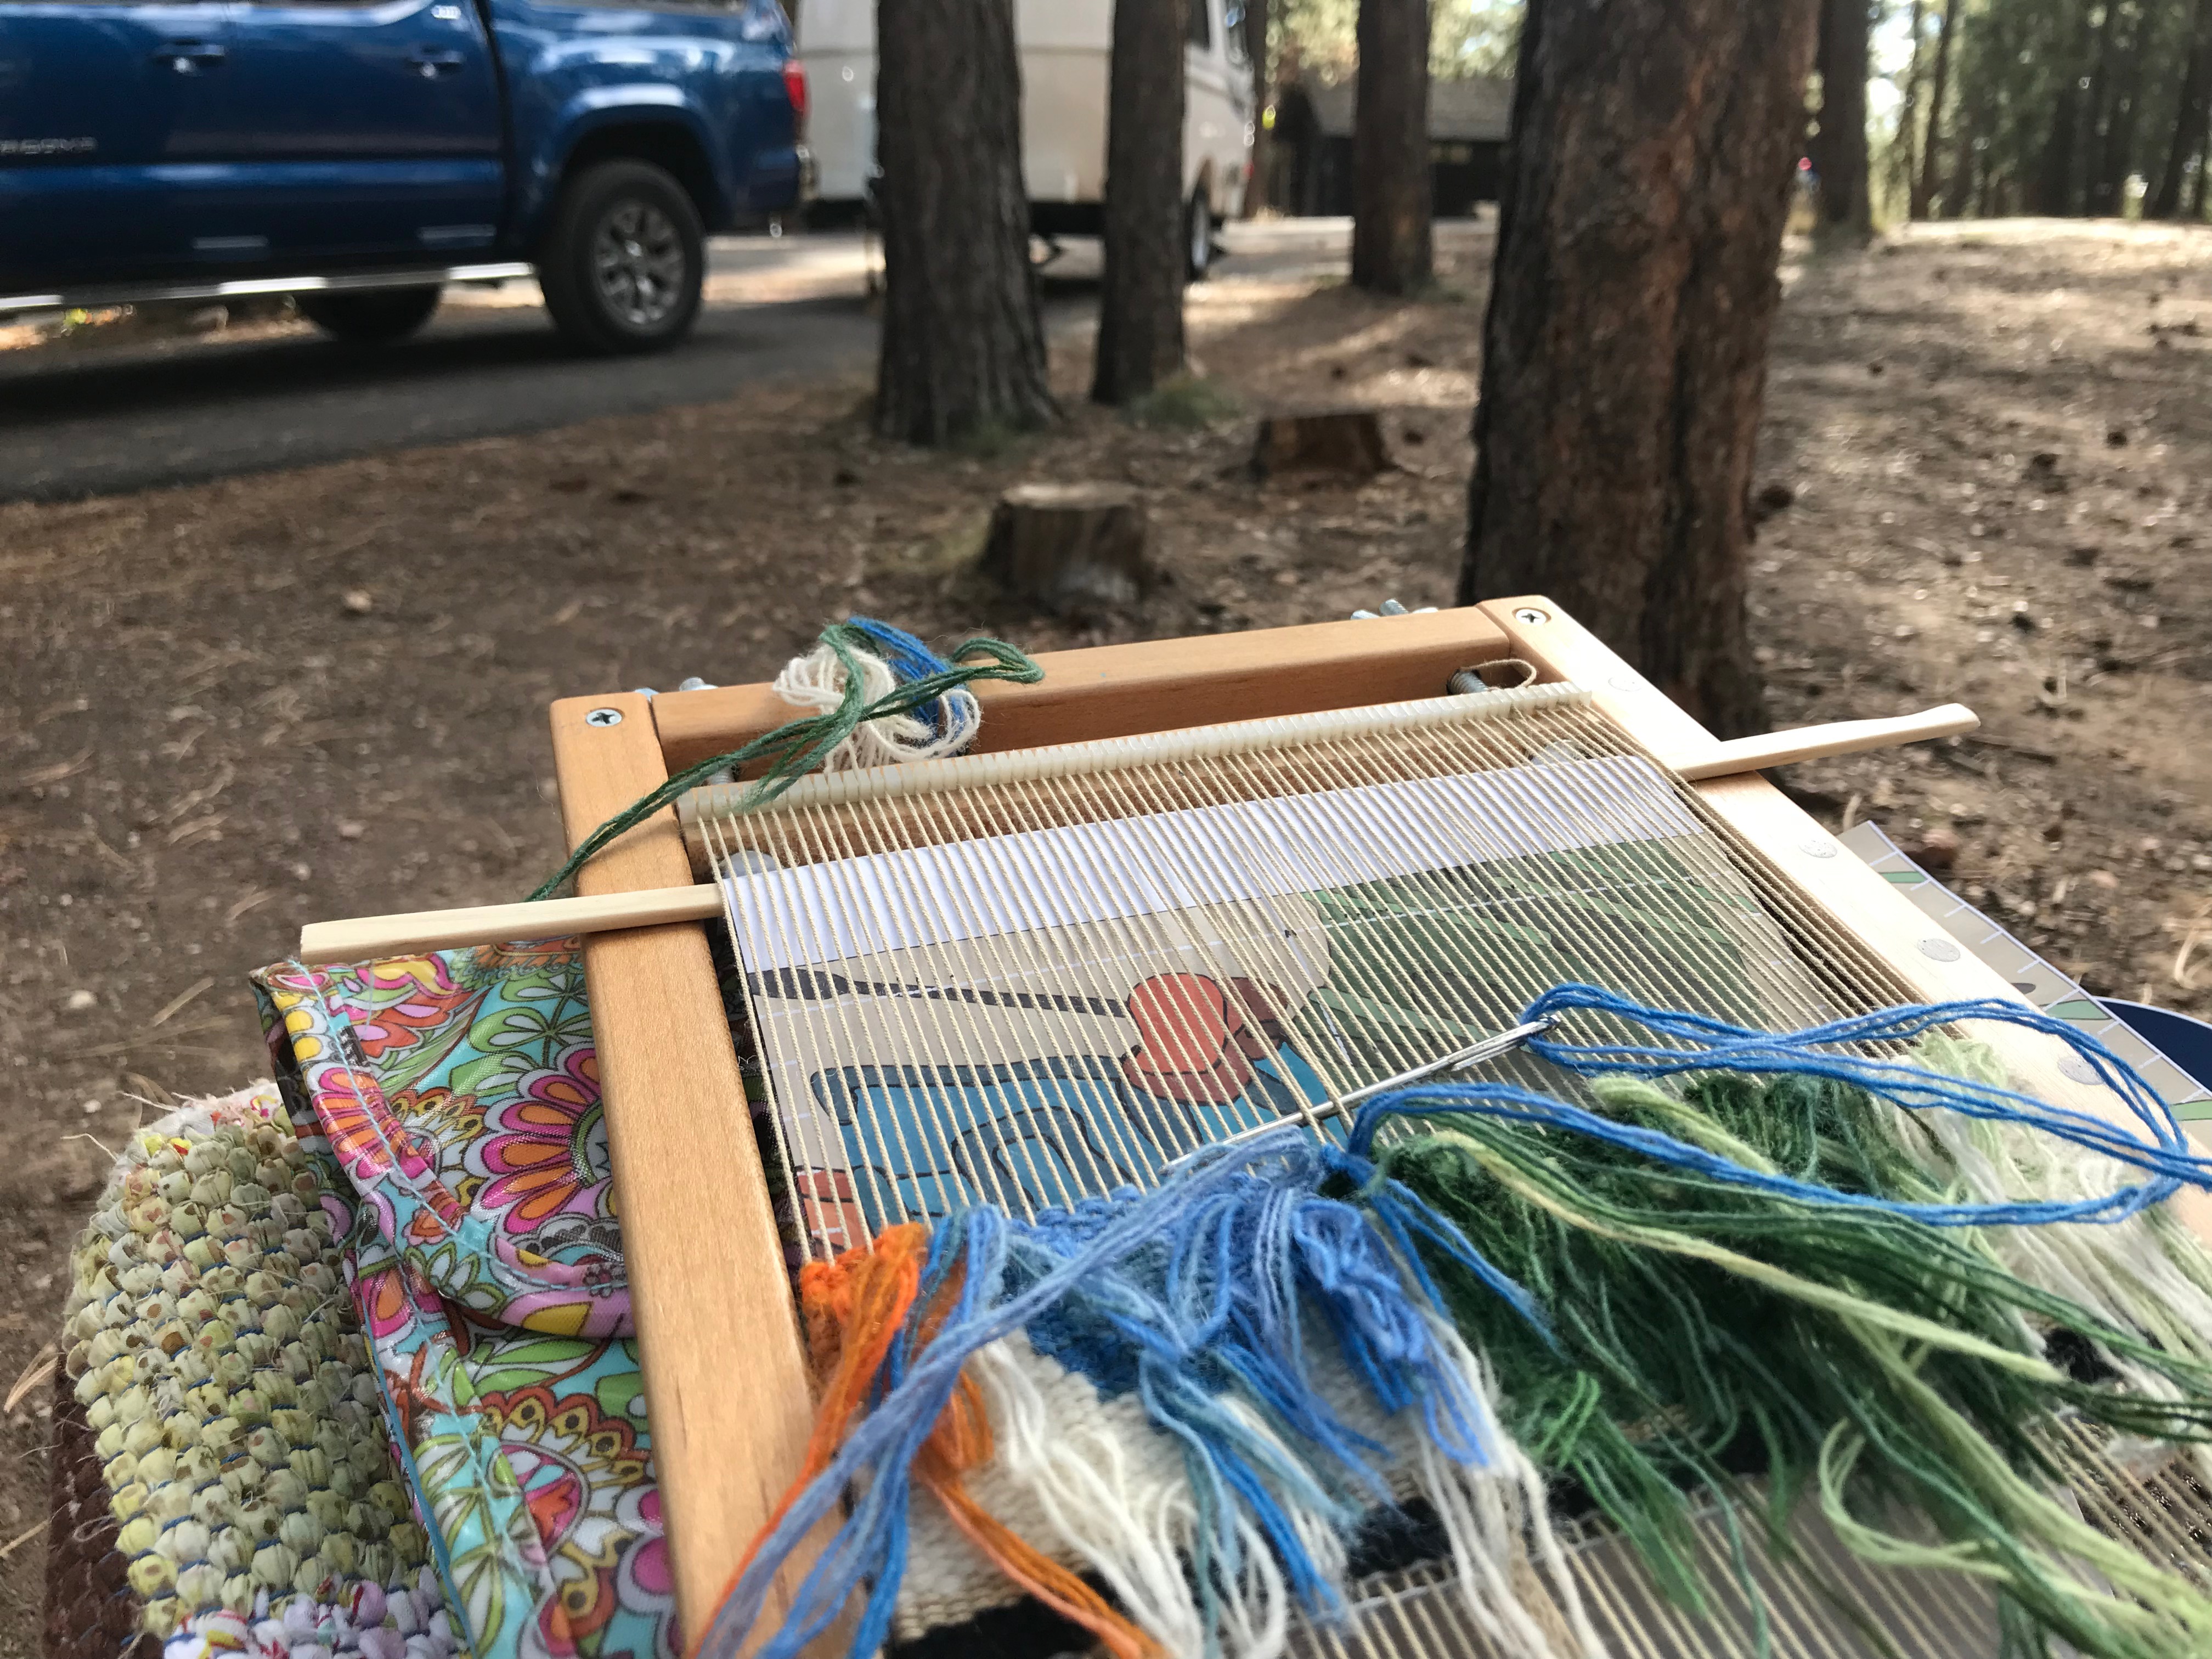
Small tapestry gets its start on a camping trip. Paint stir stick holds the cartoon in place under the warp.Weaving from the back. Long car rides are good for portable tapestry weaving.Checking the cartoon again.Finishing up the weaving of Rain Girl just before pulling back into our driveway after a long trip.
The main fault is with the cartoon. It isn’t weave-able. The image is too small for this sett. There must be a better way to weave this image.
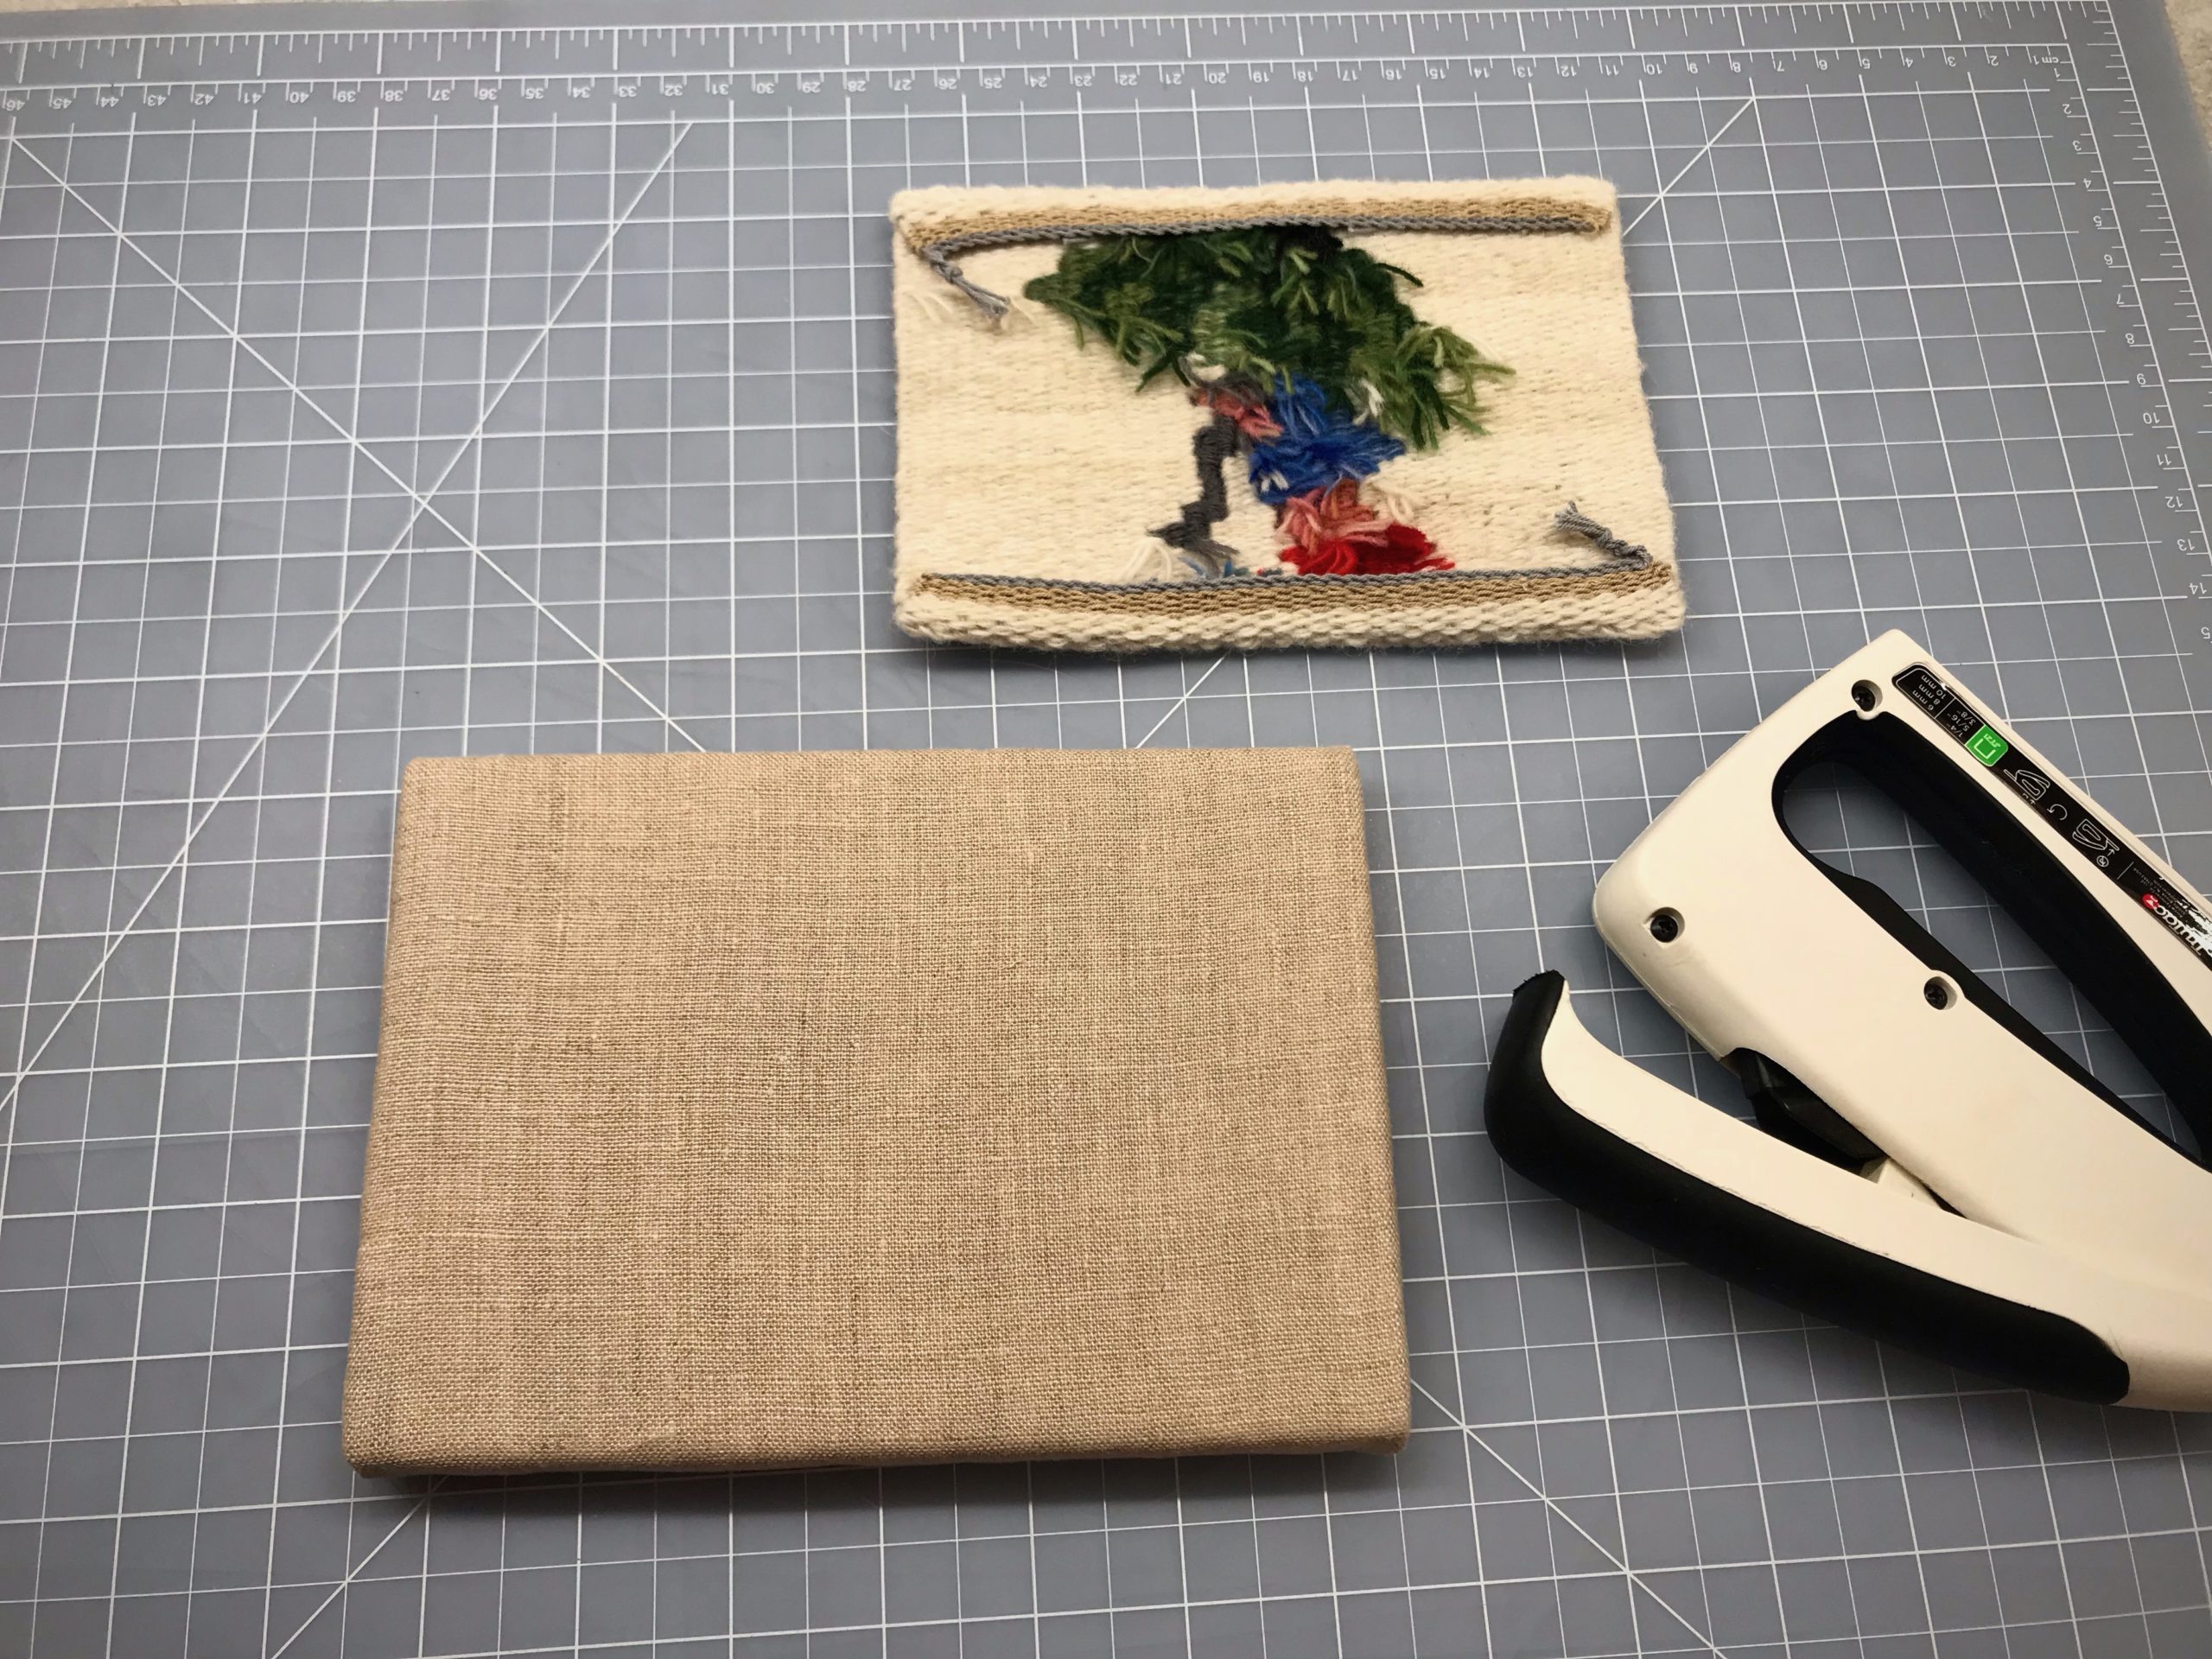
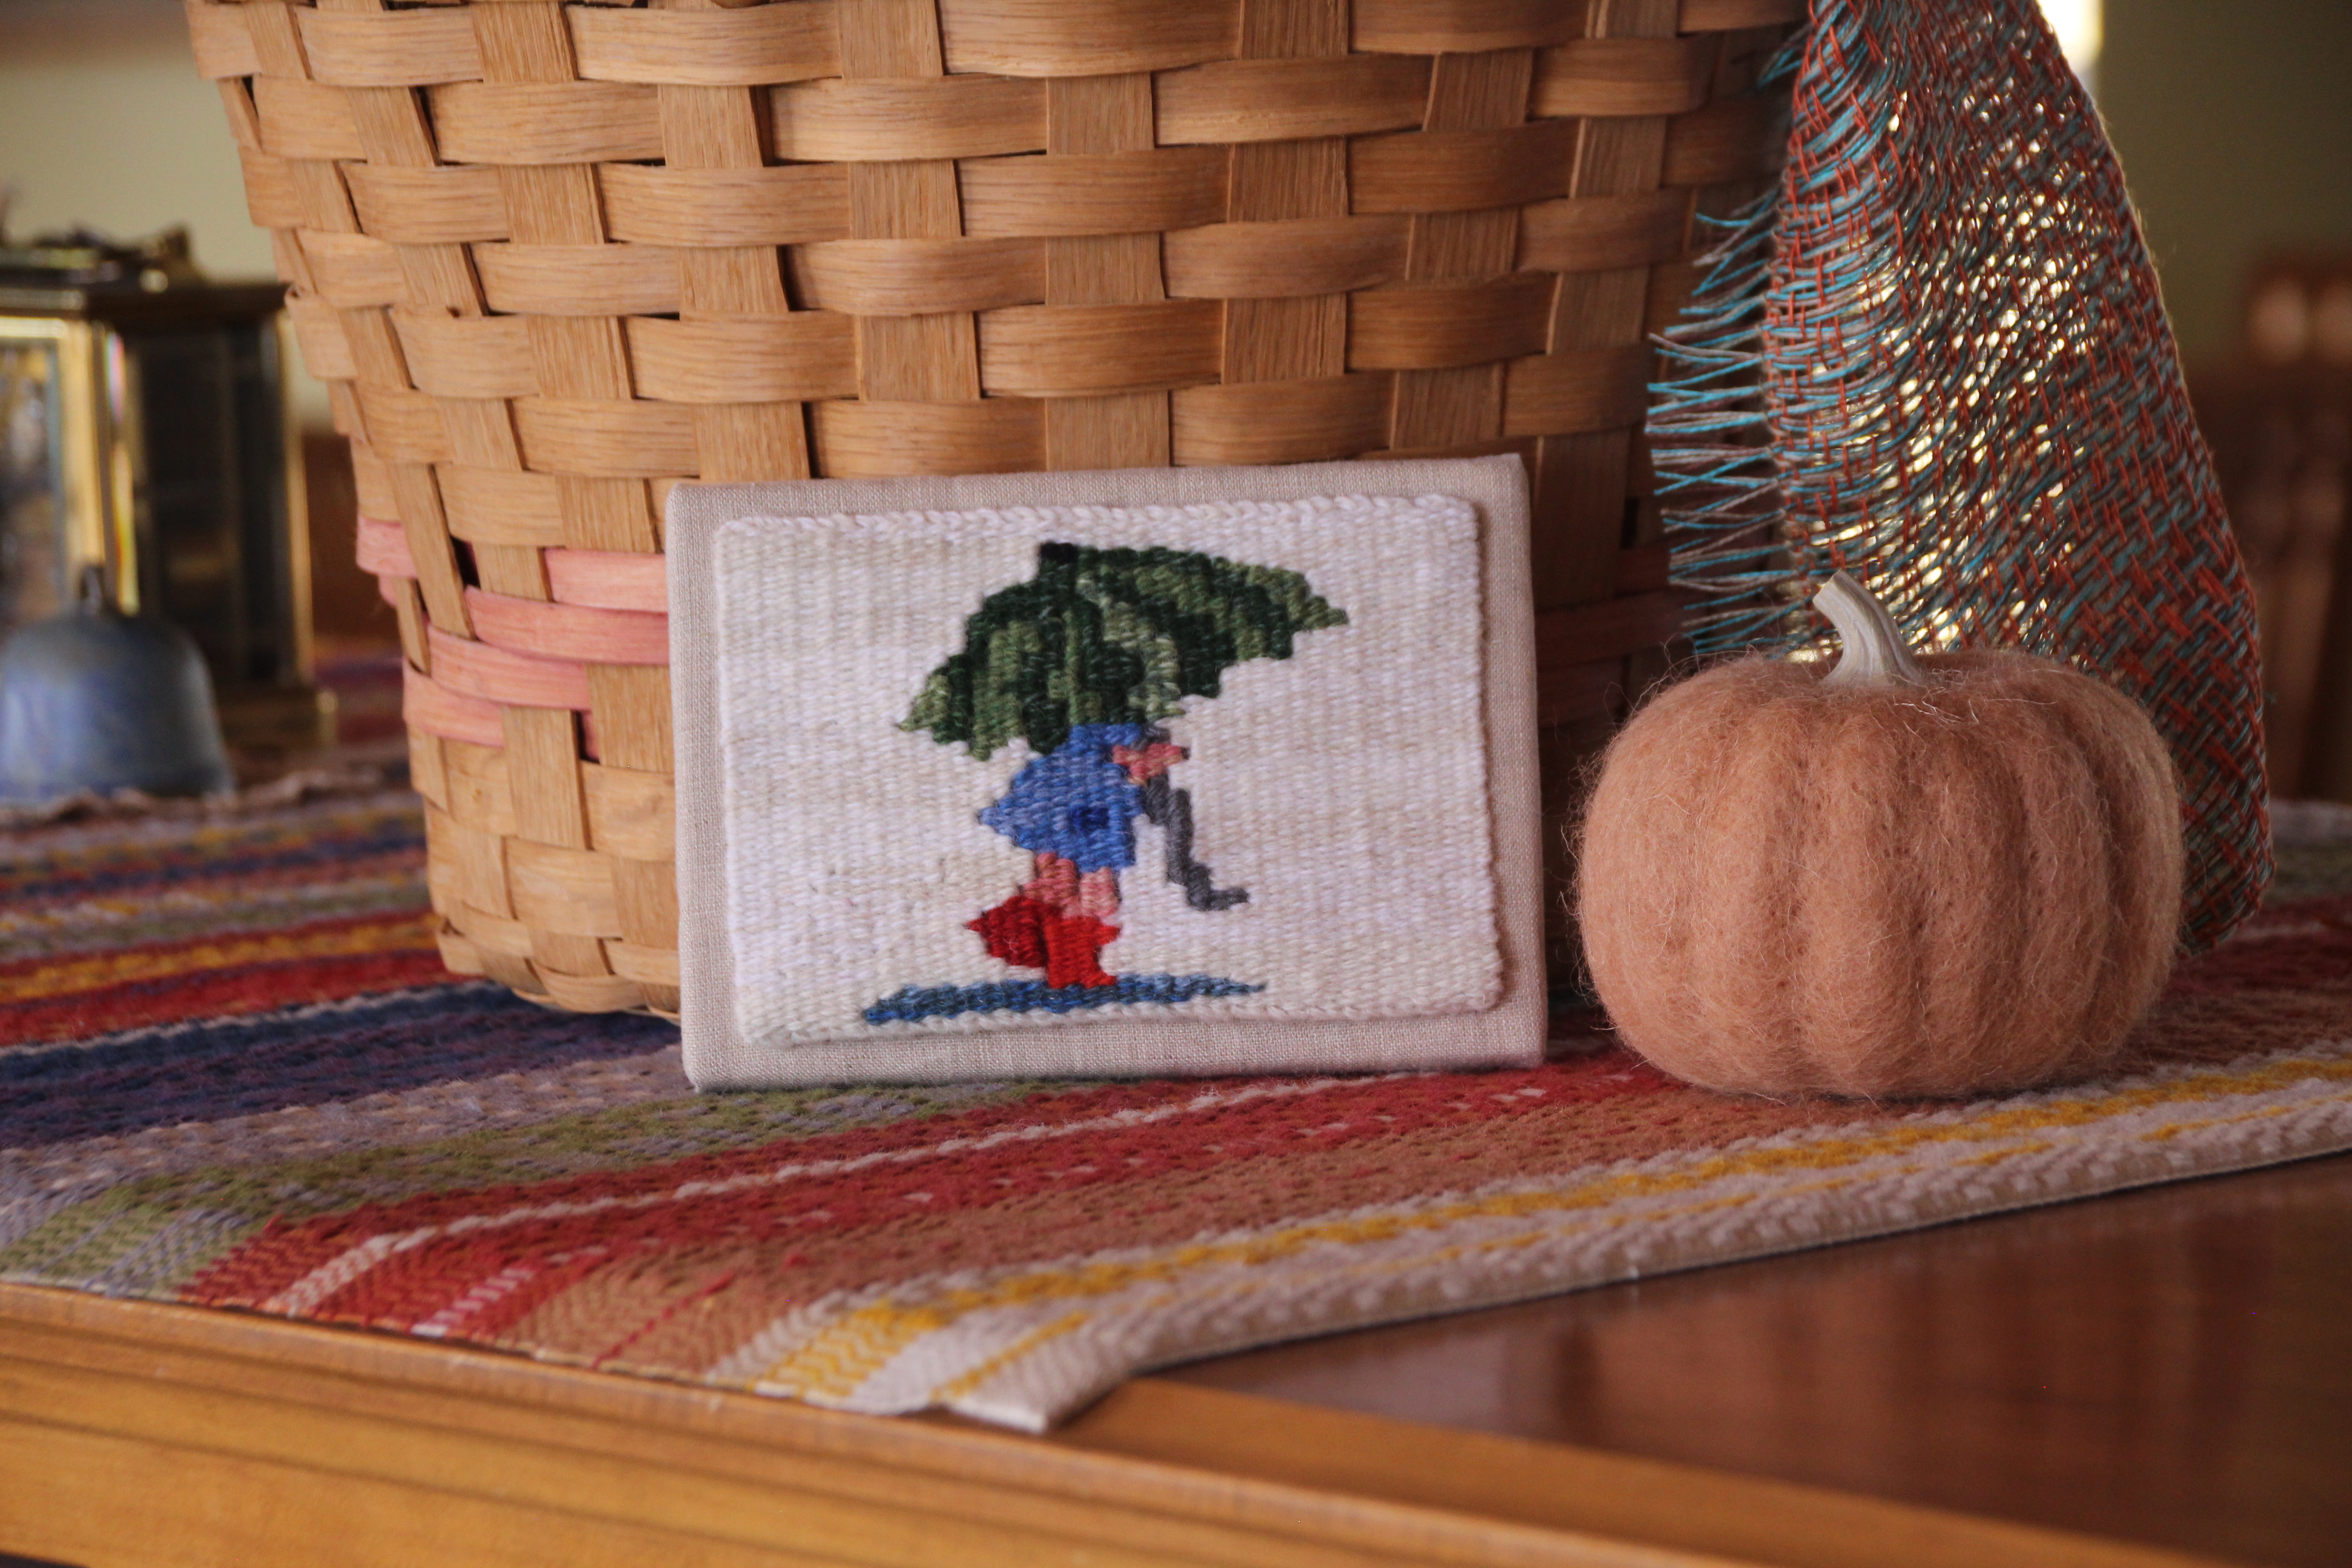
Hems are stitched down. 1/2″ foam core board is covered with a layer of cotton flannel, and then natural colored linen.Rain Girl, first version.
I am starting over with a whole new cartoon! I have now learned that Affinity Designer (computer graphics software) gives me the ability to create vertical parallel lines equivalent to my sett. With those lines in view I can see exactly how each part of the cartoon fits the warp spacing. I am turning the image on its side and enlarging it, and then, cropping to size. This cartoon is going to be weave-able.
Screen shot from Affinity Designer. Image from book illustration is positioned on its side, enlarged, and cropped. View shows vertical lines that match the sett for the tapestry.New Rain Girl cartoon is ready for printing.
All of us have gone our own way. We insistently follow our own cartoon, compromising best practices, while struggling to make it work. There is a better way. Jesus Christ gave himself so that the Grand Weaver’s cartoon could be written on our hearts. In his hands we become his beloved tapestry. Be weave-able.
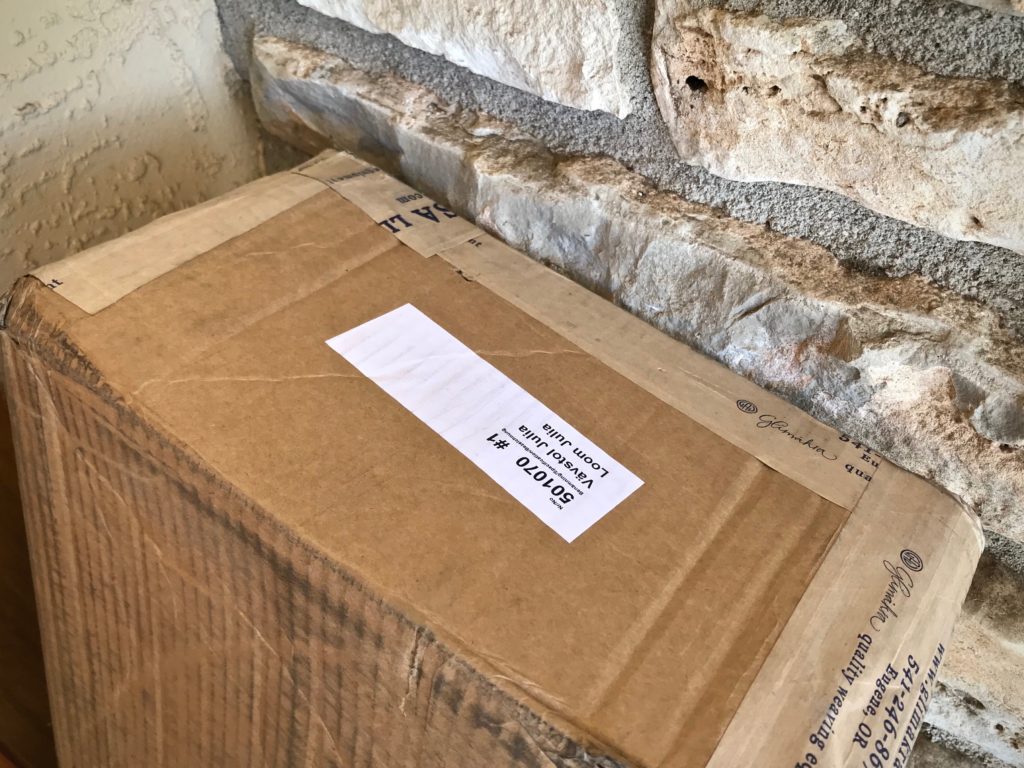
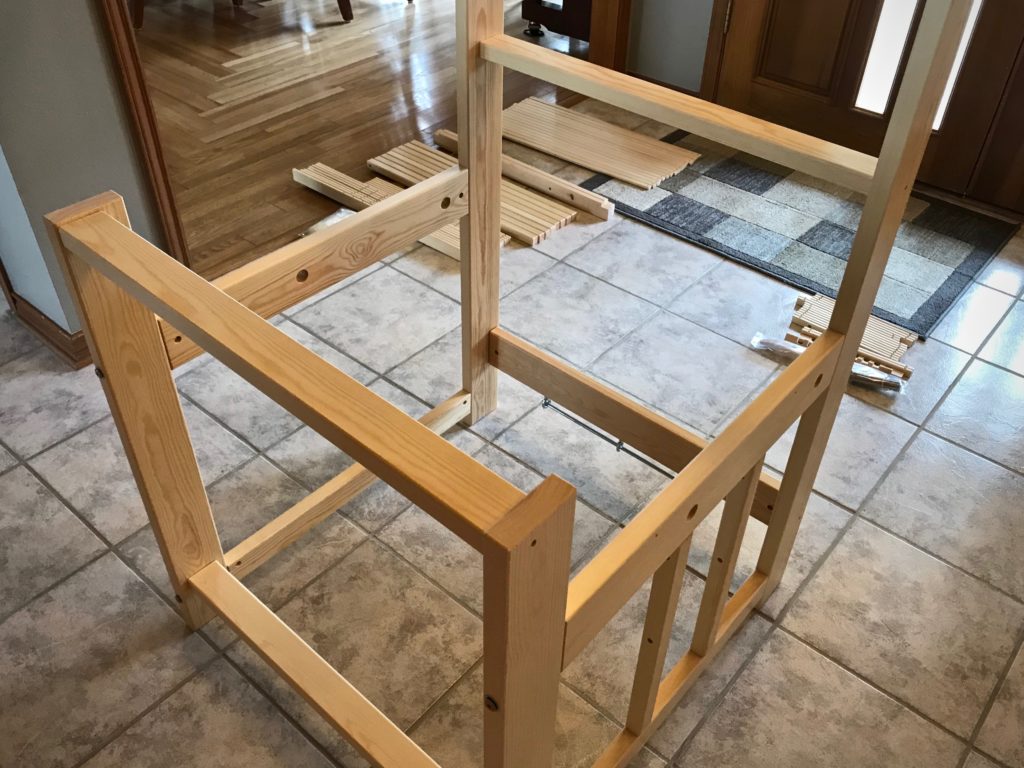
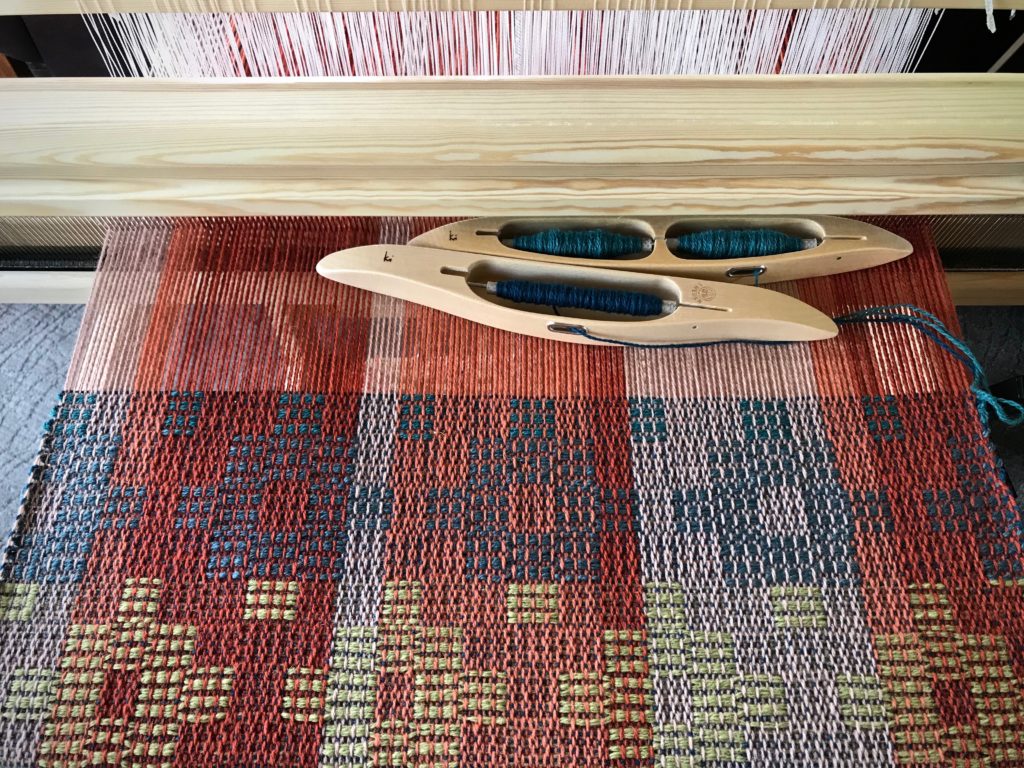
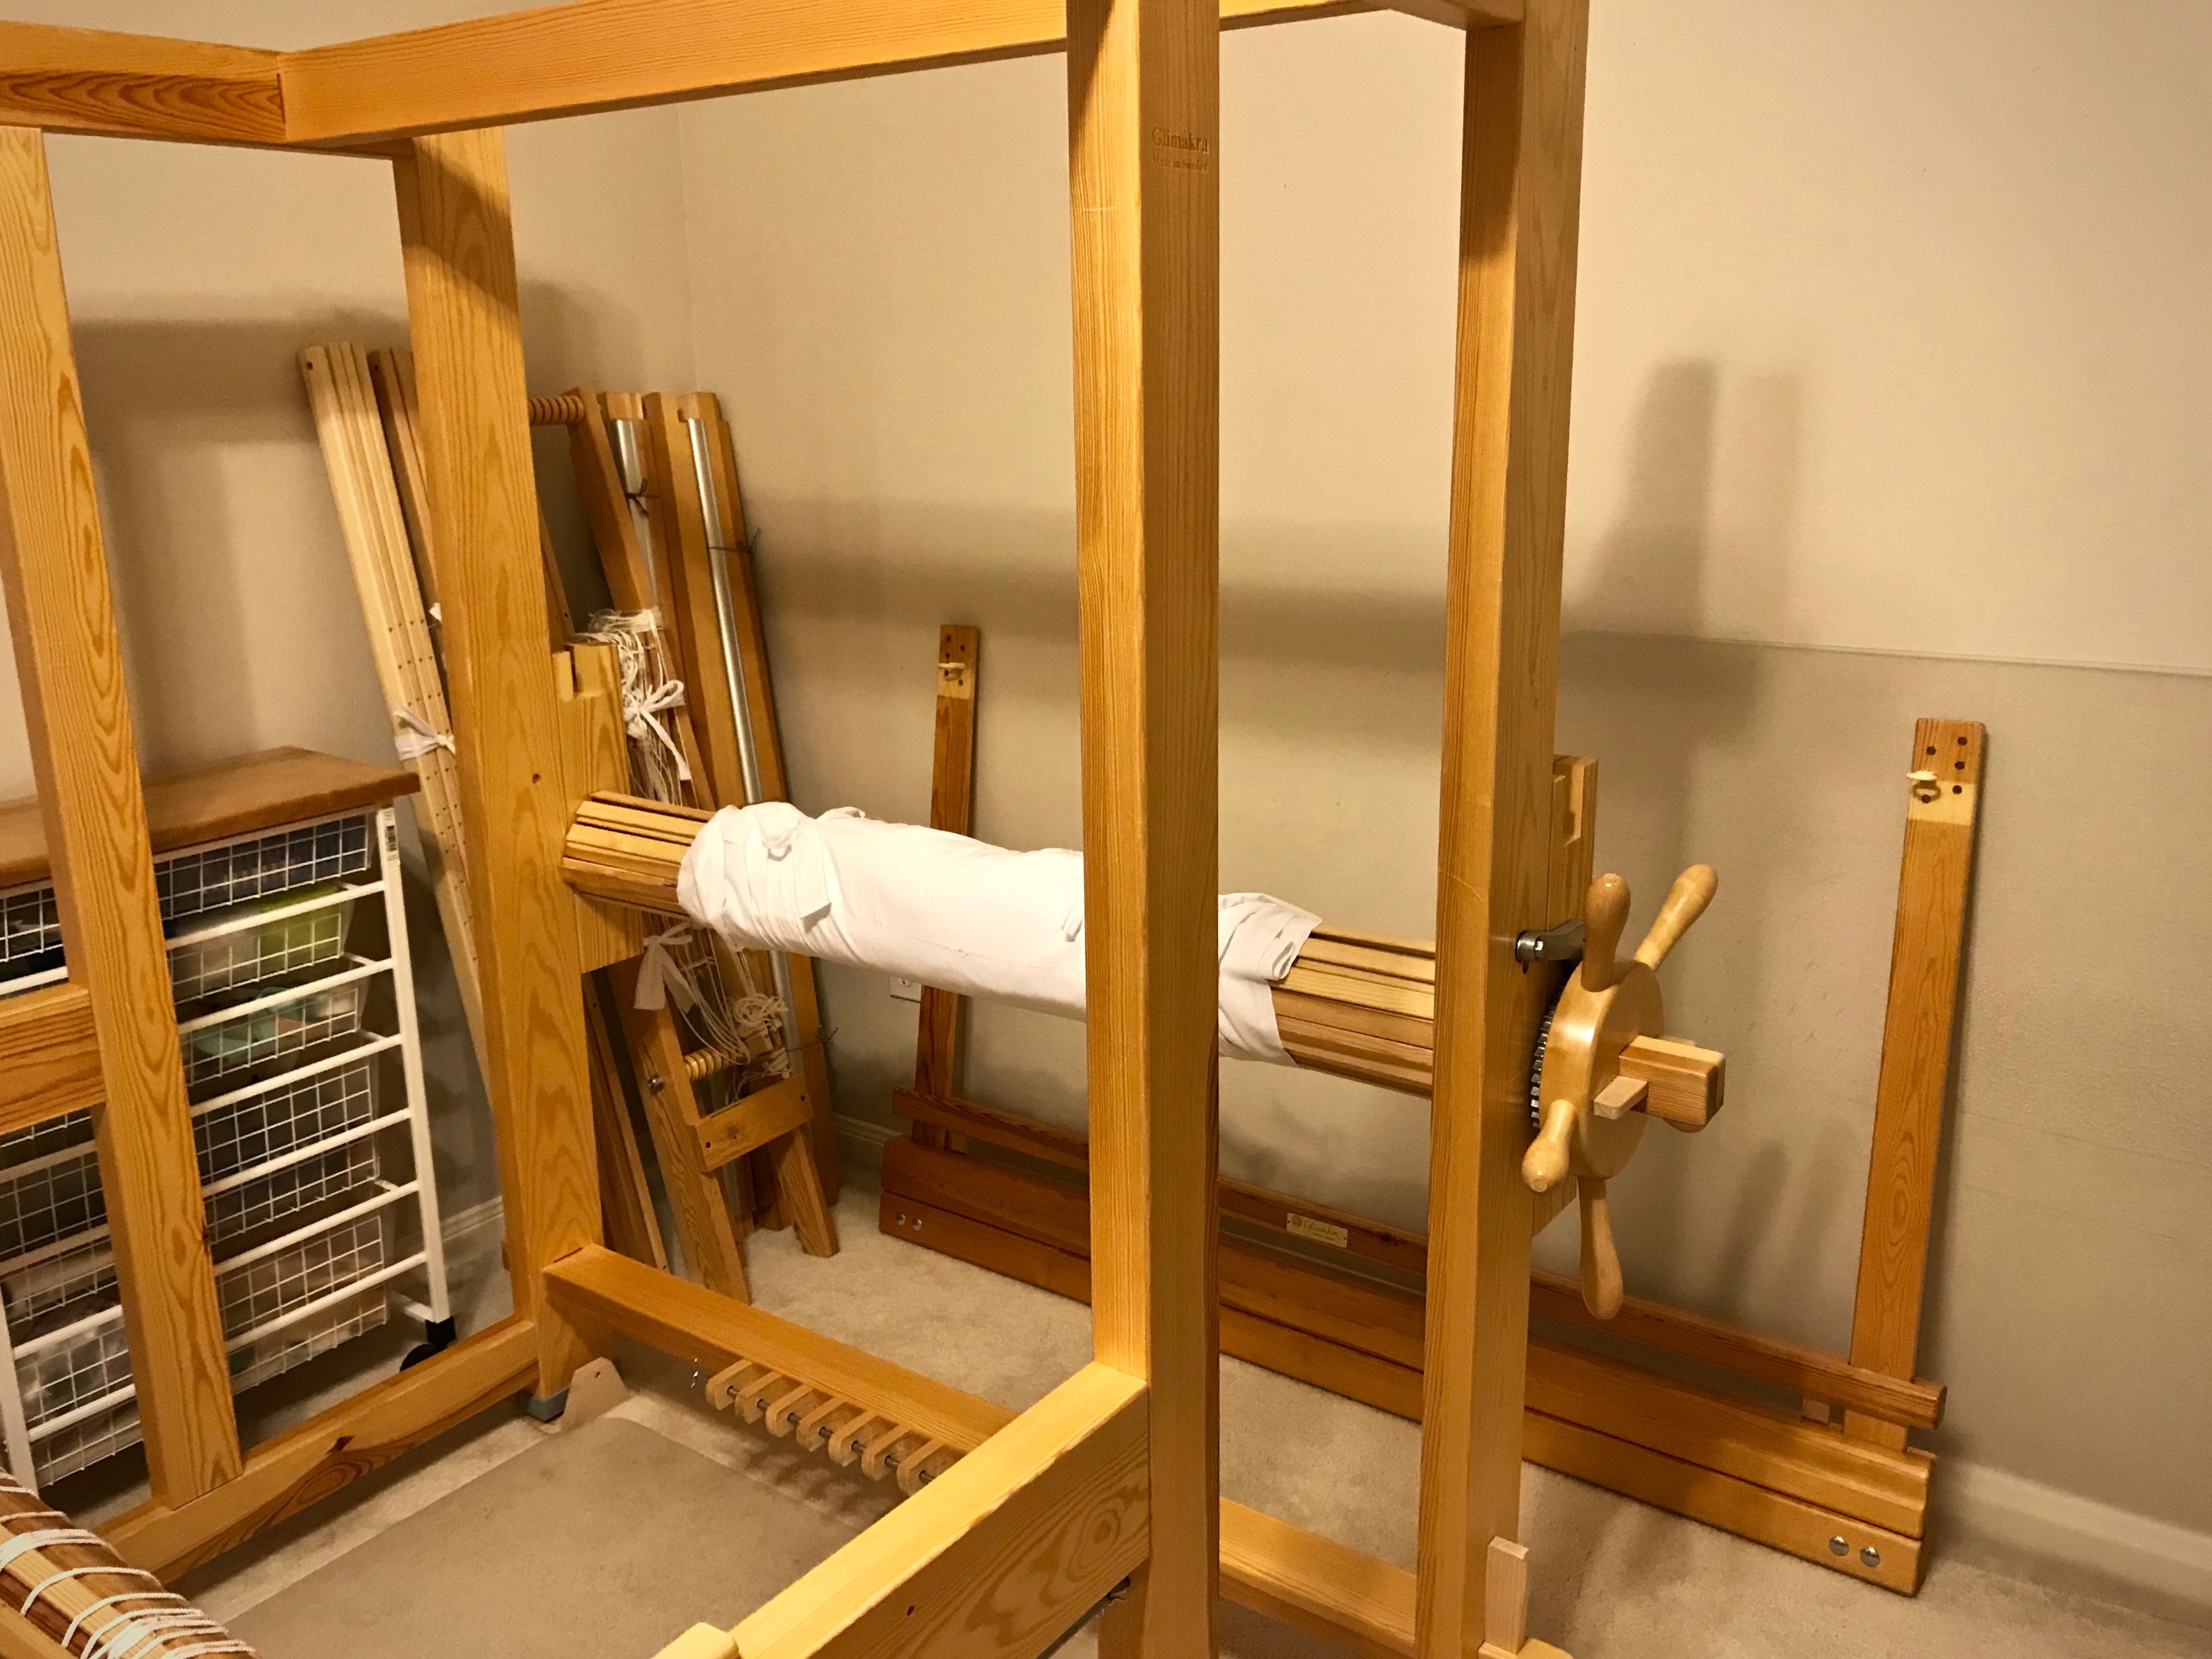
My family of looms just welcomed a new little sister—Julia! This 8-shaftcountermarch is Glimåkra’s smallest floor loom. I dressed the loom right away in 6/2 Tuna wool for 4-shaft Jämtlandsdräll to try out the loom. So far, so good. An 8-shaft project using 20/2 Mora wool is up next. Would you believe this is my new portable loom? Surprisingly, the Julia fits in the back of our vehicle, without disassembling. This is the loom you can expect to see with me at future workshops.
One of the boxes delivered to my front door.Loom assembly in our foyer.
My Julia Observations:
It goes together like you’d expect from a Glimåkra. Instructions are minimal, and quality is high. It’s a well-designed puzzle.
The assembled loom is easy to move around to gain space needed for warping, or simply to change location for any reason.
The breast beam is not removable like it is on my other Glimåkra looms, which makes it a stretch to thread the heddles from the front. However, by hanging the shaft bars from the beater cradle at the very front I can thread the heddles without back strain. (Or, if you are petite and don’t mind climbing over the side, you can put the bench in the loom for threading.)
Tying uplamms and treadles is not much different than it is for my Ideal. Everything is well within reach from the front. It helps to take the lamms off the loom to put in the treadle cords, and then put the lamms back on the loom. With one extra person available, it is entirely feasible to elevate the loom on paint cans, upside-down buckets, or a small table to make tie-ups easier, but I didn’t find it necessary to do that.
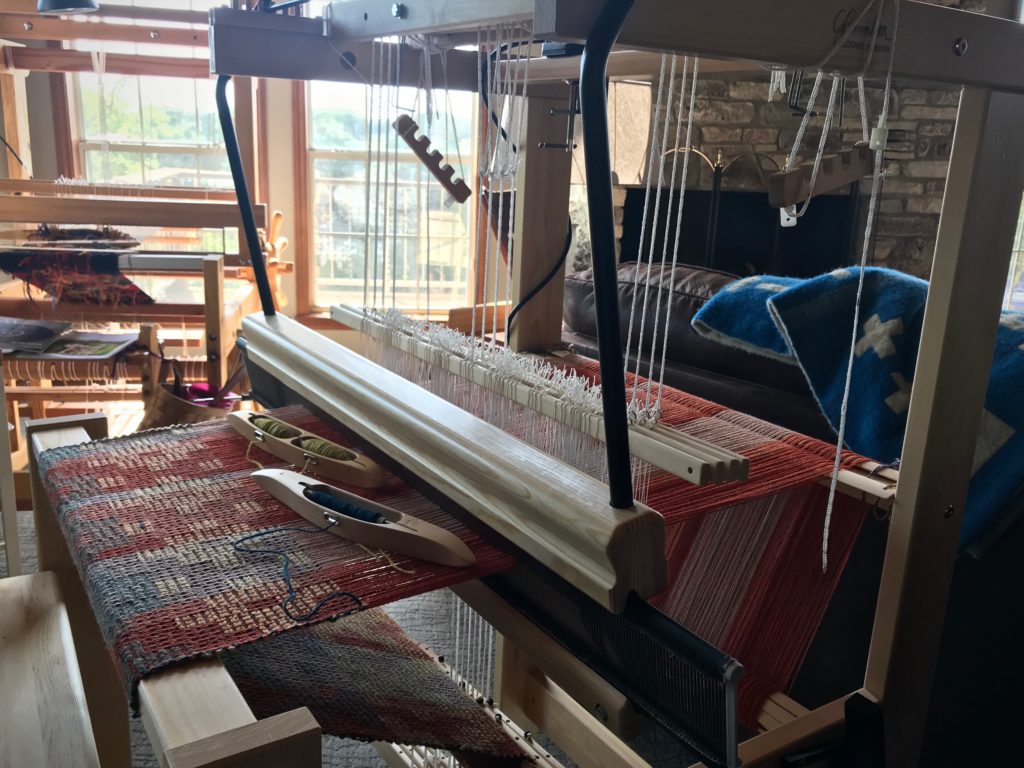
Loom that Steve built sits near the windows in our living room. Julia sits nearby. Sister looms.Glimåkra Standard sits by the windows at the front of the living room. Julia sits a few steps away. Loom sisters.
Weaving on the Julia is a delight, as it is with my other countermarch looms. Everything works. With four shafts, the sheds are impeccable.
The bench adjusts to the right height.
The hanging beater is well balanced, sturdy, and has a good solid feel. I can move the beater back several times before needing to advance the warp.
I thought the narrower treadles might prove annoying, but I’ve been able to adjust quickly. After weaving a short while, I forget about the treadle size.
Steve is the loom assembler in our family. I stand by and give a hand when needed. I hope you can feel our excitement as you watch this short video of us discovering what’s in the boxes and figuring out how it all goes together.
May you enjoy the puzzles that come to your doorstep.
As June comes to a close, it’s time to sign off for a short while. Meet me right back here the first Friday of August! And head on over to Instagram ( @celloweaver ) to keep up to date with all my daily happenings on and off the loom!
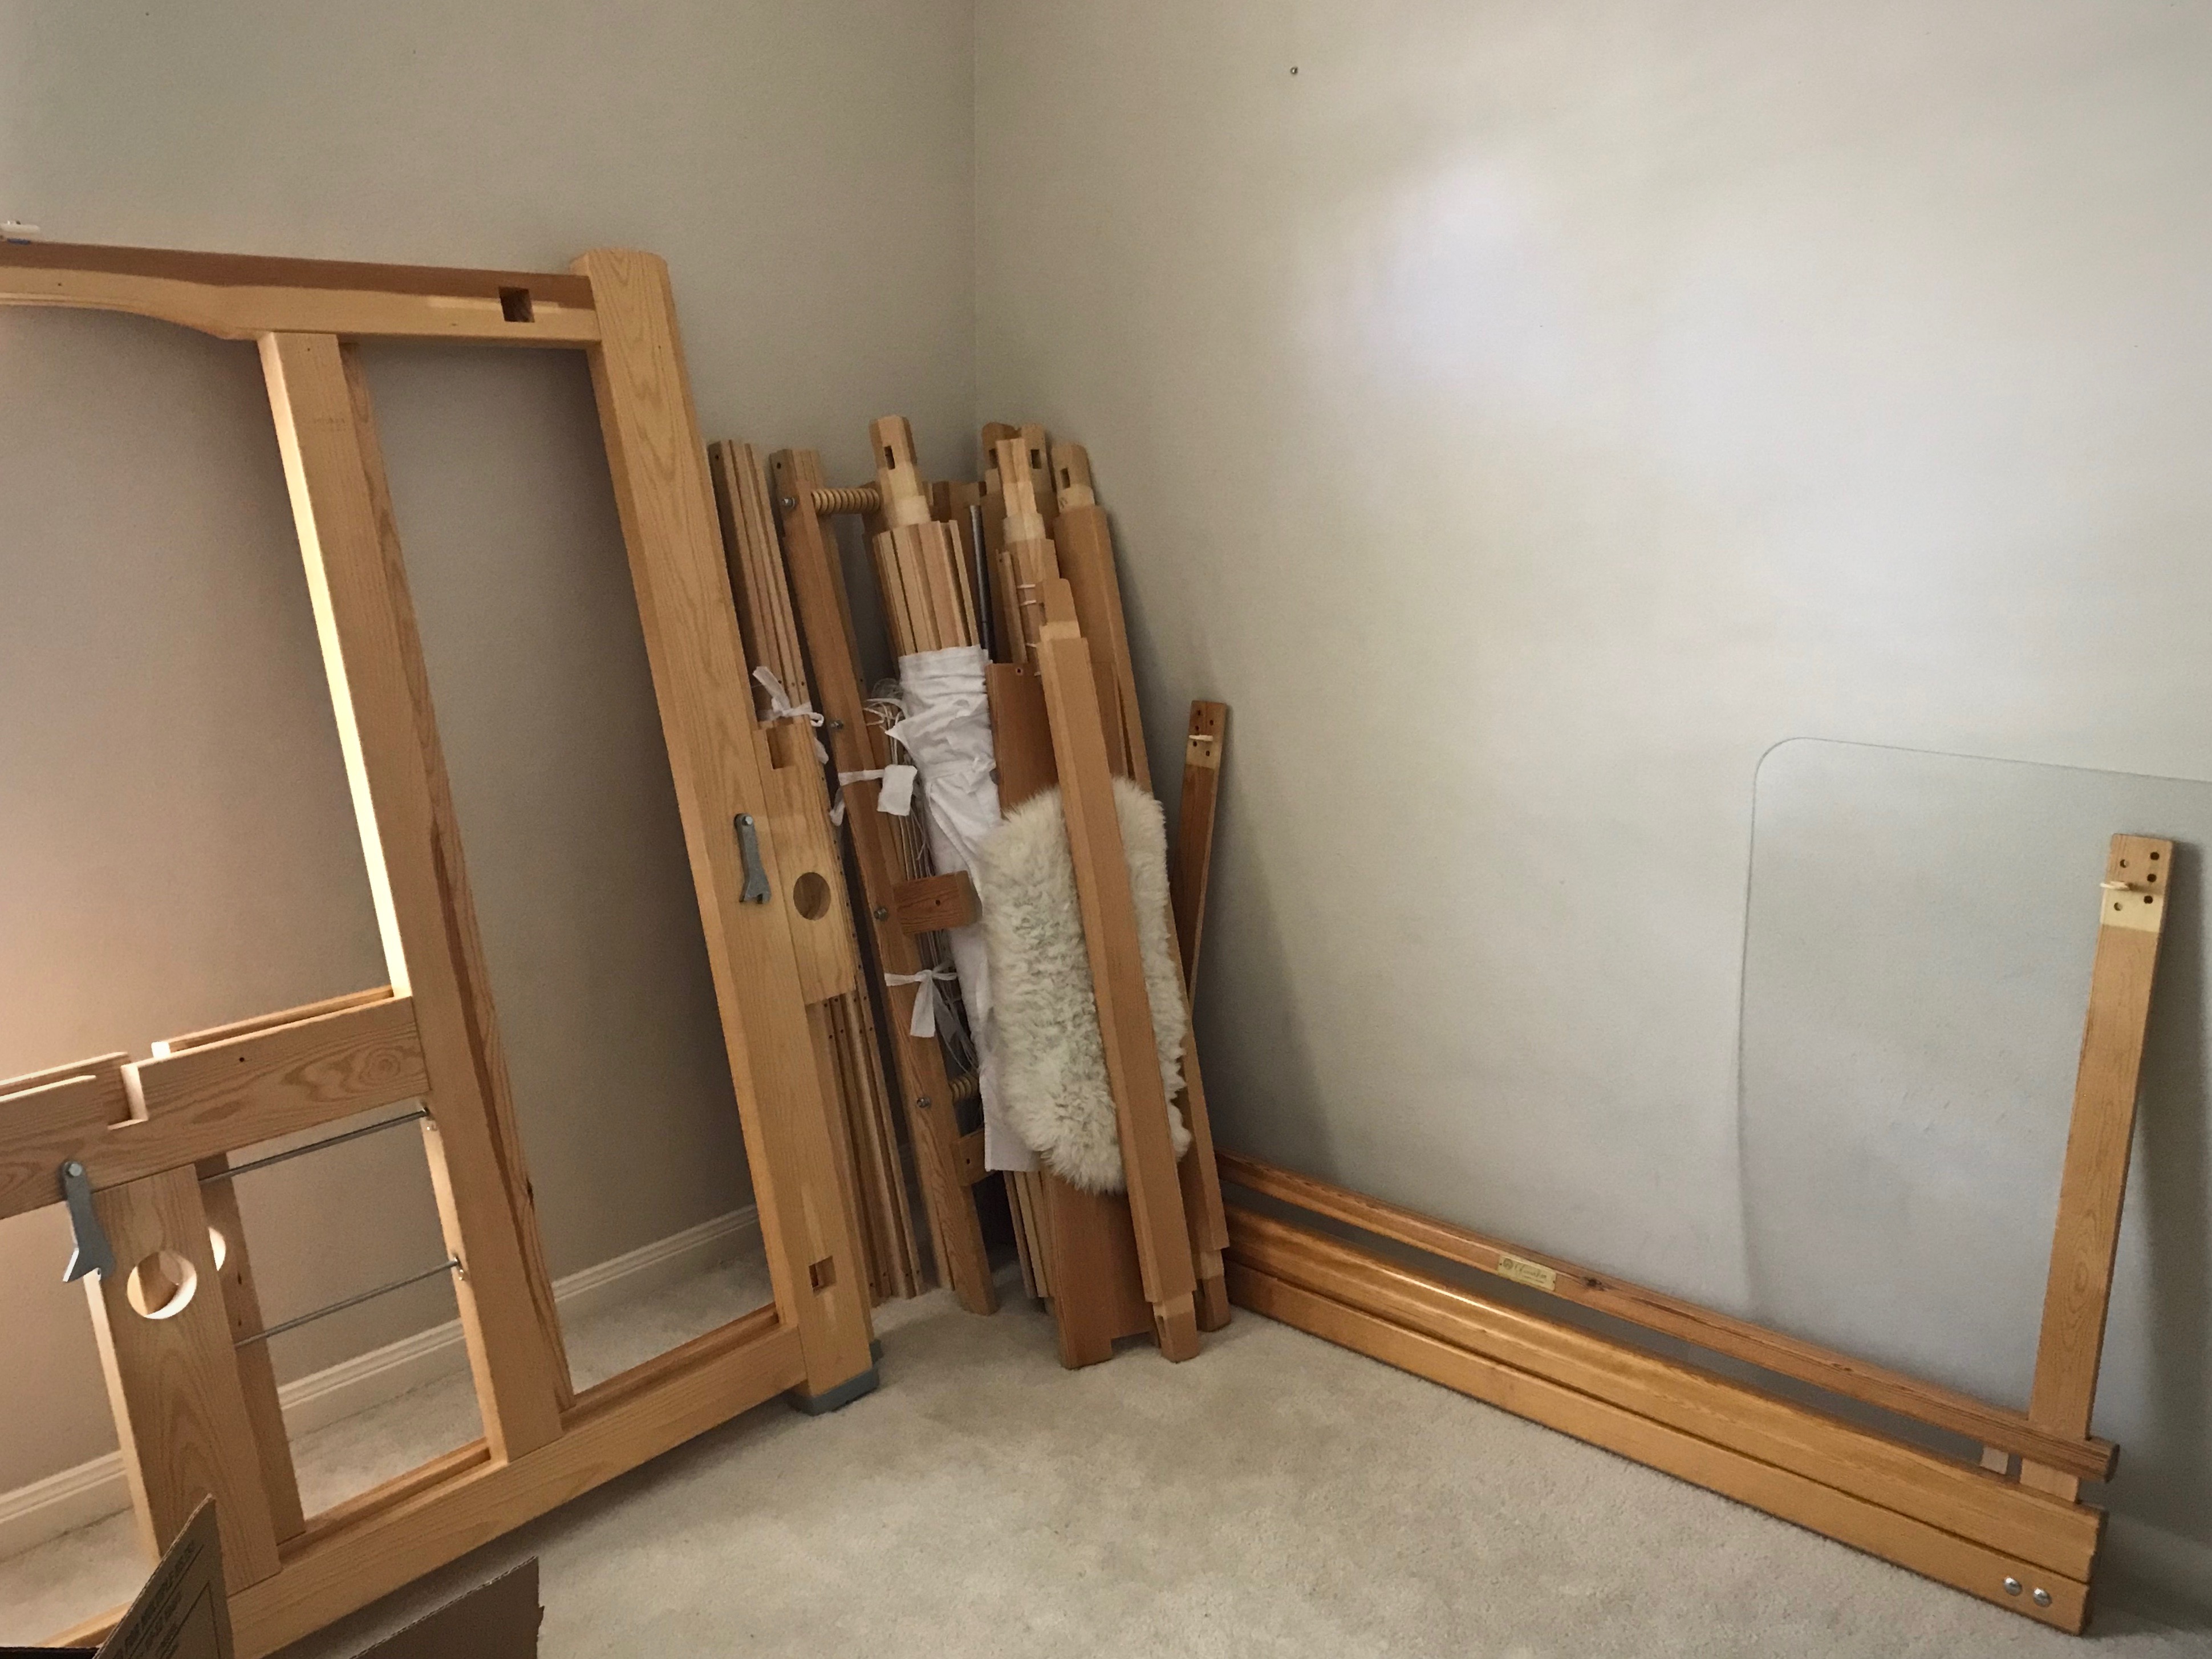
Some things are on hold right now. My “weaving studio” suddenly looks like the spare bedroom it used to be. The big loom is dismantled! Fortunately, it is not a problem for this smart Glimåkra Standard loom to hold onto the warp that I’ve already wound onto the warp beam. The good news is that this cherished loom is being relocated to our Texas hill country home, where it will take the stage as if it were a grand piano.
White sheet from my box of old sheets (for scrap rag weft) is used to wrap the warp on the warp beam. It is tied securely with some long fabric strips.
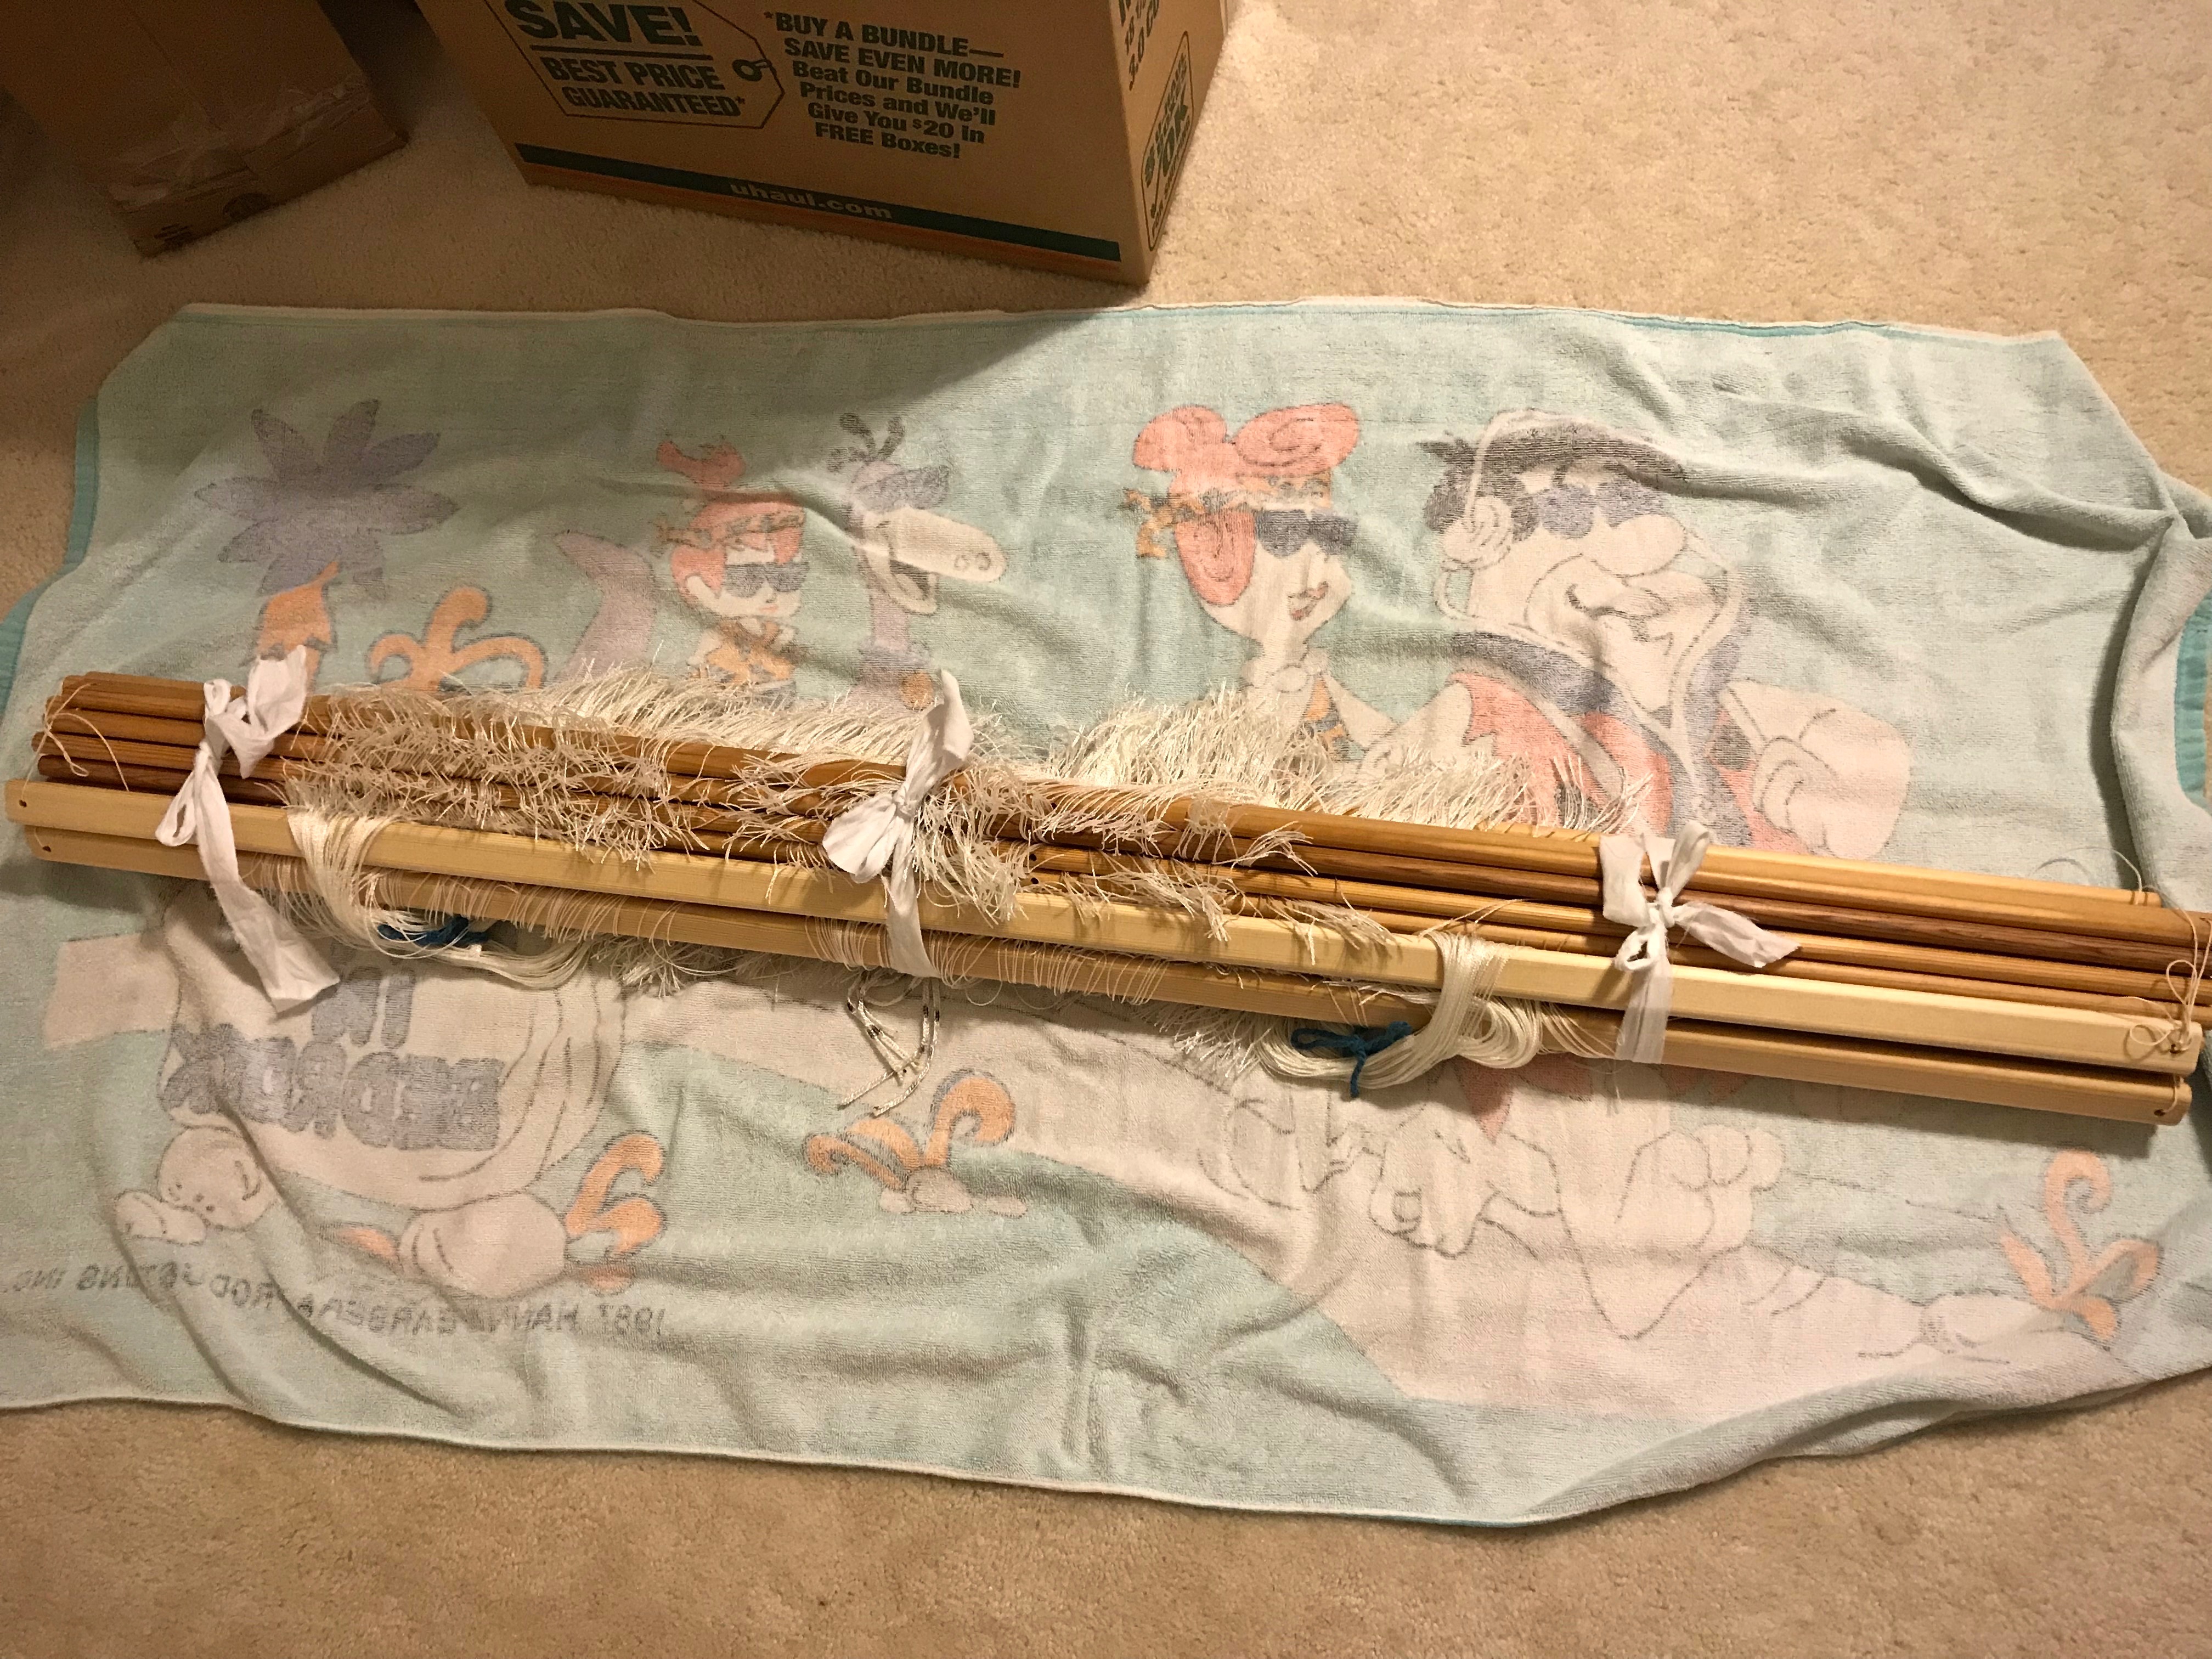
Shafts are tied together at the ends with seine twine. Fabric strips are tied around to hold the shafts together in a bundle. The bundle of shafts is placed on an old Flintstones beach towel, and then wrapped up like a big burrito and tied up with more fabric strips.
Piece by piece, loom is dismantled.
Fully dismantled, the loom becomes sticks and pieces of wood. Ready for relocation!
Loom essentials are in boxes labeled “KEEP WITH LOOM.” The wooden mallet will be one of the first things needed.
Hold. Several meanings for this word come to mind. Sometimes our familiar patterns of daily life are on hold. There’s a pause, a held breath. But during that pause, our plans and threads of normal practices are securely and lovingly wrapped up on a strong beam of hope. Wrap the spare cloth securely over your precious warp ends so that when it’s time, you can unroll the warp and finish dressing the loom for spectacular twelve-shaftdouble weave towels. Hold fast to Christ as Christ holds all your interrupted threads of being.
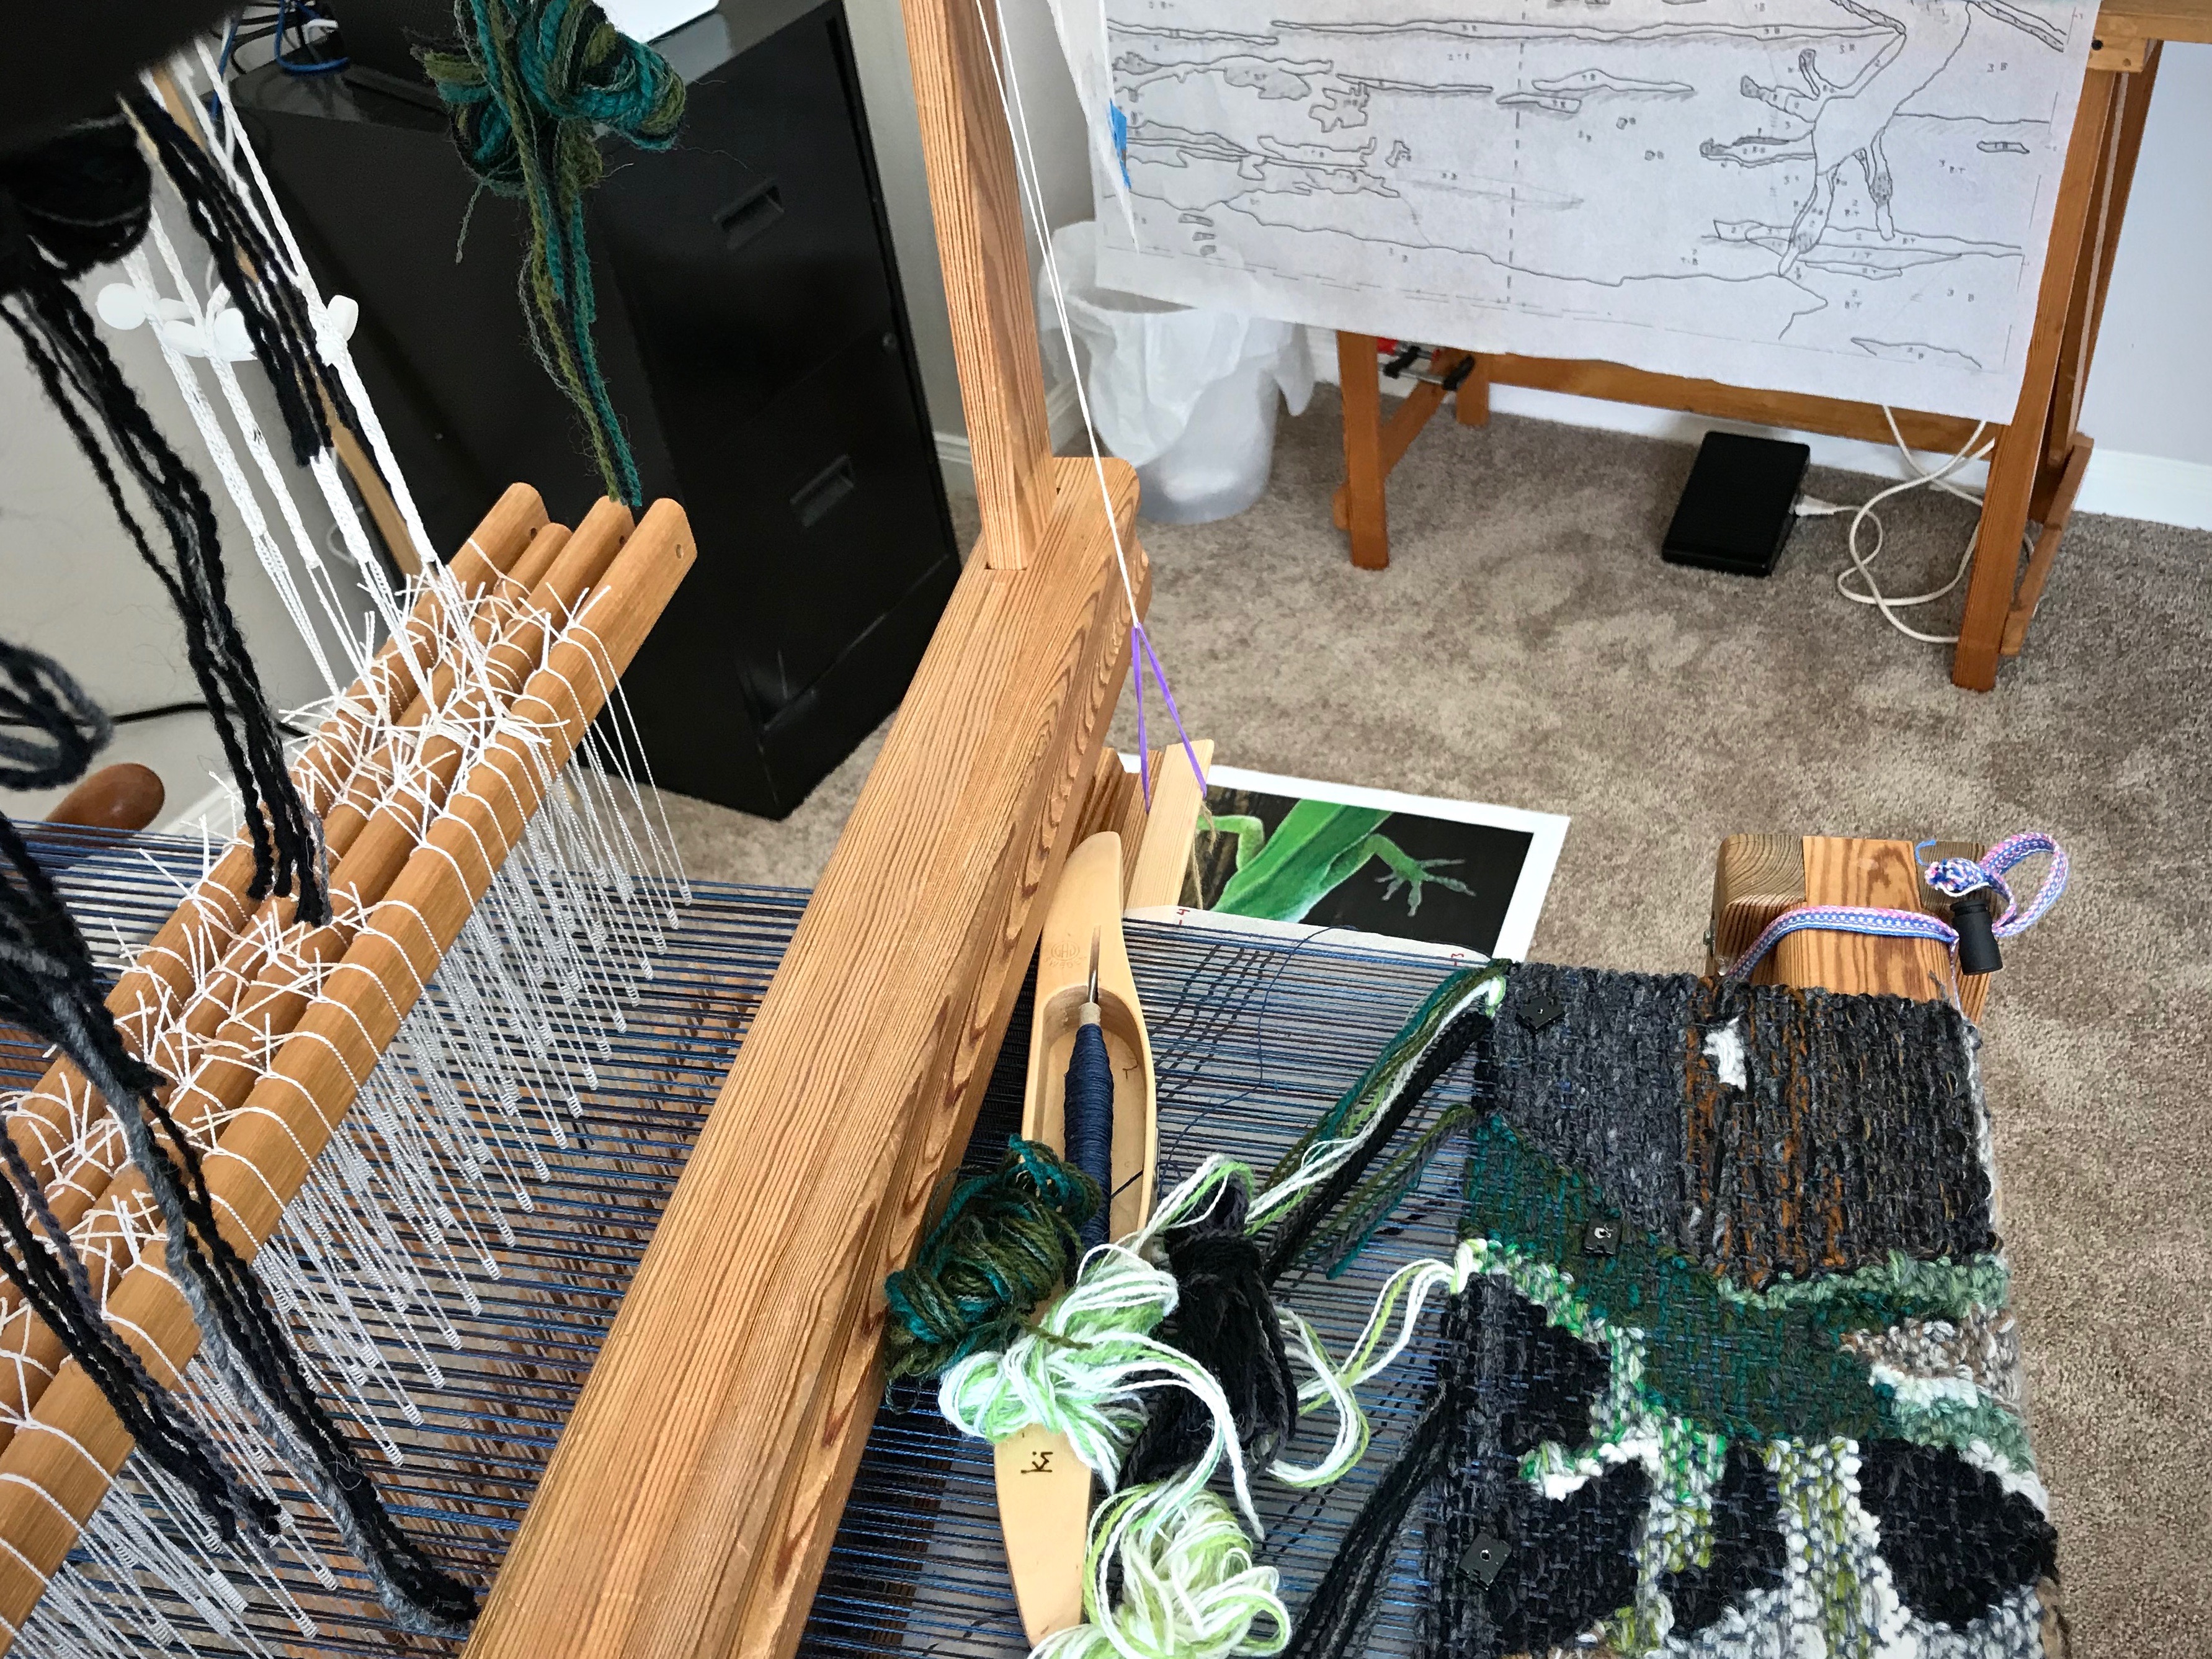
PS The Lizard tapestry is in full swing on the not-dismantled Glimåkra Ideal.
Lizard tapestry on the Ideal loom now has my singular attention. Thirty centimeters complete.
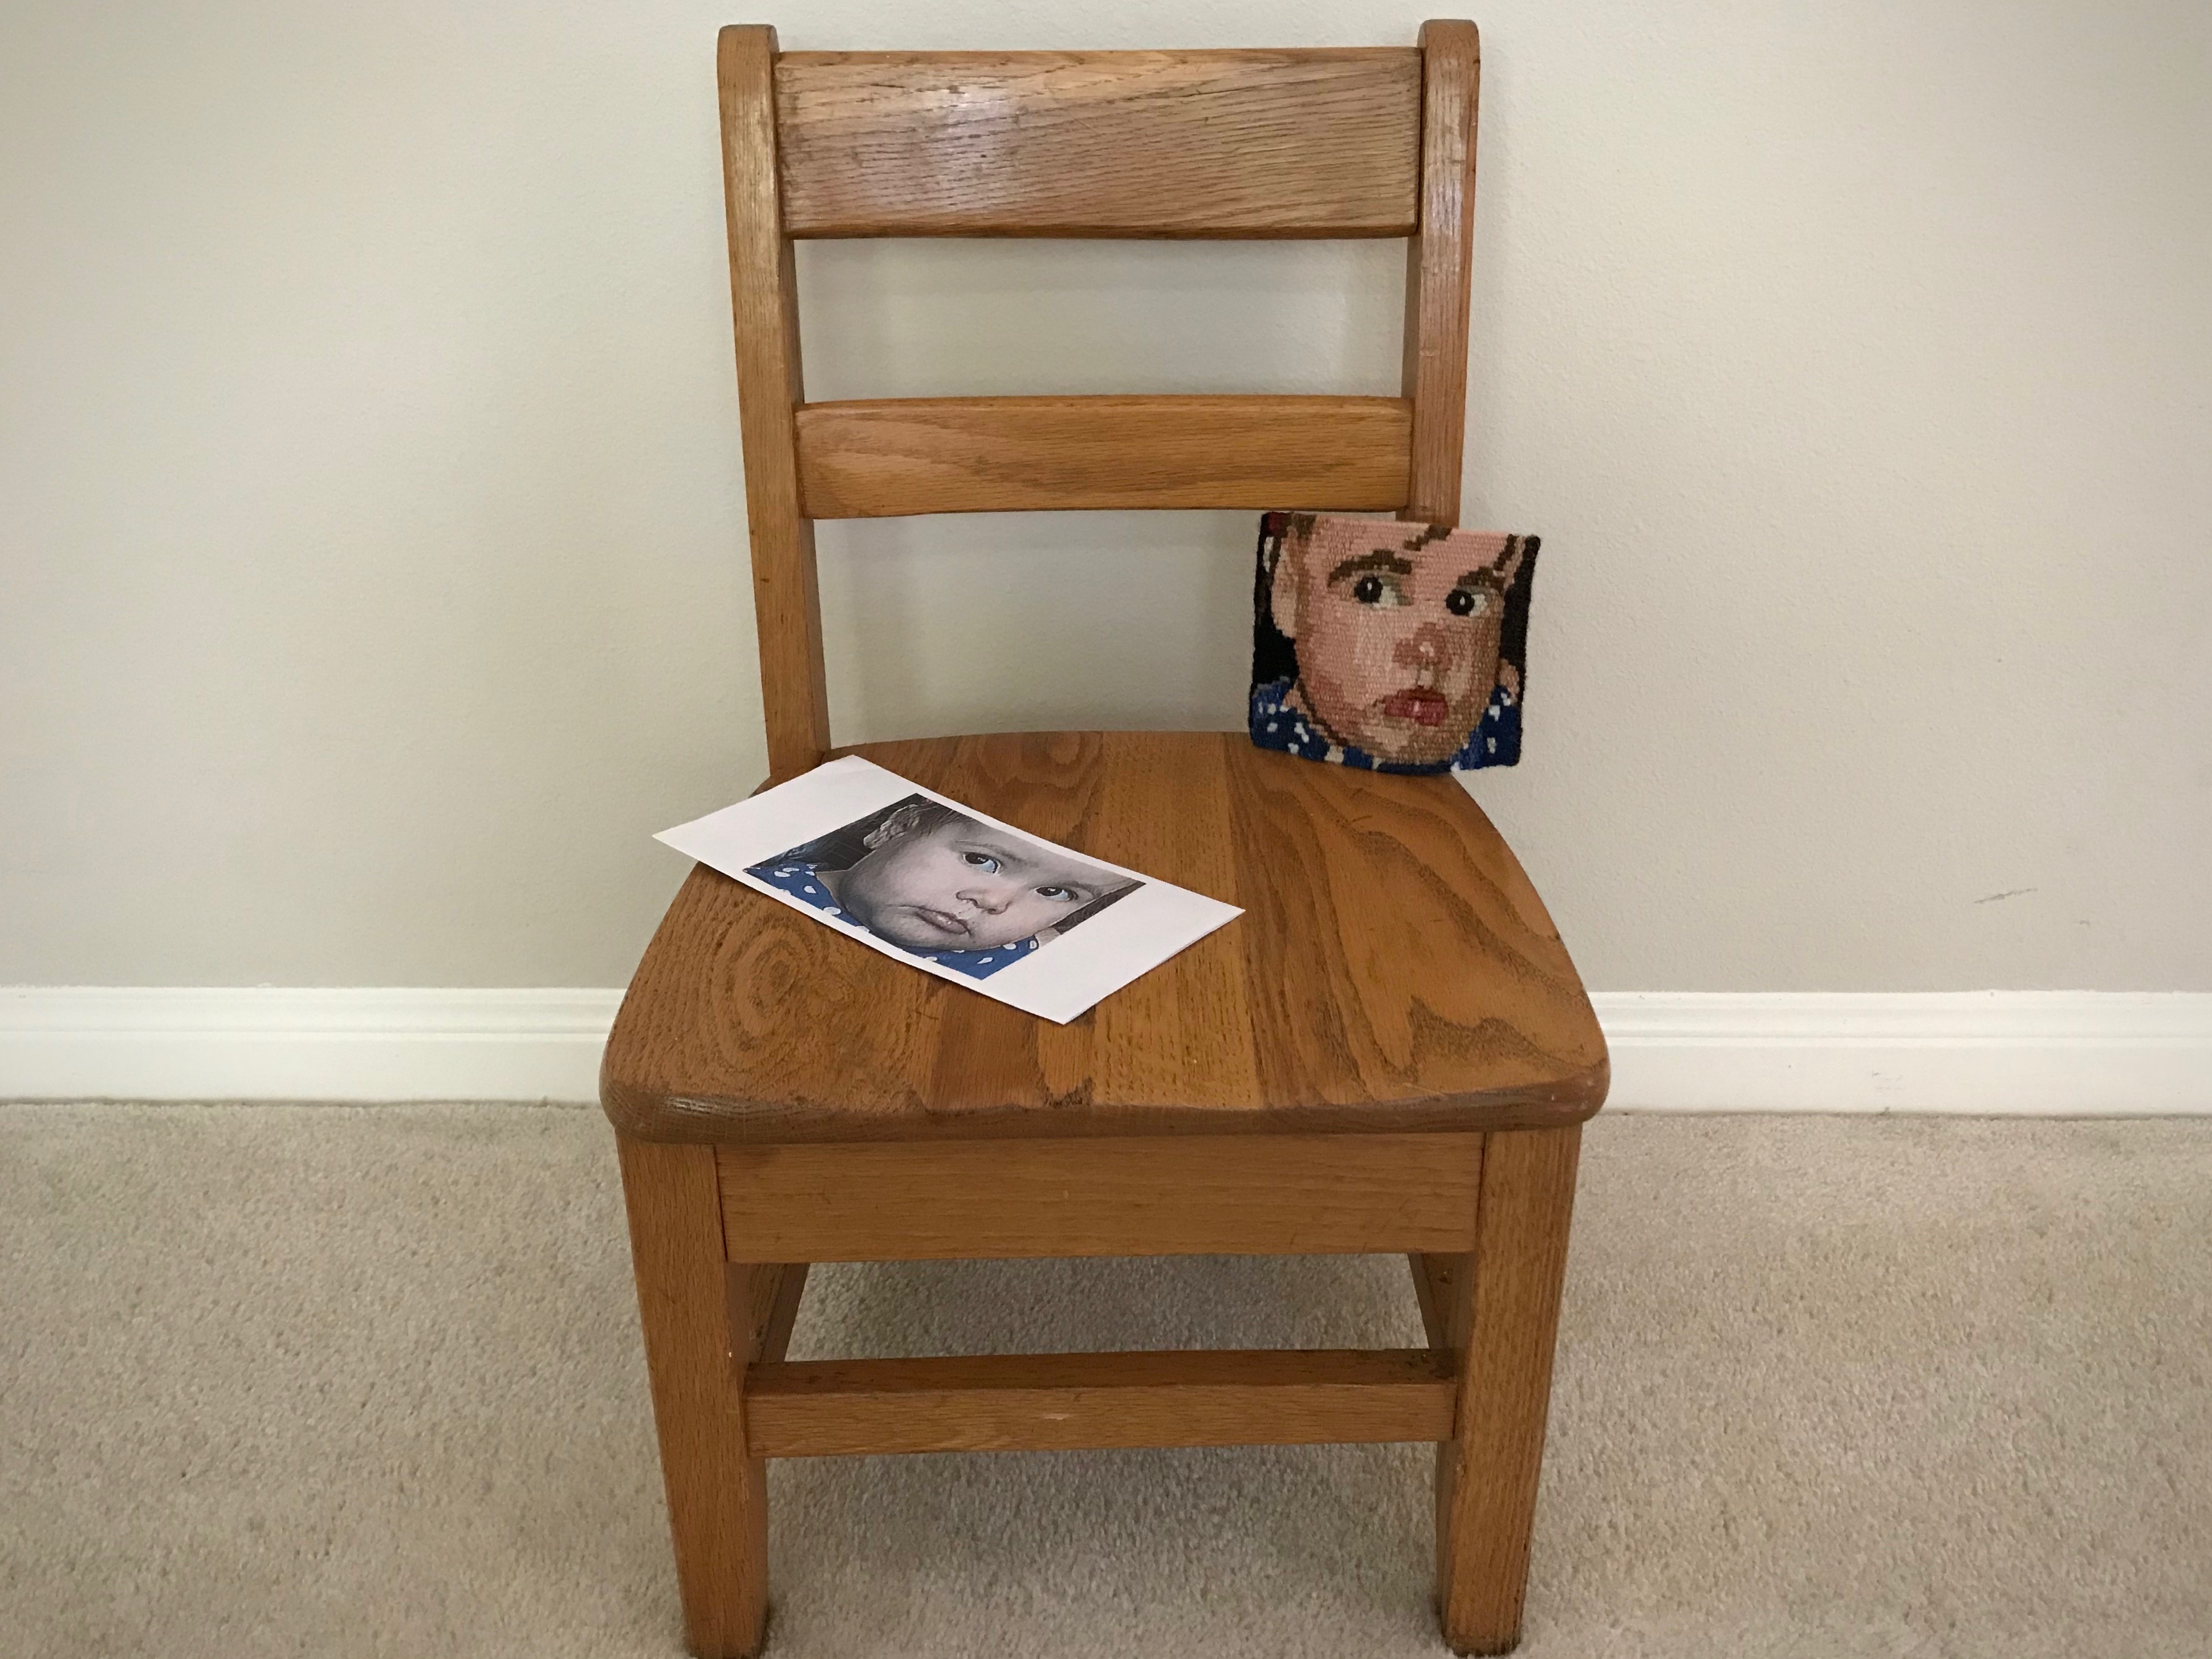
A little here, a little there, and eventually I finish another small tapestry. This little woven portrait of my granddaughter Lucia was a huge challenge. I knew that from the beginning. In fact, I had about three beginnings with this intimidating project. My aim is not to make a masterpiece, but to keep making. And making, and making. Every time I go beyond what I think I can do, I learn more.
This Lucia Portrait Tapestry is best viewed from a distance. Up close, the details seem abrupt and harsh. But when I look at her from across the room, I see the picture of a child’s face.
I trimmed the weft tails on the back, steamed the piece, and made a half Damascus edging. The edging and the weft tails near the sides are stitched down. The hems are turned under and stitched. I plan to mount this on a linen-covered square, and hang the finished piece where it can be easily viewed from a few steps back.
Small tapestry ends with a short hem, warp thread header, and a scrap header. I overestimated how far I could comfortably weave. This is a less-than-optimal distance from the end of the warp for weaving.
Most of my tapestry weaving is done in the evenings as part of my winding-down routine. In this session the back of the tapestry gets a haircut.
Straggler weft tails are reigned in with a little sewing thread.
Finished Lucia Portrait Tapestry is 4 1/4″ x 4 7/8″.
Enjoy this slideshow video. The ending is sure to make you smile!