Dismantled Loom

As June comes to a close, it’s time to sign off for a short while. Meet me right back here the first Friday of August! And head on over to Instagram ( @celloweaver ) to keep up to date with all my daily happenings on and off the loom!

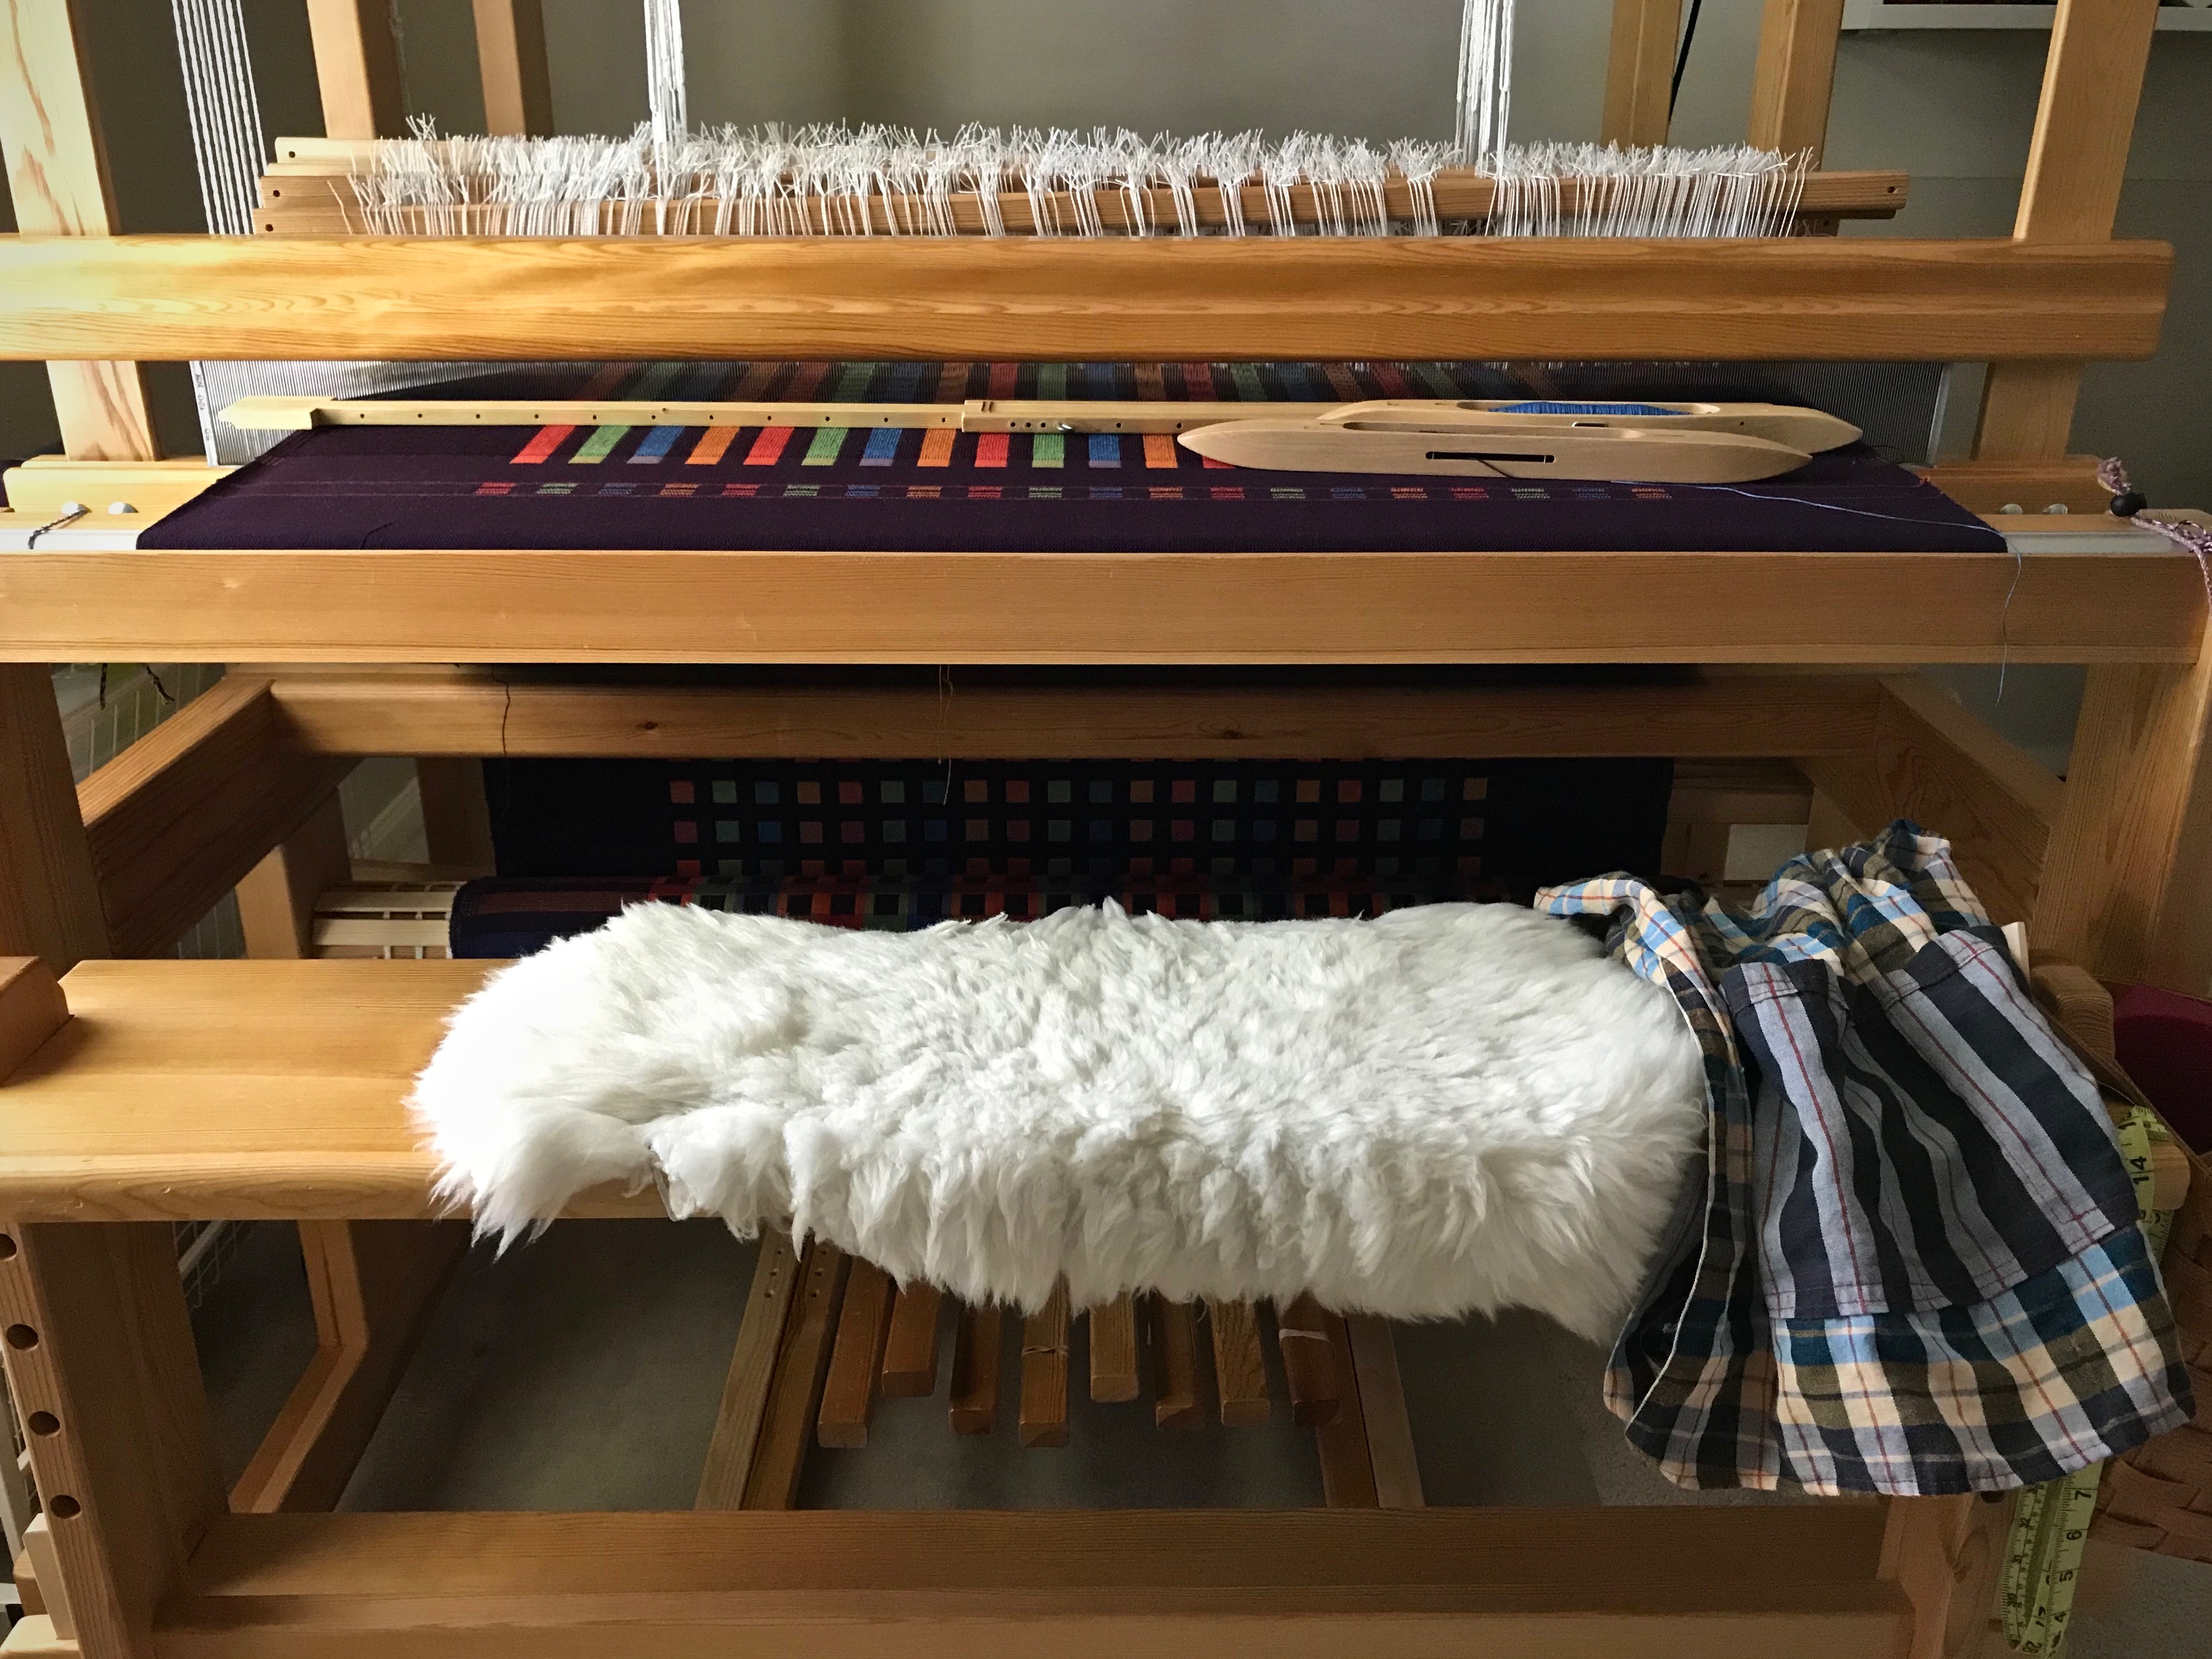
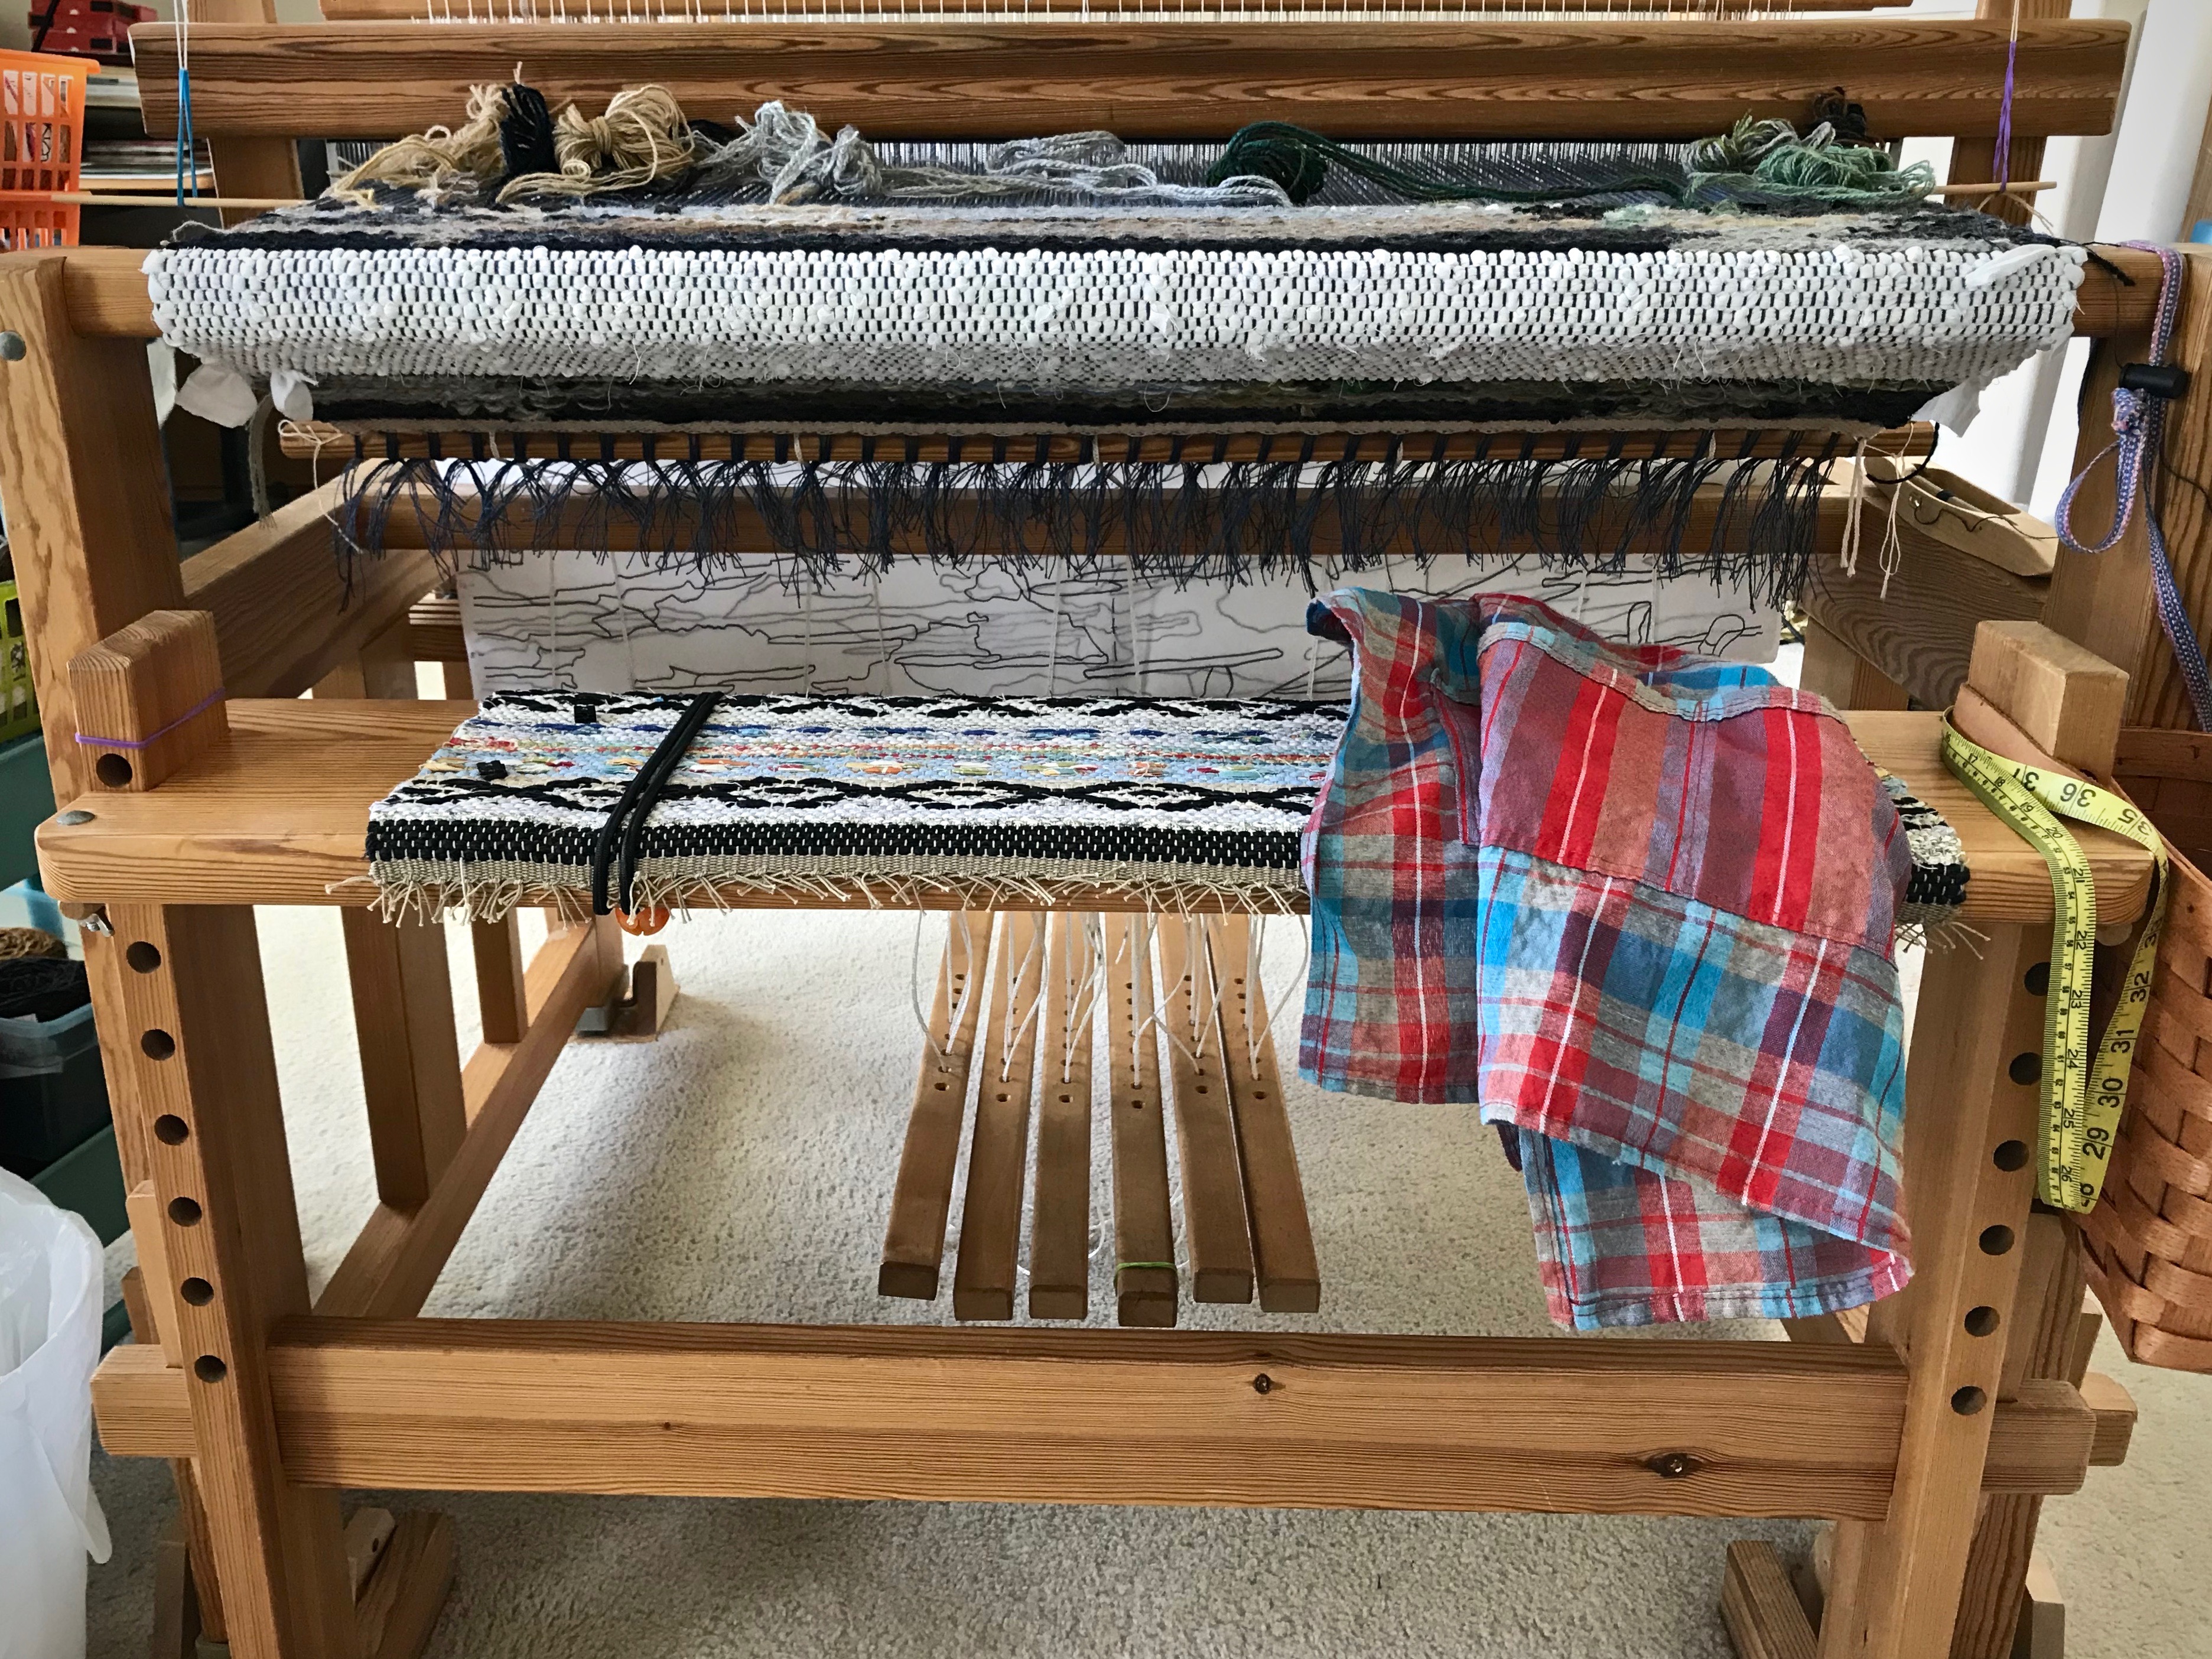
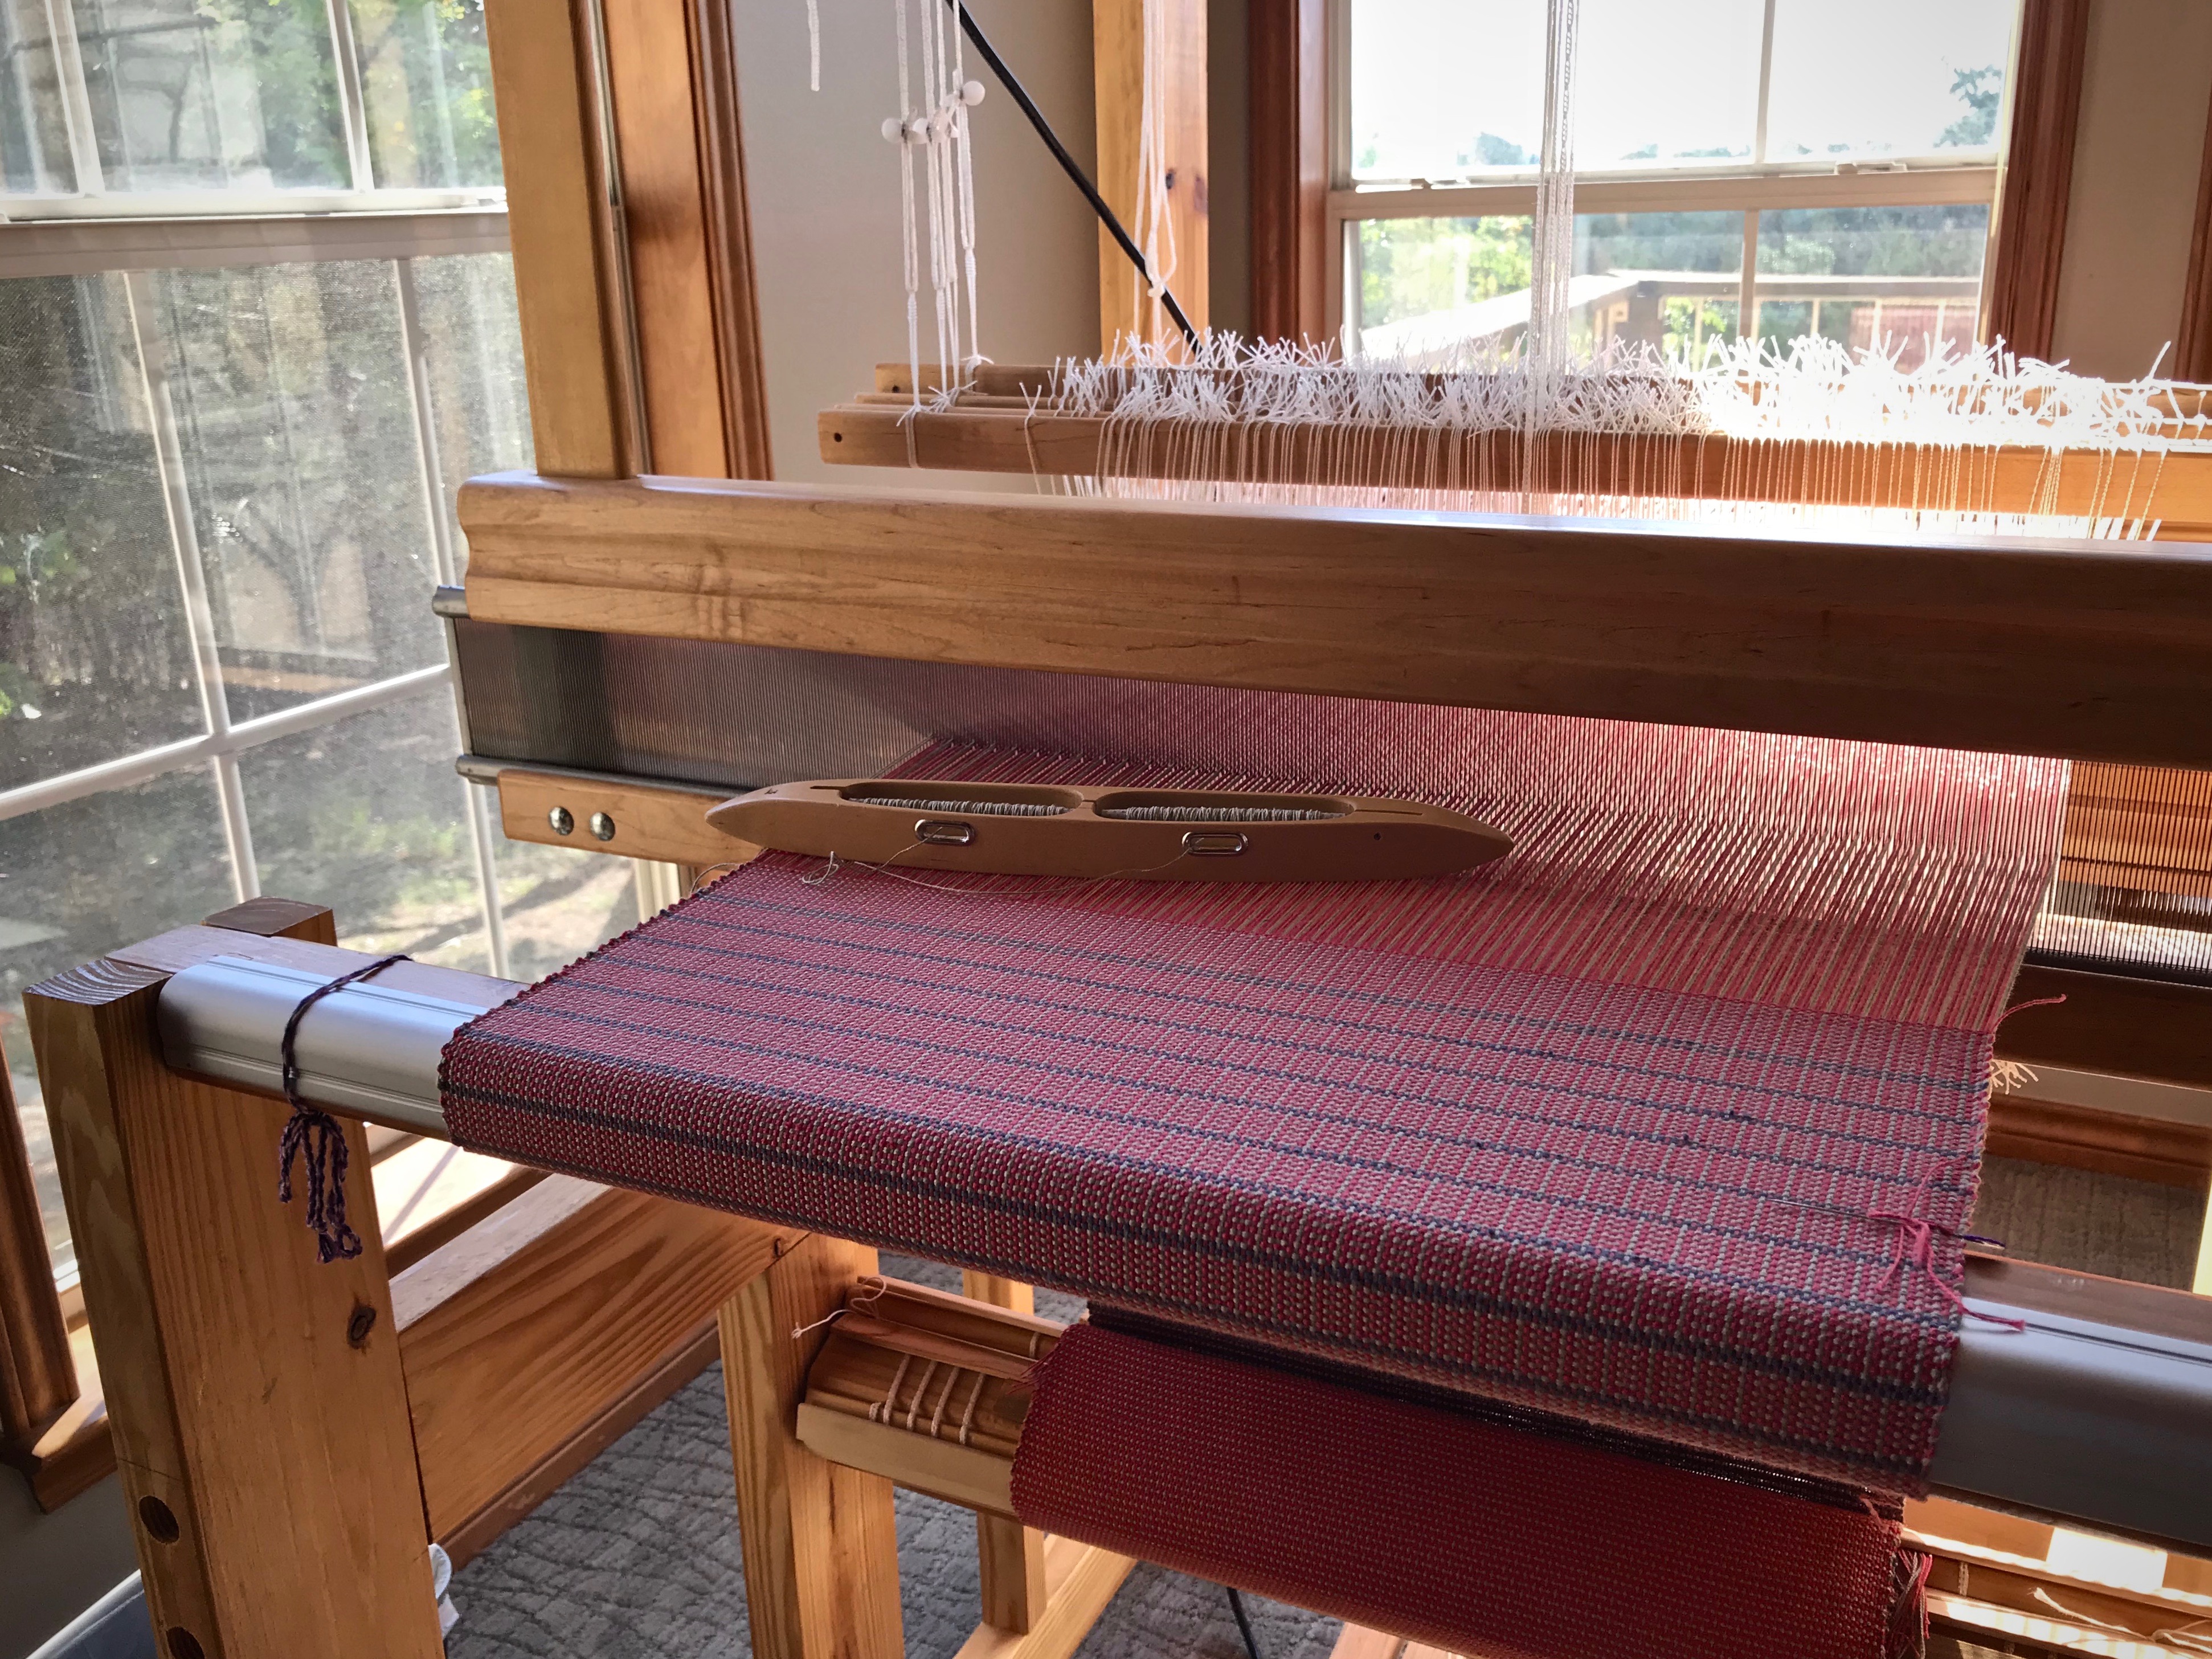
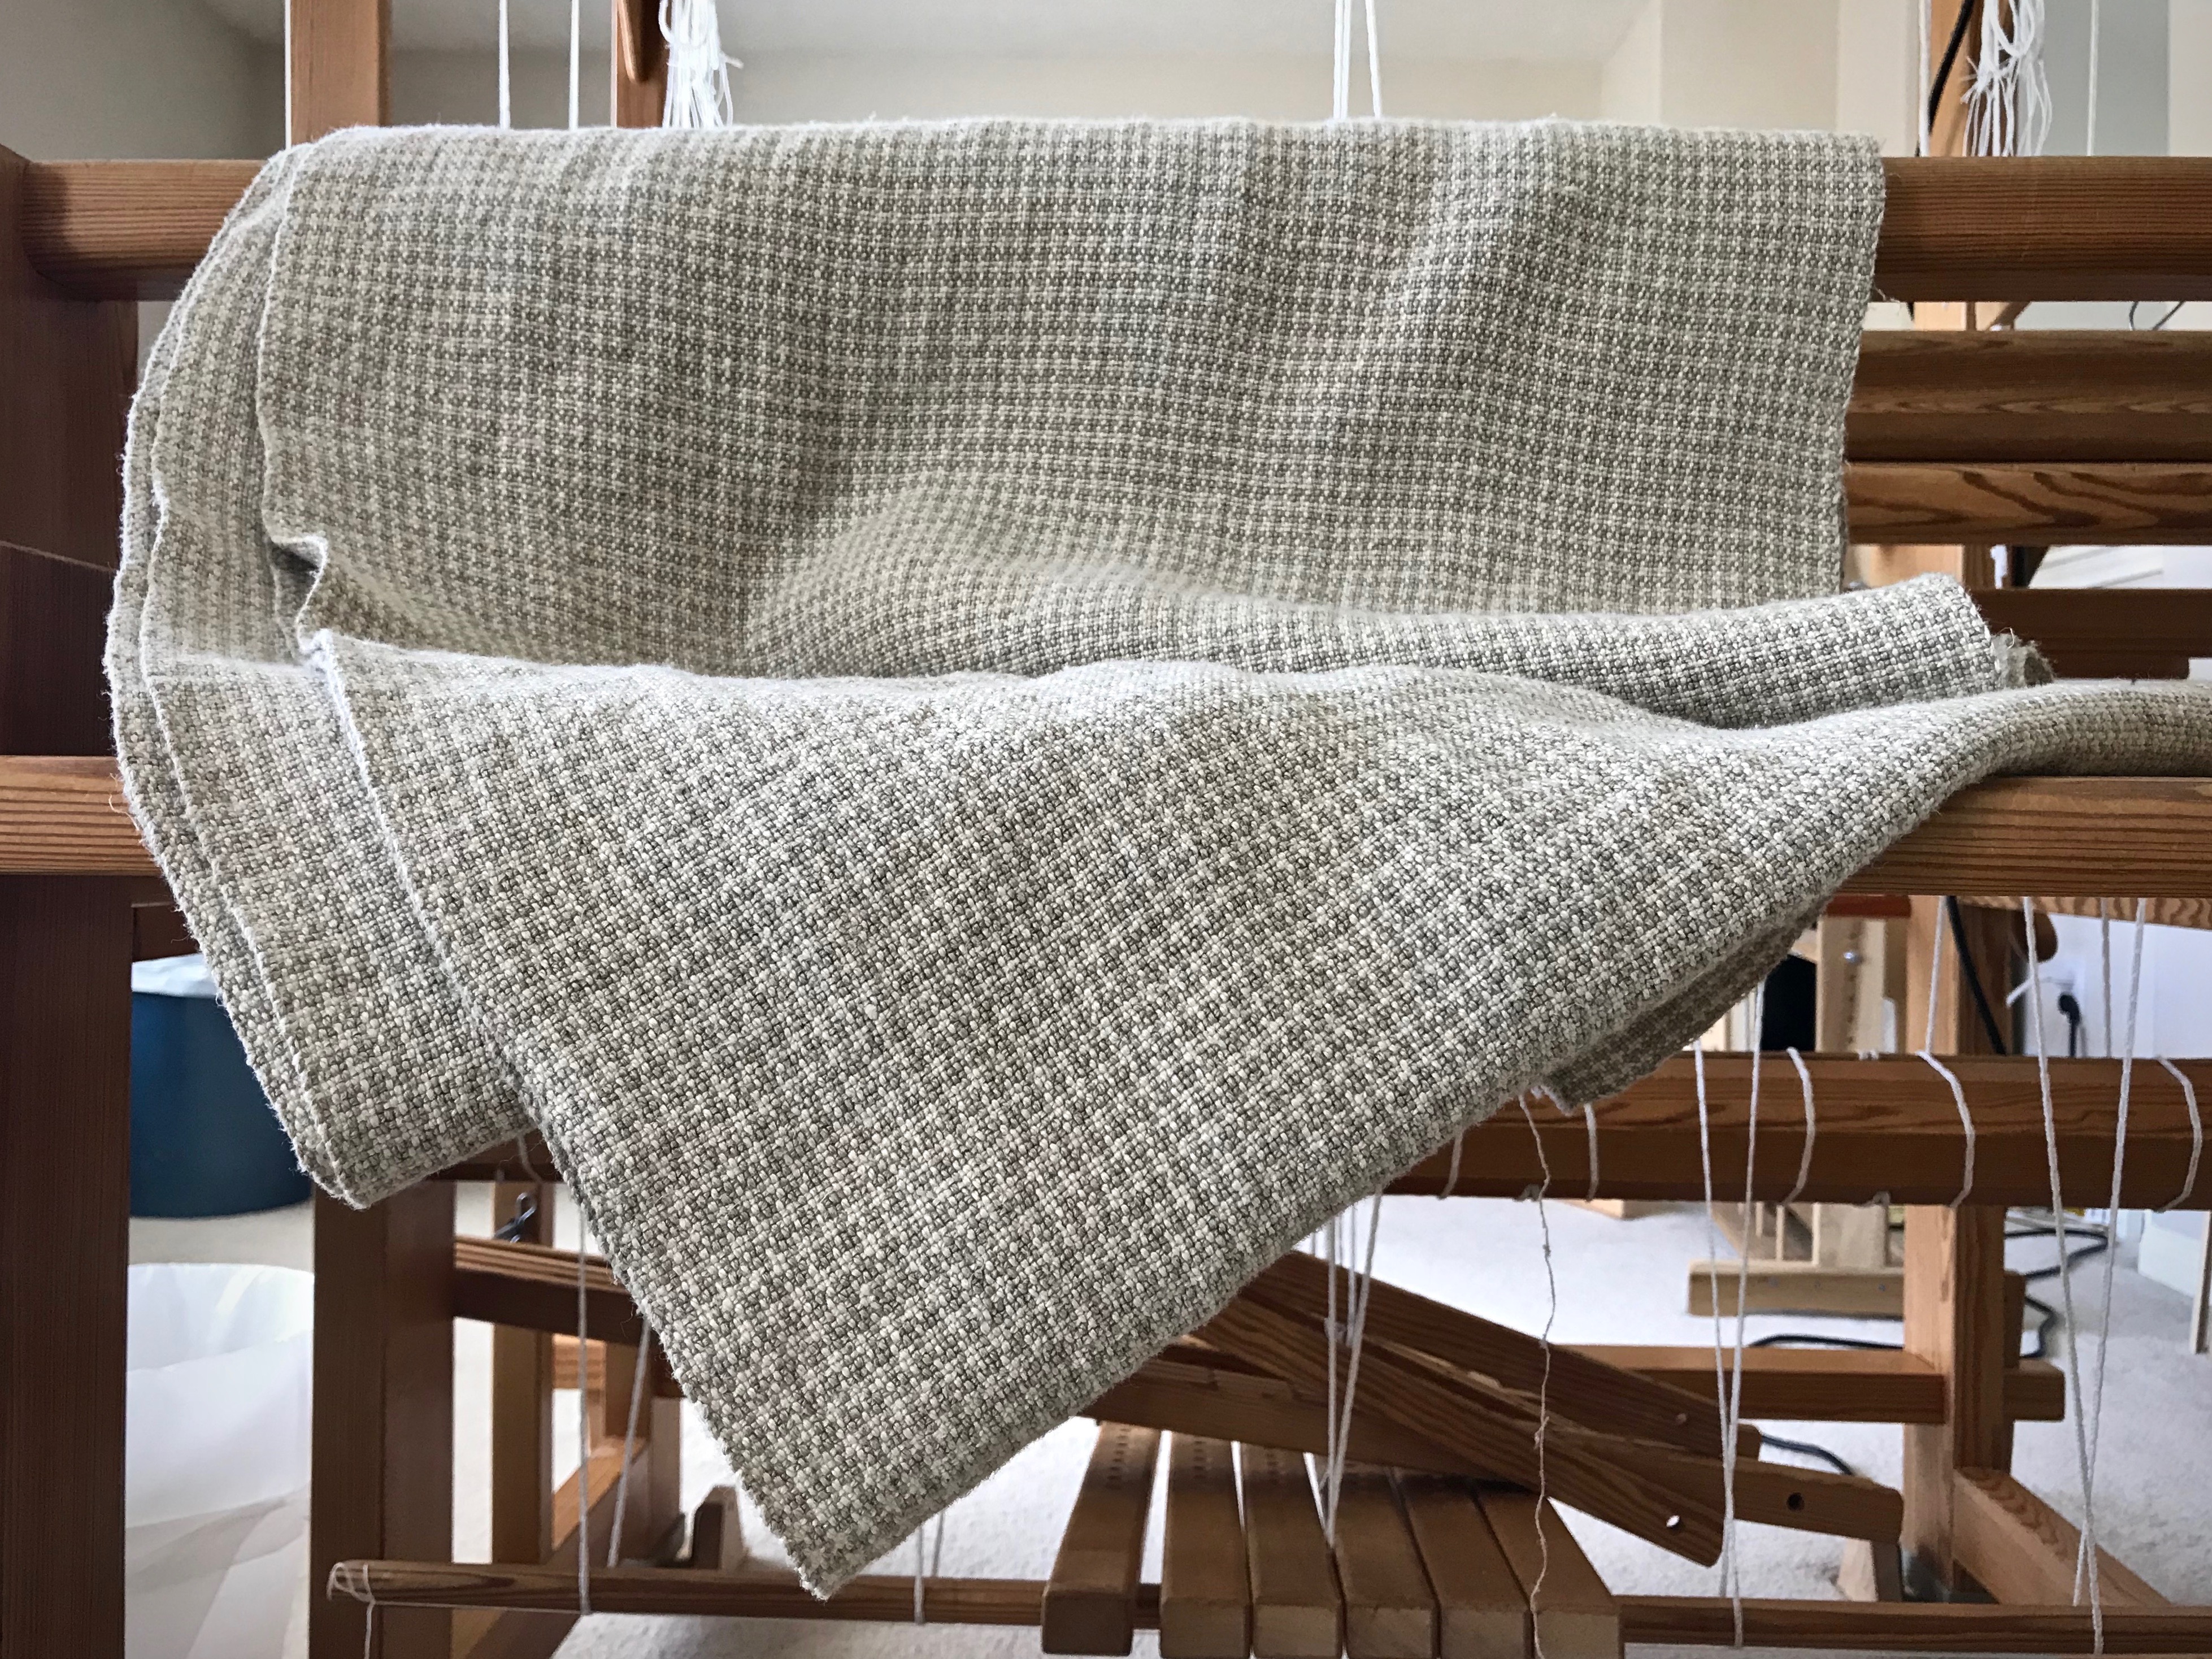
Some things are on hold right now. My “weaving studio” suddenly looks like the spare bedroom it used to be. The big loom is dismantled! Fortunately, it is not a problem for this smart Glimåkra Standard loom to hold onto the warp that I’ve already wound onto the warp beam. The good news is that this cherished loom is being relocated to our Texas hill country home, where it will take the stage as if it were a grand piano.

Preparing loom for dismantling with warp on the loom.
White sheet from my box of old sheets (for scrap rag weft) is used to wrap the warp on the warp beam. It is tied securely with some long fabric strips.
Dismantling my loom for moving.
Shafts are tied together at the ends with seine twine. Fabric strips are tied around to hold the shafts together in a bundle. The bundle of shafts is placed on an old Flintstones beach towel, and then wrapped up like a big burrito and tied up with more fabric strips.
Dismantling the Glimakra Standard.
Piece by piece, loom is dismantled.
Relocating this Glimakra Standard loom.
Fully dismantled, the loom becomes sticks and pieces of wood. Ready for relocation!
Boxes labeled "KEEP WITH LOOM," for loom being relocated.
Loom essentials are in boxes labeled “KEEP WITH LOOM.” The wooden mallet will be one of the first things needed.

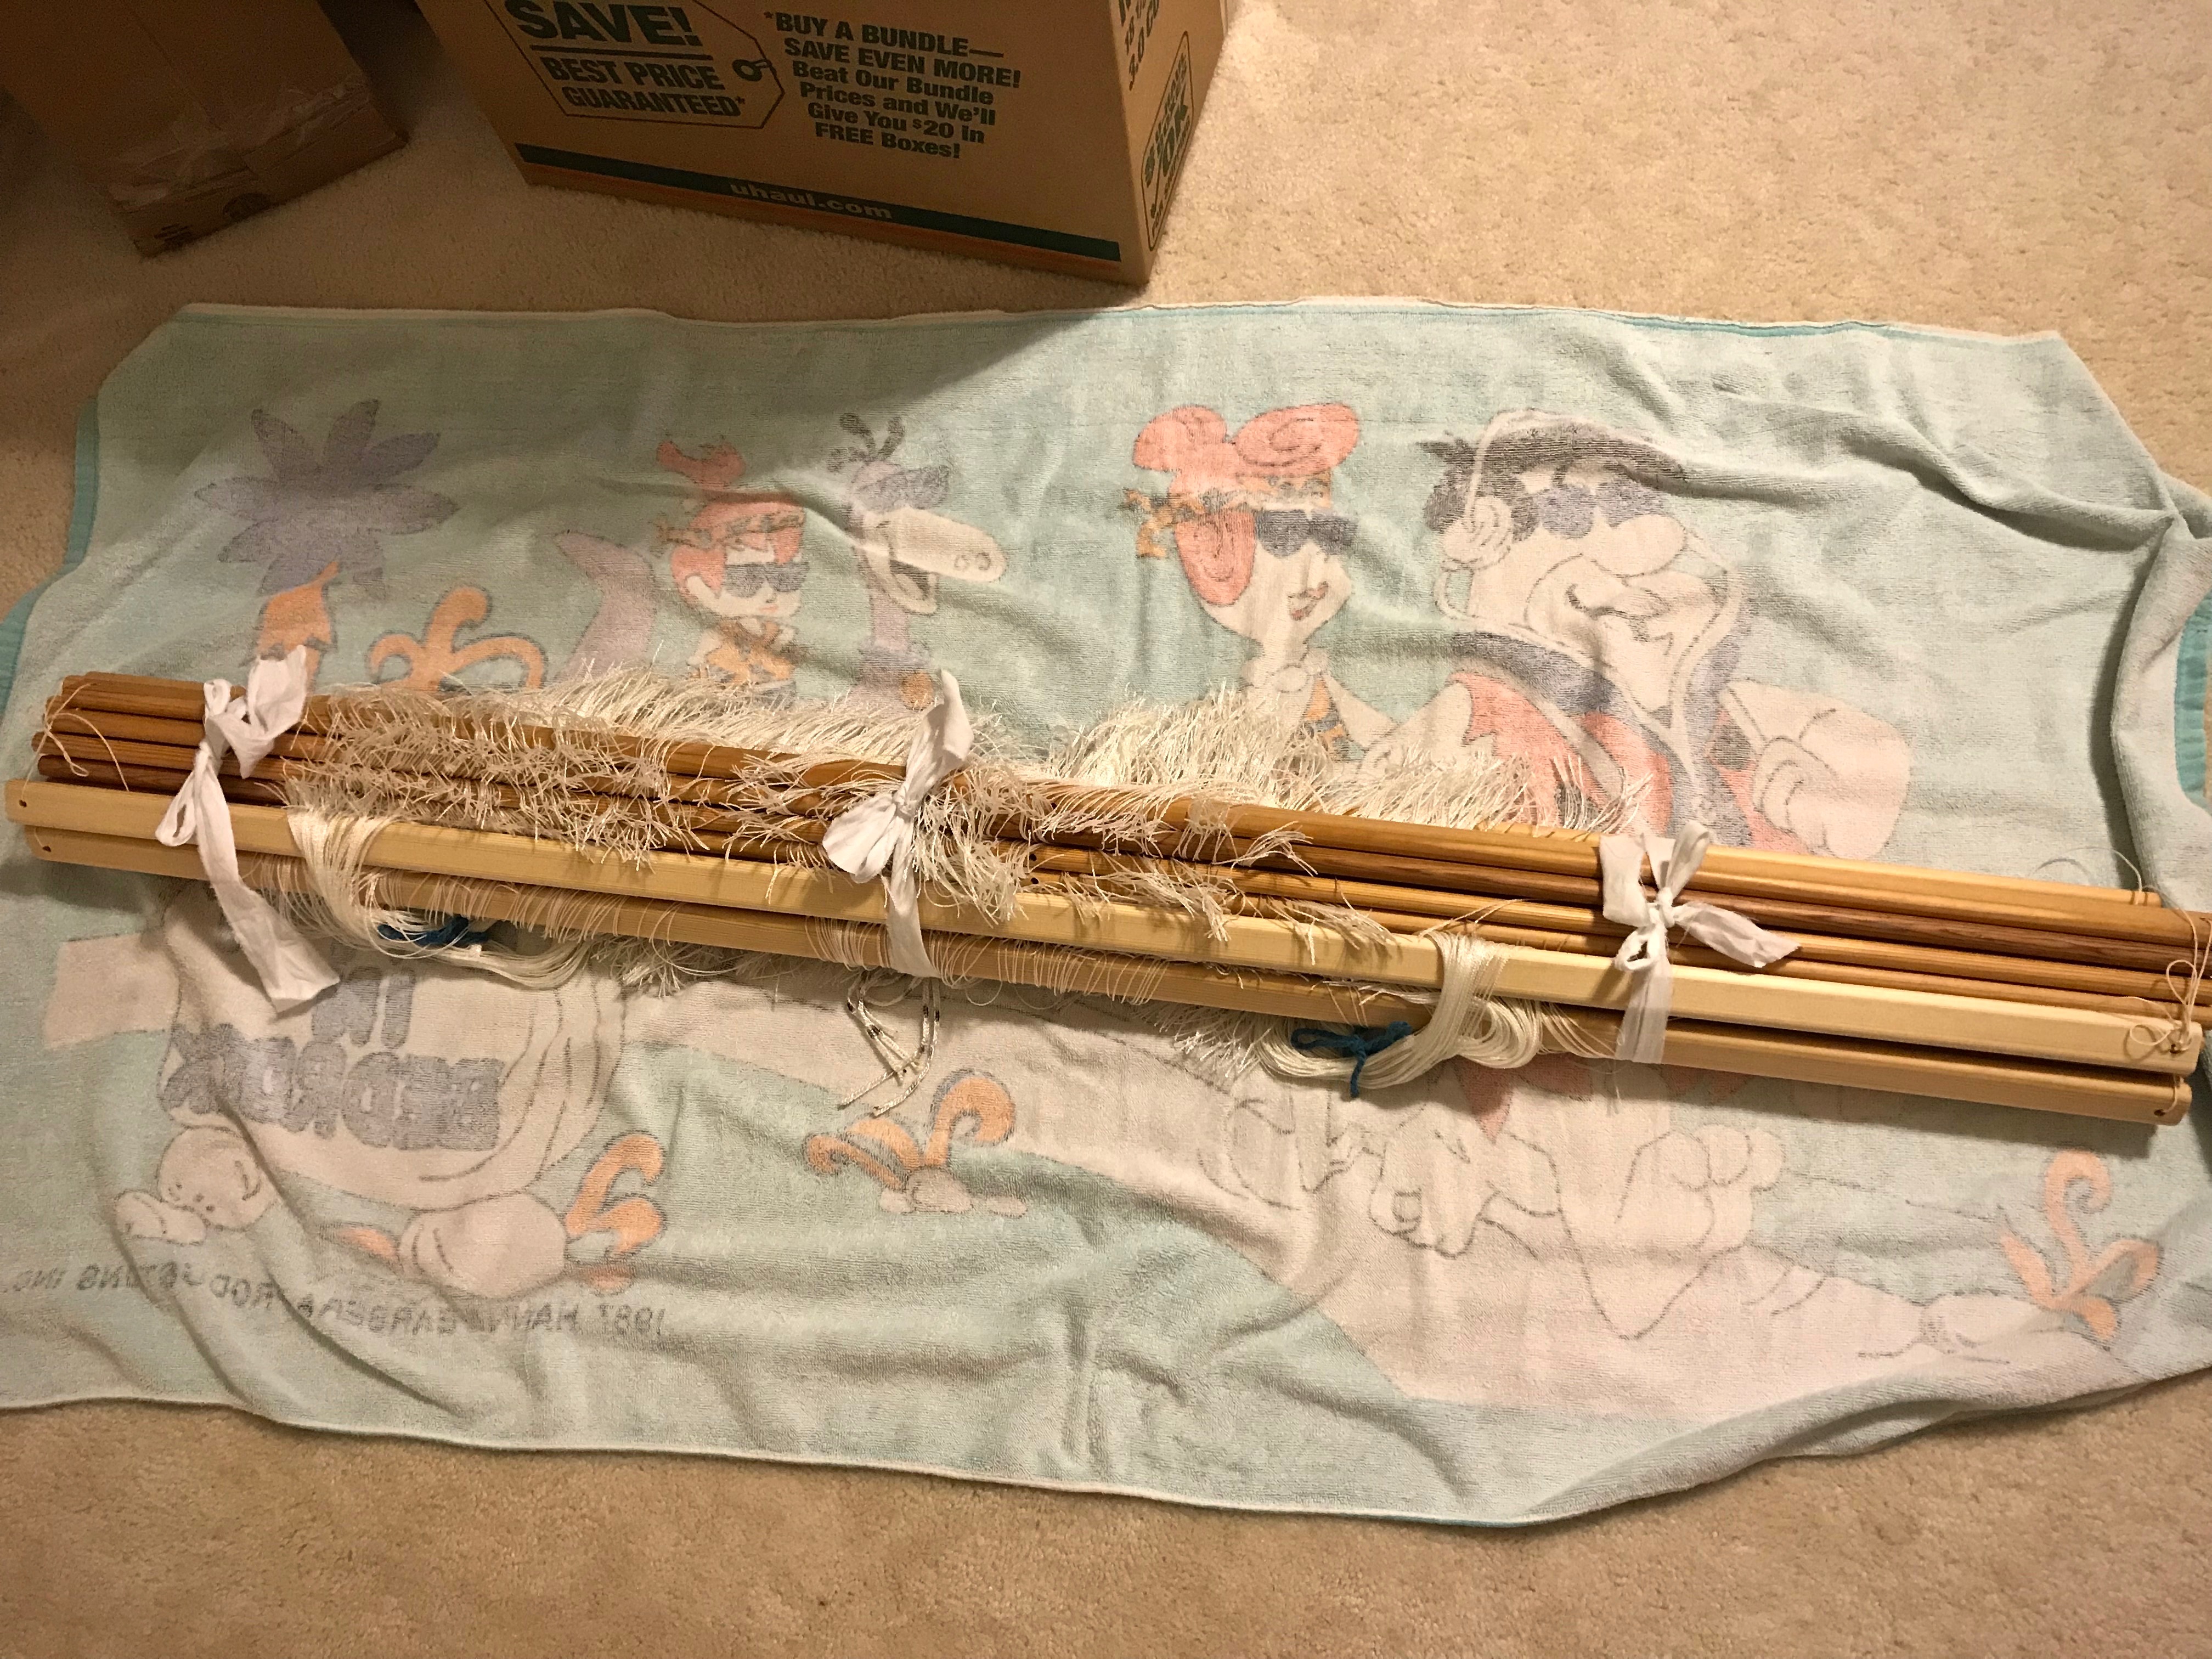
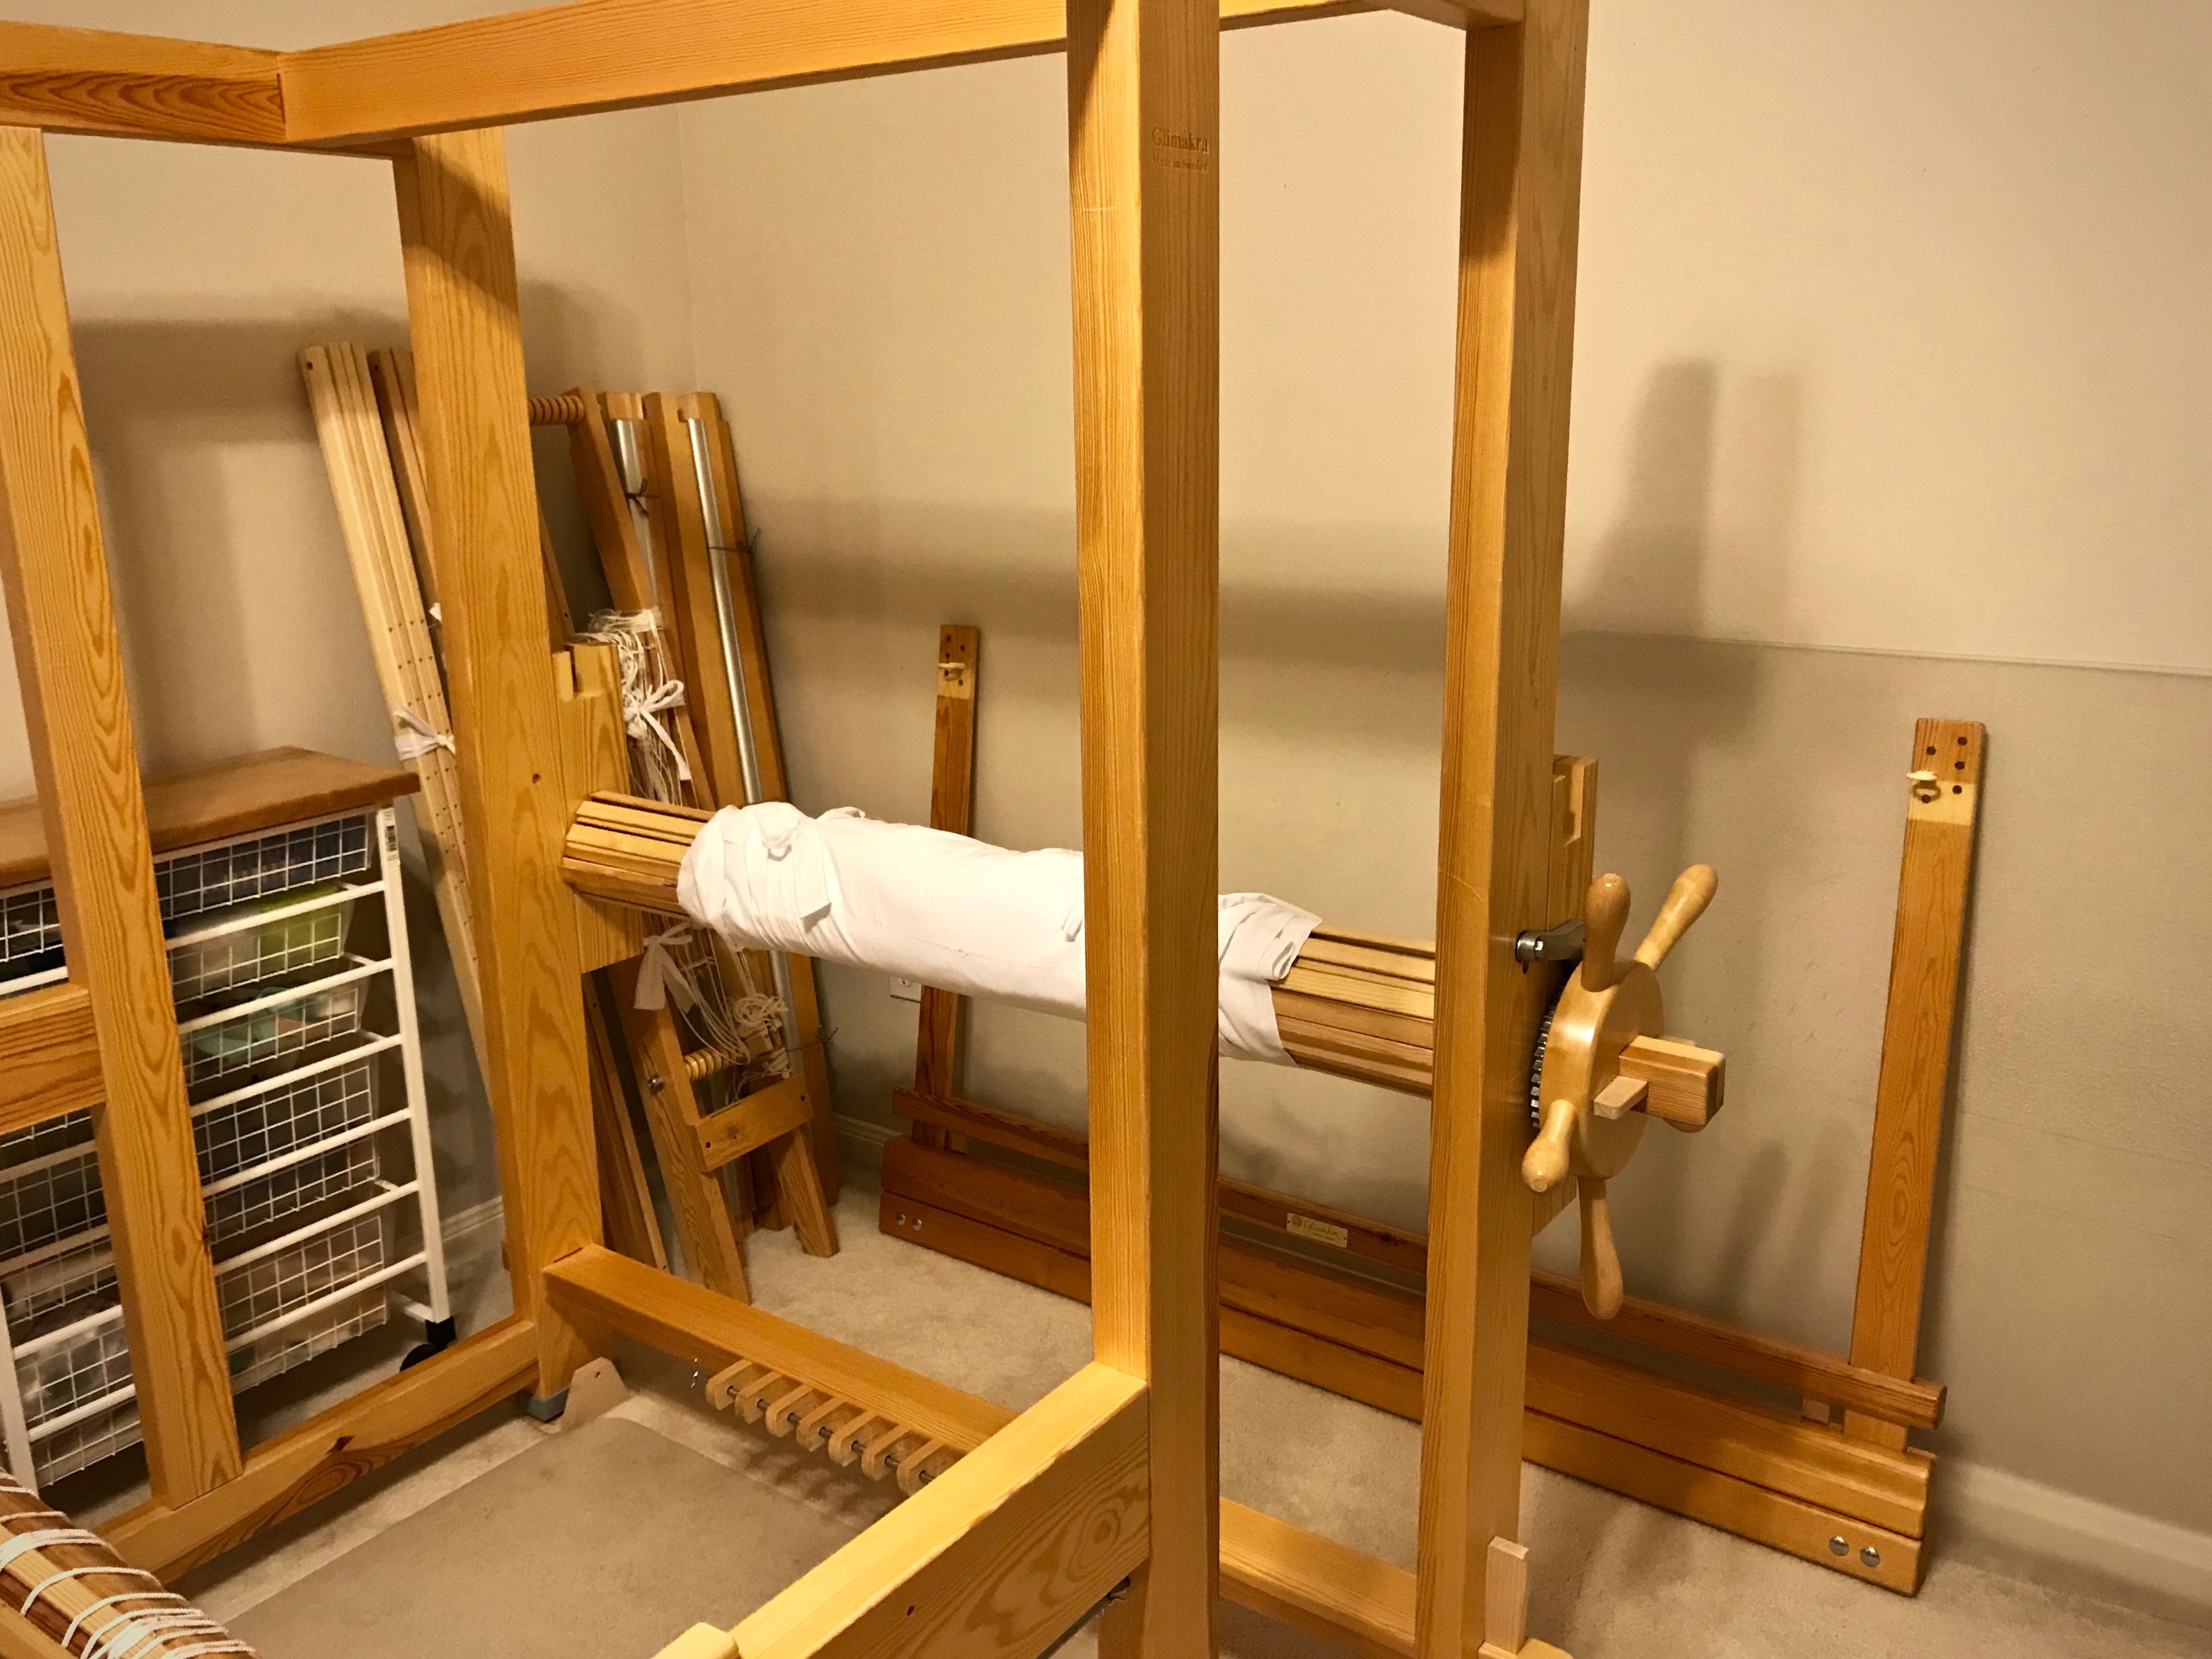
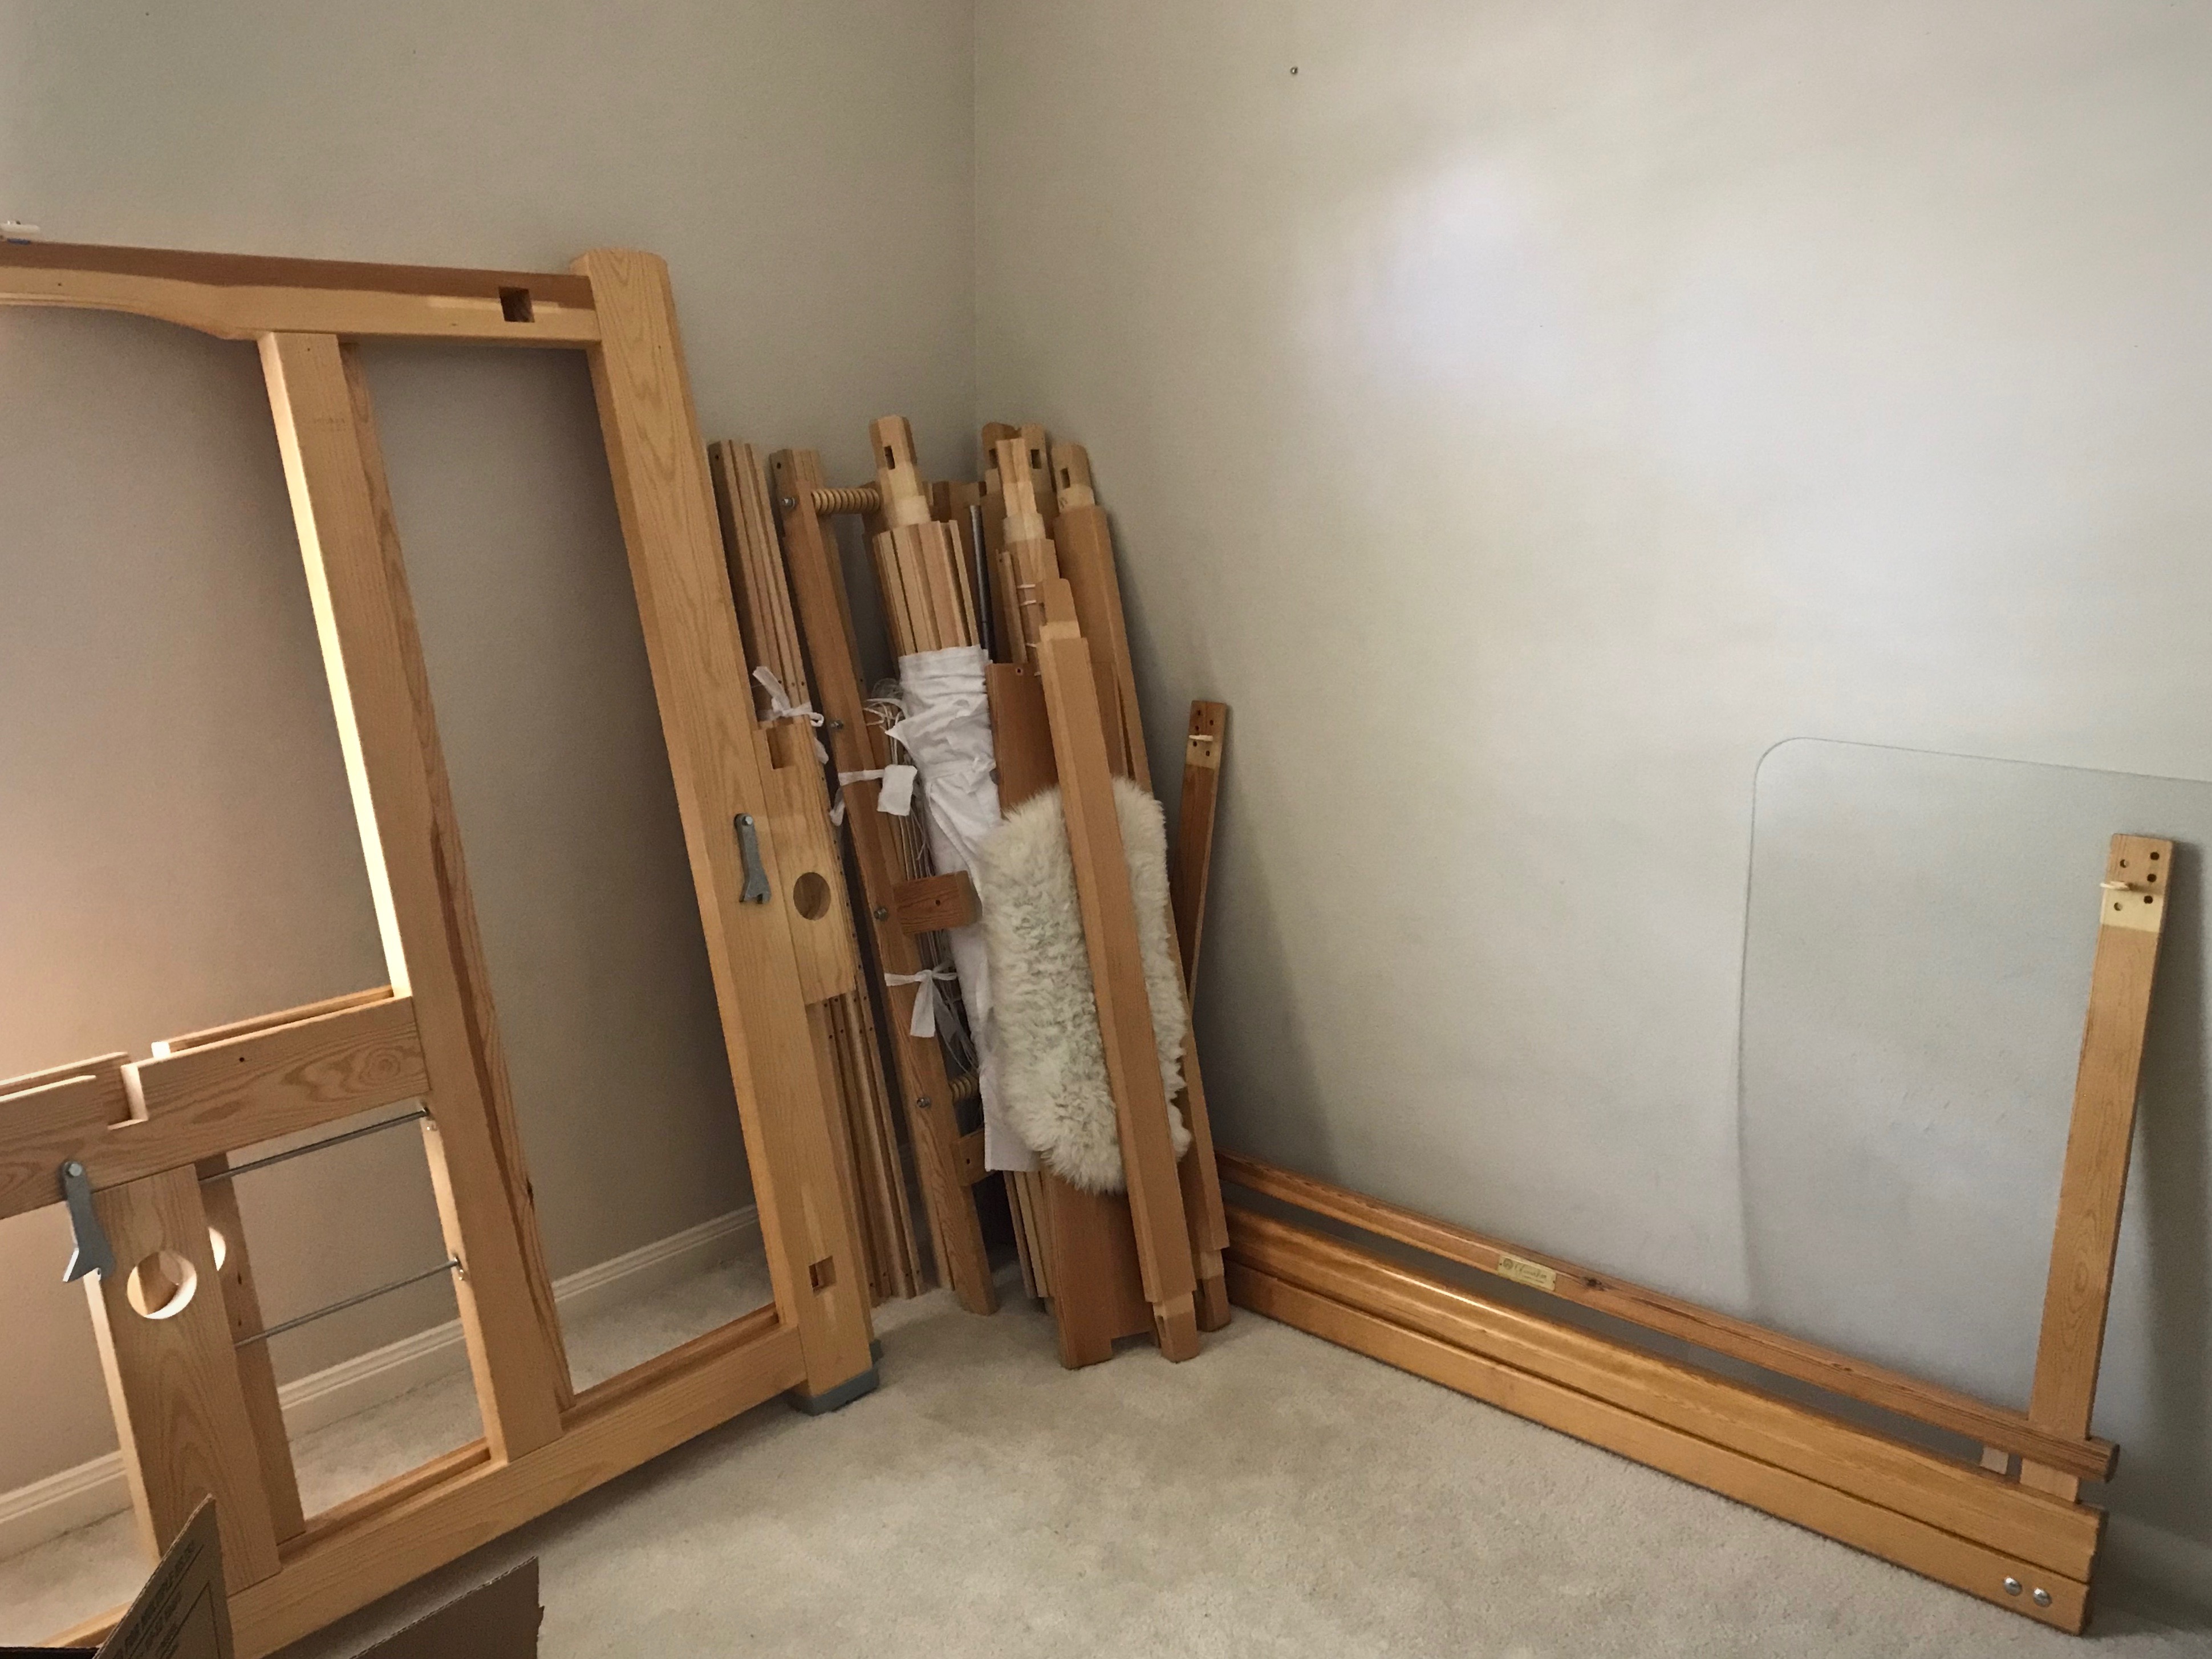
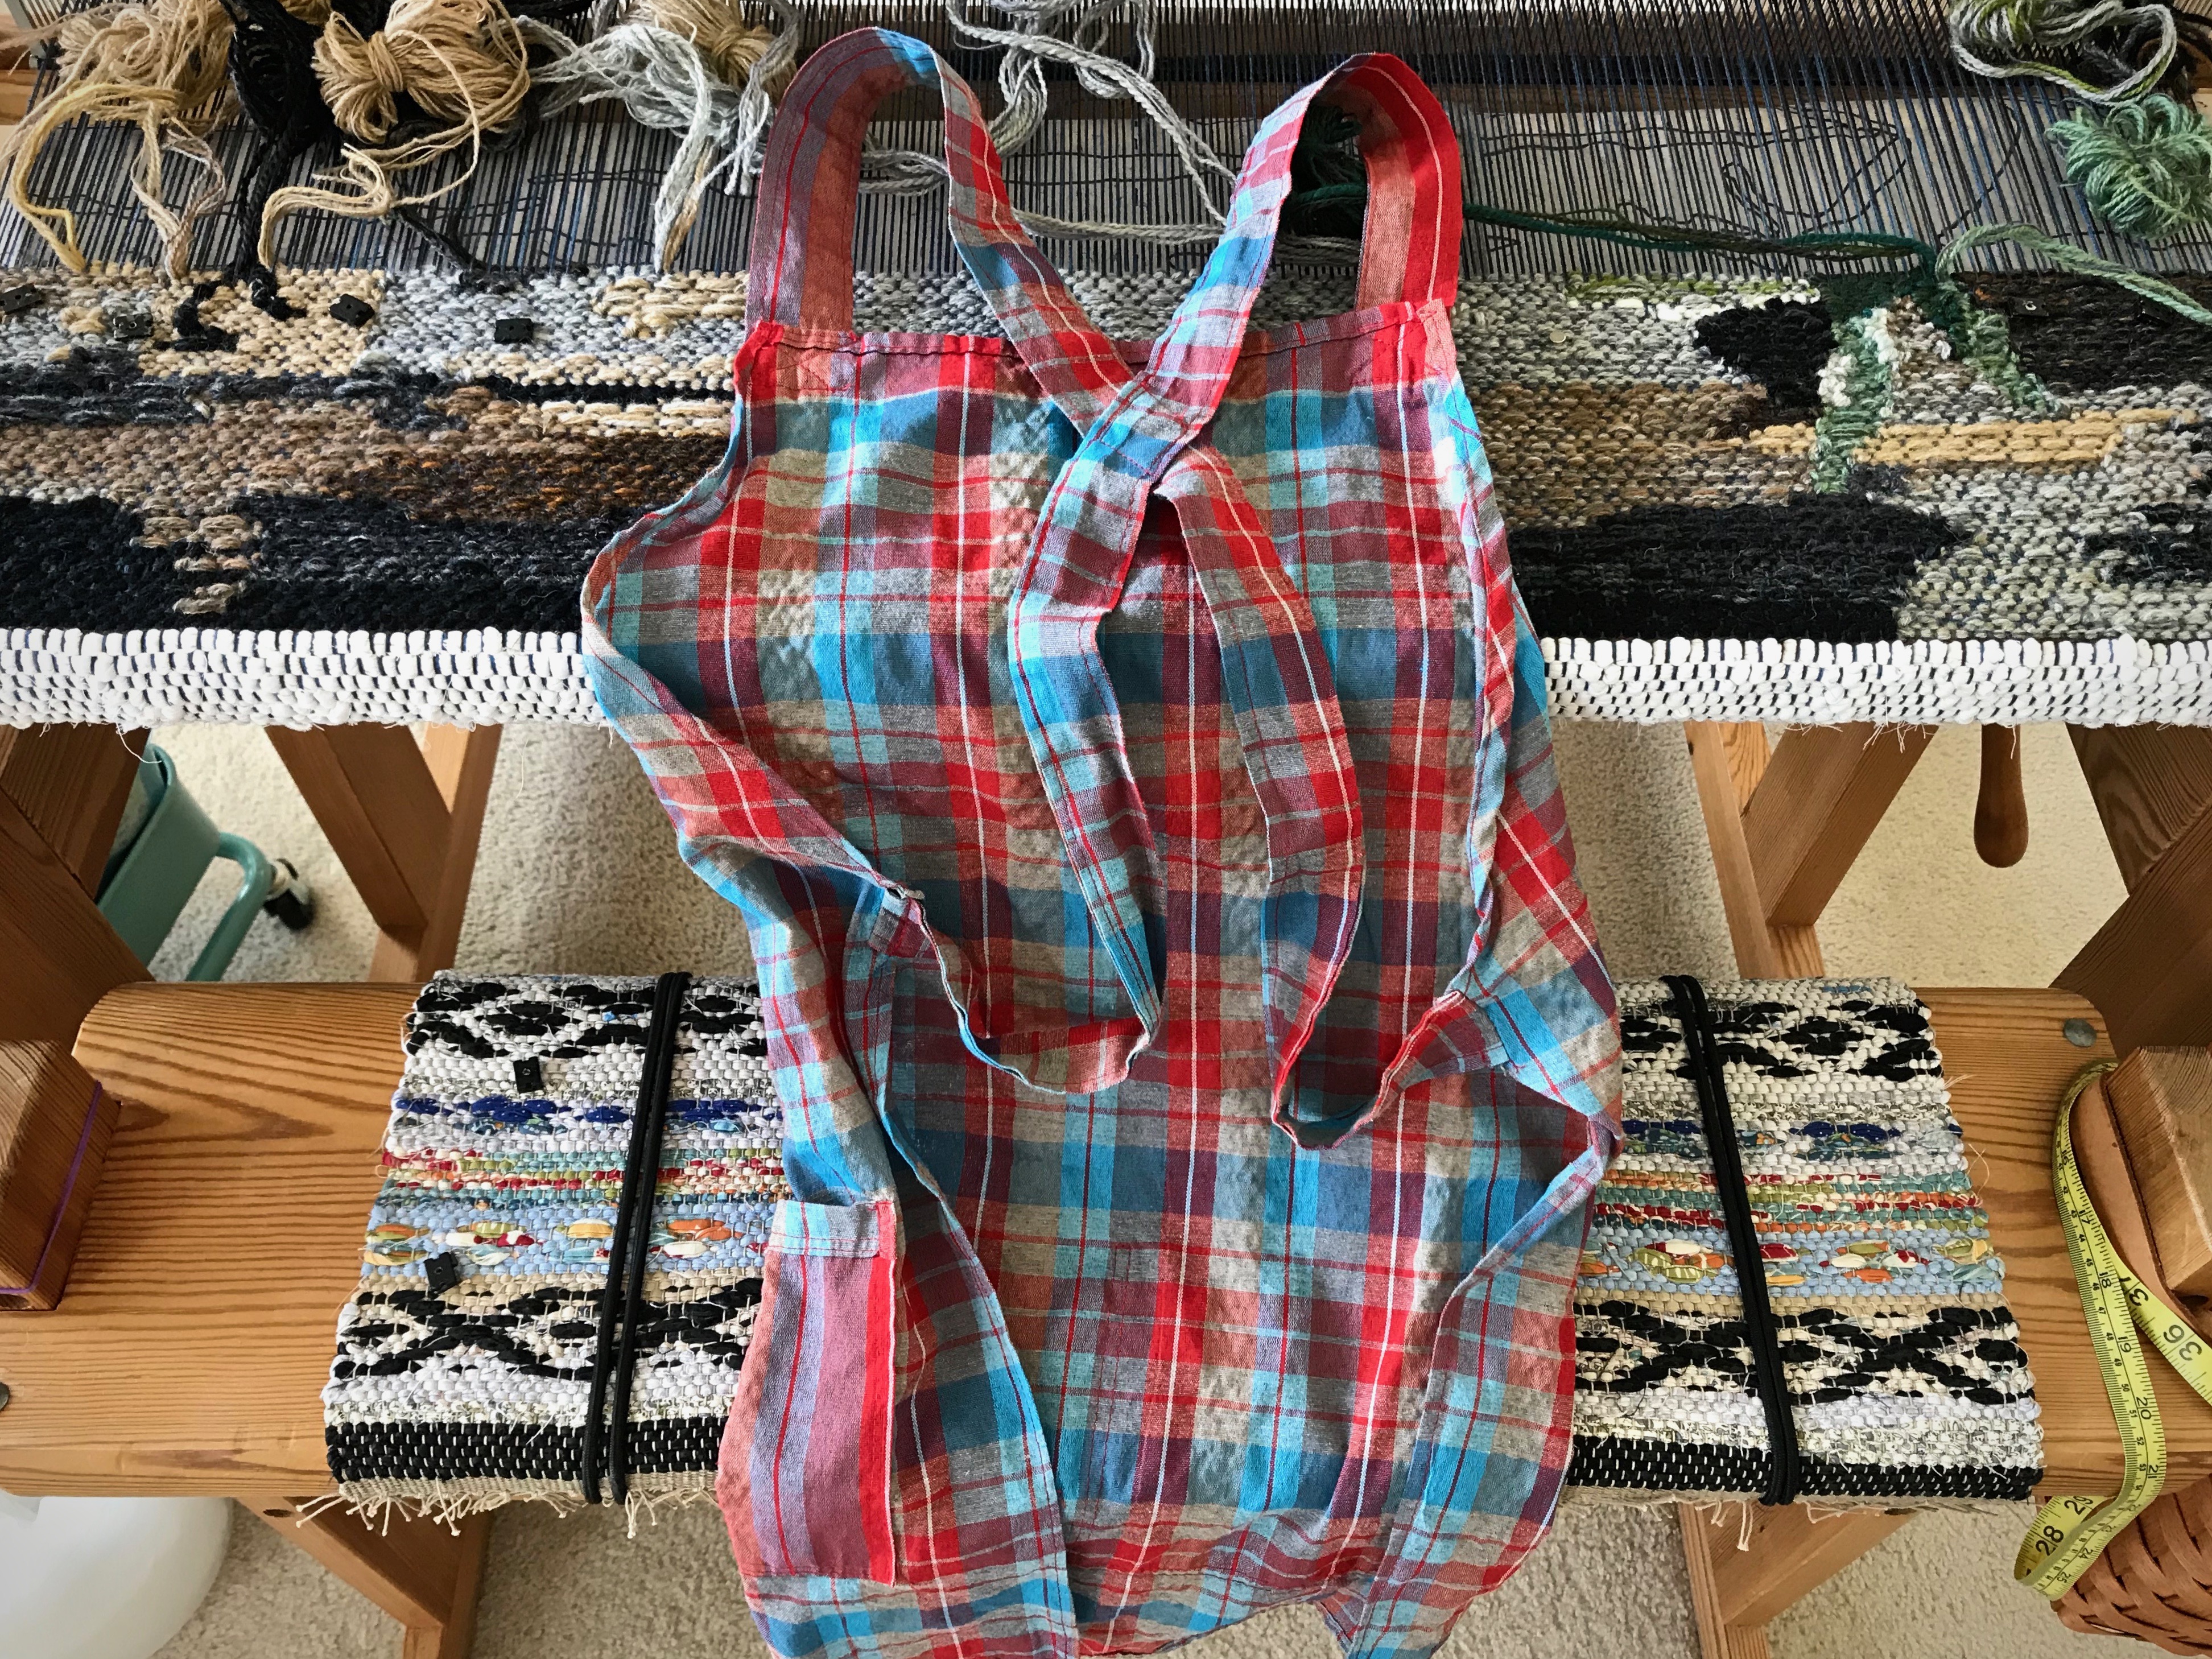
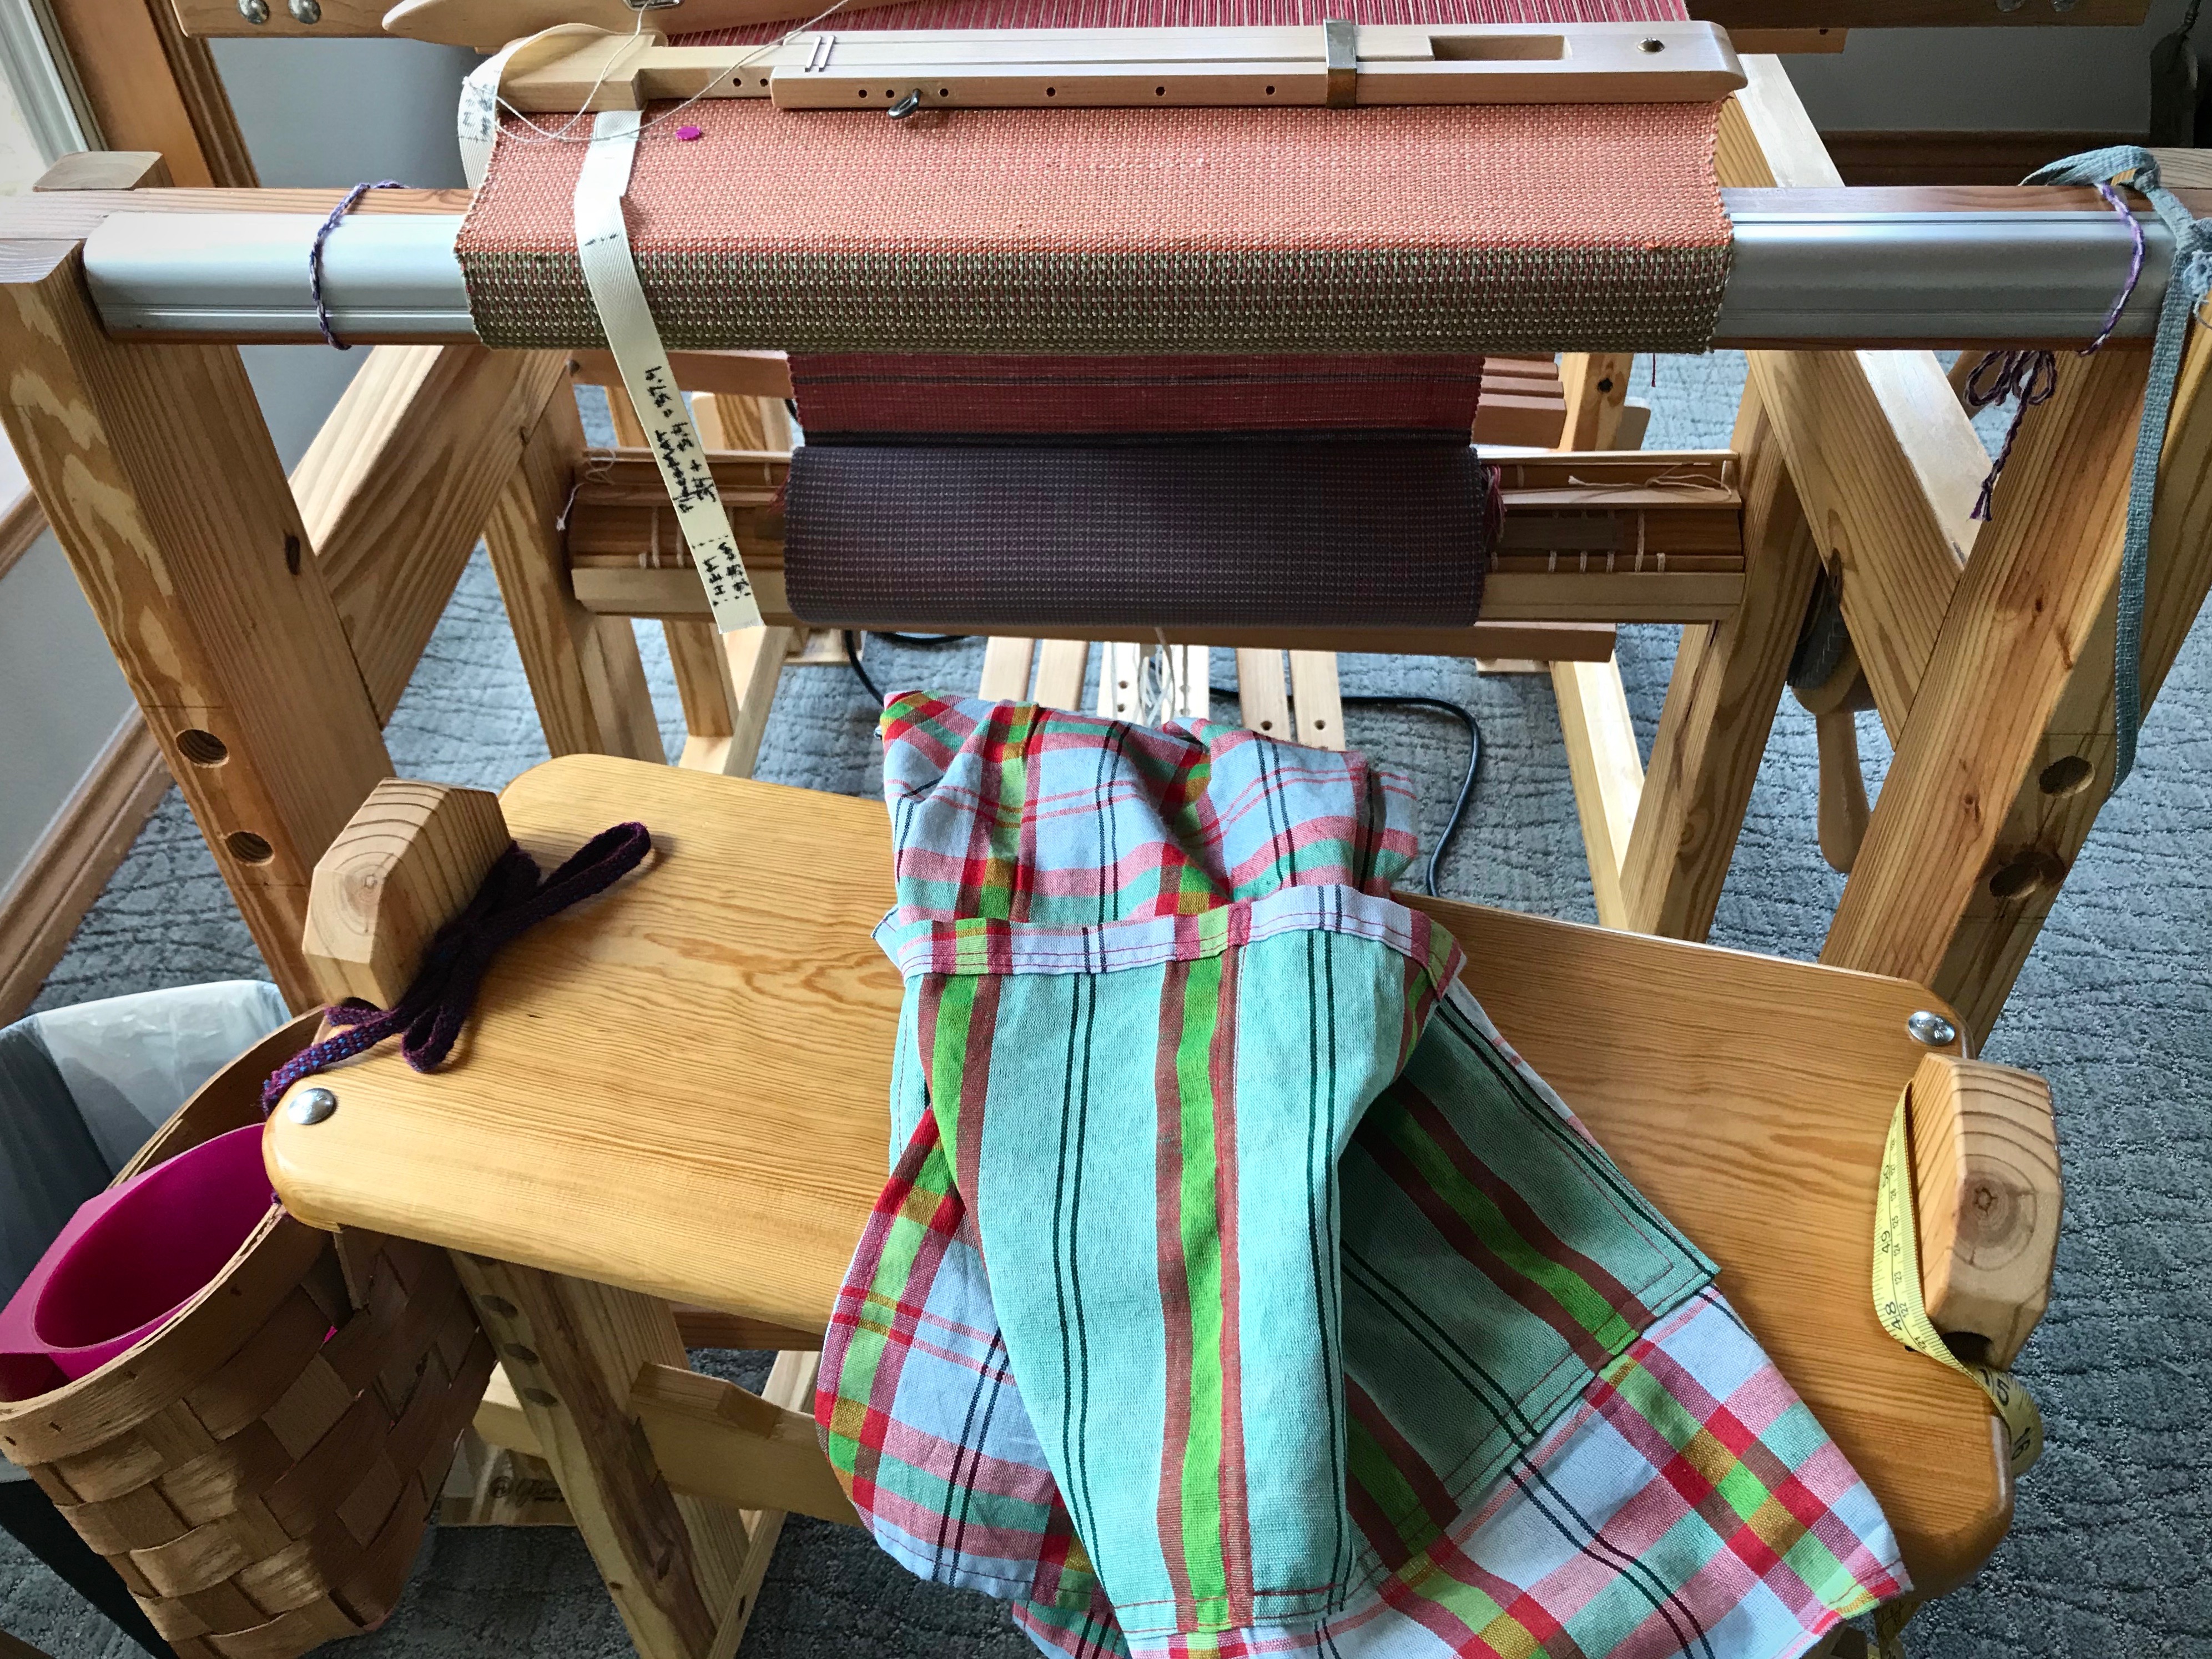
Hold. Several meanings for this word come to mind. Sometimes our familiar patterns of daily life are on hold. There’s a pause, a held breath. But during that pause, our plans and threads of normal practices are securely and lovingly wrapped up on a strong beam of hope. Wrap the spare cloth securely over your precious warp ends so that when it’s time, you can unroll the warp and finish dressing the loom for spectacular twelve-shaft double weave towels. Hold fast to Christ as Christ holds all your interrupted threads of being.

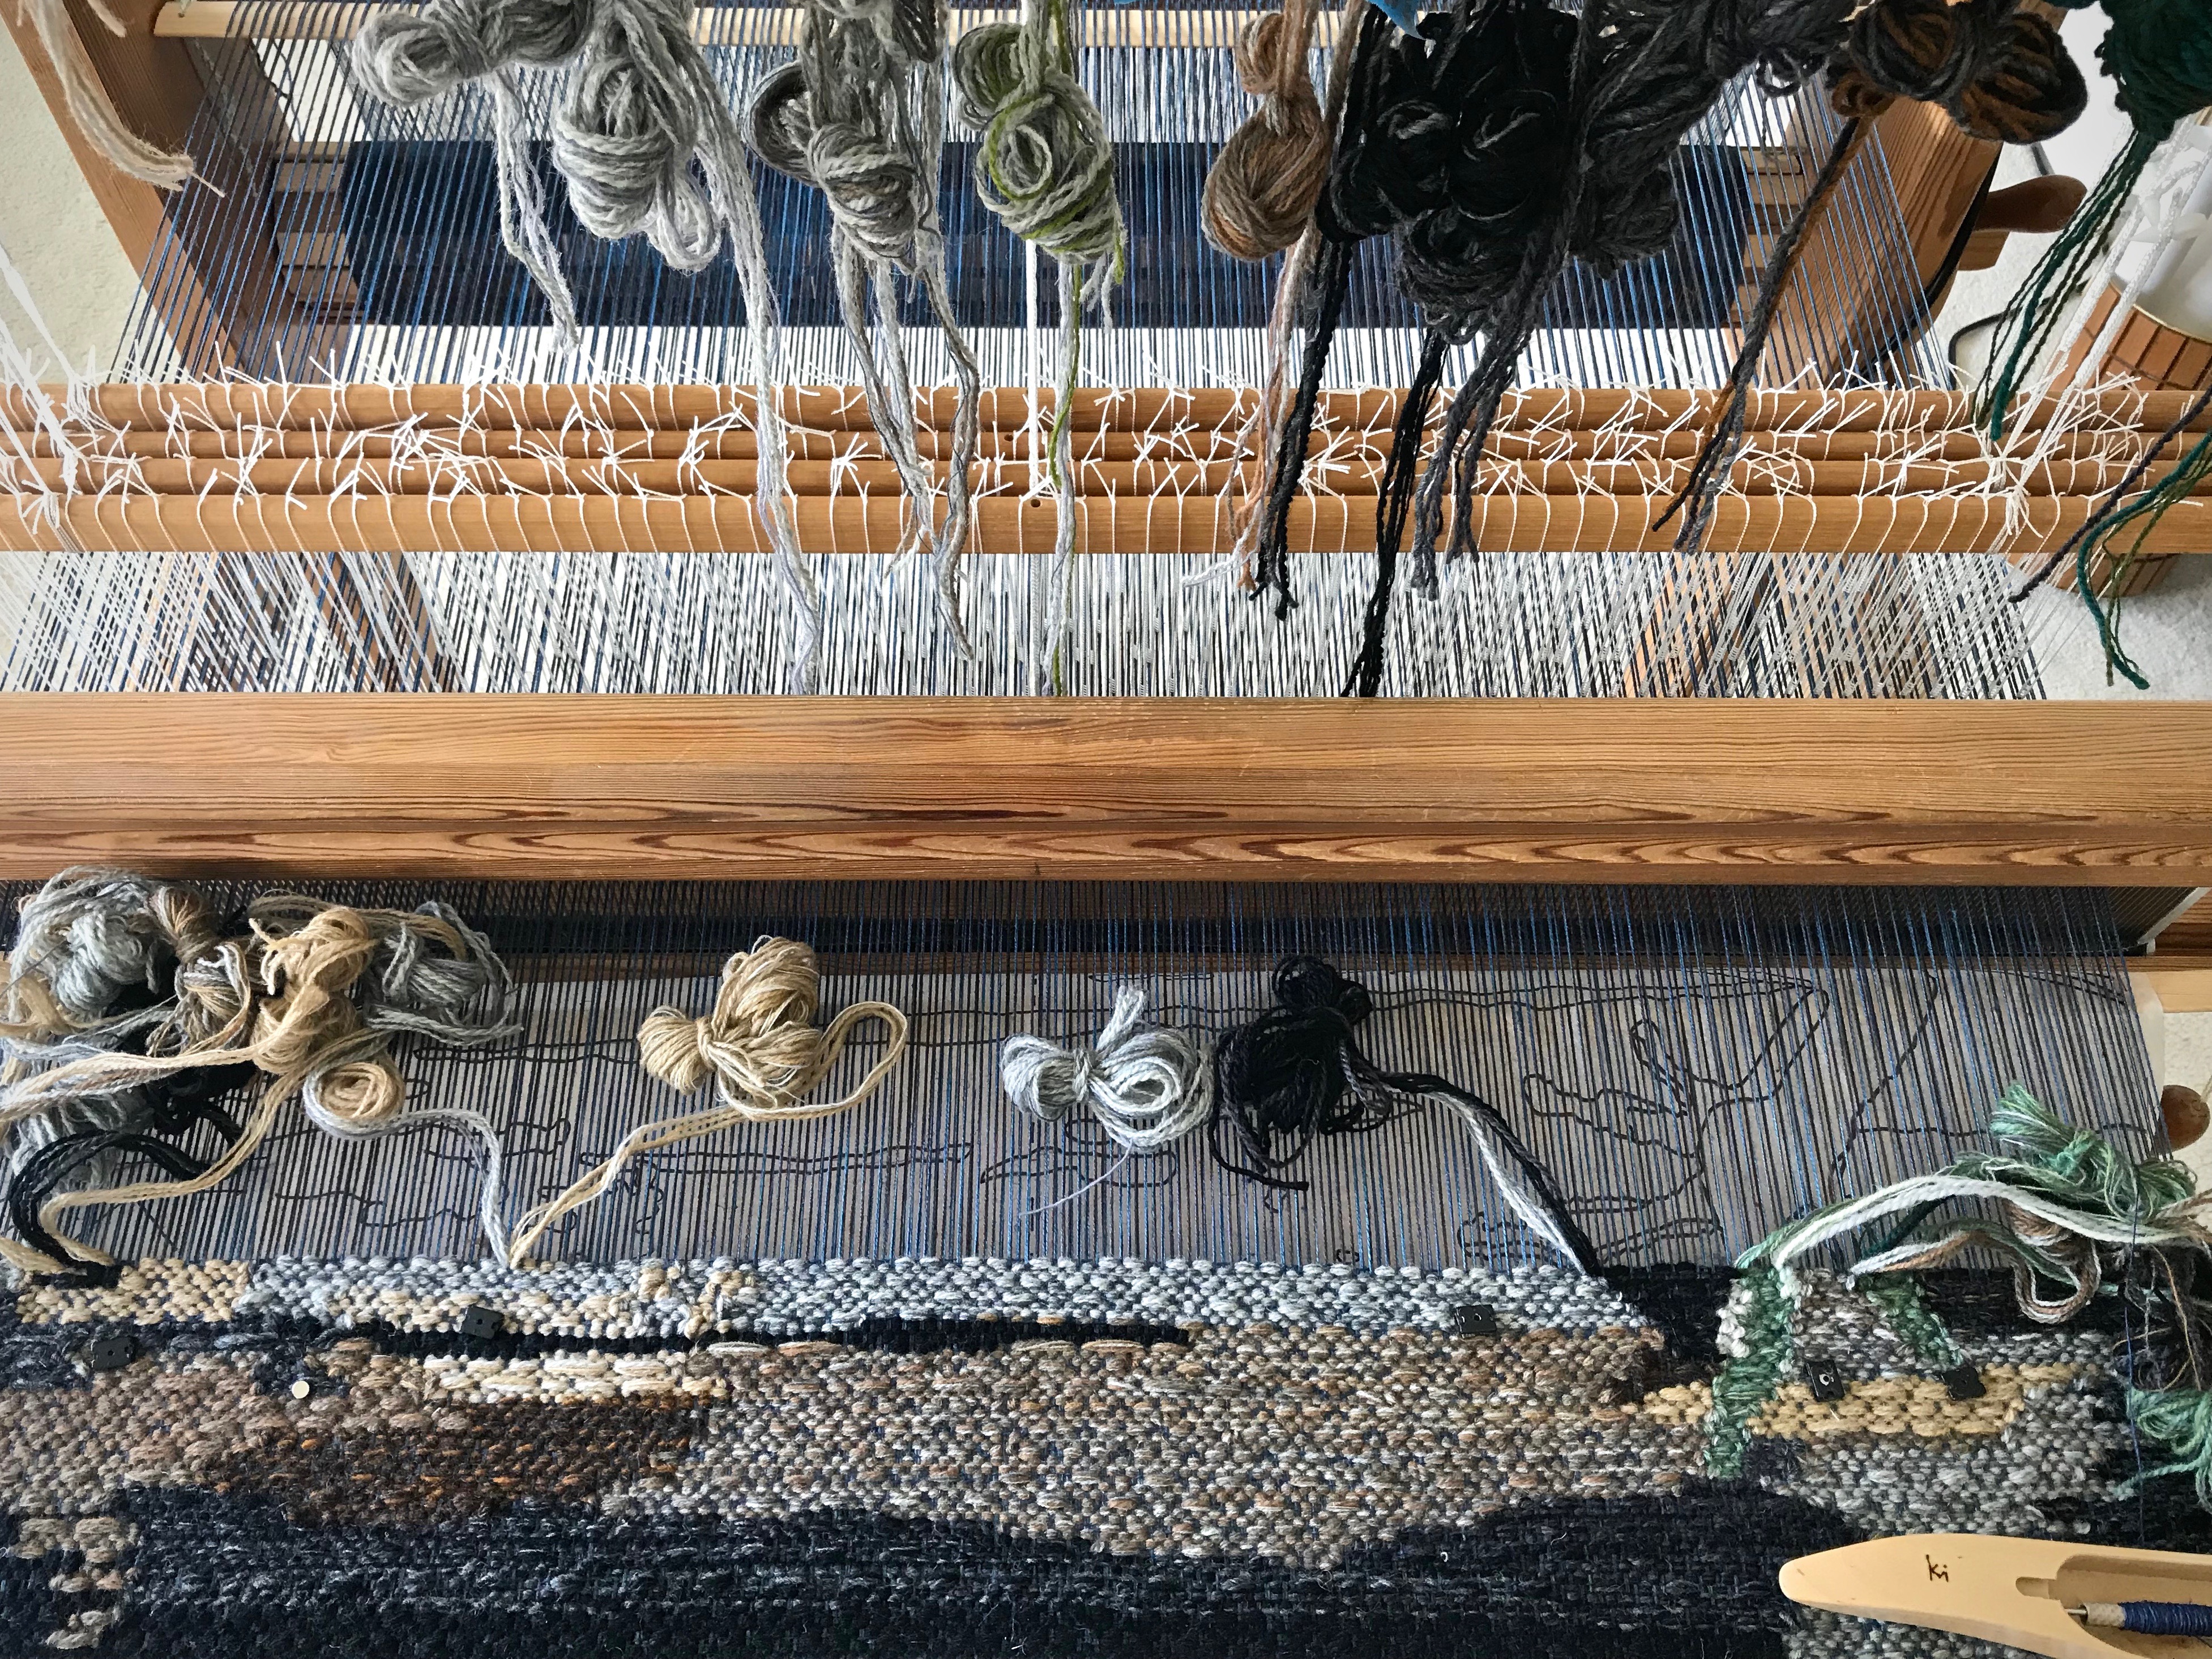
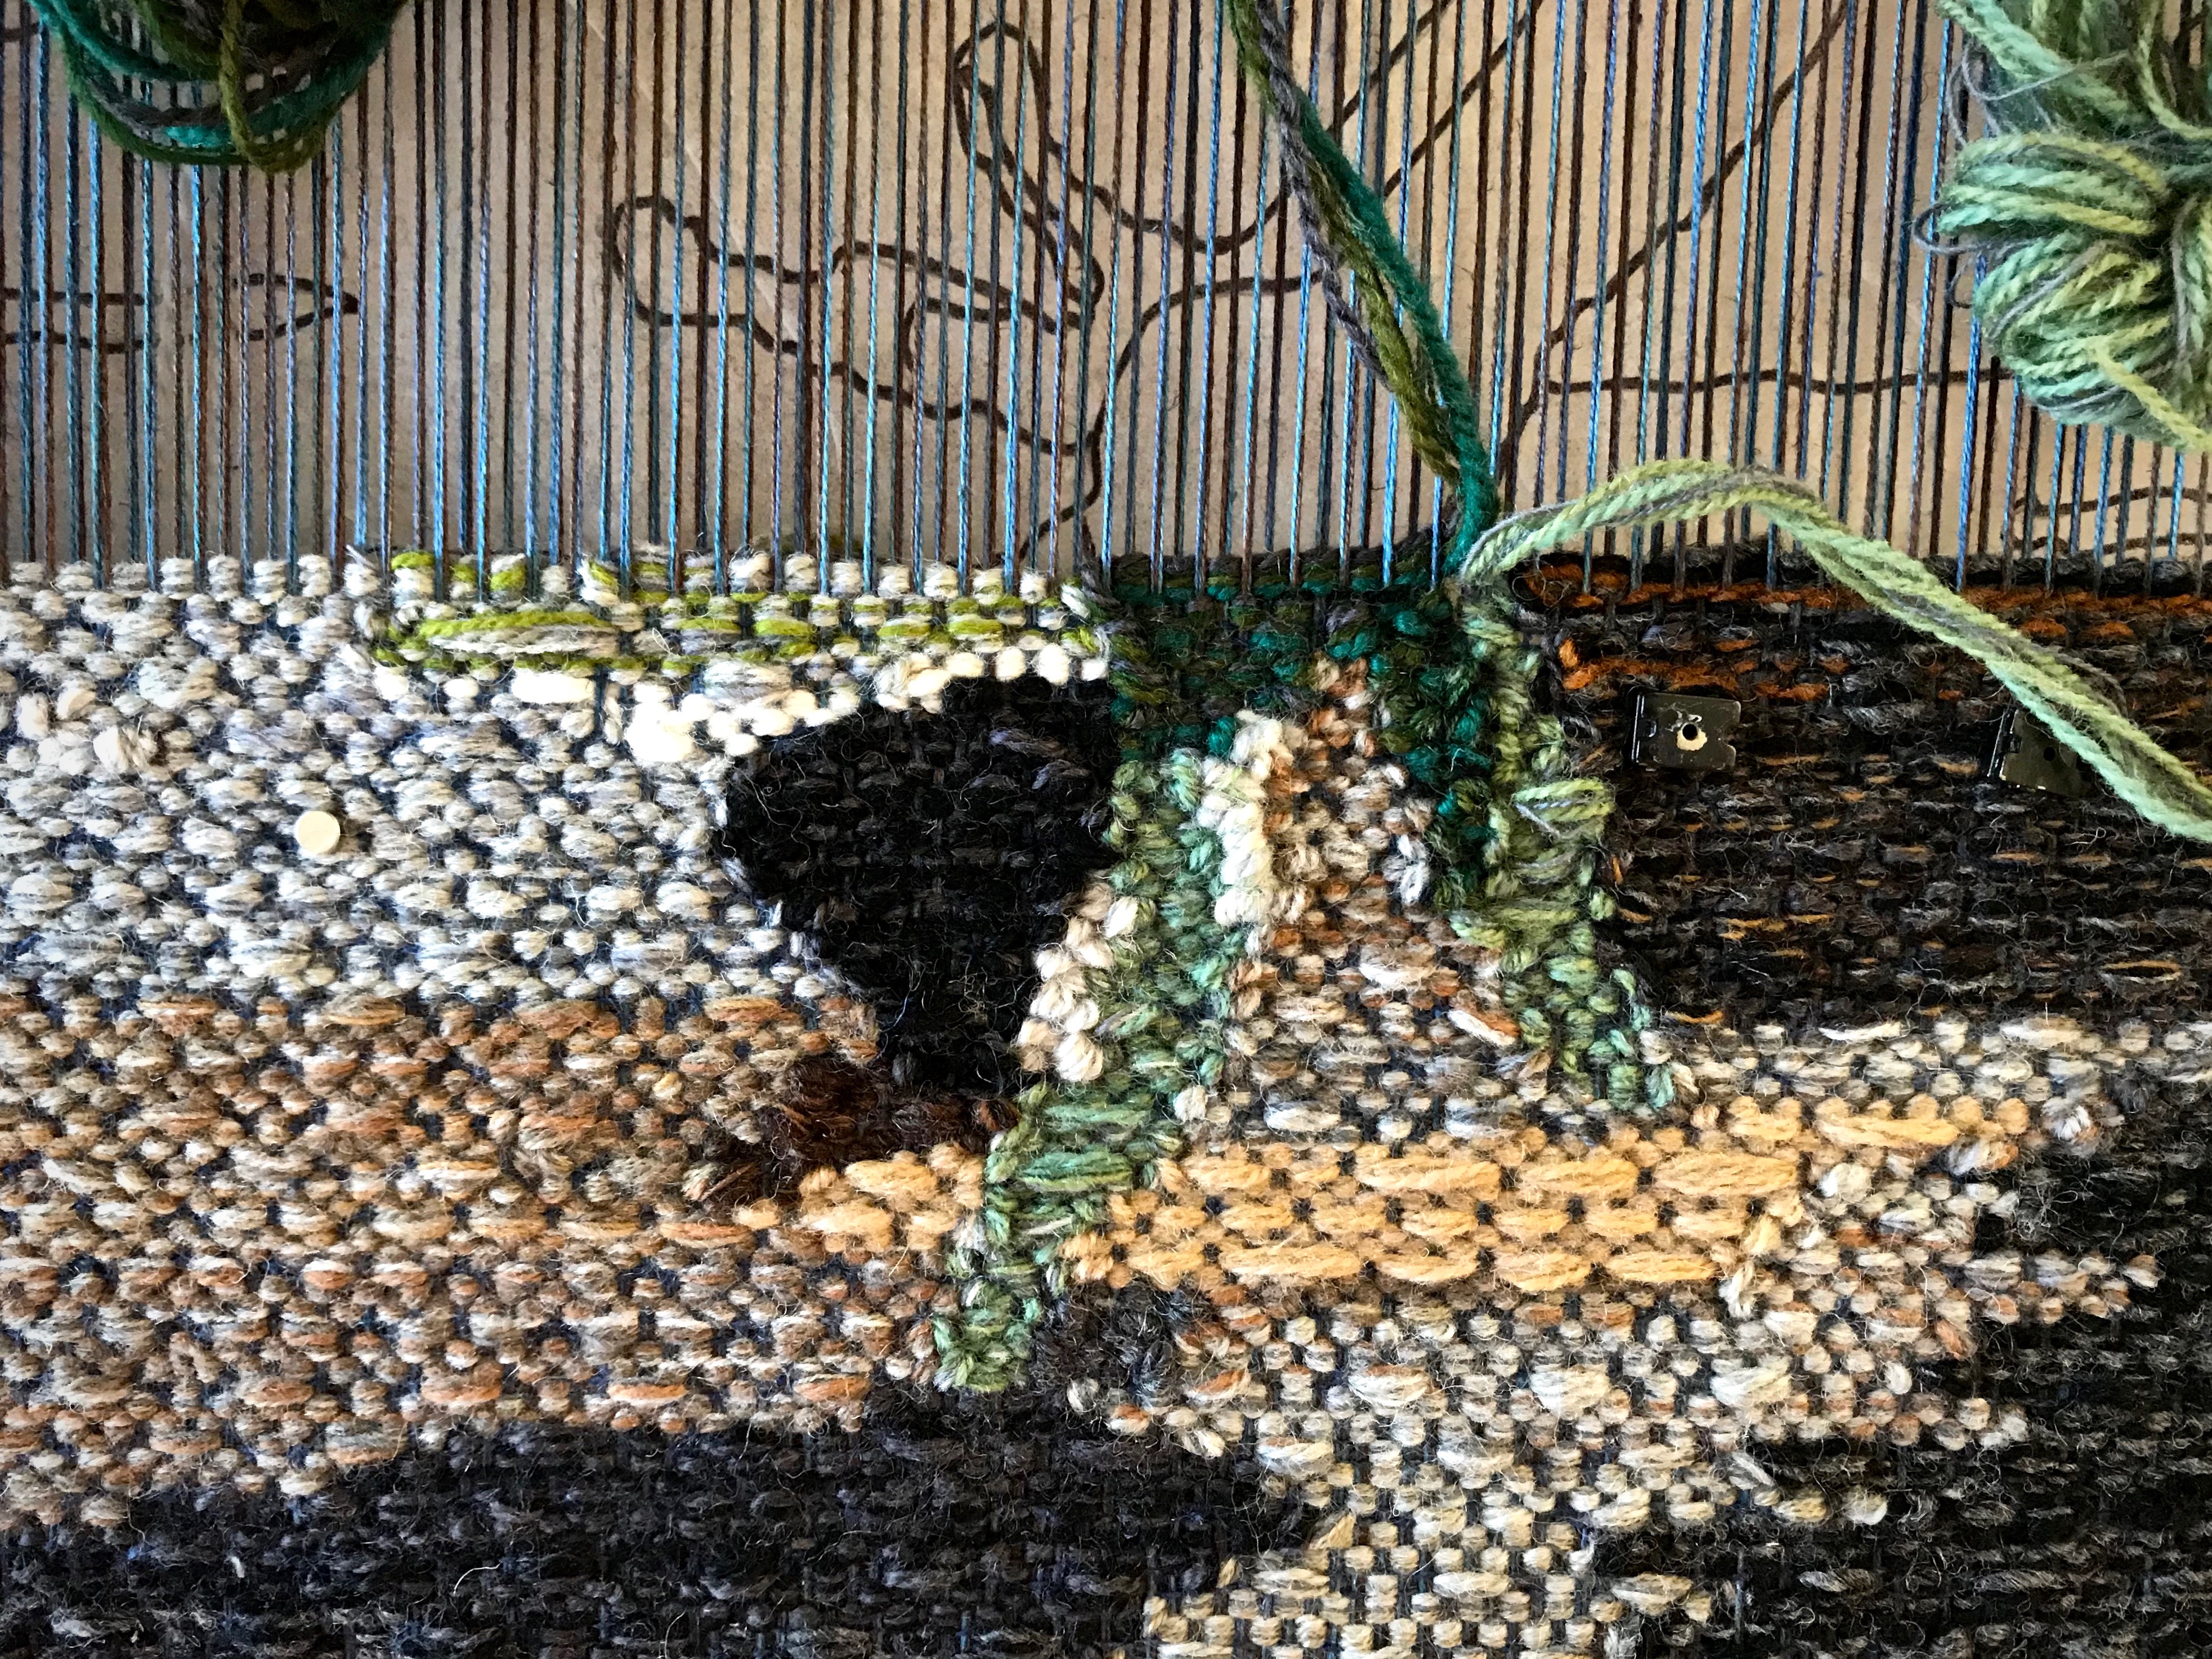
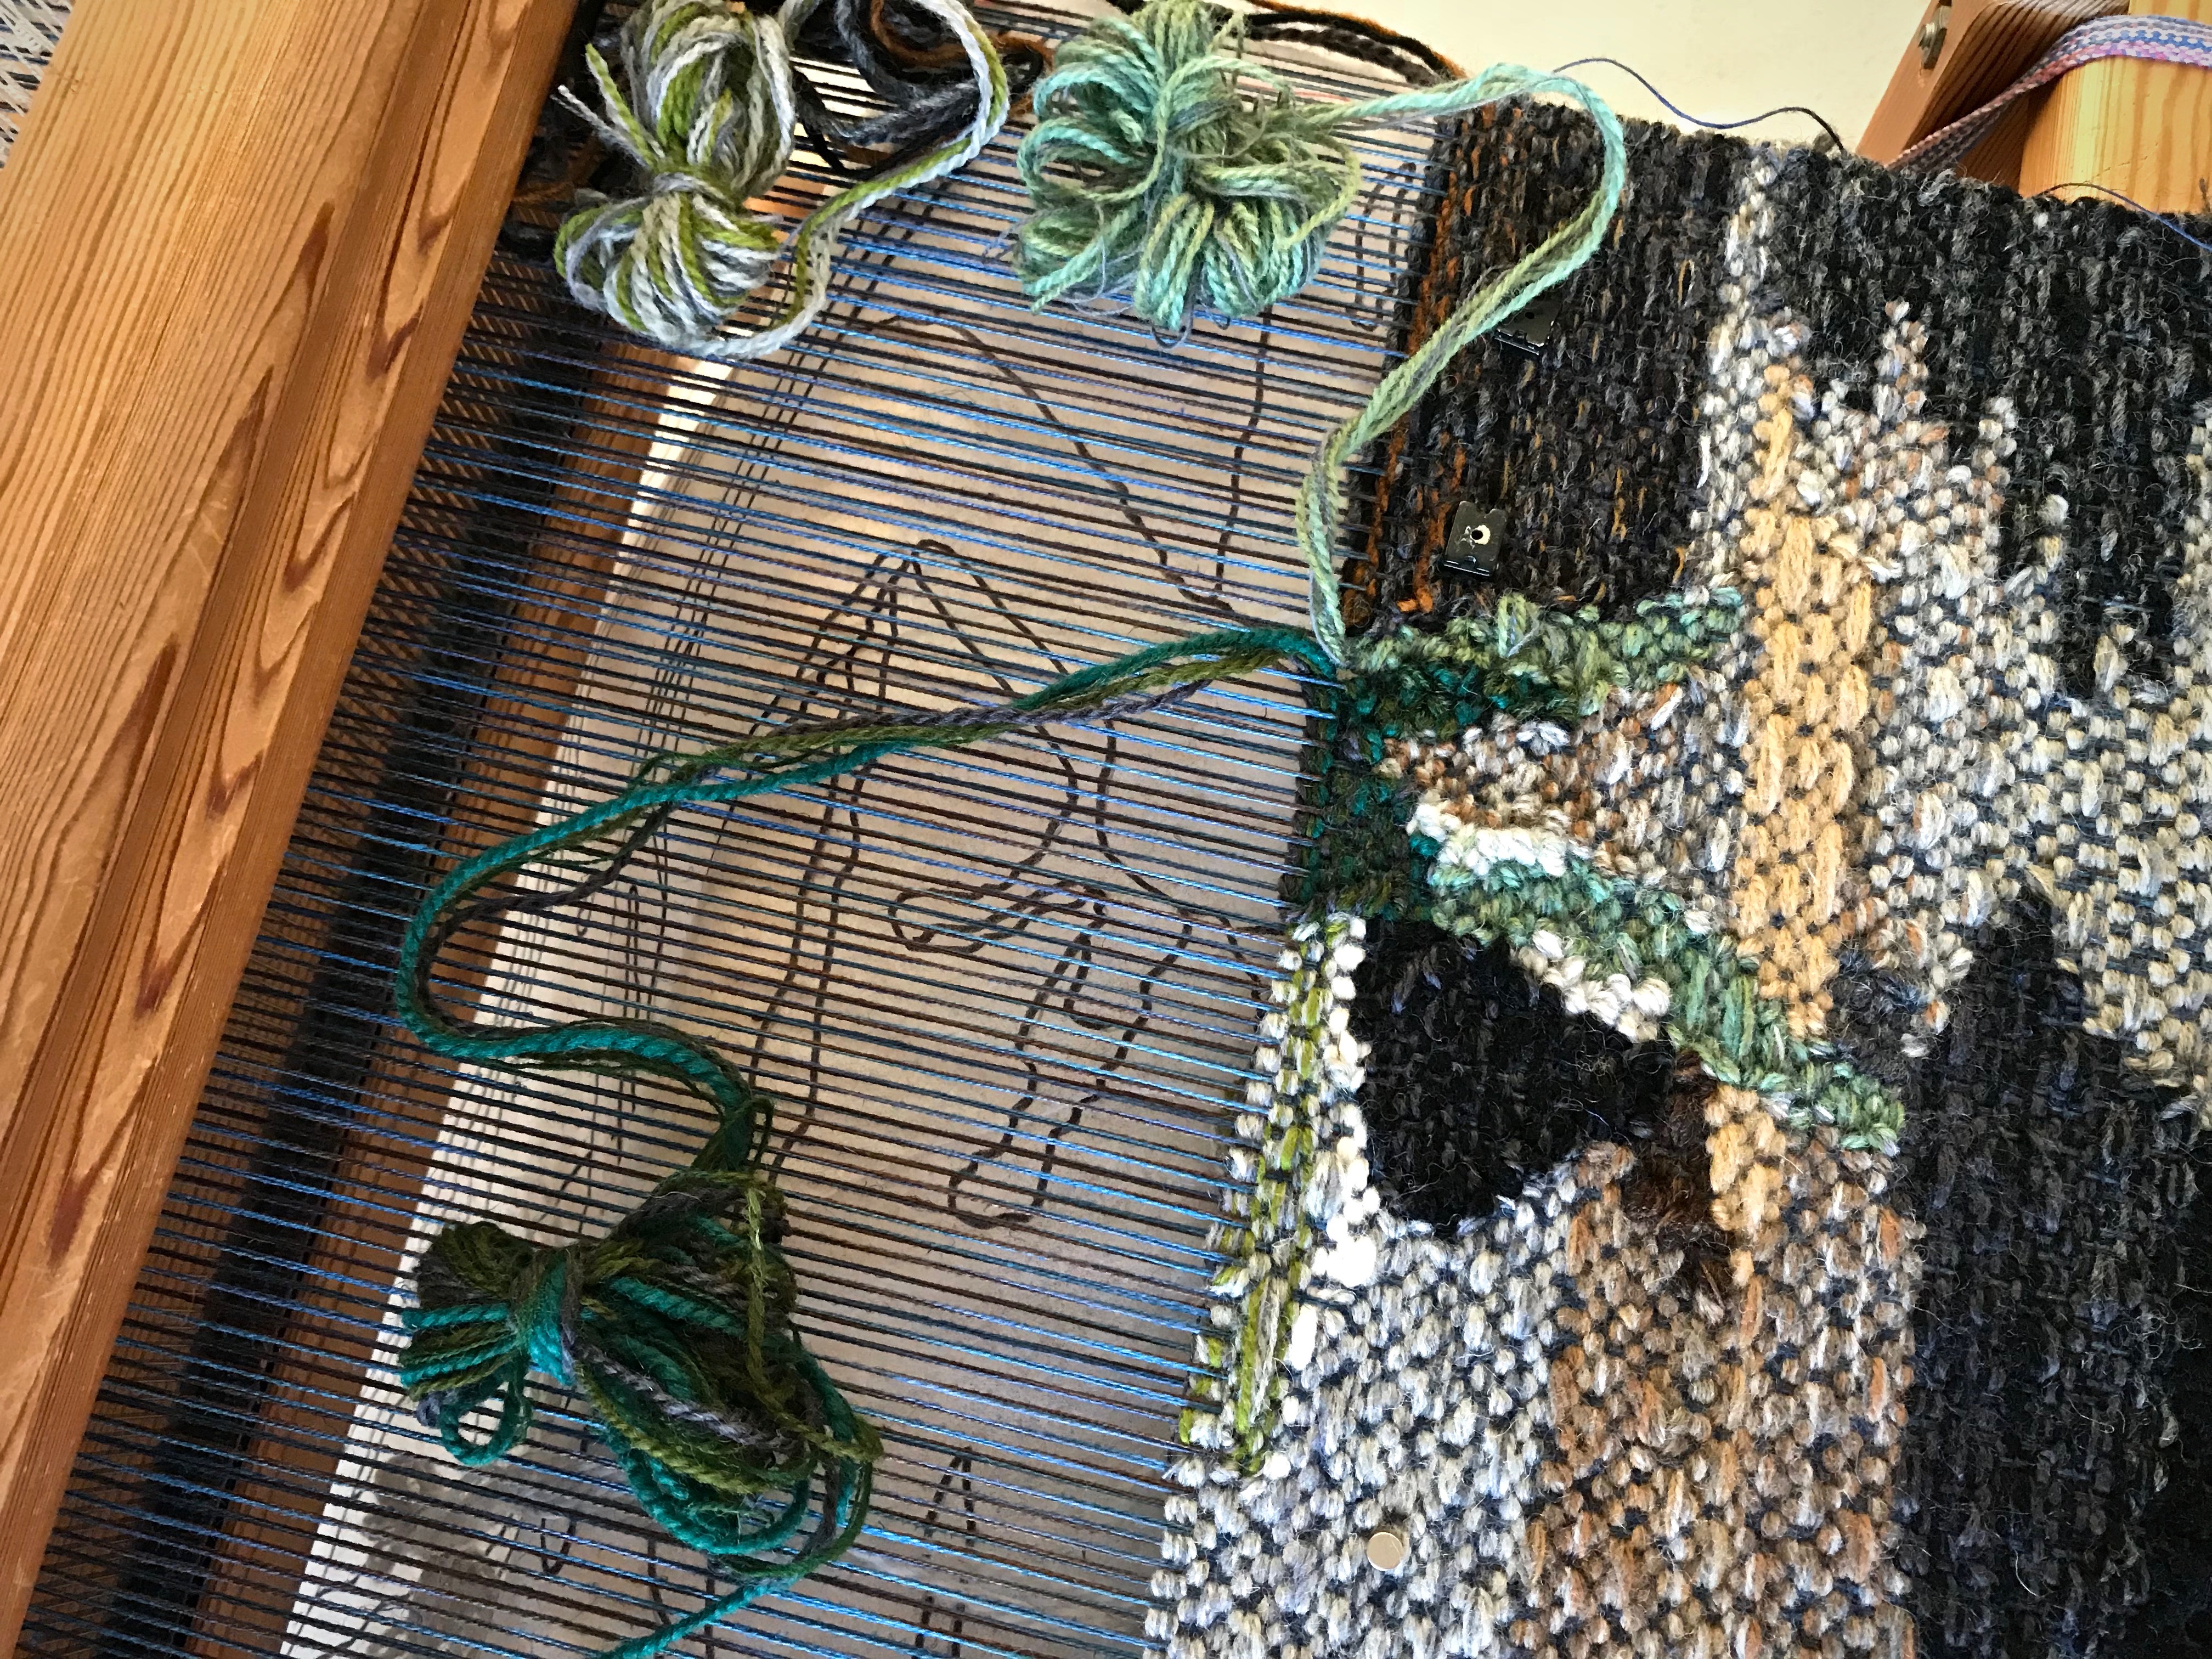
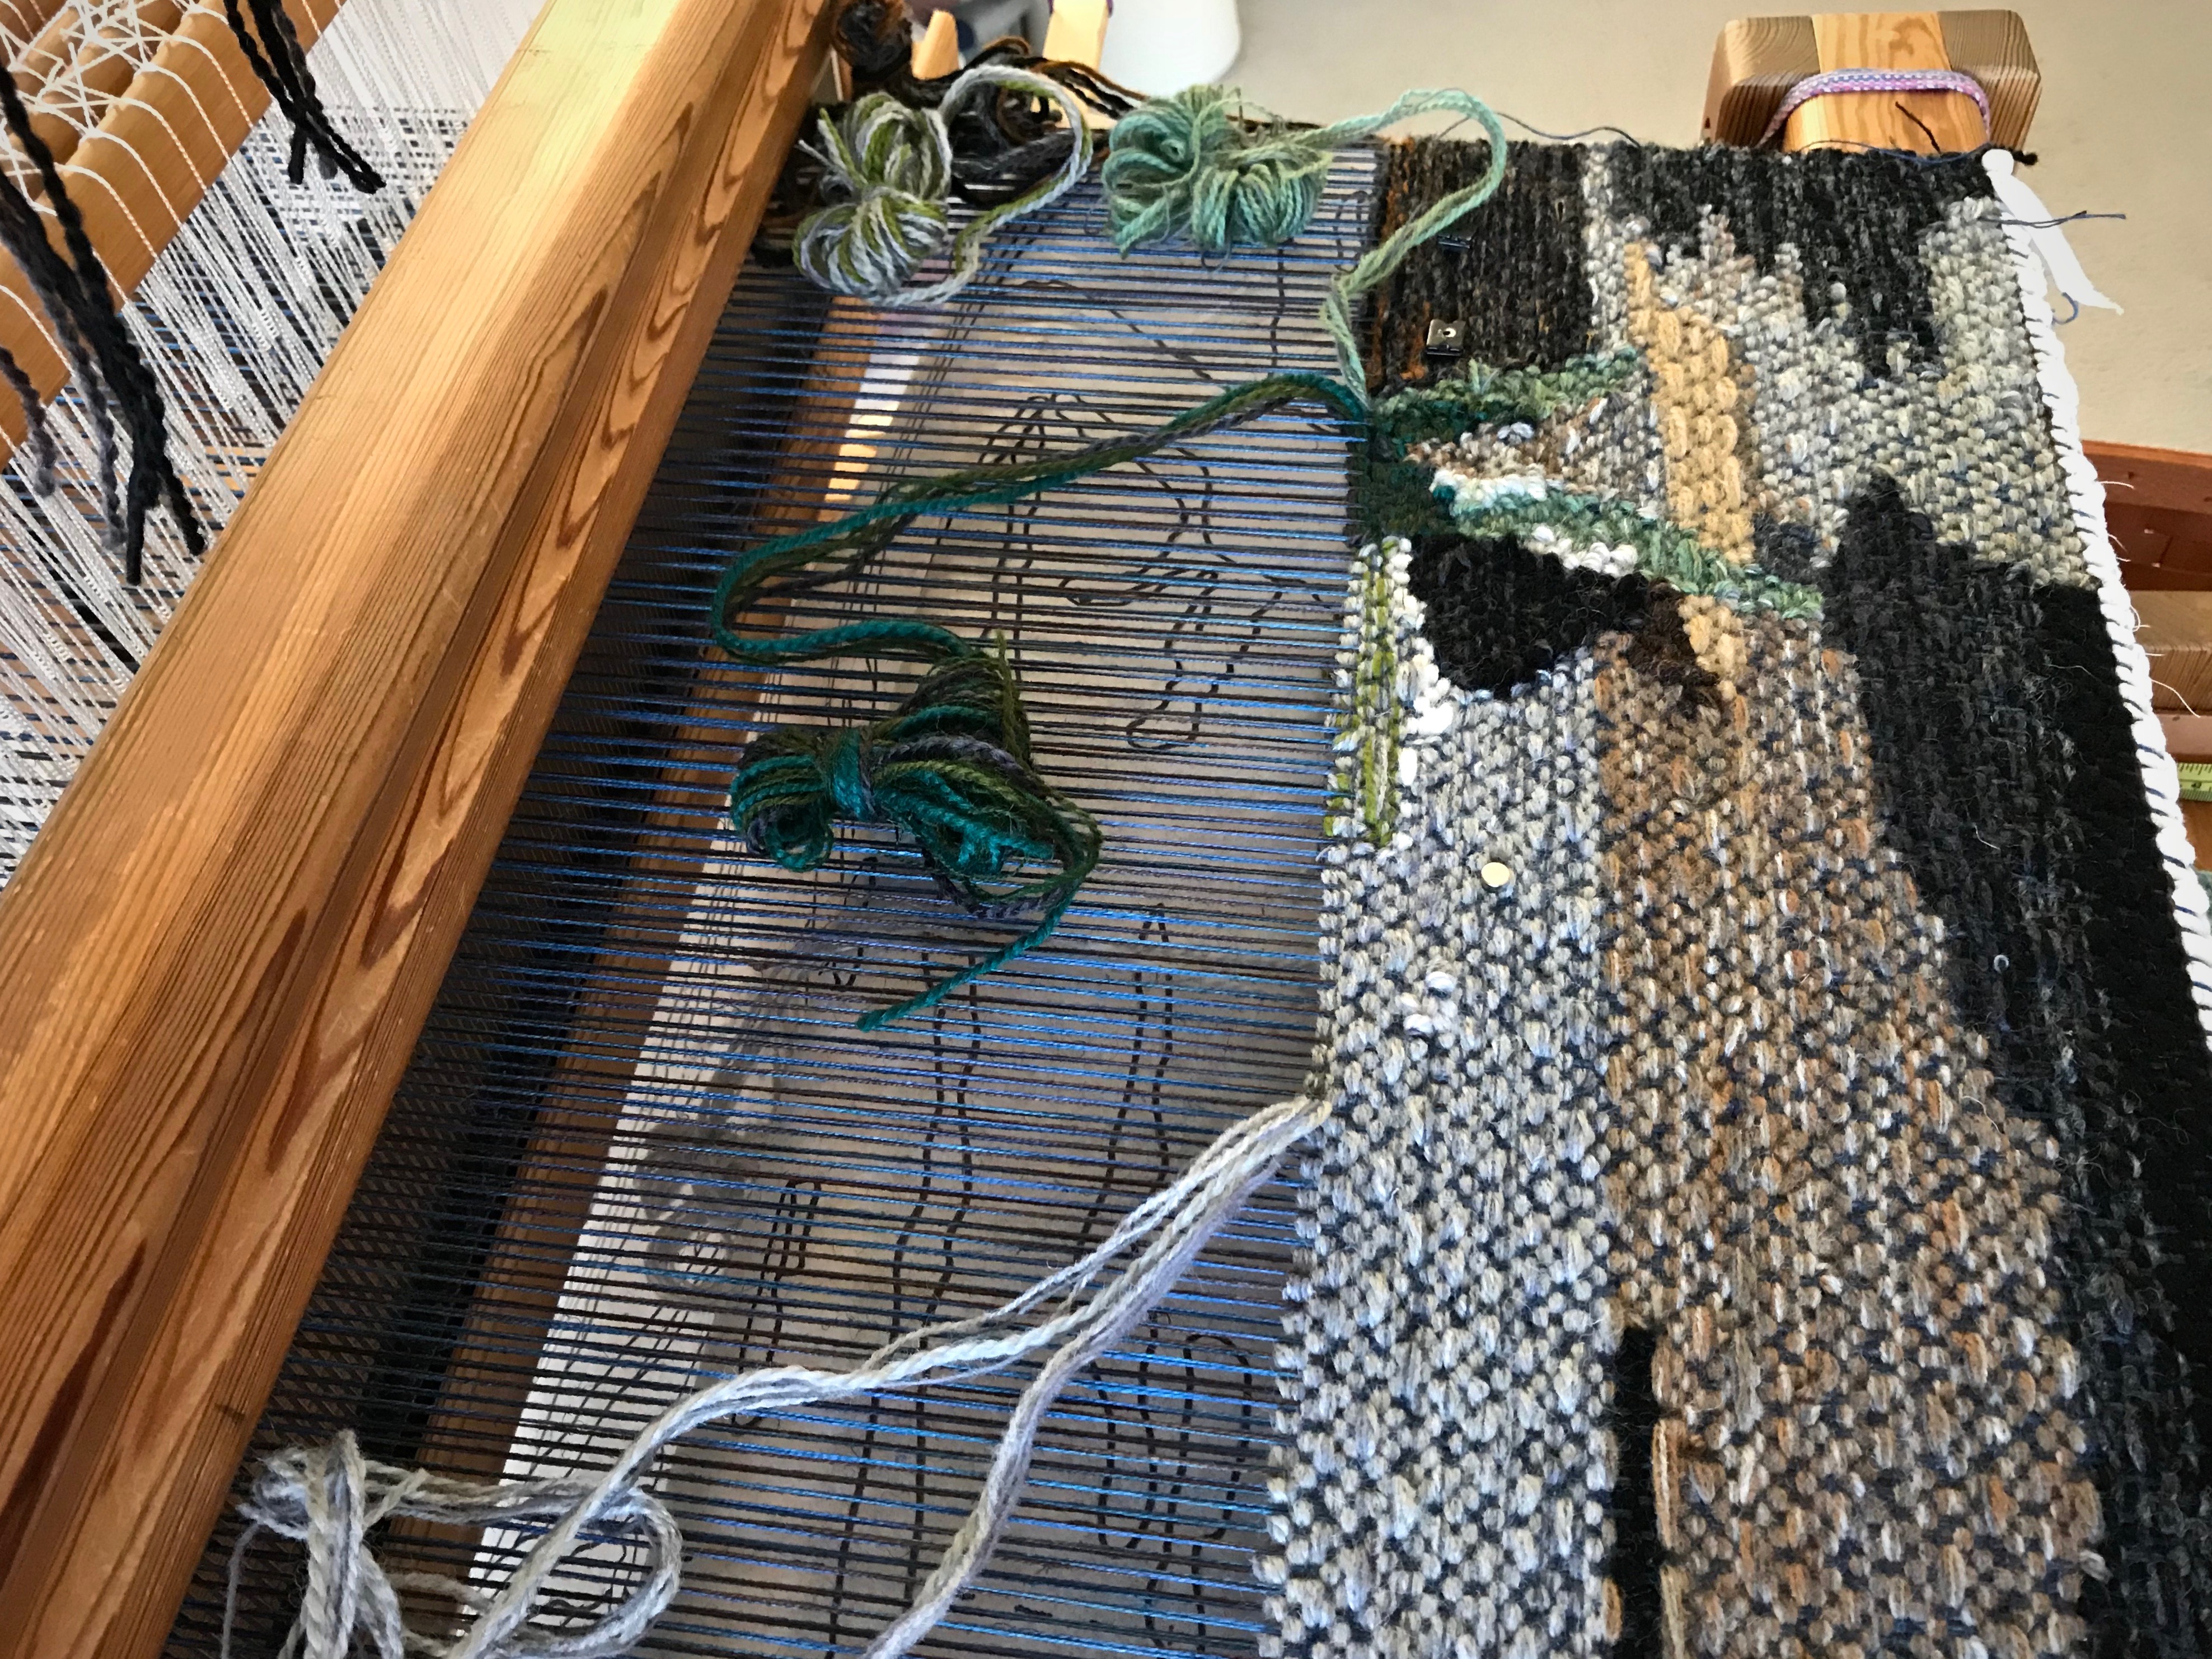
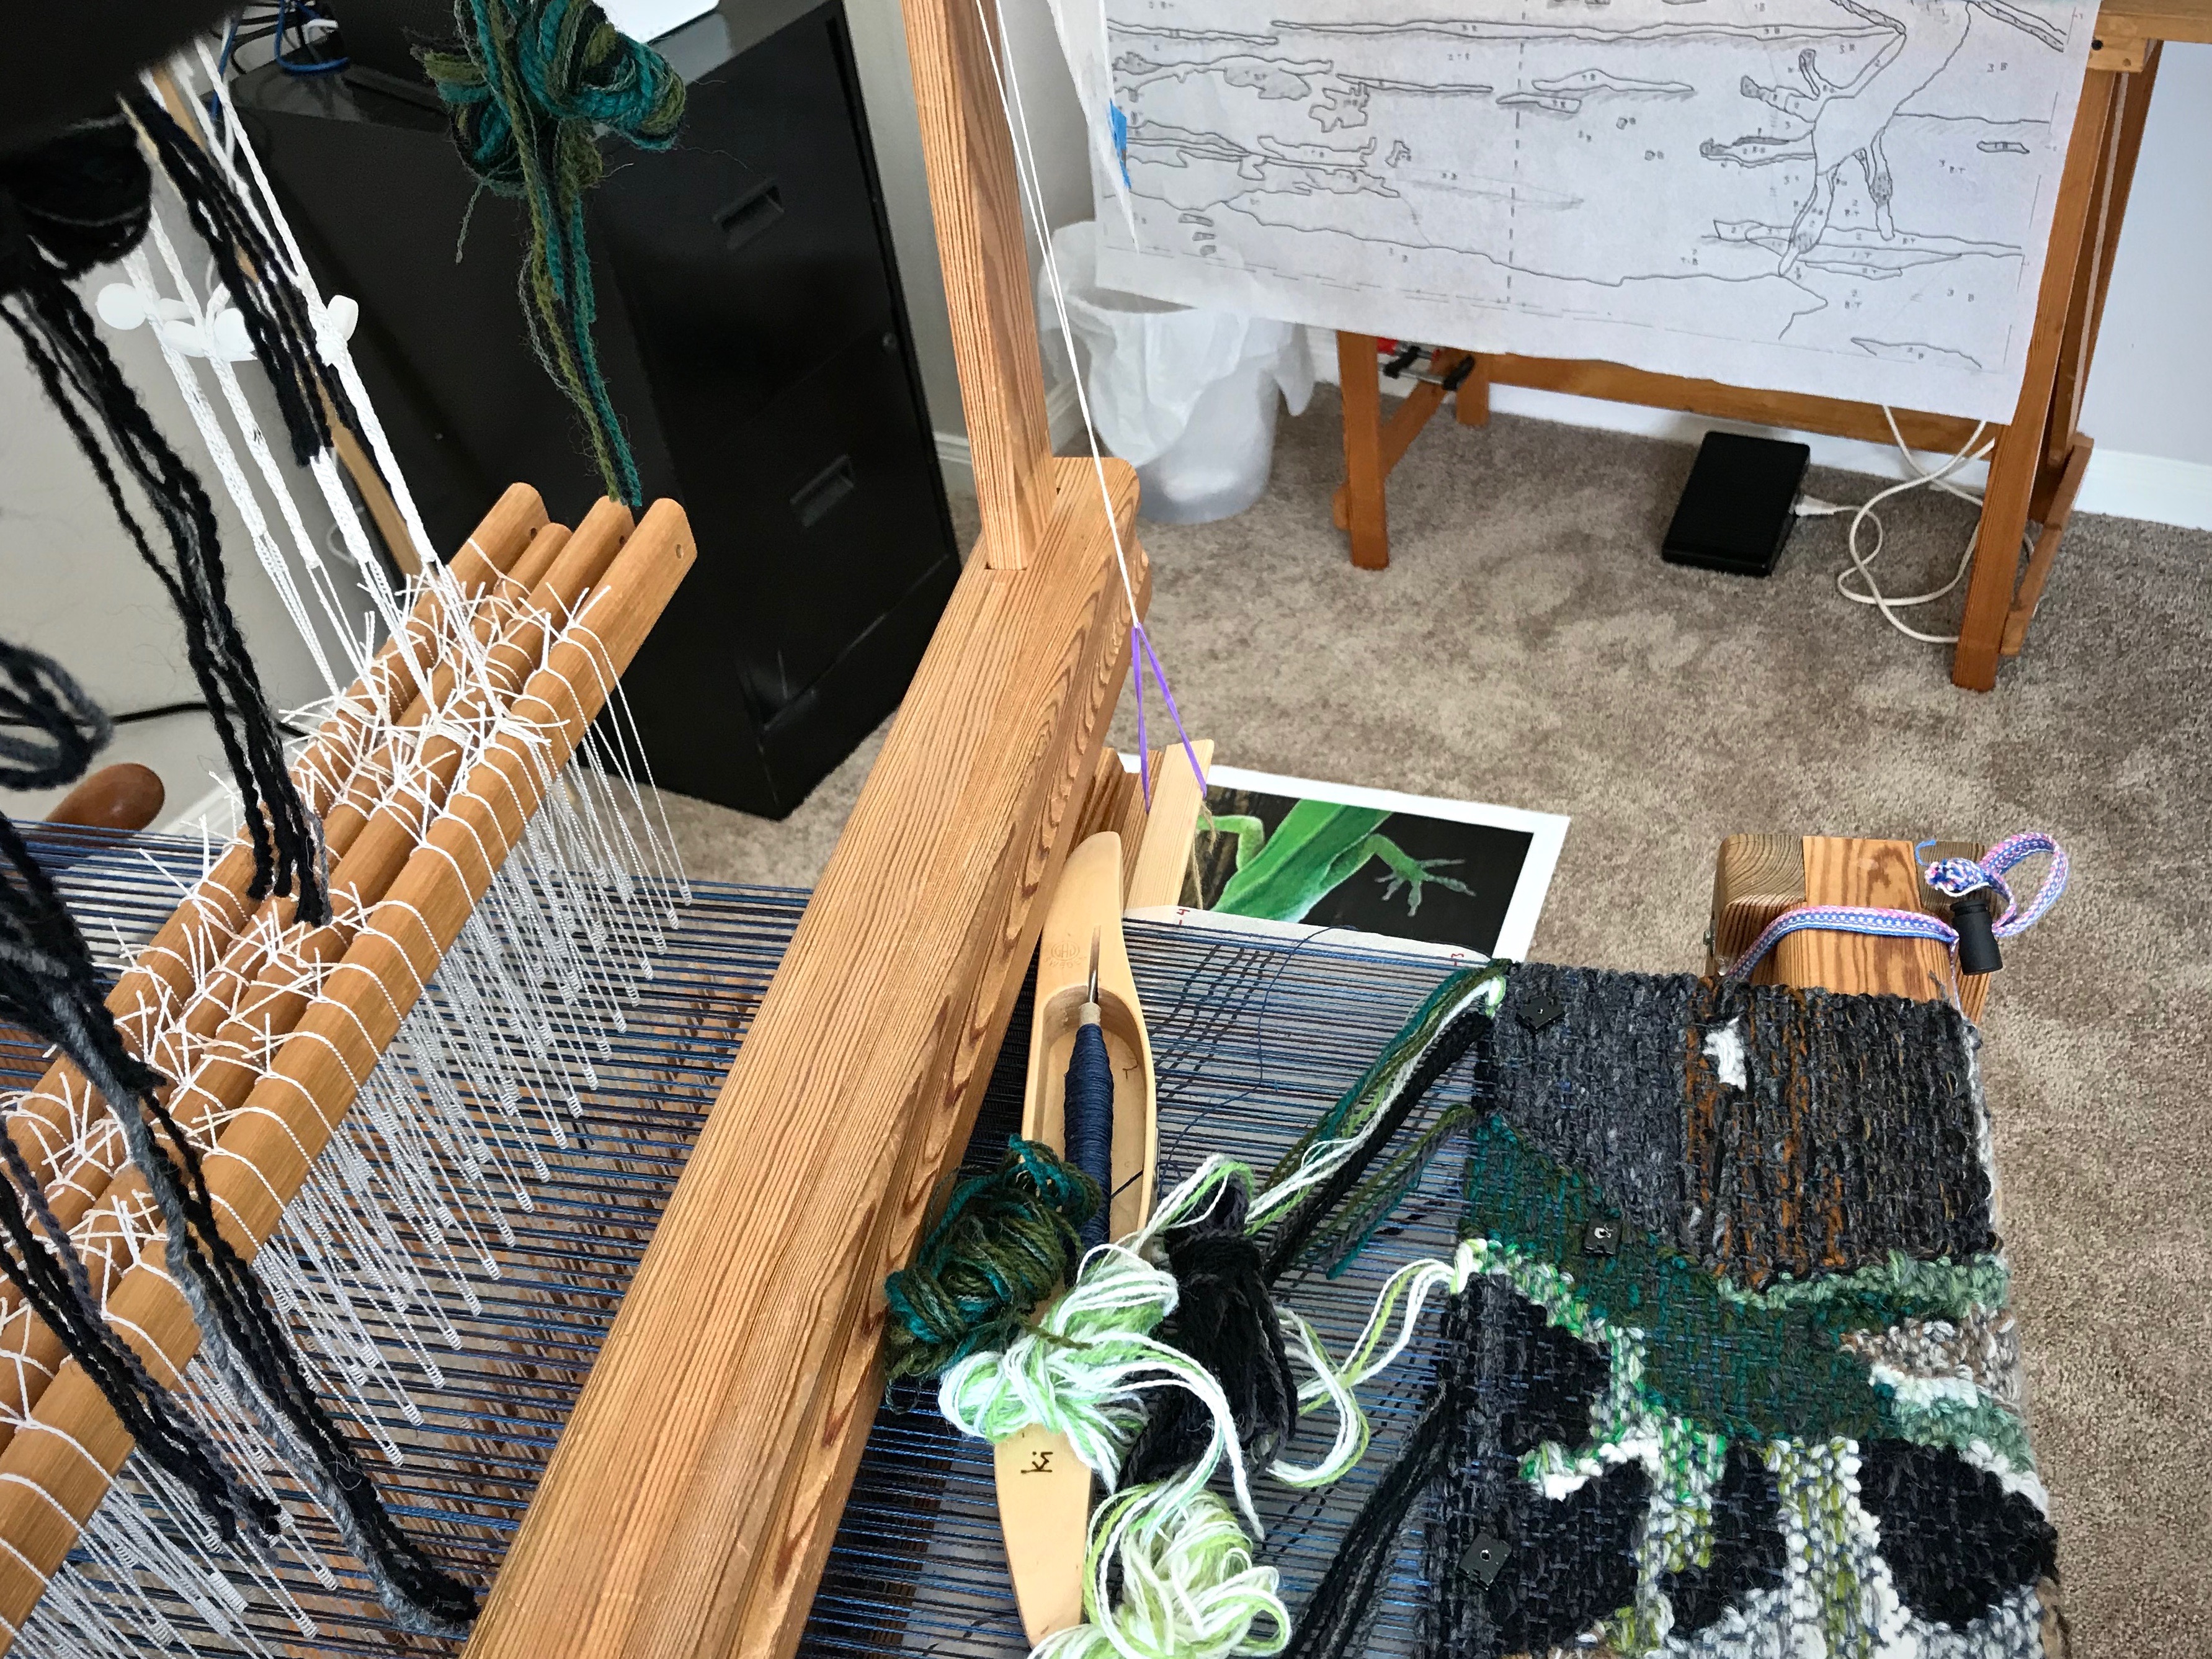
PS The Lizard tapestry is in full swing on the not-dismantled Glimåkra Ideal.

Lizard tapestry on Glimakra Ideal loom.
Lizard tapestry on the Ideal loom now has my singular attention. Thirty centimeters complete.

May you have a fantastic July!

Lovingly,
Karen

Tools Day: Weaving Apron

In my memories, I always picture Grandma wearing an apron, whether doing housework, gardening, or baking coffee cake in her kitchen. Maybe that is part of the magic I feel when I put on my weaving apron.

Weaving apron makes sense.
Weaving apron is ready for my next session at the Glimåkra Standard loom. Fabric protection board protects the fabric on the loom, but without an apron my clothing suffers from rubbing up against the board.

I sit right up to the breast beam when I weave, which helps my posture and my reach. This makes the fabric on the loom vulnerable, especially to buttons, buckles, or zippers. It also gives my clothes undue wear, even creating small holes in some of my shirts. My Glimåkra Standard loom has the fabric protection board, aka “belly board,” but that is not in place until the knots from the beginning of the warp go under the breast beam. So, the first inches of weaving go unprotected. My other looms don’t have a fabric protection board.

Weaving apron is used to protect fabric on the loom and on the weaver.
Apron is kept on the loom bench for easy access. There is no fabric protection board on this loom, so without an apron, the tapestry being woven and the clothing I wear are both susceptible to damage from repeated contact.
Weaving apron with pockets!
Apron pockets keep things handy.
Weaving apron, criss-cross back straps.
With simple criss-cross straps at the back, this weaving apron fits just about anybody. And there is no bow to tie in the back, like my Grandma’s aprons had.

A weaving apron guards both the fabric on the loom and my clothes. The apron also gives me ample pockets, good for countless things—dropping in a few wound quills to take back to the loom, keeping a tape measure handy, separating one wool butterfly from the rest, and other things you wouldn’t think of if you didn’t have them.

Weaving apron, and why it makes sense!
Texas hill country loom has its weaving apron ready for my next visit there.

An apron like this would be easy to make. However, I was fortunate to come across the perfect weaving apron (not labeled as such), pockets and all, at a quaint little shop in Texas hill country. So, now I keep one at each loom. And when you put one of these aprons on to weave, something magical happens…

May you have ample pockets.

Happy weaving,
Karen

Tapestry Reveals Lizard Toes

I fully intended to weave a floral image for my first four-shaft tapestry. Flowers have interesting and beautiful colors and shapes. However, while I am taking pictures for that very purpose at the garden center near our Texas hill country home, a bright green lizard catches my eye. Stunning in color and detail!

Bright green anole in Texas hill country.
Bright green lizard stops to pose for the camera at the garden center. He strikes a different pose for the image I am using for my tapestry.
Four-shaft tapestry lizard.
Foot of the lizard is seen on the cartoon under the warp near the right-hand side.

This cute little fellow, technically a green anole, is my tapestry subject! With every wool butterfly and placement of weft, I am hoping for a fruitful outcome—a 3’ x 4’ tapestry of a (recognizable) bright green lizard on a wooden post.

Four-shaft tapestry - lizard foot.
Five lizard toes to weave.
Tapestry of a green anole in Texas.
Tapestry woven from the side, meaning the selvedge seen here will be the upper edge of the tapestry when it is hung.
Four-shaft tapestry.
Nearing completion of the first twenty centimeters.

Fruitful. We want to know that the things we say and do have lasting value. We want to live in a way that bears the fruit of positive outcomes, don’t we? When results are slow in coming, or not readily seen, it can be discouraging. It’s time to trust the Lord. Don’t be disheartened. Instead, think of long-term cultivation. What looks uncertain now will be a distinct part of the image when you look back. Any mistakes woven in are proof of our humanness. And that proof reminds all of us that we need a Savior. Keep weaving.

May you see the good fruits from your labor.

Happy weaving,
Karen

Guest Weavers

We finished another placemat over the weekend. We, meaning a few guest weavers – and me. I had a small tribe of eager weavers, aged eleven to seventeen. I didn’t give beginner work to these beginners. We did what was required for this color-and-weave project on the loom—double-bobbin shuttles, two (and sometimes three) shuttles at a time, two-pick stripes, advancing the warp, placing the temple, and more. Another placemat completed, with only one broken warp end along the way. I call that a win!

Guest weaver. First time, but not the last!
Quietly watching me, and taking in the details, this young weaver grasped the essentials, and began weaving in a graceful manner. After just a few minutes, Madison told me she could do this all day. That sounds like a budding weaver to me!
New weaver, with great attention to detail!
Sean is an attentive listener, closely following every instruction. He happily donned the weaving apron. And the Gingher snips on a woven band were hanging around his neck, ever ready to be used.
Young weavers at the loom.
Jenson joins in to lend his observation skills while his brother does the weaving.
New young weaver.
Ashley is someone who takes initiative. She enjoyed the challenge of learning something new, and quickly was weaving with very little assistance.
Cotton placemats on the loom.
Broken warp end repaired. Placemat complete. Eight more placemats to go!

Isn’t it delightful to share what you enjoy, and then see the spark of delight and accomplishment on a young person’s face? This is another good reason to make and keep family friends.

May you share your delights.

Love,
Karen

Quiet Friday: Linen Chair Seats

This week I crossed something off my Weaving Bucket List: Use handwoven fabric to upholster chairs. Remember the color-and-weave linen fabric? It’s part of my collection of fabrics designed specifically for our Texas hill country home. I covered four barstool seats with this linen upholstery fabric!

Handwoven linen upholstery fabric.

Weaving the fabric is the easy part. But I’m a newbie at upholstering. As such, using my “precious” handwoven cloth is unnerving. But I was fortunate enough to receive terrific advice and encouragement from friends, including one who conferred on my behalf with professional upholsterers she knows. And another friend generously loaned her power staple gun to me. I also referred to a book (Matthew Haly’s Book of Upholstery, by Matthew Haly) that I picked up a few years ago in hopes that I might someday reach this item on my bucket list.

Testing handwoven fabric for chair seats.

Trying out handwoven fabric for chair seats.

Removing staples, to re-cover the seat.

Covering seats with batting and muslin.

Reupholstering chair seats. Muslin first.

Handwoven linen upholstery fabric. Covering chair seats.

Handwoven linen upholstery for chair seats.

Backing the upholstered chair seats. Handwoven upholstery.

Upholstery backing in place. Handwoven upholstery project.

Finished handwoven linen chair seat! Ta da!

Underside of re-covered chair seats.

Four newly upholstered chair seats. Handwoven Upholstery.

Handwoven linen upholstery. Newly covered chair seats.

Newly covered chair seats. Handwoven Linen!

I count this as practice and a first step of experience. Eventually, I may work up the courage to reupholster our eight dining room chairs. Hmm… the thought of getting to design the fabric makes that challenge rather appealing.

May you cross something off your bucket list.

Your amateur upholsterer,
Karen