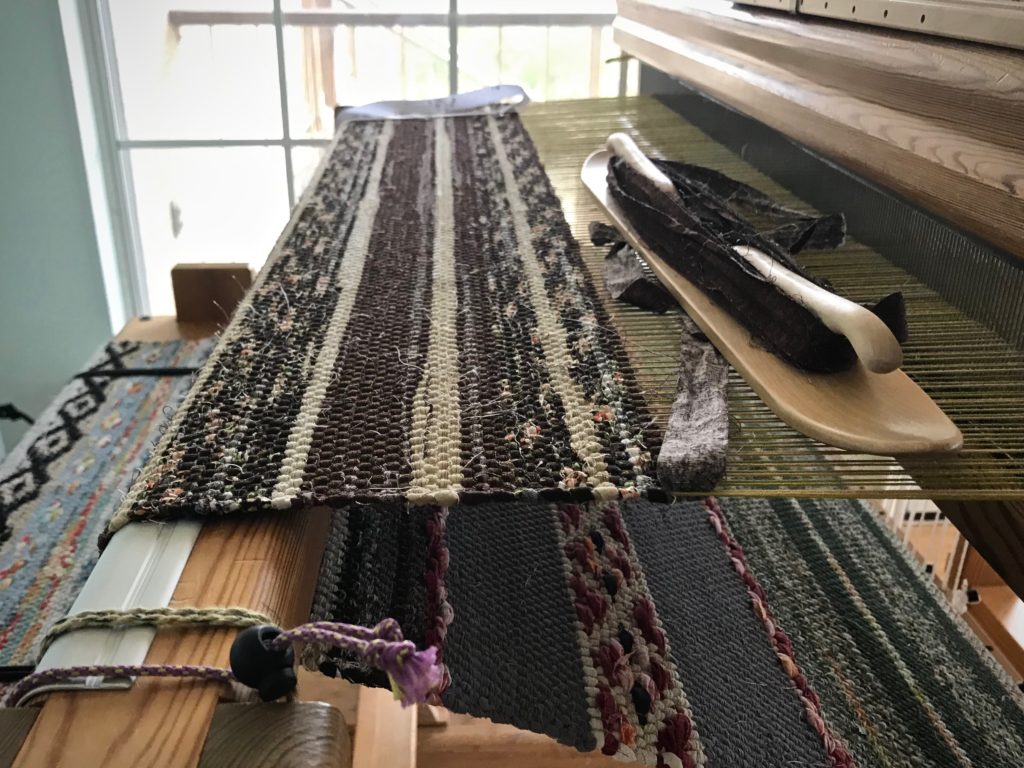
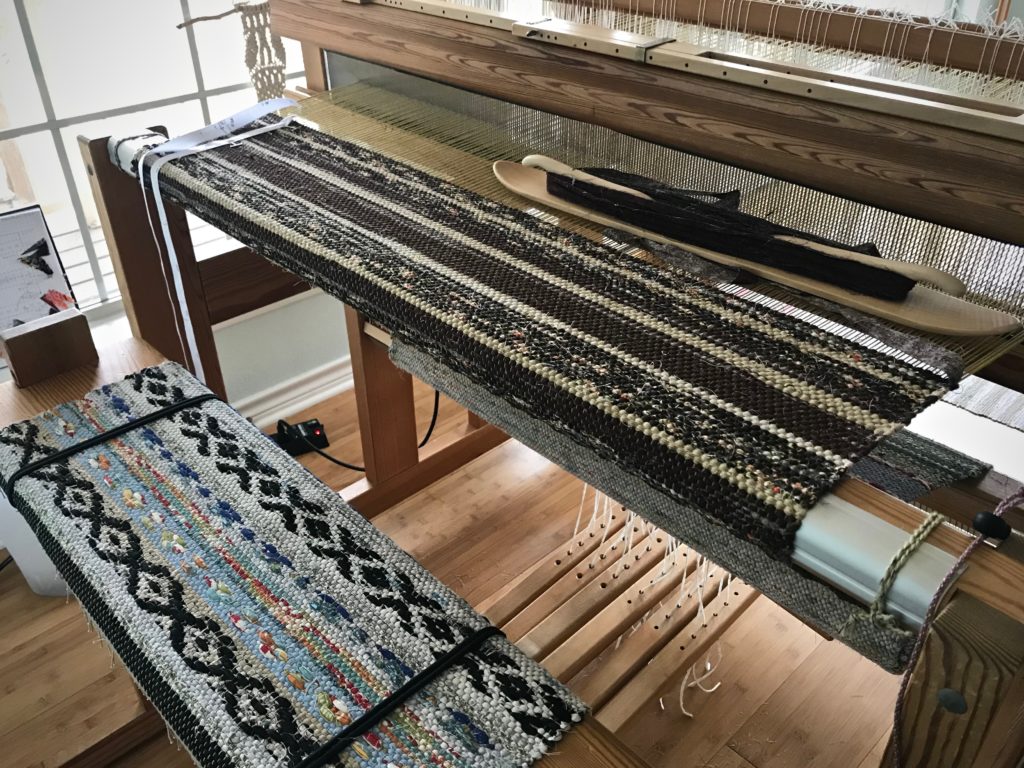
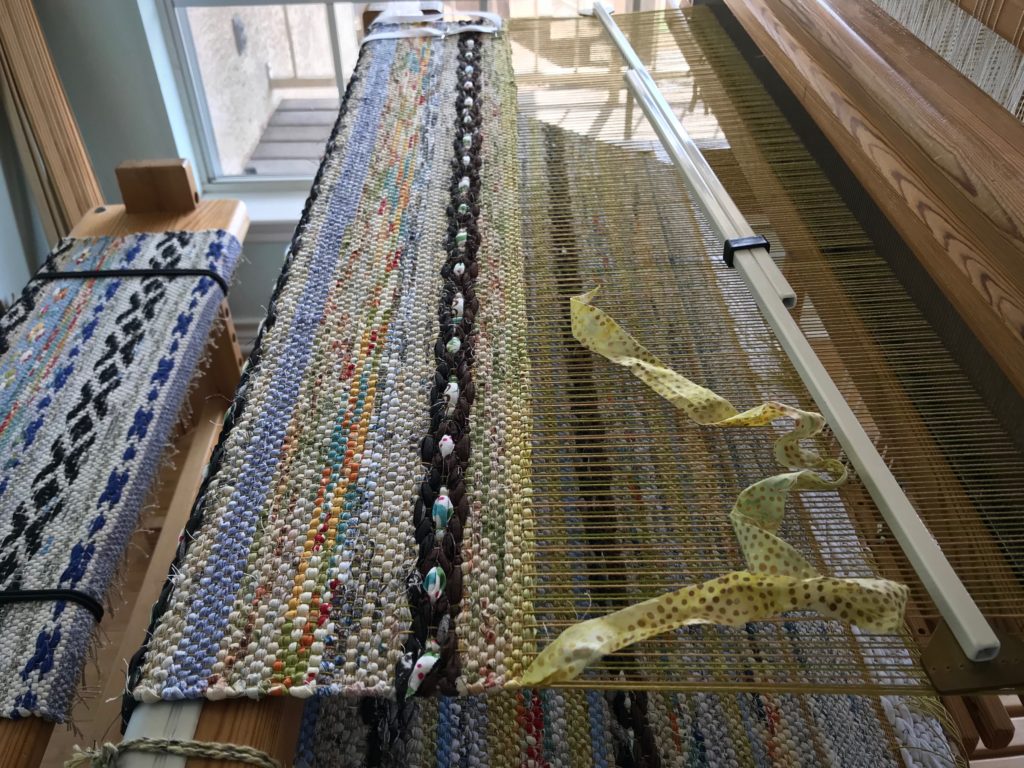
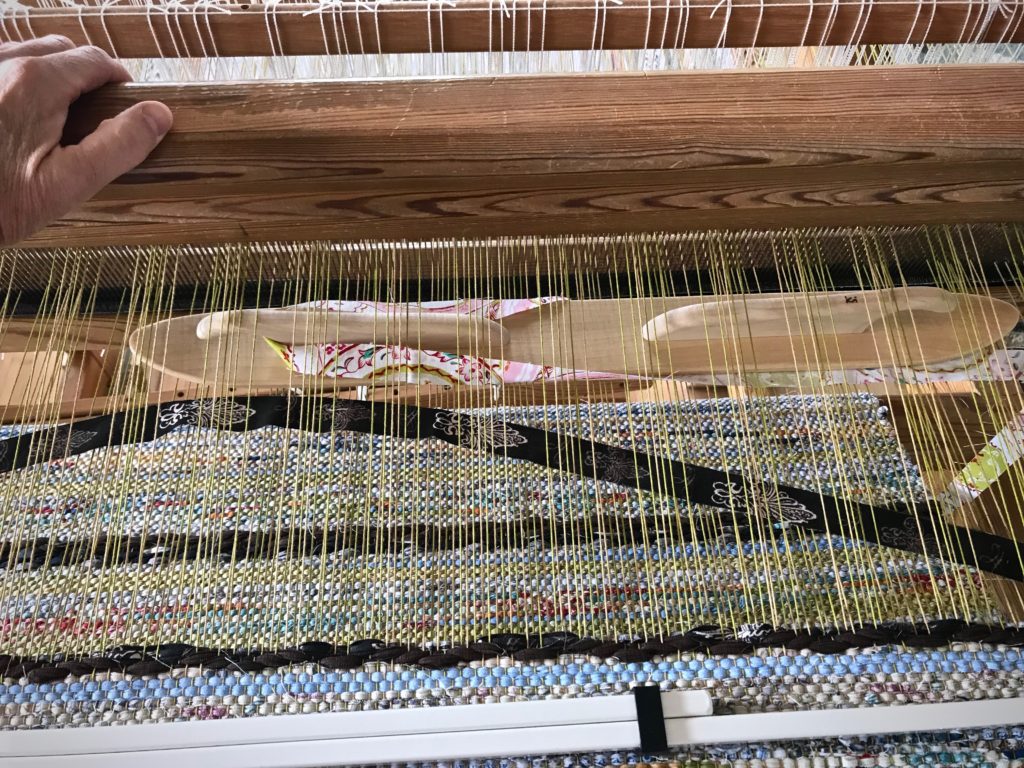
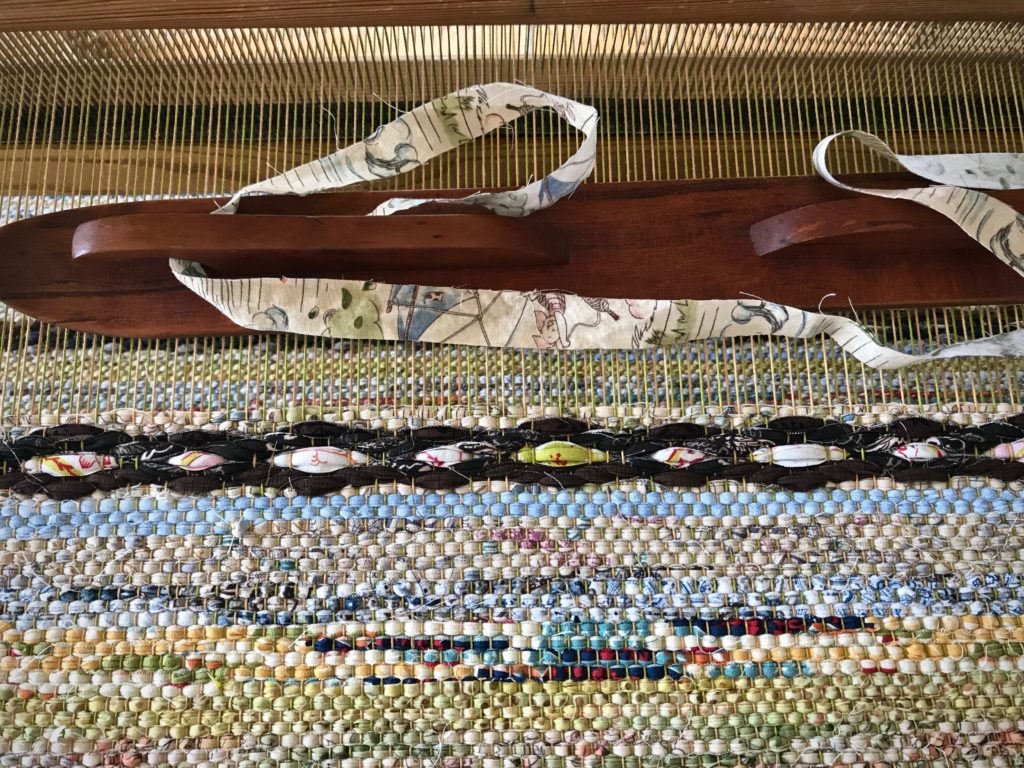
What do you do with weft tails on a rag rug? Normally, you wrap the weft tail around the outer warp end and tuck it back into the shed. But what about color changes? If you have several color changes in a row, you can end up with extra bulk on one selvedge or another from those tucked-in tails.
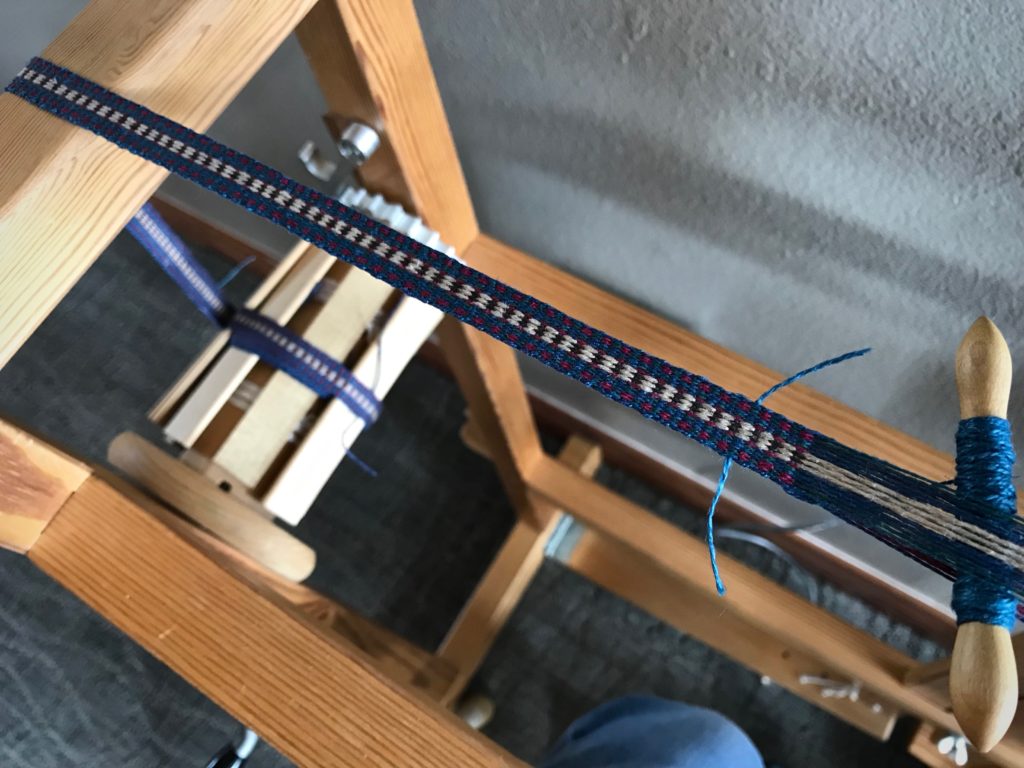
3 Ways to Outsmart Rag Rug Weft Tails
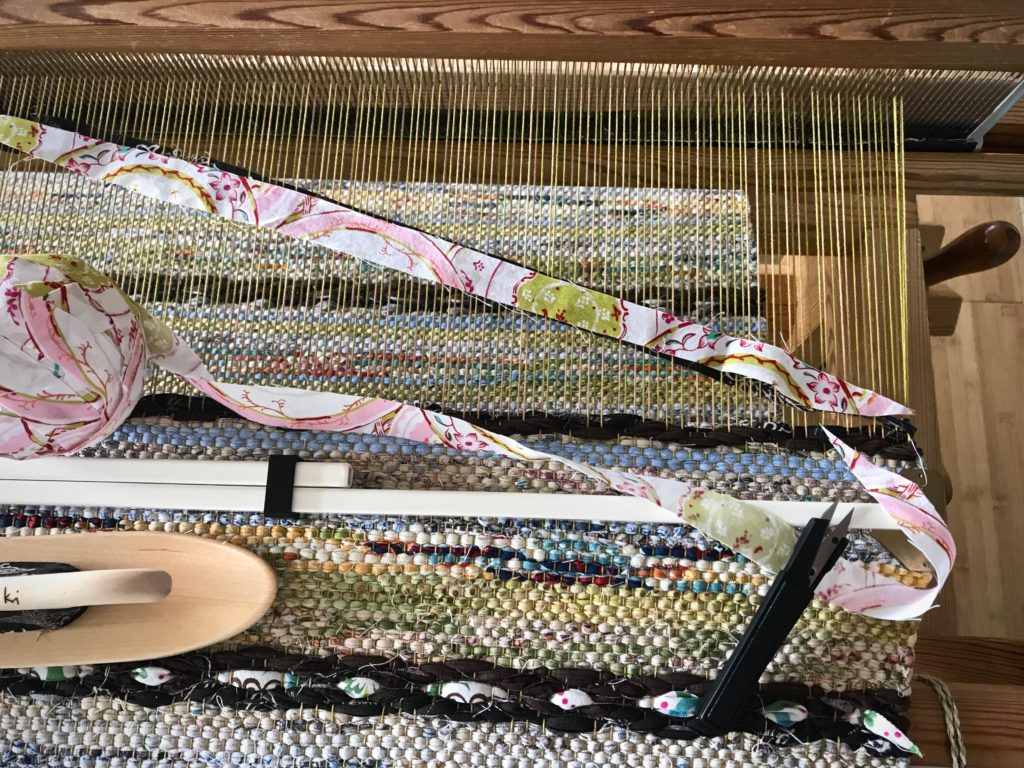
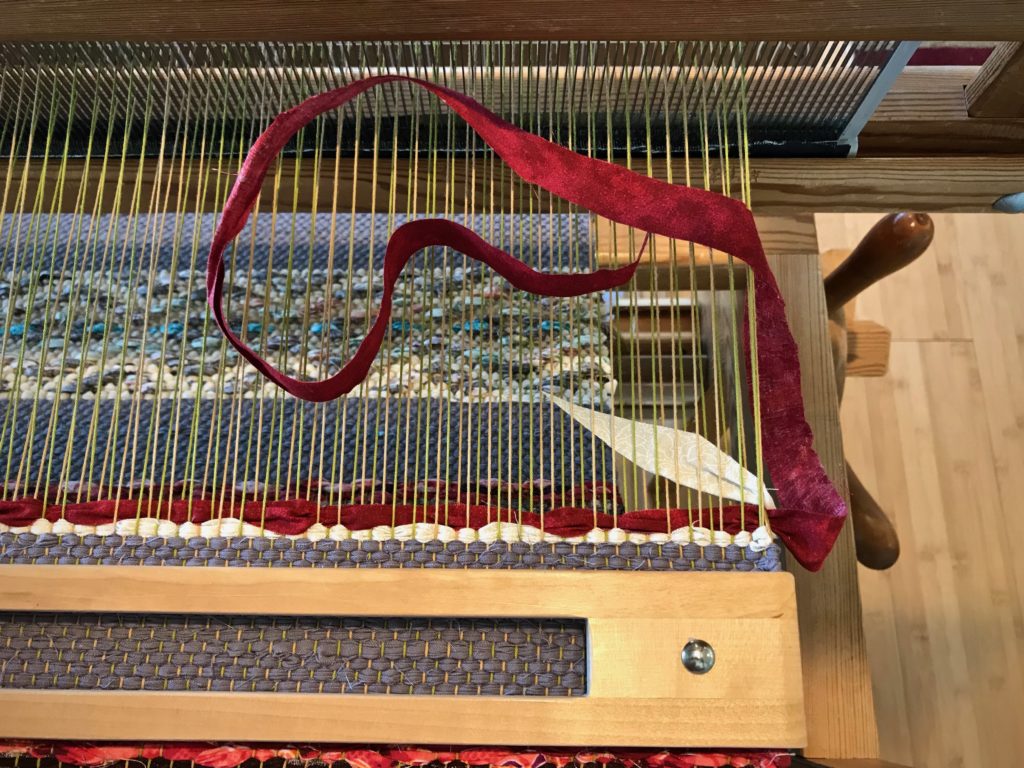
- TWO PICKS For a two-pick stripe, leave a tail of several inches on the first pick. For the second pick, lay the weft tail from the first pick in the shed. Lay in the second pick, and cut the fabric strip to overlap the weft tail in the shed. This eliminates any extra bulk at the selvedges. (All tails are cut at a steep angle.)
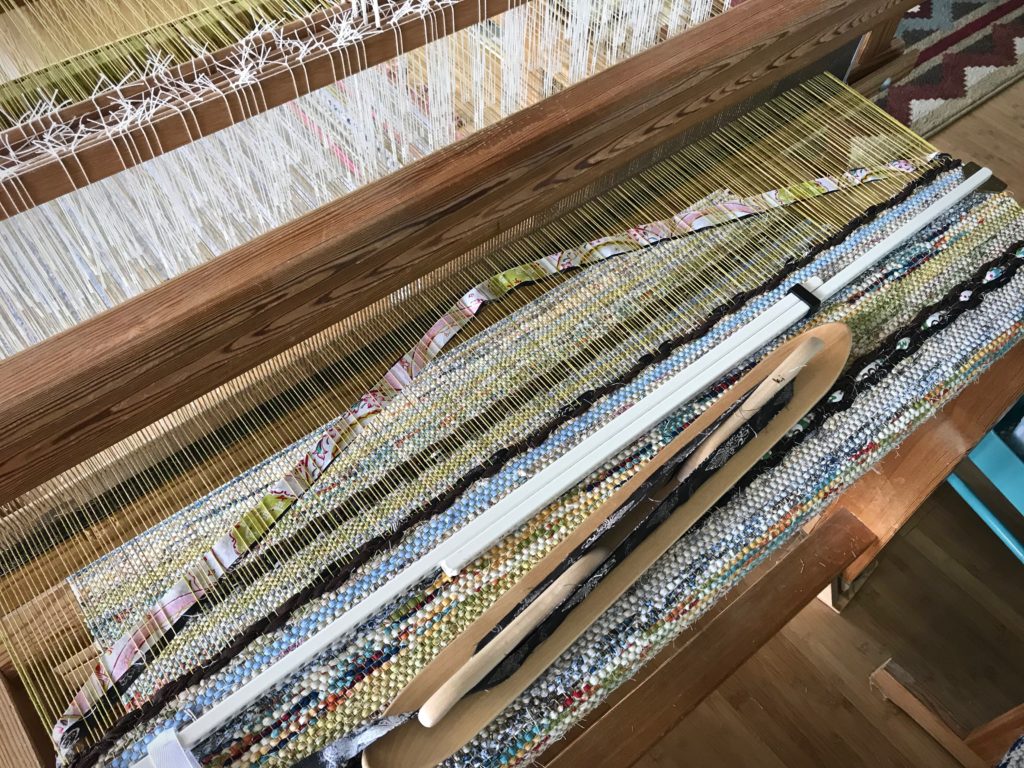
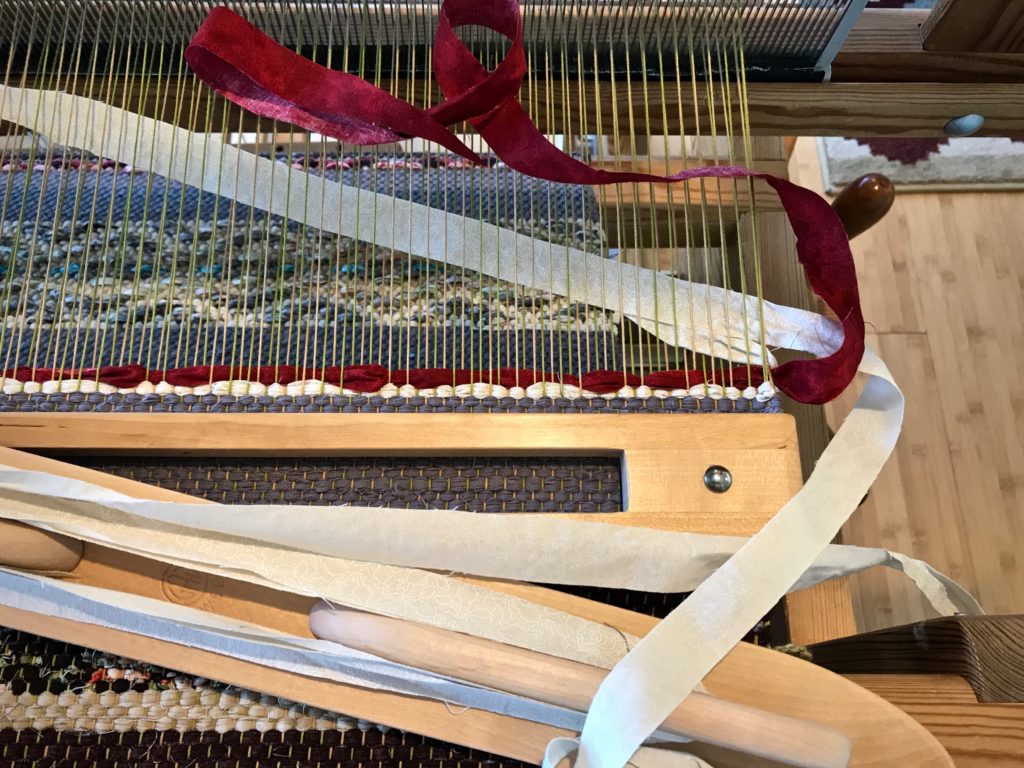
- CARRY IT When feasible, carry the weft up the side. If a weft is out of play for only one or two rows, do not cut it. When another weft enters the shed, make sure it encircles the idle weft.
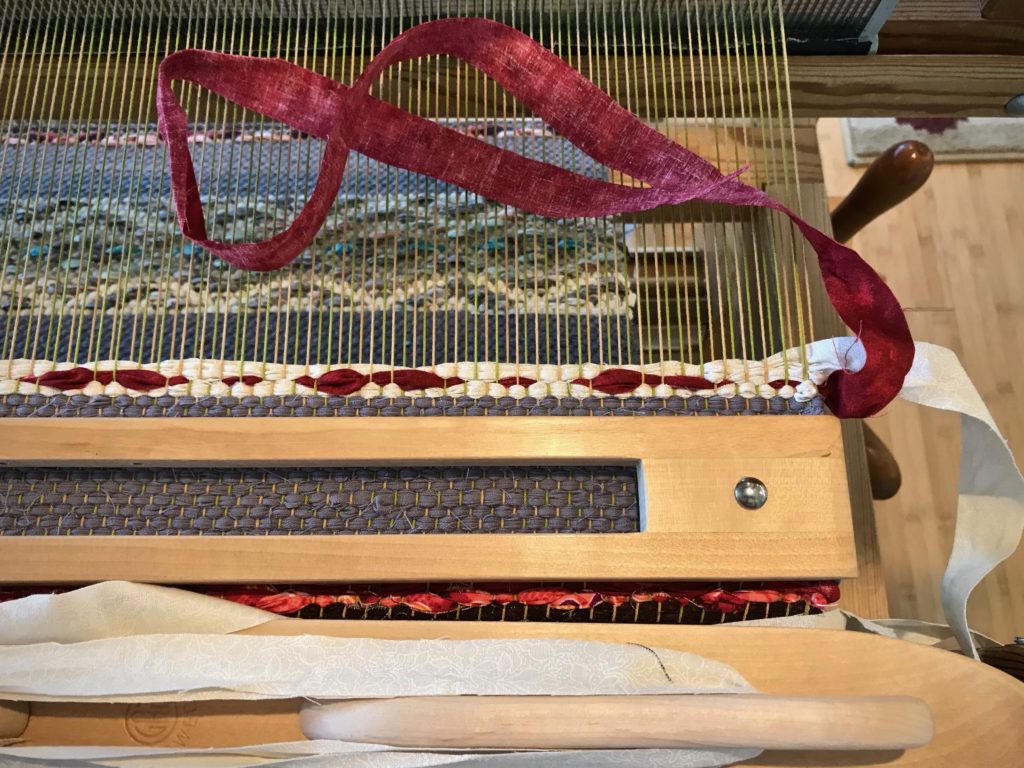
- DISTRIBUTE Whenever possible, avoid tucking in weft tails two picks in a row. Wait, and tuck in the tail on a subsequent pick.
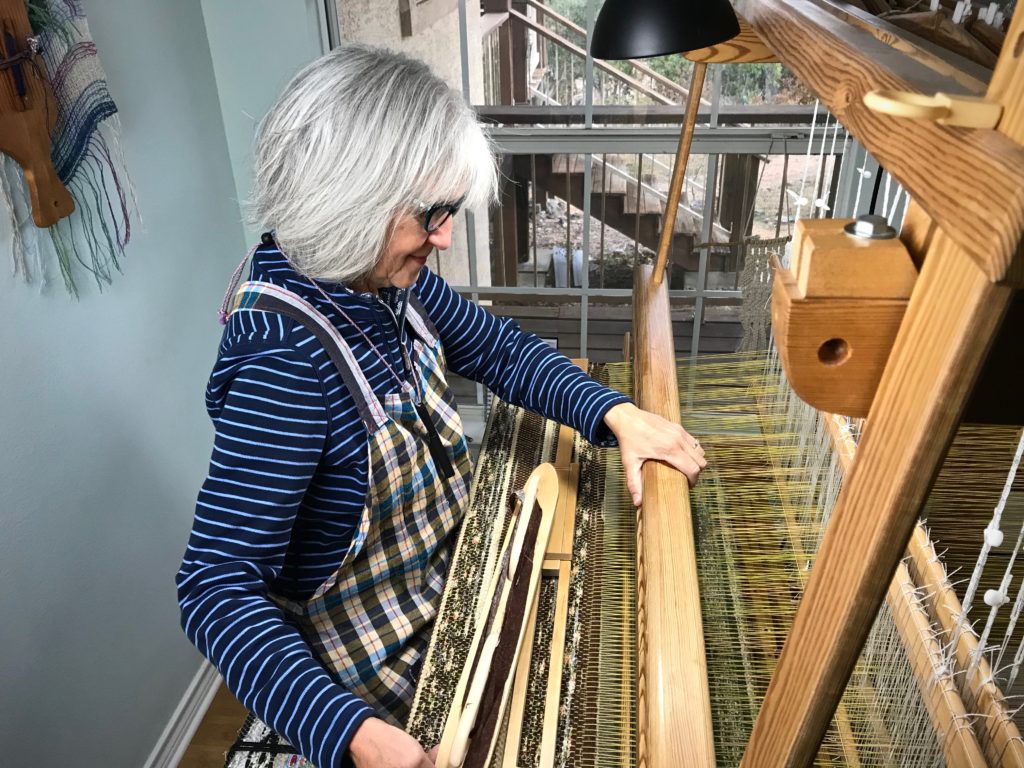
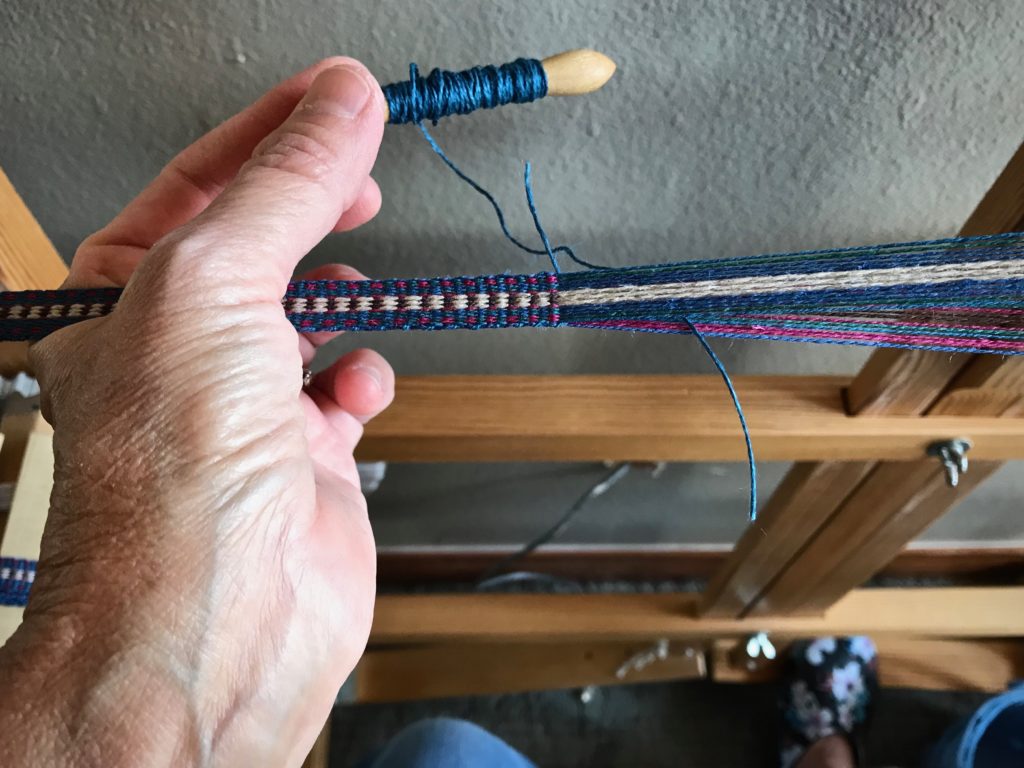
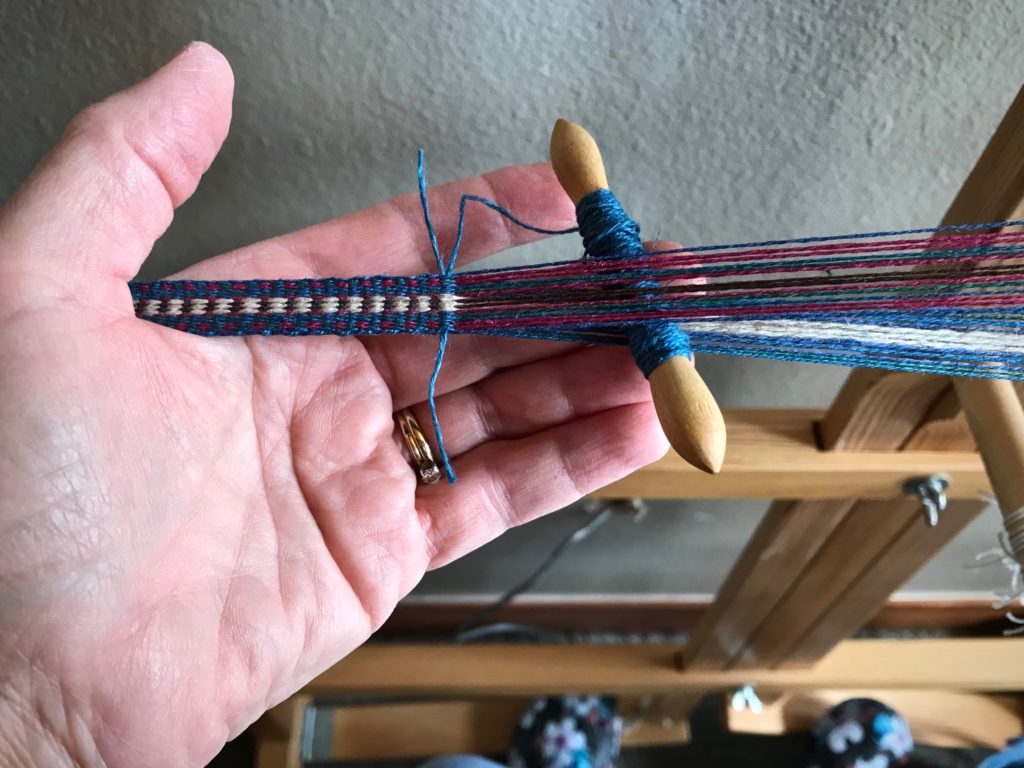
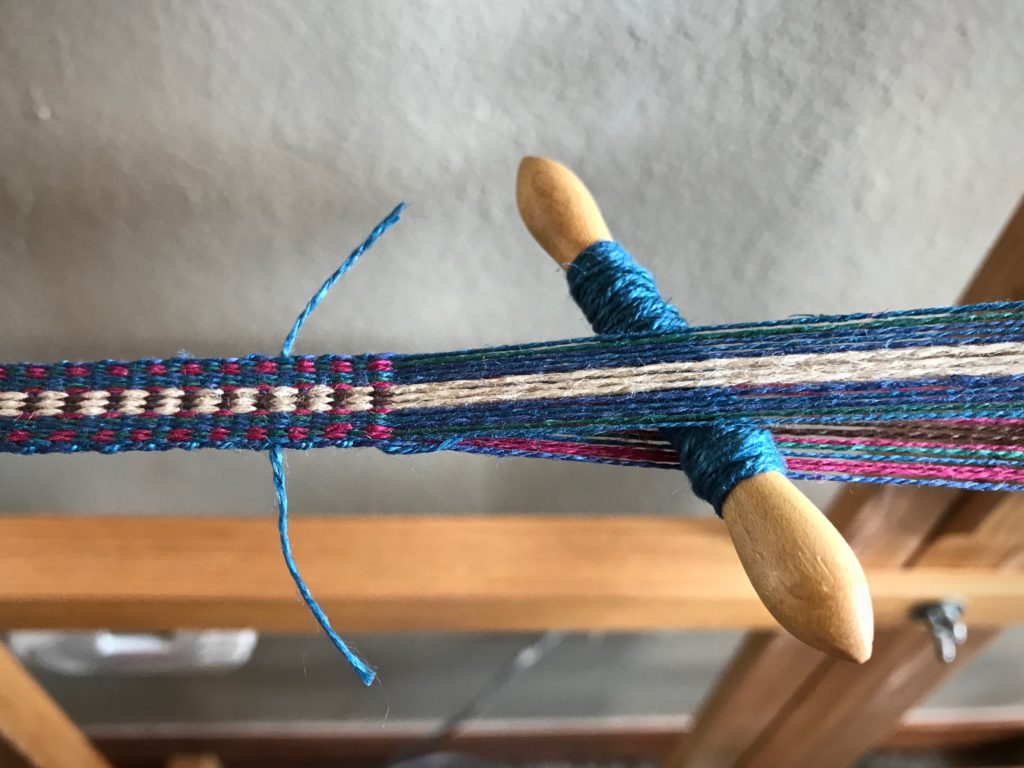
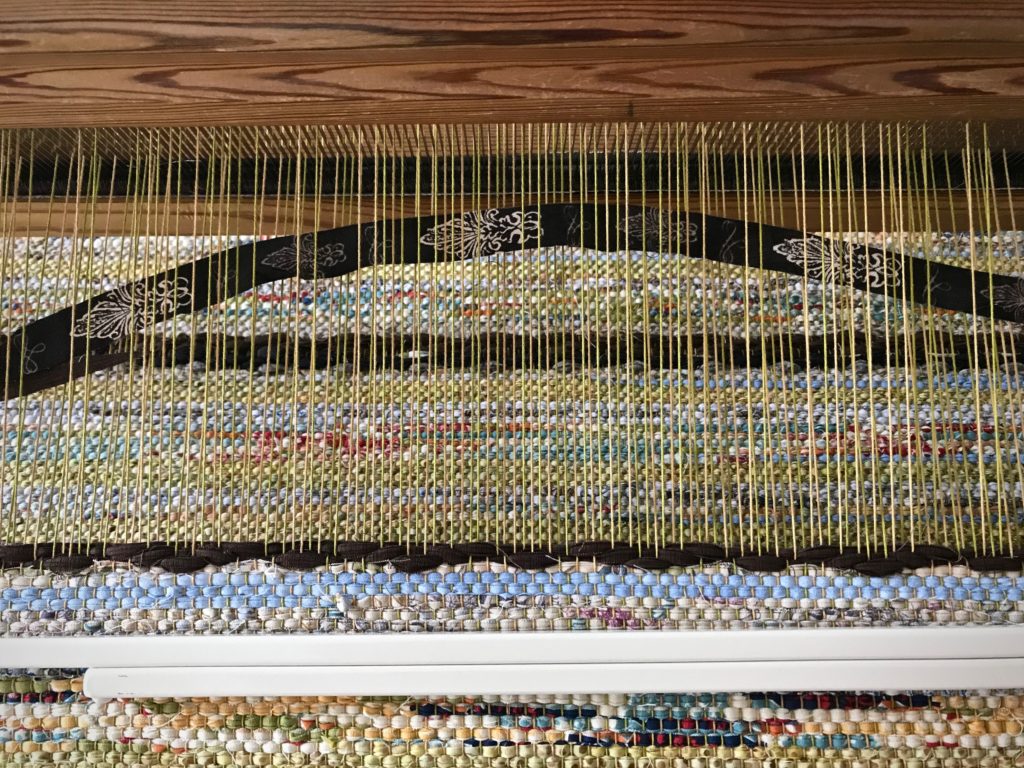
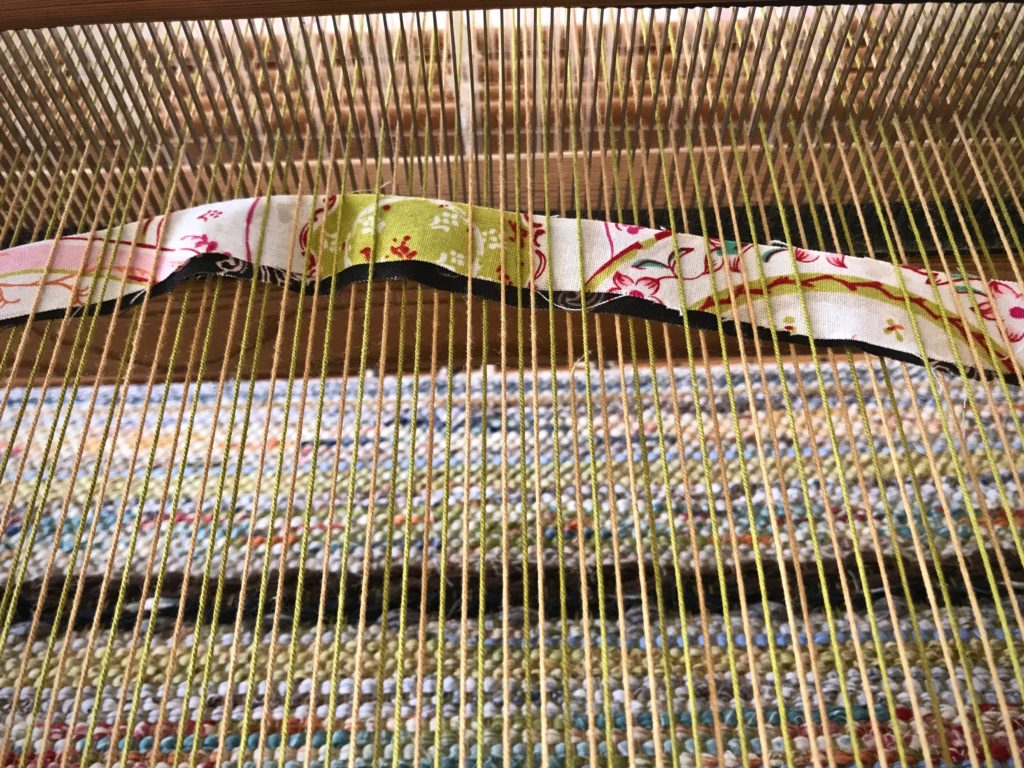
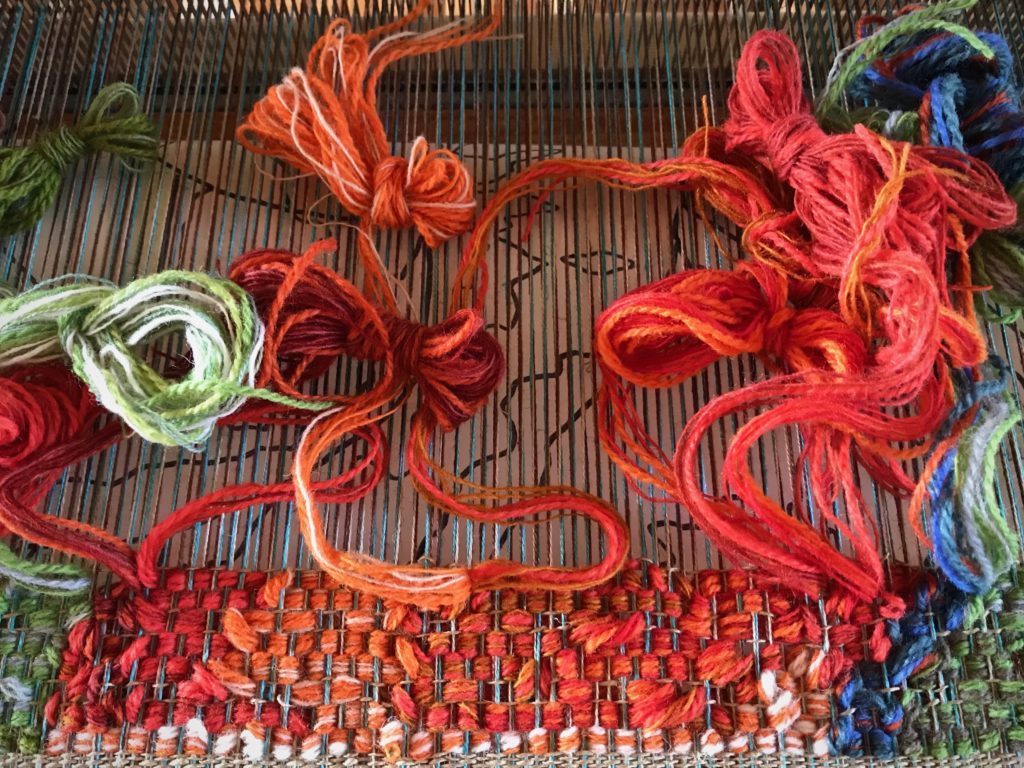
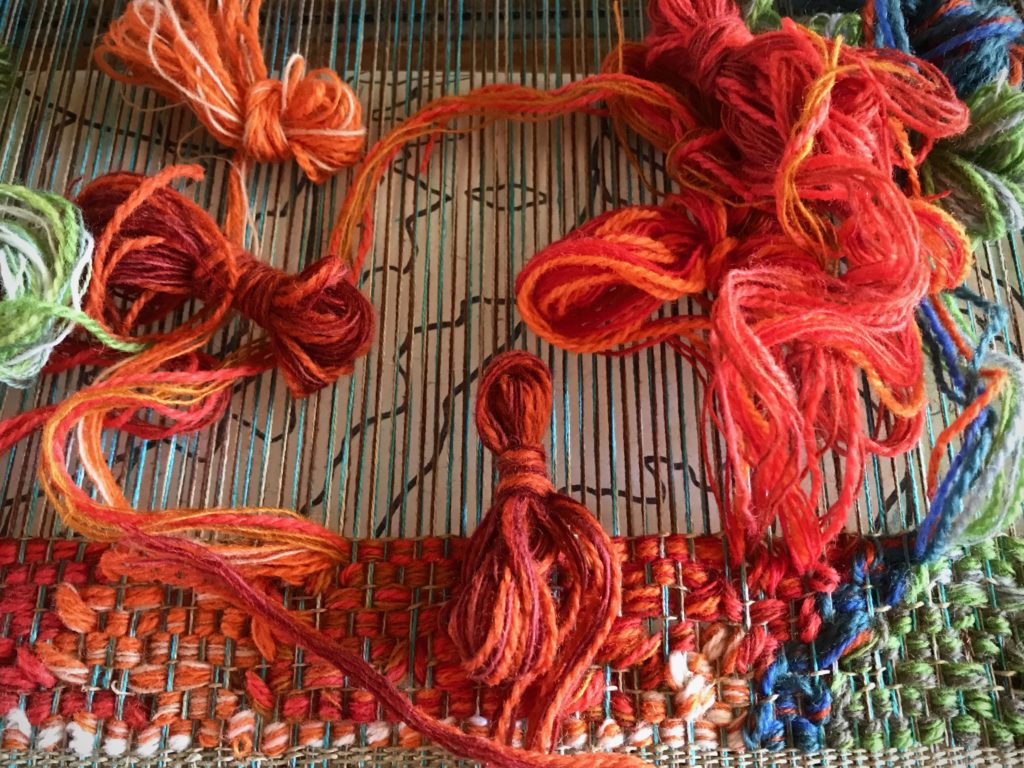
HERE IS AN EXAMPLE:
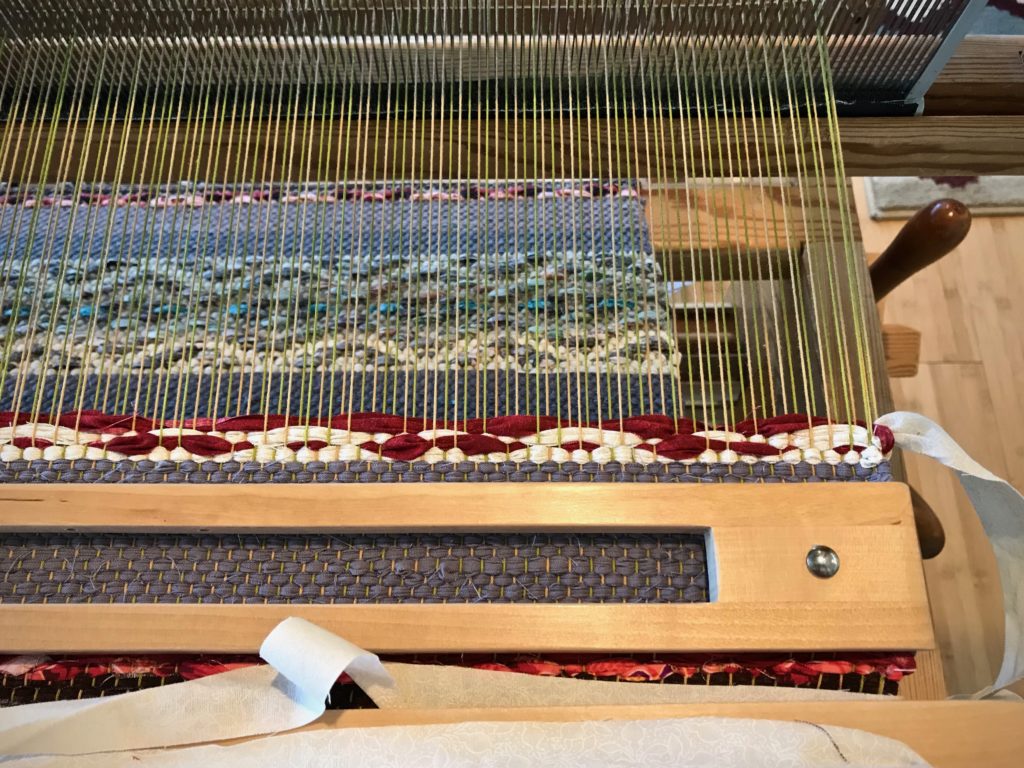
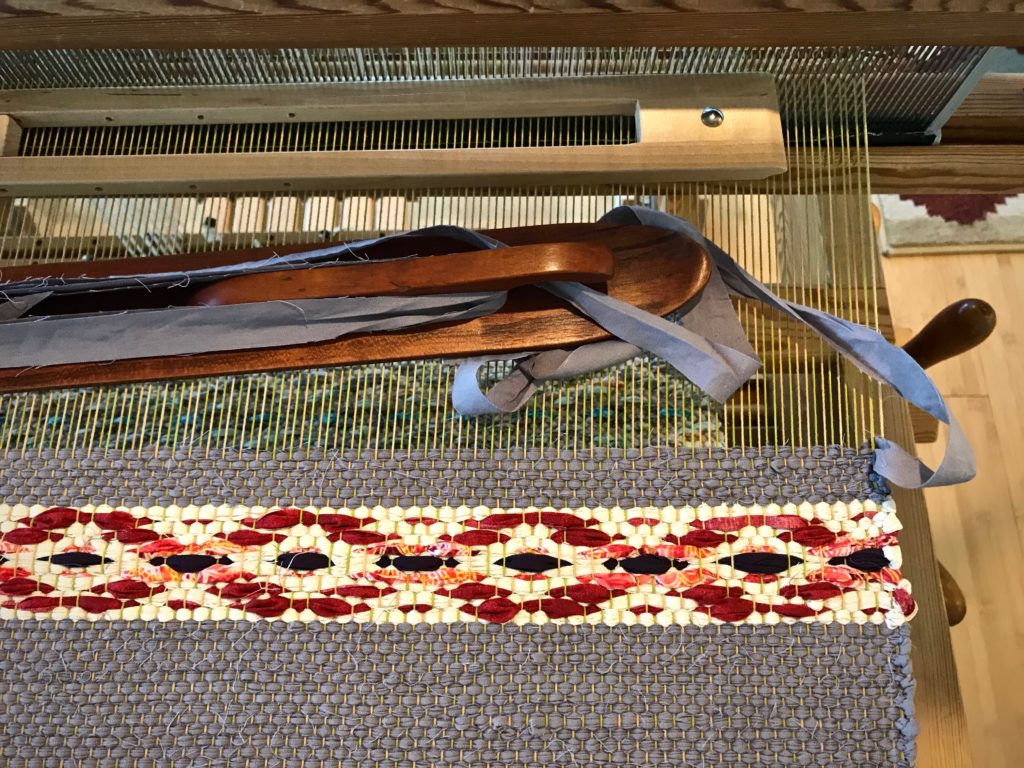
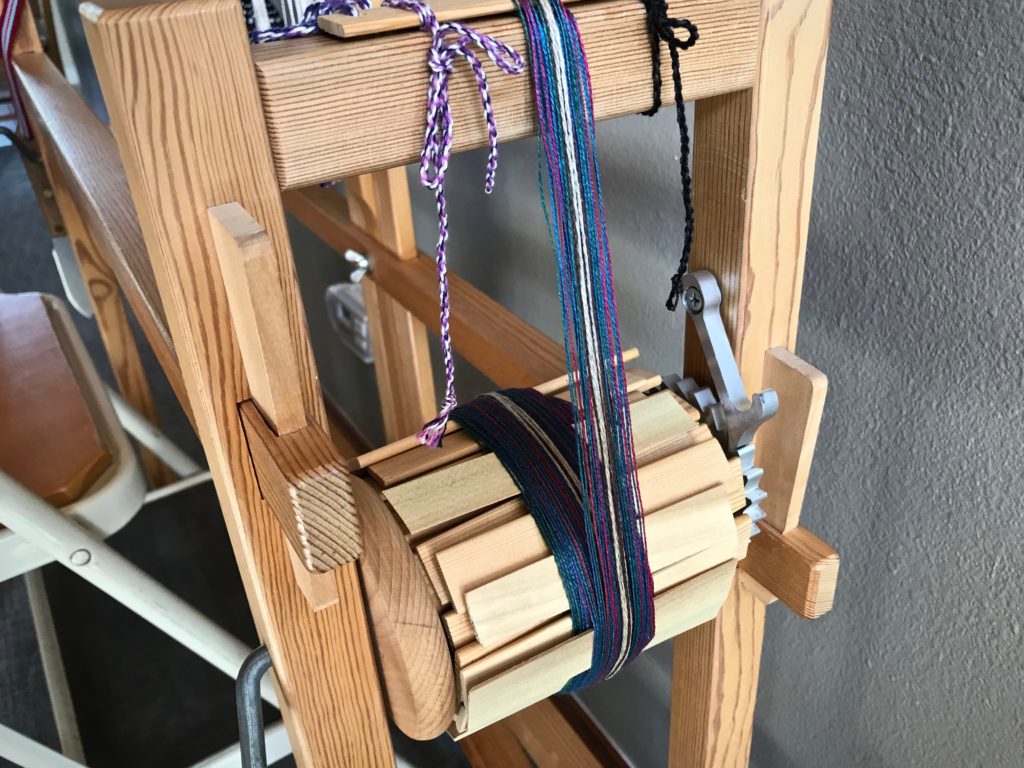
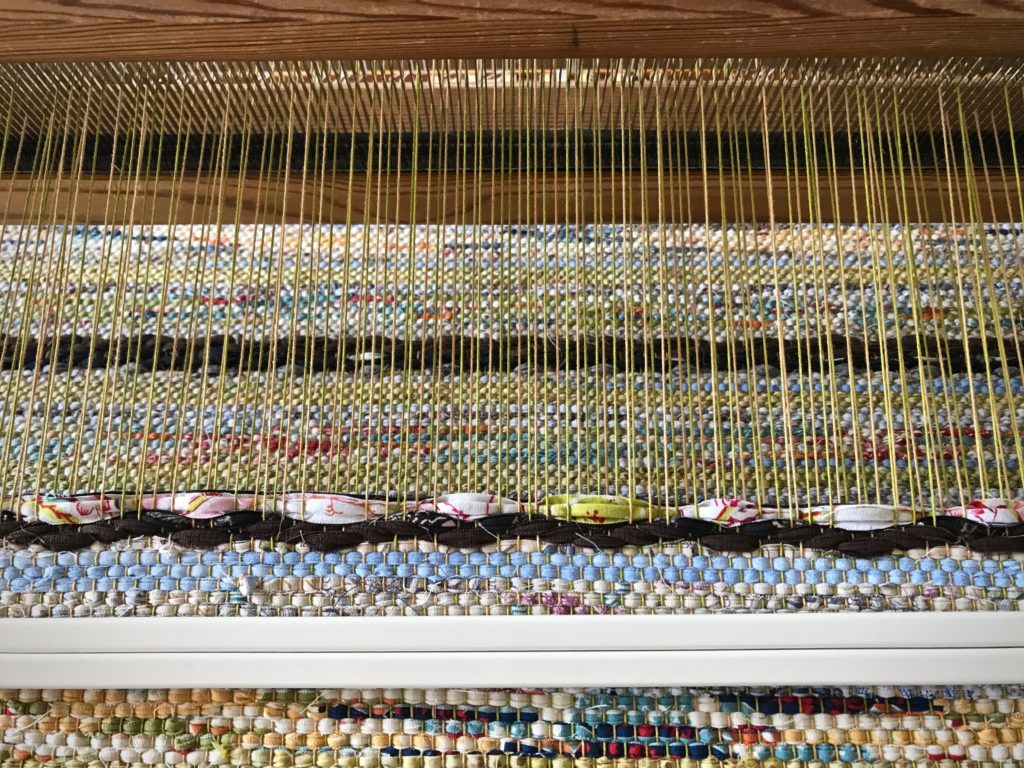
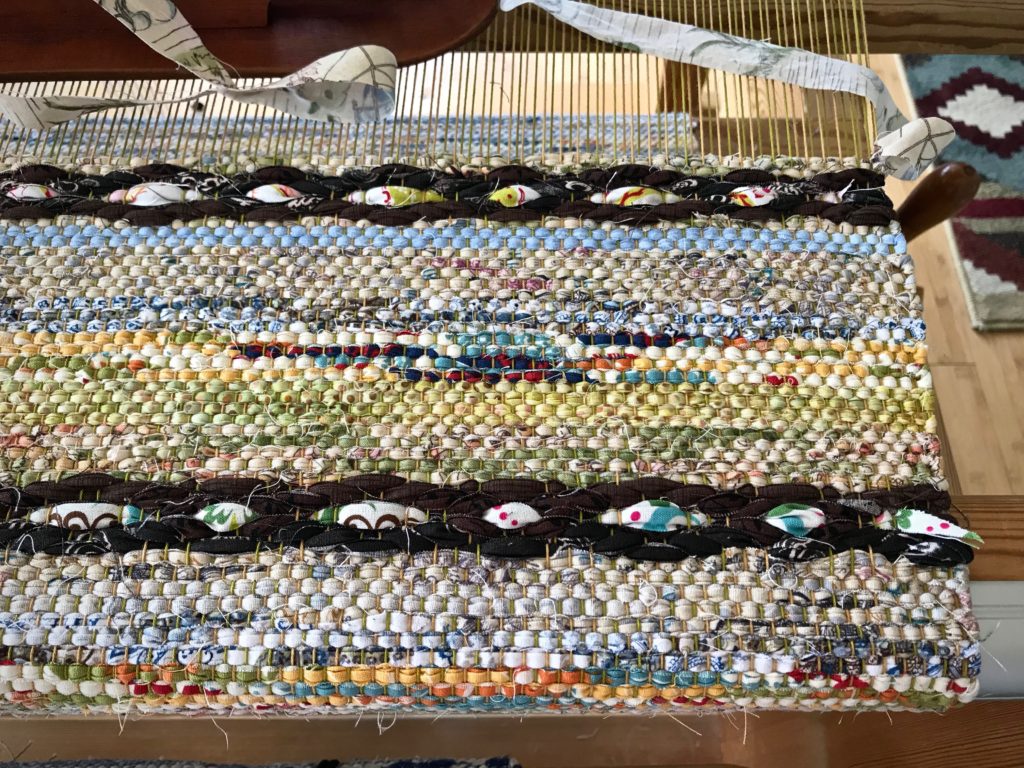
One more thing. Cut the weft tail extra long if you are tucking it in a row with weft floats, as in rosepath (Like the center pick in this medallion). This helps keep that weft tail from popping out of place. You don’t want those tails to start waving at you.
May you pay attention to the details.
Happy Weaving,
Karen