Quiet Friday: Rag Rug Bag

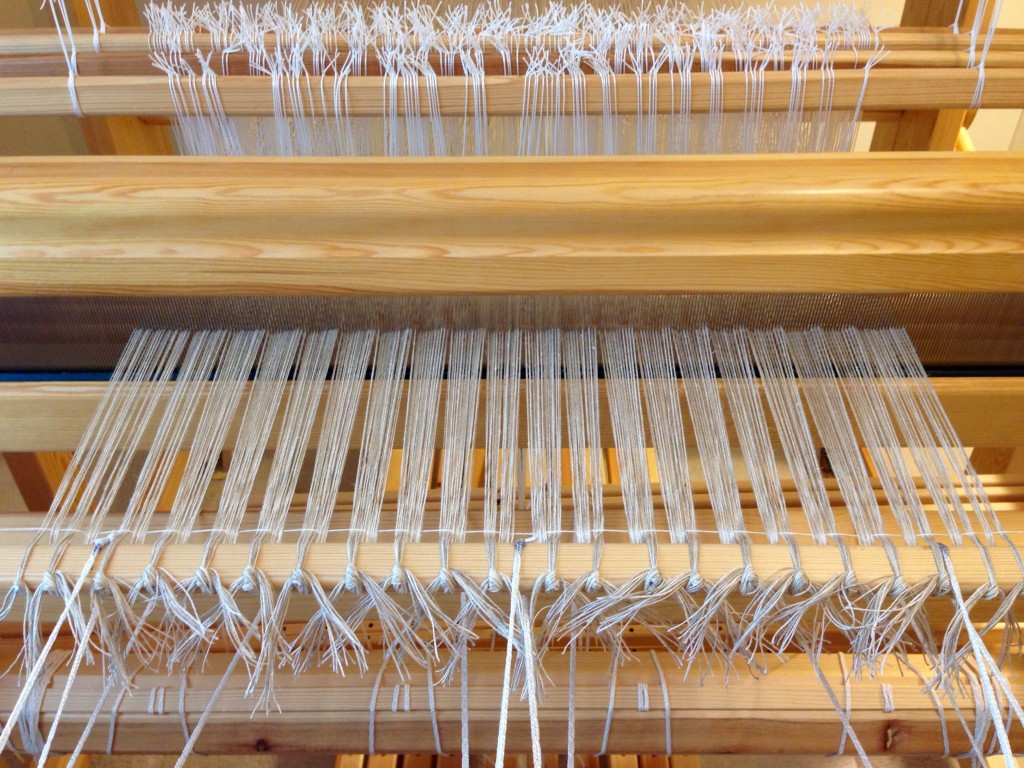
Think of this as an experiment. A first try. A specimen with which to work out procedures and details. I like the bag, and I will certainly use it; however, there are a few things that I will do differently when I make the next one. And I do intend to make another one, or two, or three. Experiments are like that. One idea leads to another. This warp was all about double binding rag rugs. As always, though, it is delightful to have some warp left at the end for play.

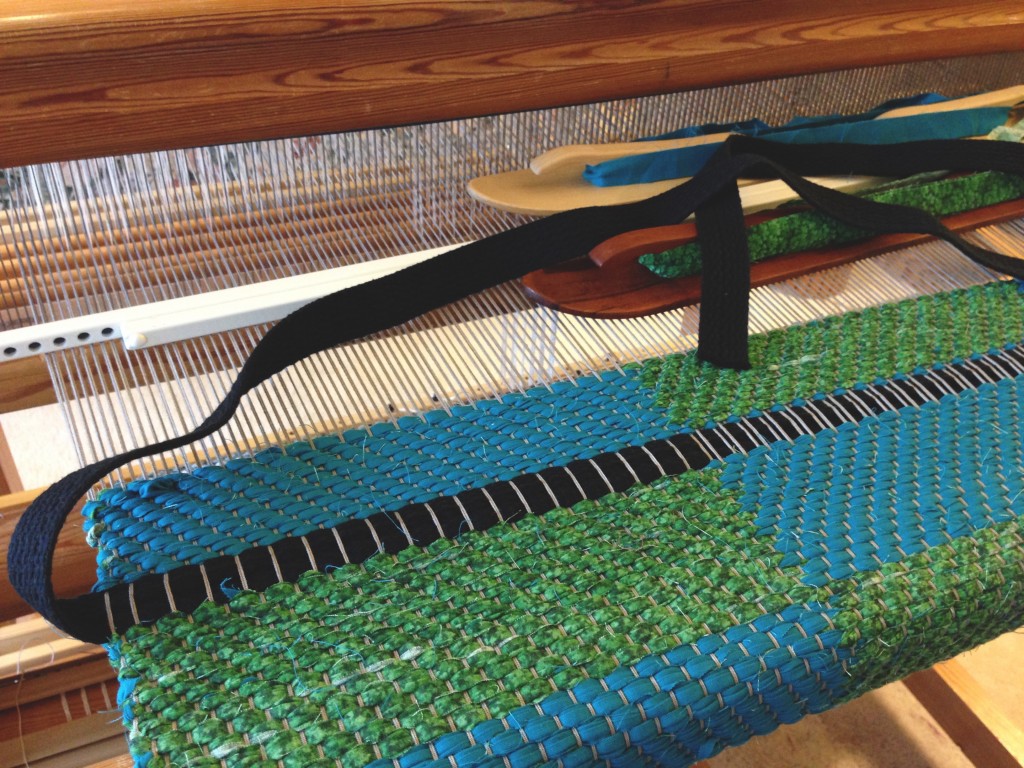
Weaving bag handles into the rag rug bag.
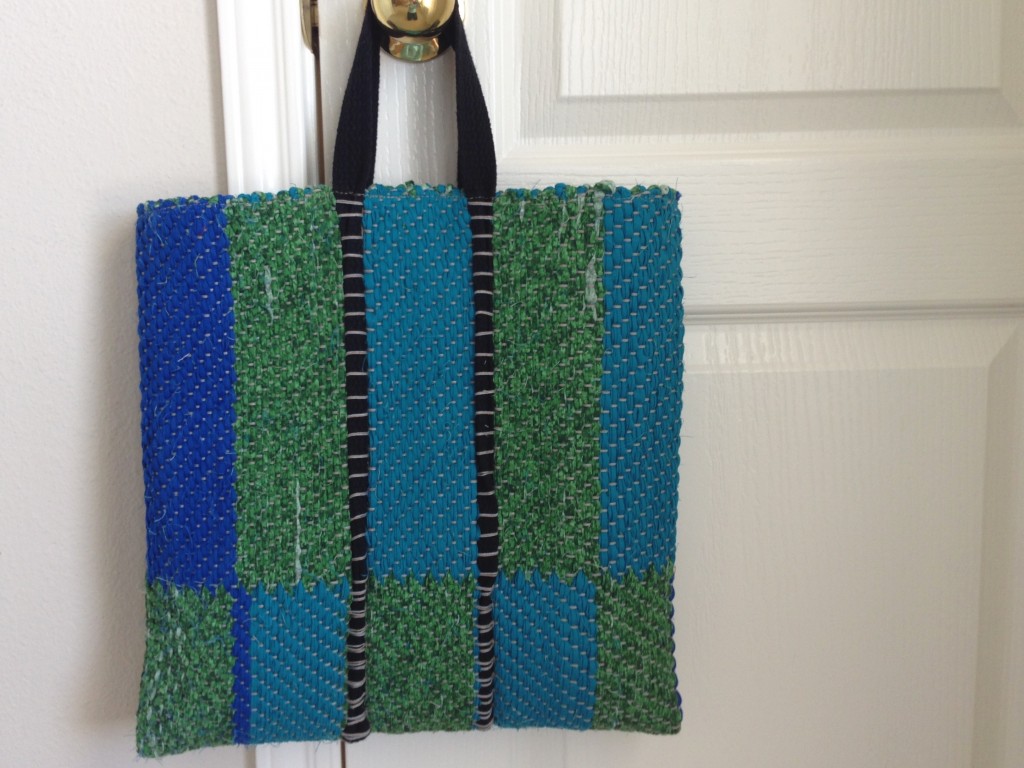
Length of 1-inch/2.5 cm black cotton webbing is woven in. The webbing that extends beyond both selvedges will form the bag handle. Rag weaving continues for a few inches before placing the webbing ends back into the shed.
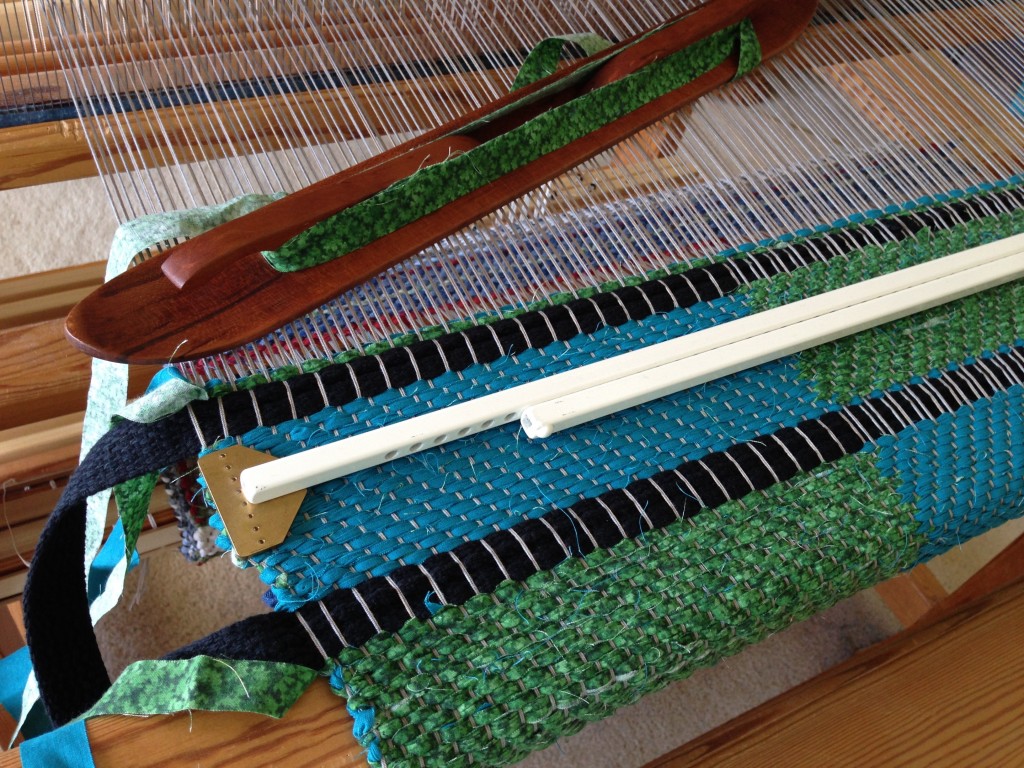
Placing bag strap ends in the shed.
Both ends of the webbing strap are tapered, and then overlapped in the shed before beating them in.
Temple maintains the weaving width.
Temple maintains the weaving width as the rag weave continues past the woven-in handle straps.
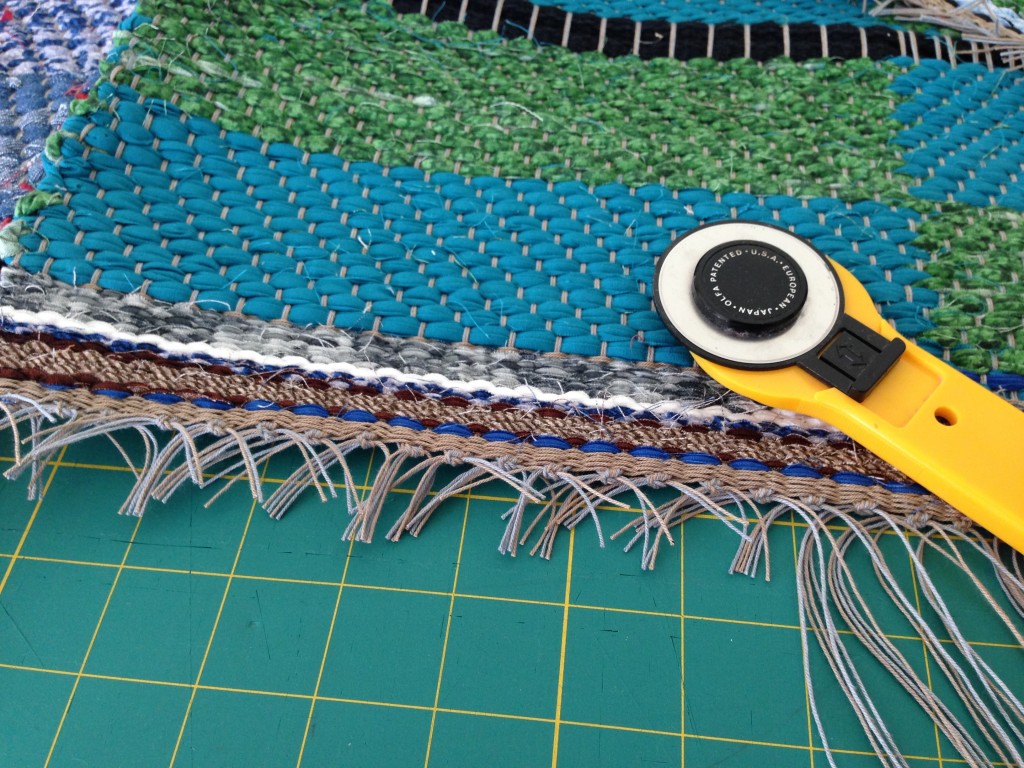
Securing warp ends of rag rug.
Warp ends are secured, as usual. First, square knots, and then cut off to 1/2 inch/1 cm.
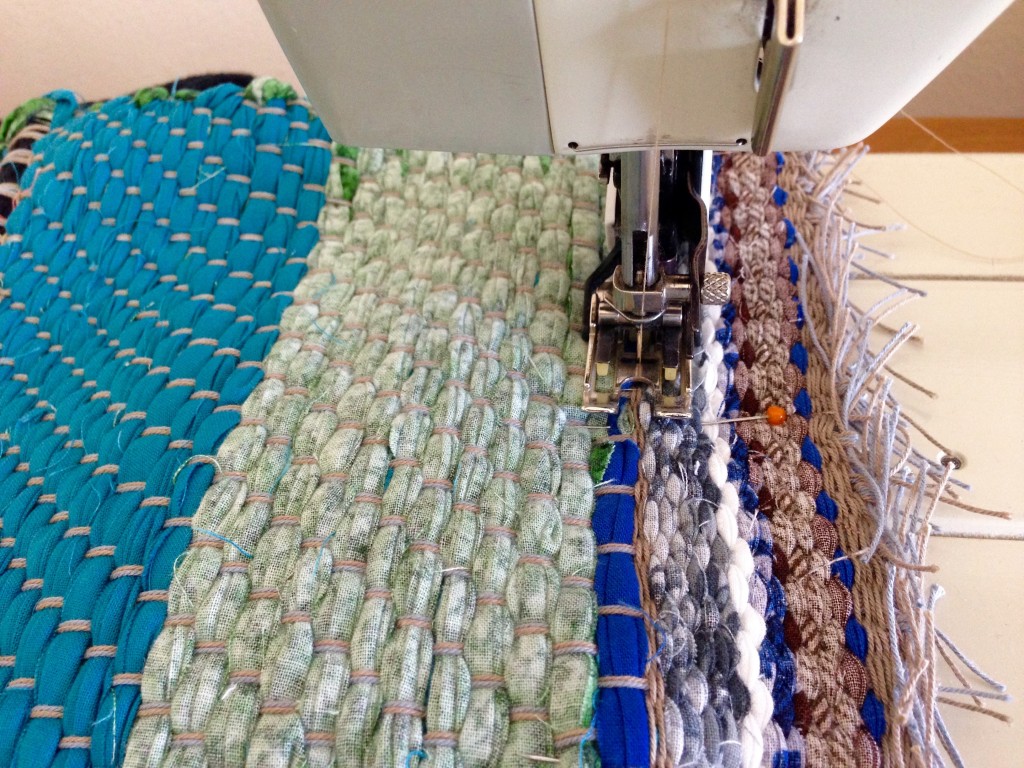
Stitching up a rag rug bag.
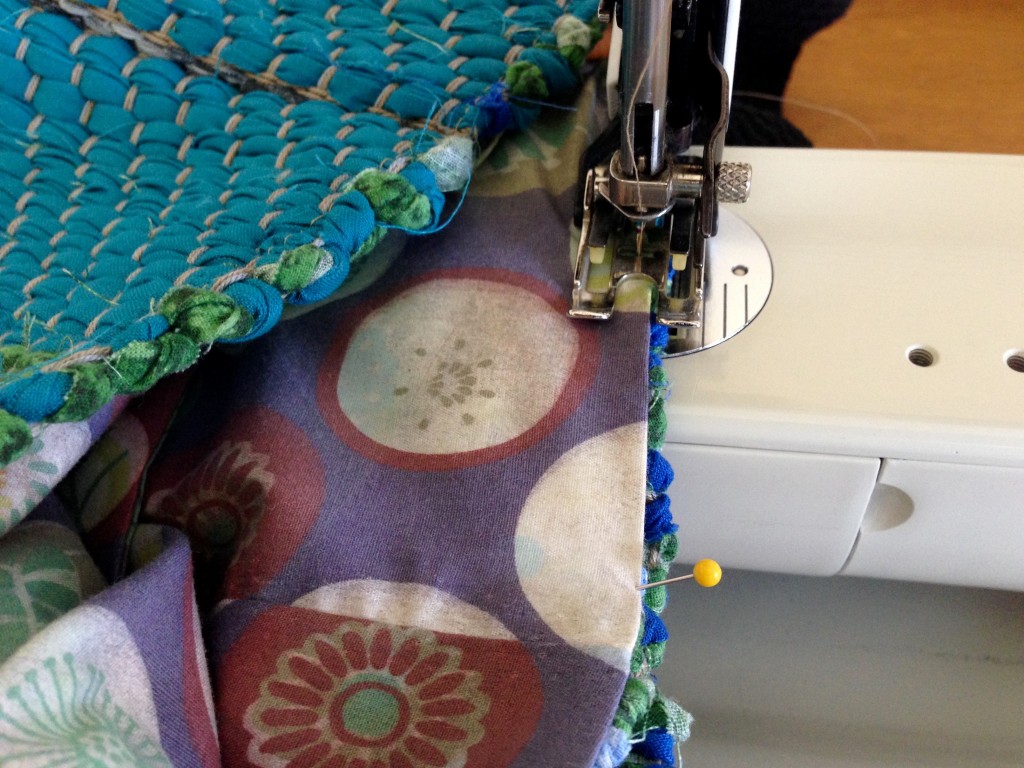
Sewing the sides of the bag, right sides together. I am using the four rows of woven rug warp at the beginning of the woven hem as my stitching line.
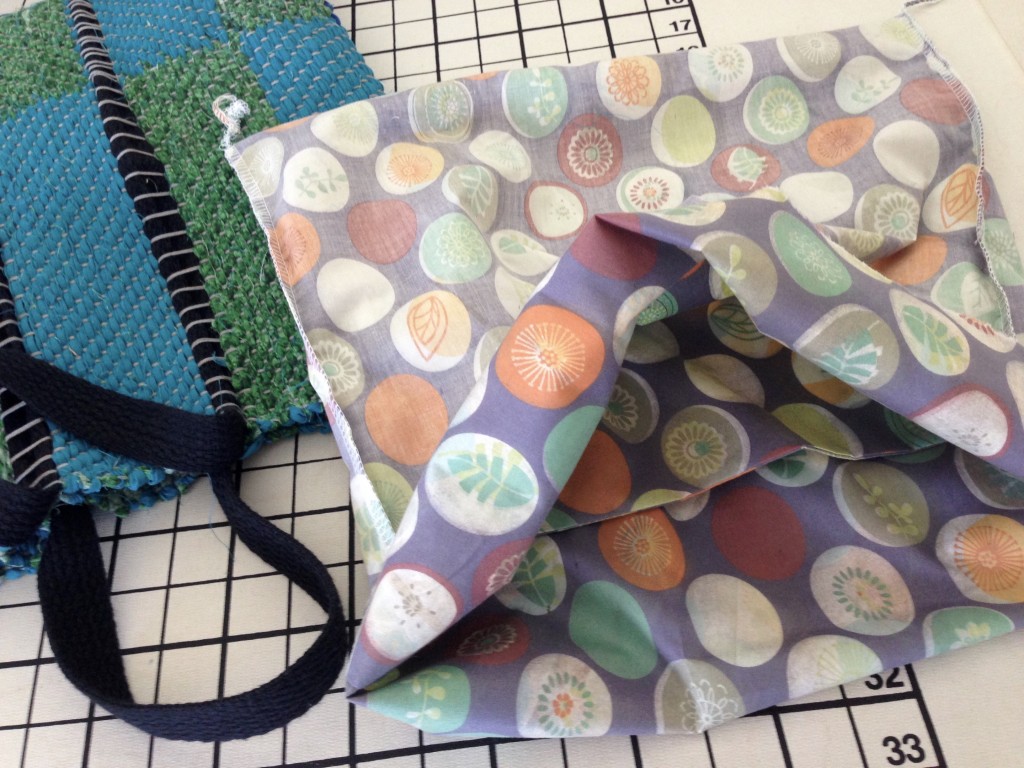
Creating lining for rag rug bag.
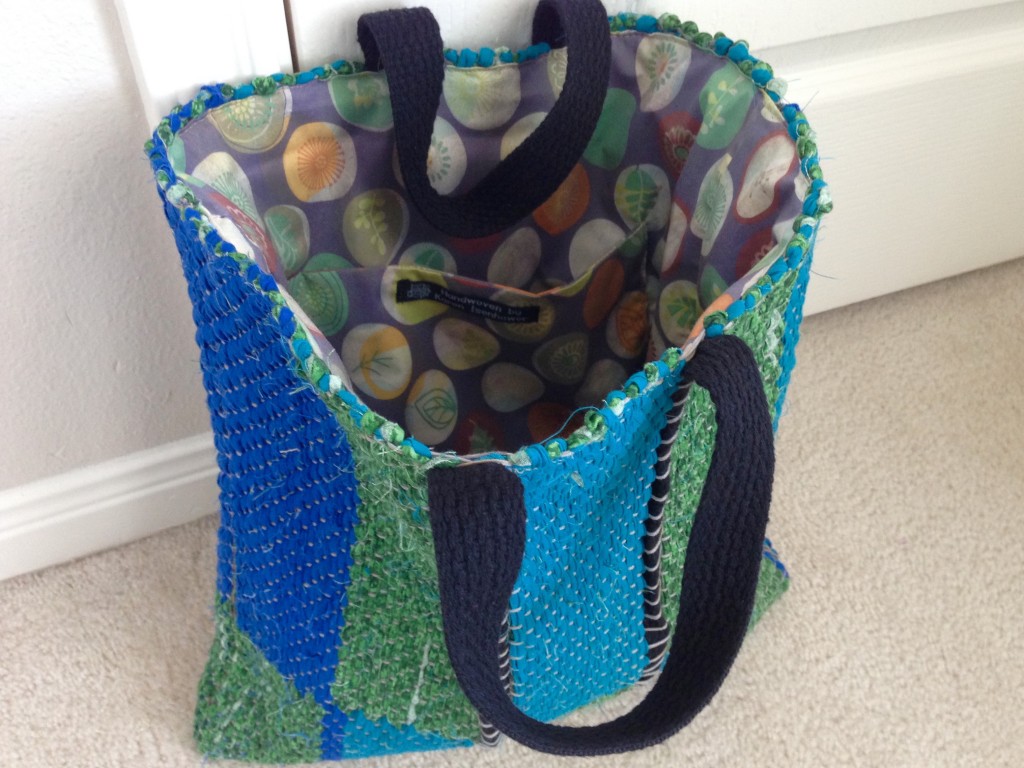
After turning the bag right-side out, and pressing the seams open, I created a simple flat lining, with added pocket, to fit inside the bag.
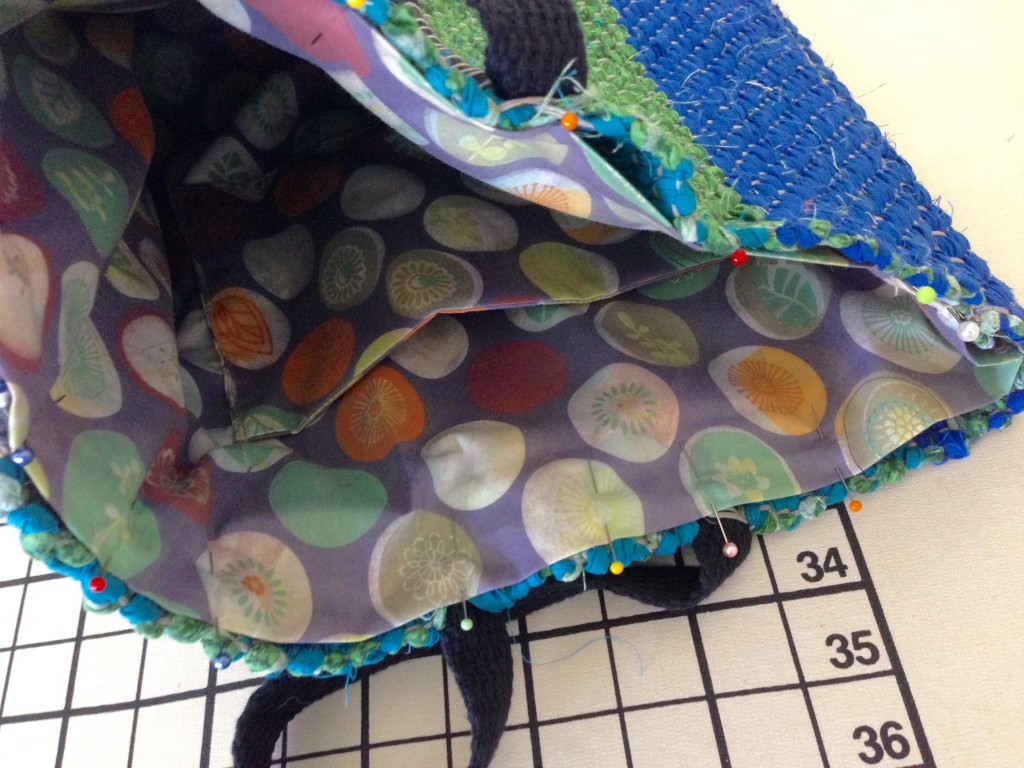
Pinning lining into the rag rug bag.
Lining is pinned into the bag, matching seams and mid-points at front and back.
Lining is inserted into the rag rug bag.
Lining is stitched into place with narrow topstitching.
Rag rug bag, with handle woven in. Karen Isenhower
Voila!
Finished rag rug tote bag! Karen Isenhower
Fun tote bag to carry to and fro.

Next time… Find a strap that is not as stiff, so it will beat in better. Weave in a strap that is the same color as the warp. Make the strap longer. Find a way to secure the cut ends of the strap (this is the biggest issue). Possibly use a band woven on my inkle or band loom for the strap.

What would you use for the strap? Can you think of a good way to secure the ends of the strap together? What other suggestions or thoughts do you have to improve a bag like this? I would love to hear your ideas.

May your experiments lead to fresh ideas.

Always trying new things,
Karen

Linen Is Special

Linen is special. This is nothing new. Even in biblical history, linen is mentioned as fabric for sacred purposes. But weaving with linen requires attentiveness. The inelasticity of linen means extra care is needed in every stage of dressing the loom and weaving. Of first importance is an even warp tension.

Getting ready to weave with linen. Tying on.
Tying on linen in small 1-inch/2.5 cm increments is one thing that helps contribute to an even warp tension.

This method of tying on* is perfect for weaving rag rugs. The 12/6 cotton rug warp stays snugly in place. Not so with linen. The even warp tension that I have been so careful to maintain can be lost in a moment. The sneaky linen is smooth and slick enough to tie on easily, and then loosen up just as easily. So I take the double precaution of tying an additional overhand knot, AND moistening that knot with a dab of water which helps the linen grip itself. I never have to worry about these knots slipping loose.

Beginning dice weave in linen.
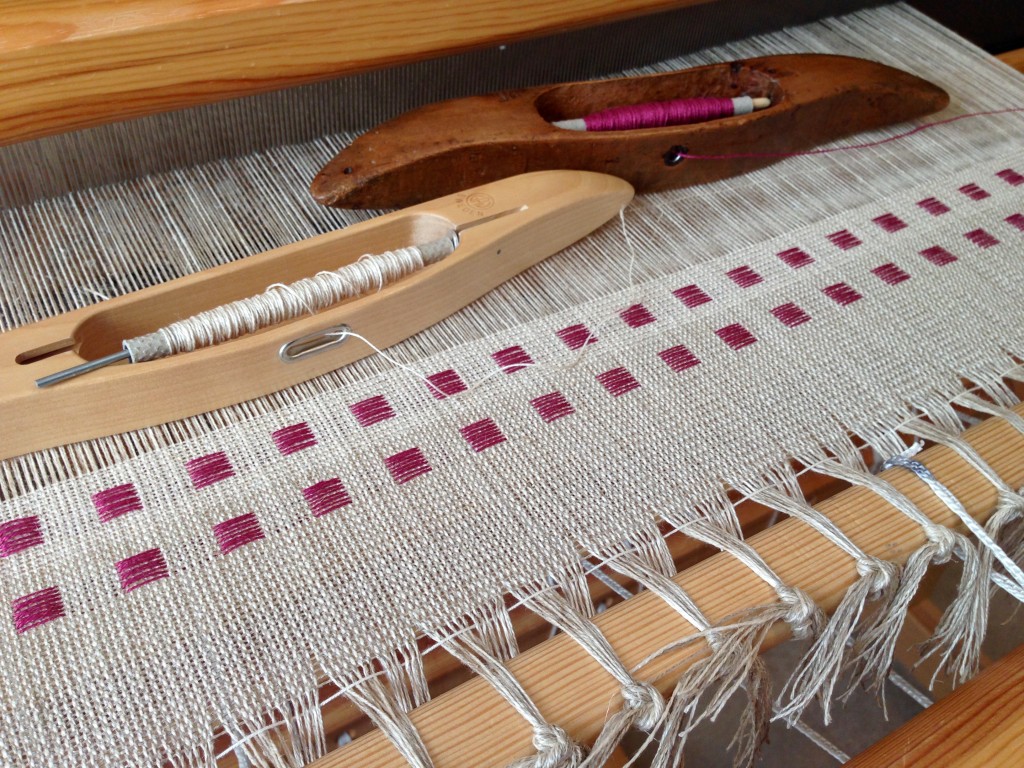
Additional overhand knot, with a dab of water, secures the tie-on threads. I am using sample space to try weft colors and work on getting optimum weft density.

What do you worry about? I have bigger things I worry about, too. But my heavenly Father assures me that He has secured all the knots that concern me. “Don’t worry,” he tells me. “Your Father knows your needs.” Be attentive to keep first things first. Put yourself in the Father’s care, and find that he takes care of you. Special you.

May you forget your worries.

With you,
Karen

* I learned this method of tying on from Becky Ashenden. You can see it fully explained by Becky, with pictures, in Dress Your Loom the Vävstuga Way: A Benchside Photo-guide.

Tools Day: Sley the Reed

I am dressing the big loom with linen. This flaxen thread brings a worthwhile challenge I find hard to resist. Beaming the warp was slow and deliberate. It pays to be attentive to everything at this stage. Threading for this dice weave could not be simpler; it was finished before I knew it. Now, it is time to sley the reed.

Tools:

  • Reed     I am using a 12-dent reed for this project.
  • Texsolv cord for hanging the reed in front of the shafts
  • Tape measure     I remove the metal ends.
  • Reed hook     Mine is from Vävstuga.
  • Bench, set at comfortable height for threading and sleying     With my Glimåkra Standard, I get to put the bench “in” the loom. It’s like going into my own little playhouse.
  • Good lighting     I use a small Ott Lite Task Lamp when natural light in the room is dim.
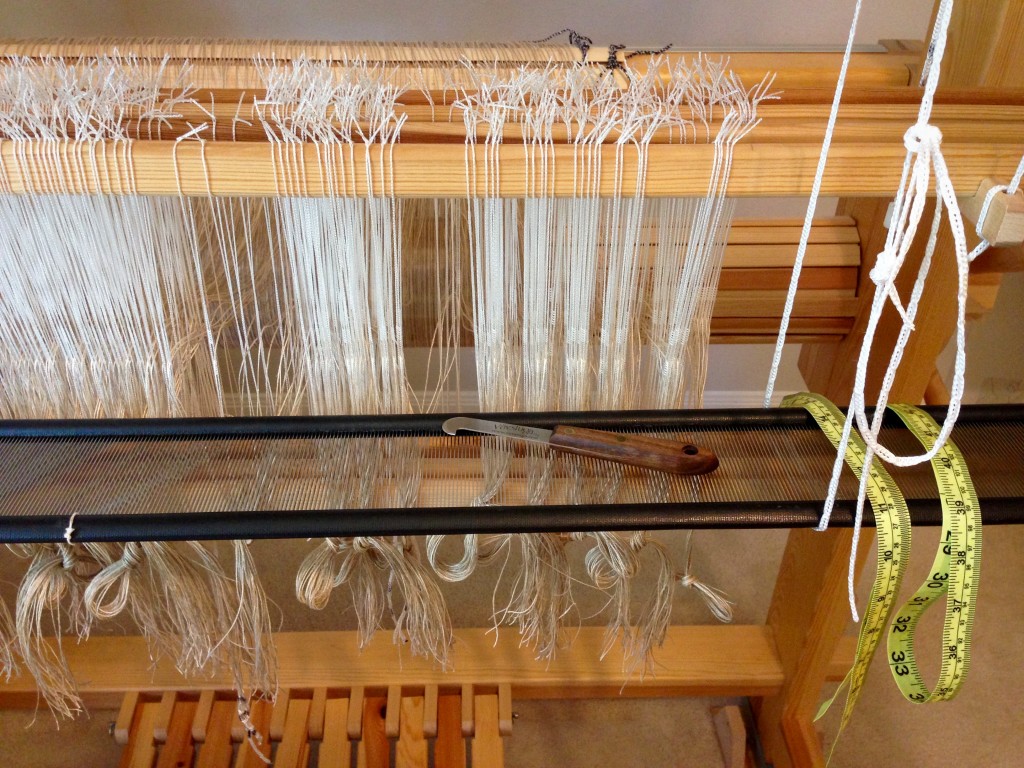
Everything is ready for sleying the reed.
Reed is positioned right in front of the threaded heddles. Shafts and reed hang at optimum height for visibility and ease of hand mobility.
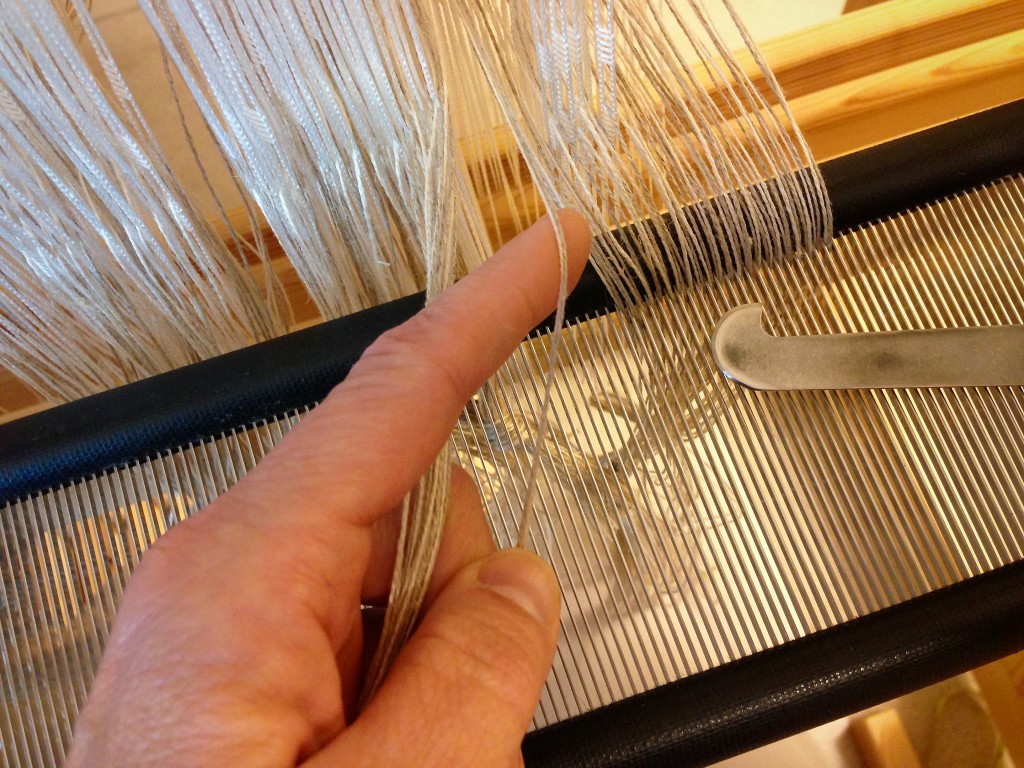
Sleying the reed.
Left hand index finger separates the end(s) to be sleyed.
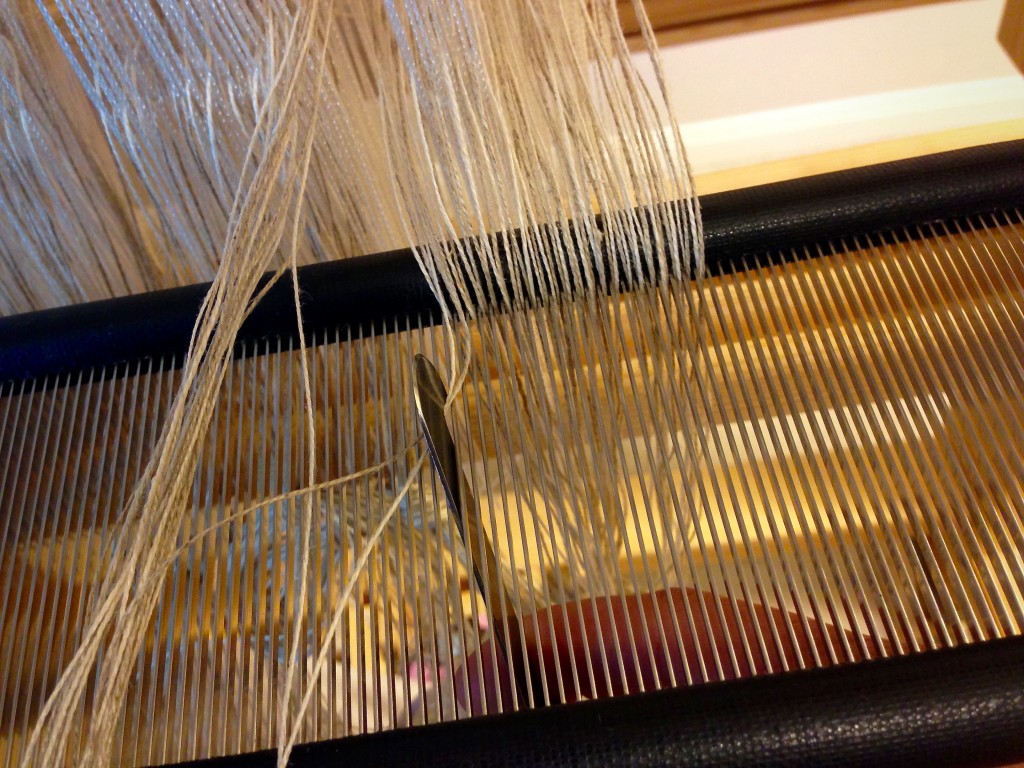
Sleying the reed.
And the right hand holds the reed hook under the reed to pull the end(s) through the dent. (These two pictures show why a third hand would be nice. Normally, I sley the reed with two hands, so a third hand would be useful for taking a picture.)
  1. Form two loops of Texsolv cord that hang down from the top of the loom, one on the right and one on the left, to hold the reed for sleying.     My Texsolv loops hang from the countermarch frame.
  2. Adjust the length of the Texsolv loops so that the reed will fall just below the eyes of the heddles.
  3. Rest the reed horizontally in the Texsolv holders.
  4. Use the tape measure to find the center of the reed.     I mark the center of my reeds permanently by tying a small piece of 12/6 cotton seine twine at the center.
  5. Find your weaving width measurement on the tape measure. Fold that measurement in half and place the folded tape measure at the center point on the reed, to the right, to find the starting dent for sleying the reed. Place one end of the tape measure in that starting-point dent to keep your place.     Some people use the reed hook as a place holder, but when I pick up the reed hook to sley the first dent, I invariably loose my place.
  6. Pull ends through the reed with the reed hook, referring to your draft for the correct number of ends per dent, starting at the dent on the right hand side that has the place holder in it. Good lighting helps to prevent errors.     This is especially true with finer dents and darker threads.
  7. After sleying each group of warp ends, visually examine the sleyed dents to look for missed dents or extra ends in dents.
  8. Tie the sleyed group of ends into a slip knot.
  9. Finish sleying all the ends; and smile, knowing you are a step closer to weaving fabric.

May all your looms be dressed.

Happy Dressing,
Karen

Invisible Zipper


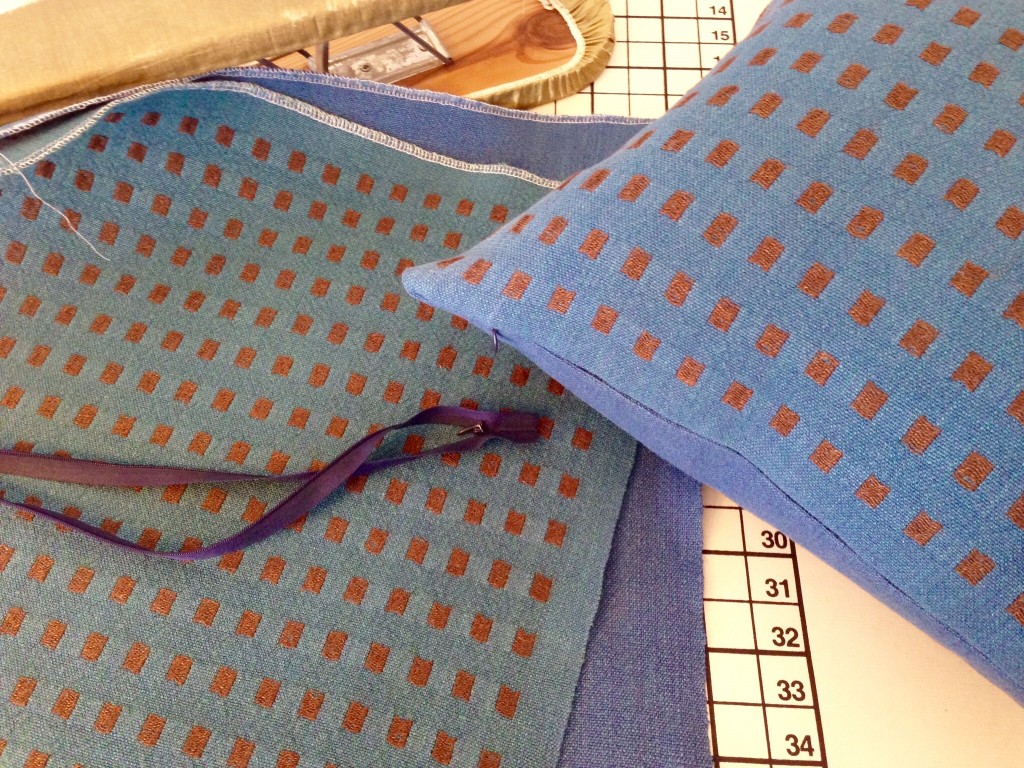
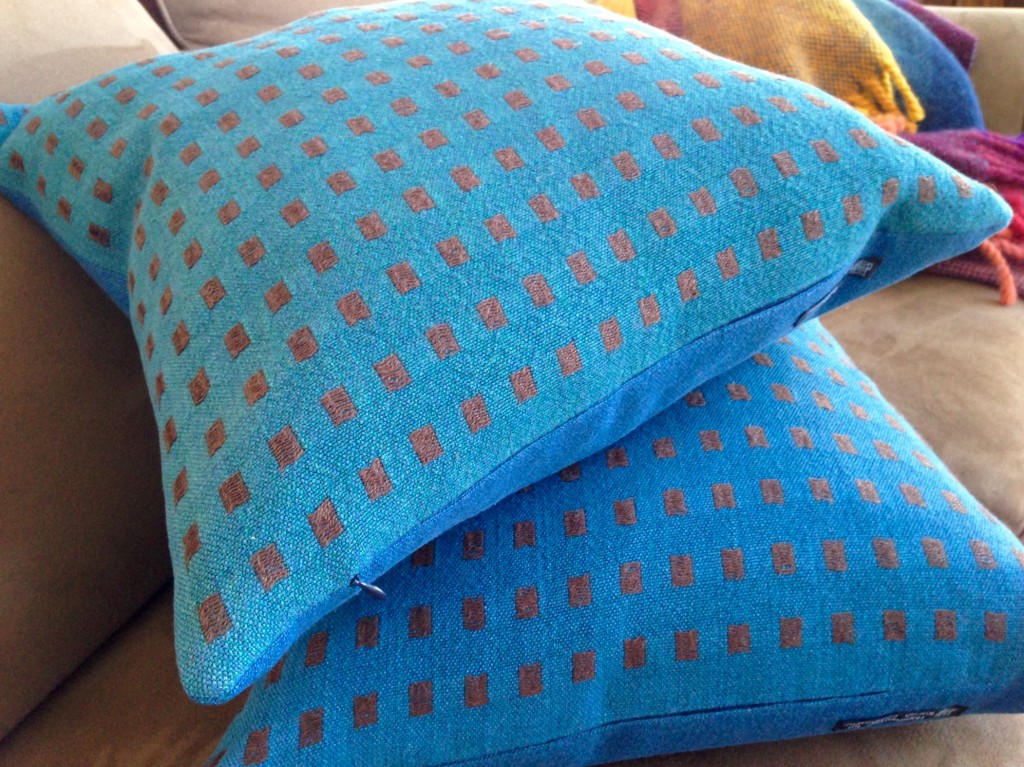
Remember this linen dice weave fabric? The brown checks are sets of weft floats over the deep blue warp. I created two throw pillows with this striking linen fabric, and filled them with down and feather inserts. An invisible zipper makes a classy closure for a pillow like this. If you do it just right the little zipper pull is the only clue that there is a zipper in the seam. Fabric this special deserves a classy closure.

All linen dice weave pillows being made. Handwoven cloth.
Three different weft colors–deep blue (same as warp), royal blue, and teal blue– produce three similar, yet slightly different colors of cloth. The brown linen floats create an interesting checked texture.

If you know the zipper is there, it is not hard to find. But if you are not looking for it, you could miss the invisible zipper, especially if it is inserted by an expert seamstress. Have you thought about noticing other things that are not immediately visible?

Handwoven linen dice weave pillows.
Invisible zipper placed in bottom seam of linen pillow cover.
Handwoven linen dice weave down-filled pillows. Karen Isenhower
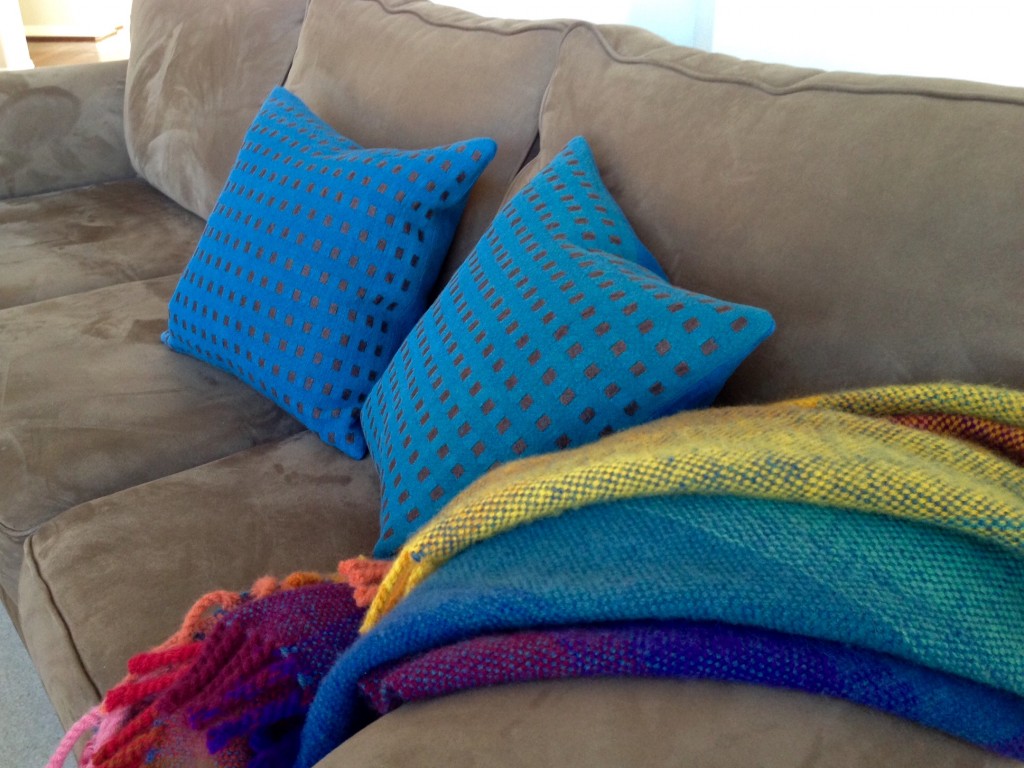
Linen dice weave pillows take their place on the sofa.

Faith is seeing the invisible. Faith is assurance that our hope is sound, and conviction that the unseen is true reality. As with the zipper, when you know the invisible is there, it is not hard to find.

May you notice details that are easily overlooked.

Hopeful,
Karen

Textiles from The Philippines

Steve and I returned this week from travels to The Philippines. We had a wonderful time celebrating Thanksgiving there with our son’s family in Makati. During our eleven-day visit, I encountered many examples of beautiful handwoven articles and other fascinating textile goods. It probably won’t surprise you that I tucked a few textile treasures in my suitcase to bring home with me. (Remember last year? Quiet Friday: Philippine Textiles)

Handwoven cotton towels from Sunday market in Makati, Philippines
Lovely cotton hand towels from Beth’s Loomweaving at the Makati Sunday Market.
Cotton towel detail shows green weft for stripes.
Detail of cotton towel shows that the darker stripes are created with green weft.
Variety of scarves and wraps from markets in The Philippines.
With an over-abundance of scarves and wraps to choose from (in bargain prices), I escaped with only these few. Some are for gifts; and some are for personal use. All are sources of design and color inspiration.
Example of backstrap weaving from Mindanao, Philippines.
Lightweight table runner or scarf was made by a weaver in Mindanao, the southernmost island of The Philippines. This exquisite example of backstrap weaving is made from very fine cotton, and is completely reversible.
Detail of backstrap weaving from Mindanao, Philippines.
Backstrap weaving detail reveals the intricacy of the tapestry-like design.
Traditional Filipino weave structure showcases pattern and color.
Pillow cover is well-planned and executed, showing striking color combinations in a traditional Filipino weave structure.
Detail of handwoven pillow cover from The Philippines.
Detail of pillow cover shows the pointillistic appearance of this weave.
Filipino bag woven from piña fibre.
Made from the leaves of a pineapple plant, piña fibre was used to weave this sturdy little open plain weave bag.
Detail of bag made from piña fibre.
Piña fibre has a natural luster.
Handwoven Elegant Filipino Table Runner
Not the expected mix of bright colors, this elegant table runner has black weft floats on a white warp of fine cotton. The traditional Filipino weave uses a multi-stranded black cotton (or cotton/poly blend) for the pattern, alternating with the fine white cotton threads for the tabby. This one-sided cloth, similar to overshot, has weft floats only on the top side.
Detail of weft pattern floats in traditional Filipino weave.
Detail of black and white table runner. The patterned black floats almost give the cloth the look and feel of cut velvet.
My very favorite treasures from our visit to The Philippines.

May you find textile treasures in your travels.

PS Two more new rag rugs from my latest run of rugs are now in the Etsy shop, if you are interested. These two may be my favorite yet!

A little jet lagged,
Karen