Woven Transparency Cactus

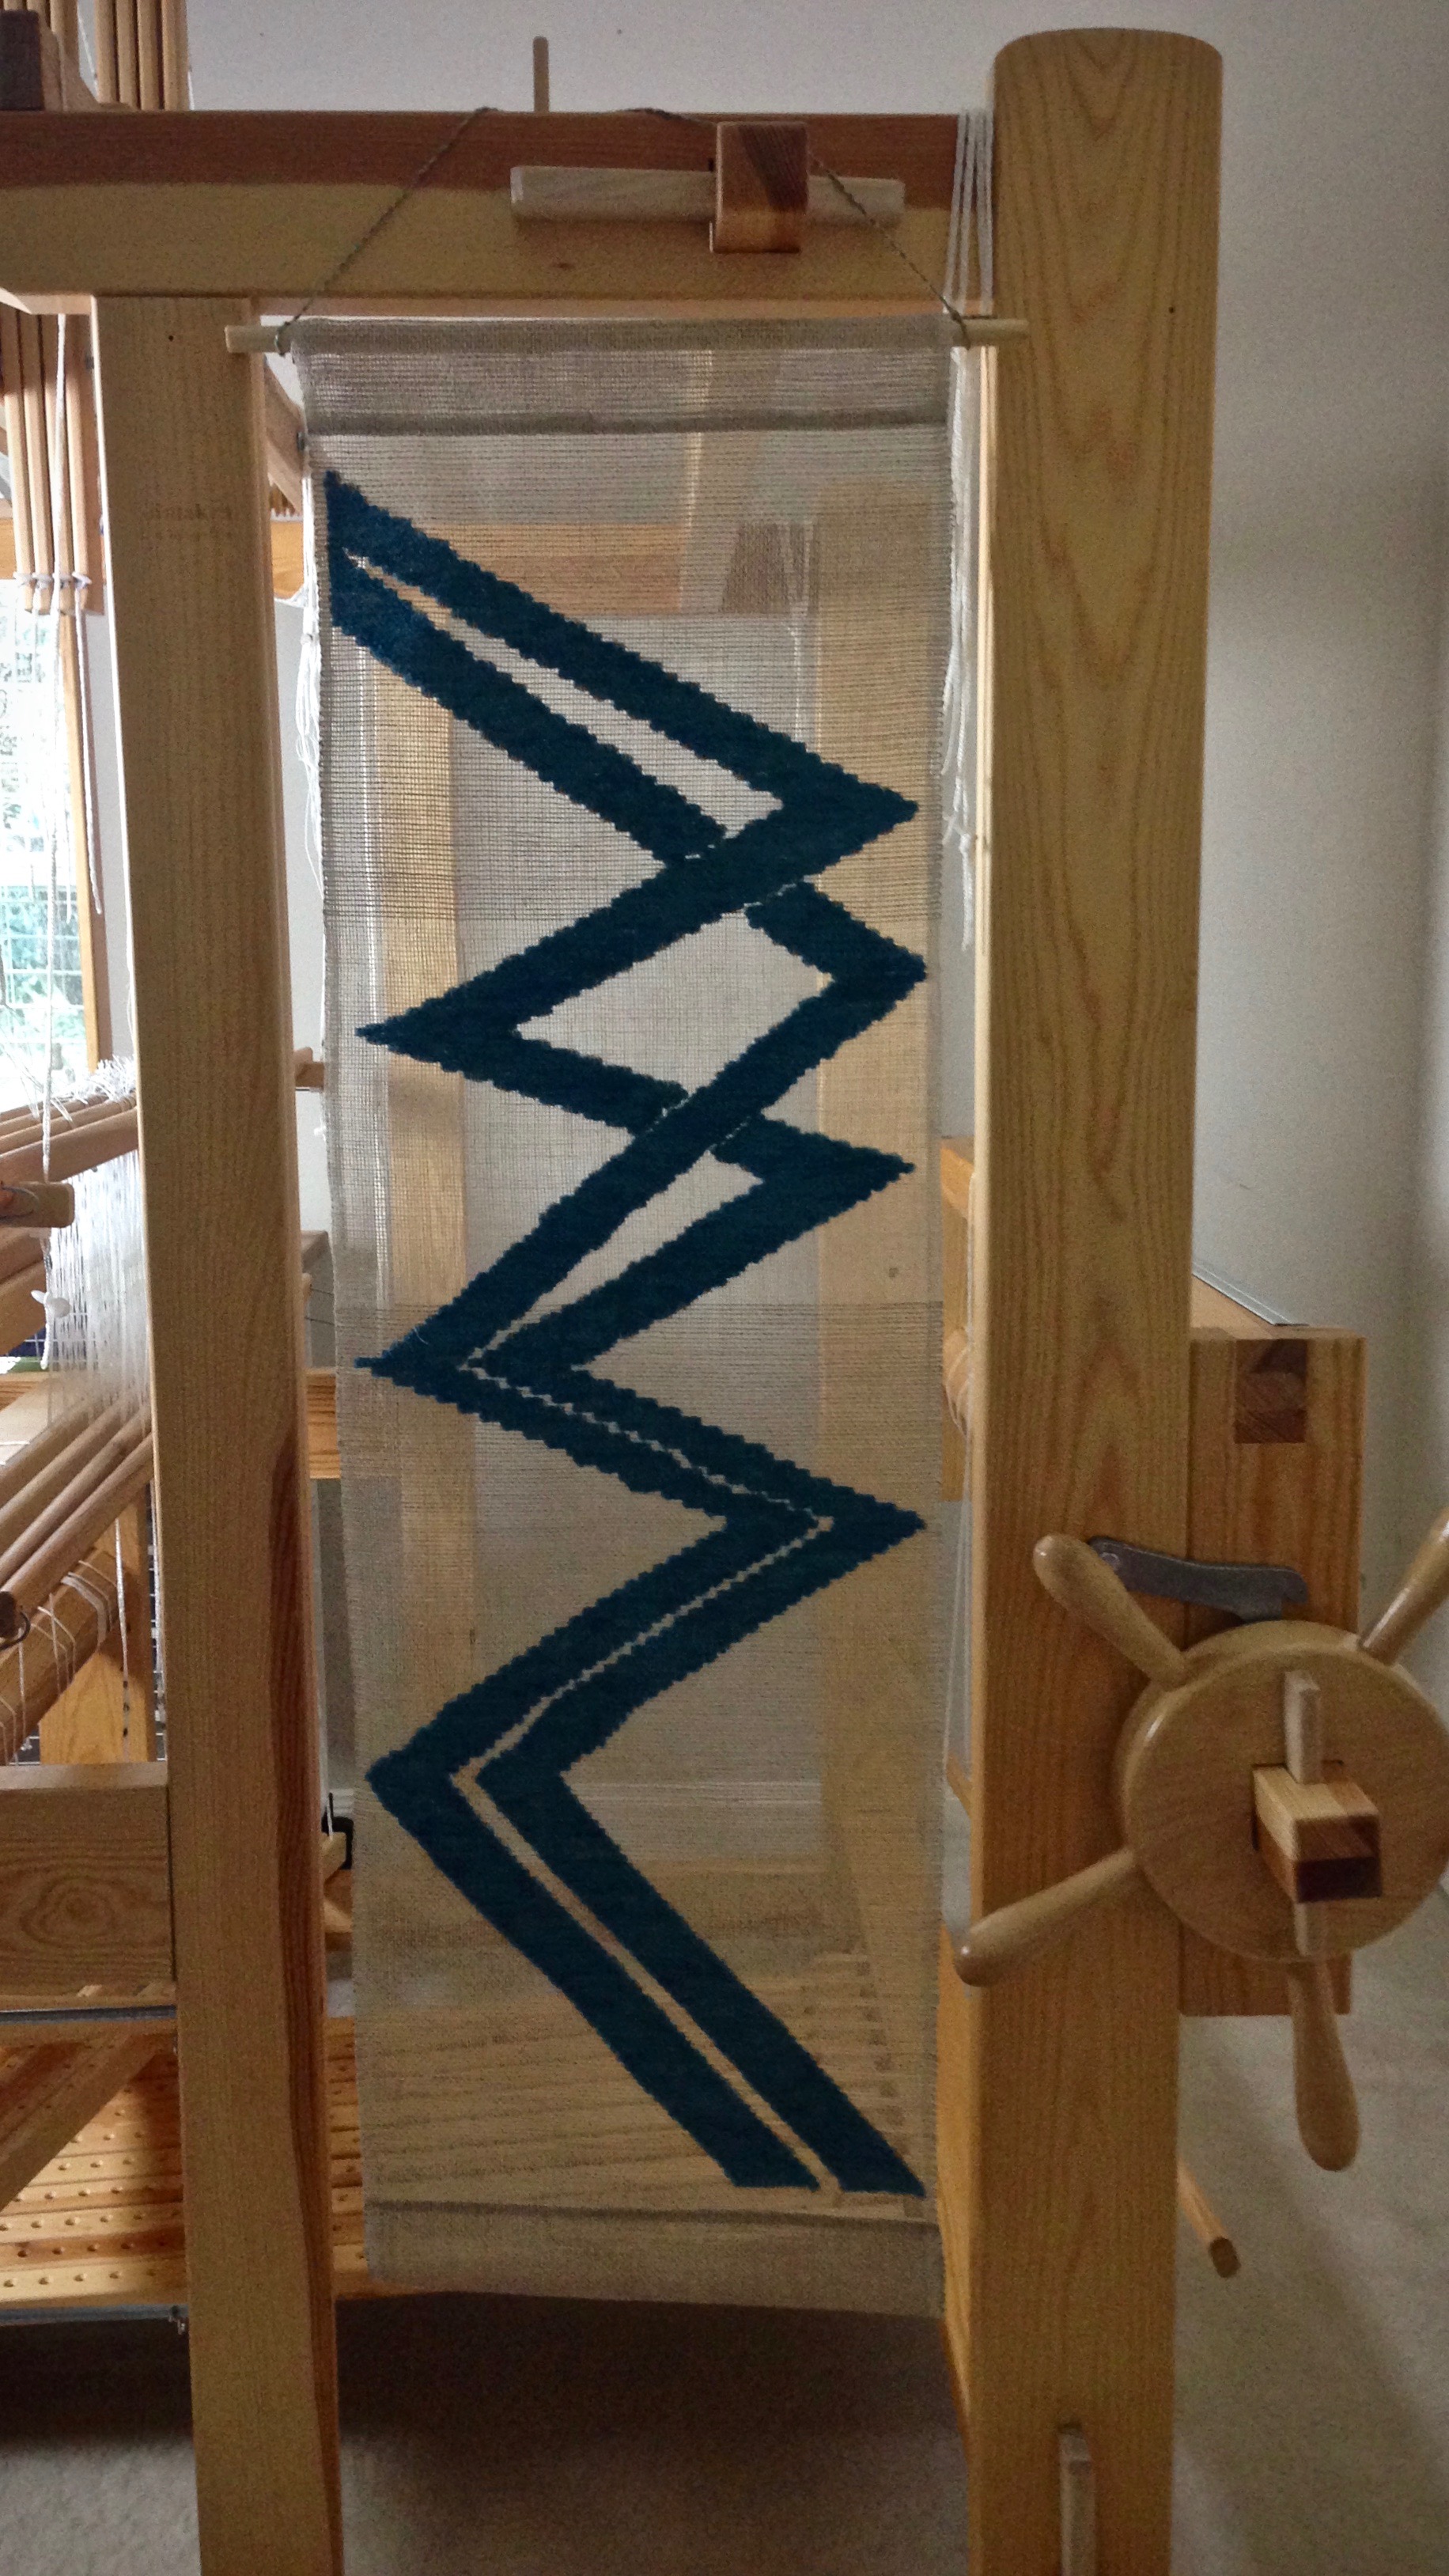
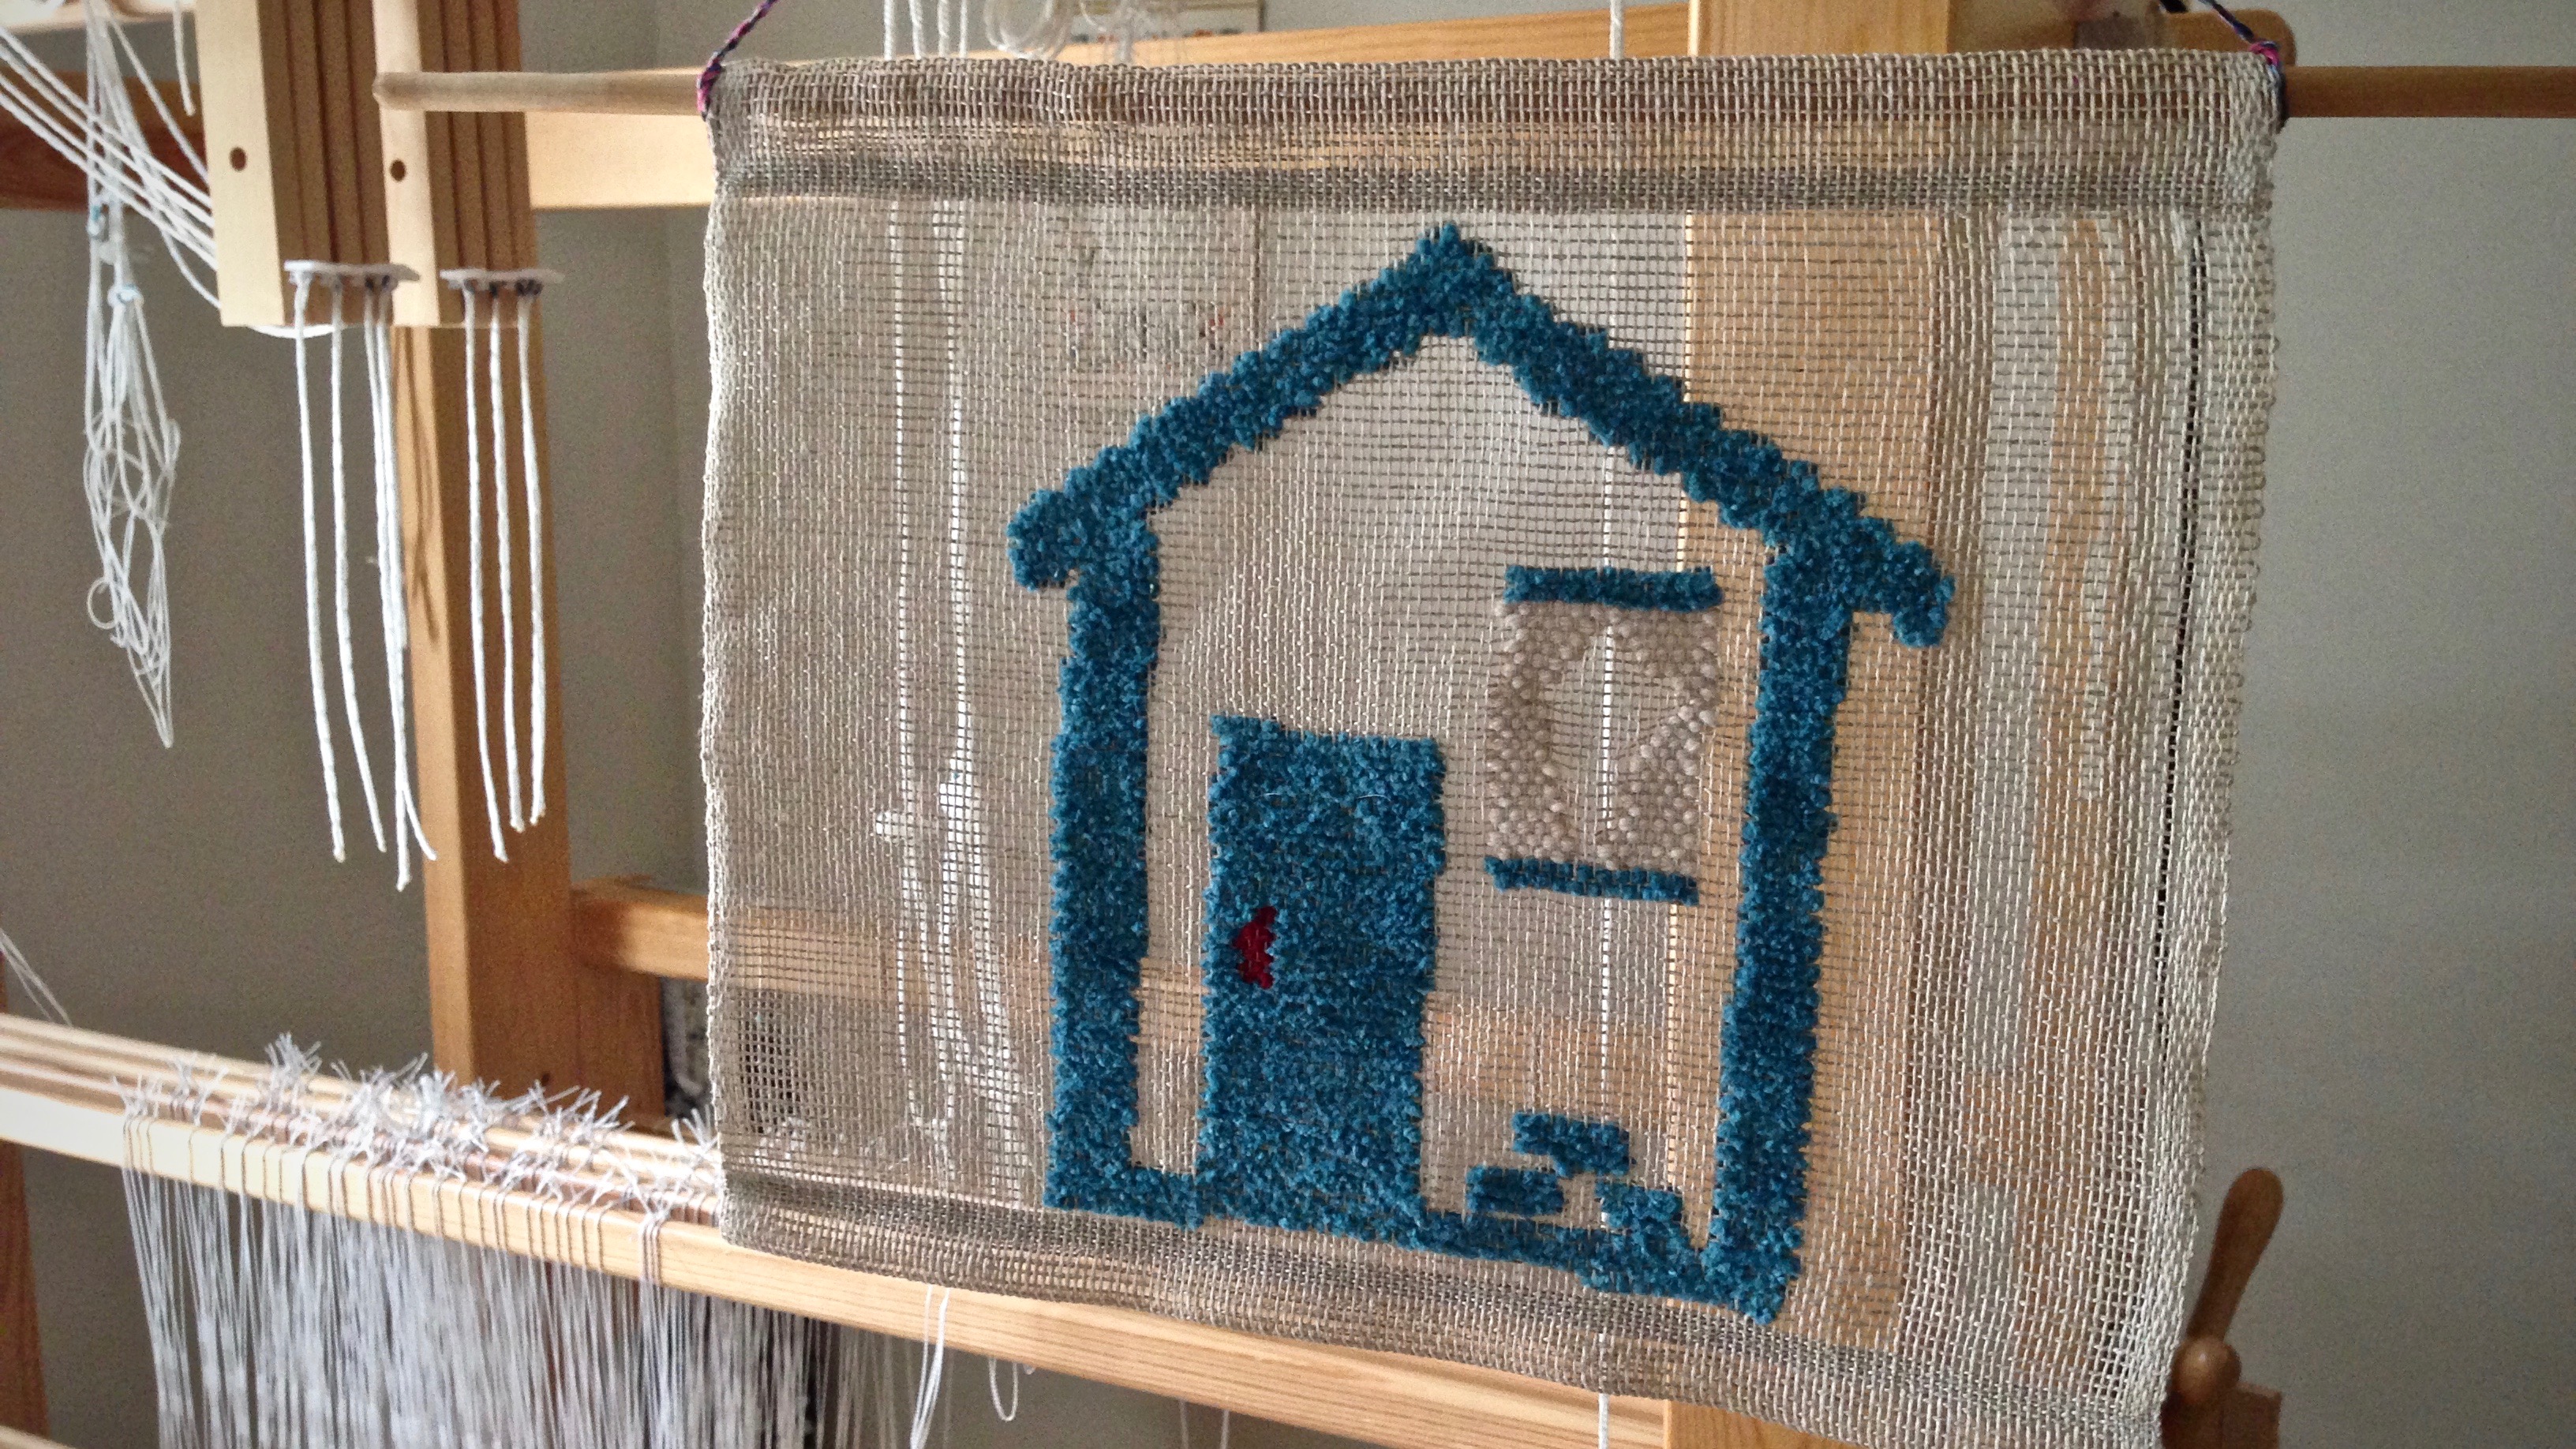
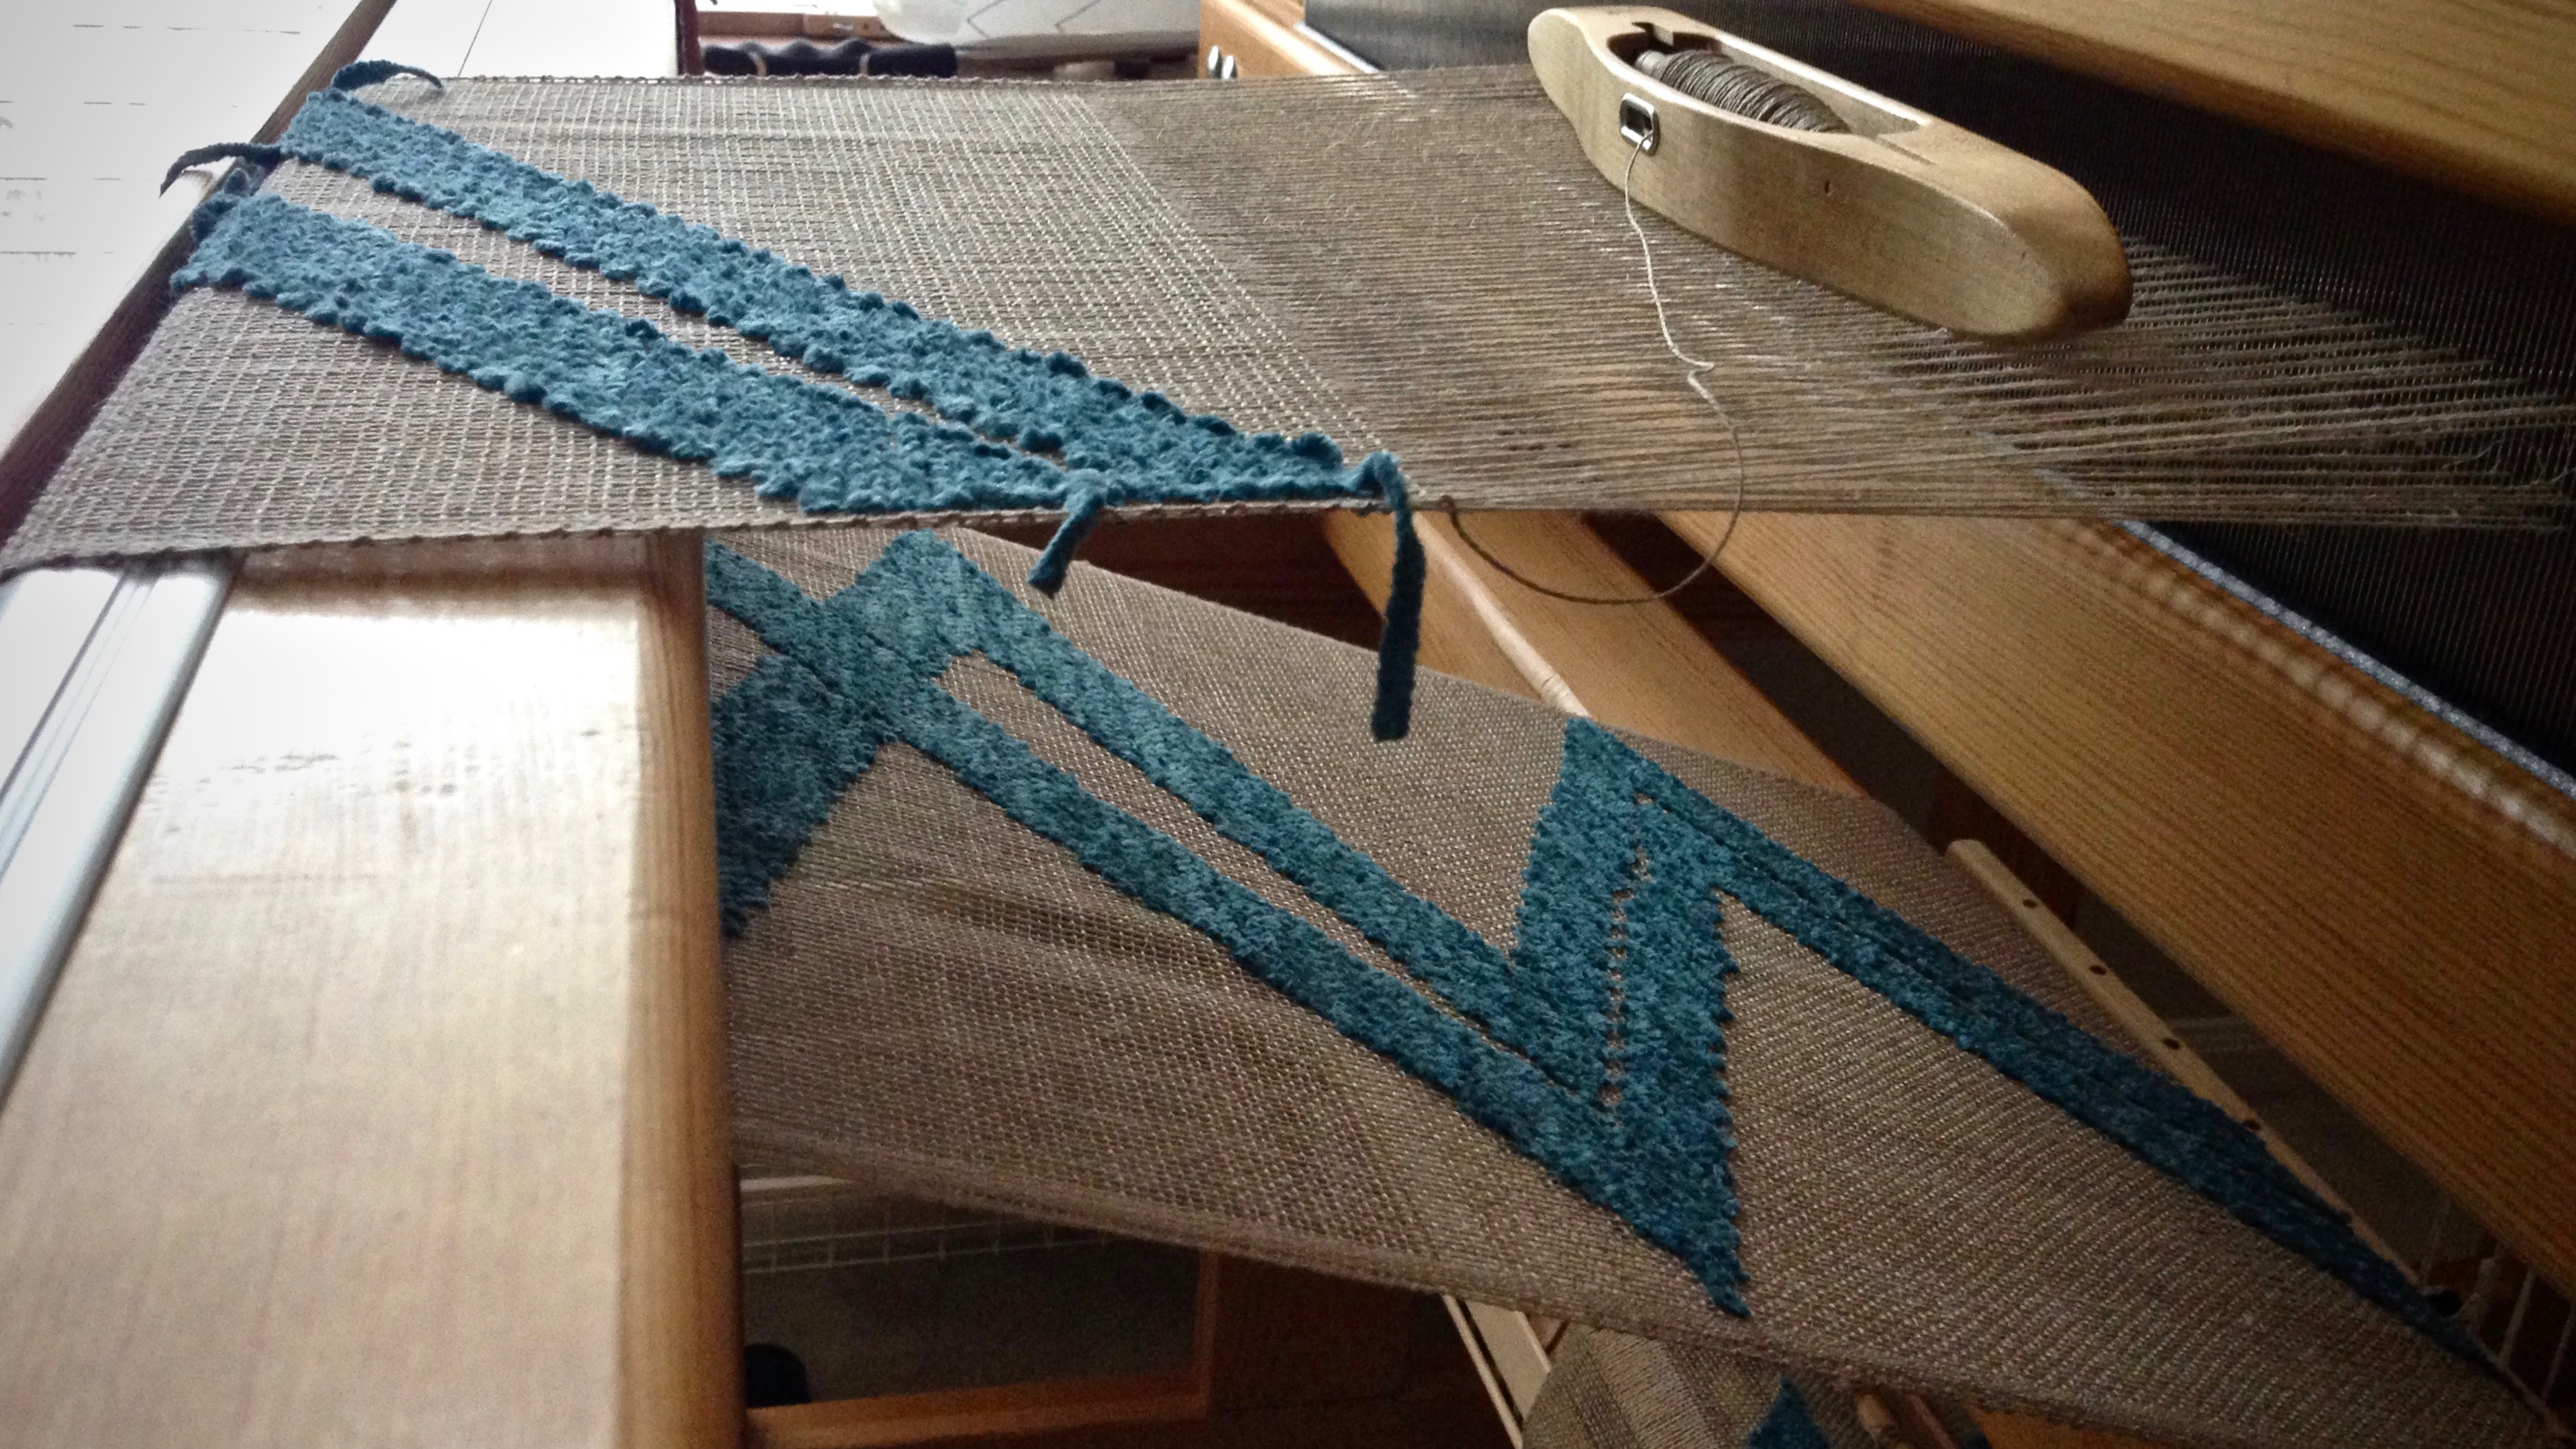
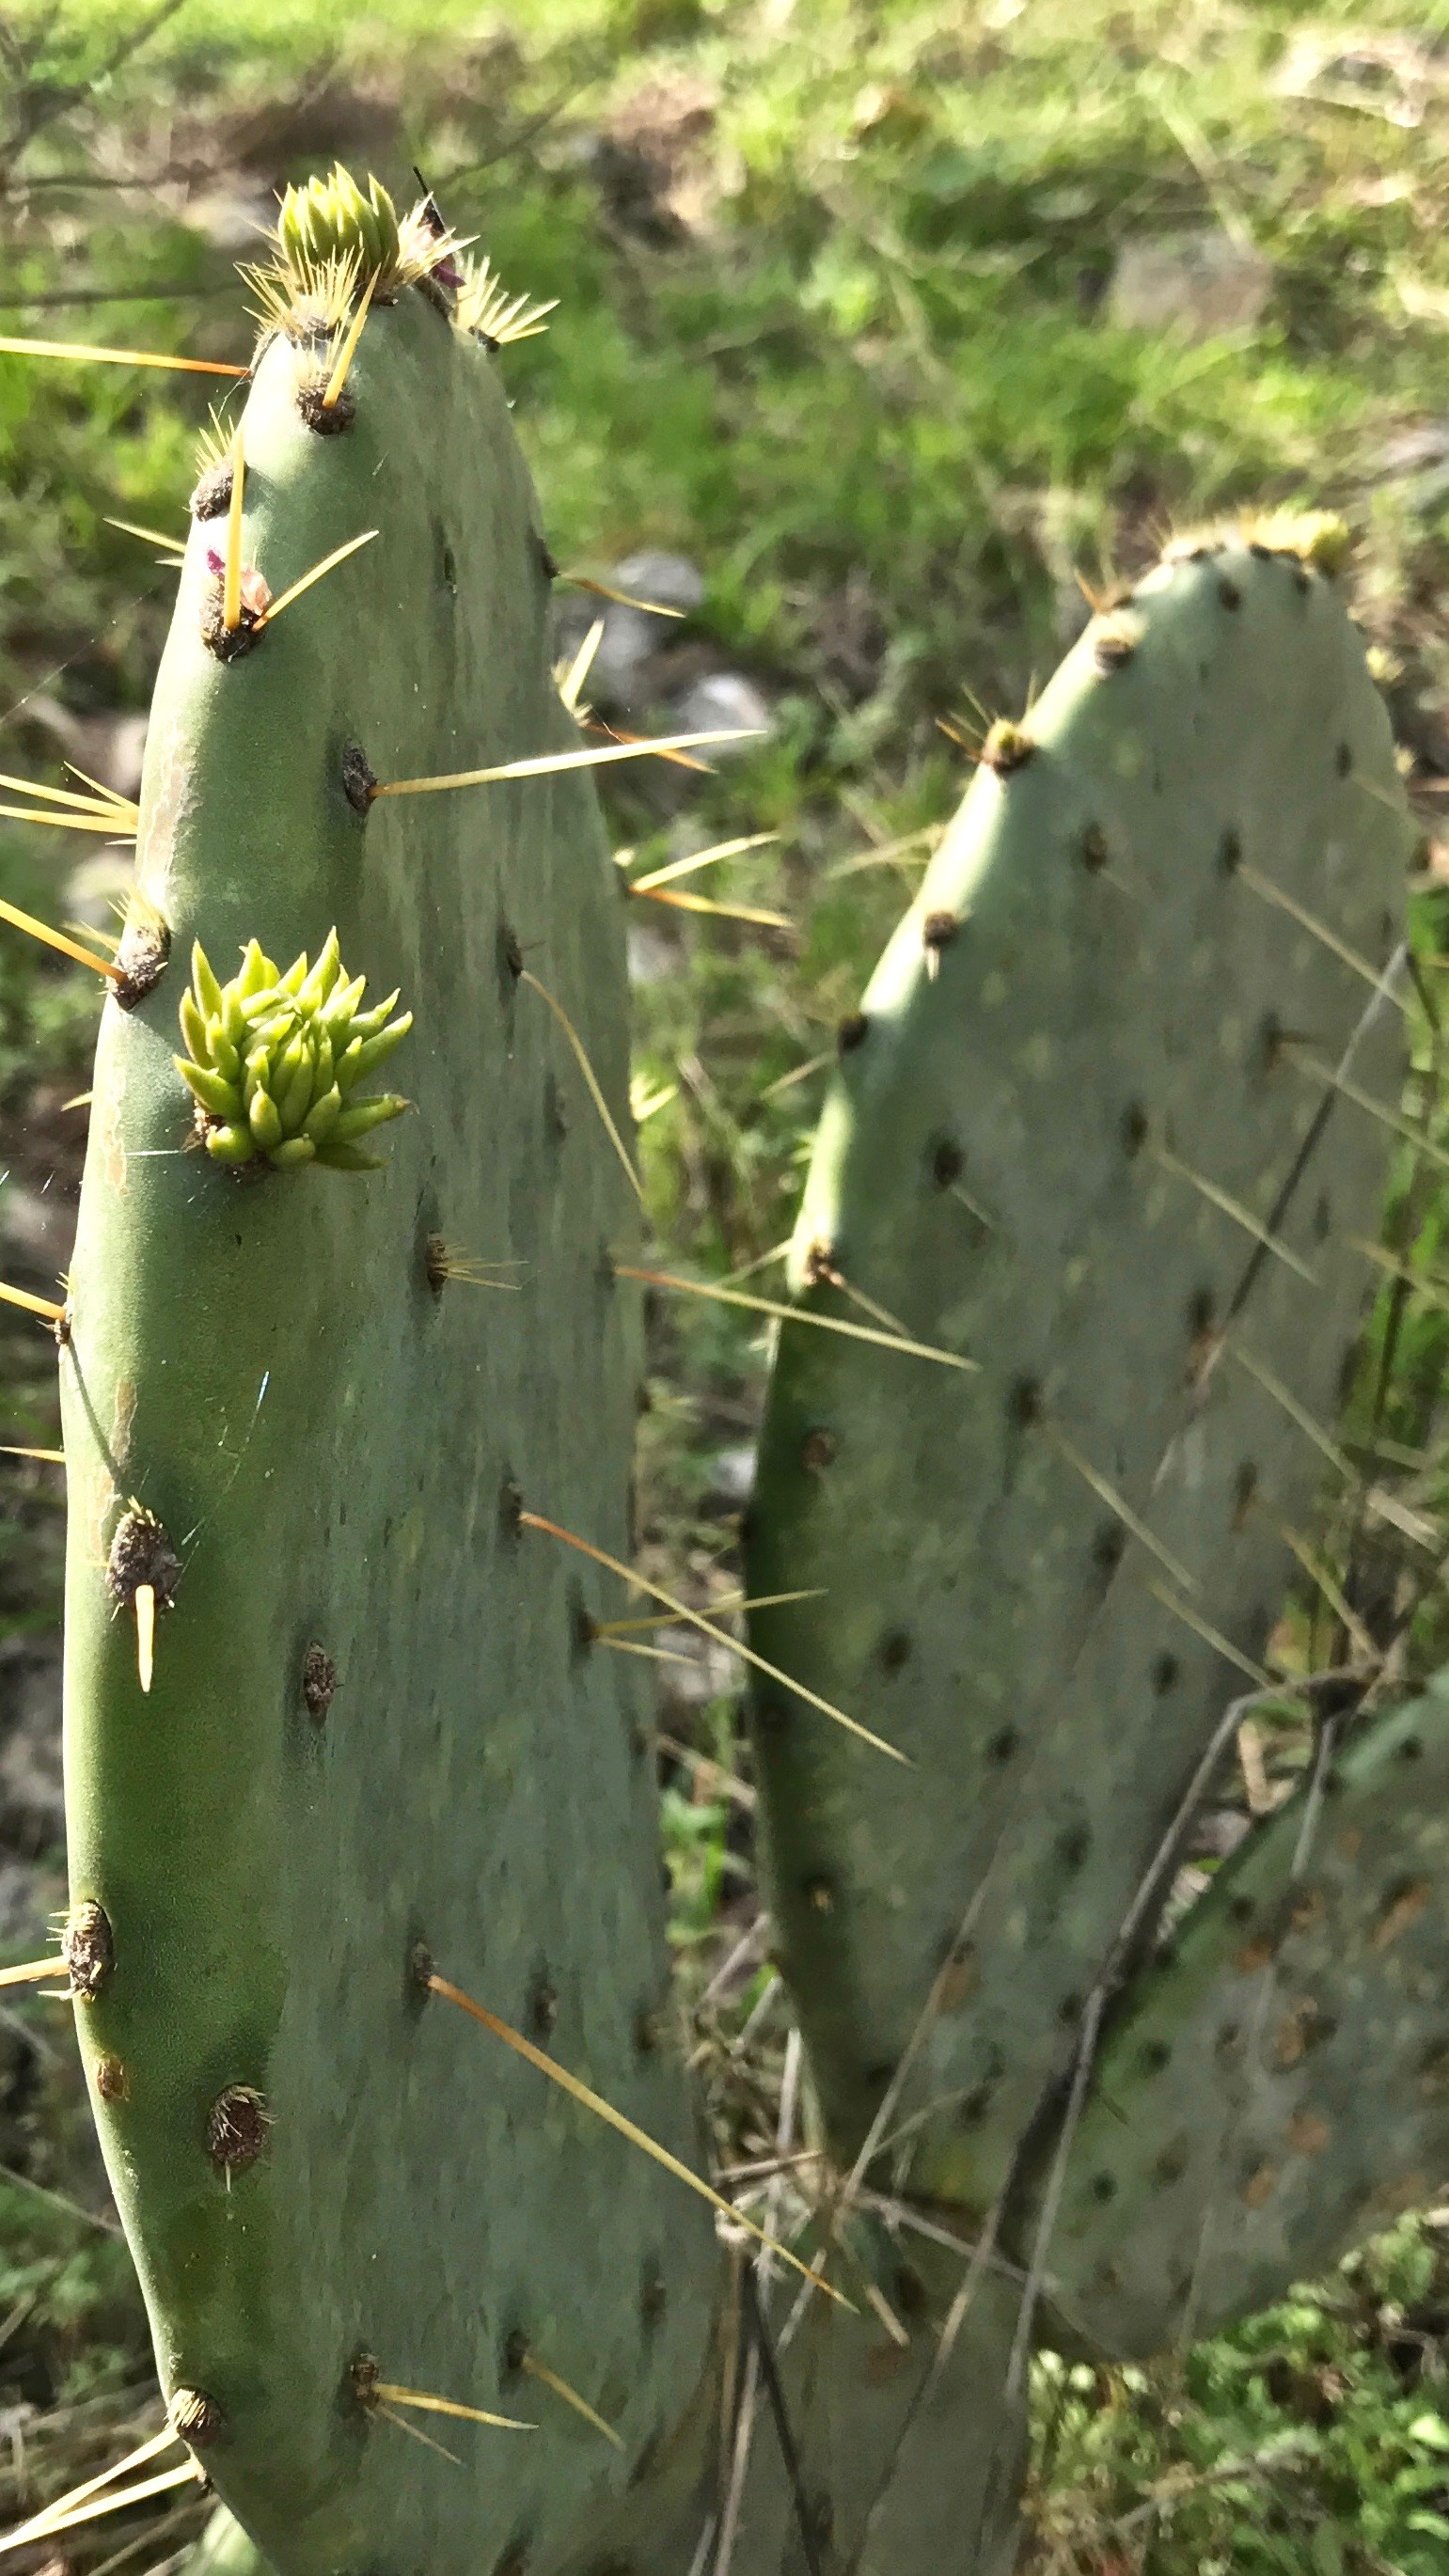
I found a subject for my next transparency. It’s a prickly pear cactus in Texas hill country. Weaving this cactus is a fantastic experience! I started with a photograph, from which I made a cartoon. And I have an outline that shows where to place each color. It’s all based on the timeless beauty of colors in nature. I’m hopeful that when light shines through the final woven transparency we will see a likeness of the original cactus.
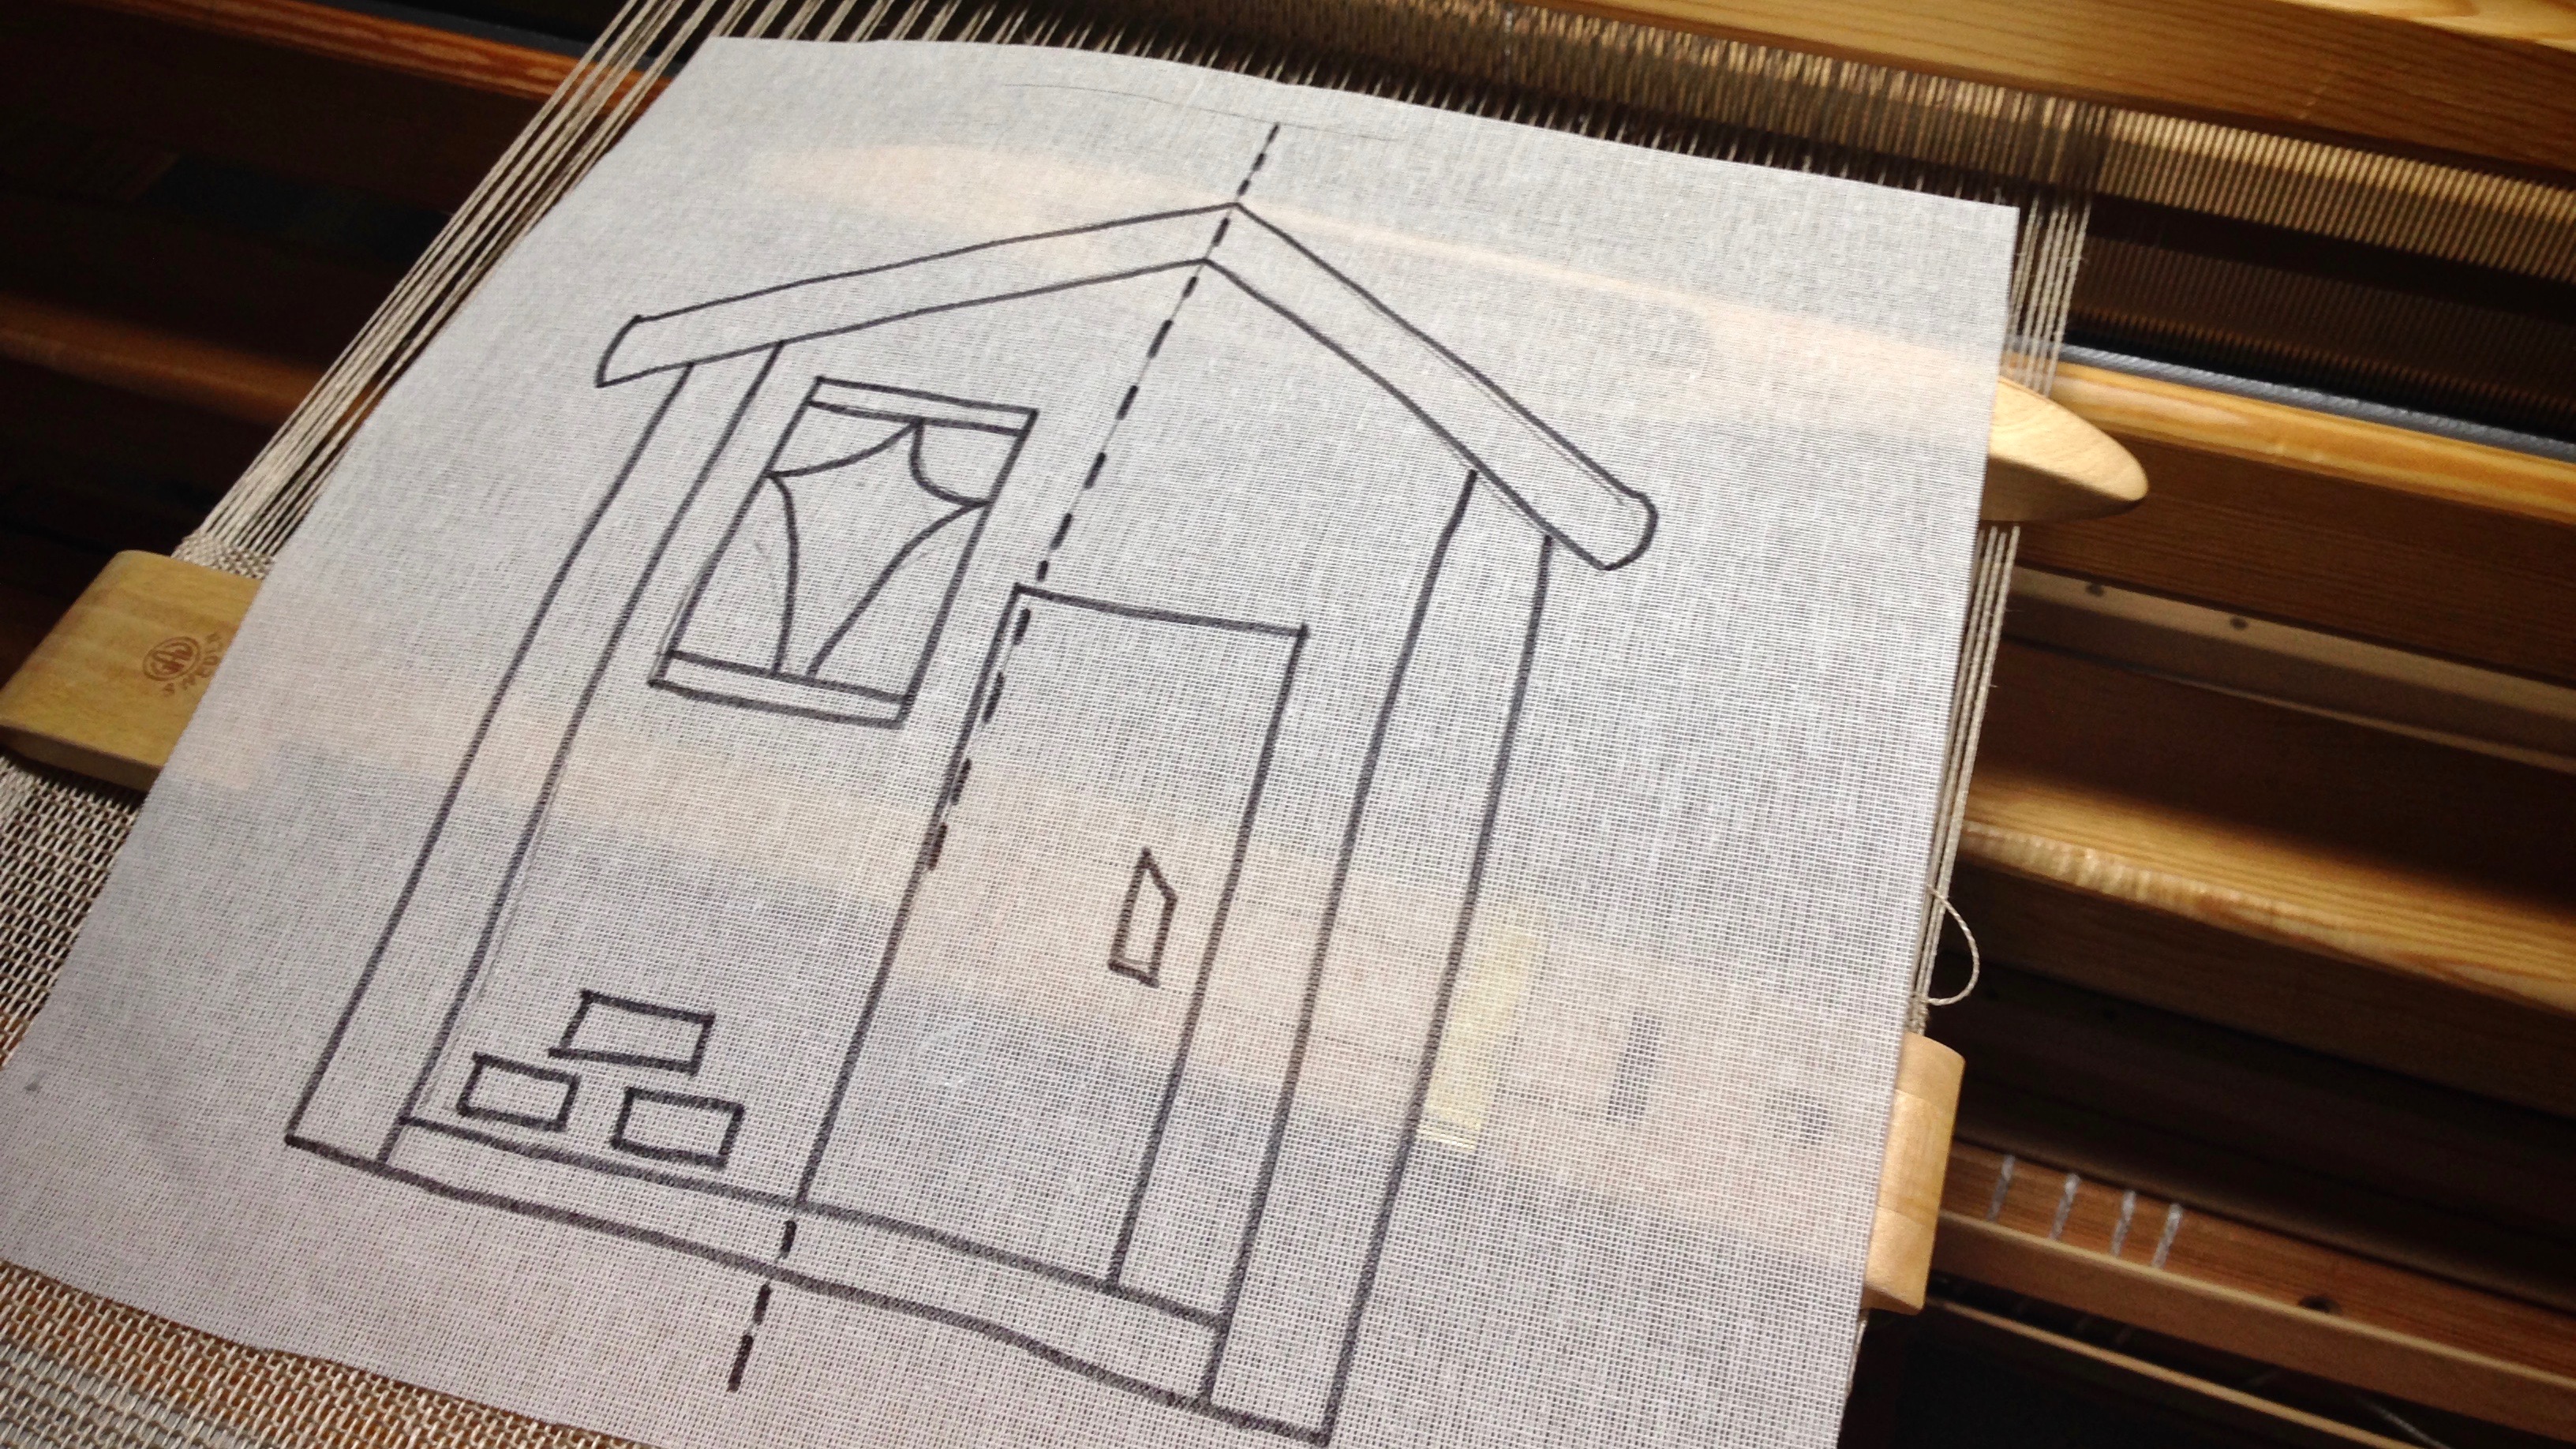
Prickly Pear Cactus in Texas hill country.
Prickly Pear Cactus in the front yard of our Texas hill country home.

Make a Cartoon

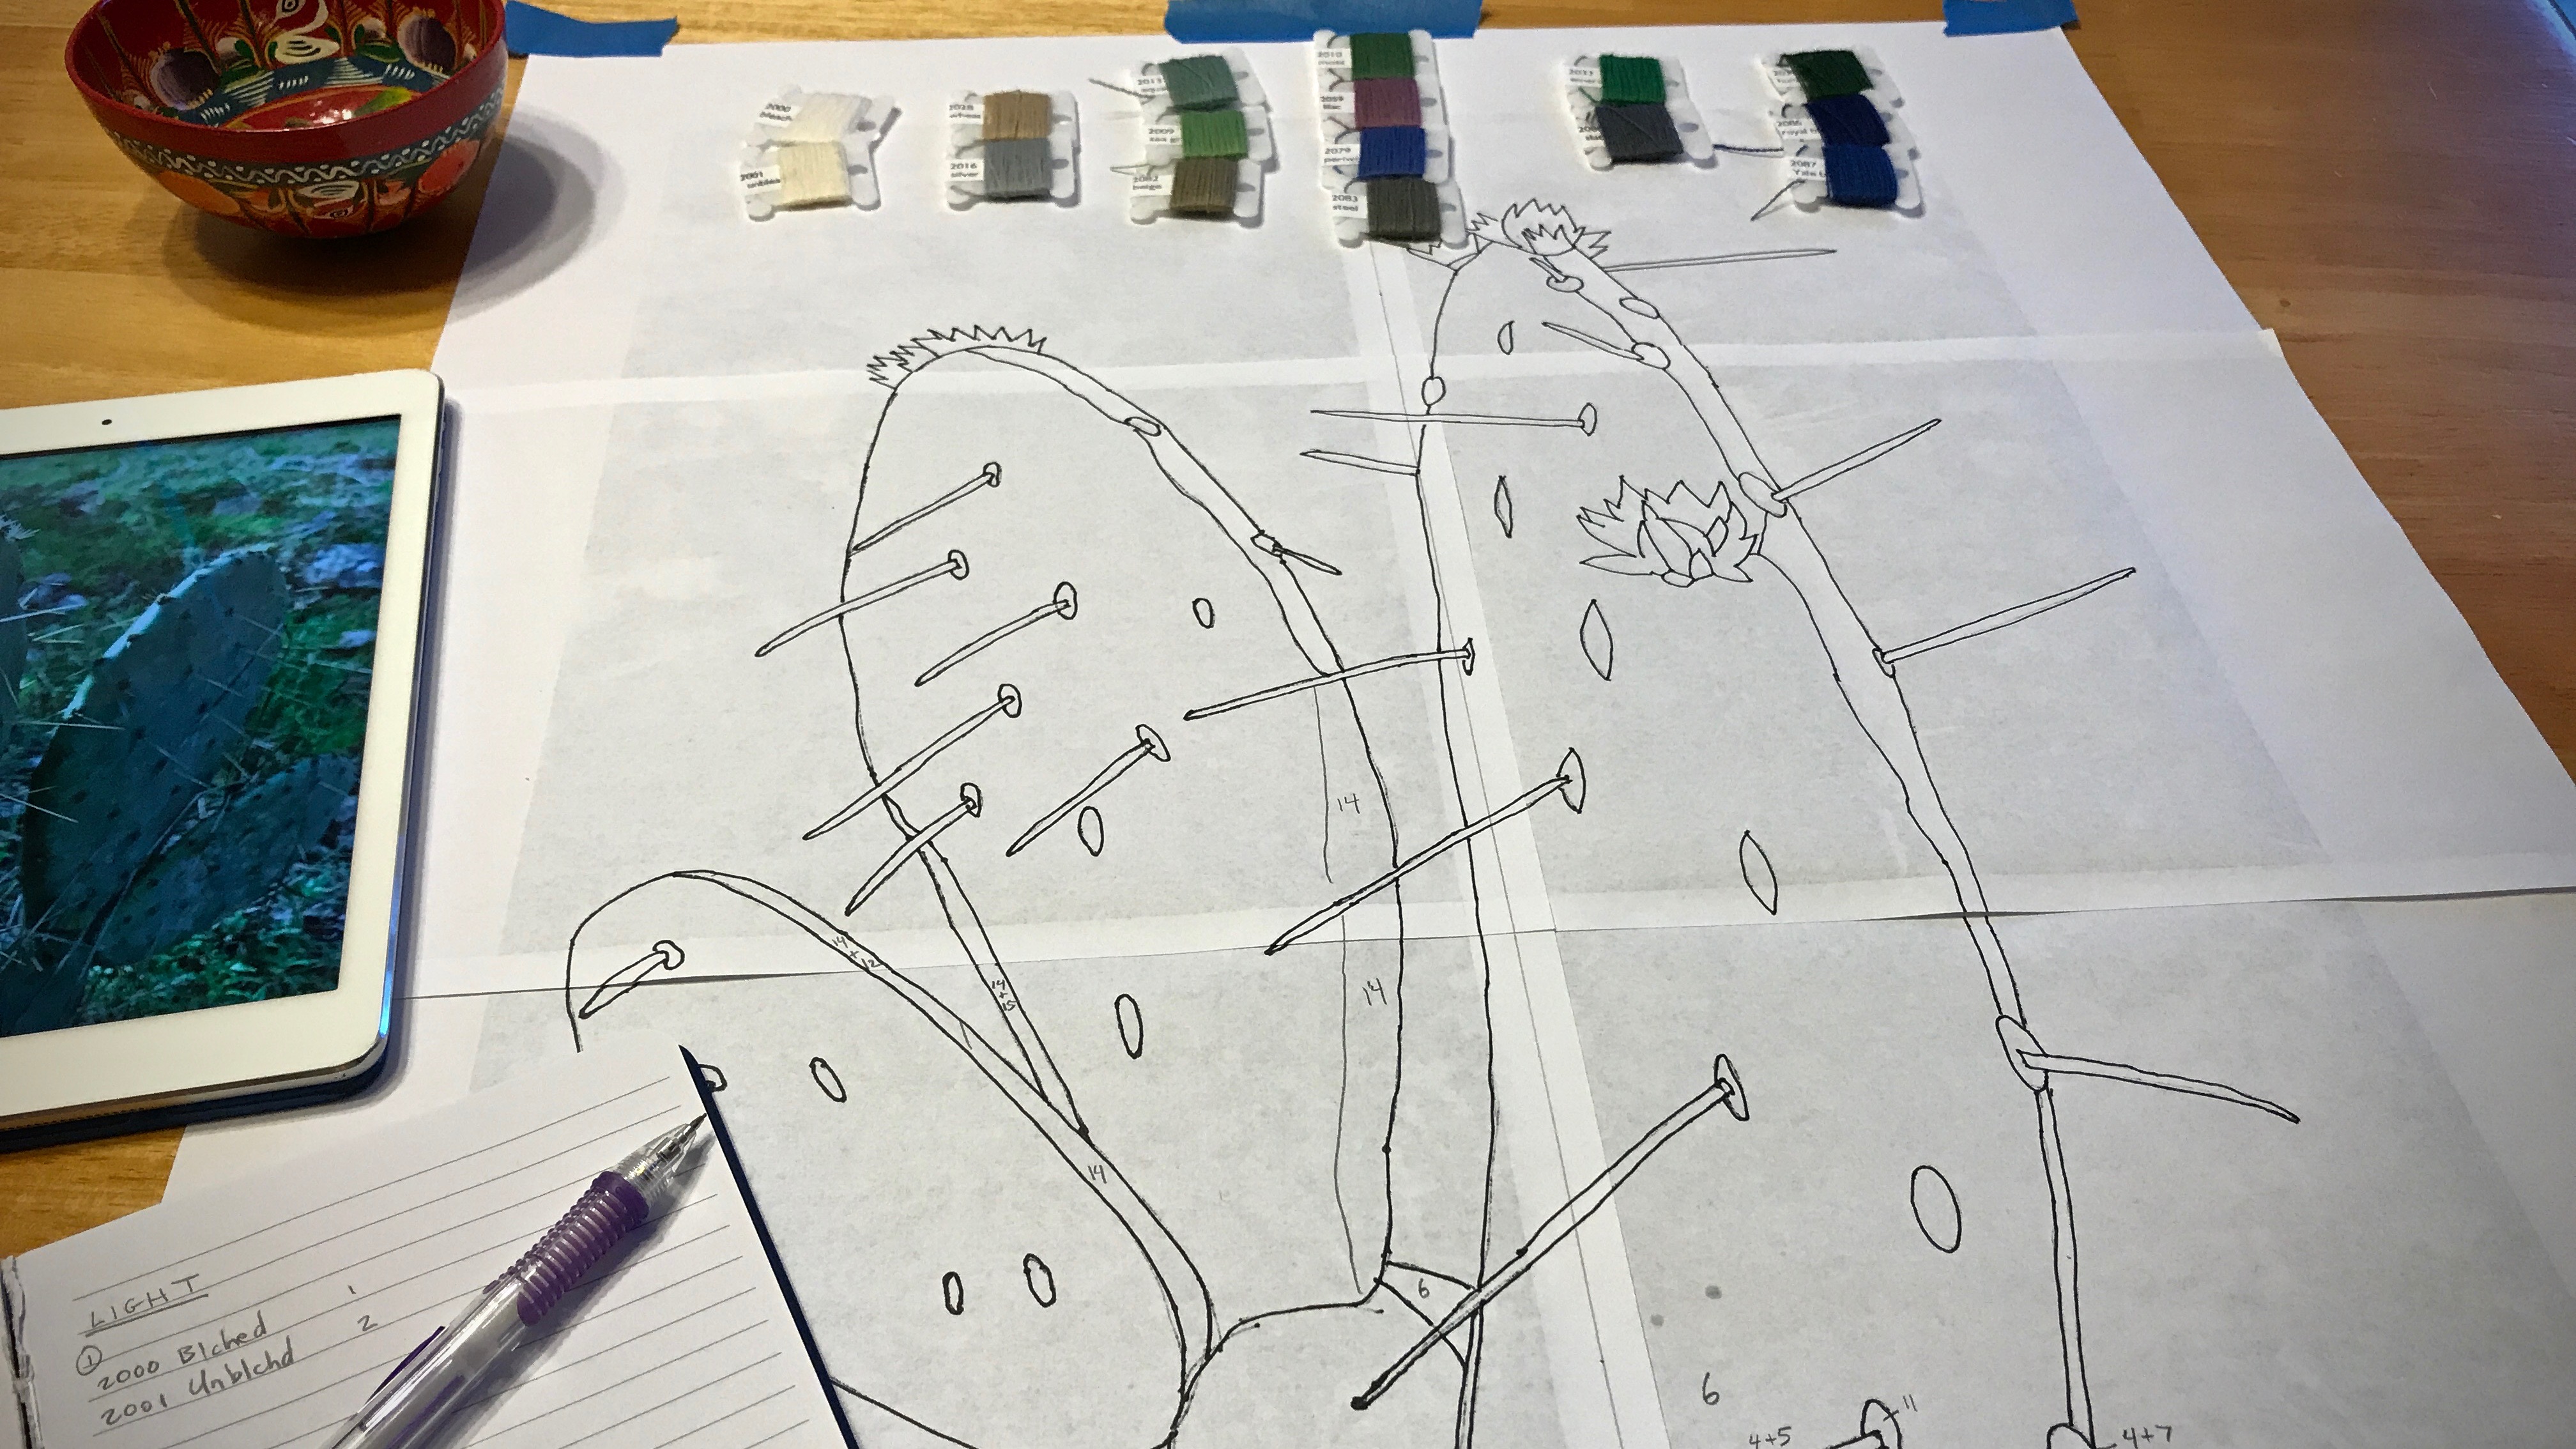
  • Crop and enlarge the photo. (I use Acrobat Reader to enlarge and print in multiple pages, and then tape the pages together.)

Prickly Pear Cactus in Texas hill country.

  • Outline the main lines of the picture.
  • Turn the enlarged picture over and draw the traced lines on the back to have the reverse image. (This transparency is woven from the back.)

Photo to sketch to cartoon for woven transparency.

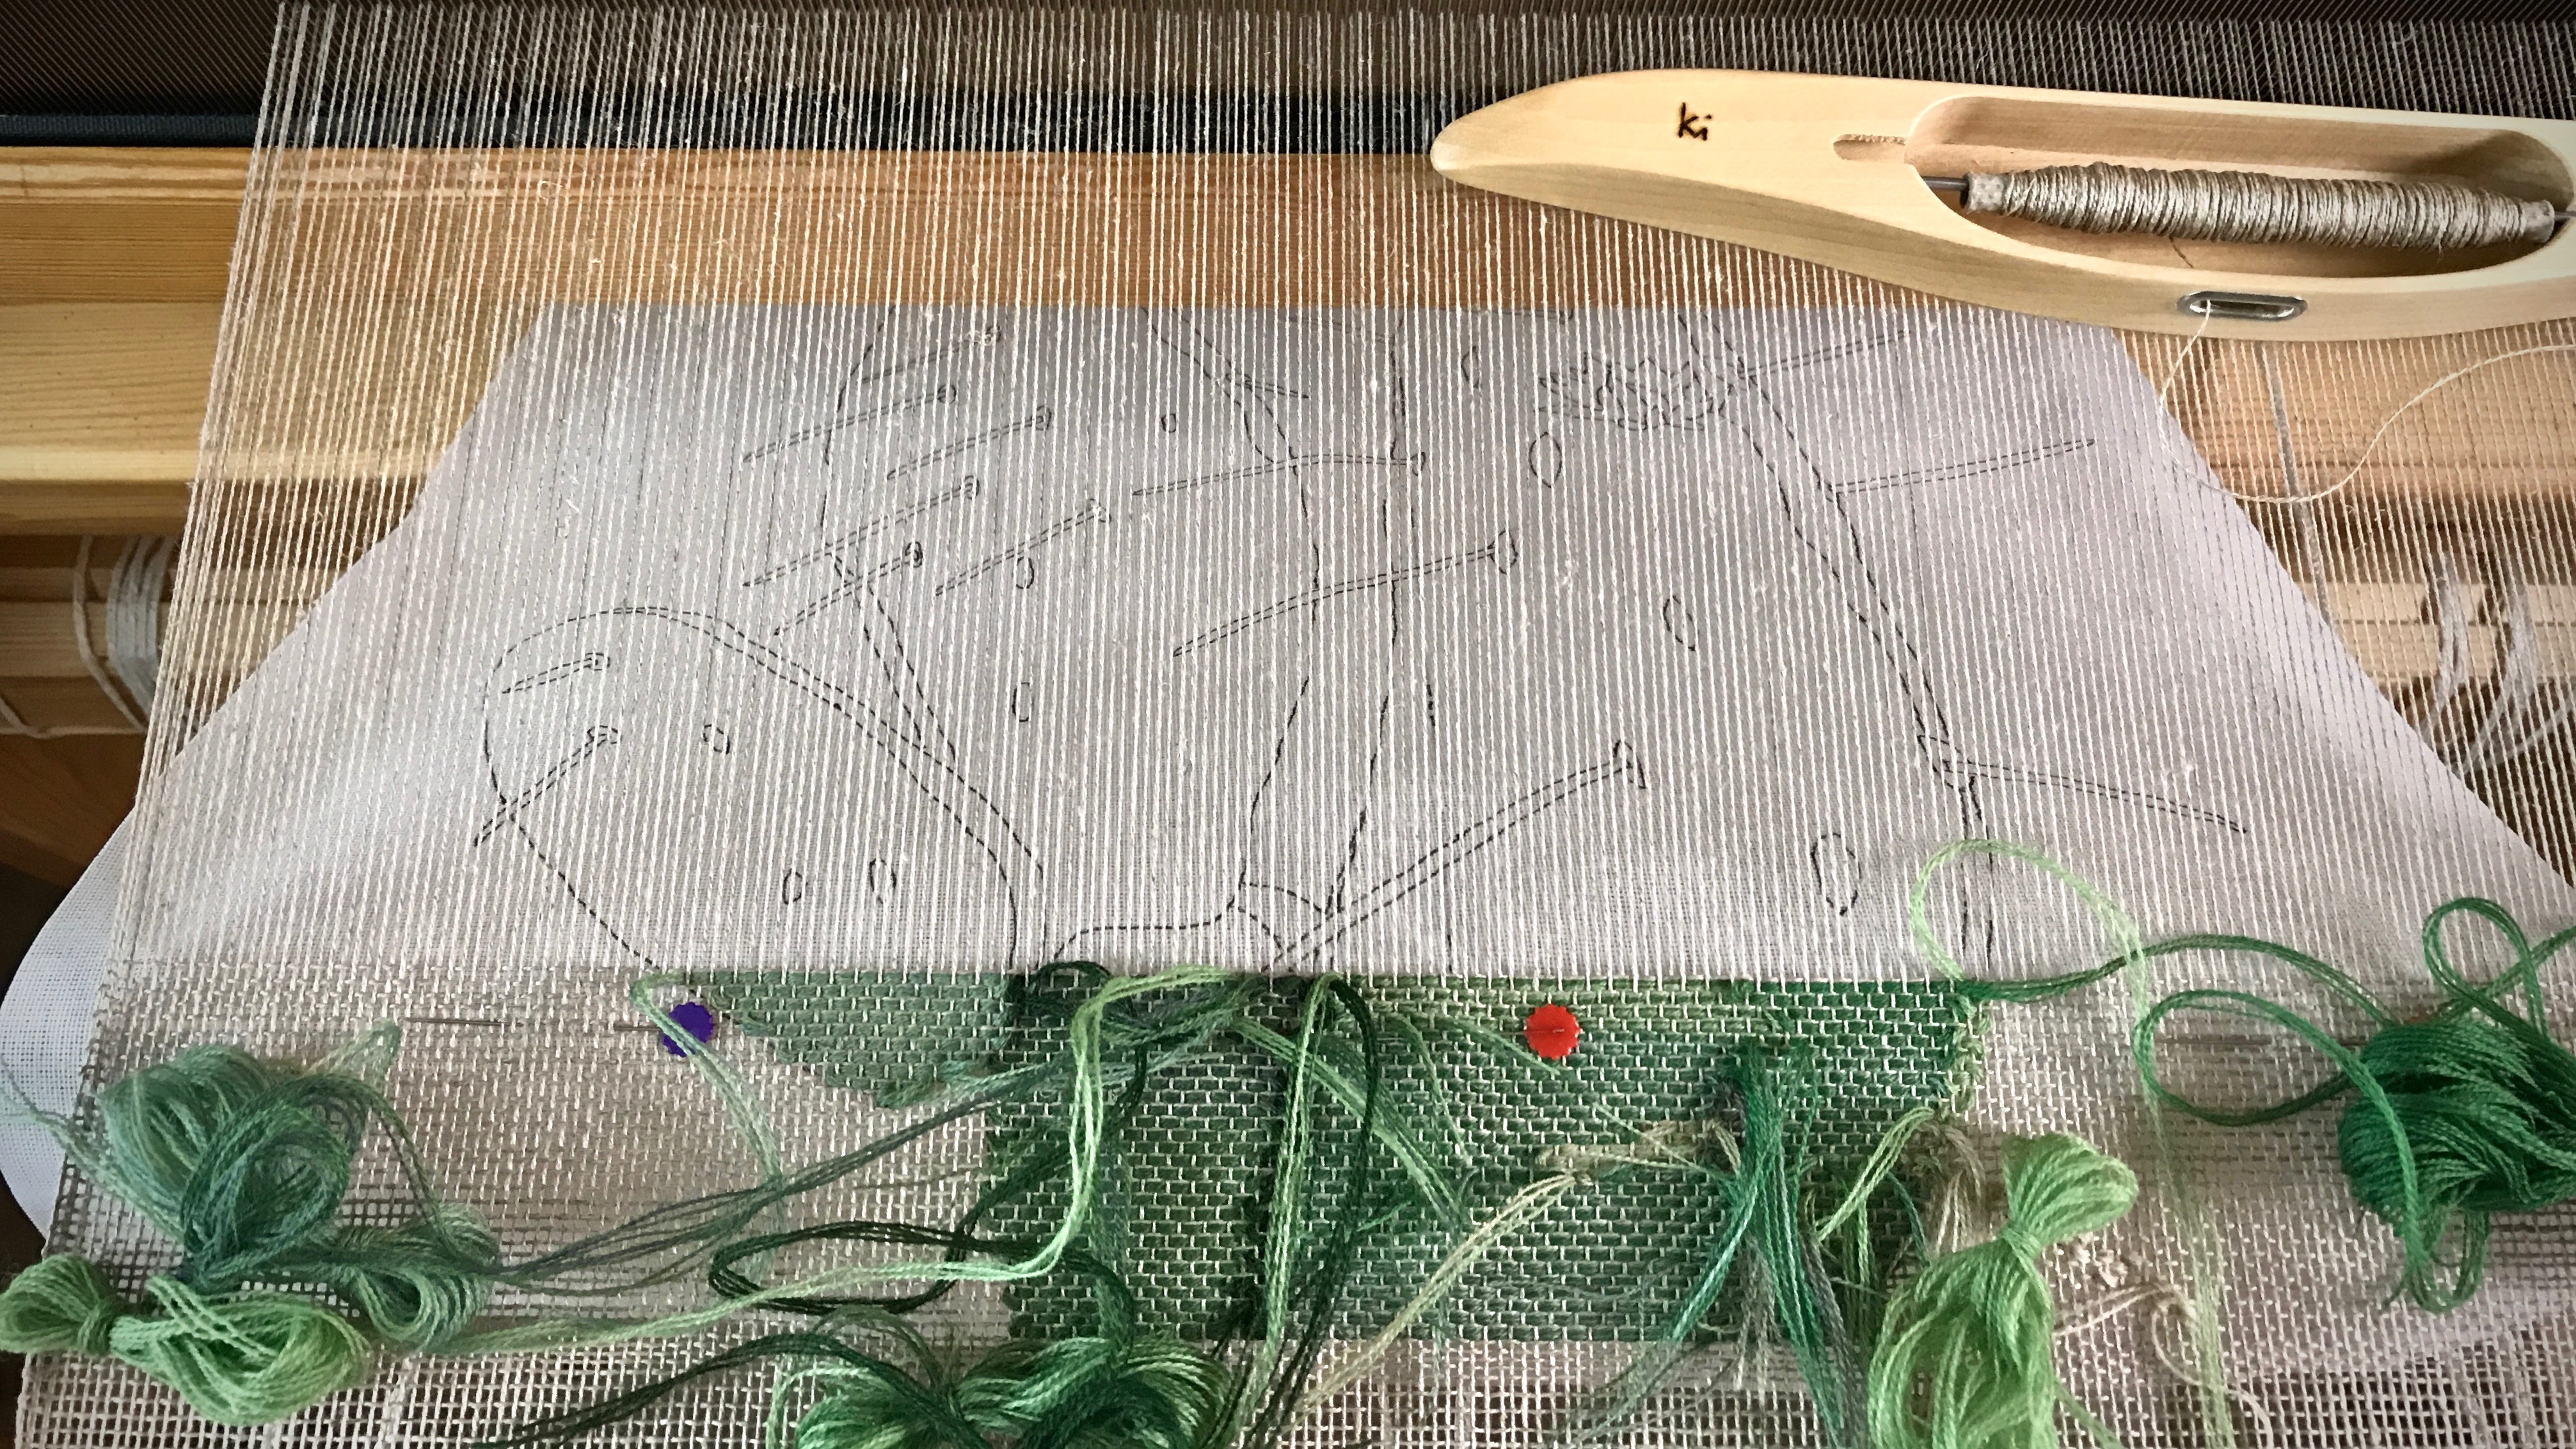
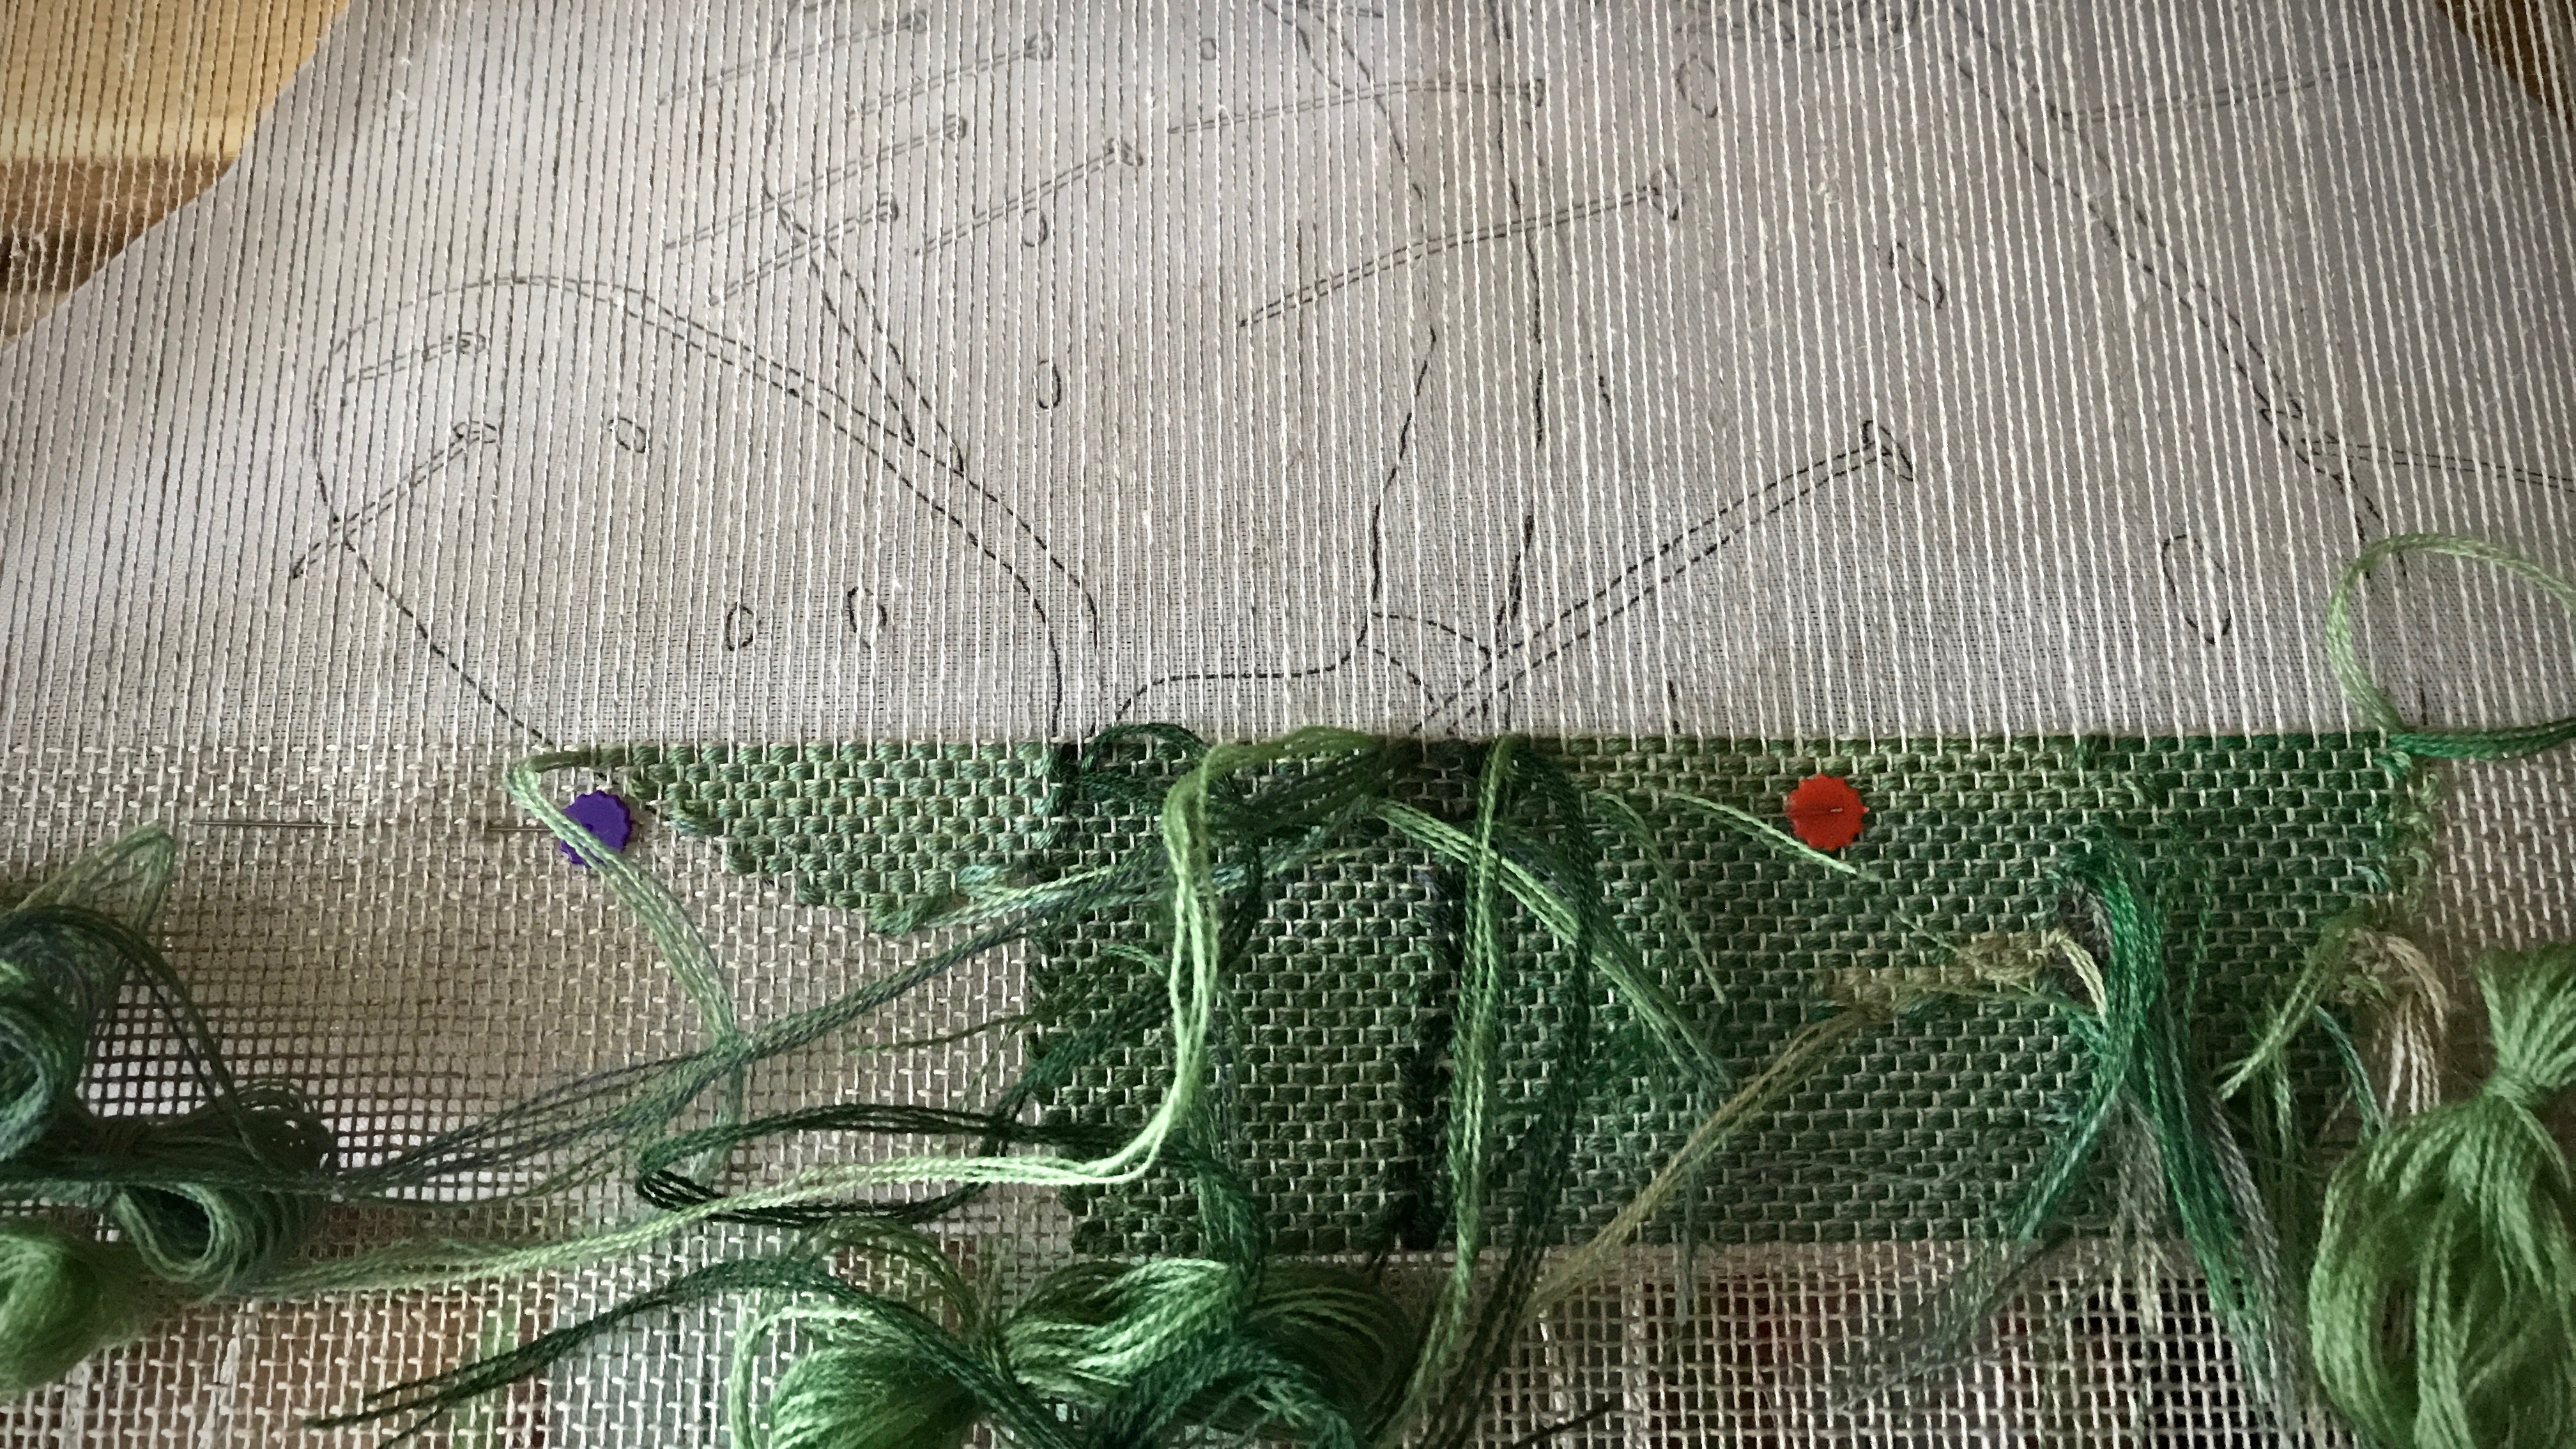
  • Trace the line drawing onto a piece of buckram to use as the cartoon.
  • Draw a vertical dashed line down the center of the buckram cartoon.
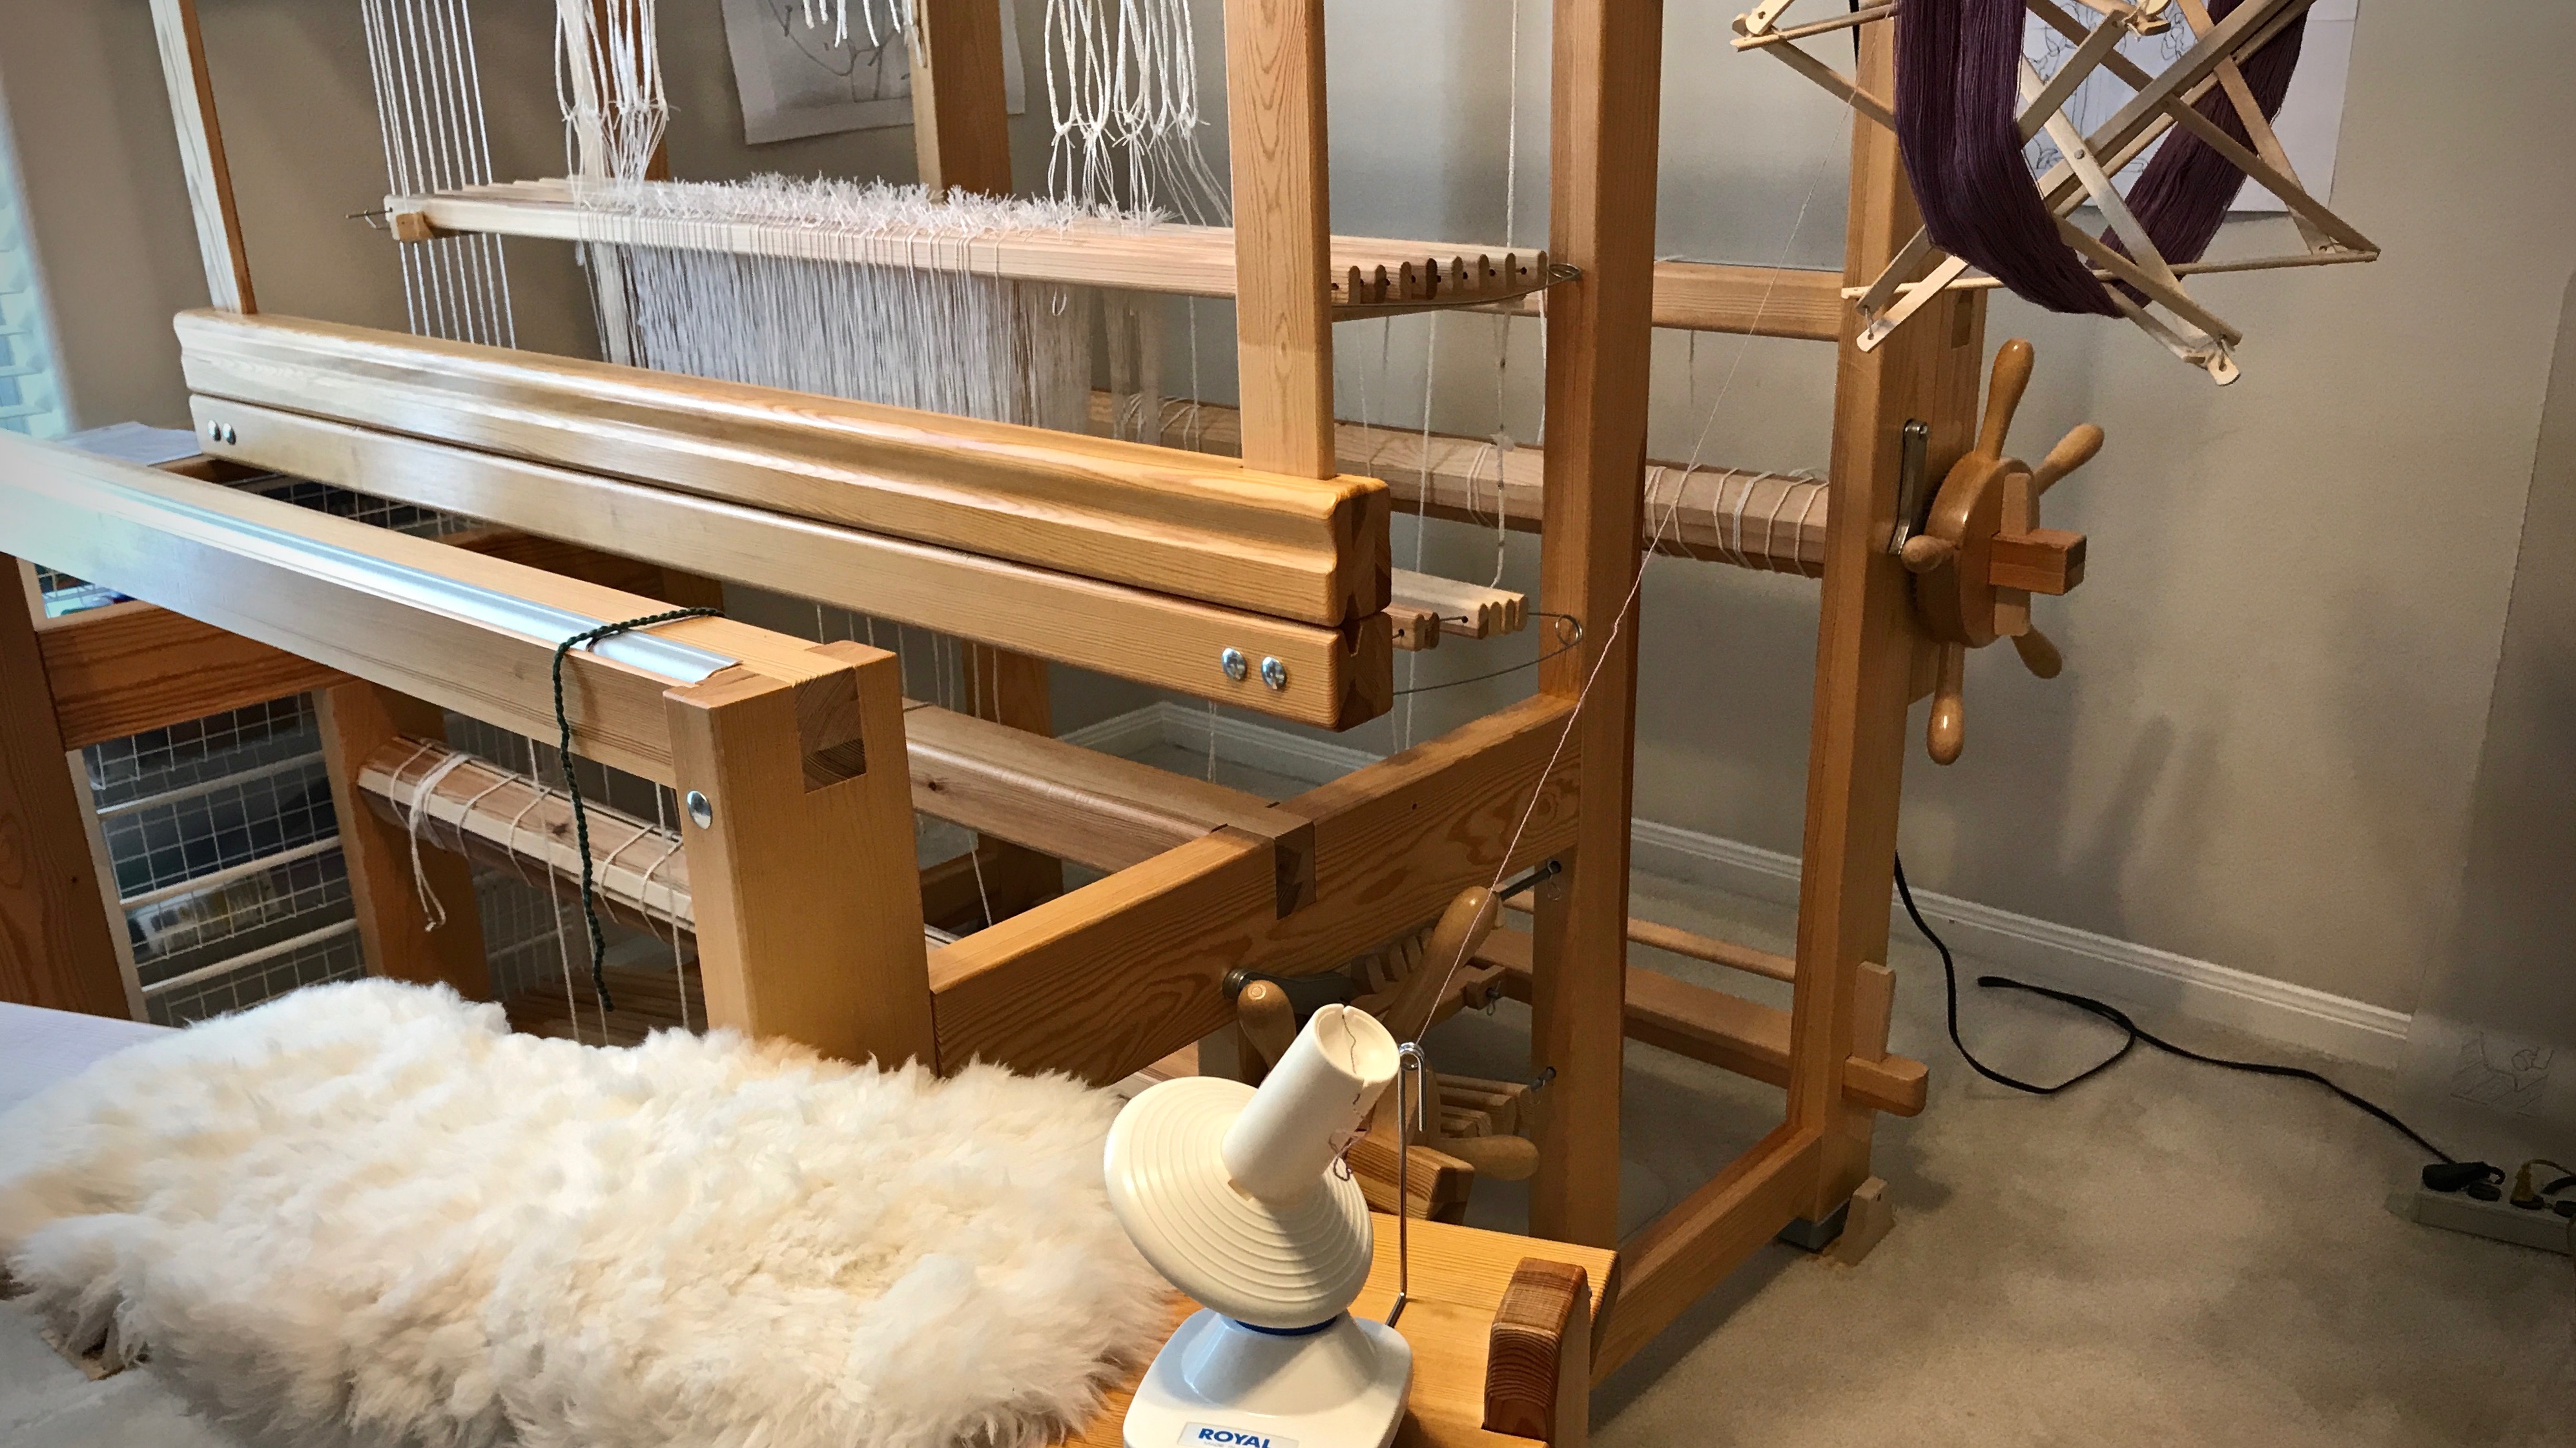
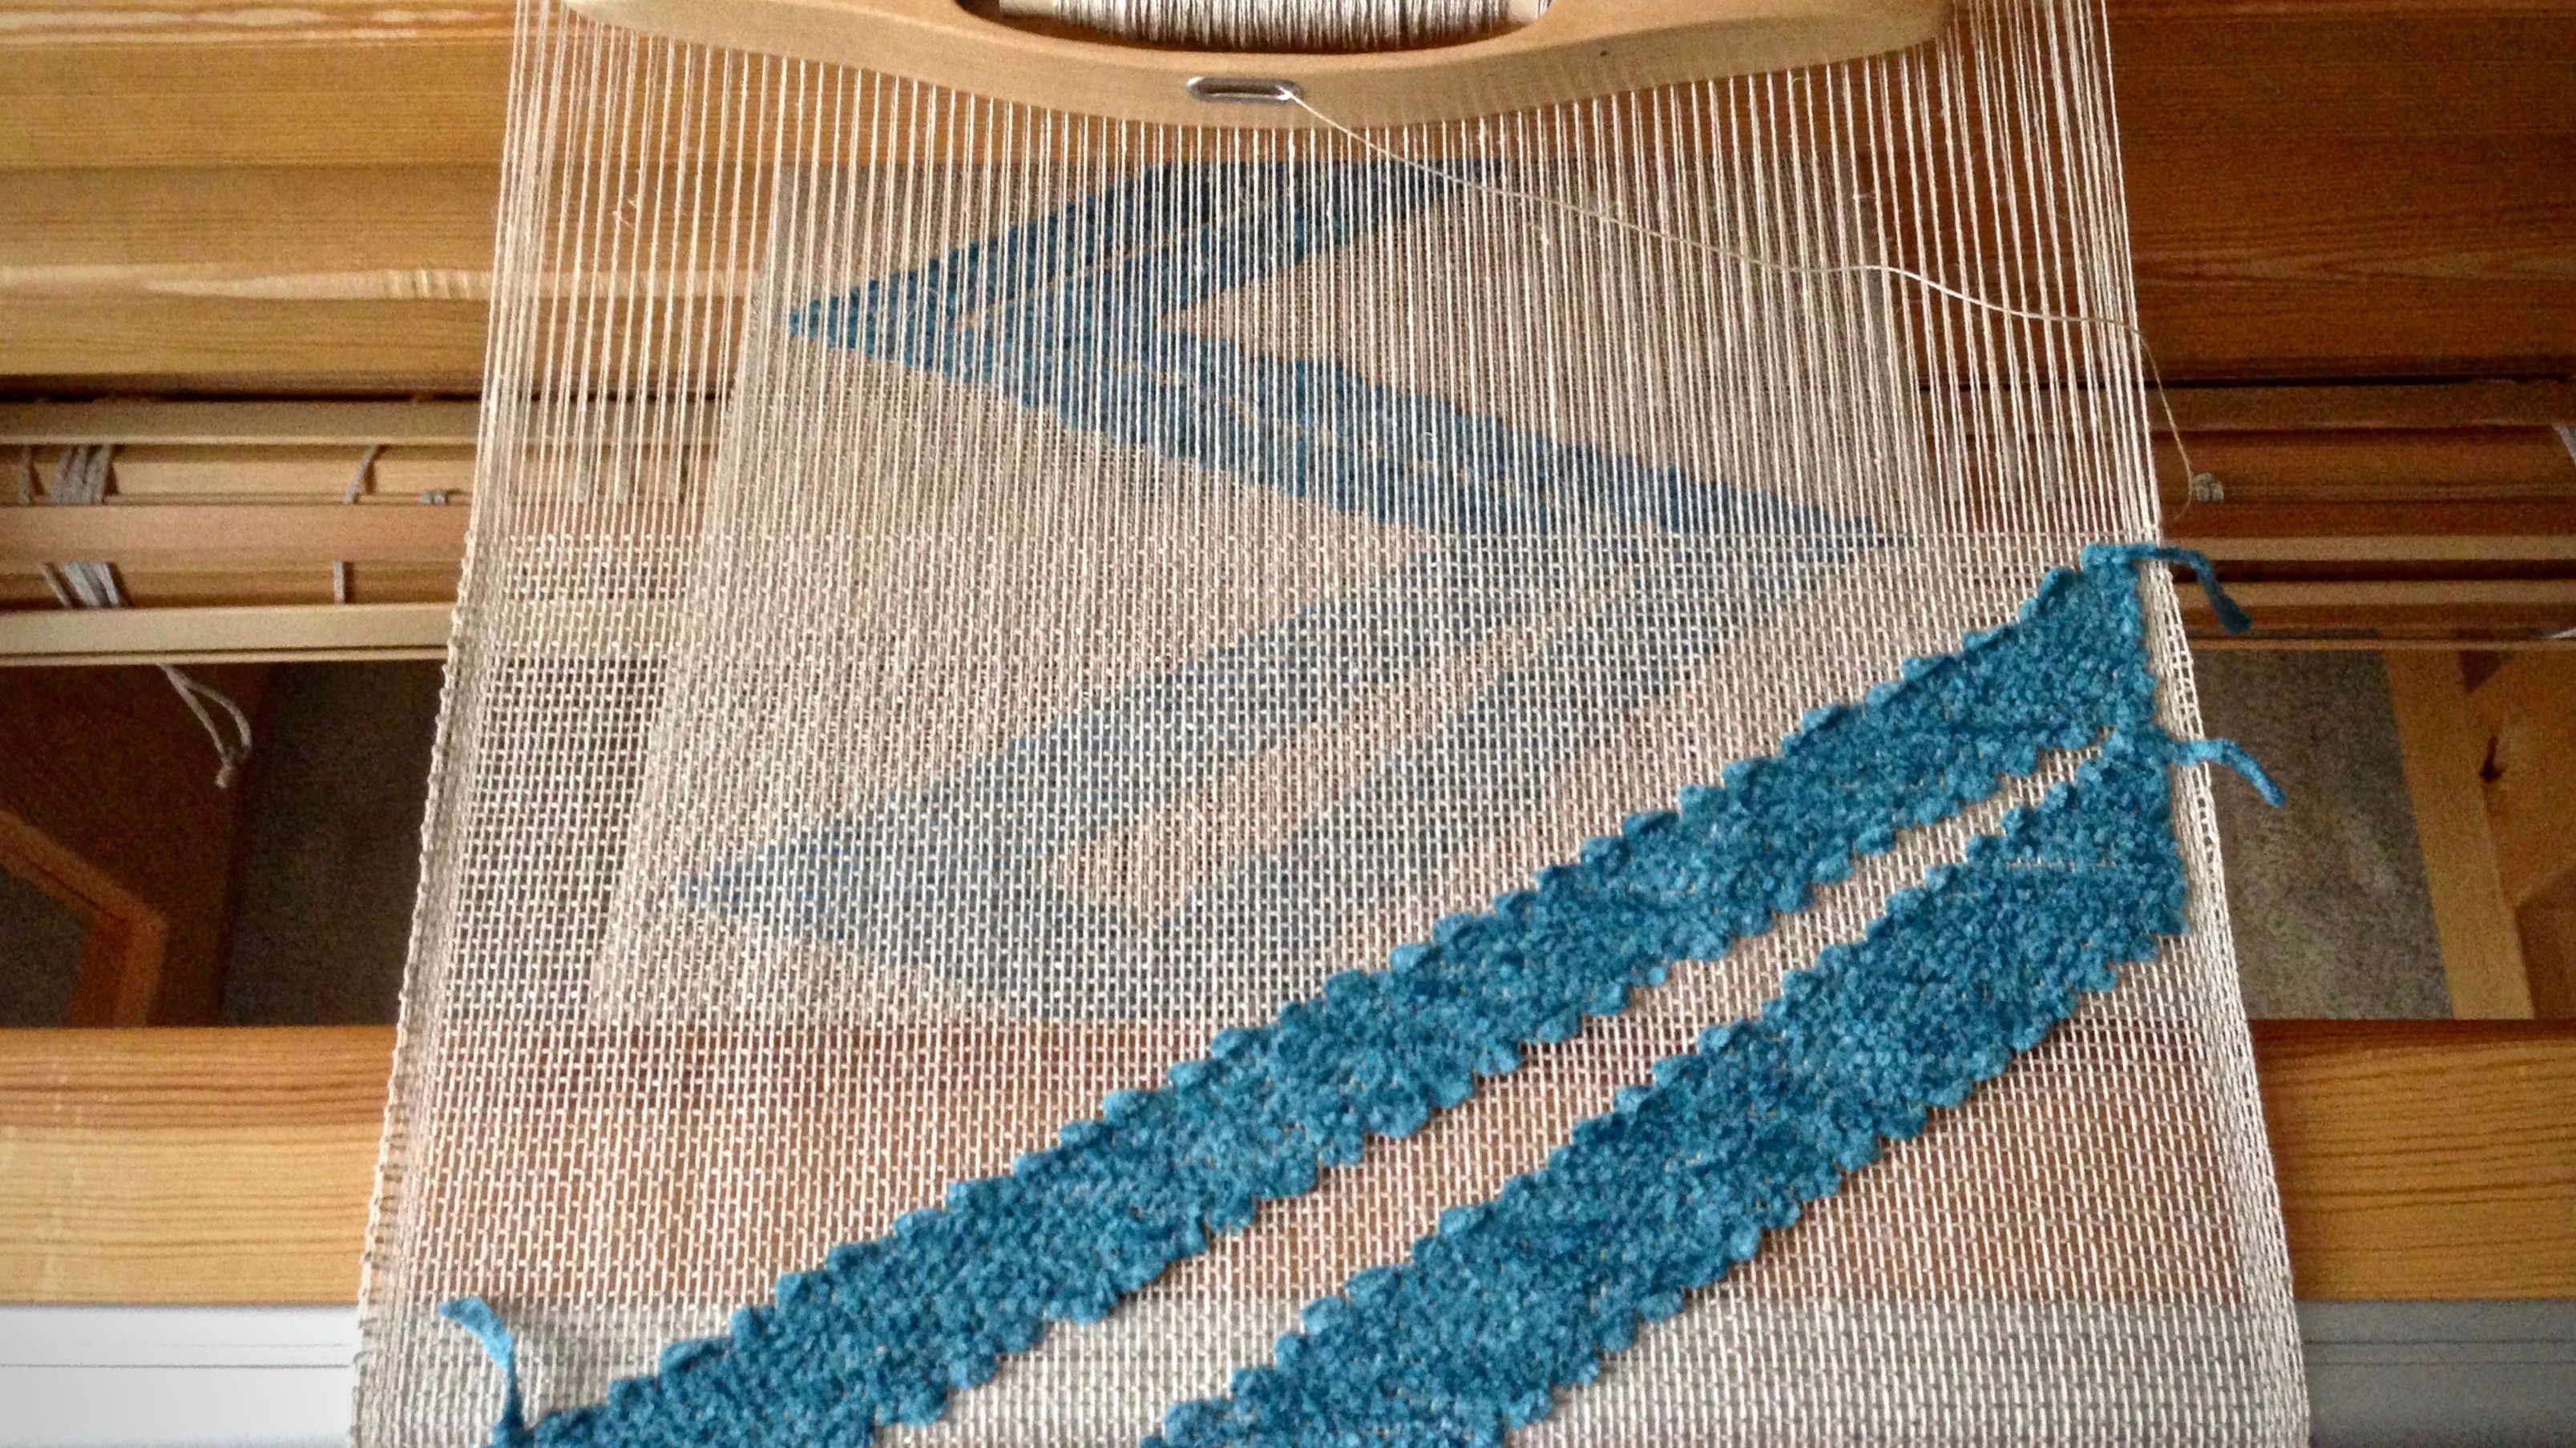
  • Pin the cartoon under the weaving, lining up the center line on the cartoon with the center warp end. Move the pins, one at a time, before advancing the warp each time.
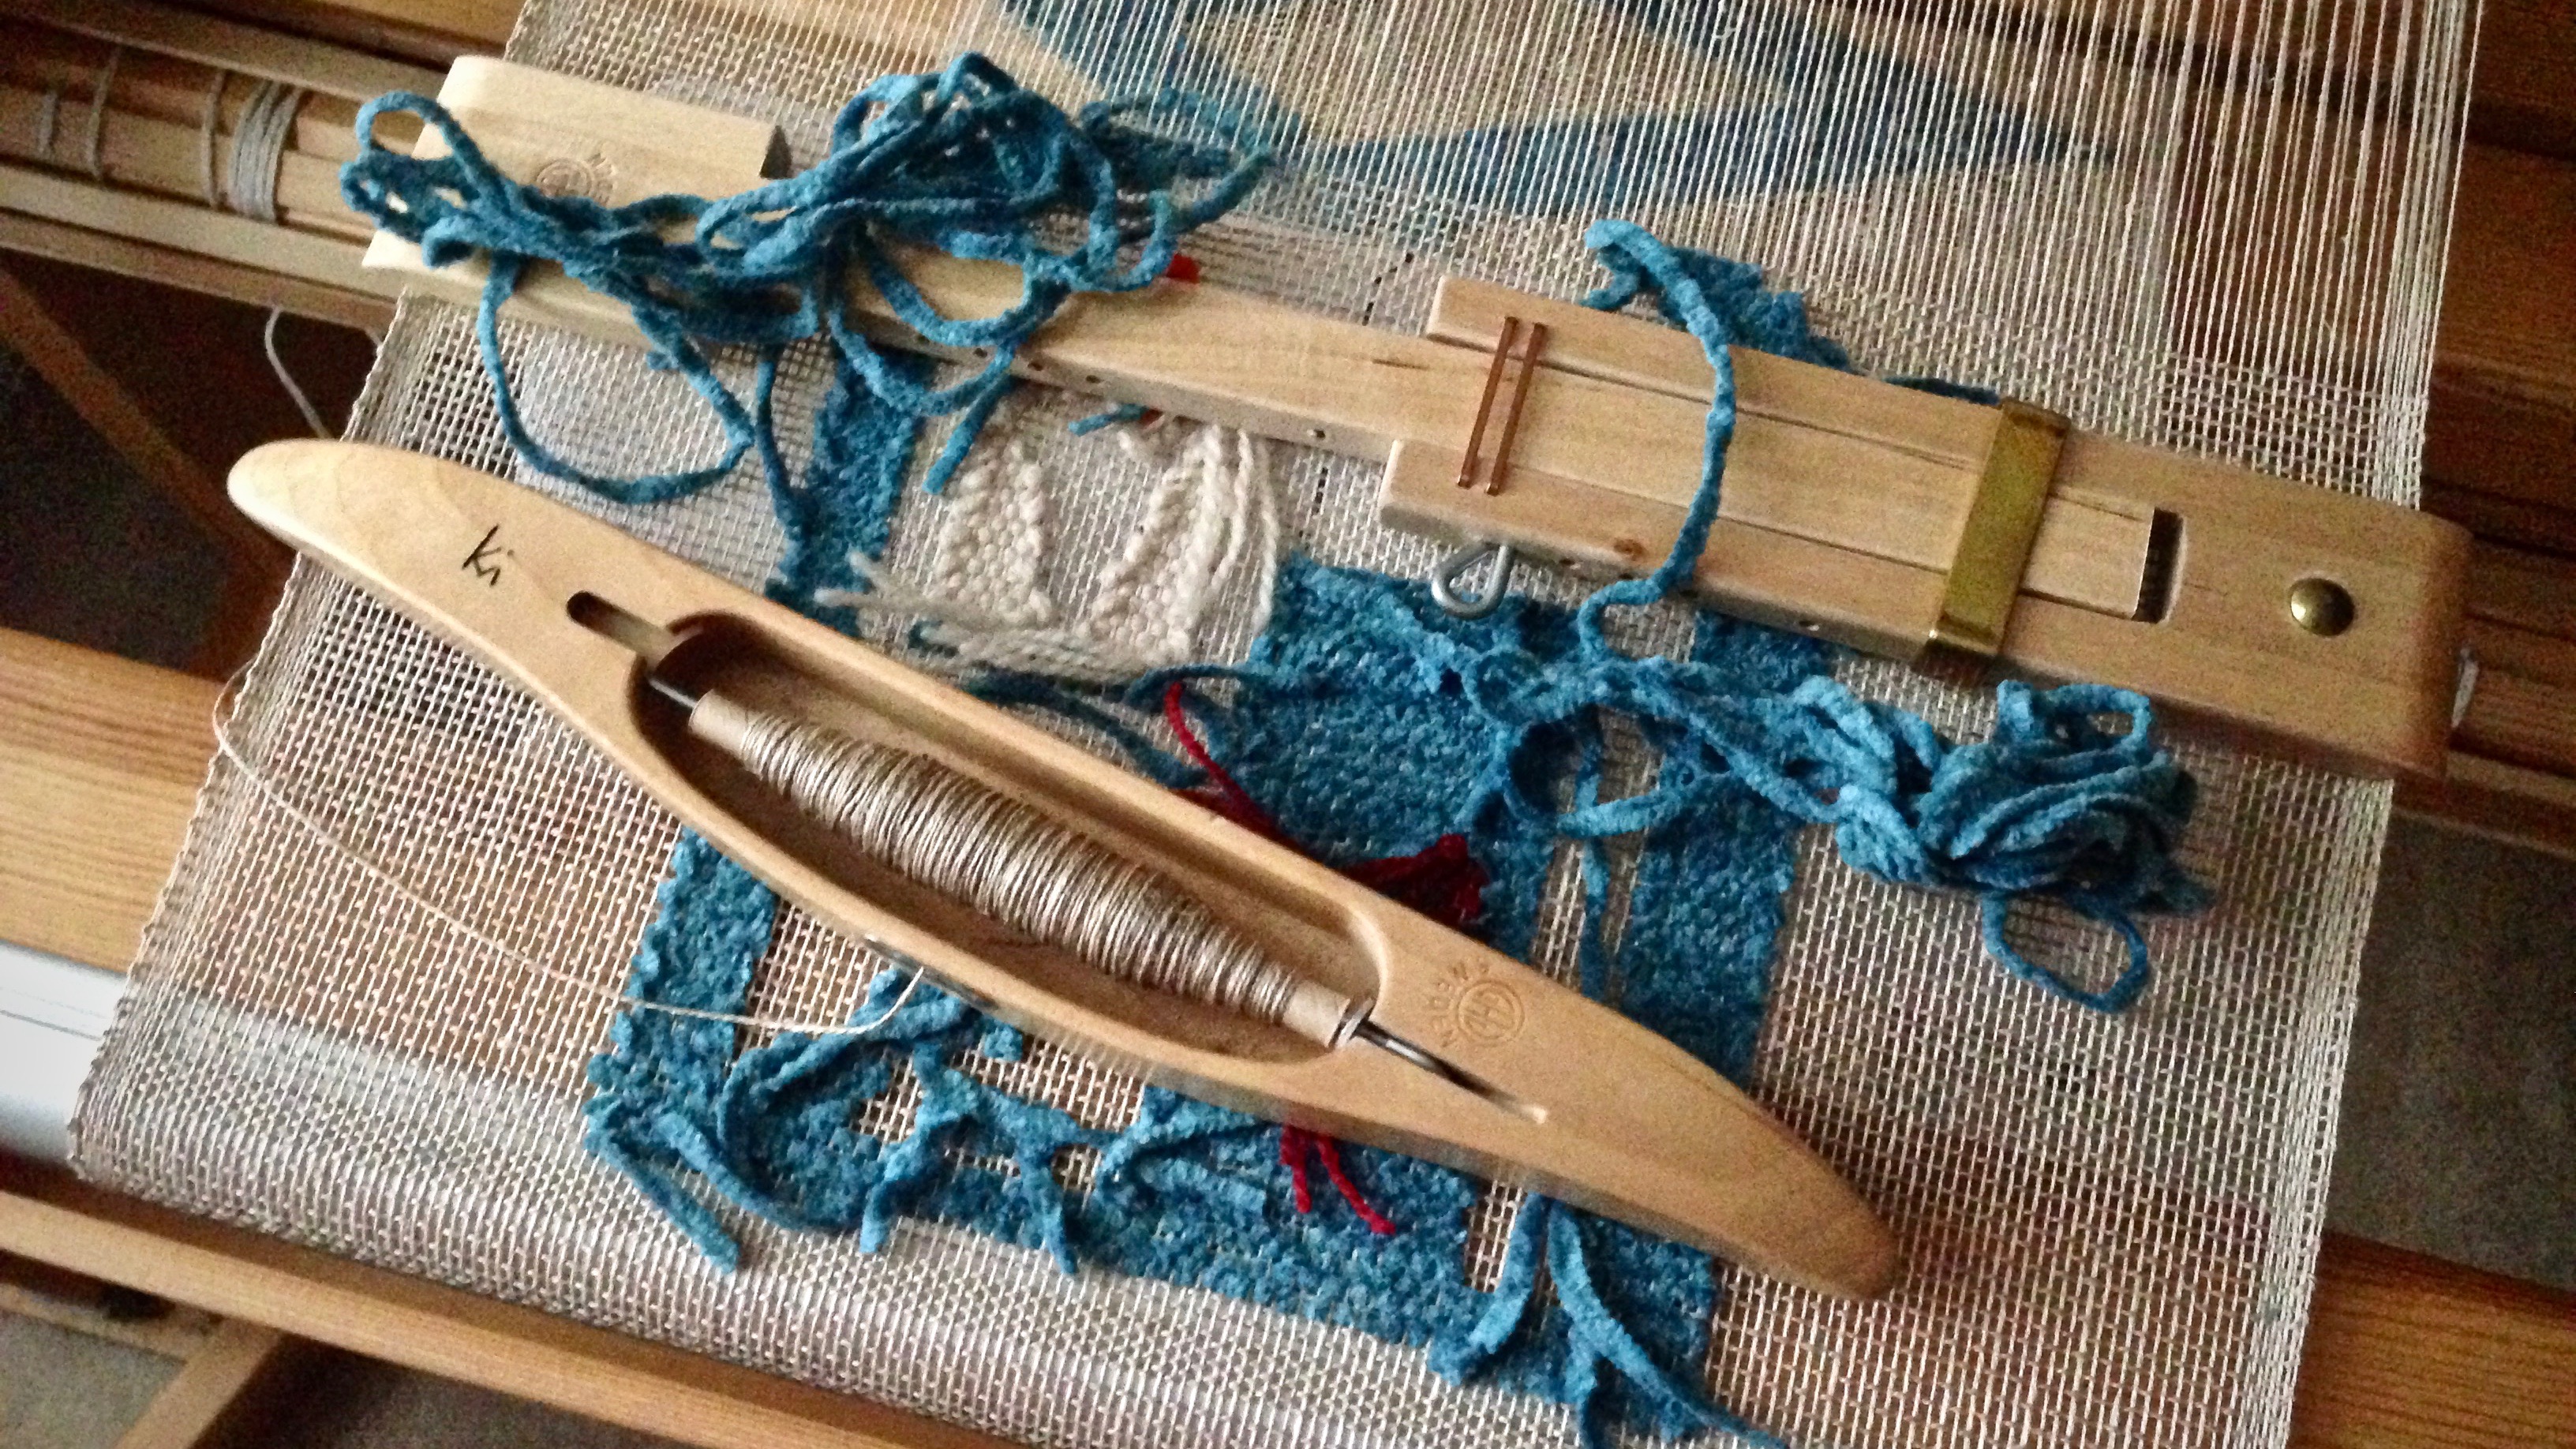
Buckram used for transparency cartoon.

Color Selection

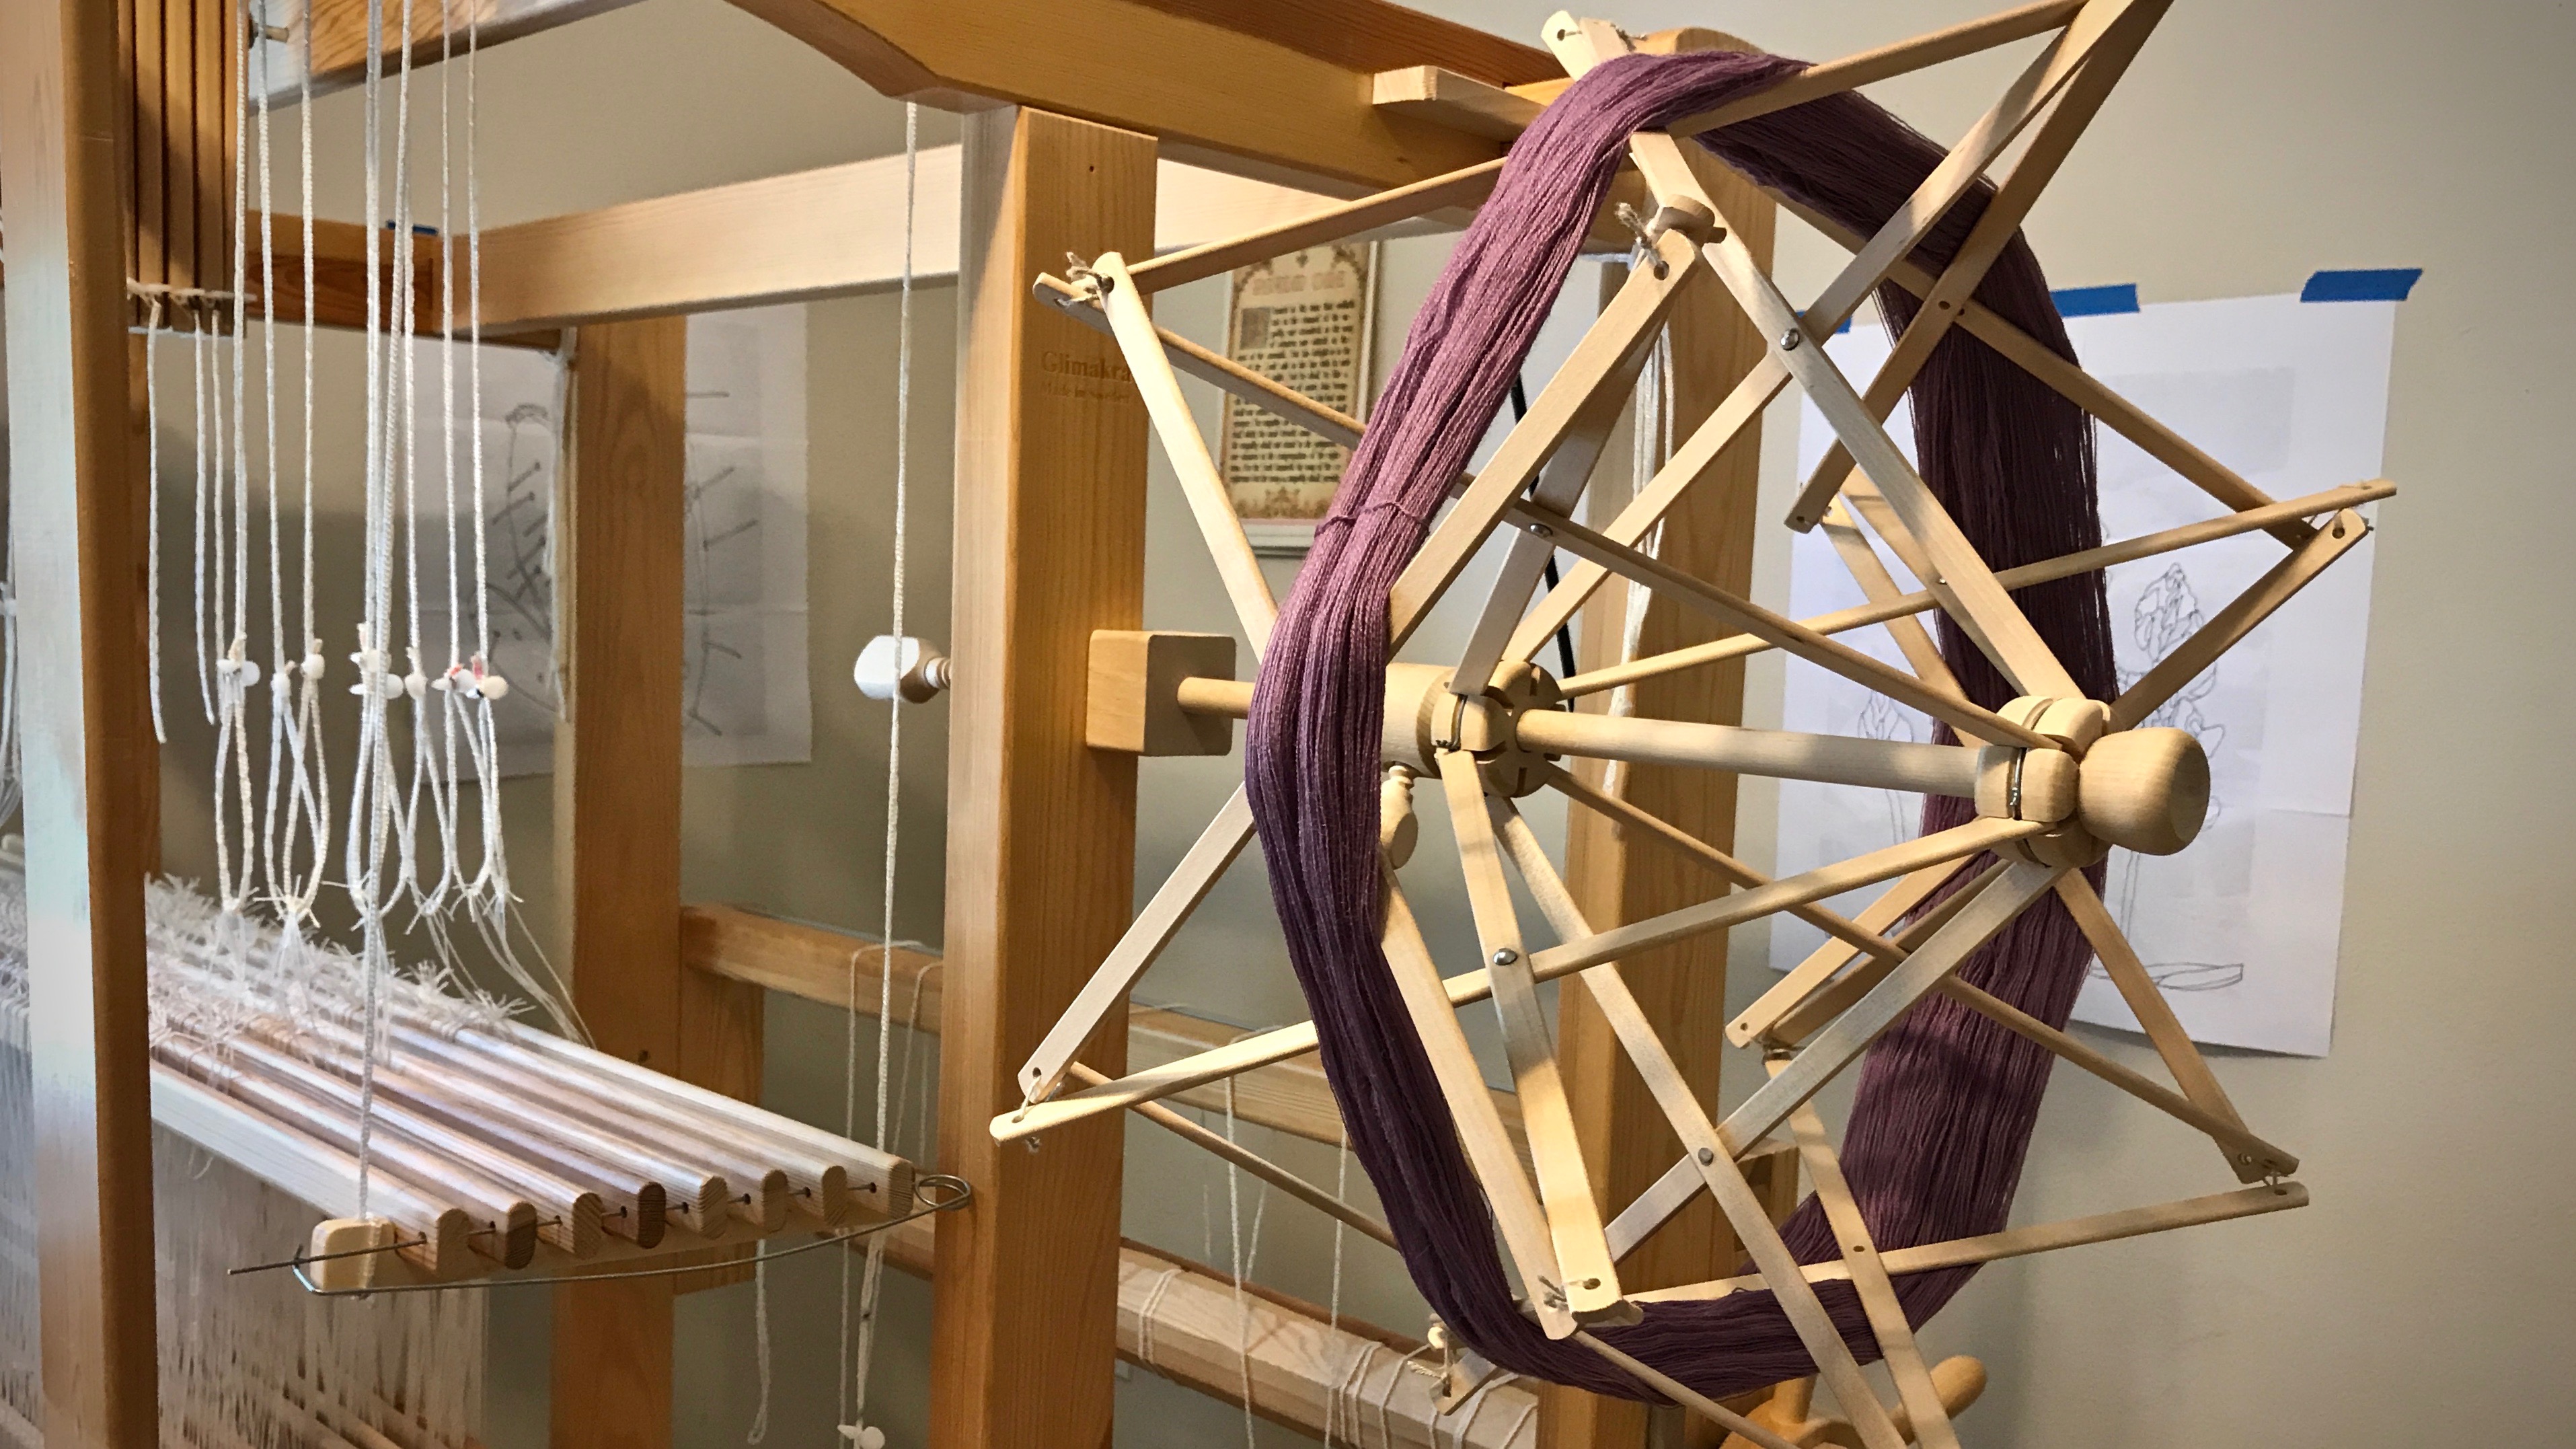
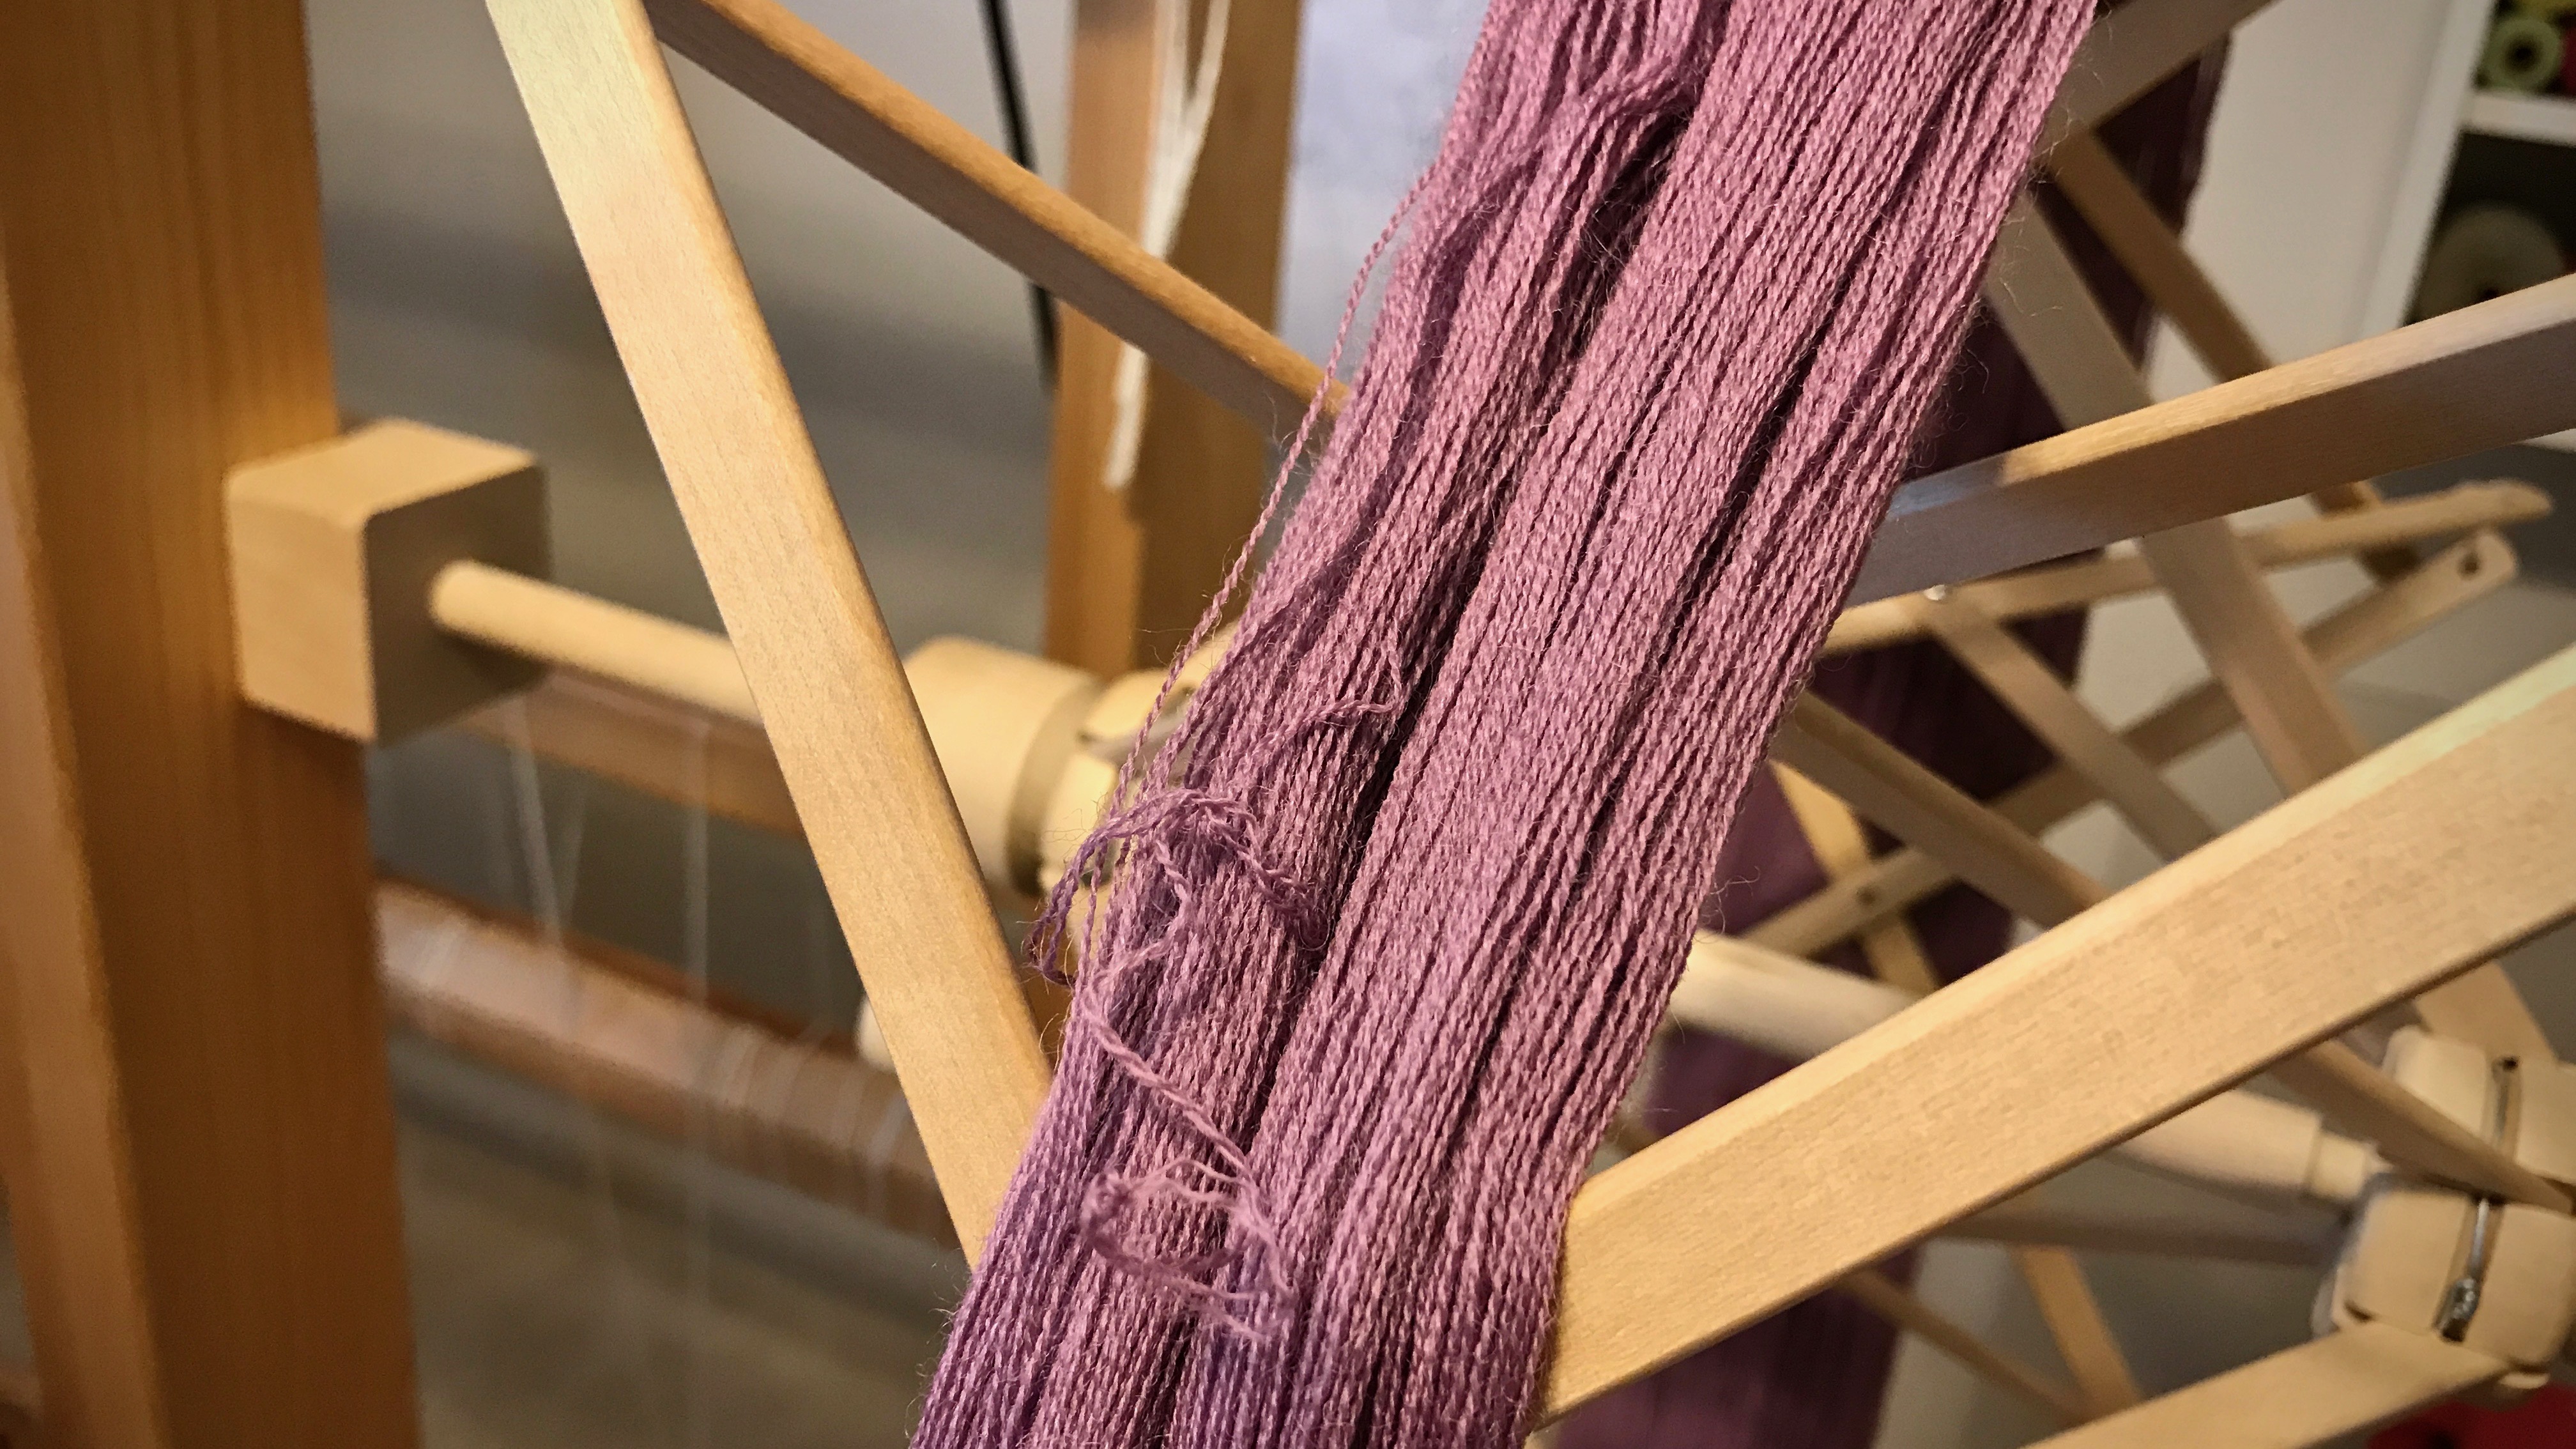
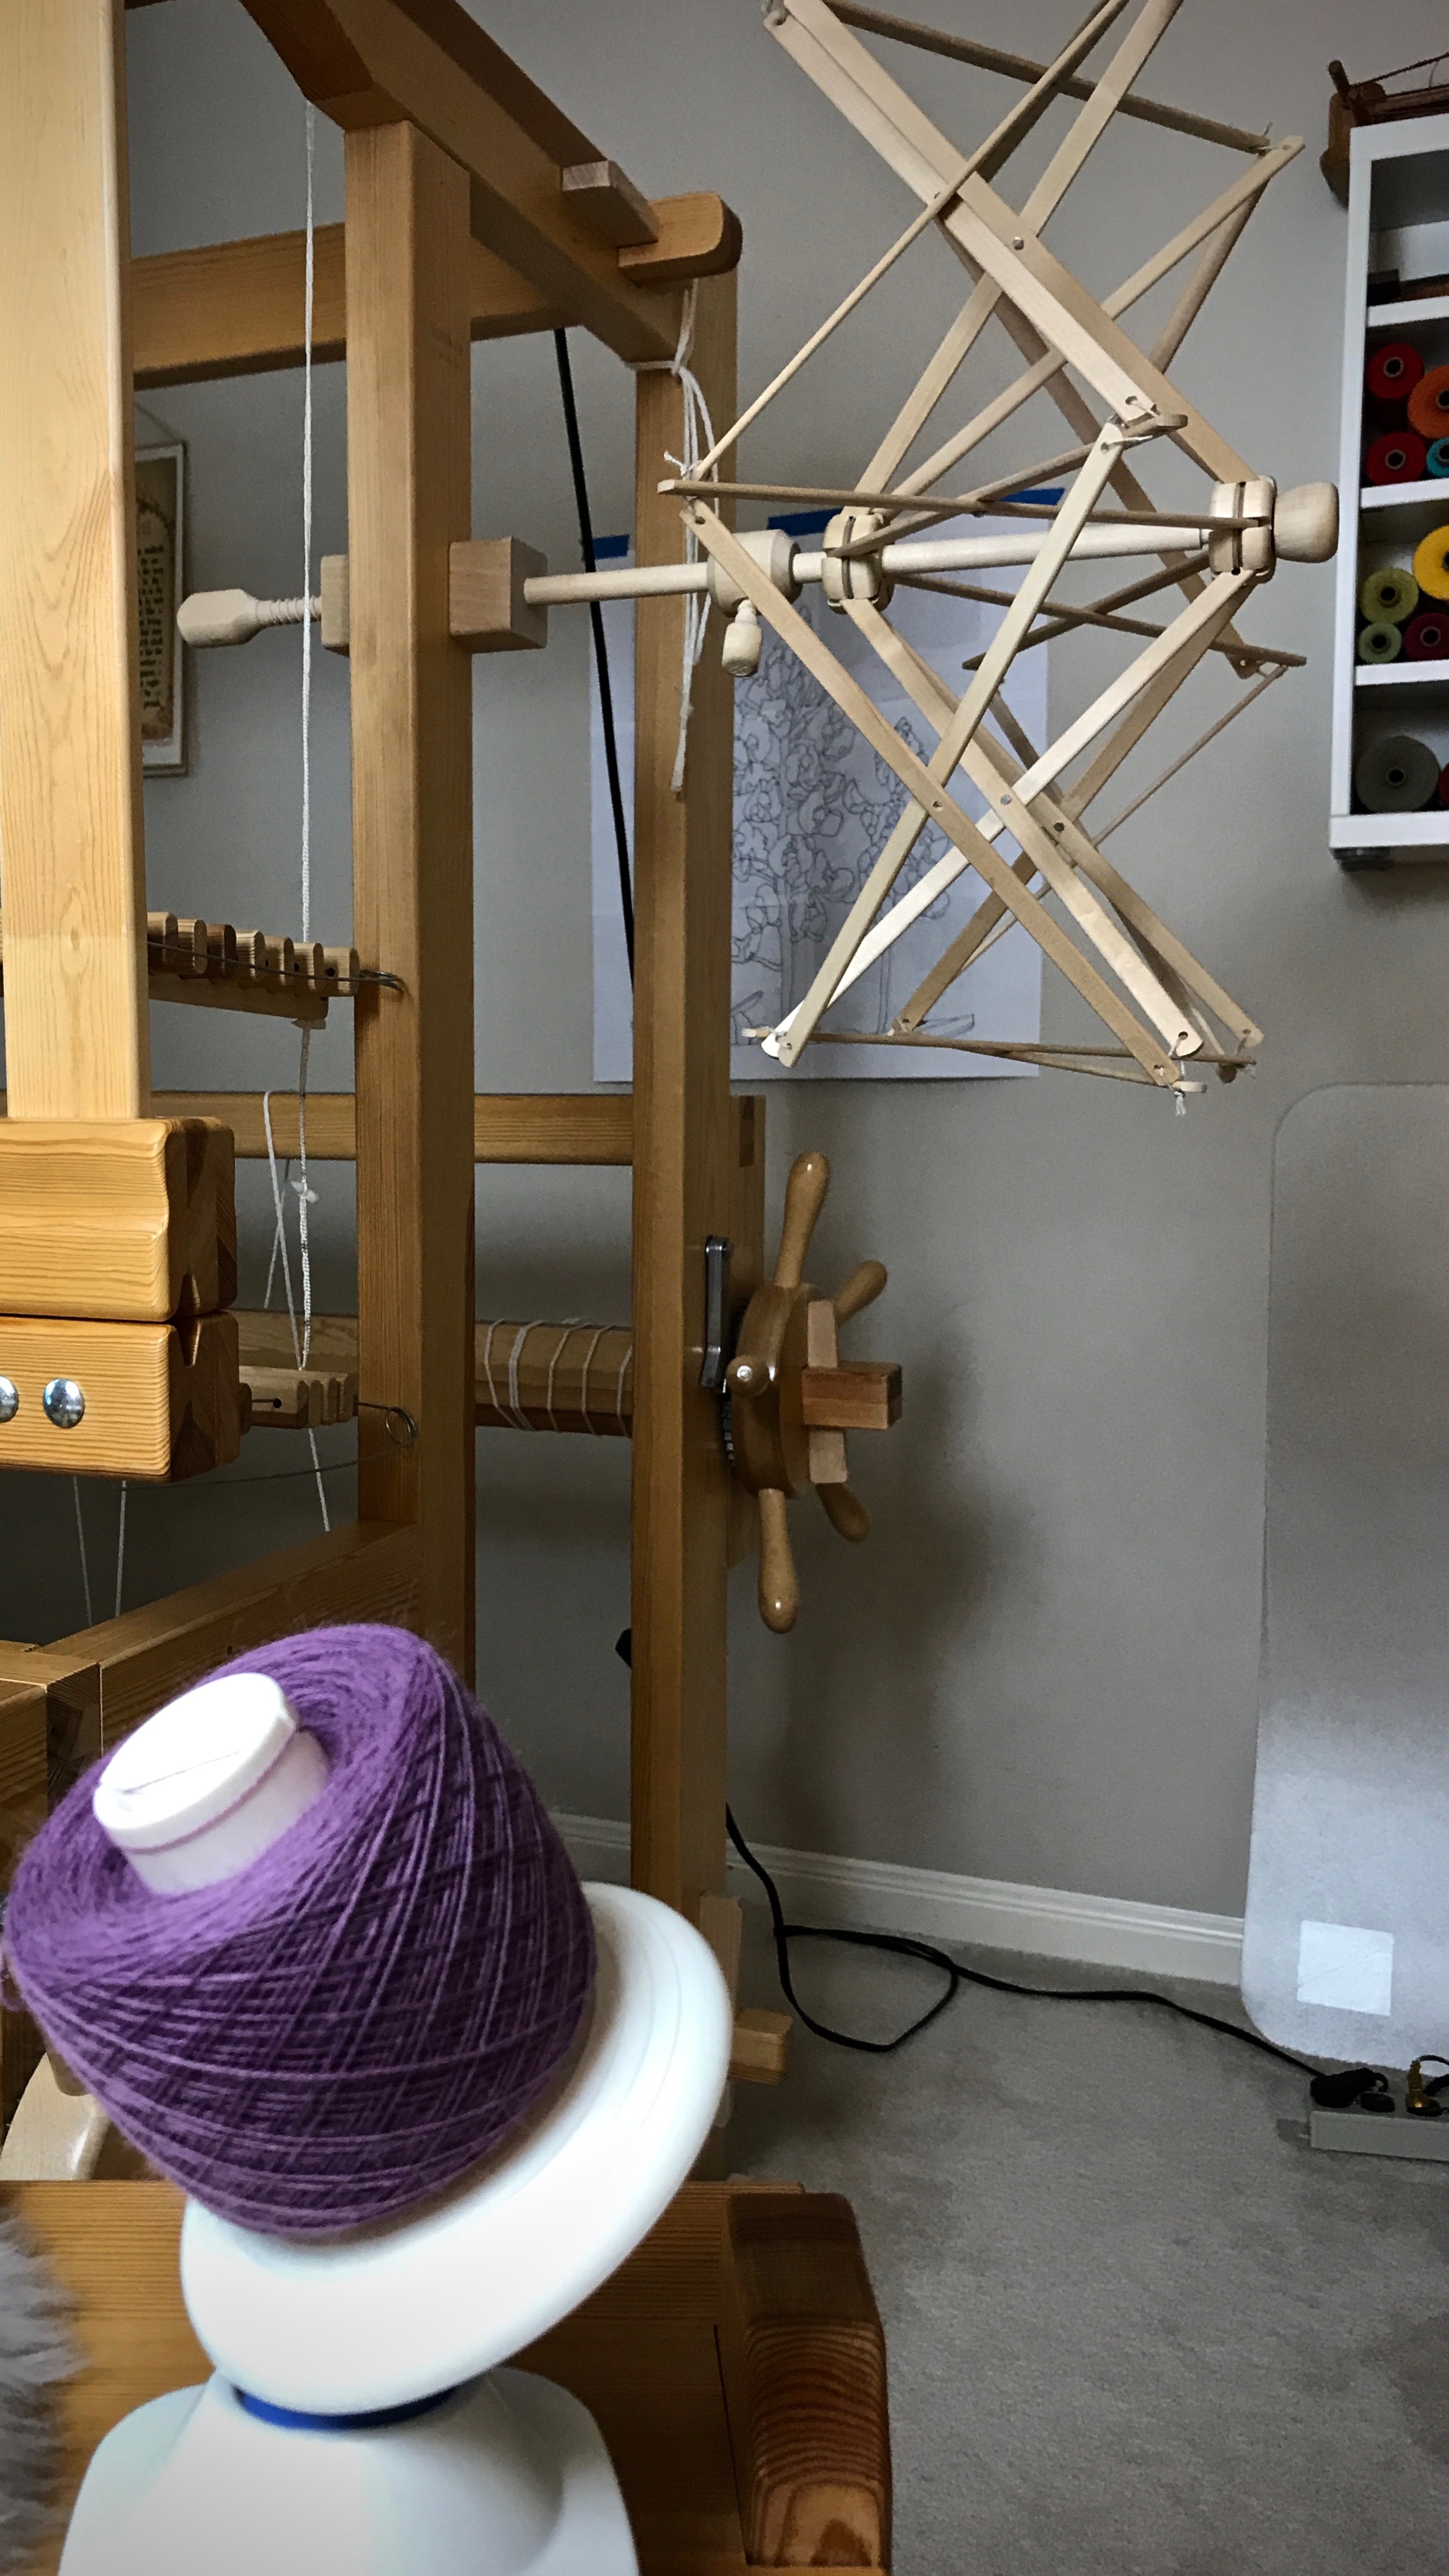
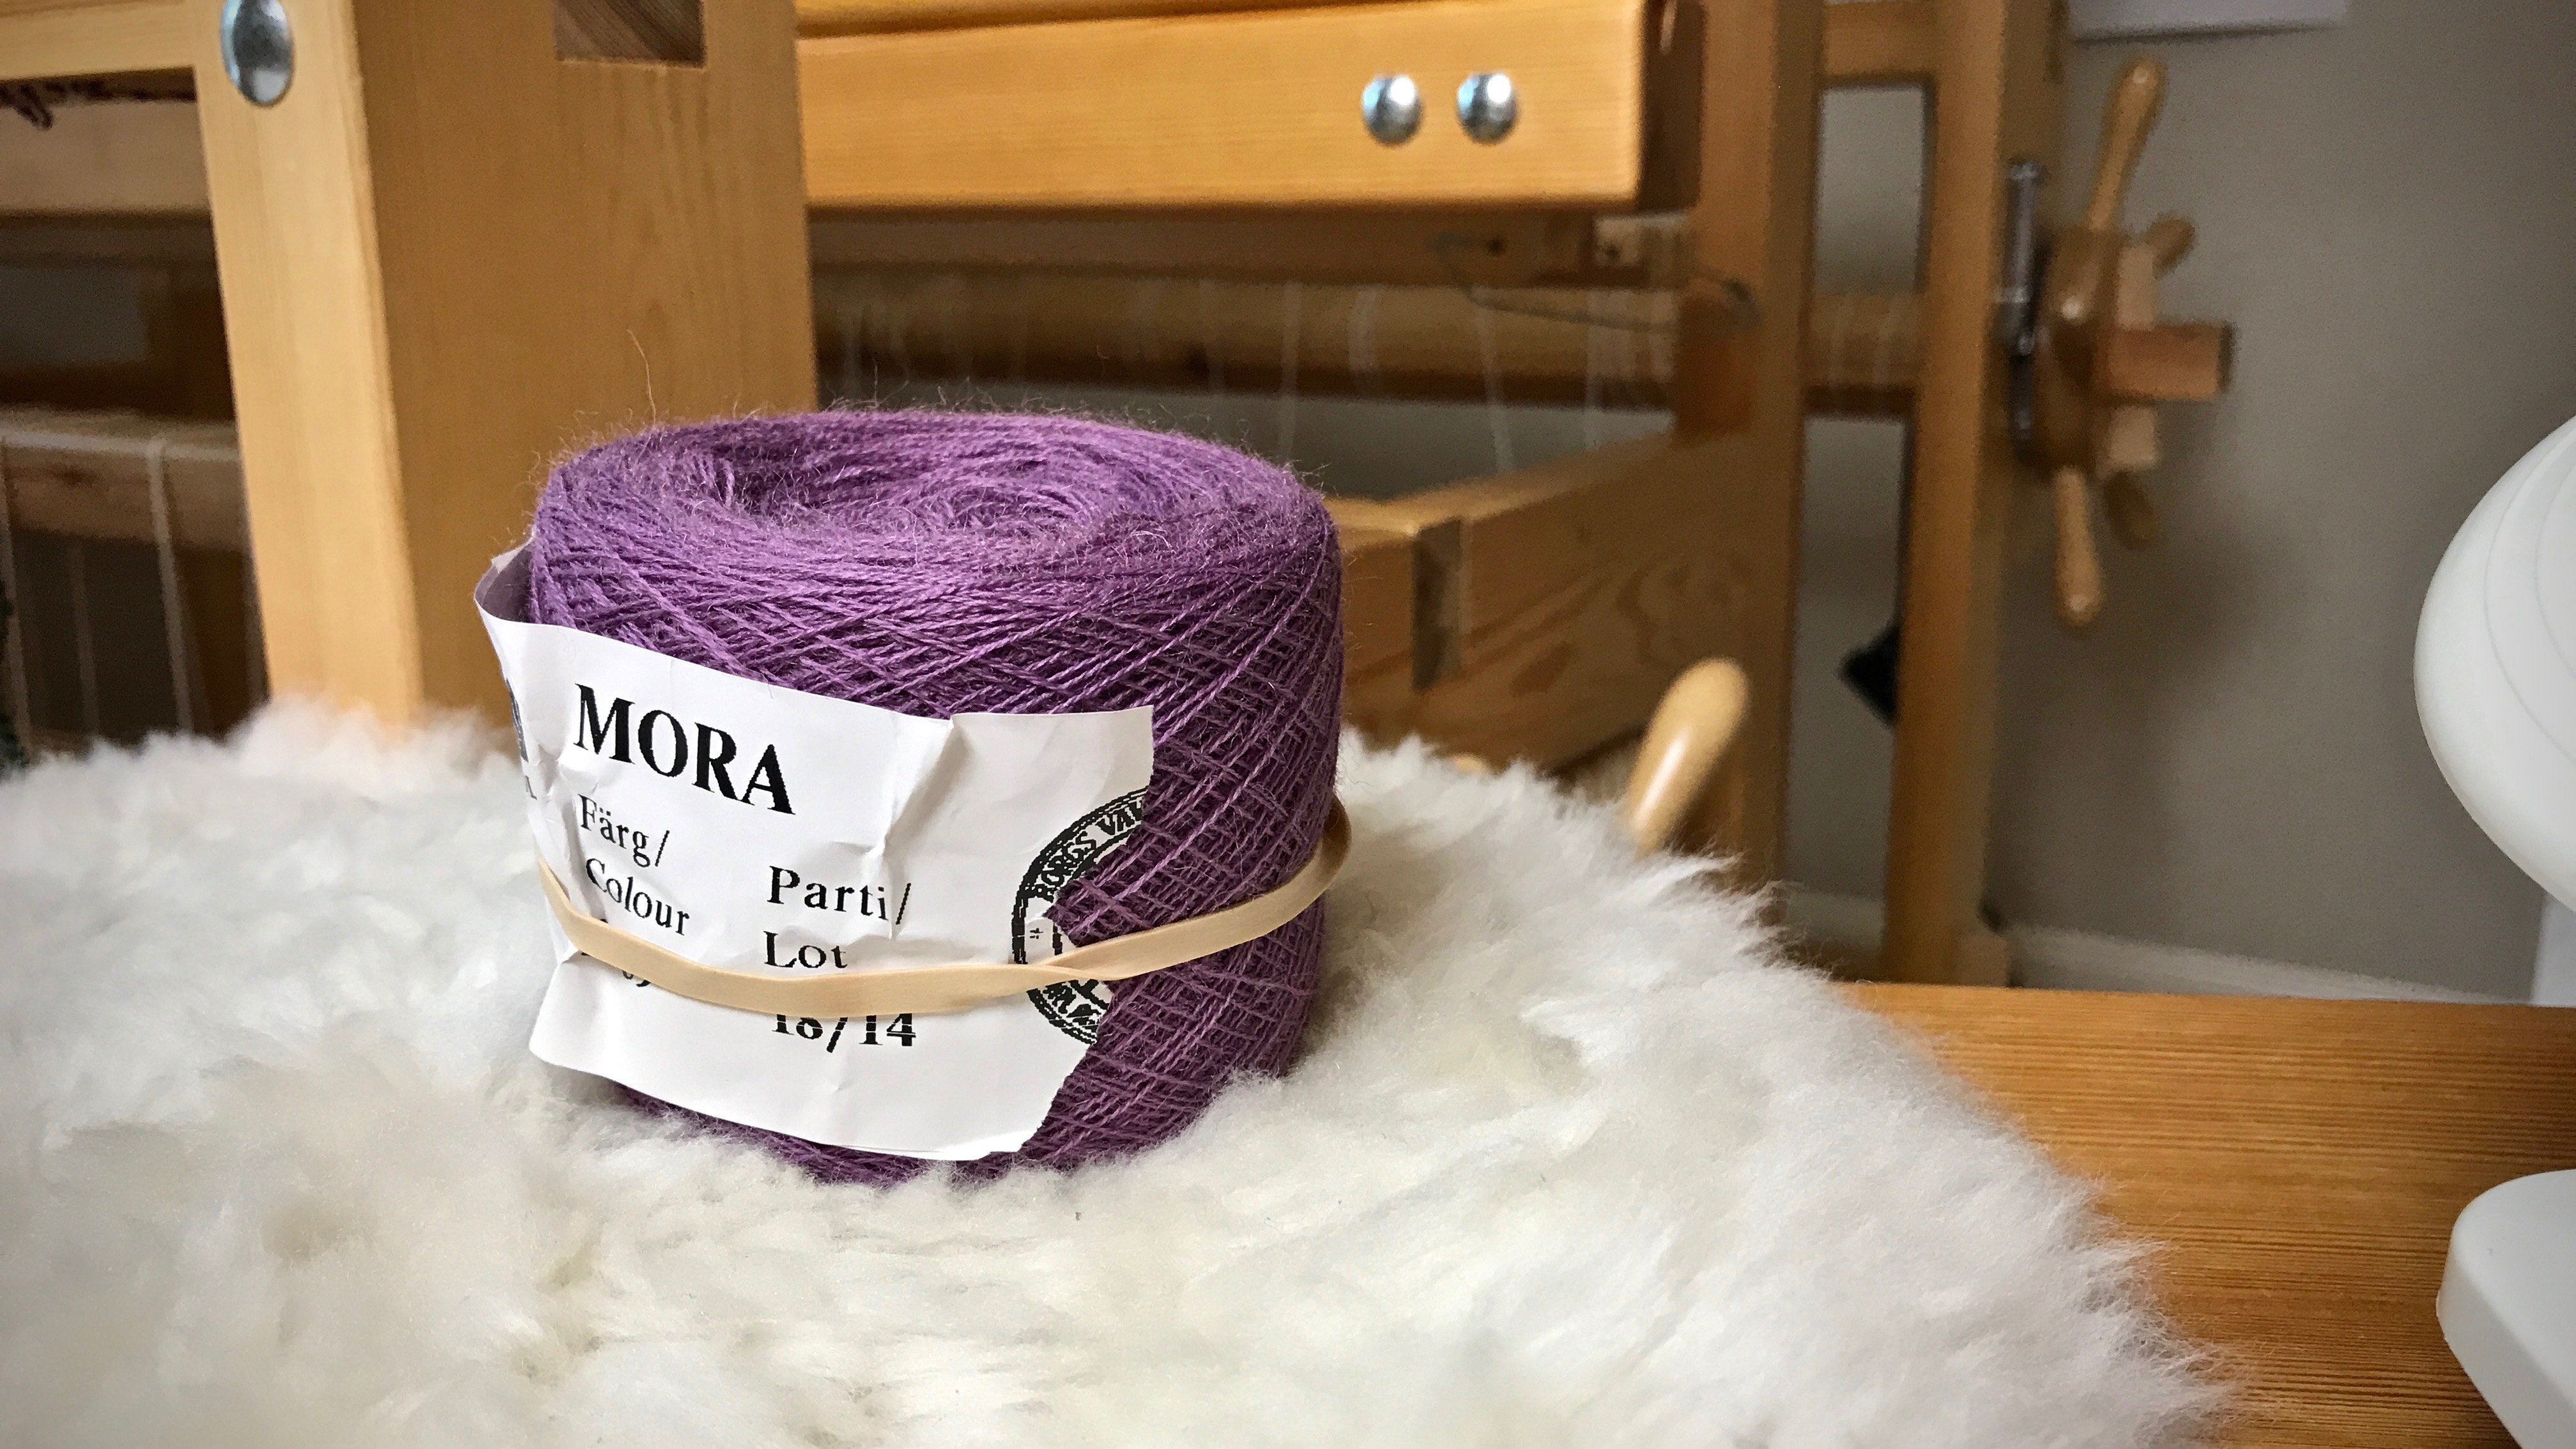
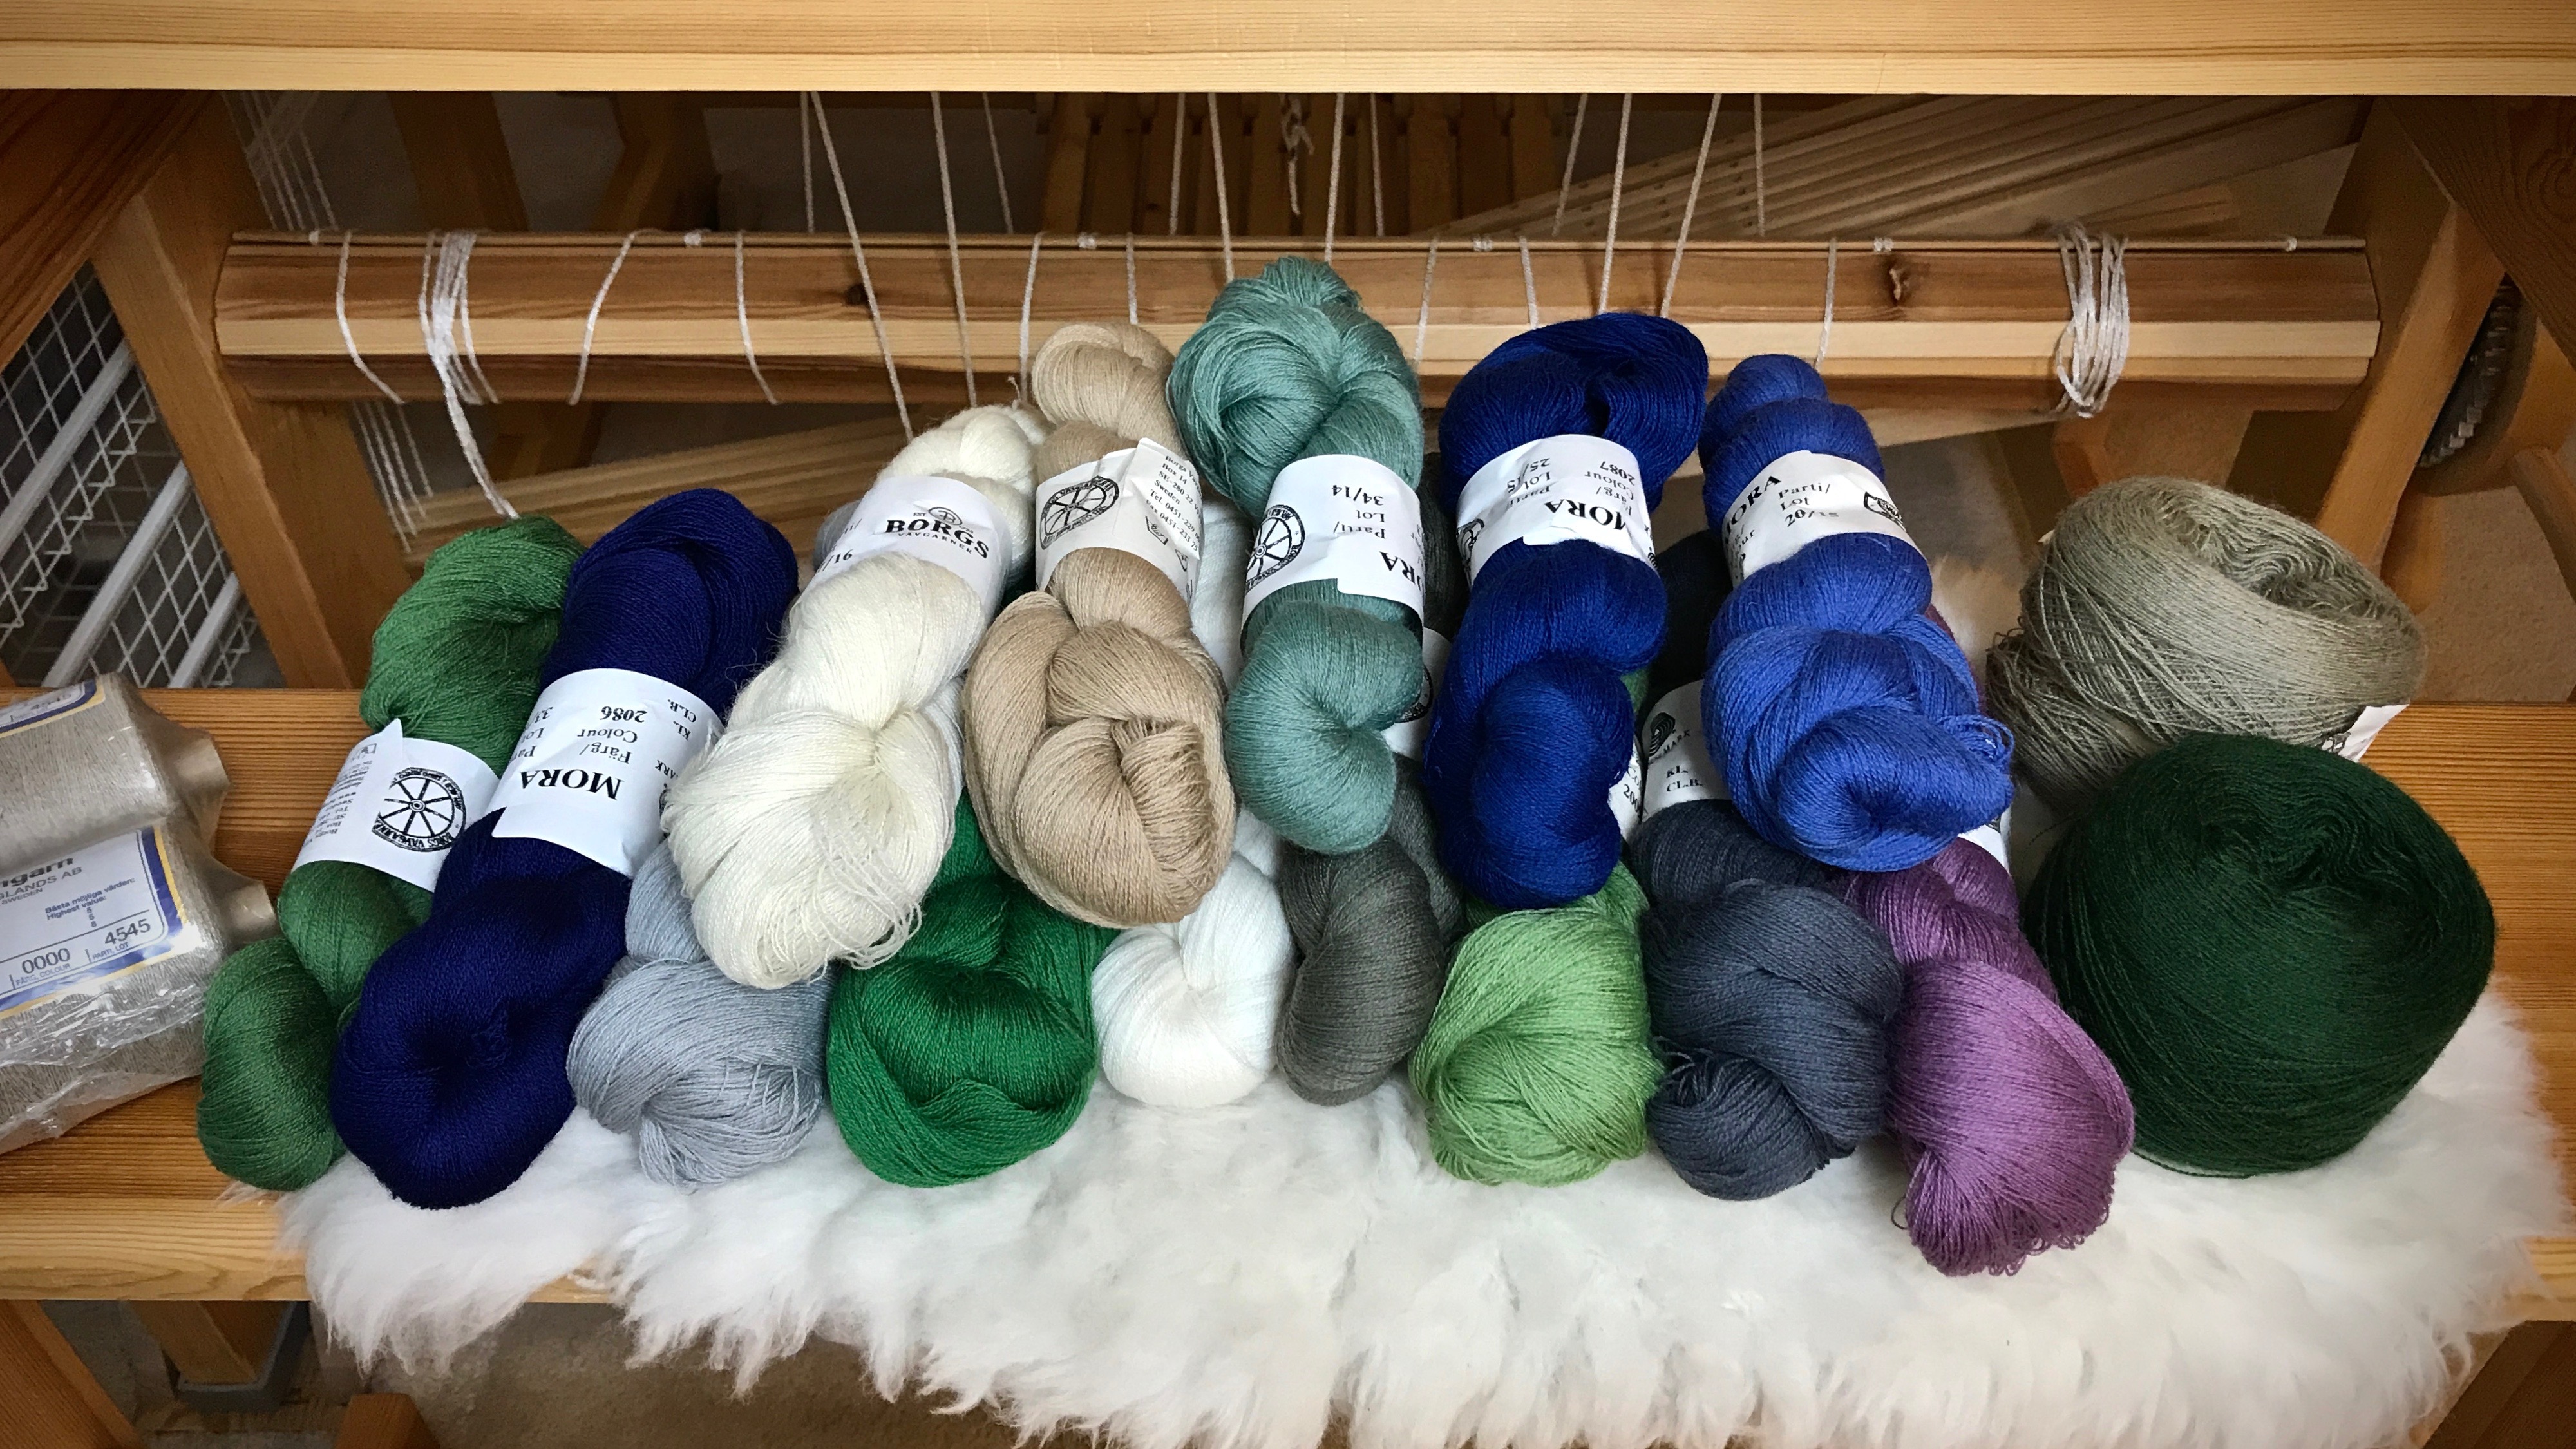
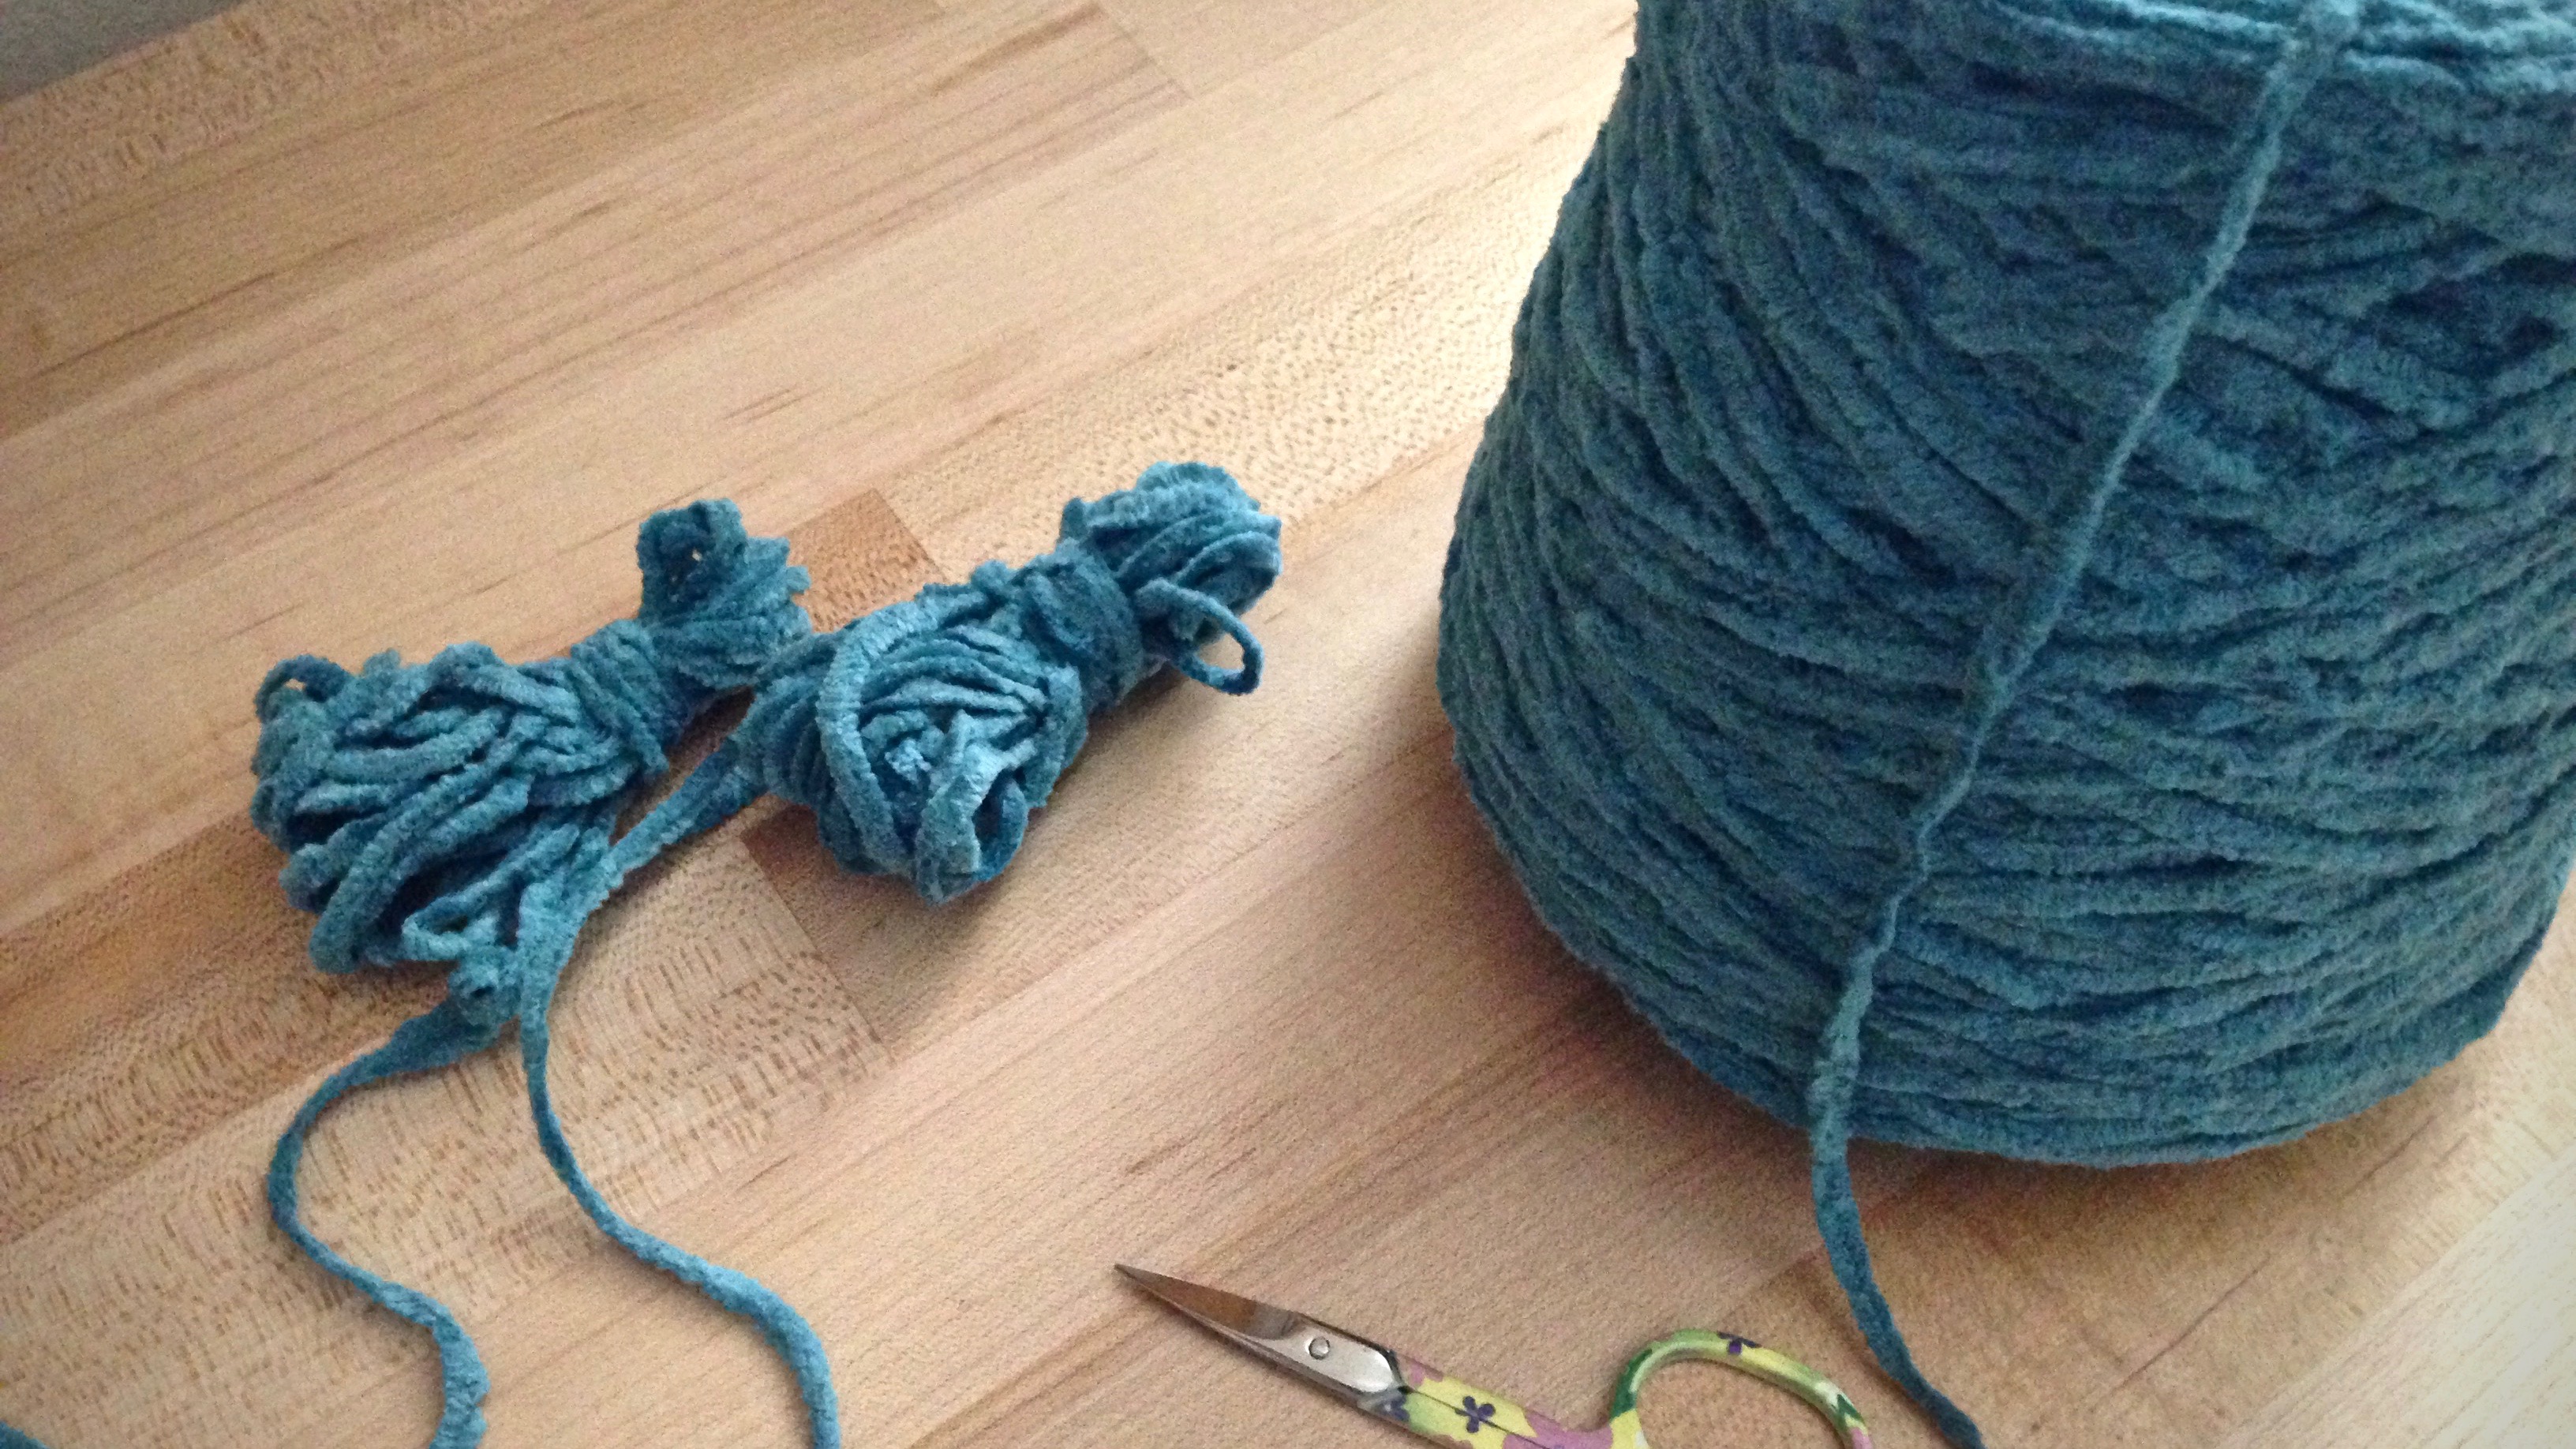
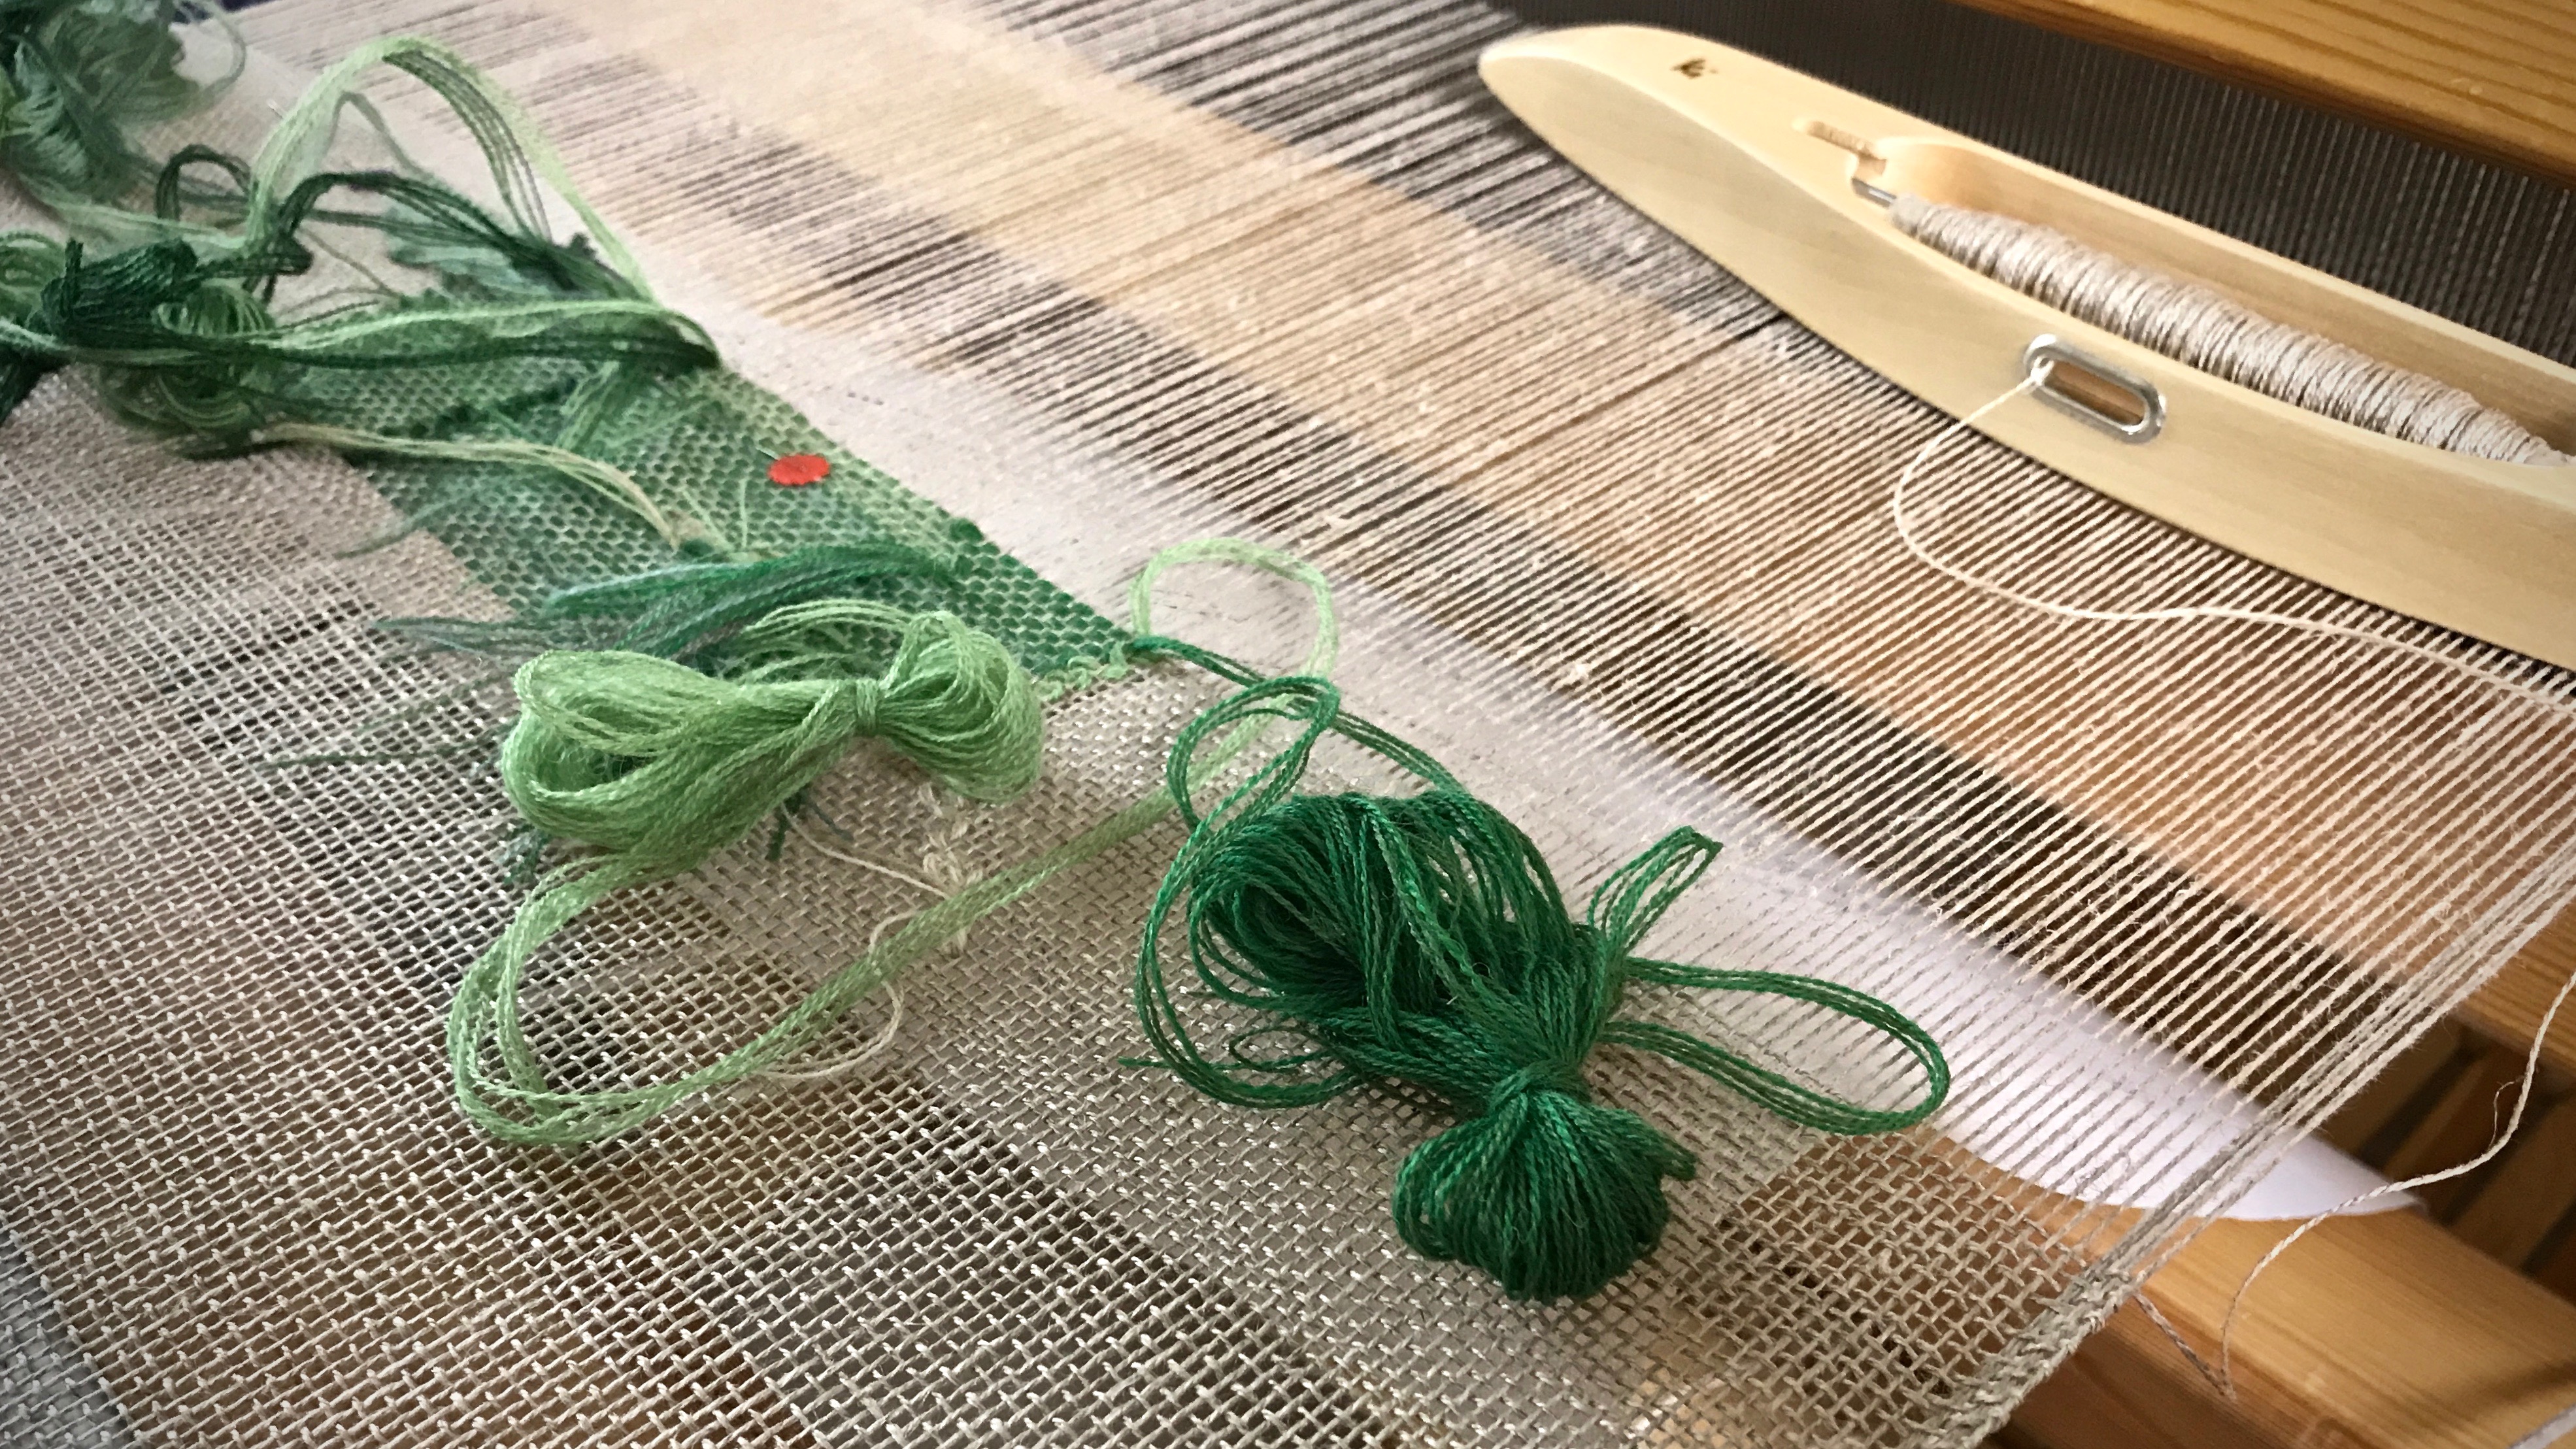
  • Use the photograph to select yarn colors for the transparency. (I used the iPad to view the photo, and selected sixteen shades of 20/2 Mora wool.)
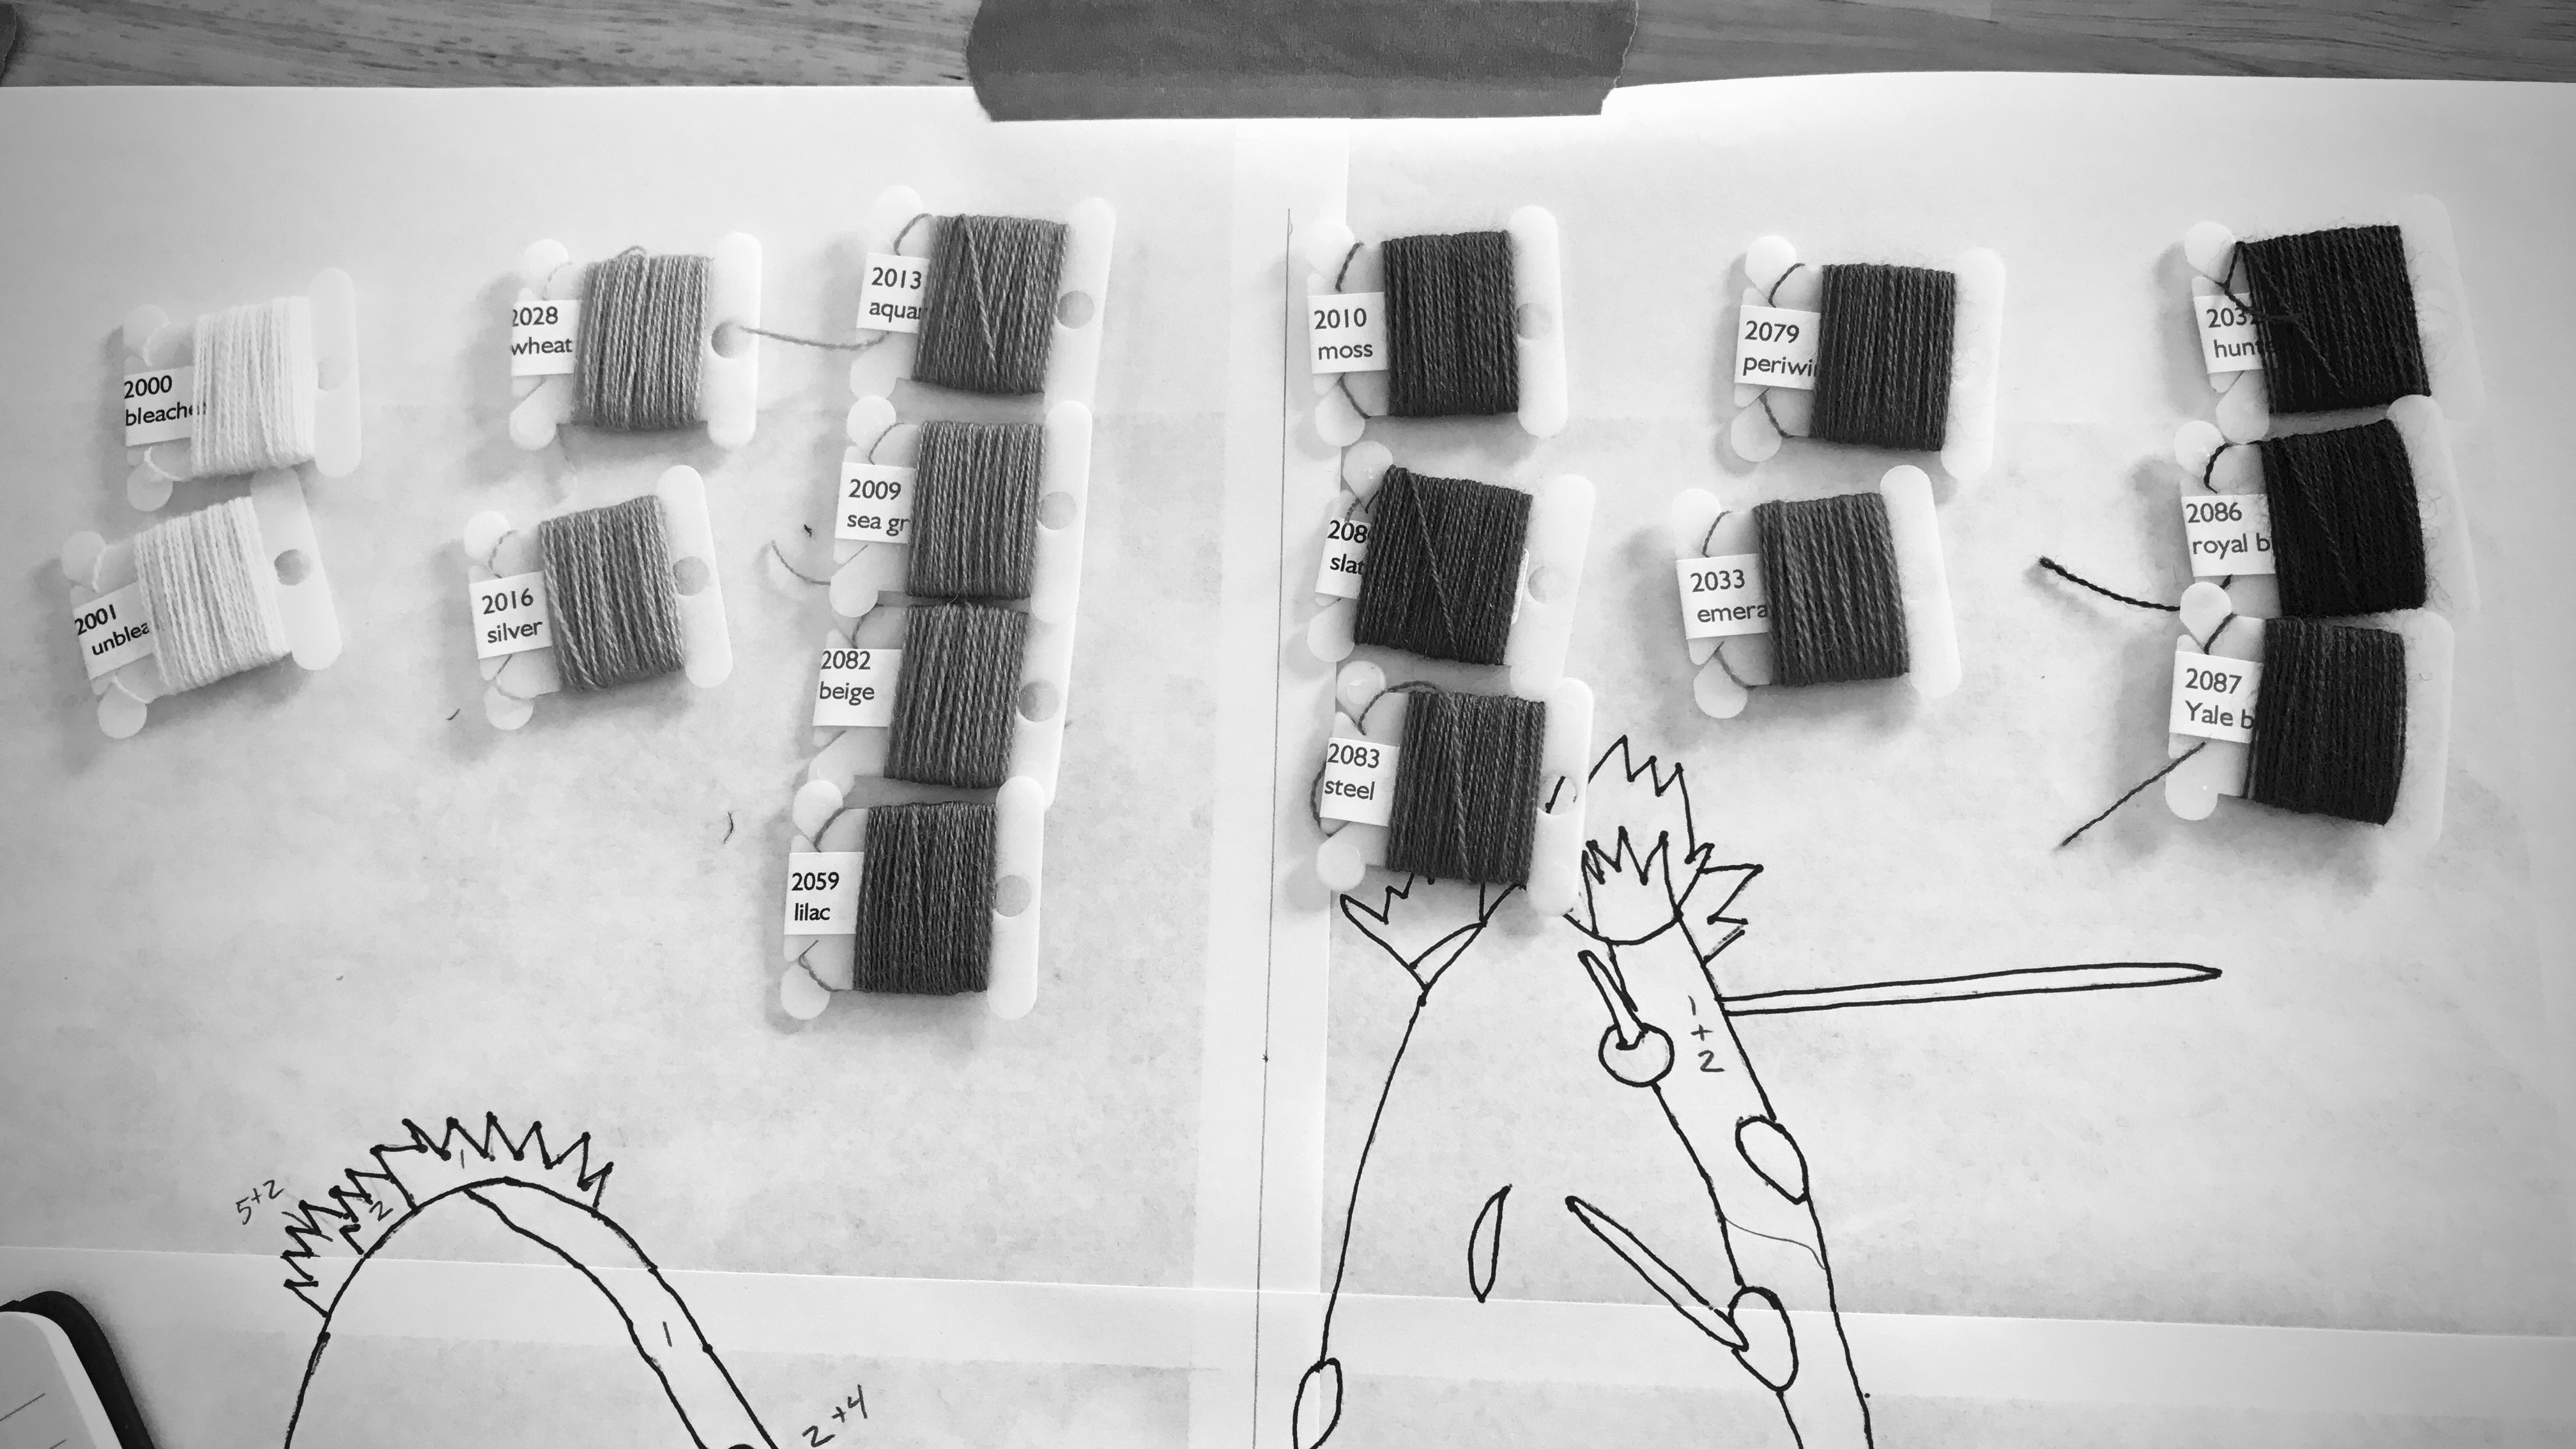
  • Sort the yarn by hues. (I used my iPhone camera black-and-white setting to help in the sorting.) Sorting by hues helps me blend similar-hued colors, and shows me the contrasts that will help define the picture.

Color selection for woven transparency. Sorting by hues.


Sorting colors by hues for woven transparency.

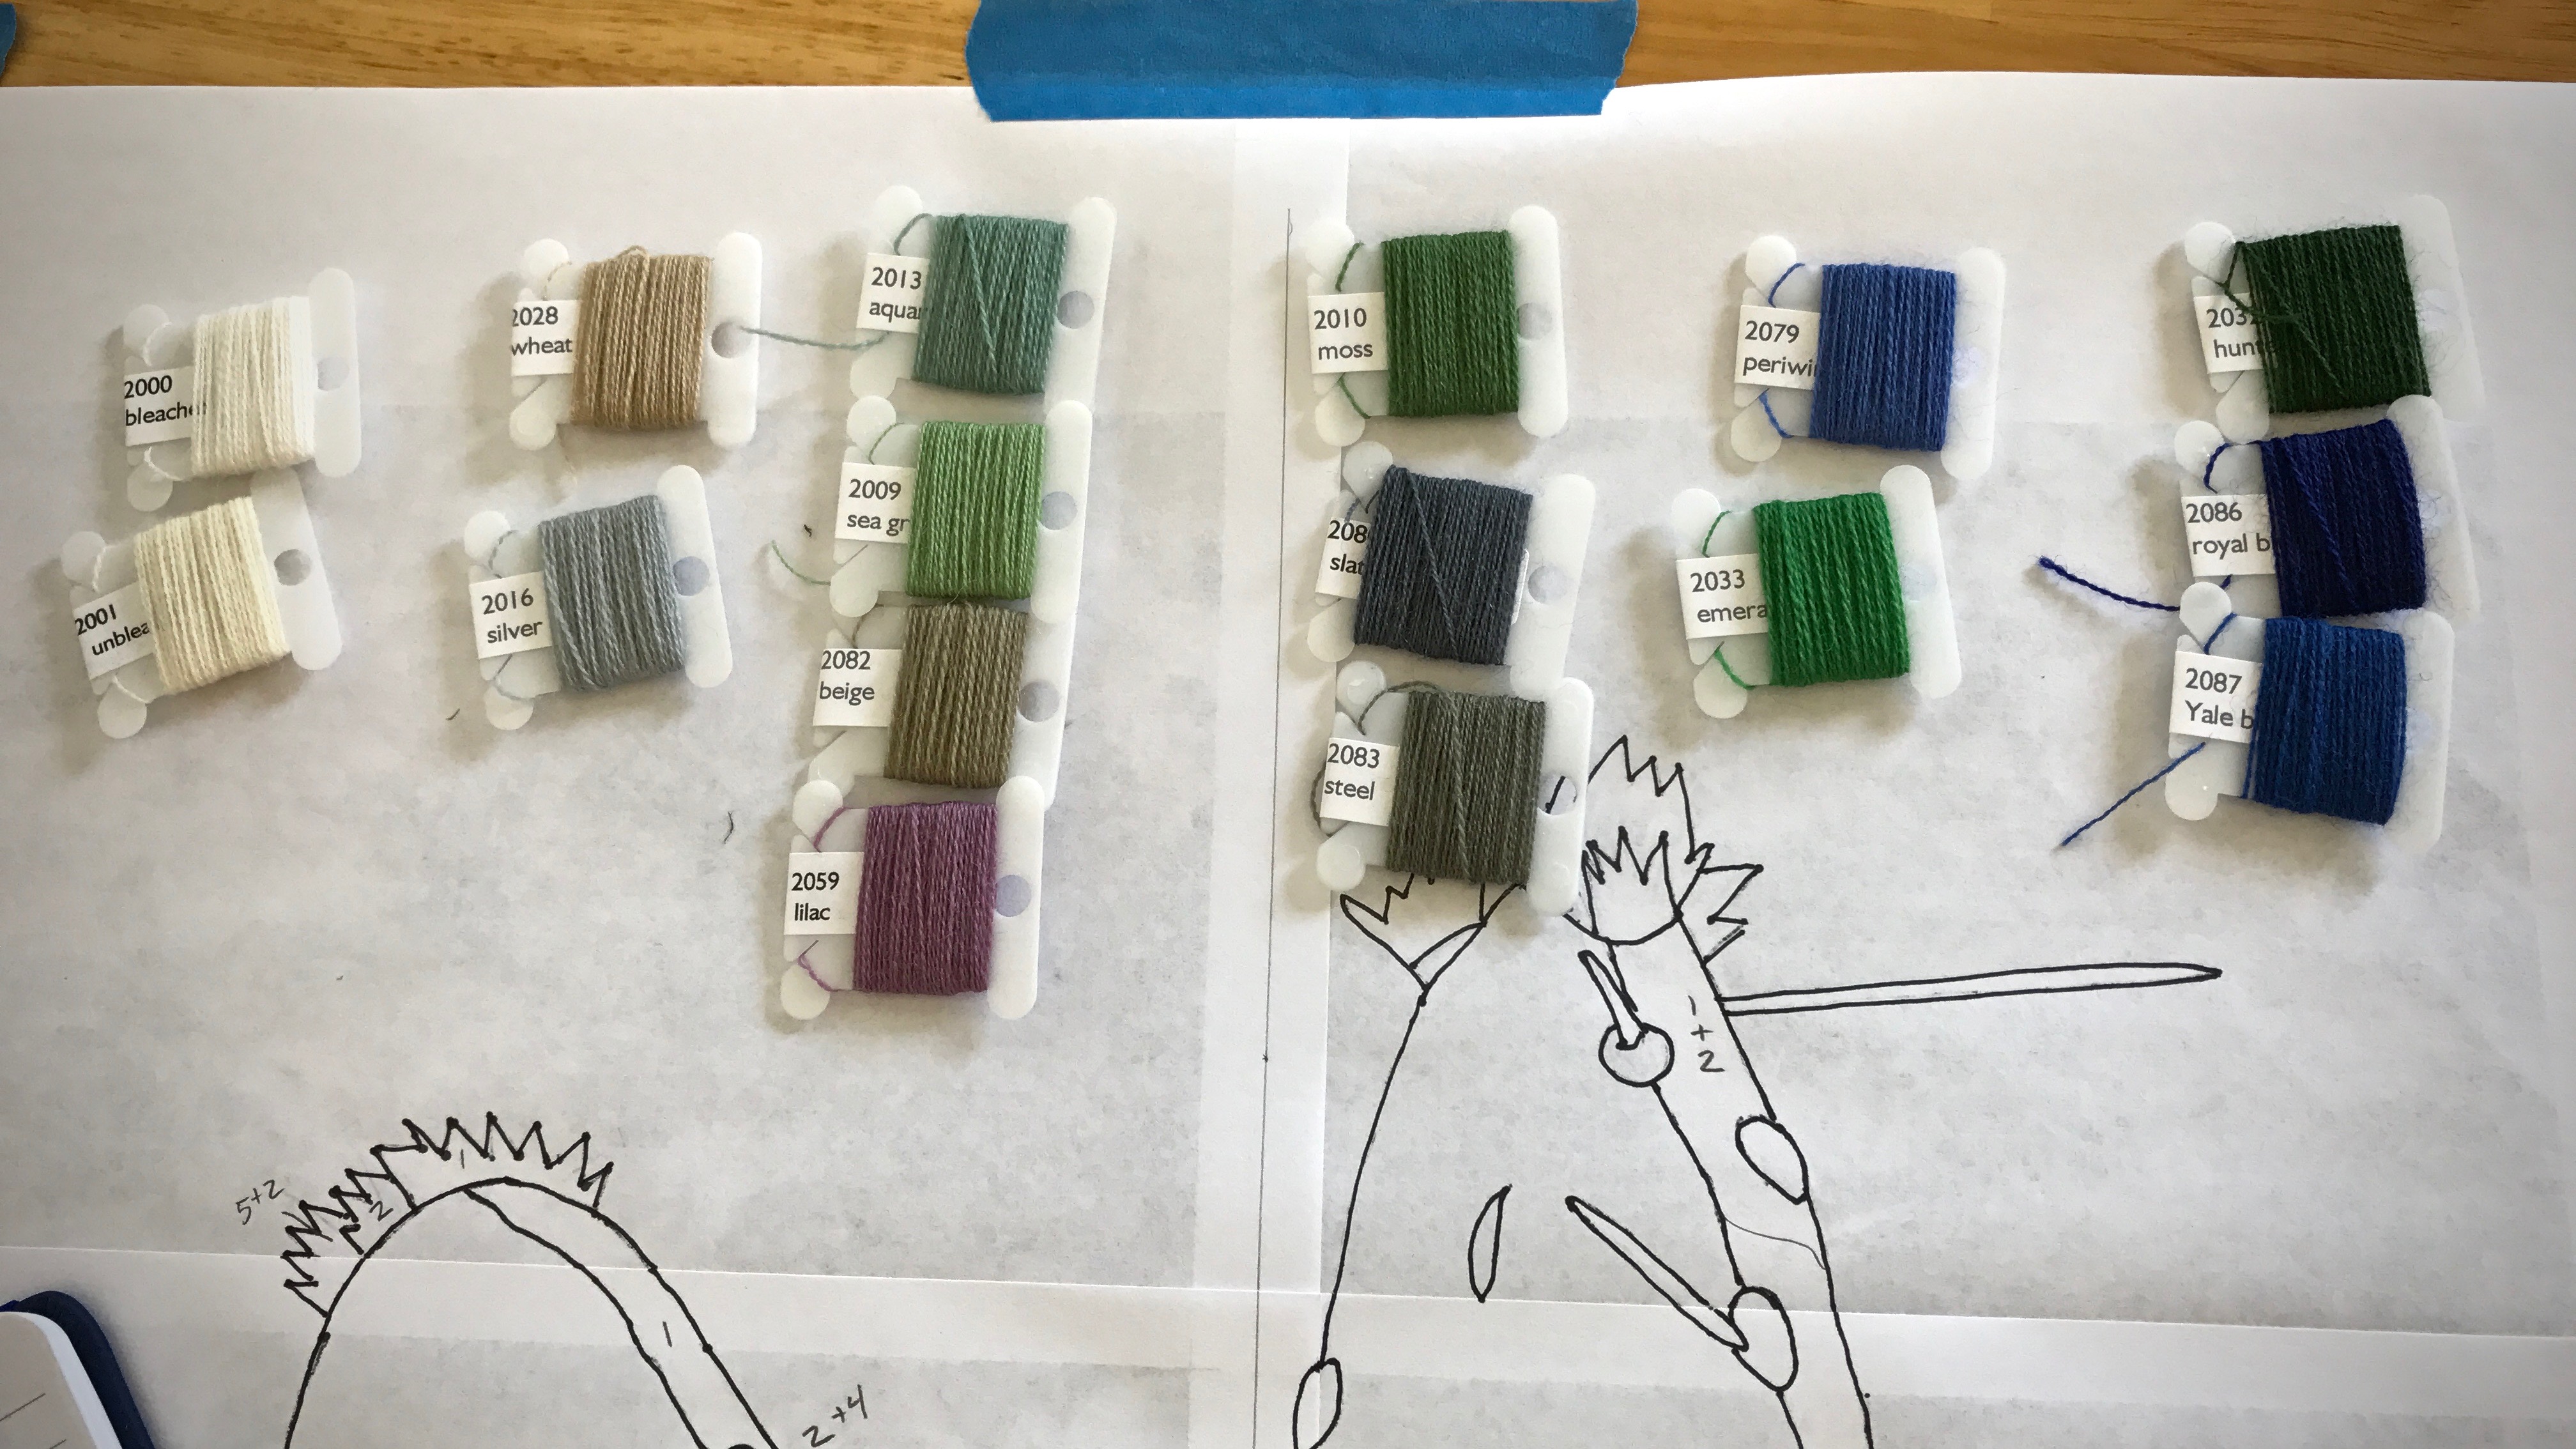
  • Assign a number to each yarn color.
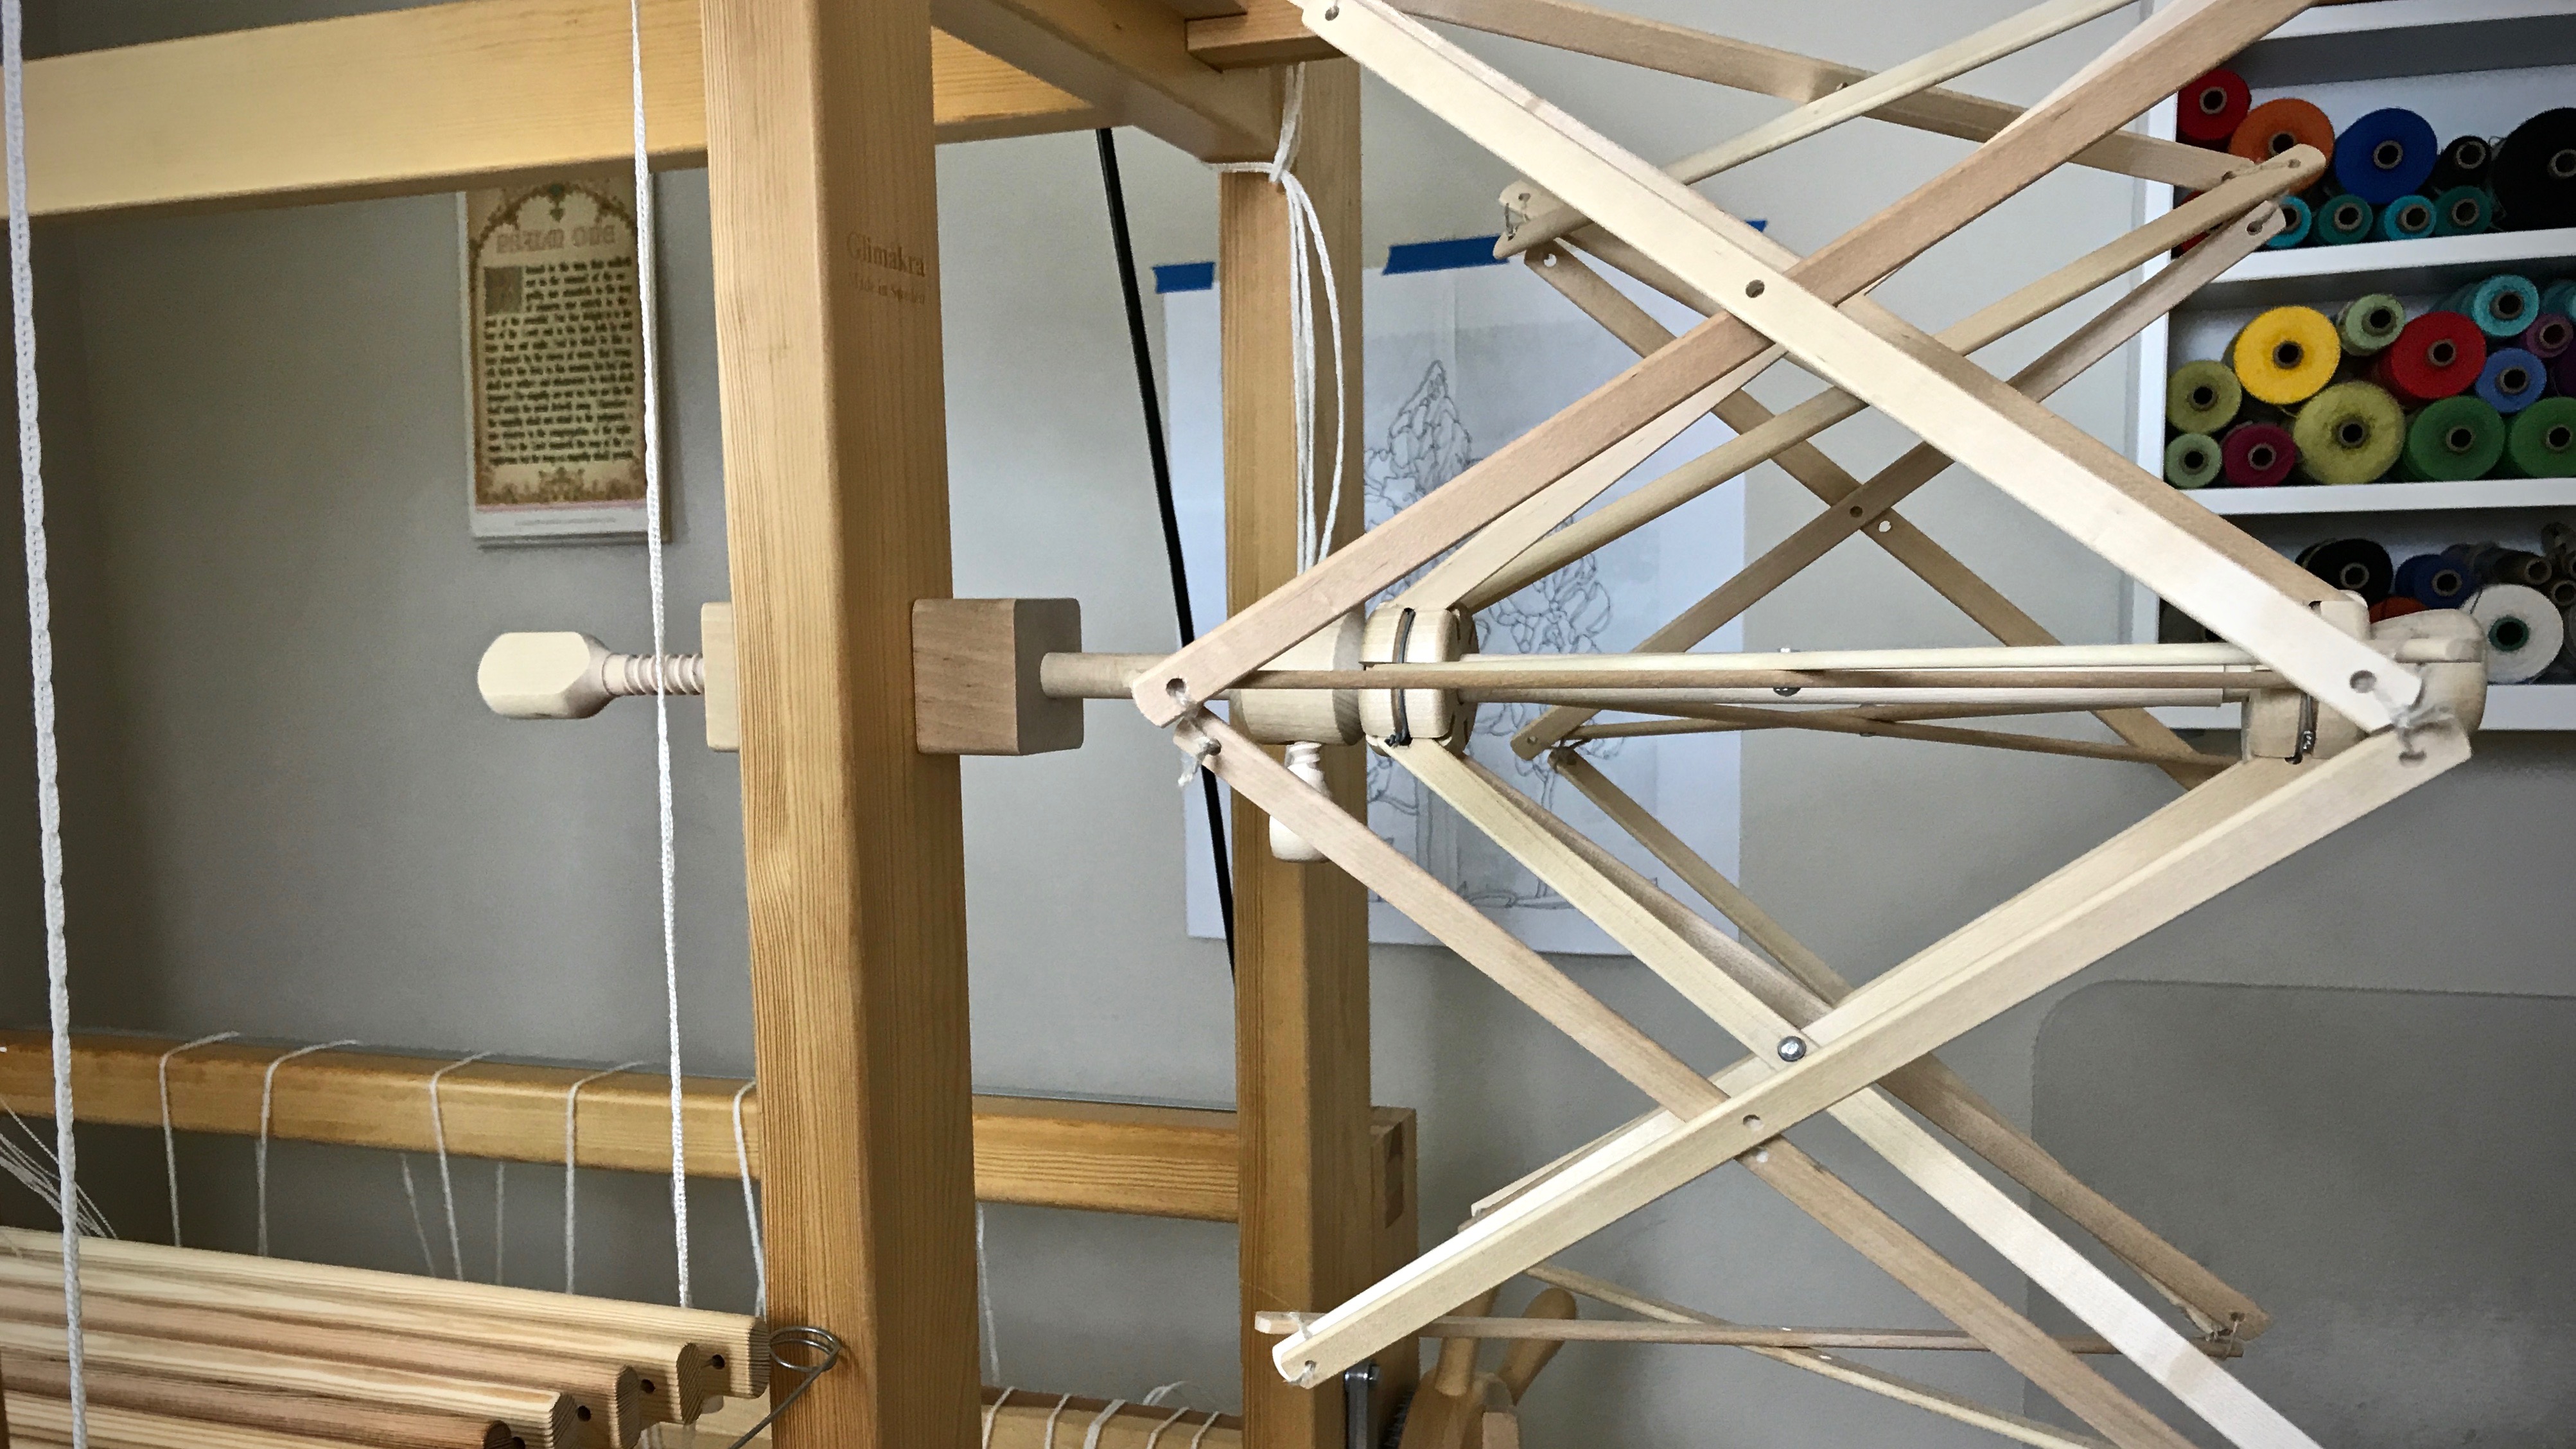
  • Make the enlarged outline into a color-by-number sheet by designating a color or blend of colors for each section. (I taped this sheet to the wall beside my loom, to use as a color guide. The iPad photo also serves as a reference.)

Butterflies of Mora wool for woven transparency.

Virtues are timeless. Virtues are like colors that blend together to weave a masterpiece. When we let the Grand Weaver lay in the weft, these are the colors that appear as light shines through His woven transparency: love, joy, peace, patience, kindness, goodness, faithfulness, gentleness, self-control. And when this occurs, it shows that we are made in His image.

Making a transparency cartoon. Tutorial.


Woven transparency from a photo. How to.

May the next leg of your journey be a fantastic experience.

I’ll meet you back here on Tuesday, August 1st, 2017.
In the meantime, I hope you investigate claims of Jesus. Take time with people. Keep weaving. And the same for me.

Head over to Instagram to stay in touch with my daily journey.

Love,
Karen

Tools Day: Umbrella Swift

The umbrella swift earns the “Cool Tool” award! I have sixteen skeins of 20/2 Mora wool (as seen in Skeins of Colors). Before making them into little butterflies of color for a woven transparency, I am winding the skeins into balls. This means I get to use one of my favorite tools–the umbrella swift. My Glimåkra swift is simple to use and gives flawless results every time.

How to Use an Umbrella Swift

  • Attach the clamp of the umbrella swift to the side of the loom, or other secure structure, like a table. The swift functions vertically or horizontally. I prefer to position the swift horizontally so the yarn rolls off vertically. Also, I find it easier to hang the yarn on a horizontal swift than to place the yarn on a vertical swift, holding the yarn while expanding the umbrella.

How to use an umbrella swift. Tutorial.

  • Position the yarn ball winder so that it is in line with the umbrella swift, a short distance away. I clamp the yarn ball winder to my loom bench, and sit on a small stool behind the bench.

Yarn ball winder in use with umbrella swift.

  • Remove the yarn skein’s label and put it aside. Carefully unfold and untwist the skein of yarn and open it out to a big circle. Place both arms through the center of the circle of yarn and snap your arms outward. Repeat the snapping action one or two more times, with the yarn repositioned about a quarter turn each time. This helps straighten out the yarn for placing it on the swift.
  • Lower the “umbrella” of the swift by loosing the screw and pulling the bottom screw-piece toward the clamp. Place the opened and prepared skein of yarn around the swift.

Placing the skein on an umbrella swift. How to.

  • Push open the “umbrella.” Spread it open just far enough to hold the yarn taut. Tighten the screw to keep the swift in that position.

How to use an umbrella swift for weaving yarn.

  • Find the place(s) on the skein where the skein has been tied, and untie the knot(s). Identify the end of the yarn that is on the outer side of the skein and connect that end to the yarn ball winder. For consistency among multiple skeins of yarn, I have the umbrella swift turn in the same direction for each one, with the yarn unwinding from the top of the swift.

Putting skein of yarn on umbrella swift.

  • Turn the yarn ball winder until all the yarn has been unwound from the swift.

Set up for using umbrella swift. Tips.

Winding ball of yarn from umbrella swift.

Winding ball of yarn from umbrella swift.

  • Remove the yarn ball from the yarn ball winder and wrap the skein’s label on the new yarn ball.

New ball of yarn thanks to umbrella swift.

  • Collect the new balls of yarn and play with the colors in your imagination.

Mora wool. Getting ready for woven transparency!

May you take pleasure in your work of preparation.

All the best,
Karen

Skeins of Colors

New yarn arrived this week! Seeing the skeins of colors makes me excited about starting the next project. I am preparing to weave another transparency. This time, the hanging will have a pictorial design. But there are several things to tend to before the weaving begins. First, I will wind the skeins into balls, and wind the linen warp. And then, I will finalize the cartoon. Stay tuned…

Collection of colors in Mora wool for a transparency.
Collection of colors in 20/2 Mora wool for a planned transparency. 16/2 linen for warp and background weft.

Meanwhile, this week I am at the Contemporary Handweavers of Texas Biennial Conference, learning new things and making connections with handweavers across the state.

Happy Weaving,
Karen

Quiet Friday: Cartoon House Cartoon

The fascinating thing about weaving a transparency is that it feels like color-by-number with yarn. There are similarities to tapestry weaving, for sure. But this seems ten times faster. I found it to be engaging and fun! I echo what my transparency-weaving friend says when it’s time to stop and do something else, “Just one more row…”

Linen warp chain awaits beaming.
Warp chain of 16/2 golden bleached linen, before beaming the warp.
Threading heddles in the Glimakra Standard. Coffee and notes at hand.
Threading heddles in my little playhouse, with project notes by my side, and a cup of coffee on the side cart.
Adding the leveling string to a linen warp.
Leveling string is added with extra care so that abrasion of the linen warp is kept to a minimum.
Butterflies are made from the hefty cotton chenille yarn.
Weaving a transparency. Glimakra Standard loom.
Weaving without a cartoon. I am counting warp ends to keep the pattern angle consistent.
Transparency weaving on the loom, with buckram cartoon.
Cartoon has been added. The pattern weft follows the lines drawn on the buckram cartoon, which is pinned in place.
Cartoon removed at the end of the transparency weaving.
Cartoon is removed.
Ending a woven transparency.
Now, for the end of the warp…

New transparency, ready for hanging!

After the main transparency with the zigzags, I had room to play on the remaining warp. I made another cartoon–a “cartoon” house. This gave me a chance to use a few more yarn butterflies, without it being overwhelming. Home. Sweet. Home.

Cartoon for playtime at the end of the warp. Transparency weaving.
“Cartoon” house cartoon. Ready for playtime at the end of the warp.
Weaving a small transparency. Cartoon House.
With several butterflies going at once, the transparency weaving gets even more interesting!
Transparency weaving. Linen warp and weft. Cotton chenille pattern weft.
Now, the actual end of the warp is here.
Cartoon house just off the loom!
Cartoon house just off the loom.
Welcome home! Transparency weaving. Karen Isenhower
Welcome home! Home. Sweet. Home.

May you enjoy the fascination of learning something new.

Happy Weaving,
Karen

Almost Ruined Transparency

The cotton chenille looks as if it is magically suspended in space. But it’s the linen that suspends it. 16/2 unbleached linen weft crosses 16/2 golden bleached linen warp. The two shades blend into one as they are woven for the transparency background.

Weaving a transparency. Linen warp and weft. Cotton chenille pattern weft.
Weaving a transparency from the back. The front side of the pattern can be seen after it comes around the breast beam.

Unfortunately, I had 16/1 golden bleached linen (16/1 is half as thin as 16/2) on my winding table, for the plattväv towels on the other loom. I wound a quill with the 16/1 and wove the transparency with it. It’s the wrong thread size and color. For 8 1/2 inches! Too far to undo without irreparably damaging the linen warp. This is disappointing. How did I let that happen? Take a deep breath… Move forward, and finish out the weaving with the correct 16/2 linen.

Linen weft change is a mistake. Oops!
Two densities of linen. The 16/2 unbleached linen weft adds depth to the 16/2 golden bleached warp. The 16/1 golden bleached weft gives a lighter look to the web.
Just off the loom! Handwoven transparency.
Just off the loom! First transparency attempt, and a great learning experience.

We all fall short. We do the wrong thing. That’s a weight to carry. Jesus breaks the yoke of our burden, and lifts the weight. We have been set free! When we finish the weaving, the chenille pattern will be the main attraction, not the error. By amazing grace, the error is overcome by the light shining through the transparency.

May your burdens be lifted.

With you,
Karen