The skirt in my mind is picture perfect in style and fit. If I could snap my fingers and make the skirt appear, I would. Instead, I find my way to a workable sewing pattern by trial and error—agonizing over every small step. The sewing part doesn’t scare me. But I’m in over my head in the garment design arena.
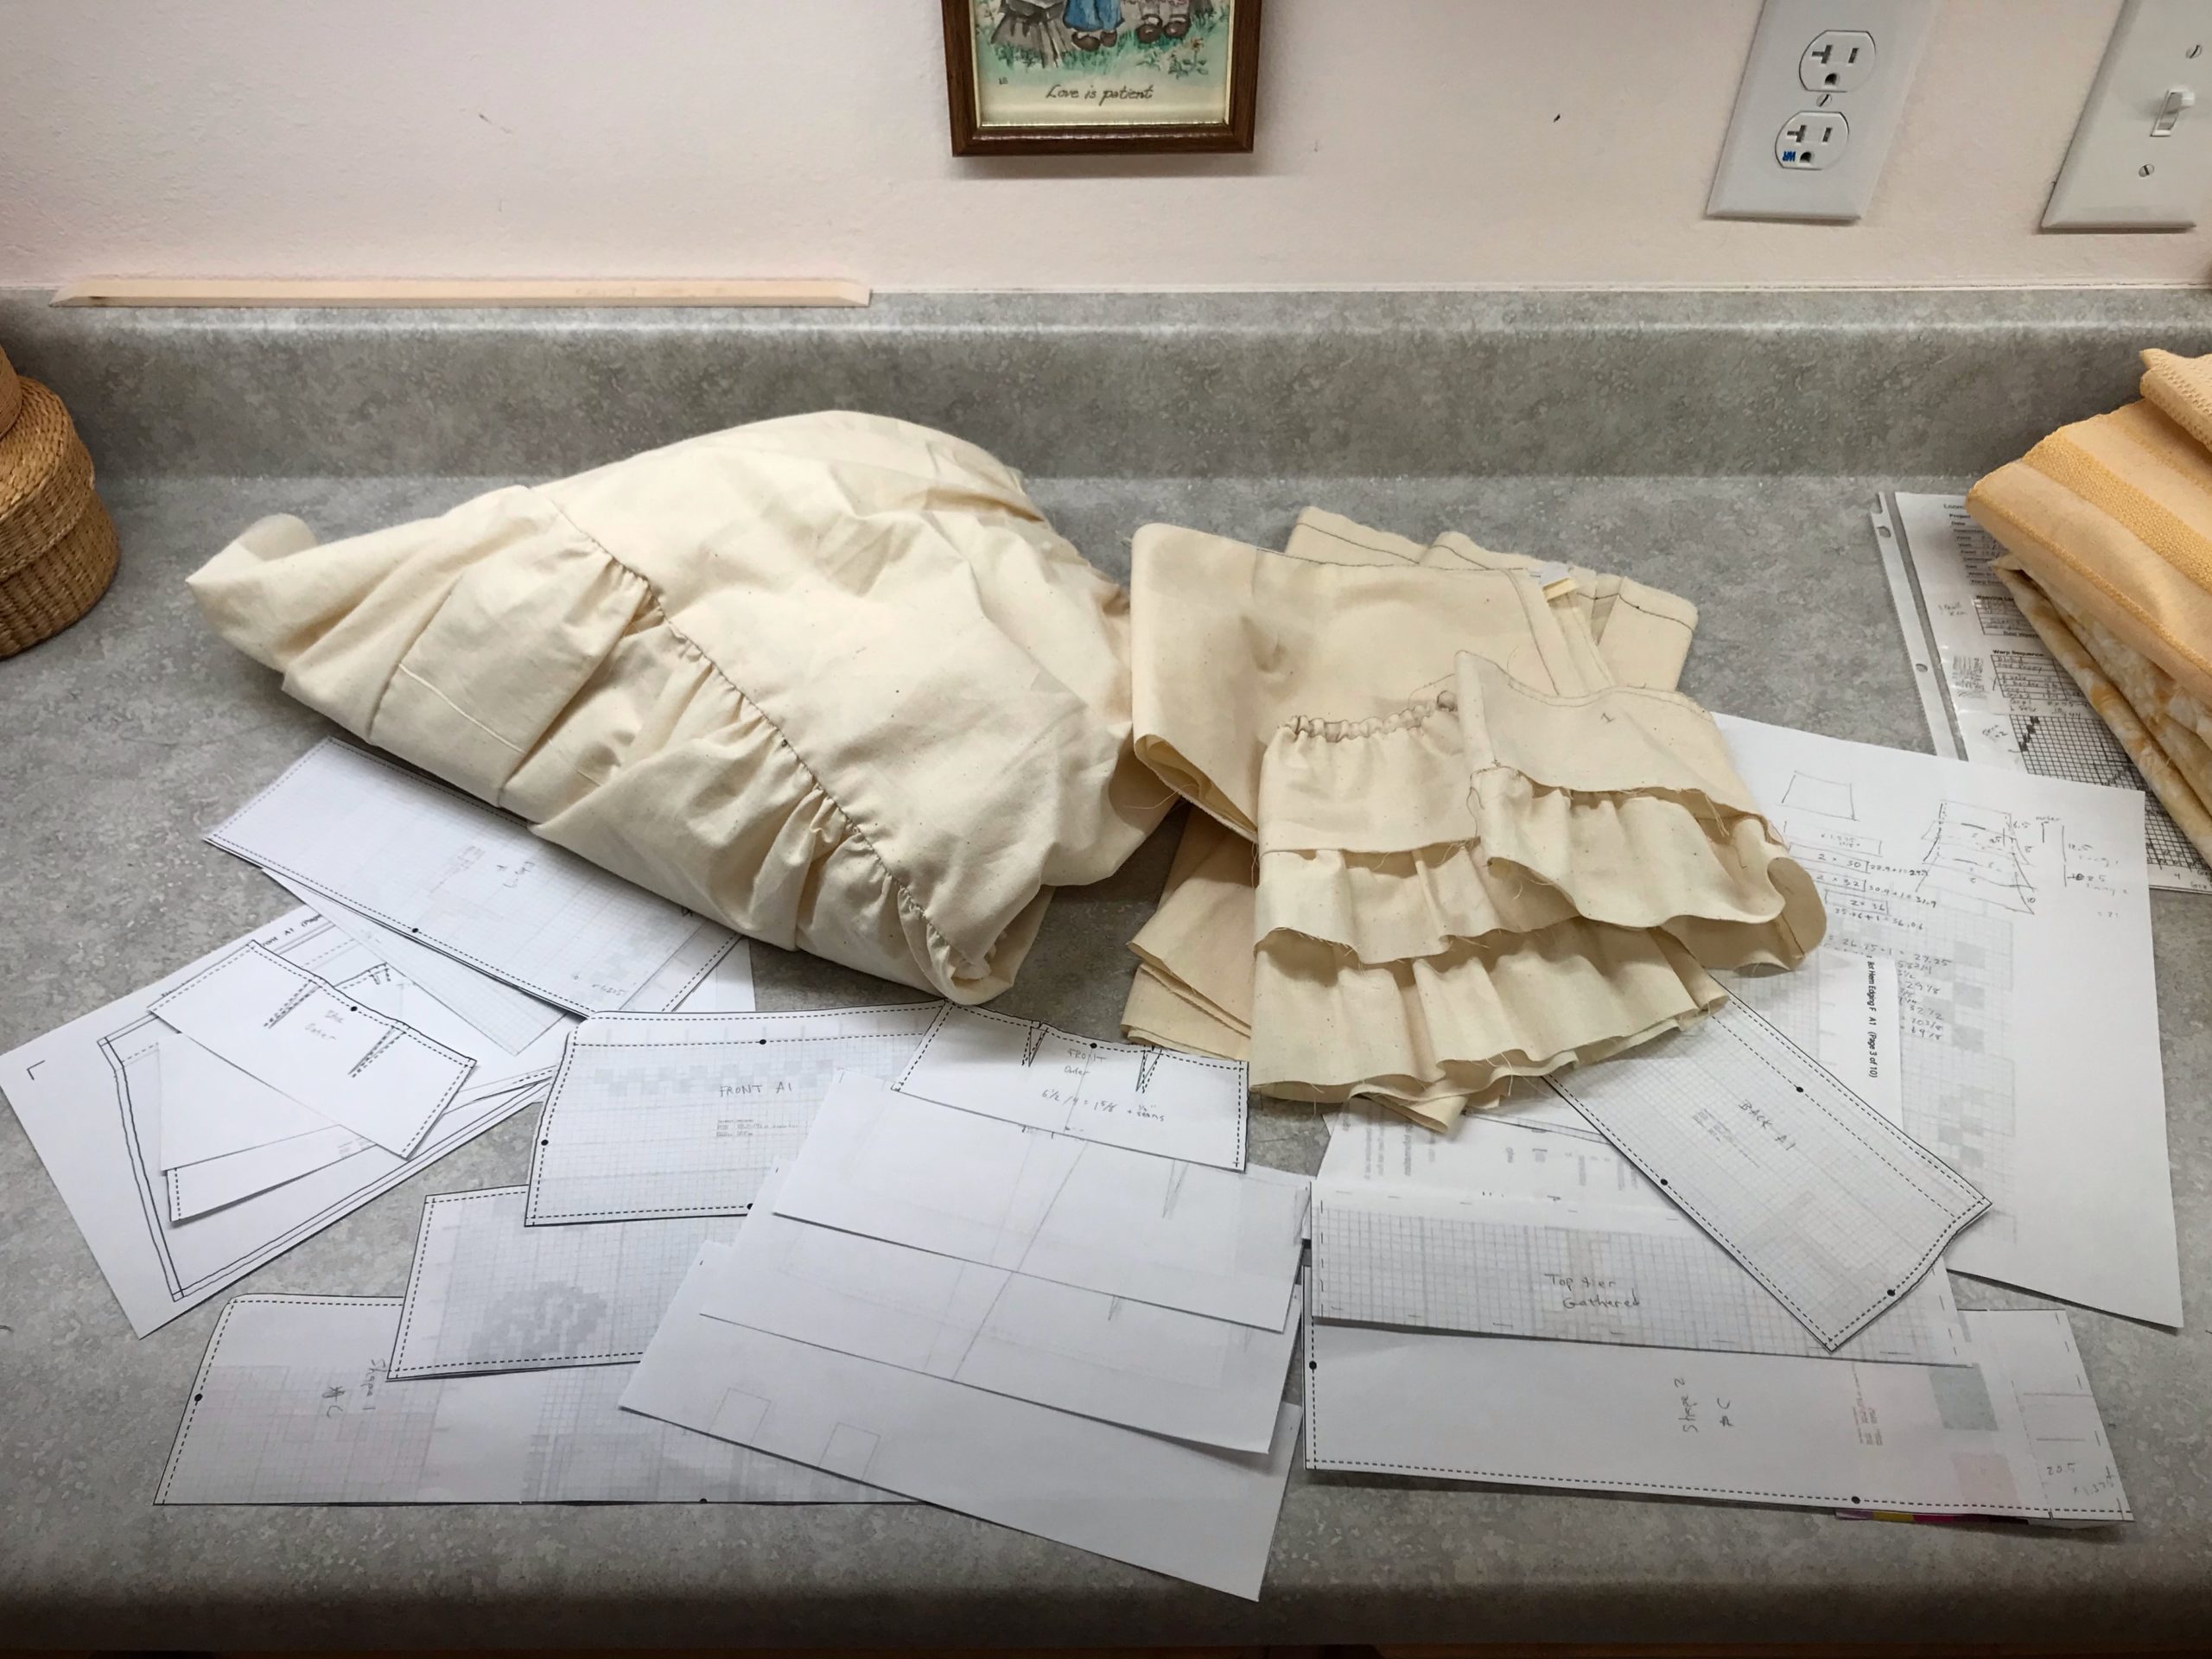
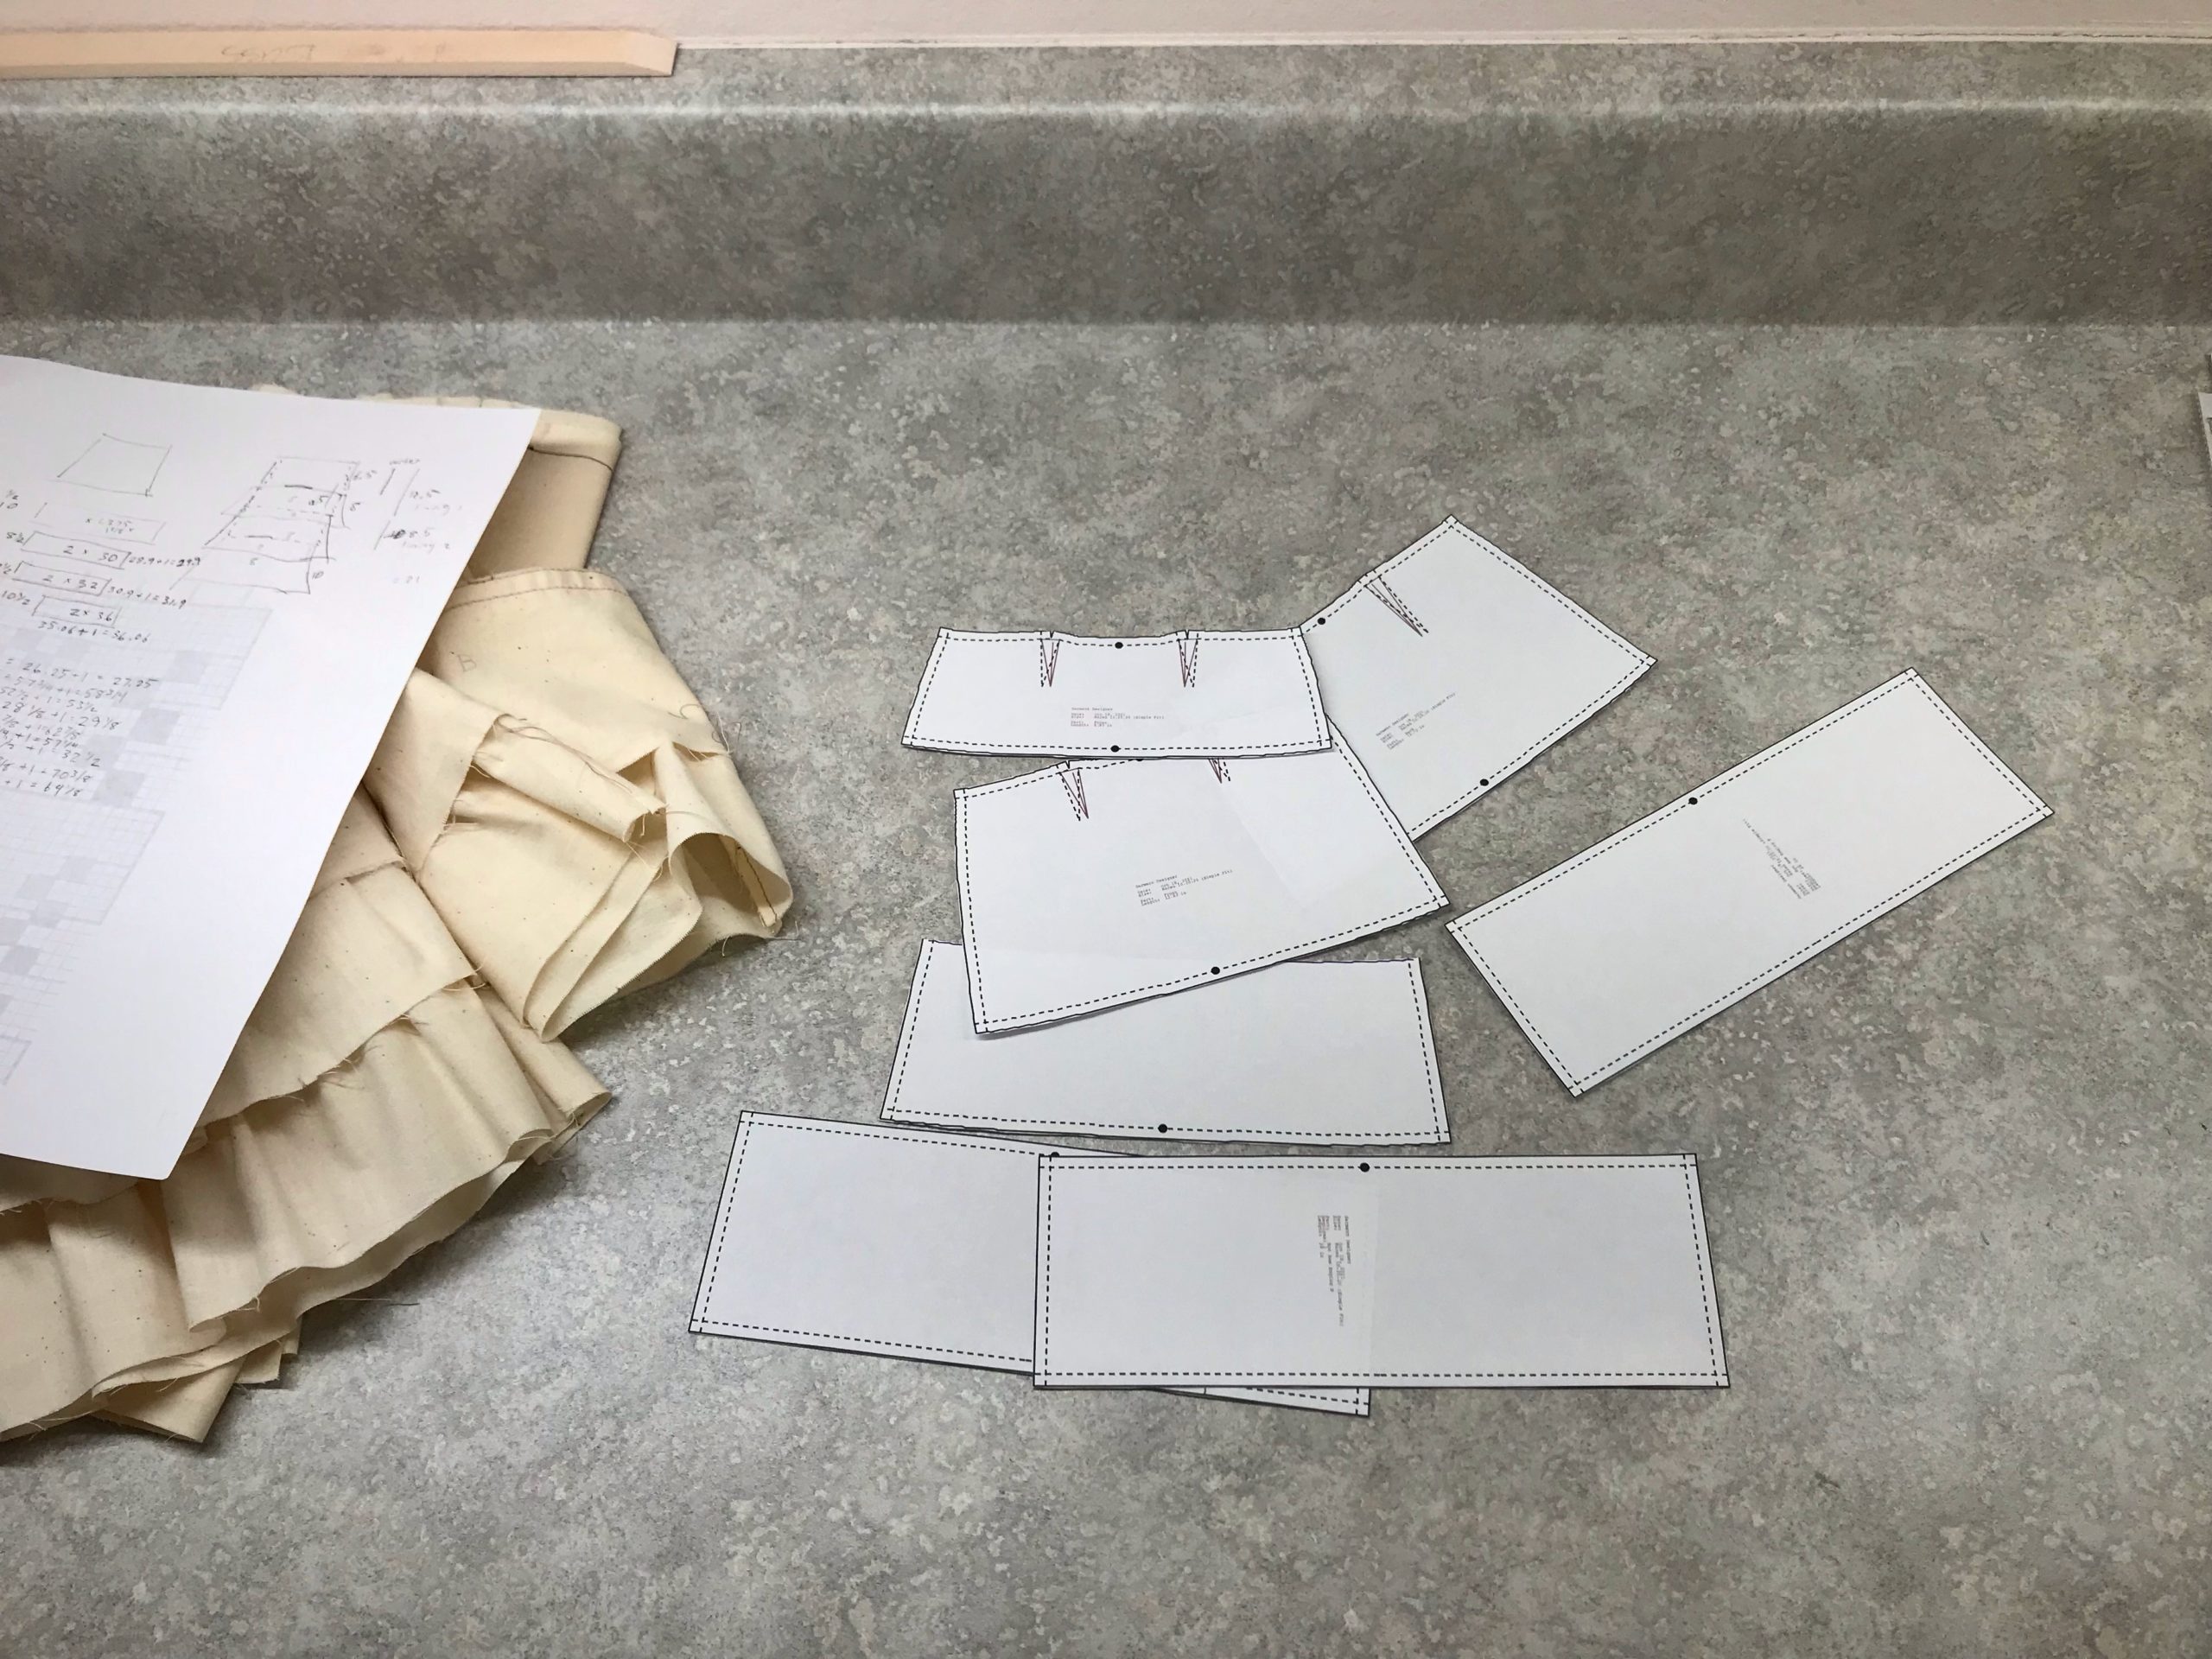
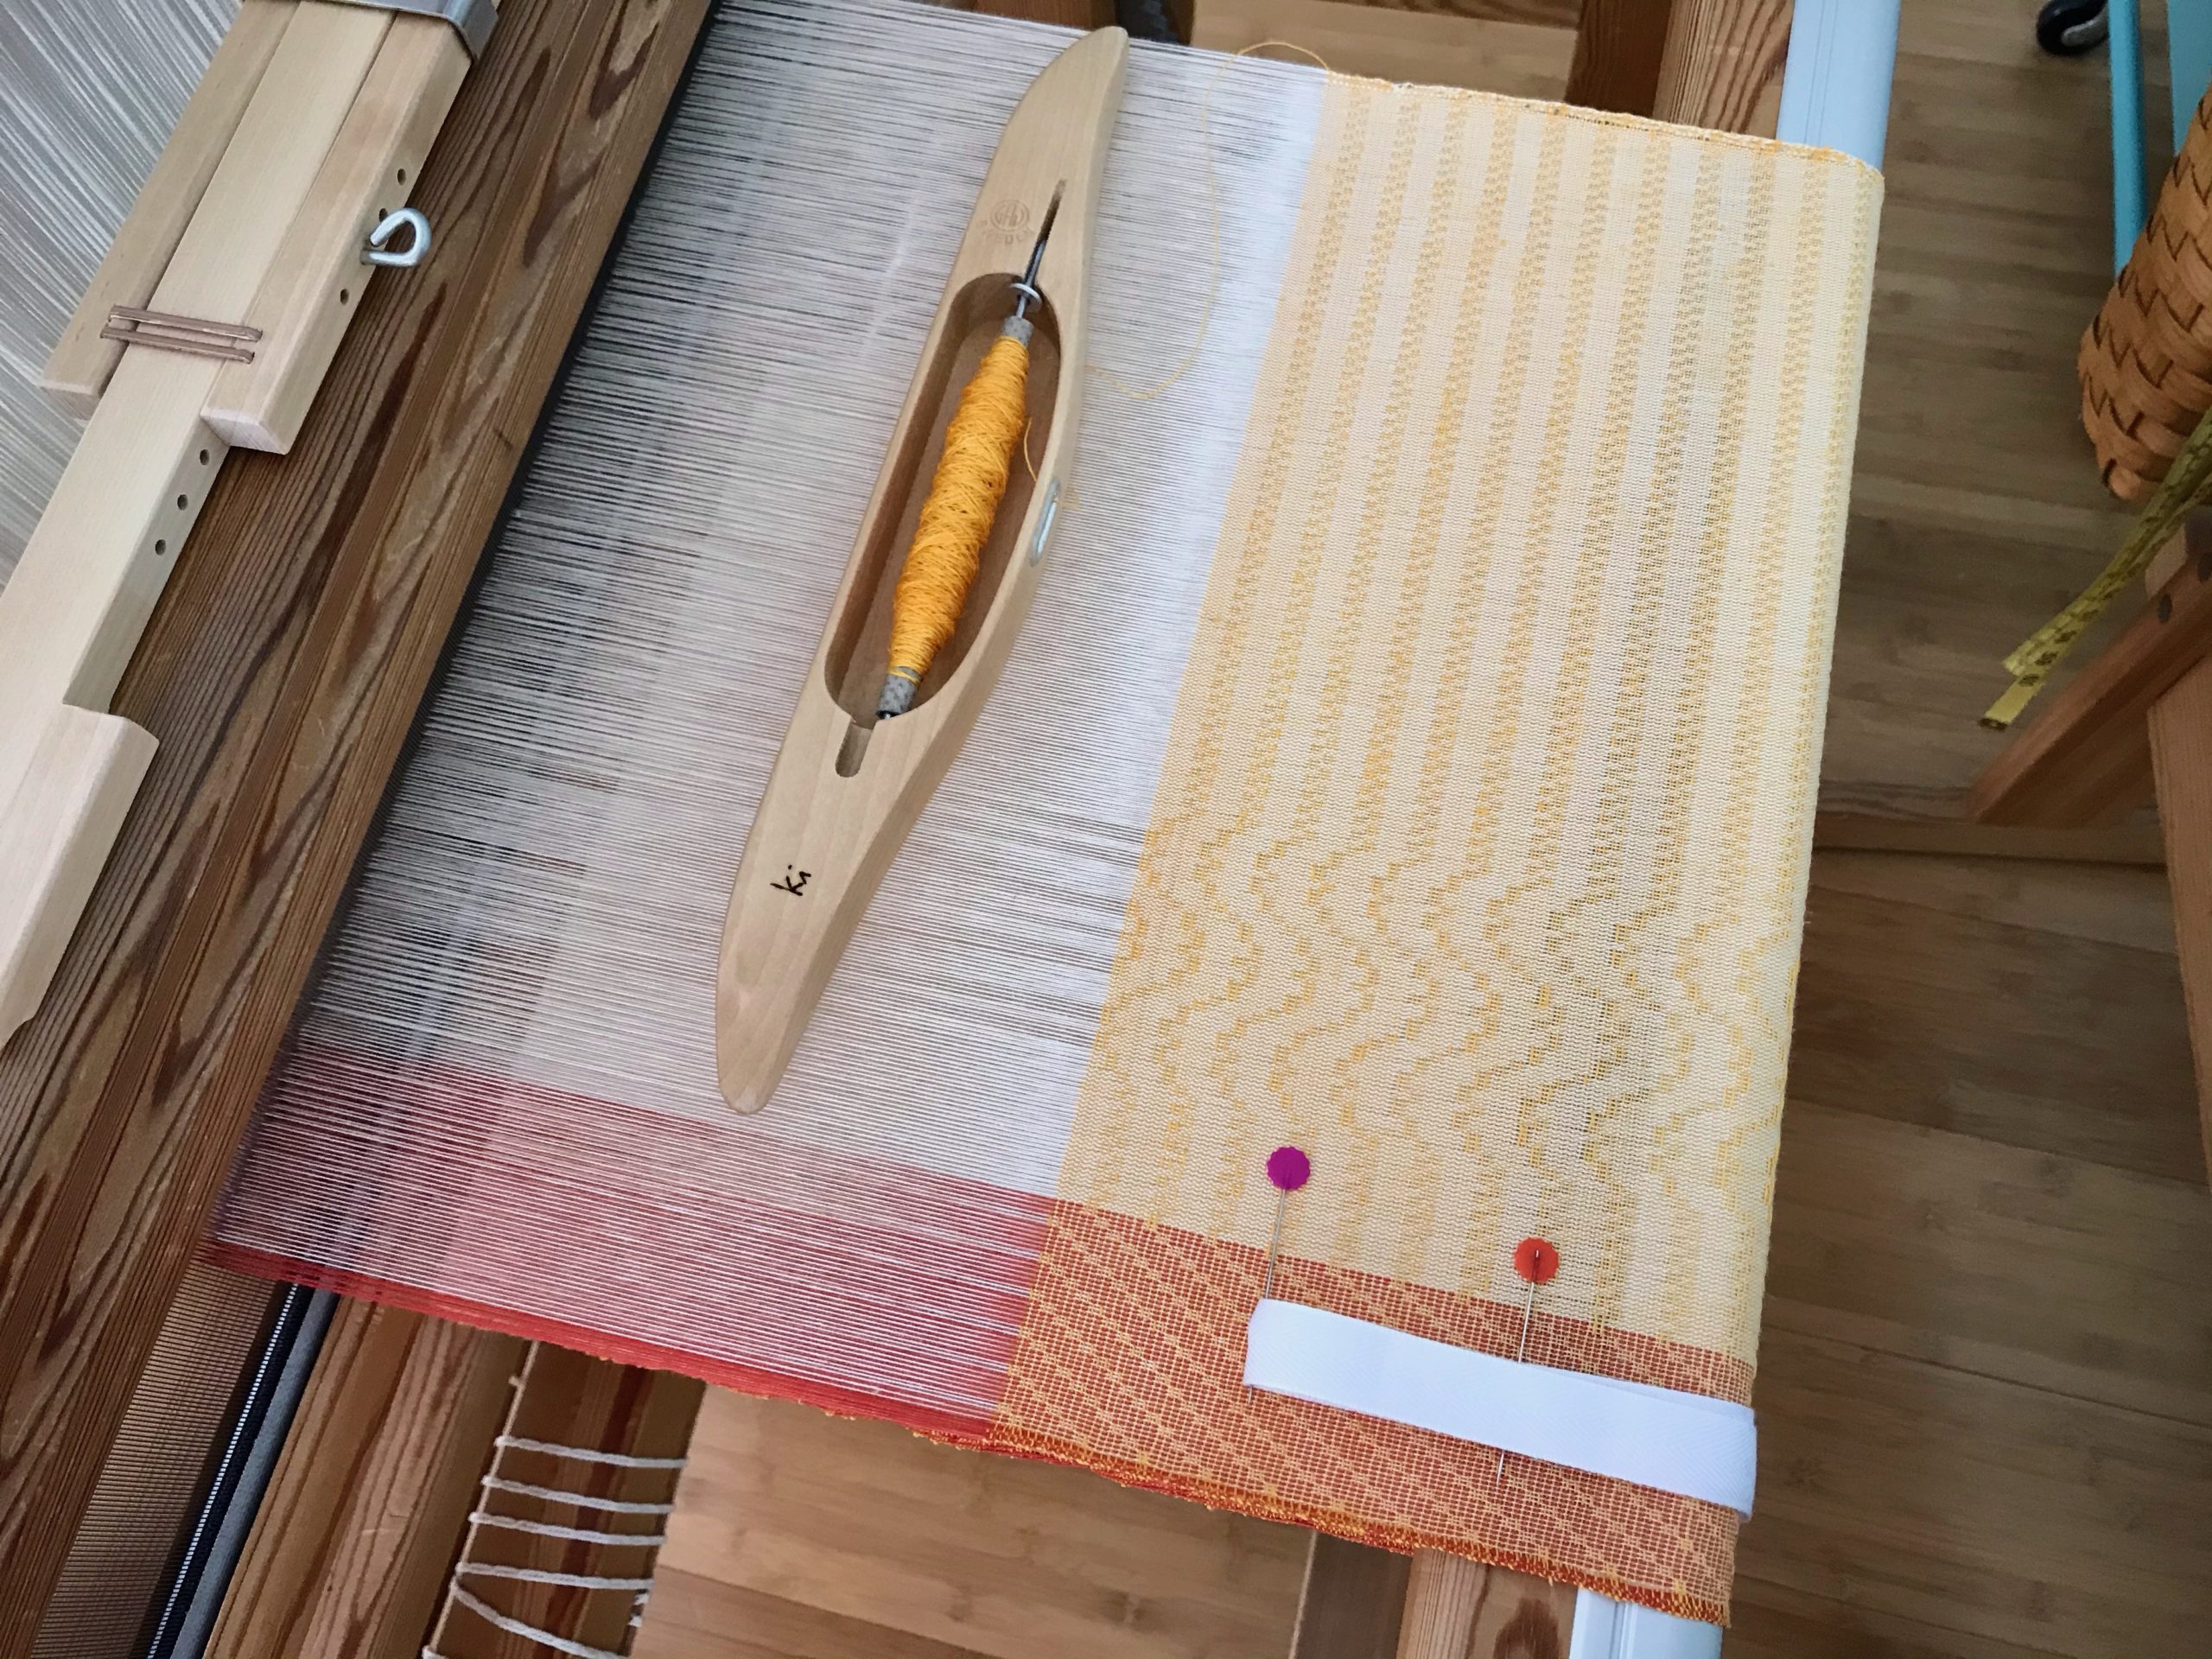
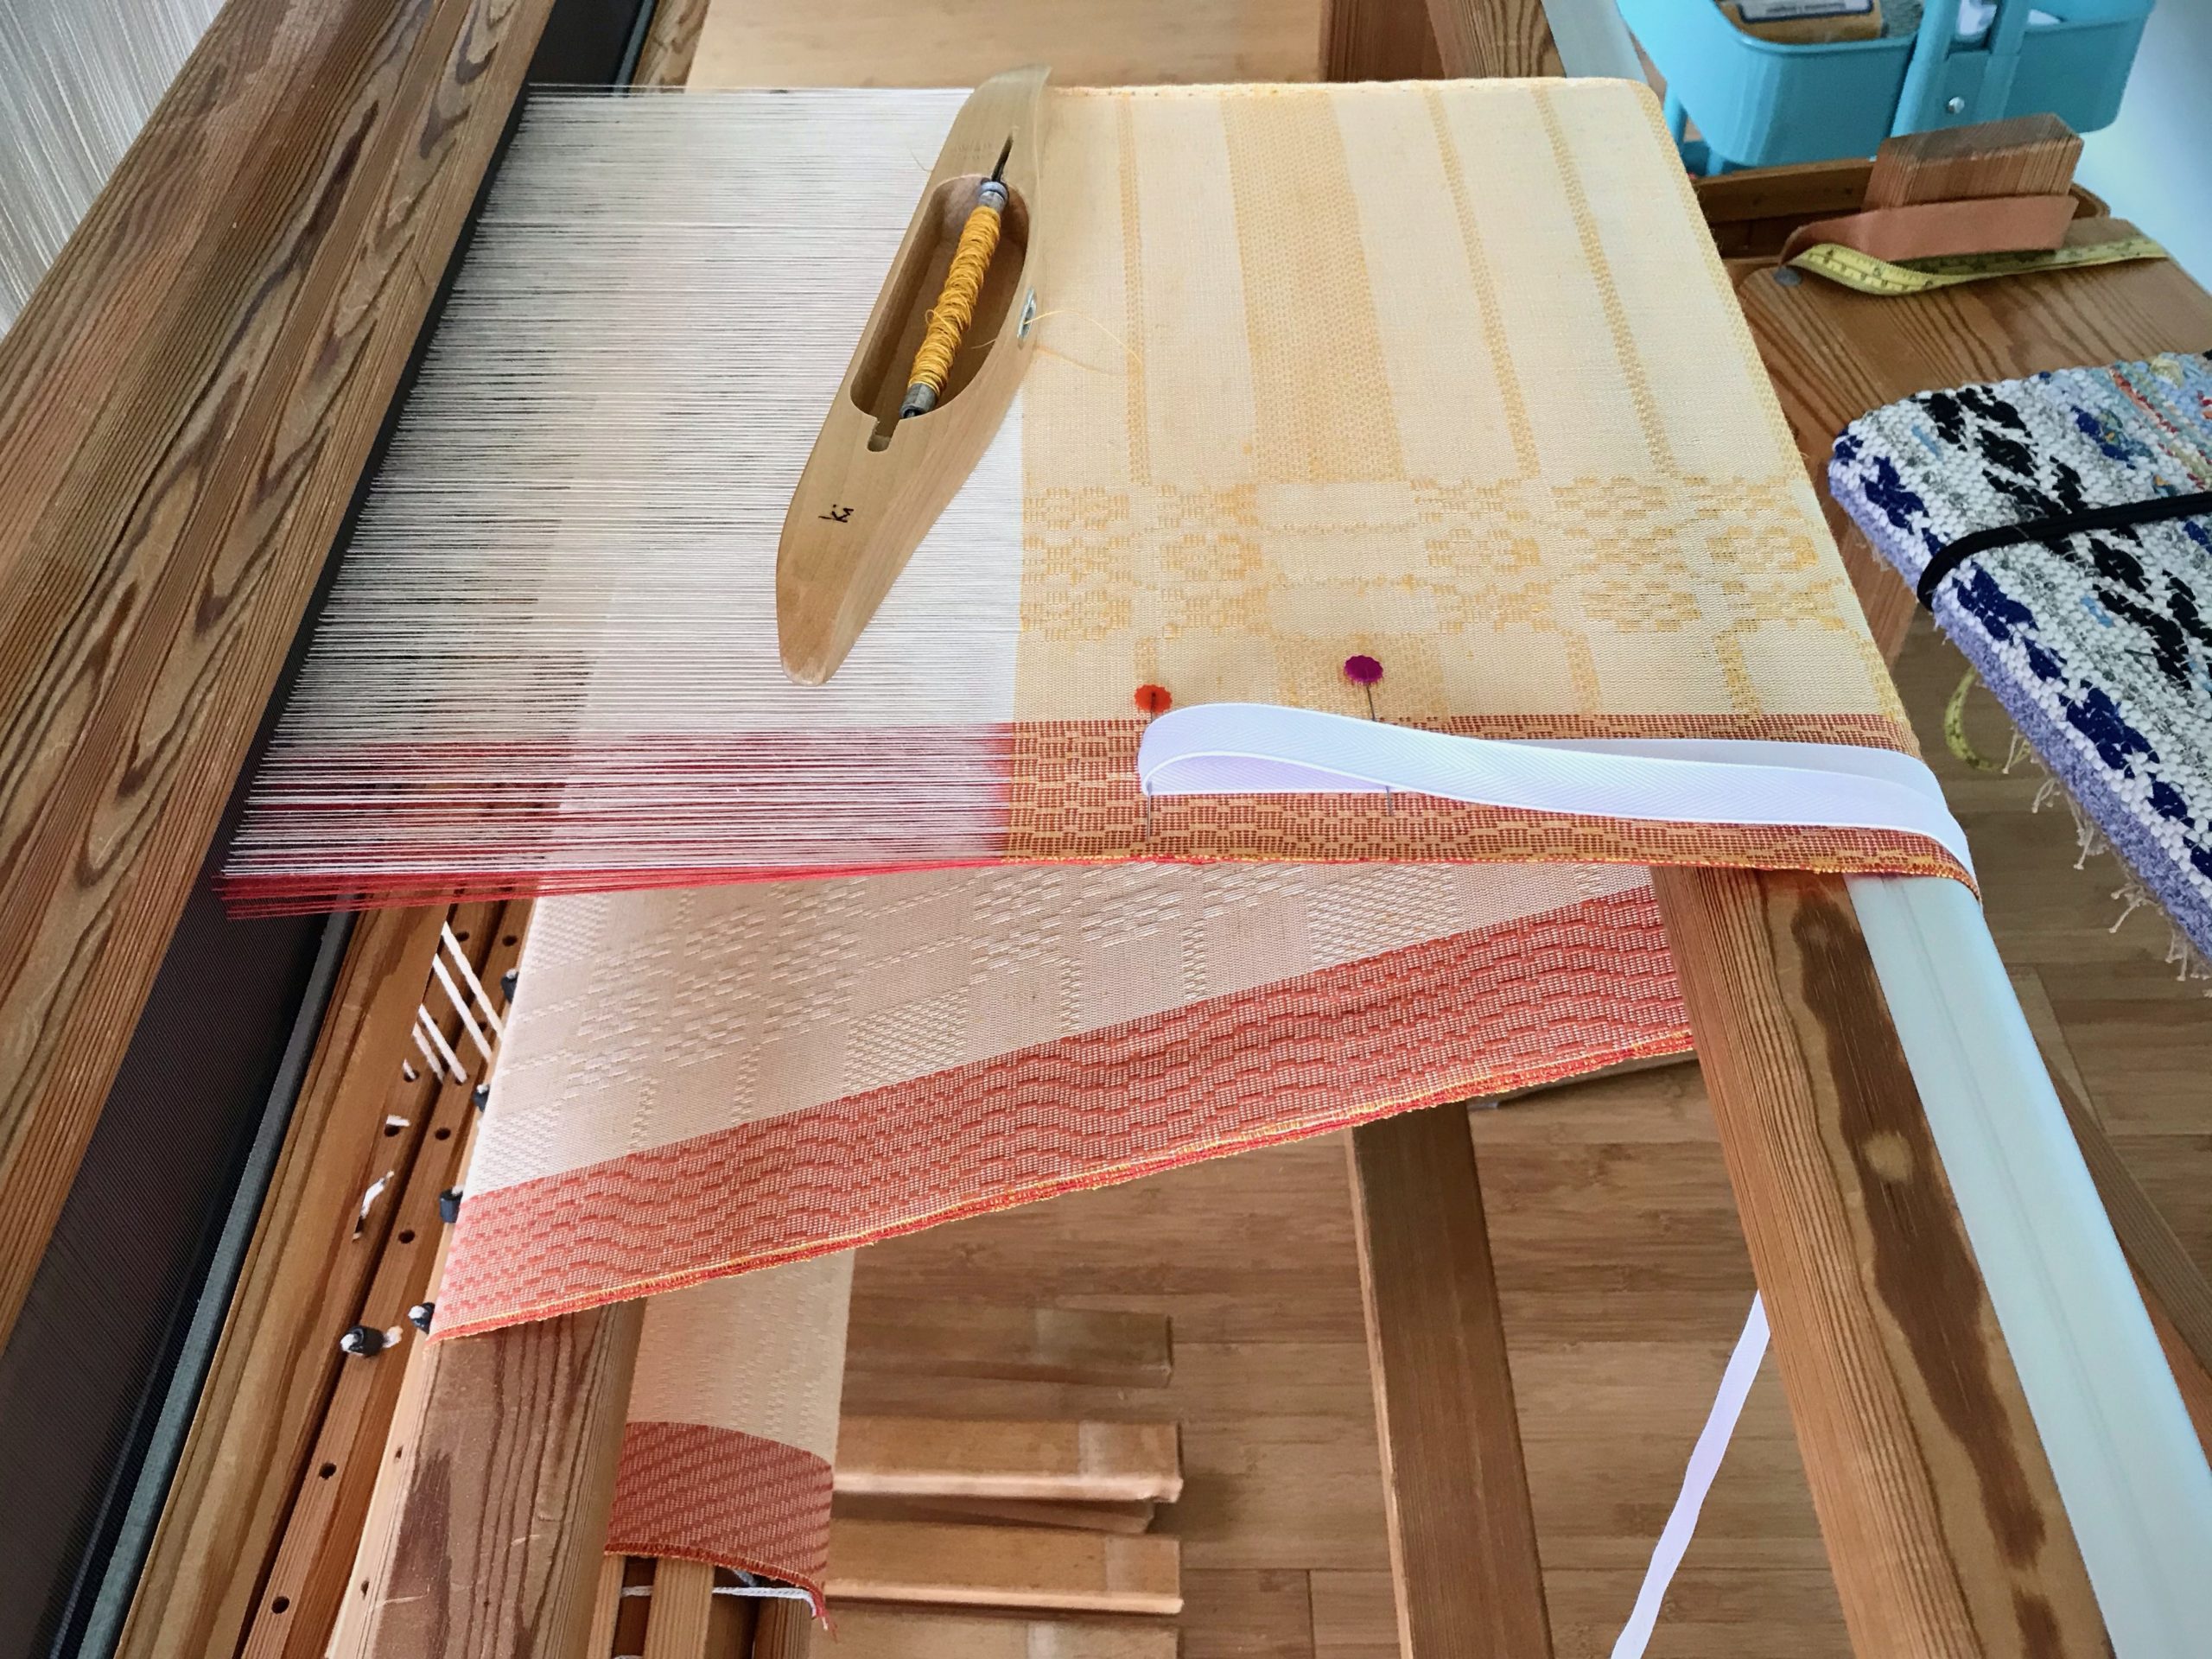
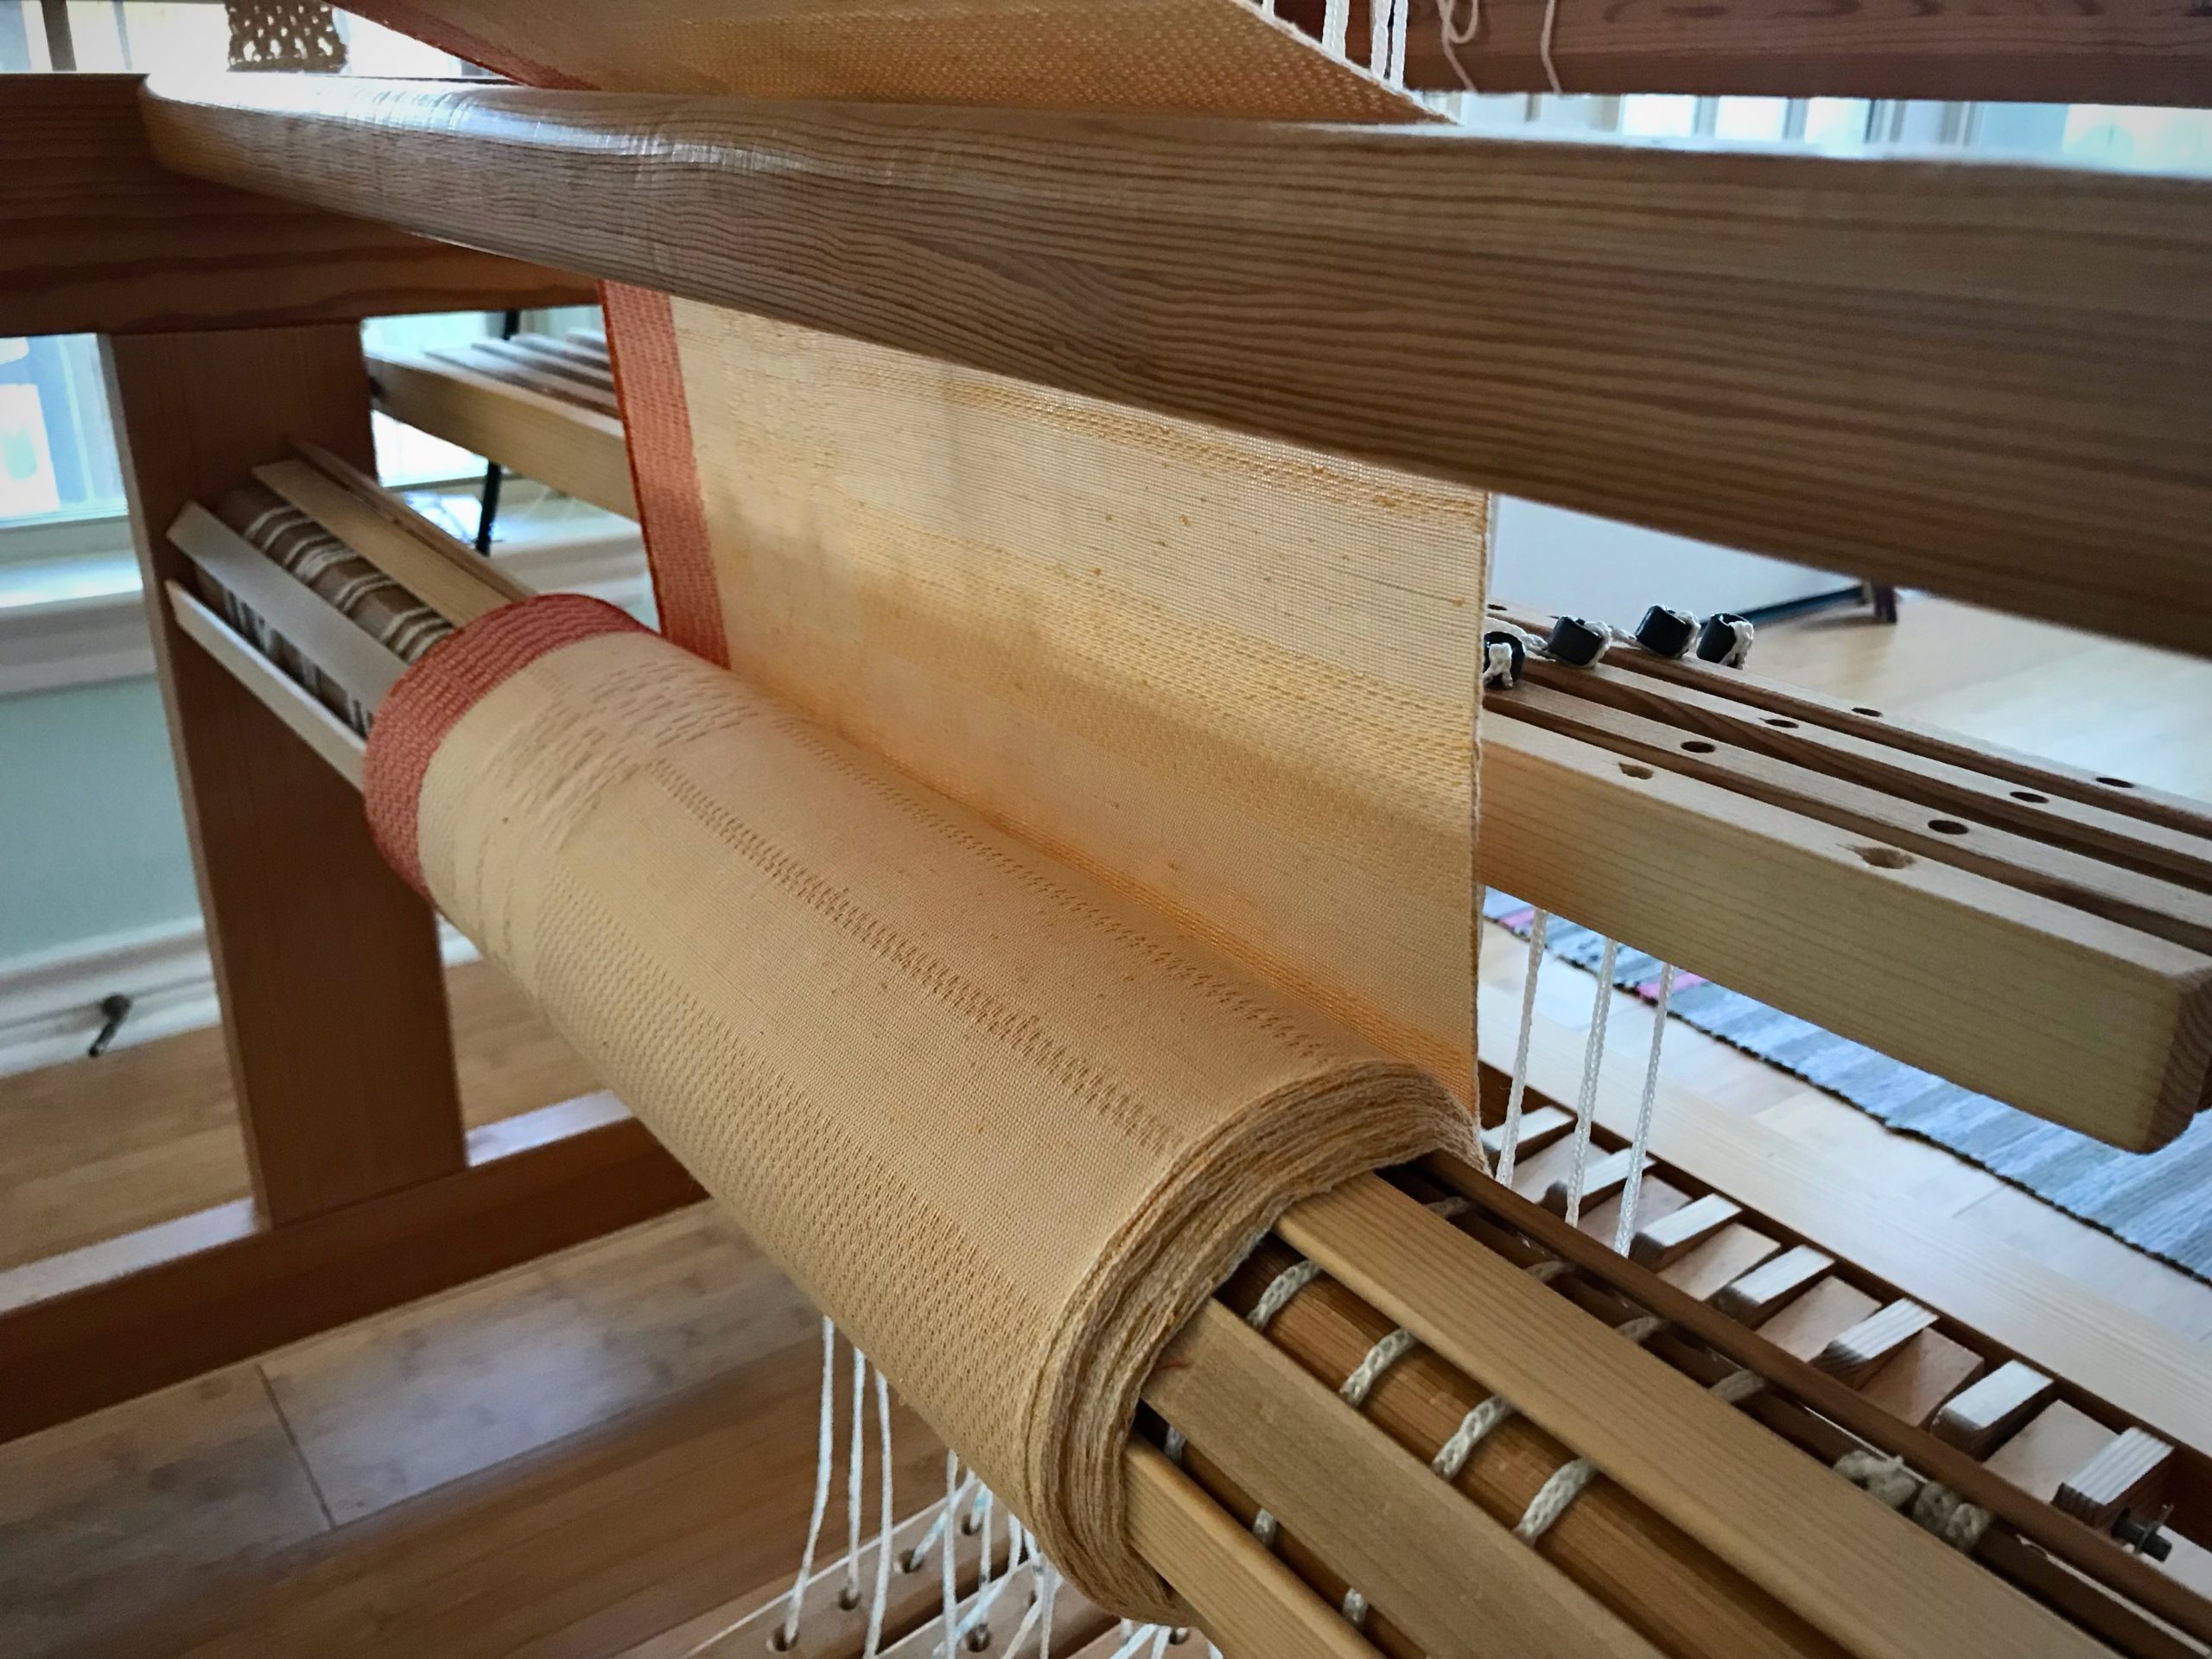
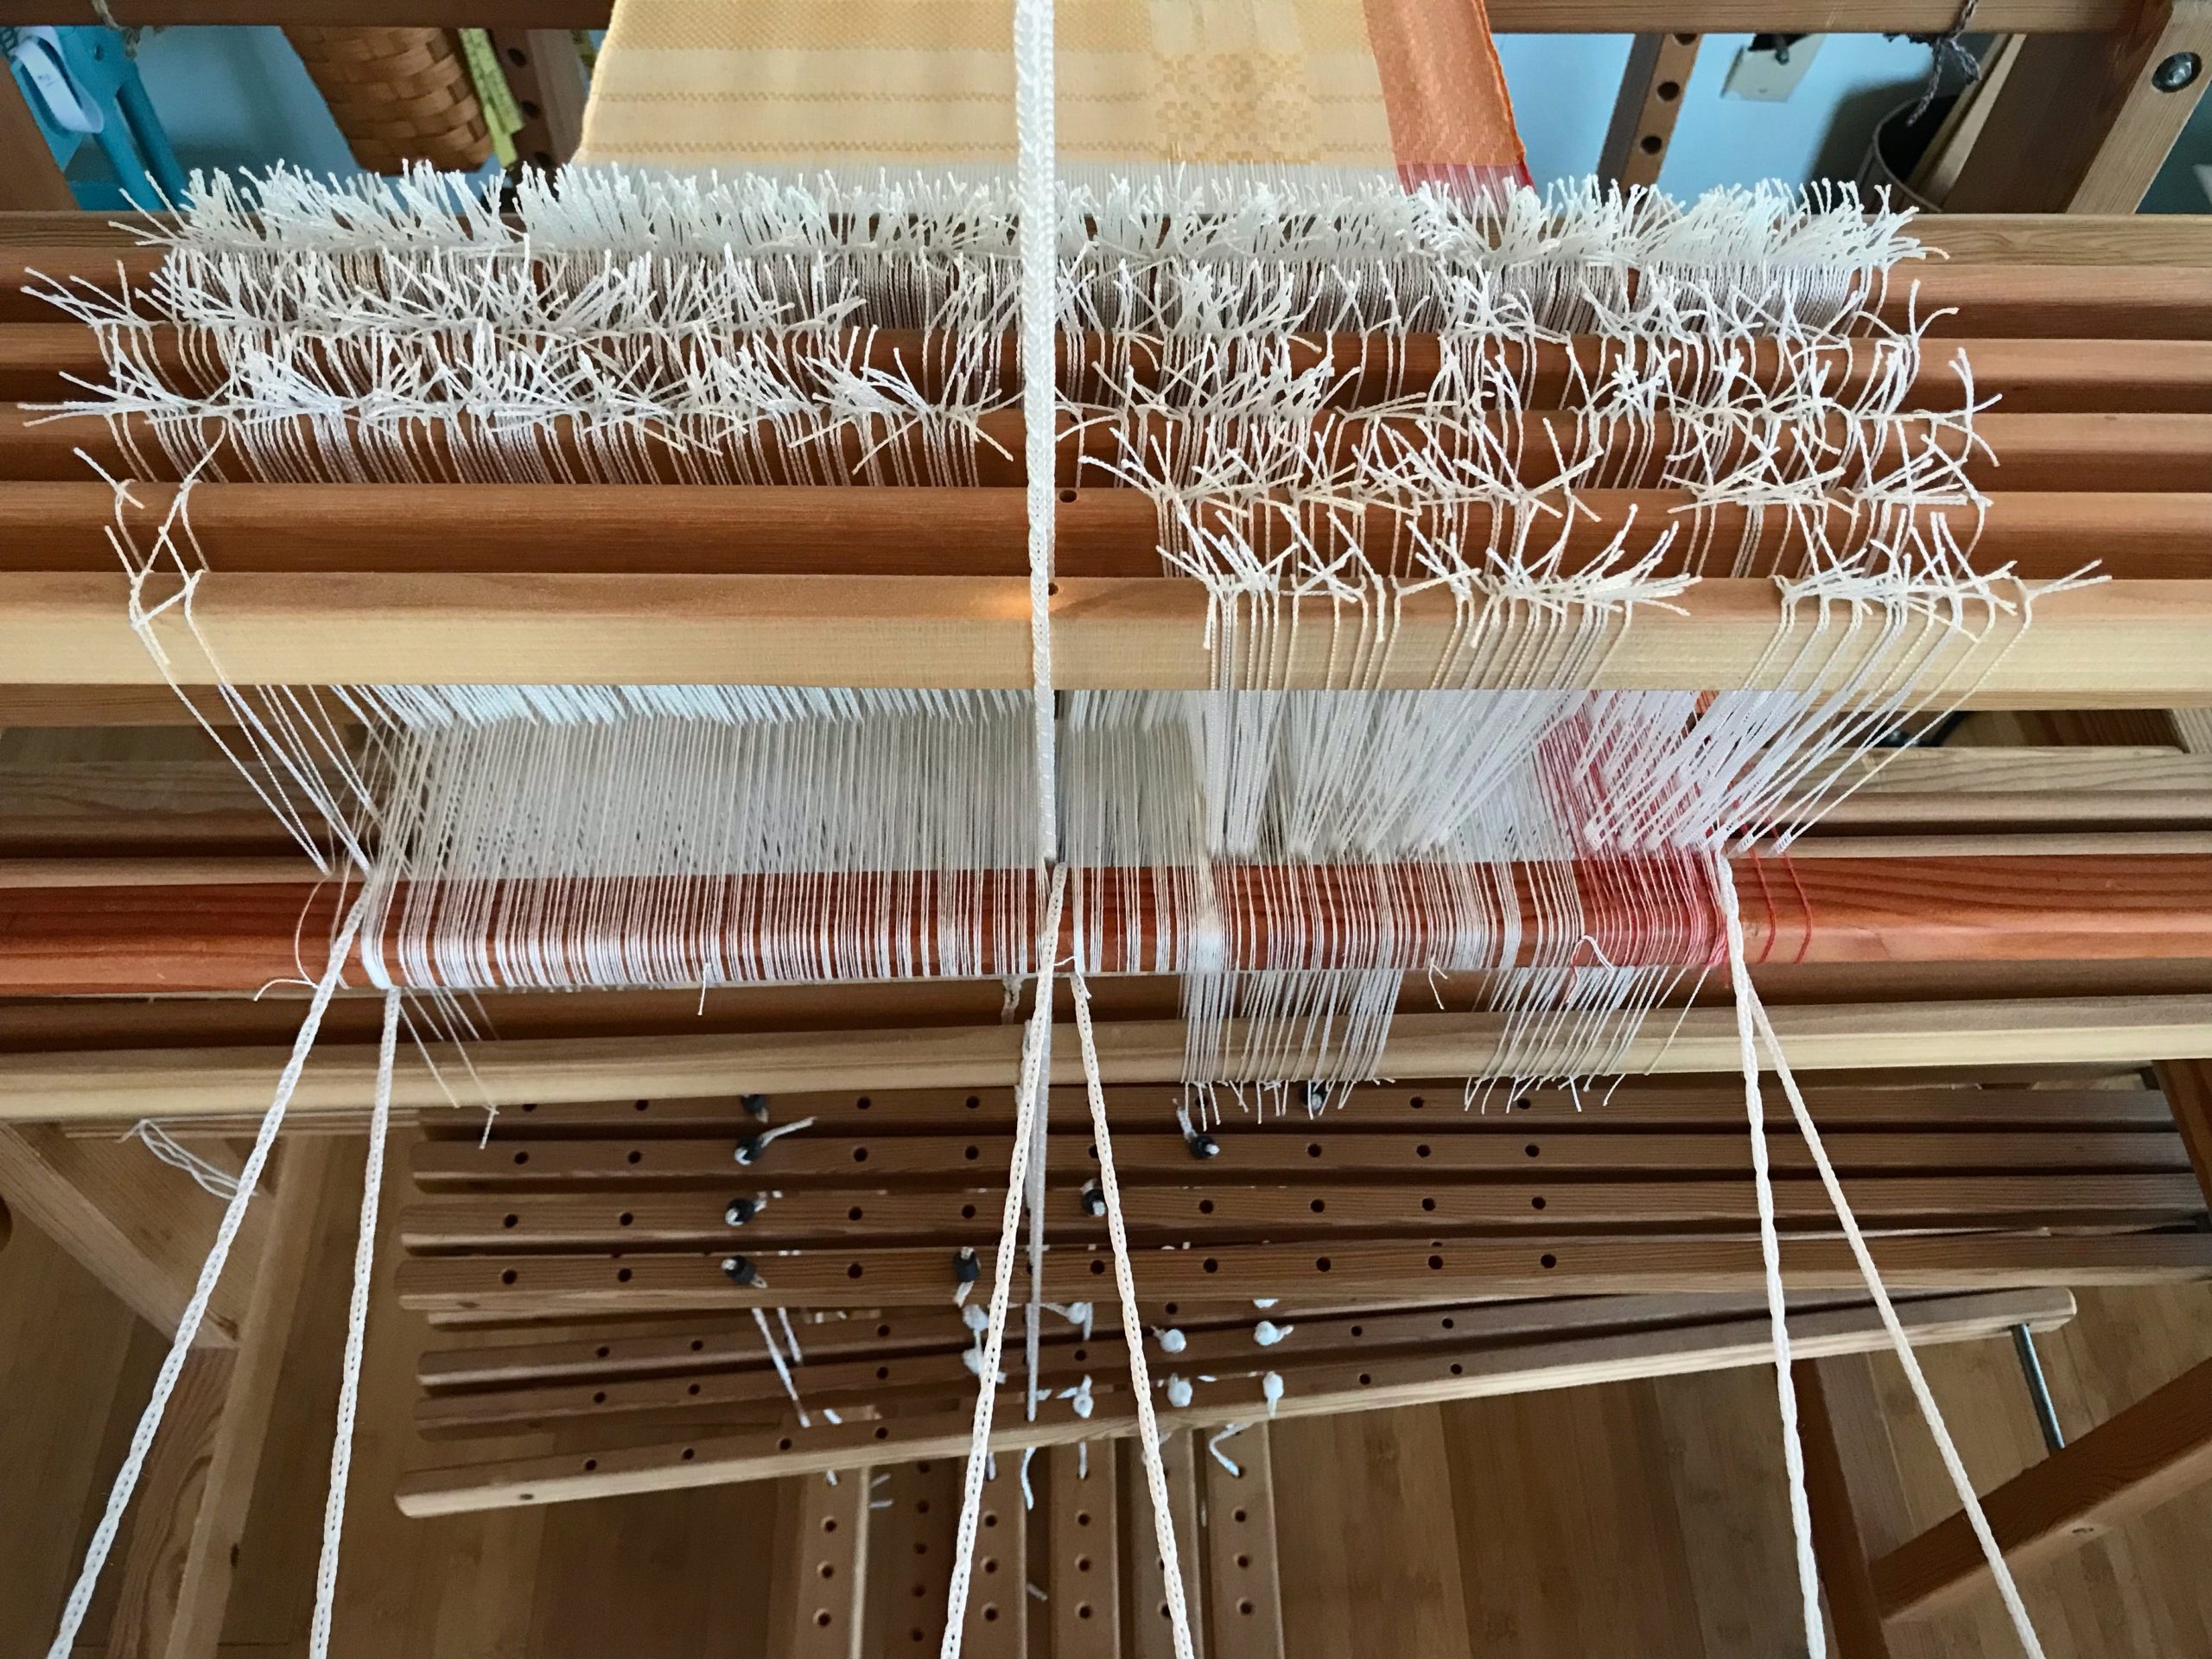
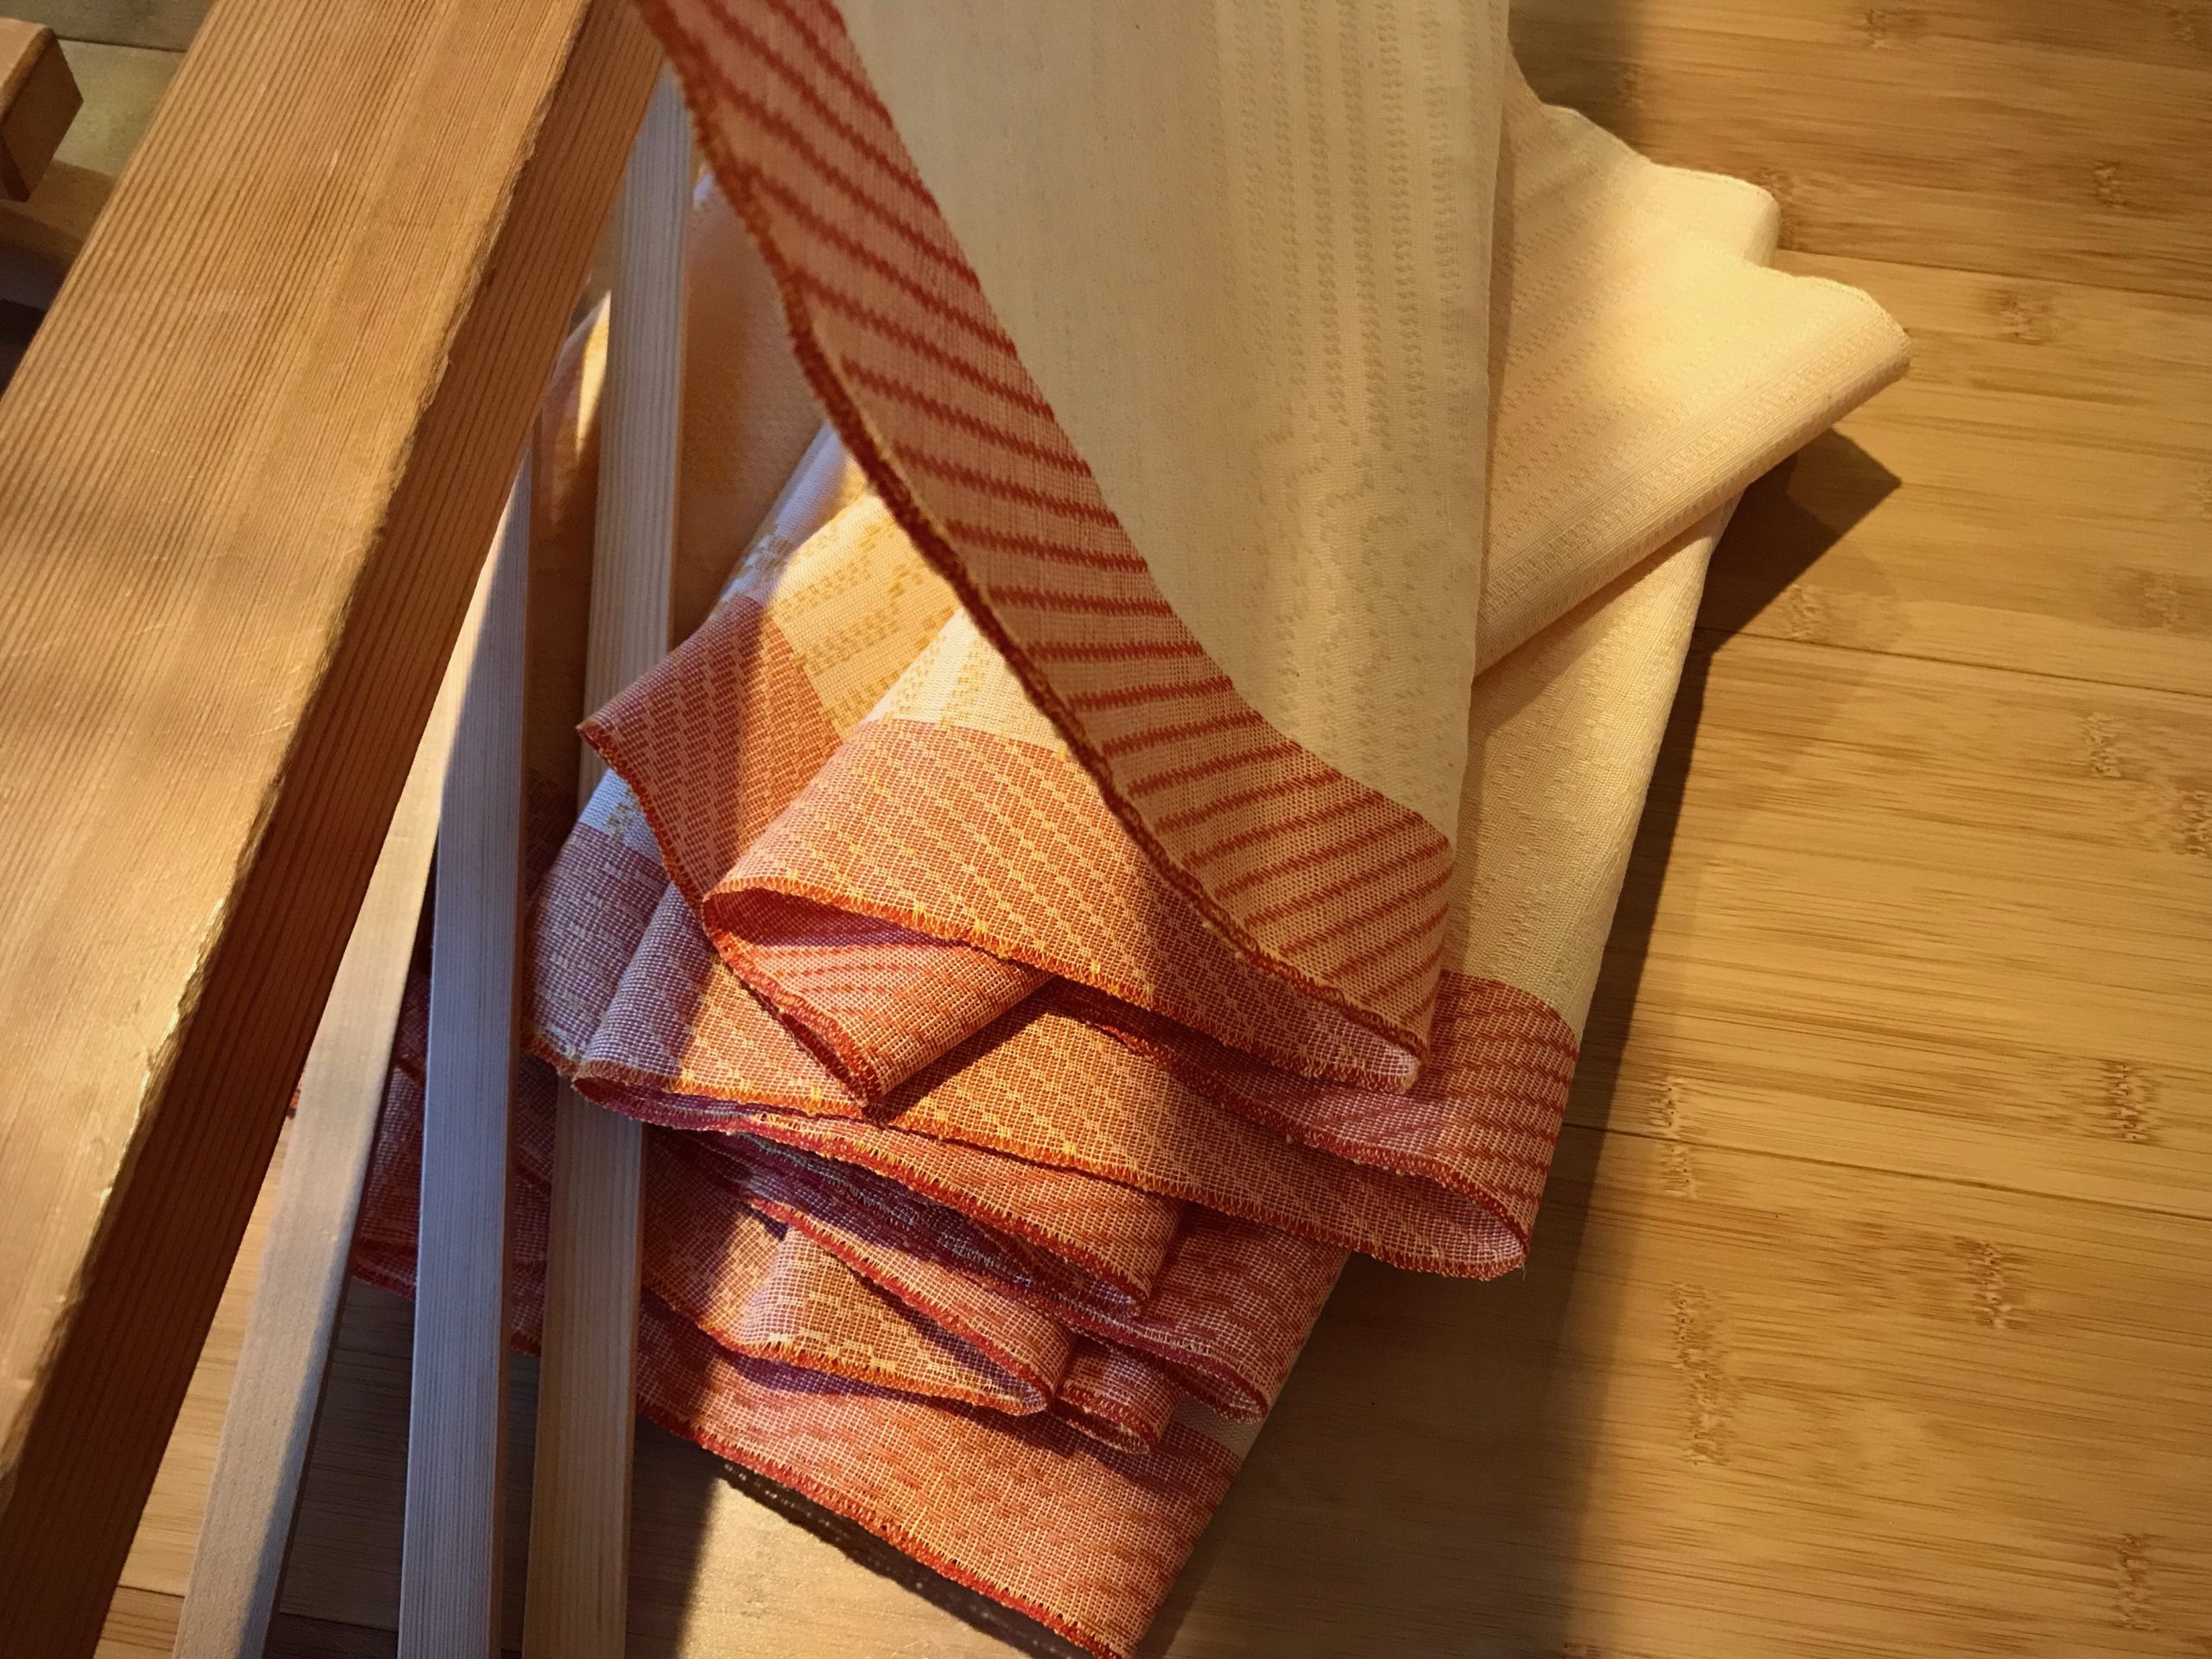
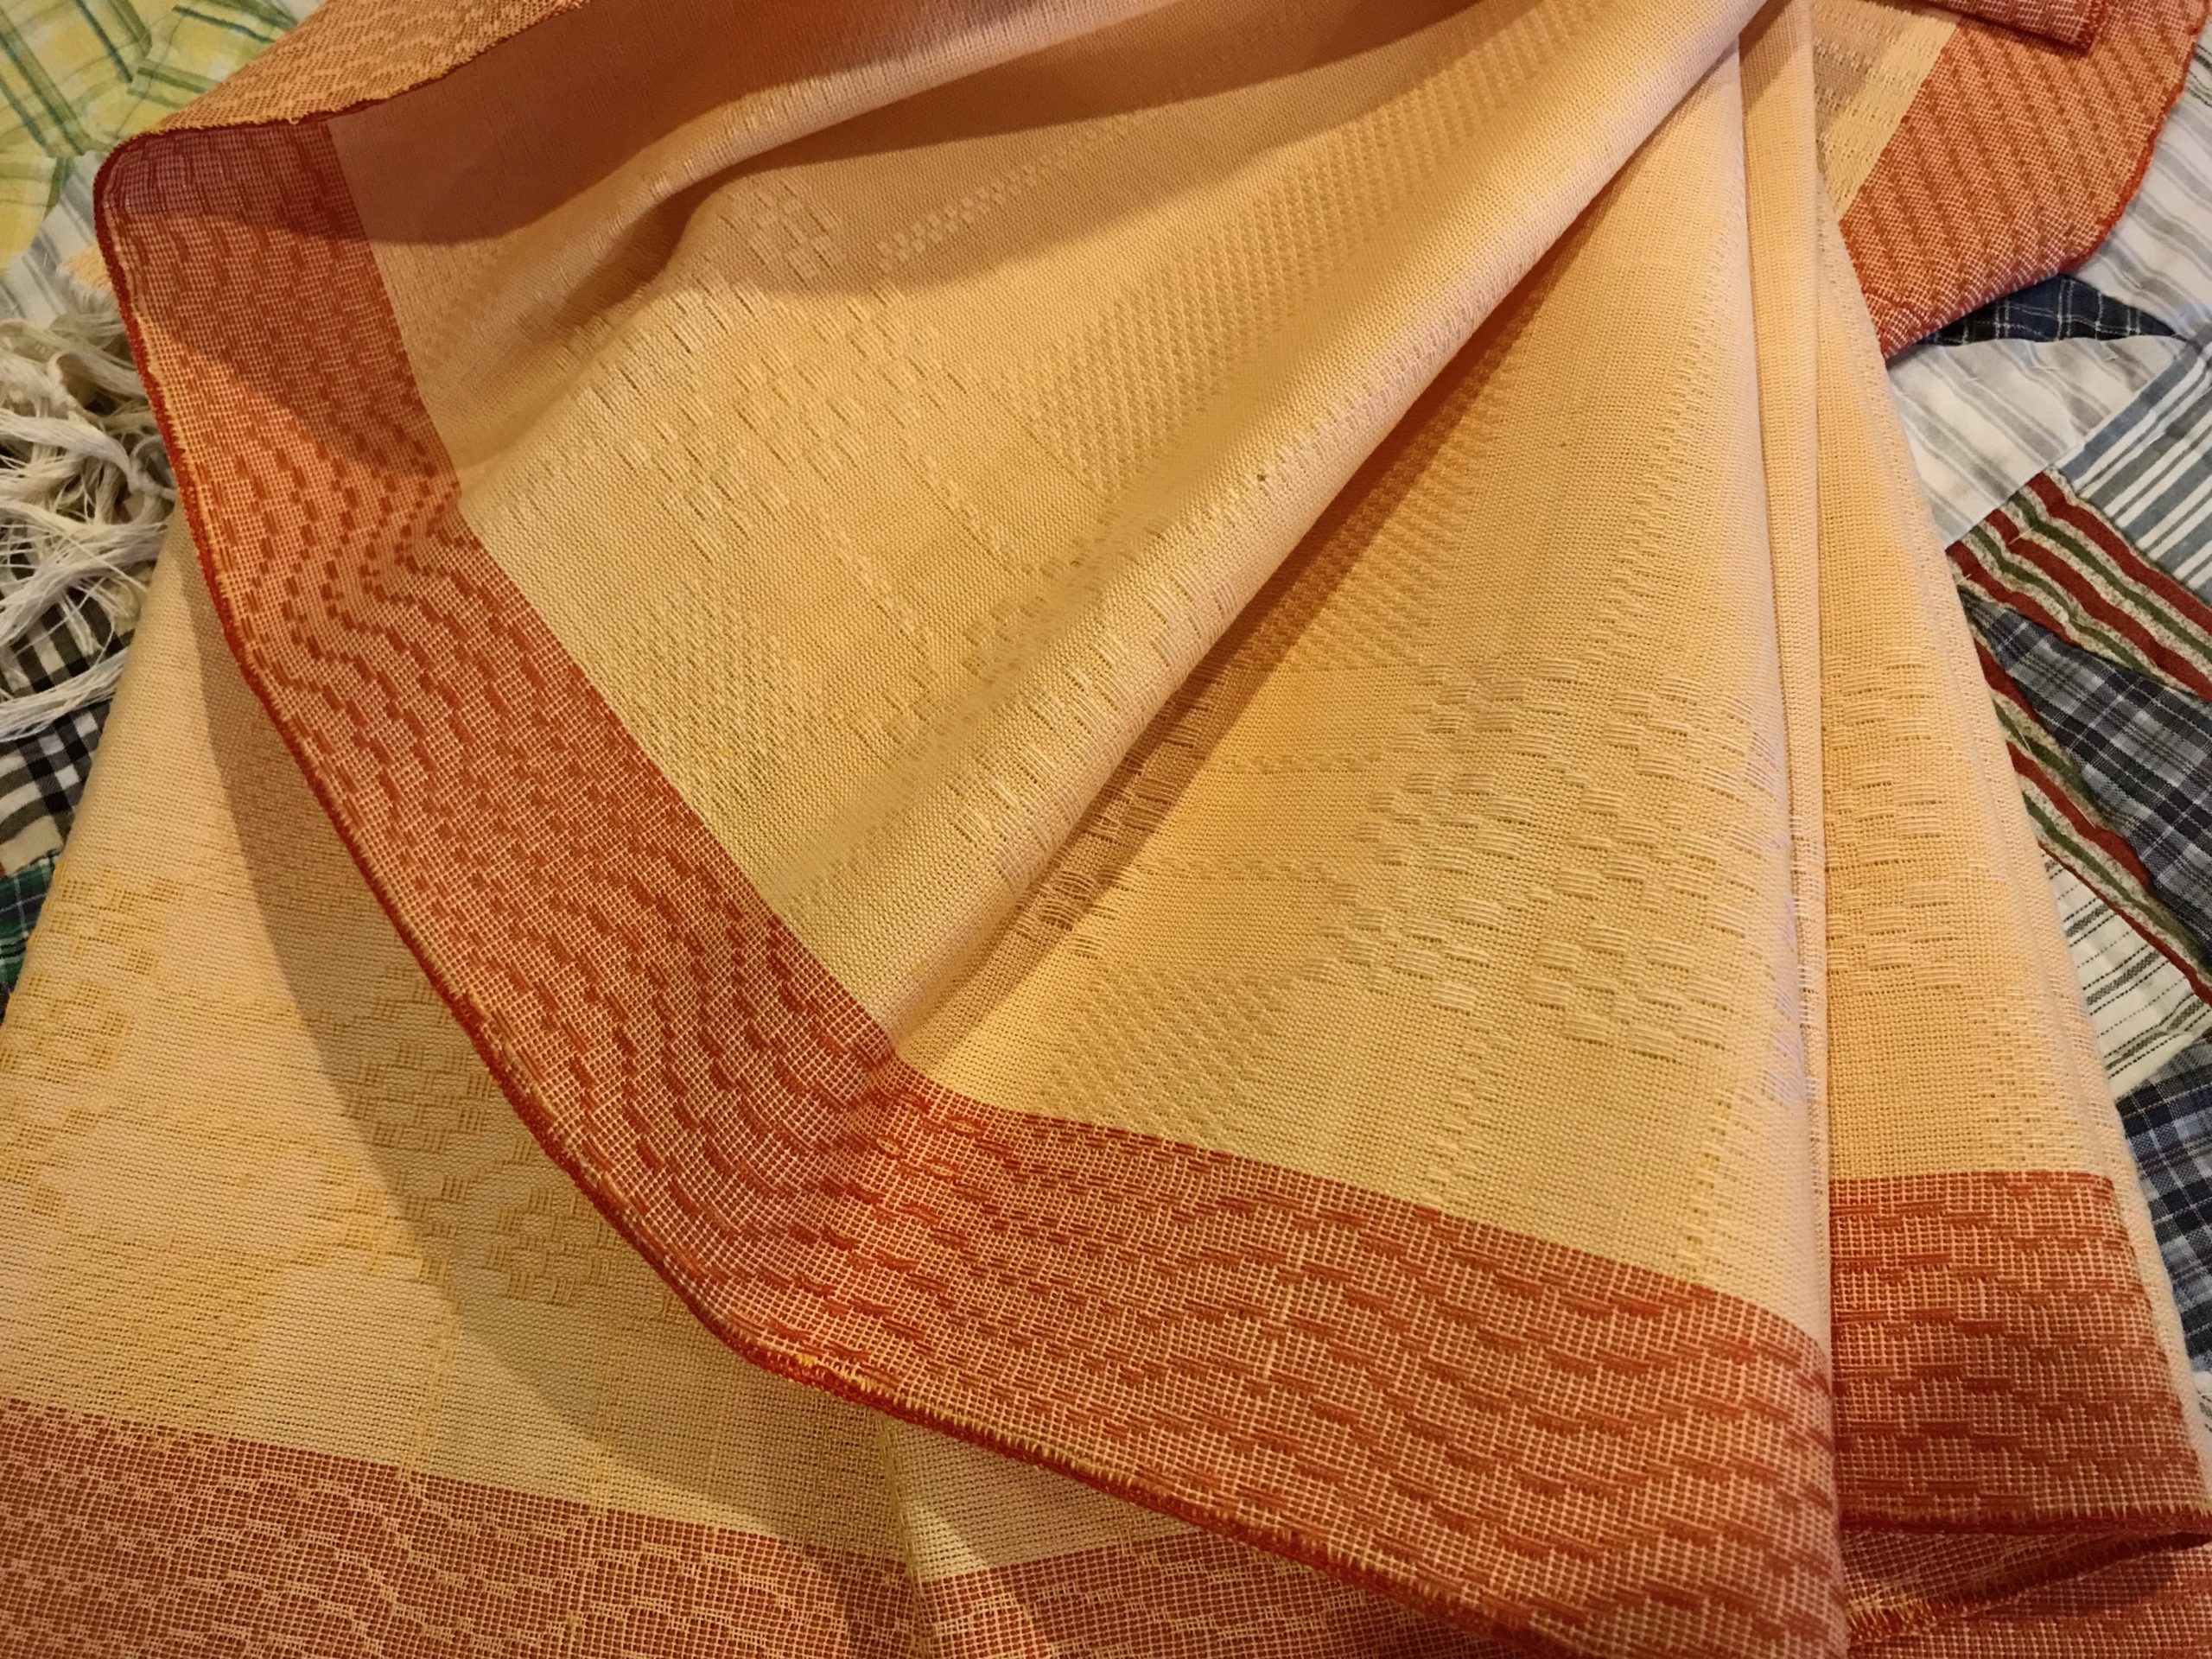
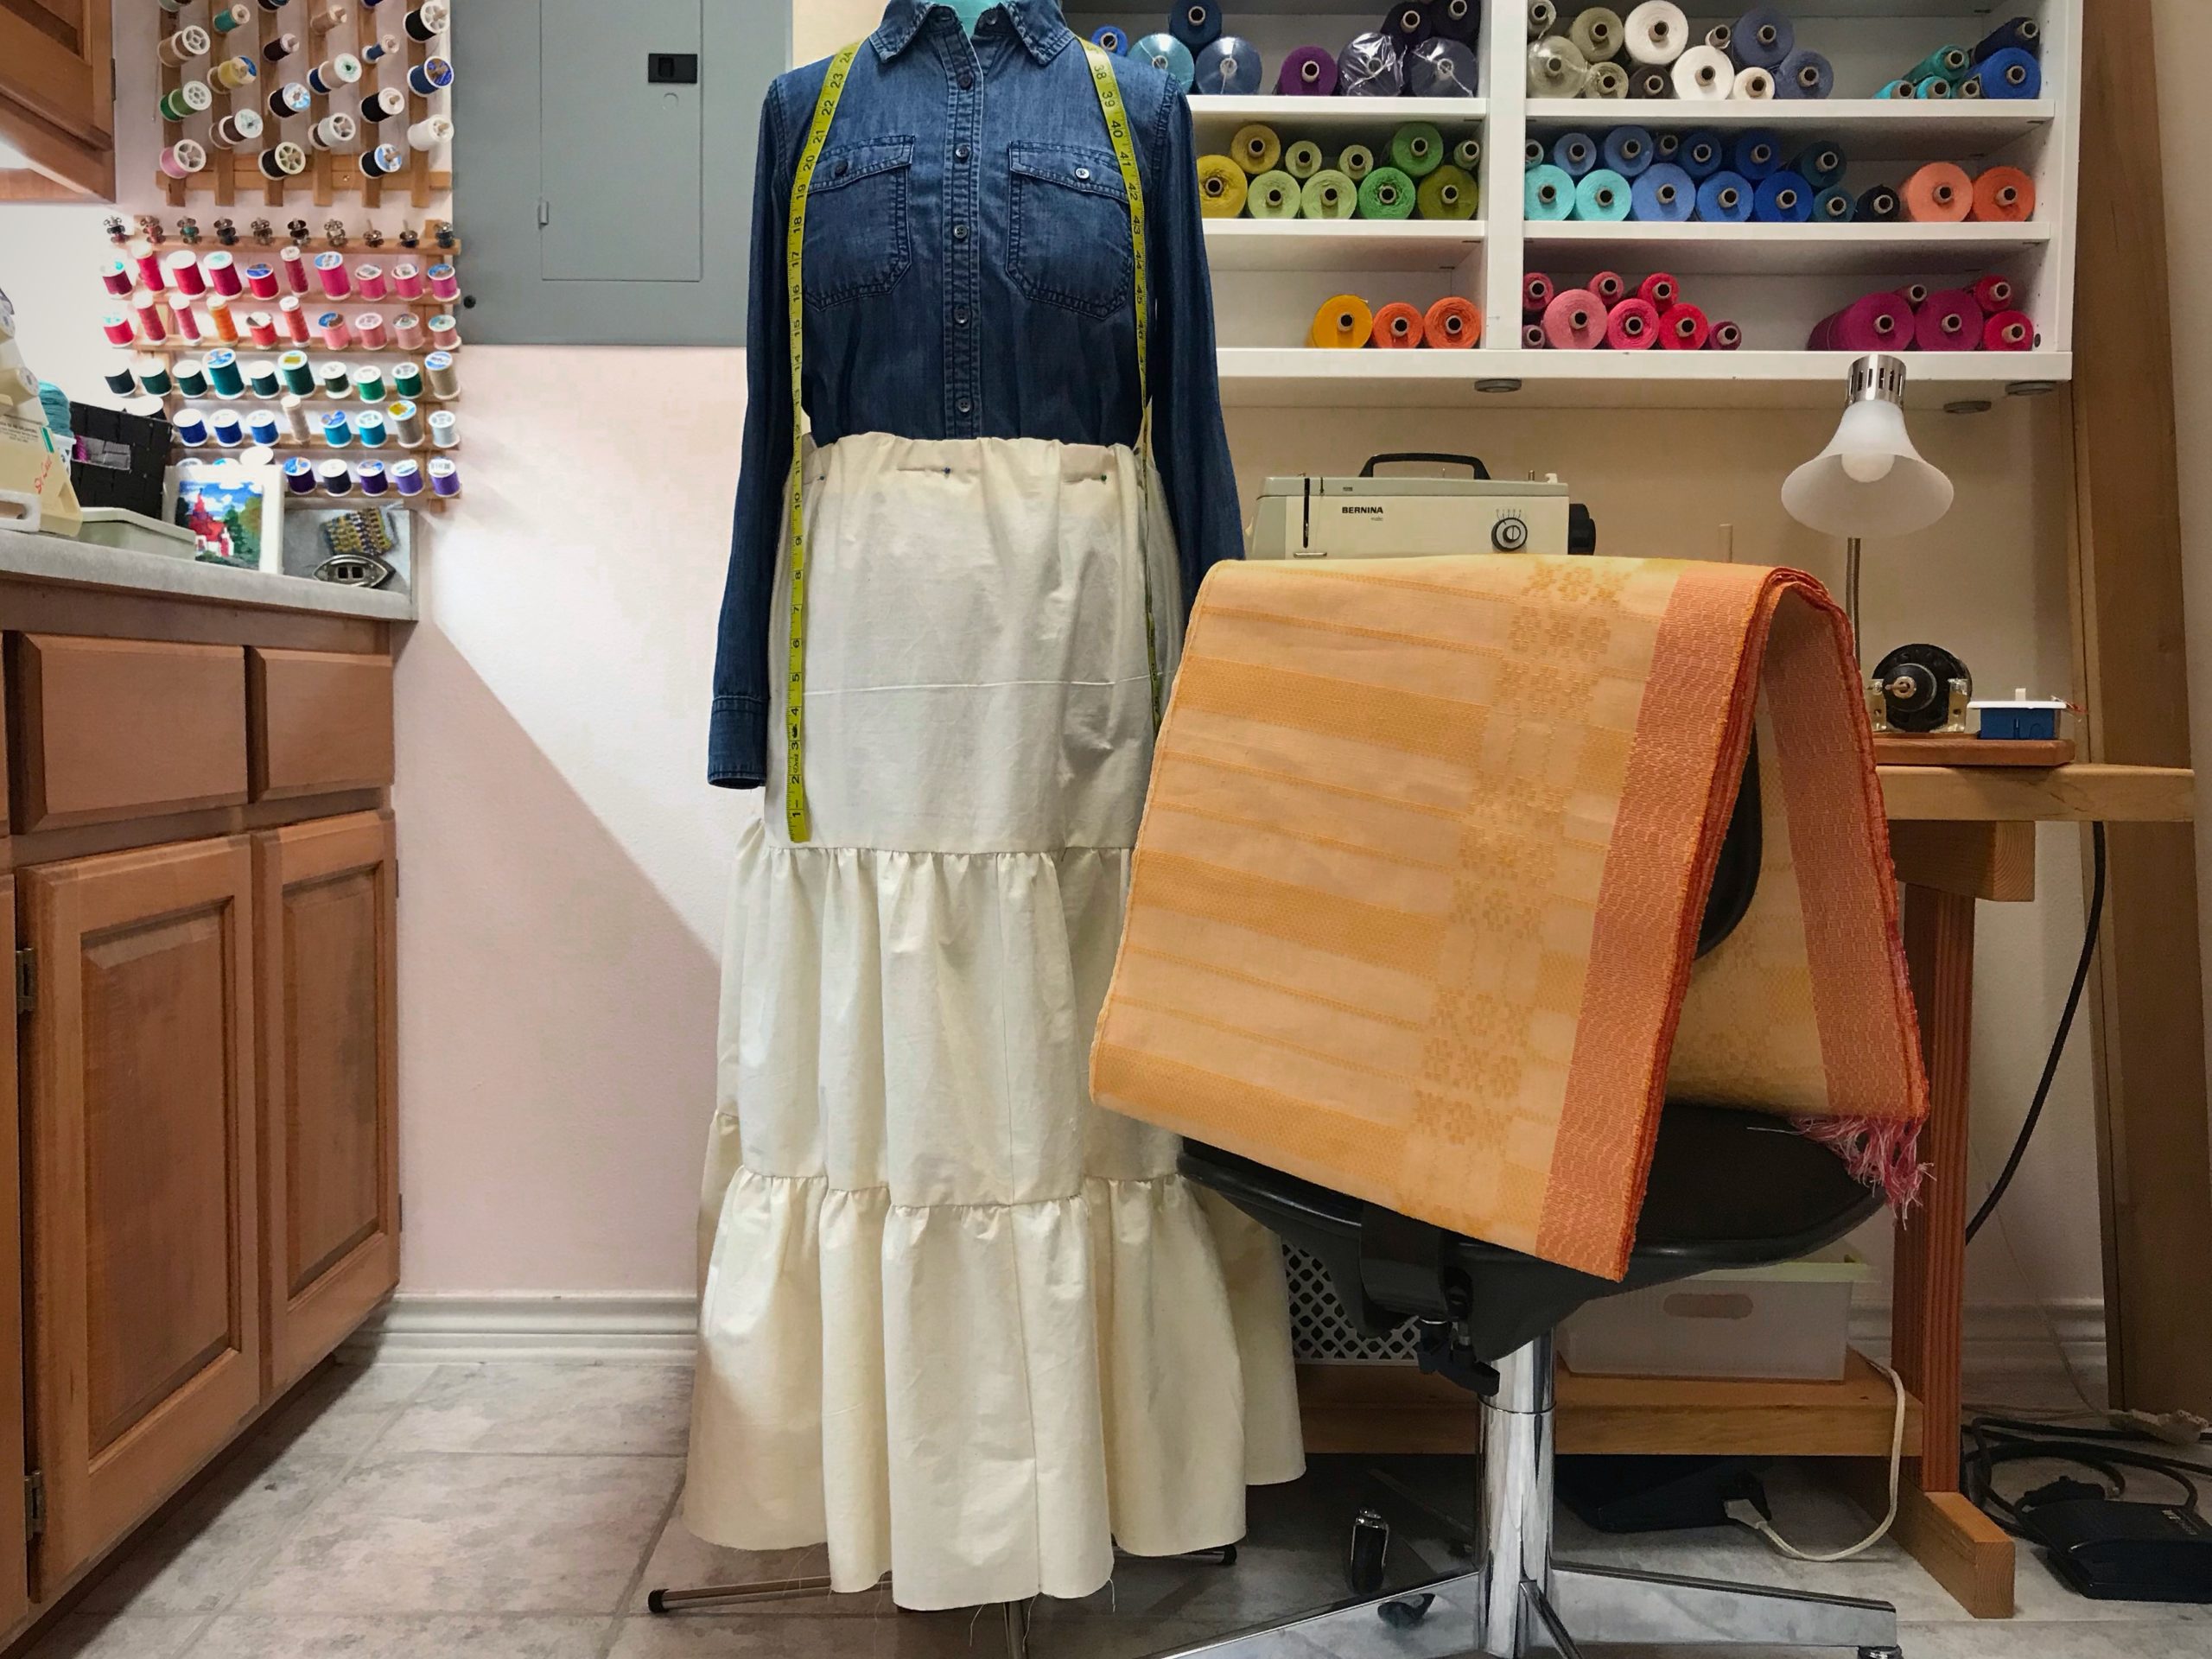
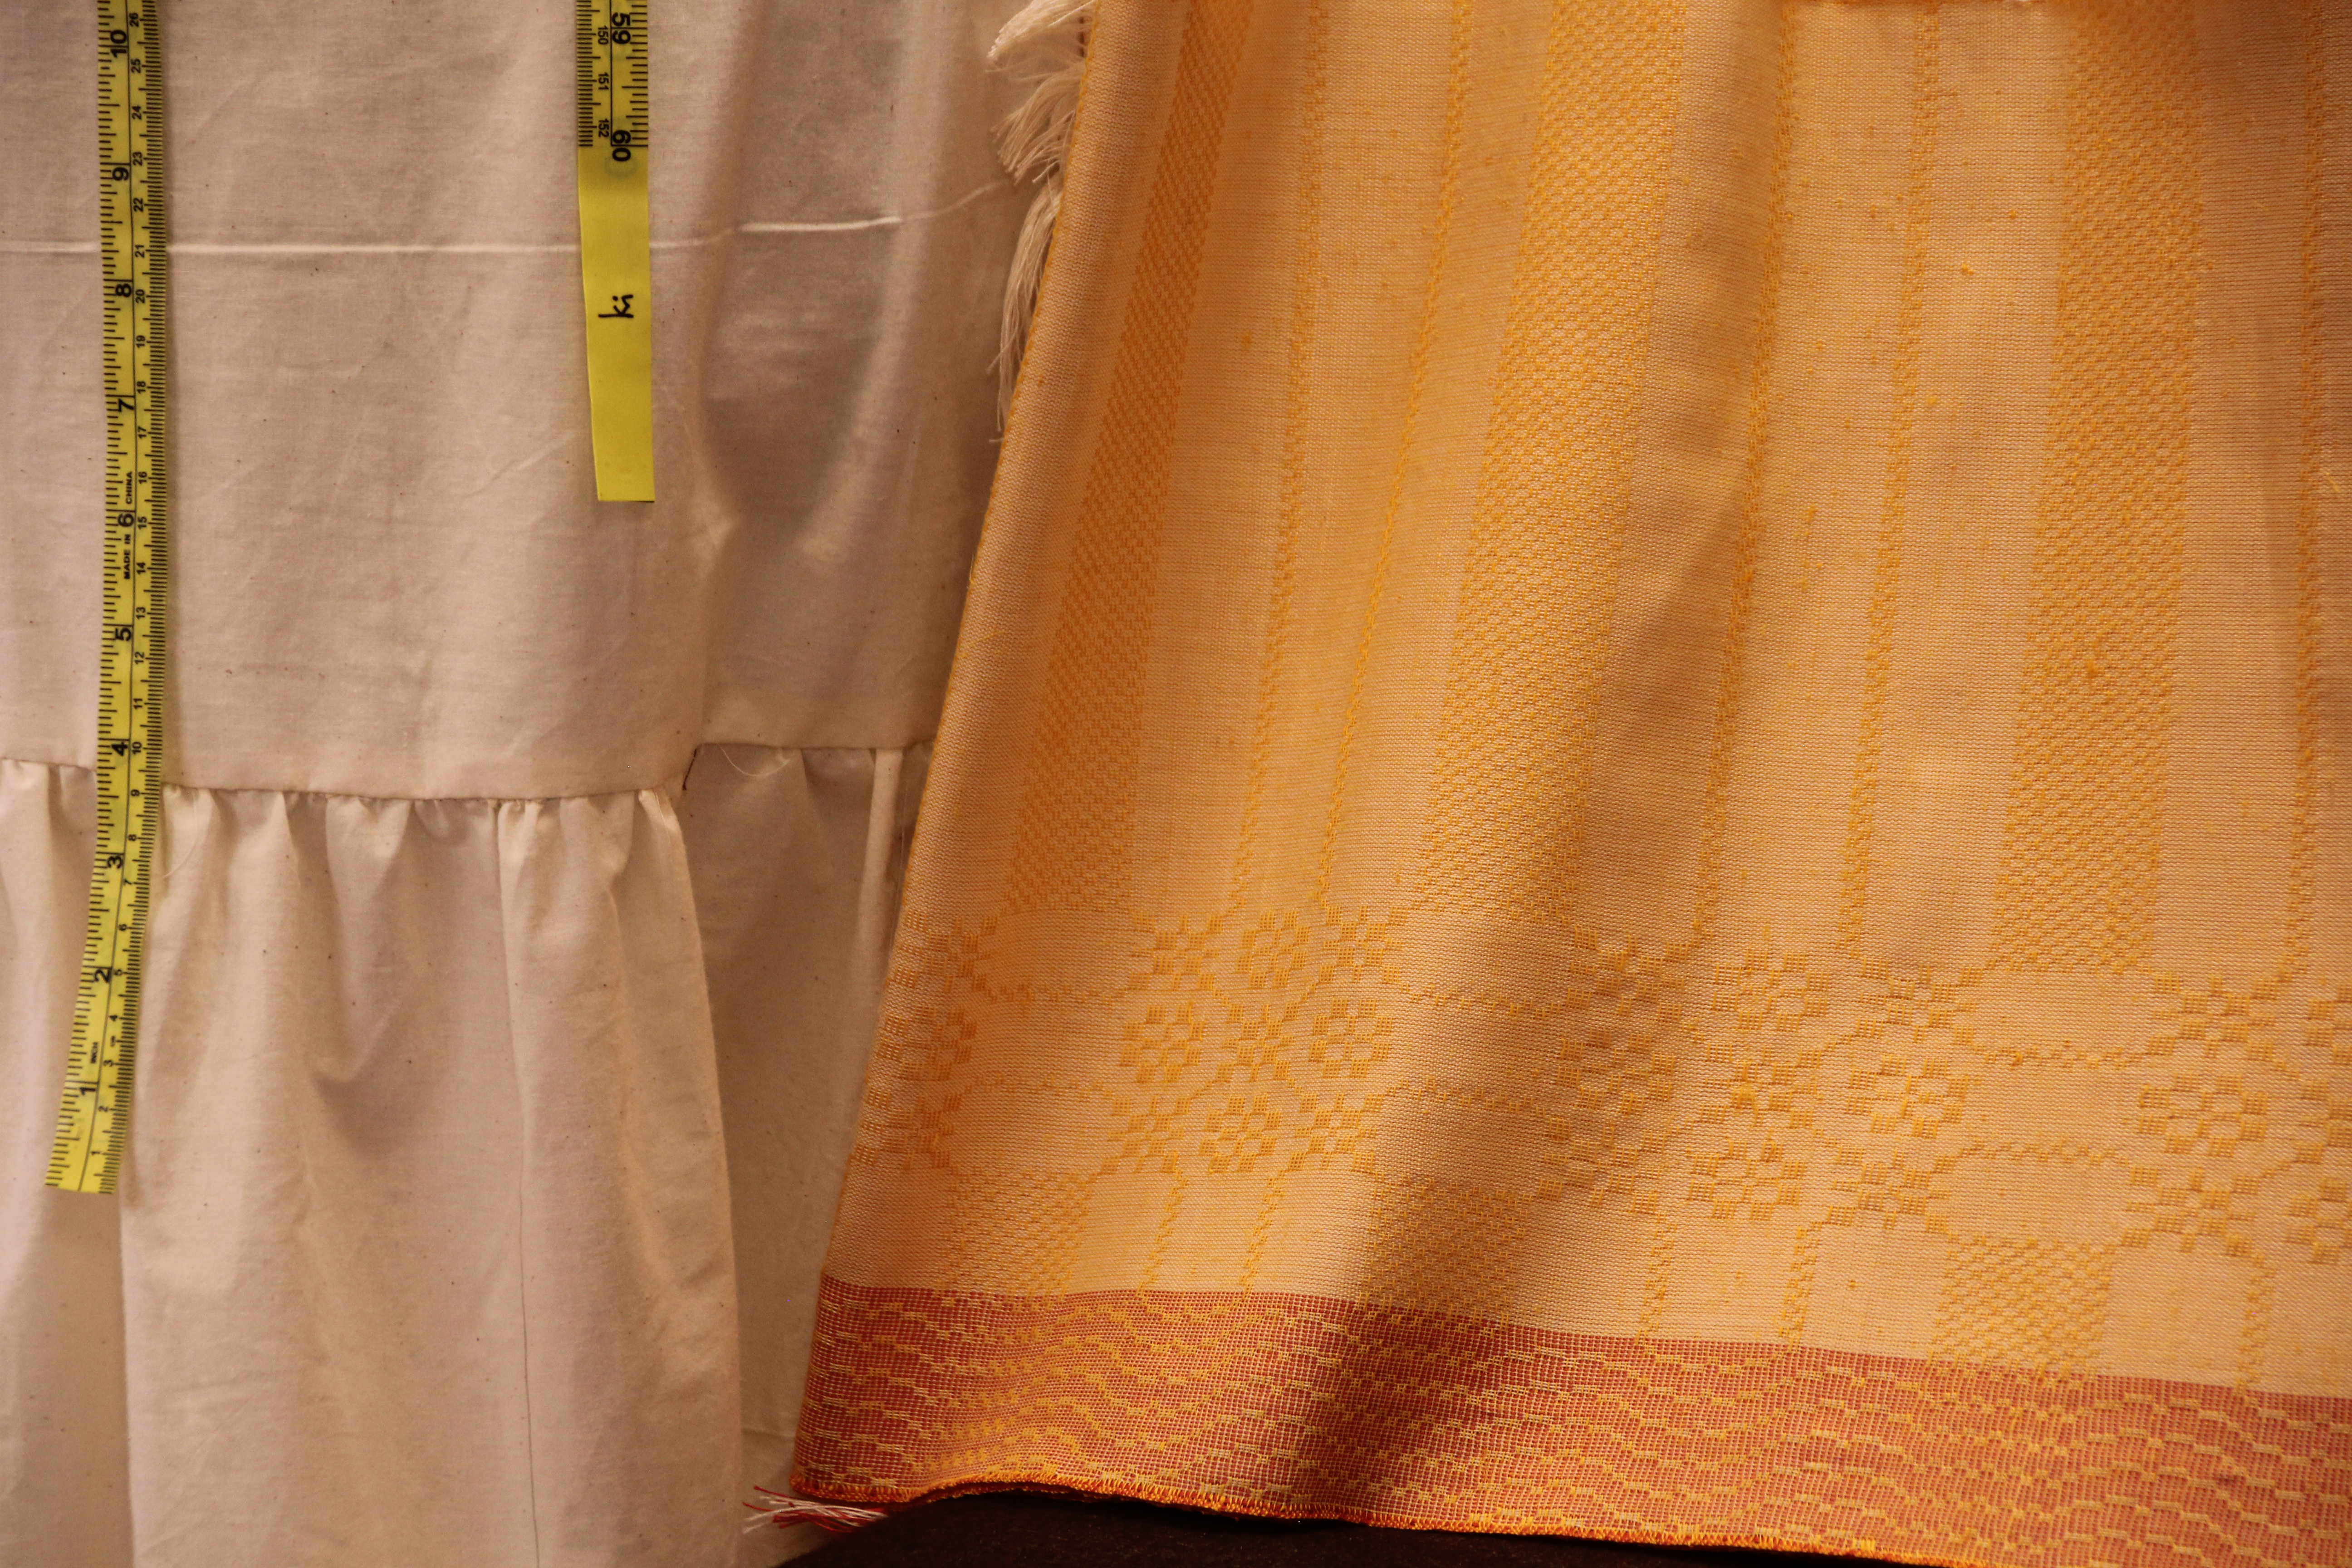
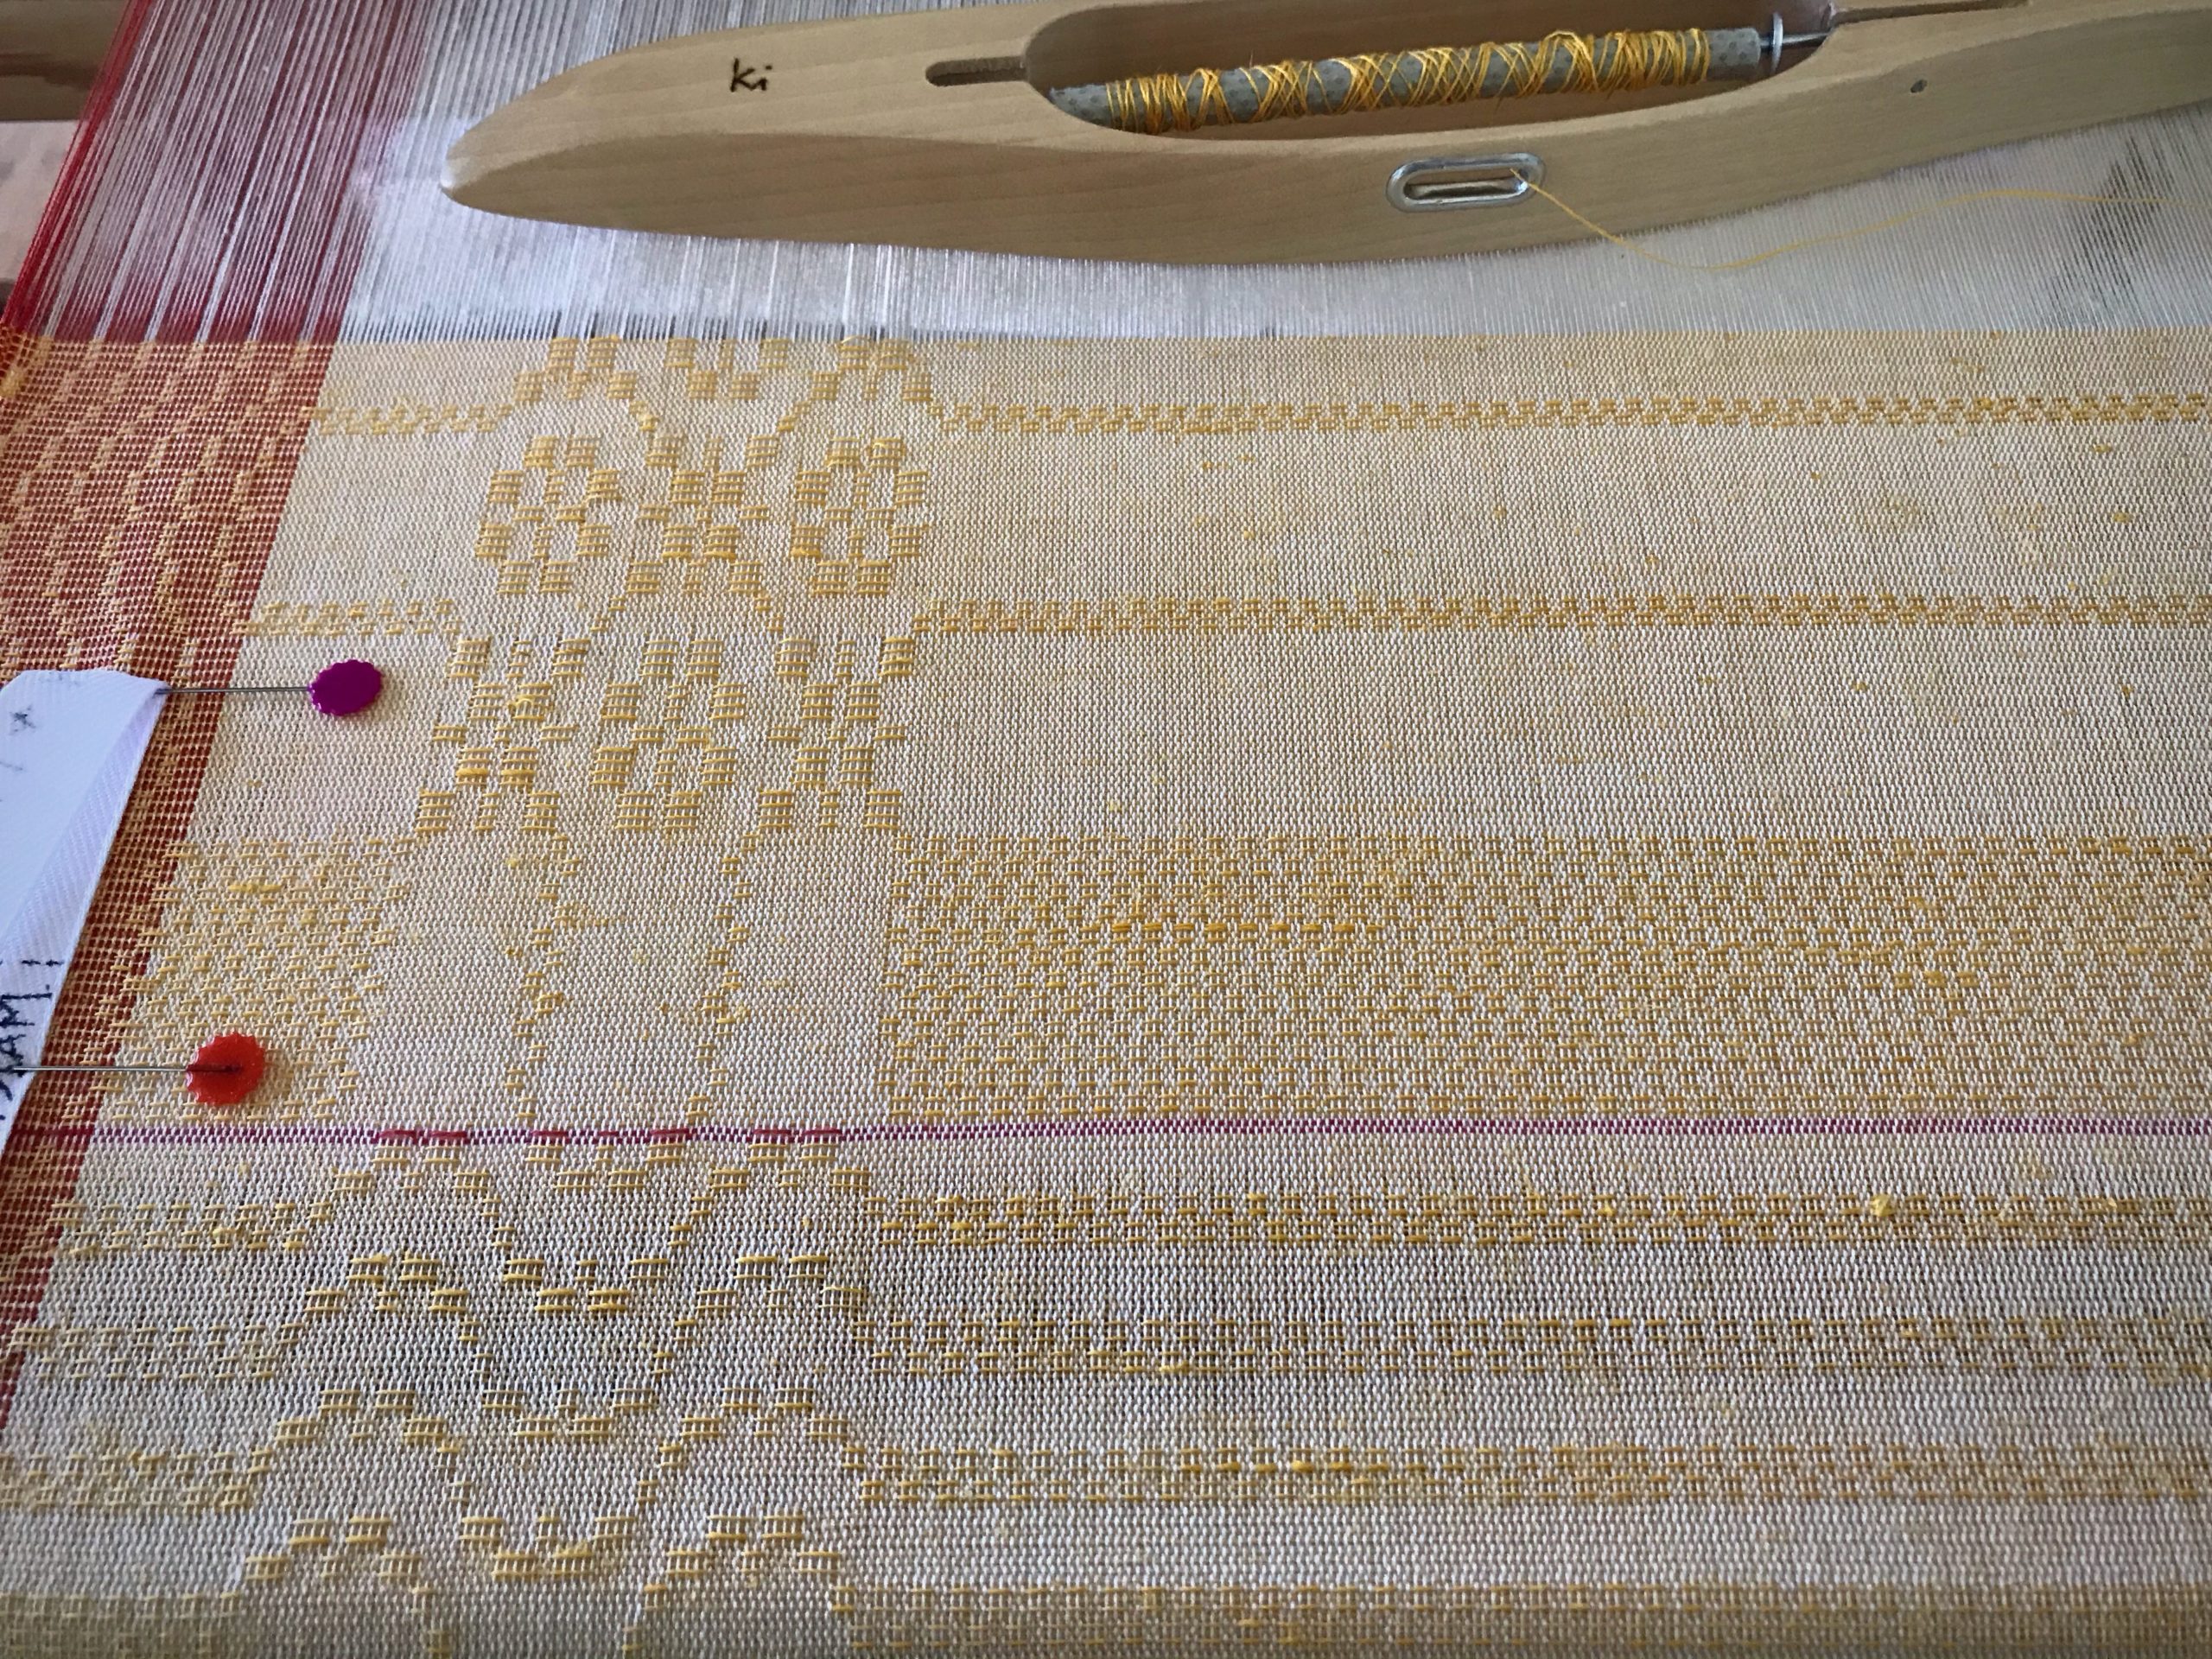
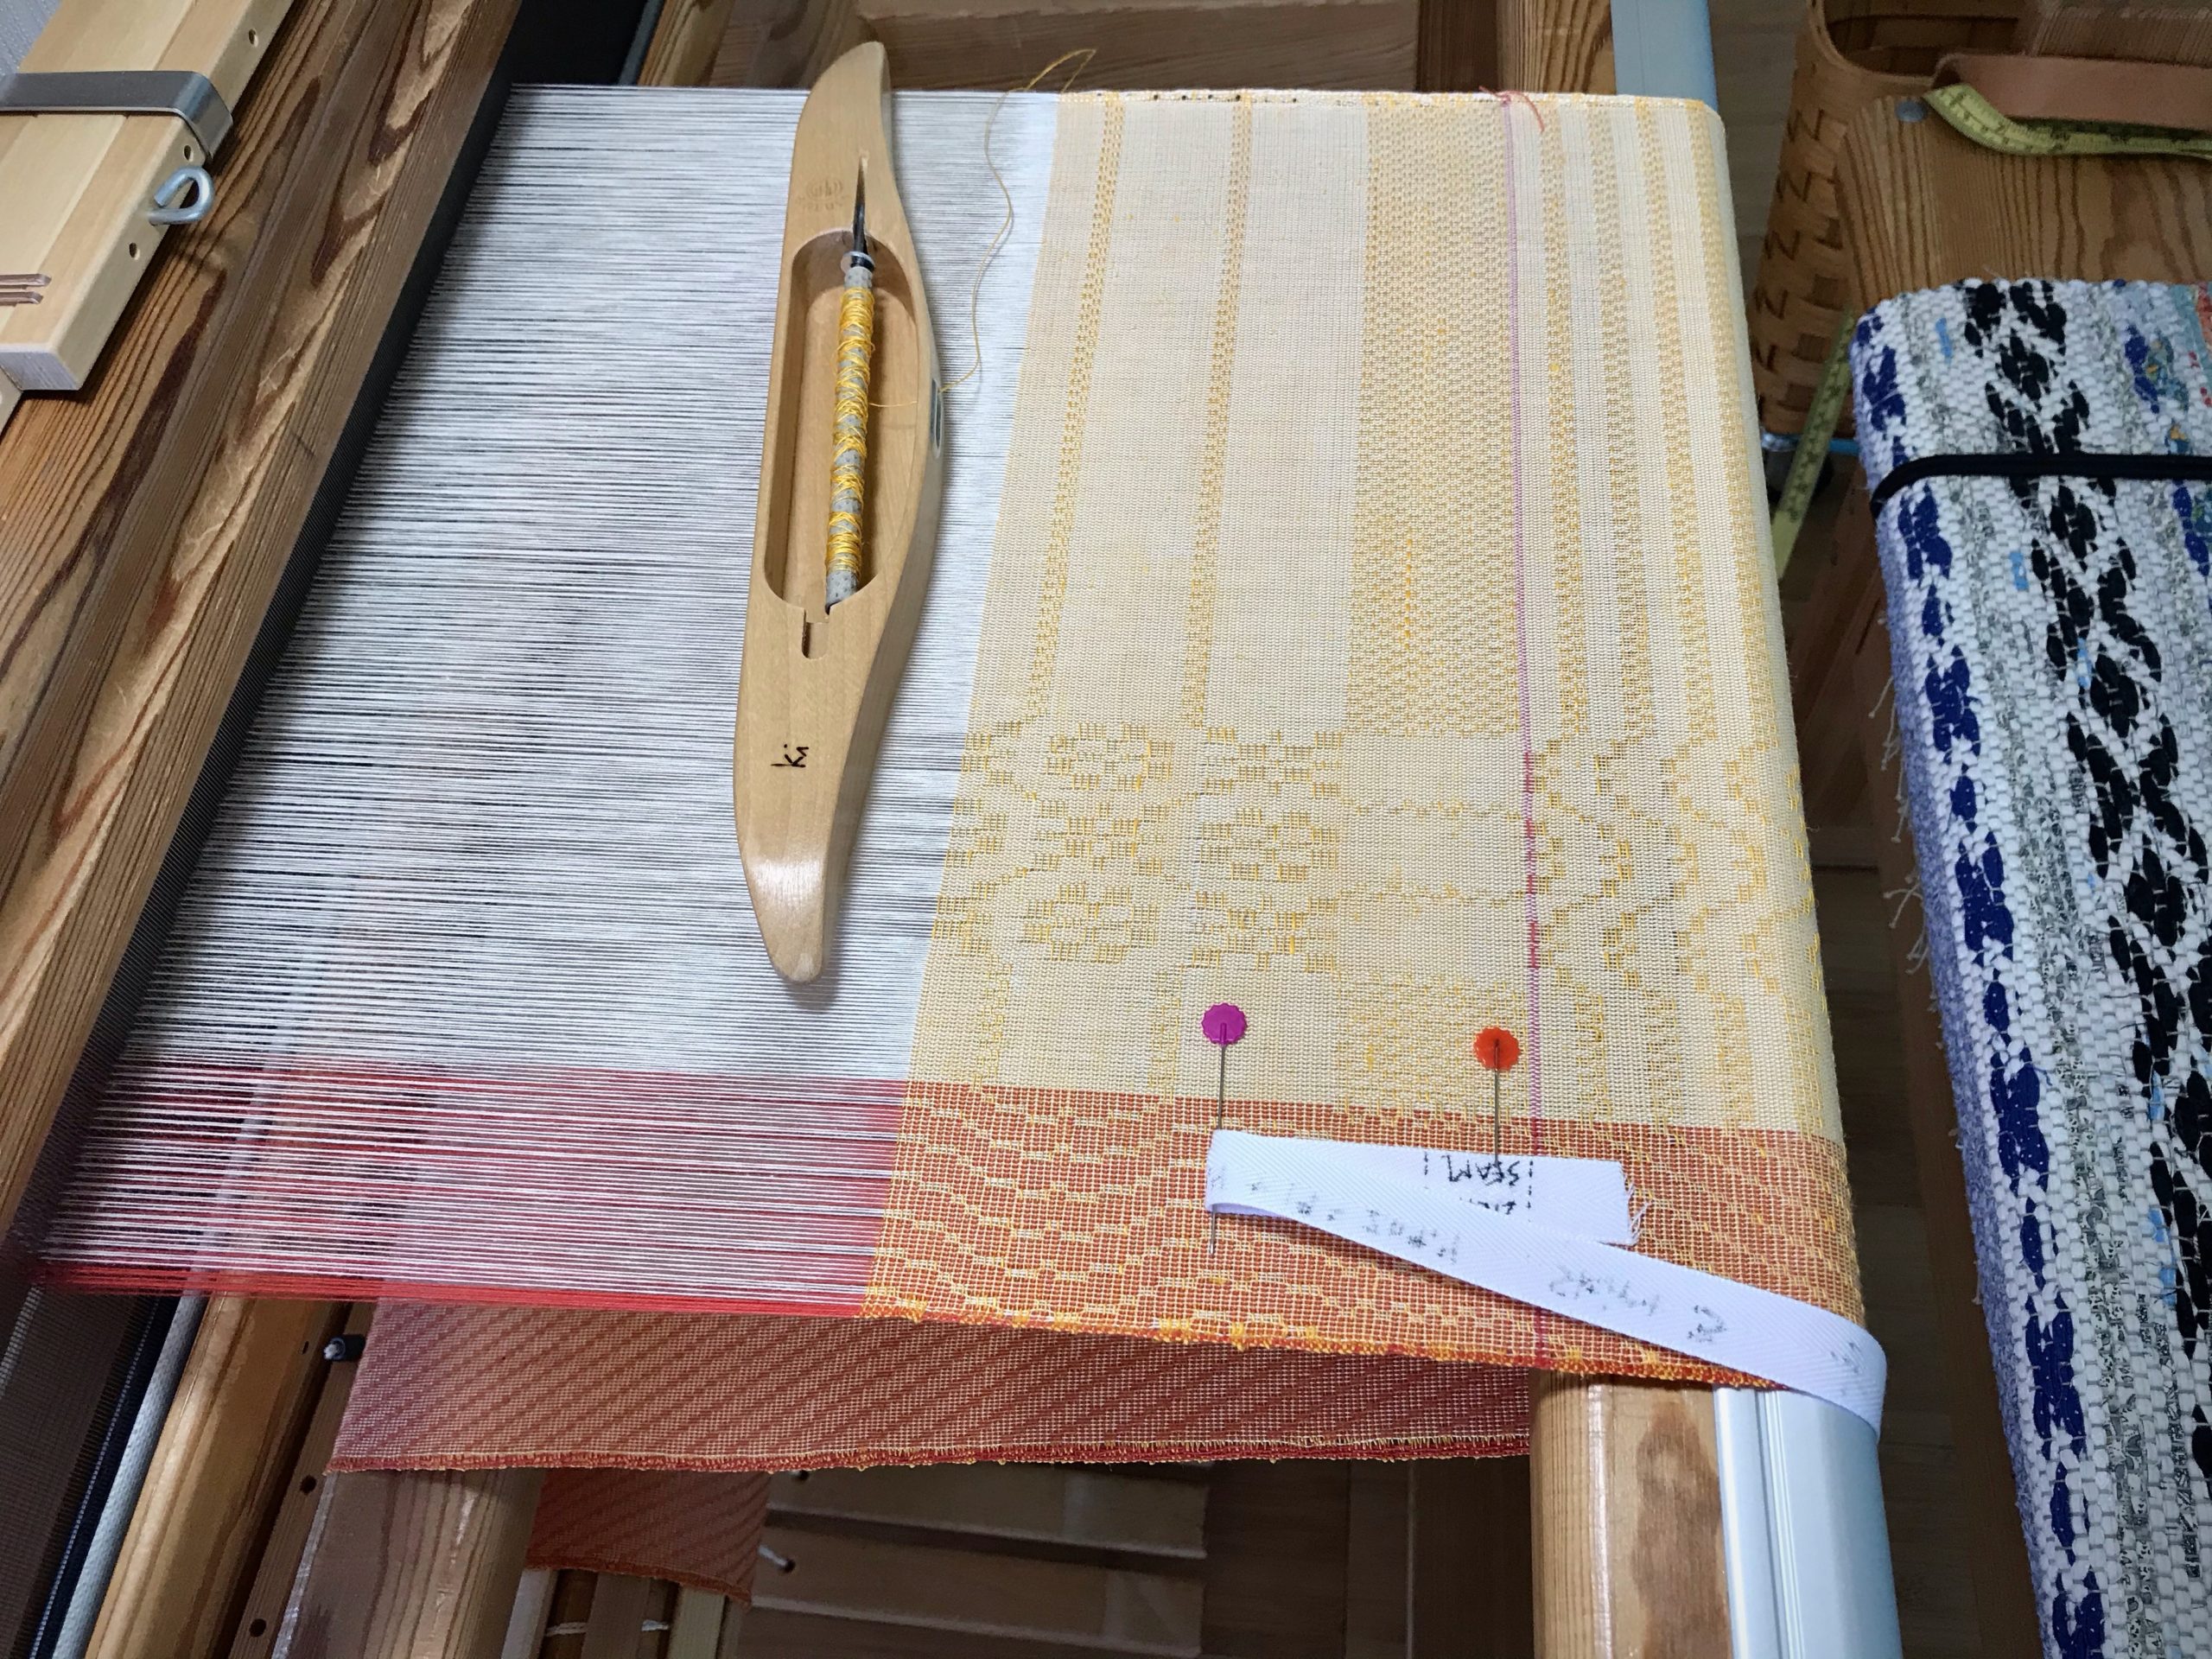
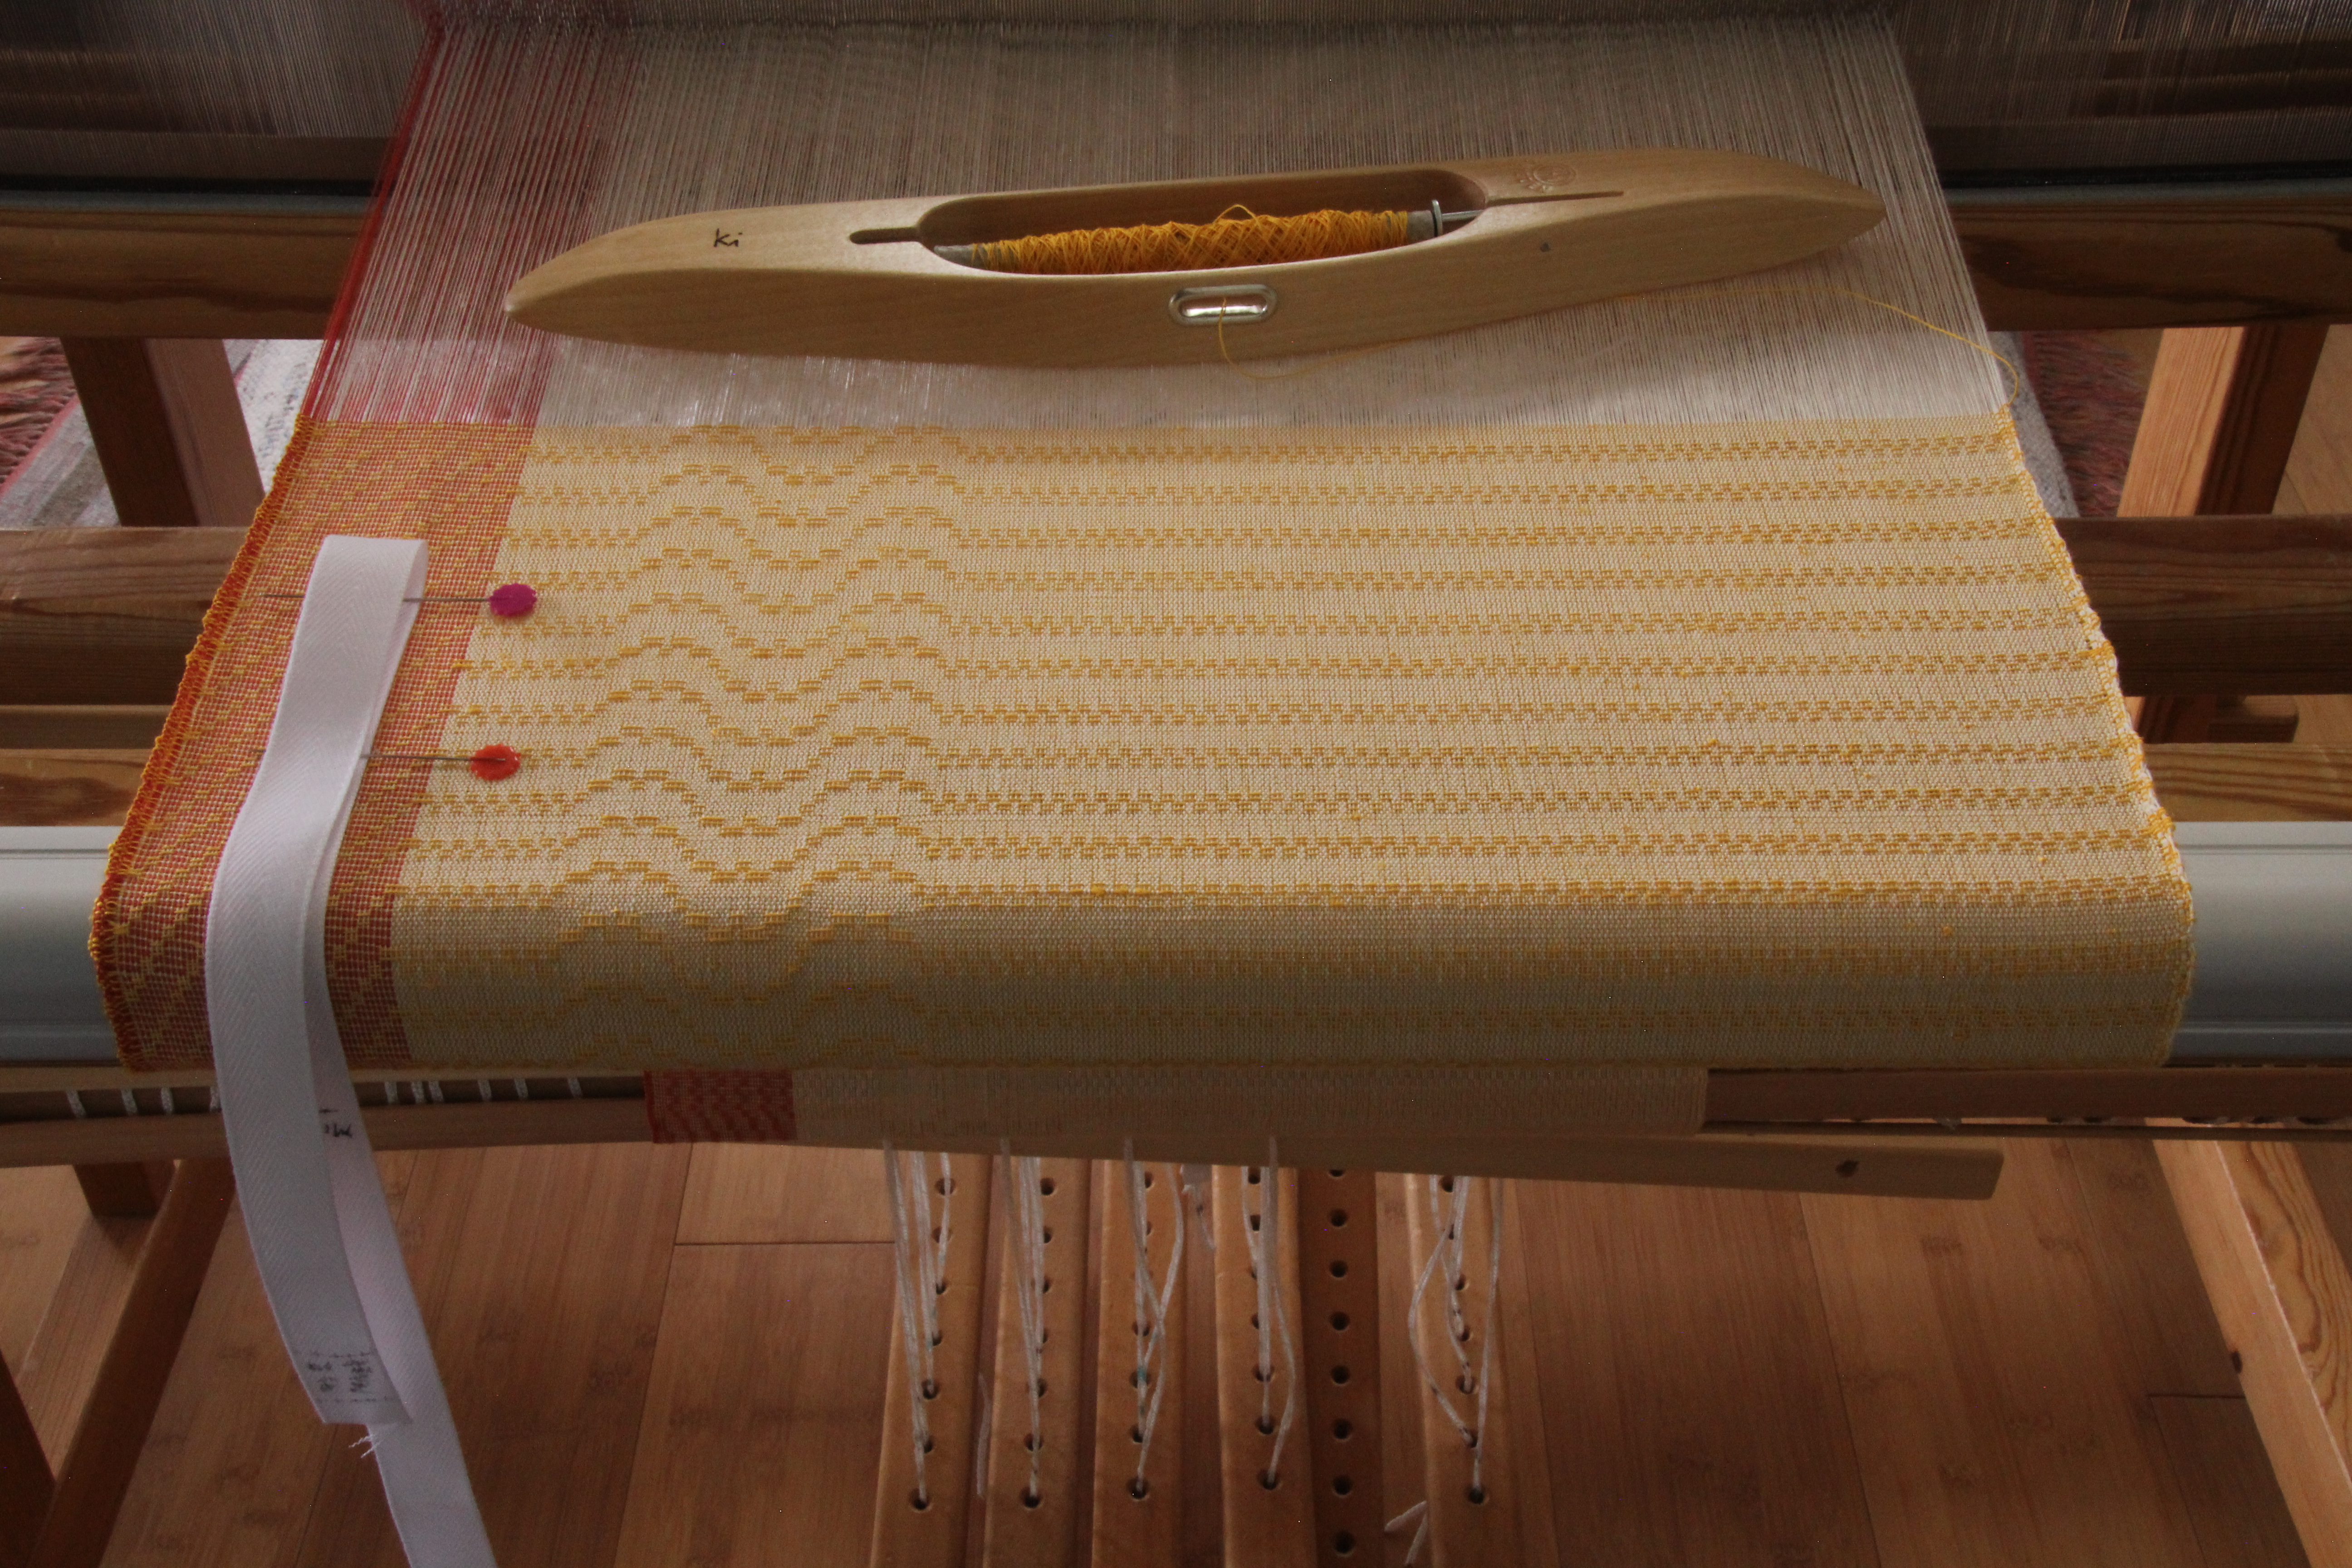
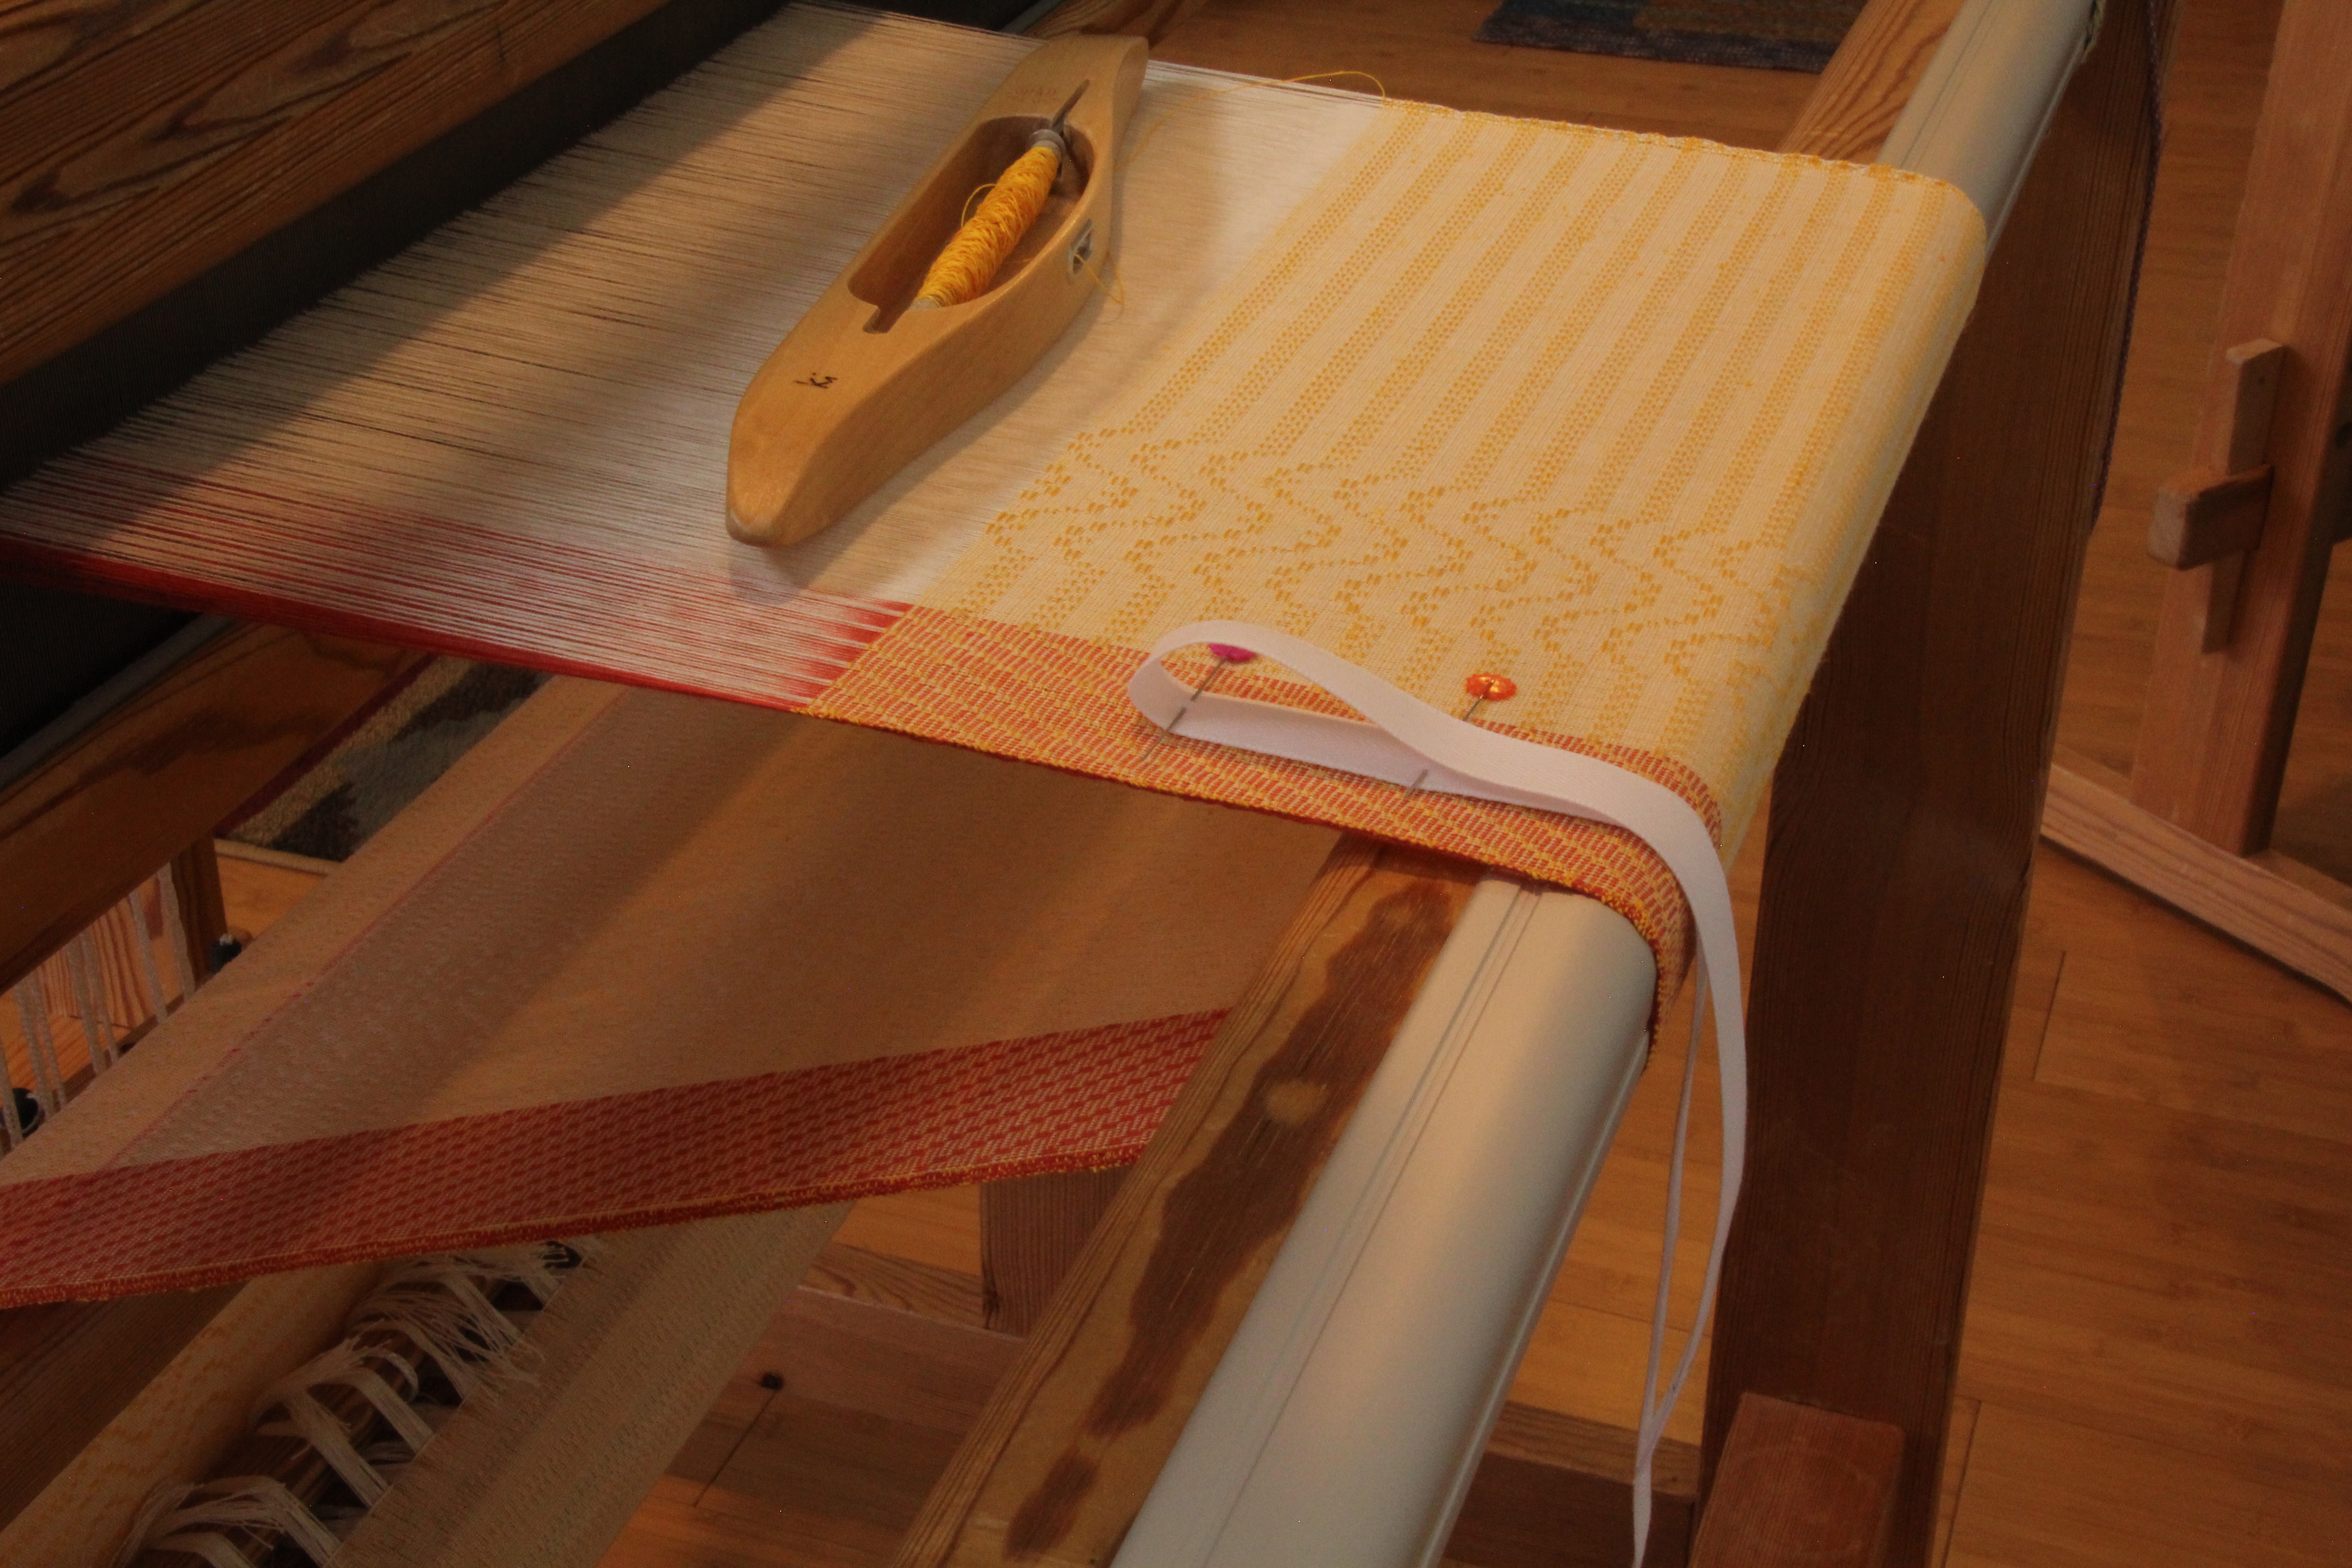
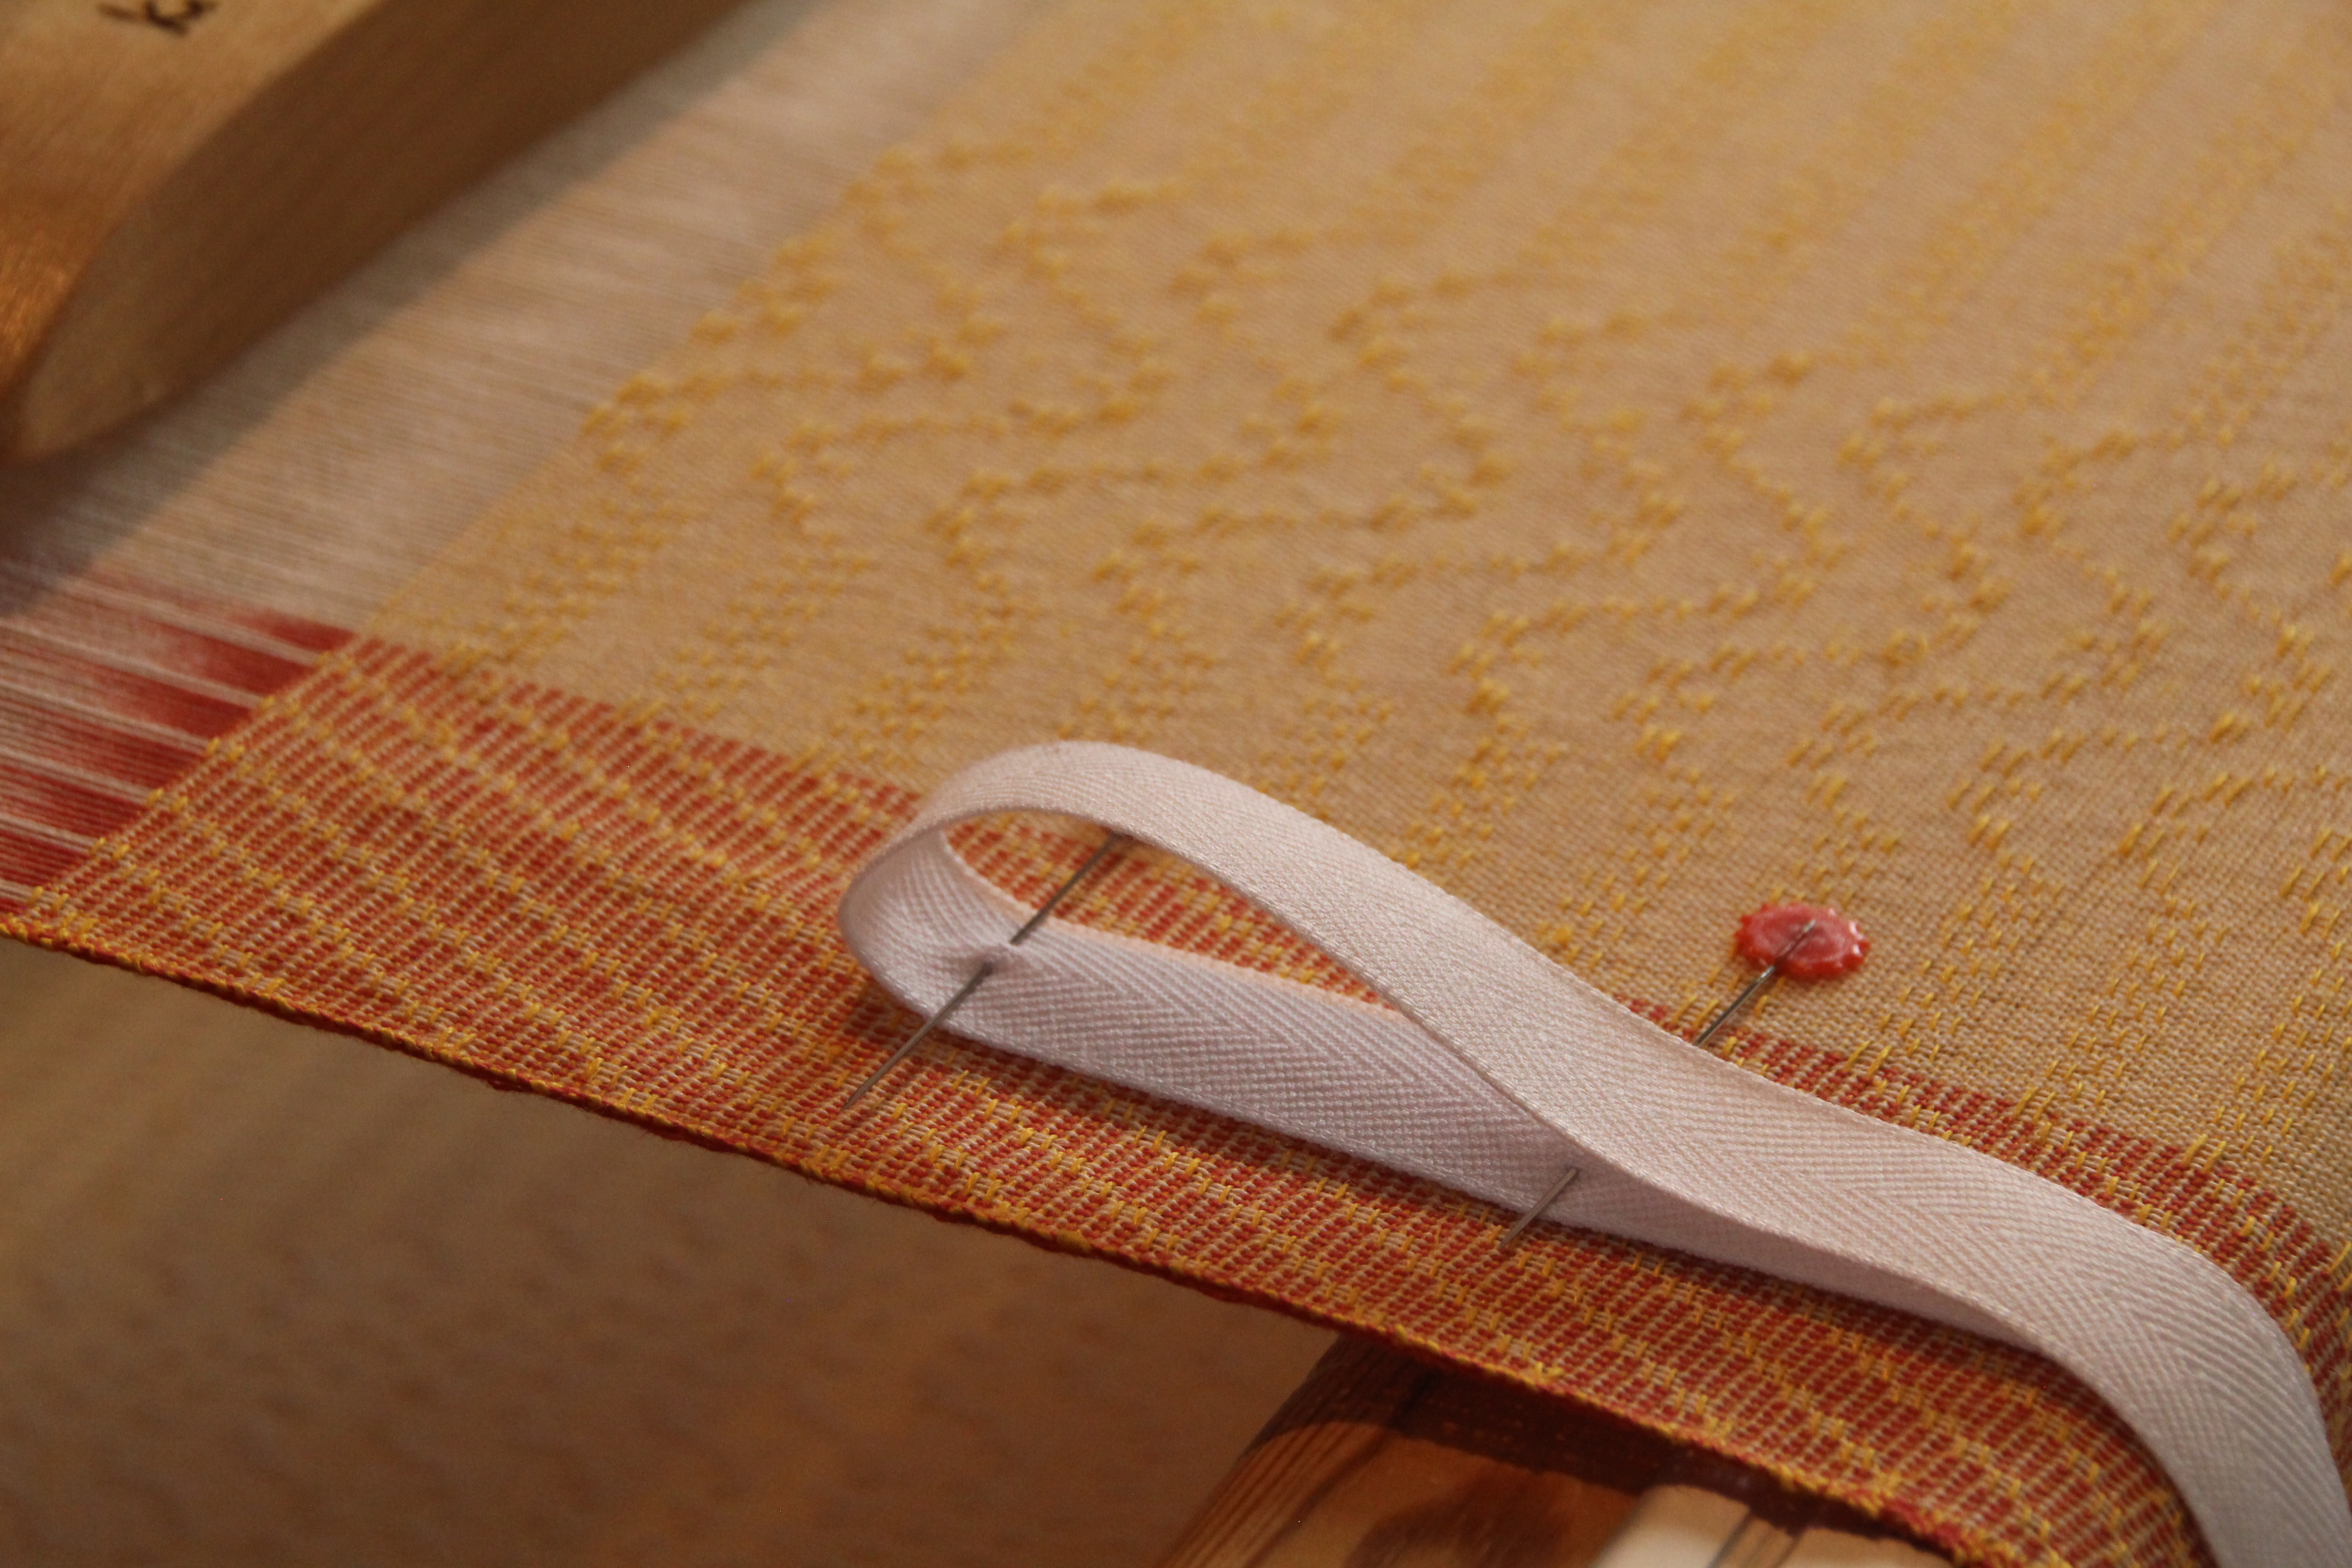
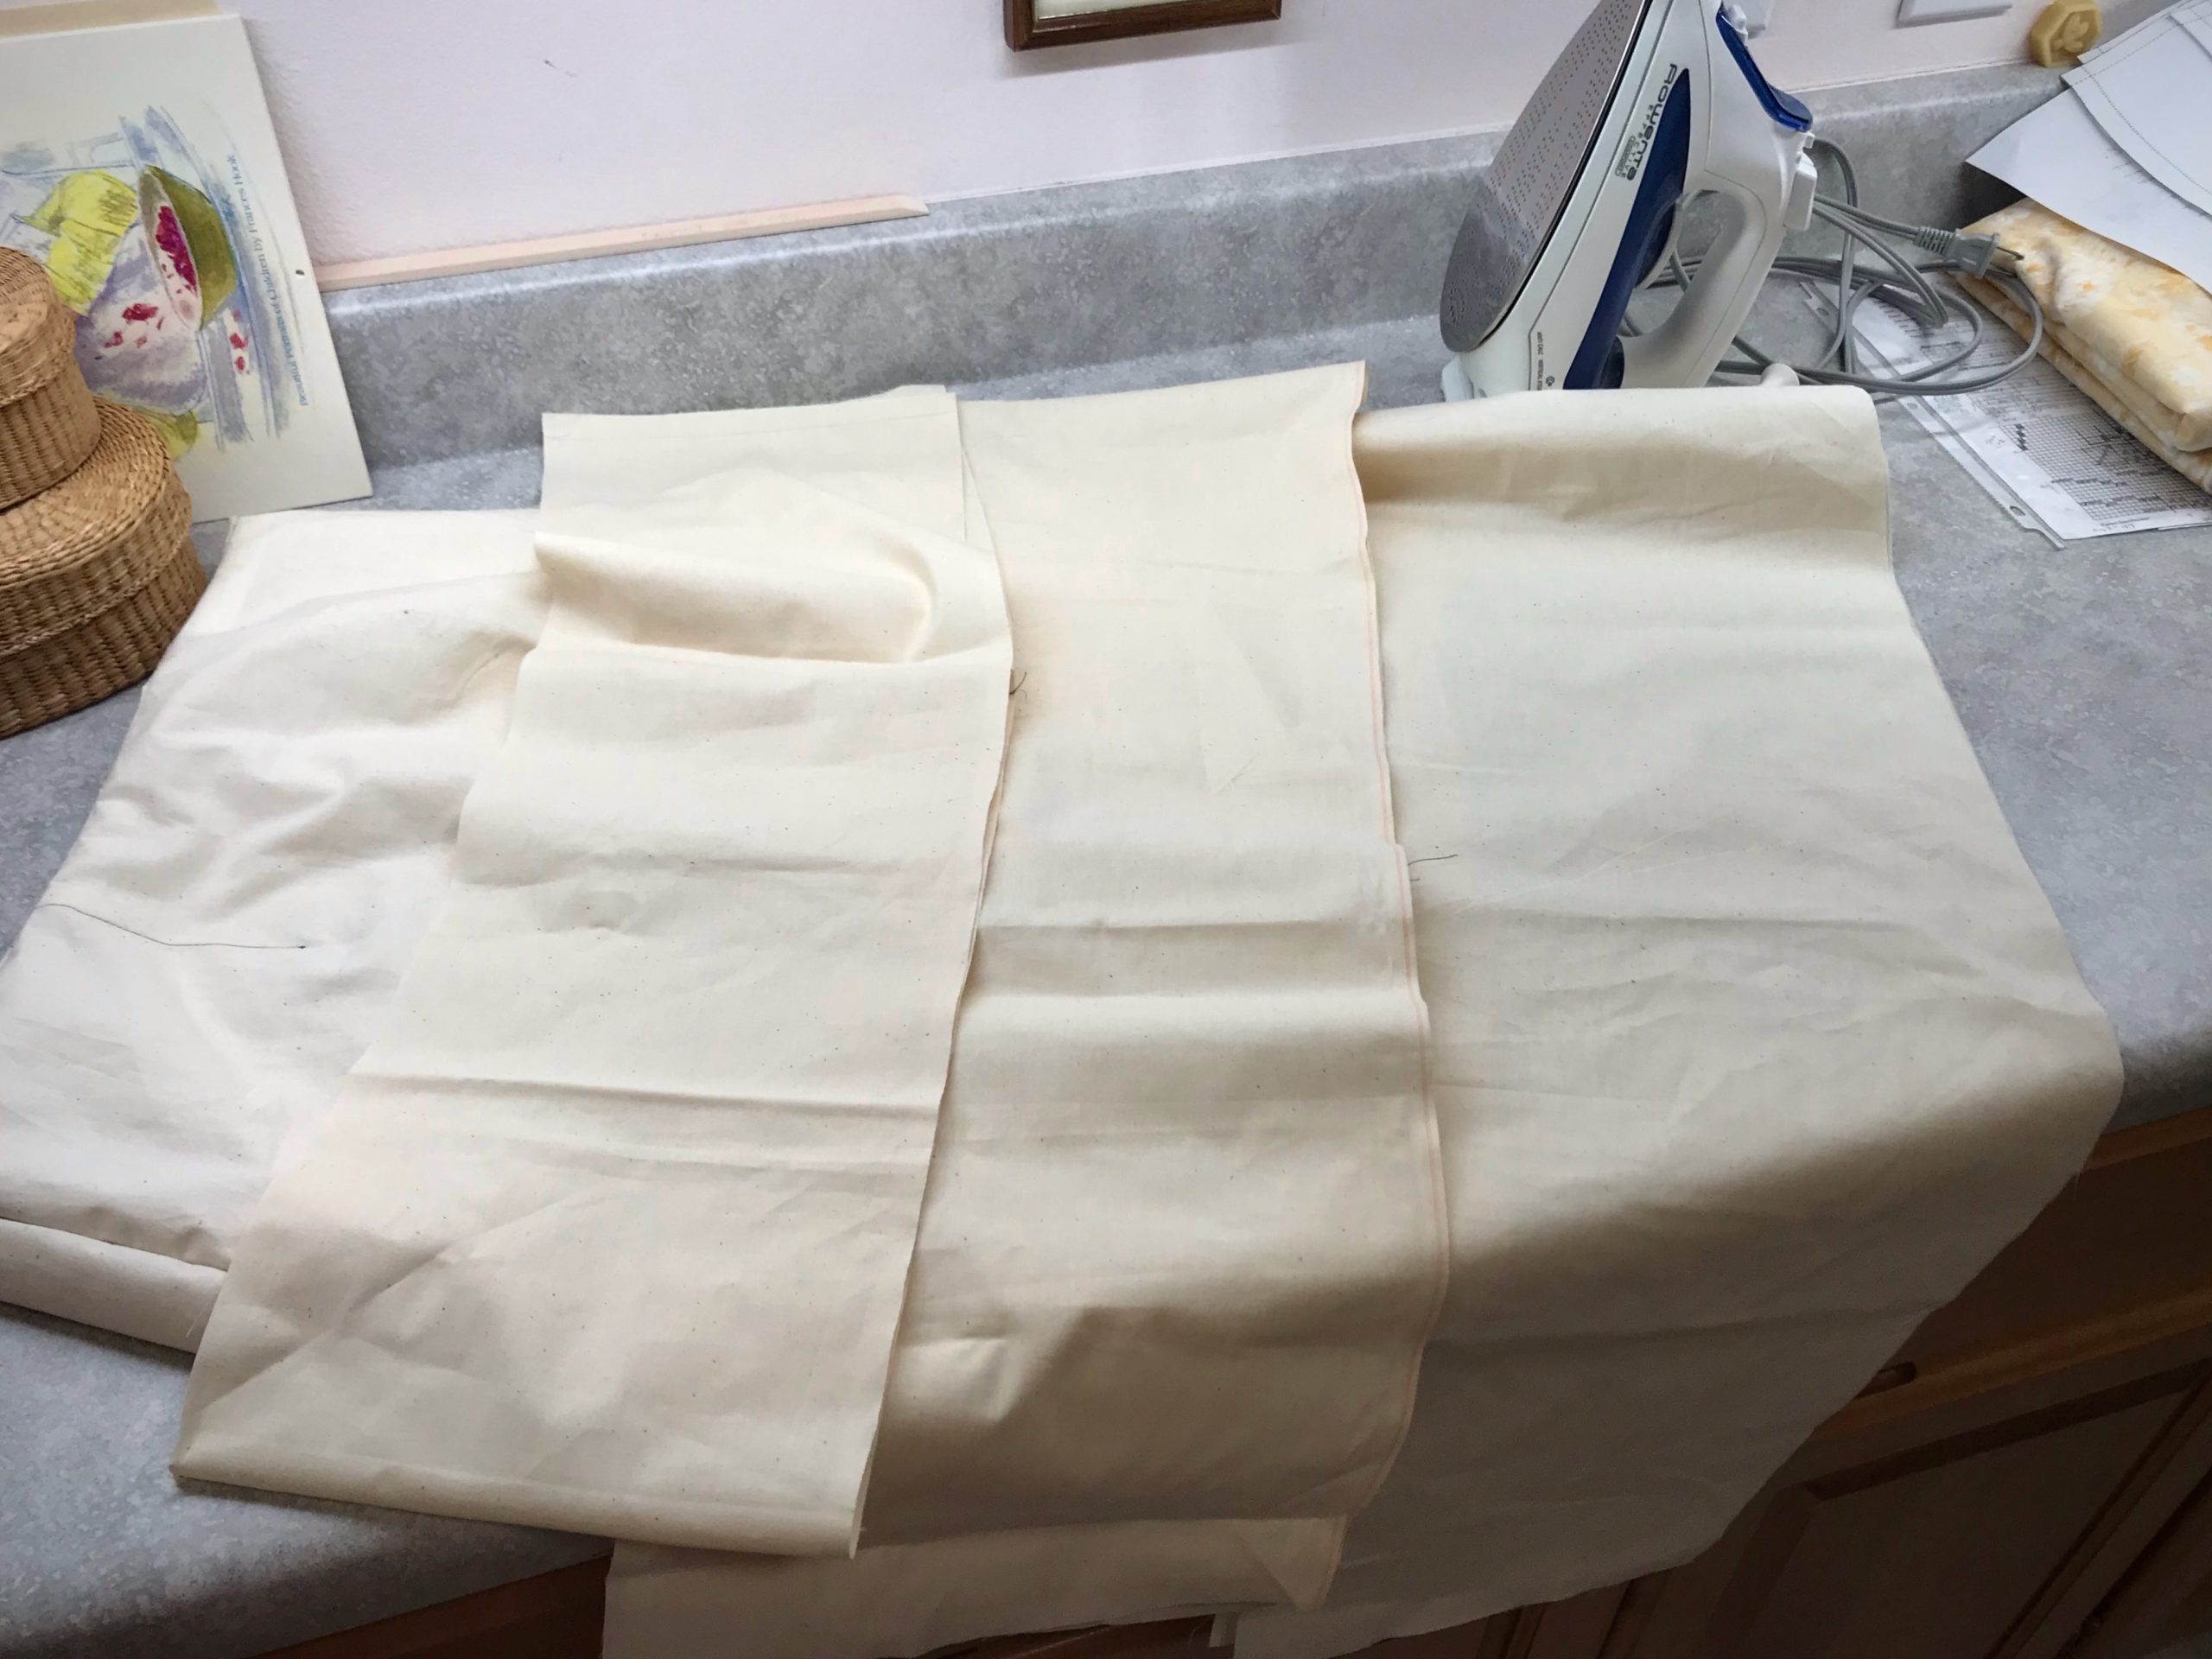
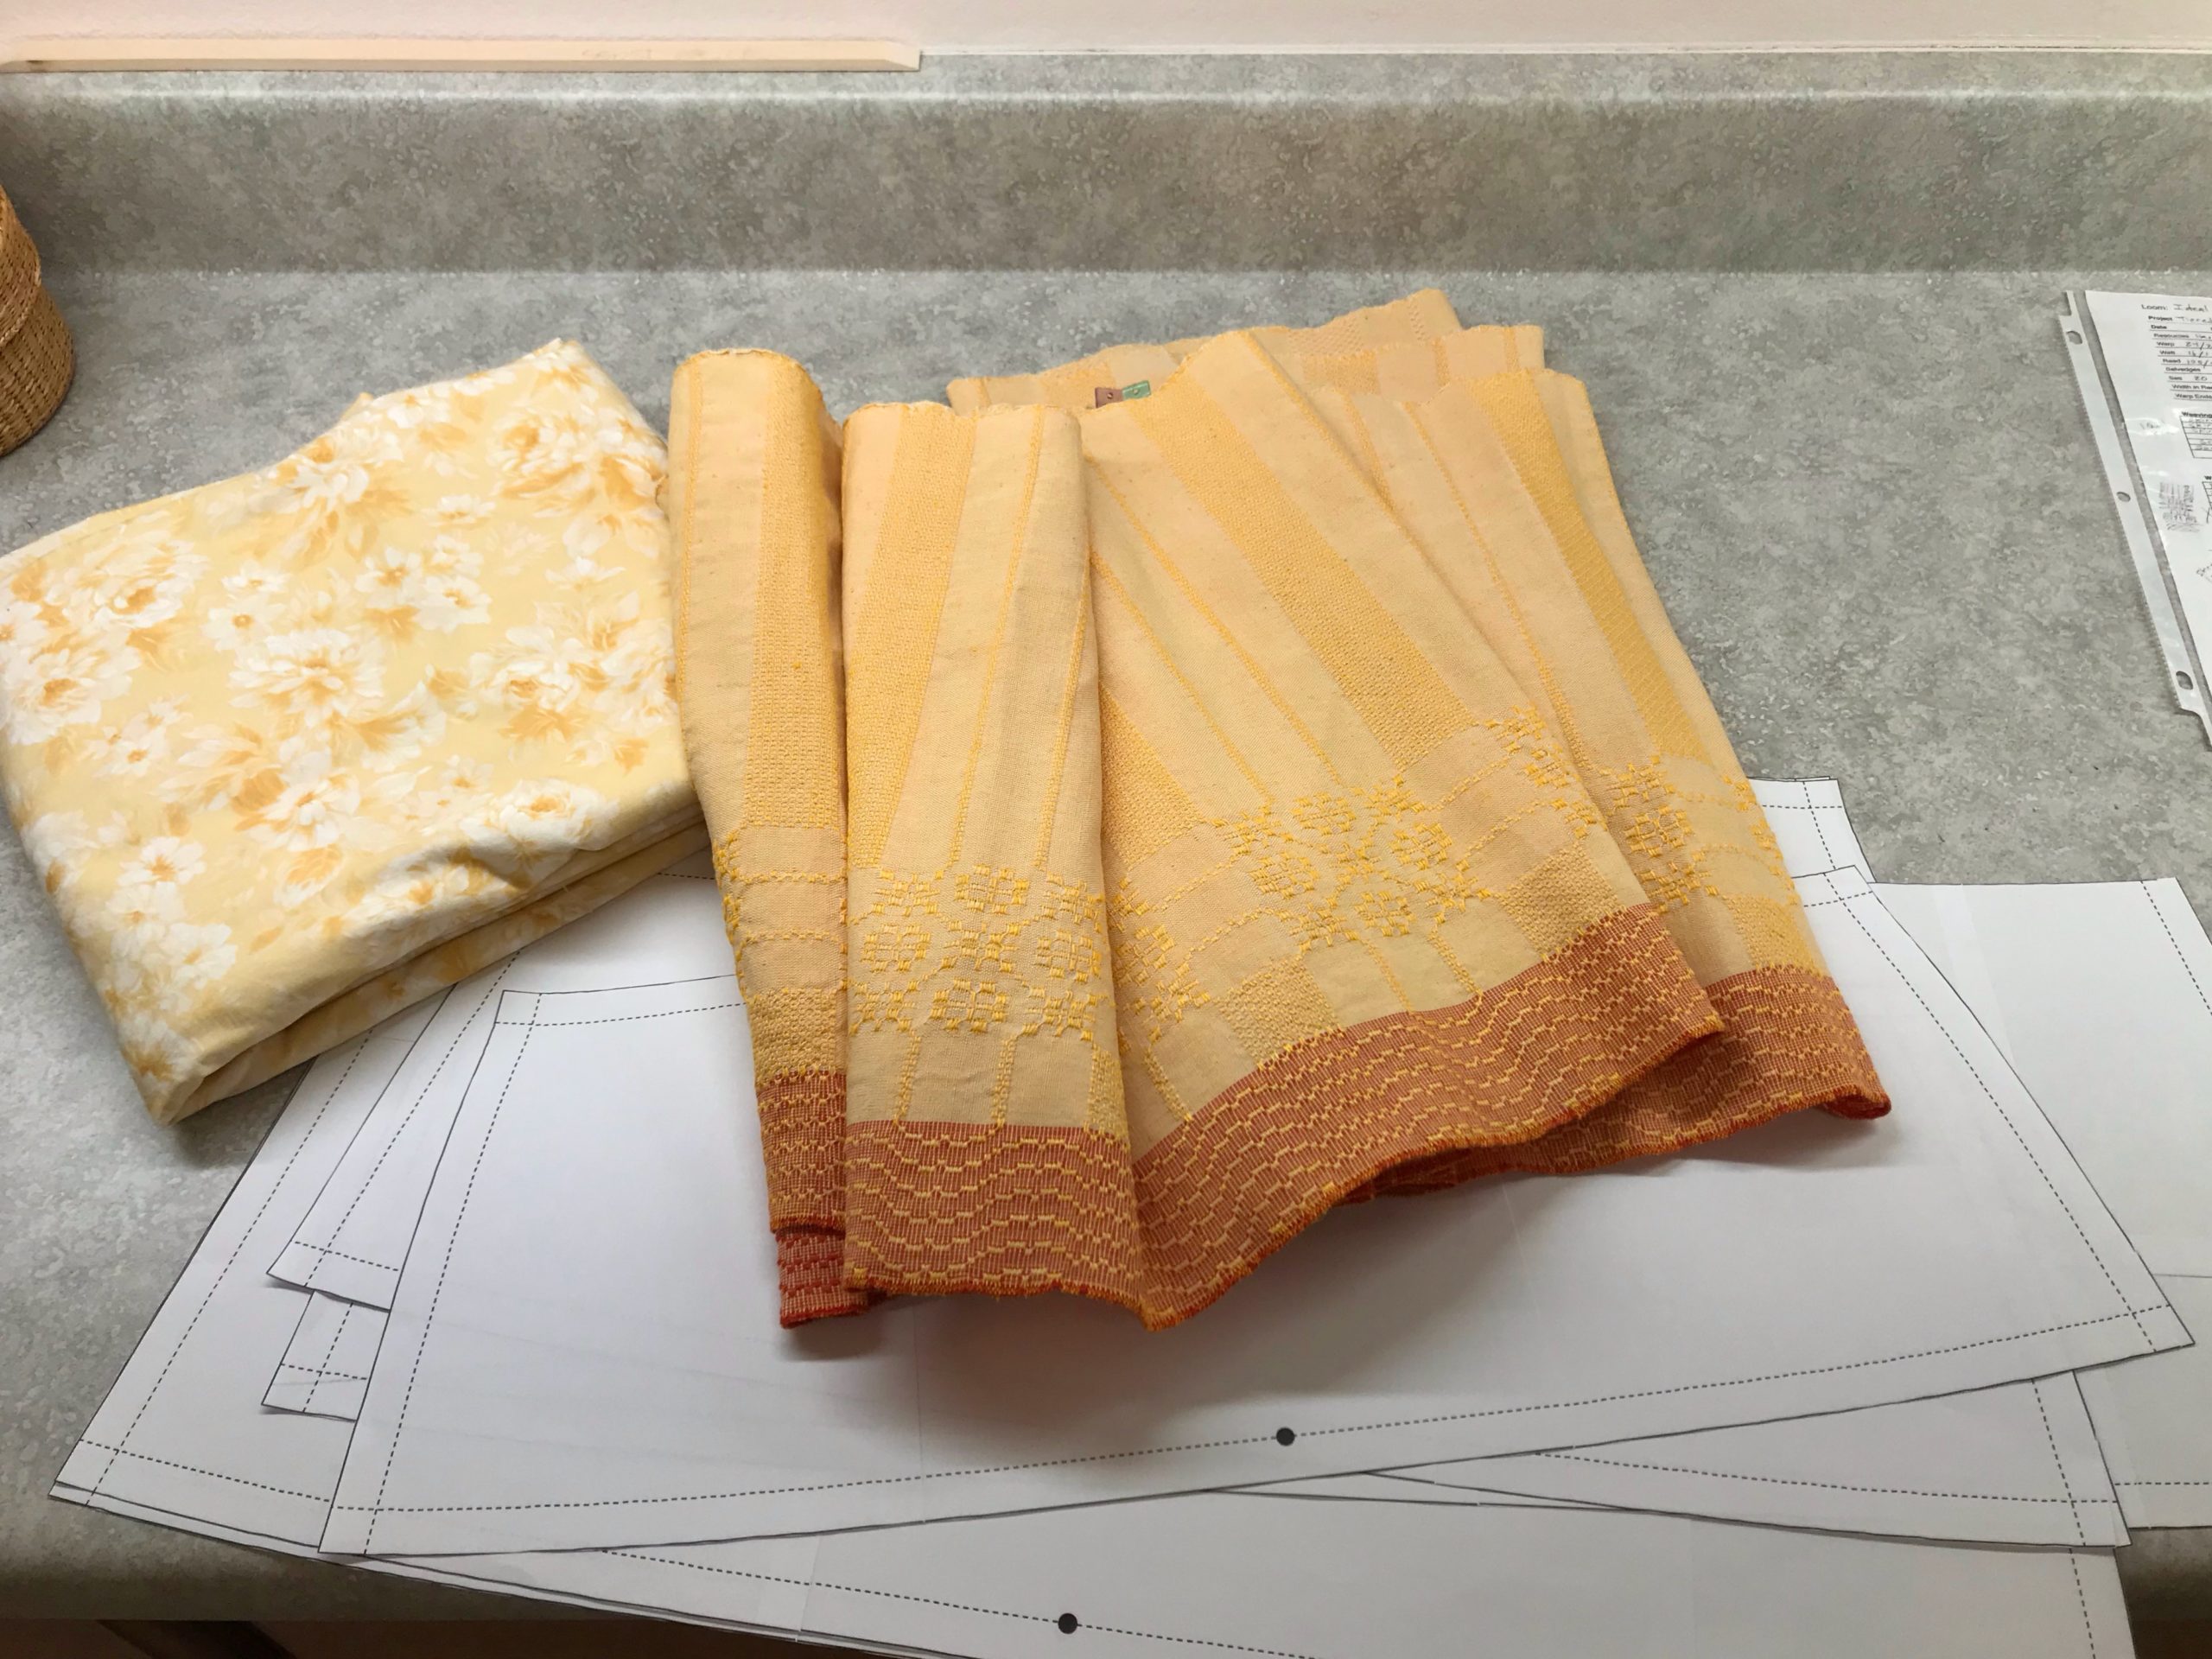
A not-as-simple layered tiered skirt replaces my original idea of a simple three-tiered skirt. The new design has a fitted yoke at the top of the skirt (and a zipper) instead of a super-simple elastic gathered waist. All this, so the distinctive borders of each tier will flutter freely, and not be trapped in seams. The trouble is worth it. I can see the finished skirt in my mind’s eye. It is phenomenal! The fabric is handwoven, made for a purpose. This is a skirt worth waiting for.
You were skillfully made for a purpose. Through many trials and errors, lessons in success and failure, we discover why we are here. God created you for this very time. Trust him to guide you, especially through agonizing moments. By his grace, he forms us into the phenomenal masterpiece that he has always had in mind.
May you walk with purpose.
Love,
Karen