Good Idea!

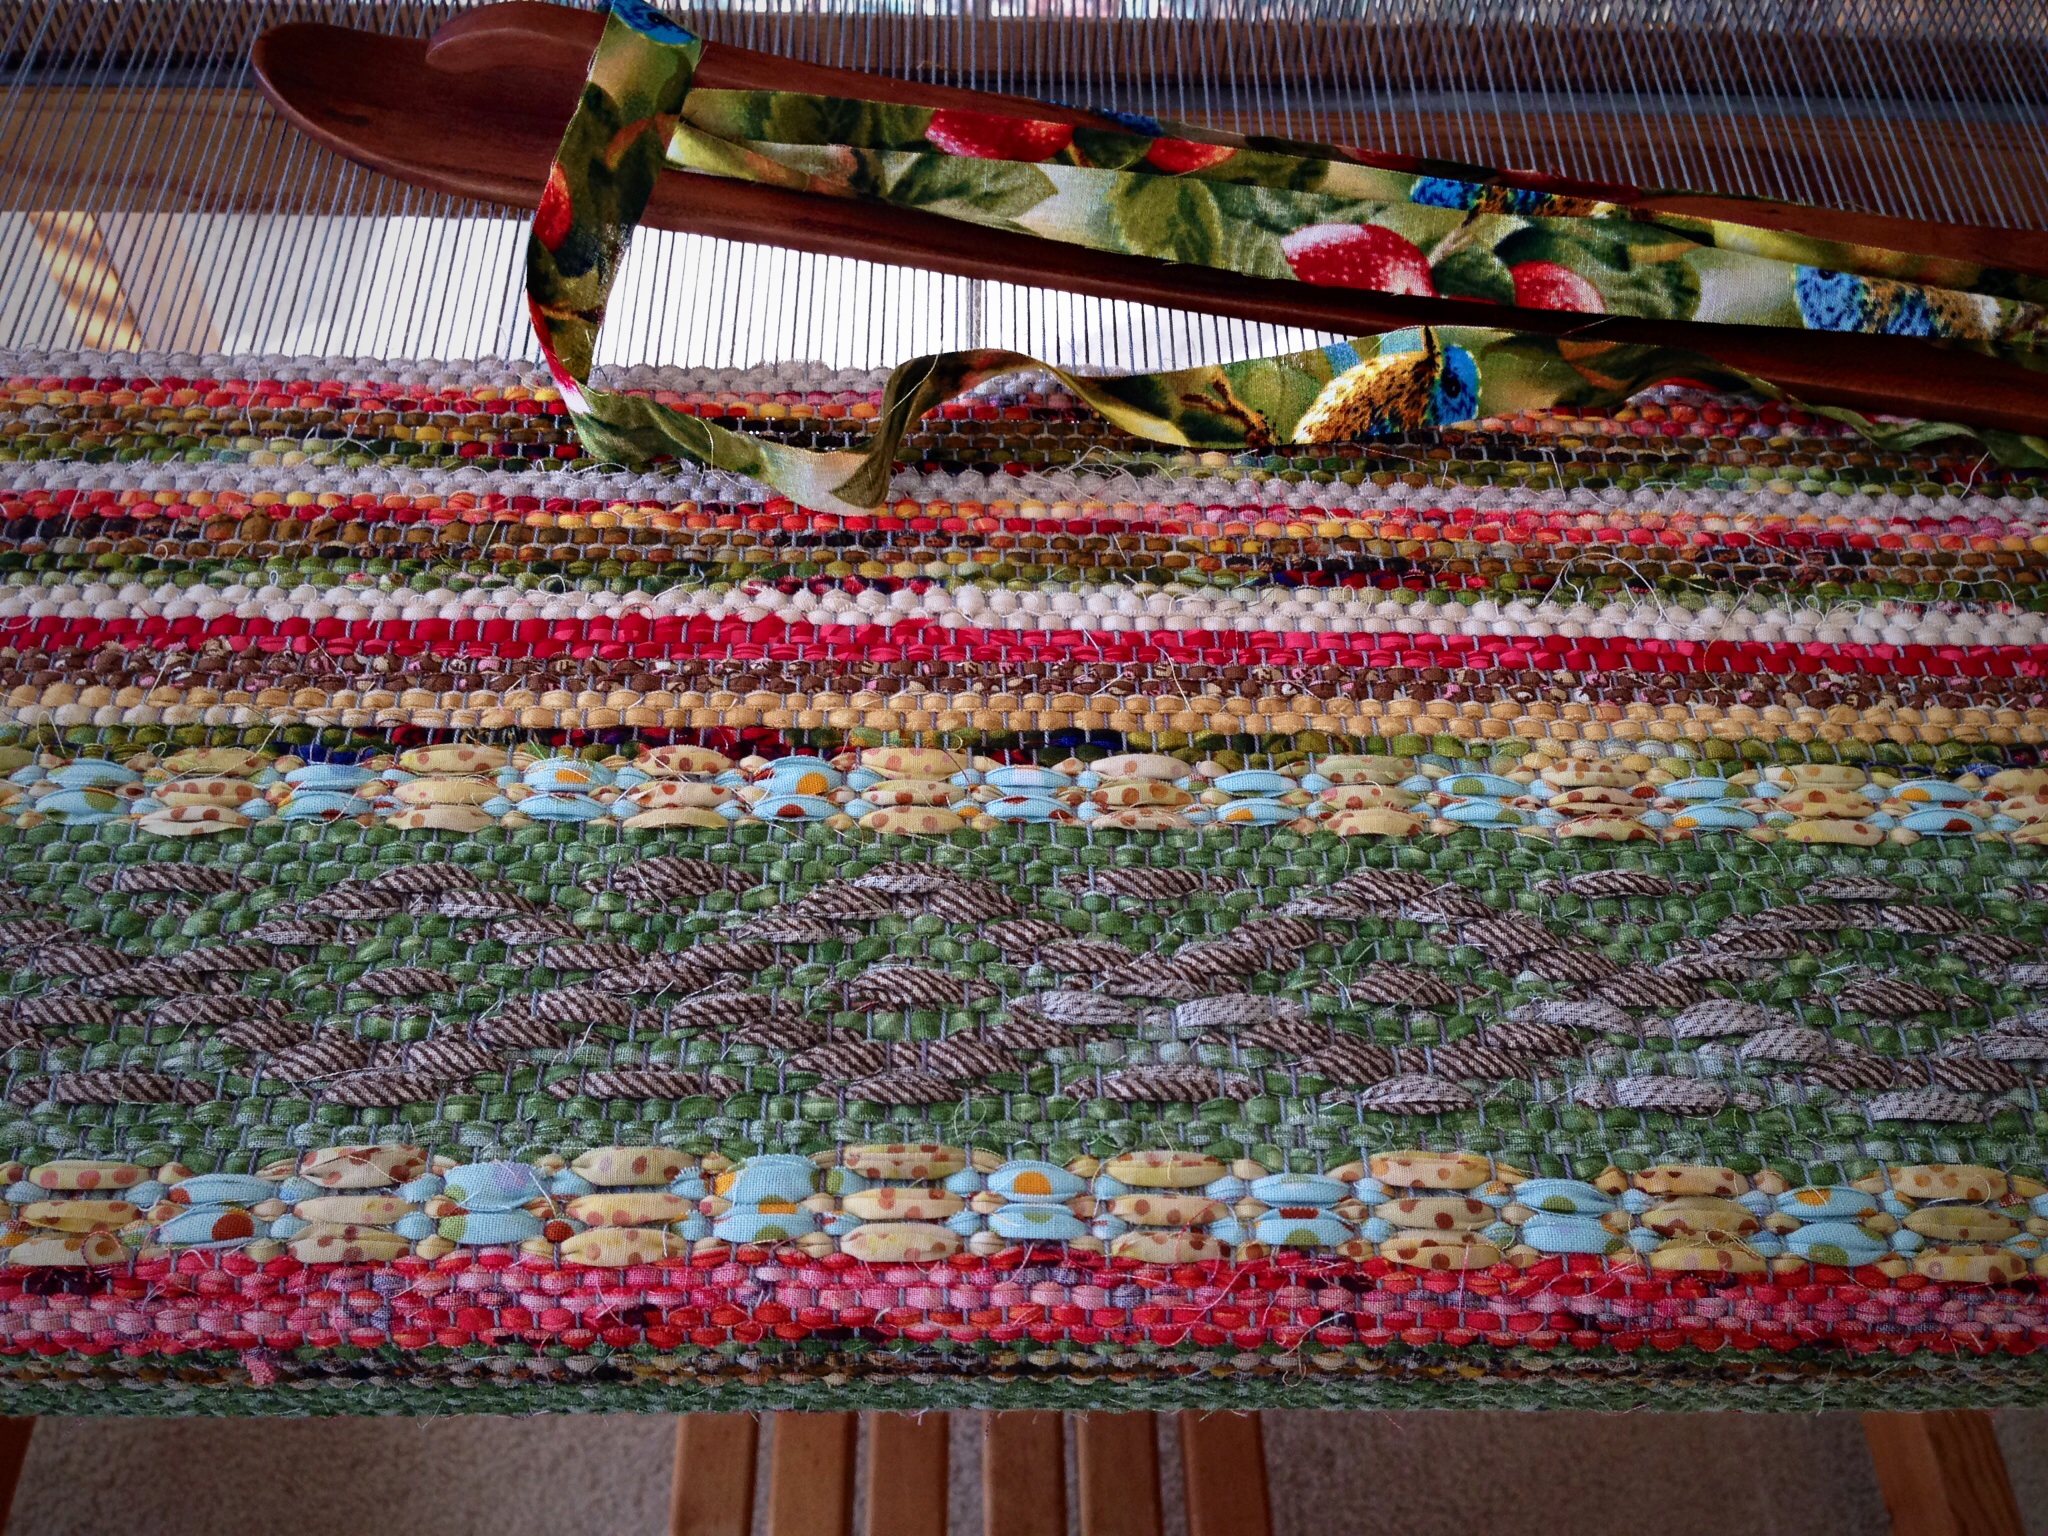
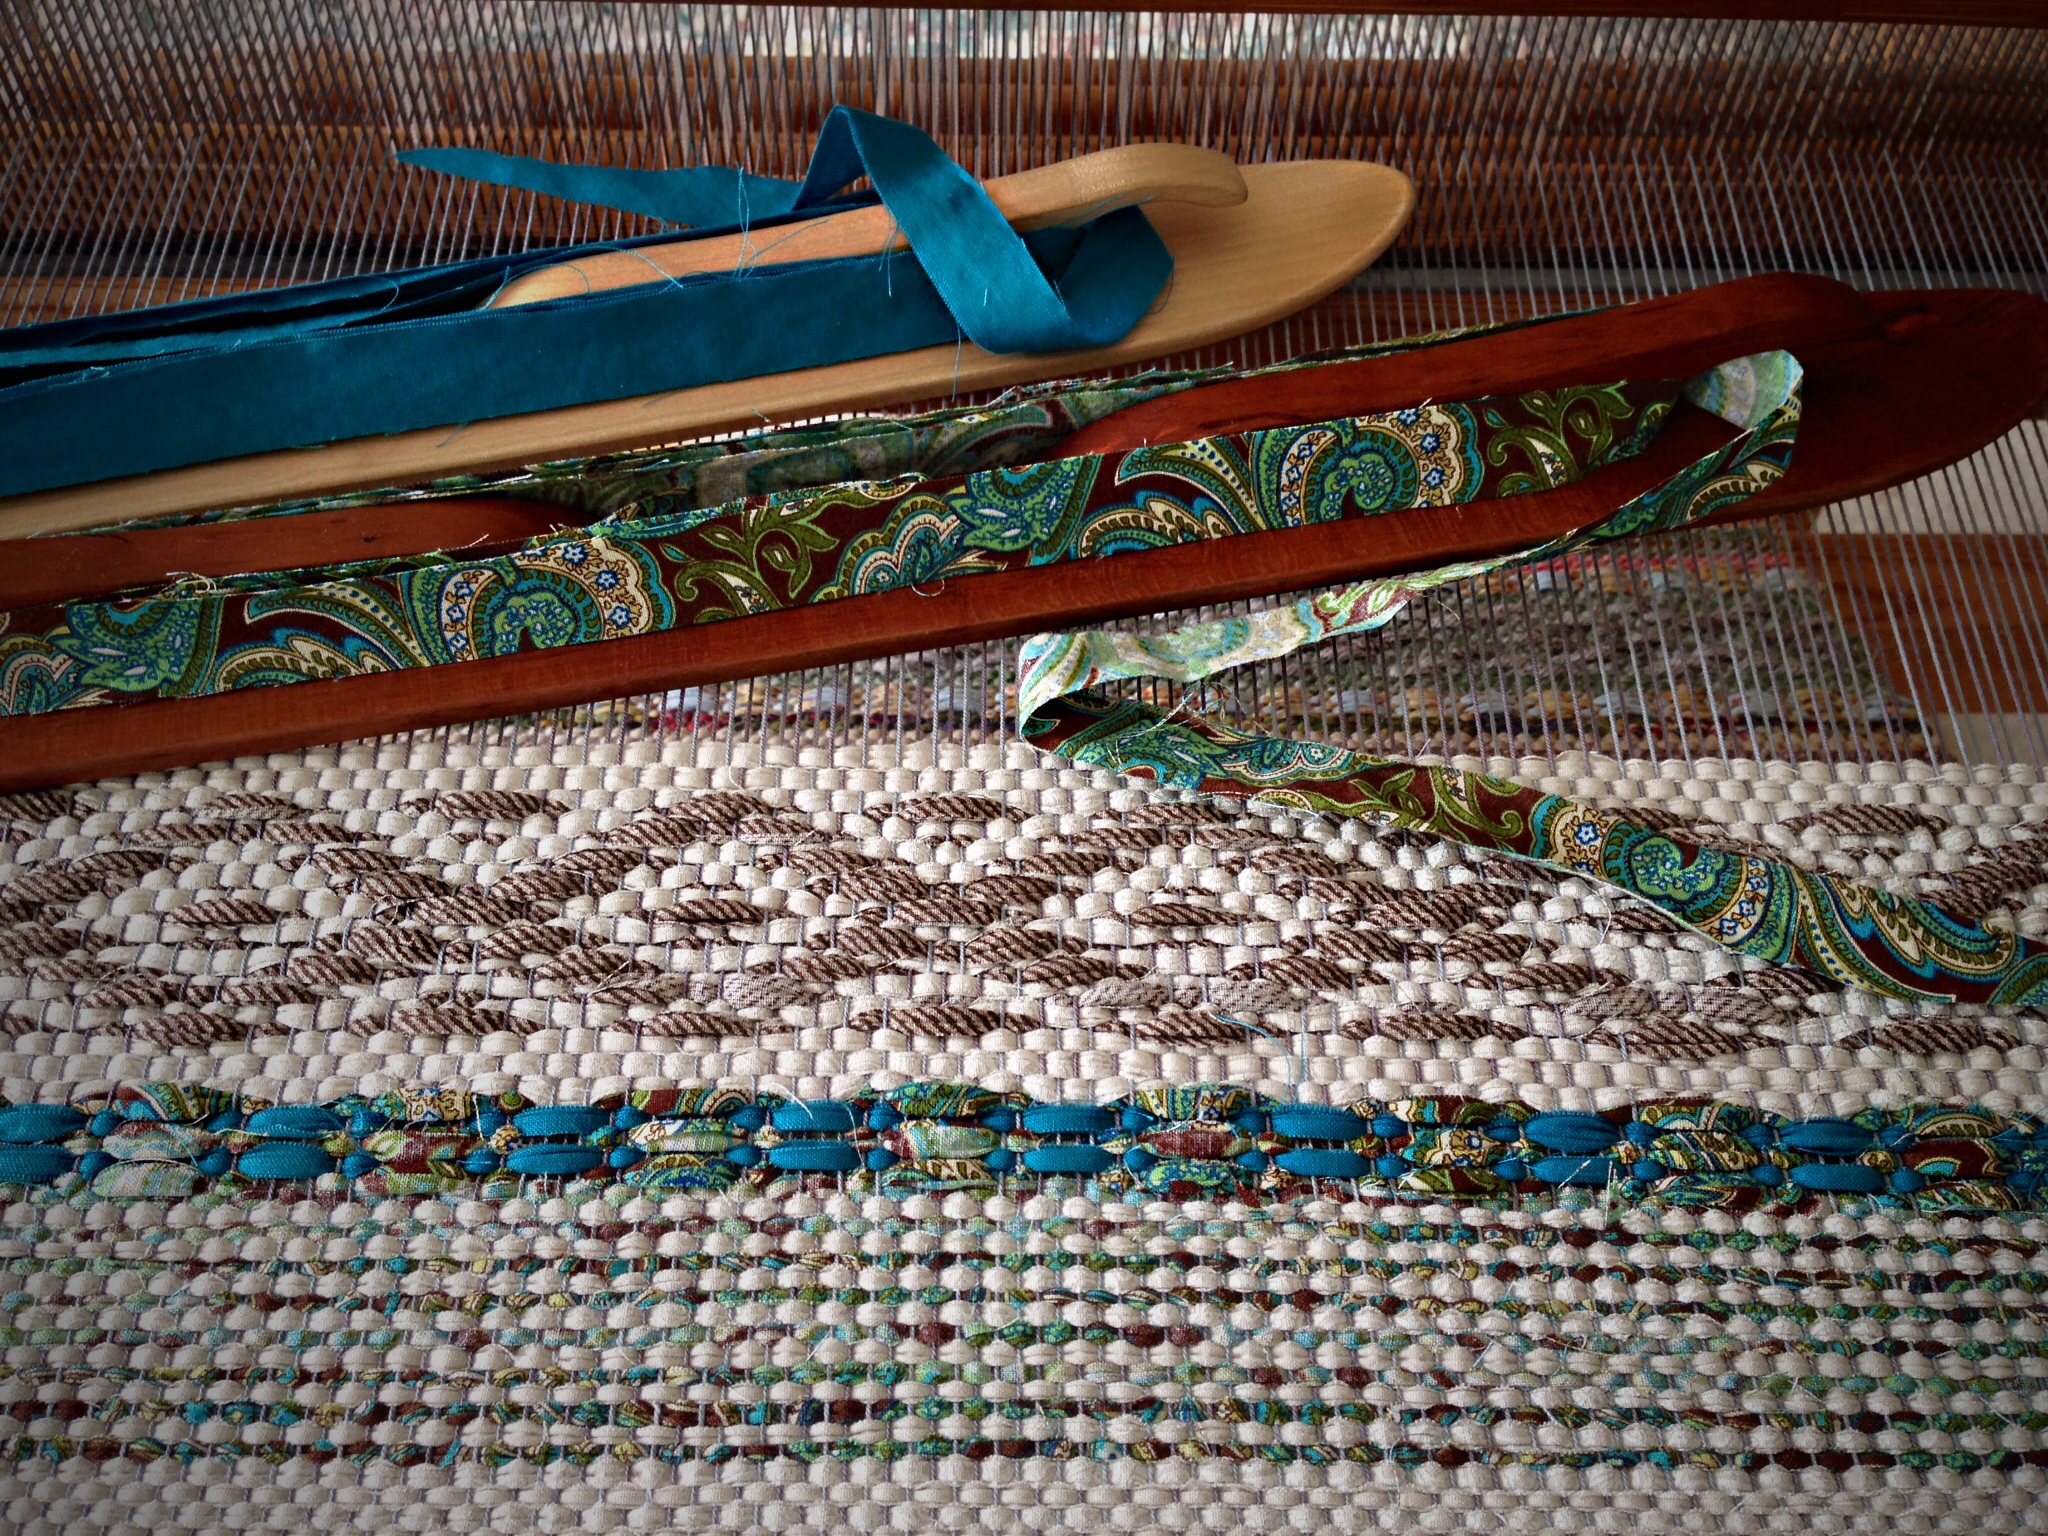
It is never an easy decision to call it quits and start over. Should I try to make it work and hope for the best? How do you know when to walk away? A good idea shapes the planning of a design, including color choices, materials, and weave structure. That same good idea forms an ideal that guides and critiques the choices along the way. When I saw that the rug on the loom (THIS one) was not lining up with that ideal, I knew it was time to start over. (This new start is much closer to my original idea.)

Rosepath Rag Rug on the loom. Karen Isenhower
Brown rosepath design stands out because of contrasting light background. The print and teal pattern that borders the rosepath design brings in some of the color from the plain weave hem area.

Hold on to good. Let the virtue of goodness be a guiding star for decisions, behavior, and interactions with people. When our actions do not match that good ideal, it’s time to walk away from poor behavior and start over. We become zealous about other things, like good color combinations and perfect selvedges. (HERE is one of the best ways to improve selvedges.) Why not be zealous for good? I don’t mean pointing fingers at others. My own life is the only one I can inspect to see how it aligns with the ideal. The good idea is confirmed as the colors of gentleness and respect are noticeably woven into the fabric.

May you have a good day.

Warped for good,
Karen

Not What I Had in Mind

This rag rug is not coming out how I expected. The color balance is off. The green and brown do not have enough contrast in the central rosepath design. There is too much red, and it’s overpowering the neutral colors. It is time to call it quits on this one, and get a fresh start on a new rug. If I am going to put my name on something, I want the item to match what is in my mind’s eye. And this is not it!

Rosepath rag rug on the loom.
Start of rosepath rag rug. Camera lens helps view the balance of design and color. This short sample will be used to make a bag instead of a floor rug.

I like to let my personality show in the items I produce. It would be nice if someone would see one of my rag rug creations and say, “That’s a Karen Isenhower rug!” Not to be famous, mind you, but just to have an identifiable style. A name carries promise. Consistency in the weaving extends the promise and identifies the maker. I’d like my life to be a weaving like that, too, making the fair name of Jesus recognizable.

May your creations show what you are like.

As Always,
Karen

Give and Receive

When you give what you value most, the value of your gift increases. Exceptional giving communicates worth to the person on the receiving end. It was a joy to give these special towels to Melody. She was noticeably pleased with the gift, which was a delight for me to see! (You can see these towels just off the loom HERE.)

Handwoven towels - bridal gift to daughter!
Melody smiles when she sees the handwoven towels. She knows her mother’s love is woven into them.

“Who gives this woman?” Steve has been practicing his four-word speech for tomorrow, “Her mother and I.” What a privilege that we get to be the ones to give such a cherished gift. And what a thrill to know that we will be on the receiving end, too, as we are given another son.
God gives good gifts. He always sends good things and perfect gifts.

May you be on the receiving end today.

Happily ever after,
Karen

Tools Day: Fringe Twister

A hemstitched edge deserves twisted fringe. You have to overlook the amount of time it takes to put this finishing touch on your handwoven articles (often as much, or more, time than it took to weave the cloth in the first place). You do it because you care about the end result. The hemstitching and fringe are the mat and frame for your work of art. Begin well and finish well.

Tools for twisting fringe.
Step 1: (First, with fabric not yet washed and dried, cut all fringe strands on both ends of article to an equal and even length.) A pair of two-pound walking weights holds the fabric in place for tying knots. This fringe twister tool has a long handle and four little alligator clips.
Steps for making twisted fringe.
Step 2: Tie an overhand knot a fingertip-length away from the end, securing four ends together. (Other projects may have more than four ends grouped together.) This extra step holds the secret to clean cut fringe ends (see step 7).
Fringe twister at work.
Step 3: Let each little alligator grab a knot in it’s teeth, four in a row. Crank the handle around until the twisted threads begin to kink back on themselves. Count the number of turns of the handle and repeat that same number of turns for each grouping.
Making twisted fringe. Step-by-step.
Step 4: Grab the strands from the first two alligators’ mouths, being careful not to let the strands unwind. Combine the two thread groups and tie an overhand knot a fingertip-width away from the first knots.
Making twisted fringe. Step-by-step pics.
Step 5: After the knot is tied, let the strands unwind in your hand, keeping them from tangling with neighboring threads. Snug the knot by holding the knot and pulling on the two smaller knots, one at a time.
Bamboo Shawl, ready to trim edges of fringe. Explanation about twisting fringe.
Step 6: Wet finish the fabric by a method suitable for the type of thread or yarn being used. Air dry completely, or other suitable method for drying. While still damp, separate and straighten each twisted fringe.
Secret for clean cut fringe ends.
Step 7: First set of knots are cut off, removing the frayed ends, and leaving clean cut ends.
Finished Bamboo Huck Lace Shawl. Karen Isenhower
Step 8: Wear your lovingly handmade creation to a very special occasion, such as to your daughter’s wedding.

This is a lesson for raising children and letting them go, too. You weave for years, give time-consuming attention to the finishing touches while they are in your hands, and then you let them go. Wedding in four days!

May you take the time to finish well.

Love,
Karen

Count the Last Time Around

Counting down the days. Trying to reign in emotions as memories flood my mind of my little girl growing up. And resisting mild panic as I see loose ends dangling in wedding preparations. When I measure a warp, it is essential to accurately measure how many threads have accumulated around the warping reel. I keep track with a simple counting string. Measuring days is not that straightforward. Days pass by too quickly and too slowly at the same time.

Looking down at the counting string, measuring warp on the warping reel.
Looking down at the counting string that sections off every twenty threads. The counting string makes it easy to double-check the number of warp ends that are wound on the warping reel. This is the 12/6 cotton warp for the new rosepath rag rugs.

May your days be lengthened and/or shortened, as needed.

With sweet anticipation,
Karen