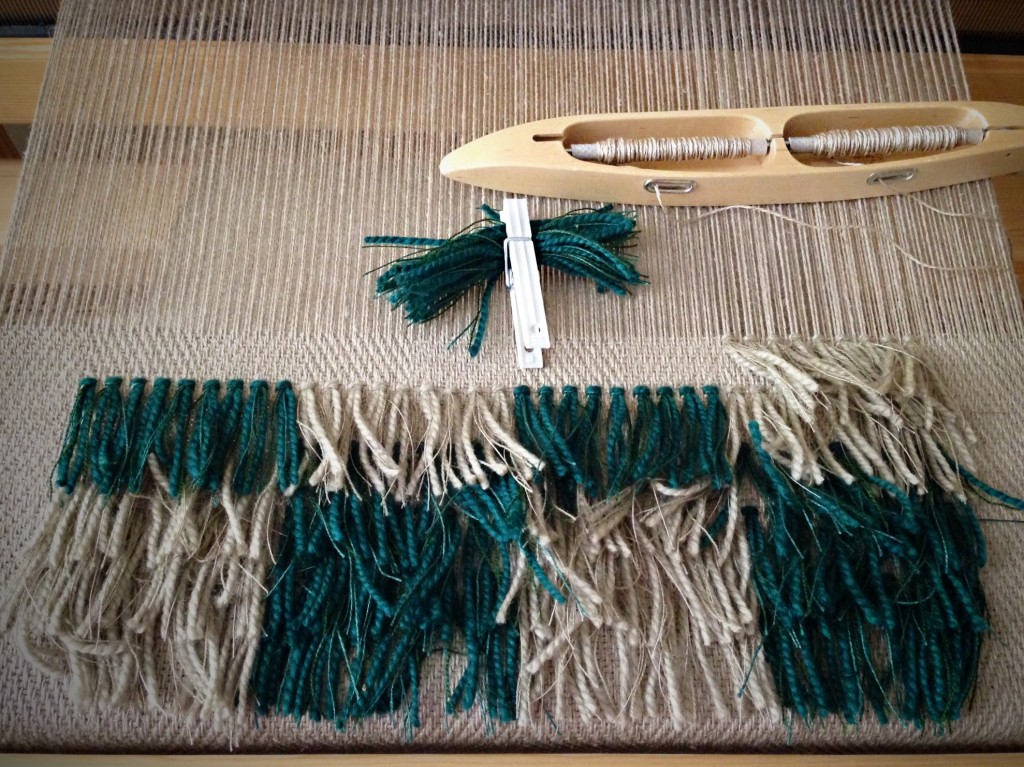
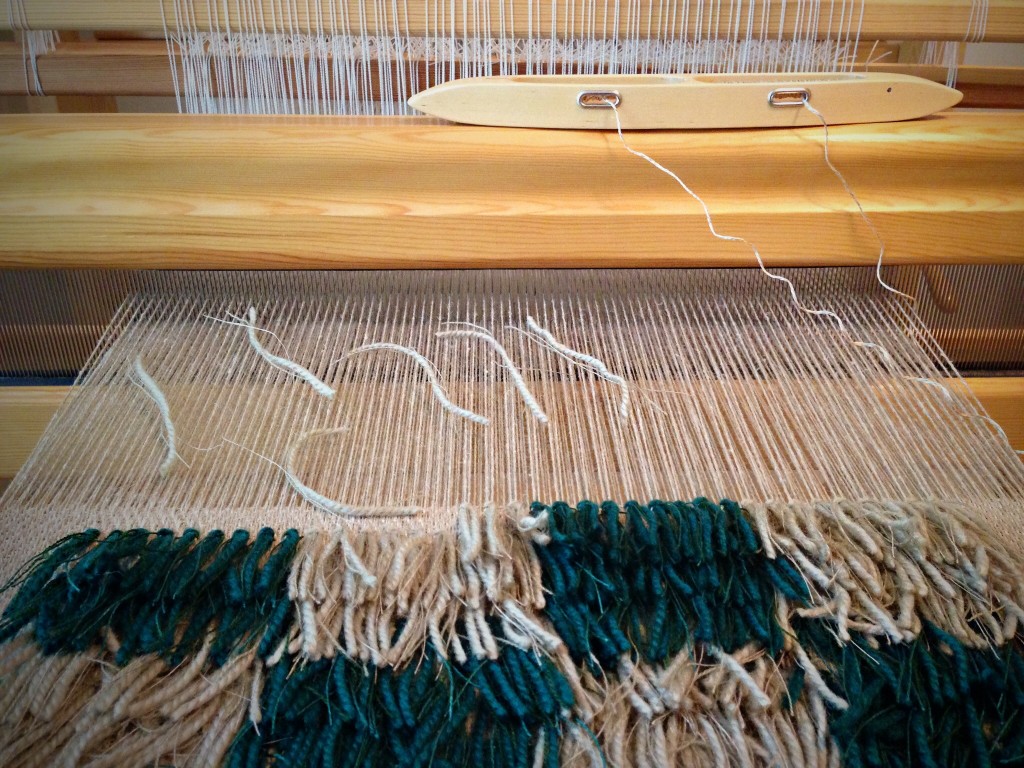
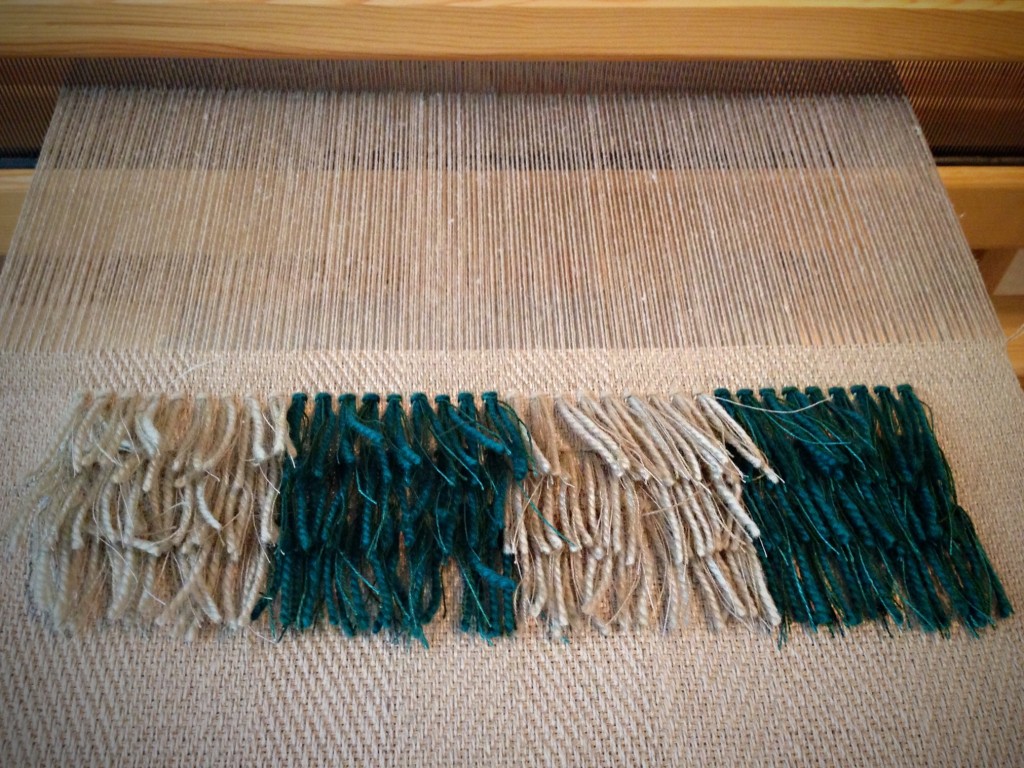
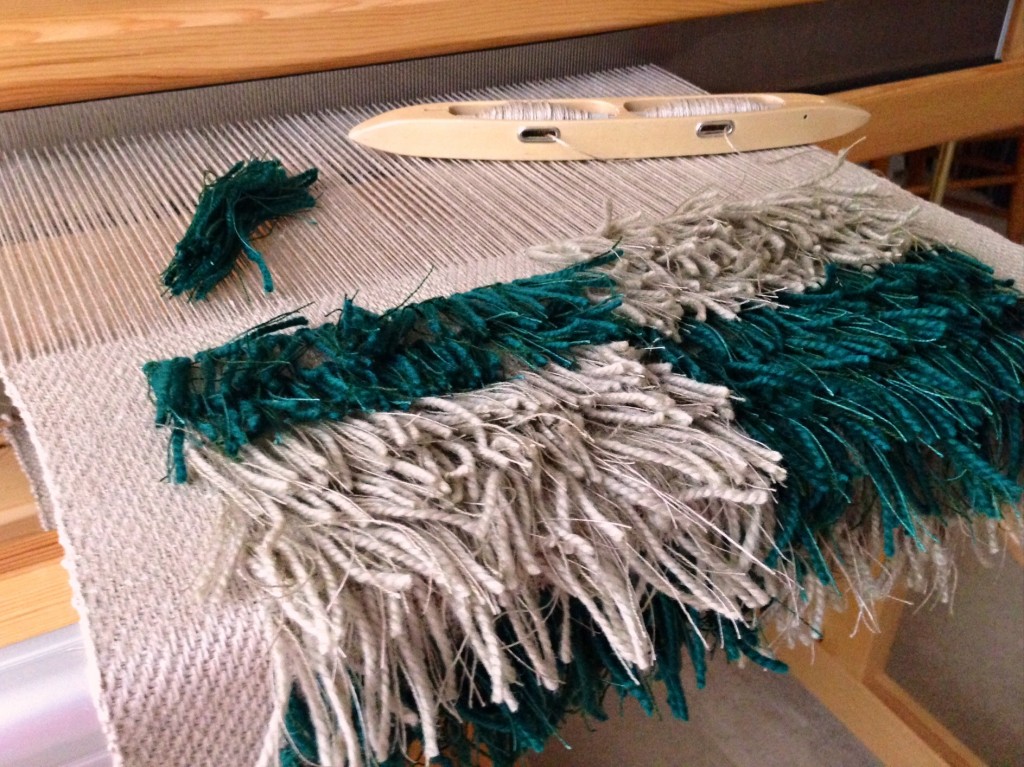
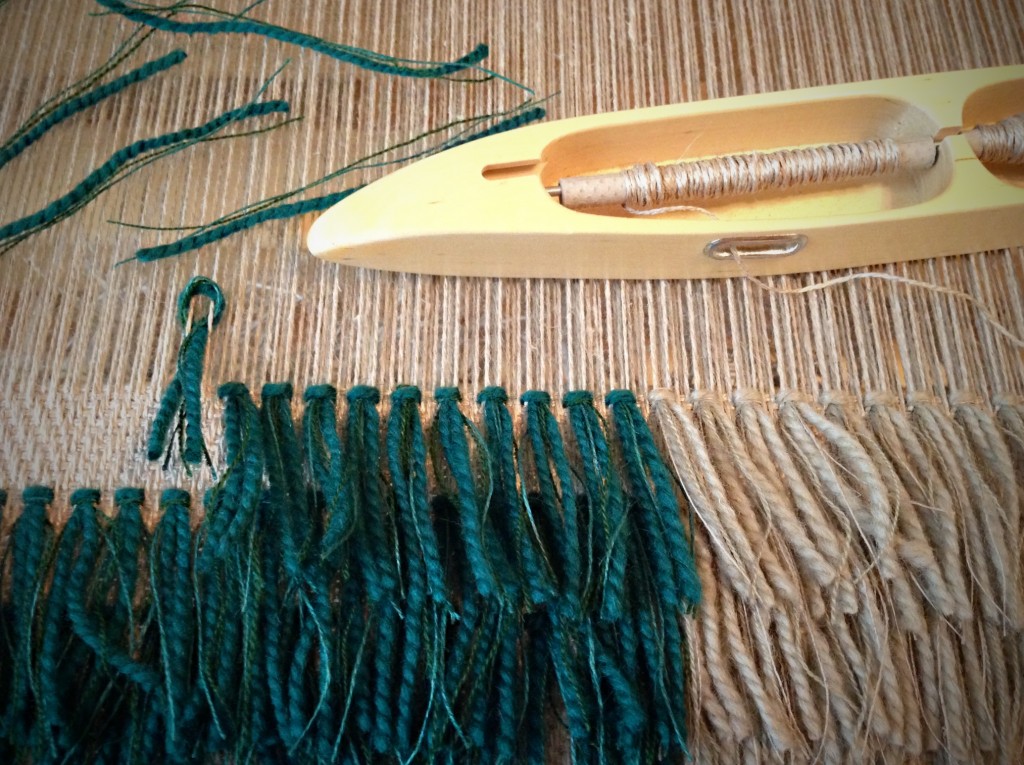
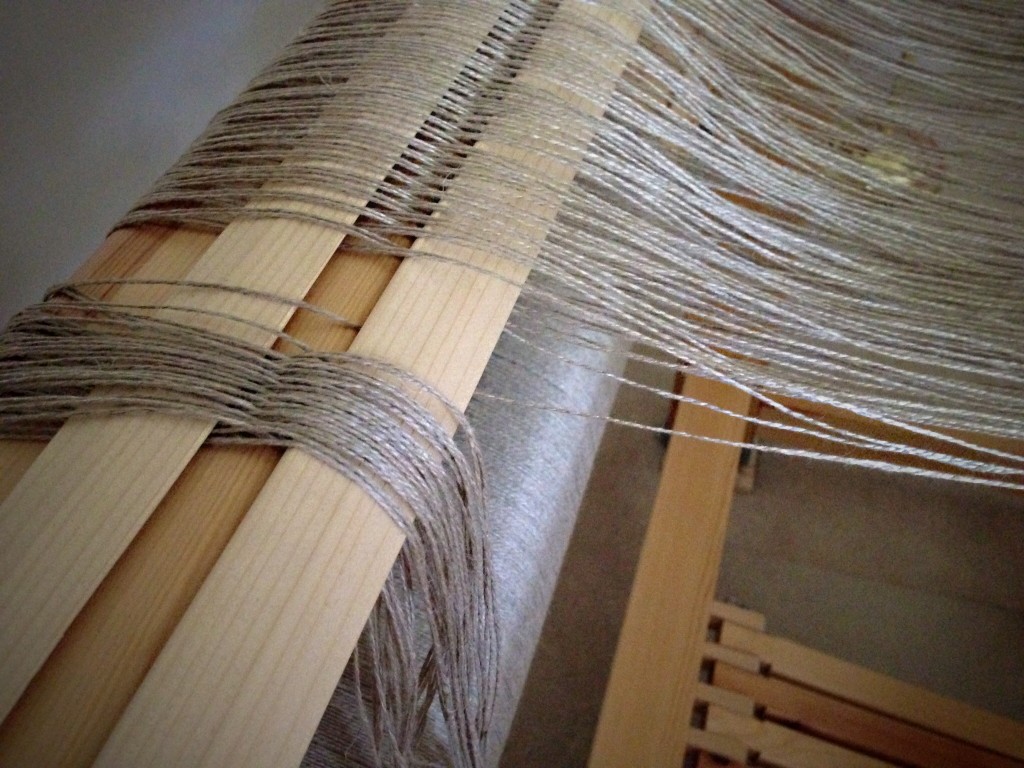
Slow and deliberate, rya knot tying is a satisfying exercise of patience. This background cloth feels like coarse canvas. You can imagine how robust the fabric is, with a hefty 8/2 linen warp, and the same, doubled, for weft. Threaded in a point twill, the cloth is simple, but texturally vibrant. The yarn pile, called rya, is made with combined threads of thick Åsborya wool, fine Mora wool, and fine 16/1 linen. (You can see my previous rya project in the post, Are You in a Pretty Mess? And if you want to see exactly how to make rya knots, check out this post – Quiet Friday: Making Rya Knots.)
I simply step on the “pile” treadle, which raises only shaft four, and tie rya knots around pairs of the raised ends. This process works because the fabric was planned and designed to have rya knots inserted on its surface. In a similar fashion, people are designed to receive God’s helping hand.
God wants to give us the ability to flourish in life. That’s his grace. We are made for that, and it happens when we offer “humble” threads. We must wear the cloth of humility as we interact with each other, revealing our coarse, simple, honest self. This is where God inserts his grace. In this process of his, he patiently makes us his work of art.
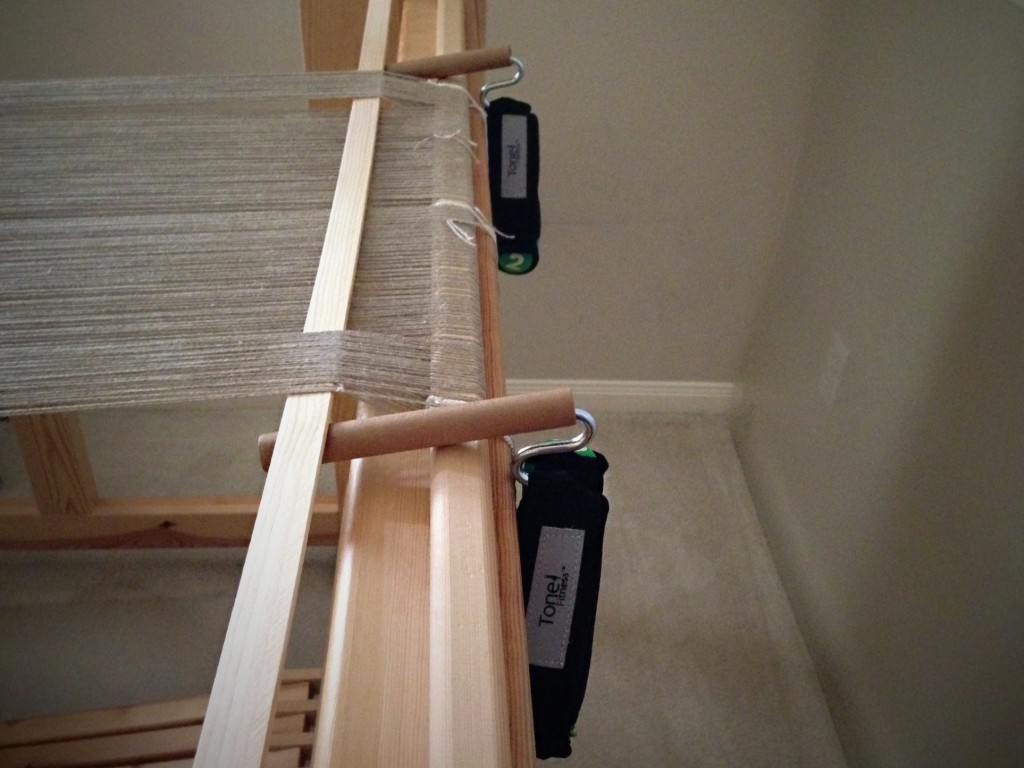
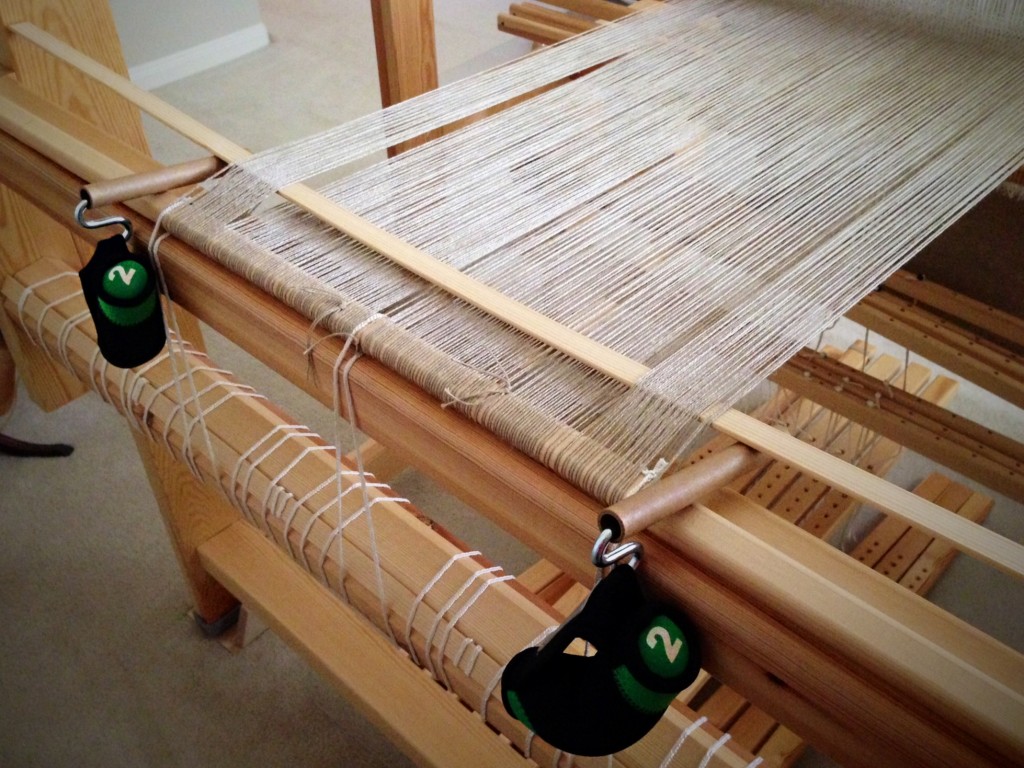
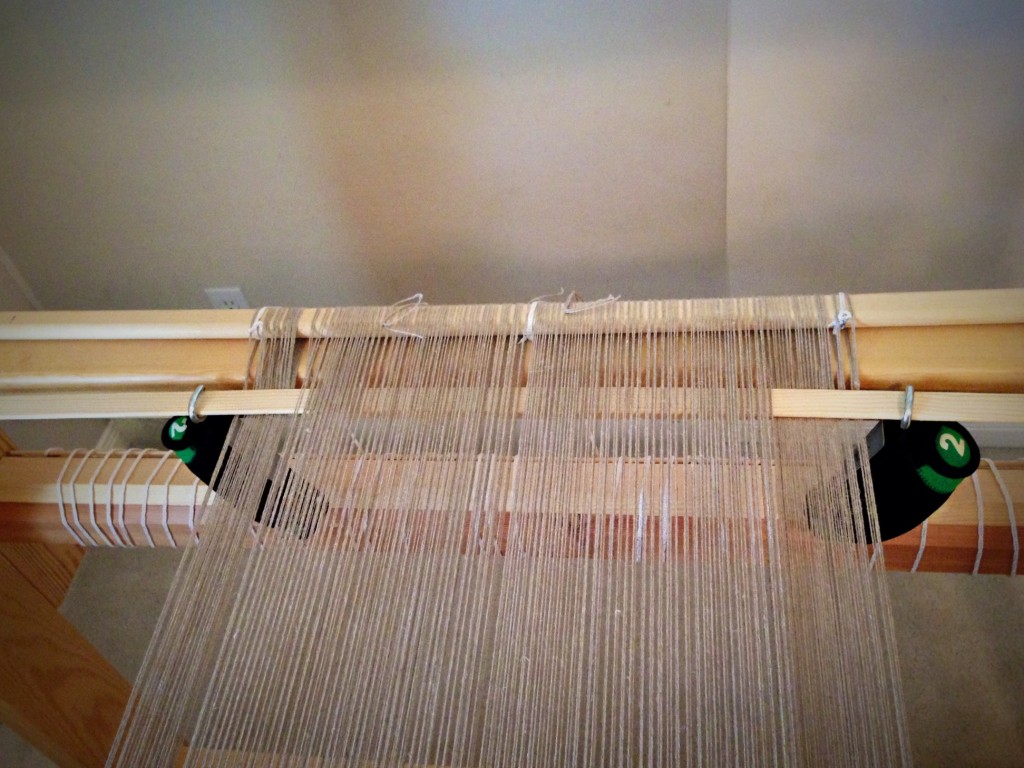
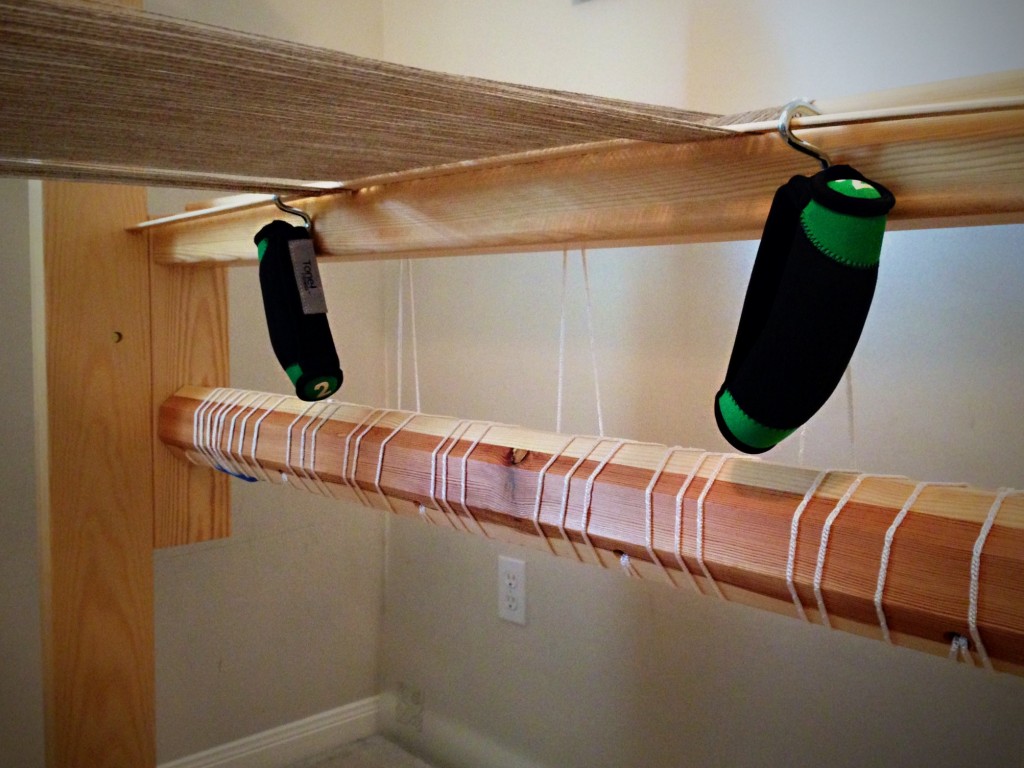
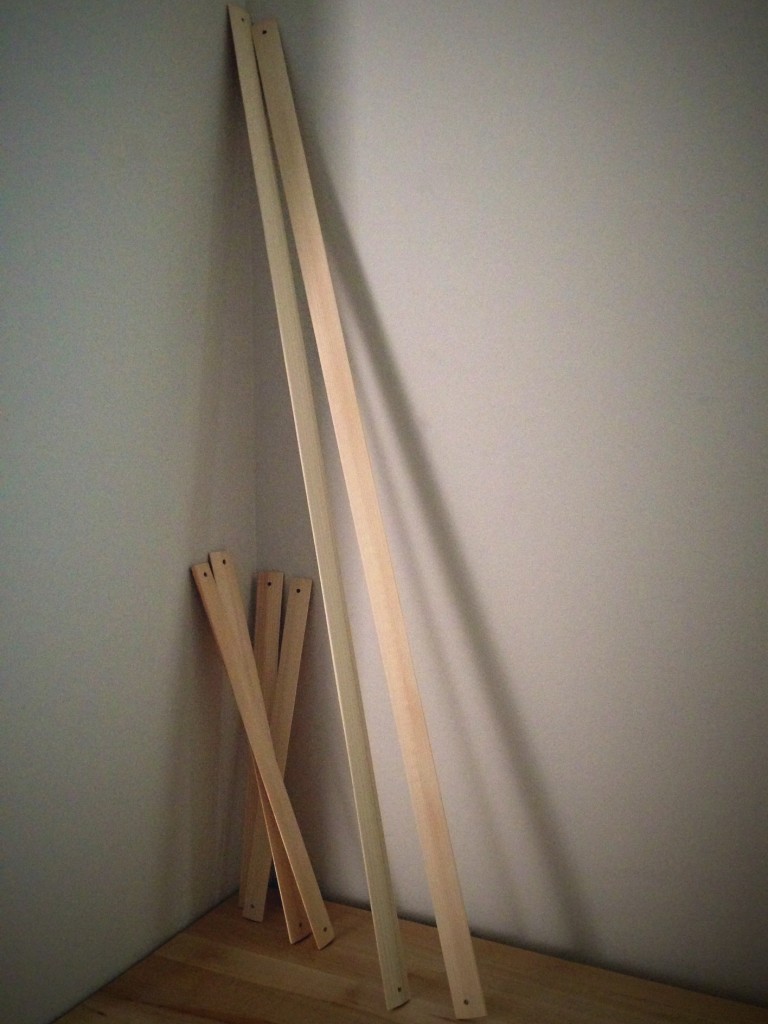
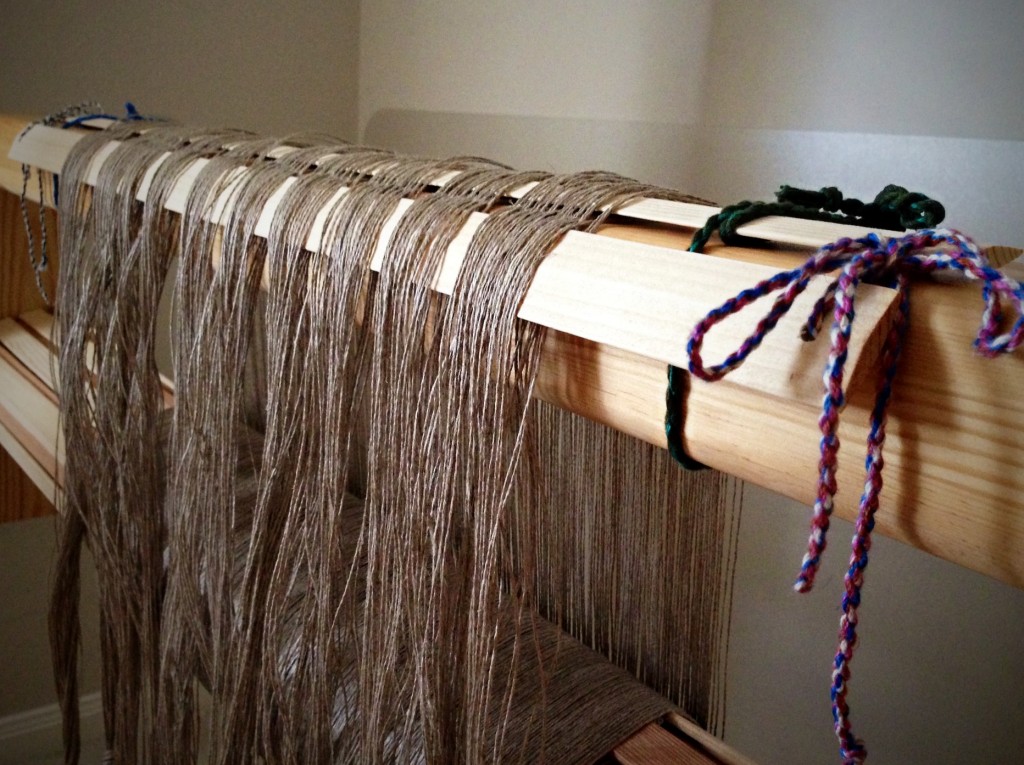
What can you do with a pair of flat beveled wood sticks, with a hole at each end? Use them for lease sticks, of course! This is an example of efficient simplicity. By slipping these two sticks through the opening of the lease cross made while winding a warp, and tying the ends of the sticks together, all the warpends stay perfectly in order throughout the process of dressing the loom. After beaming the warp, with the warp still under tension, I tie the back lease stick to the back beam. Then, when threading the heddles, I simply take each thread in order by going to the cross in between the two lease sticks and picking up the next thread. I always weave with the lease sticks in. I don’t remove them until the end of the warp comes over the back beam.
May you encounter simplicity in your creative process.
At the risk of telling you something you already know, I am going to show two ways I use rubber bands in my weaving studio. Yes, rubber bands. Simple, to the point of being simplistic. But I sheepishly admit, I didn’t know to do these things until I saw someone else do them; and then I expanded (pun intended) their practices to suit the way I like to work.
1. While it is common to put a rubber band on one treadle to act as a marker for your feet, I find it helpful to put rubber bands on two treadles for even greater efficiency. I put one rubber band on the first pattern treadle, and a second rubber band on the third pattern treadle. My feet never have to guess where to step. (With the rosepathtie-up for the rag rugs on the Glimakra Ideal loom, there are two plain weave treadles on the right, and then four pattern treadles. The rya weaving on the Glimakra Standard loom has one treadle on the right that lifts the warpends for the rya knots, and four pattern treadles.)
2. Rubber band the thread label around the tube of thread. This is the simplest way to keep track of fiber information–fiber content, weight, color number, brand. I also cut a short length of the thread and stick it to the sticky side of the label. This helps me get the labels back on the correct tubes, especially when using several threads of different colors.
May you find simple solutions to do what you do better.
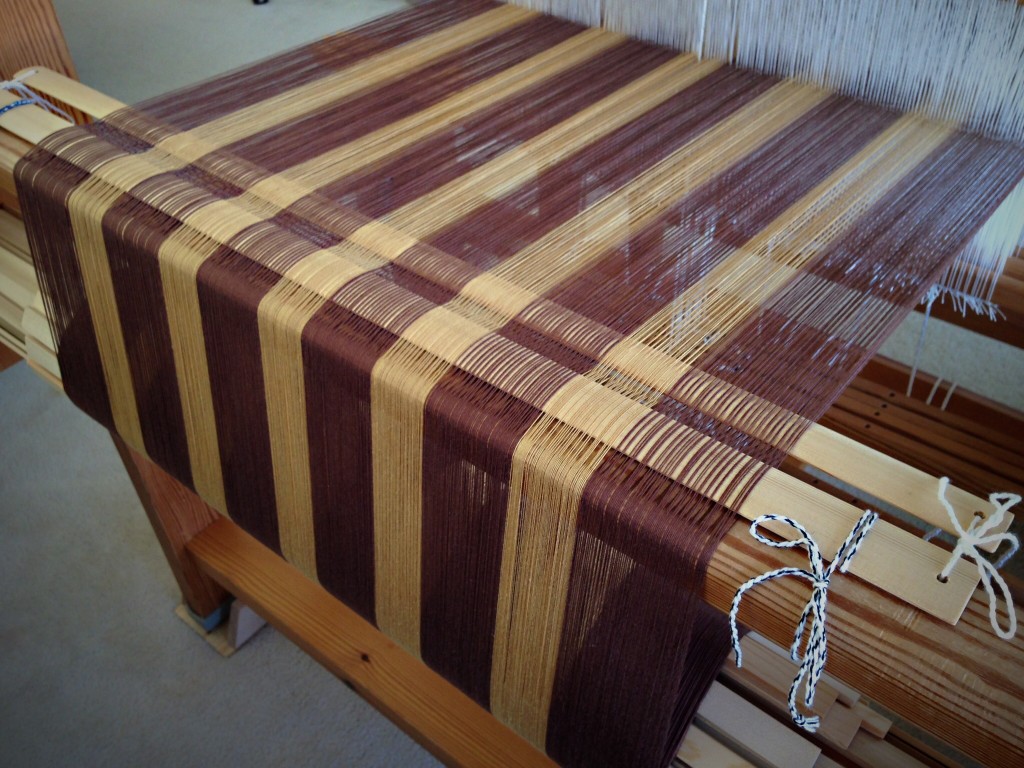
My feet follow an eight-step sequence on four treadles for this rosepath pattern. Even one step out of sequence makes a glaring error. I start out conscious of the order, repeating the numbers aloud while moving my feet. 3-2-1-4-1-2-3-4. After a while, my feet find a motor memory and I don’t need to concentrate as much. Now I’m in my sweet spot, throwing the shuttle back and forth, making cloth. (This flat cloth will be the back of a cushion with THIS rya weaving on the front.) I would like my attitudes to stay in their sweet spot, too.
There are normal interruptions in weaving, like stopping to replace the quill in the shuttle. Most of my treadling errors happen after those interruptions. With my attitudes, the disruption that knocks me out of my sweet spot is an encounter with someone who is disagreeable, rude, or unkind.
When we give a blessing, though, even to the undeserving, we come out ahead. If I show empathy, kindness, and humility to someone who does not show it in return, I end up with the blessing. If I return evil for evil or insult for insult, however, I throw that blessing away and my misstep makes a glaring error in my own fabric. Giving a blessing is the best way to get back to that sweet spot.
Finish the finishing, please. I always have a pile of handwovens that need finishing. Don’t you? The finishing smorgasbord includes repairing skipped threads (unintentional floats), securing ends, fringe treatments, hemming, wet finishing, pressing, adding hanging tabs, embellishments, and more. You know you are finally finished when your handiwork is being used and enjoyed.
1. Twisted fringe on bamboo huck lace small tablecloth. This cloth covered an heirloom table, becoming the altar, at Melody’s wedding. (This short piece was at the end of the warp after weaving two shawls.) You can see the shawls HERE, and twisting the fringe HERE.
2. Added hanging tabs to handtowels. Installed Ikea rod with basket and hooks to hang handwoven handtowels in the powder room. (When you need tabs for towels, it helps to have a collection of inkle and band loombands.) You can see the most recent towels HERE – I kept one of the eight for myself; the rest became gifts.
3. Untangled the fringe of alpaca/tencel throw. (A wet finishing nightmare I don’t care to repeat.) You can see what it looked like before washing HERE.
4. Hand-stitched rolled hem on Swedish lace tablecloth. (I may use this as a curtain for my weaving studio window, hung on rings with clips, on a rod.) HERE are the long curtain panels that hang on windows in my home.
5. Hemmed small sample piece to carry around with me when I have a cup of coffee. (I grab this re-usable “scrap” instead of a paper napkin or paper towel. It also doubles as a coaster wherever I happen to sit down.) The original M’s and O’s towels are HERE; and HERE you can see what I mean about carrying my coffee cup around with me.
6. Replaced nylon cord on handwoven Roman shades with a cord I wove on my band loom. (The “temporary” nylon cord stayed more than a year. We now enjoy seeing this on our kitchen door every day, finally fully finished.) The only place I have a picture of the original nylon cord, and of the fabric on the loom for the Roman shades is in my Projects on Weavolution HERE. (I’m not sure if you can see it without logging in to the site.)
May you reduce your finishing pile (I know you have one).