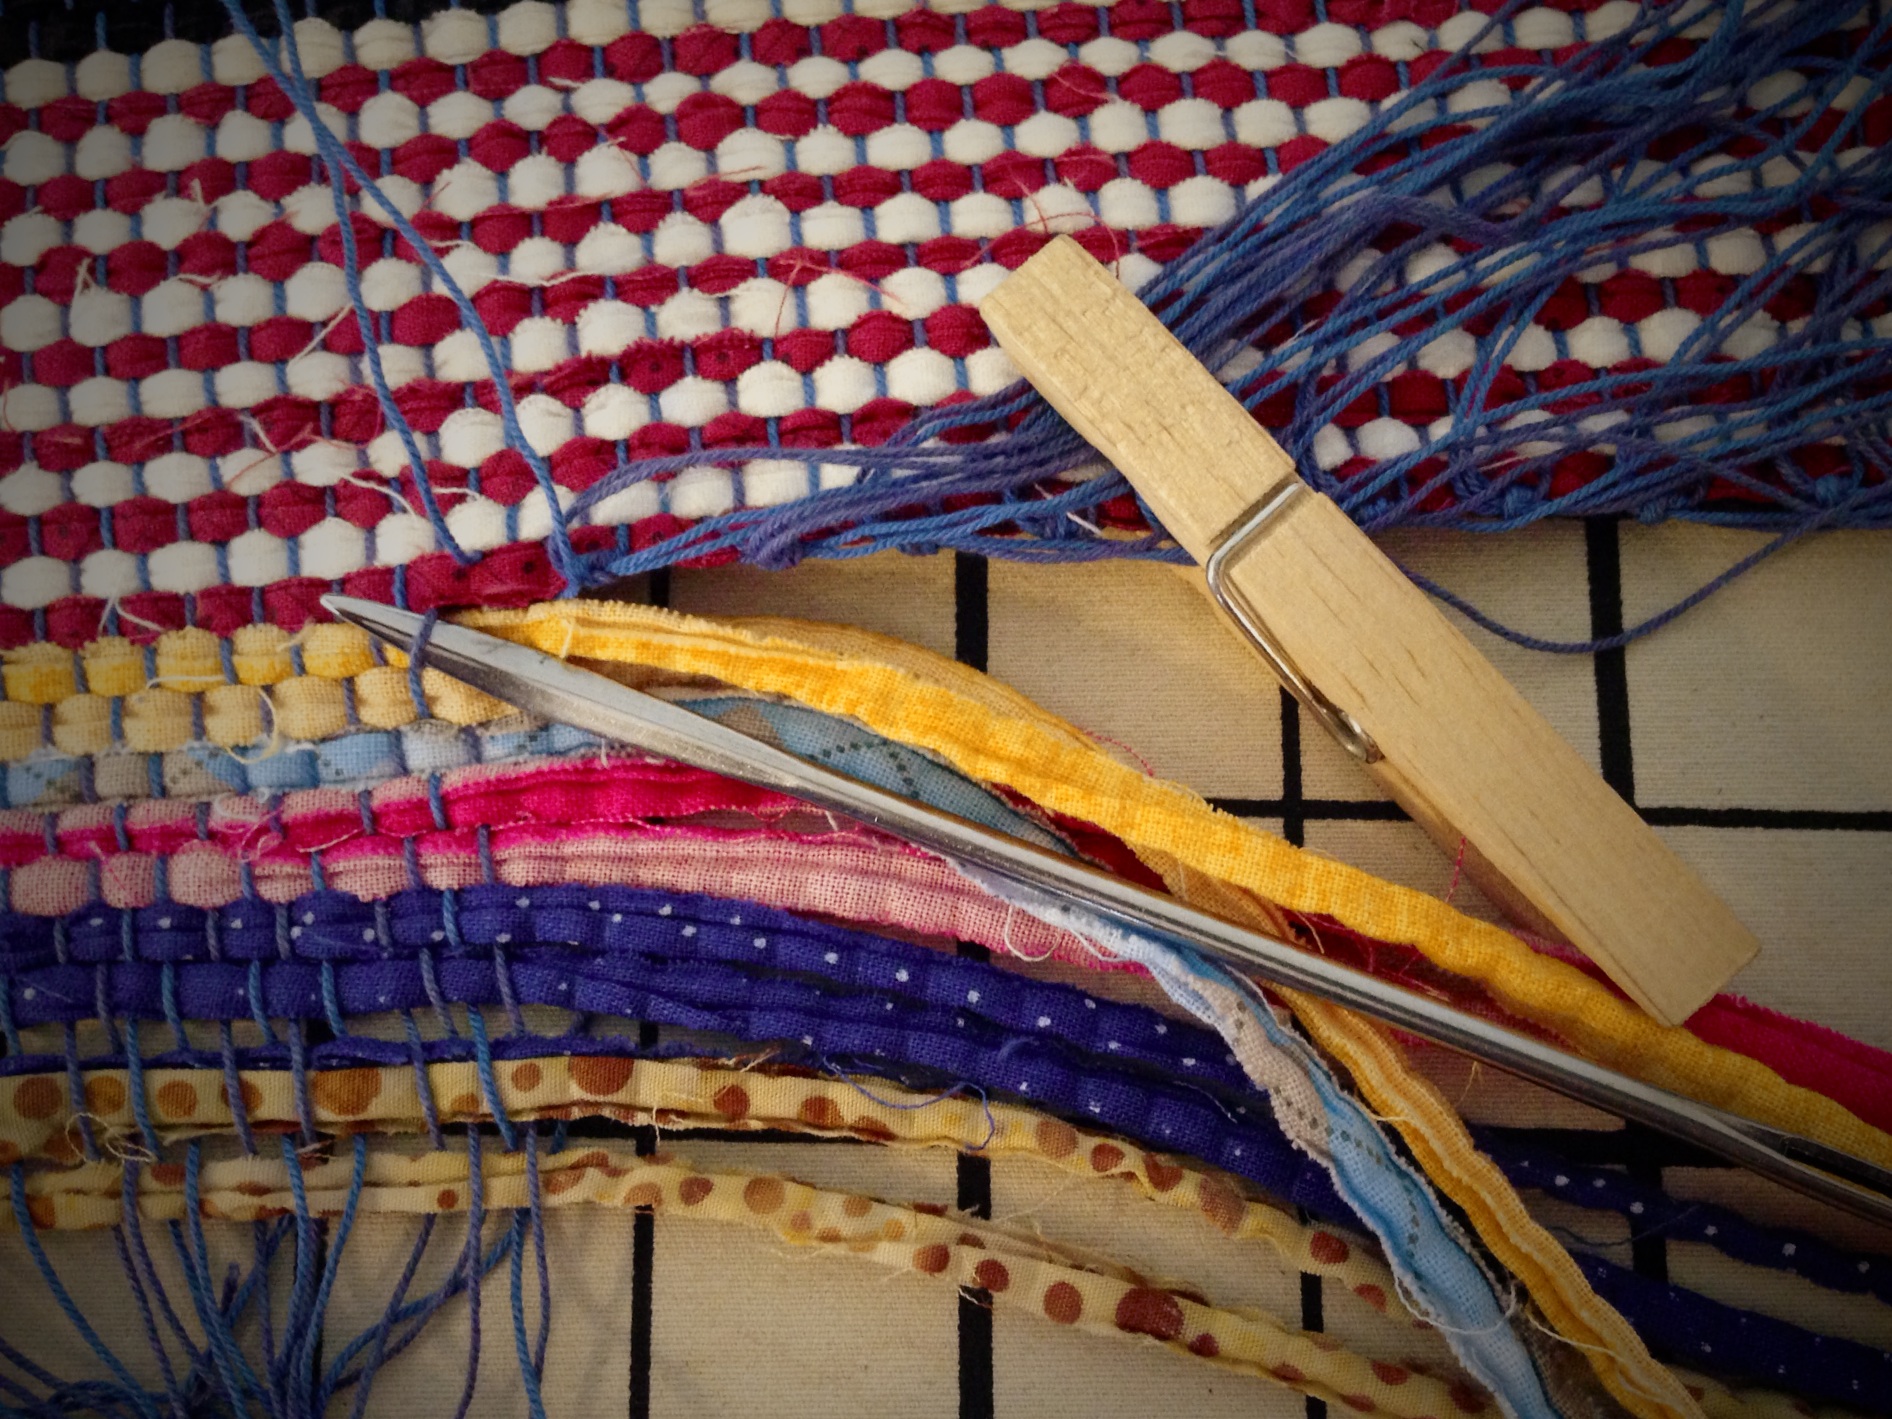
You never need to motivate me to sit at the loom, or convince me to make time for weaving. I’m not sure why I am this way, but something in me longs to make fabric. I weave nearly every day, not to be productive, but simply because I love to weave.
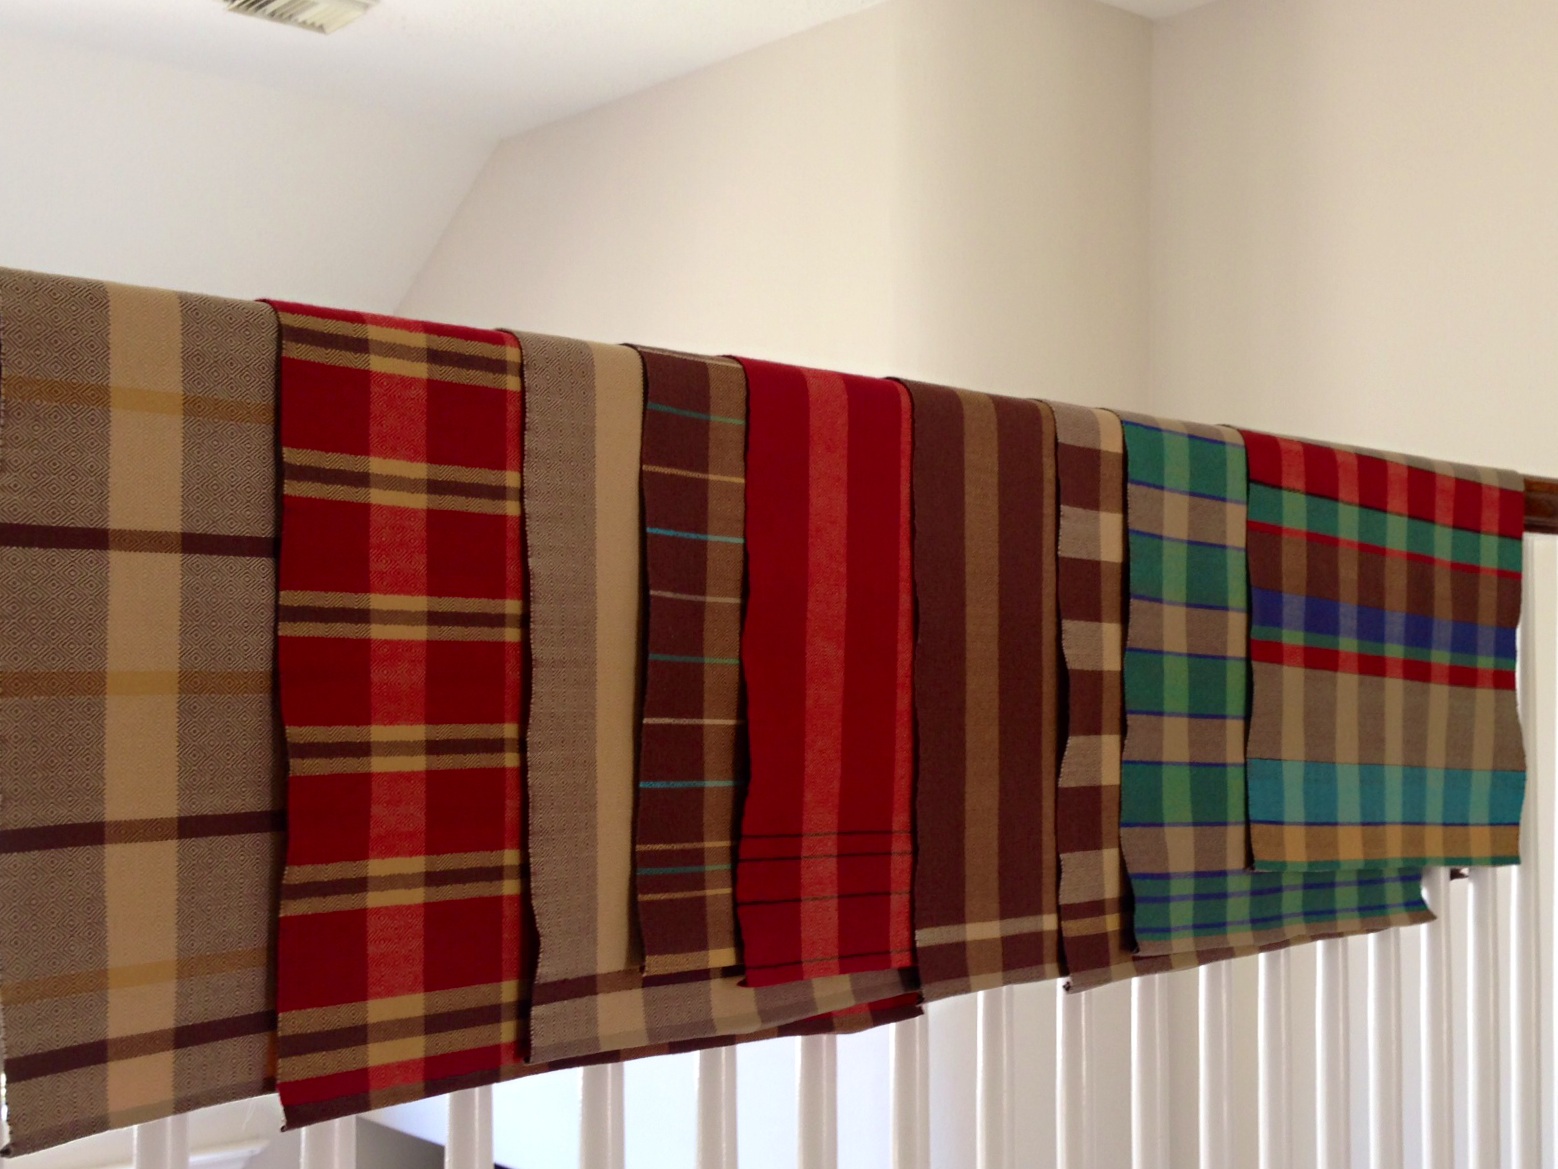
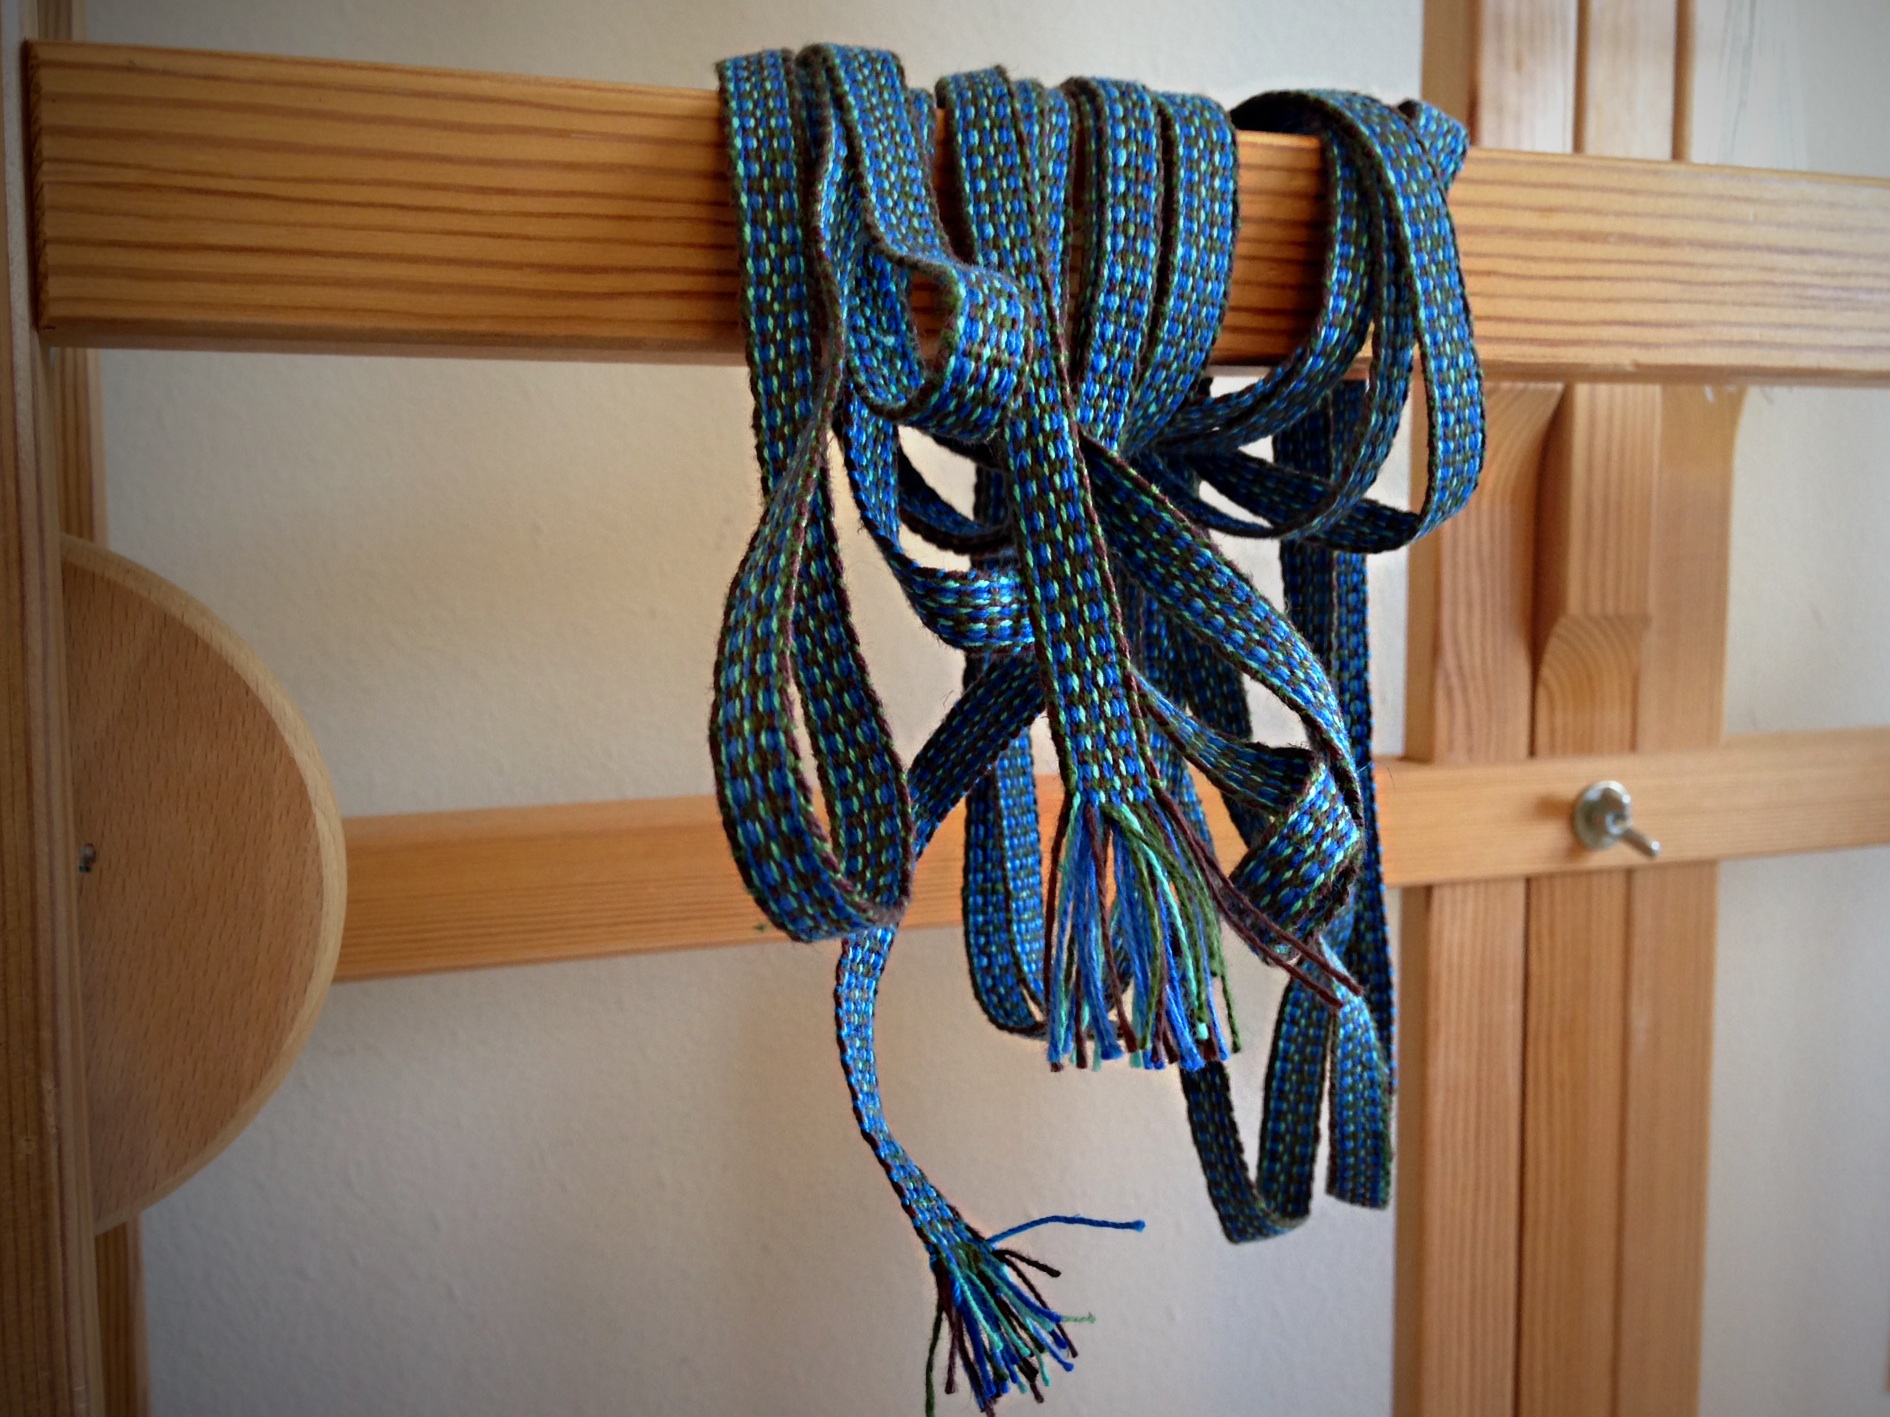
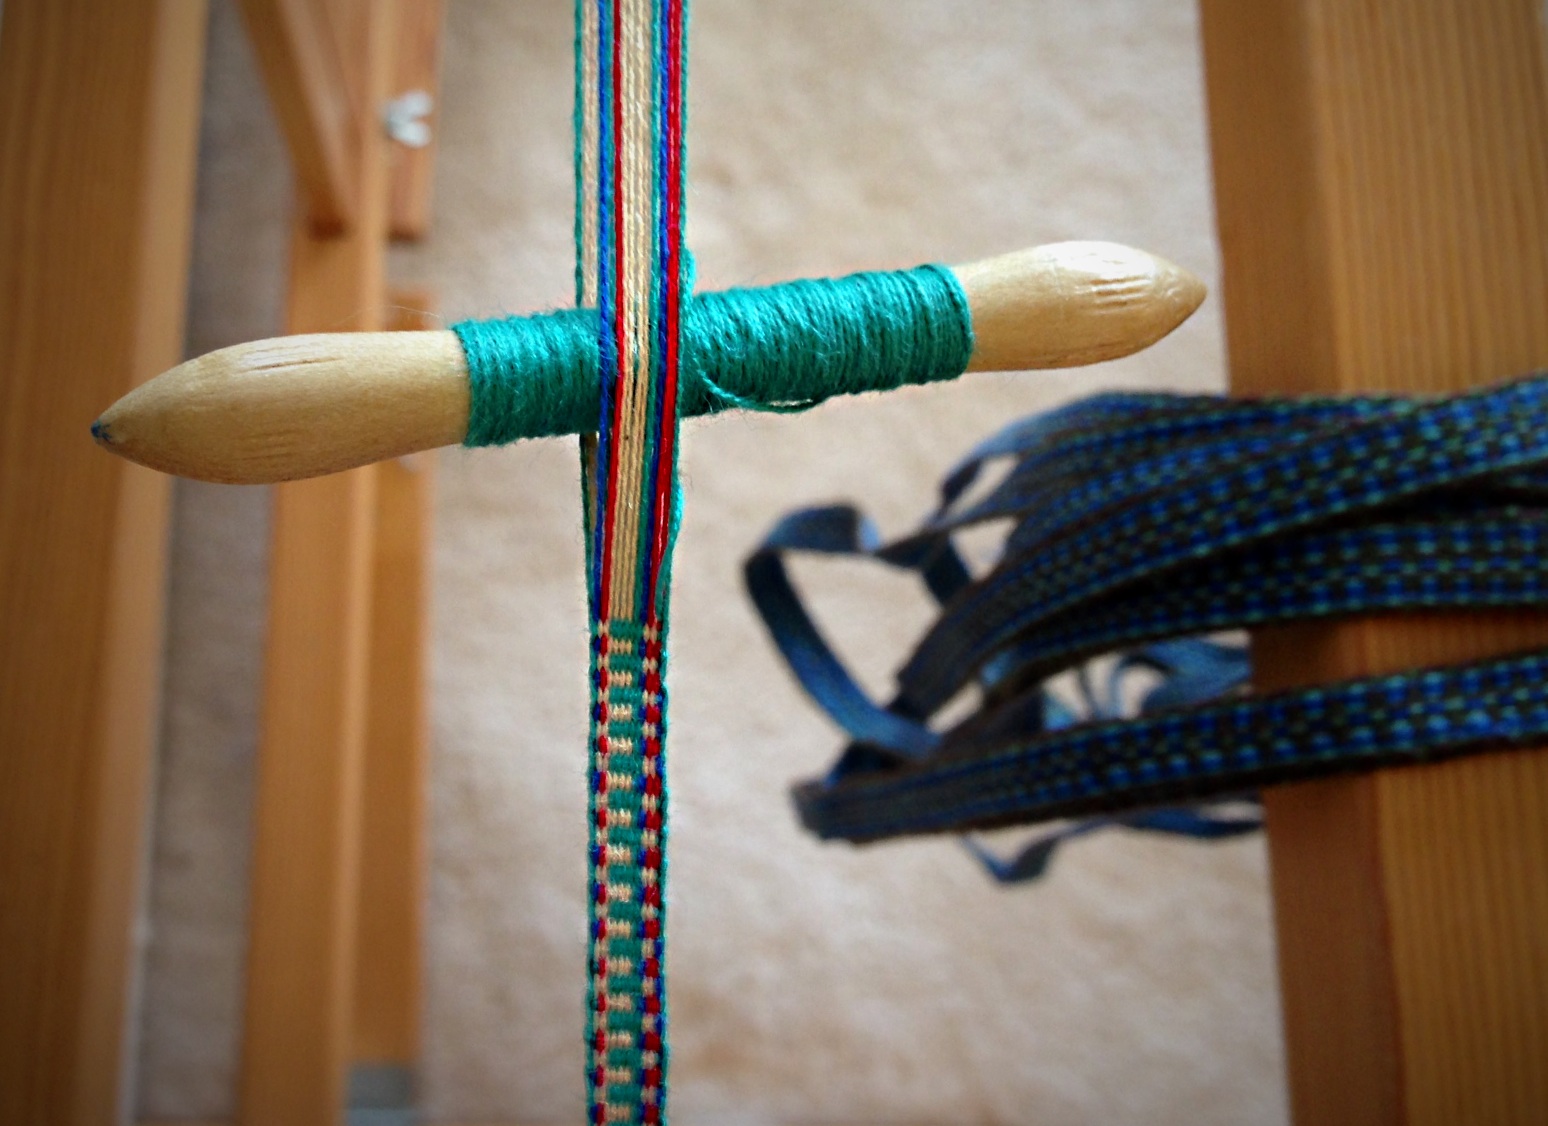
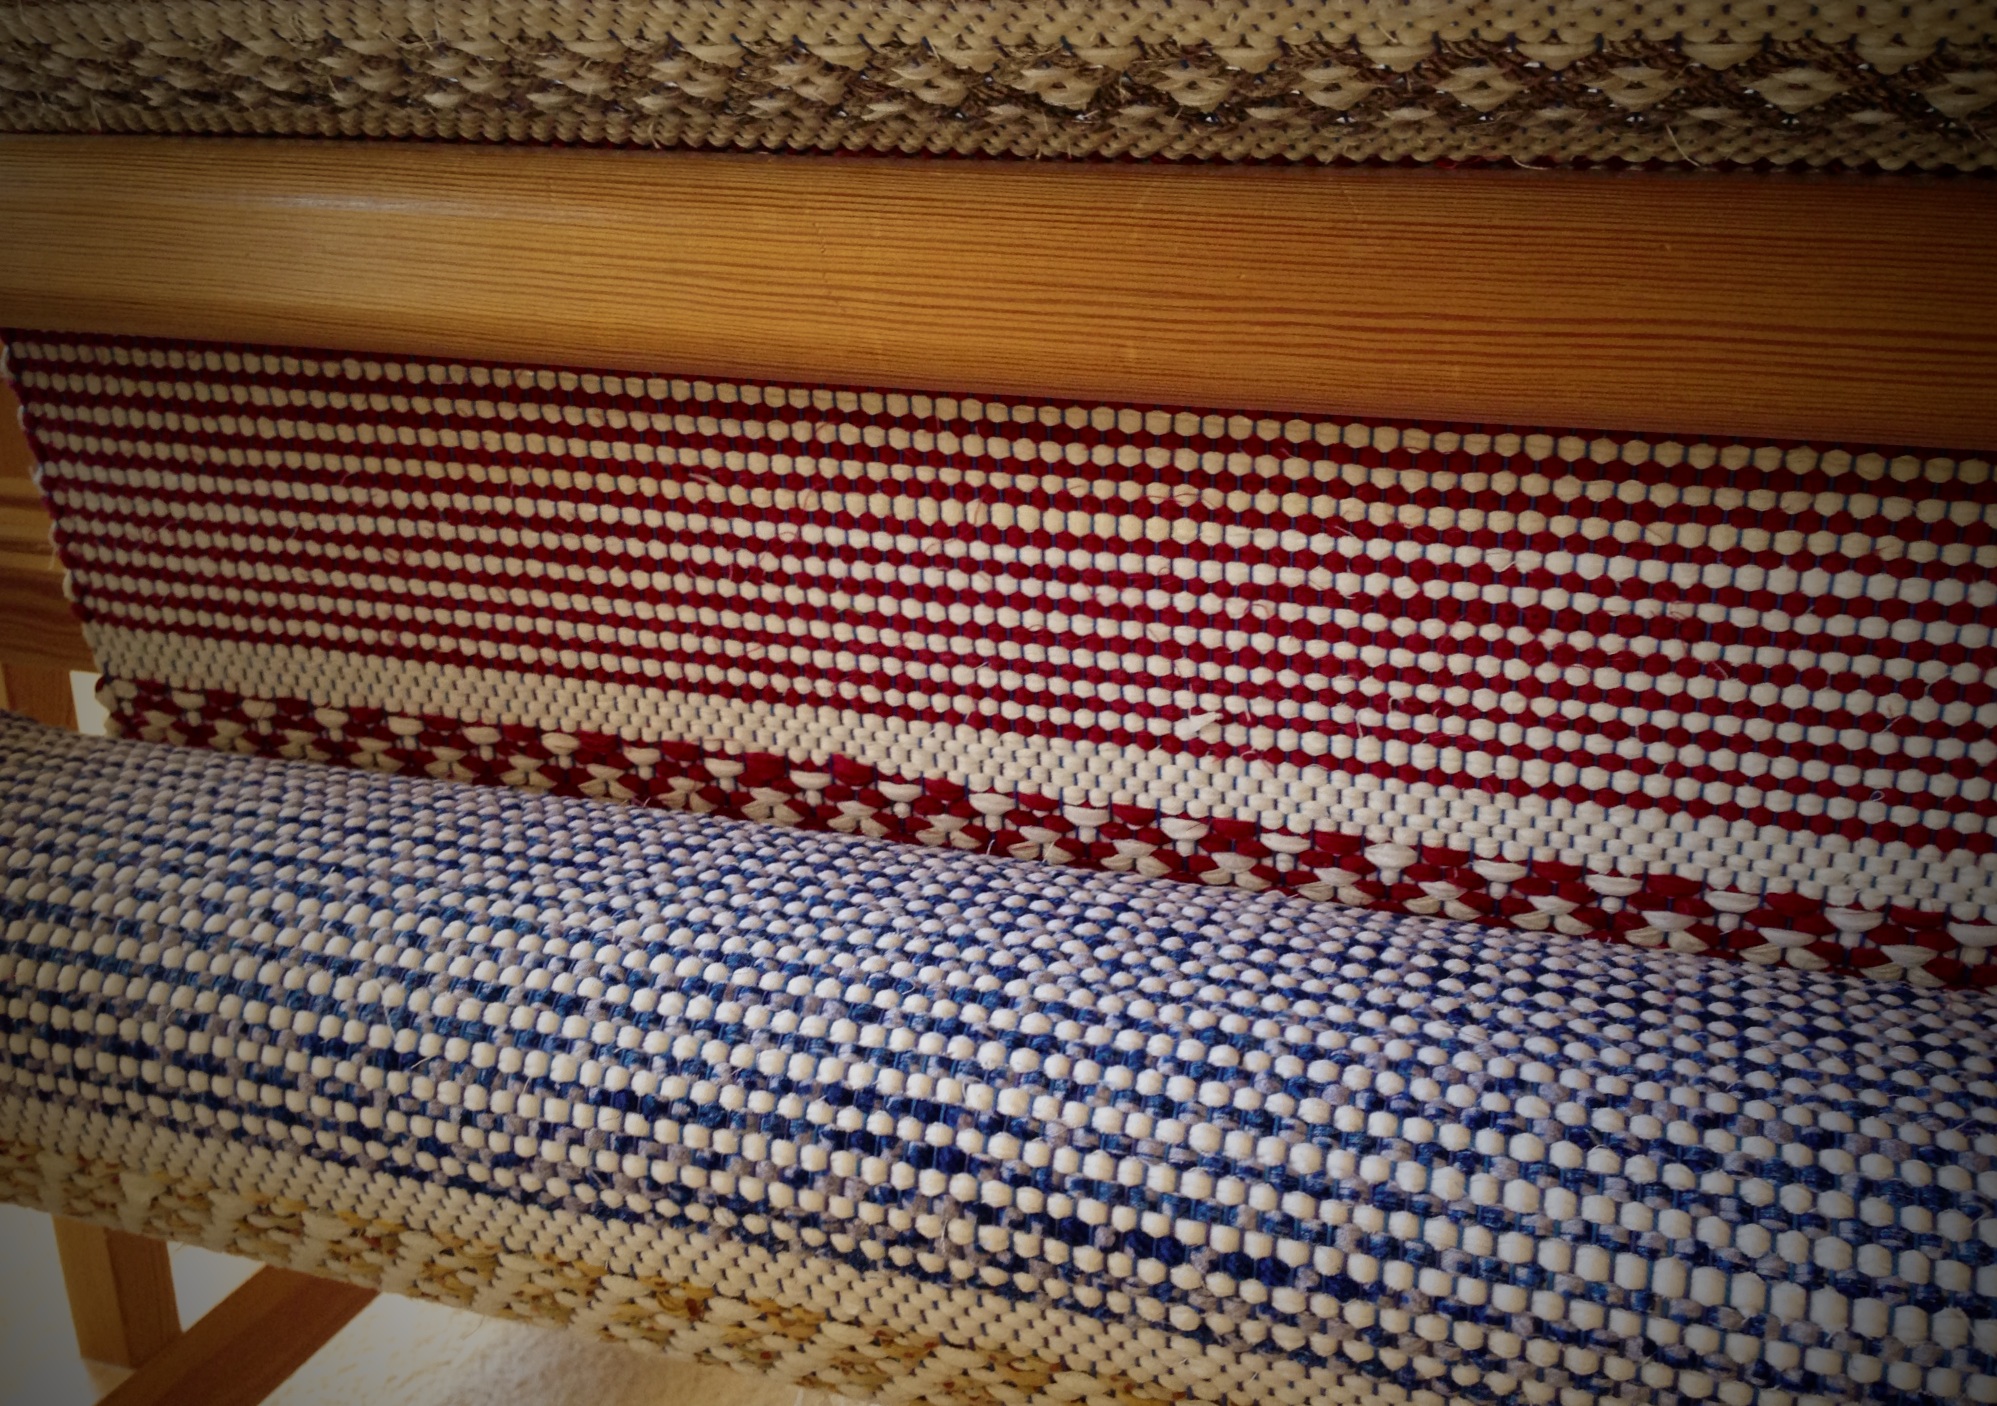
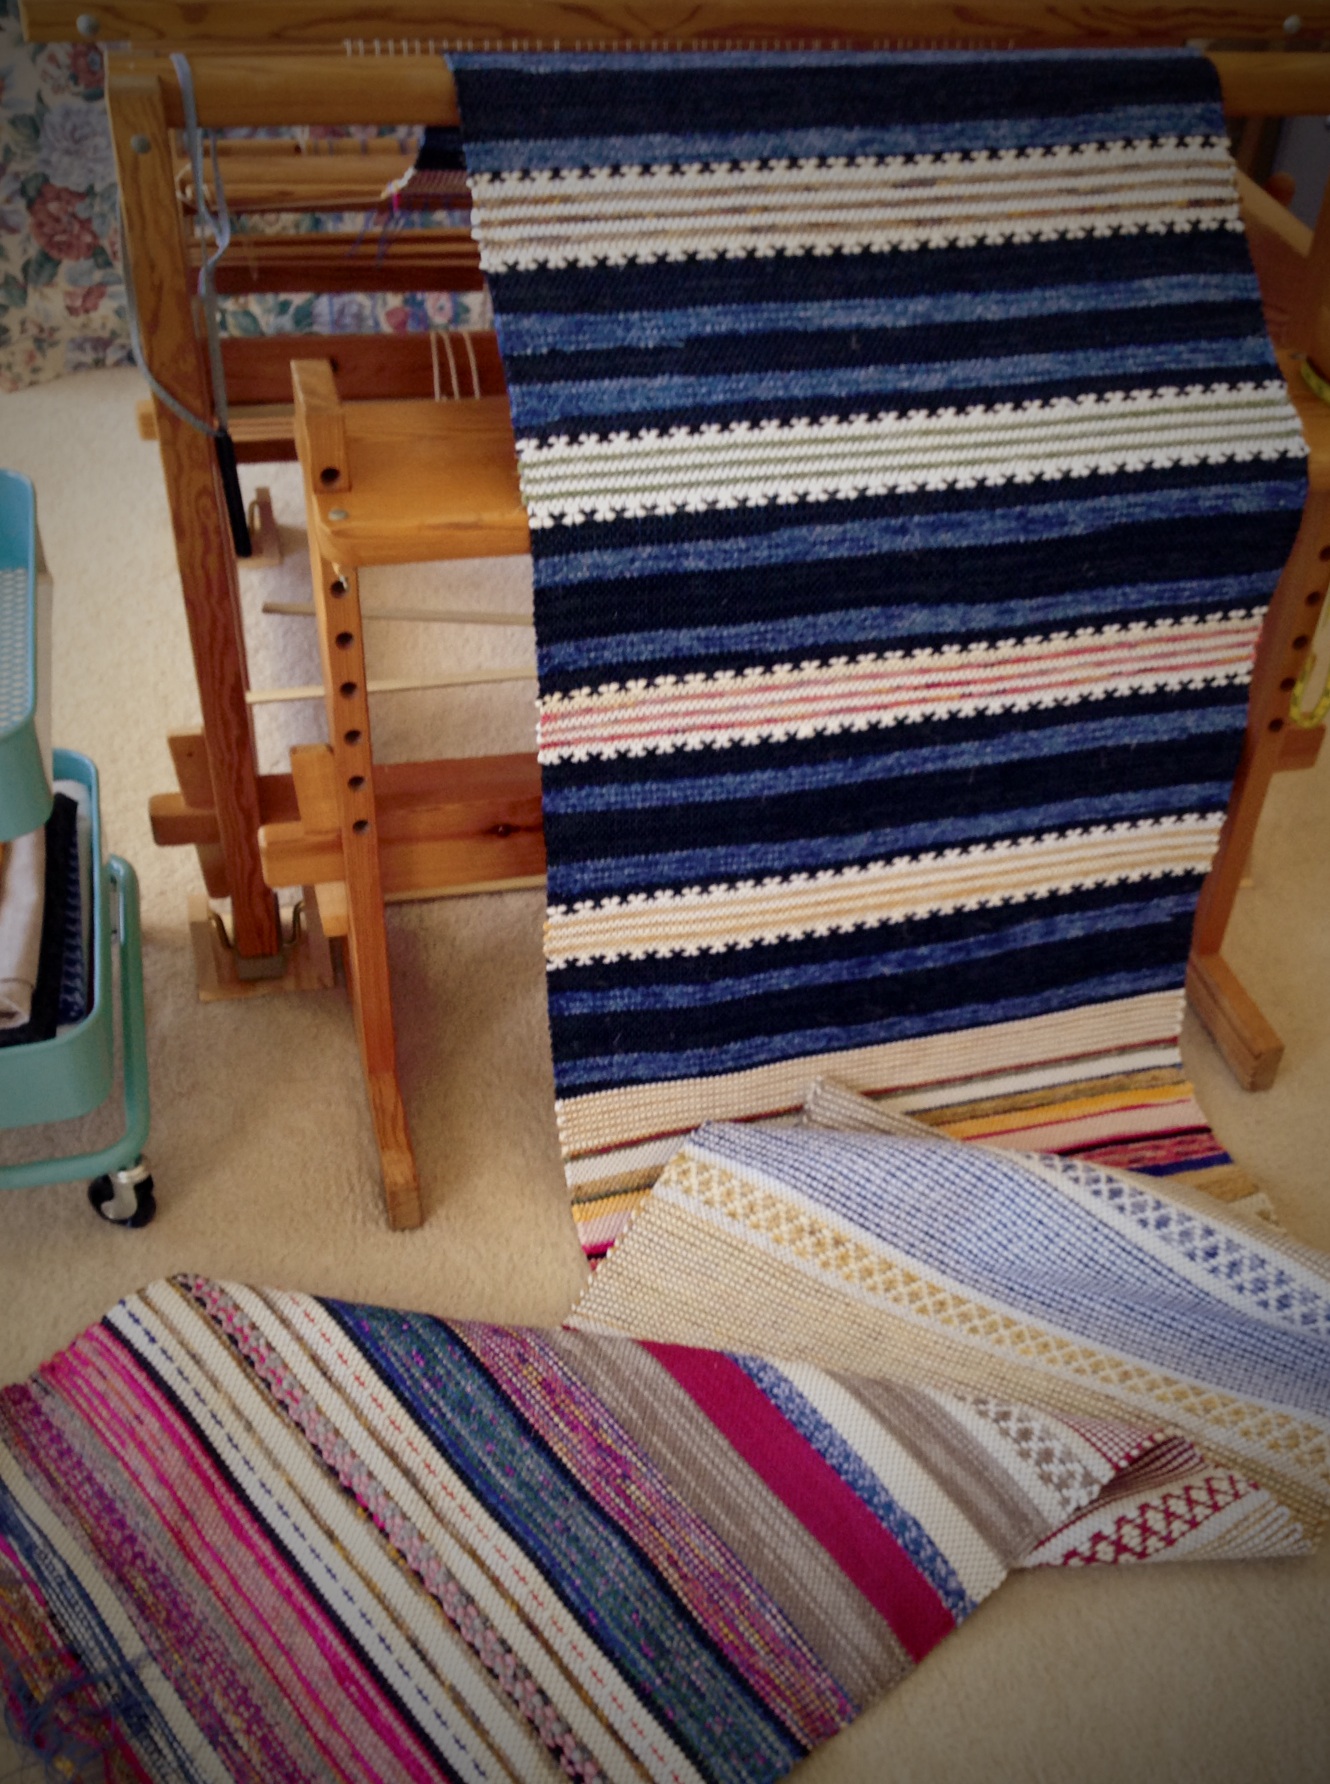
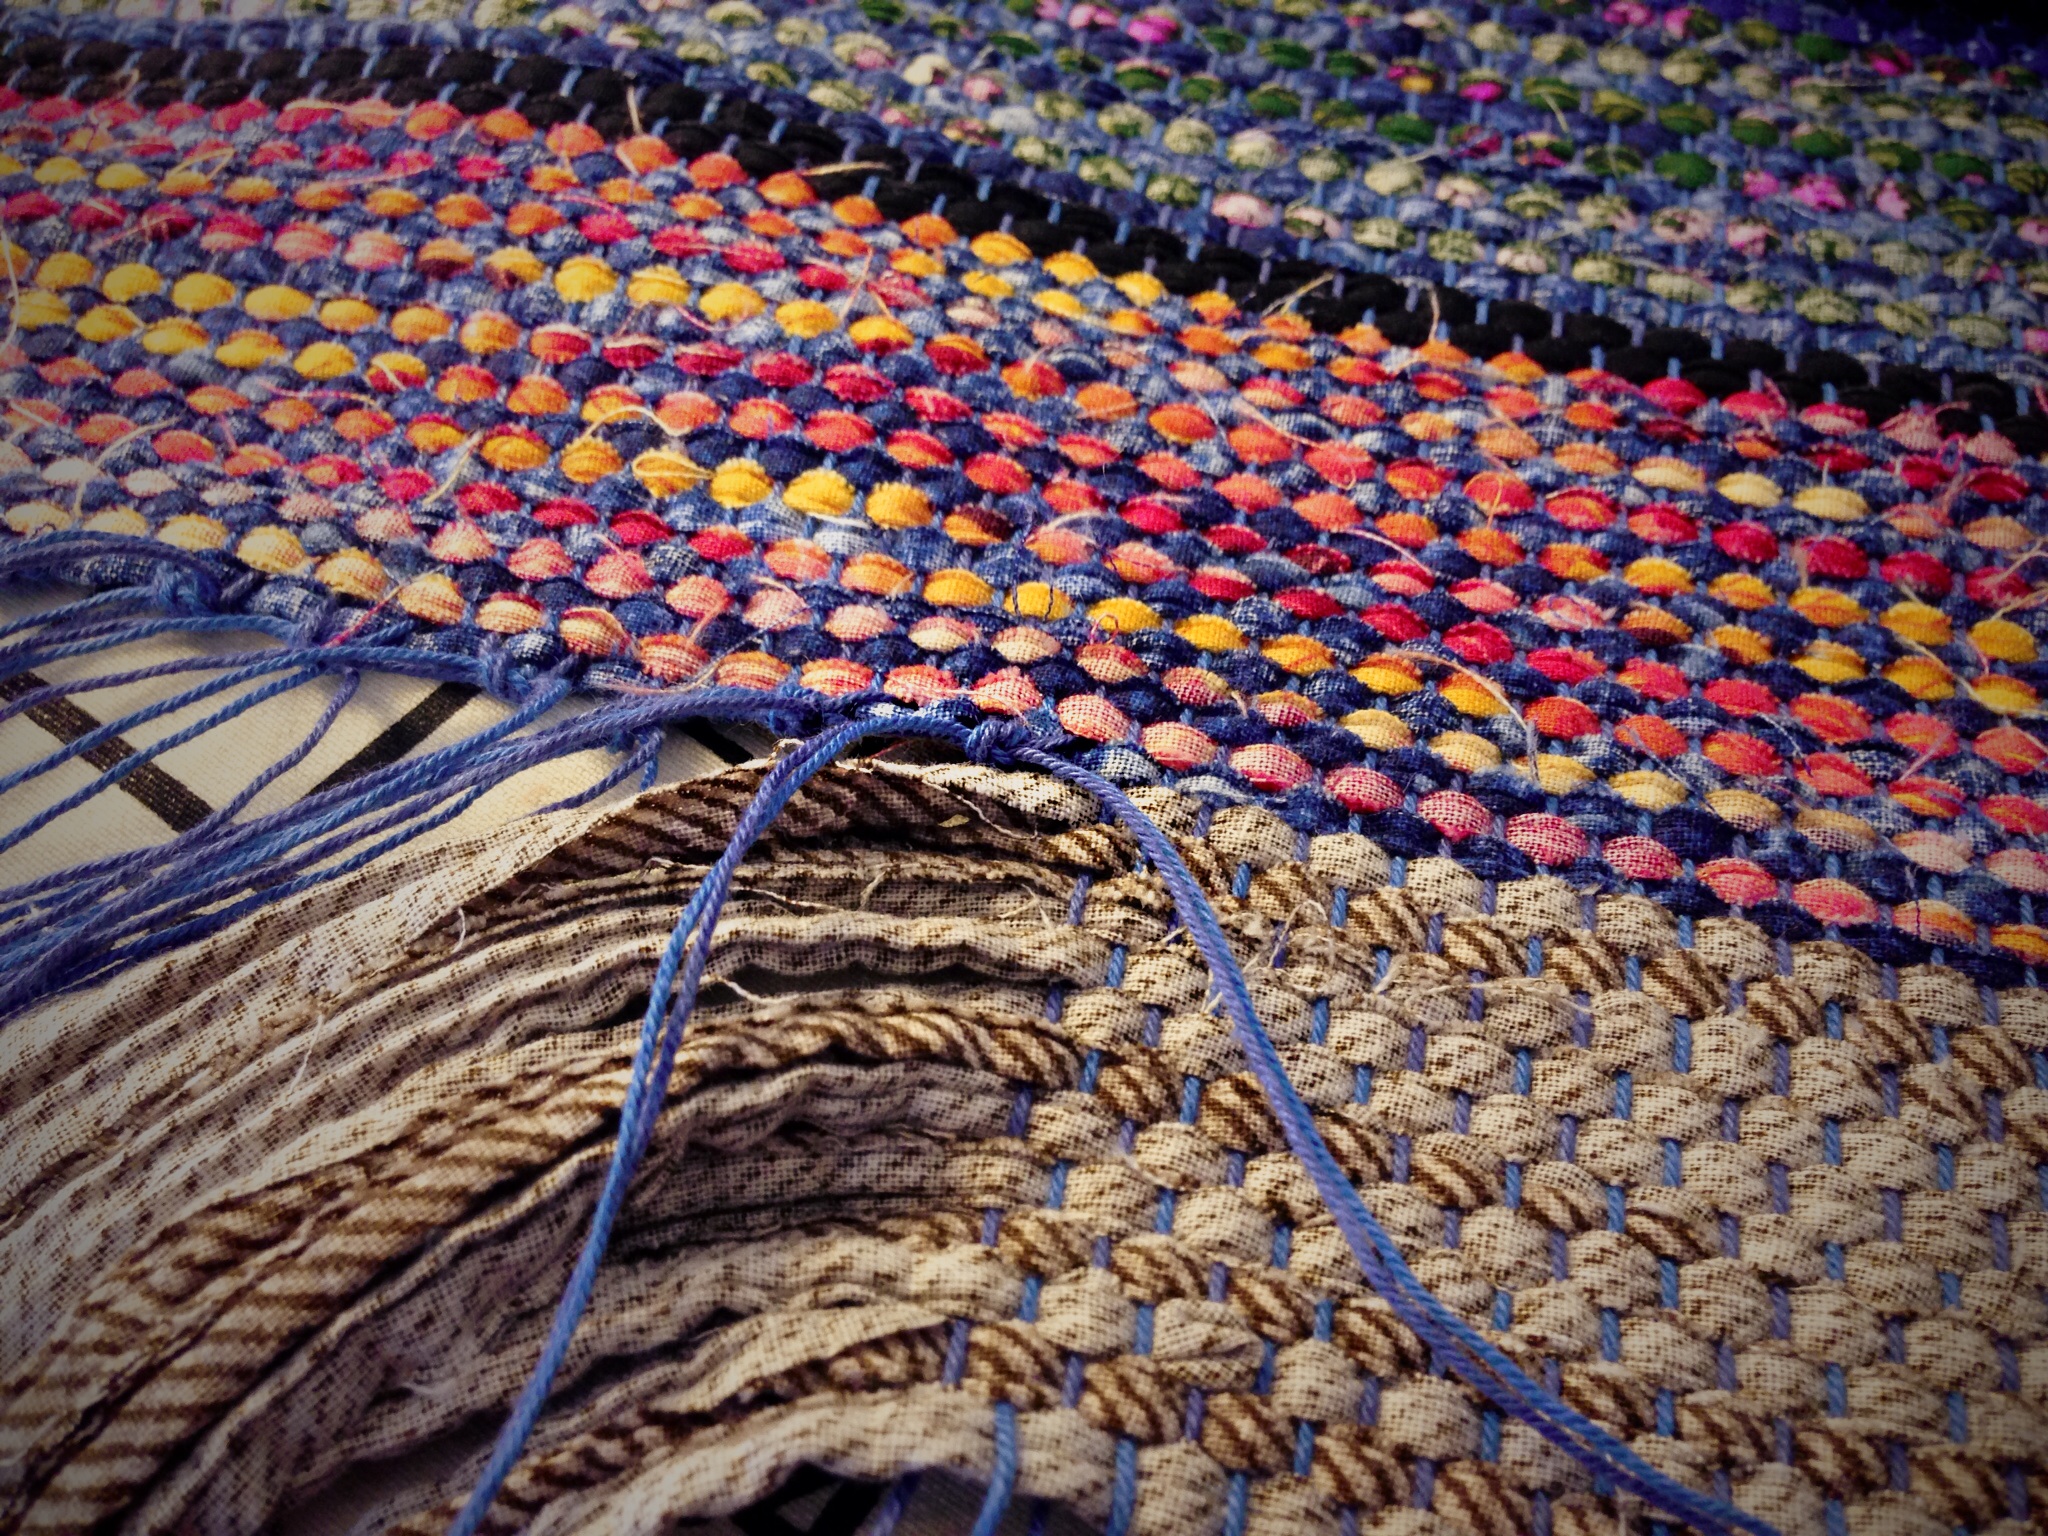
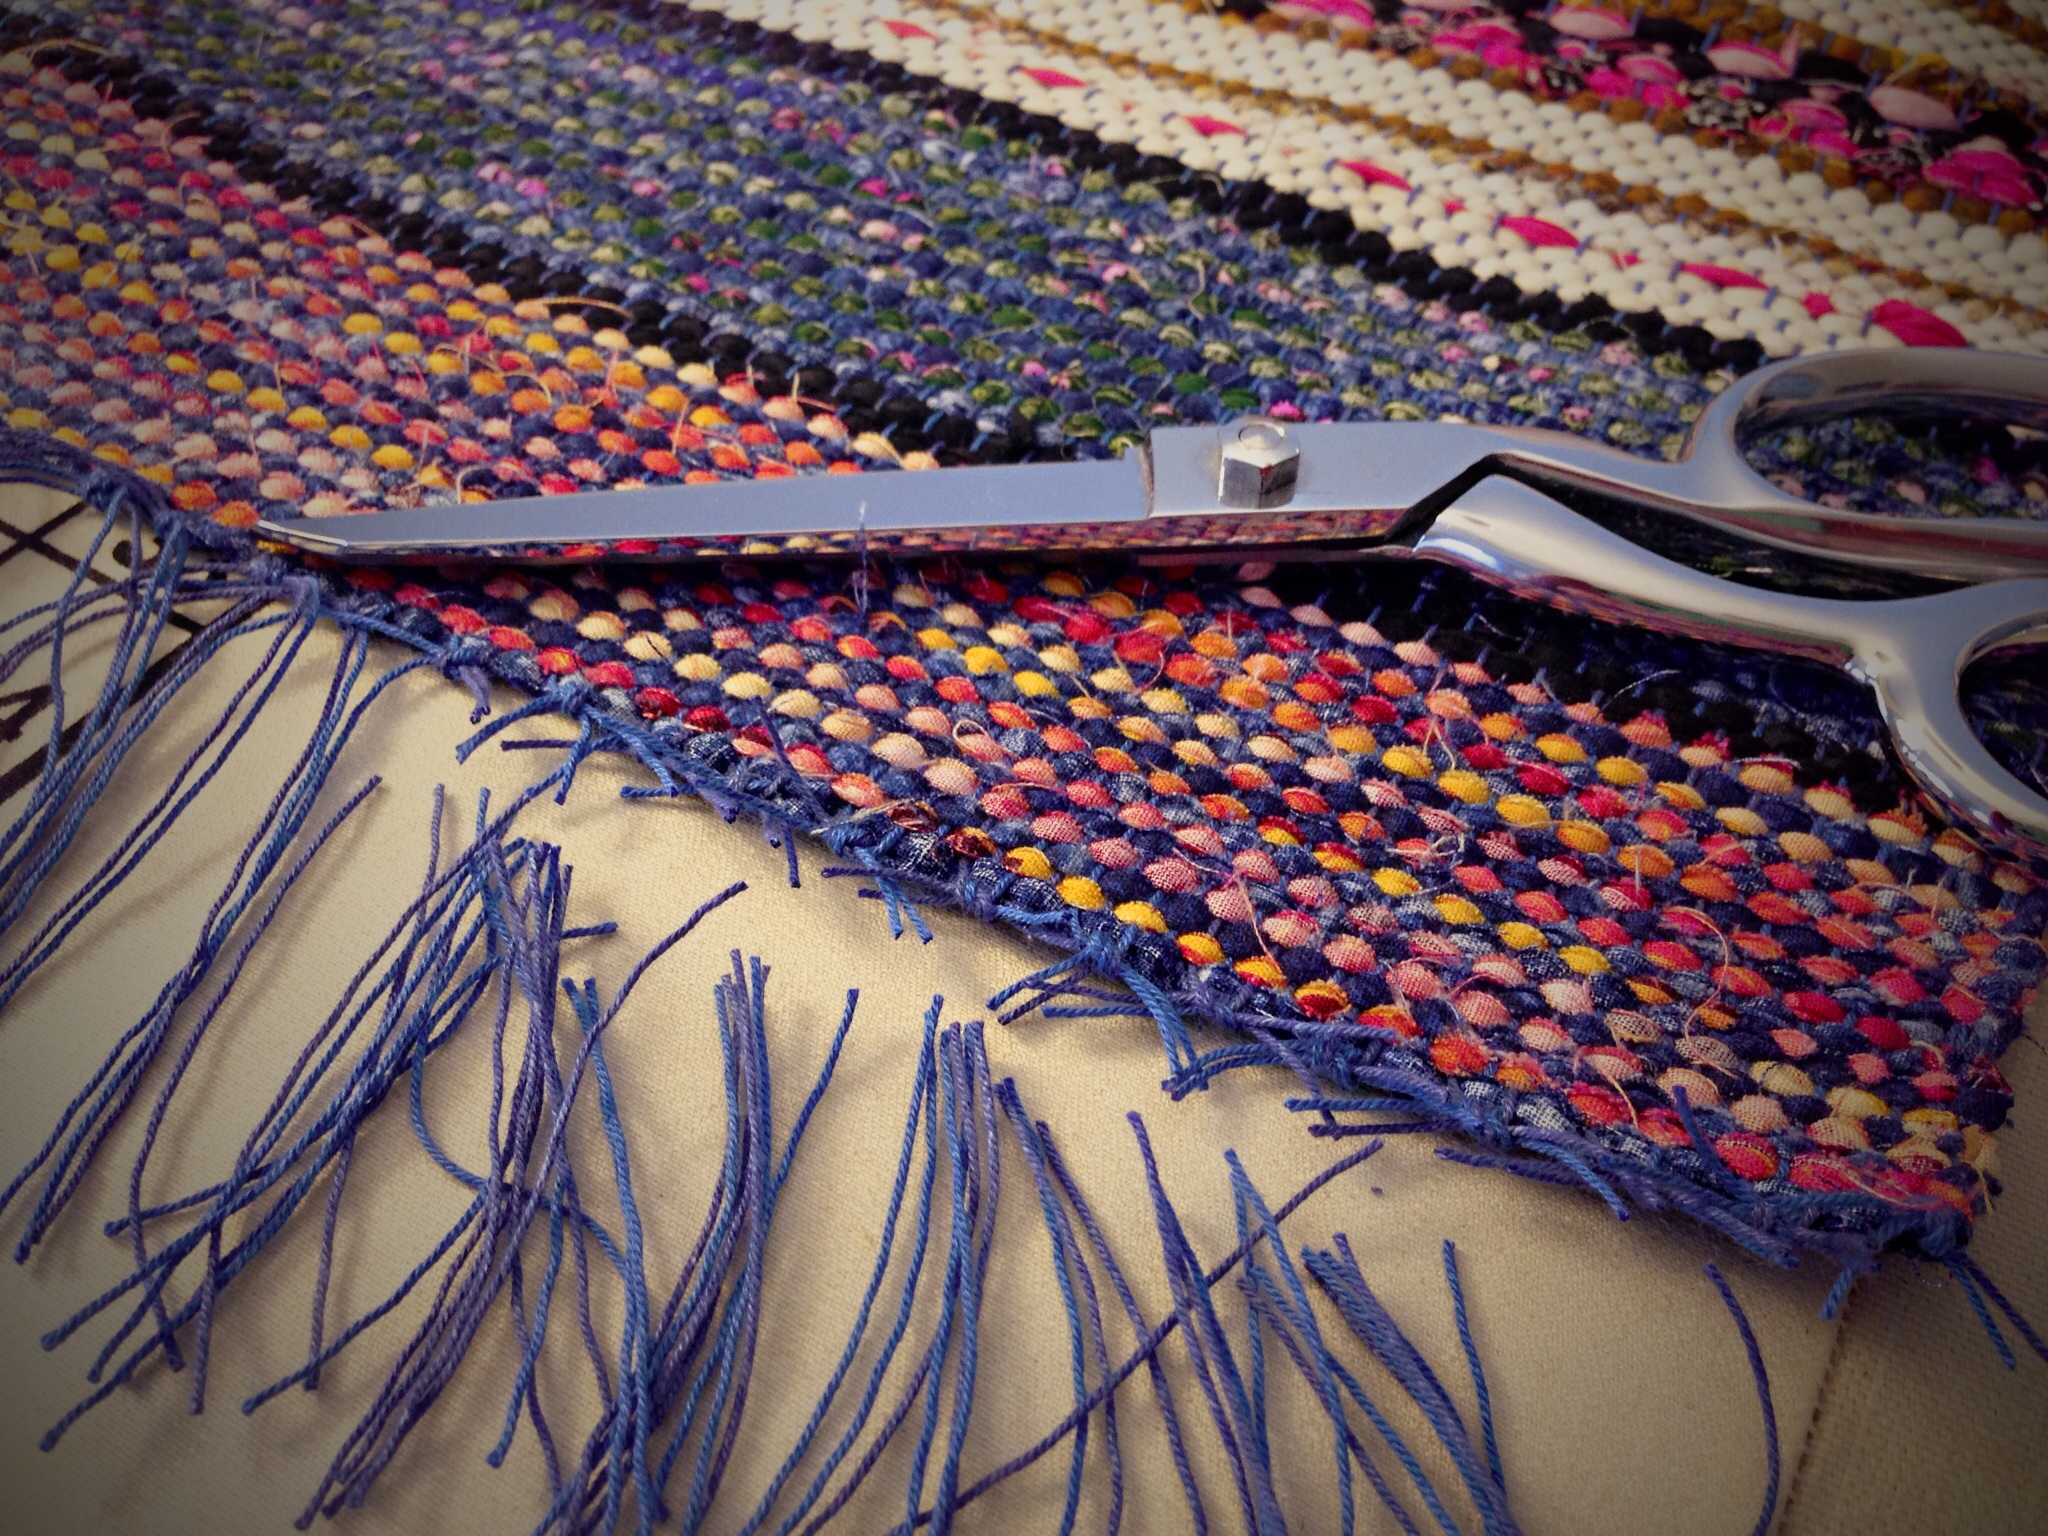
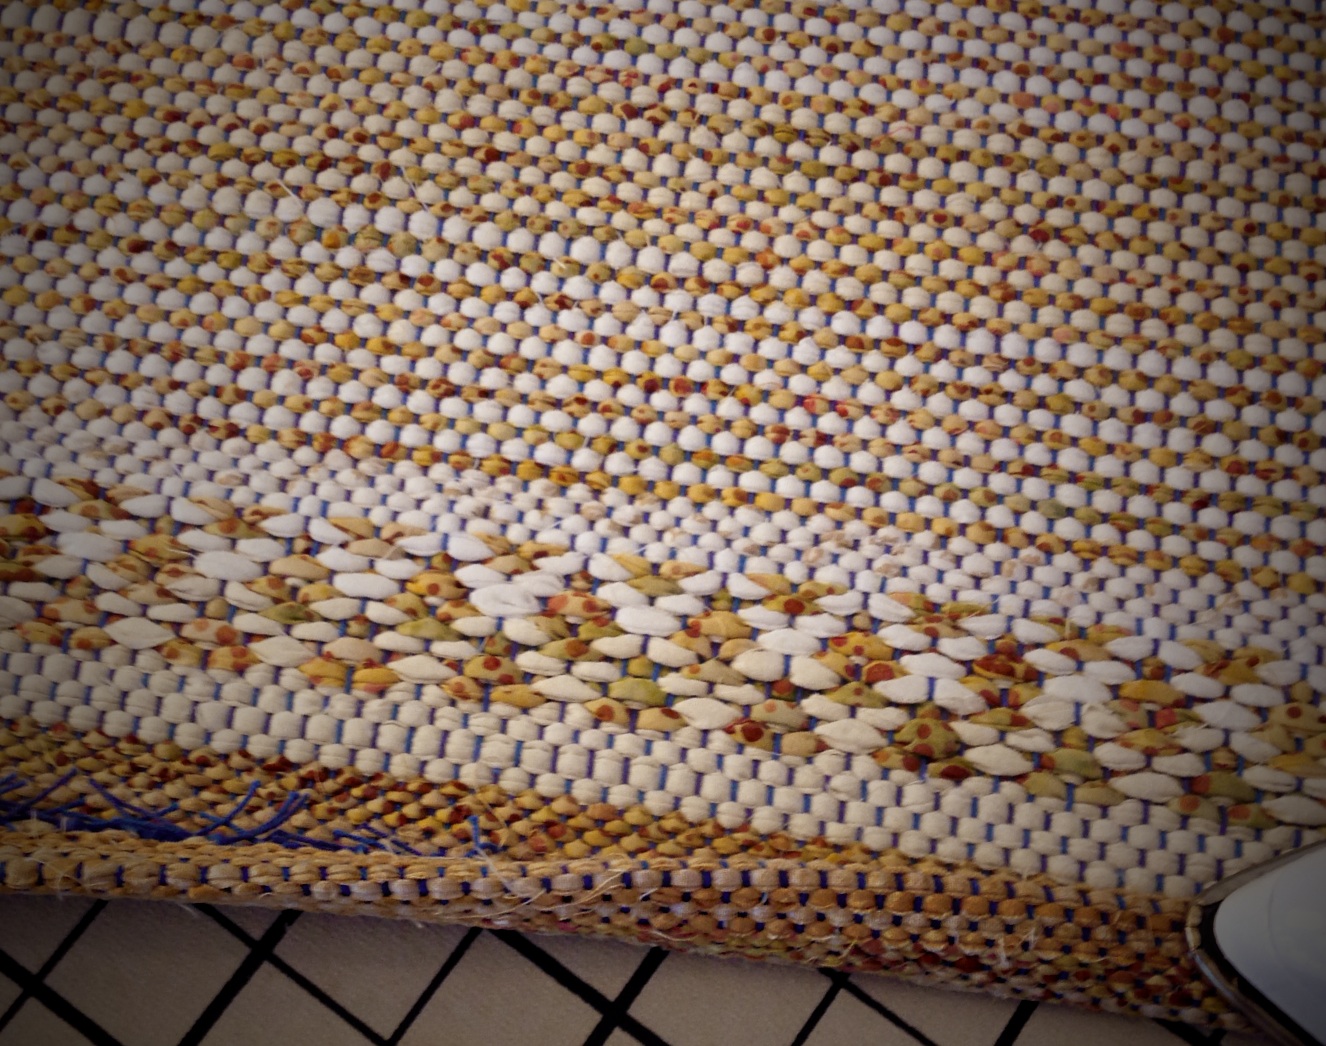
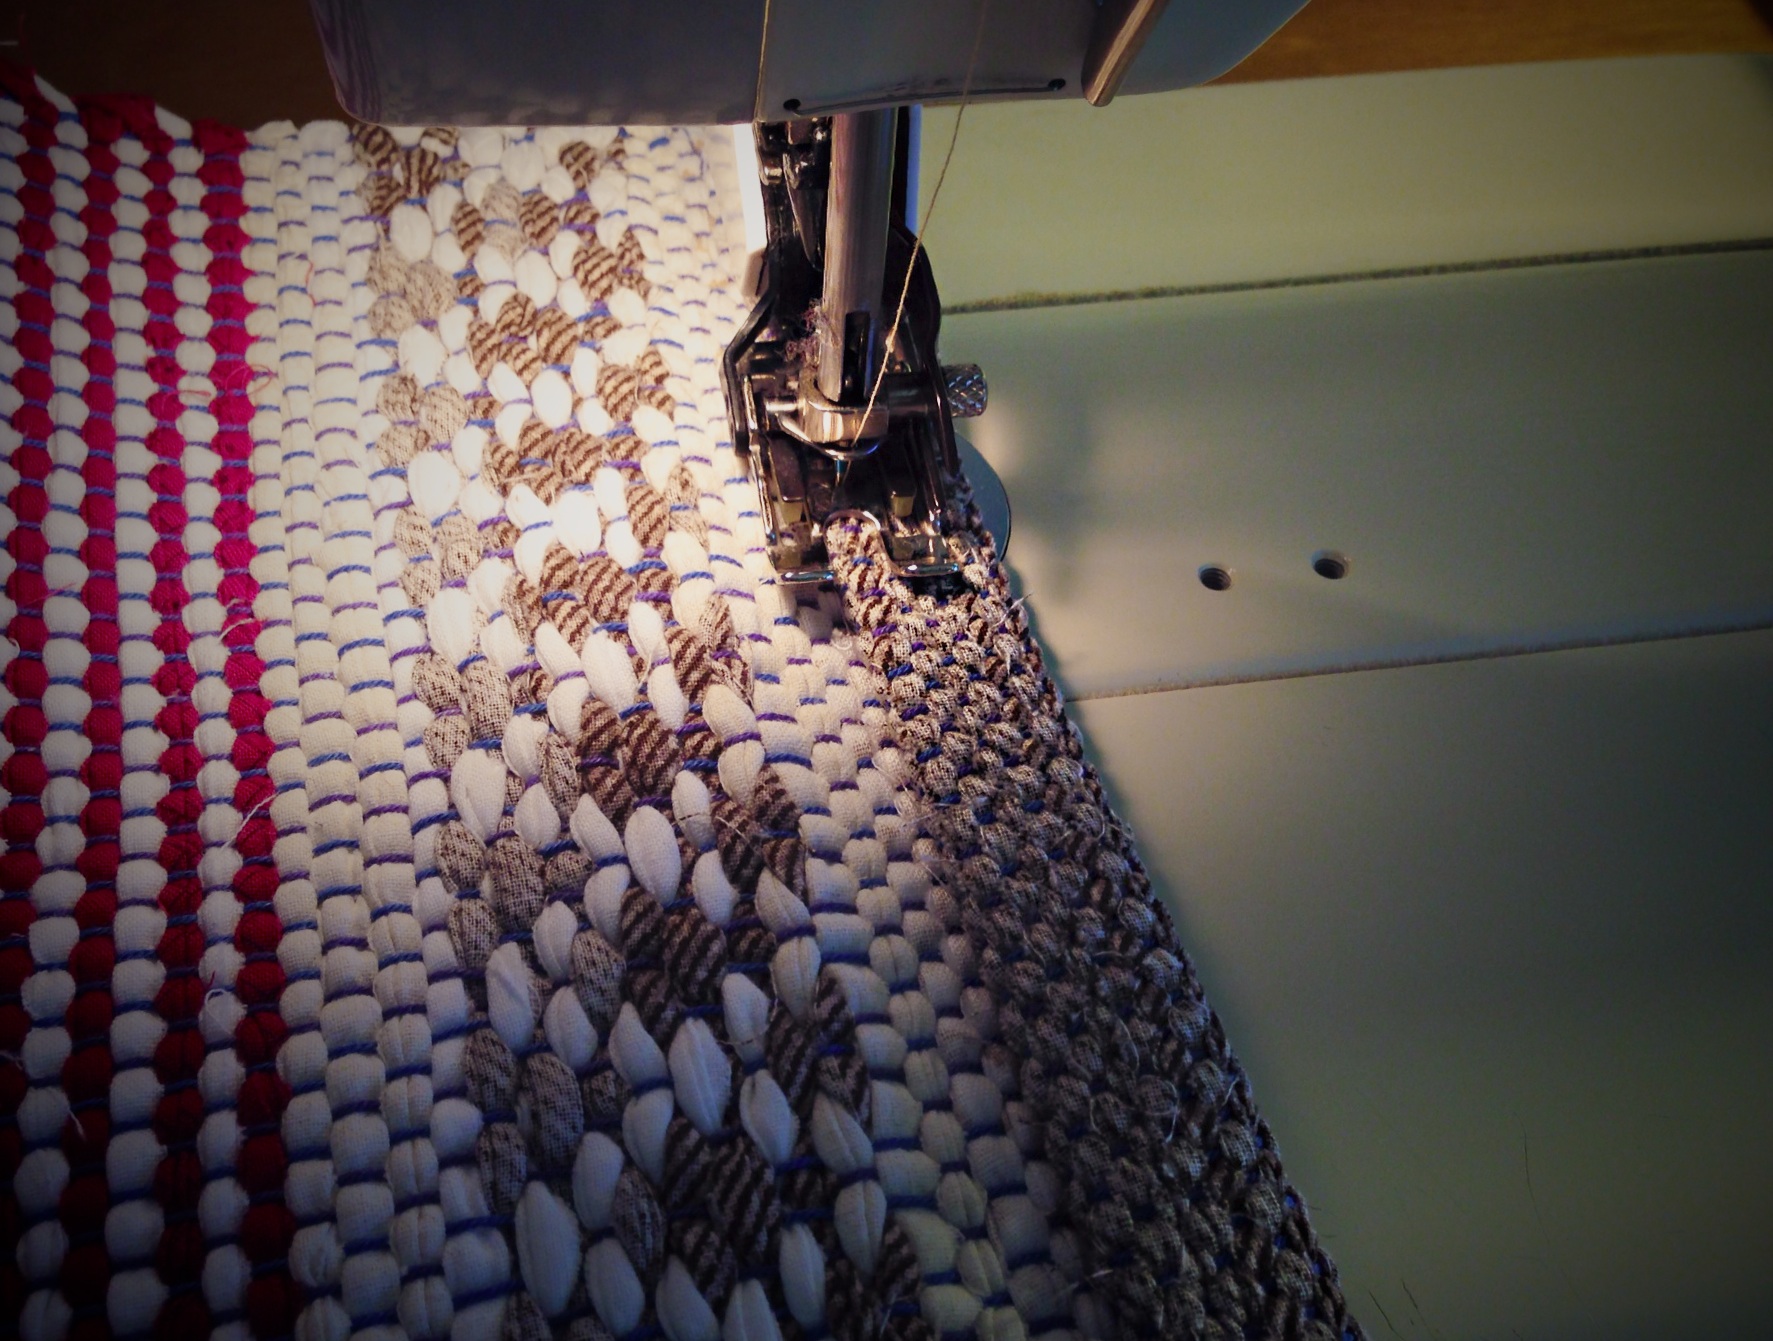
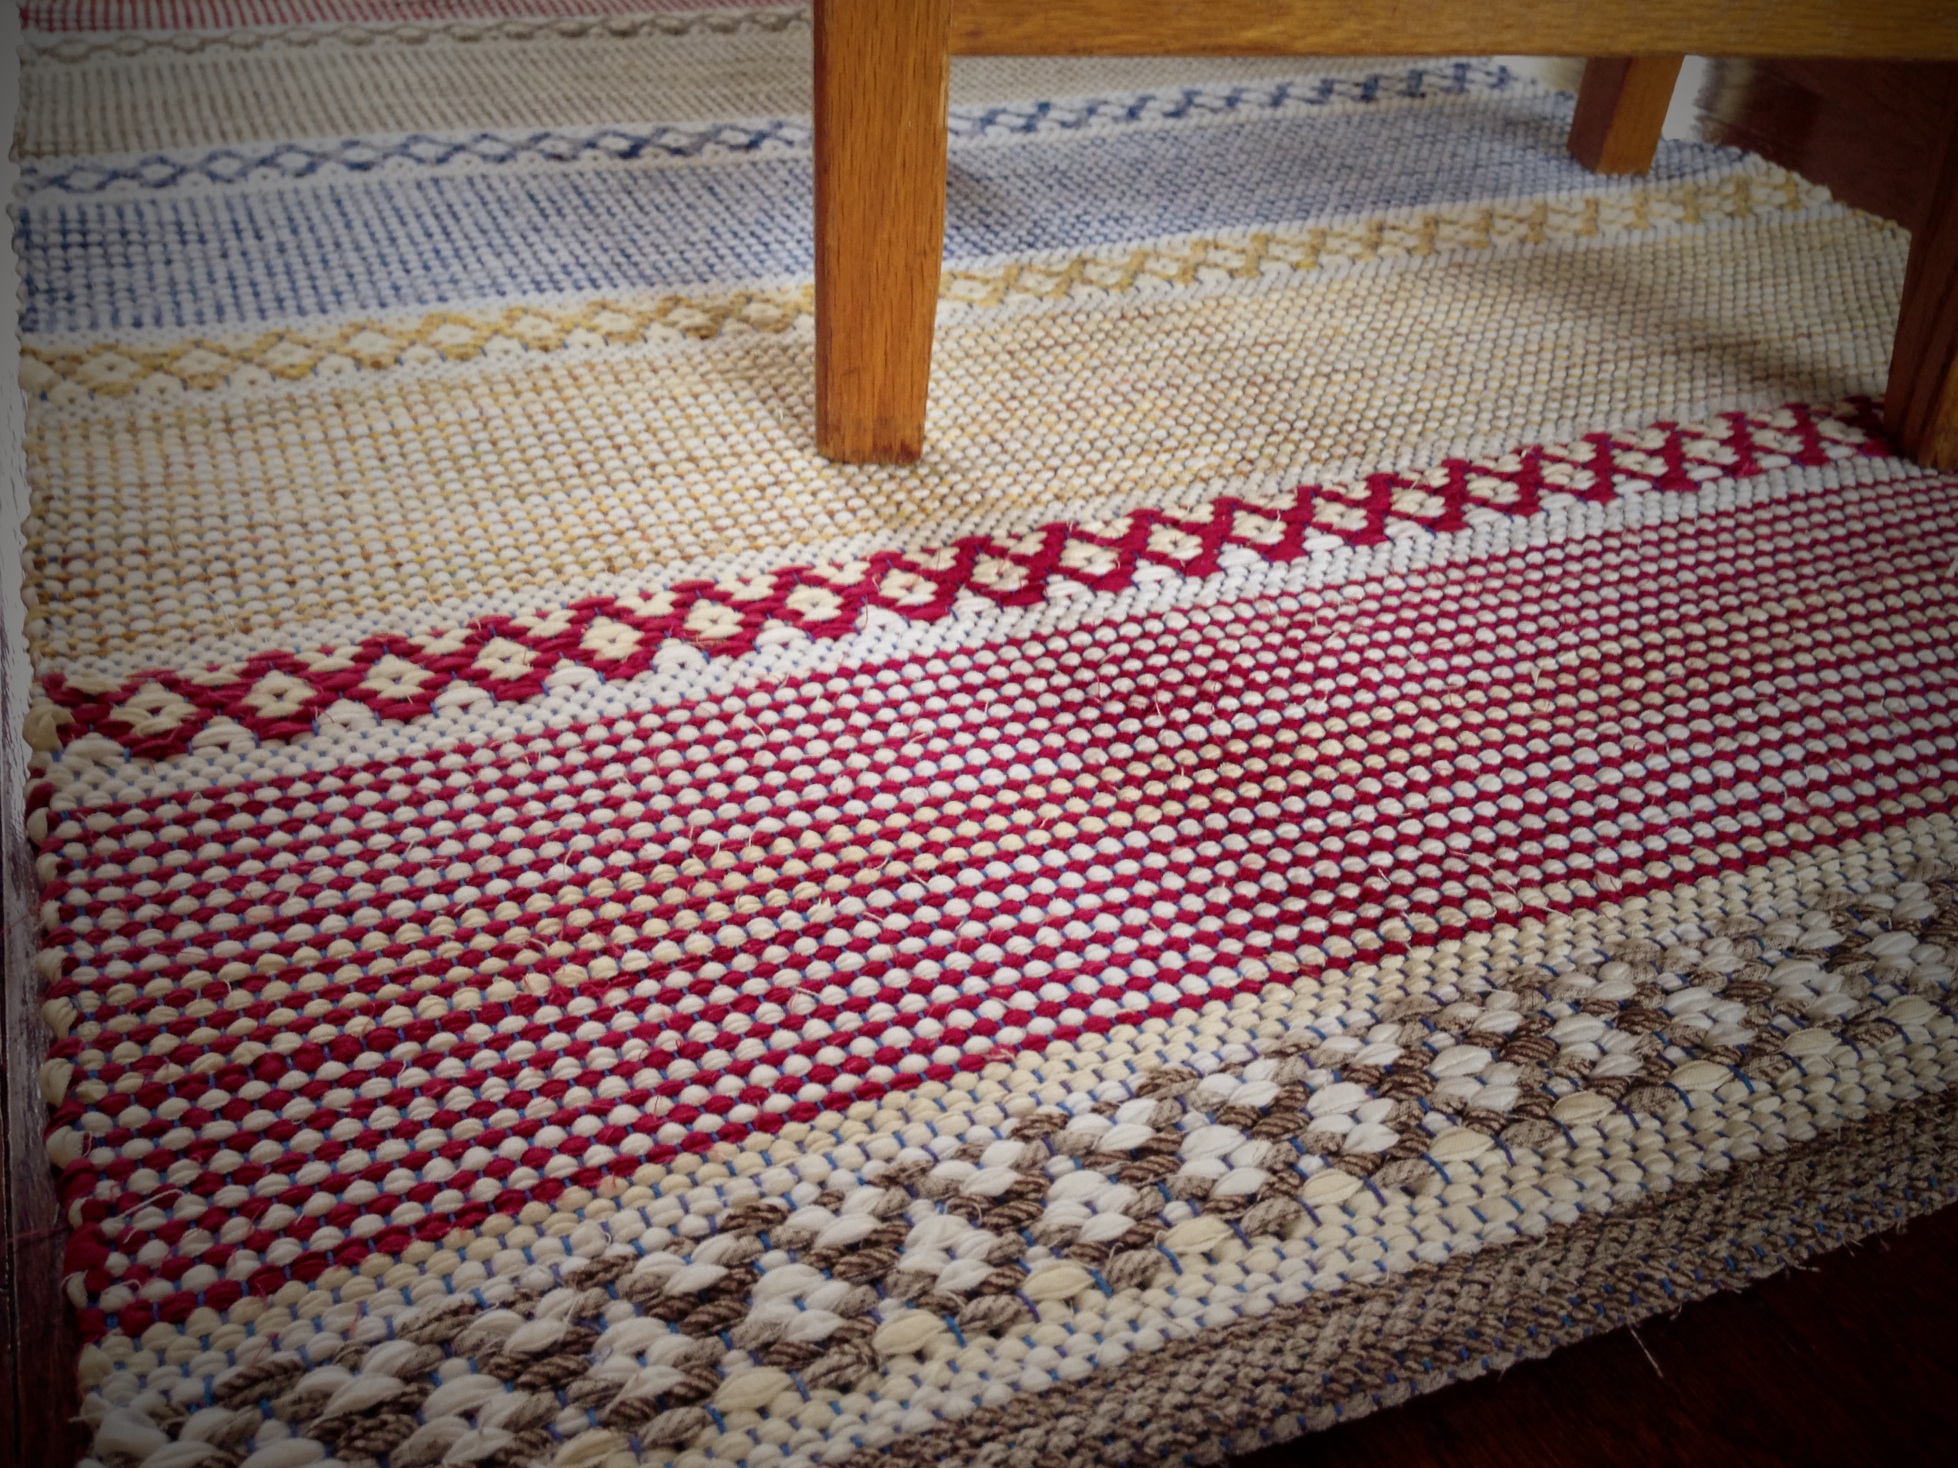
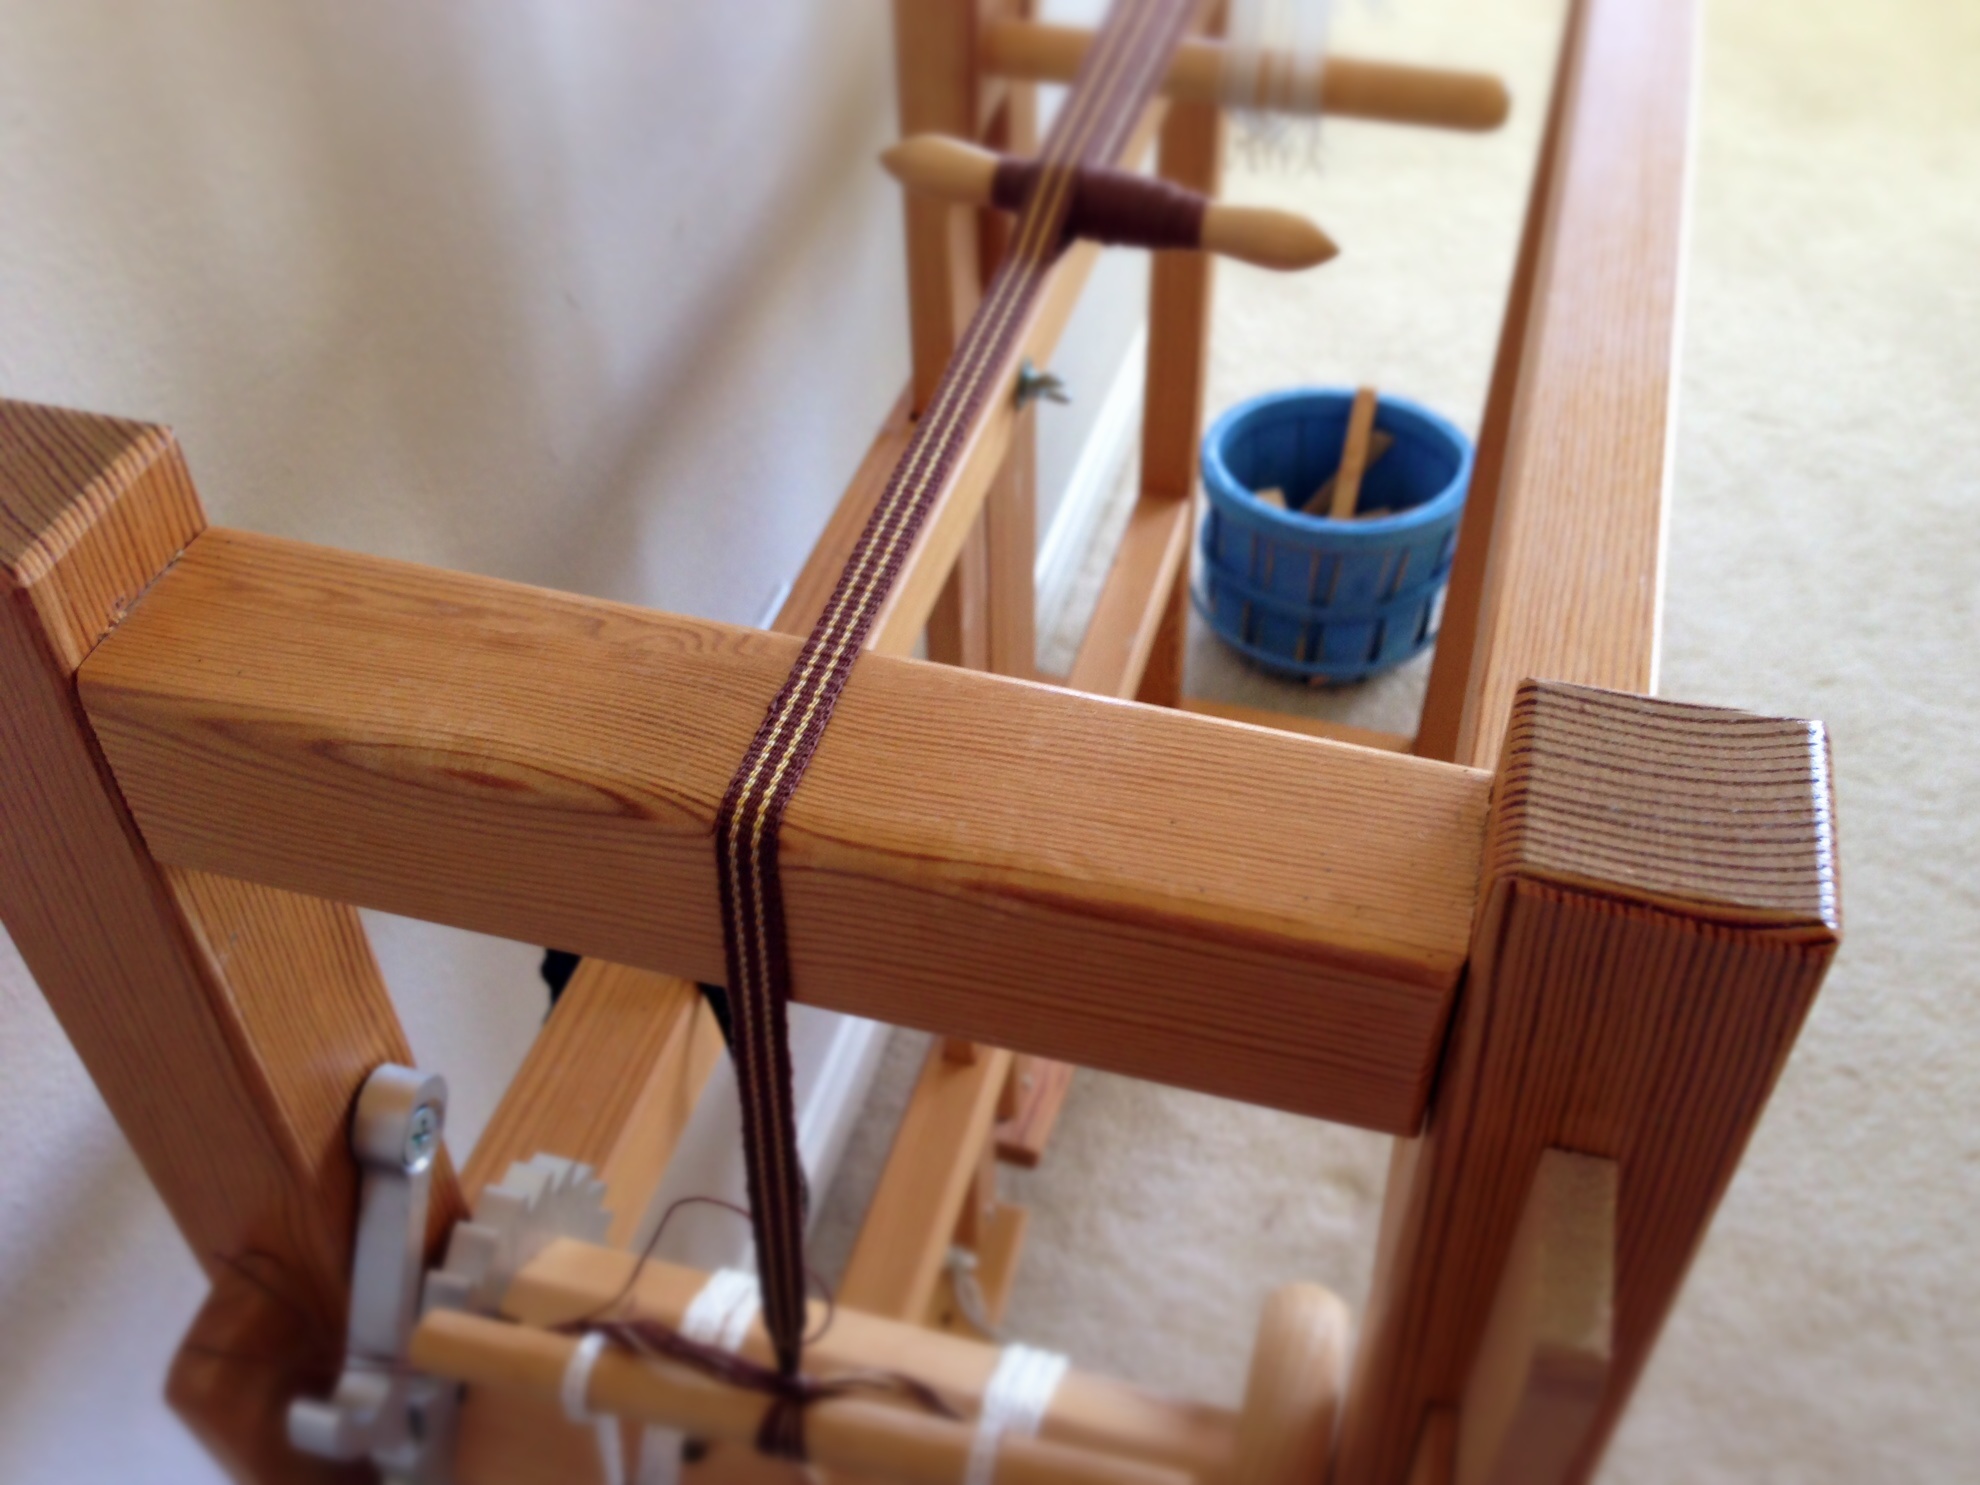
Ten meters / eleven yards gave me nine towels and two generous samples (Just wait. Next week I will show you what I am making from the samples!). Now, I am weaving hanging tabs on the band loom to match the towels. Meanwhile, the linen dice weave is progressing nicely on the big loom, as well. I am not just a person with weaving looms. …I am a handweaver.
You do what is in your heart to do. The commitments you make from the heart define you. Fruit in my life reveals what is in my heart. What does good fruit look like? Unselfish generosity, showing integrity in every interaction, and treating others with respect. I want to be the kind of person that lives this way, not because I “should,” but because that is what is in my heart to do.
May your good fruit basket be full.
(These towels will show up in my Etsy Shop soon. If you have your eye on one, let me know, and I will be happy to reserve it for you.)
Have a fruitful day,
Karen