Tools Day: Eliminating Warp Knots

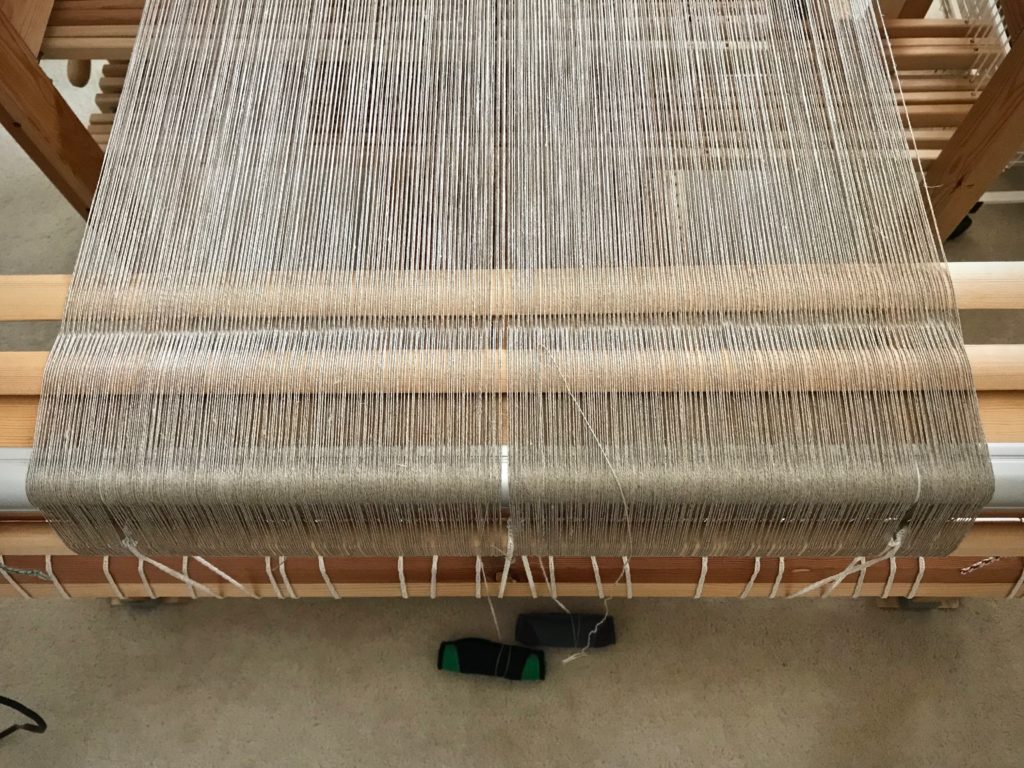
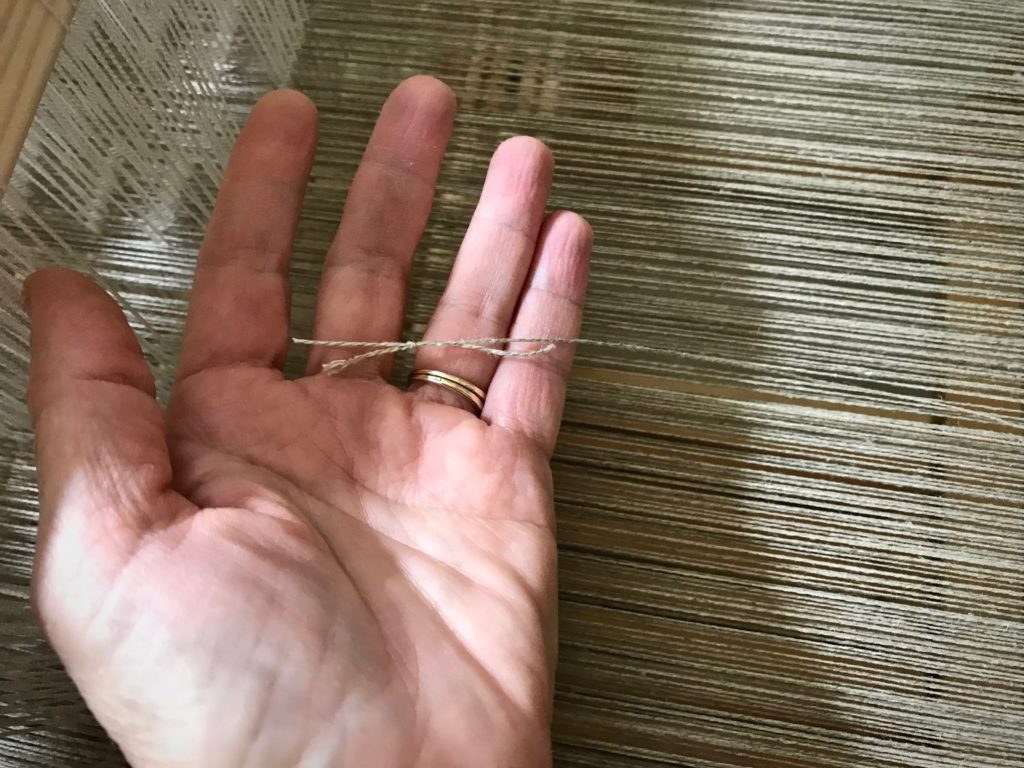
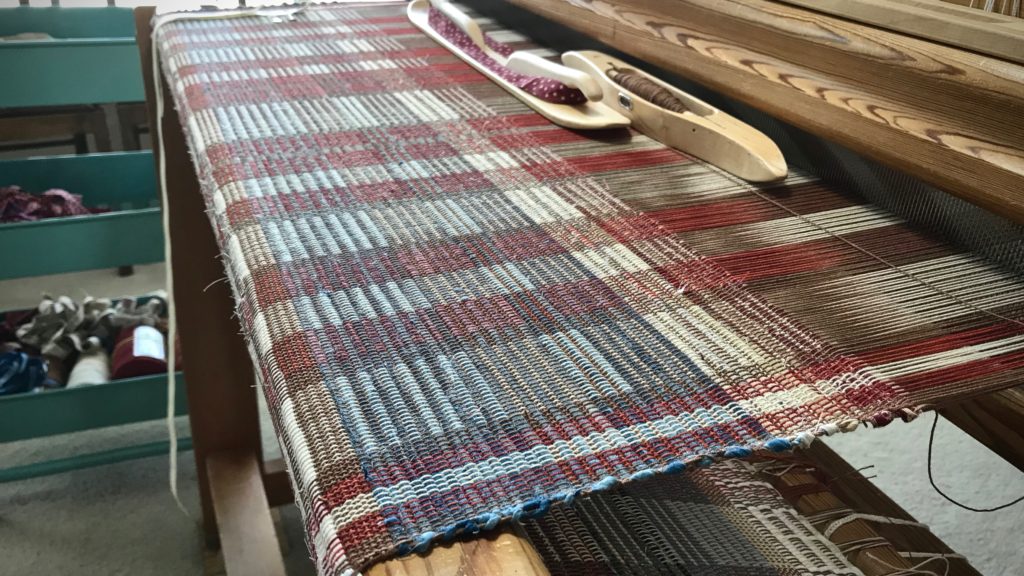
You are not going to believe how many knots I came across in this 16/2 linen warp! Too many. As I wound the warp I made the decision to leave most of the knots, and deal with them on the loom. (I did remove knots that were close to the beginning or ending peg on the warping reel.) I lost count, but I’m sure I have spliced the warp on this five-and-a-half-meter project at least a dozen times. (To see more details about how I splice the warp, visit this blog post and video: How To Splice the Warp – Video.)

I do not weave over warp knots. A knot introduces a spot of vulnerability to the fabric. Knots can fray, loosen, or come undone over time, even if the knot is originally imperceptible.

In a couple instances, a knot distorted the tension of the warp end because of catching on a heddle or passing through the reed. For that reason, I now try to eliminate knots in the warp before they reach the heddles.

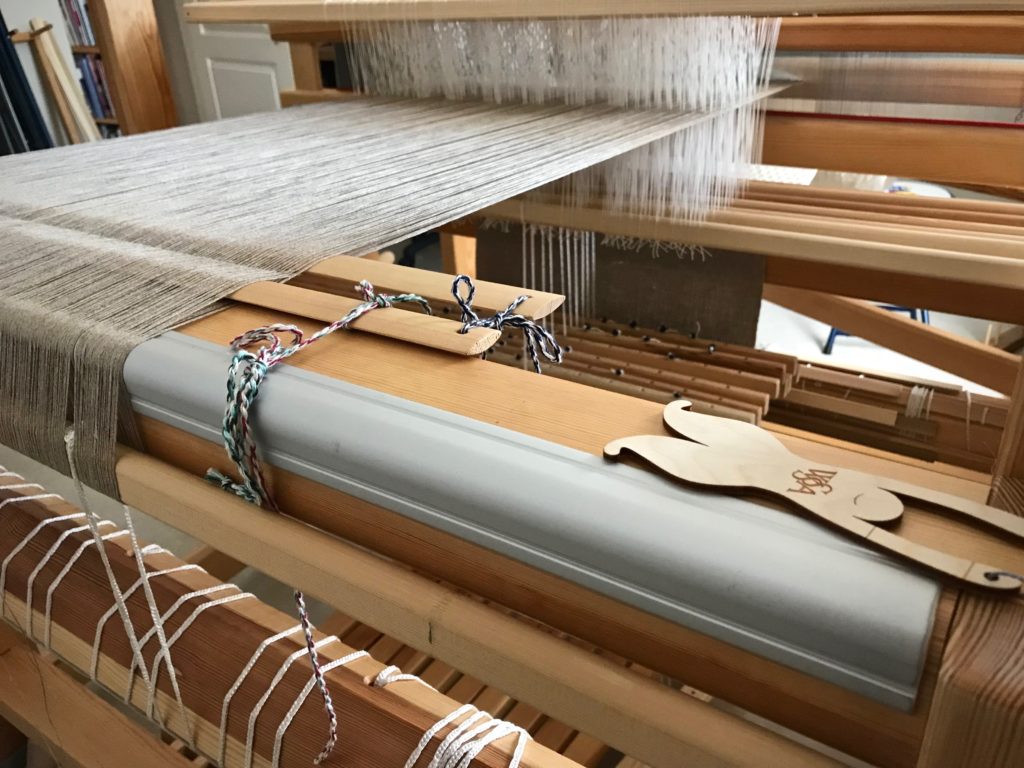
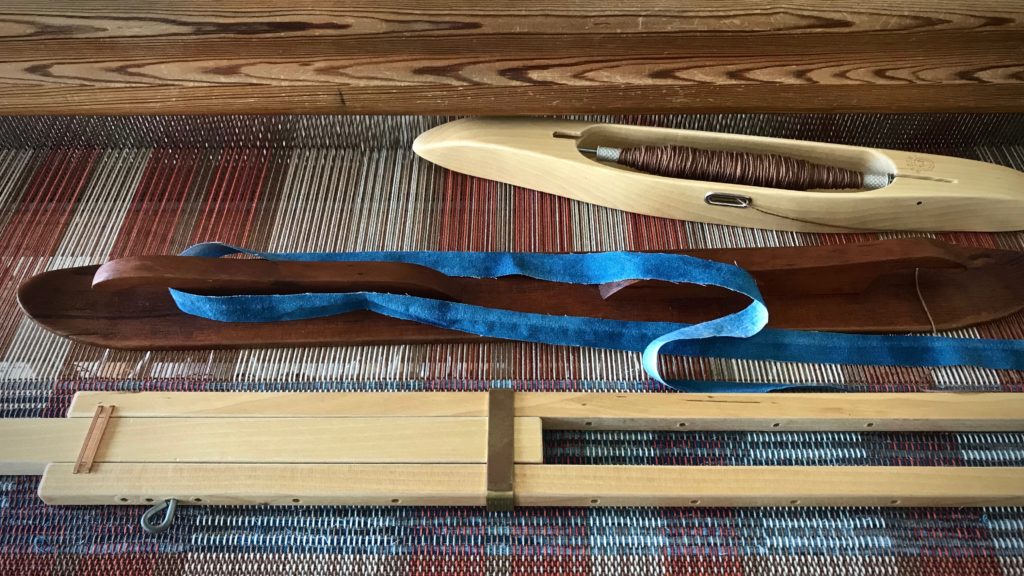
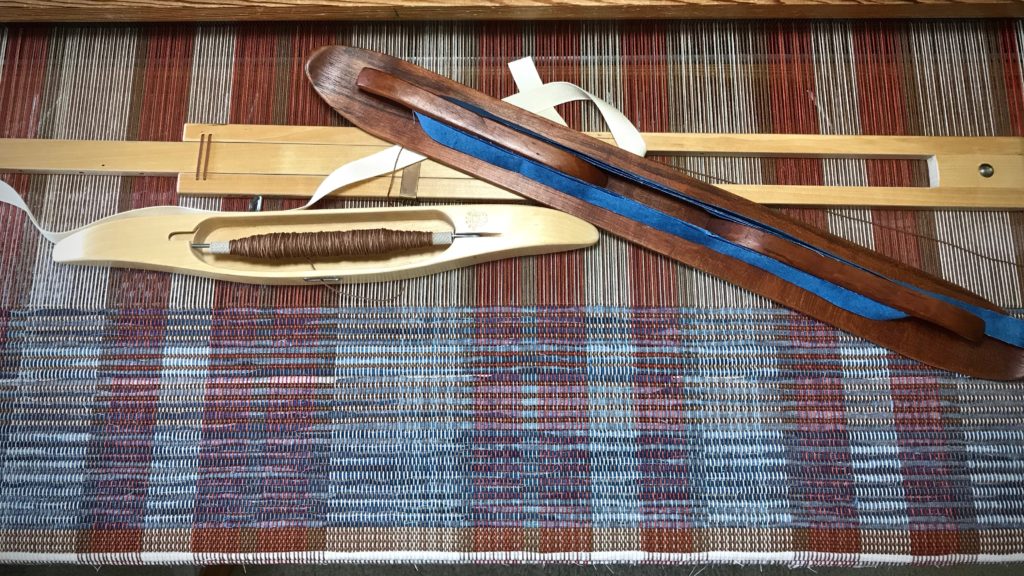
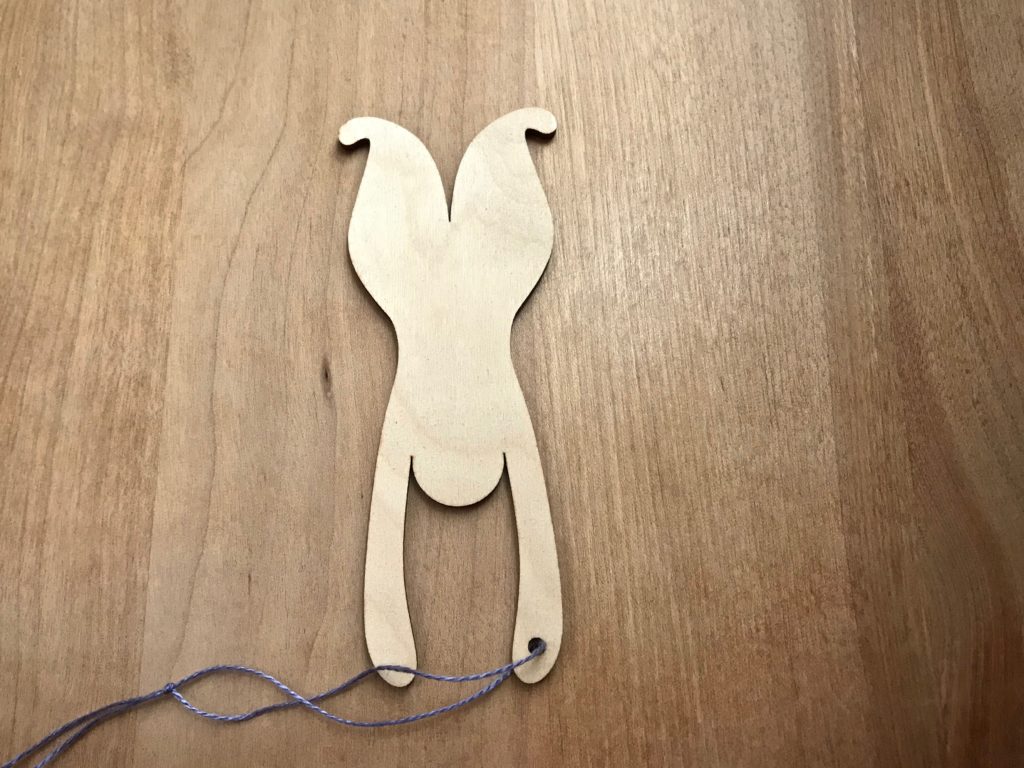
Tool: Warp Separator

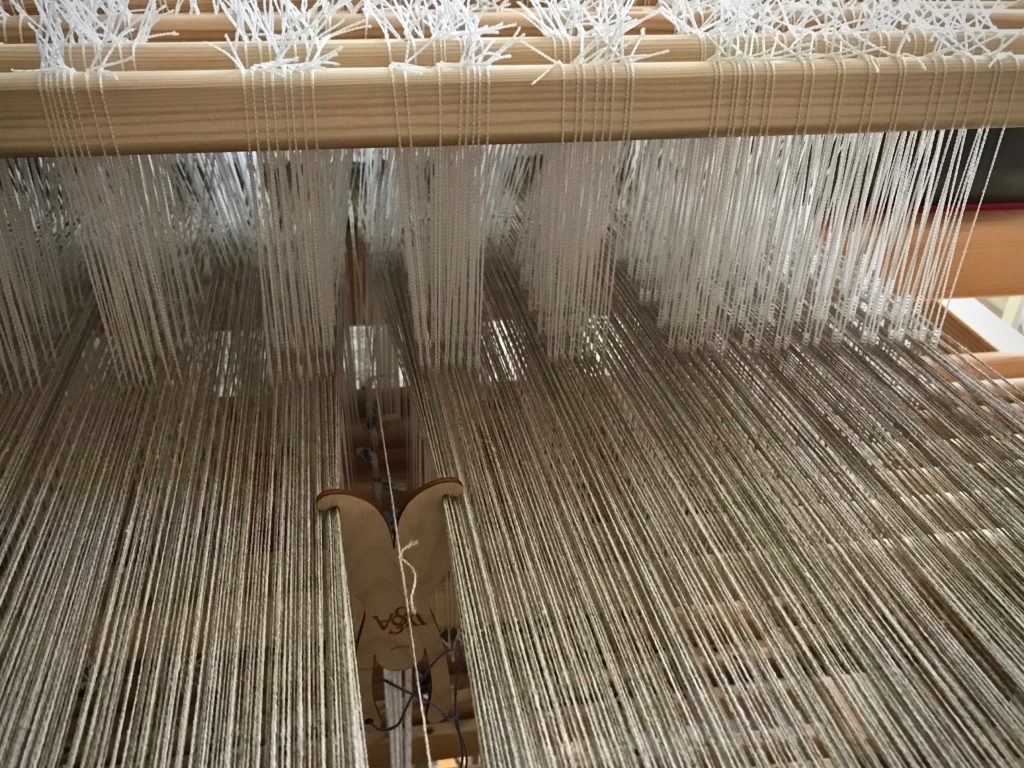
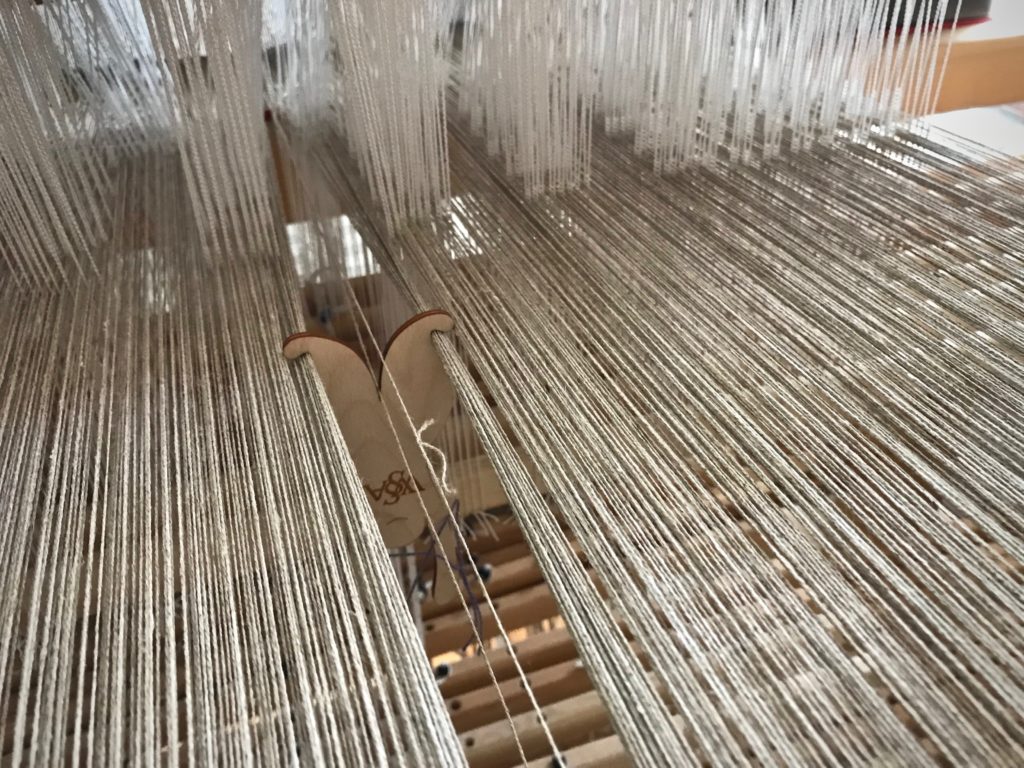
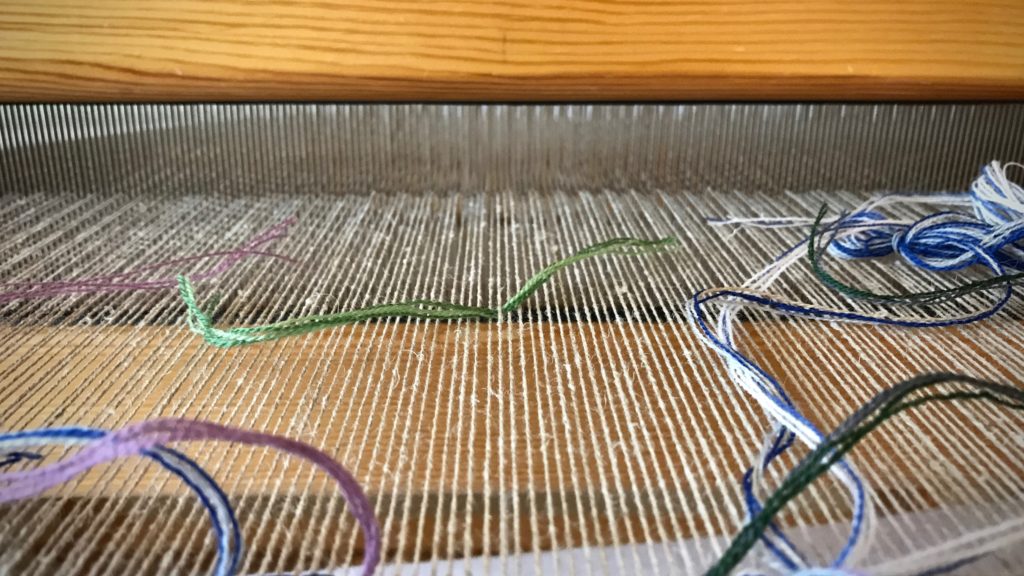
  • Identify the warp end that has a knot, and insert the warp separator between warp ends to isolate the thread.

Warp separator to isolate warp with knot.

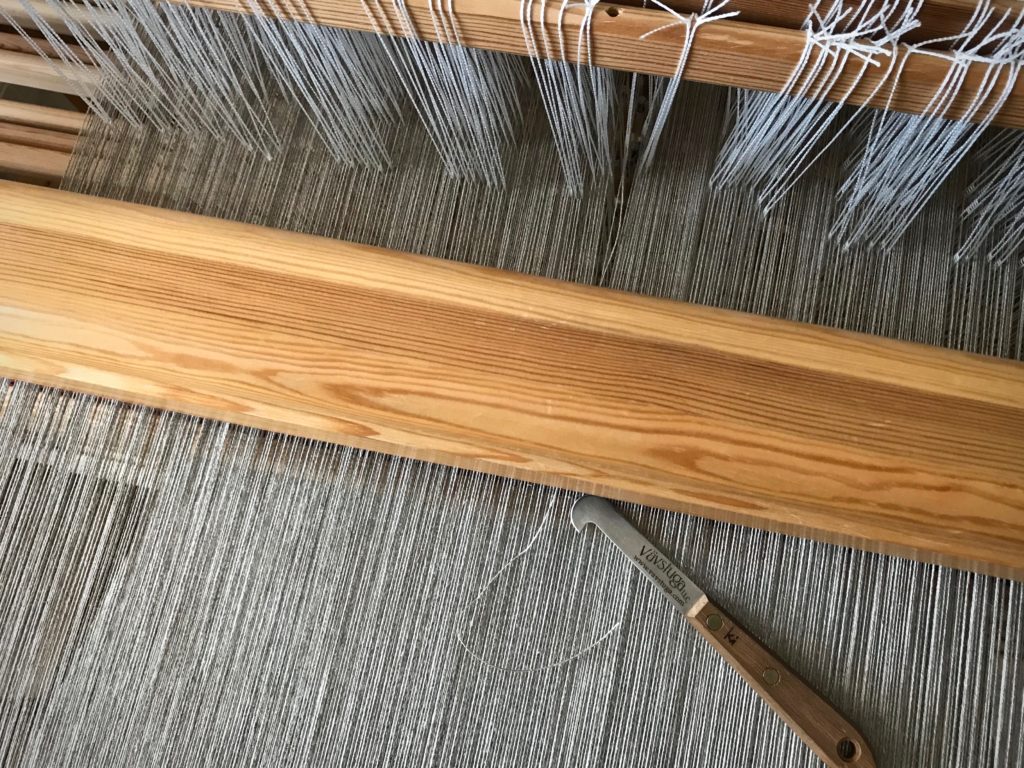
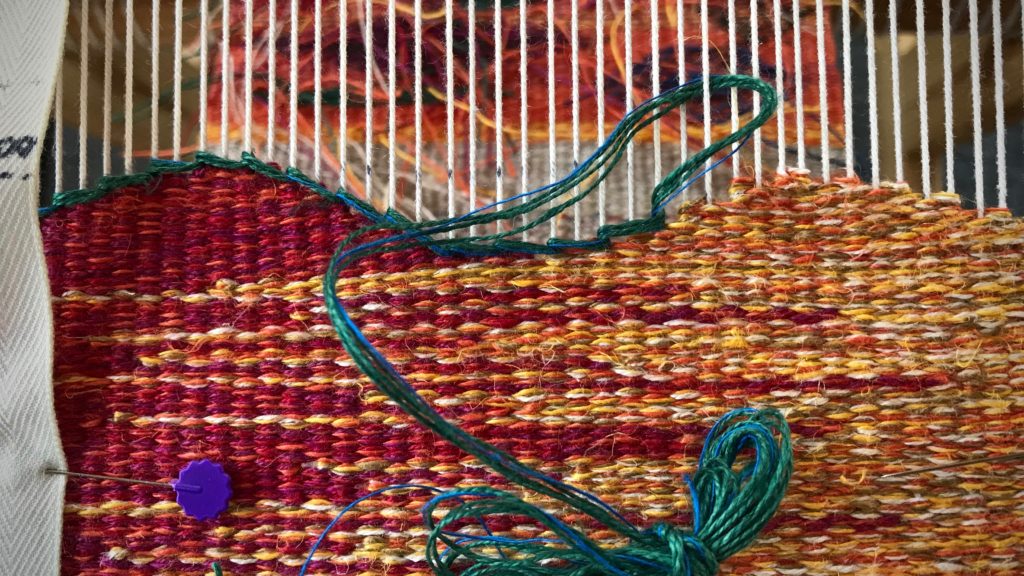
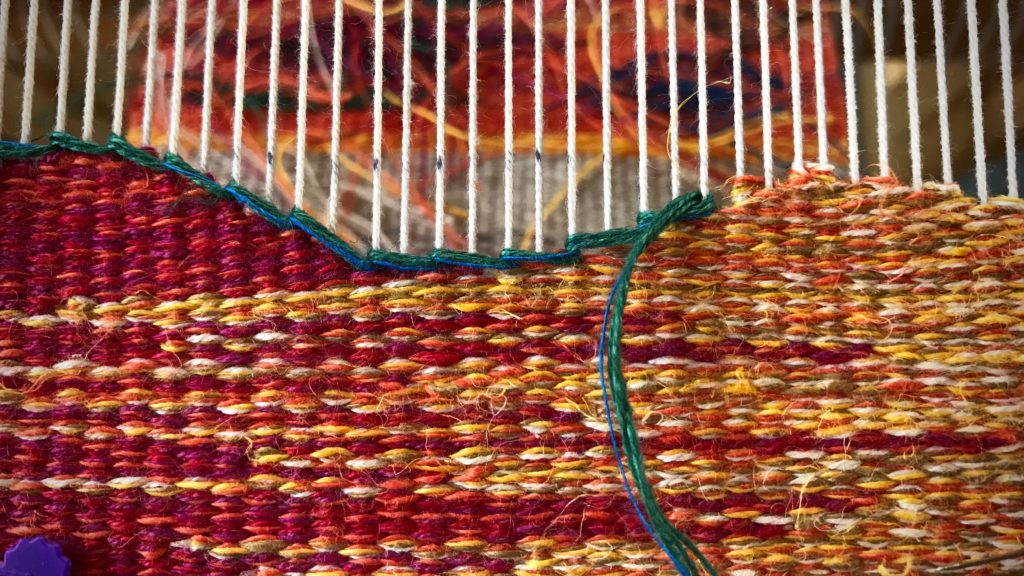
  • With a length of repair warp thread, follow the path of the original thread to splice in the new warp end, feeding it through the heddle of the original warp end.

Warp separator to isolate warp end with knot.

  • Bring the repair warp thread through the reed in the same dent as the warp end that has a knot.

Eliminating a warp knot.

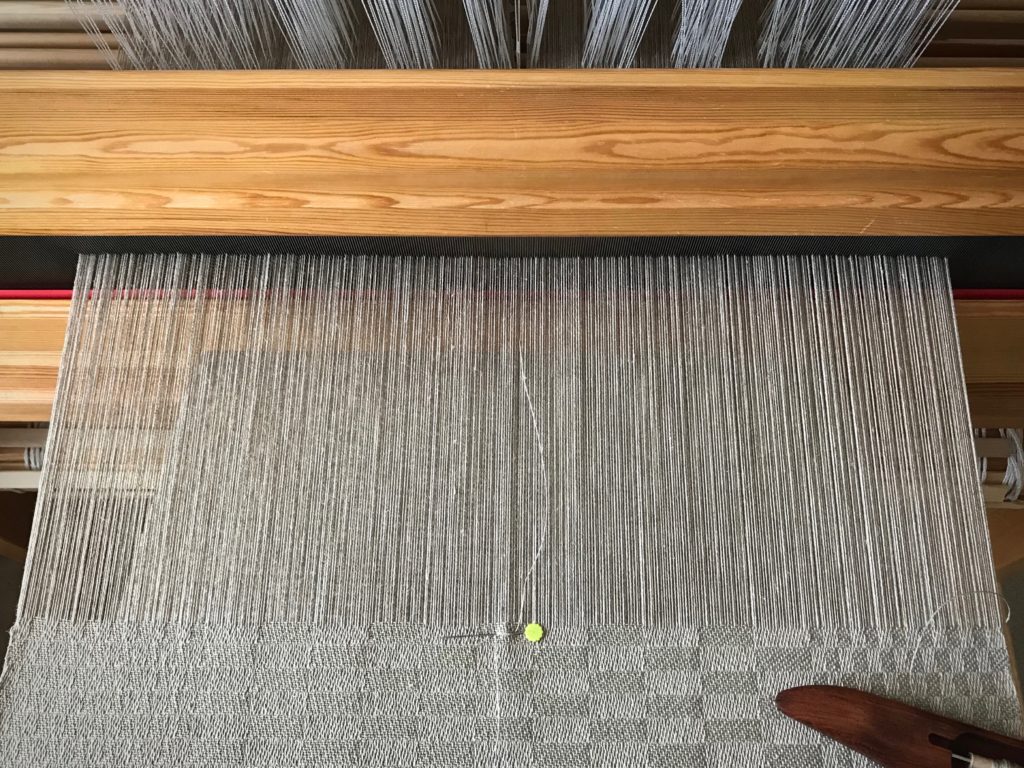
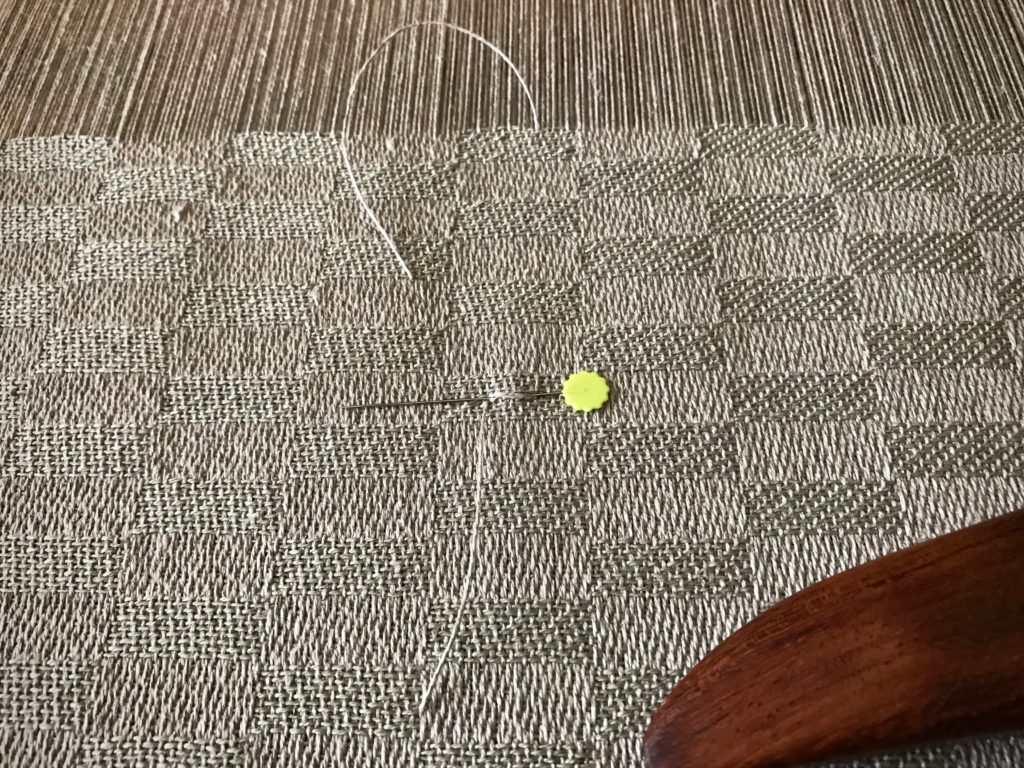
  • Attach the repair warp thread near the fell by wrapping it around a flat straight pin.

Splicing a warp end.

  • Remove the warp separator from between the warp ends.

Warp separator for repairing a warp end.

  • Place a weight on the floor below the back beam. Wrap the repair thread around the weight two or three times to hold the thread at tension that matches the rest of the warp. Loosen the wrapped-around thread before advancing the warp, and then re-tighten before resuming weaving.

Splicing warp ends.

  • Weave one to two inches with both the original warp end and the repair warp thread in place.
  • Then, cut the original warp end with the knot (behind the heddles) and let it hang over the back beam.

Cutting a warp knot behind the reed.

  • The original and replacement warp ends overlap in the weaving for about one to two inches.
  • Remove the straight pin when it reaches the breast beam.
  • Re-attach the original warp end when it is long enough to secure in front of the fell line with a flat straight pin.
  • And then, cut and remove the replacement warp thread.
  • Trim all the spliced warp tails after wet finishing.
Spliced warp end to eliminate a knot in the warp.

Warp separator guy, ready to jump in and help!

This warp separator was a gift from The Weavers and Spinners Society of Austin, included in the goodie bag from last summer’s Contemporary Handweavers of Texas Conference. It would not be hard to make a warp separator like this from wood or sturdy cardboard. I have not been able to locate a supplier online.

If you know where to find a warp separator tool, please put a link in the comments.

May you have very few warp knots.

All the best,
Karen

Keep Advancing the Warp

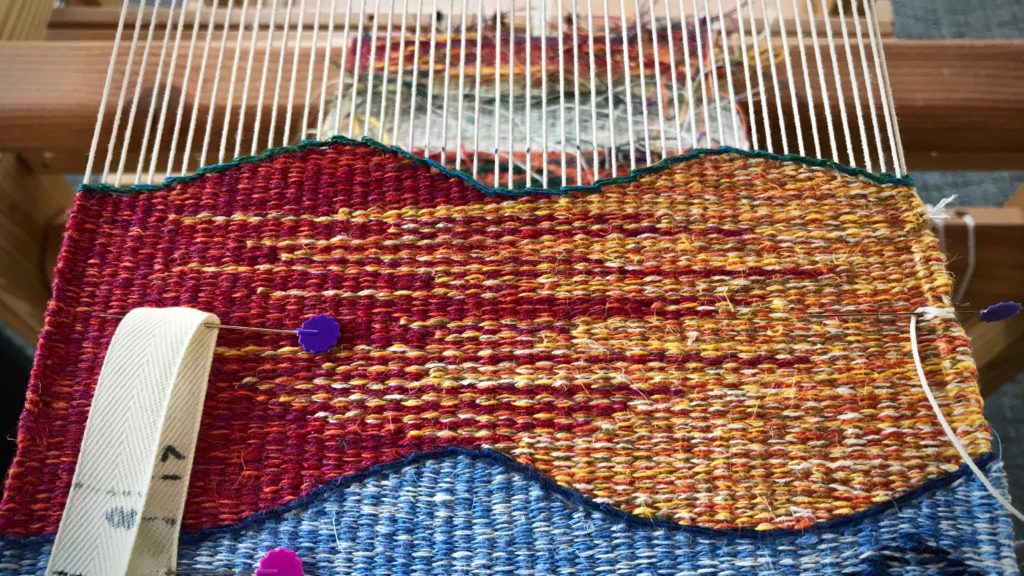
This is a series of learning experiences—some easy, and some quite challenging. I am near the end of the first panel of the tapestry/inlay sampler. All along the way, I encounter obstacles. Like a broken warp end. Again. That broken warp end is discouraging. Surely, I should be able to keep that from happening by now.

Tapestry/inlay sampler. All linen weft.
Broken warp end on the right selvedge required taking out several rows of weaving so I could splice the warp.

Meanwhile, a simple line of soumak makes a pleasing border for this curve. It defines the shape with a slightly raised line. Over three, around one…all the way across. This part is nice and easy.

Soumak border on tapestry sampler.
Soumak technique, Step 1.
Soumak border line on tapestry sampler.
Soumak technique, Step 2.
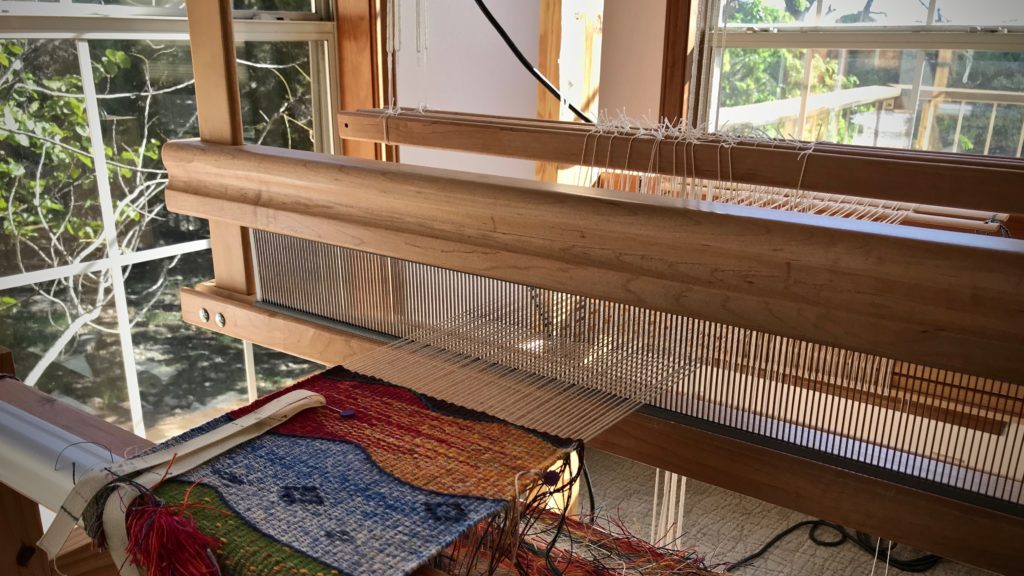
Peaceful setting for the weaving loom!
Despite another broken warp end, the warp is advanced and the weaving continues. It helps to weave in a peaceful setting.

Daily life is not always easy. Put your eyes on God, not on the obstacles you face. And don’t worry about your own inability to navigate the circumstances. Trust God to carry you. He has carried you this far, and will continue to show himself strong on your behalf. Those broken warp ends are spliced, and the weaving continues. The selvedge may show some evidence of having had trouble, but the soumak outlines and other woven features will draw the eye. There is victory in advancing the warp to continue the sampler to the end.

May you advance through the obstacles you face.

With you,
Karen

Tools Day: How to Set a Temple and Video

The temple is one of my favorite tools. I have a collection of them. I happily use a temple for almost everything I weave. And I certainly wouldn’t dream of weaving a rag rug without one!

Temple instructions and video.
Temple in place.

Rag rugs are especially susceptible to draw-in, and a temple helps reduce that by maintaining the proper width of the rug. Draw-in distorts the shape of a rug, contributes to uneven warp tension, and can make selvedge threads break. A temple also aids in getting tight selvedges, and enables the firmest beat possible. (My favorite temples to use, even for rugs, are the wooden ones made by Glimåkra.)

How and why to use a temple for rag rugs.
Spaced rep rag rug, using fabric strips and warp thread for weft.

Temple Tips:

  • Set the temple to the proper width. (The video below shows how I do it.)
  • You can set the temple into the cloth as soon as there is is enough woven for two or three teeth to sink into. Then, move the temple up when you have woven enough to set all the teeth into the cloth.
  • Even with a temple, place adequate weft through the shed. The tool works best in conjunction with careful weaving practices.
  • Watch out for the sharp points! I get pricked when I forget and reach around the selvedge to straighten something out.
  • Make sure the temple is far enough back from the fell line that it won’t scrape the edge of your beater. I have a scar on my beater because it was hitting the temple. Unfortunately, I didn’t notice until the damage was done.
  • Move the temple frequently. For consistency at the selvedges on a rag rug, I move the temple at least every inch.
  • Remove the temple by moving the slider with one hand, while holding the center part down with the other hand. Keep the pin in place and the temple will draw up in the center. Then, disengage the teeth from the cloth on both sides.
Spaced rep rag rugs on the loom. Tutorial for using a temple.
Width in the reed for this rag rug is 90 cm on this 100 cm loom. I keep a supply of temples so that I have what I need for any weaving width.


May your tools serve you well.

Happy weaving,
Karen

Tools Day: Paper and Yarn

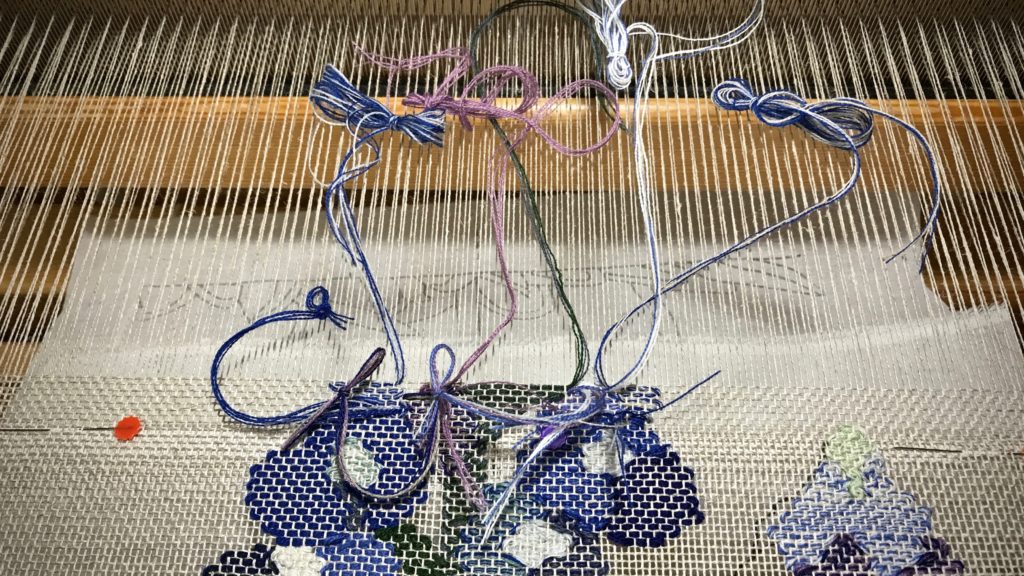
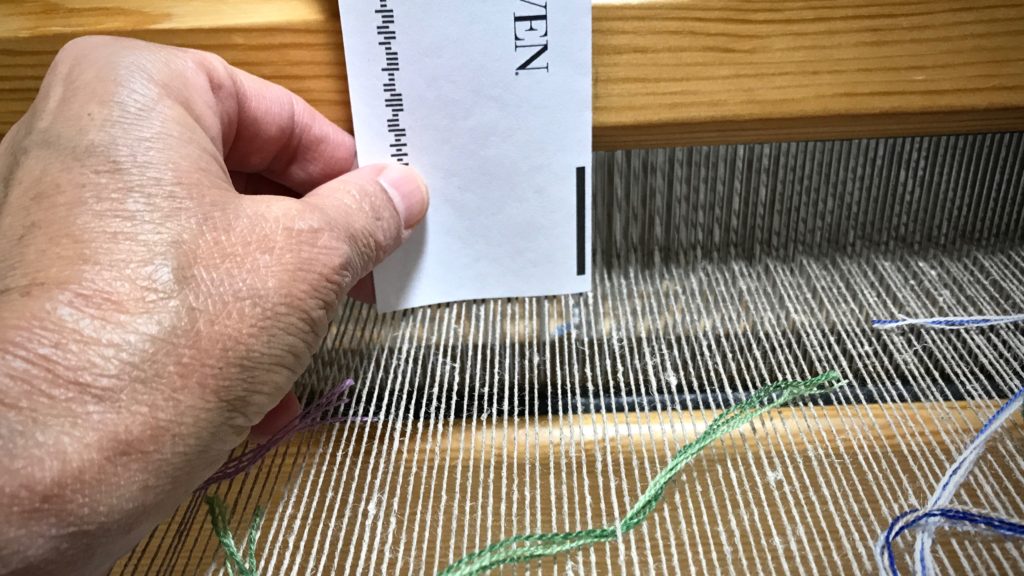
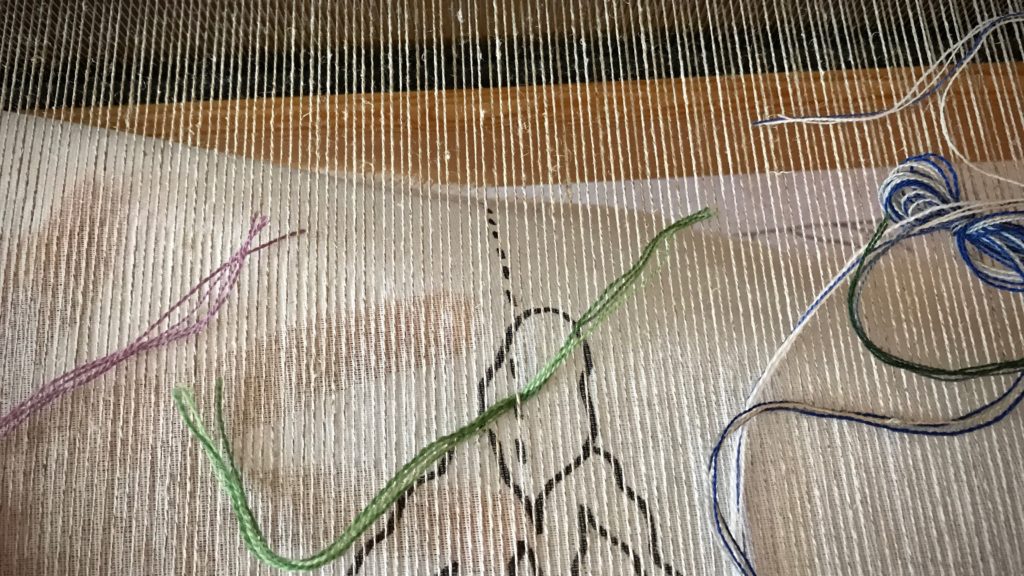
A folded piece of paper and a seven-inch tail from a yarn butterfly become an answer to a small technical problem. When using a cartoon, like I am for this transparency, it’s imperative to identify the center warp end so I can align the dotted-line center of the cartoon with that one end. Finding the center warp end is my technical problem. The paper and yarn work together as the tool that helps remove the guesswork.

Weaving a transparency. Bluebonnets.
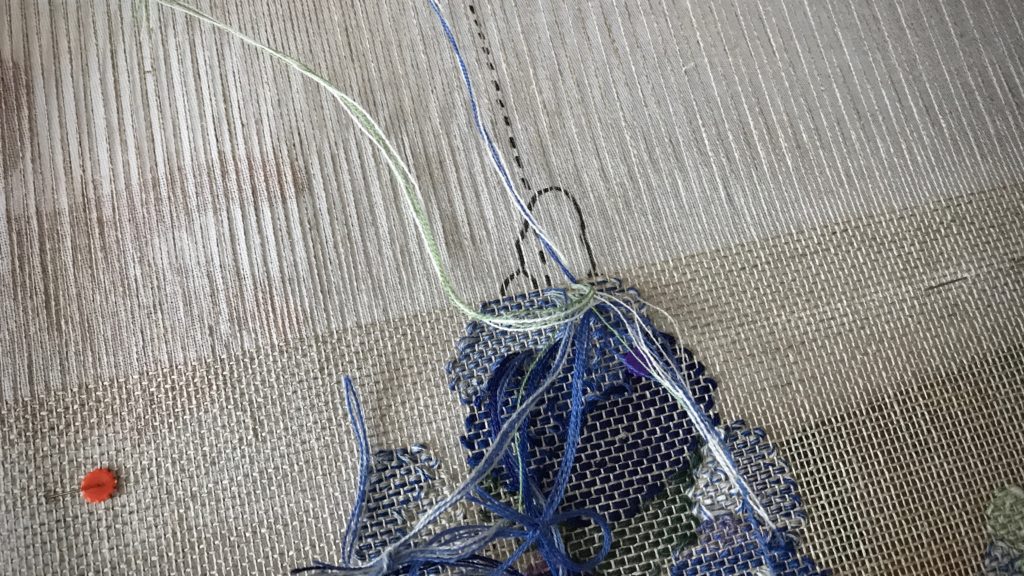
I check the alignment of the cartoon about every inch, and move up the pins that hold the cartoon in place.

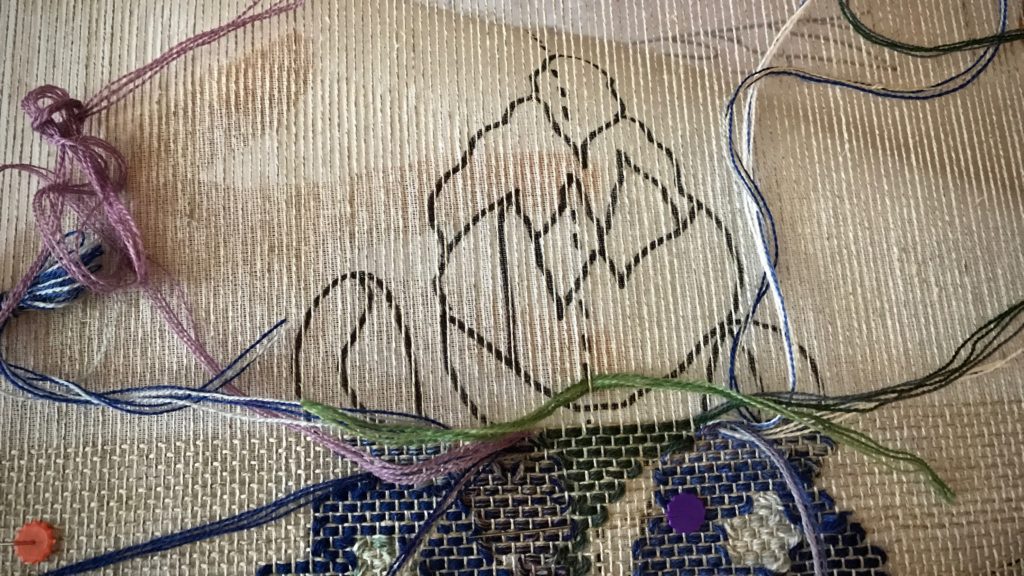
With these bluebonnets, if the cartoon slides to the right or left by even one warp end it distorts the picture. It’s not enough to eyeball it. I need a way to make sure I am finding, and marking, the exact center end every time.

How to Find and Mark the Center Warp End

Supplies:

  • Pencil
  • Subscription card from a magazine, folded in half lengthwise
  • Seven-inch tail from a yarn butterfly, or a strand of yarn
  1. Measure the width of the beater and use a pencil to mark the exact center with a vertical line.
  2. Hold the folded edge of the card against the vertical pencil line on the beater, with the bottom edge of the card almost touching the warp.

Finding and marking the center warp end to align with cartoon.

3. Slip the yarn tail under the center warp end, as identified by the bottom corner of the card.

Aligning center warp end with cartoon. Tutorial.

4. Check the alignment of the center line of the cartoon with the center warp end.

How to mark the center warp end.

5. Slide the yarn from the reed to the fell line to check the entire length of the alignment. Reposition the cartoon, if needed.

Aligning cartoon with center warp end. How to.

Bluebonnet woven transparency almost finished!
Ready for one last alignment!

May you find a solution that eliminates guesswork.

All the best,
Karen
Tools Day: Narrow Hems

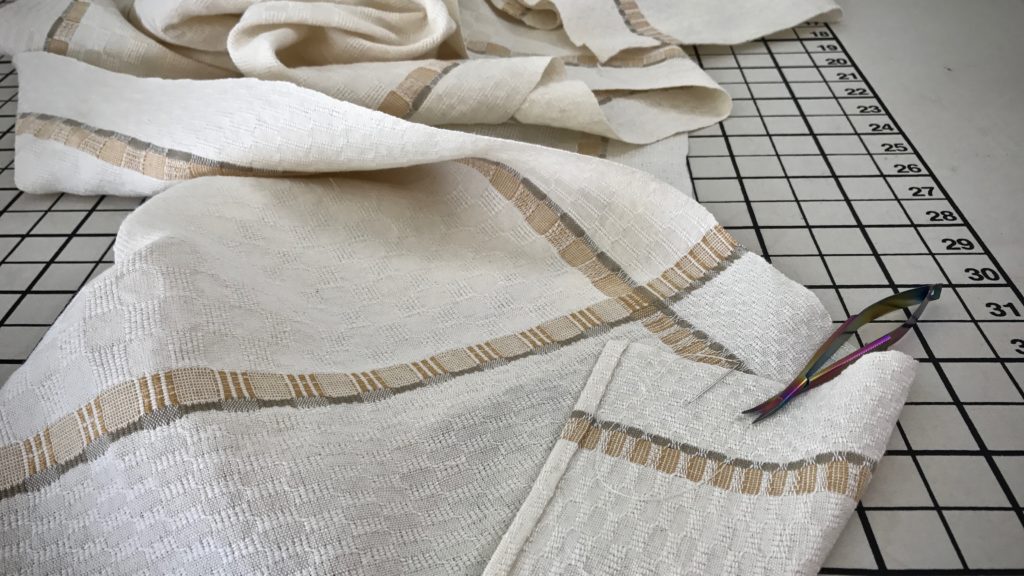
Hems shouldn’t be noticed. At least, not at first glance. I don’t want the stitching of the hem to detract from the overall handwoven quality. Decorative items, like this table runner, deserve a hand-stitched hem. But for functional pieces, like these tea towels, I stitch the hems on my trusty old Bernina sewing machine. This ensures the durability I want for something that will be thrown in the washer and dryer again and again.

Long M's and O's table runner is hemmed by hand.
Long M’s and O’s table runner is hemmed by hand using an invisible hem stitch.

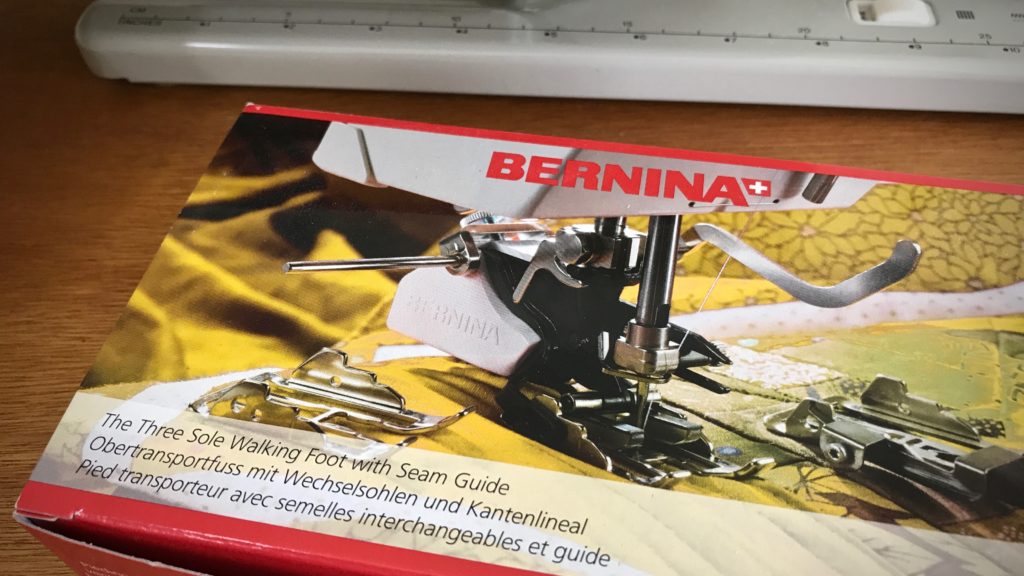
Last year I purchased a Bernina walking foot through my local Bernina repairman. It was one of the best sewing investments I have made. (Don’t be fooled by off-brand “Bernina compatible” products.) The advantage of a walking foot is that it evenly feeds layers of fabric, which is especially useful for sewing handwoven fabric. And for the towel hem, it means the top of the hem won’t become skewed and slanted as you sew, like it might with a regular sewing machine foot.

Bernina Walking Foot - good investment!
Bernina Three Sole Walking Foot with Seam Guide. The walking foot stays on my Bernina sewing machine almost all the time.

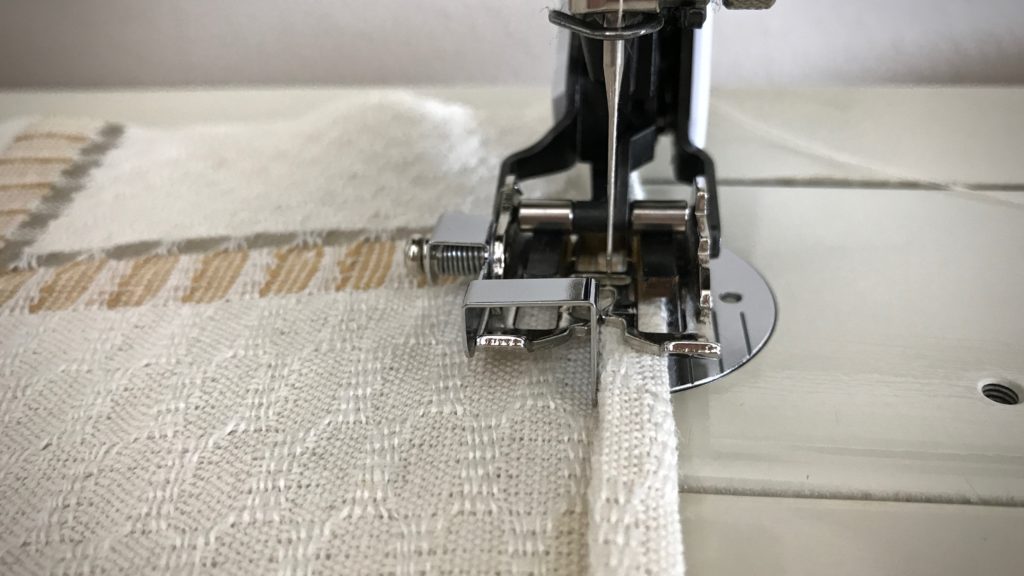
One of the three sole plates that comes with the Bernina walking foot is a sole for edge stitching. This works beautifully for stitching a narrow hem on lighter-weight fabric, like these airy cotton and linen towels.

My process for a machine-stitched narrow hem

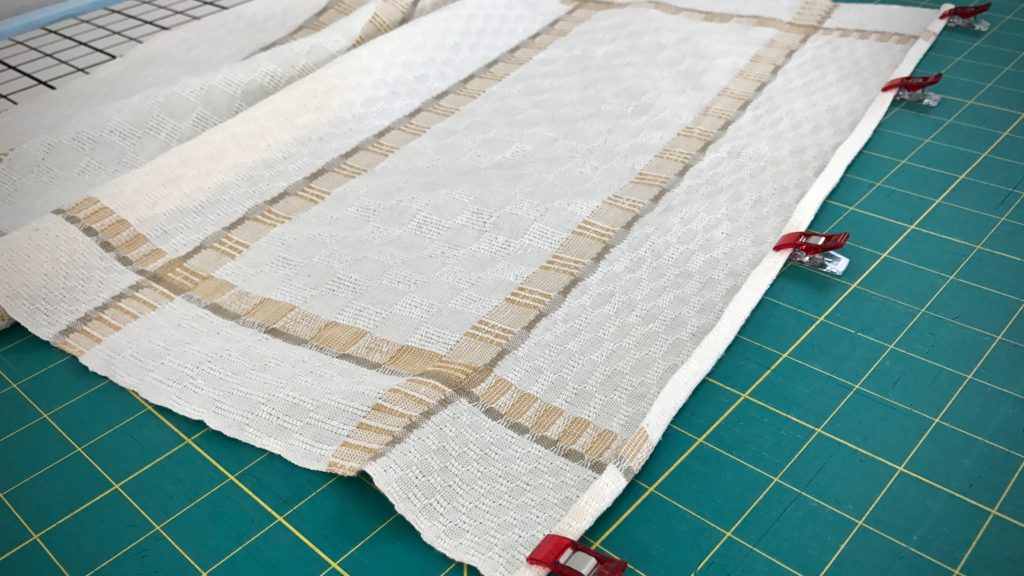
  • Turn and press the 1/4″ hem twice. Hold the folded edge in place with small fabric clips.
Sewing narrow hems on handwoven towels.
Small fabric clips hold the folded and pressed towel hem in place, in preparation for stitching the hem.
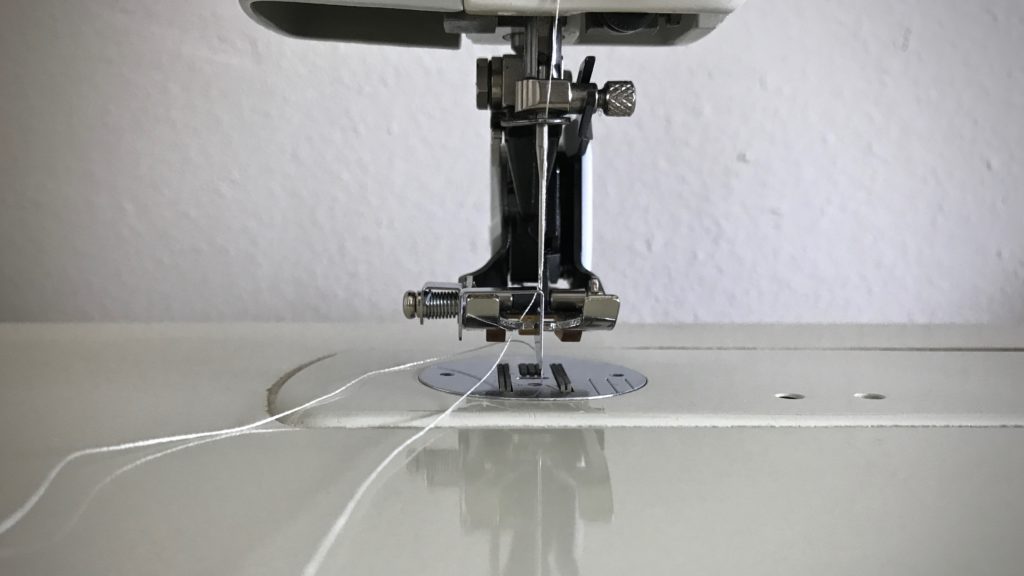
  • At the sewing machine, attach the edge-stitching sole plate to the walking foot. Align the fold of the hem with the edge-stitching guide.
Bernina walking foot with stitch guide.
Sole with stitch guide. The metal plate that extends below the foot is a steady guide that works for sewing a narrow hem, as well as for top-stitching, or “stitch-in-the-ditch” techniques.
  • Adjust the sewing machine needle to the right, so that it catches the fabric just inside the edge of the fold.
Sewing hems on handwoven towels.
Sewing the narrow hem. Needle is positioned so that it is to the right of the hem fold.

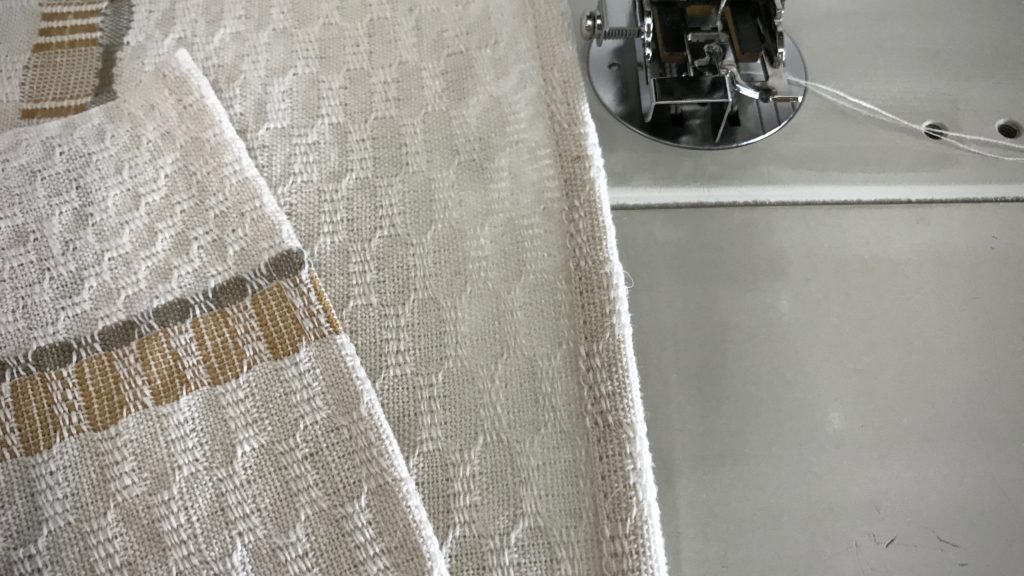
Slowly sew a narrow hem, keeping the folded edge next to the walking foot’s edge-stitching guide. Remove fabric clips before they come to the needle.

Hemming handwoven towels.
Front and back of the hem have consistent, straight stitching. The narrow hem (not yet pressed) will be barely visible.

May your hems be a suitable frame for your handiwork.

Finishing,
Karen