This Time in Color

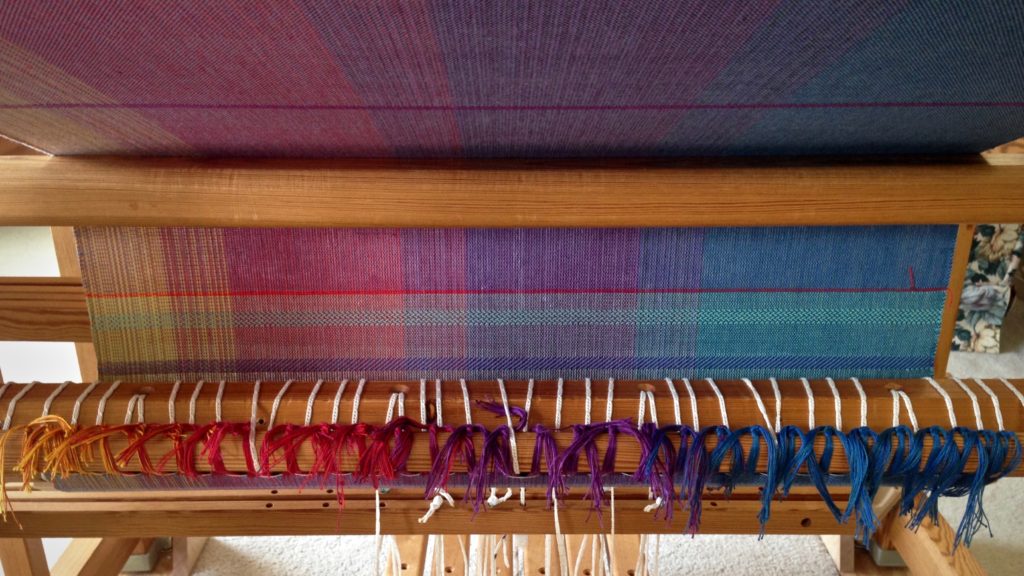
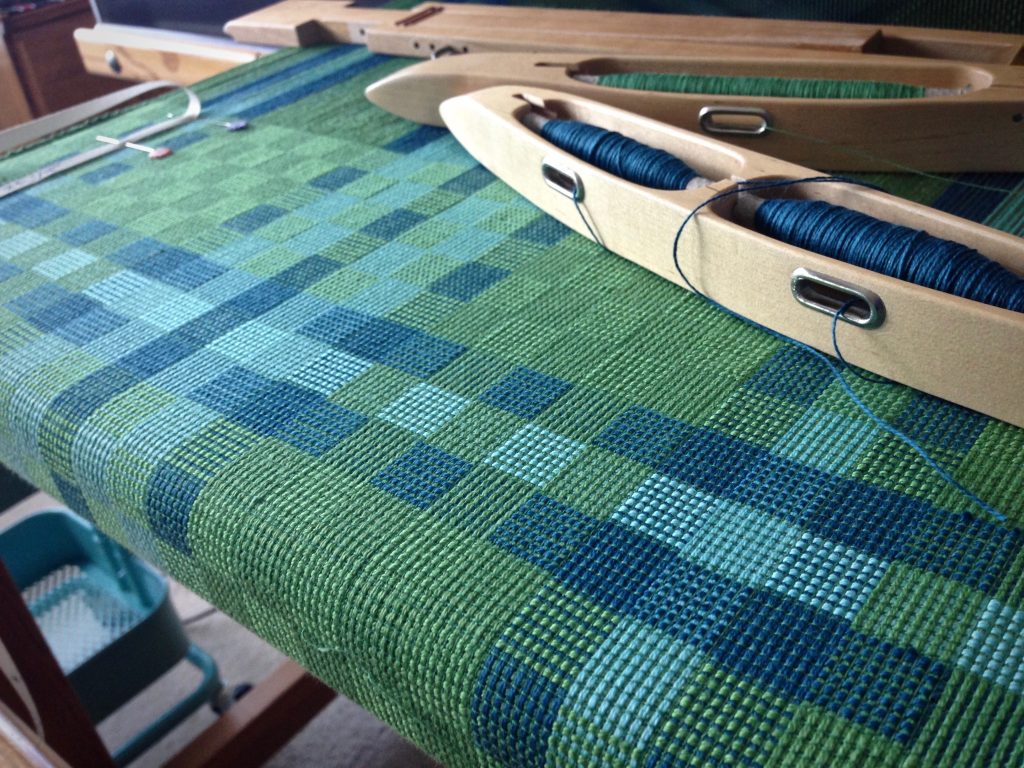
Thick and thin in color. The appeal for me is that something so simple can look so complex. How can plain weave do this? By having thick and thin threads that alternate in a certain way. Add color, and the options multiply!

Thick and thin on the loom, using double bobbin shuttle.
Double bobbin shuttle carries the thick weft. 30/2 cotton for the thin weft adds texture and complexity to the plain weave.

For the thin thread, I use 30/2 cotton. This very thin thread has a big impact on the fabric design. Strategically placed in the warp, it helps define the two blocks. Repeating the thin thread in a weft sequence is what produces a block change while weaving. The thin threads are integral to the design, yet they will barely be noticed after the fabric is wet-finished.

It is fascinating how much impact little things have. Character is revealed in the very little things. It’s the special touch you add, the extra time you give, the kind thoughts you think. It’s how you are at home, doing ordinary things for your family. It’s who you are, what you are thinking, and what you are doing. …when no one is noticing. These are the little things that tell who we are at the core. Faithful in little; faithful in much.

May all your little threads fall into place.

With you,
Karen

How to Strip the Fun out of Weaving

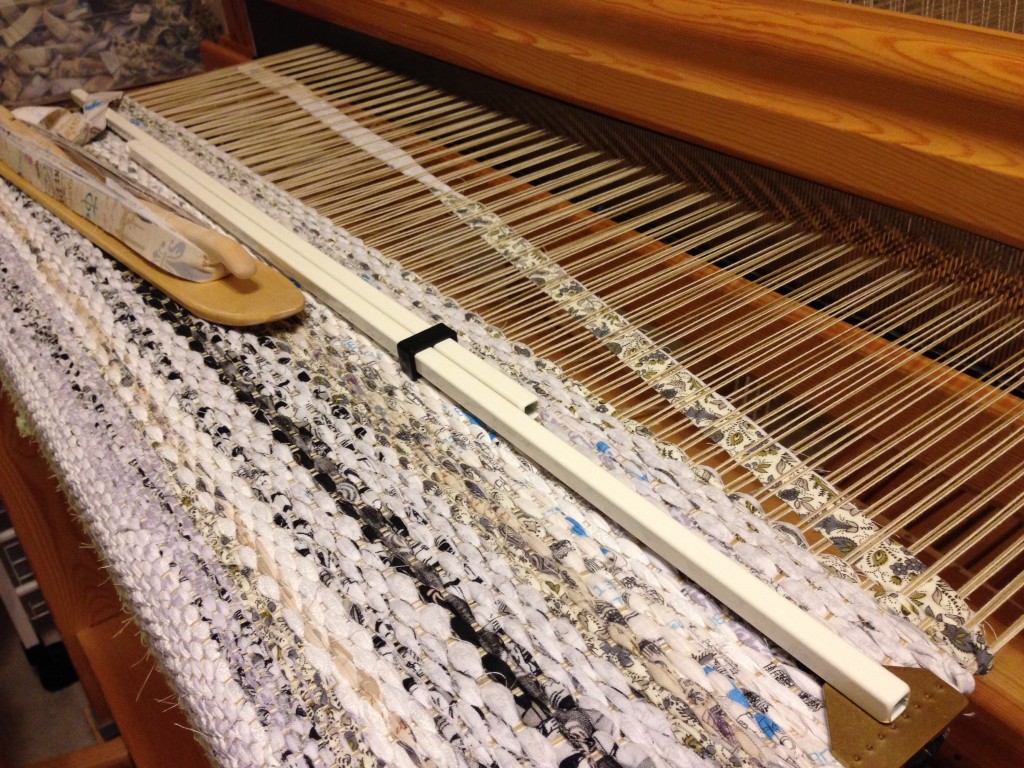
No fancy stuff for this rug, like rya or loops. The main thing is to finish off this warp. I am eager to get on to the next project–monksbelt (munkabalte)! Even so, it is good to enjoy what you are doing, to be happy and content with what you have and where you are. There is no use complaining about having to finish this. …even though something else seems more exciting.

Simple rag rug on Glimakra Standard.
Simple rag rug using neutral colors. Dark weft stripe is produced by two consecutive rows of a dark brown print fabric as weft.

A grumbling attitude can strip all the joy from the current process. Grumbling poisons your thinking. It starts as a small complaint, but is never content to stay small. In fact, grumbling spreads to other people and corrupts their desires, too. Better to refuse it before it has a chance to begin. Notice and enjoy the blessing of the moment you are in. And so far, I haven’t found a rag rug I didn’t enjoy weaving. Now that’s a blessing!

May your attitude be worthy of imitation.

With contentment,
Karen

Quiet Friday: Handwoven Skirt

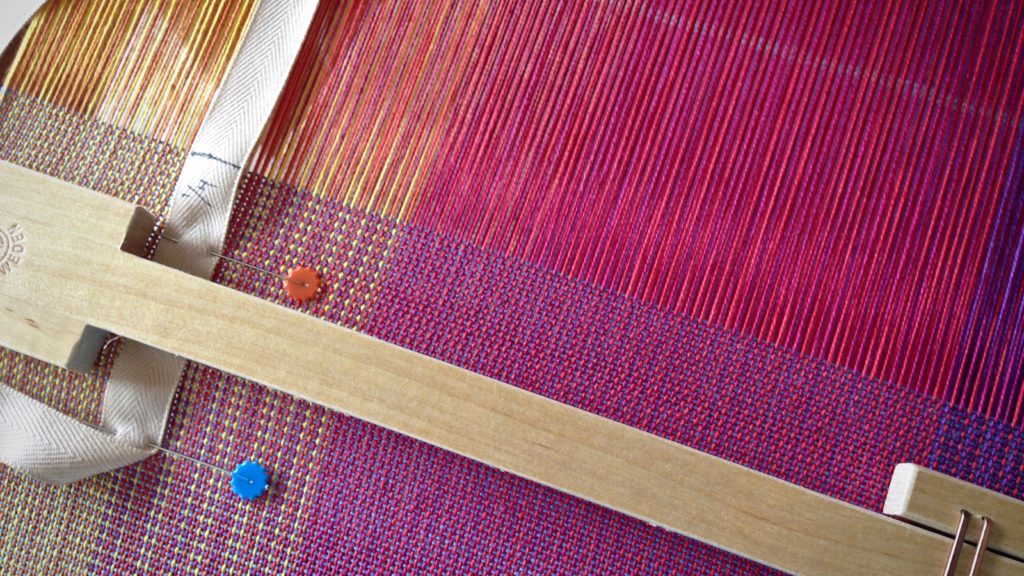
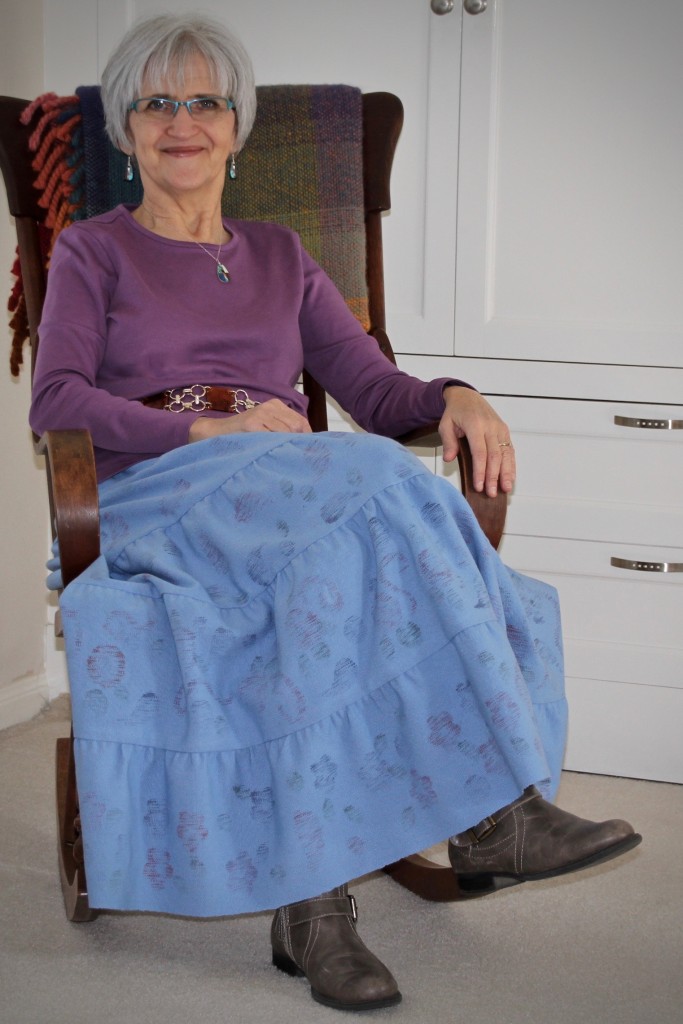
I just crossed an item off my weaving bucket list! Make a ‘cello skirt from handwoven fabric. A ‘cello skirt must be long, and full, and pretty. And if I can wear boots with it, so much the better. A favorite tiered skirt that I made a couple years ago from commercial fabric became the pattern for designing the handwoven fabric for a new skirt. This project included weaving a printed design by stamping the warp on the loom before it was woven. (To see this project develop, check out Related Posts in the sidebar.)

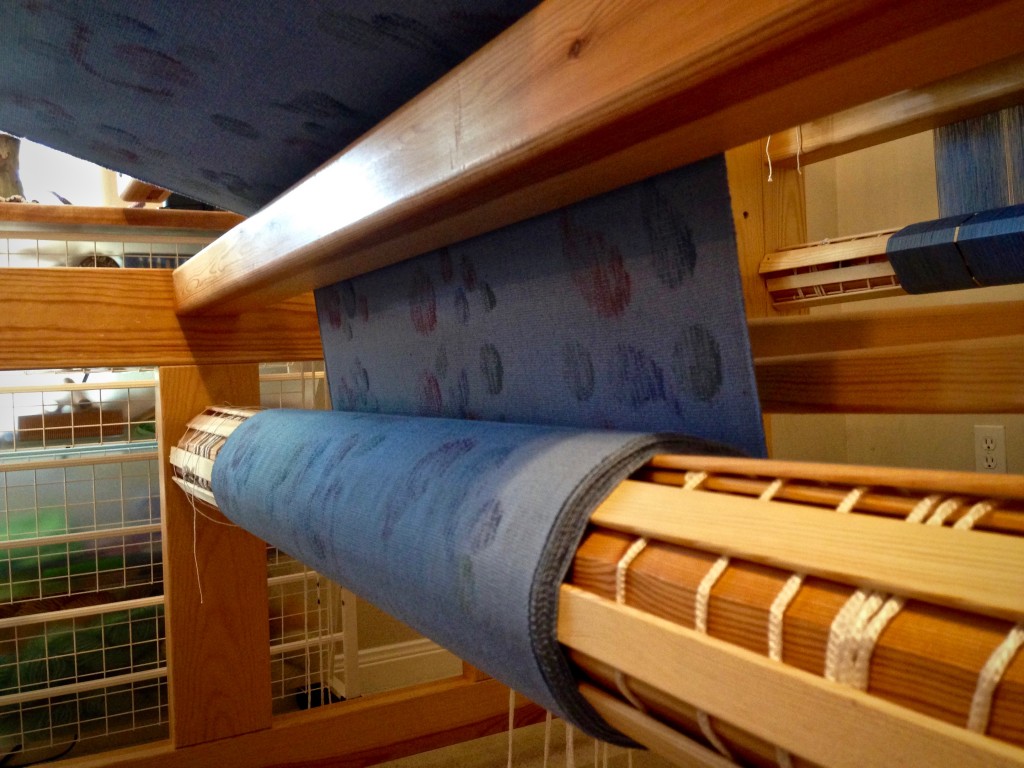
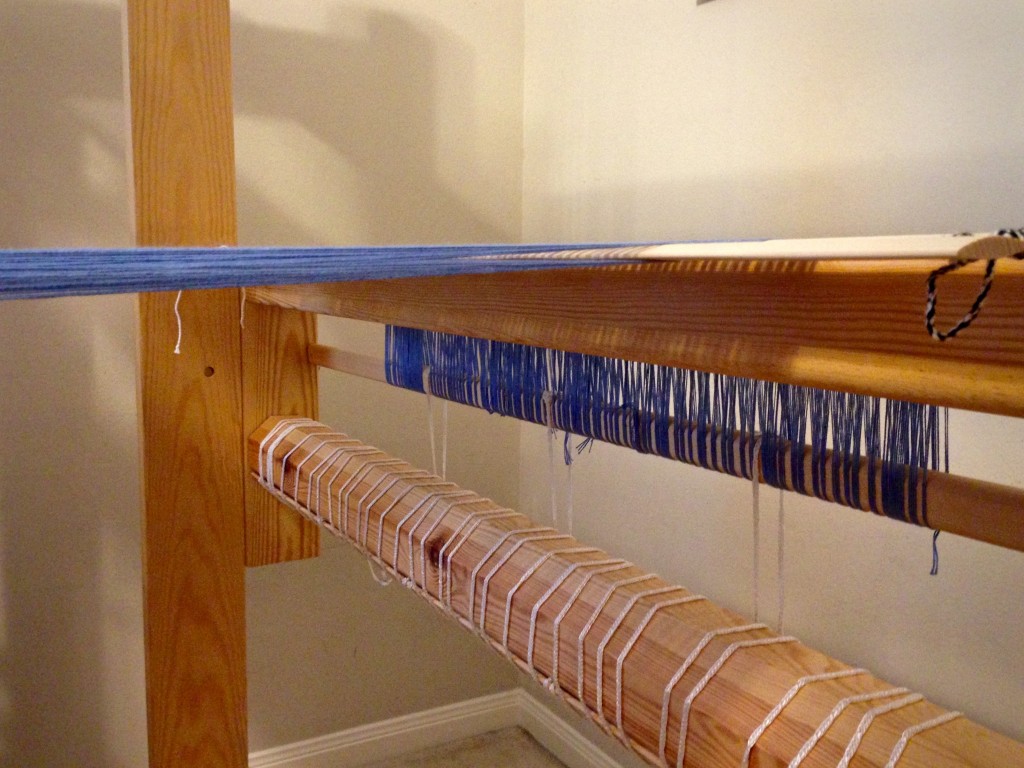
Printed fabric collects on the cloth beam.
Printed fabric collects on the cloth beam. One last round of warping slats is seen on the back beam.

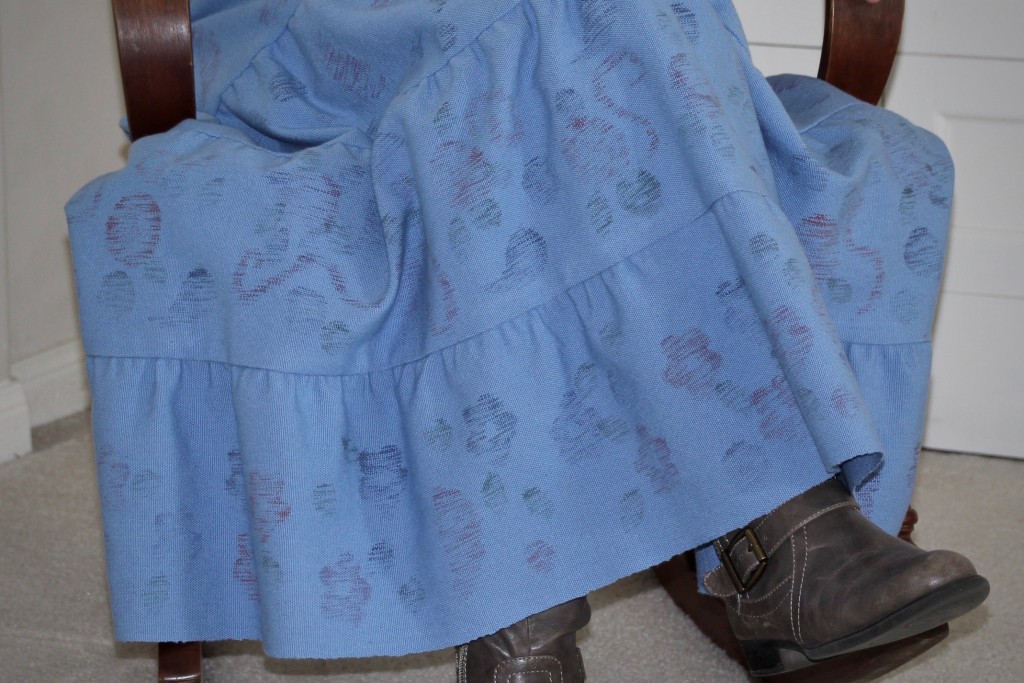
I needed five lengthwise tiers, so I planned it out so that each tier would have a different stamped pattern. This is light blue 8/2 cotton in plain weave, with a dense sett of 30 epi, making a medium-weight fabric. I softened the fabric as much as possible by washing and drying it on hot settings. By strategically placing selvedges at the top and at the bottom of the skirt, I was able to minimize thickness at the waist, and eliminate the need for a hem at the bottom. The finished tiered skirt is long, and full, and has a subtle pretty printed pattern that mildly resembles ikat. And this skirt is made for wearing with boots!

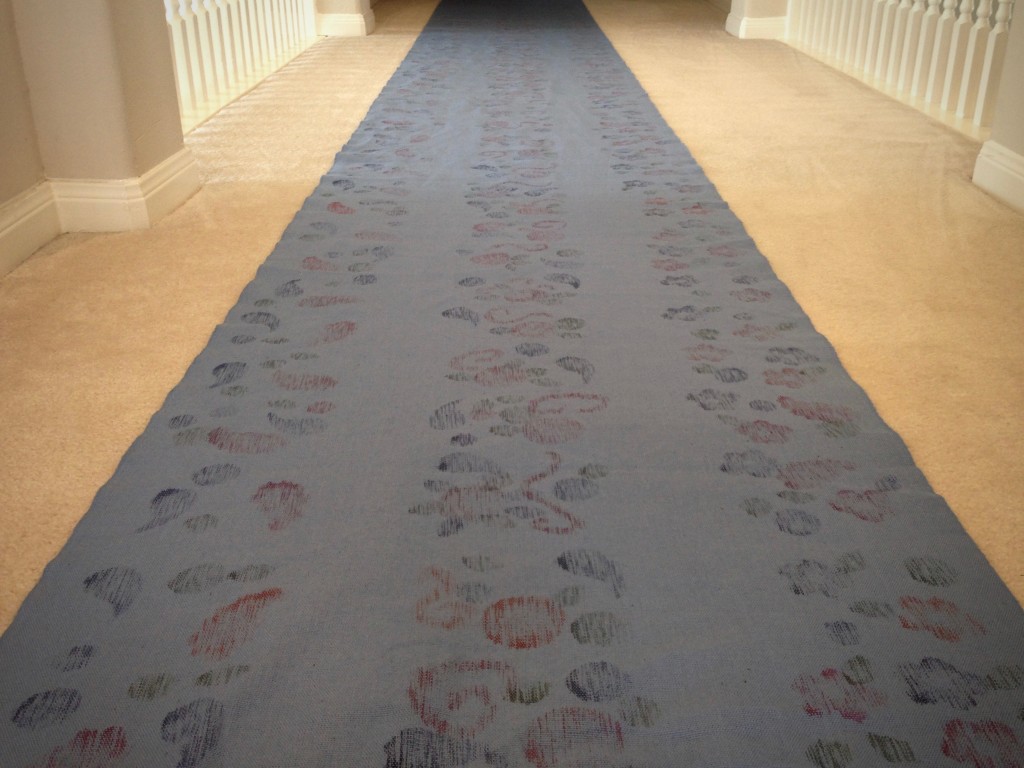
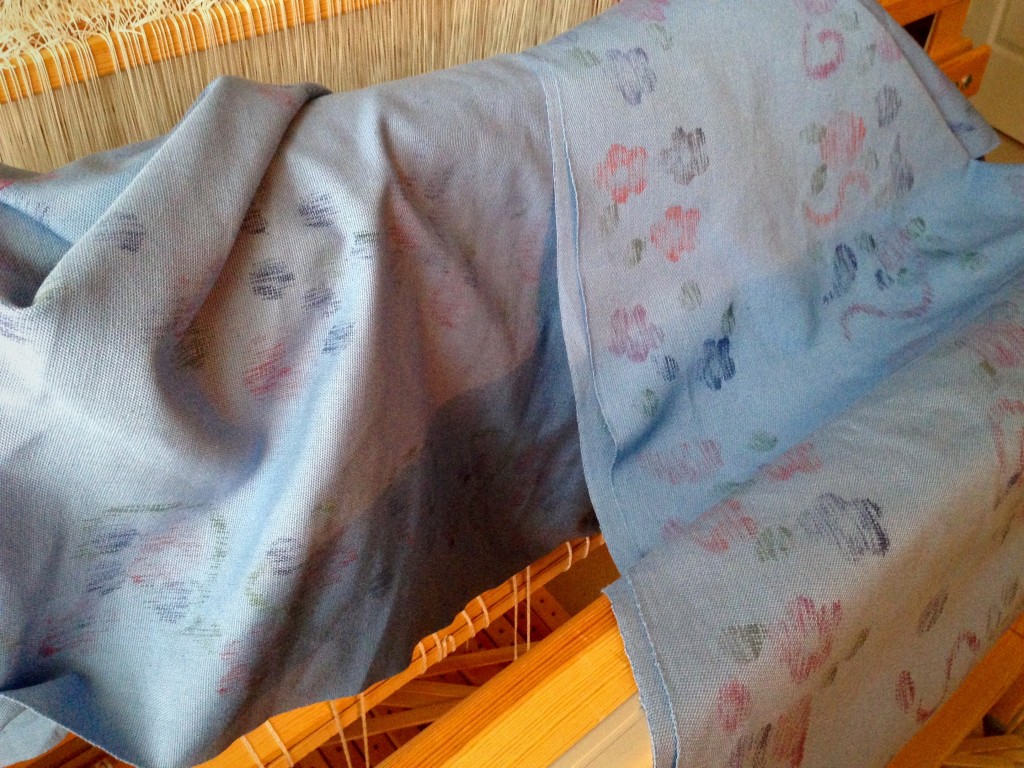
Printed fabric just off the loom - for making a 5-tiered skirt.
Just off the loom, cloth is rolled out on the floor. Five-tiered skirt was made from lengthwise rows of printed fabric.
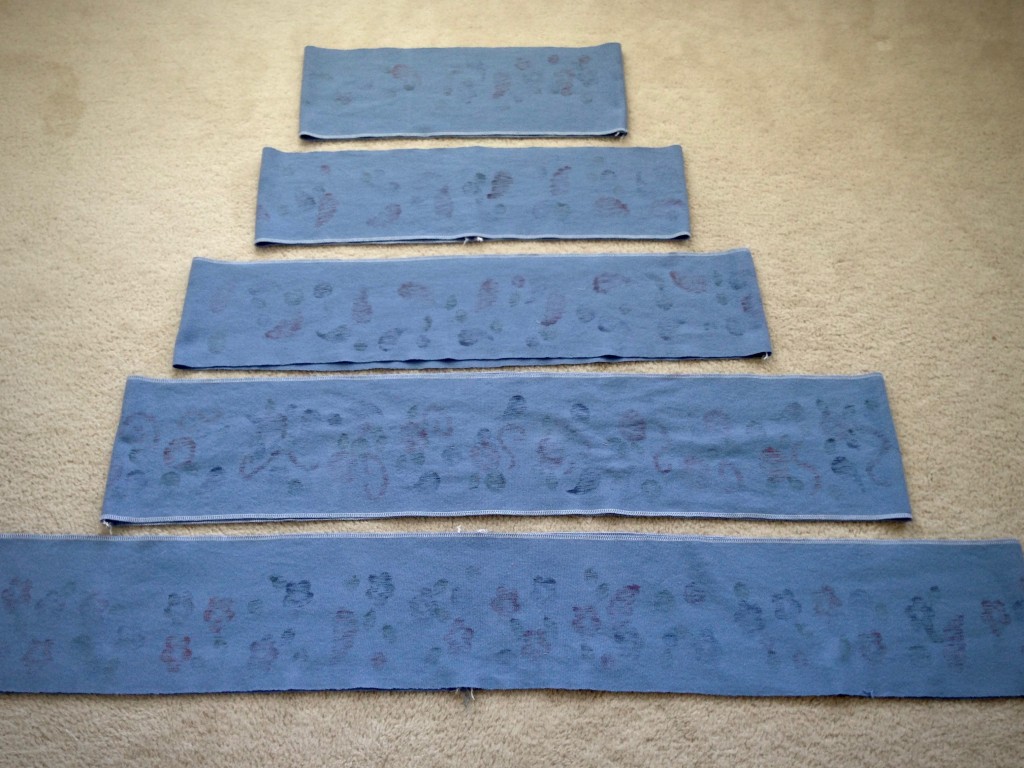
Layout for handwoven tiered skirt.
Tiers are cut and raw edges serged. Each tier seam is sewn. Floor layout helps to plan placement of seams and printed patterns.
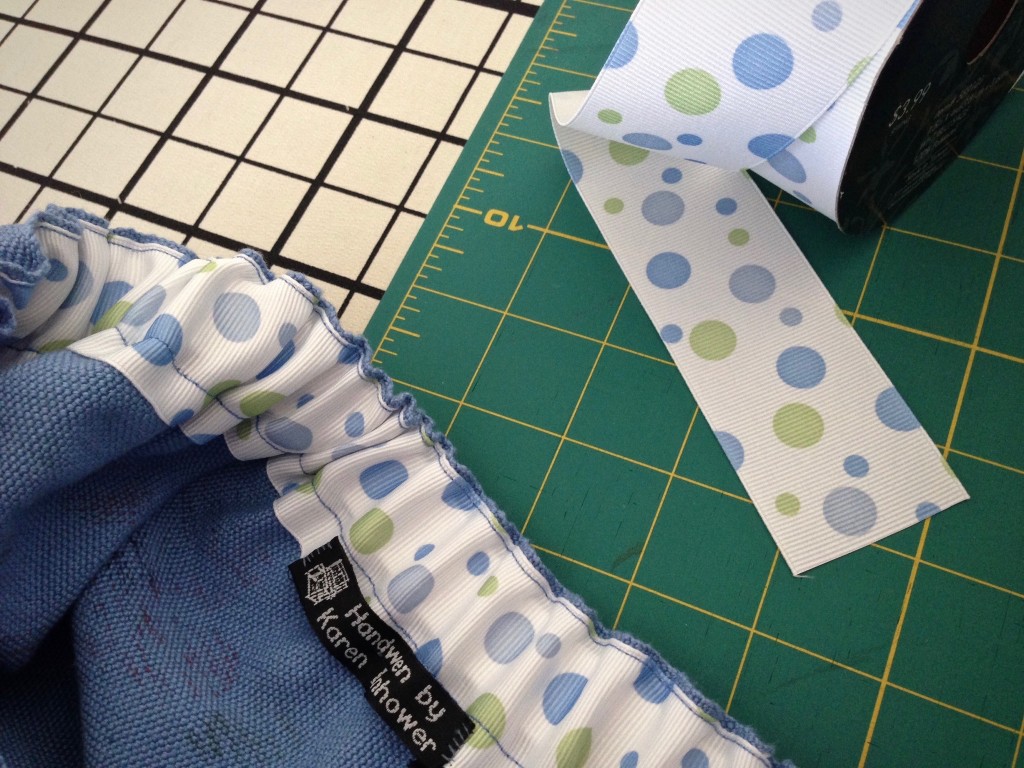
Grosgrain ribbon for elastic casing in handwoven skirt waistband, reducing bulk.
Bulk is reduced at elastic waistband by adding pretty grosgrain ribbon for the casing, right next to the handwoven fabric’s selvedge.
Warp-stamped fabric for skirt. Selvedge at bottom, so no hem needed.
Selvedge forms the bottom edge of skirt, so no hem is needed. Warp-stamped fabric appears as a subtle print.
Handwoven printed tiered skirt. Karen Isenhower
Happy ‘celllist.

May your heart be enriched with thankfulness.

Happy Thanks Giving,
Karen

Warp Stamping Is Over

If I could do it over, I would put on a shorter warp for this experimental project. I enjoyed weaving plain weave, with the simplicity of one shuttle and one color. I did not enjoy, however, stopping every six inches to stamp the warp with paint. Clearly, I am not a paint person.

End of the warp is a happy sight!
Bare warp beam, with the end of the warp inches away from coming over the back beam for the final stretch of weaving.

You can guess that I was overjoyed to see the tie-on bar come over the back beam! That hope of finishing propelled me to the end. Of course, I still have work to do–fixing a few floats, wet finishing, and then sewing a tiered skirt. The root of my problem was not that this was long and slow. The root was my uncertainty. Isn’t that always the case? Is all this effort and mess going to be worth it? Will this fabric even work for the skirt I want to make?

Warp was stamped on the loom, using fabric paint, before it was woven.
Printed woven cloth, just off the loom, awaits finishing and sewing. The print was made by stamping the warp on the loom, using fabric paint, before it was woven.

When we are stumbling in the dark, we long for light. It can be discouraging when you are not sure where your decisions will take you. The light of God shines in the darkness, bringing hope. Hope dispels darkness. Much like the tie-on bar at the end of a long warp, when we see hope rounding the corner we know we can make it.

May your path be lit with hope.

By the way, if you are a paint person, I have a set of gently used hand-carved wooden stamps I will send to the first person in the continental U.S. who asks for them. Postage is on me!
Get in Touch to let me know you’d like them.
*UPDATE*
The stamps have been spoken for! Sandy O. is going to use them to experiment on her rigid heddle loom!

Happy plain weaving,
Karen

Quiet Friday: Thick and Thin

A vote of confidence from someone you look up to can make a world of difference. When I saw Joanne Hall’s exquisite towel made with thick and thin threads, I asked her, “Do you think I can weave something like that?” “Of course you can;” she replied without hesitation, “it’s plain weave.” Keep in mind that I was a complete novice on the floor loom; and I barely knew how to handle one shuttle, much less two! I plunged into the ambitious project and came out with a winner! The blue and cream towel hangs on the oven door in my kitchen as a daily reminder of the powerful impact of an encouraging word. Thank you, Joanne!

Cotton tea towel, thick and thin. Karen Isenhower
First thick and thin towel, completed as a beginning weaver. This is one of Erica de Ruiter’s designs, found in “The Best of Weaver’s Thick’n Thin,” Edited by Madelyn van der Hoogt.

Thick and thin is just as fascinating this time around. It is delightful to revisit a rewarding experience. Who knew that plain weave could be this much fun?

Zebra warp on Glimakra warping reel.
Zebra warp with thick and thin threads on my new Glimakra warping reel. One of three bouts, 10 1/2 meters.
Warping trapeze in action.
View from the crossbar at the top of the warping trapeze, looking down. Ready to untie choke ties and add weights to the warp bouts.
Threading Texsolv heddles.
Thick ends alternate with thin ends as the heddles are threaded. Left hand separates the shafts‘ heddles for ease of threading.
Ready to weave thick and thin towels!
Weaving begins as soon as the warp is tied on and the leveling string is secured. I use the first few inches to check the threading and sett, and to do some sampling.
Border pattern for cottoln towel on the loom.
First border is captured with my iPhone camera so that I can easily reproduce the pattern at the other end of the towel.
Plain weave with three shuttles creates interesting patterns.
I added a second double bobbin shuttle to make it easier and quicker to switch weft colors. Plain weave gets even more interesting with three shuttles!
Thick and thin cottolin towels on the Glimakra Ideal loom.
End of the third towel.
Black and white towels on the loom. Karen Isenhower
View from under the breast beam. I love to see the fabric rolled up on the cloth beam.
Temple in place for weaving black and white cottolin towels.
Temple keeps the fabric at the optimum width for weaving. Red cutting line serves as the separation between the end of one towel and the beginning of the next. Ready to start another fascinating pattern.

May you give a vote of confidence to someone who needs it.

Happy weaving,
Karen