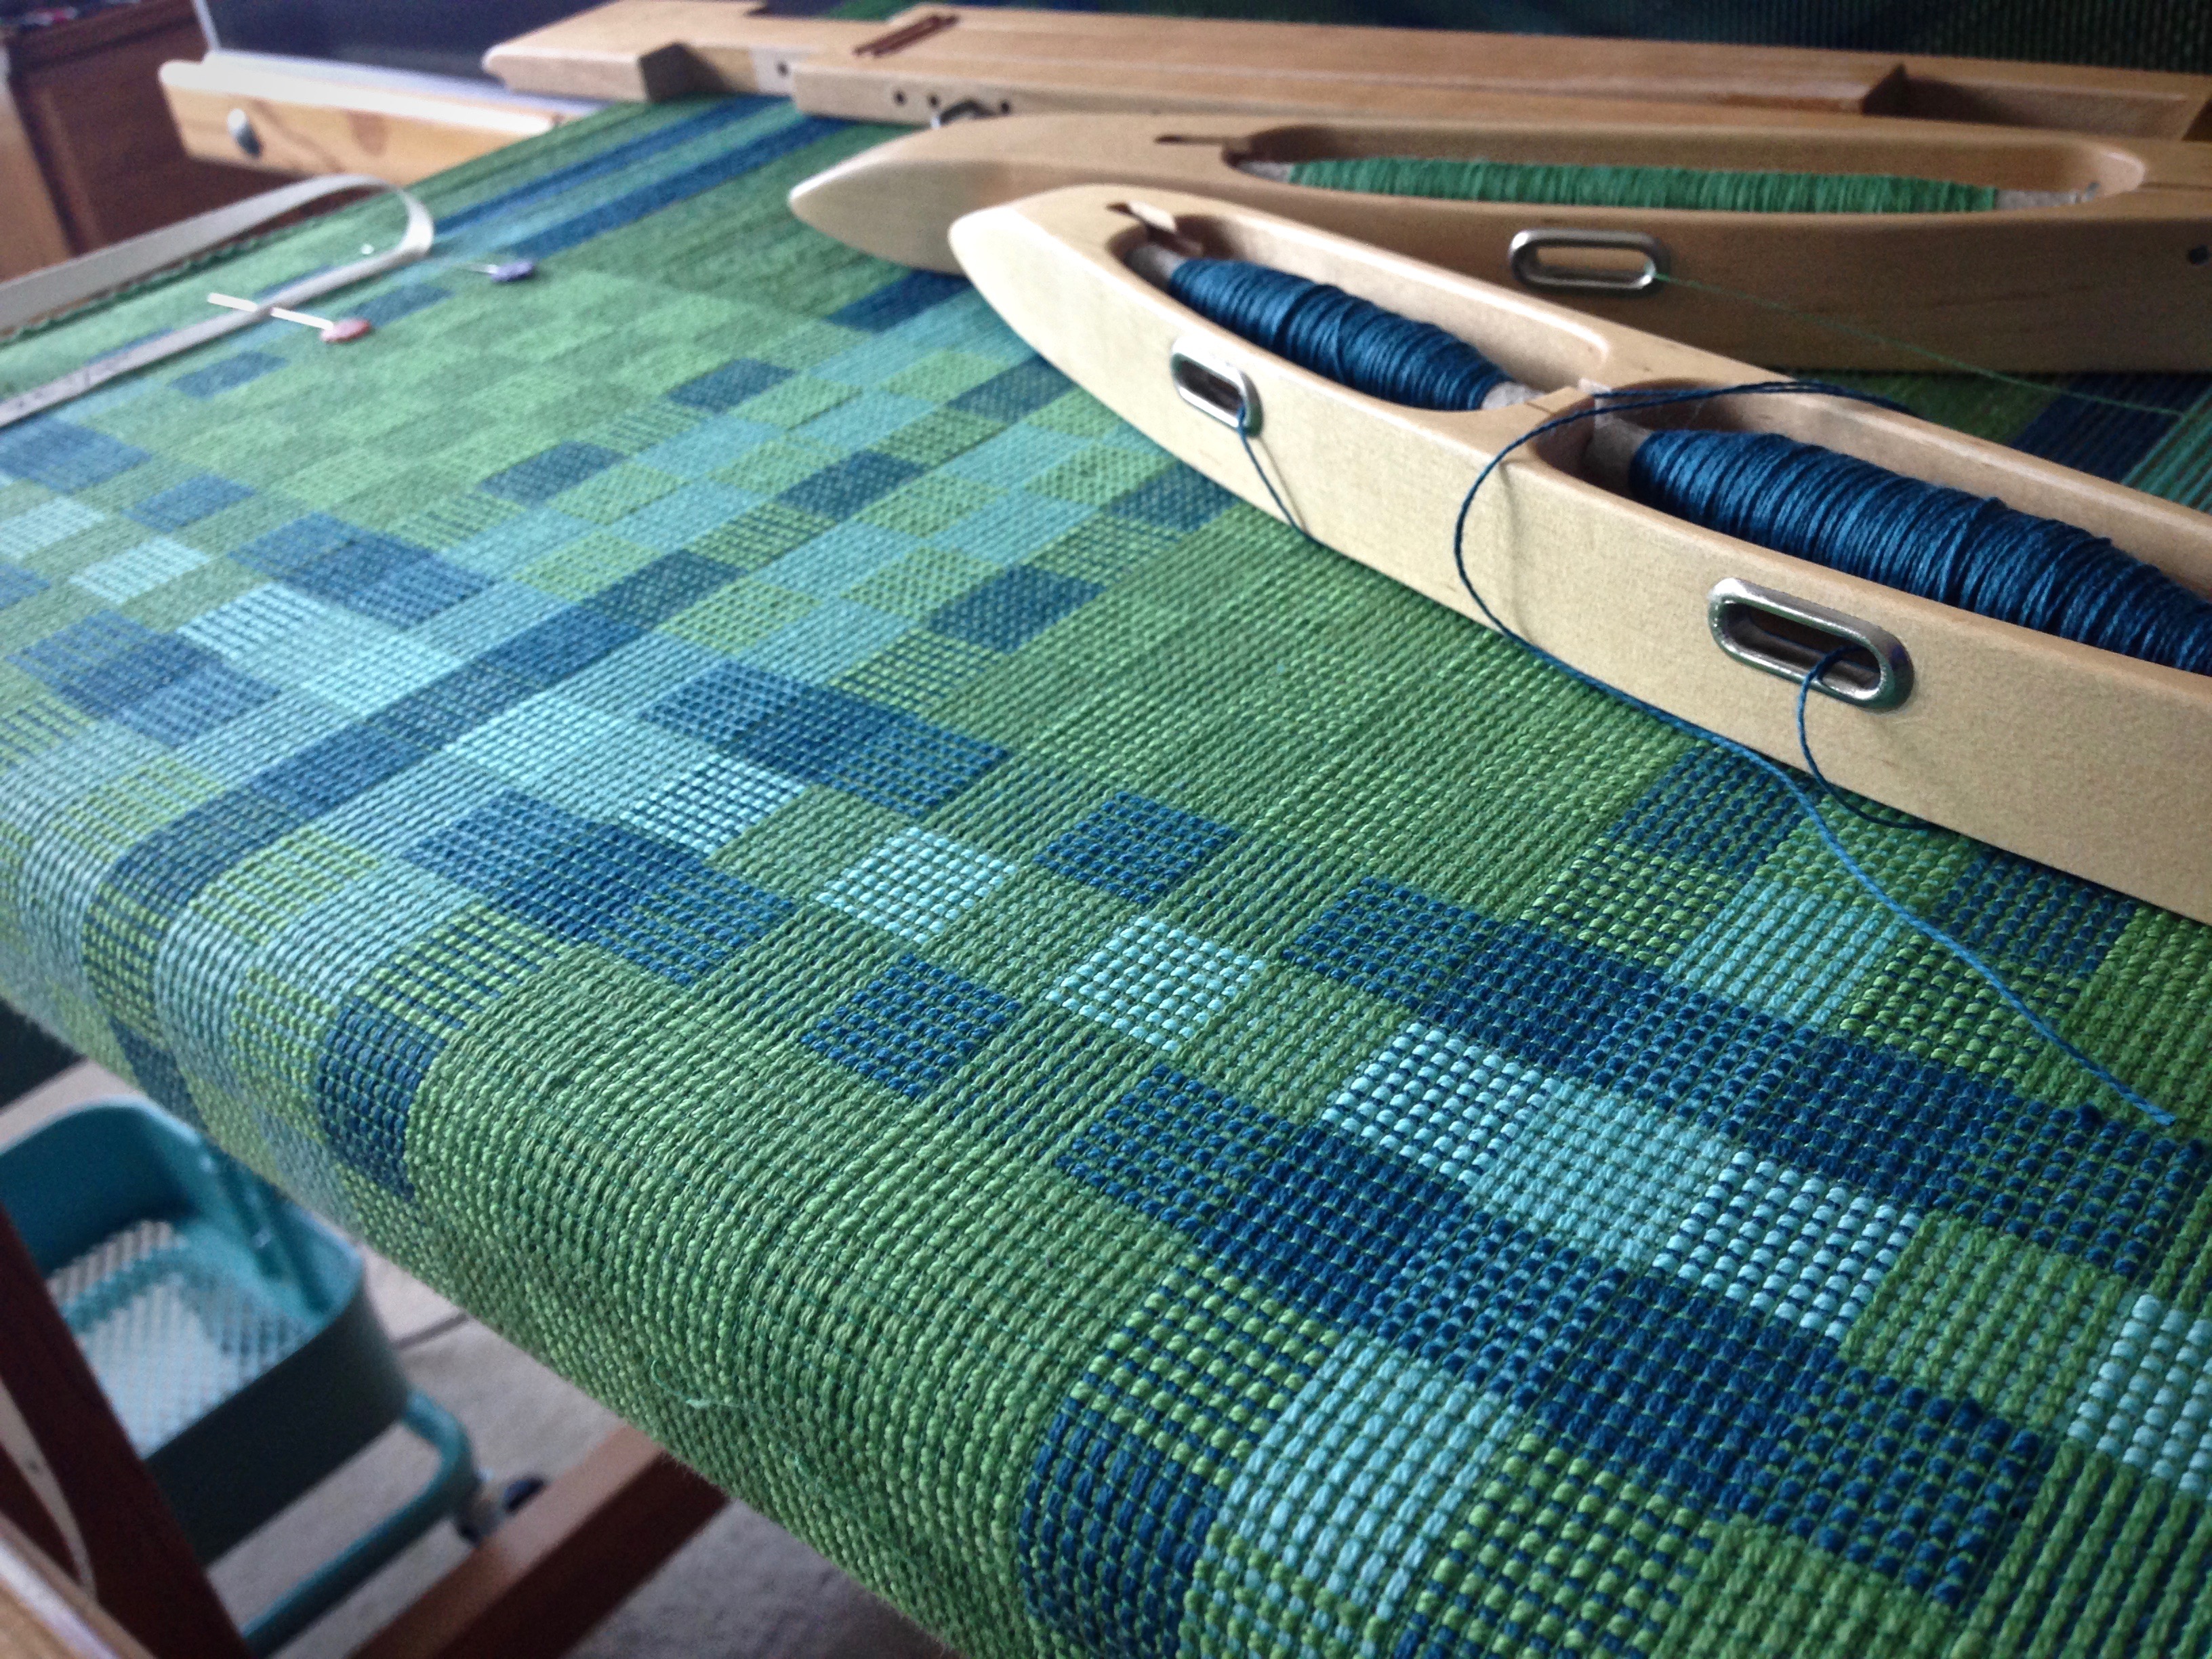
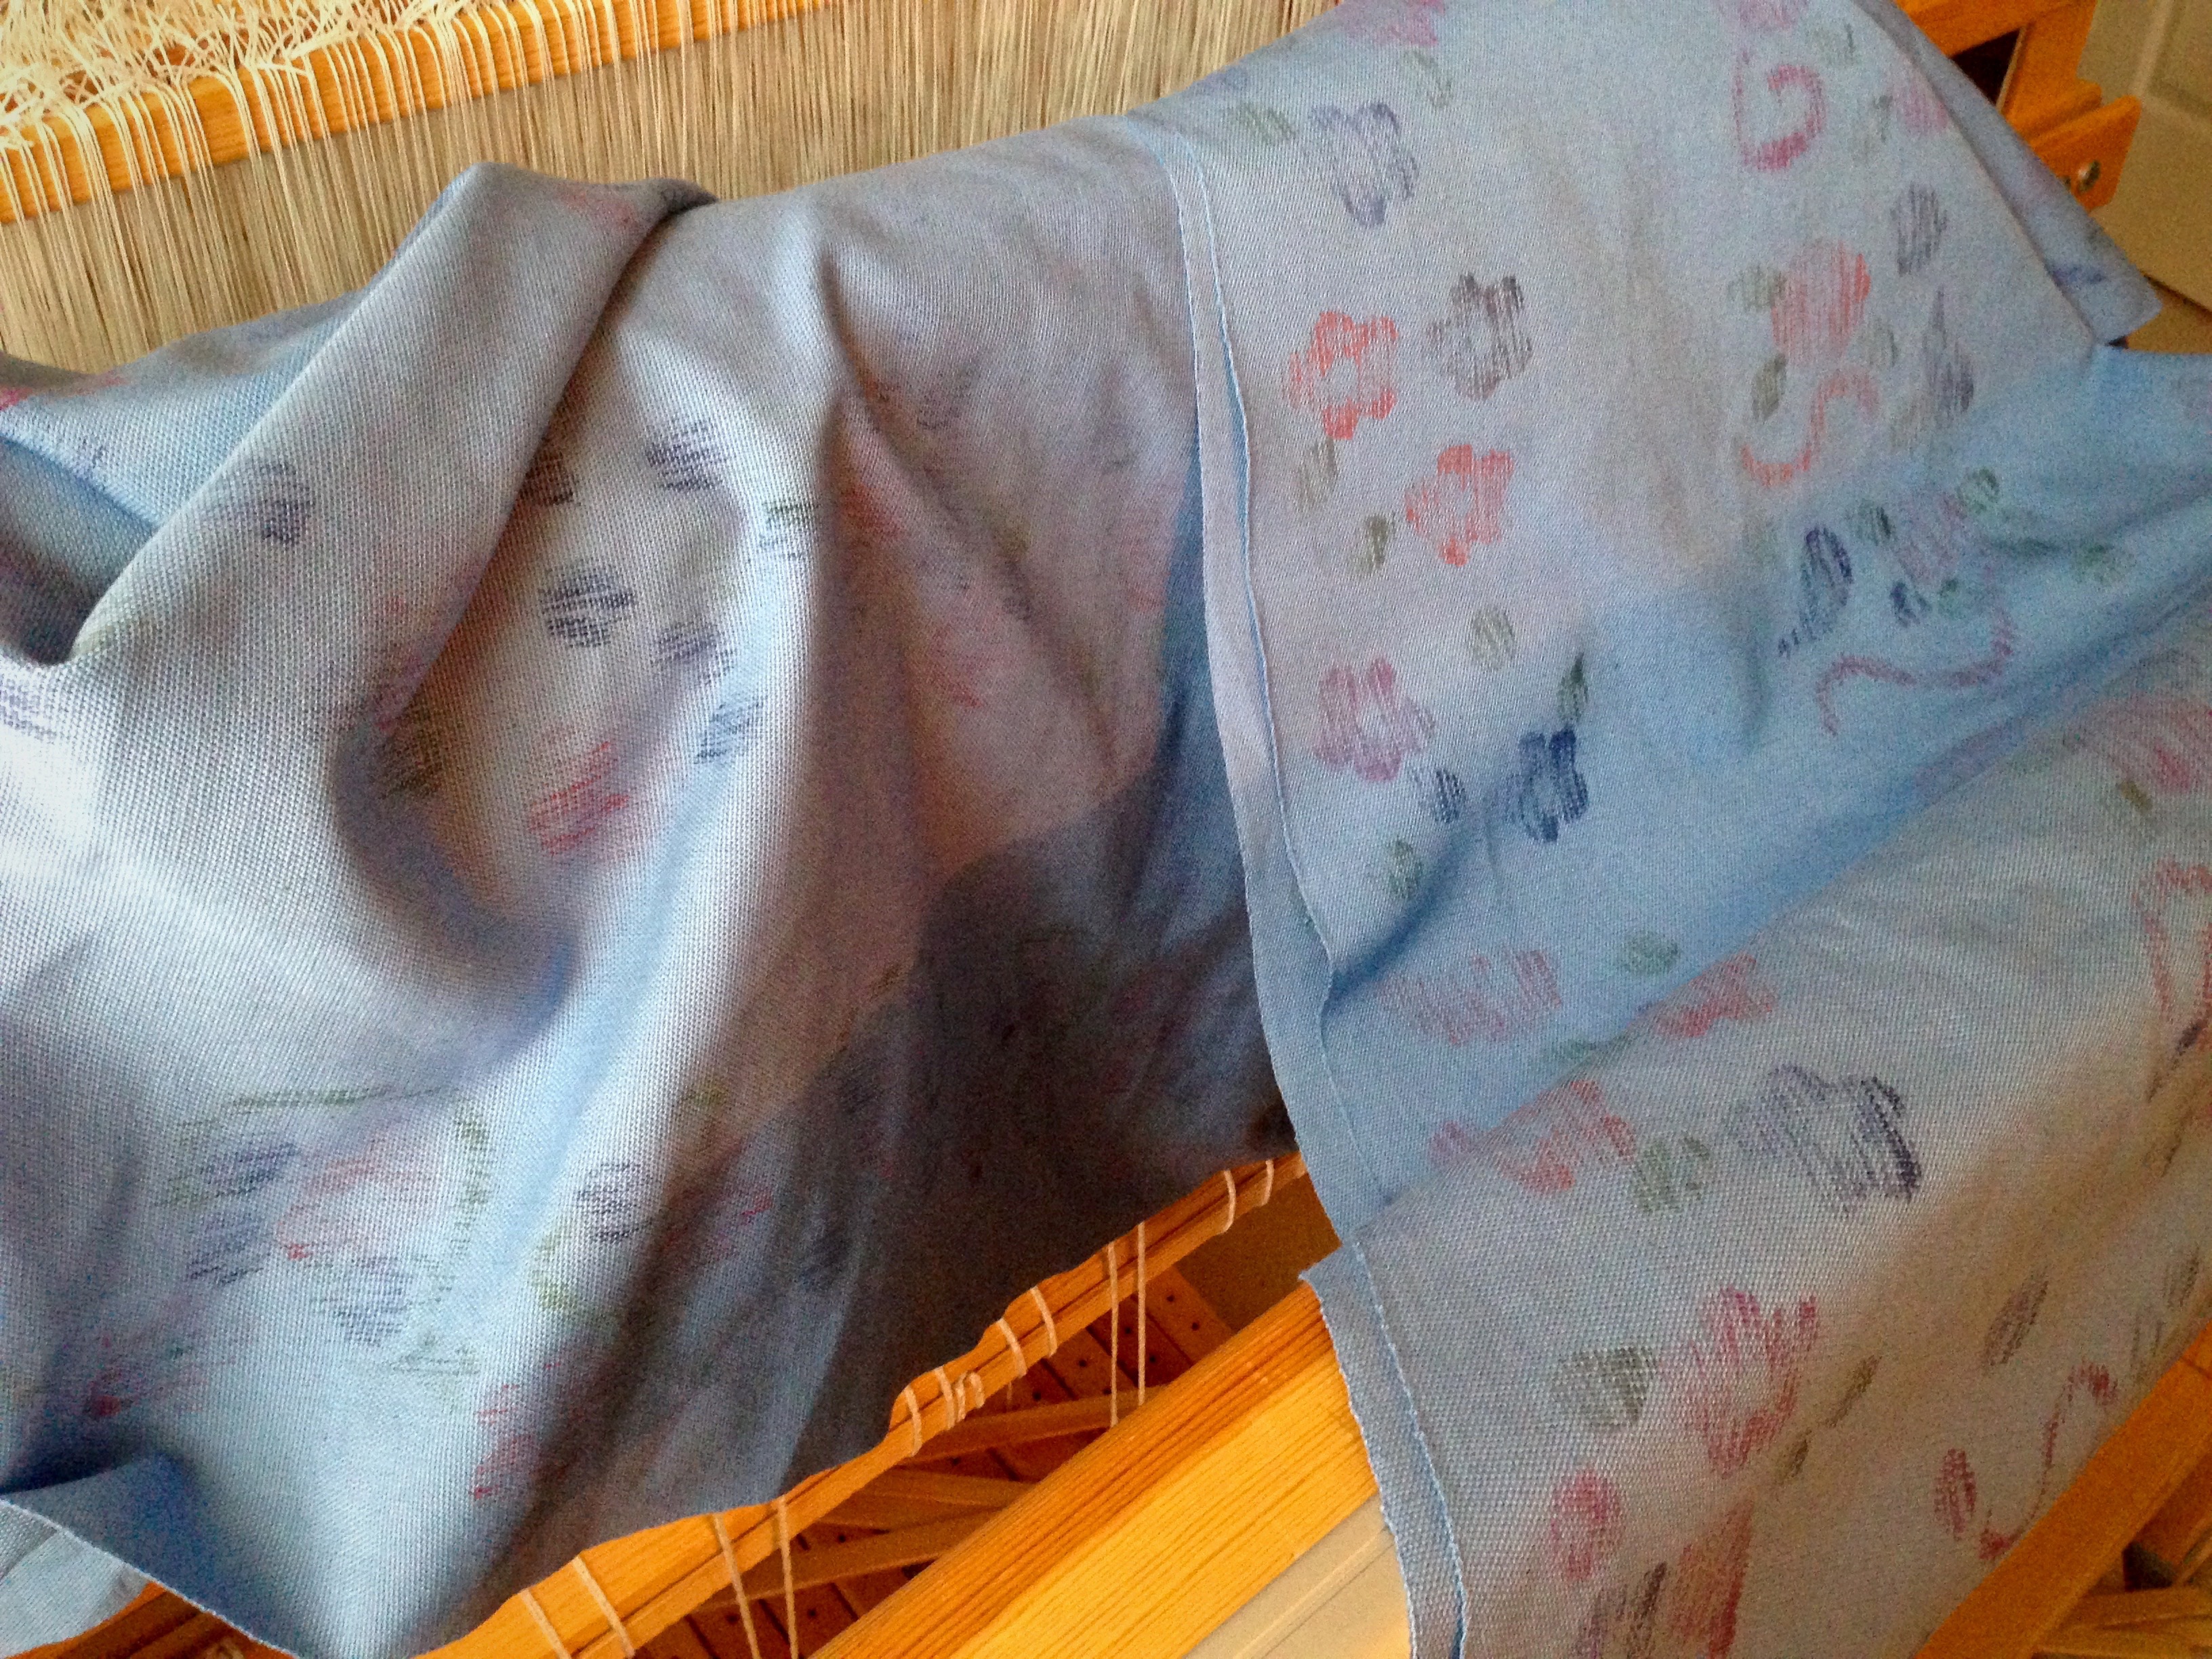
I am already a quarter of the way on this baby wrap. Simple plain weave with one shuttle is fast and uncomplicated, making this the perfect setting to improve weaving technique. Surely, I can gain efficiency by examining some of my practices.
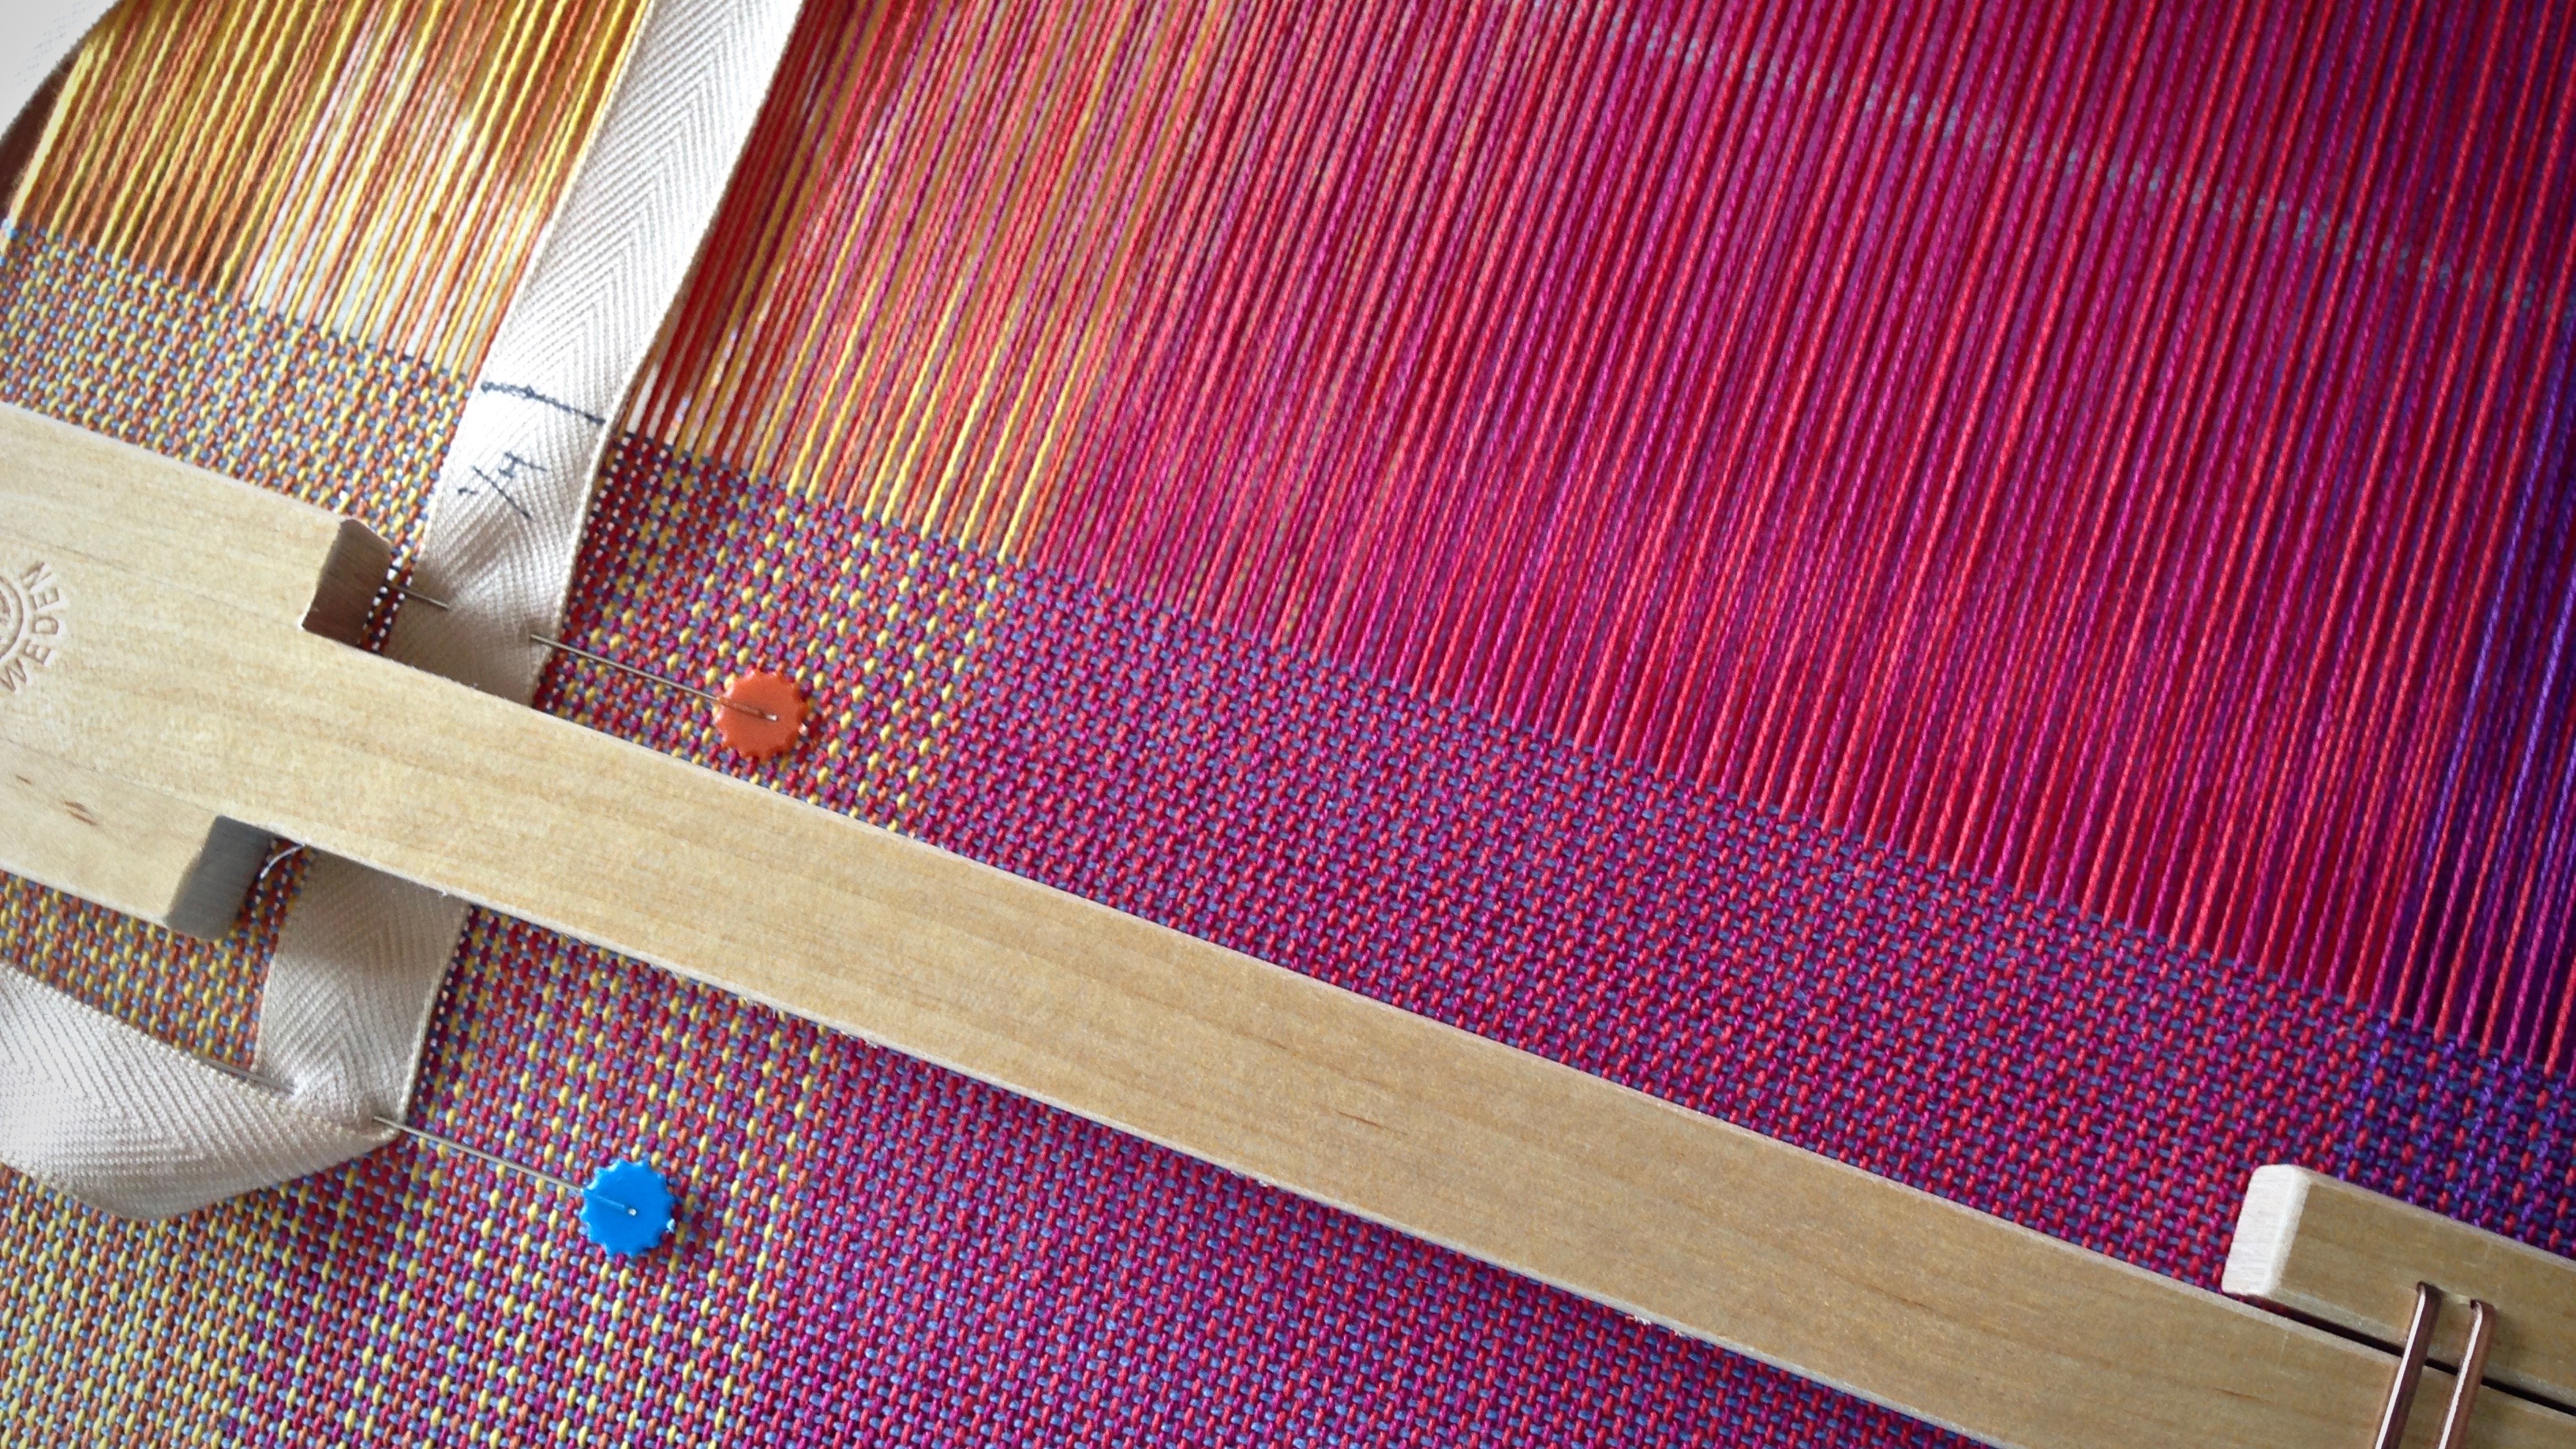
Under scrutiny, I see that I am not consistent in how I catch the shuttle. It makes a difference where I make contact with the shuttle as it glides into my hand. I often have to reposition the shuttle in my hand to prepare it for the return throw. That’s not very efficient. Solution? Look at the hand that is catching the shuttle. All I have to do is turn my head to look, and the hand does the job. It’s amazing how that works. It pays to pay attention.

Following Jesus can be compared to finding a breakthrough in weaving technique. It’s more than just meeting him, and trying to go the right way. That is weaving by habit, doing it like I’ve always done it. Jesus gives all to those who give him all. Breakthrough comes when I give up my habits to find a better way–his way.
He is no fool who gives what he cannot keep to gain what he cannot lose.
– Jim Elliot
May your eyes help your hands.
With love,
Karen