After only four hours at the drawloom I have a porcupine! That’s an hour a day, four days in a row. I enjoy the design-making process. It is rewarding to work out the details on the computer. The next reward is to see the printed version ready to take to the drawloom. When I first see the feet of the critter woven on the loom, I do a happy dance. And now that the porcupine is moving on around the breast beam, this feeling of accomplishment is the greatest reward. Nine more critter napkins to go, with many more rewards. Jackrabbit is next!
Day 1: Teal hem, gold border, black background, and porcupine feet! Happy Dance!Day 2: Porcupine snout and tail reach into border areas. I use single units in irregular border areas like these, instead of the simpler pattern shafts that I use for the rest of the border areas.Day 3: Second half of the porcupine is mostly the quills on its back. This is easy single-unit draw cords in combination with simple pattern shaft draw handles for the side borders. (Only 2 draw handles are needed for the side borders.)Day 4: Finish up the top of the porcupine, the black background, the gold border, and then a blue hem area (not shown). Now I’m hopping off to design the jackrabbit.
Look for daily rewards. What rewards are you seeing lately?
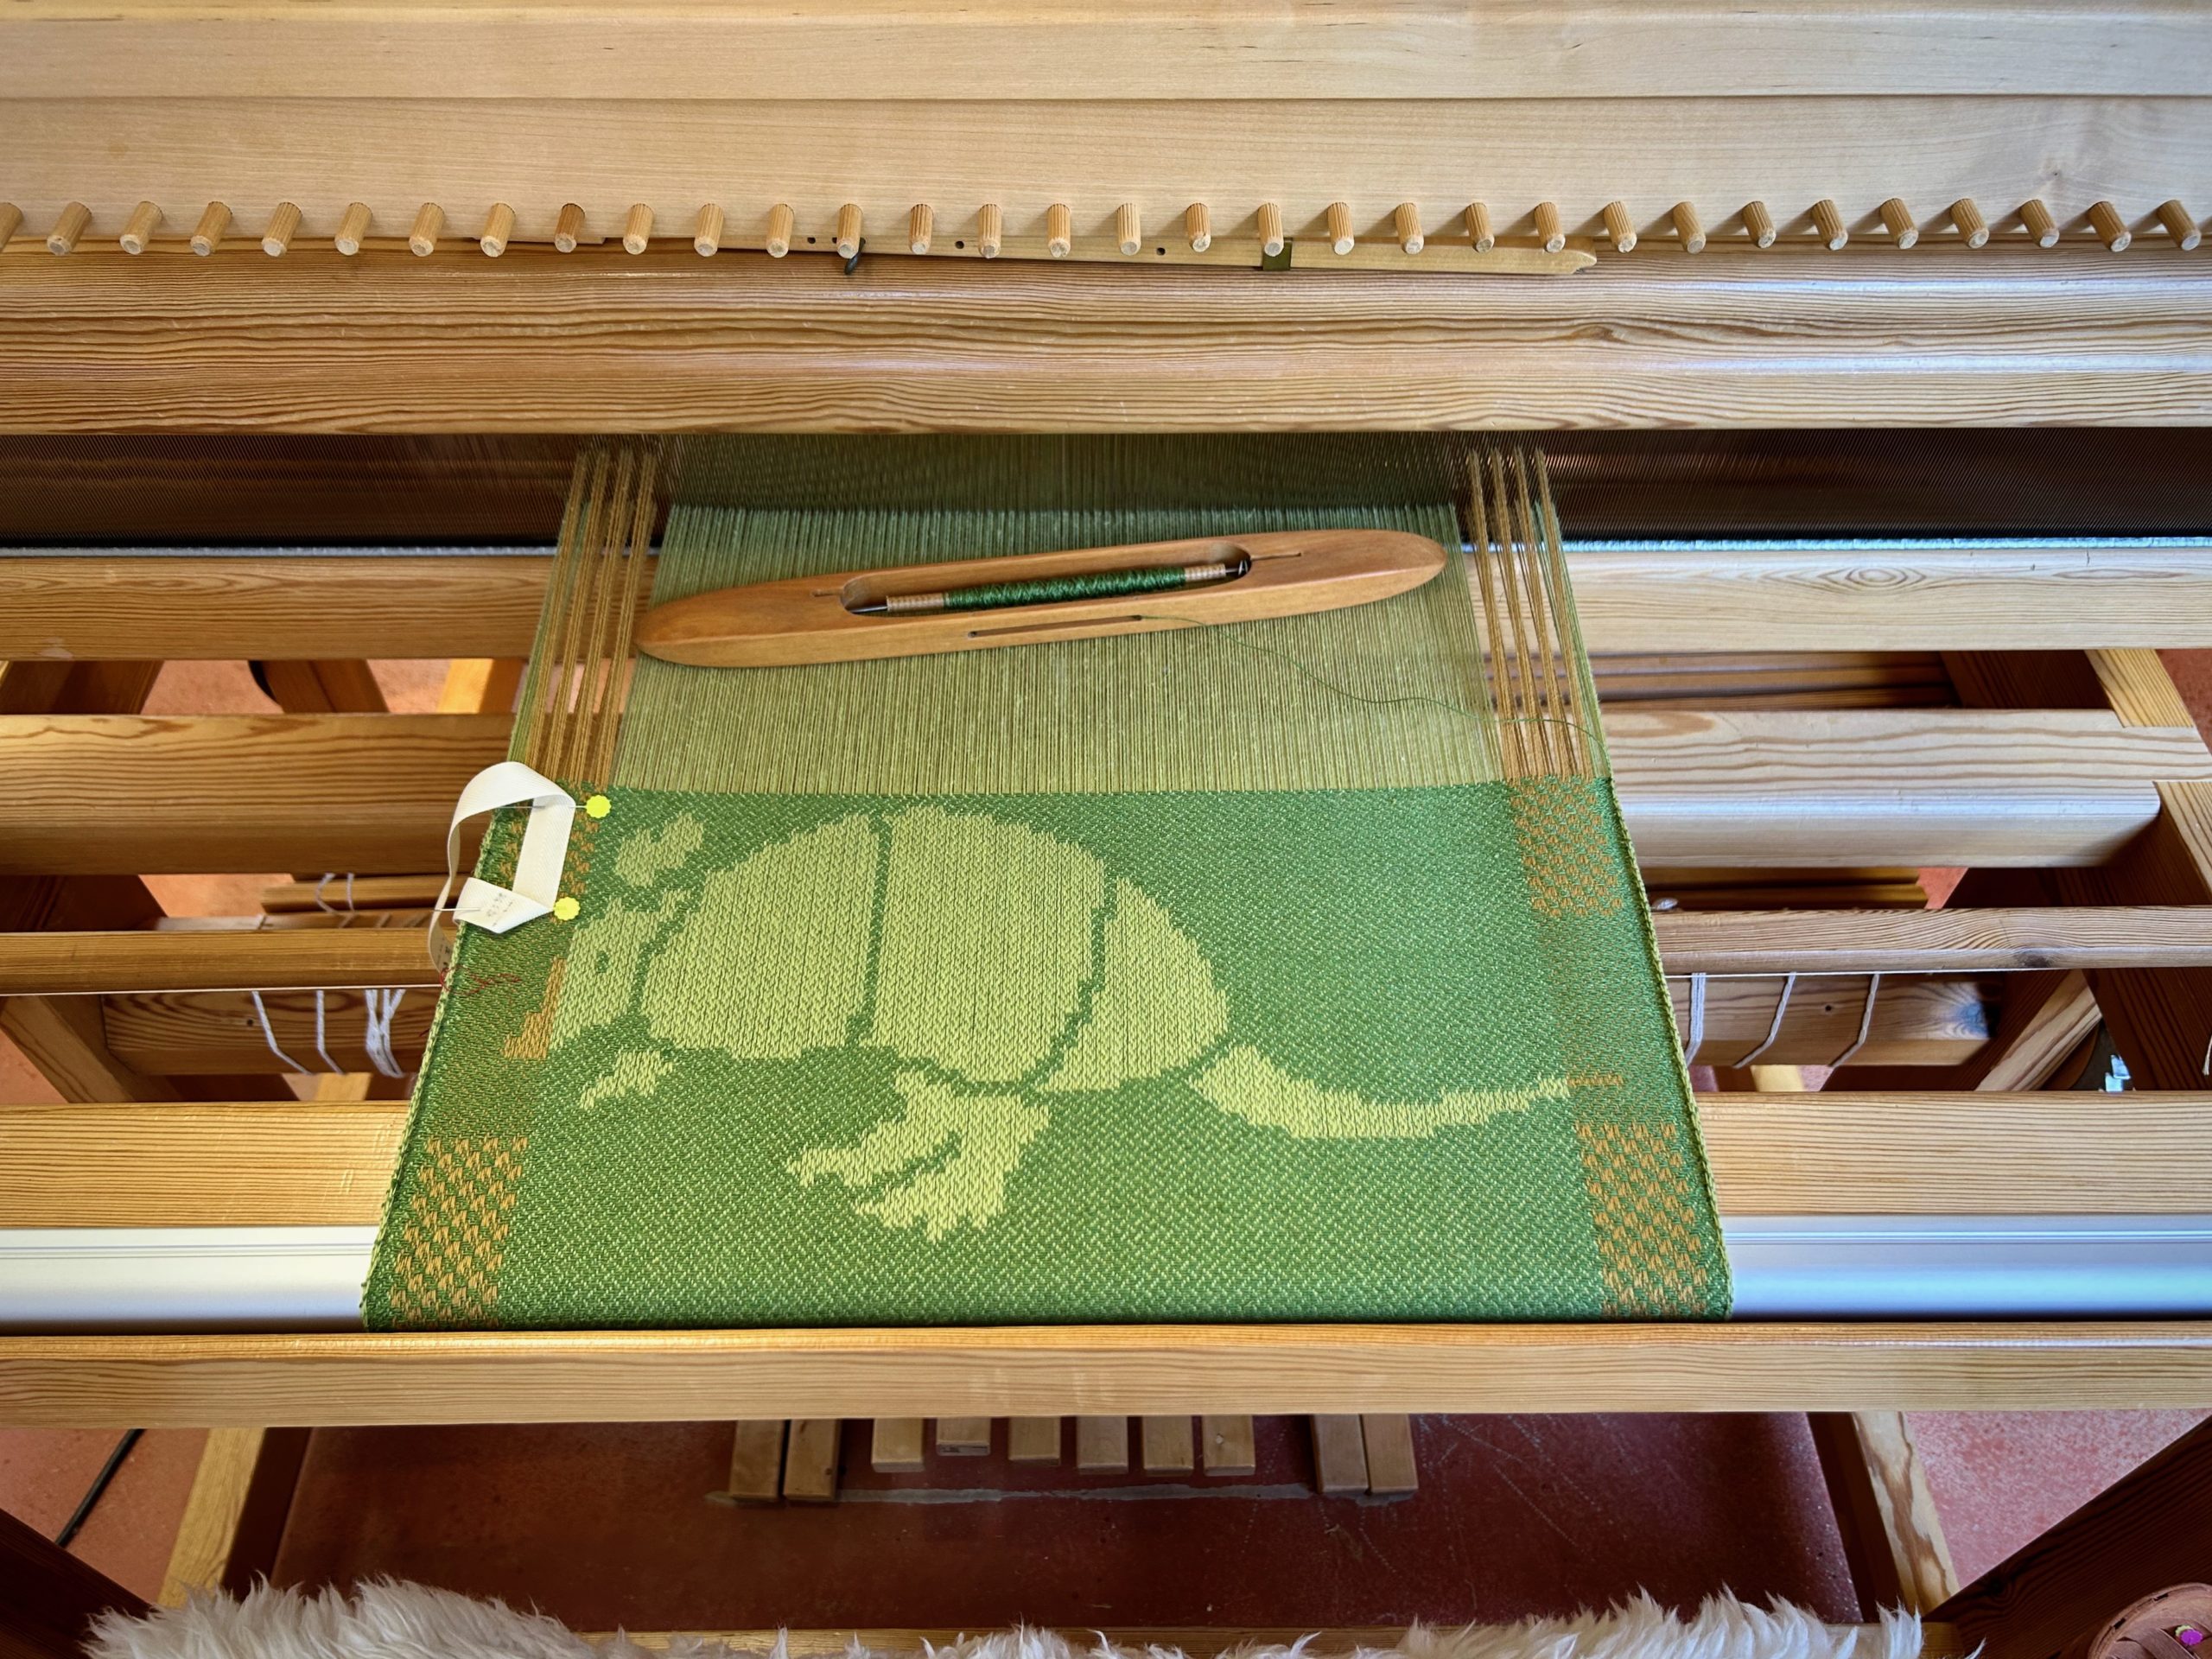
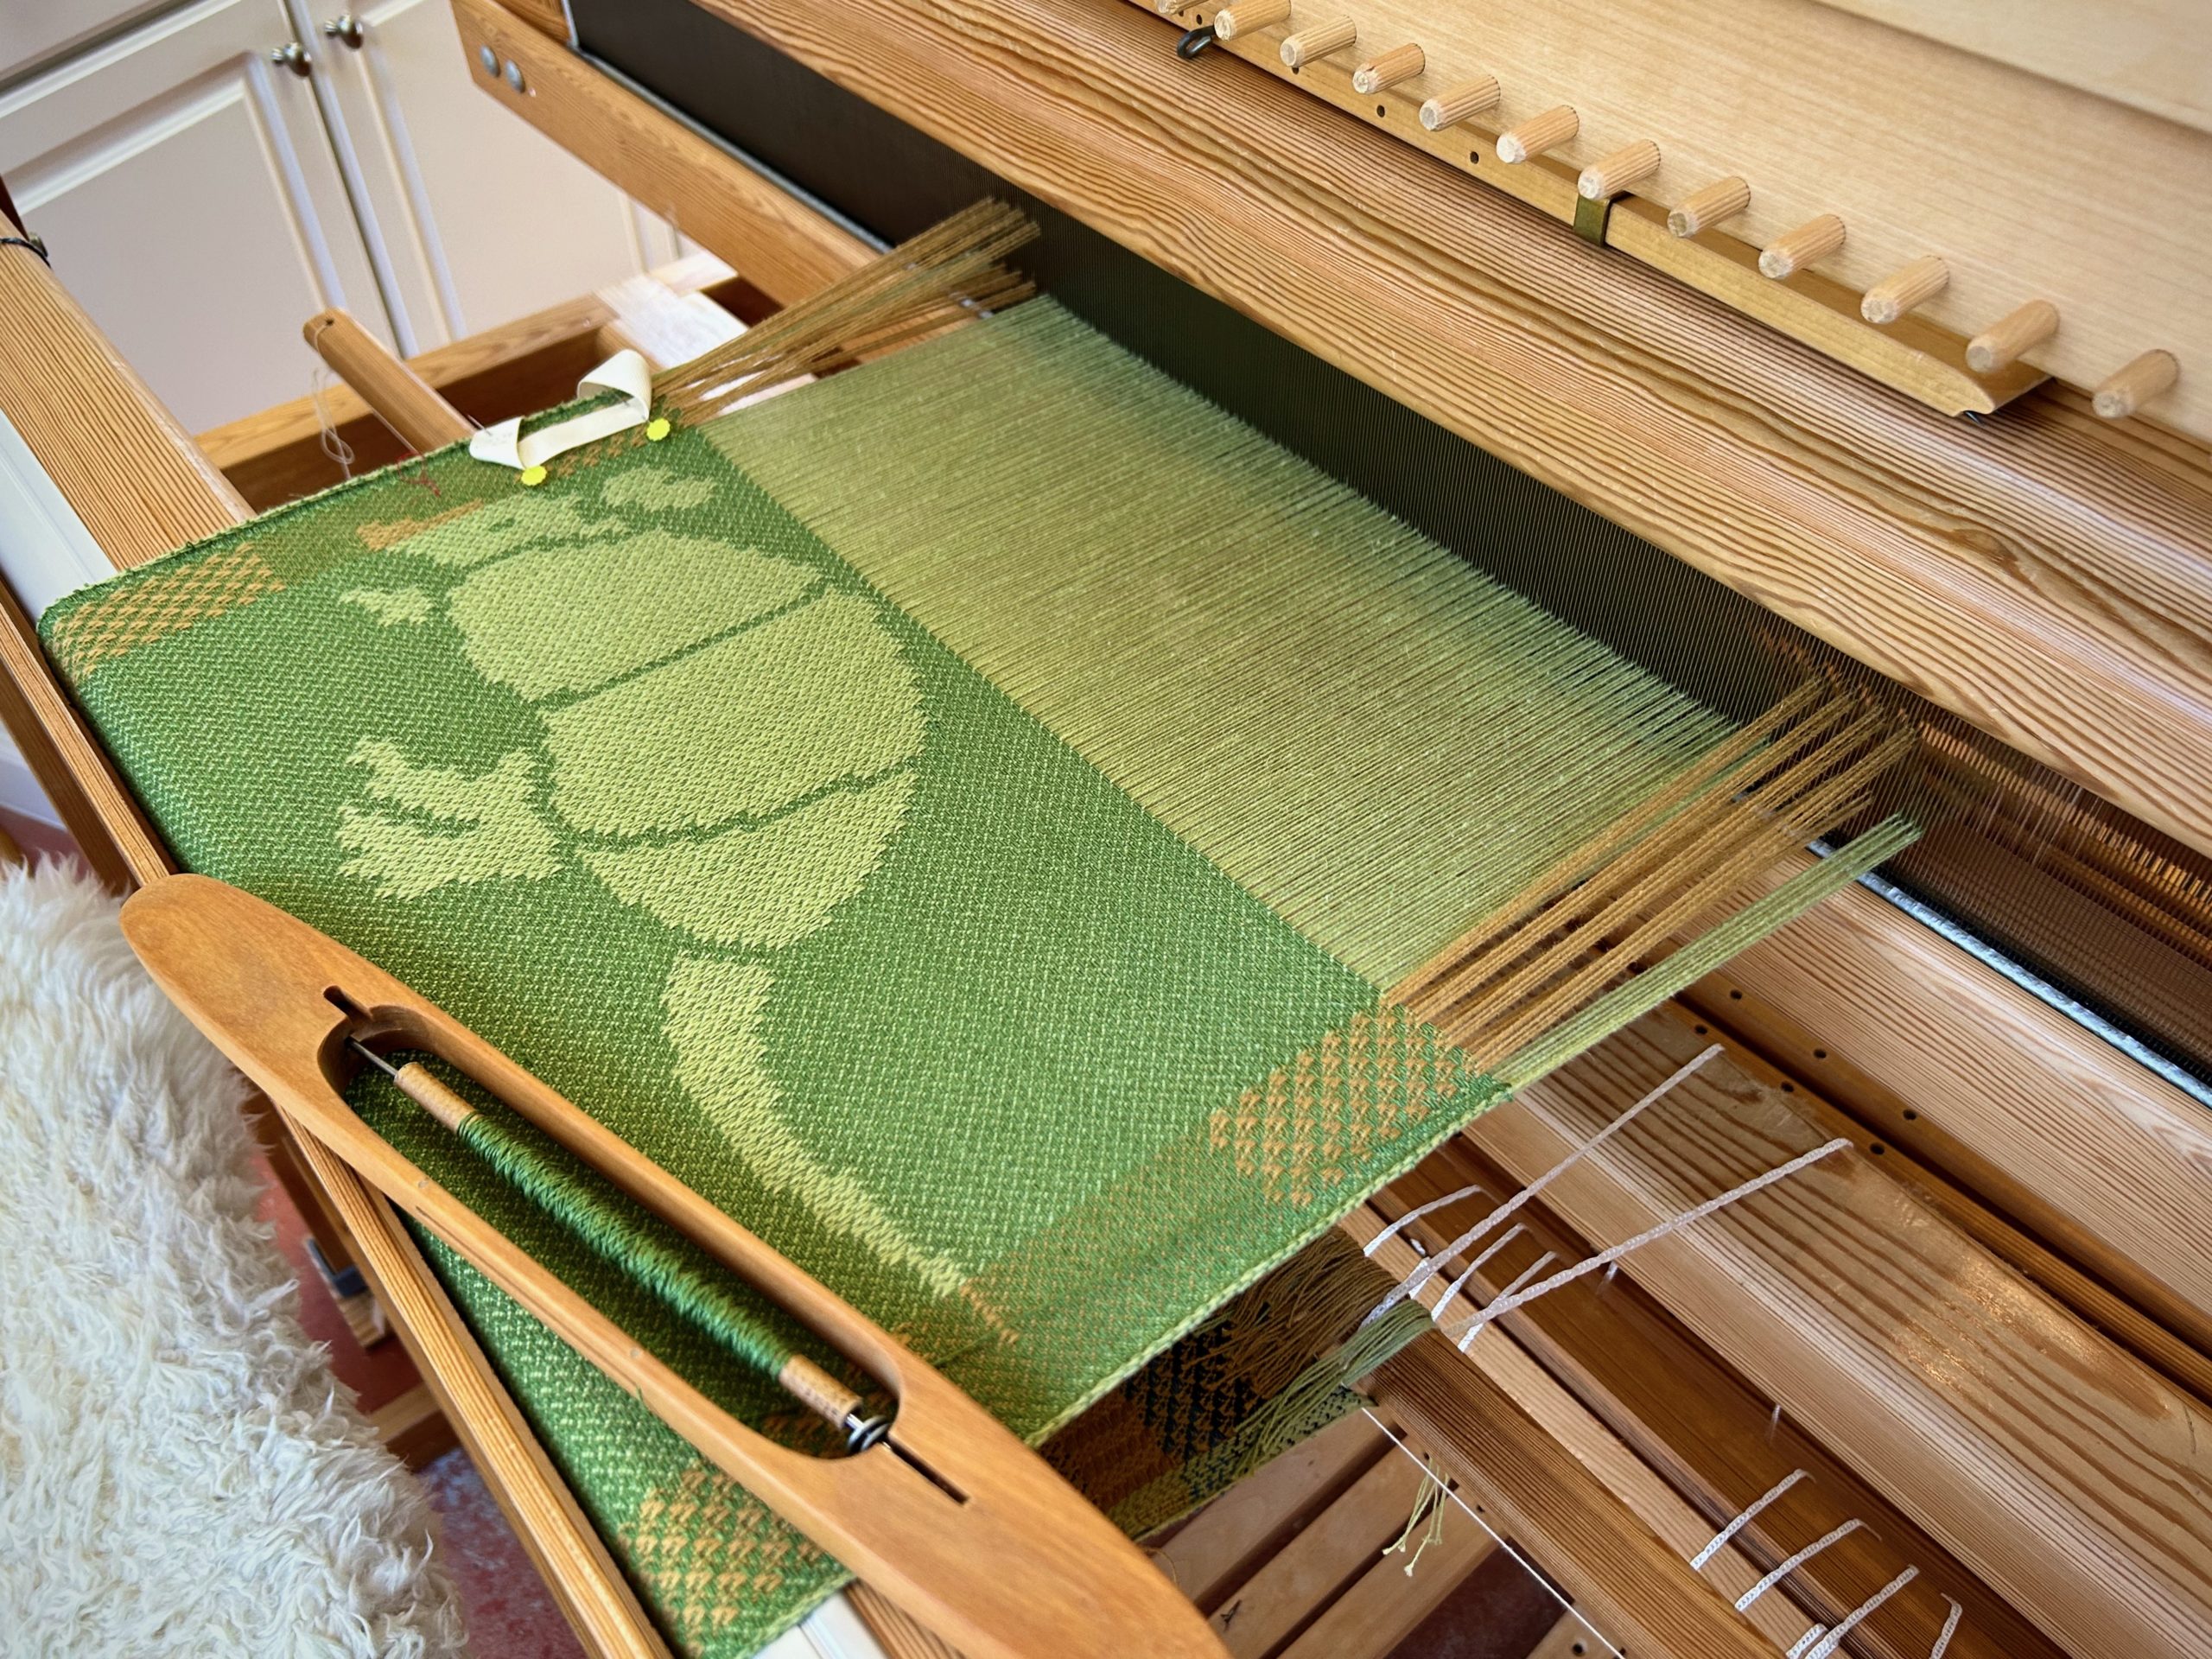
My husband and I coined the word “lapkin” when our children were young. Lap + napkin = lapkin. We wanted our children to learn the courtesy of placing a napkin on their lap when they were seated for a meal. “Lapkin check!” was a fun game we made of it. The armadillo on the drawloom is a lapkin, if I ever saw one. This thirsty cloth will soak up any drips and spills, smeary hands, or messy mouths that come in contact with it.
Napkin starts with a dark blue hem and gold checkerboard border. I like this view which makes it look like the armadillo feet have really long legs. Single unitdraw cords are pulled (drawn) to raise warp ends that form the pattern in the cloth.Armadillo reaches into one border with its snout, and into the other border with its tail.
Armadillo is the first of a dozen critters that will parade across this loom. Armadillo napkin is the only one of its kind. I’m certain of that. (Fox is up next.)
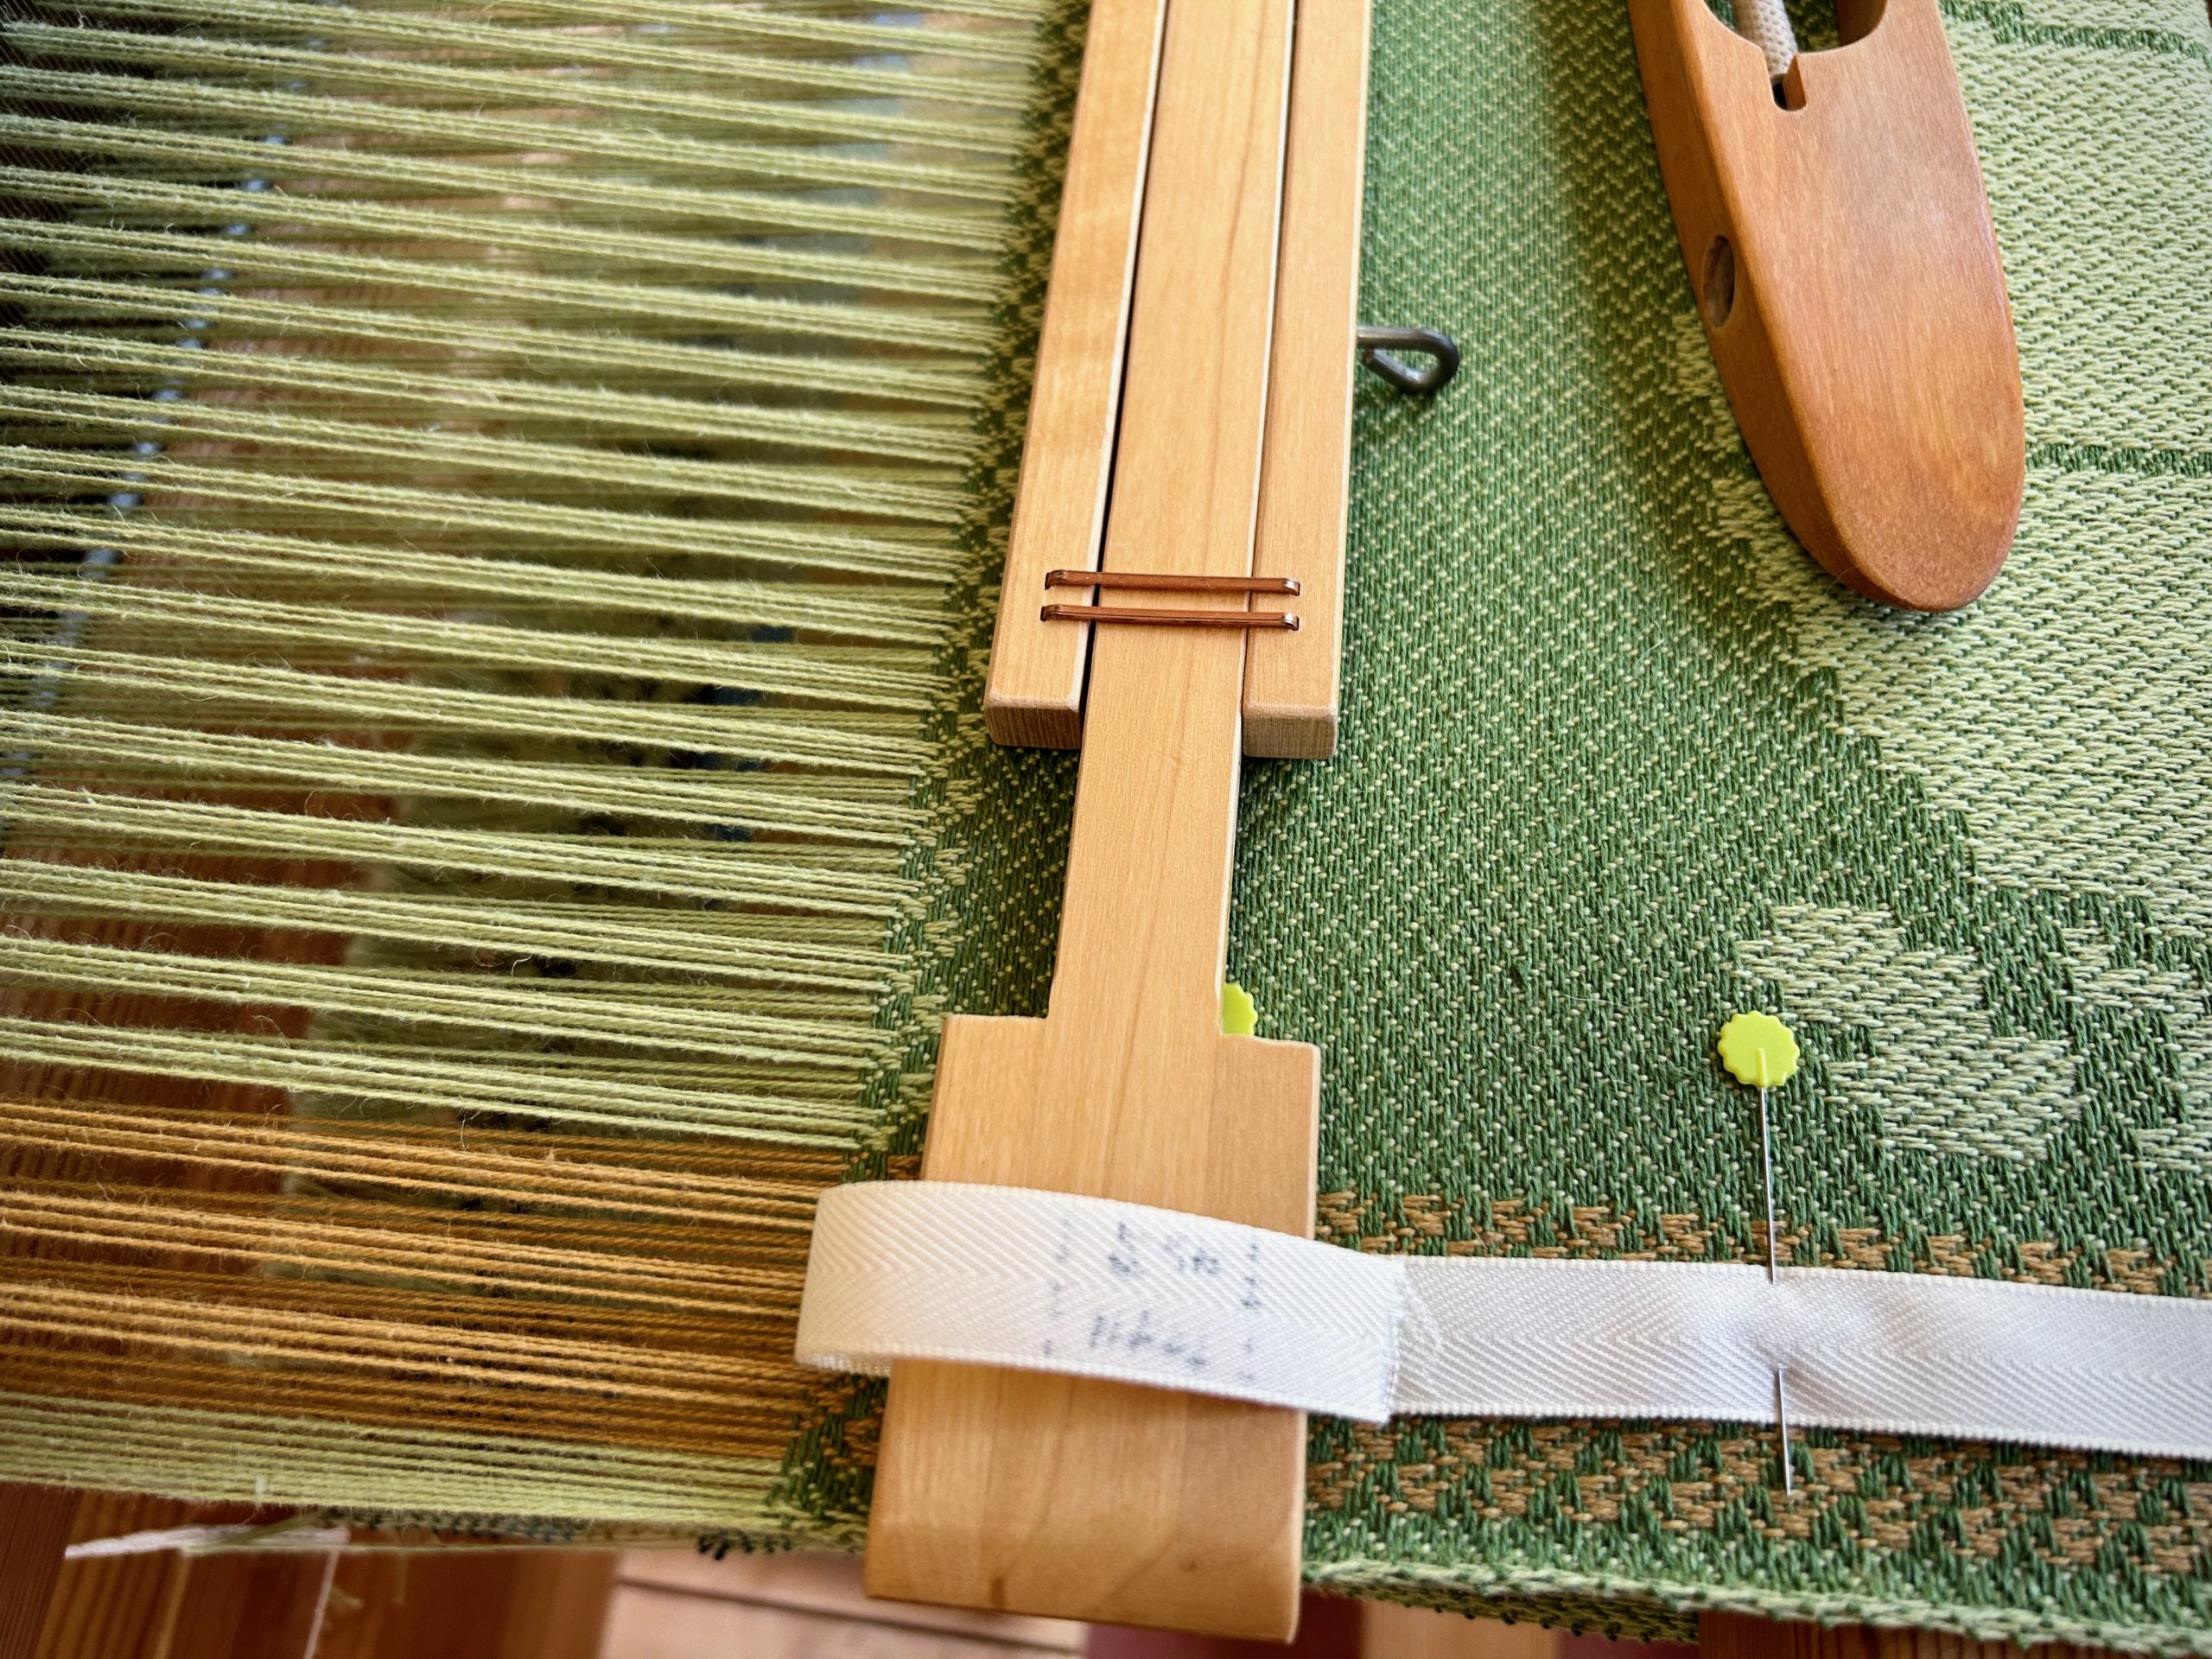
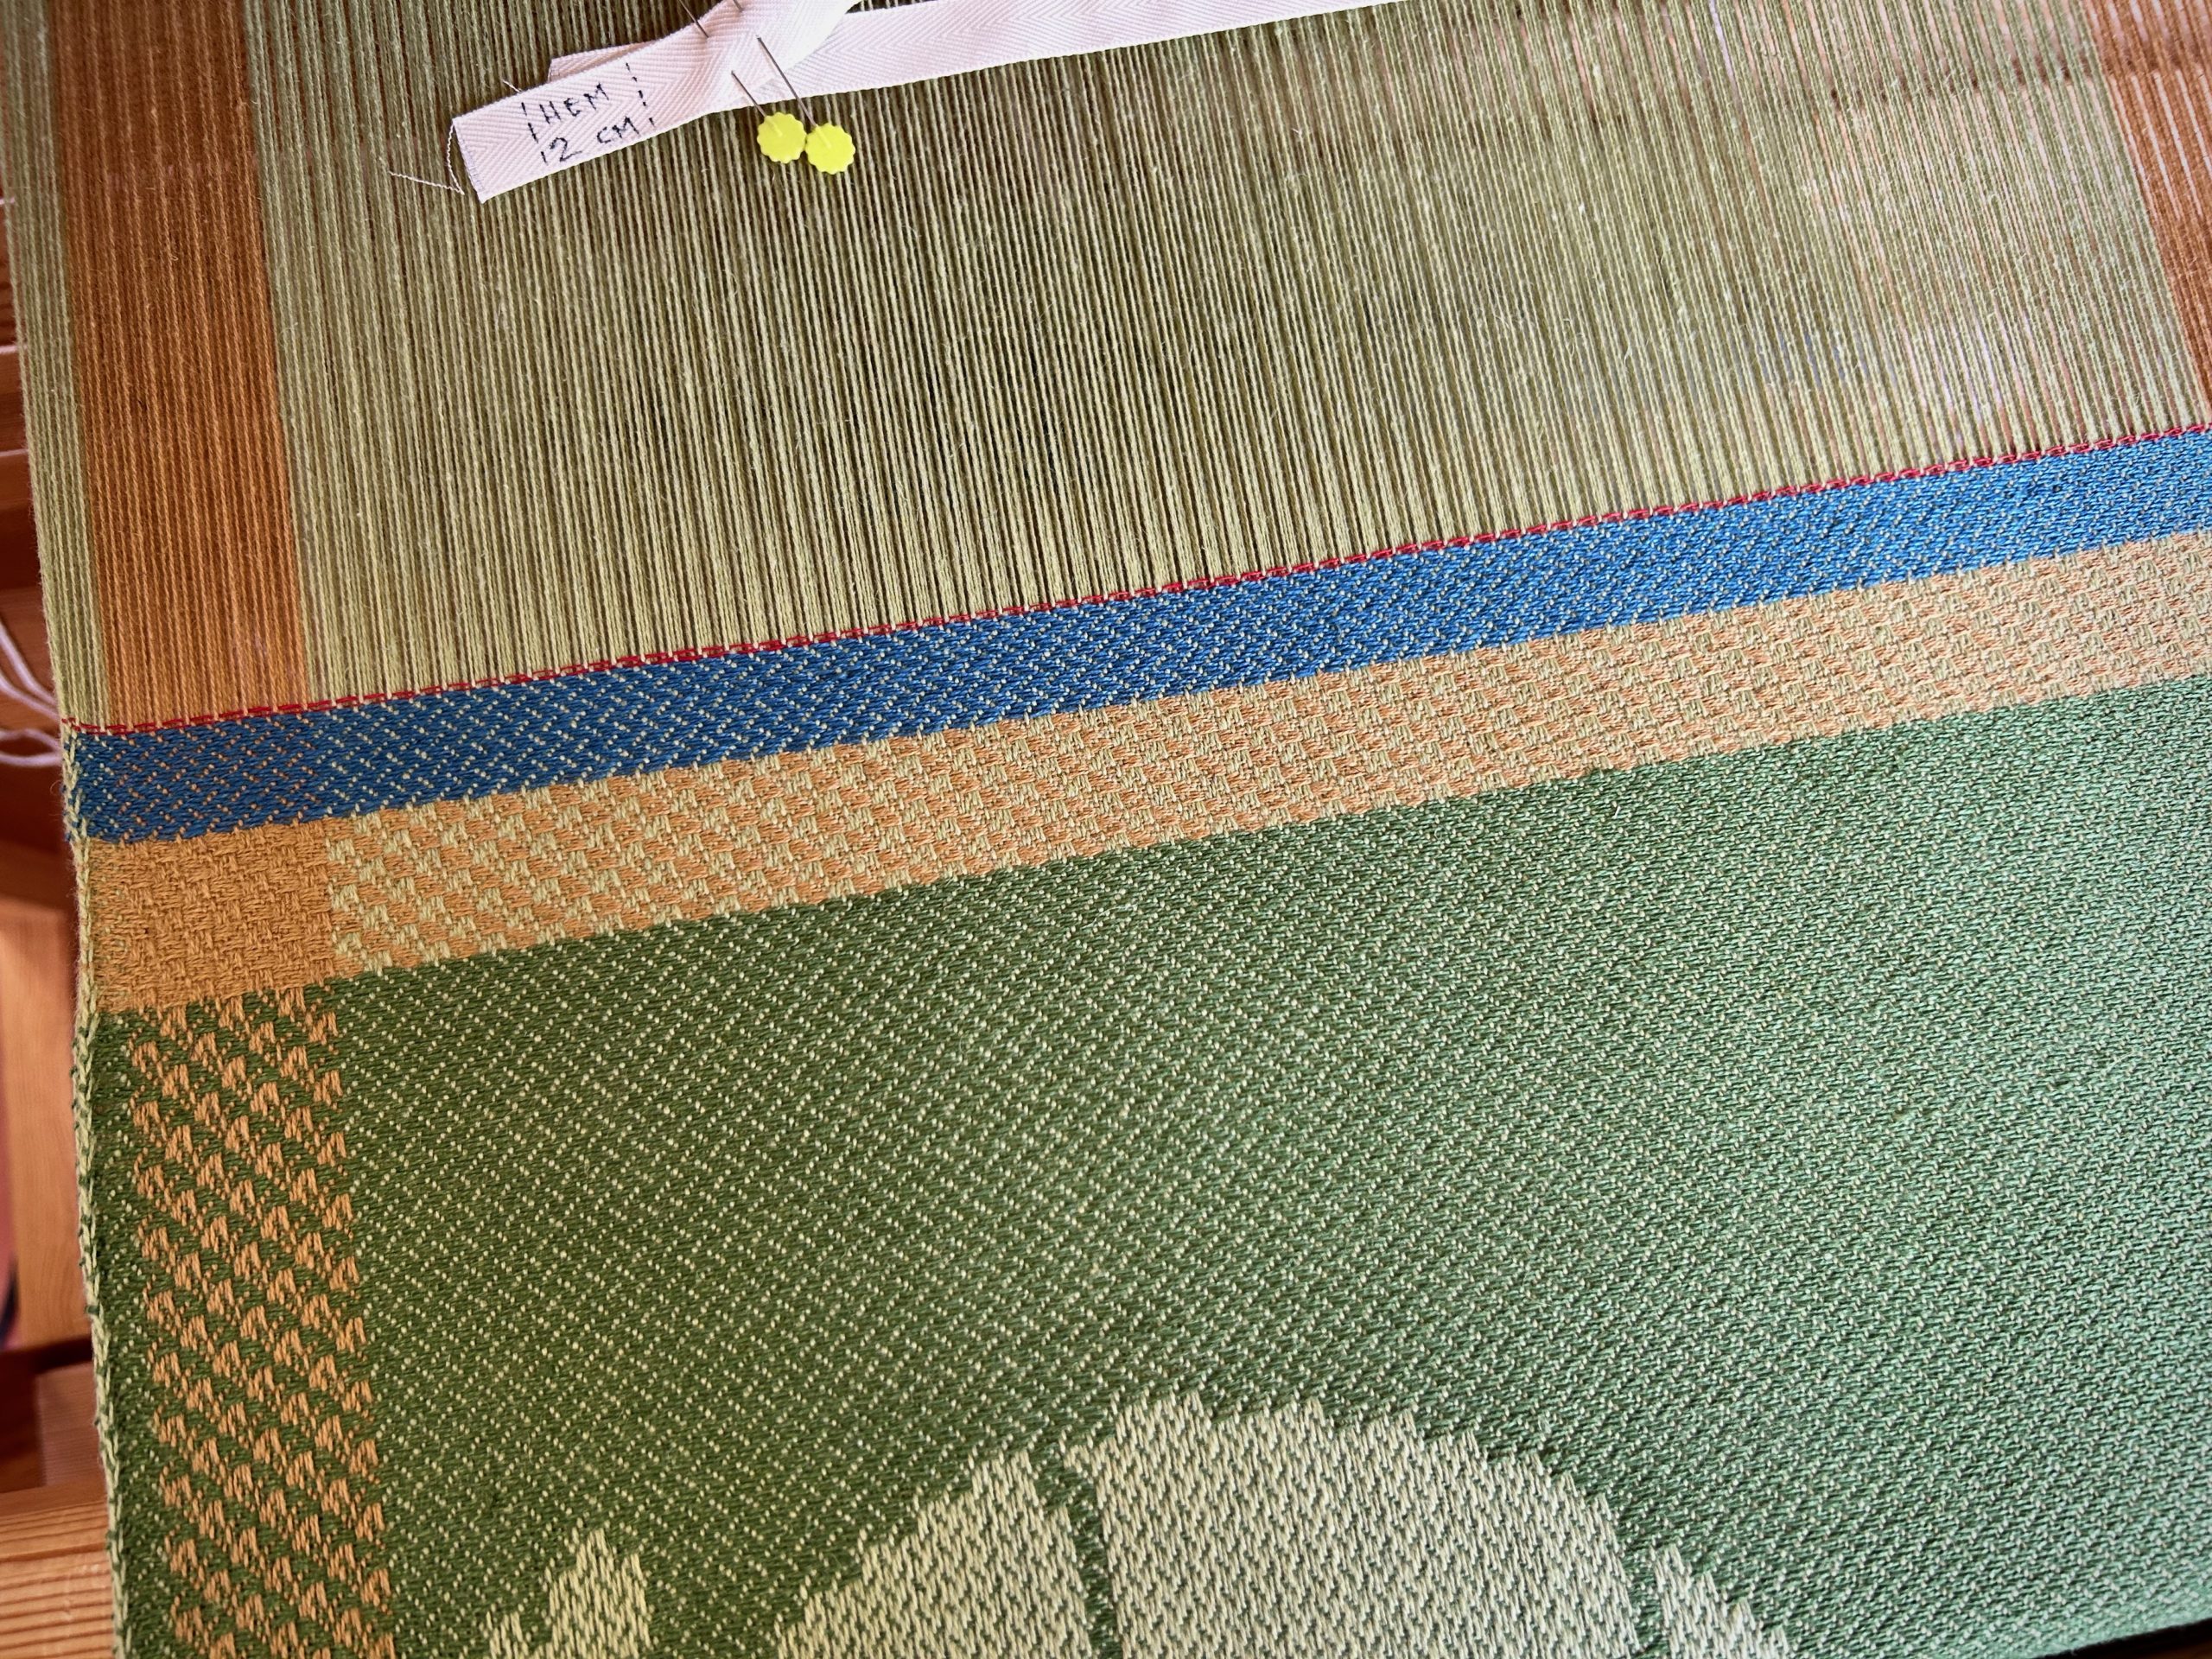
Simple checkerboard side borders give a fun outline to every napkin.Just a few pattern shafts (six draw handles) are needed for making the horizontal checkerboard border across the width of the napkins.Six-shaft broken twill makes an interesting all-over pattern in the cloth.Teal blue hem ends the Armadillo napkin. Red picks serve as a dividing/cutting line. Fox is next!
Lapkins give us a discreet way to stay tidy at the table. Armadillo, however, doesn’t intend to stay discreet. I’m pretty certain of that, too.
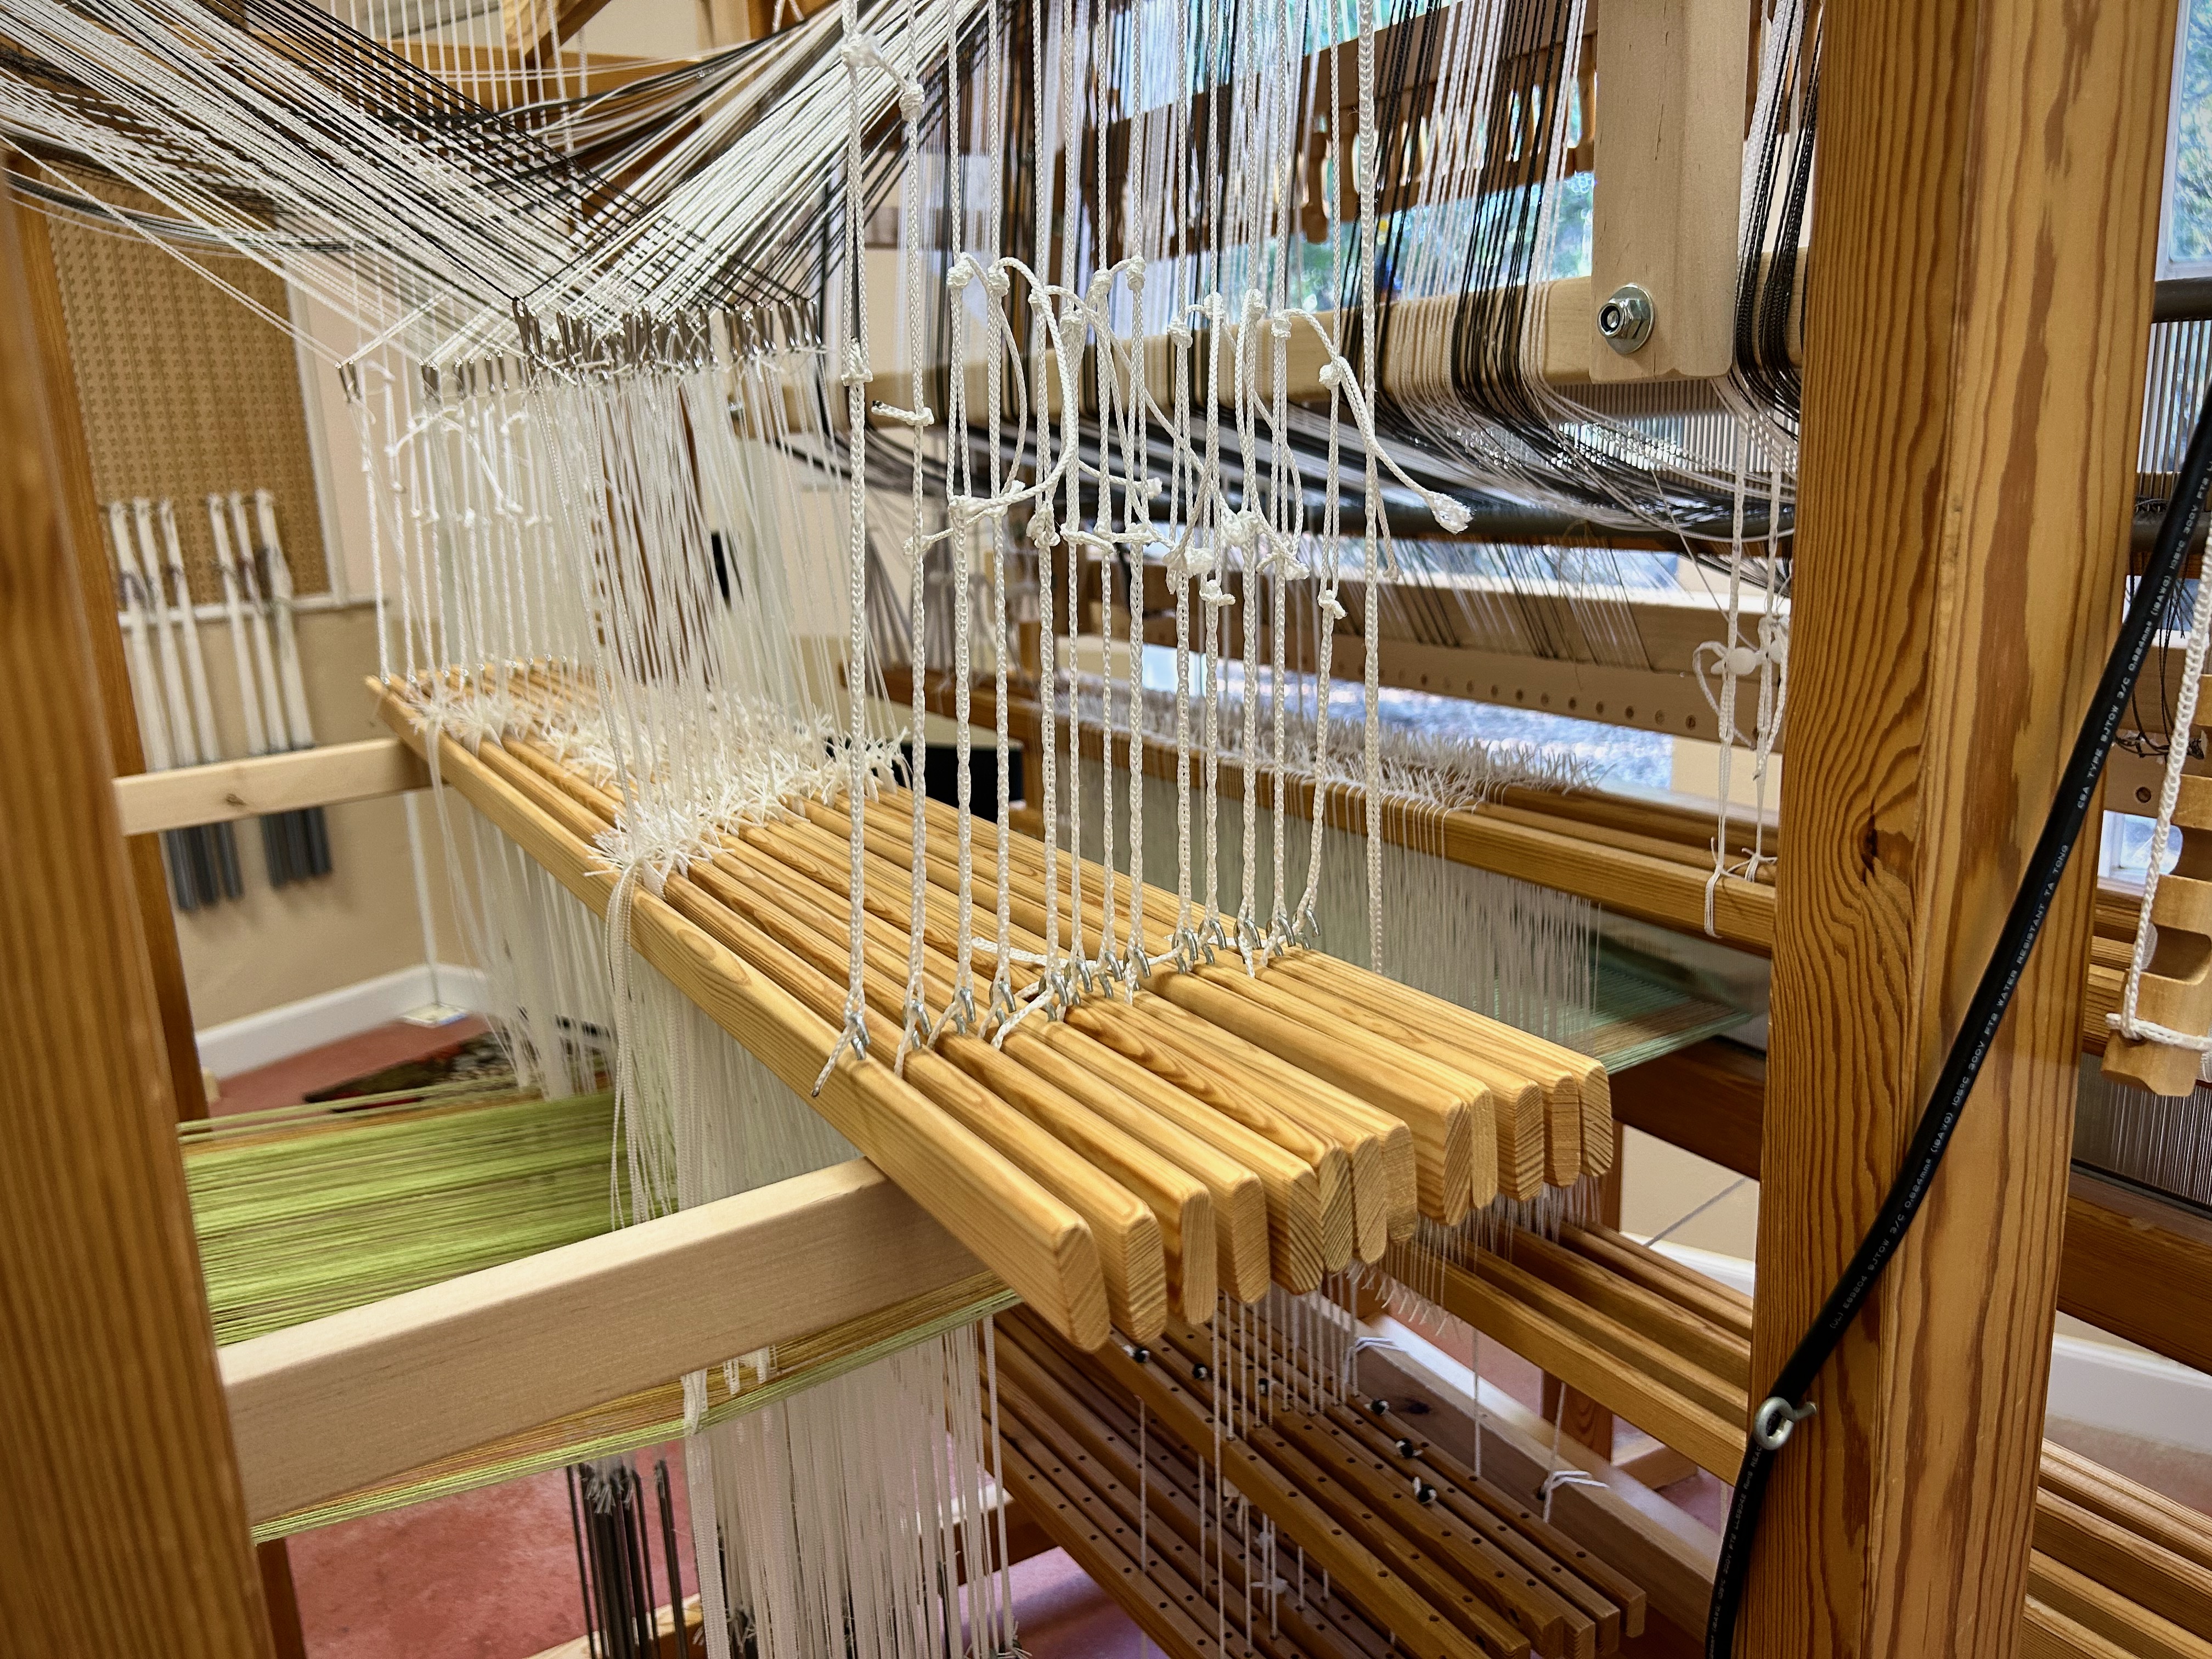
It pays to check your work. I have reached a new level of experience in distributing patterns shafts. I know how to do it backwards and forwards now. Literally. Unfortunately, I moved almost all of the pattern shafts before noticing that the spacing between units is not quite right. Uh oh! So, one by one, I reversed the distribution of pattern shafts to get back to the point of error—the very beginning. The reverse move was …more complicated.
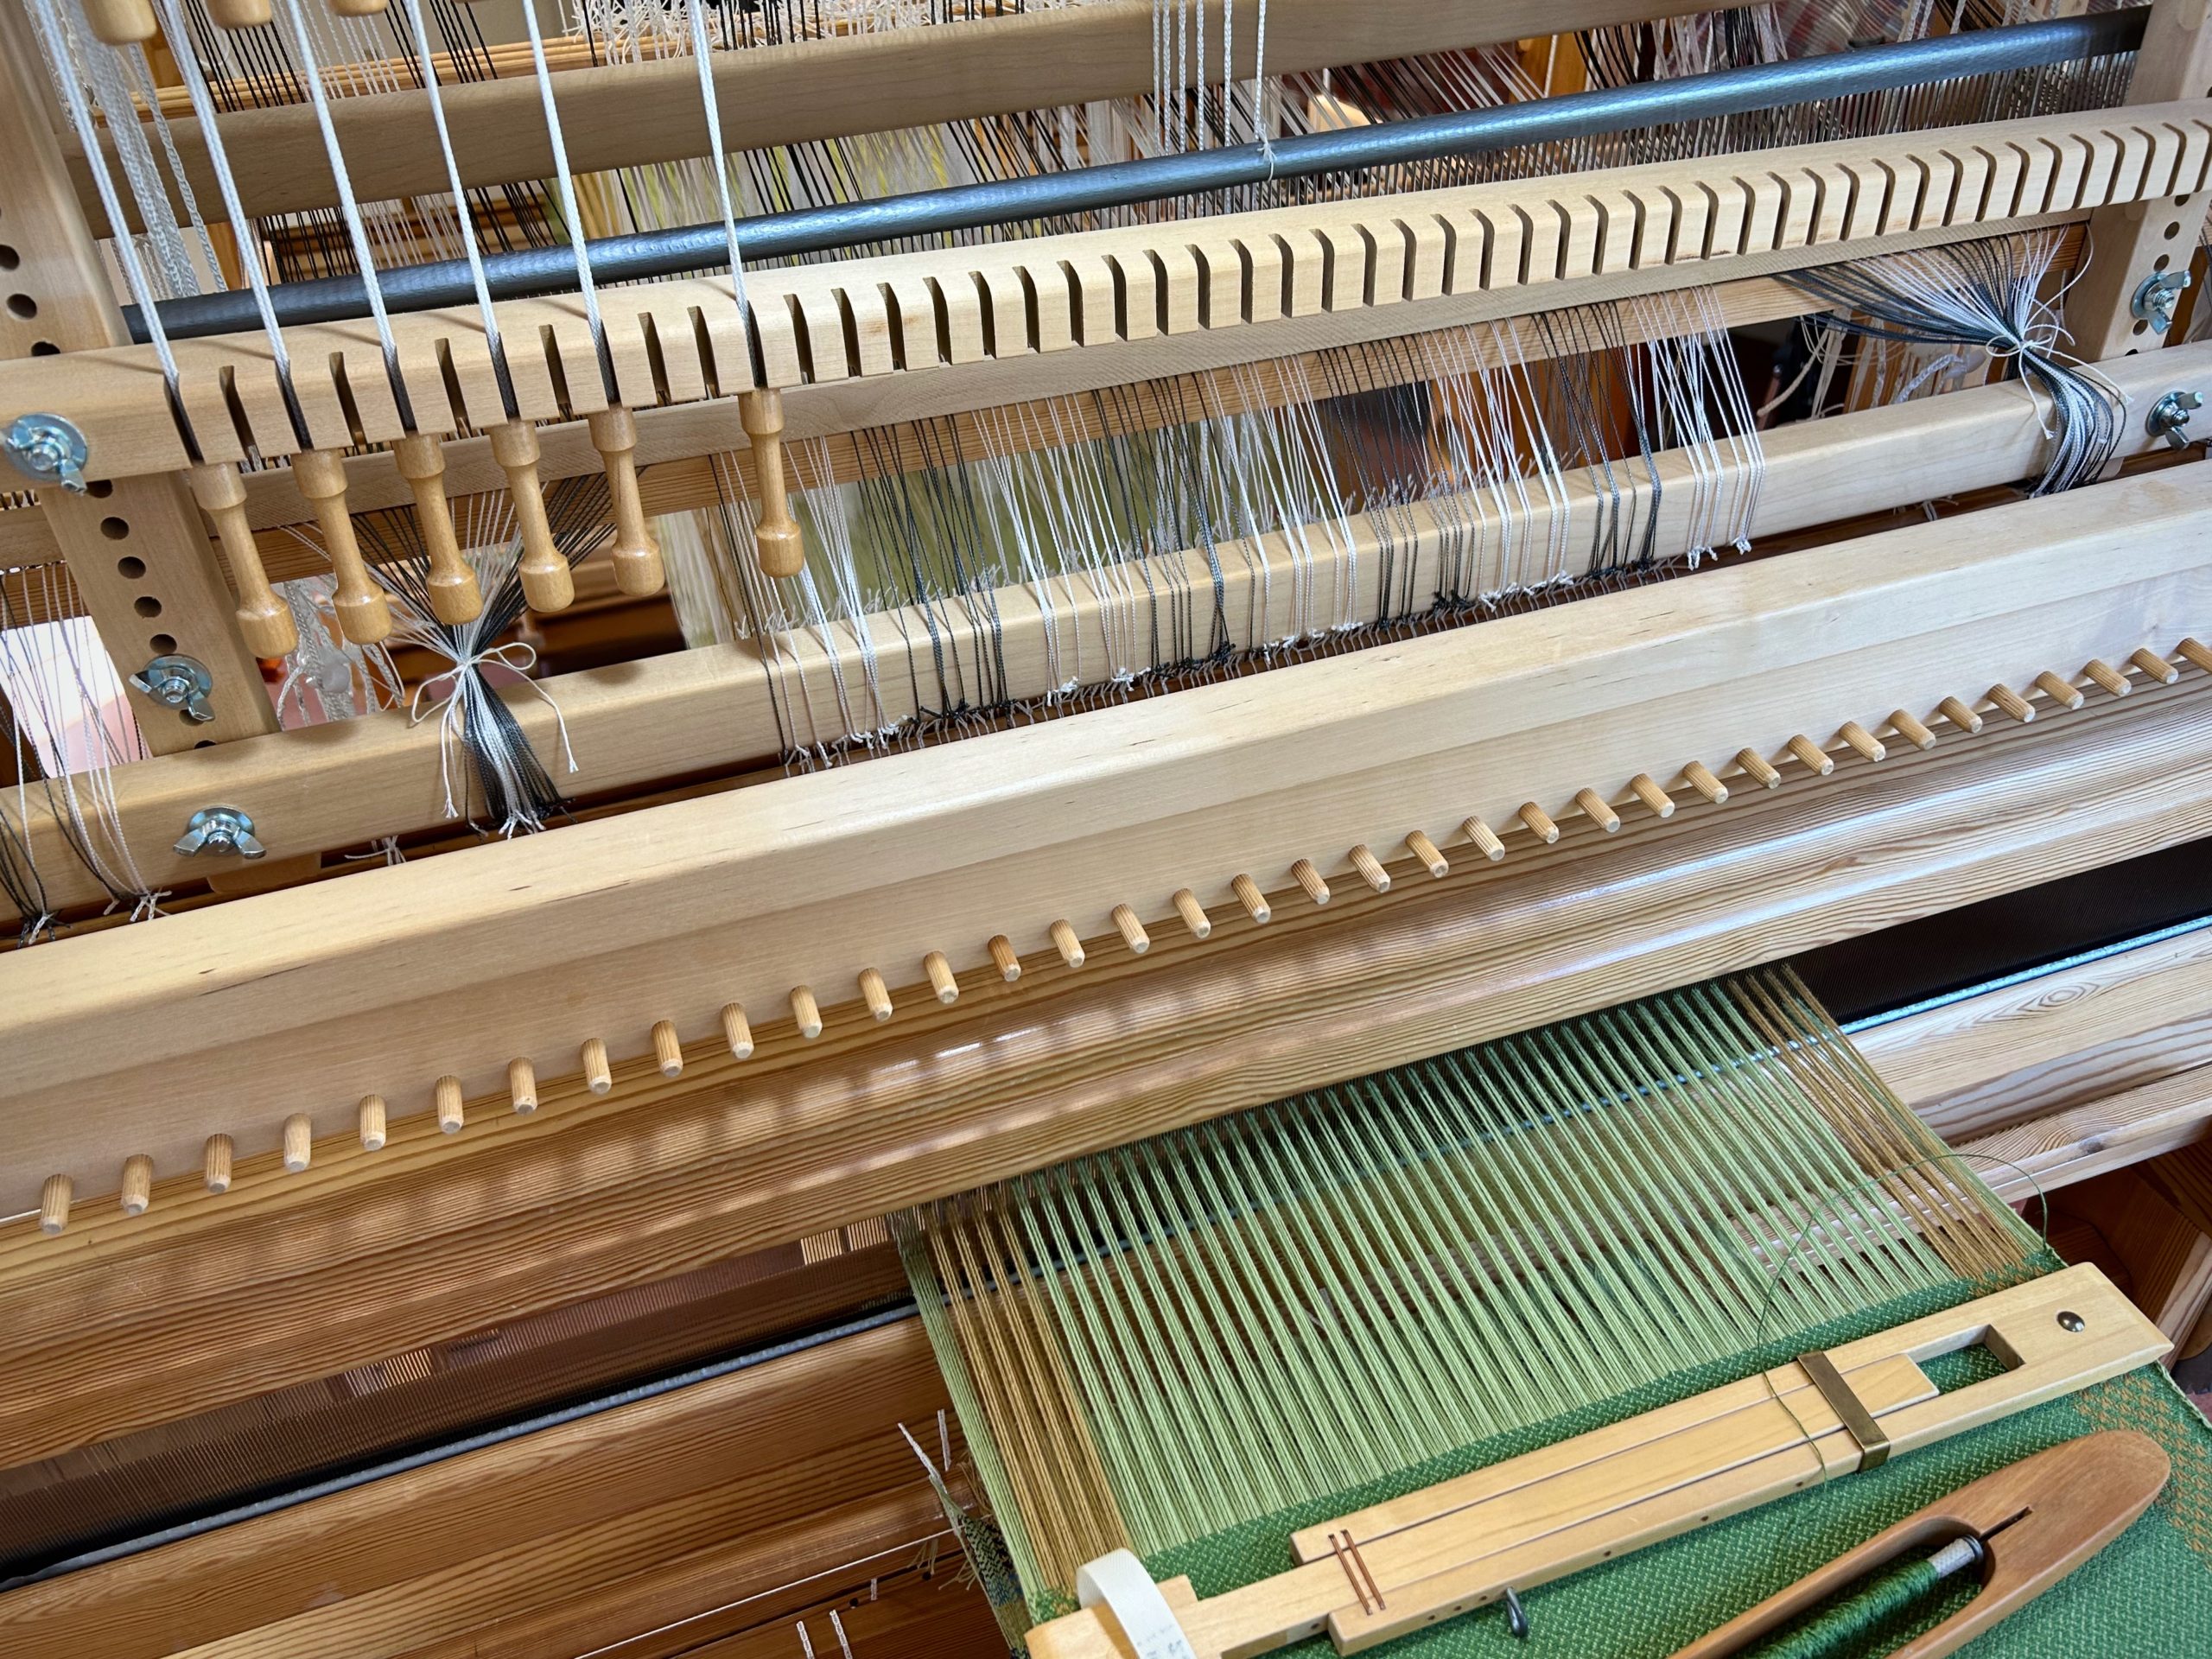
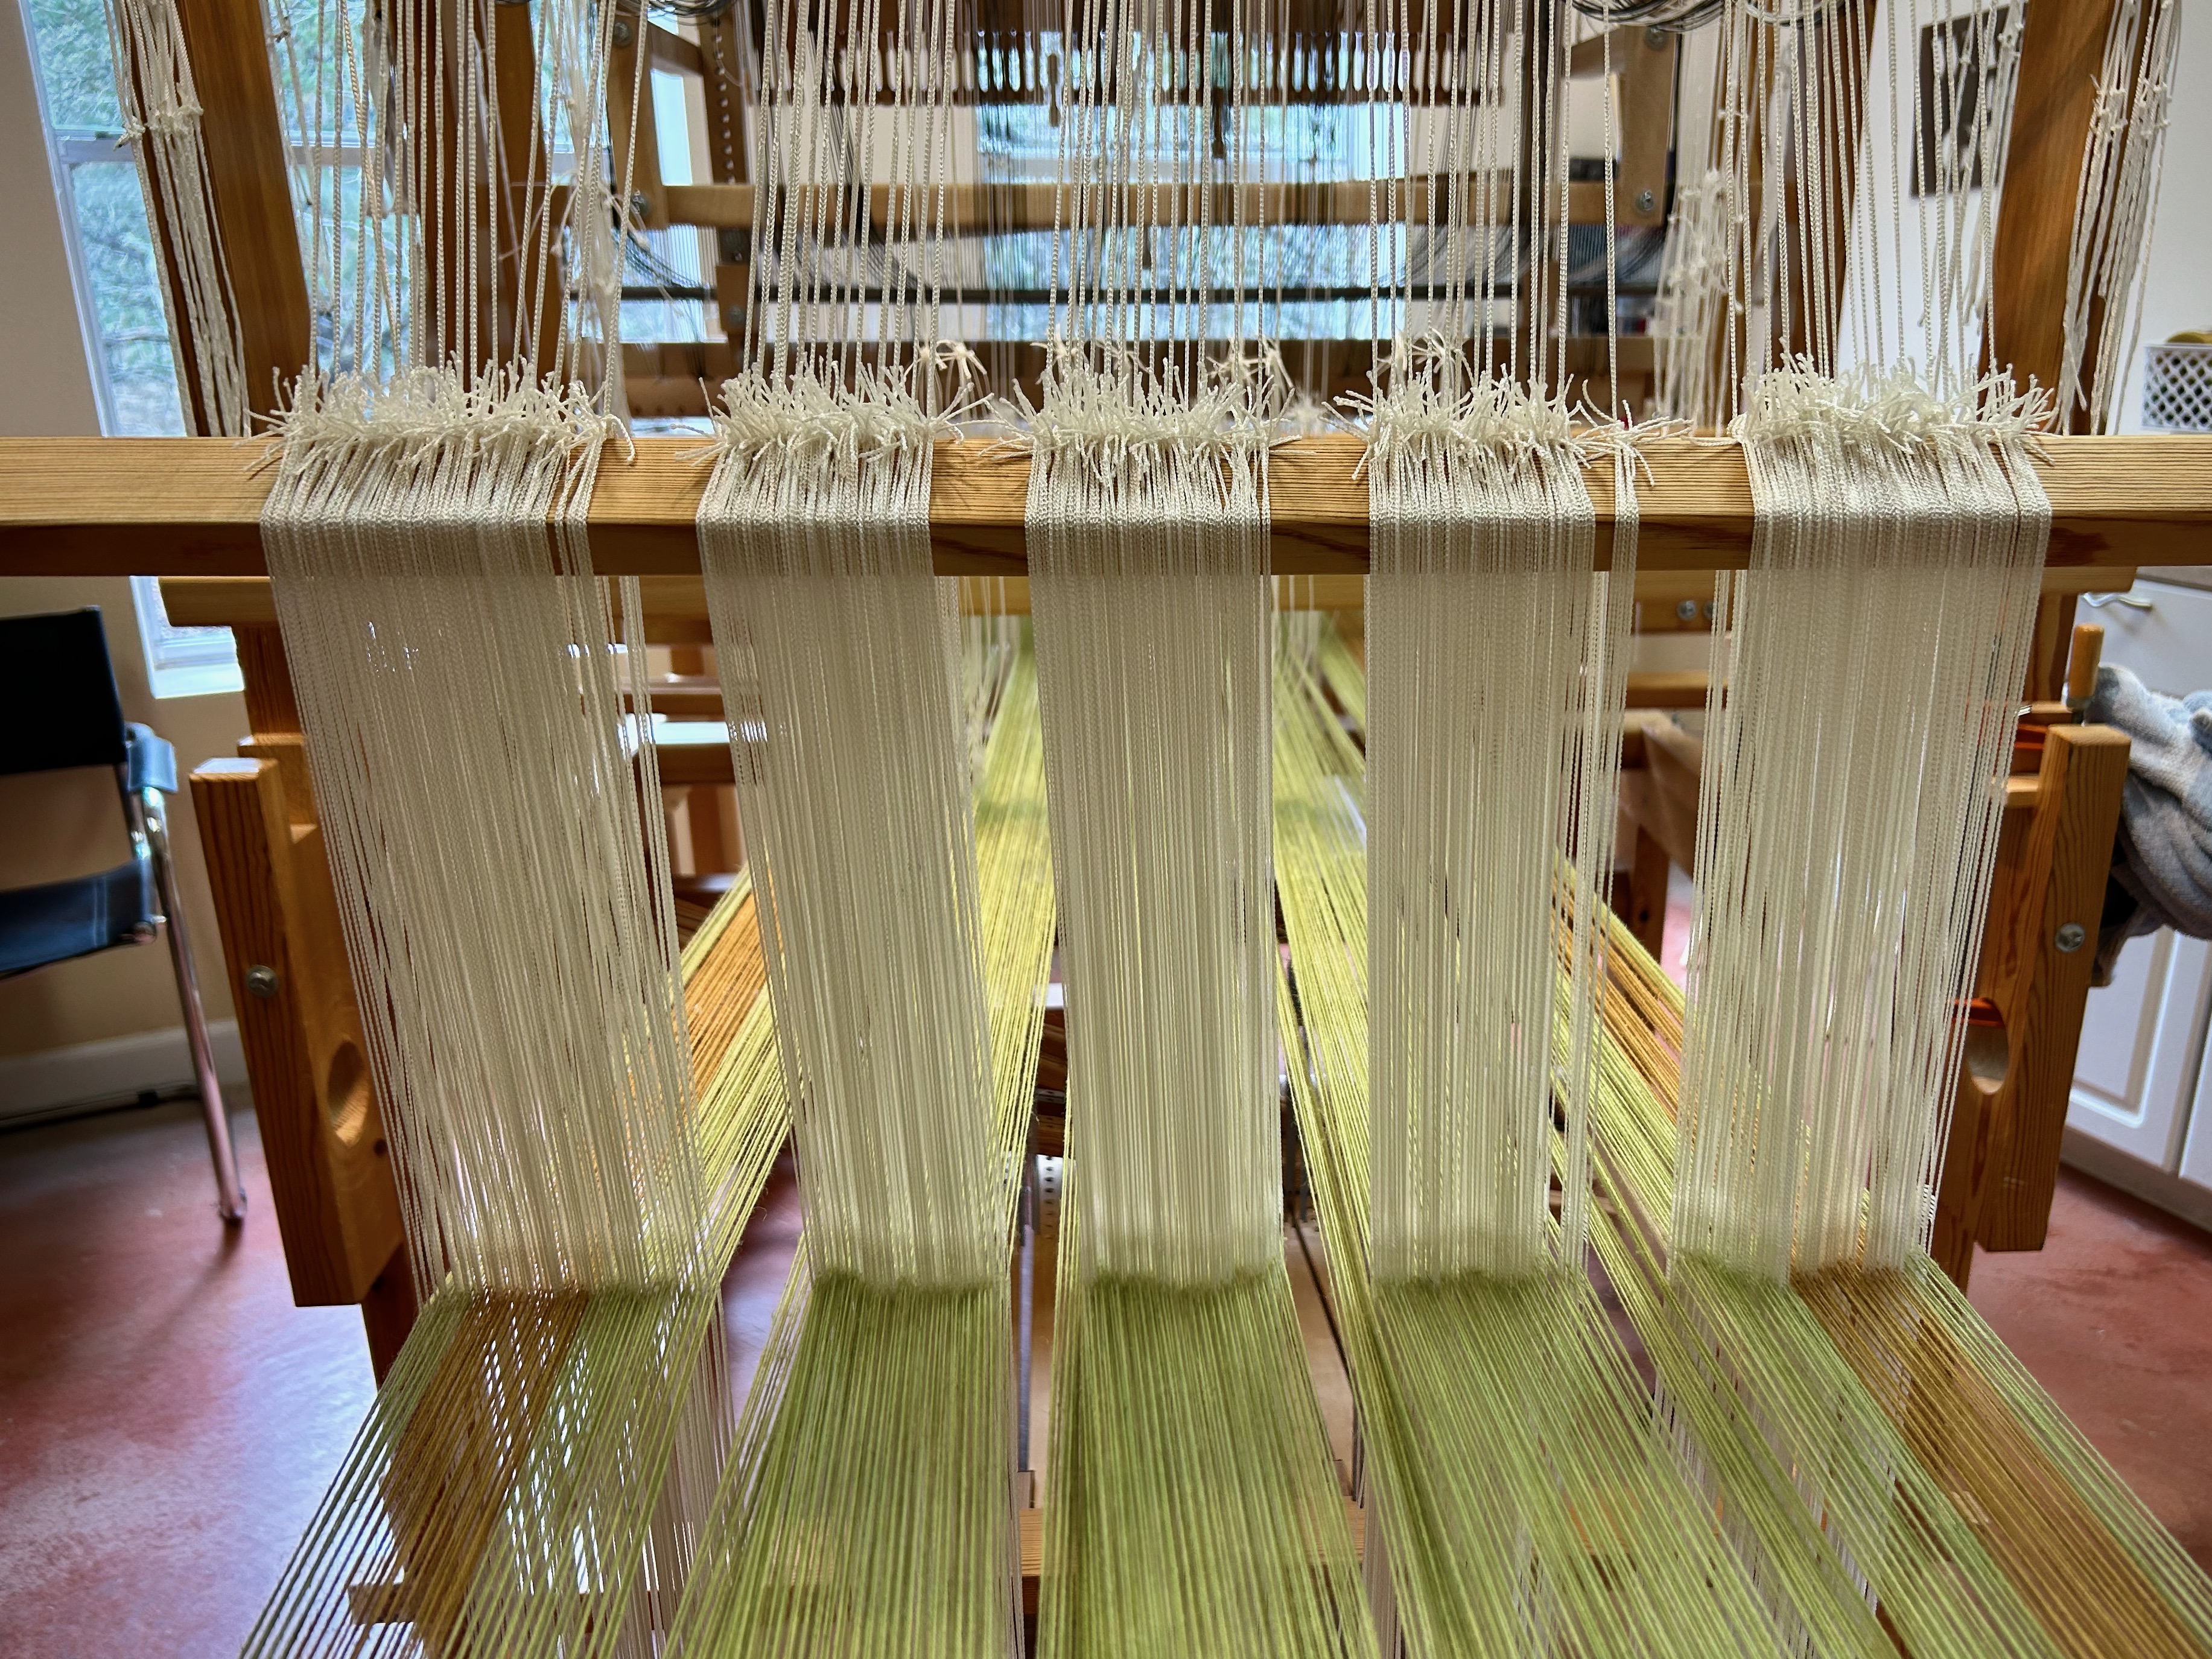
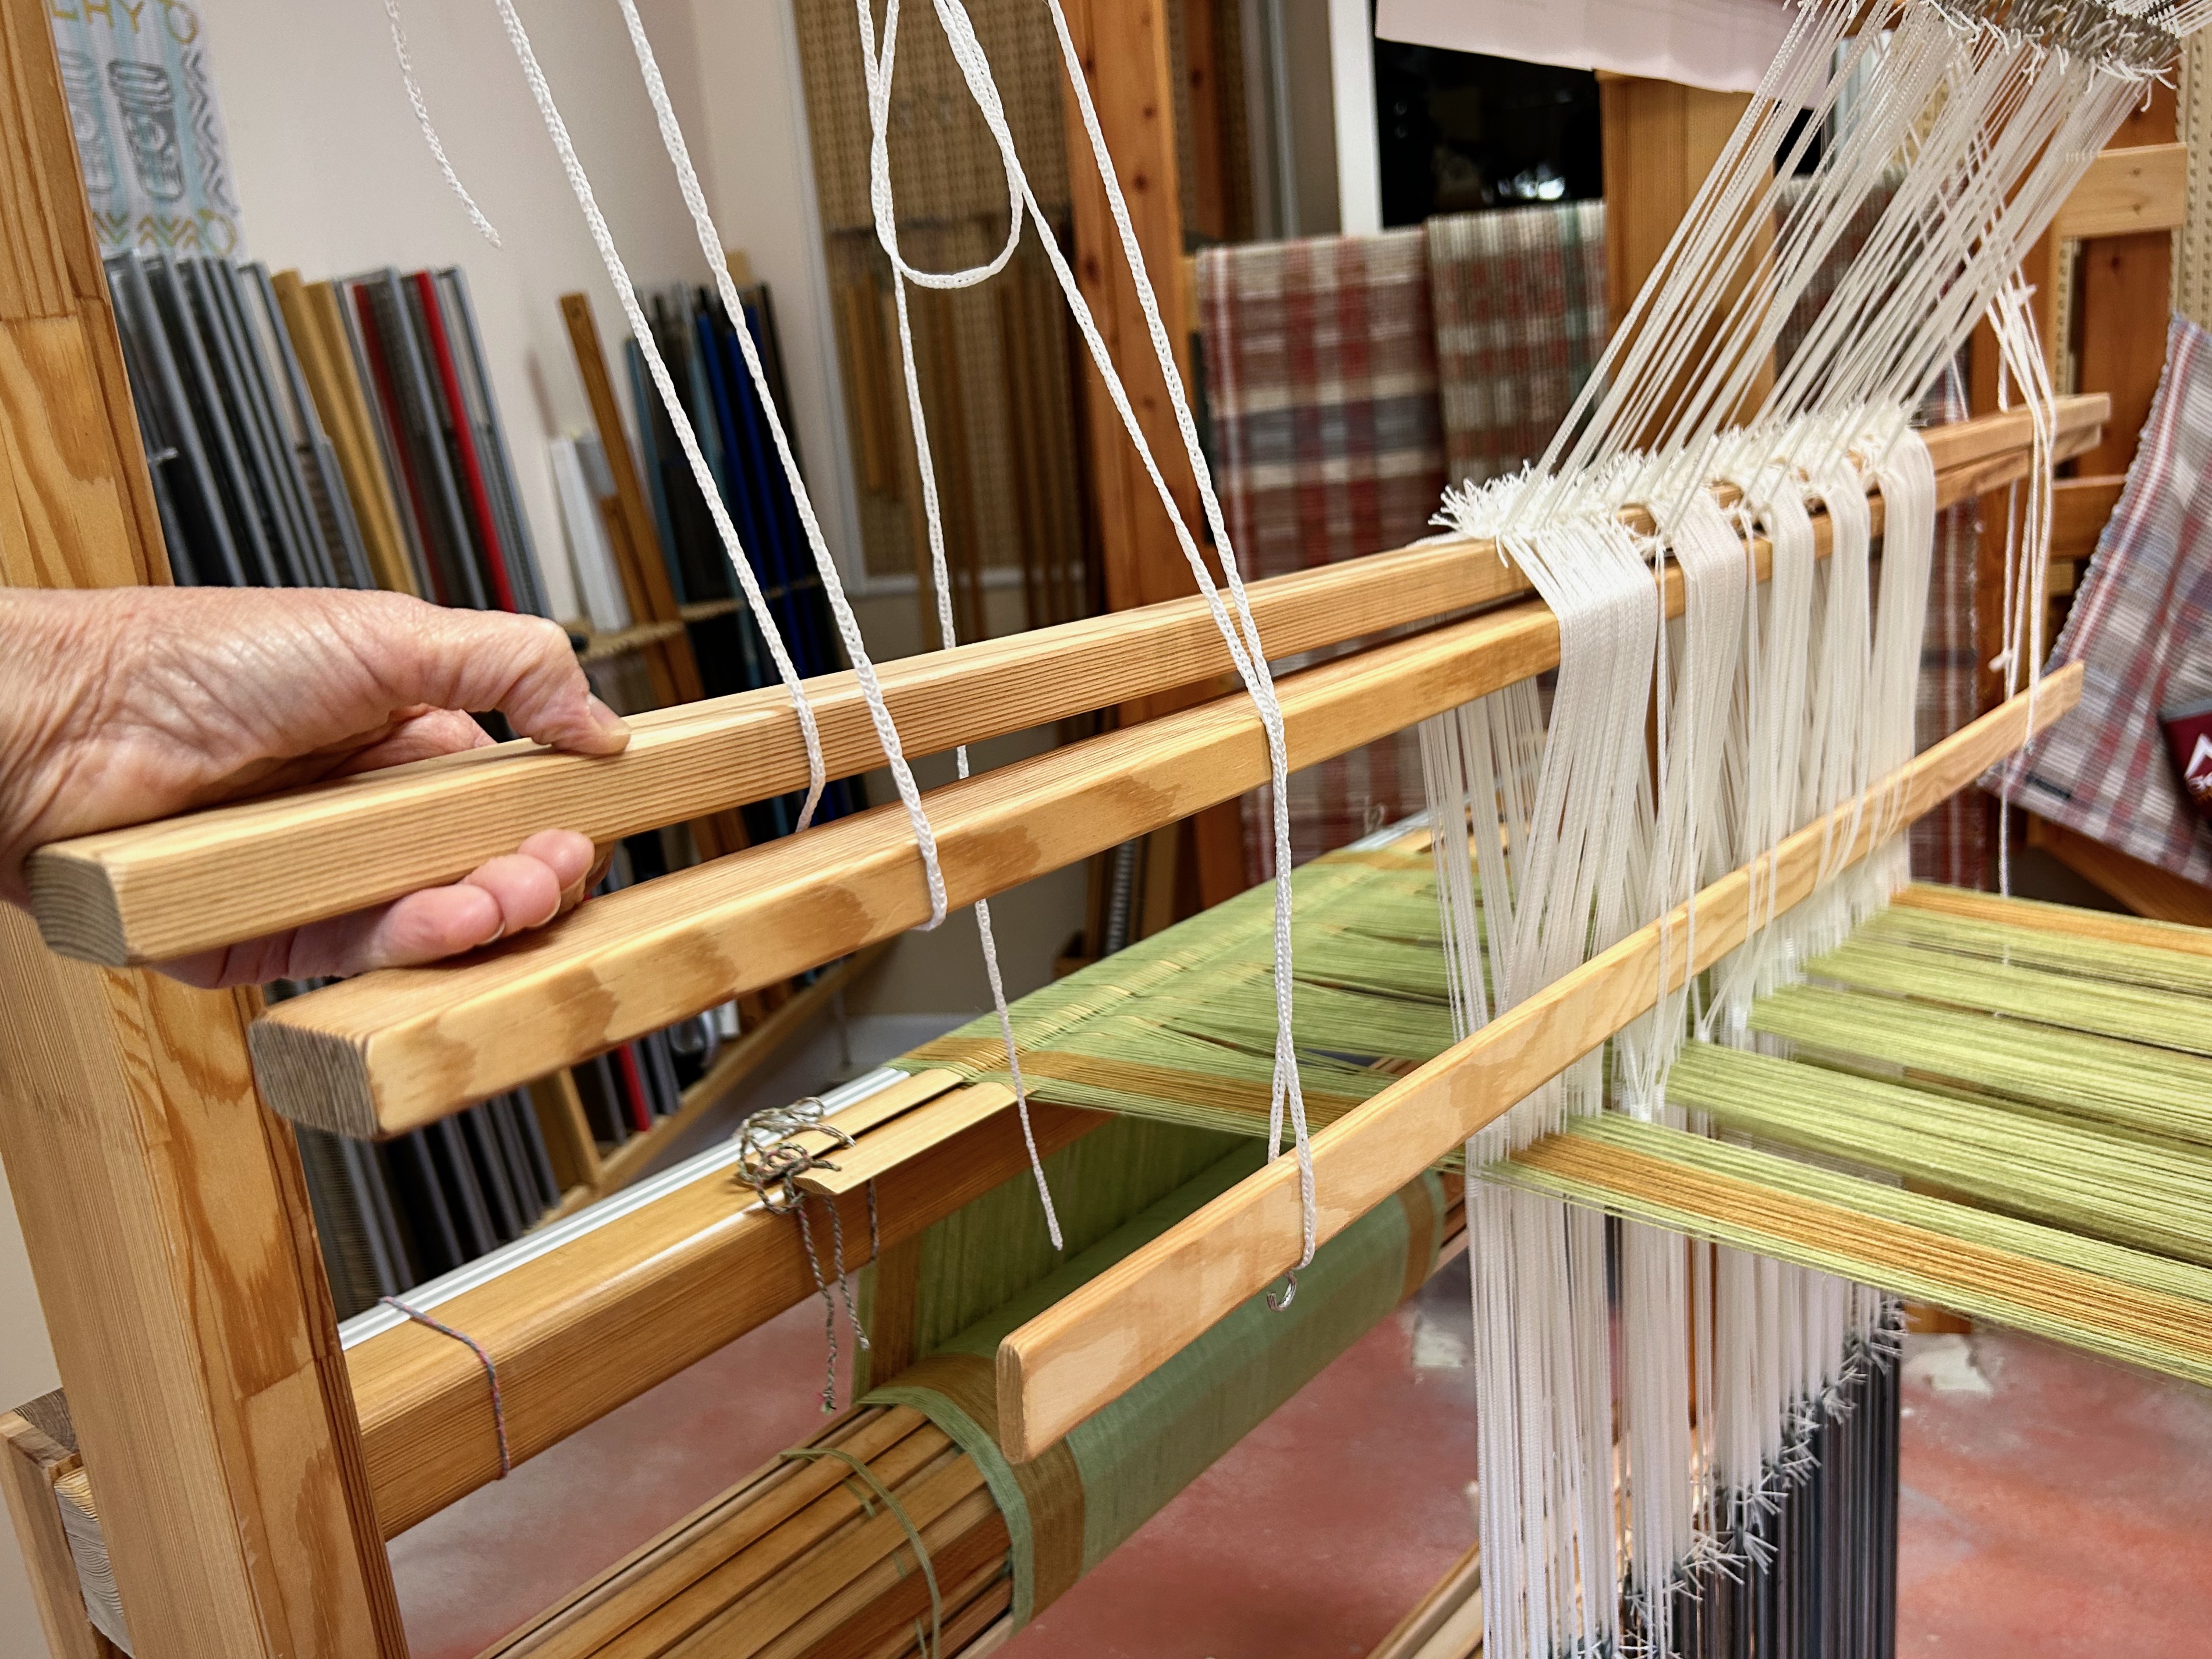
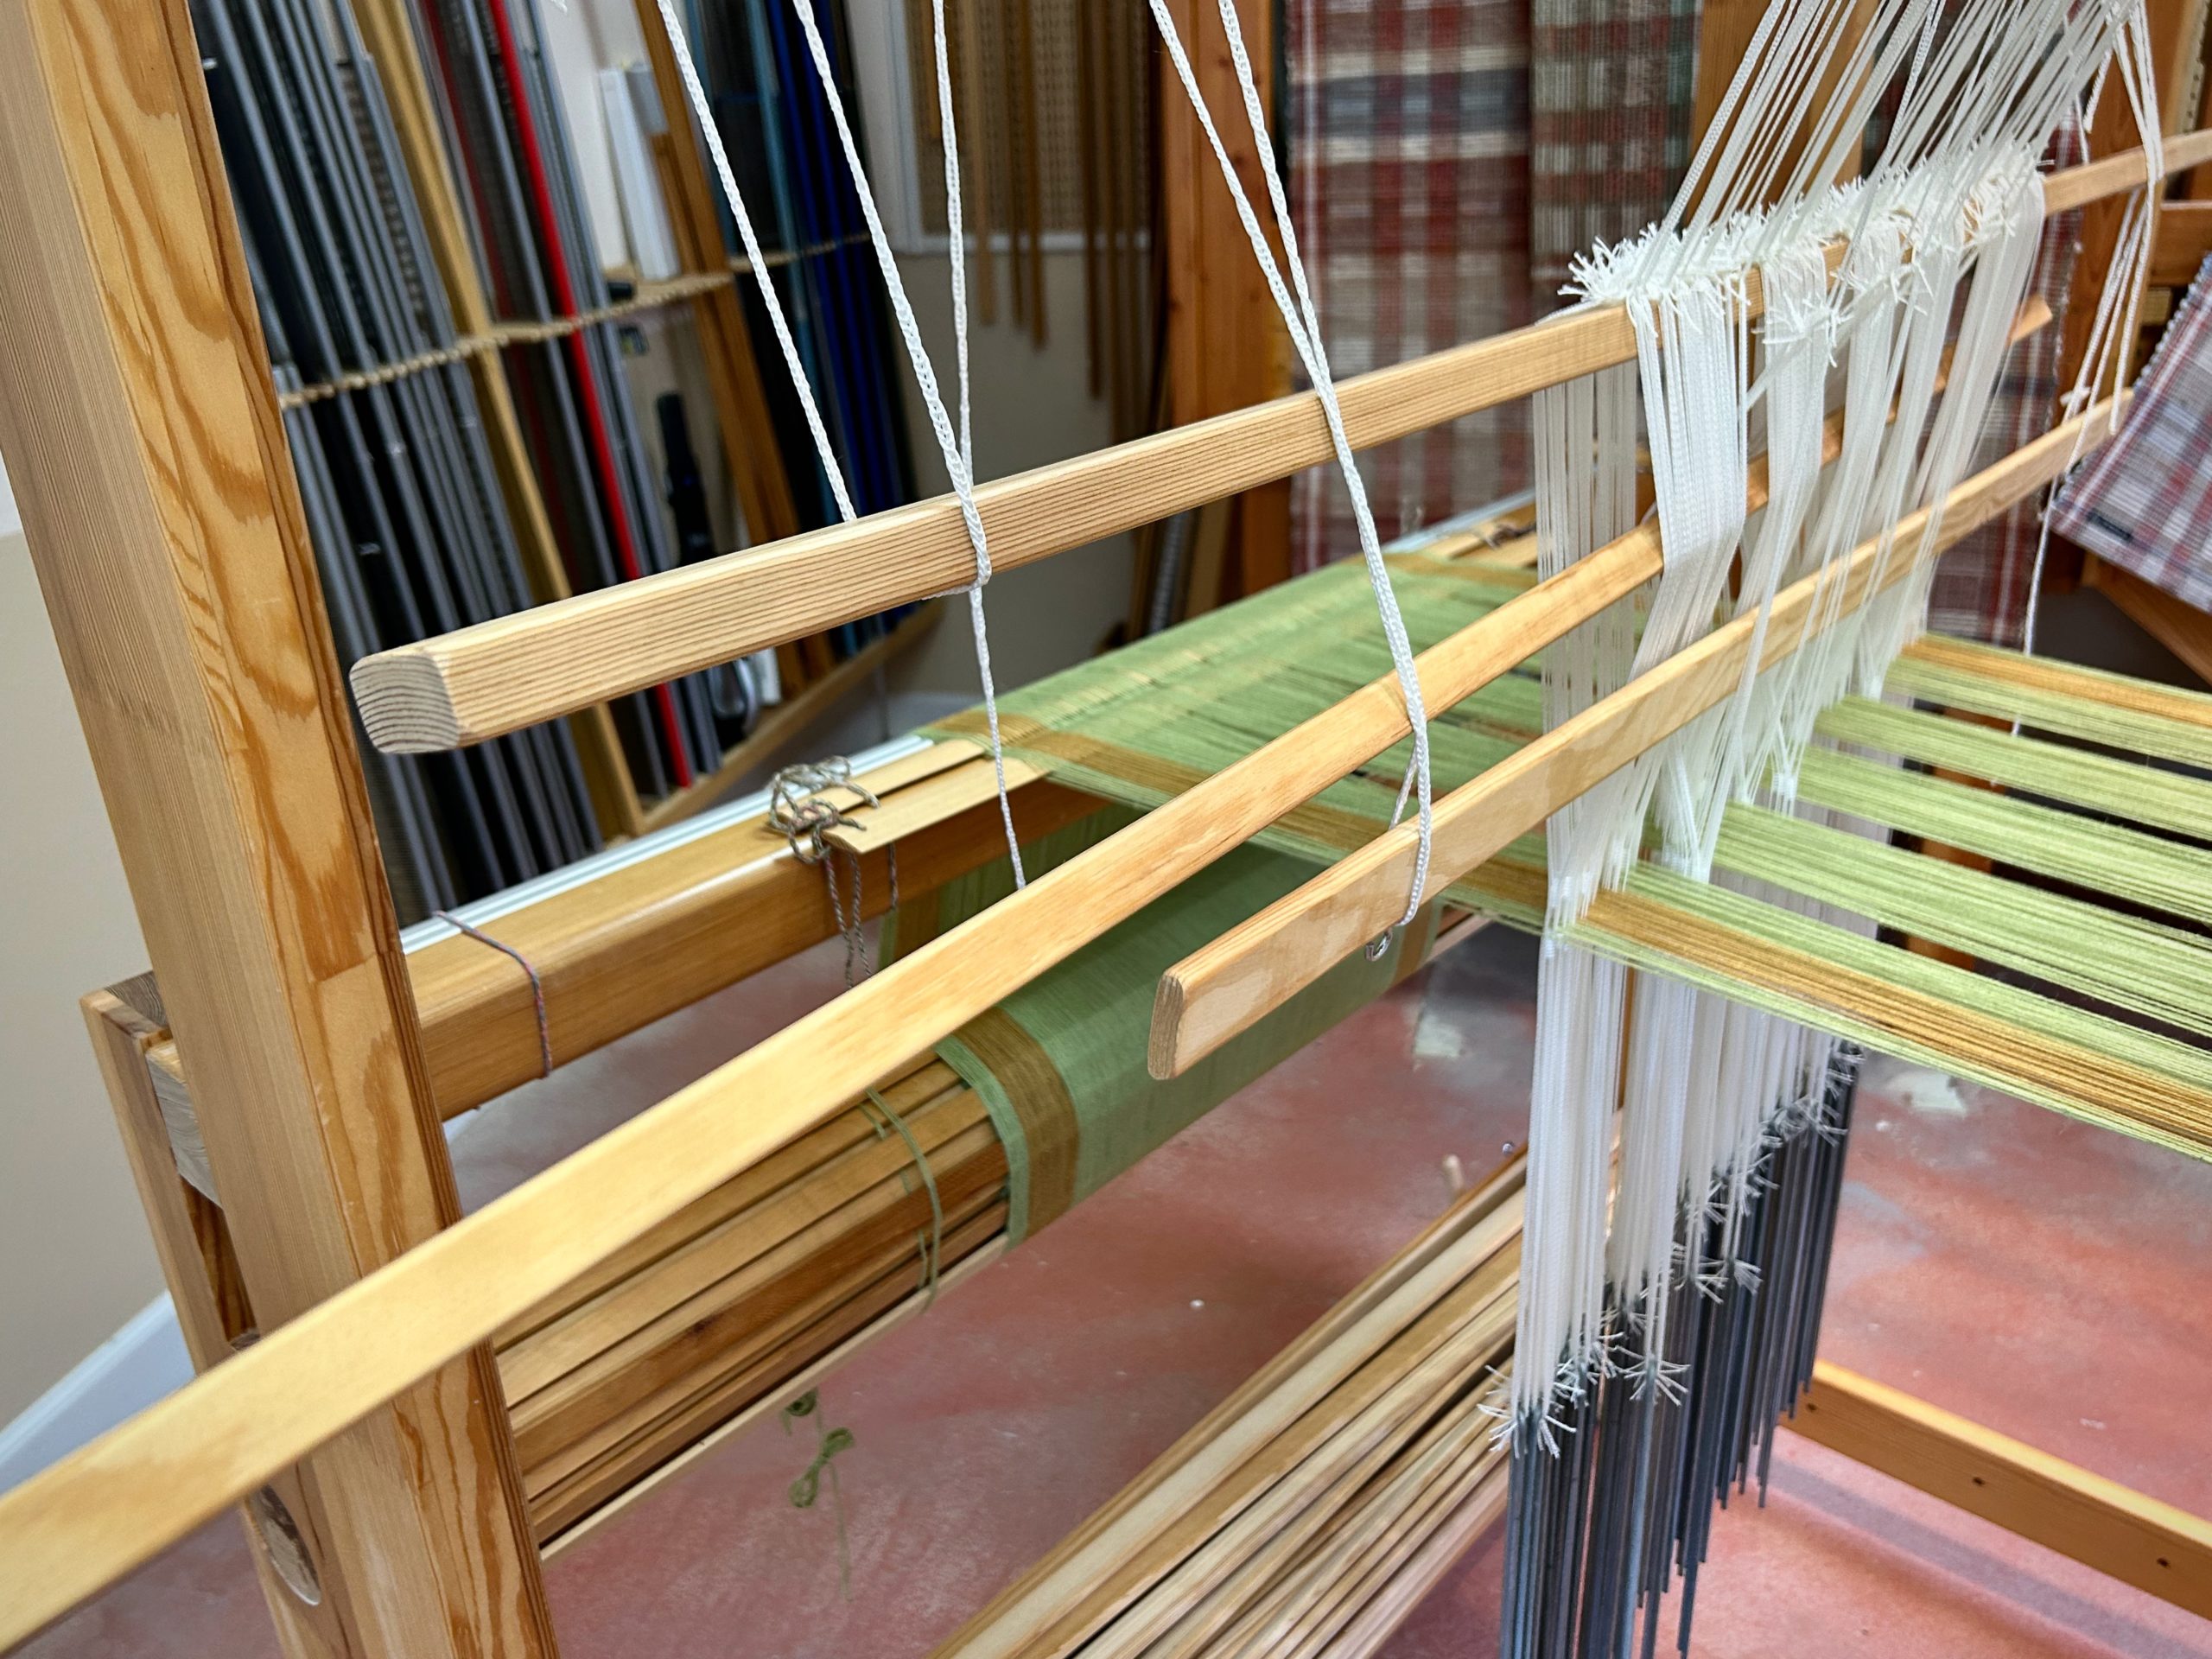
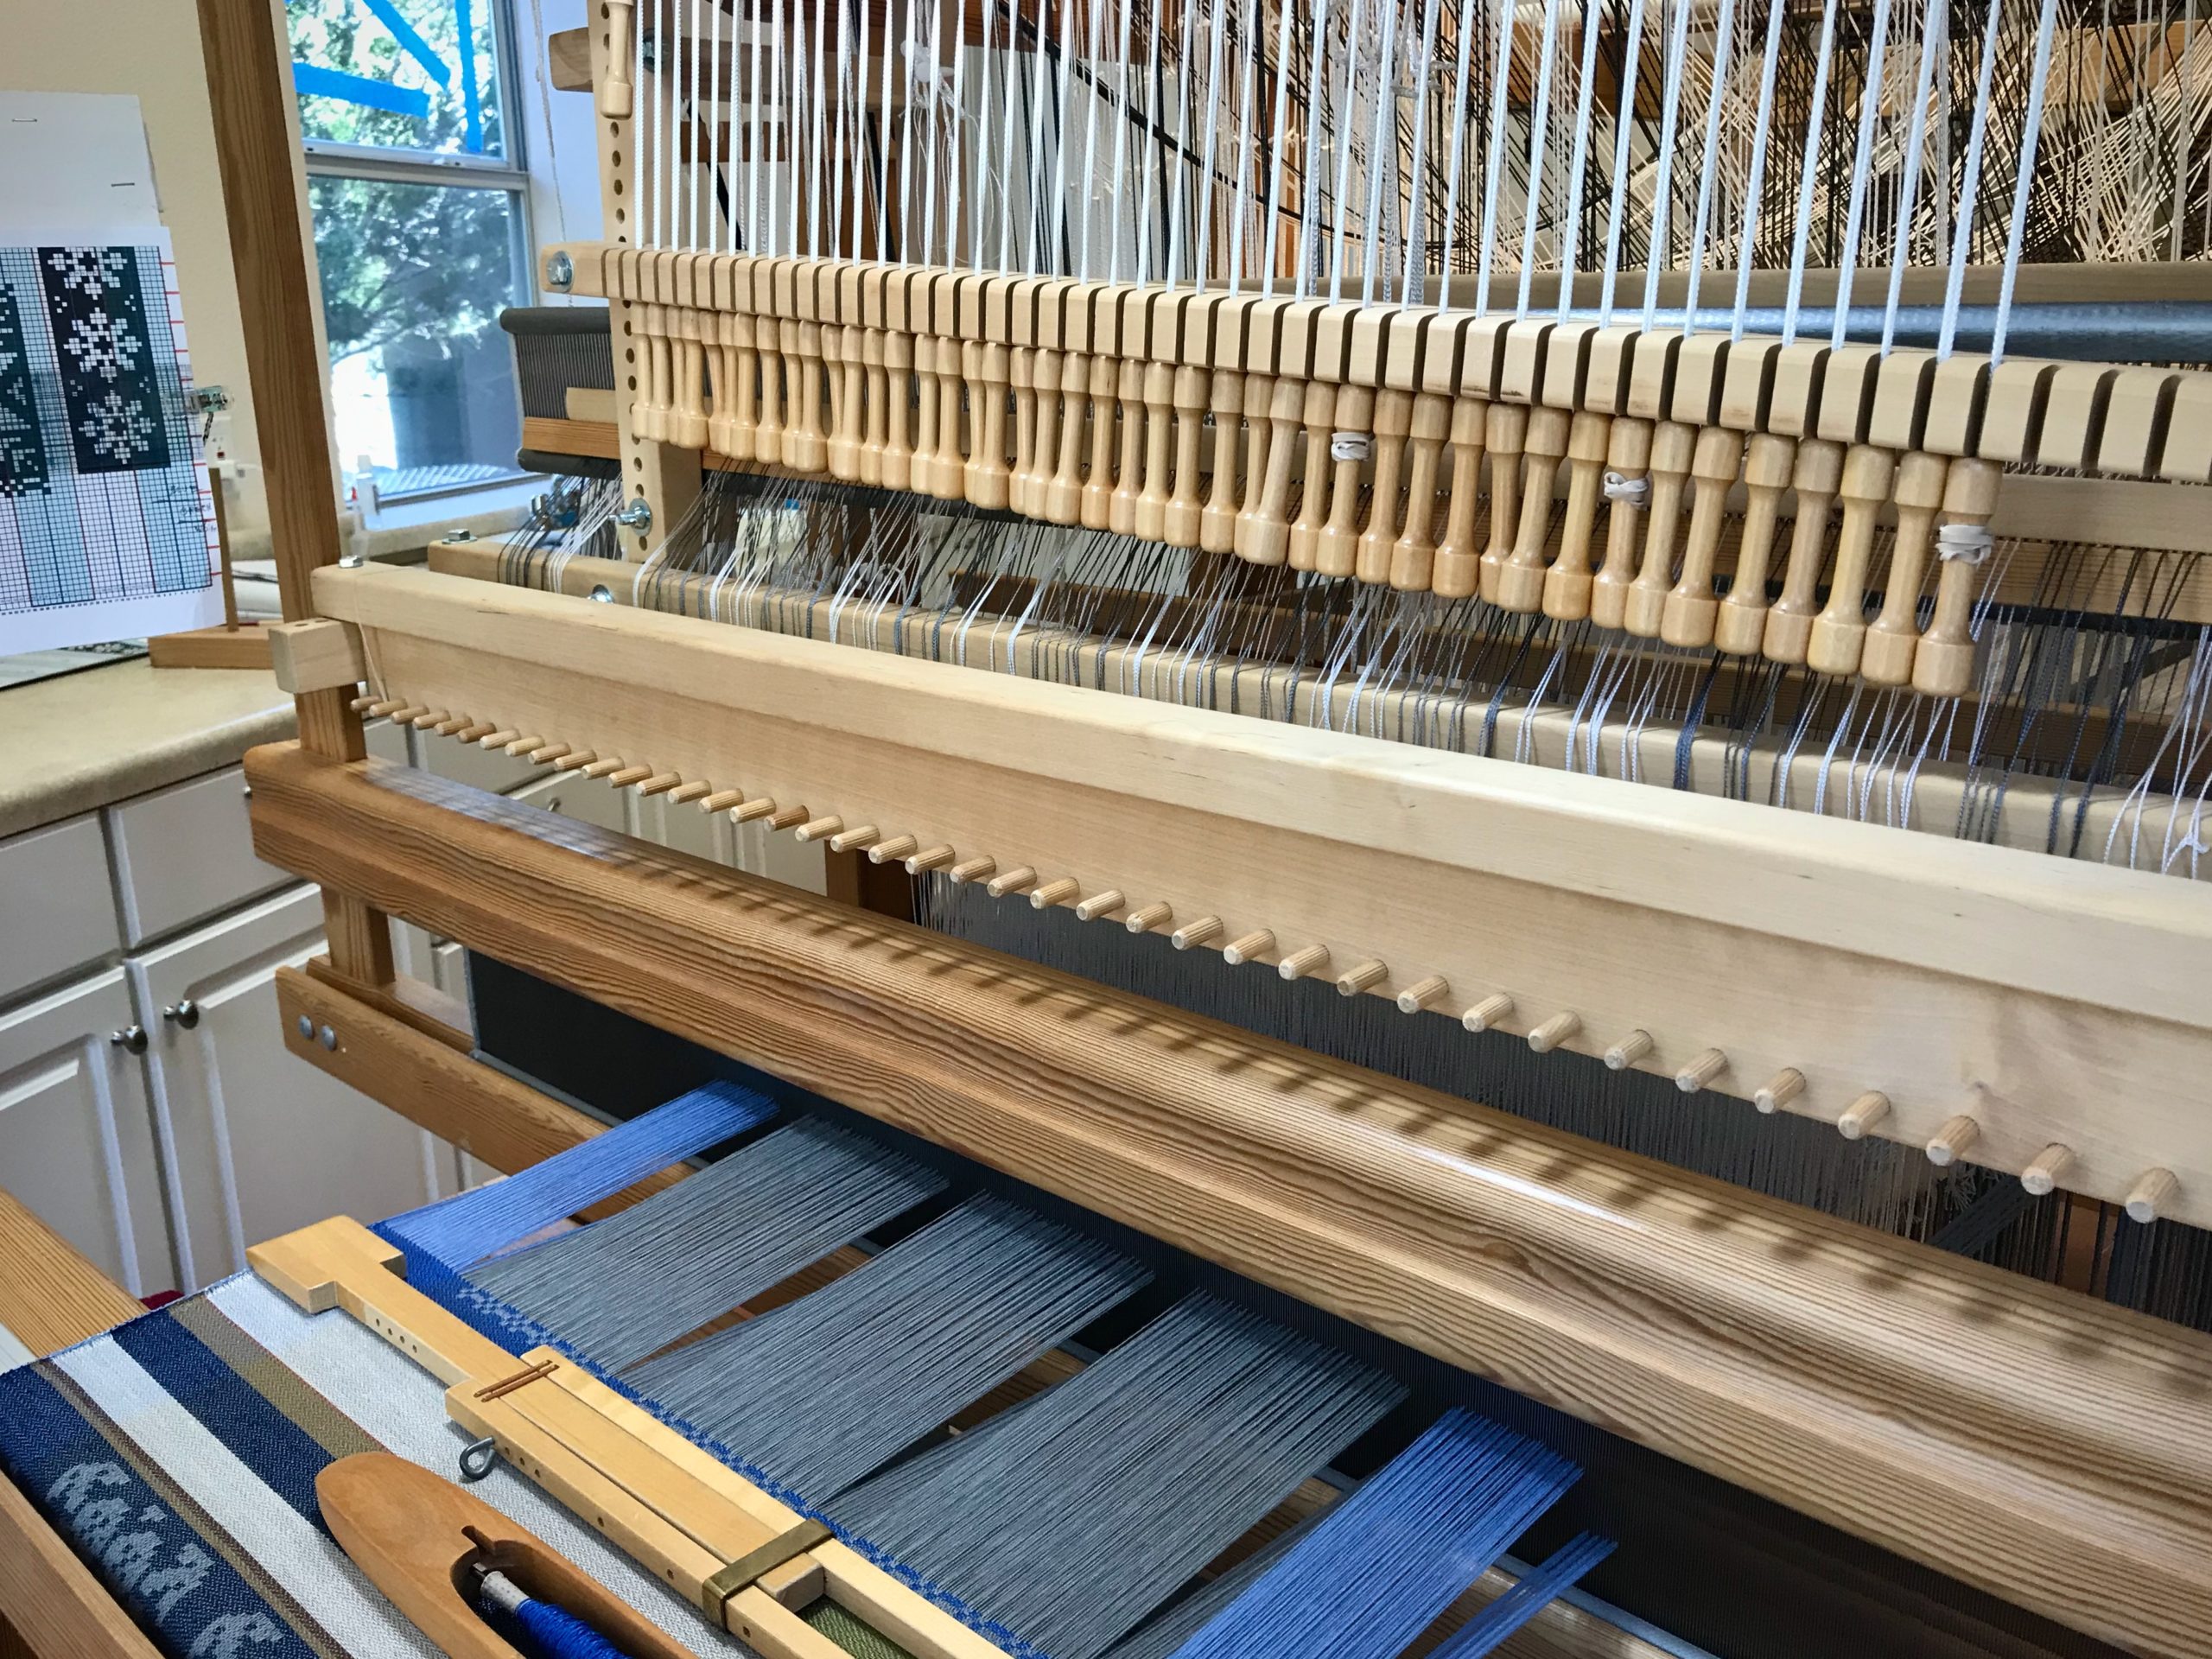
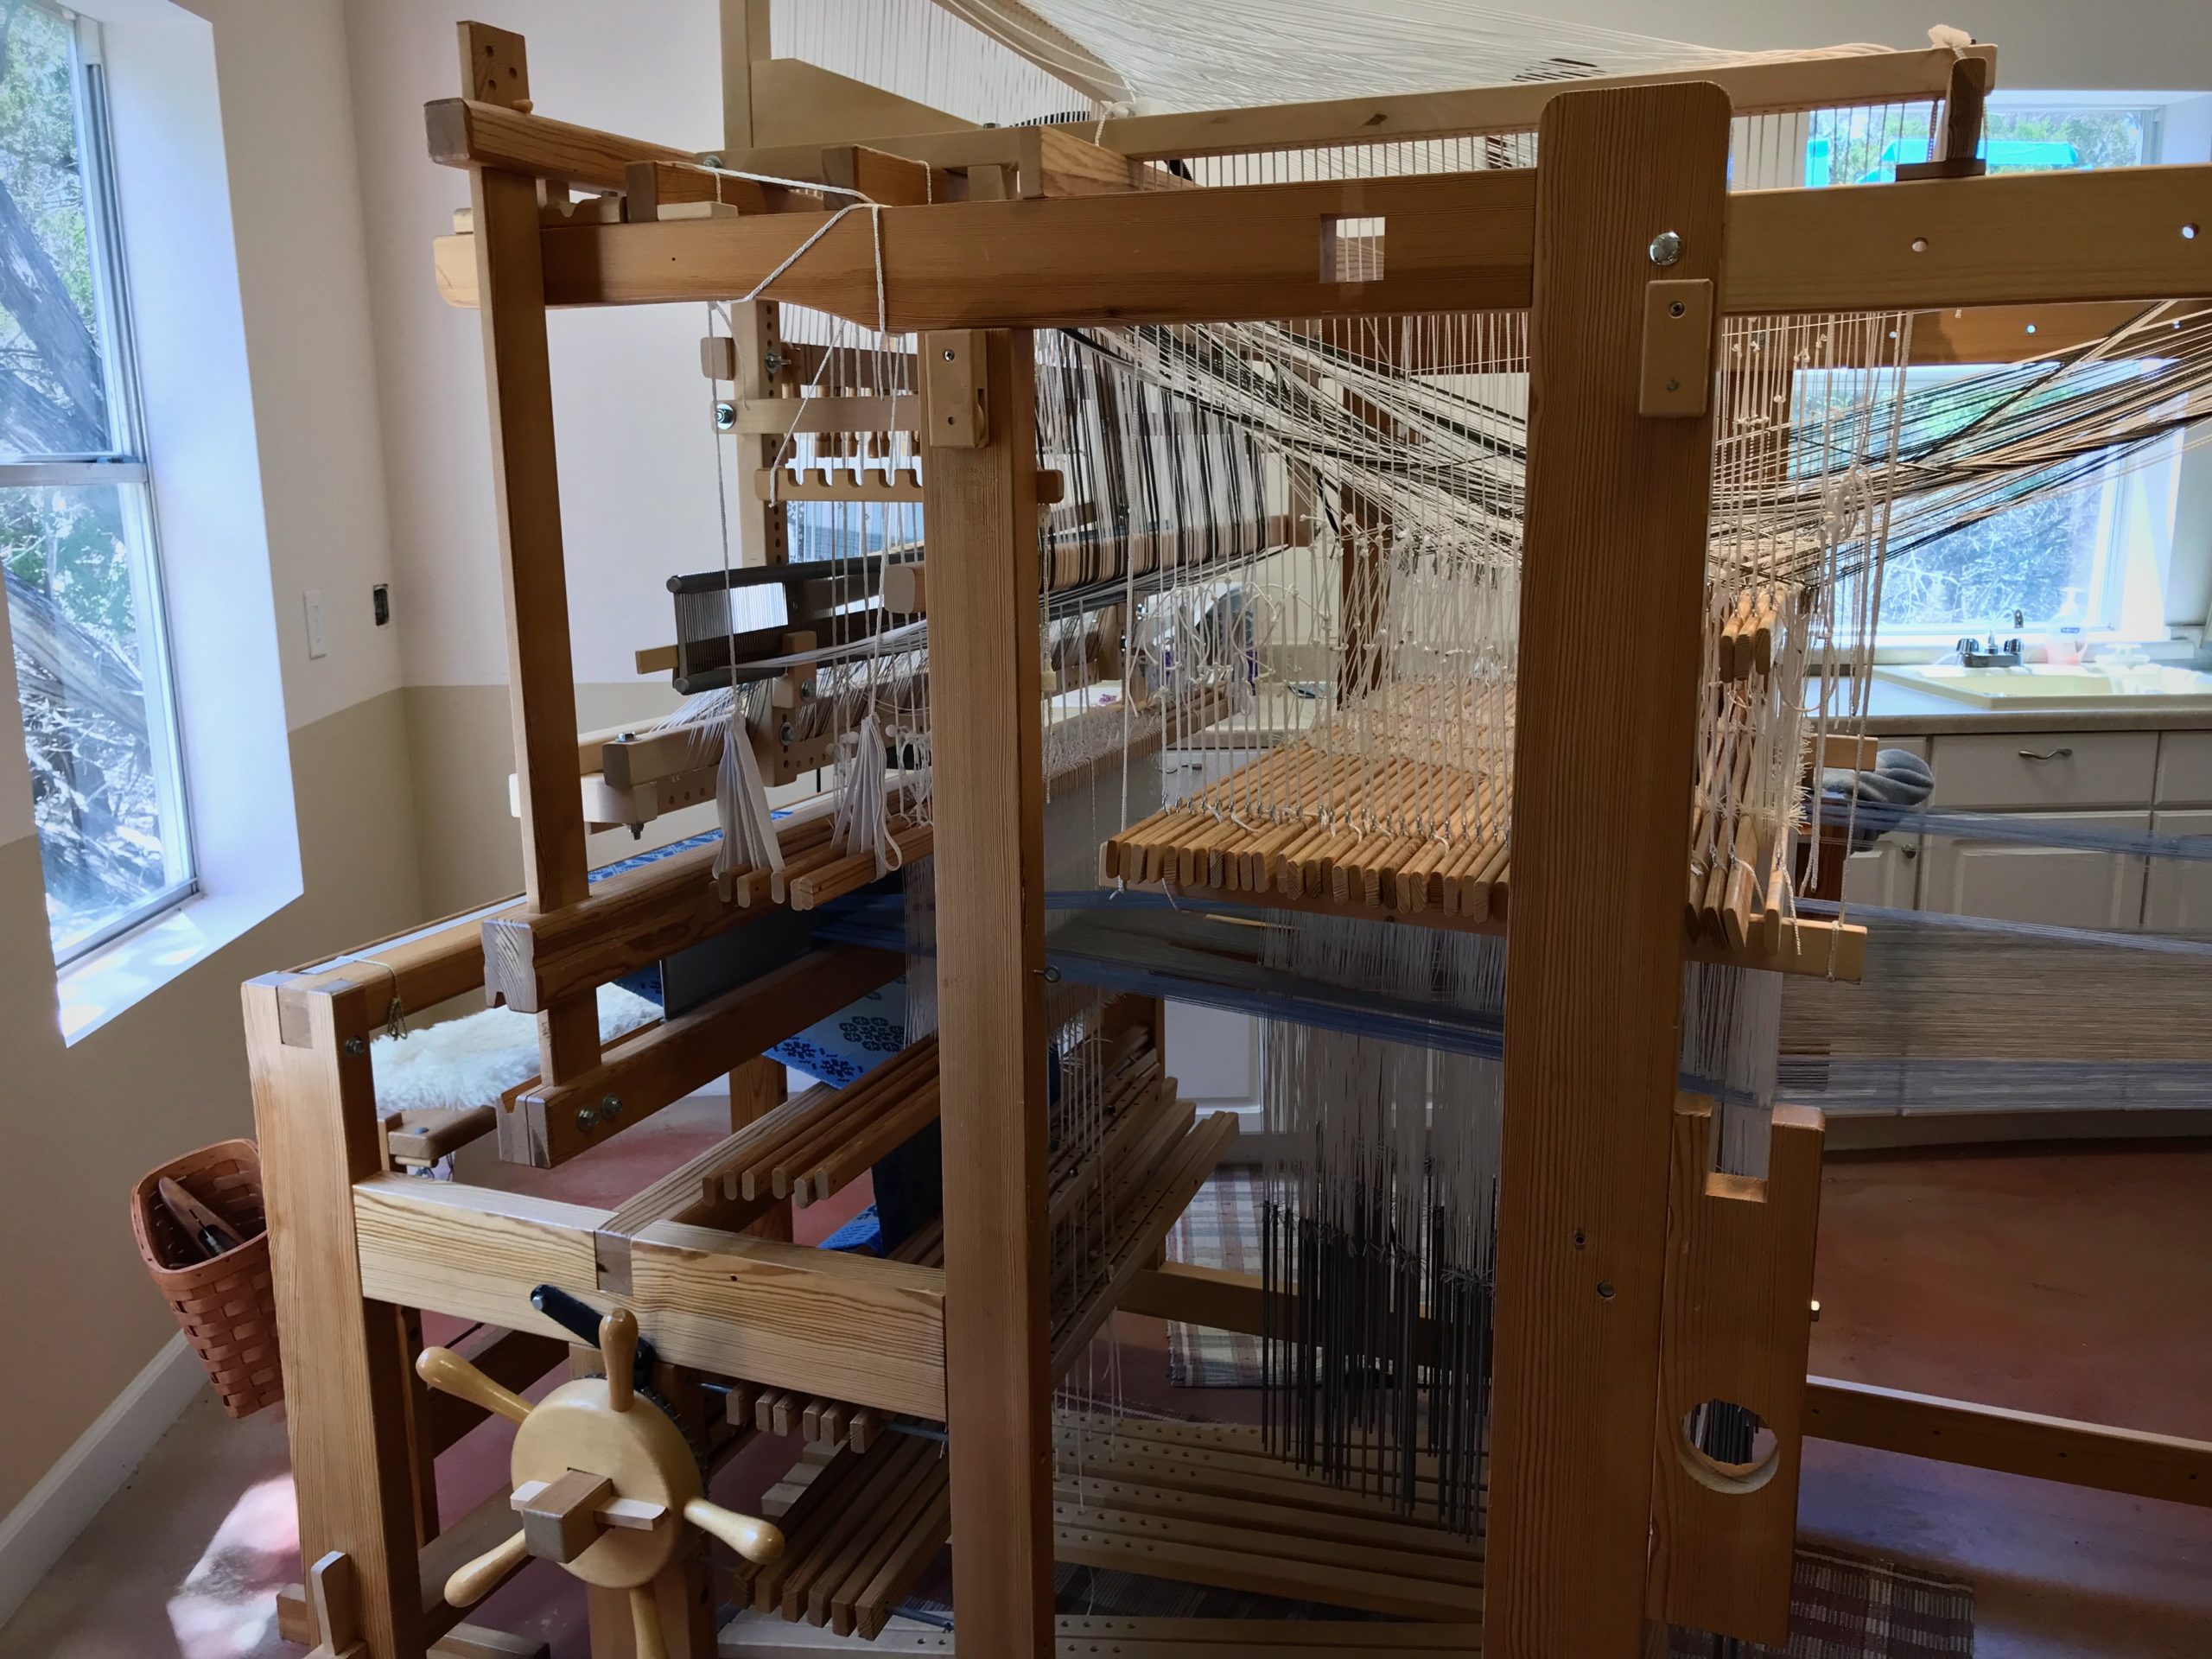
Distribution of pattern shafts is part of the setup for the drawloom. It is a multi-step process that moves the pattern shafts, one at a time, from the heddle bar at the back of the loom to the pattern shaft holders just behind the ground shafts at the front of the loom. Sound complicated? It’s not that hard, and is fun to do after you’ve done it a few times.
Lesson learned:Check my work. I am off by only one unit of threads. That small miss, however, is enough to sabotage the whole project if not corrected. The sooner I check my work against the master plan the better. Fortunately, everything at the loom is fixable. It’s never too late to start again.
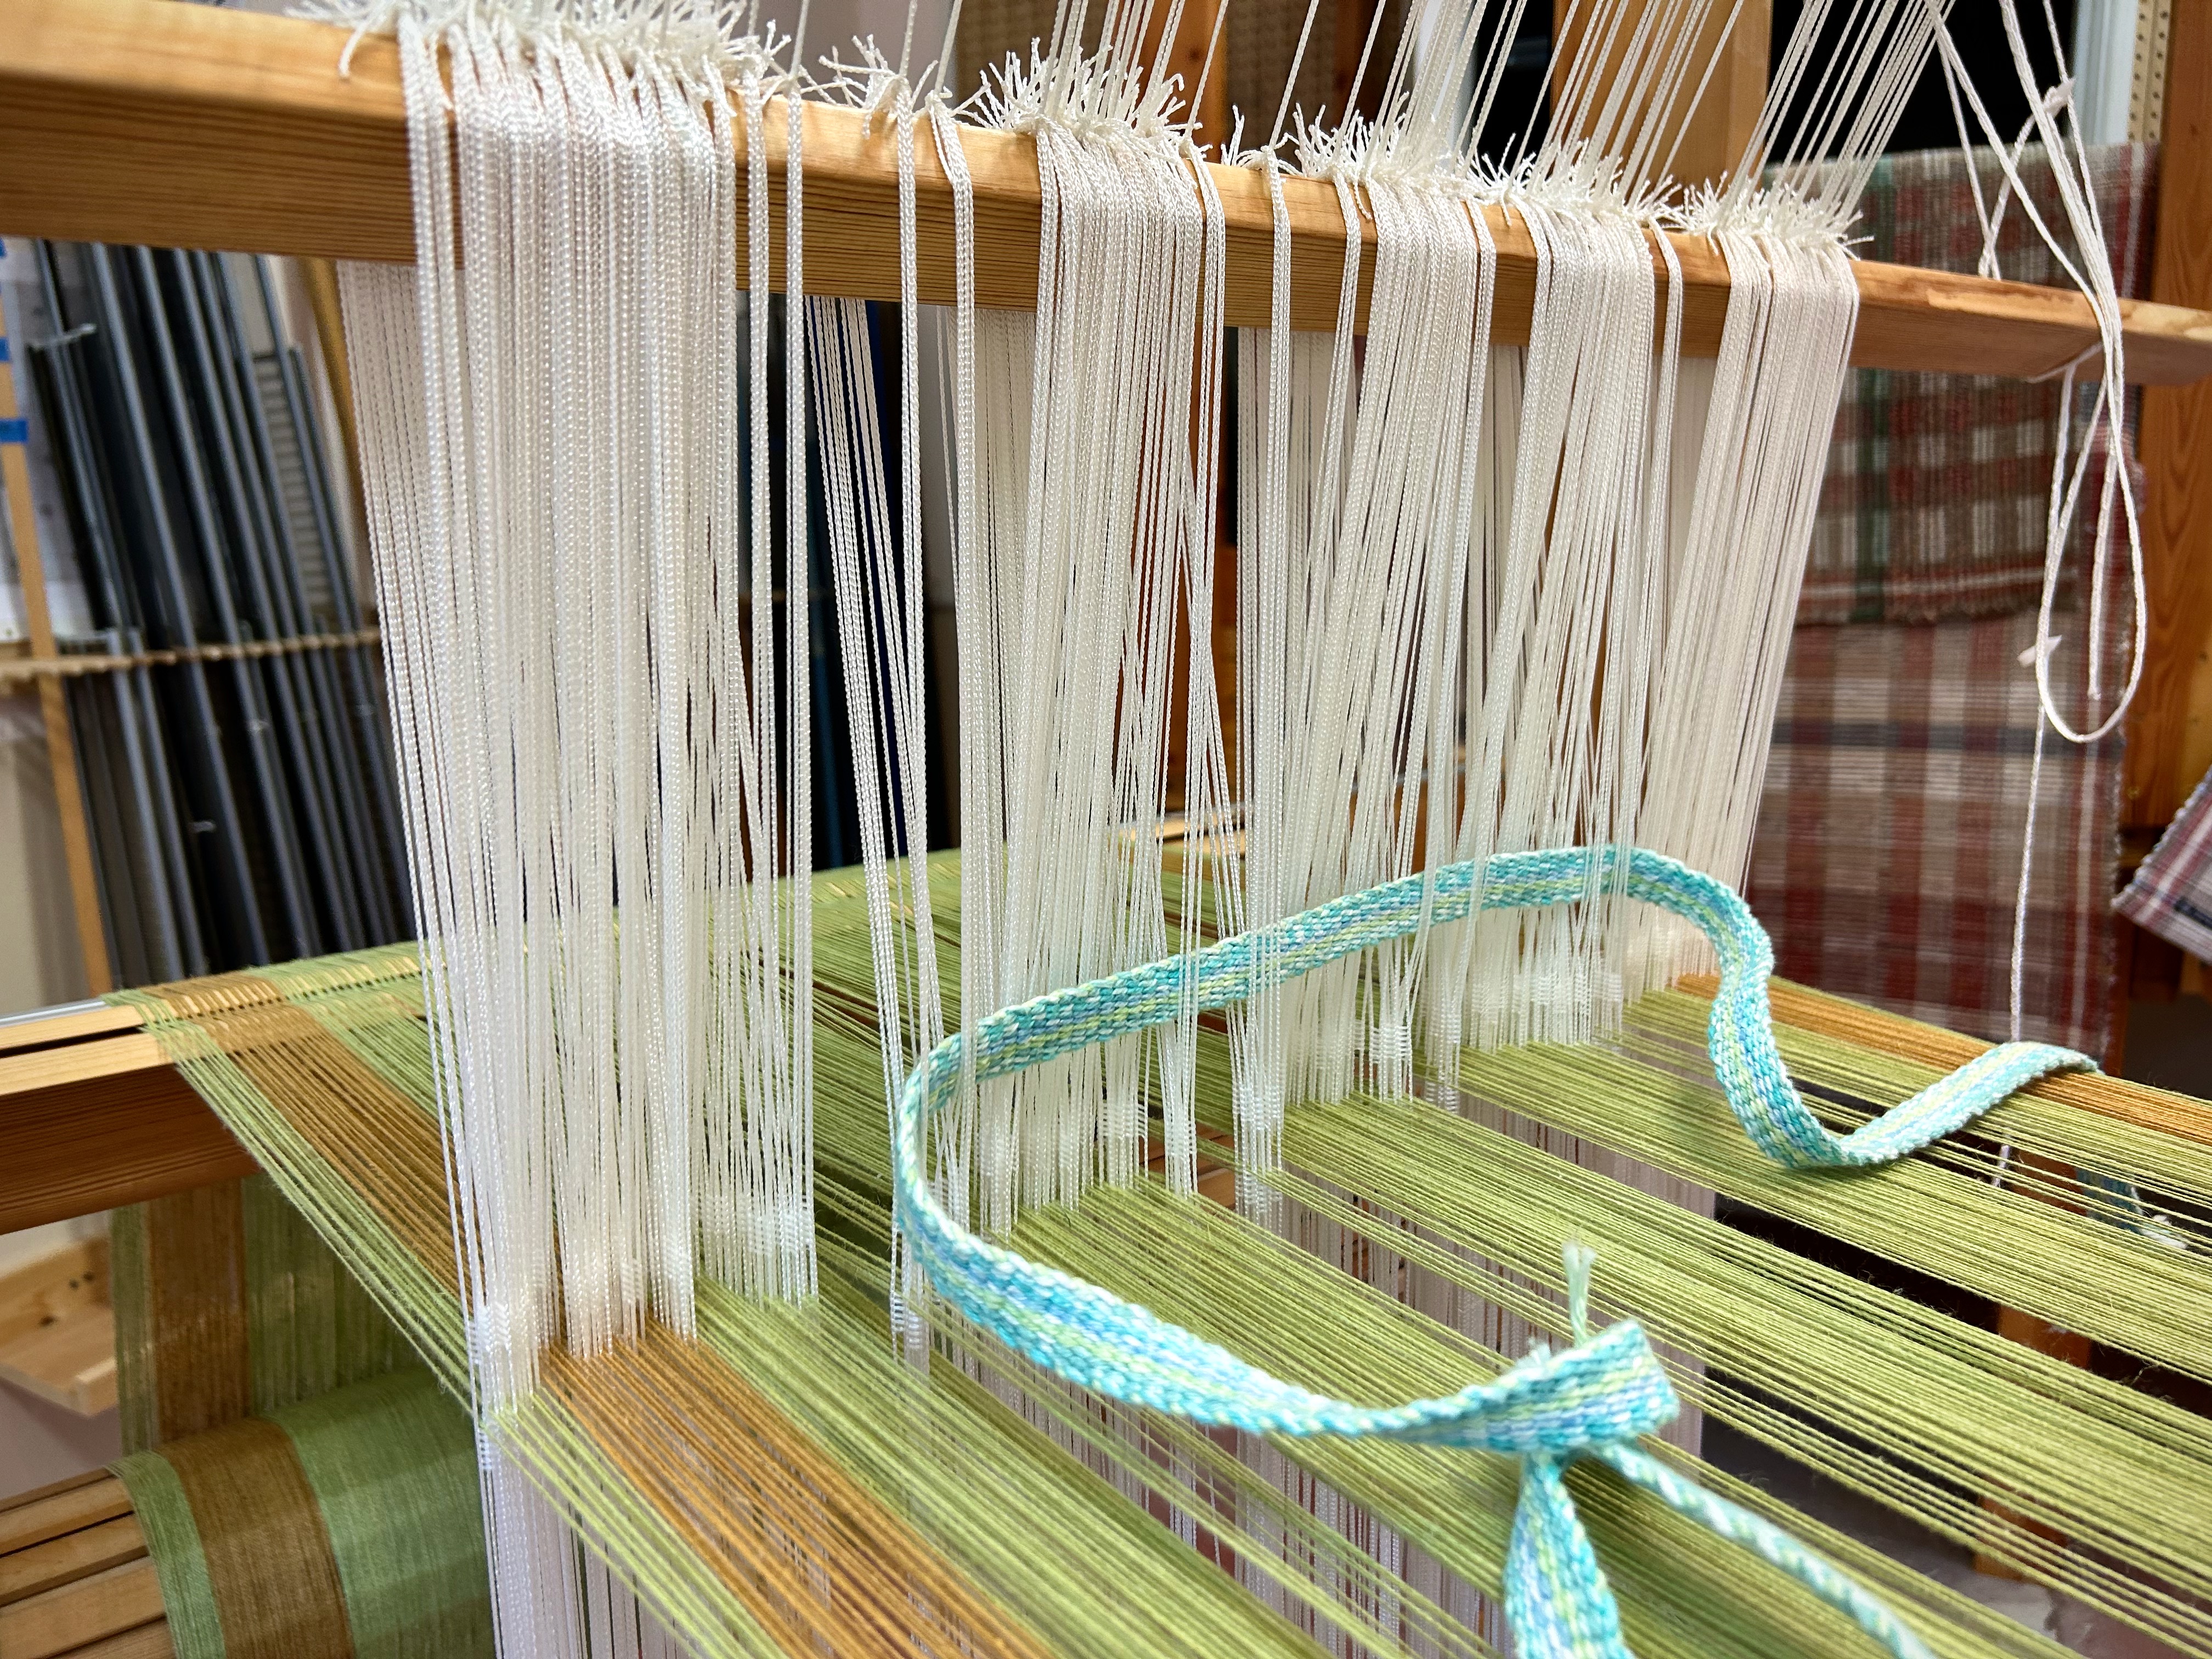
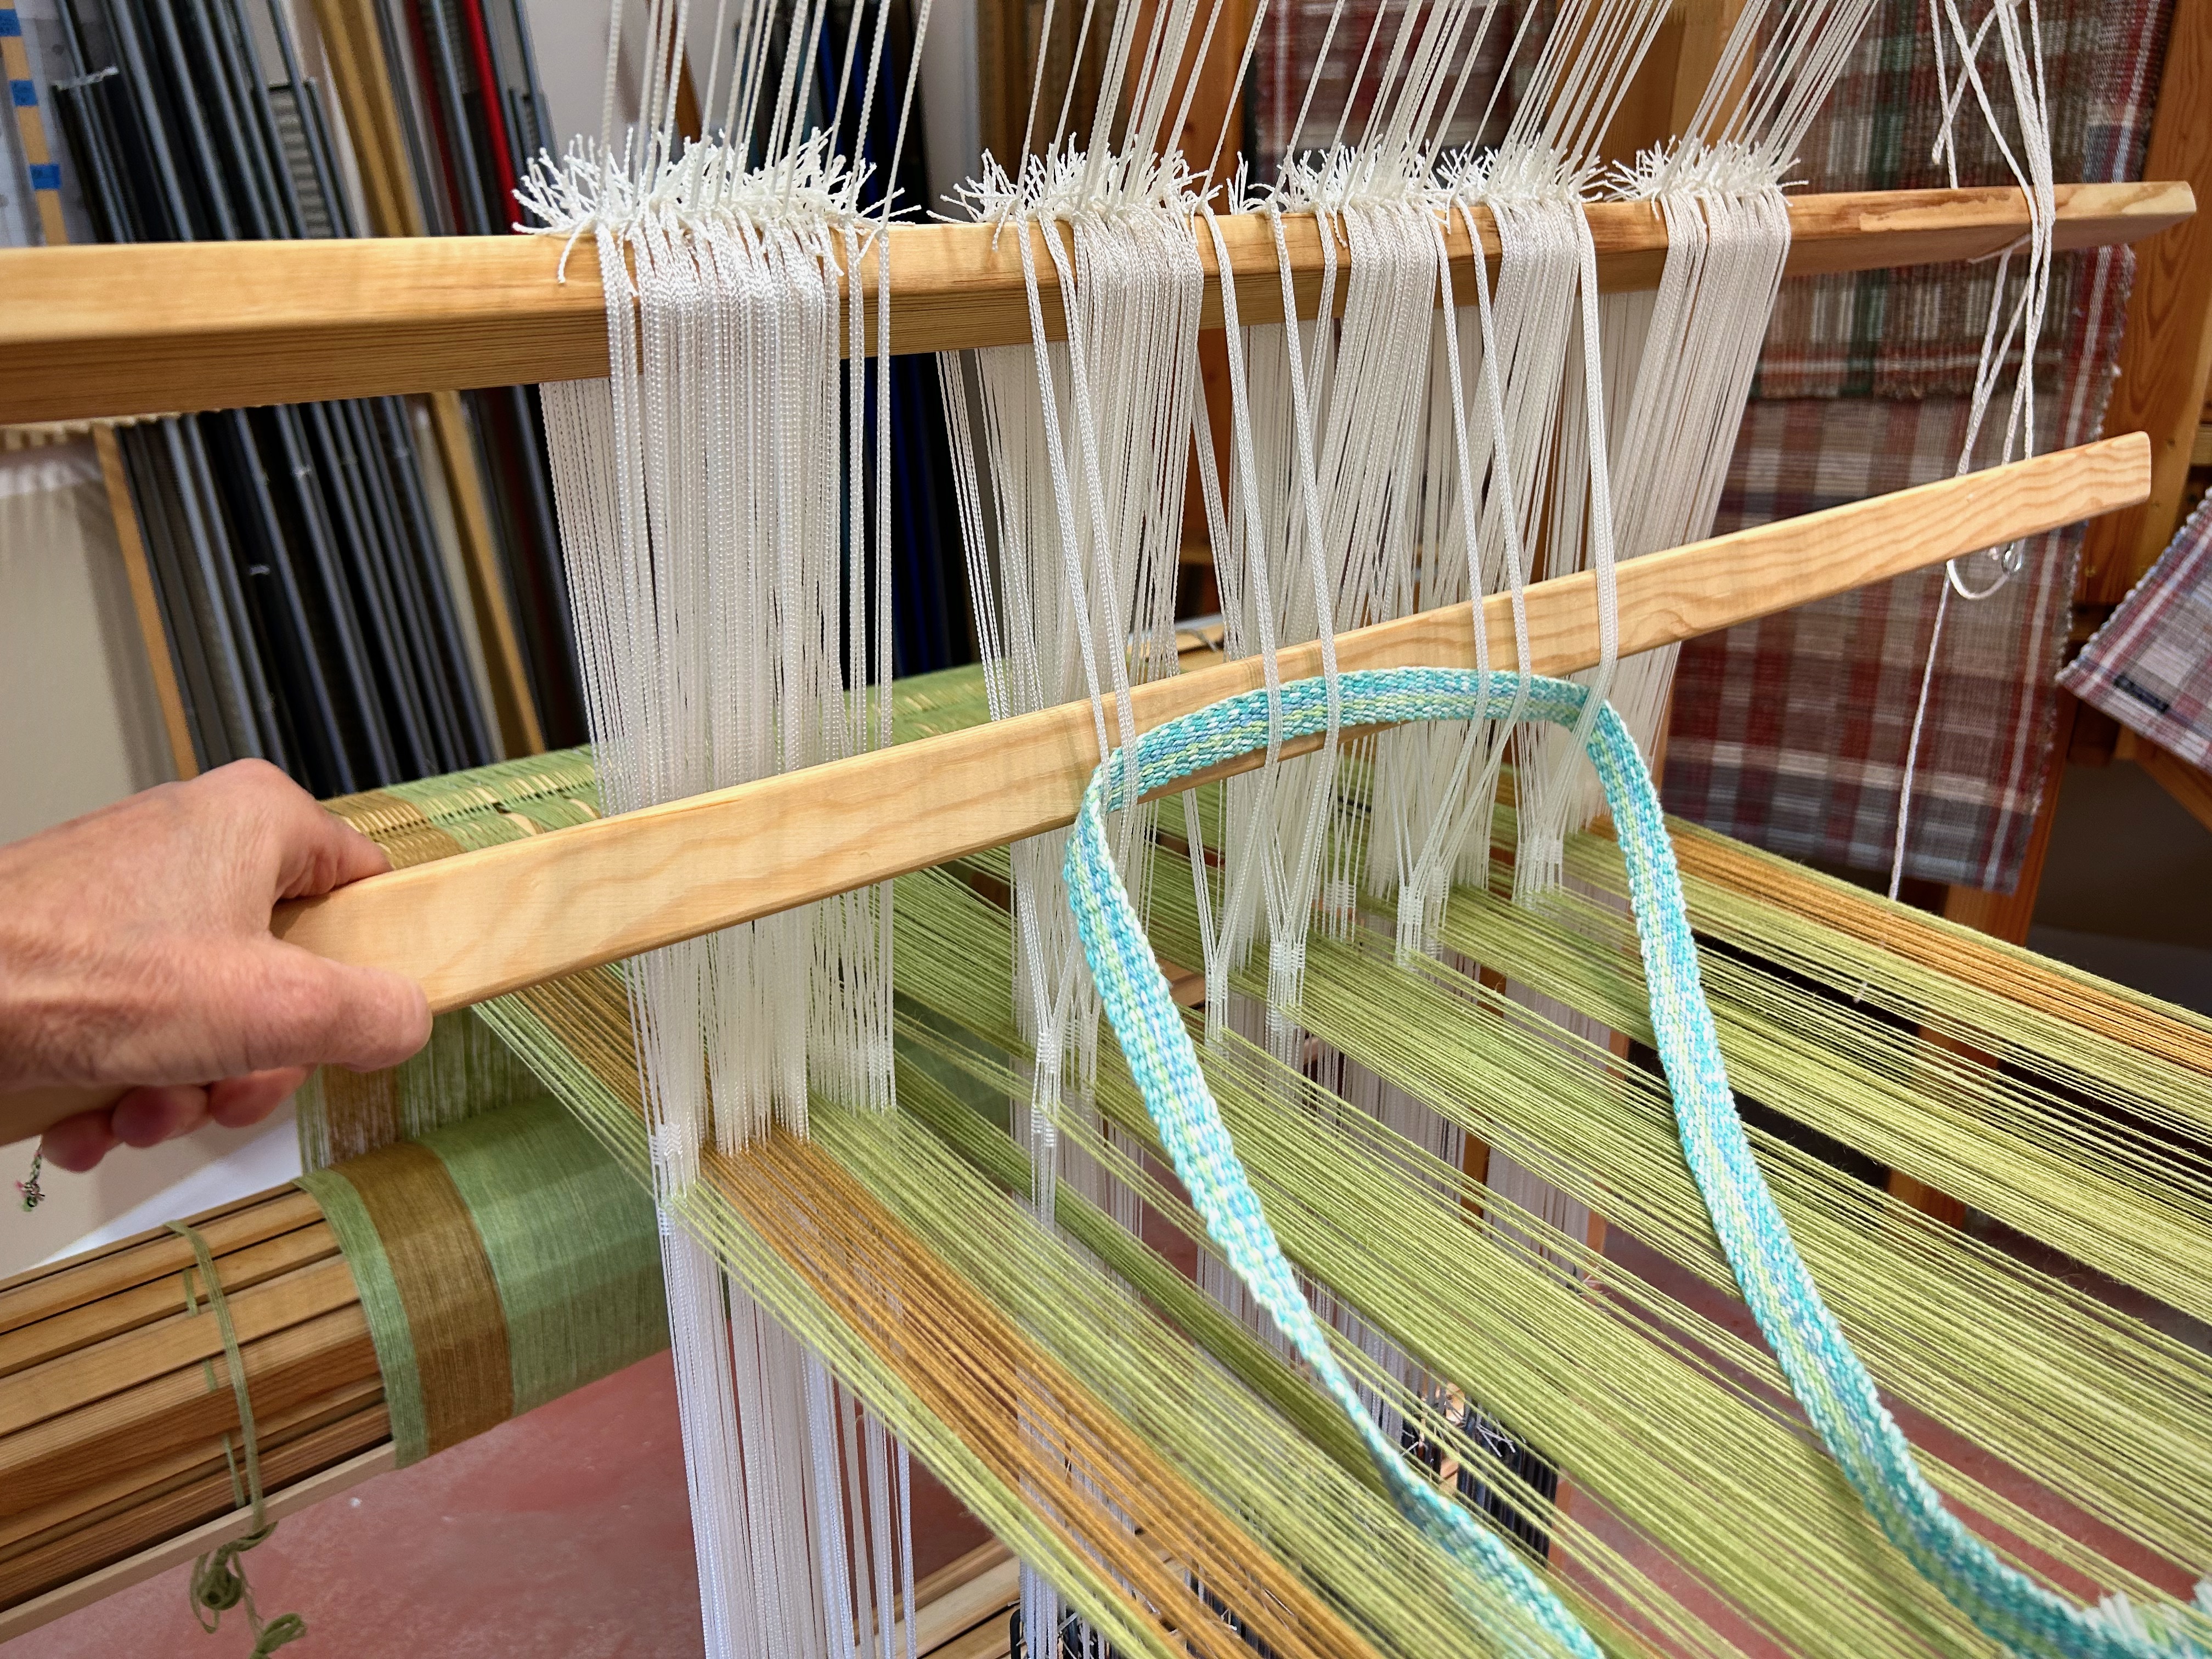
First, I use an old inkle band to slip between heddles that I am separating to transfer to a pattern shaft. Because I am using a combination of pattern shafts AND single units, I separate the heddles on the “front” side. If I were usining only pattern shafts and no single units, I could separate the heddles from the back while standing behind the loom.I insert a pattern shaft through the separated pattern heddles. Then I remove the inkle band and hang it around my neck, ready for the next transfer.I slip the waiting heddle bar through the pattern shafts that have not been separated……and remove the first heddle bar. This releases the separated pattern heddles onto the pattern shaft, which is hanging in a pair of holding cords. From here, the pattern shaft is moved forward to the pattern shaft holders. (I also adjust the clip overhead that connects the thread unit to a single unit draw cord.)After backtracking and starting over, I now diligently check the number and spacing of units on the heddle bar after every pattern shaft is moved into position. Success!Twelve pattern shafts, plus one X shaft. This project uses pattern shafts for the borders only – top, bottom, and sides. The rest of the pattern areas will use single-unit designs.
The sooner I check my life against God’s master plan the better. Fortunately, everything is forgivable. It’s never too late to start again.
All set and ready to go! Everything works. After a bit more testing of weft colors and patterns, it’s critter time. Watch for Mr. Armadillo first!
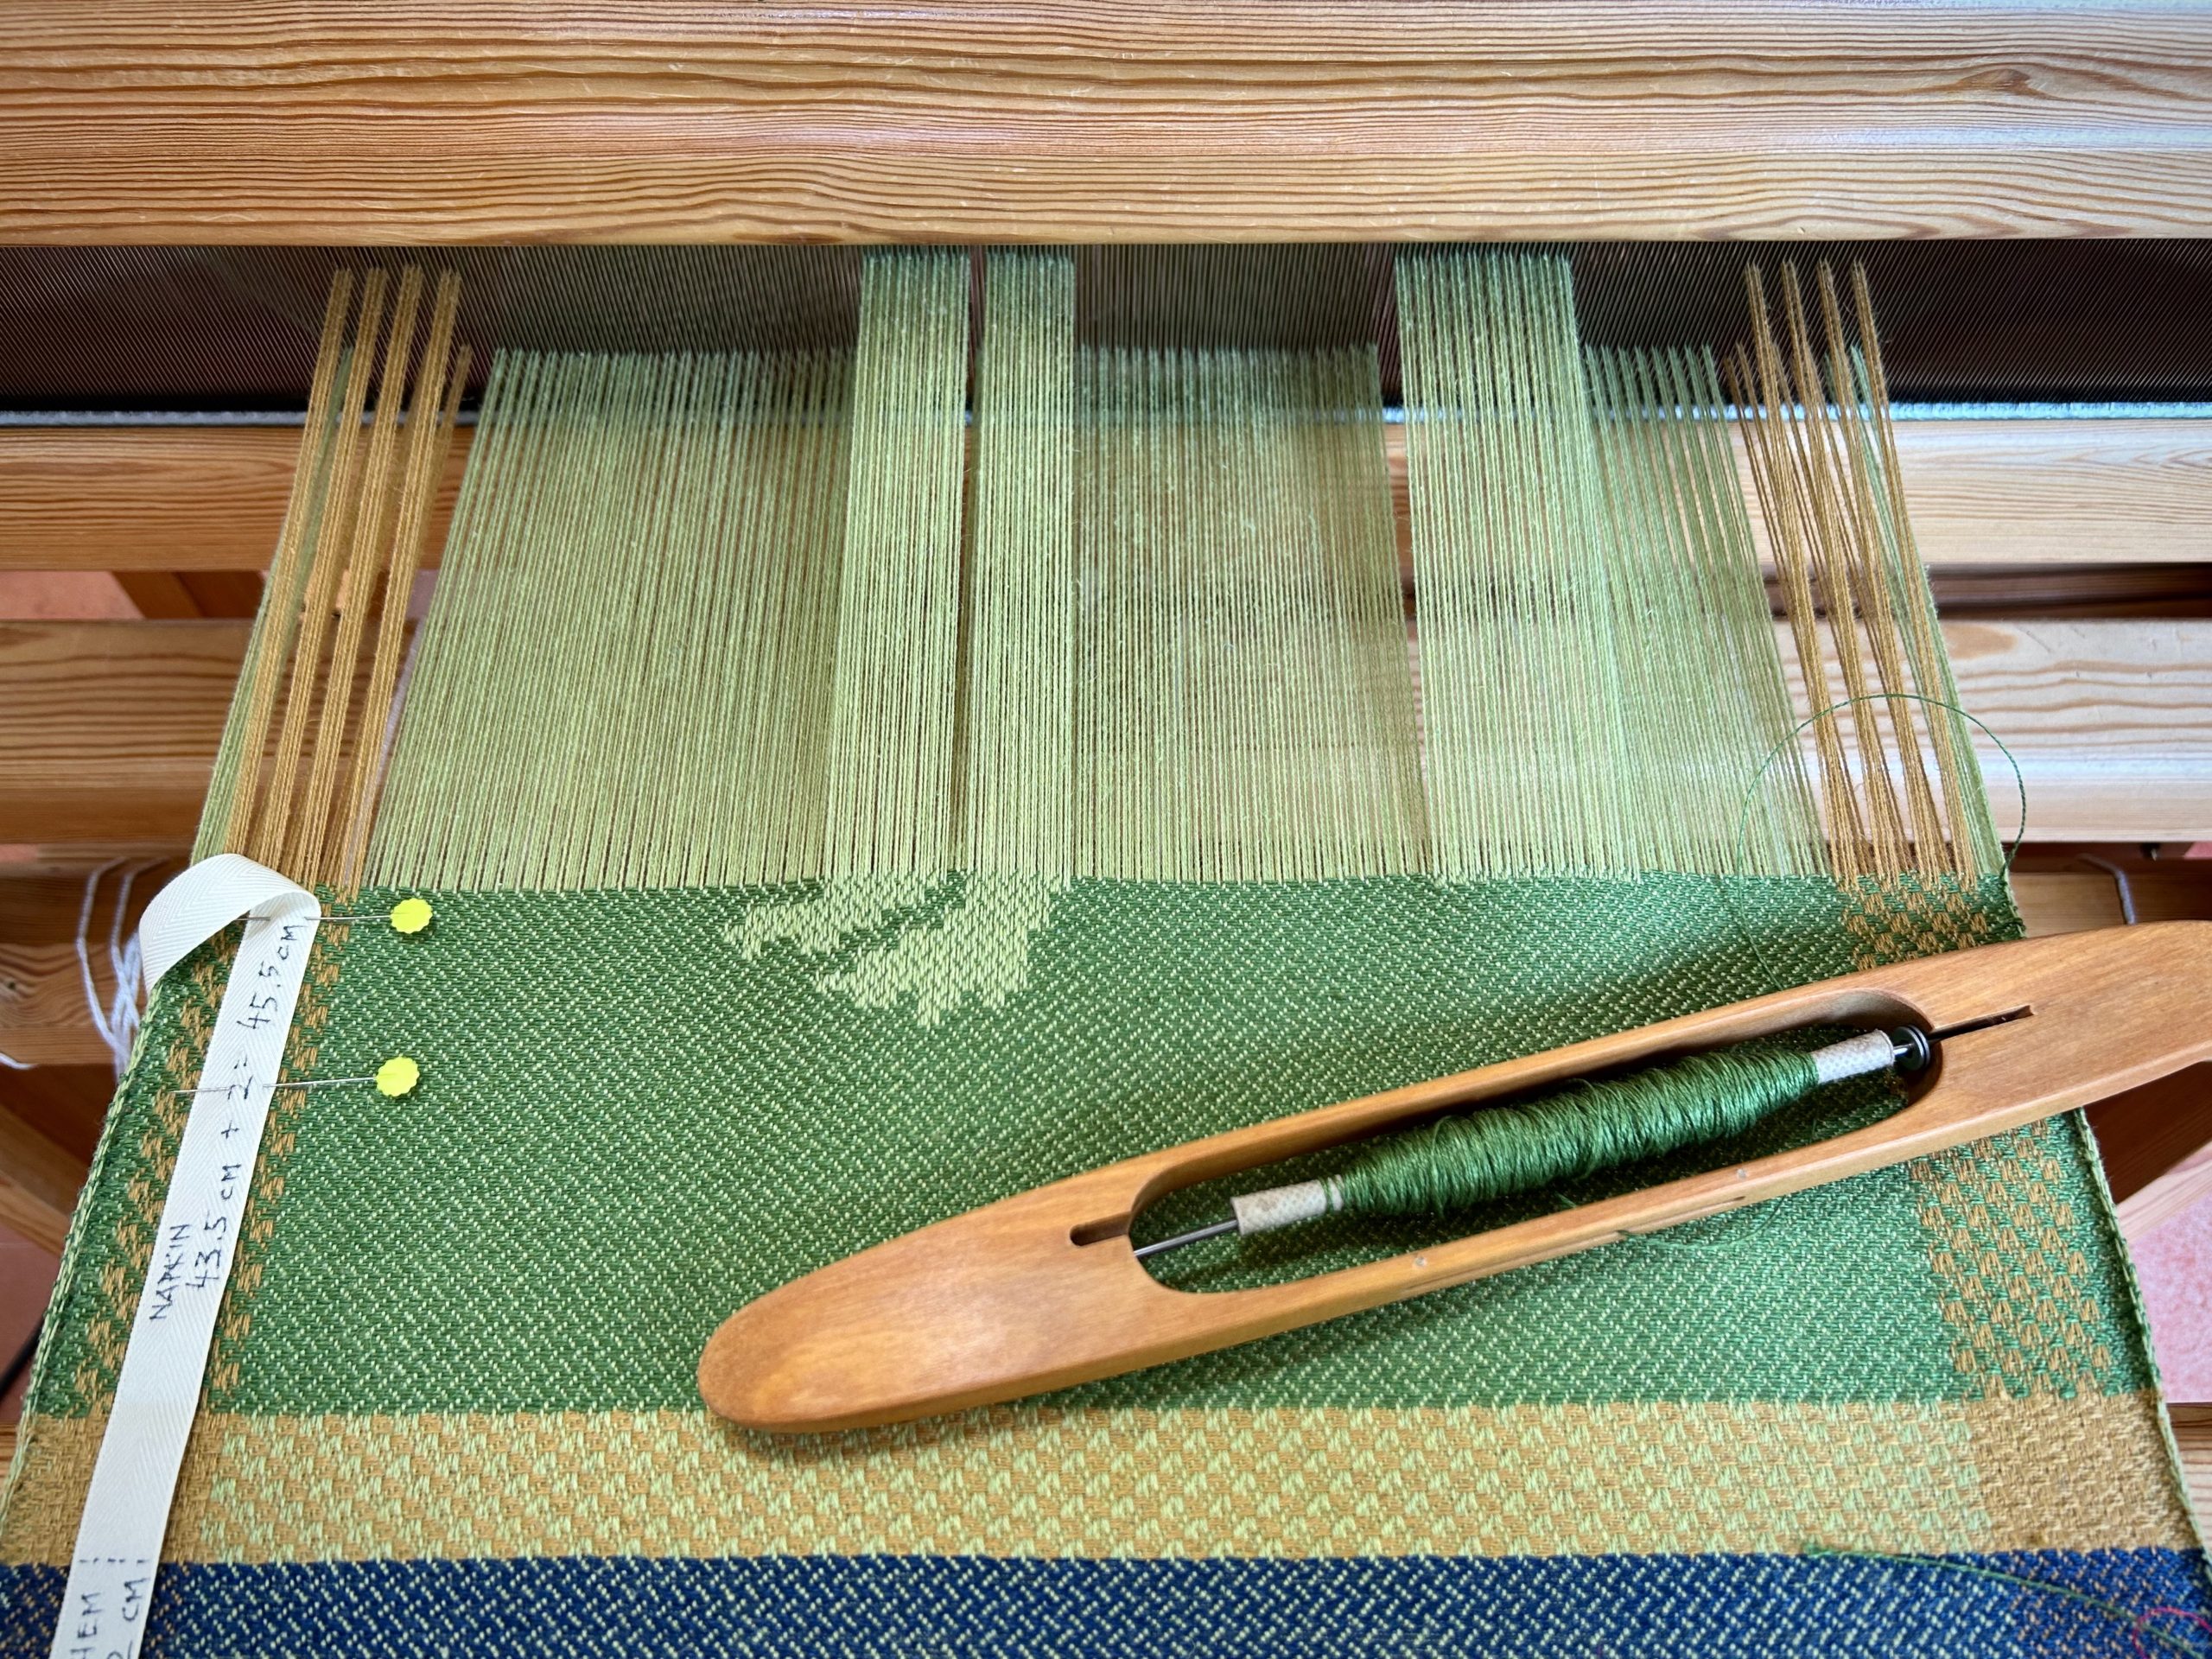
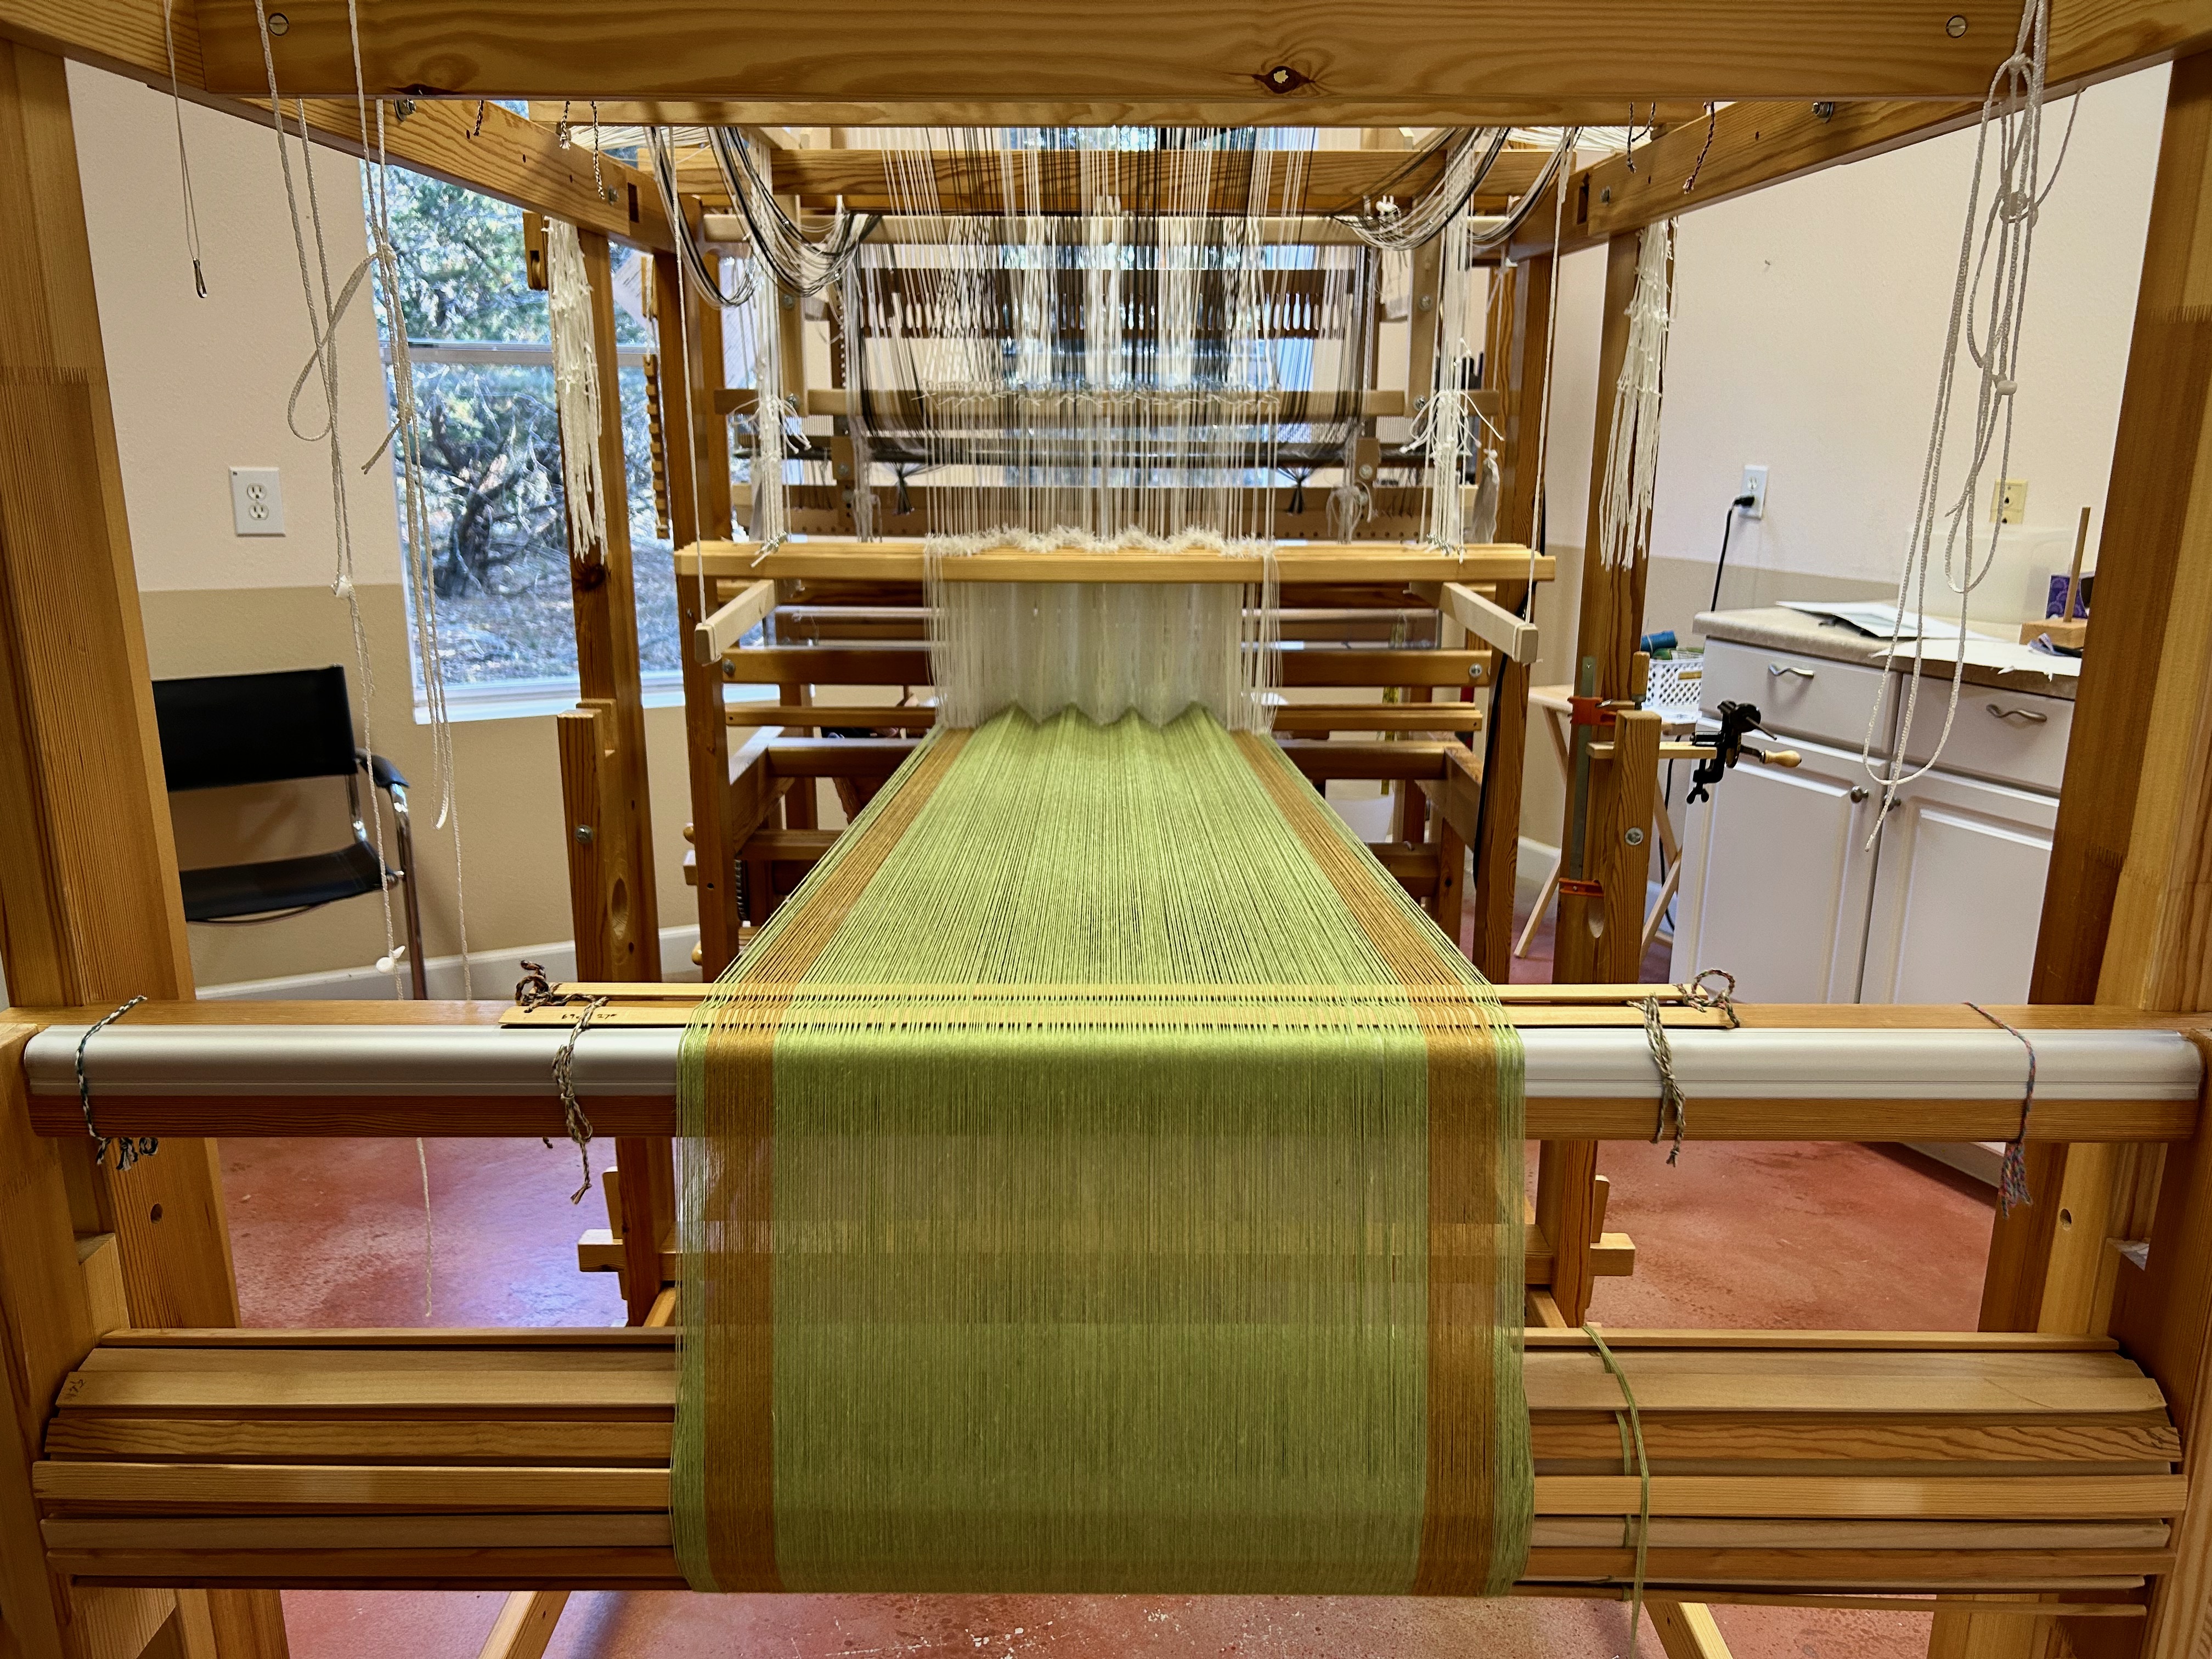
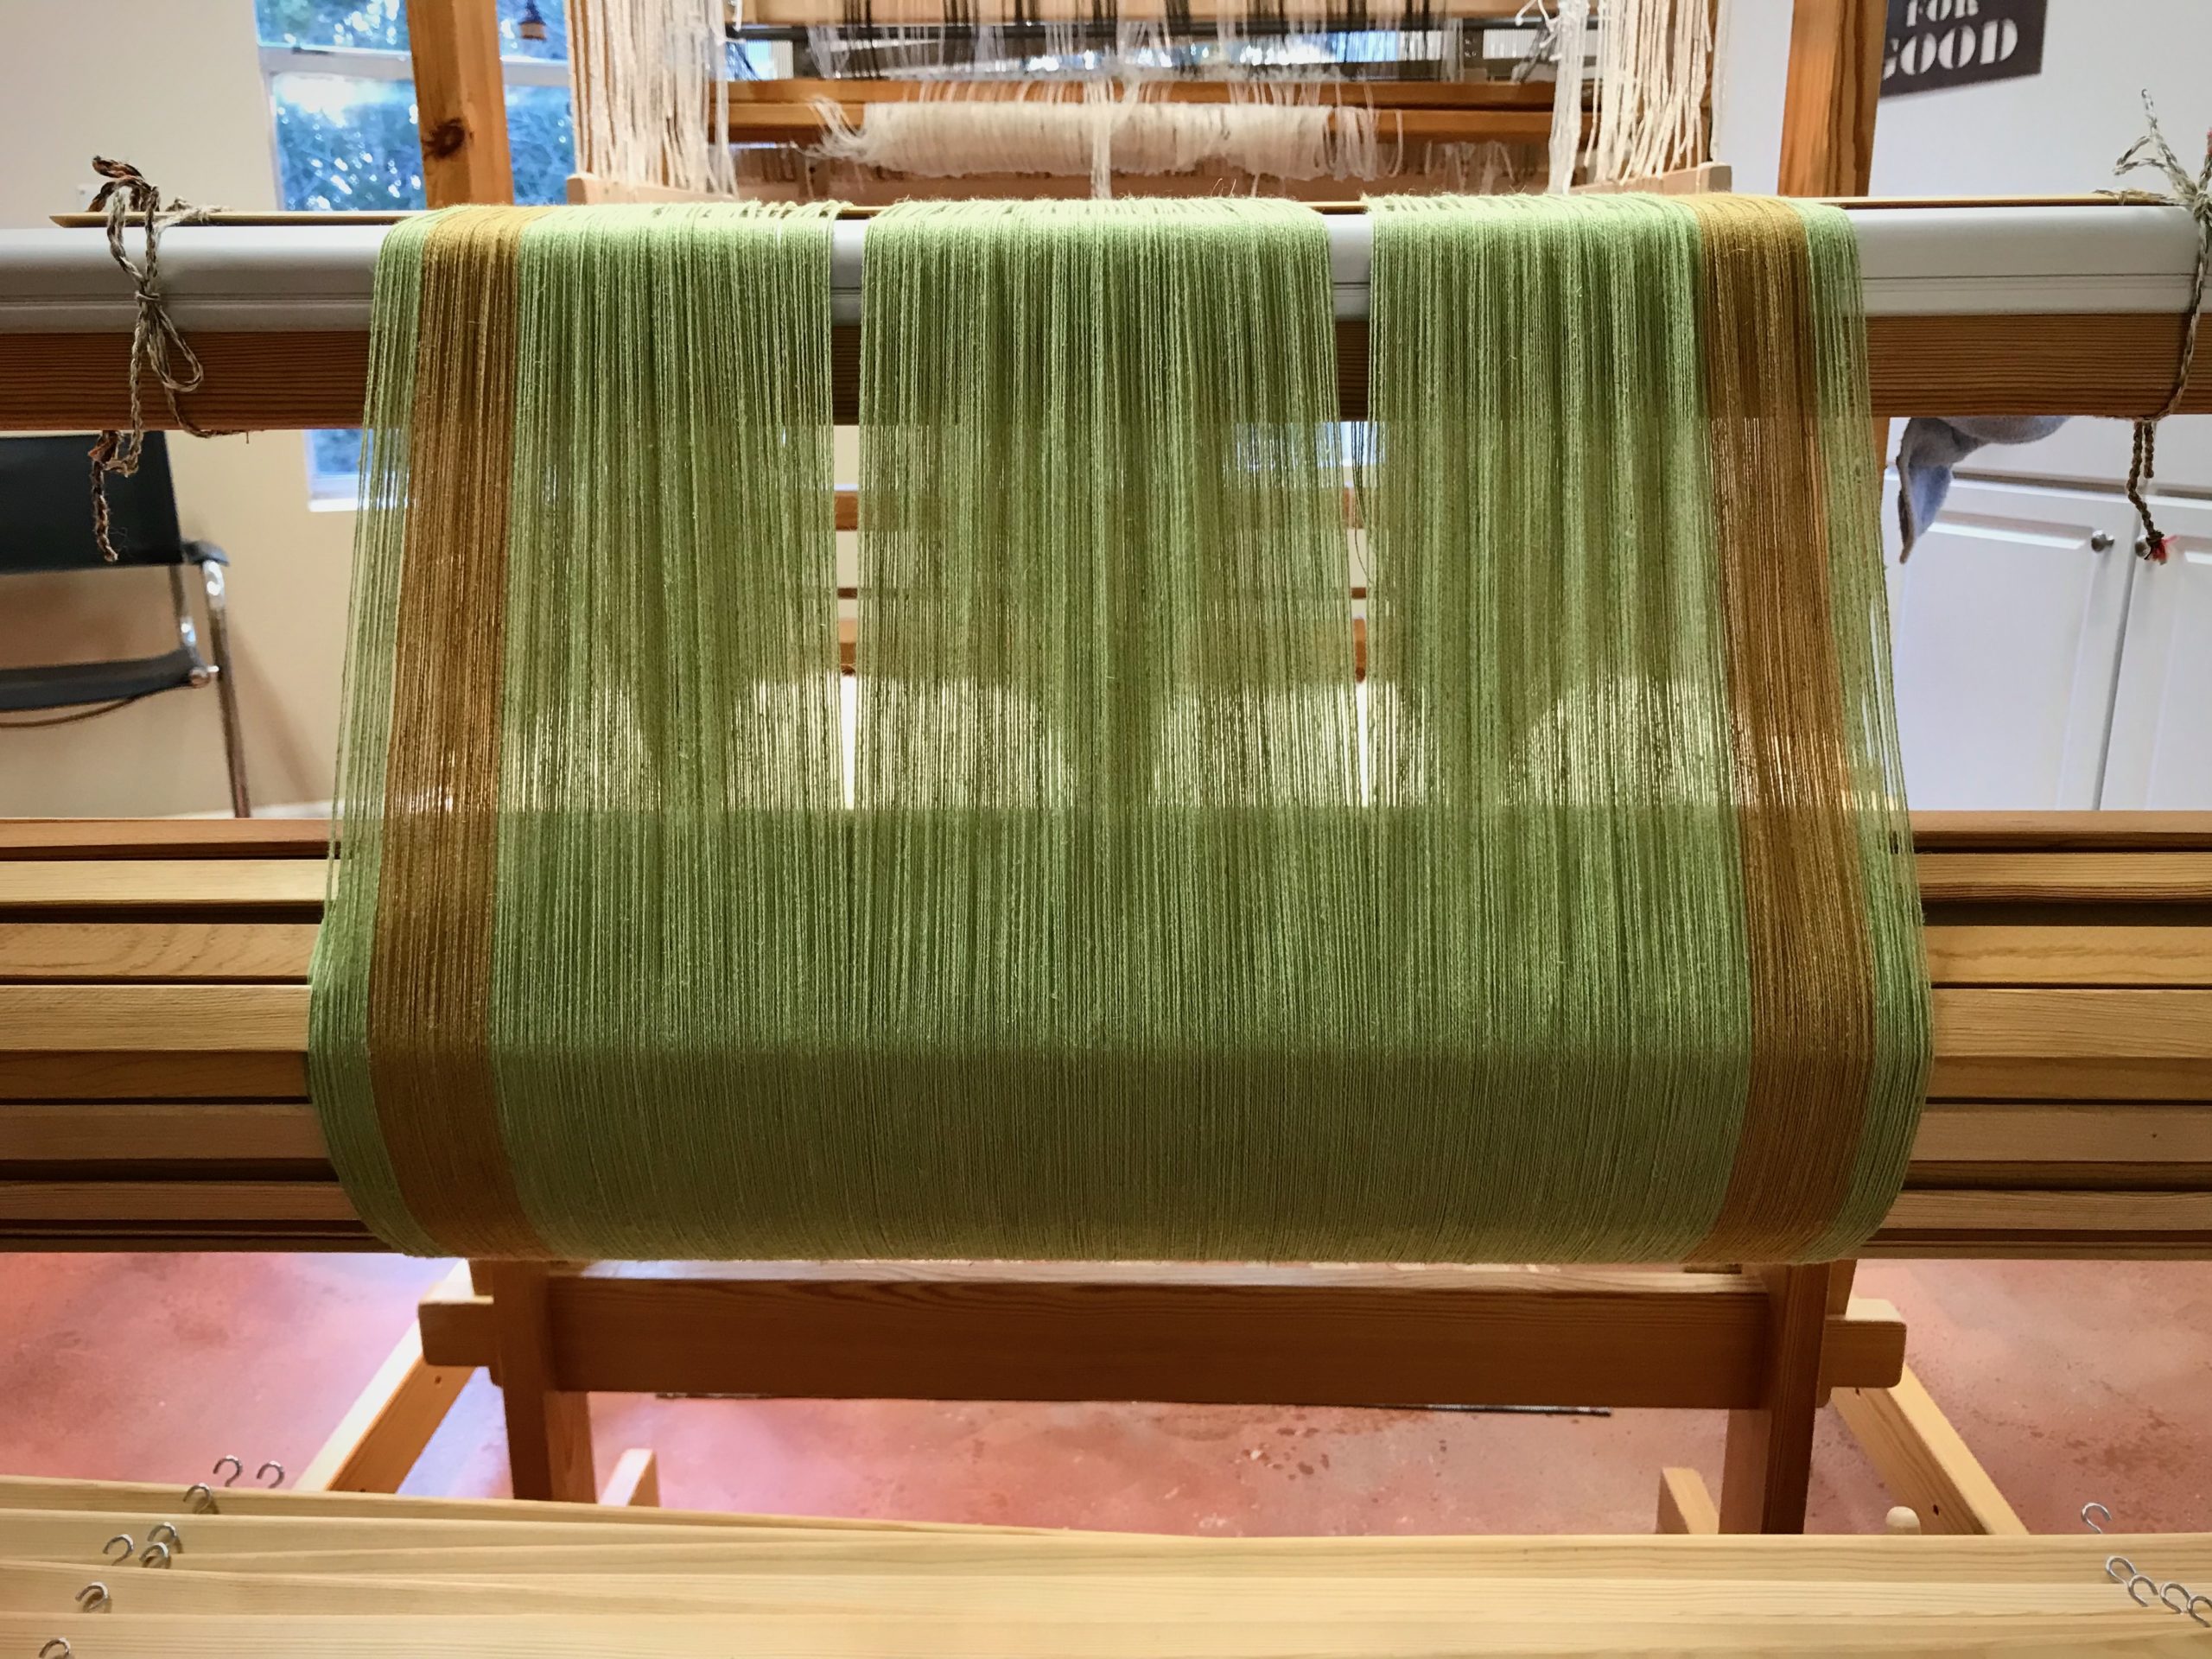
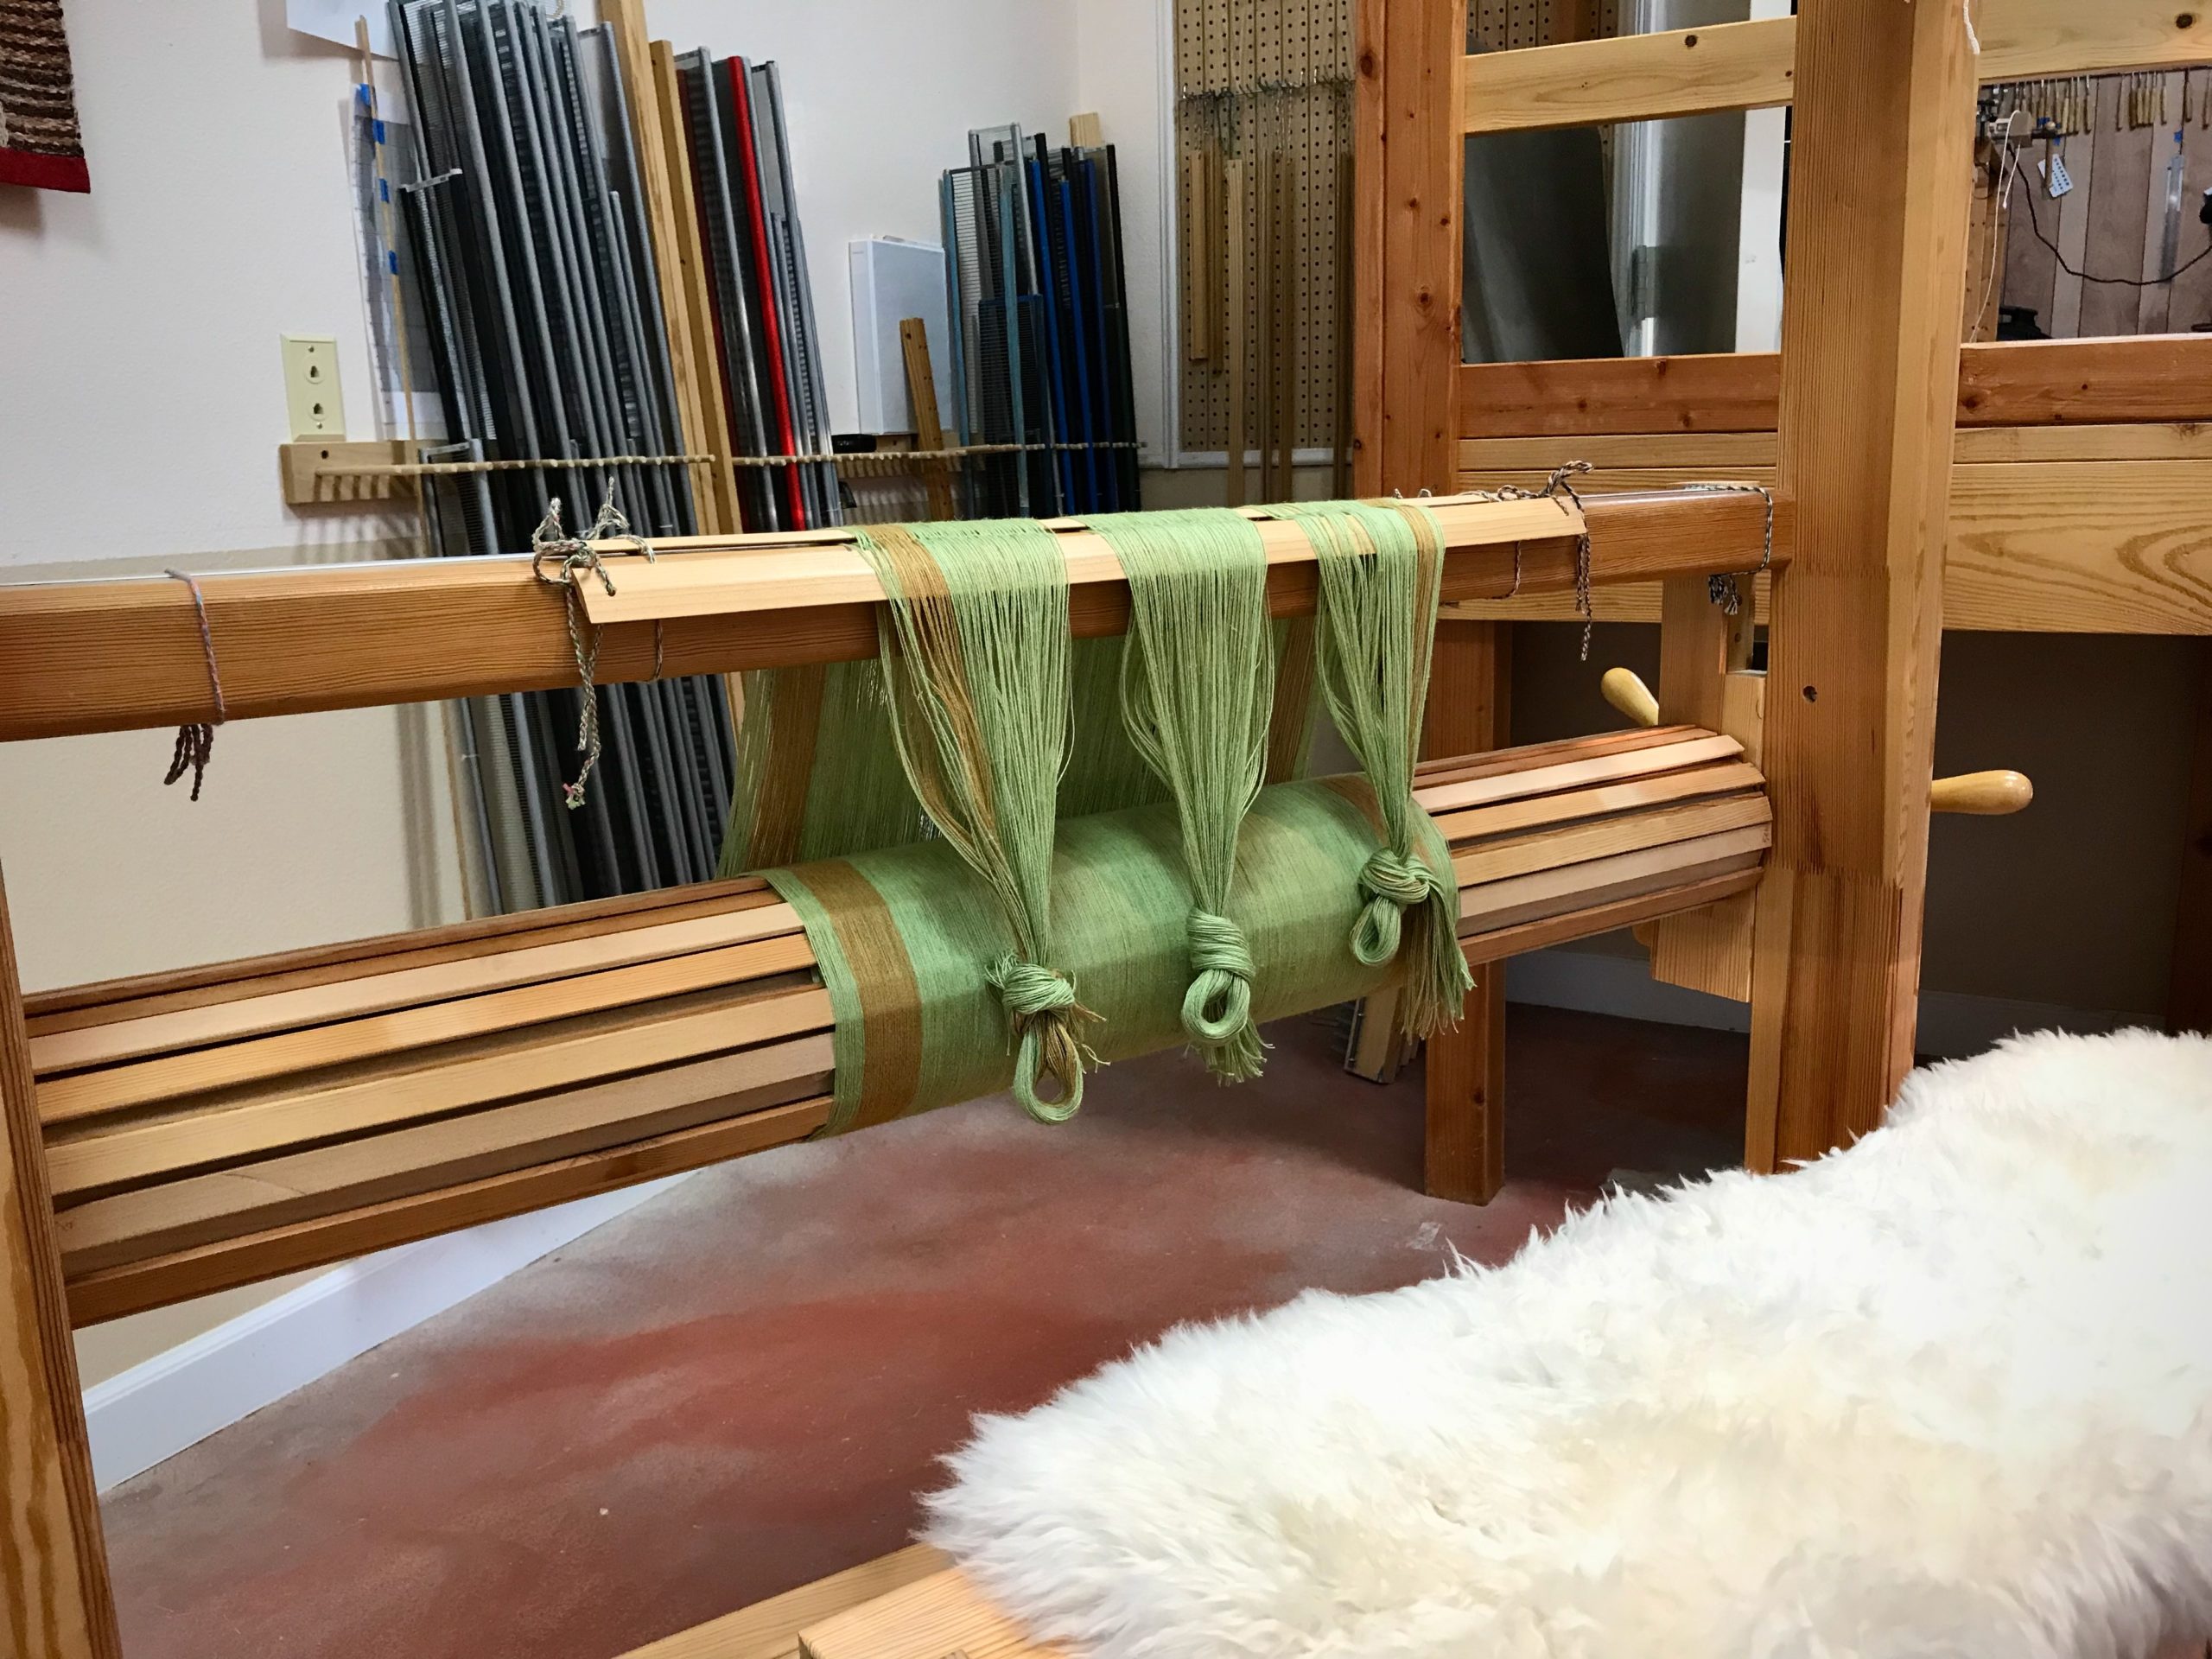
I have never woven napkins because napkins that are used get soiled. Why spend time weaving something you have to be so careful about? That is about to change. I am dressing the drawloom for napkins!
The napkins I have in mind are family-friendly napkins for all ages. They will get soiled, of course. They are made with grandchildren in mind–Cottolin warp and linen weft. I have a fun design for each napkin. And we’ll be ready to wipe any messy mouth. Napkins are made to get soiled.
Next step is to tie ends into threading groups to prepare for threading.
Wisdom is marked by a sense of calm. There is no dread of something ruining the day. If a little (or big) person soils a napkin, so be it. That will just serve to add a bit of history to the cloth. With a little wisdom, I’ll remain undisturbed.
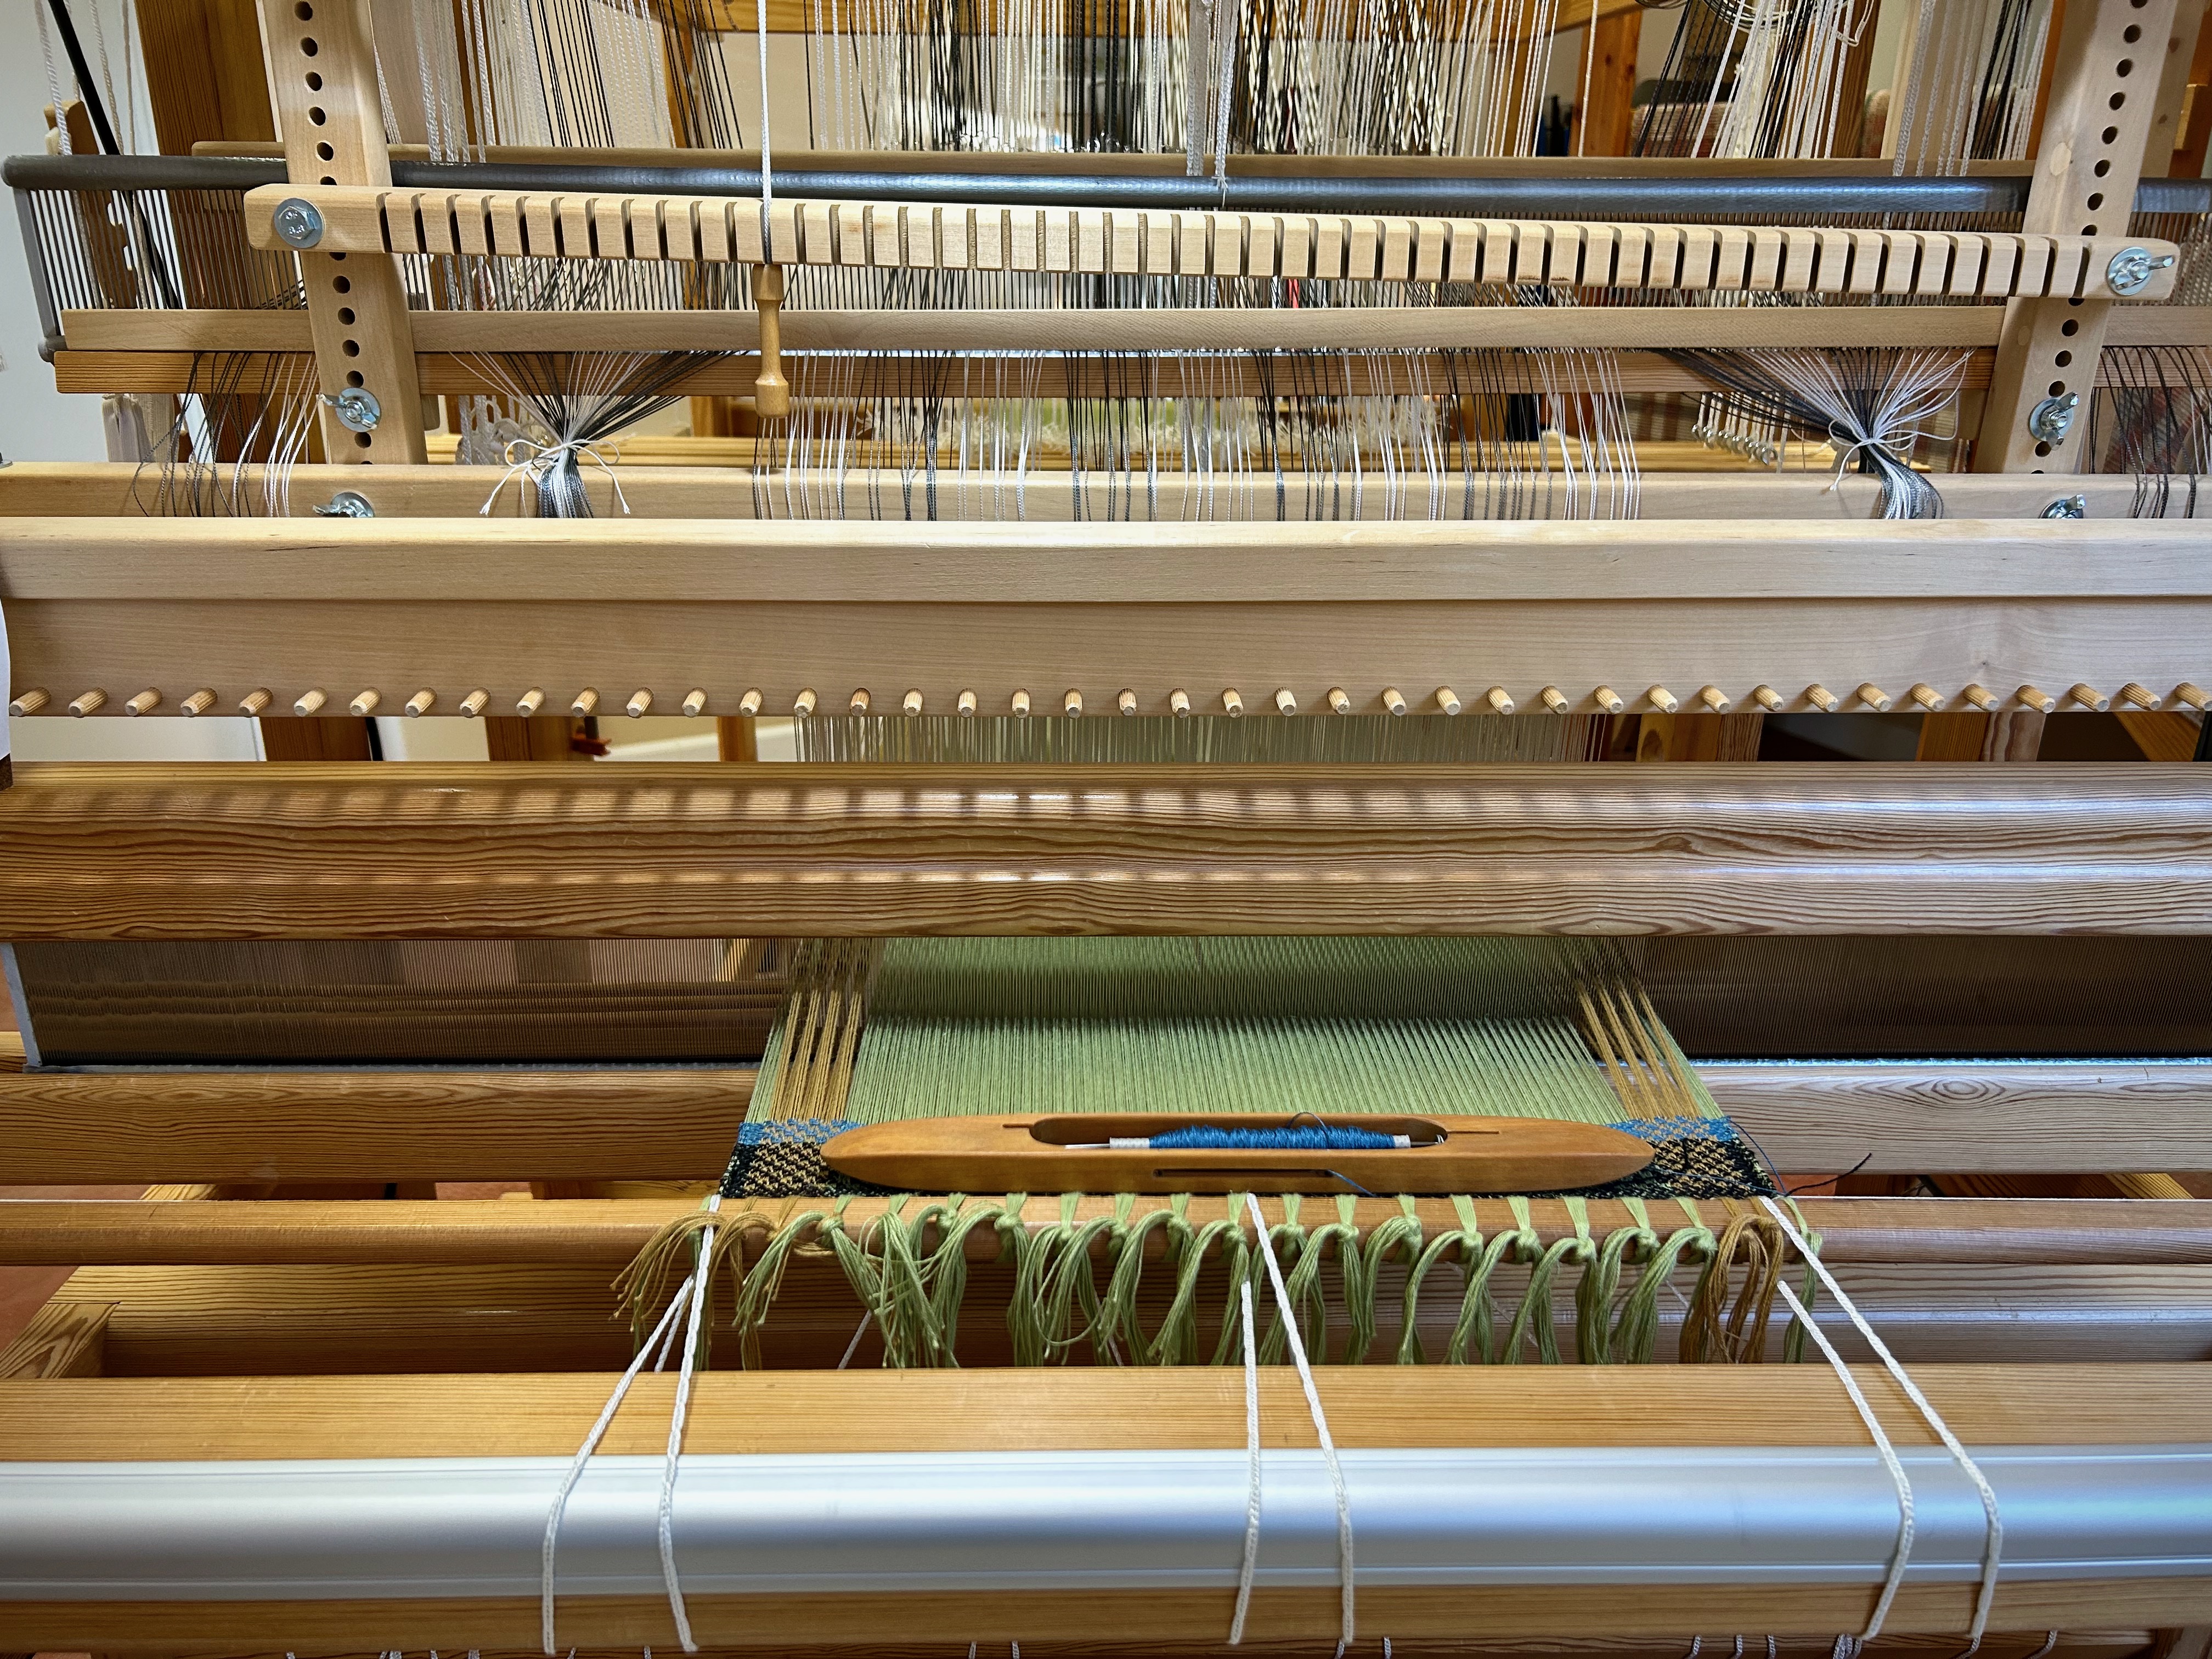
I am constantly improving my methods of operating the drawloom. I pull and release draw handles and draw cords, check for errors, and throw the shuttle for each unit of threads (six times per unit with the current setup). Everything is in order. And, while I’m actively absorbed with this mental and physical choreography, I experience freedom from every other care.
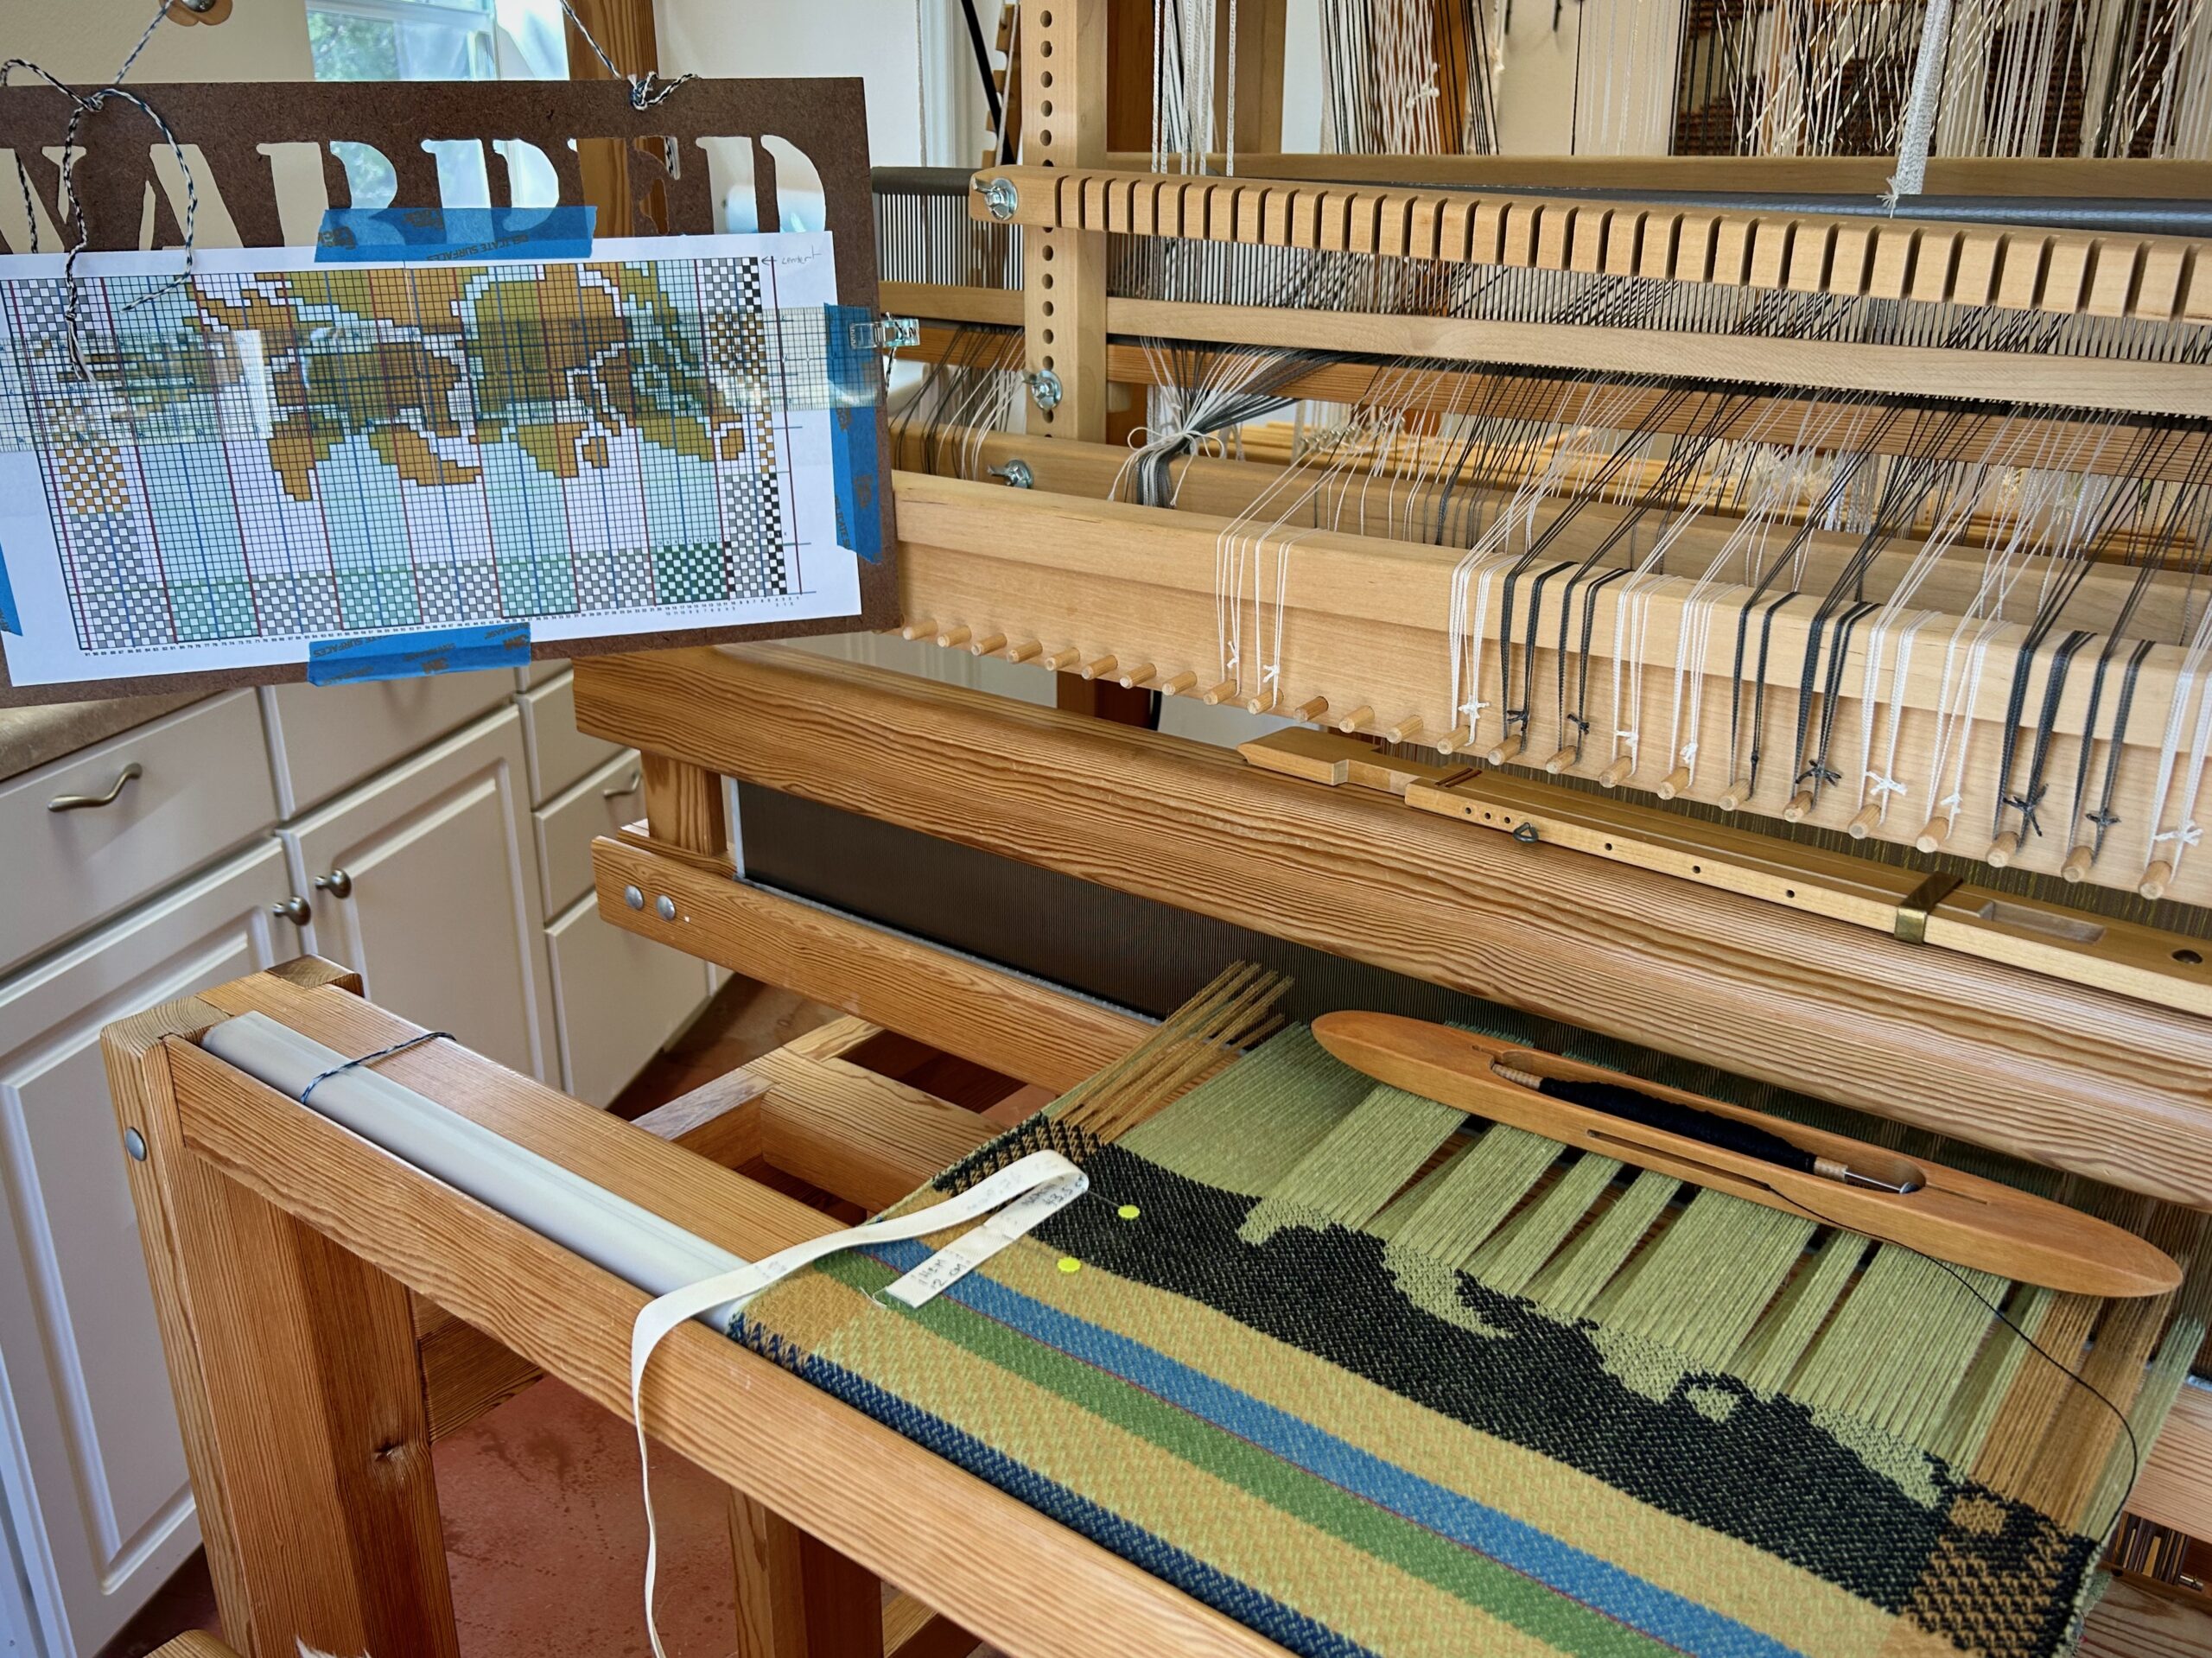
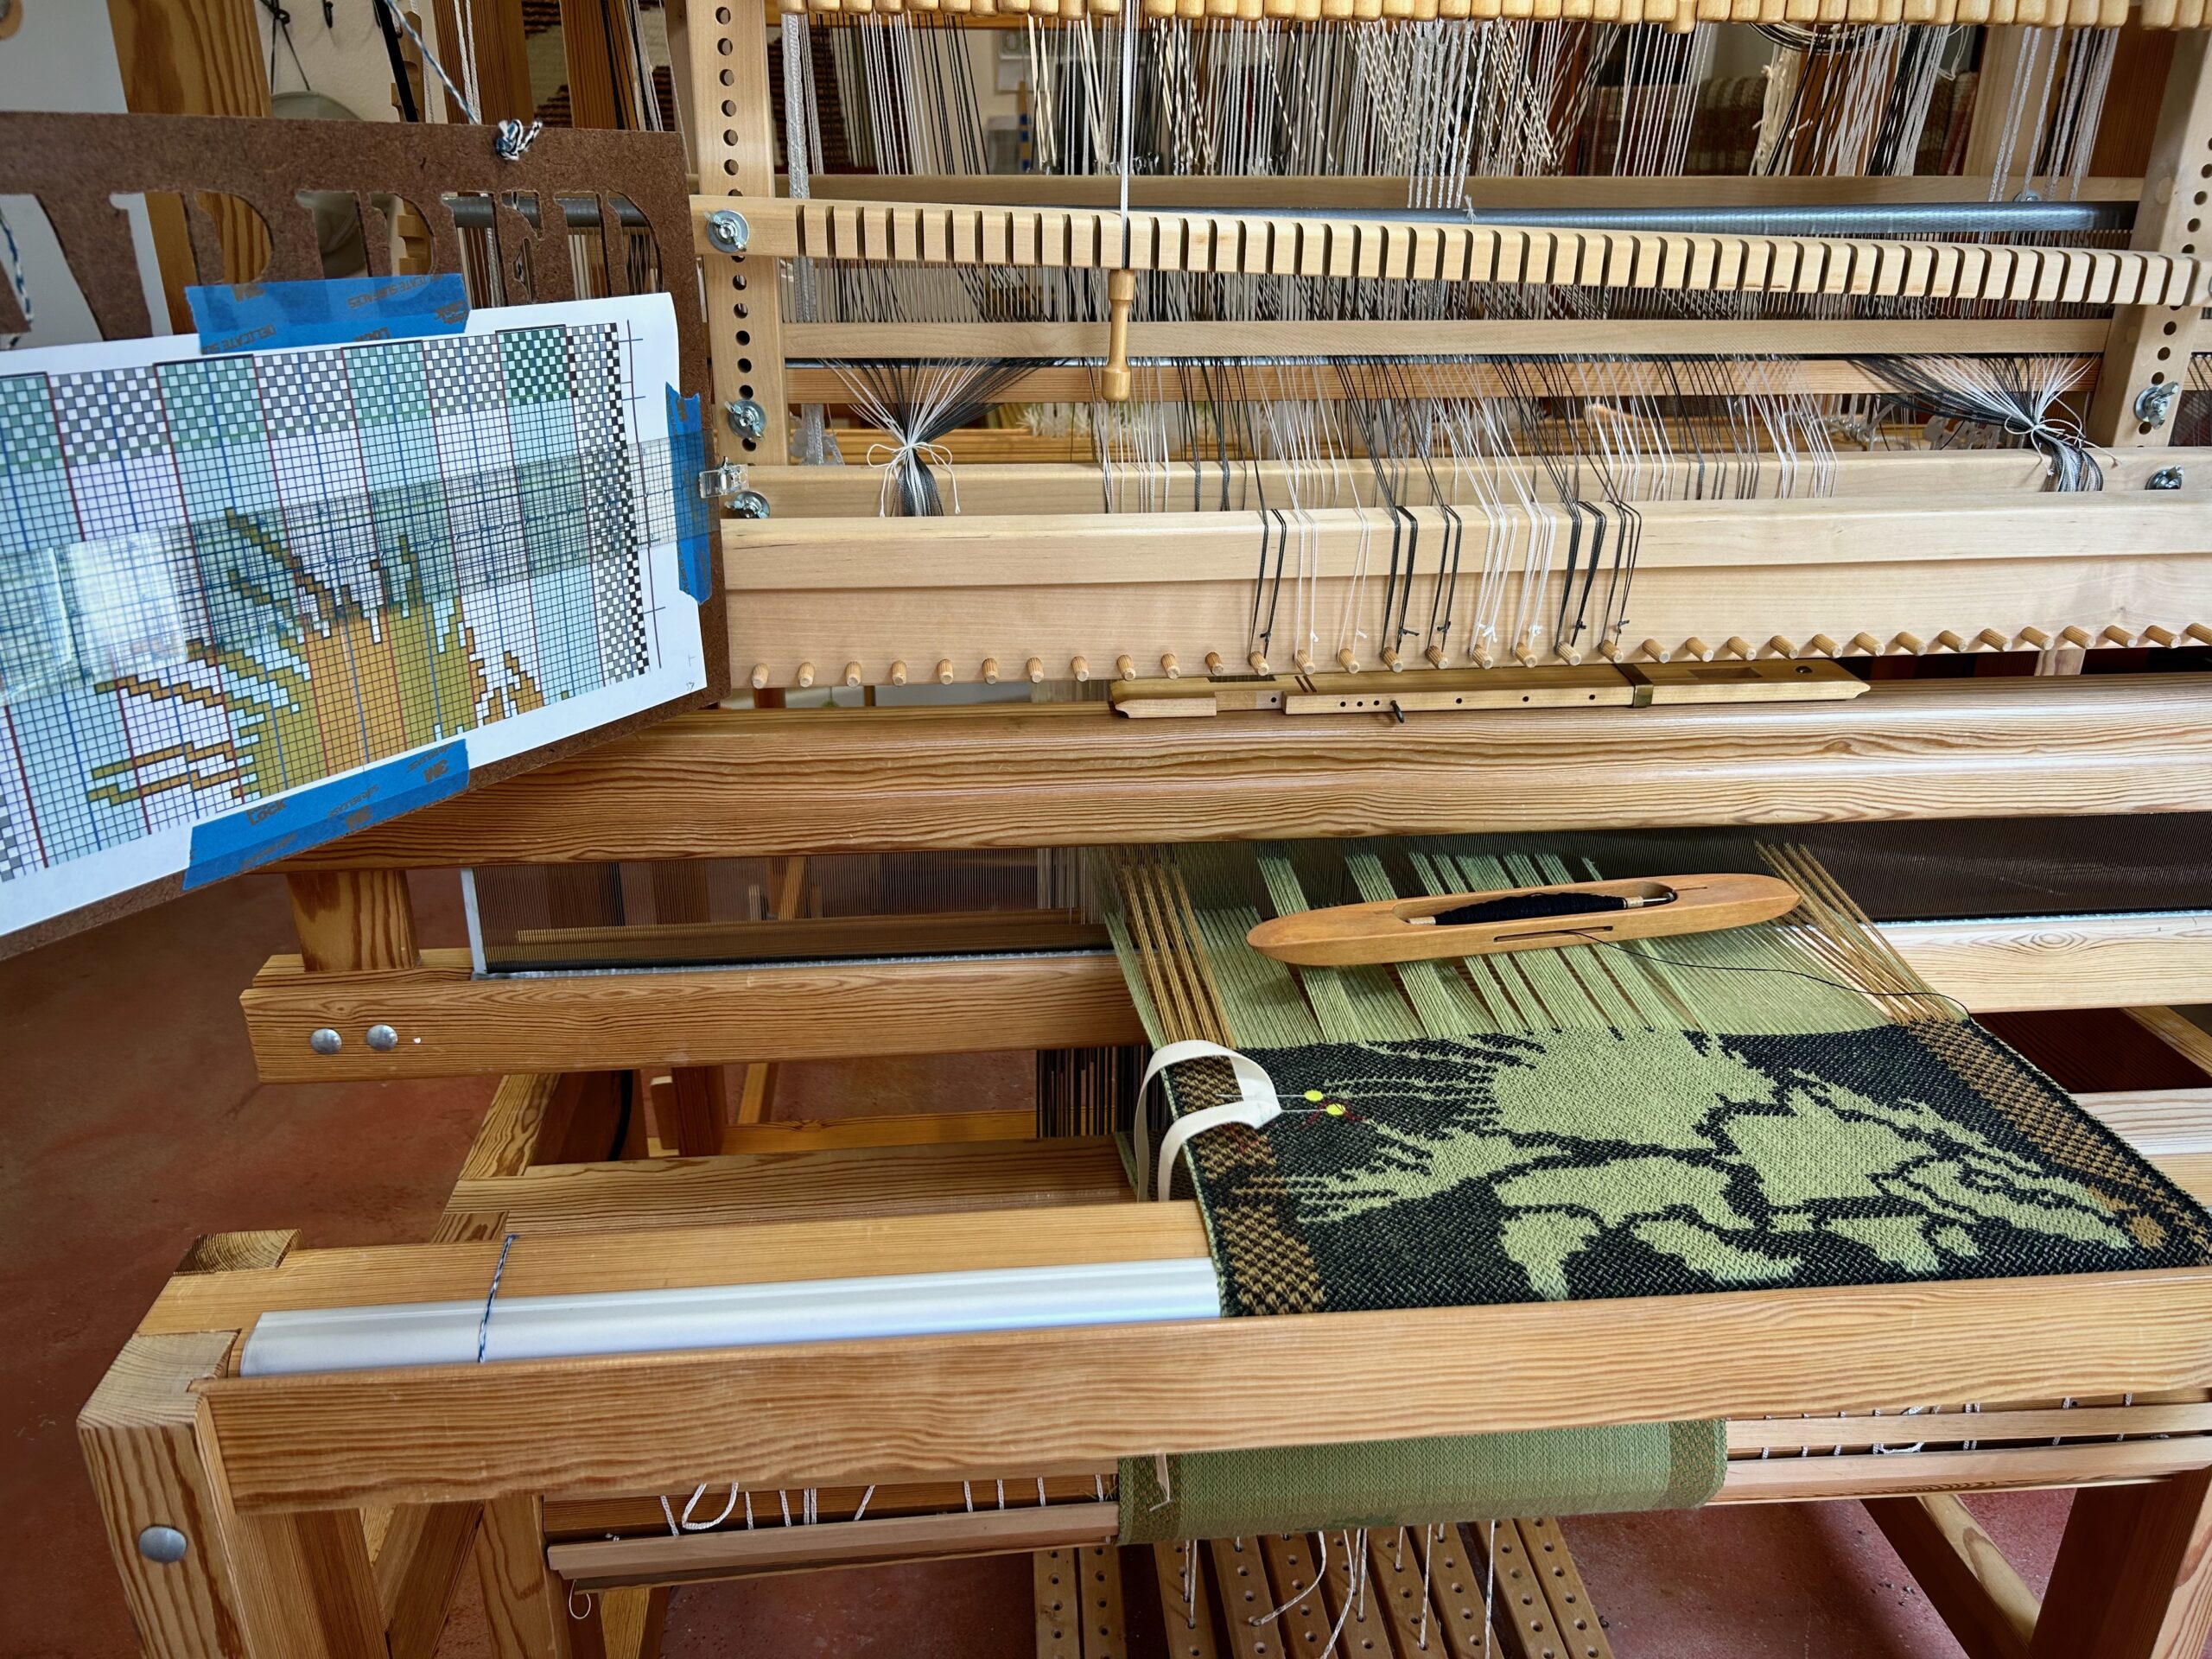
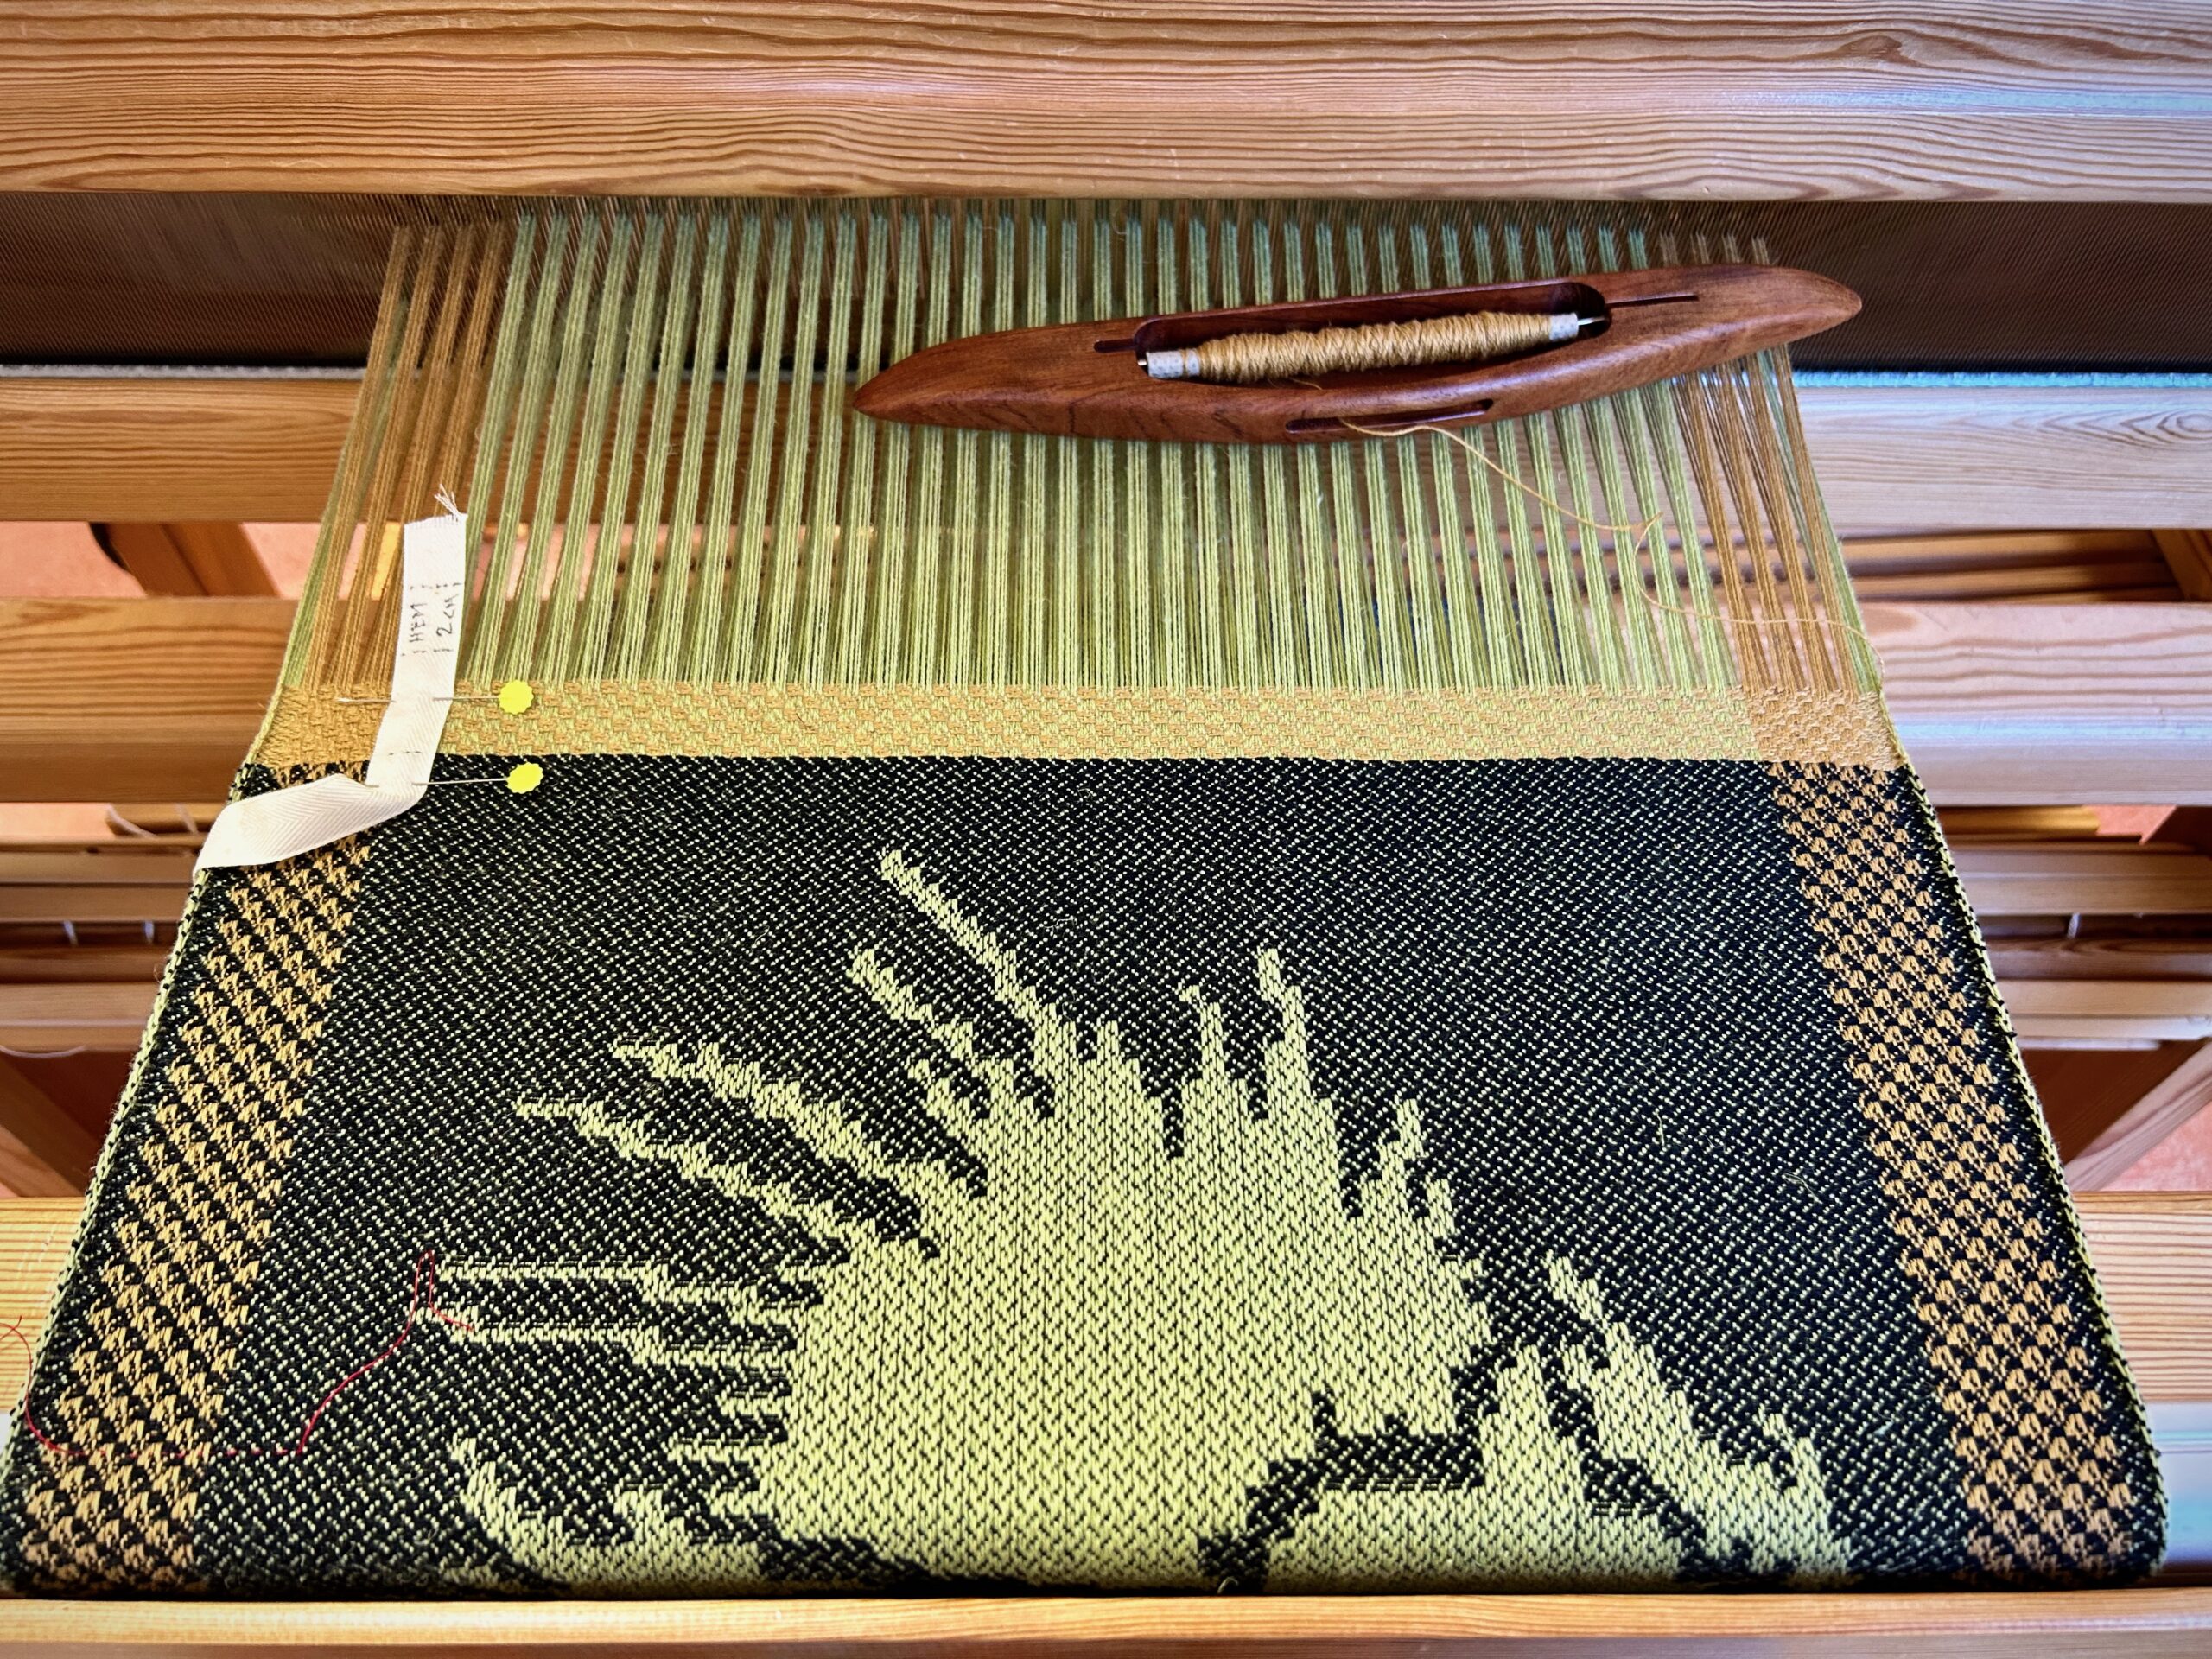
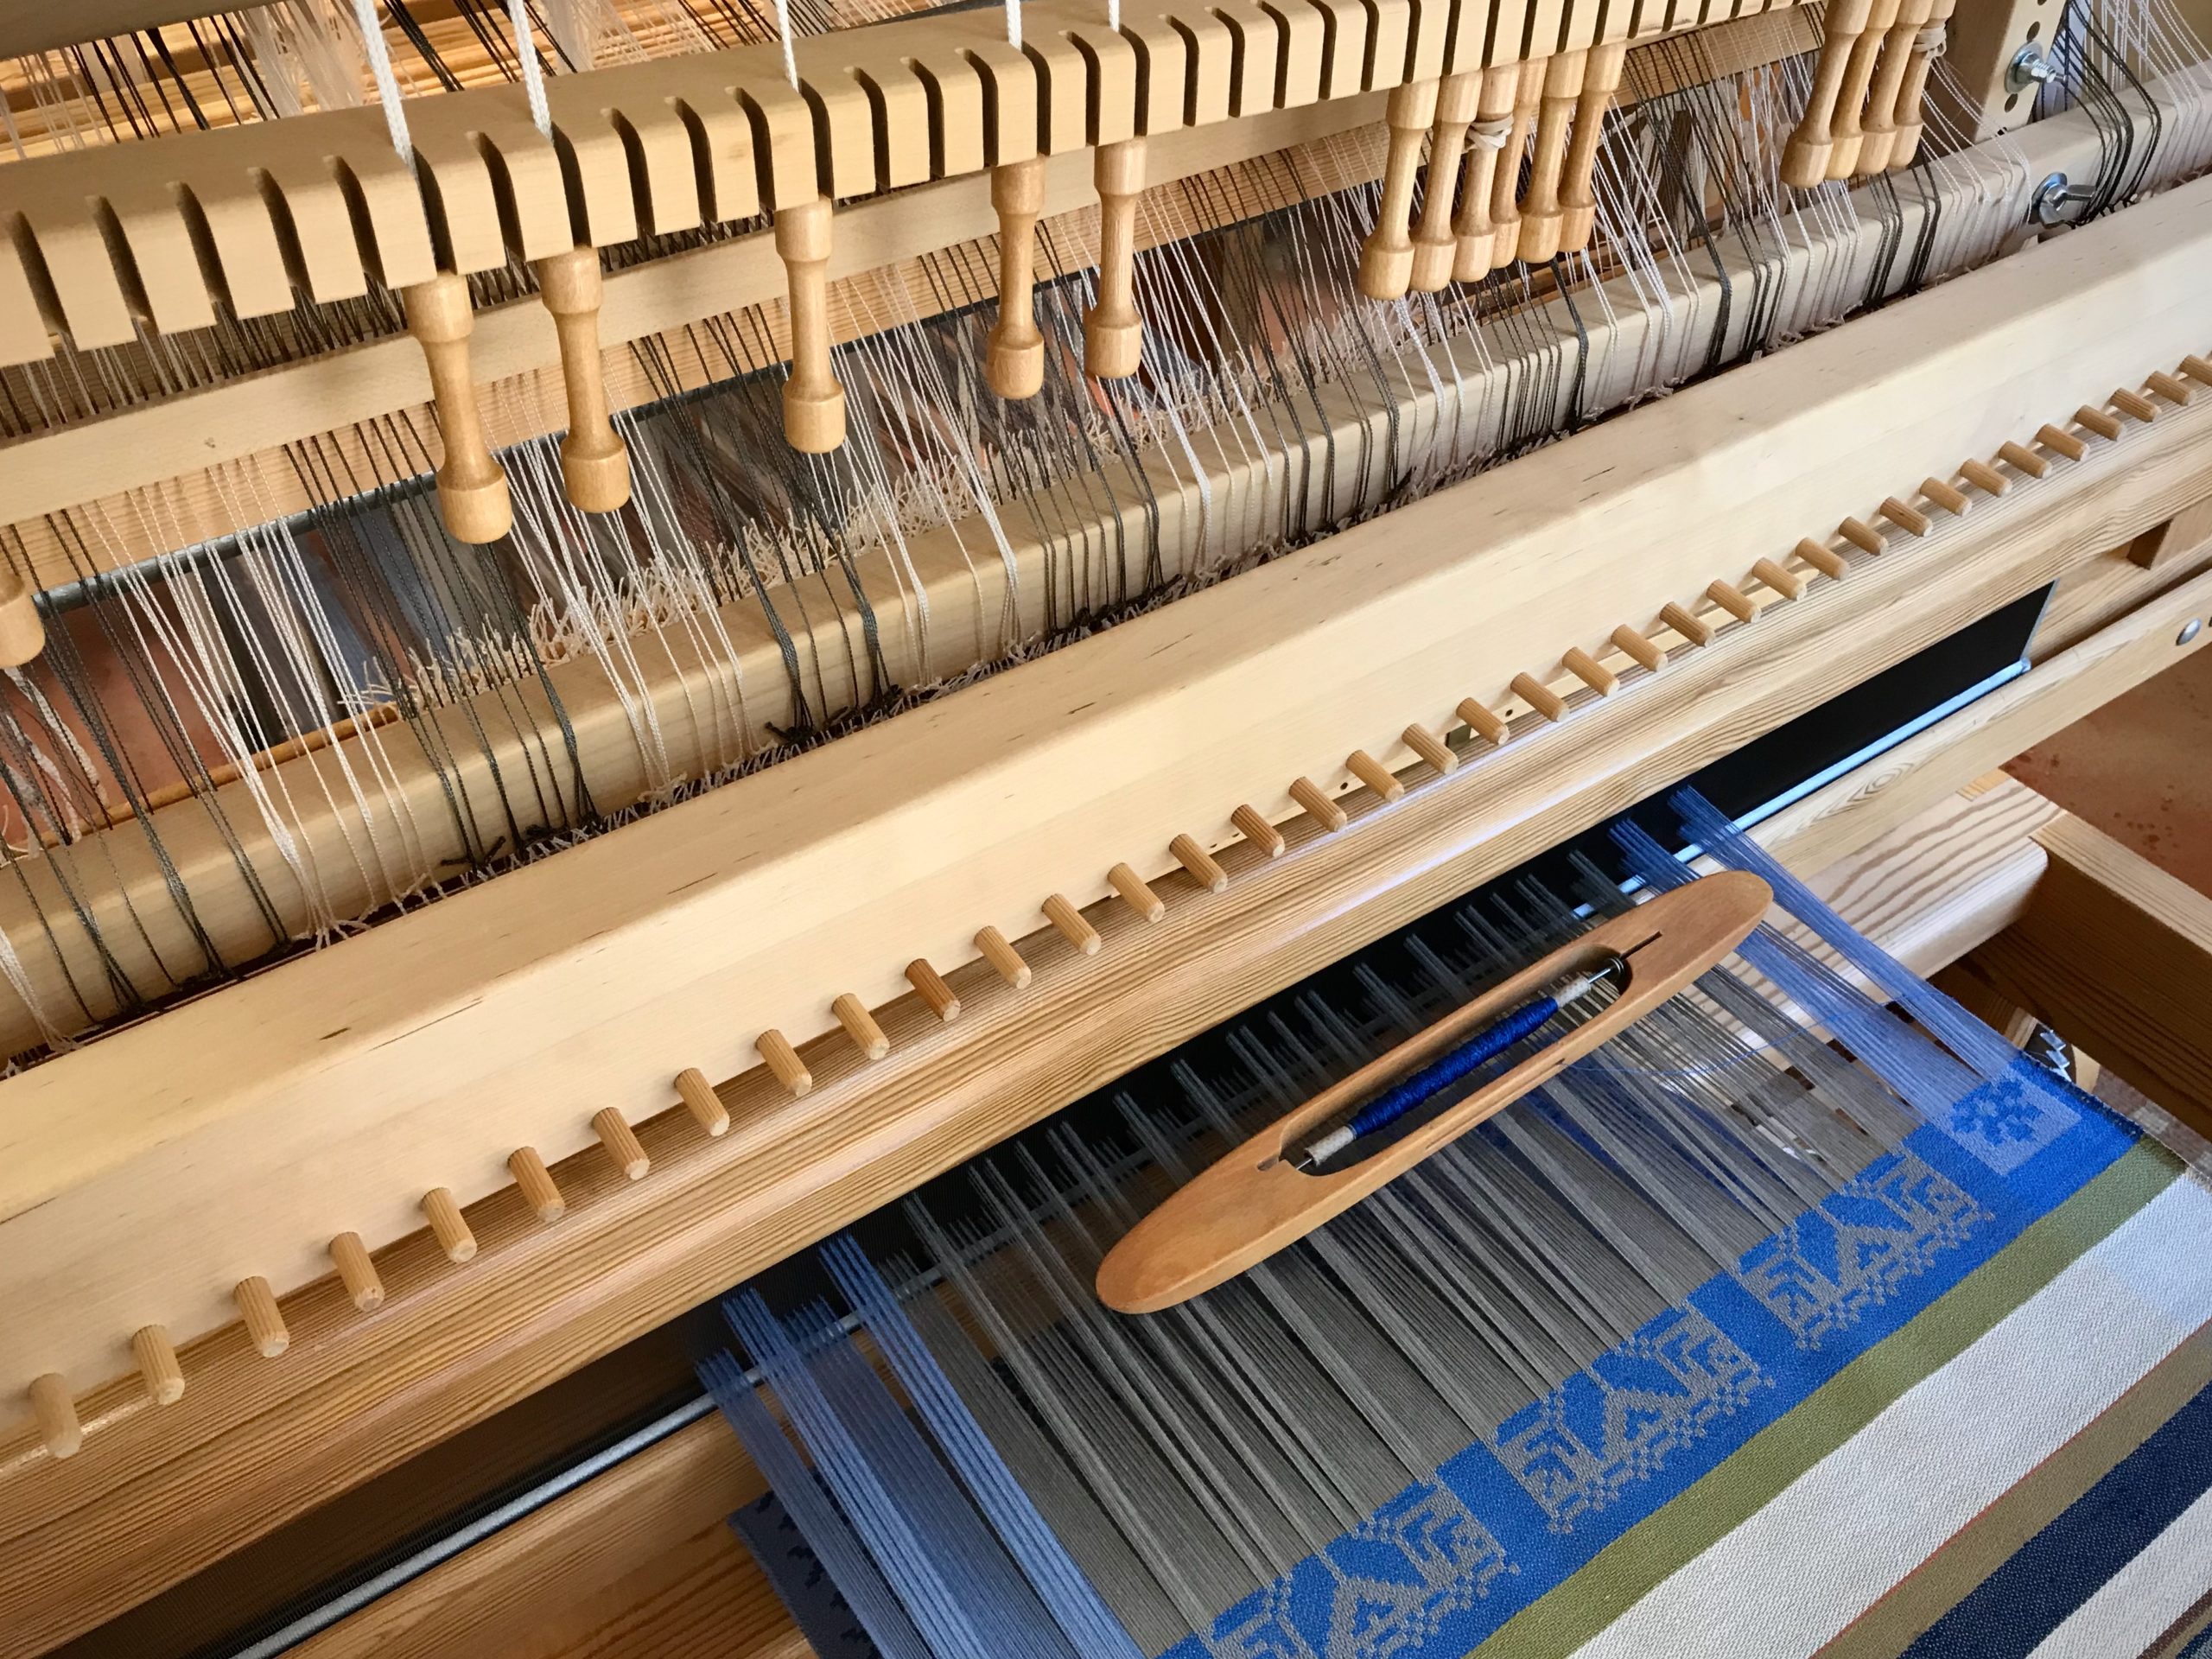
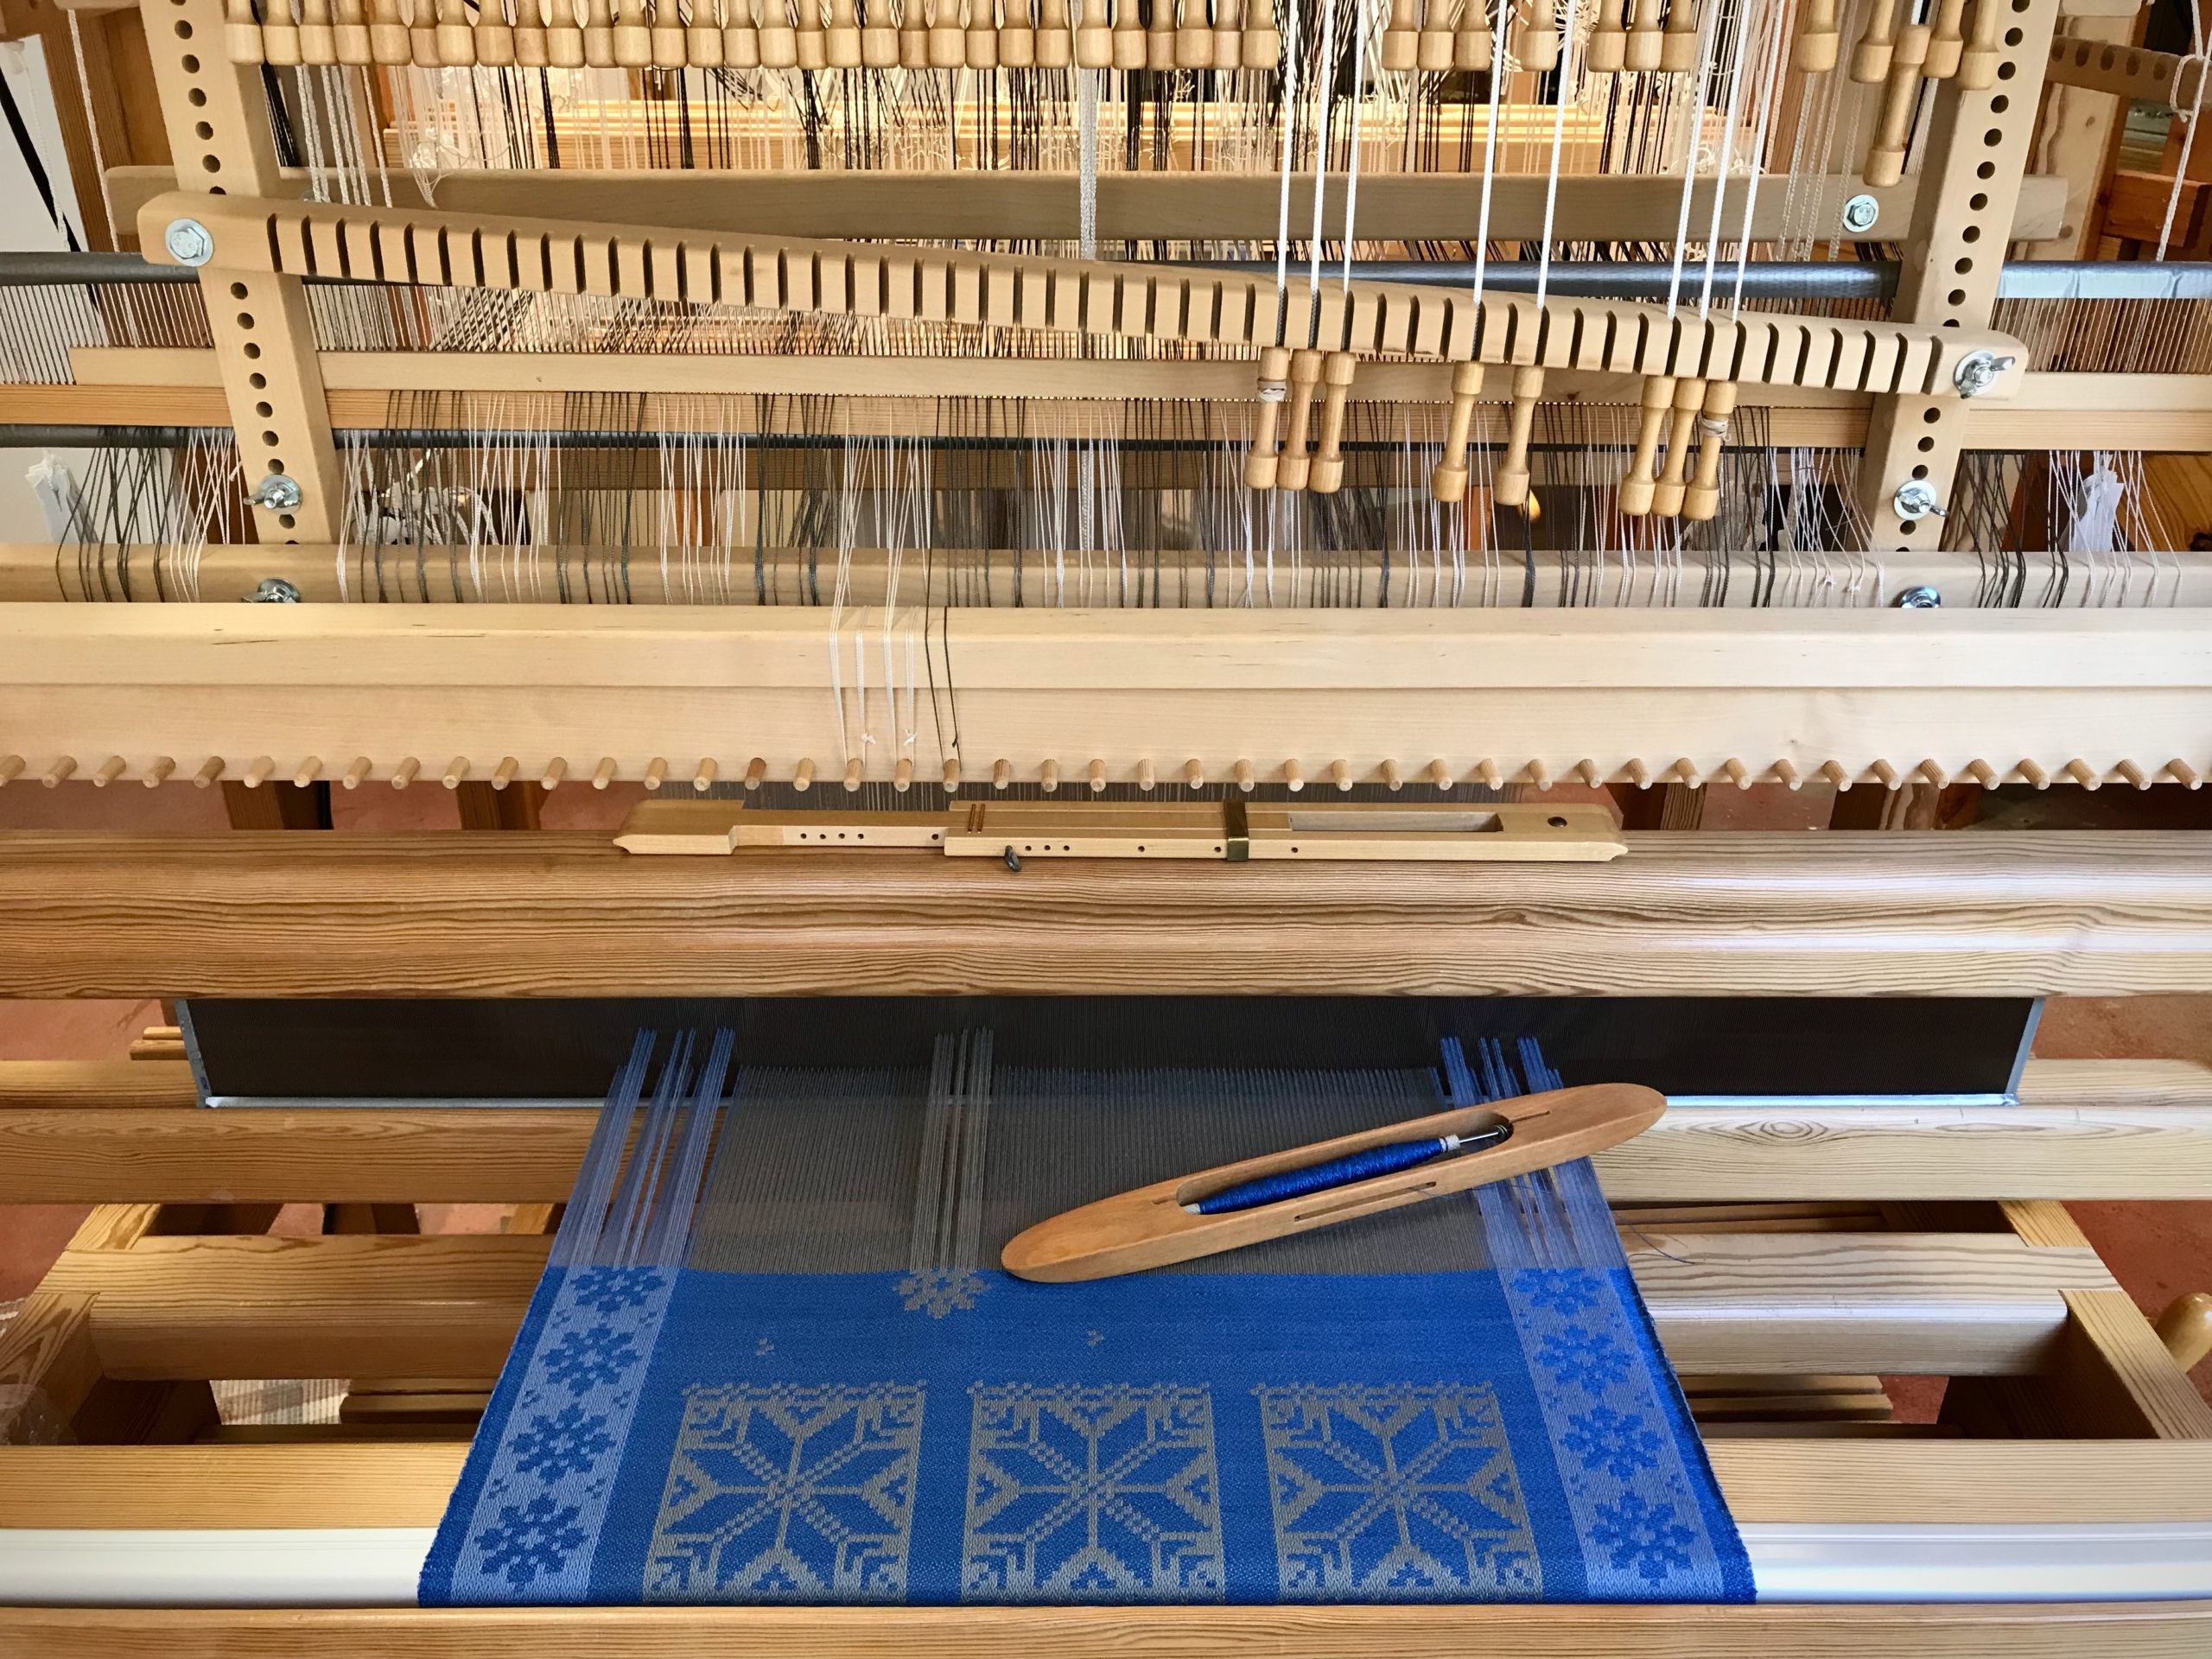
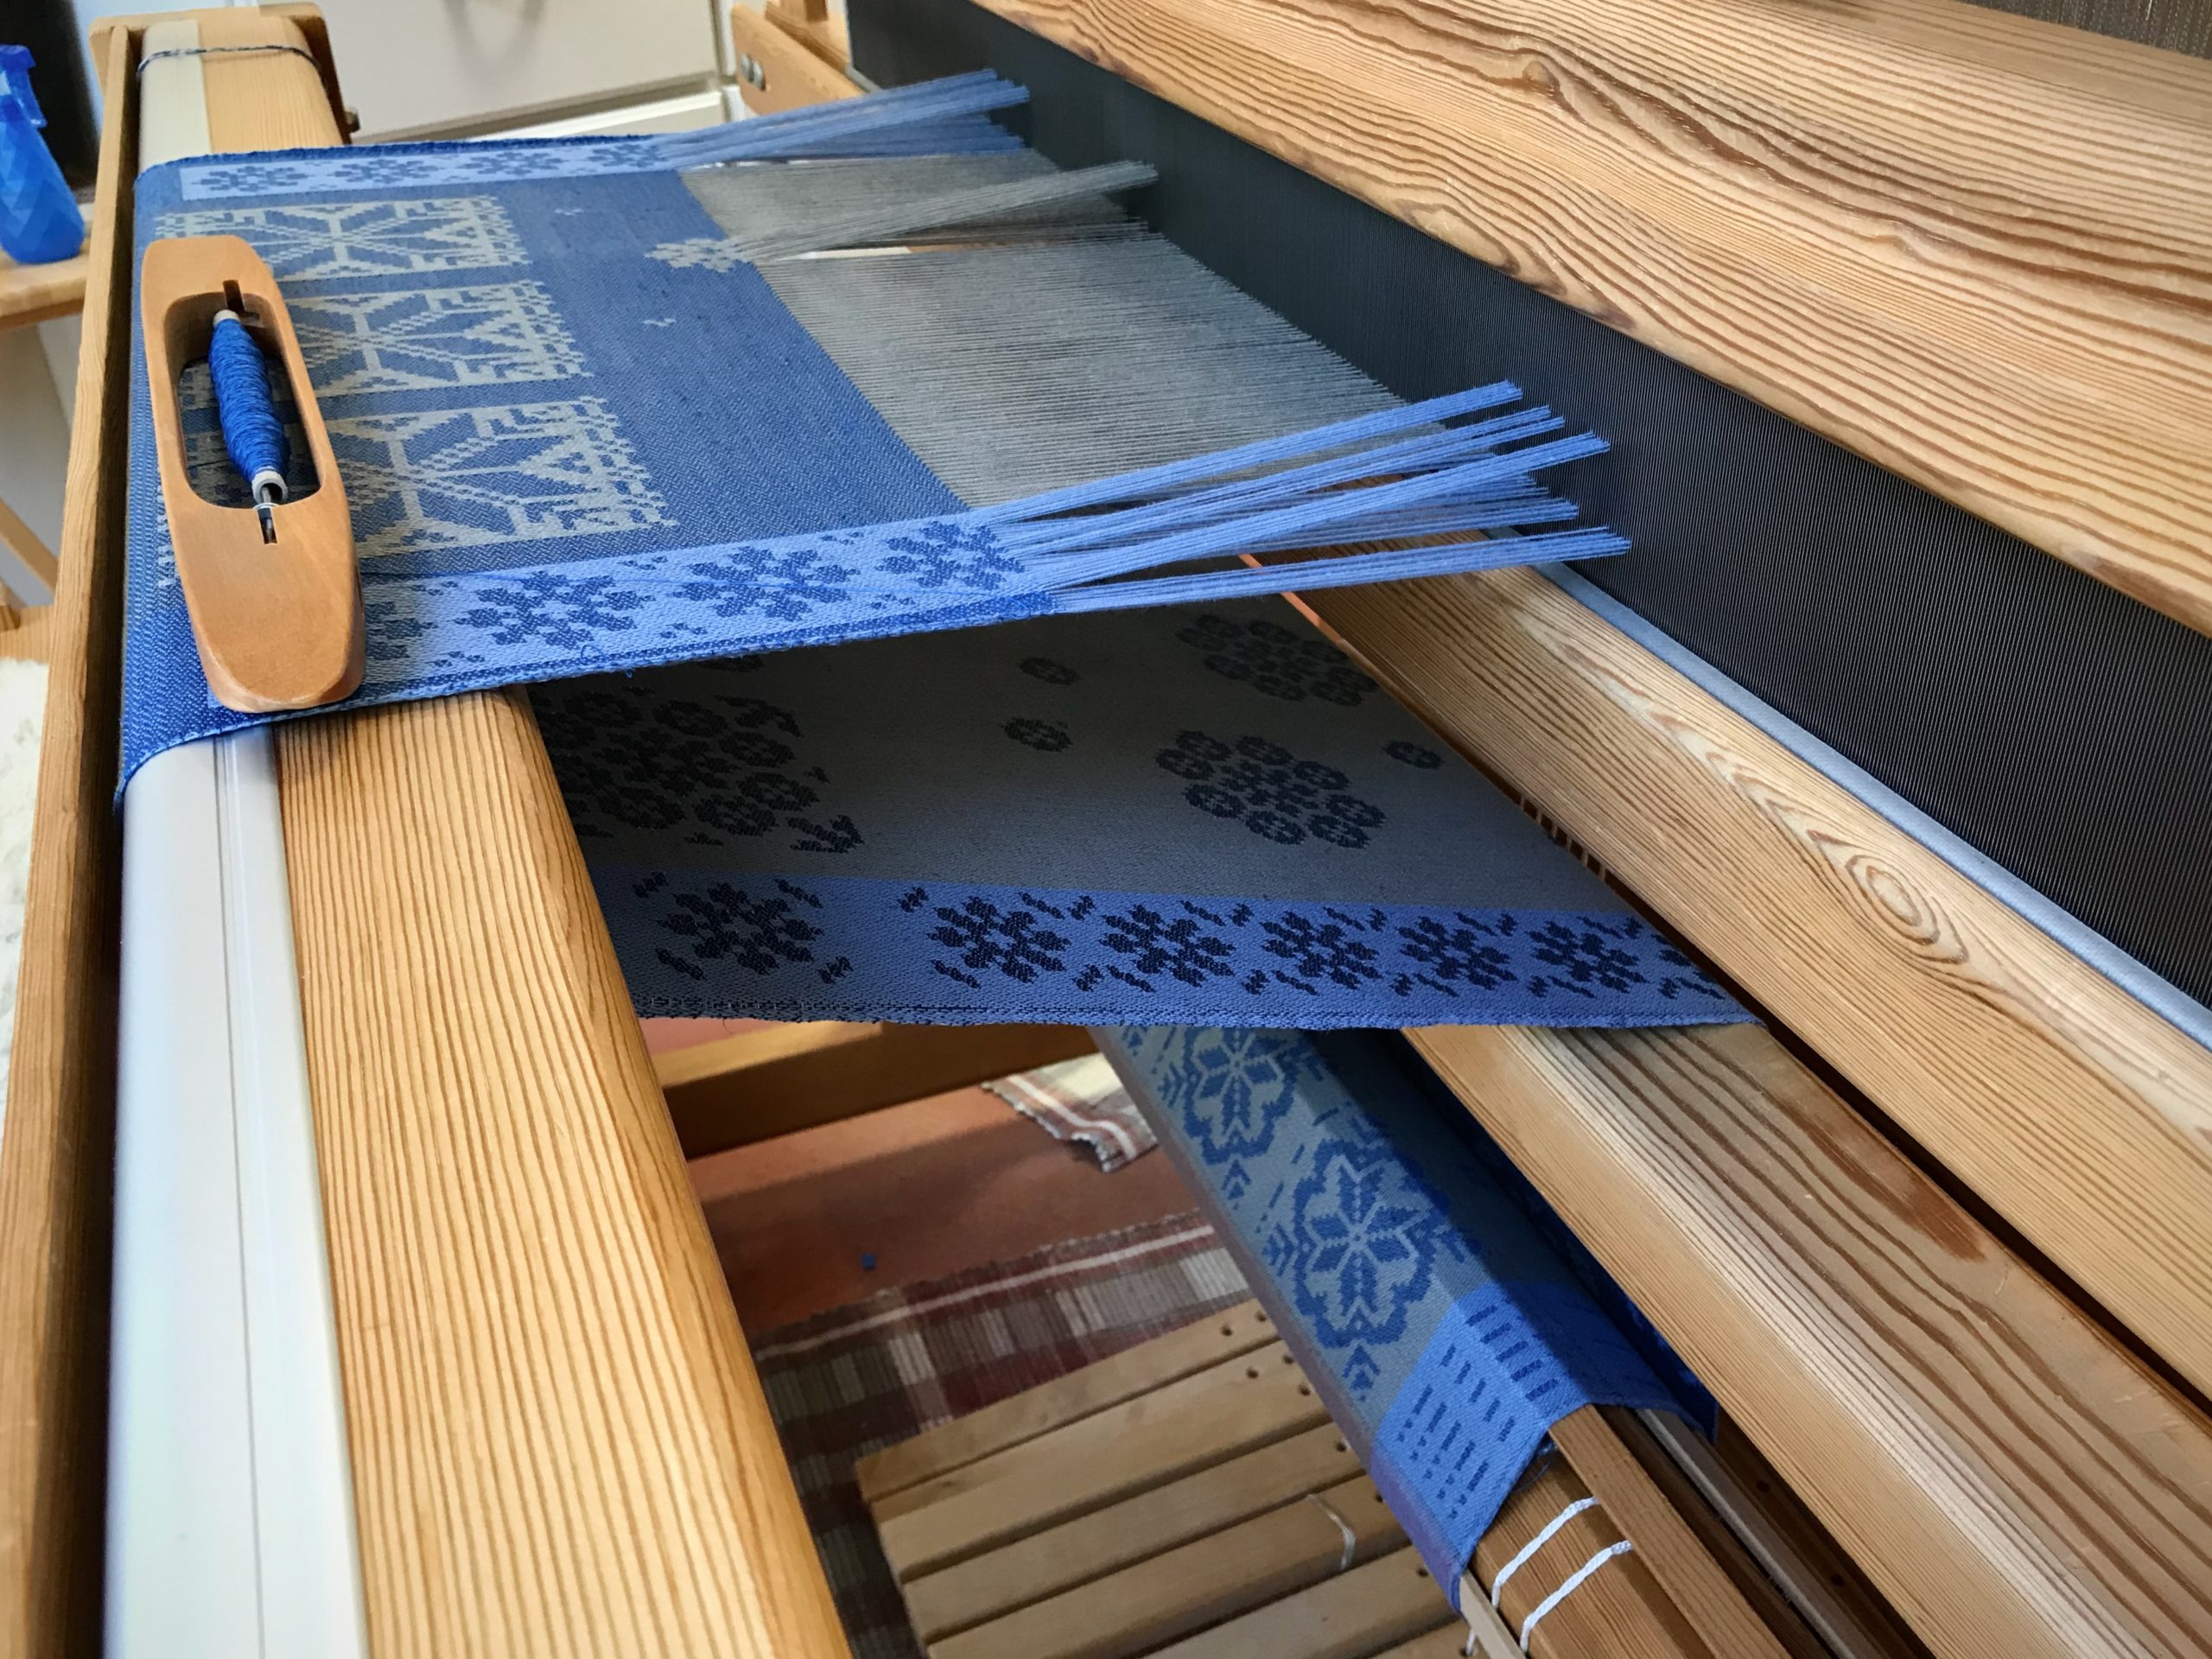
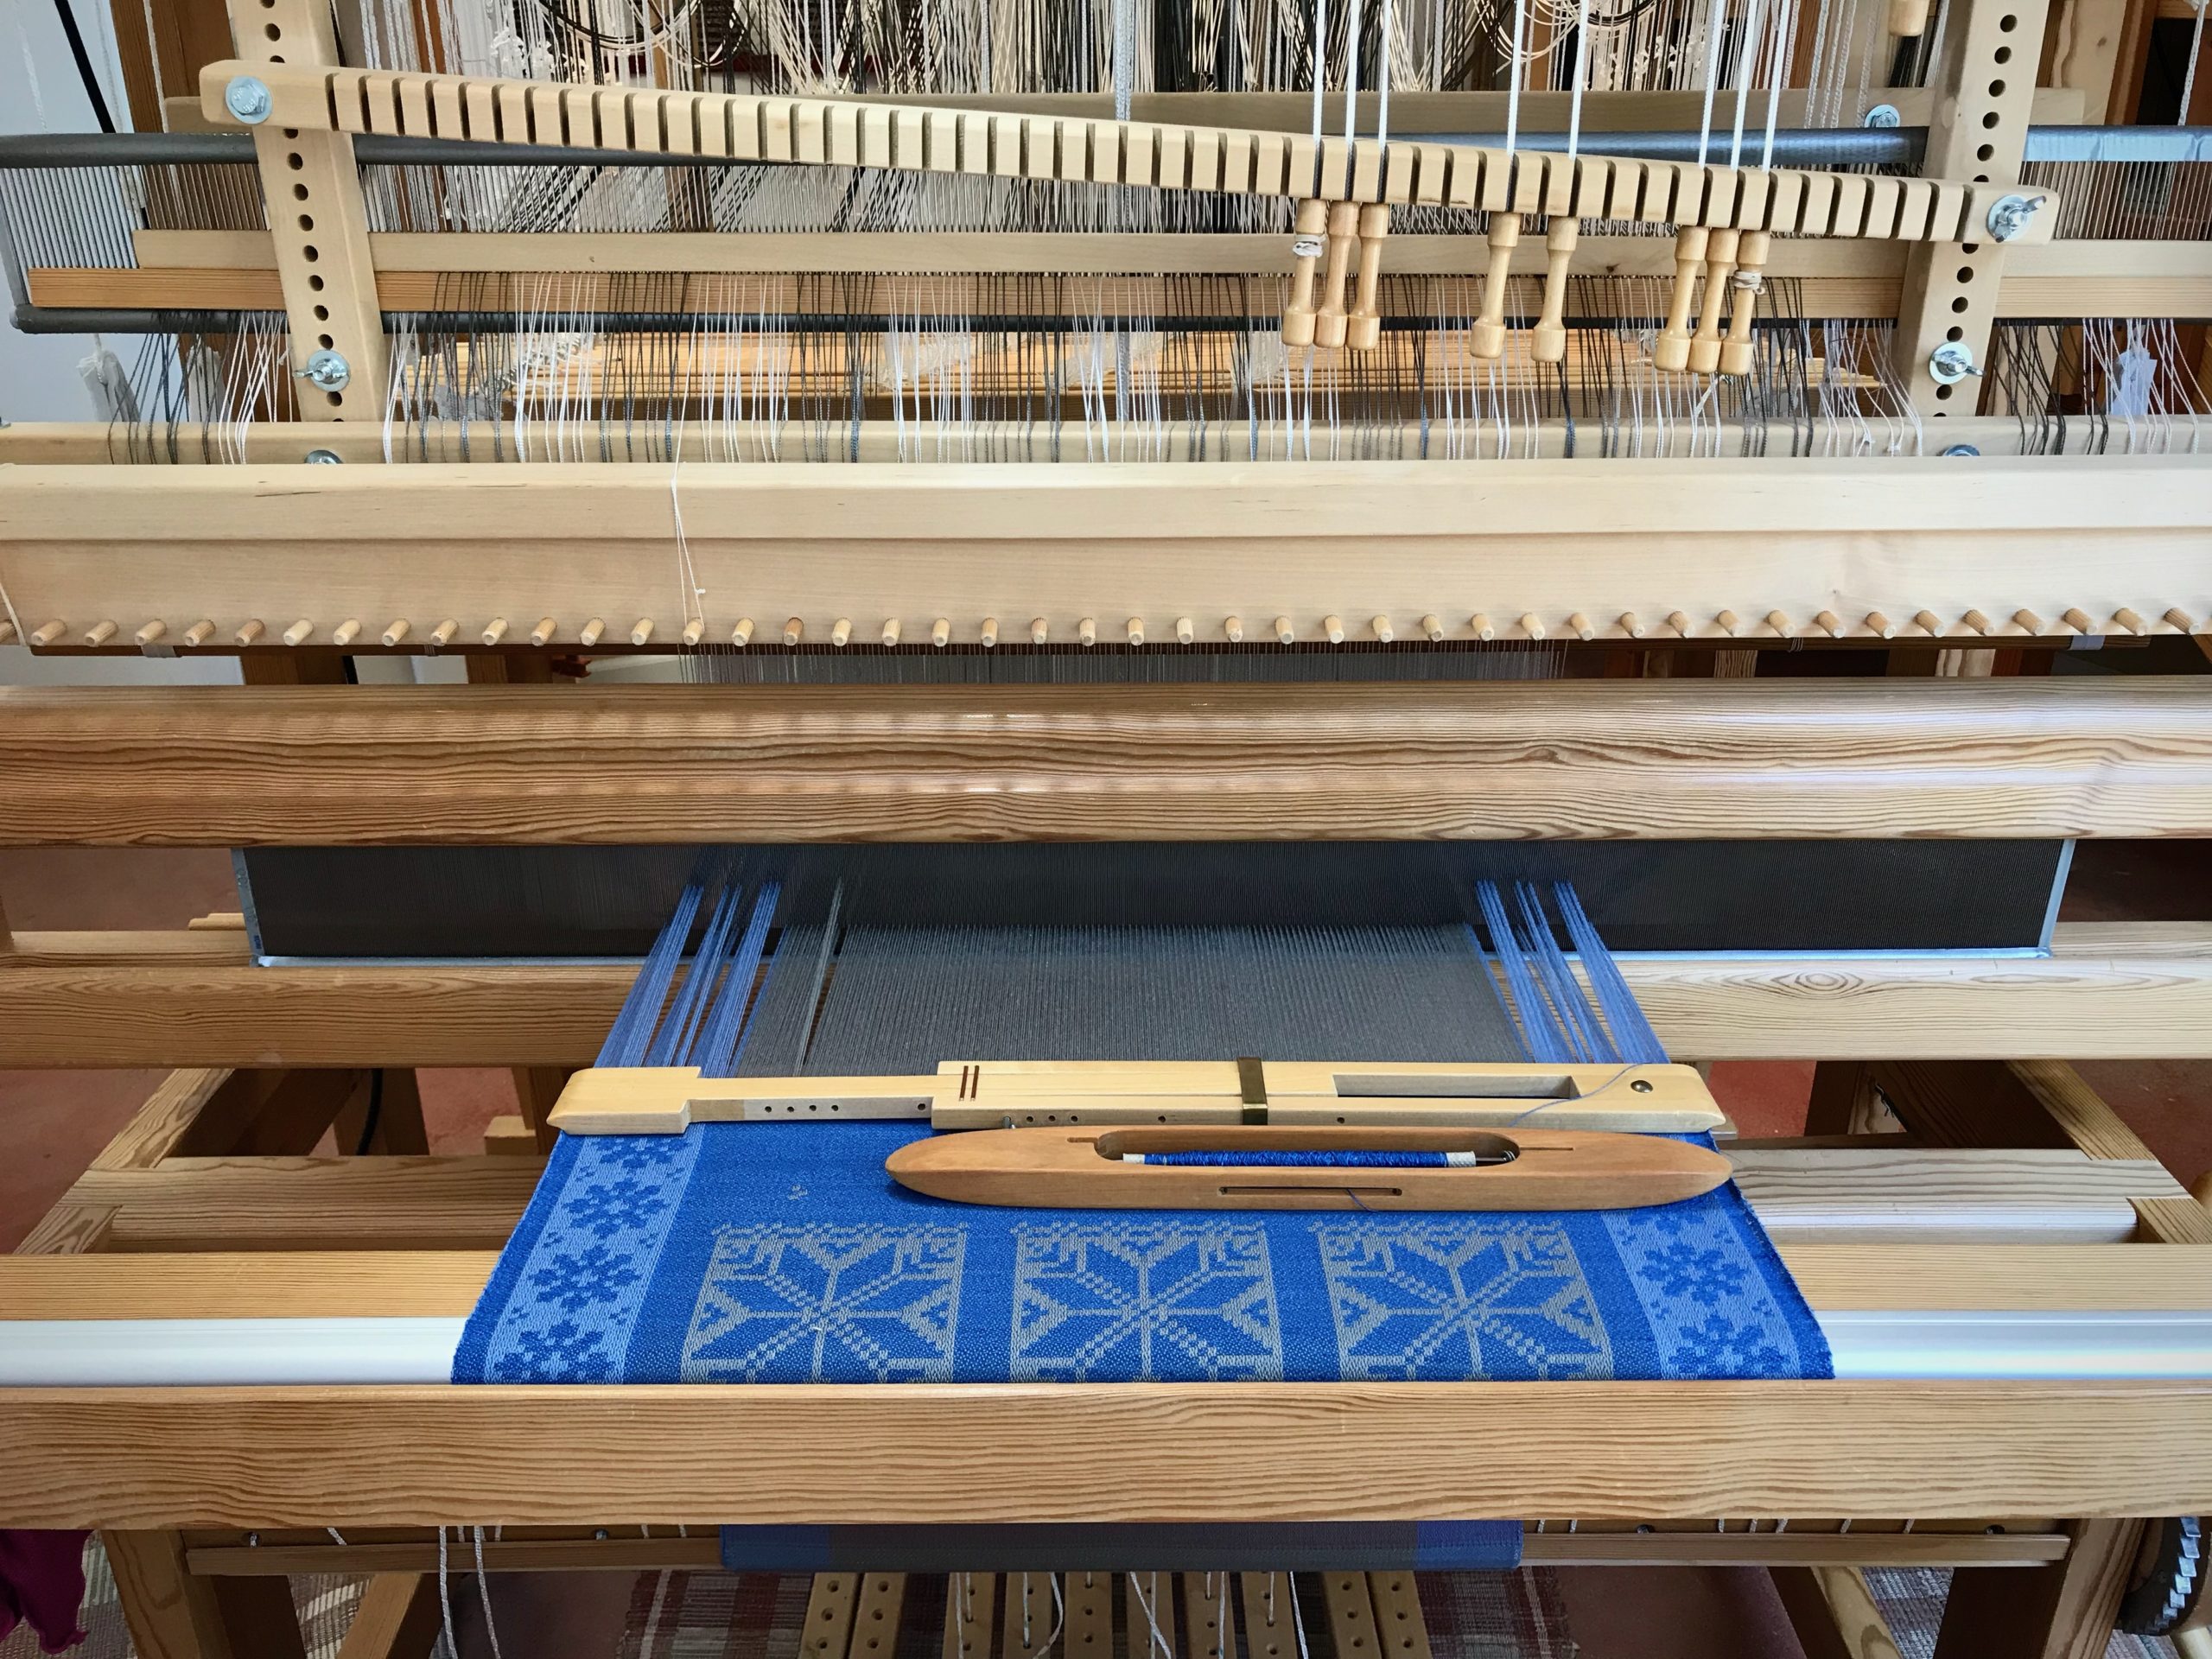
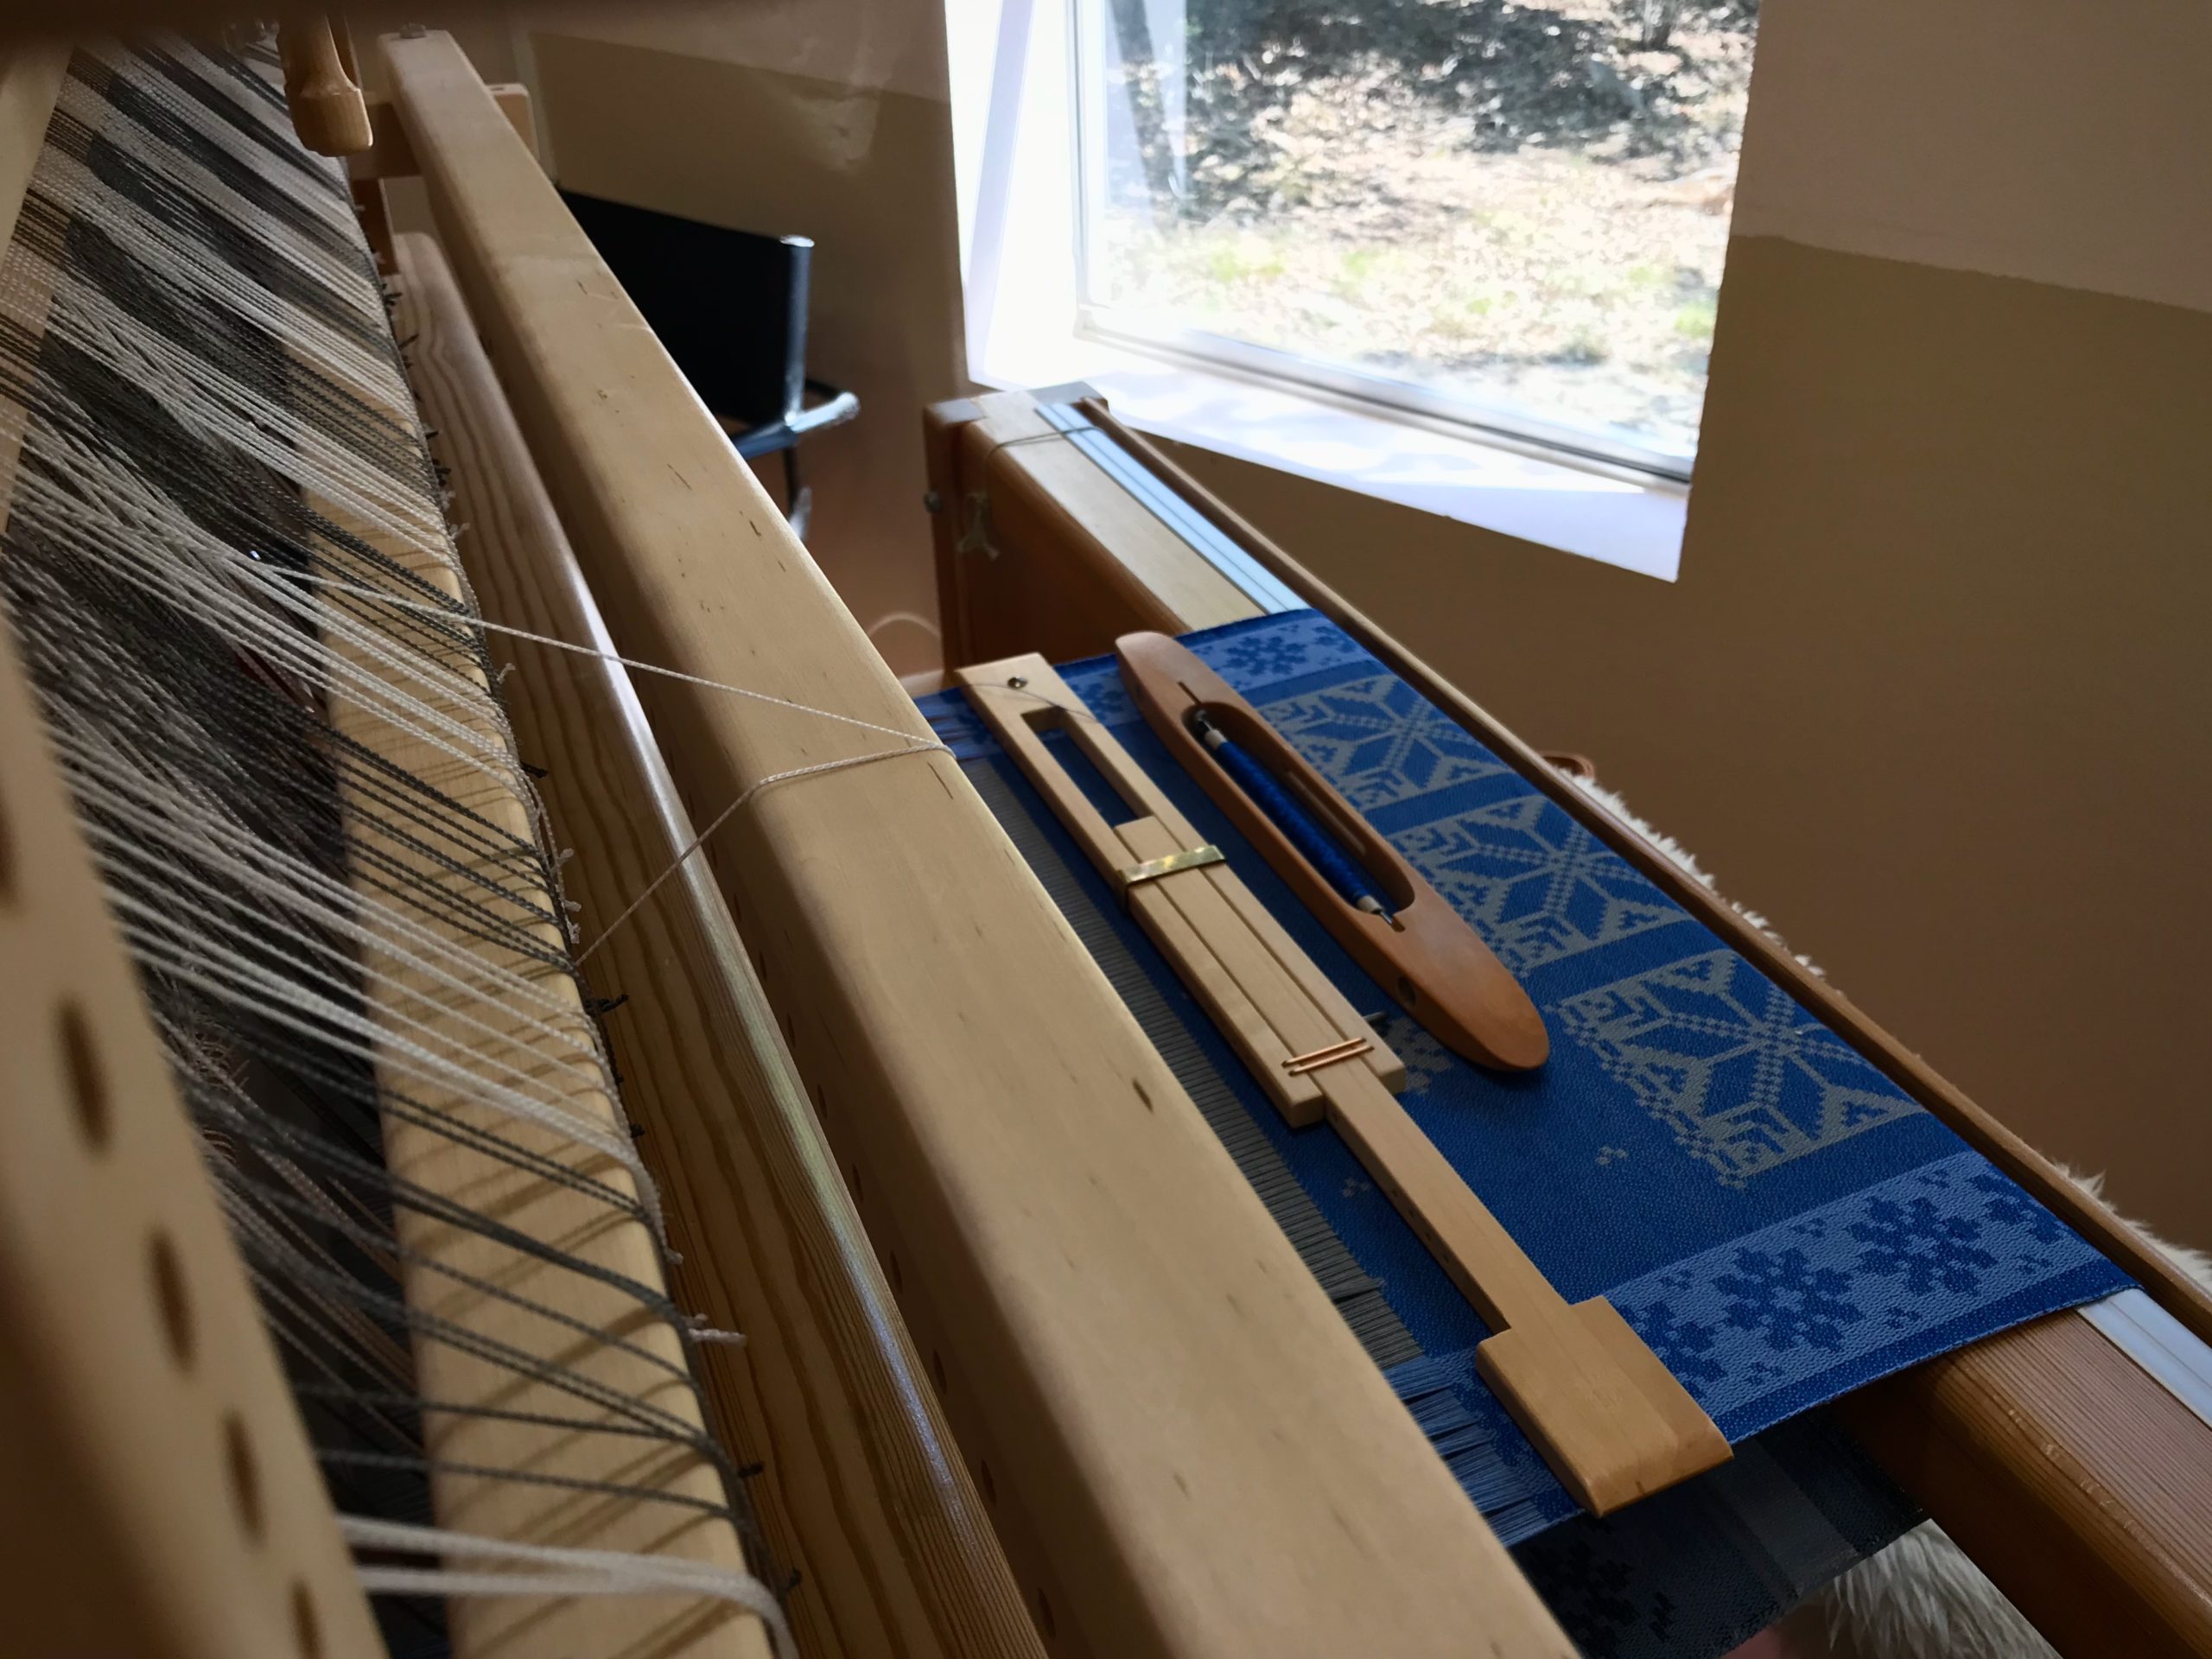
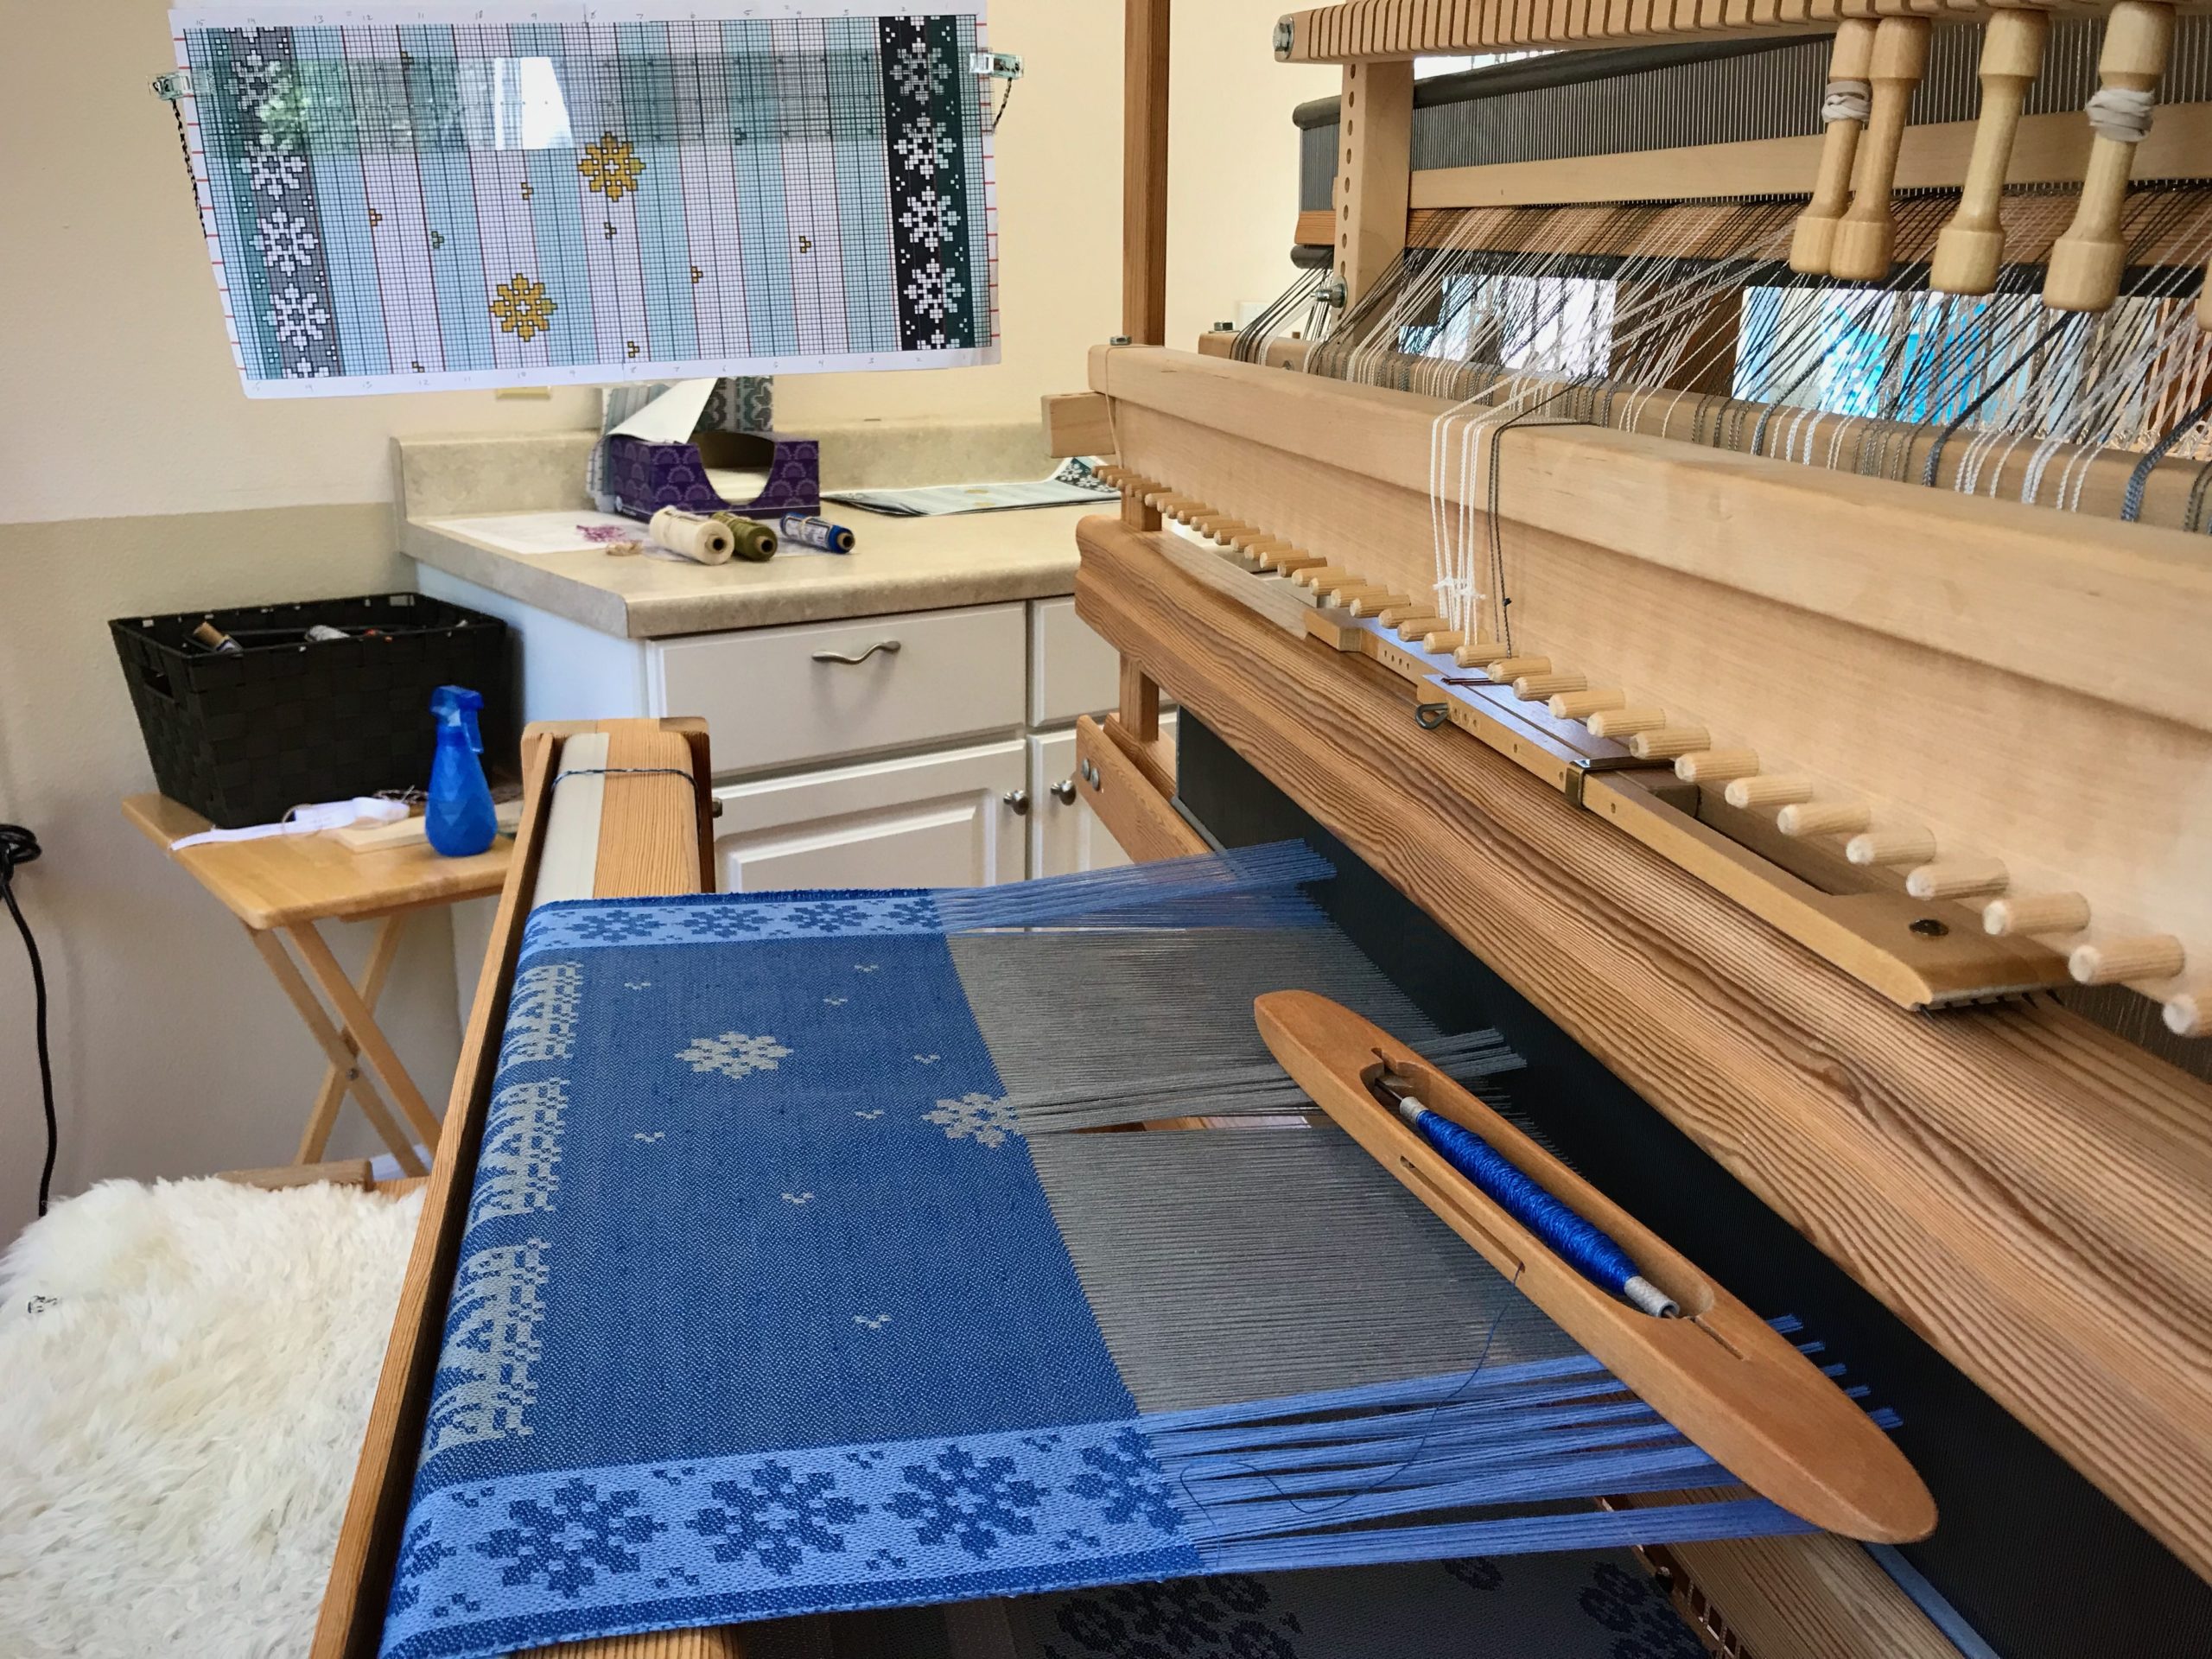
Hem of towel is bleached 16/1 linen weft, and then green 16/2 linen weft. The pattern area of the towel is woven with royal blue 16/1 linen weft.Solid row of pattern across the warp requires that all pattern shaft draw handles are pulled. It always seems thrilling to me to see all the handles down at once!Lower border of the towel is the easy part. Pattern shafts are used for making a repeated pattern, and no single unit cords are involved.Pattern shaft draw handles are now relegated to the side borders. The center body of the towel uses single unit draw cords to create non-repeated pattern. The single units give me freedom to design a (planned) random snowfall expression.Snowflake Towel 01 is wrapping around the cloth beam. Snowflake Towel 02 is going over the knee beam. Snowflake Towel 03 is being woven. Snowflake Towel 04 will be the final towel on this warp. (But, who knows what I’ll be able to weave after that to the very end of the warp?)
These snowflake patterns are delightful to weave. There is enough consistency with the border pattern shafts to make it simple. And there is enough (planned) random snowflakes using single units and pattern shafts to keep it engaging. All I have to do is follow the graphed chart. As I weave, the snowflakes emerge, as if by magic. But it’s not really magic, is it?
Standard procedure is to always have a temple in place. I have rubber bands on the first and last draw handles for the side border pattern, and on the center handle for the border pattern (not pulled in this photo).Everything works together! …for the good of the fabric being woven.Sometimes one single unit is enough to make the next row of pattern.I keep the chart at eye level and constantly refer to it. Closely following the chart is the only way I can hope to weave something worthwhile on the combination drawloom.
If you believe in Jesus you must walk with him. And as you do, you come to know the truth. Truth is found by walking in it. The pattern on the chart is true, and gives direction. The delight comes as we see the real-time results emerge in our own hearts. That’s freedom in its purest form.