The fascinating thing about weaving a transparency is that it feels like color-by-number with yarn. There are similarities to tapestry weaving, for sure. But this seems ten times faster. I found it to be engaging and fun! I echo what my transparency-weaving friend says when it’s time to stop and do something else, “Just one more row…”
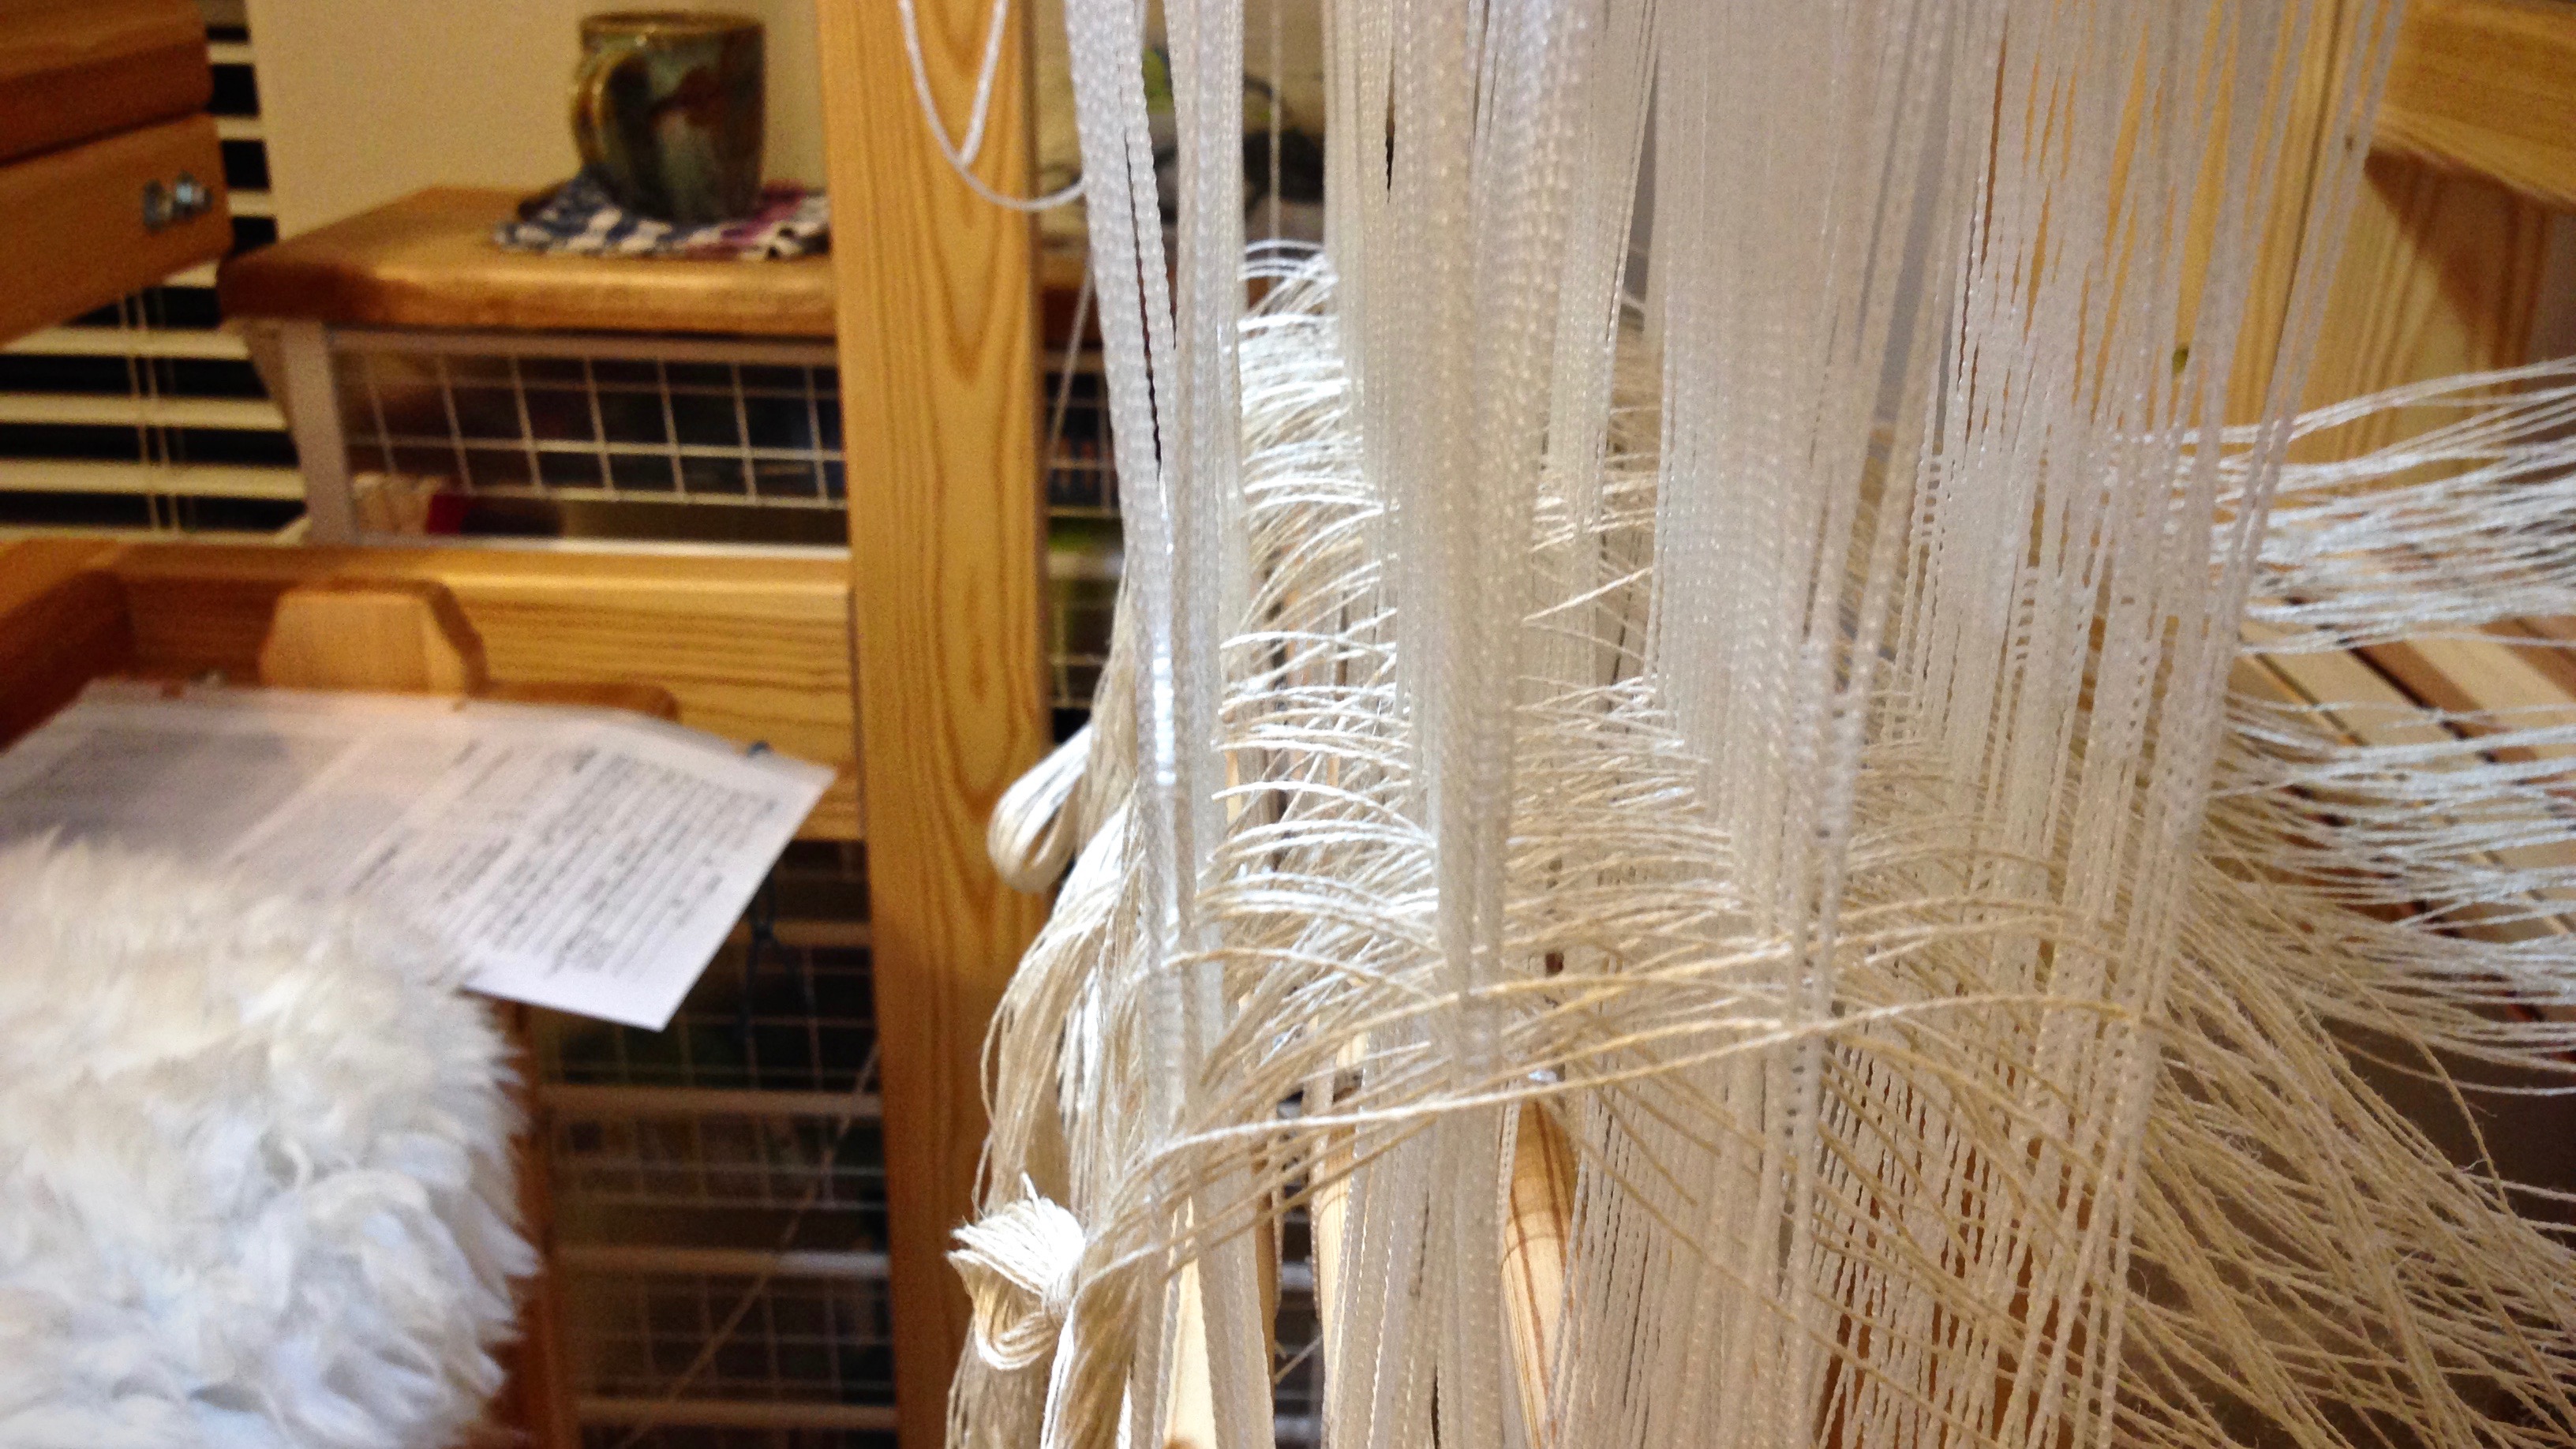
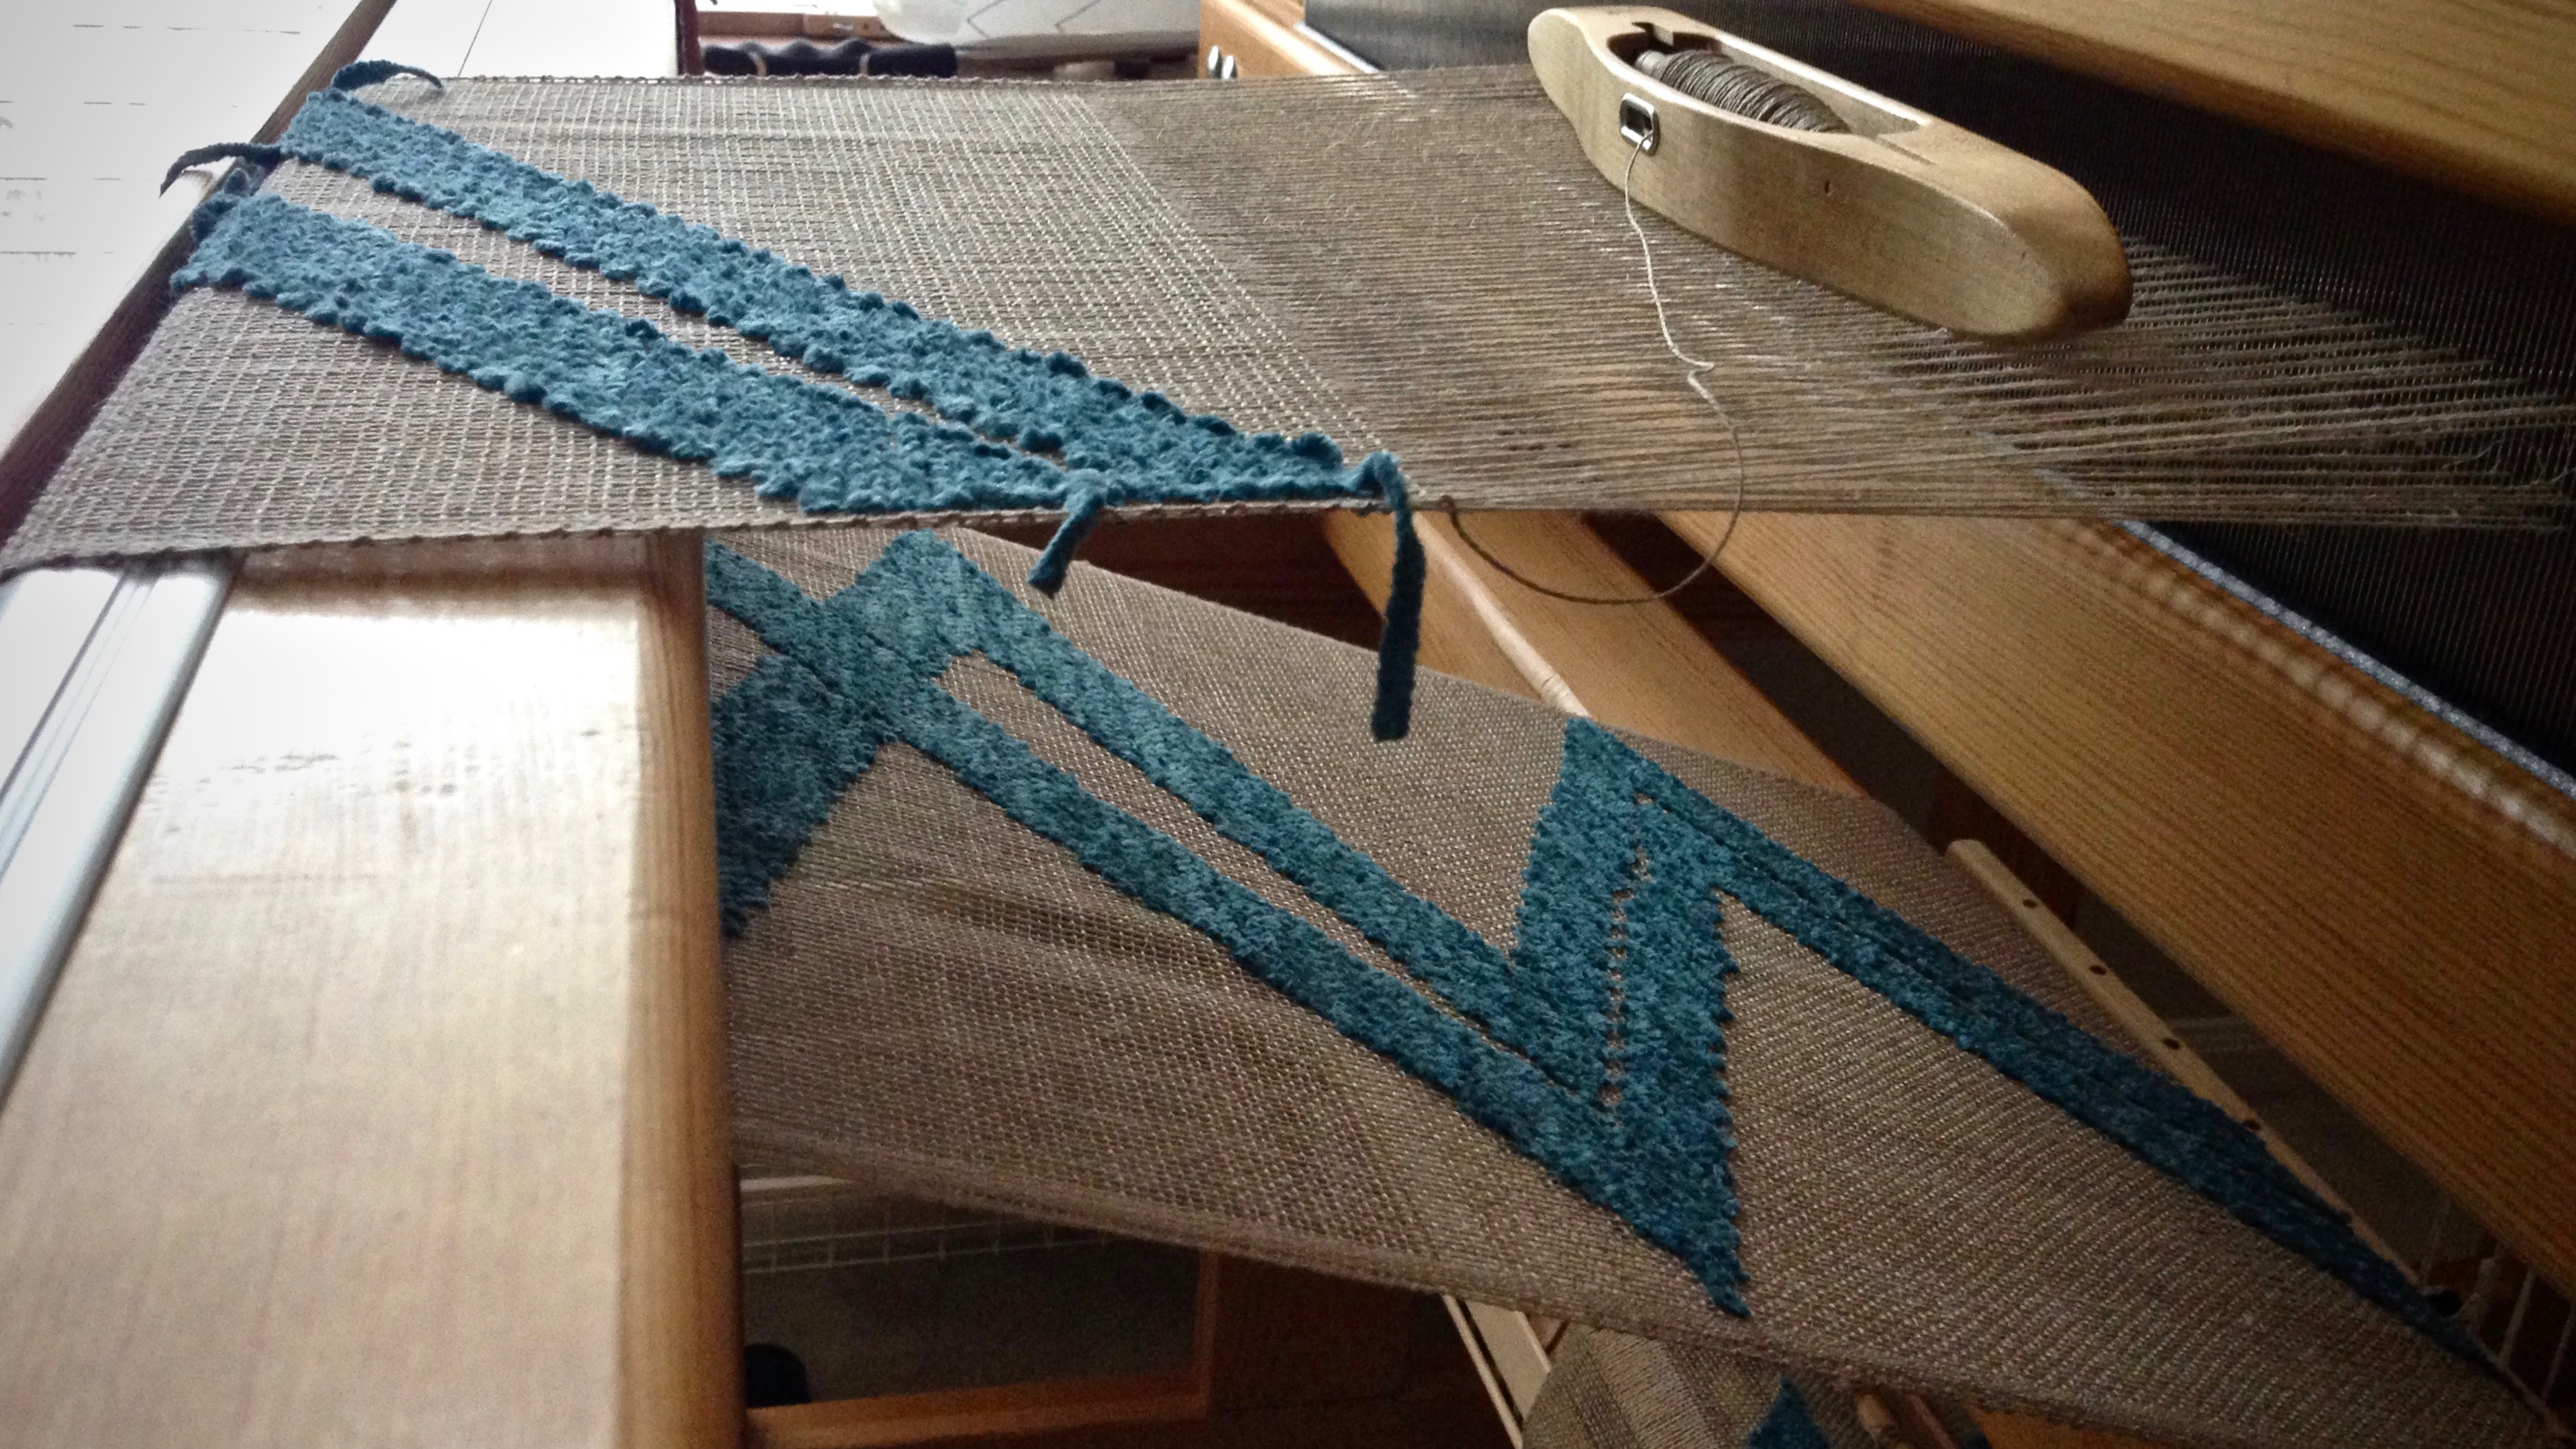
Warp chain of 16/2 golden bleached linen, before beaming the warp.Threadingheddles in my little playhouse, with project notes by my side, and a cup of coffee on the side cart.Leveling string is added with extra care so that abrasion of the linen warp is kept to a minimum.Butterflies are made from the hefty cotton chenille yarn.Weaving without a cartoon. I am counting warp ends to keep the pattern angle consistent.Cartoon has been added. The pattern weft follows the lines drawn on the buckram cartoon, which is pinned in place.Cartoon is removed.Now, for the end of the warp…
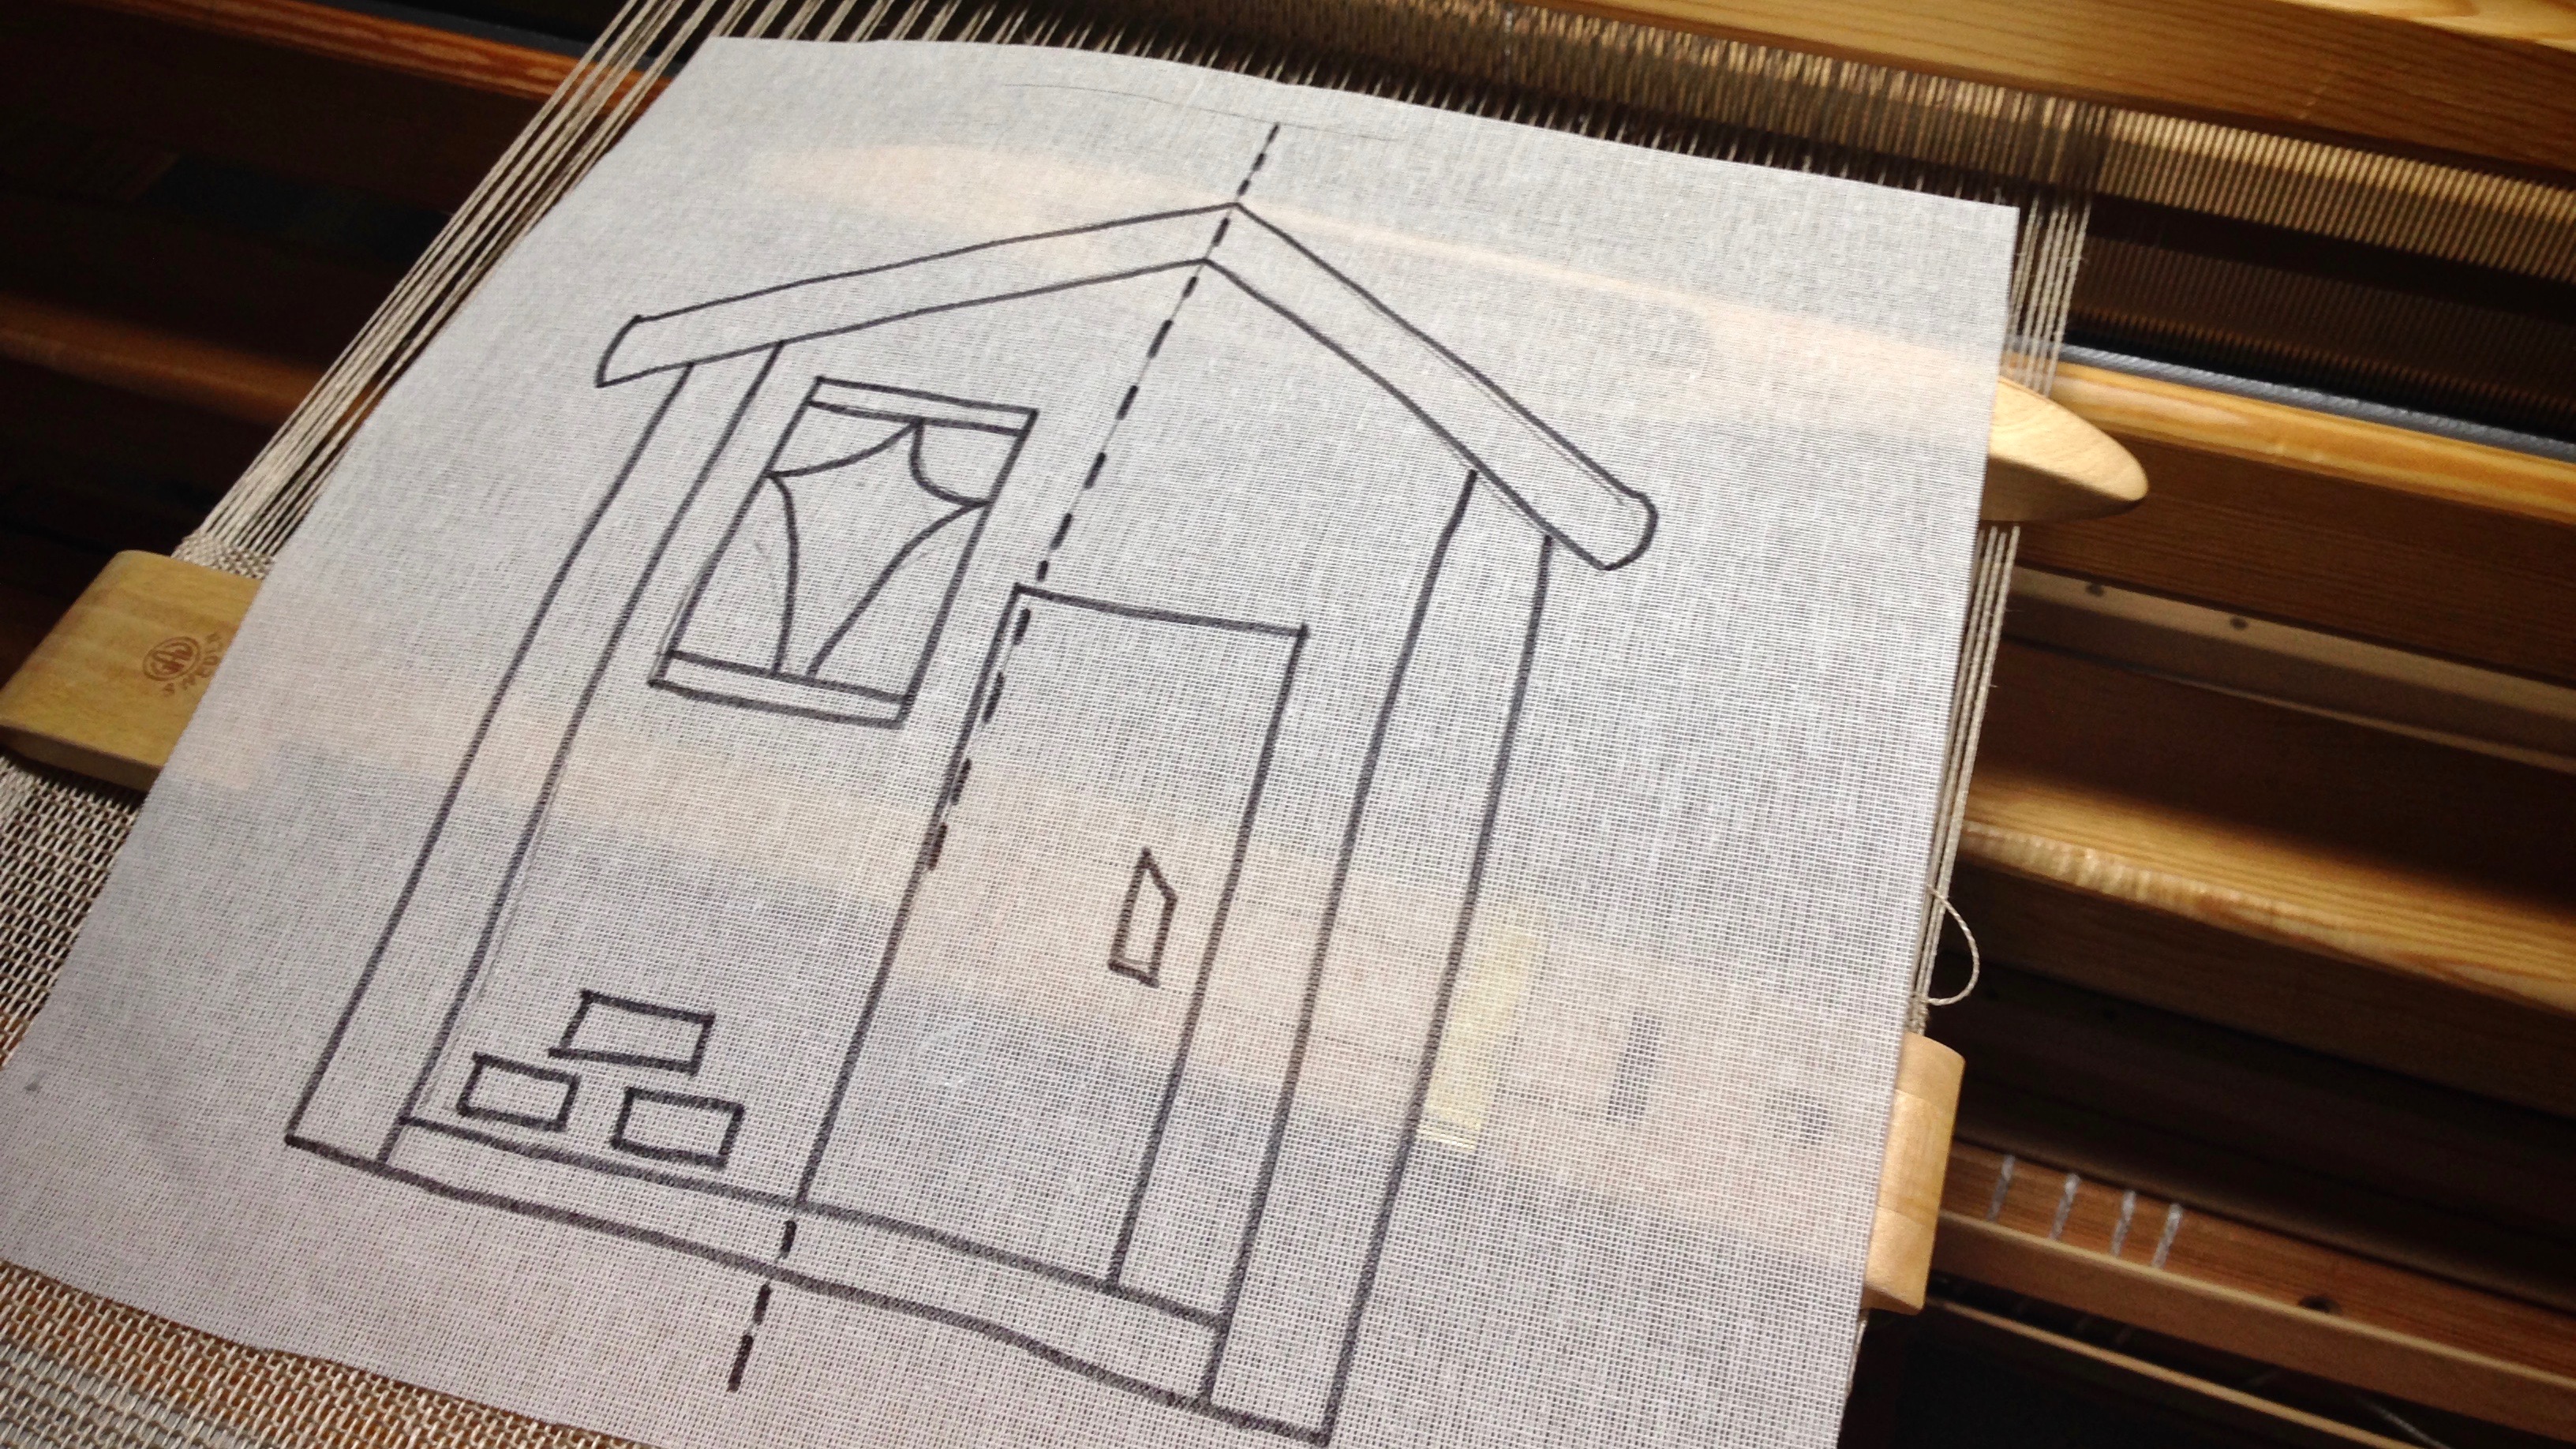
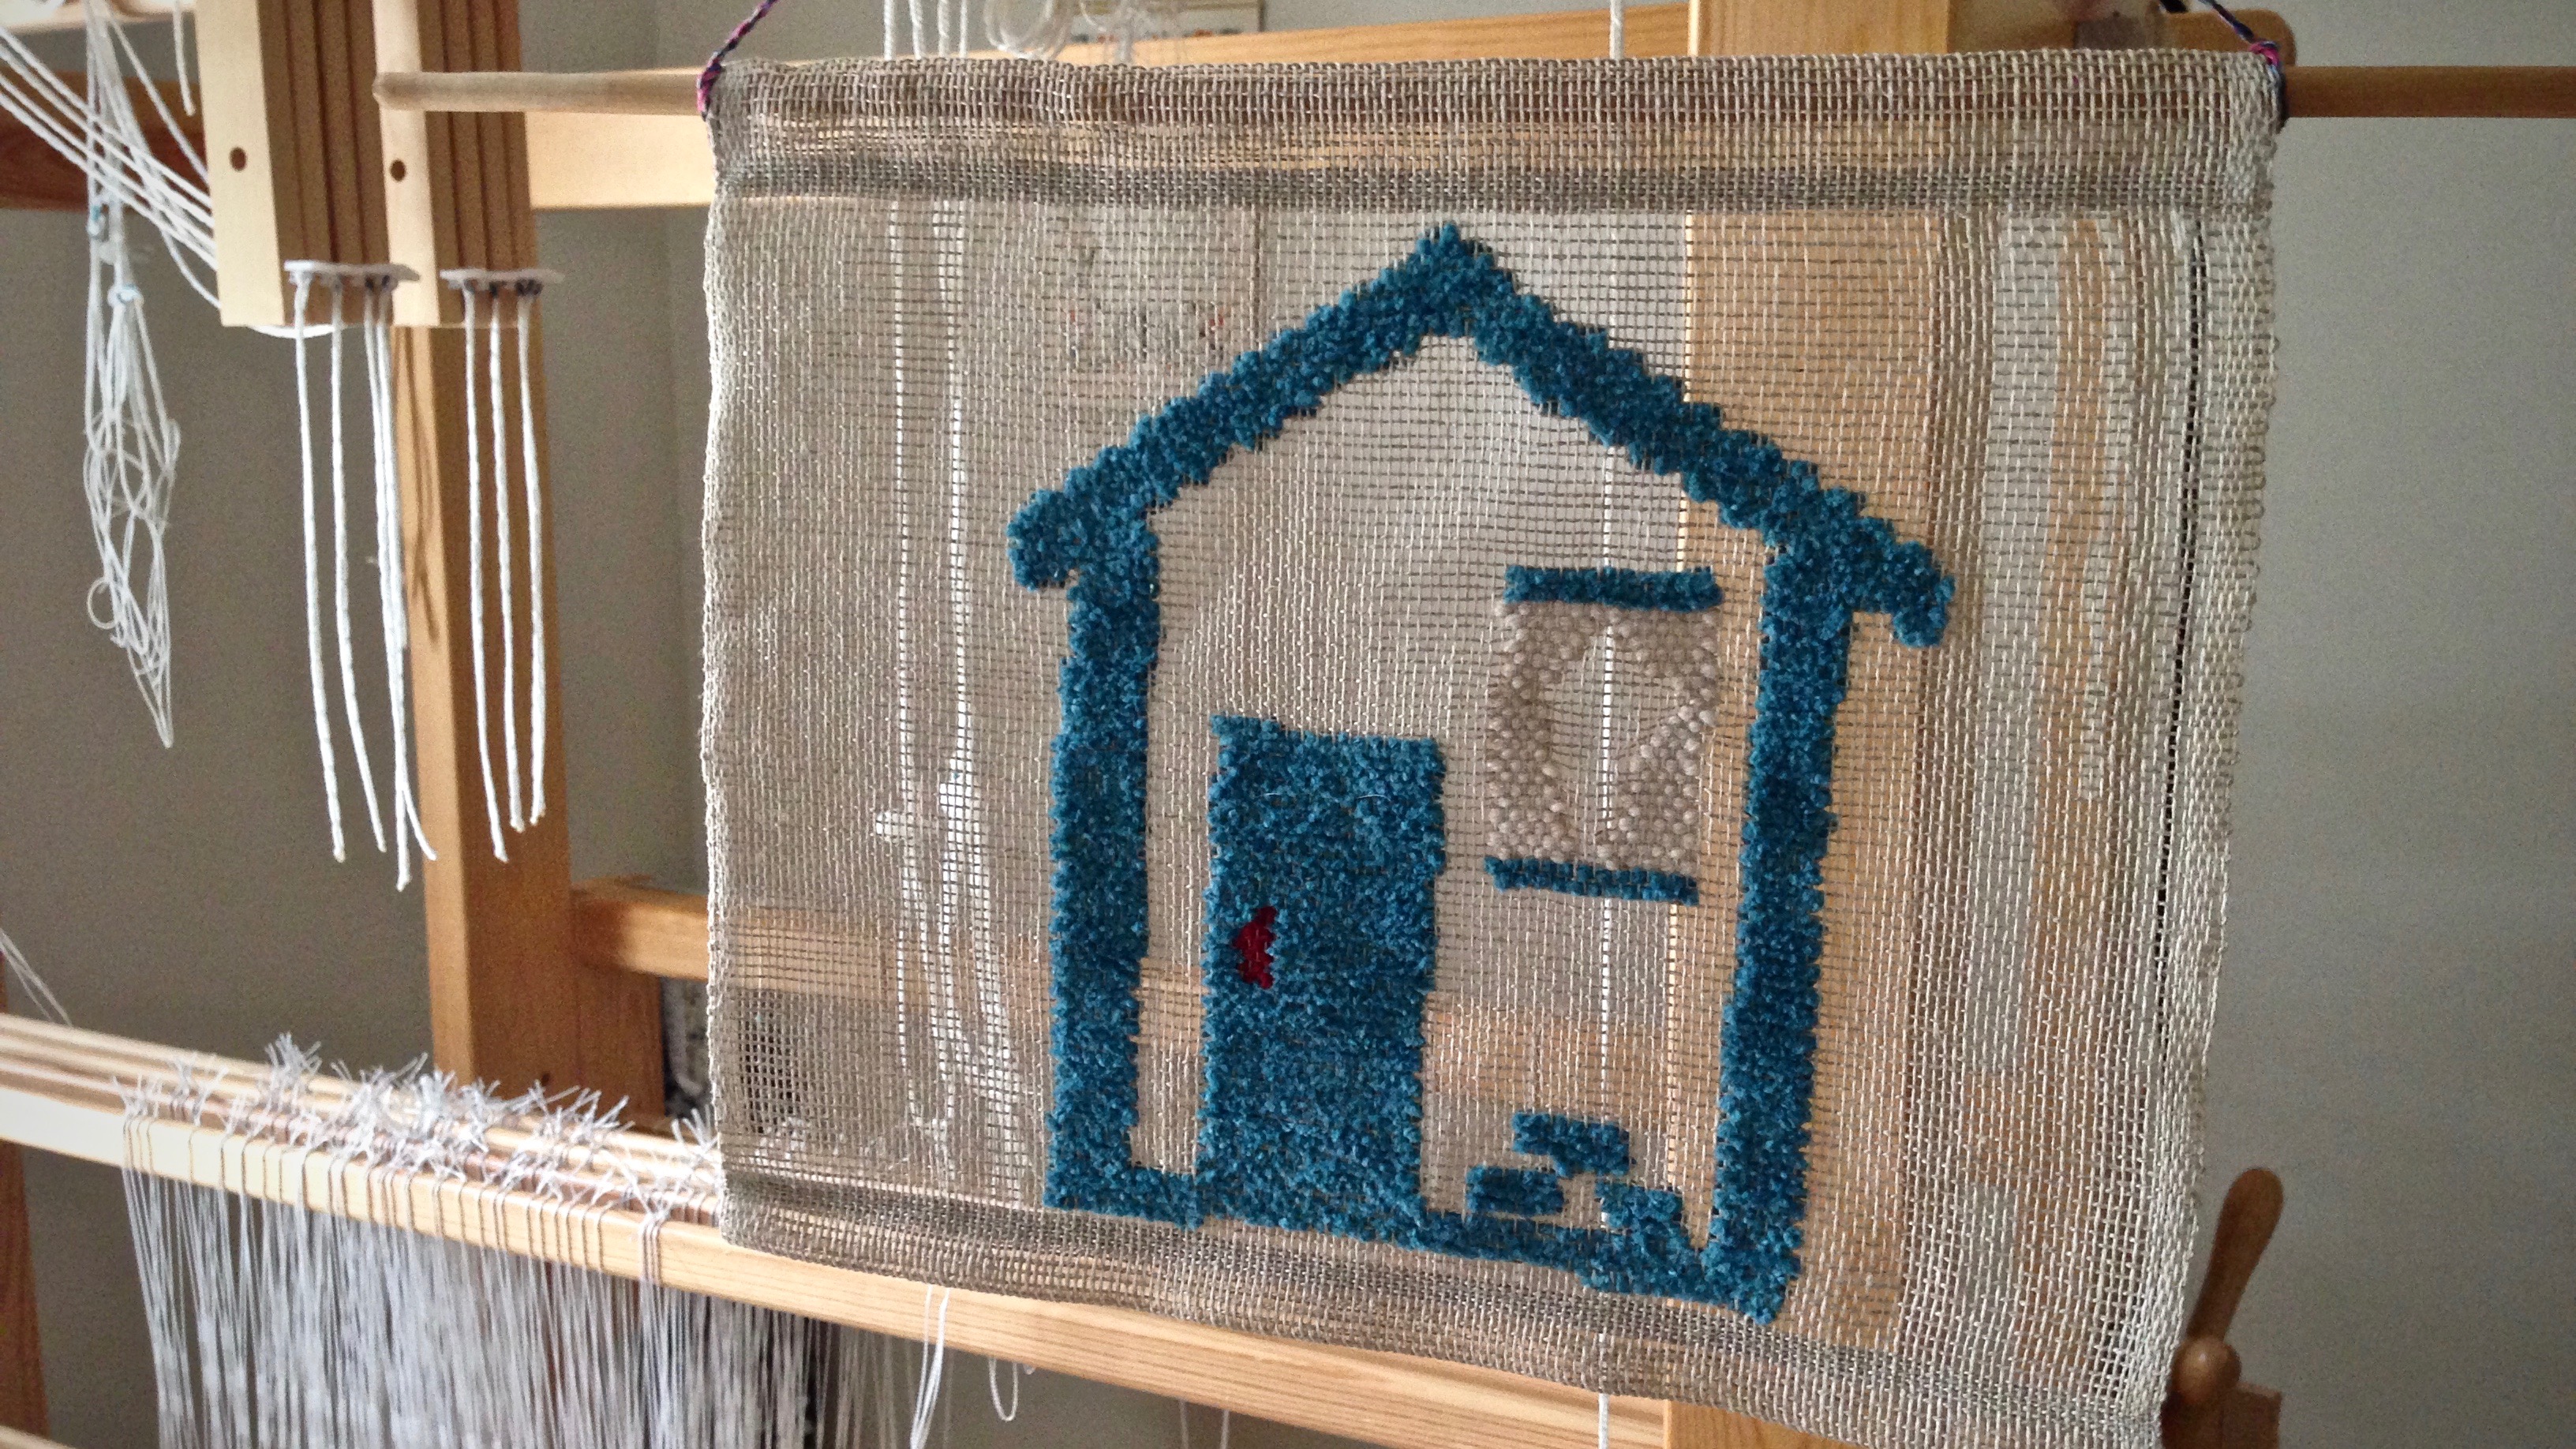
After the main transparency with the zigzags, I had room to play on the remaining warp. I made another cartoon–a “cartoon” house. This gave me a chance to use a few more yarn butterflies, without it being overwhelming. Home. Sweet. Home.
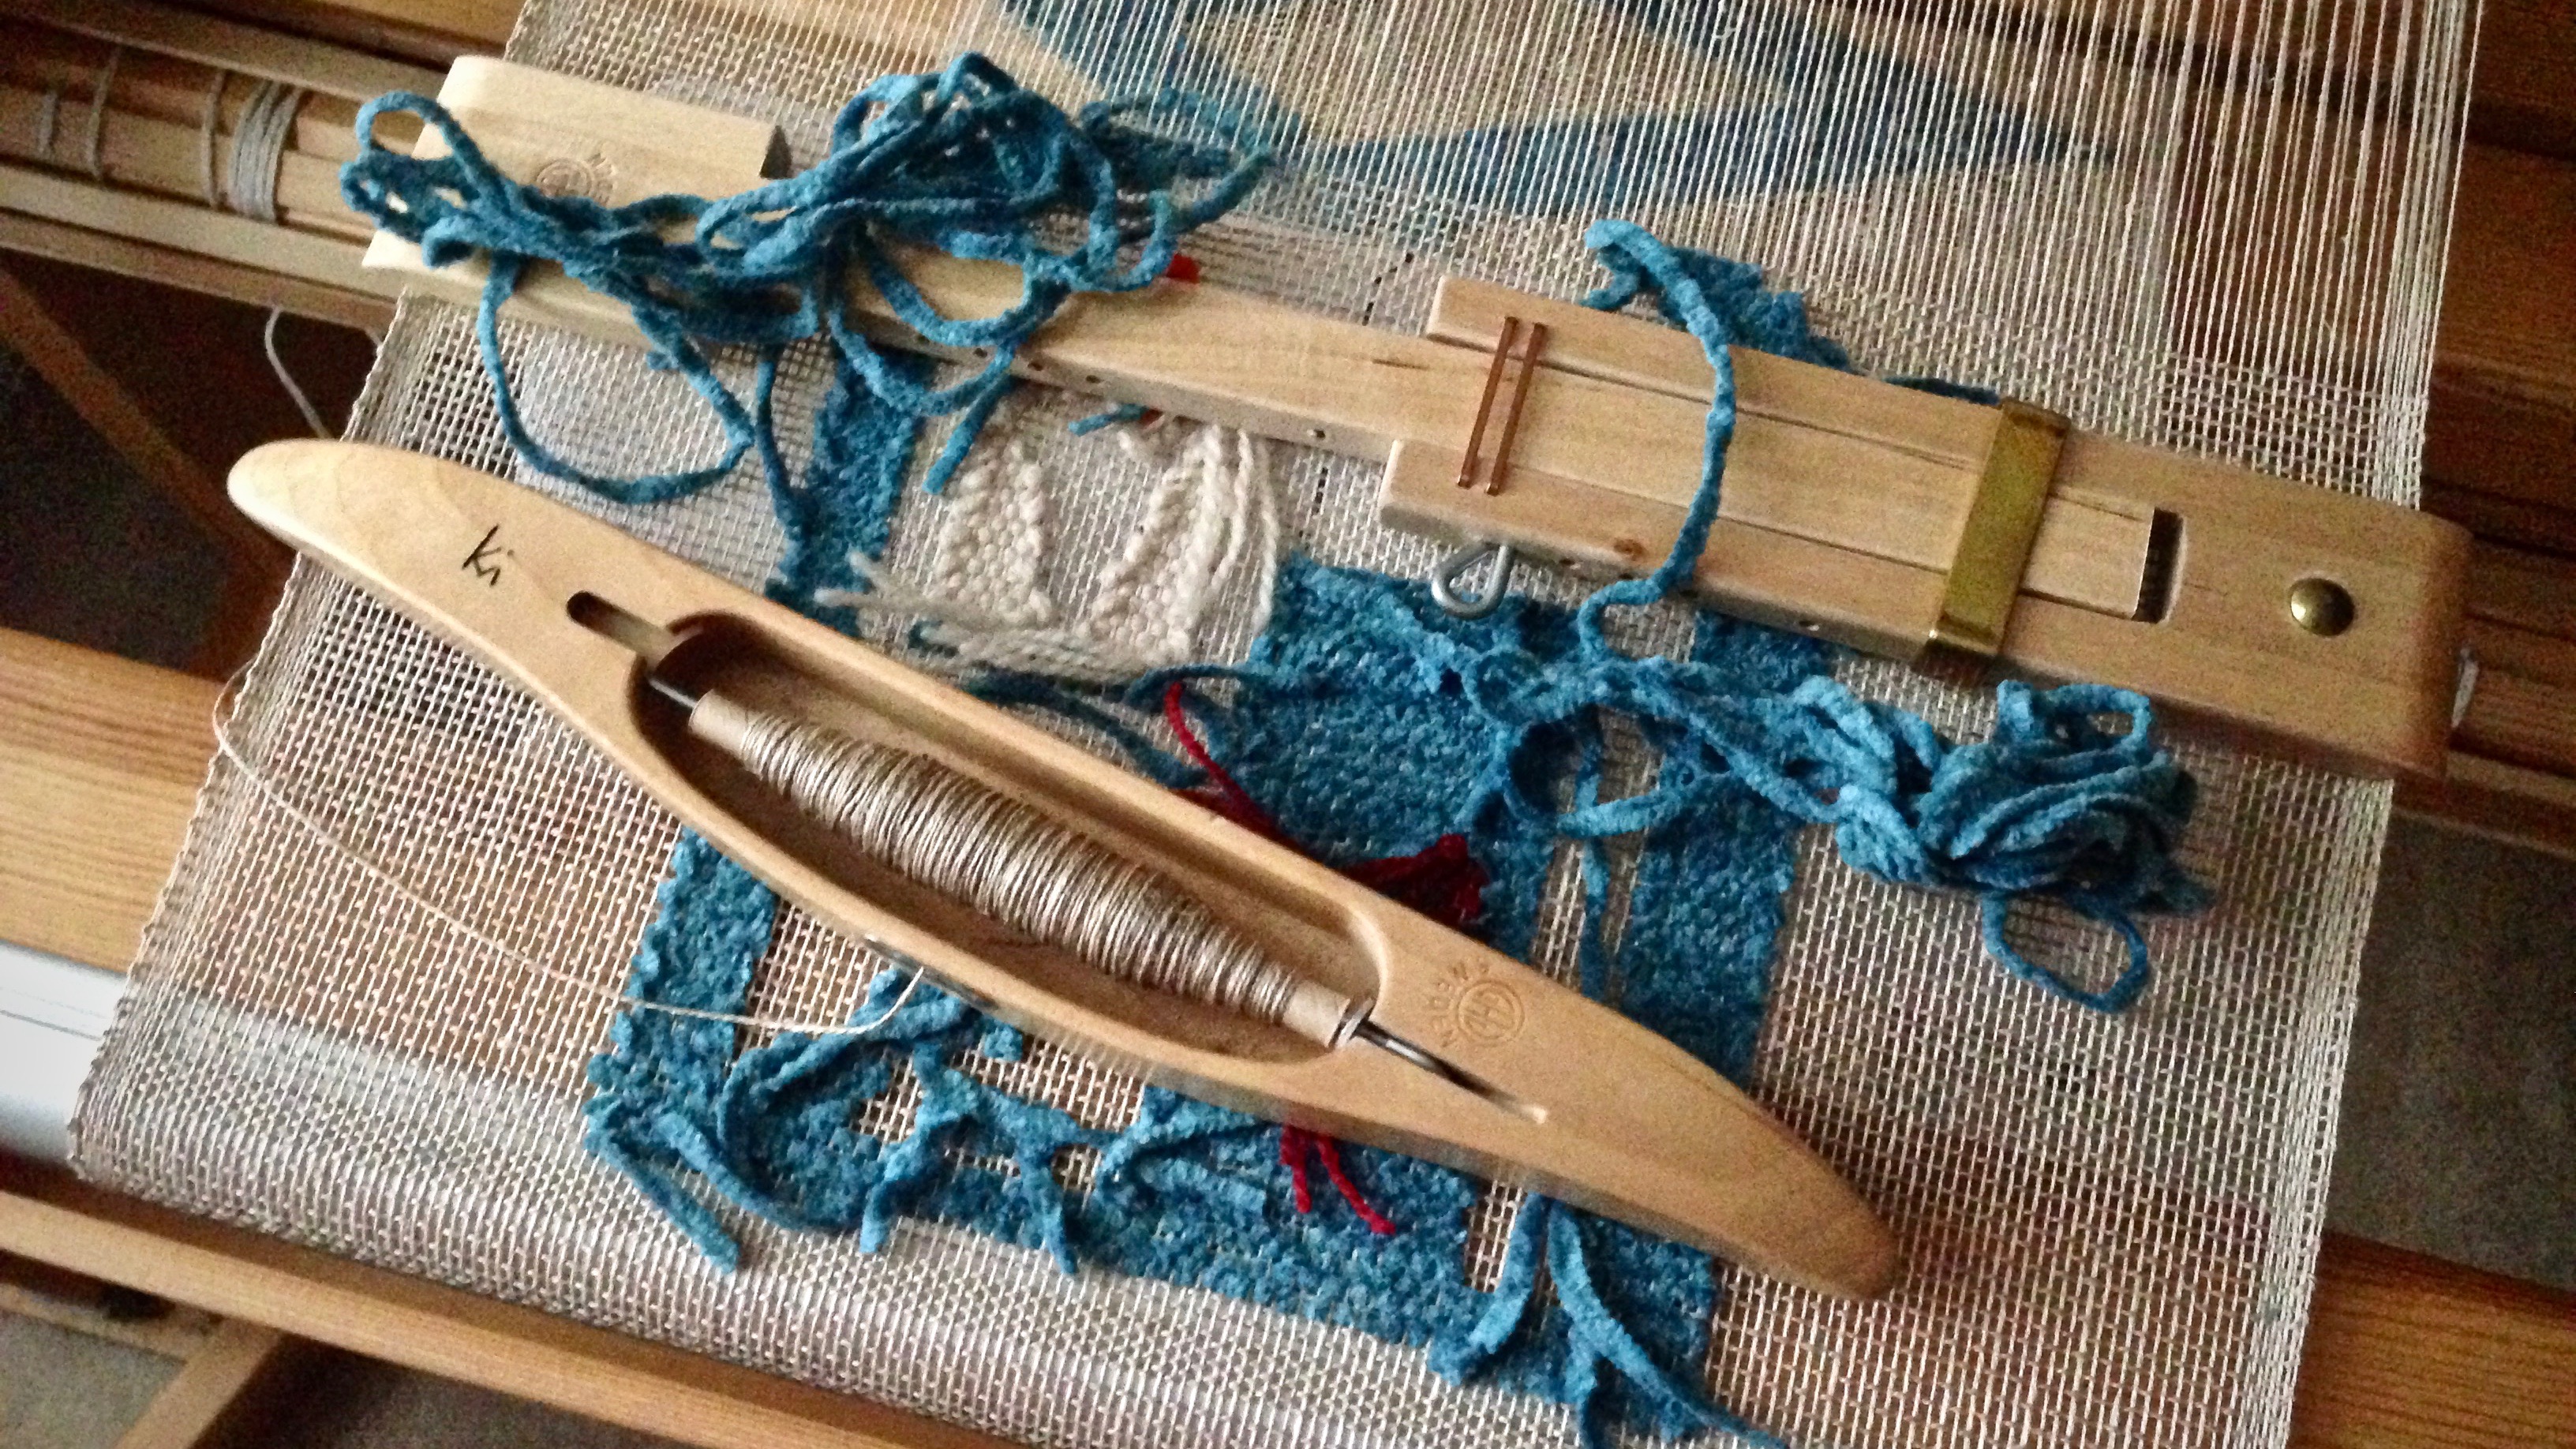
“Cartoon” house cartoon. Ready for playtime at the end of the warp.With several butterflies going at once, the transparency weaving gets even more interesting!Now, the actual end of the warp is here.Cartoon house just off the loom.Welcome home! Home. Sweet. Home.
May you enjoy the fascination of learning something new.
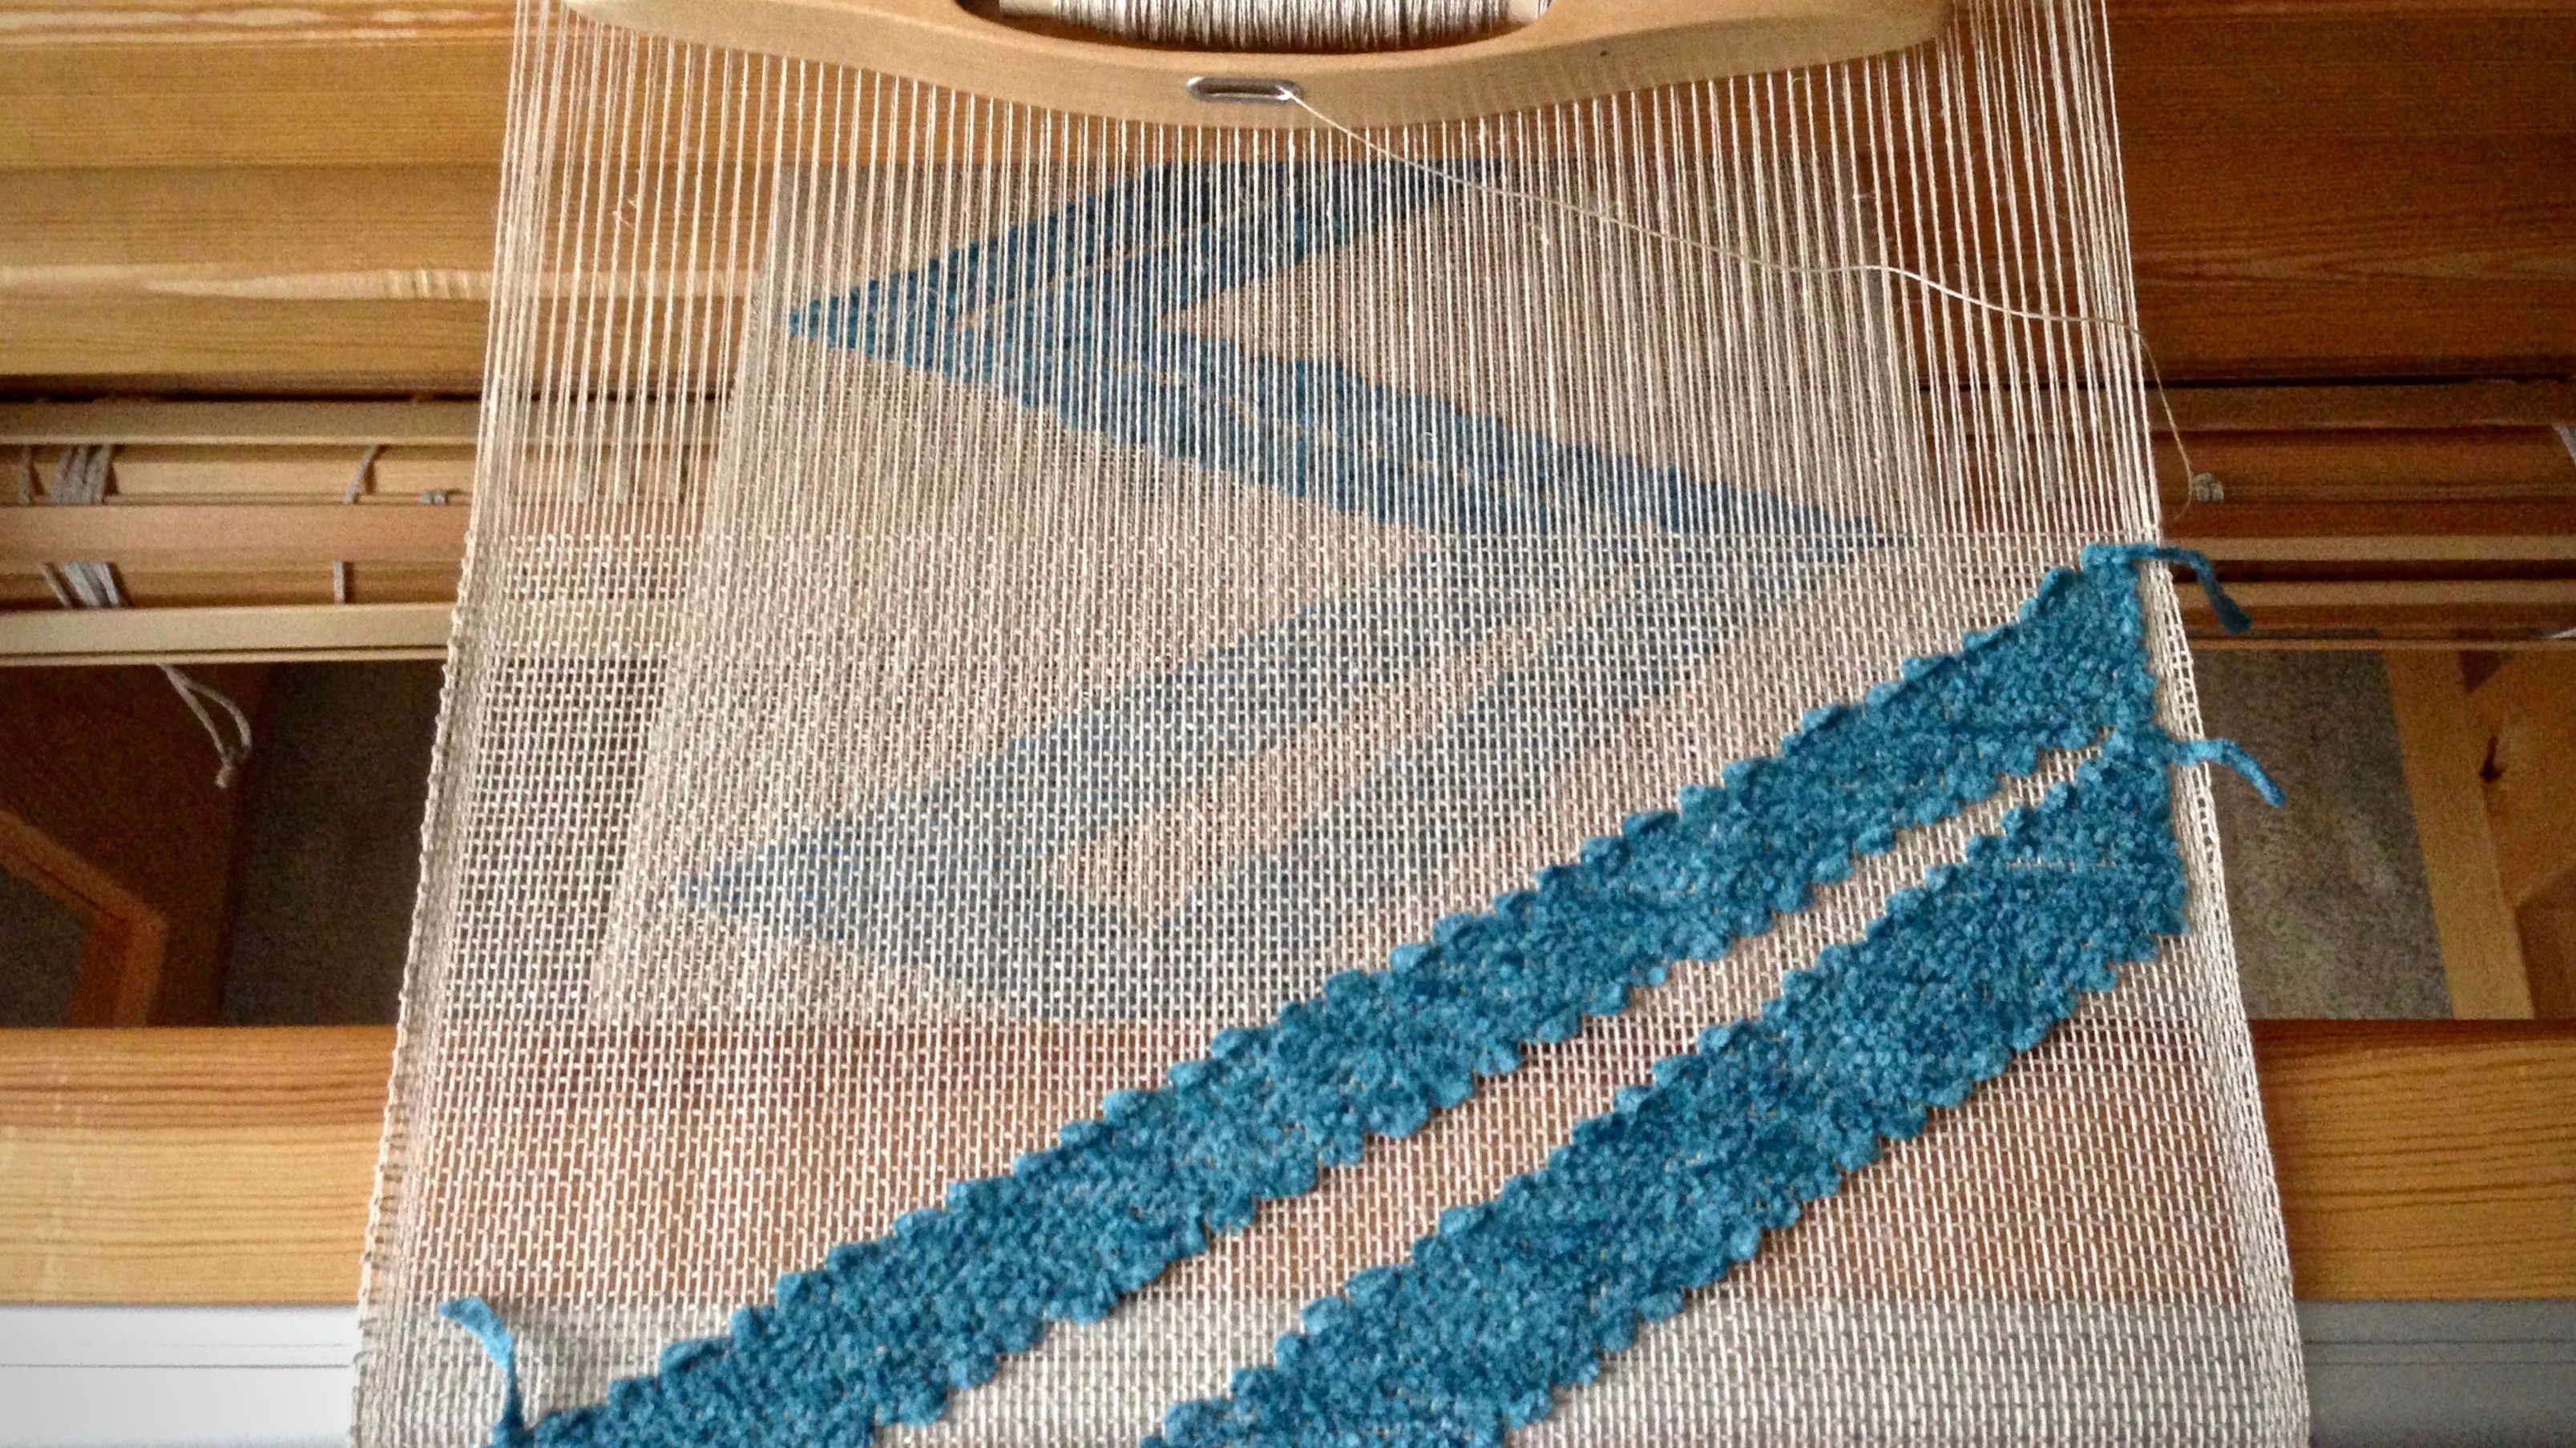
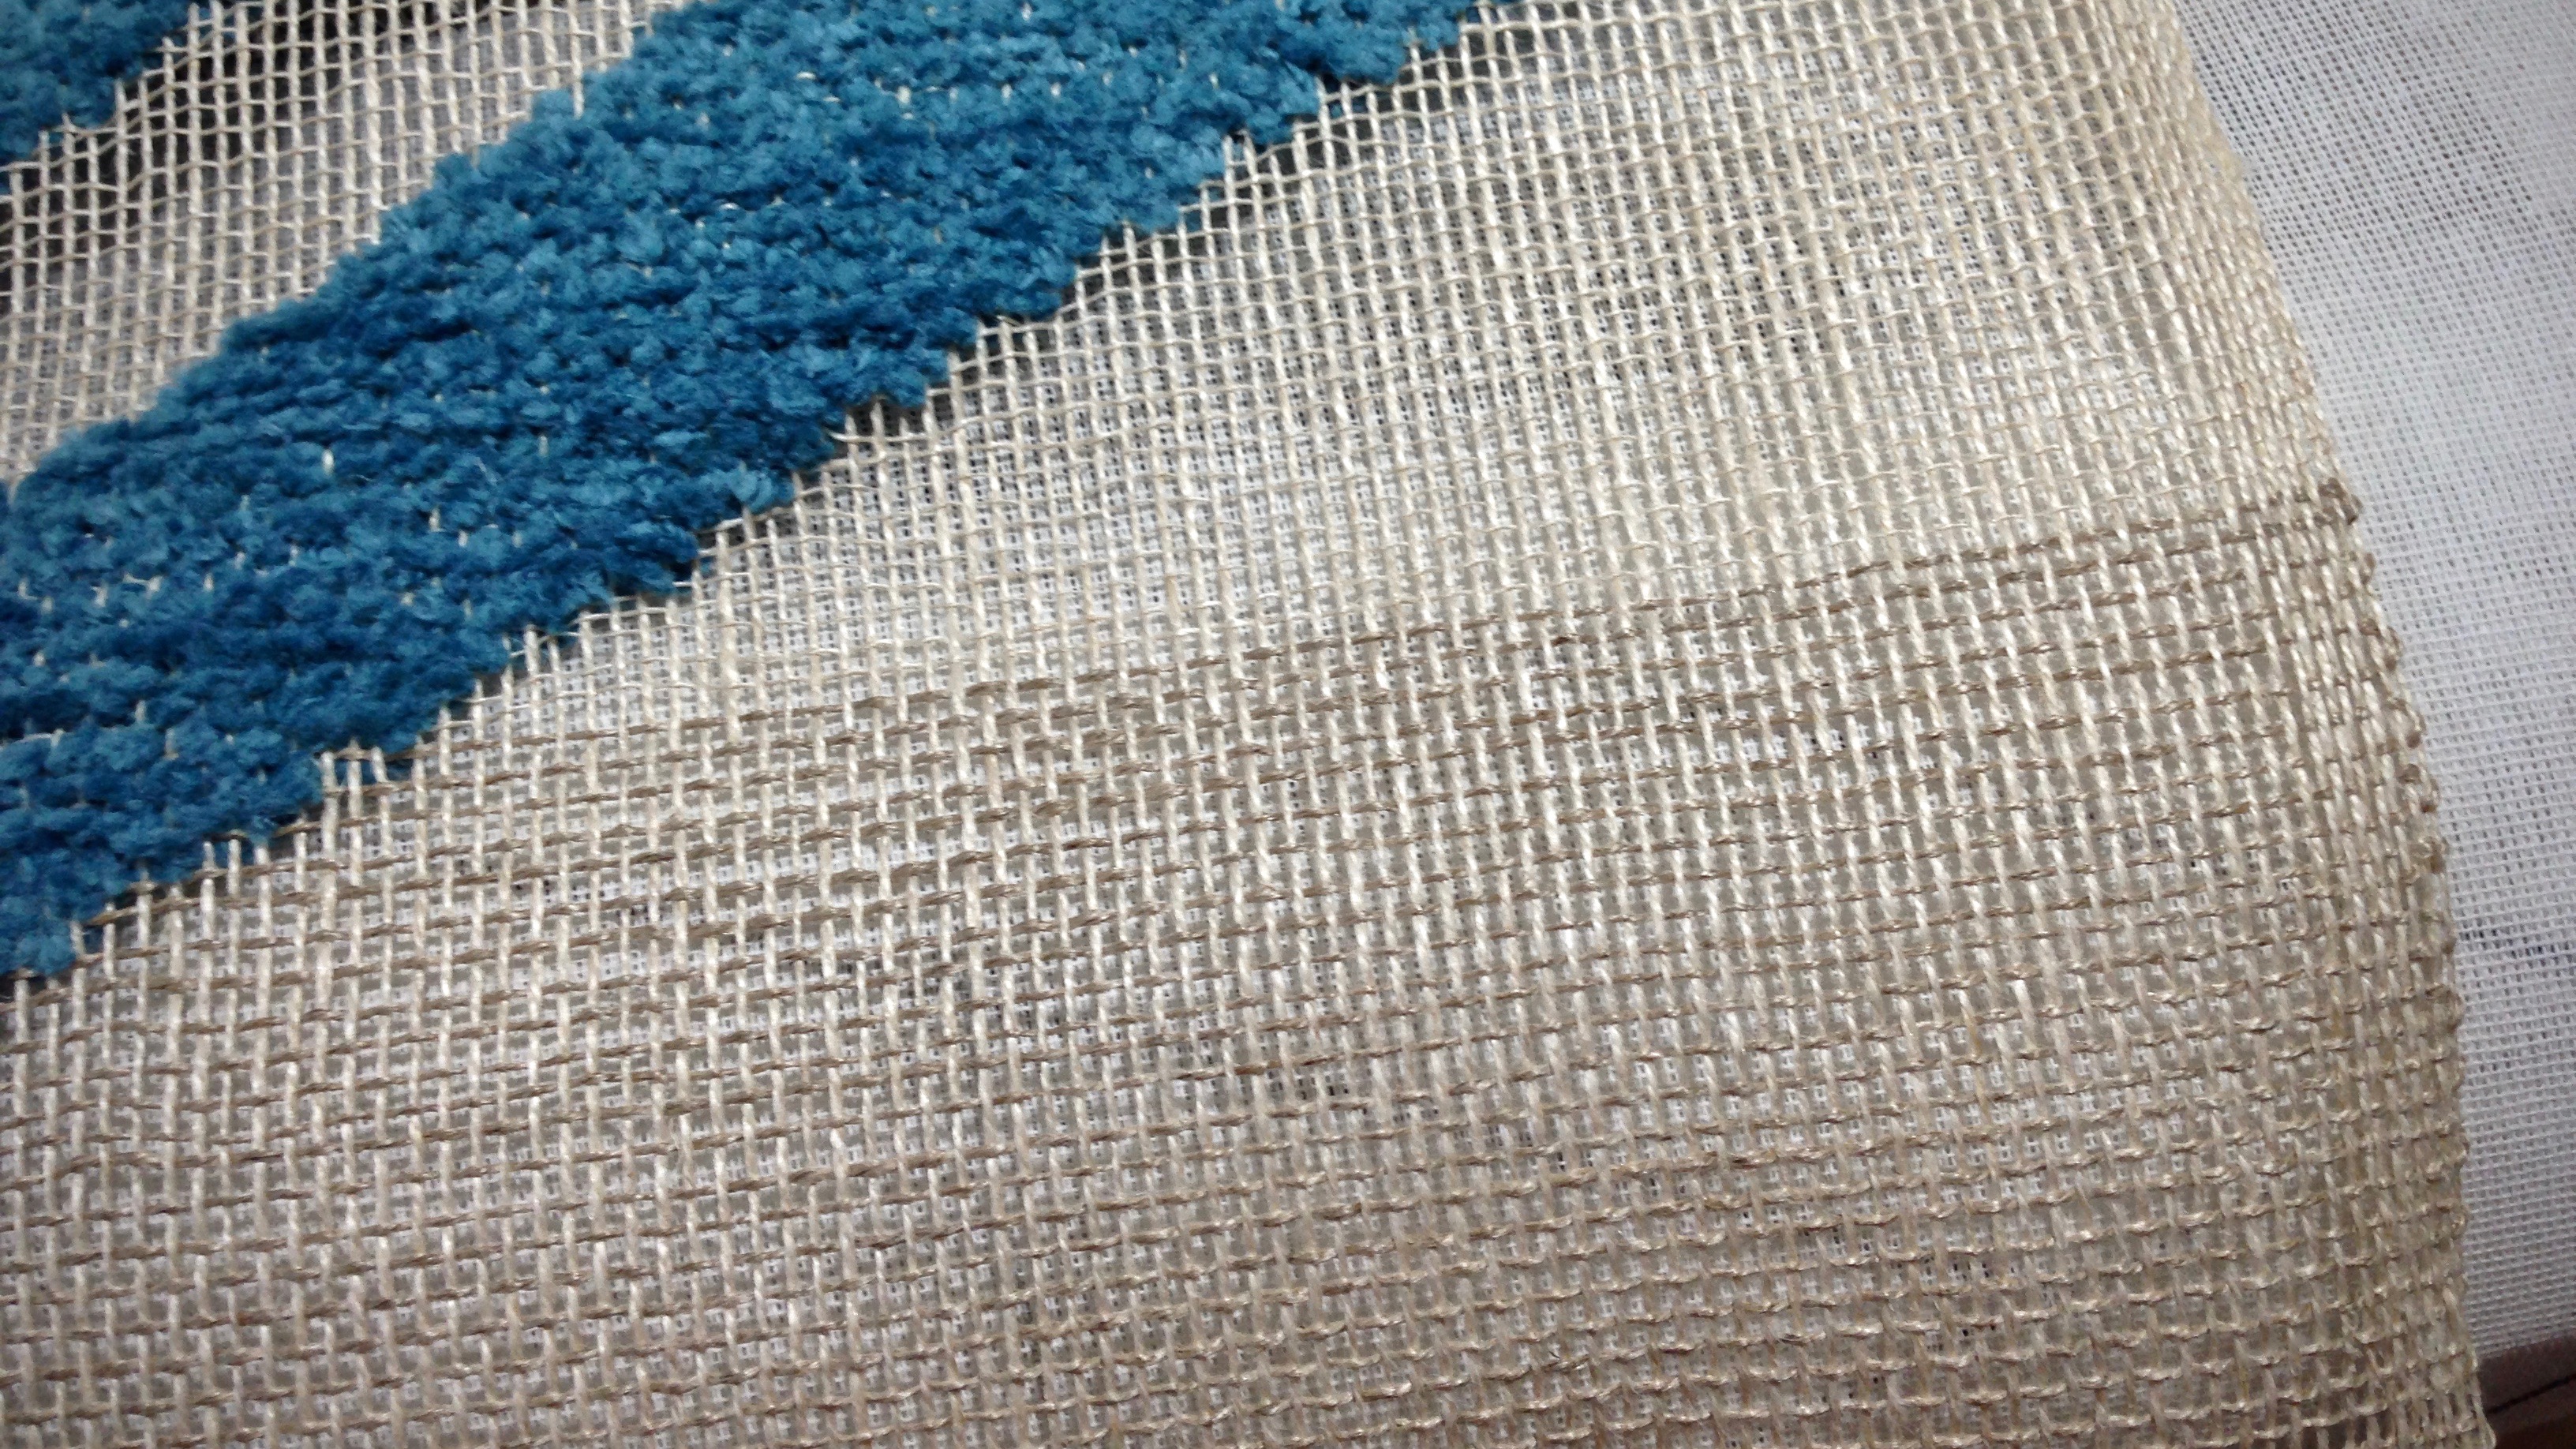
The cotton chenille looks as if it is magically suspended in space. But it’s the linen that suspends it. 16/2 unbleached linen weft crosses 16/2 golden bleached linen warp. The two shades blend into one as they are woven for the transparency background.
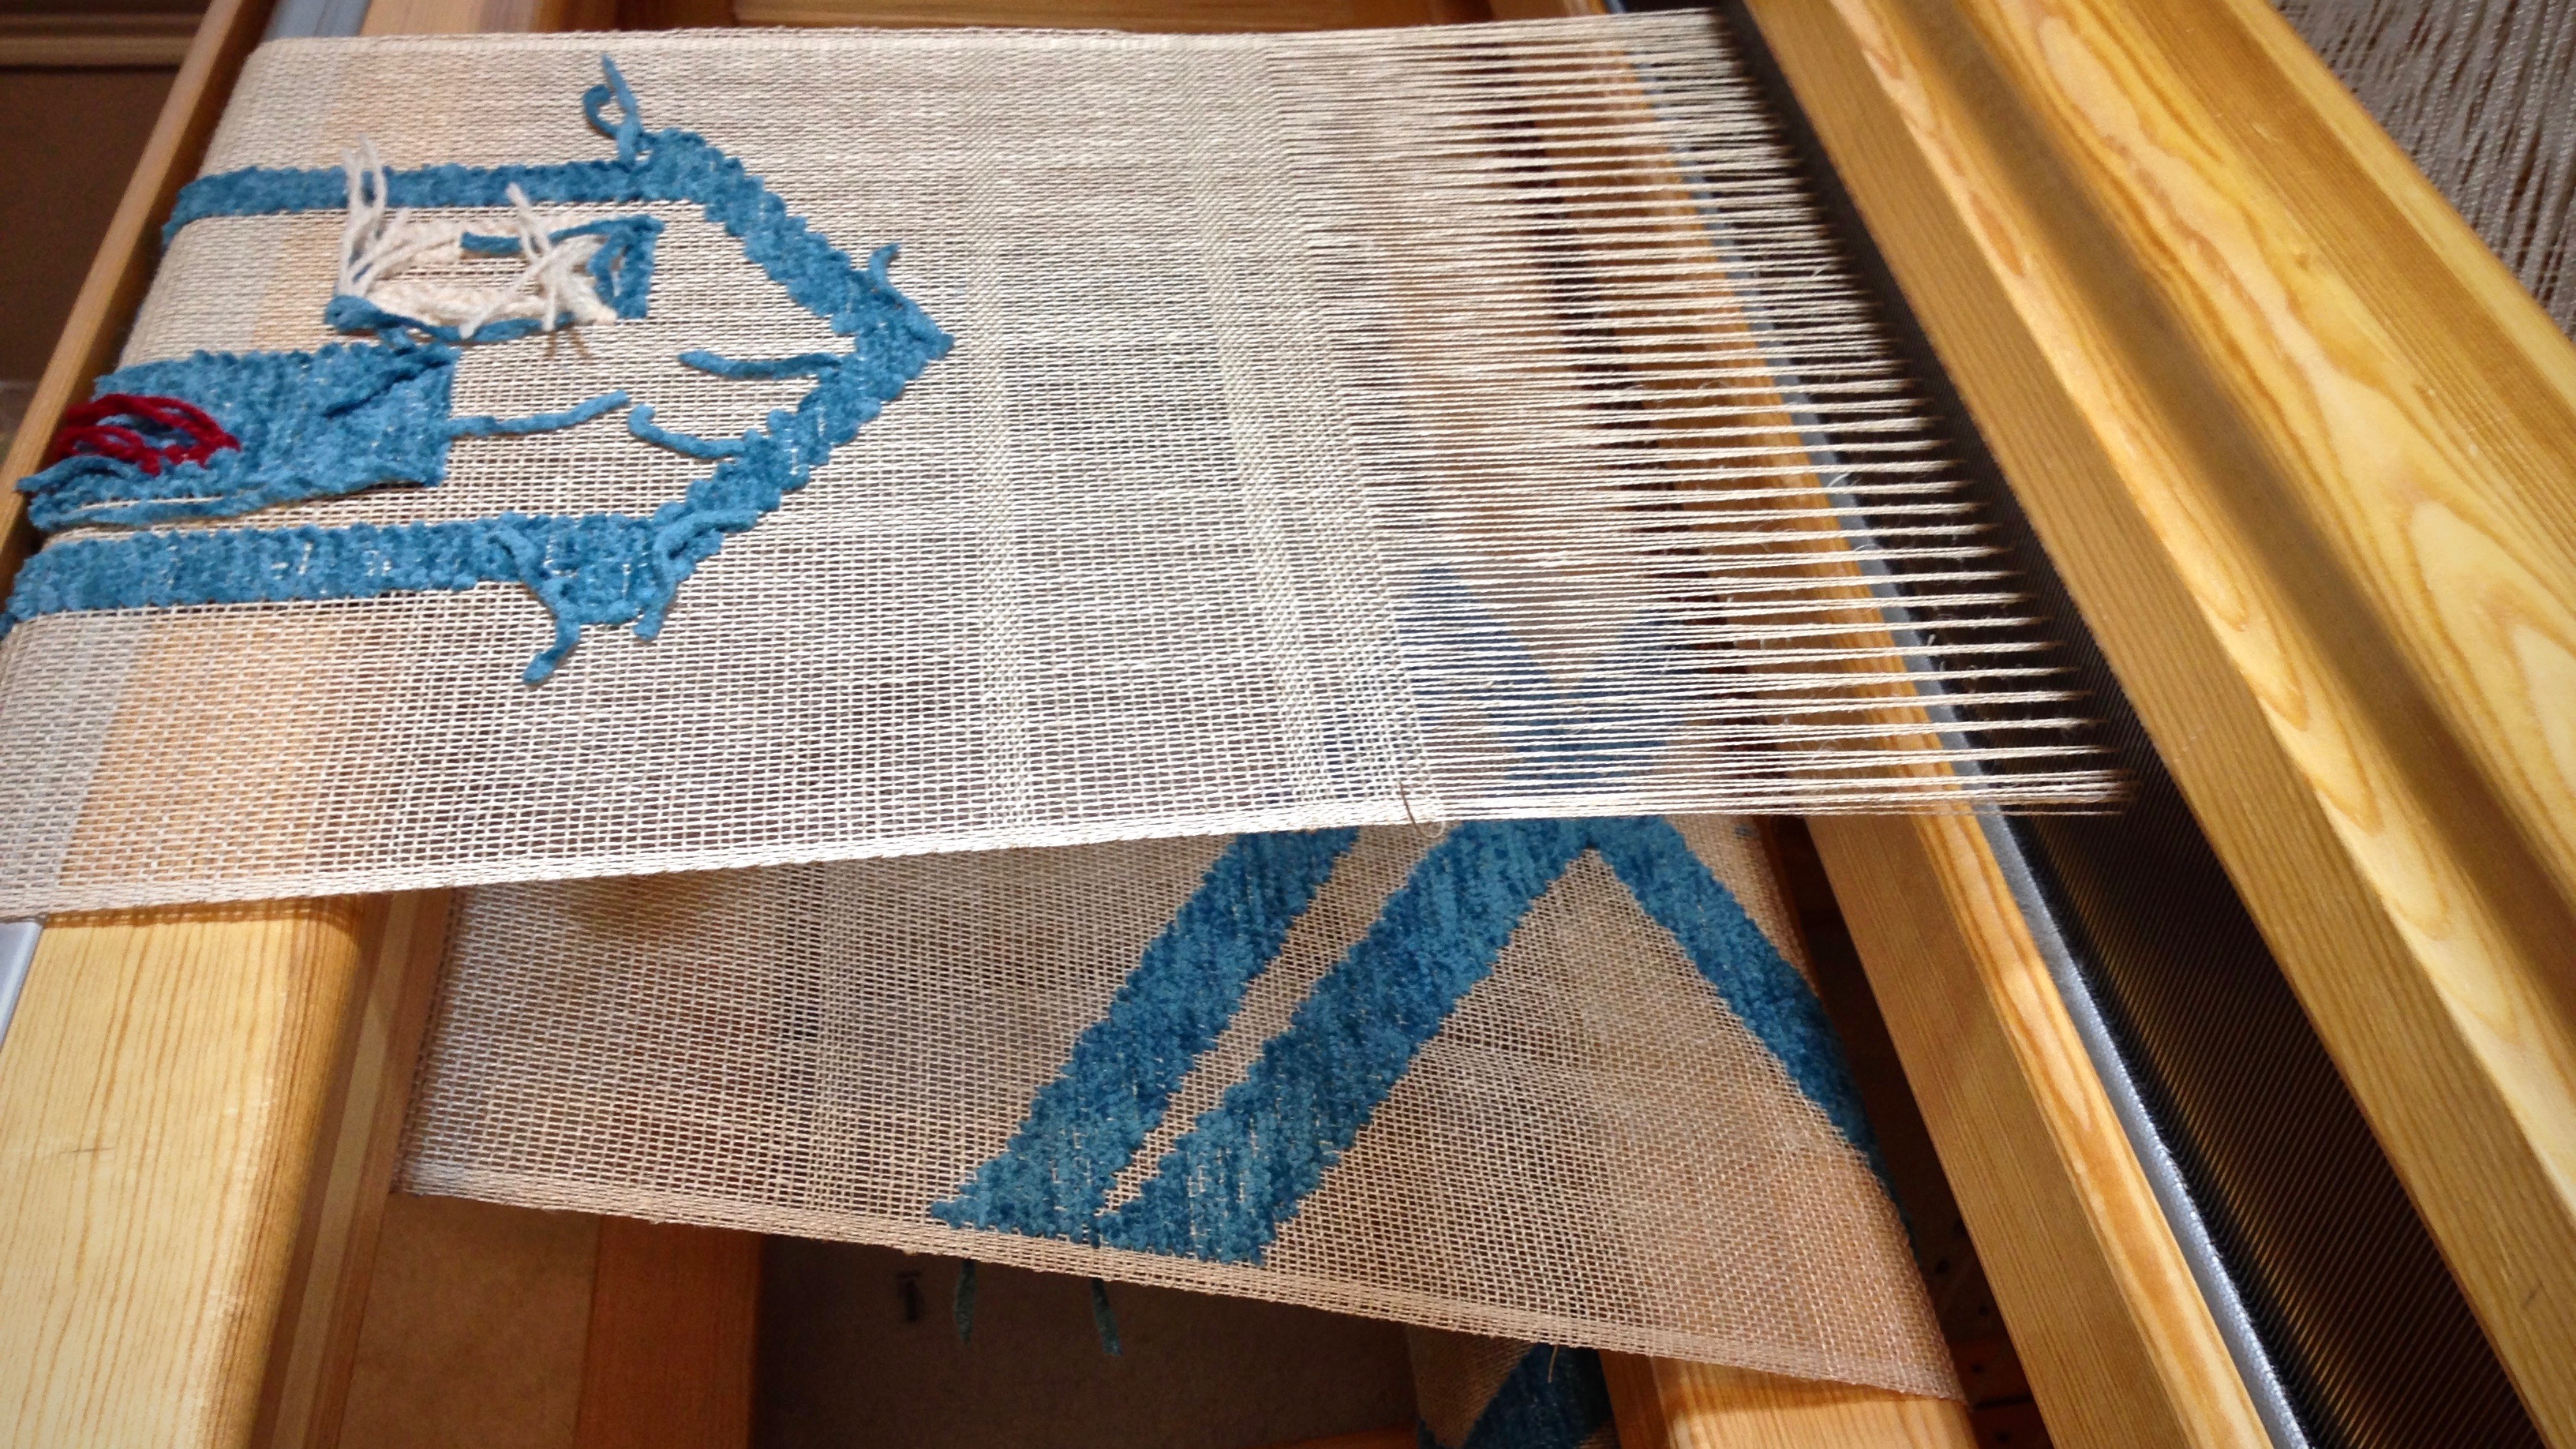
Weaving a transparency from the back. The front side of the pattern can be seen after it comes around the breast beam.
Unfortunately, I had 16/1 golden bleached linen (16/1 is half as thin as 16/2) on my winding table, for the plattväv towels on the other loom. I wound a quill with the 16/1 and wove the transparency with it. It’s the wrong thread size and color. For 8 1/2 inches! Too far to undo without irreparably damaging the linen warp. This is disappointing. How did I let that happen? Take a deep breath… Move forward, and finish out the weaving with the correct16/2 linen.
Two densities of linen. The 16/2 unbleached linen weft adds depth to the 16/2 golden bleached warp. The 16/1 golden bleached weft gives a lighter look to the web.Just off the loom! First transparency attempt, and a great learning experience.
We all fall short. We do the wrong thing. That’s a weight to carry. Jesus breaks the yoke of our burden, and lifts the weight. We have been set free! When we finish the weaving, the chenille pattern will be the main attraction, not the error. By amazing grace, the error is overcome by the light shining through the transparency.
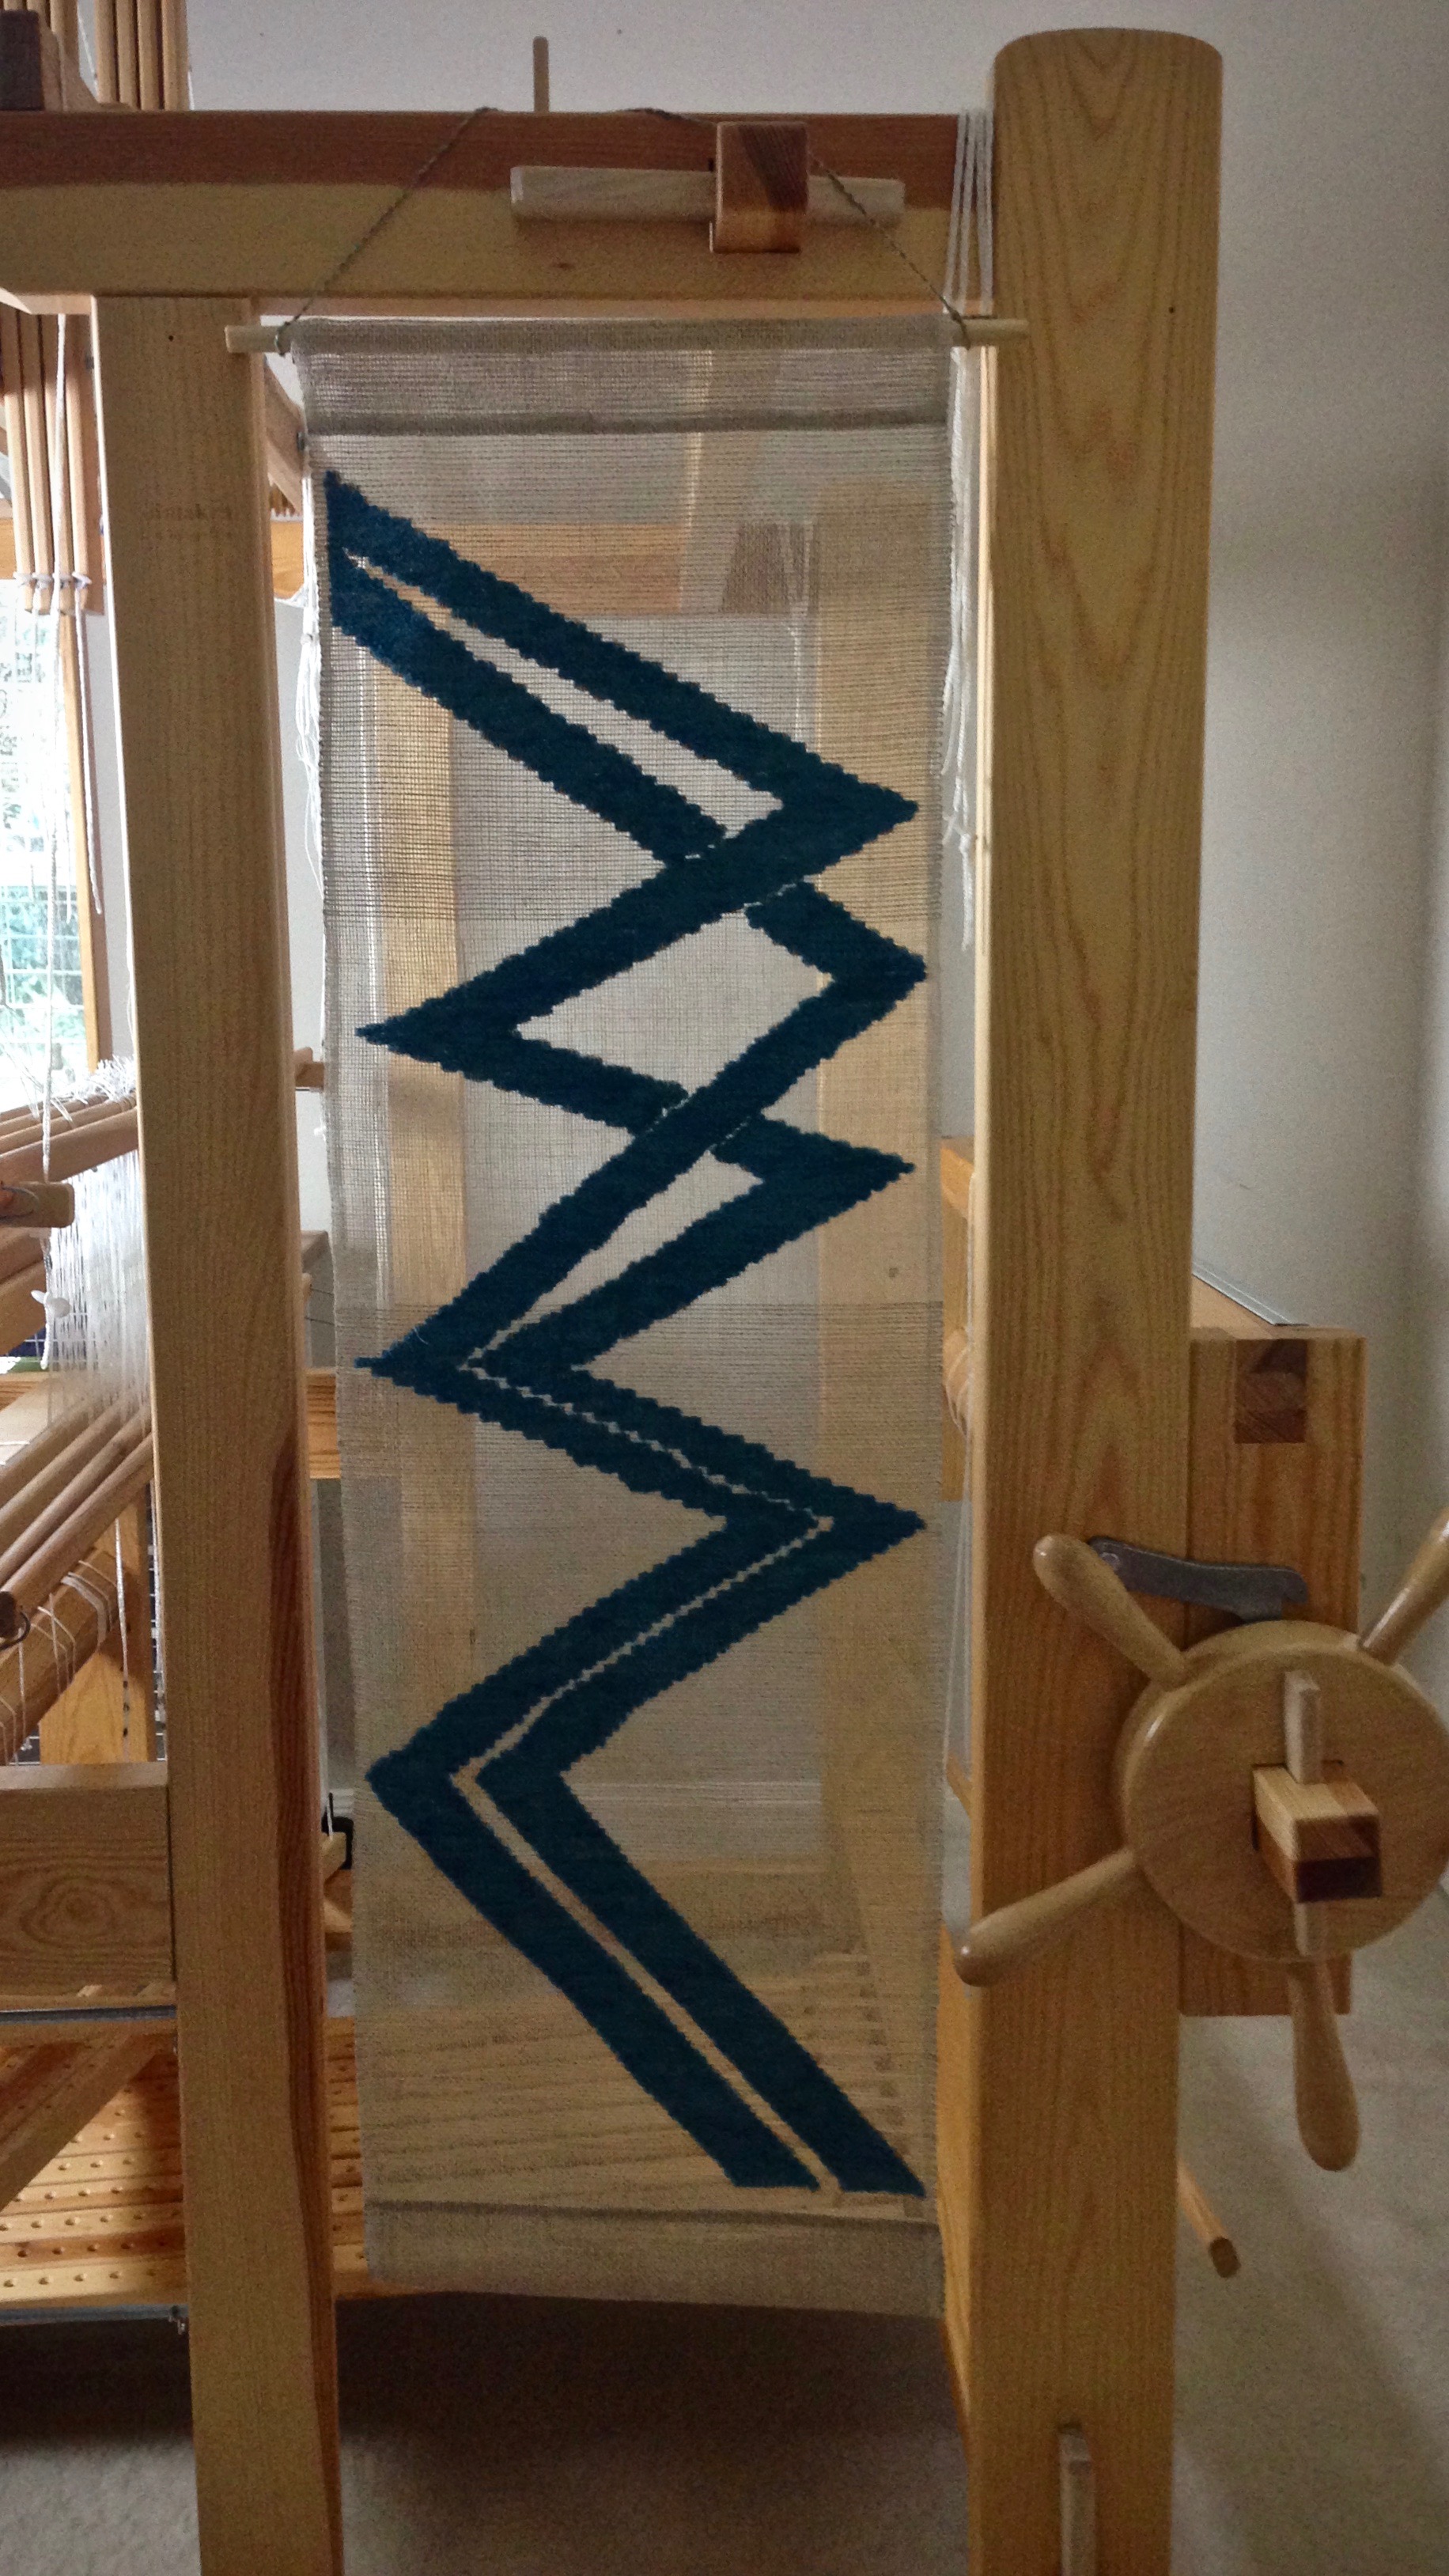
Weaving a transparency could become one of my favorite things to do. I had no idea that drawing a cartoon for this project would make such a difference. Now, I can see vast possibilities with this weaving technique.
Buckram, a stiff cotton cloth, is in my sewing supplies, specifically for making bills on caps. It is being used here to make a cartoon for the transparency weaving. The center line will be lined up with the center warpend.
I started the transparency without a cartoon. I wanted to weave a few zigzags back and forth. How hard could that be? I counted warpends, “under 12 to the right, and then, under 13 to the left.” When I tried to change the angle of the slant, though, it was confusing. I started getting jagged zigs and zags. This cartoon has made a world of difference.
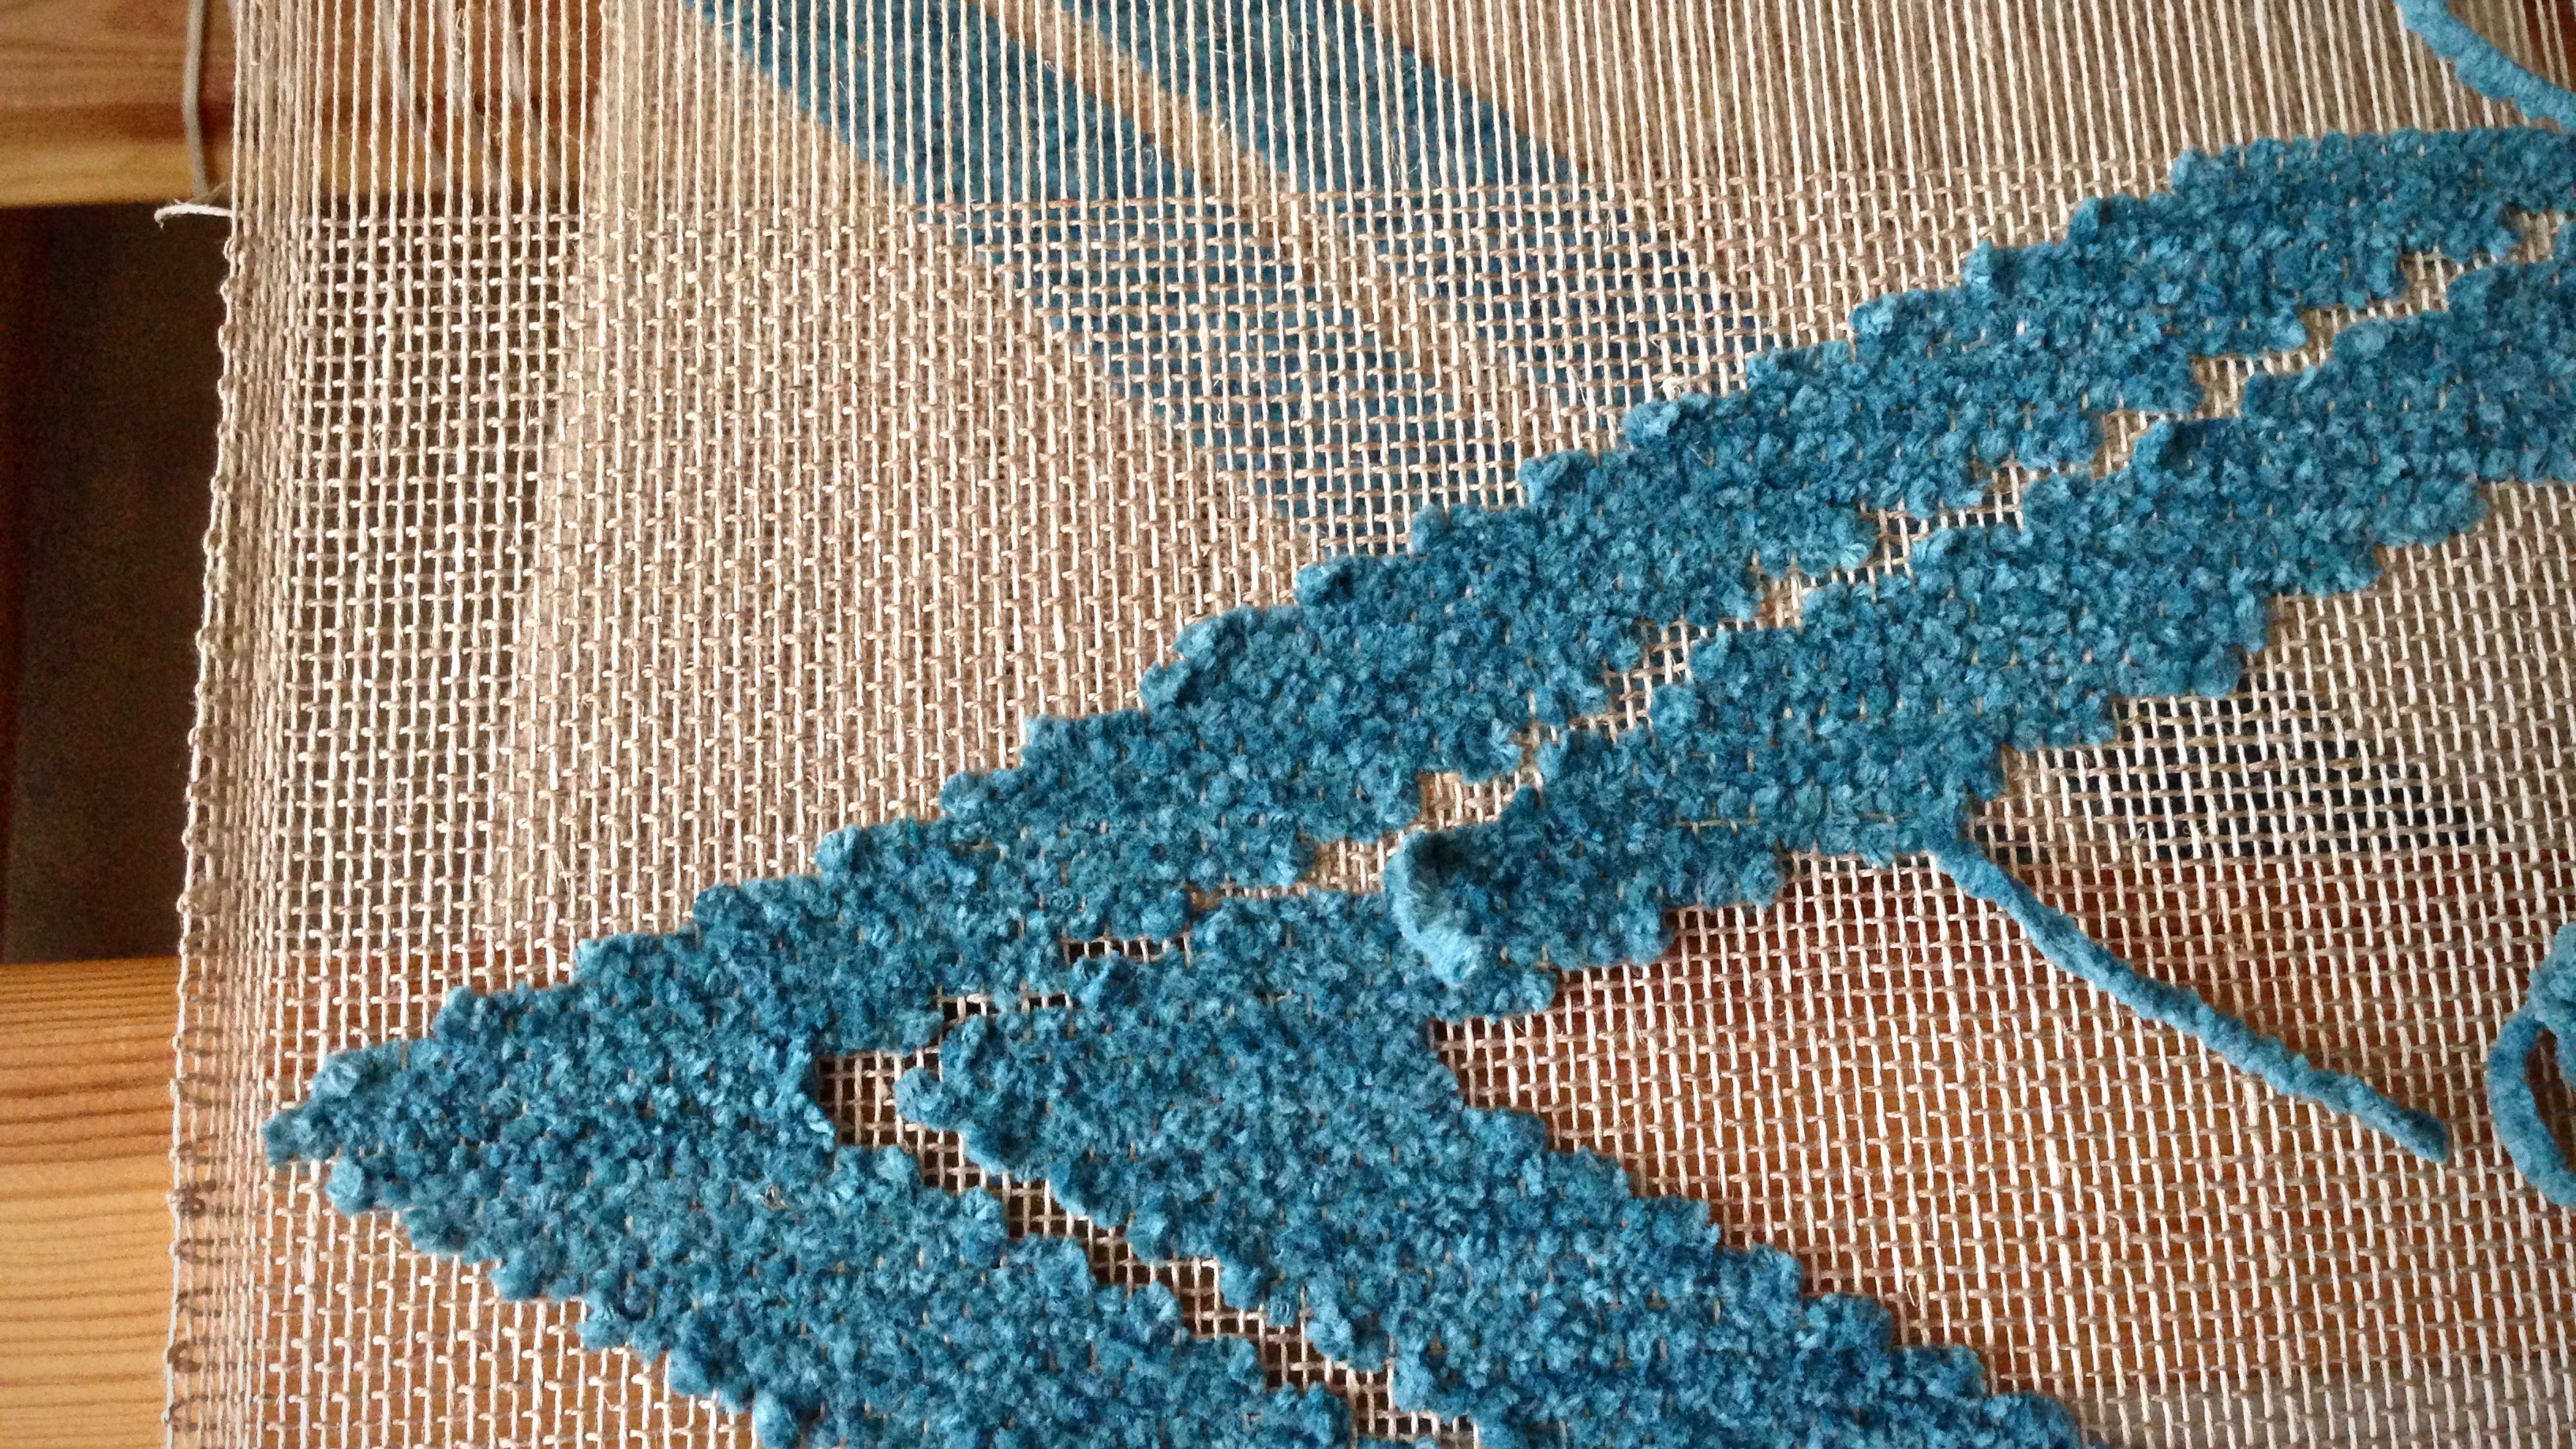
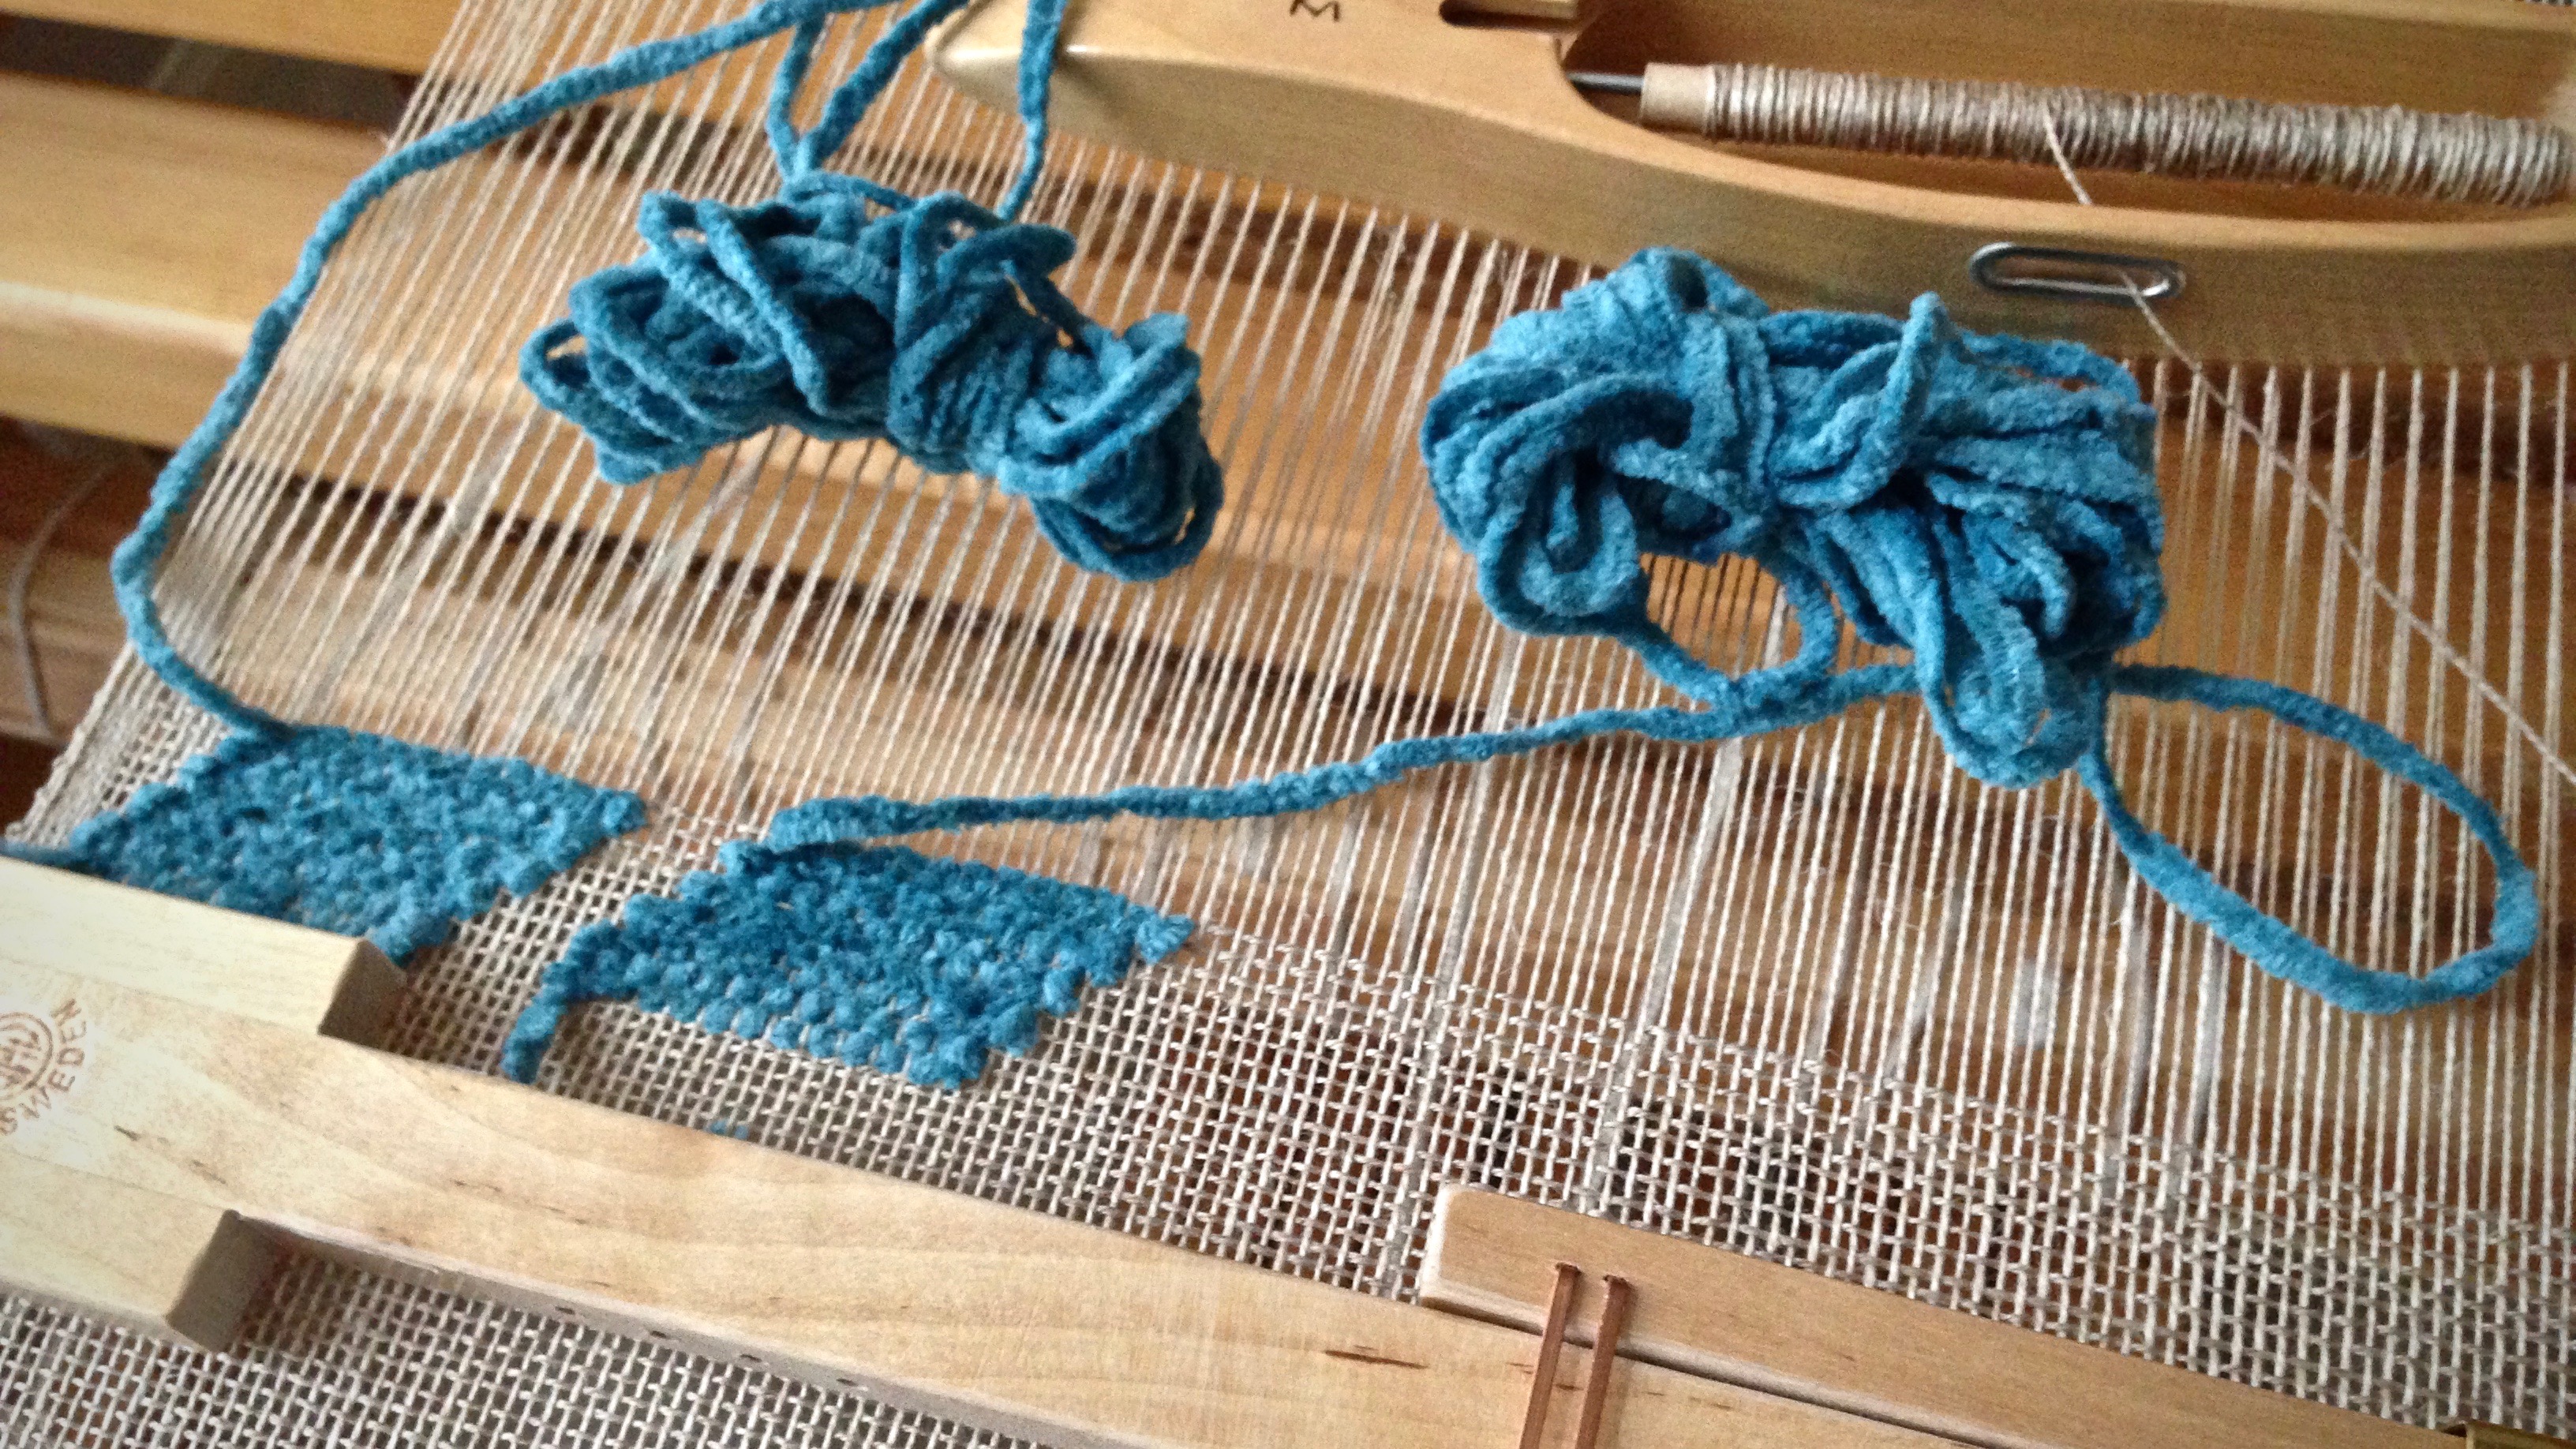
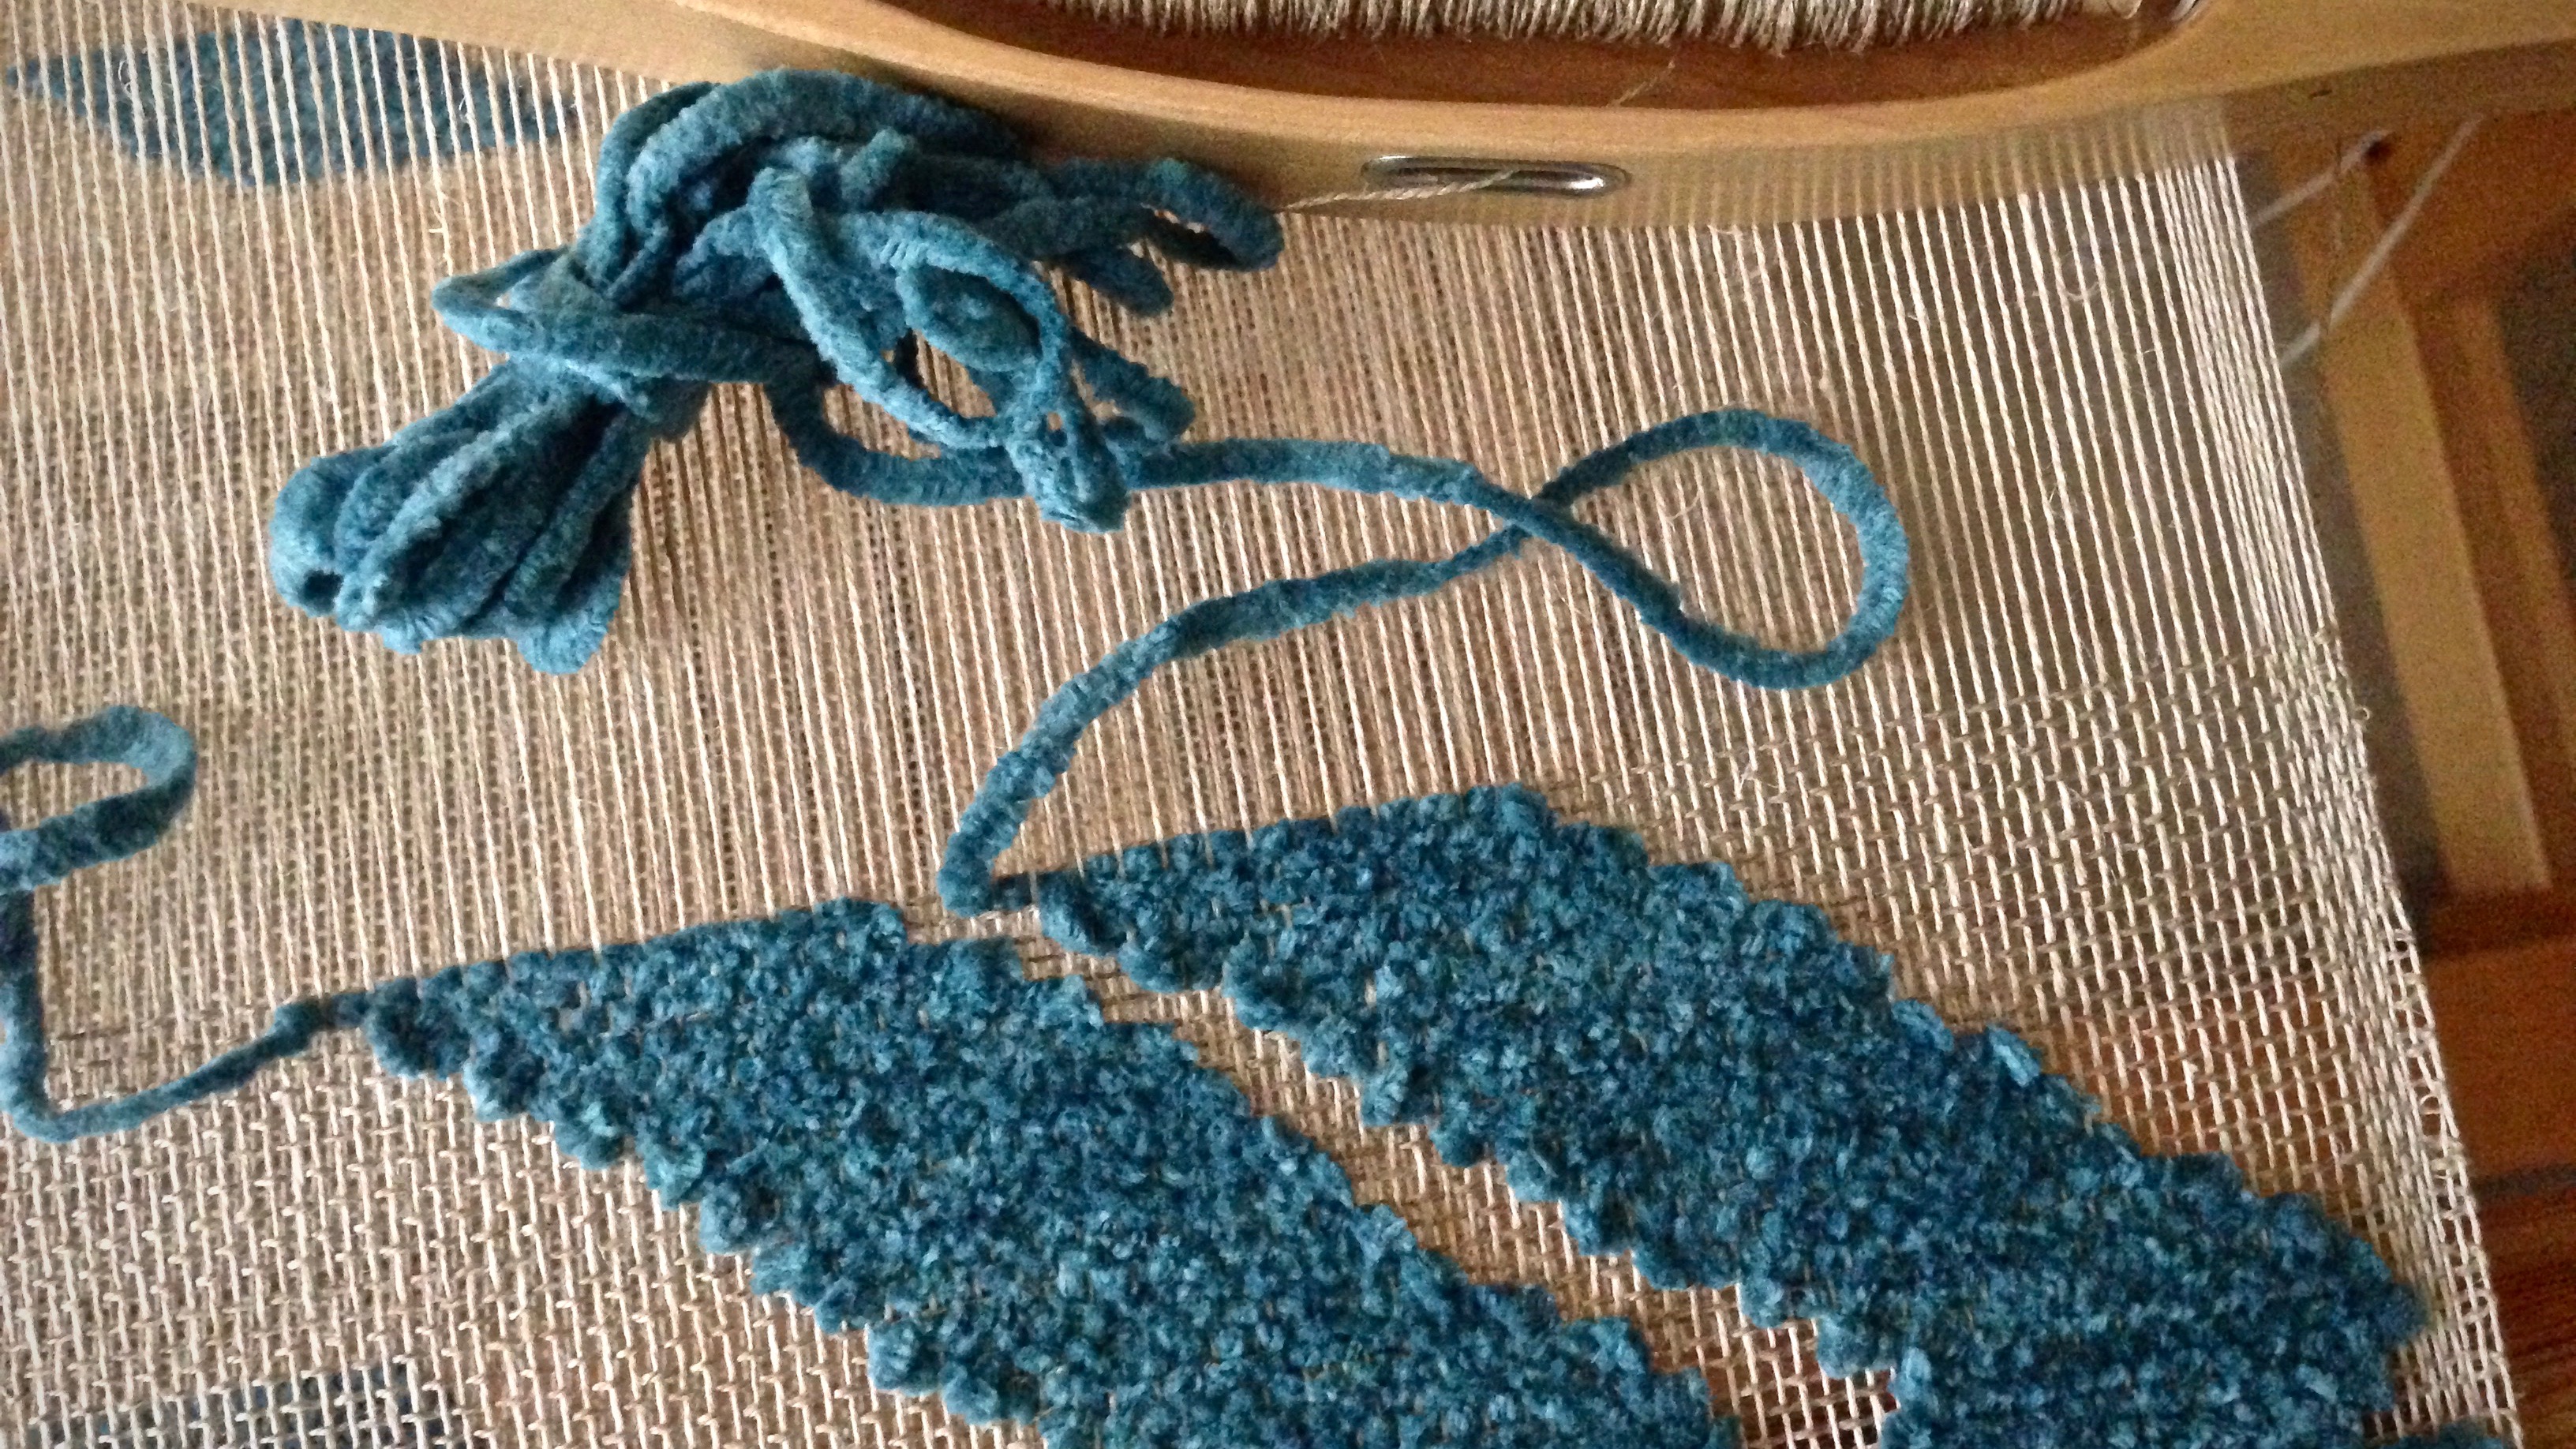
Cartoon is aligned and pinned into place.For each row of the pattern, the cotton chenille weftbutterflies go under the raised warp ends that coincide with the lines drawn on the cartoon underneath. One pick of linen background weft follows each pattern row.
How often do we think it will be easier to go our own way? We want to make it up as we go. Wait. There’s a better way. The head designer has drawn out a path. It makes sense to follow those lines. It’s a picture that’s bigger than we are. God created. He did it in such a way that shows his loving attention to those he created. And we get to follow his design. No more striving. No more trying to find our way. His way makes perfect sense. It’s satisfying to place the weft in a thought-out design.
When the front side of the fabric is on the underside, it helps to have a mirror. This is one of those times. A transparency can be woven with the weft turns on the front or on the back. I’m weaving this transparency with the weft turns on the front. The underside, therefore, has the crisper lines, and will (probably) be the right side of the finished transparency.
Weaving from the back, the inlayweft turns look like scallops along the edge of the pattern area. The pattern on the underneath side of the cloth has smoother edges.
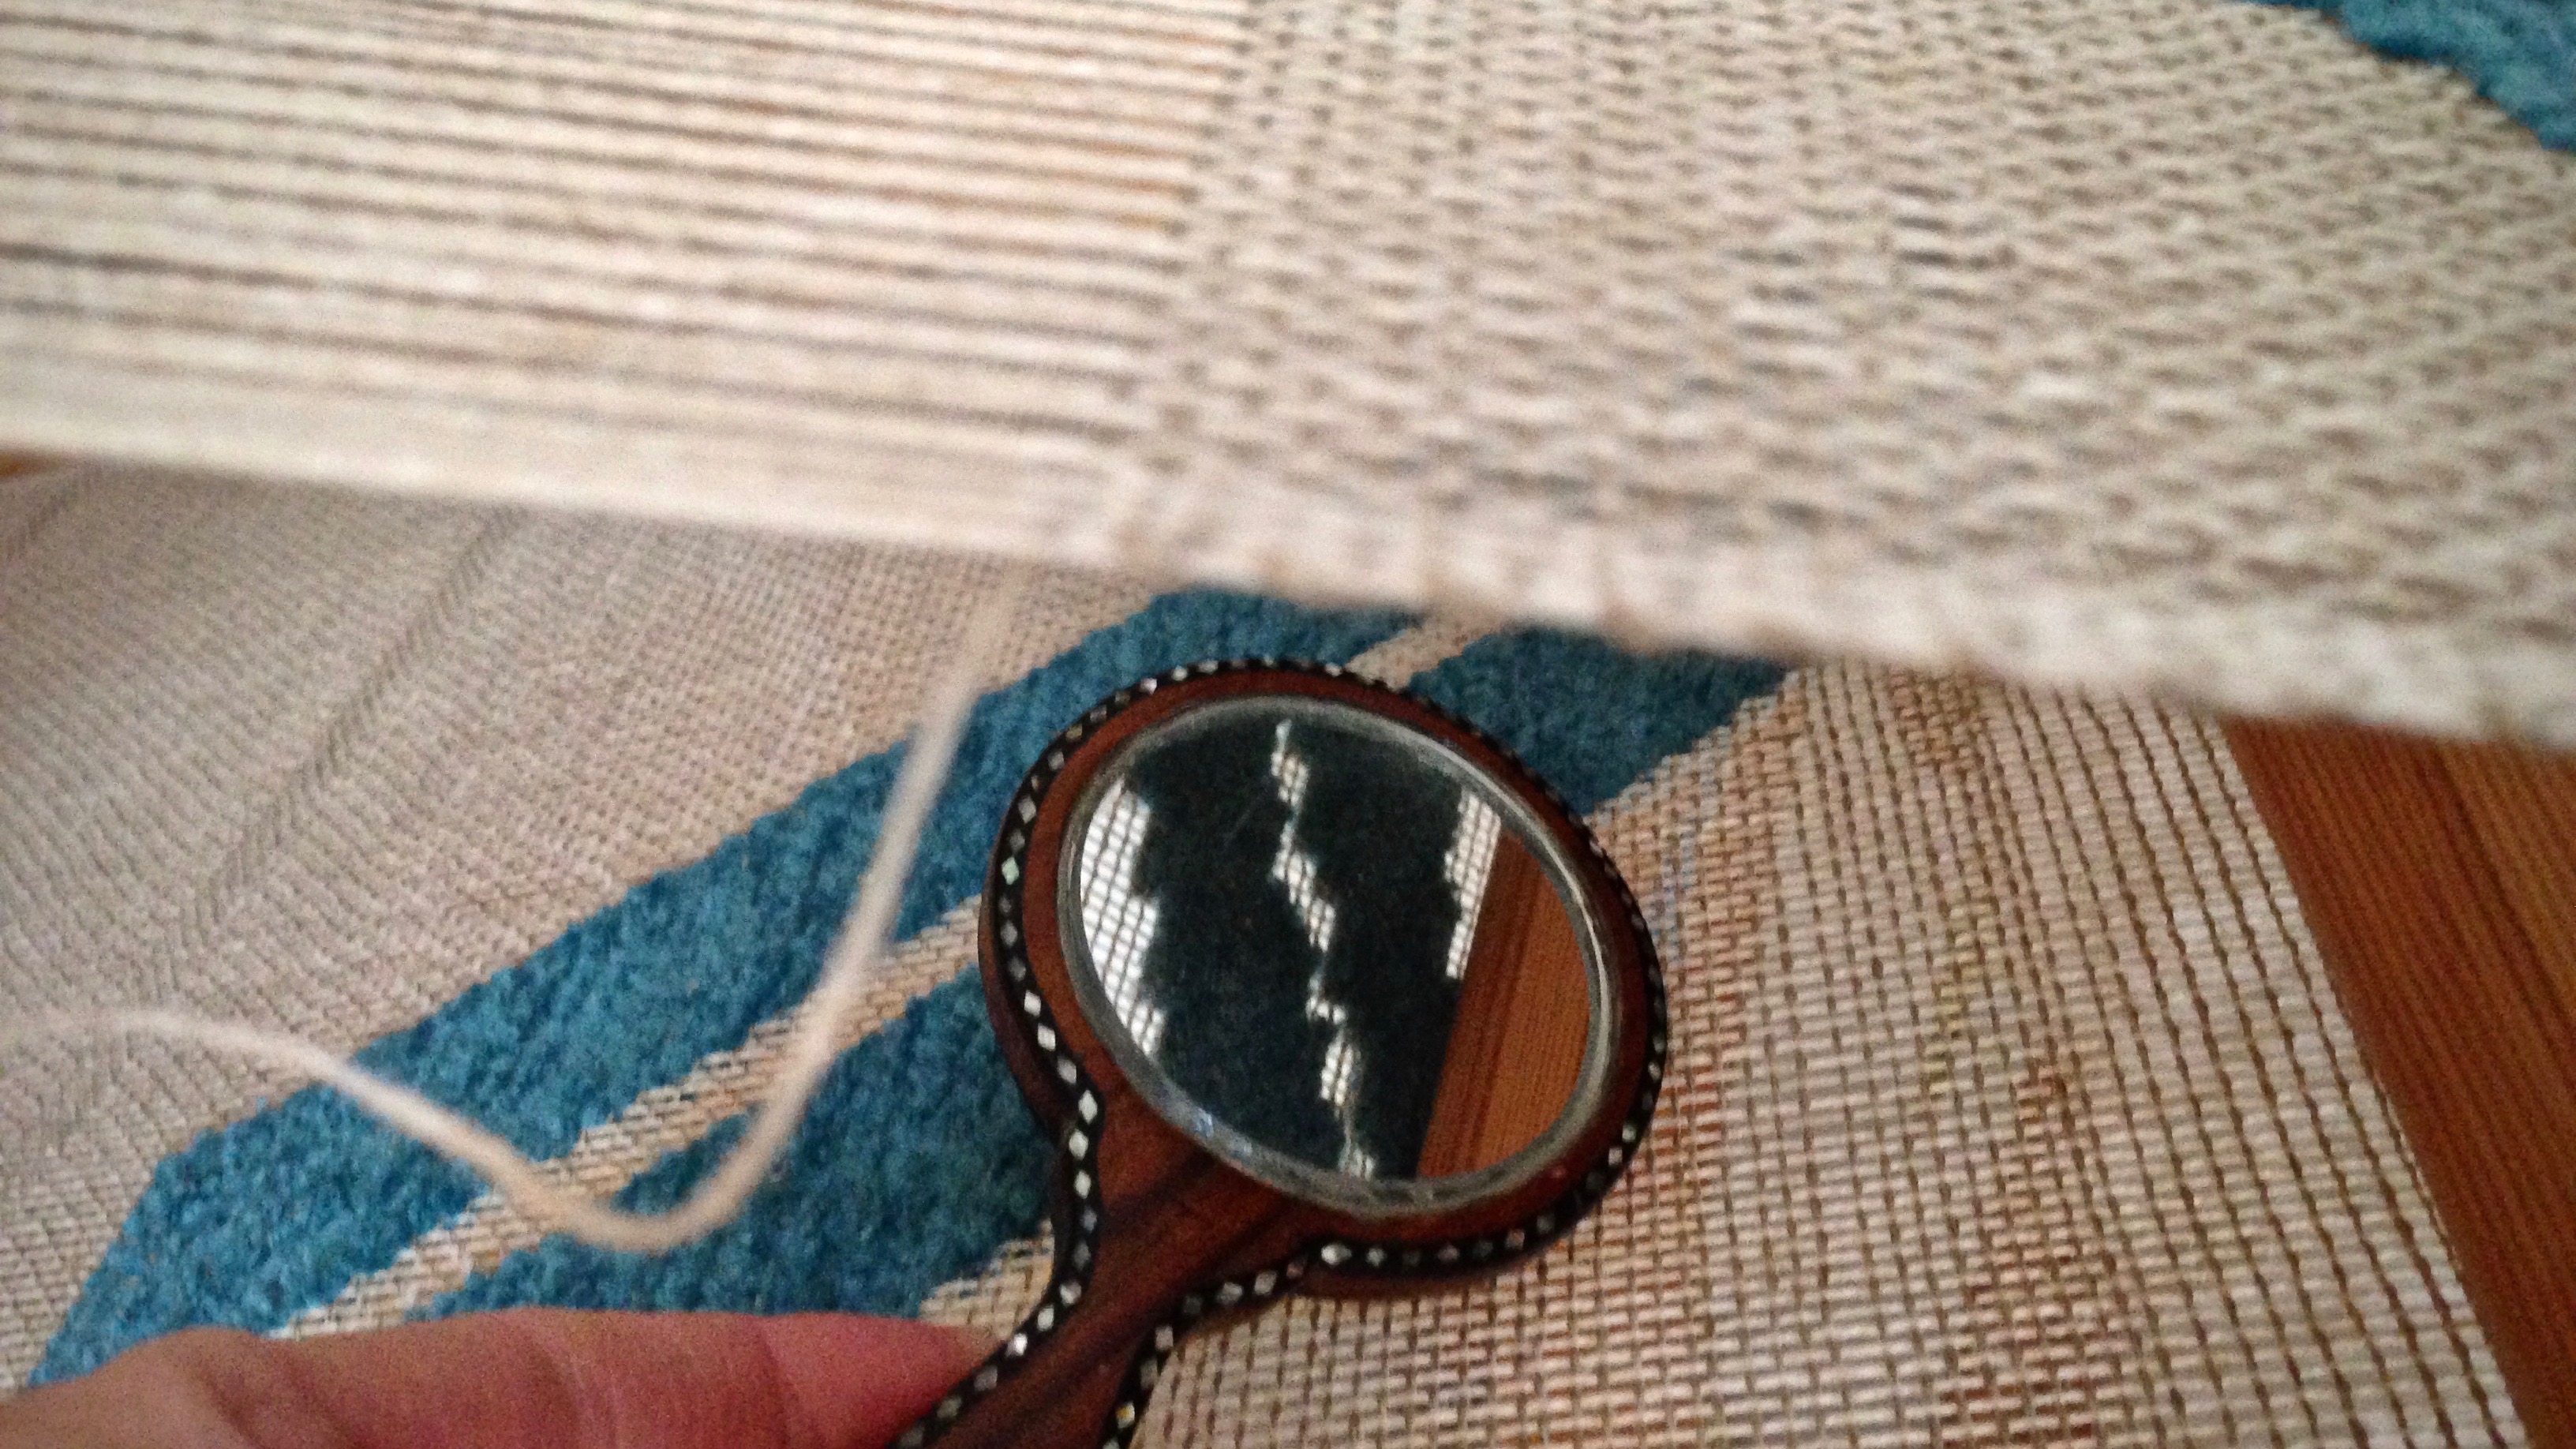
You can think of other weaves, as well, that have a different appearance on the back than on the front. That’s when a little mirror comes in handy. You can use a larger hand mirror, of course; but these are two little mirrors that I keep in the cart by my loom.
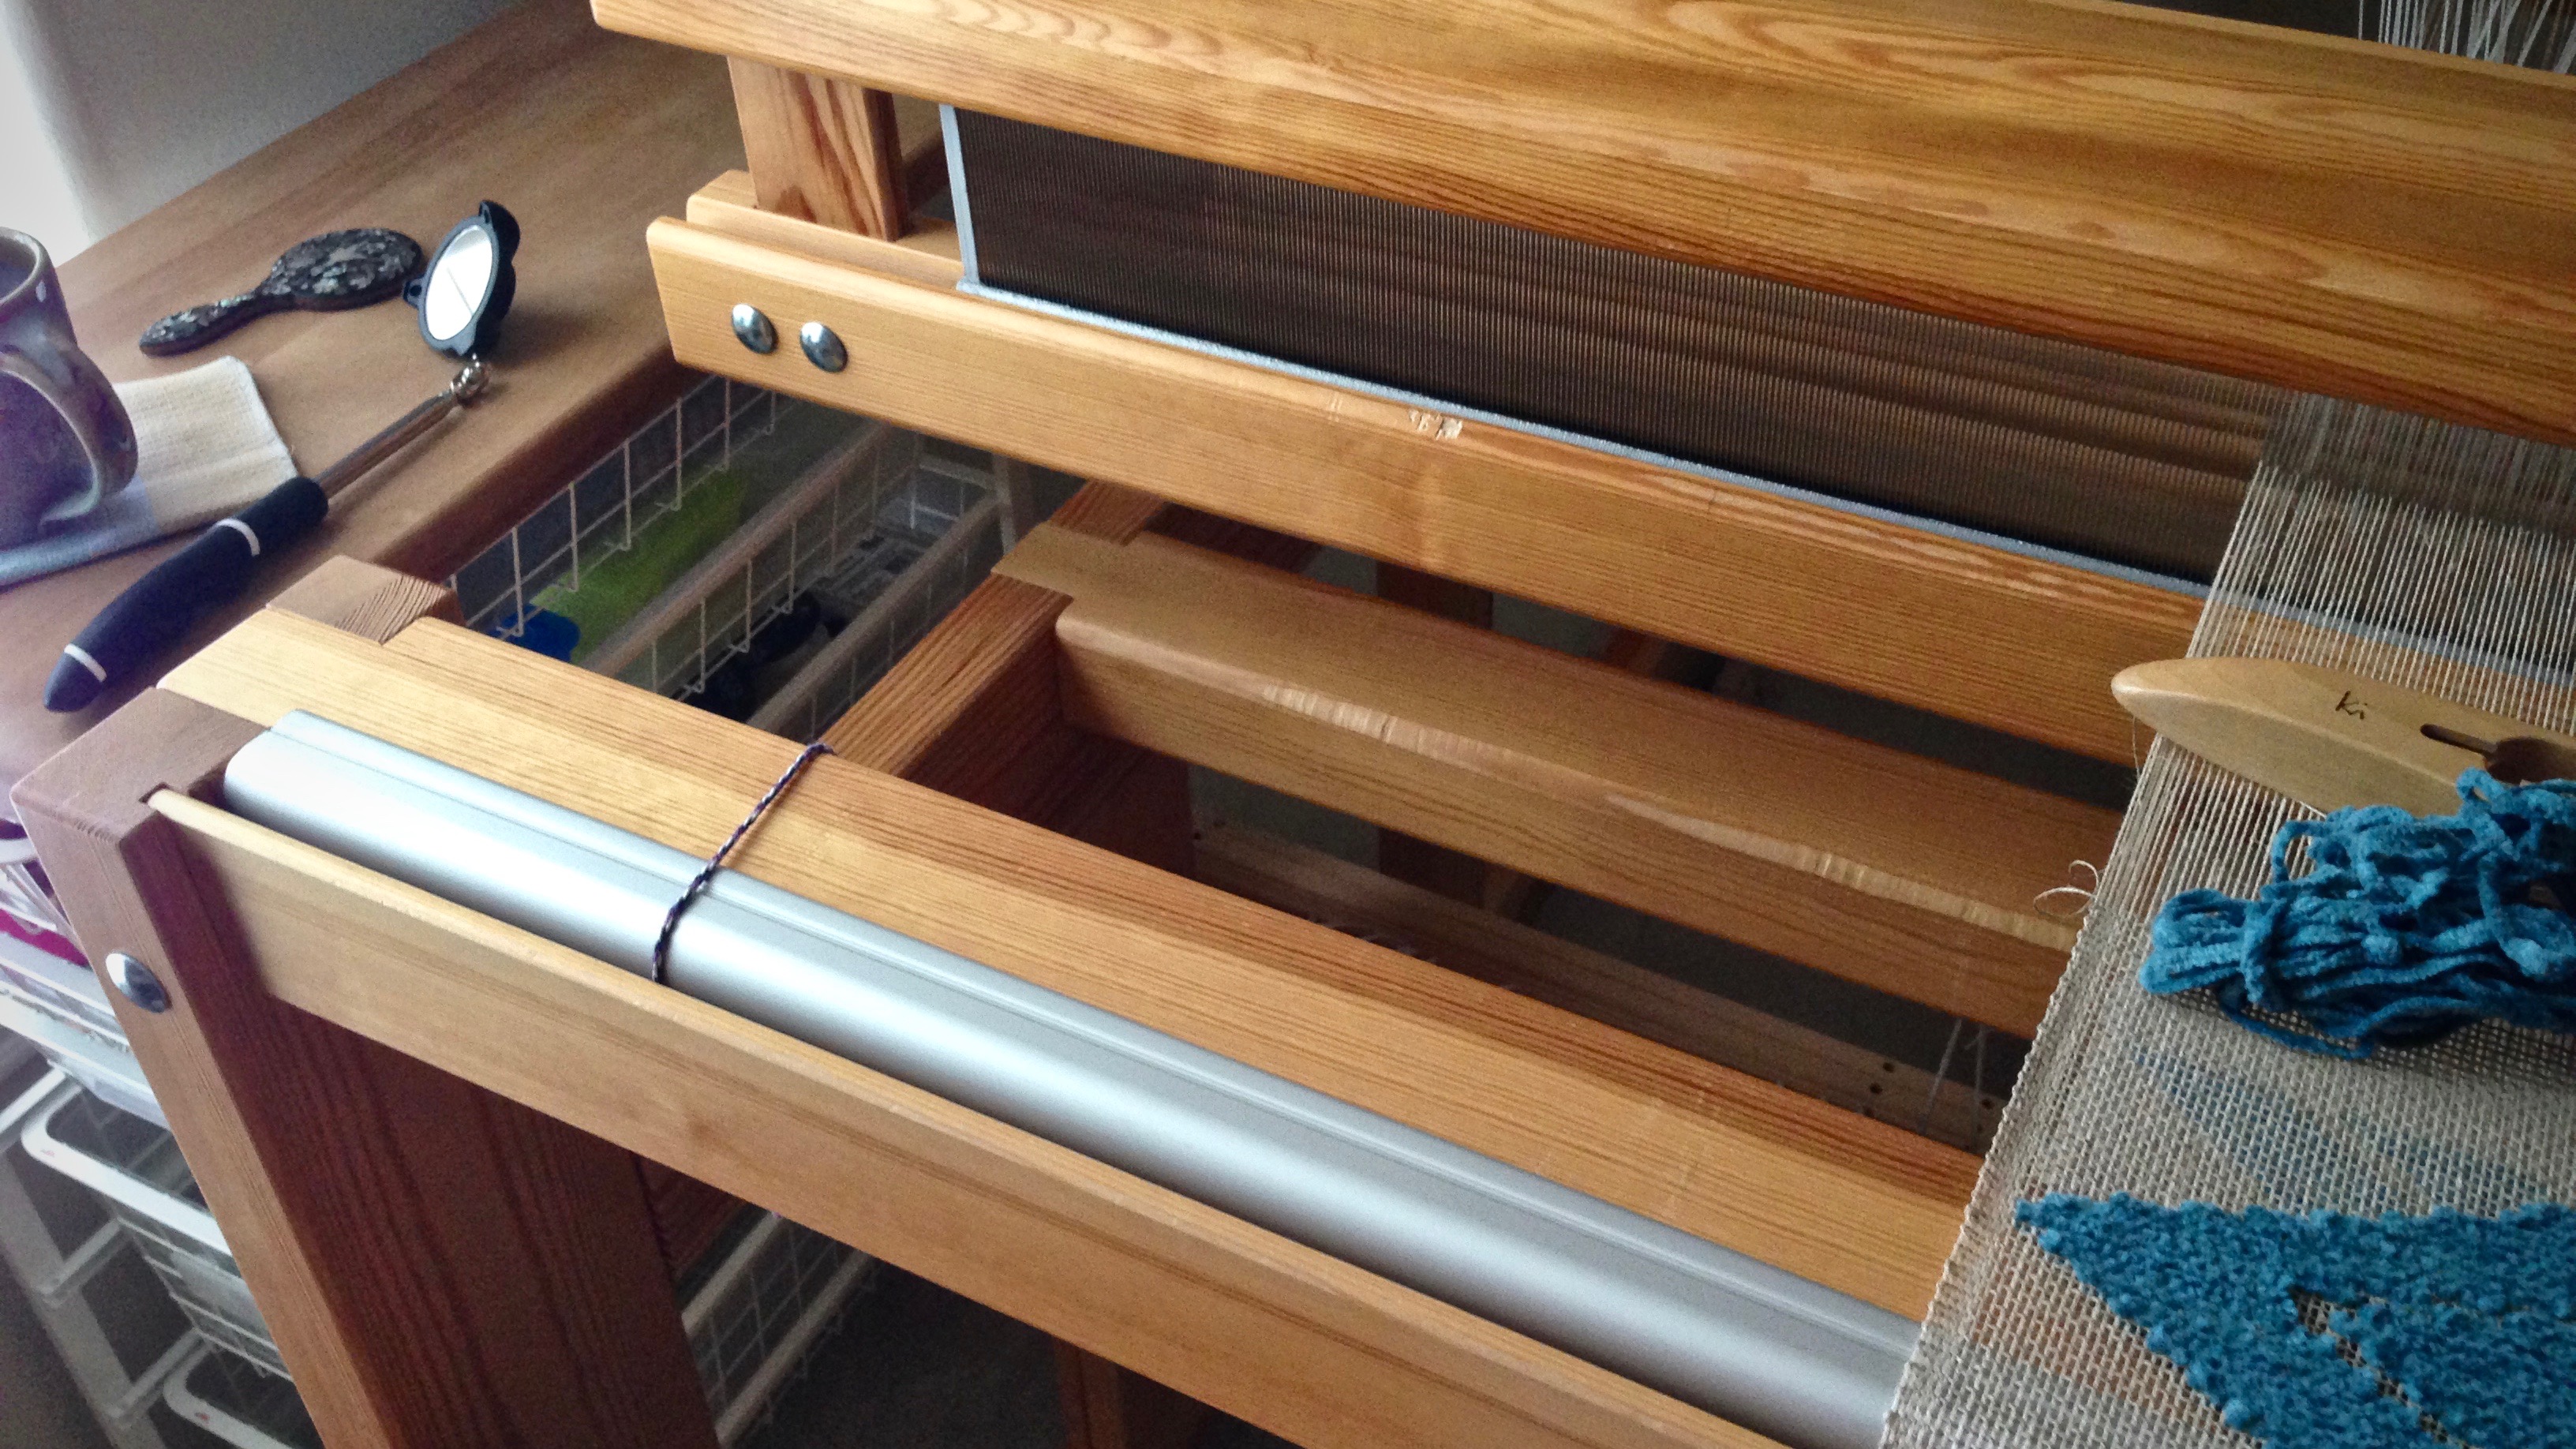
Top drawer in the cart beside the loom holds small tools that are used during weaving.
A little wooden mirror with mother-of-pearl inlay that I picked up on one of my international travels.
Small hand mirror is used for a quick glimpse of the underside pattern.
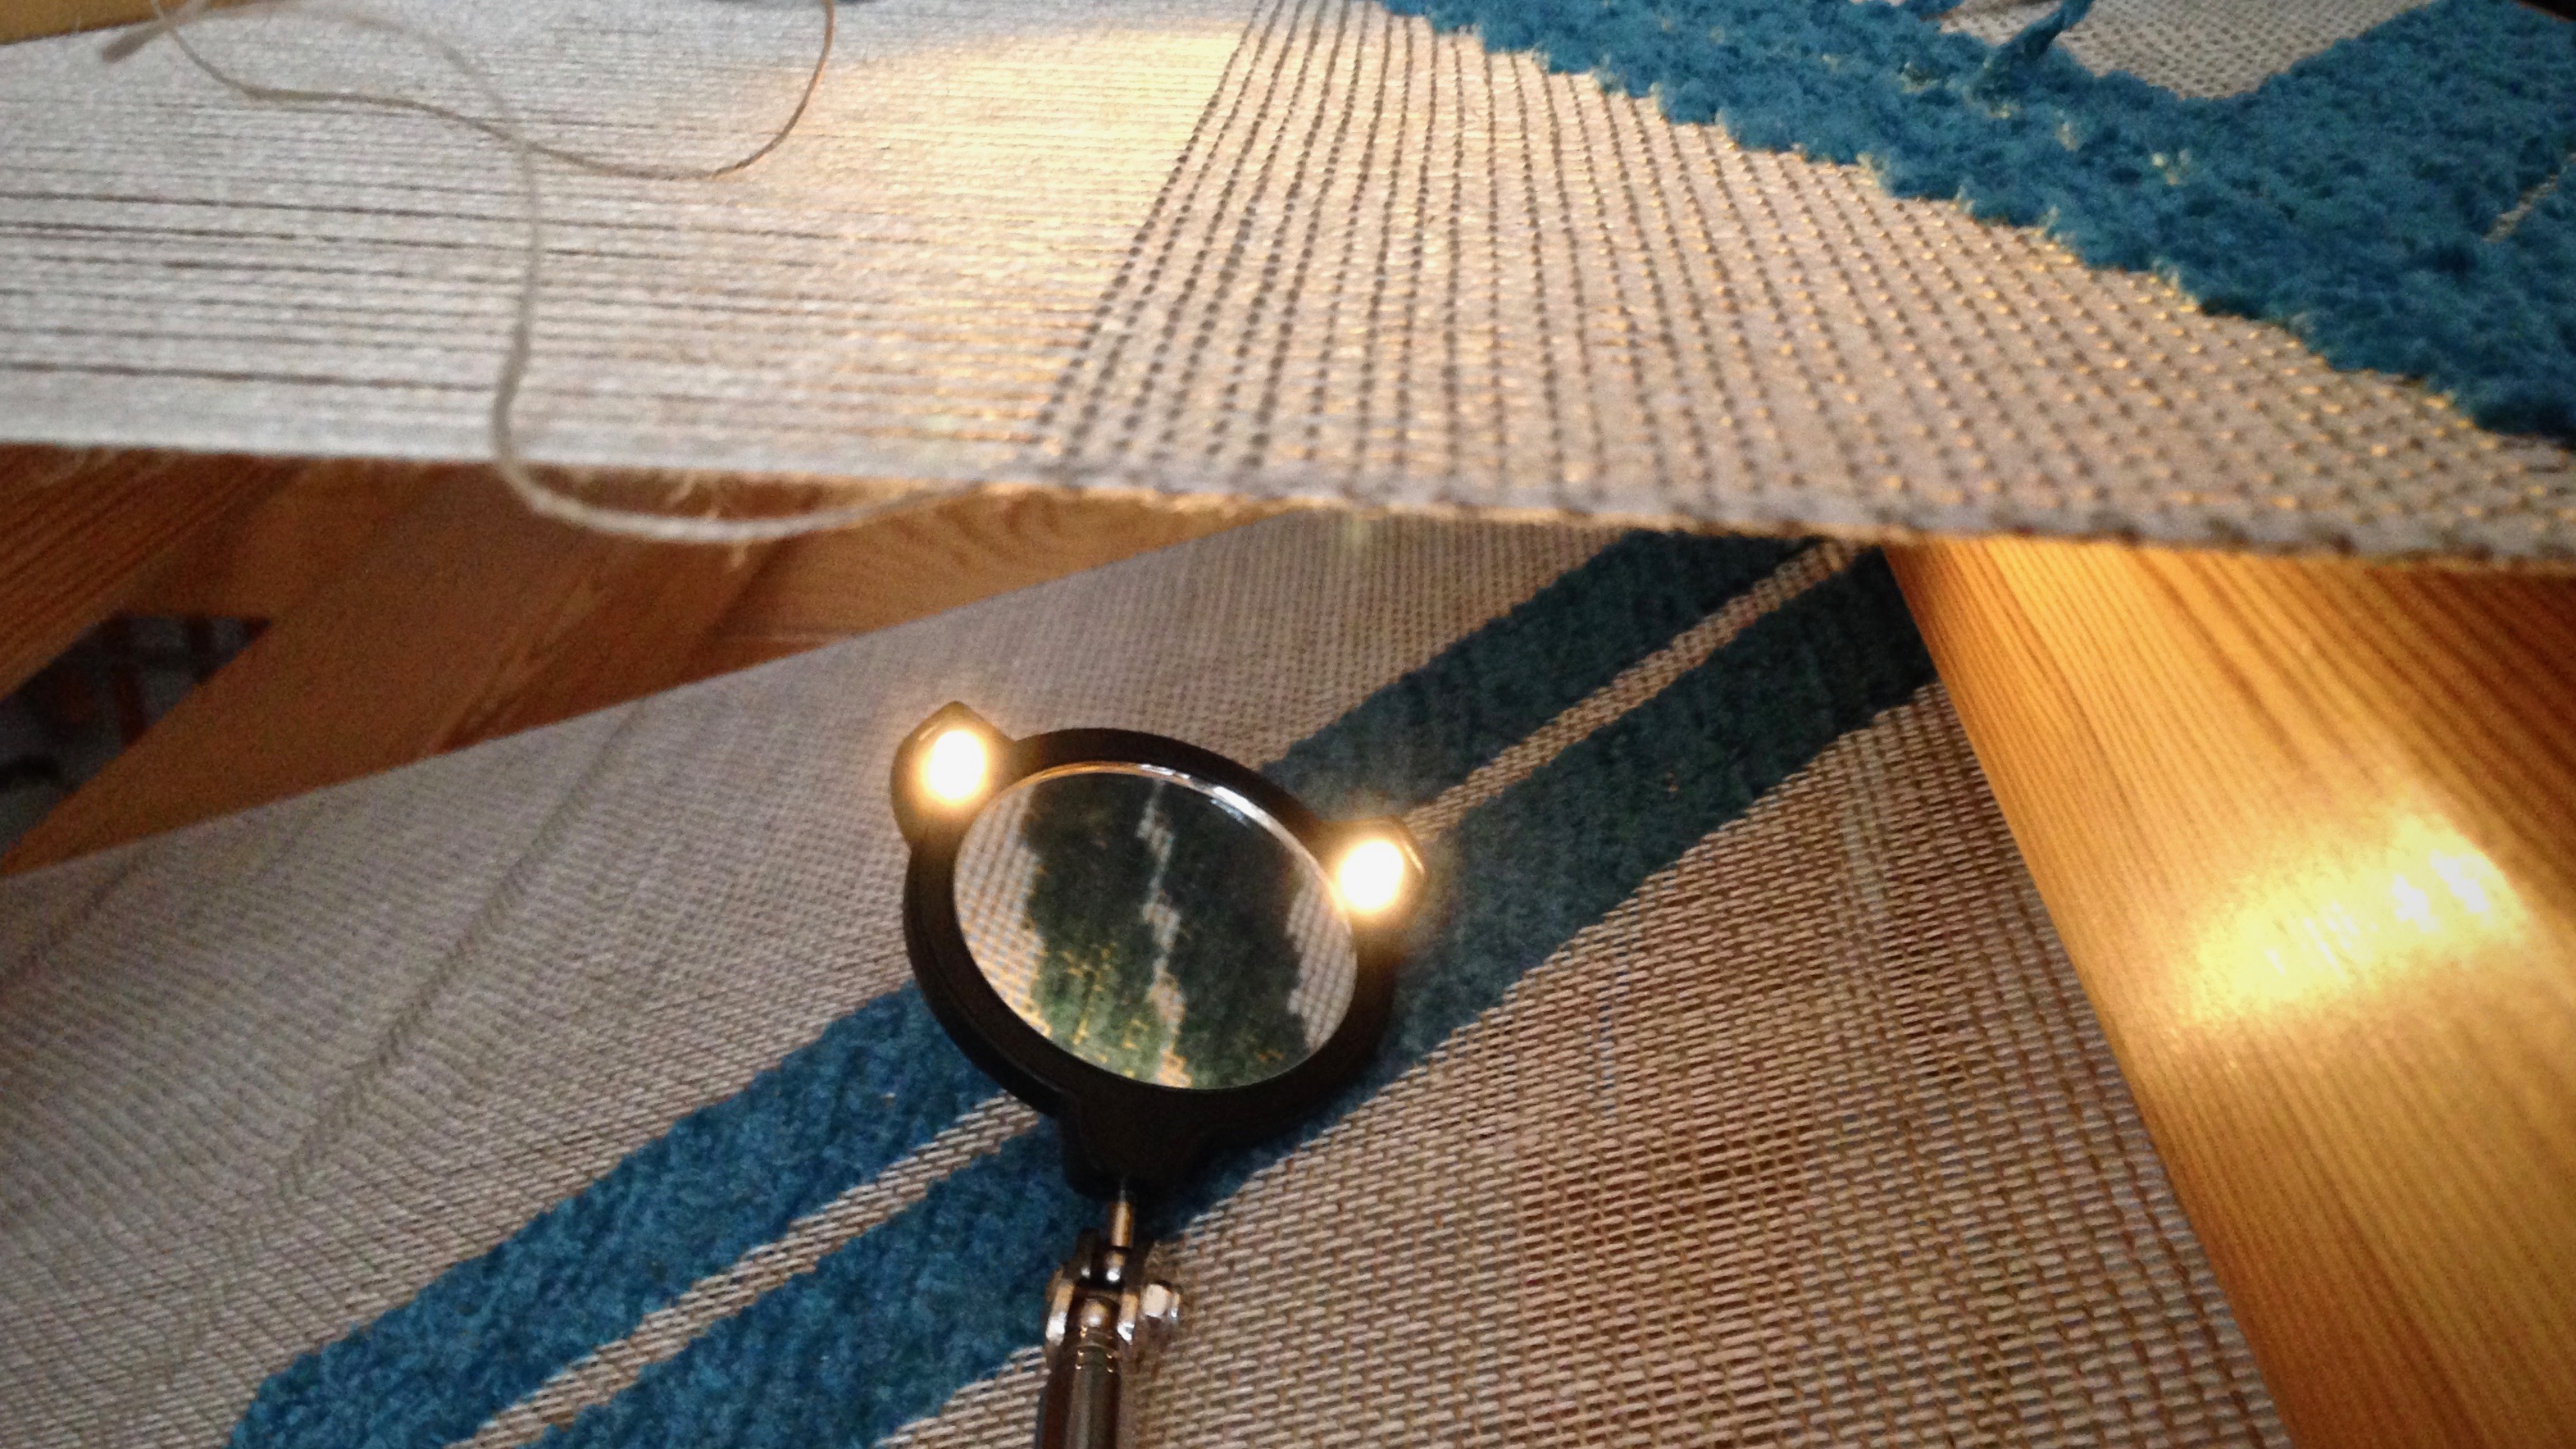
A lighted extended little mirror that I picked up on one of my wanderings at Home Depot while my husband was shopping for tools. A Husky Round Lighted Inspection Mirror, “…for inspection of hidden, unlit areas in applications ranging from industrial maintenance and automotive repair to general homeowner DIY applications.” They forgot to add, “…and for handweaver inspections of the reverse side of the cloth.”
Lighted mirror extends to inspect the underneath side of the woven cloth. The telescoping handle makes it possible to view underneath a wide warp.
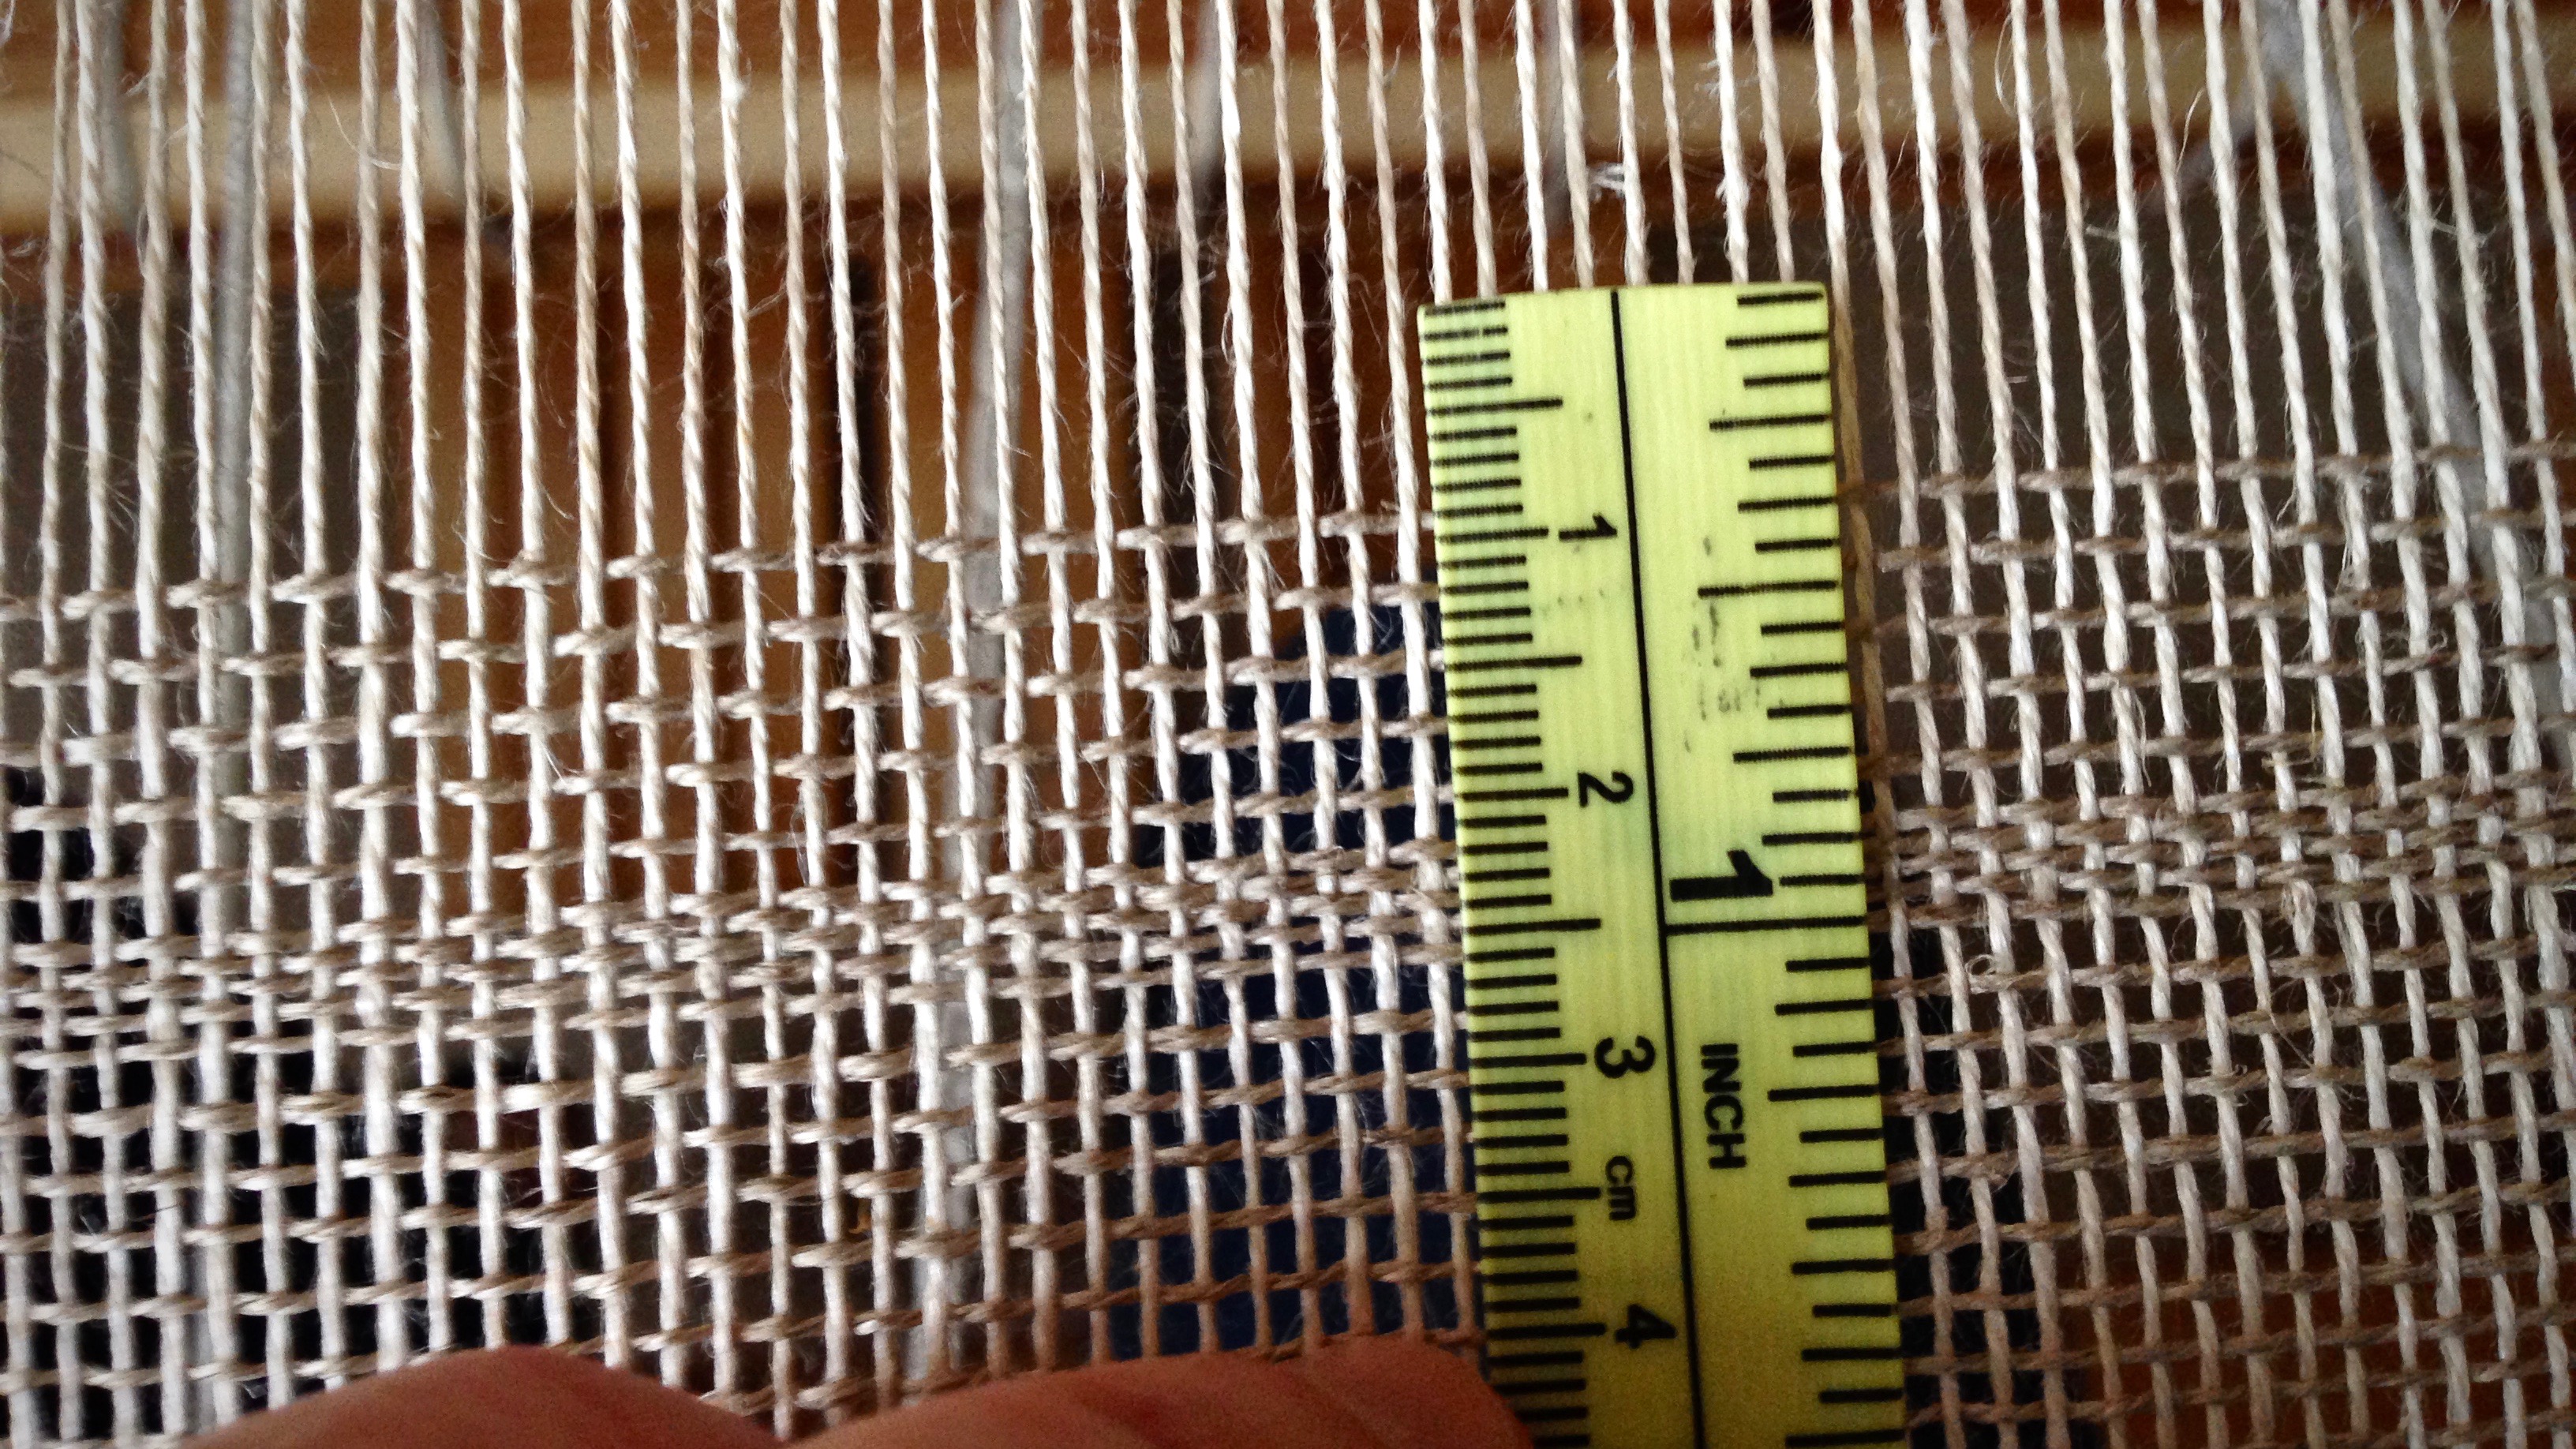
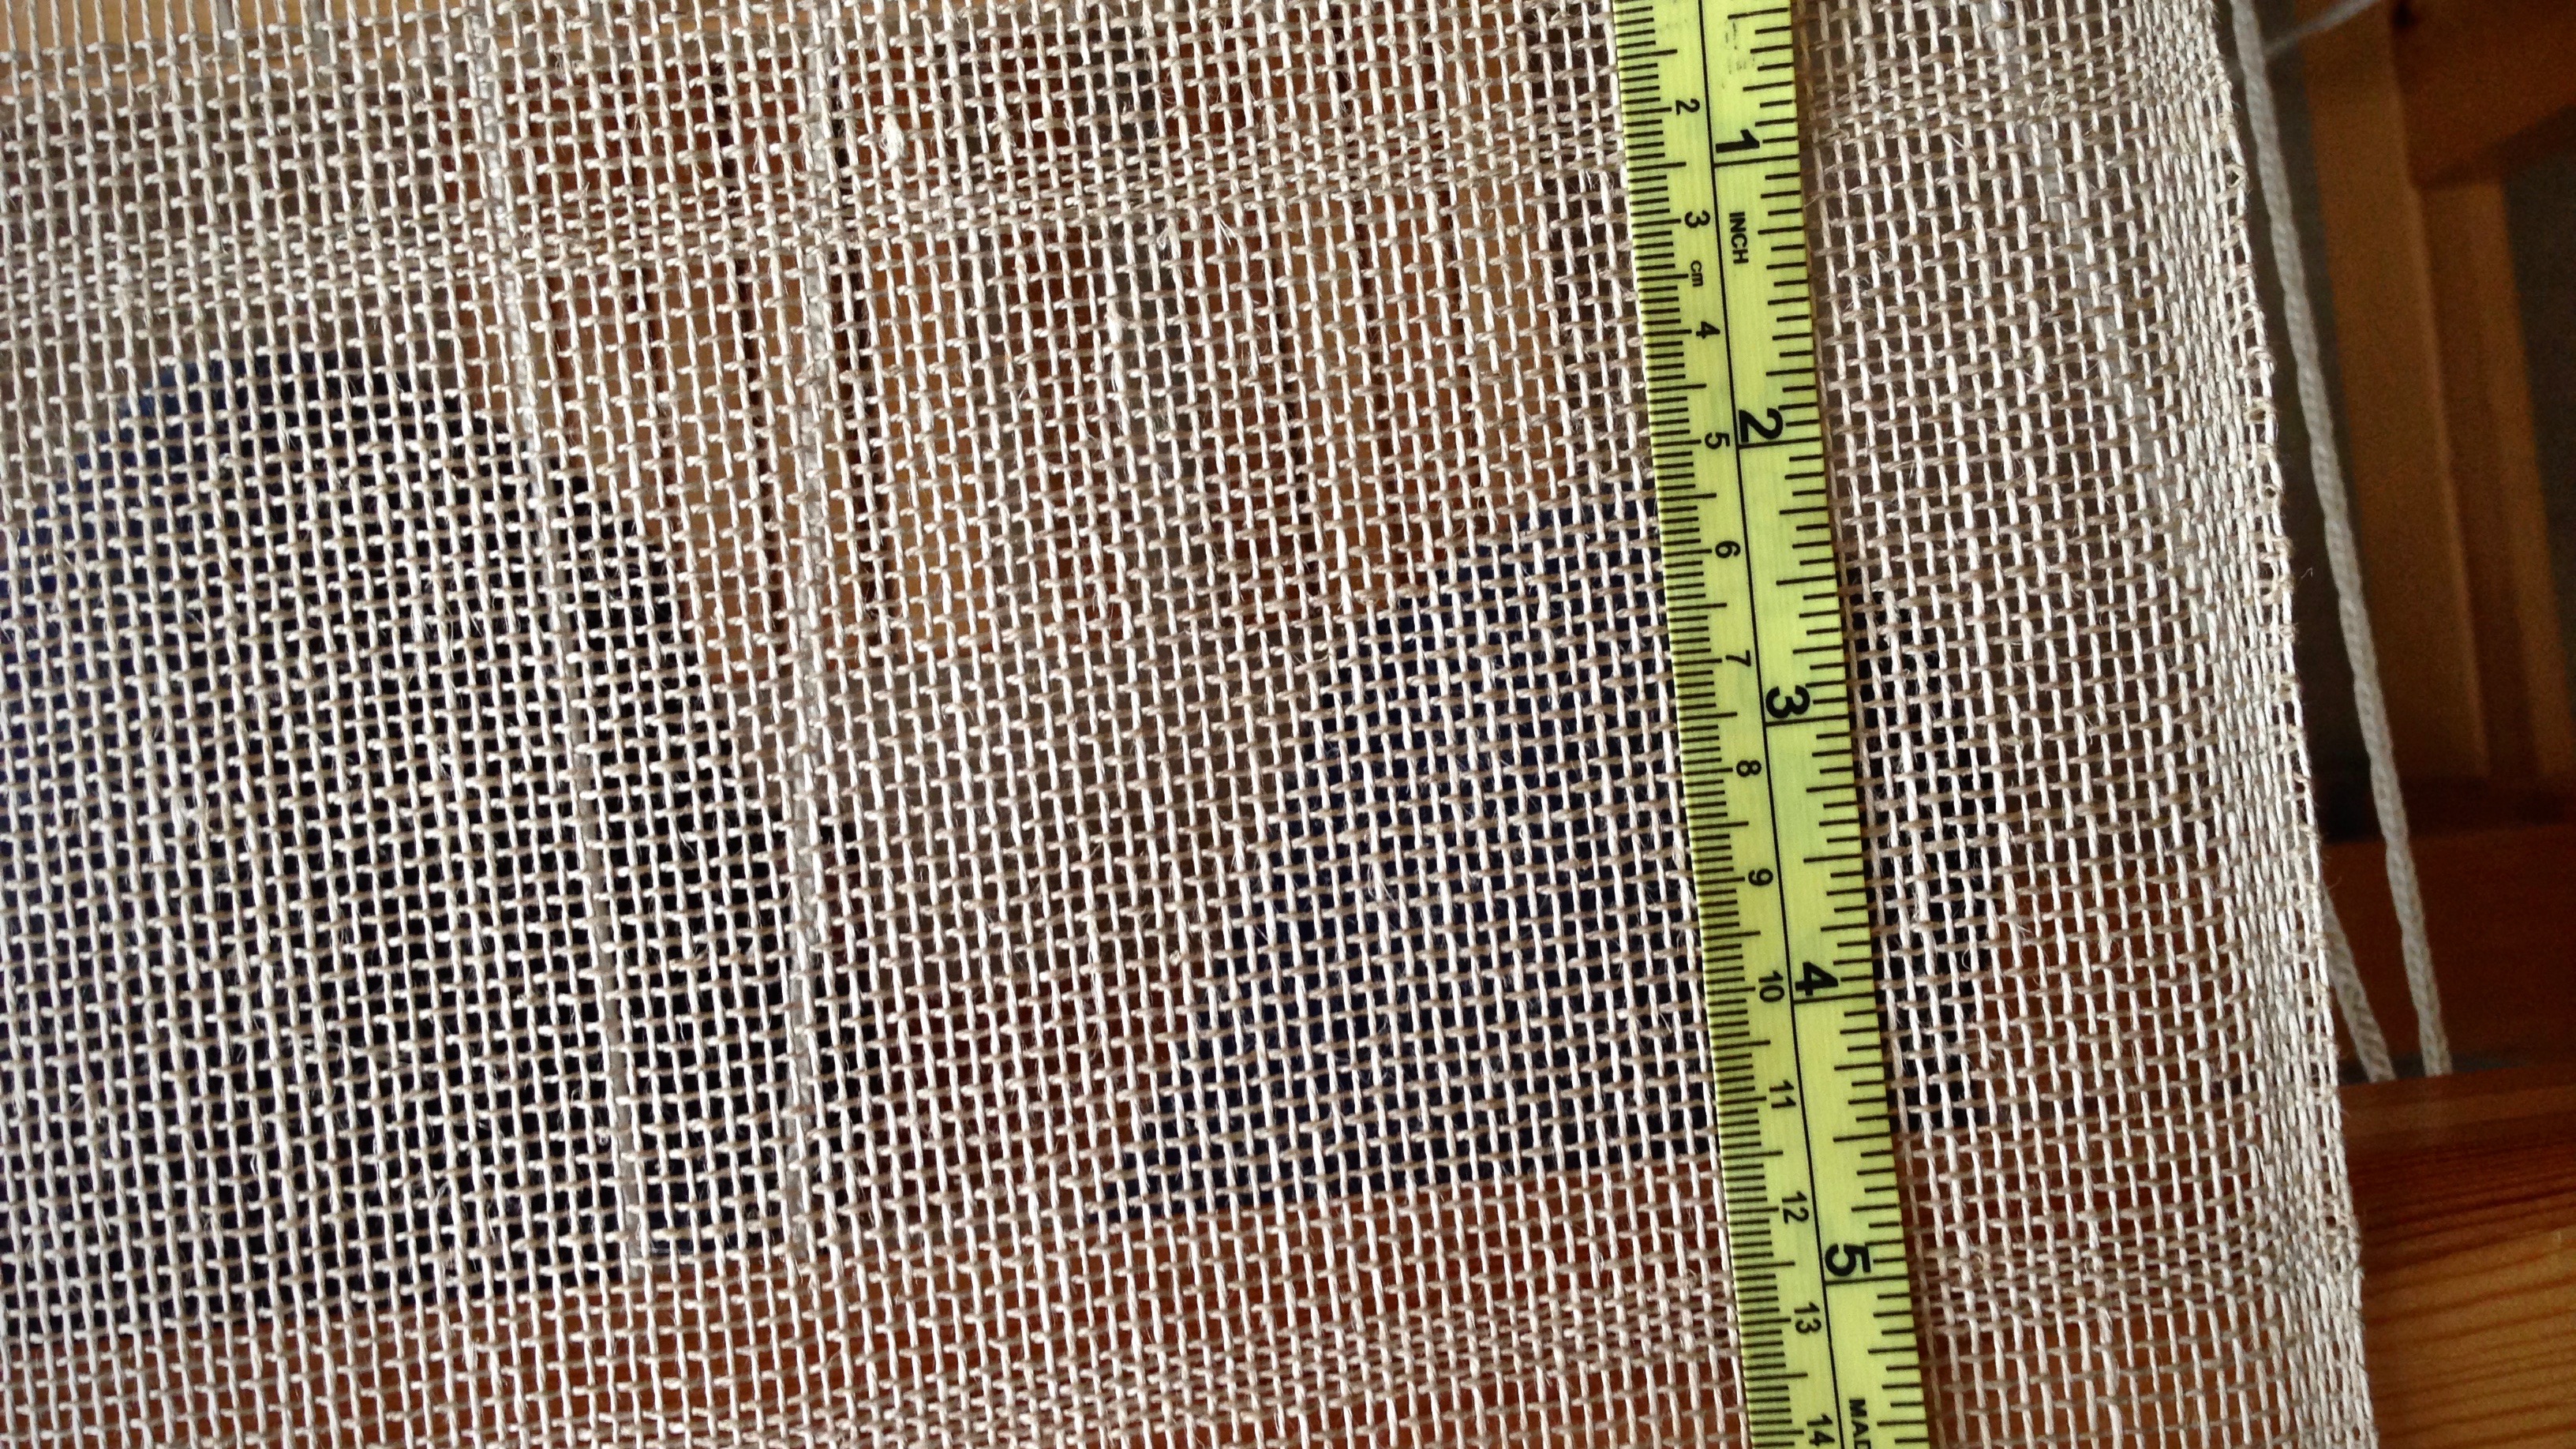
Ten centimeters of plain weave are for the casing at the top of this transparency. My aim is five picks per centimeter. What a challenge! It’s not a good idea to be fussy about it, pulling out and repositioning the weft. Linen can’t take that. So, carefully I go, restraining the beater in my hands, to be as precise as possible. Packing in the weft for a few picks at the beginning and end of the section takes a stronger beat, …with much less effort.
Close to five picks per centimeter! More practice needed.Woven section at the top of the transparency will be folded over and sewn down to make a casing. A rod will be inserted in the casing for hanging the finished transparency. A few tighter-packed picks begin and end the casing section.
Restraint is not easy. The easy path is to do what’s popular, familiar, and people-approved. We falsely think our ease at the moment is the most important thing. Don’t entertain false notions. Walk in the right way, even when it takes restraint. Blessings come to those who avoid the temptation of easier paths. The warp and weft are aligned, imperfectly, as we learn how to restrain the beater.
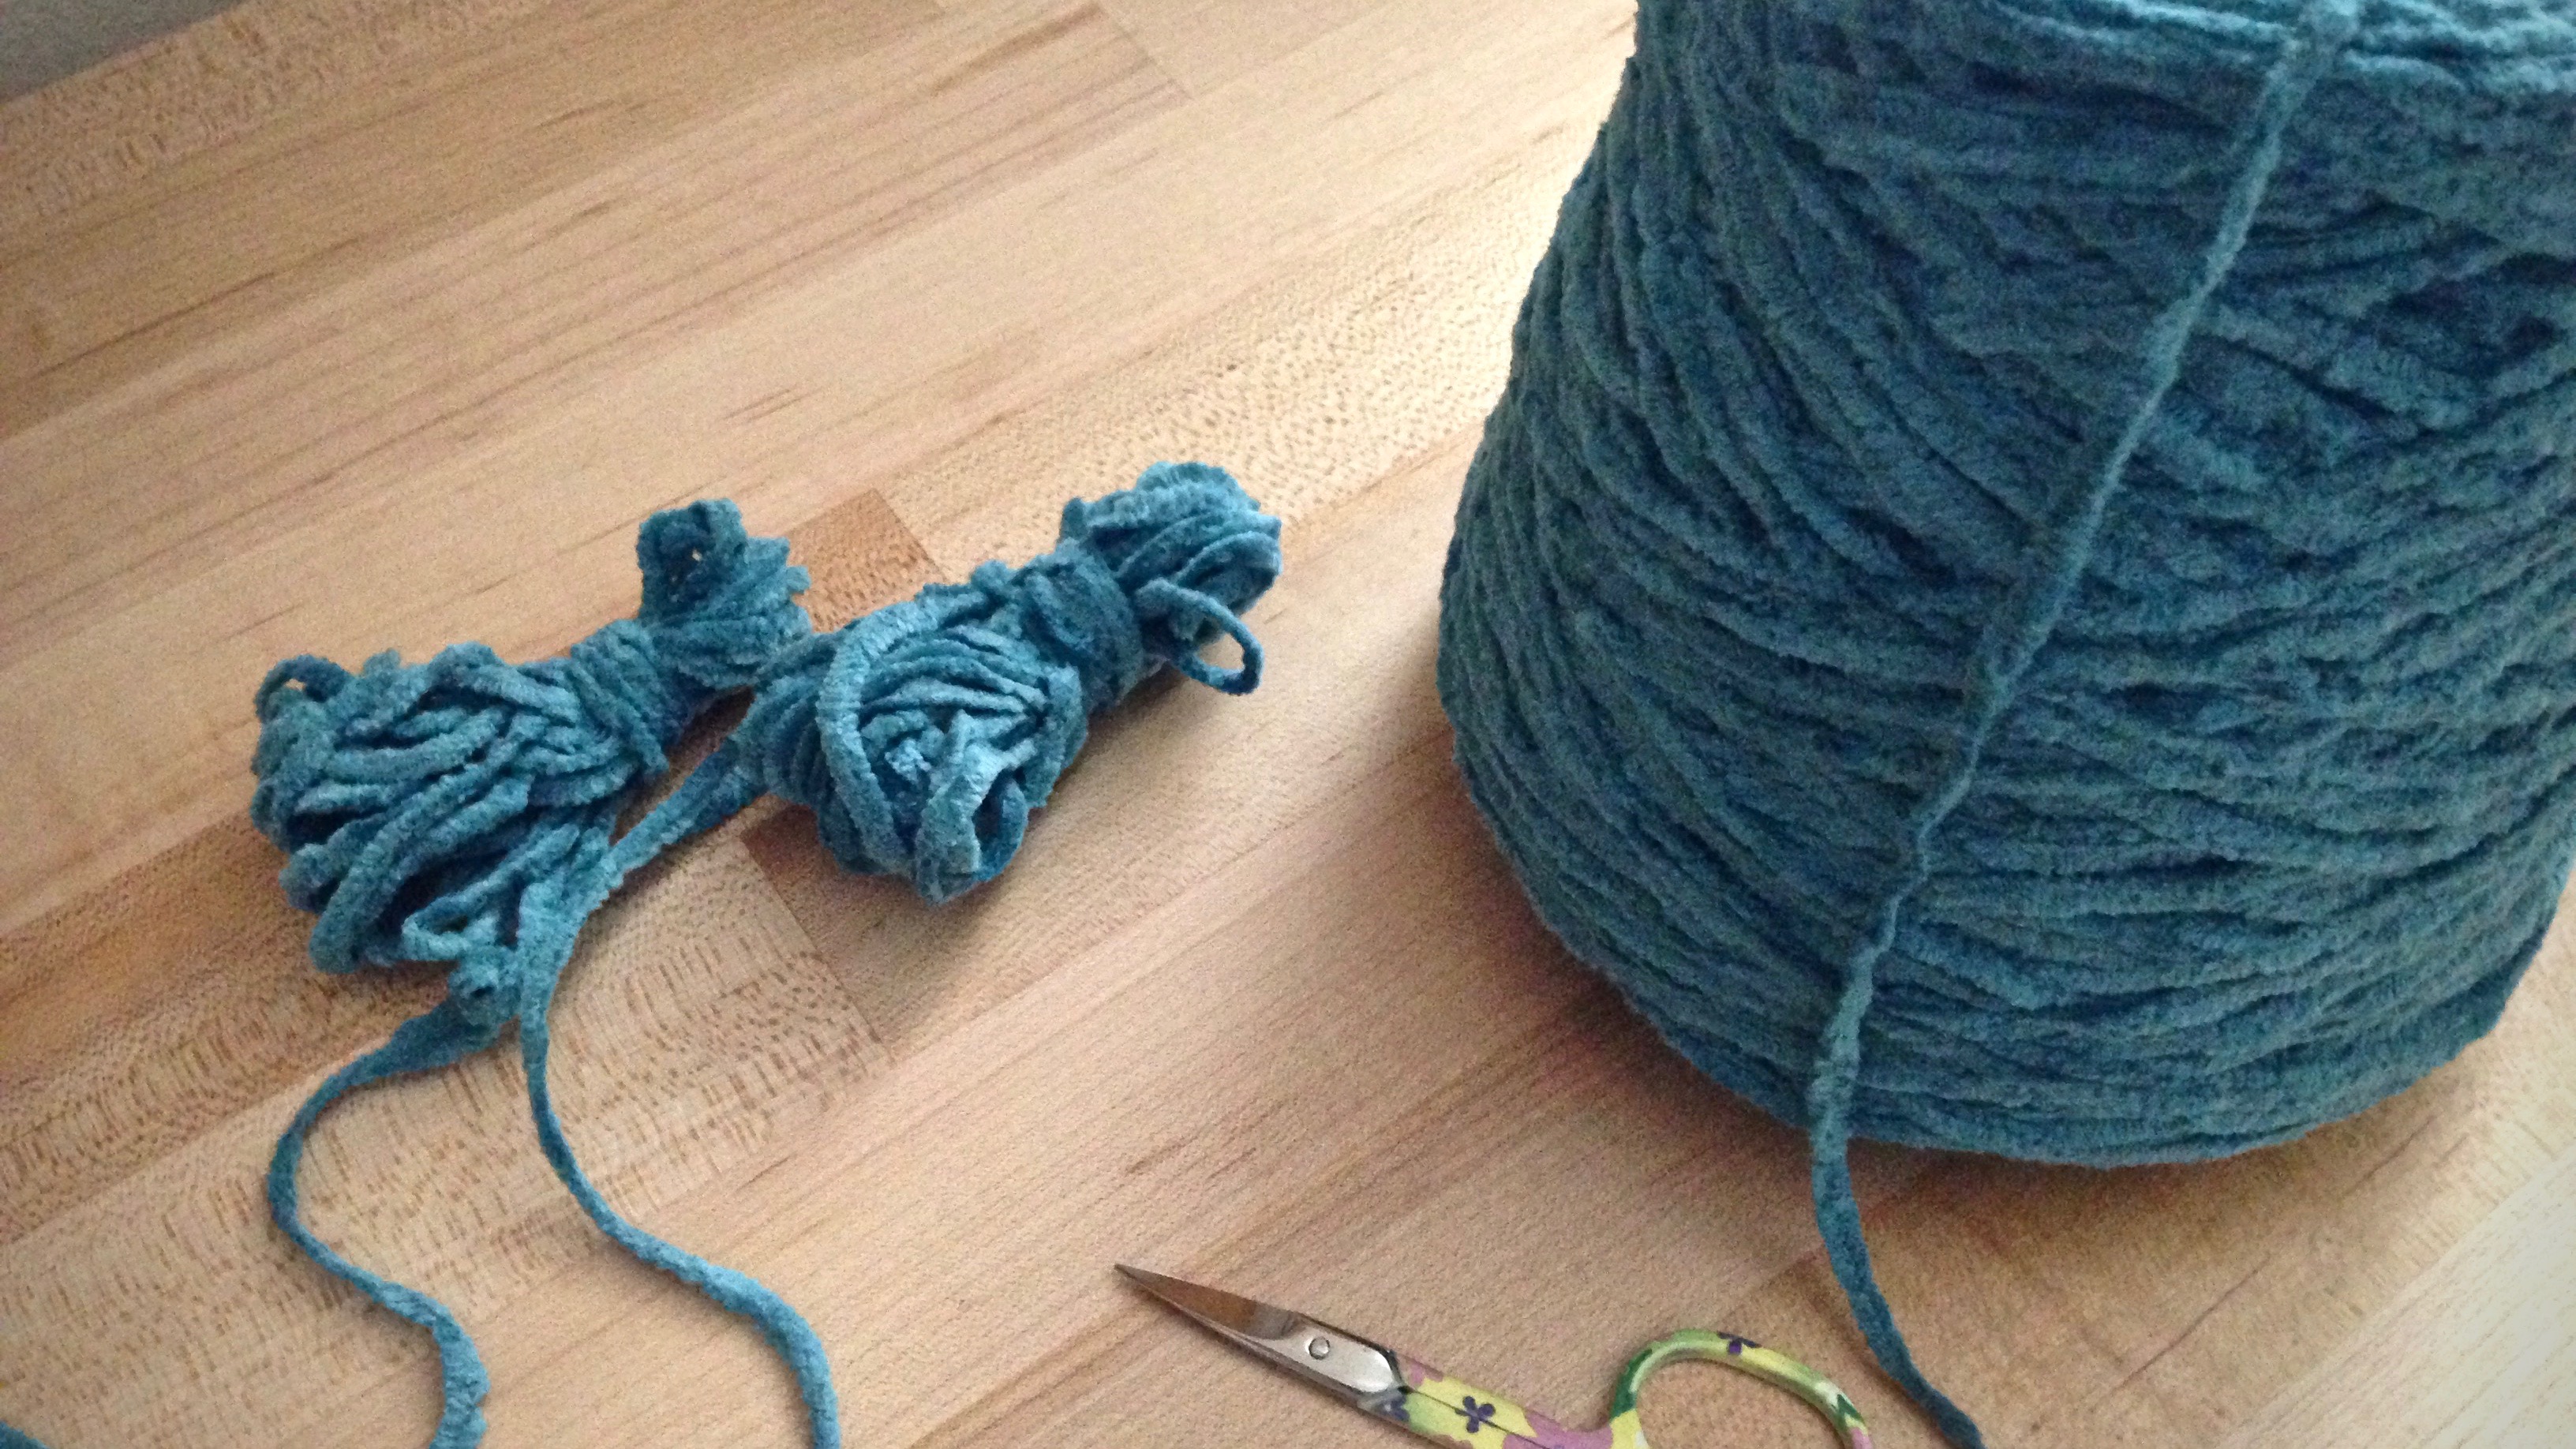
Cotton chenille yarn is wound into butterflies to use as weftinlay.Linen background serves as a transparent backdrop for the inlay pattern.
The linen web becomes a successful backdrop for the chenille inlay. That’s when the purpose for the linen becomes evident. It’s an almost-invisible (transparent) framework for the visible inlay pattern. The hard work of restraint is at its best, like this, when it draws little attention to itself.