New Life for an Old Rigid Heddle Loom Blanket

My weaving interest started in 1982 when I happened across a rigid heddle loom class by Lynn Tedder at Johnson Atelier in Tulsa, Oklahoma. I acquired a 32-inch Beka Rigid Heddle Loom and began weaving during snippets of time as I was being a full-time mommy to one, two, and then three little ones. One of my very first projects on that simple loom was a wool color gamp sampler. I wove full width for a length equal to two panels that I then hand-stitched together to make a small blanket. That little blanket got a lot of use and wear, and at some point I packed it away because some of the edges had become a little ragged over time.

In 2019 I finished one of my first warps on the drawloom–Tuna wool fabric in which I wove designs for a simple vest I would make for myself. I created the pattern for the vest, and after doing several muslins, I wanted to do a mockup in similar weight to the wool fabric from the drawloom. I dug out that old rigid heddle loom blanket! Perfect for this assignment as a mockup.
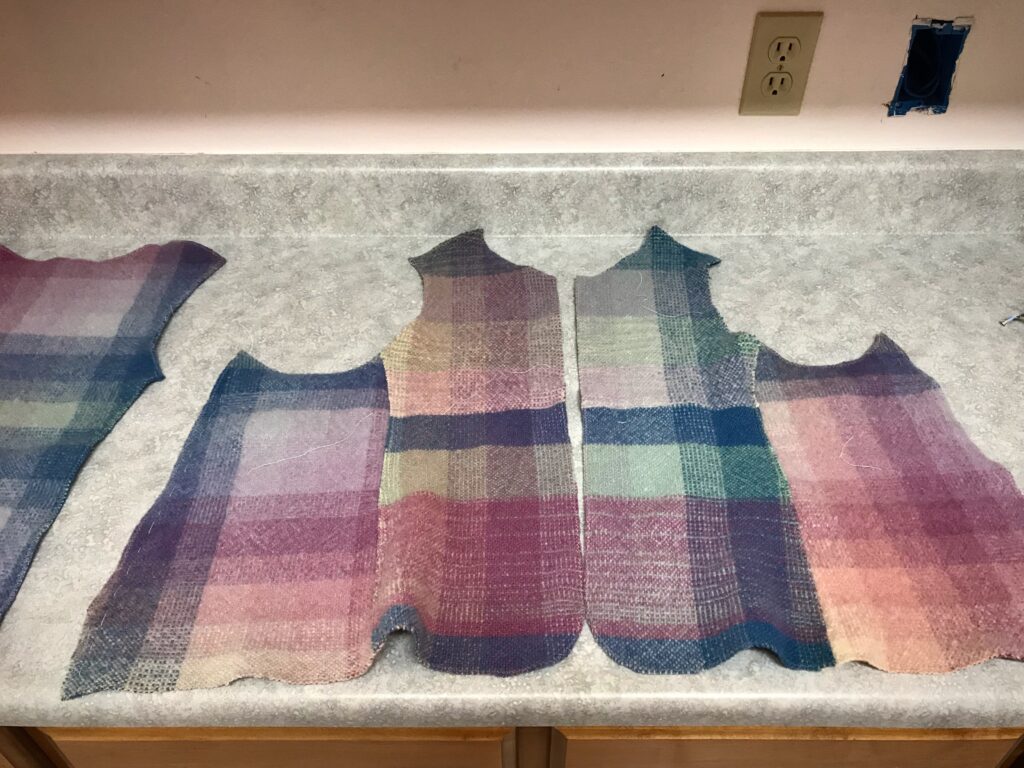
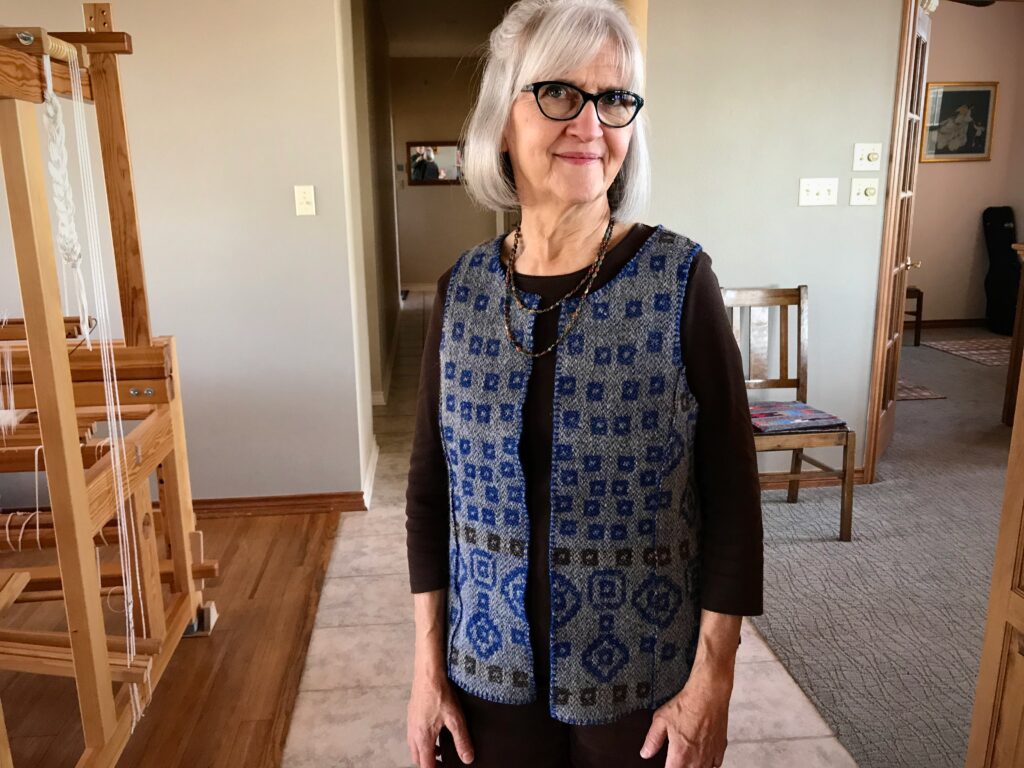
I made a mockup for the drawloom vest. I cut the mockup vest from a plain weave color gamp sampler blanket I wove on my 32″ Beka rigid heddle loom in 1982. The blanket was made from two panels hand-stitched together down the middle.
Wool vest made in January 2020 from fabric woven on the drawloom.

Why not make that color gamp mockup into a wearable vest on its own? That is what I have finished this week. The pictures that follow tell the story.
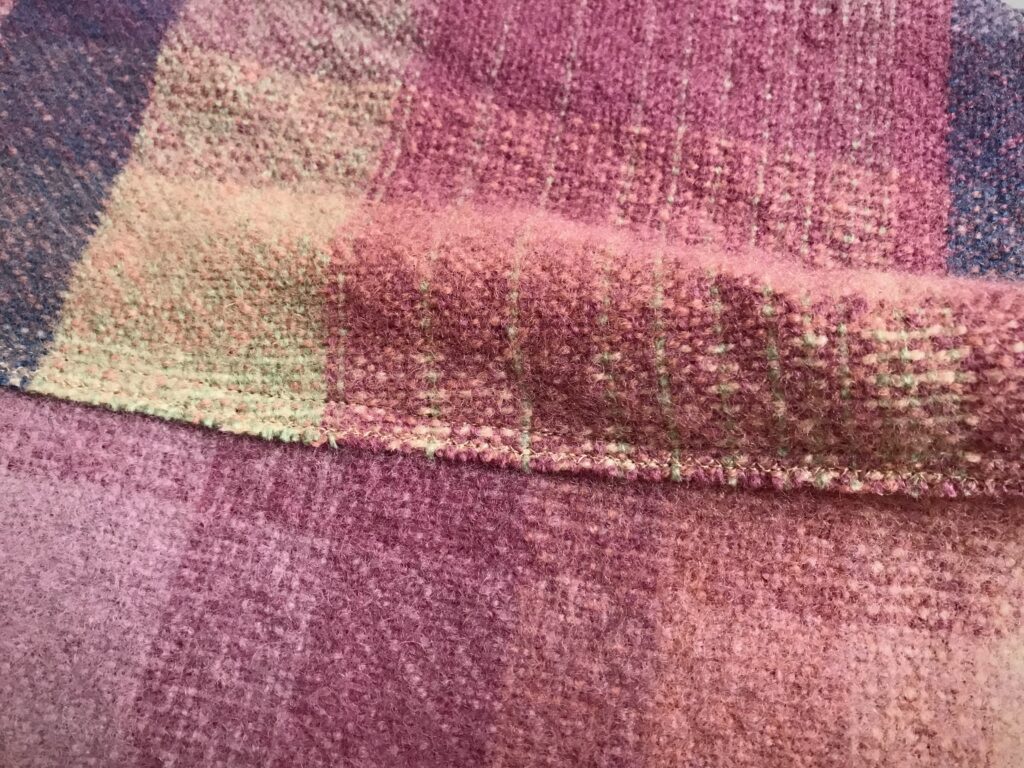
I made the mockup vest with overlapped seams.
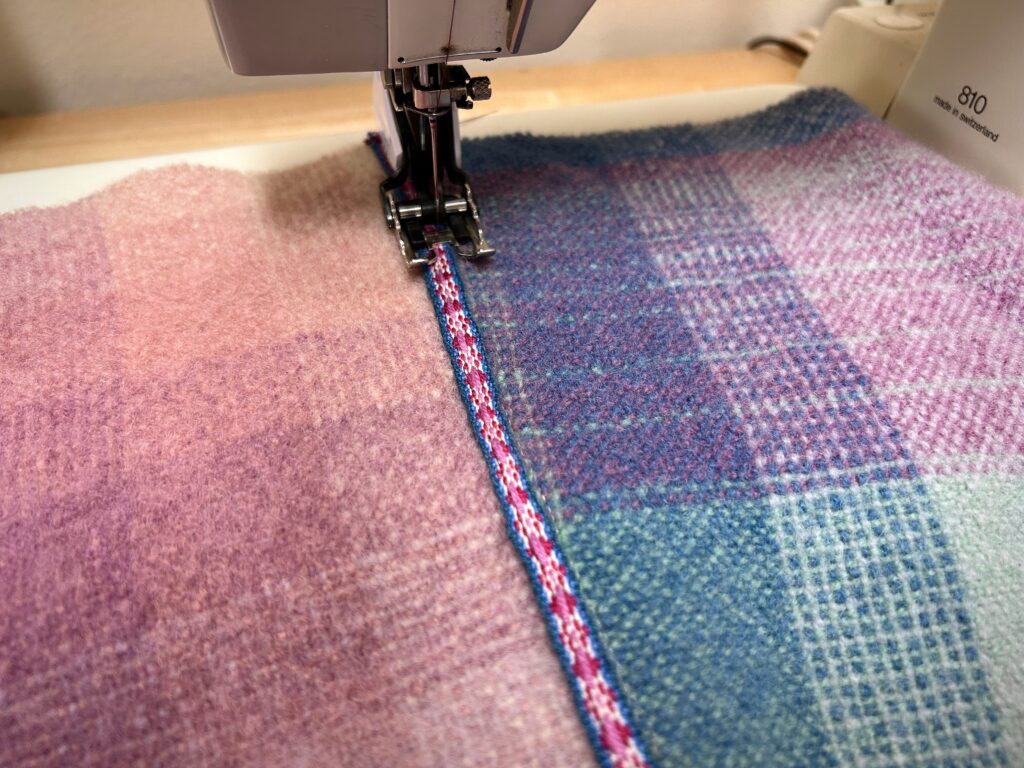
I am using handwoven bands to cover the seams on the vest. This pretty band was woven a couple years ago on a small band heddle that Steve made for me.
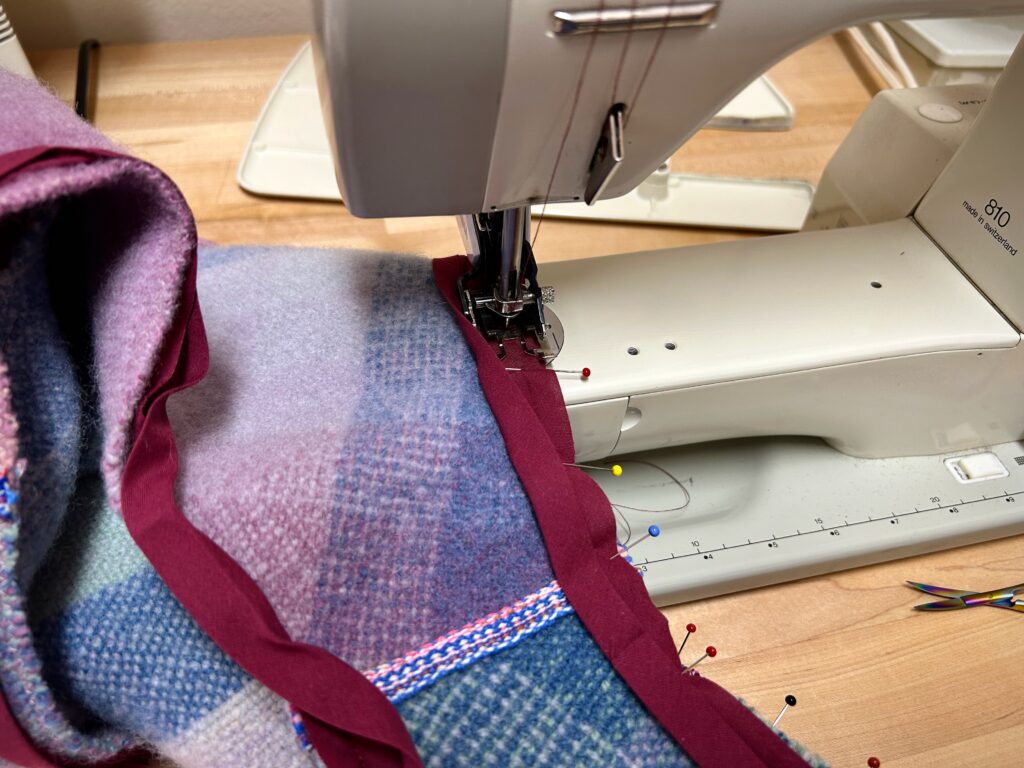
Double fold bias tape covers all the edges of the vest. First I stitch the tape to the edge of the vest, right sides together. You can see another handwoven band that I am using to cover the shoulder seams.
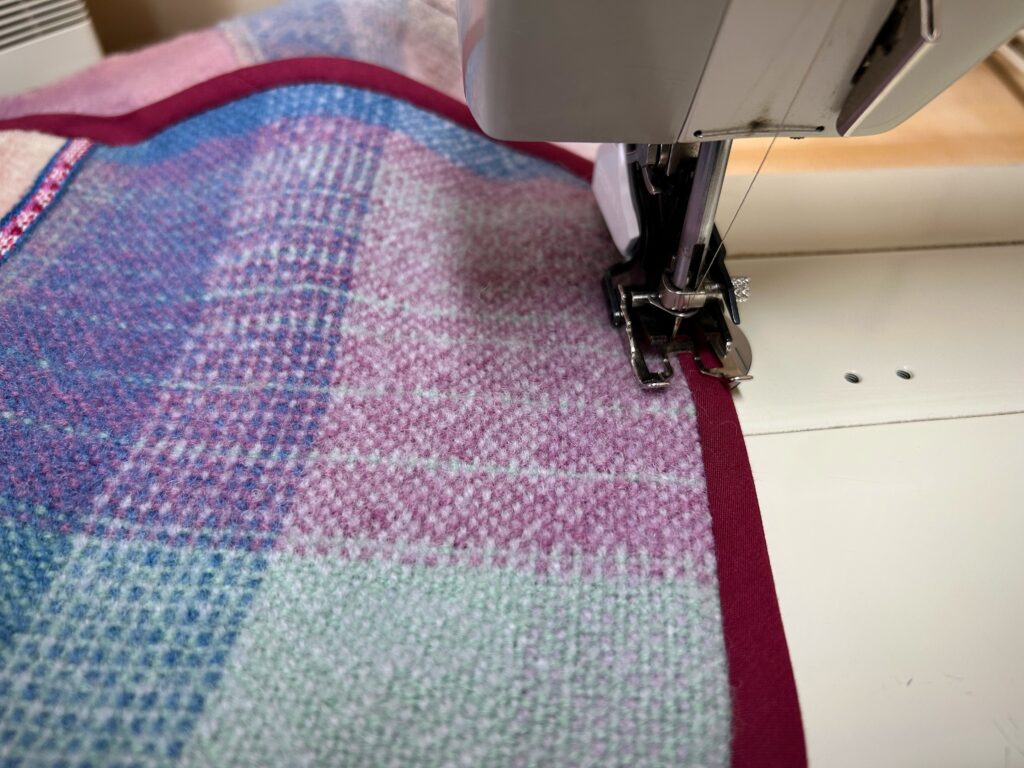
Next, I fold the bias tape around the edge and to the inside, and “stitch in the ditch” to catch the edge of the bias tape on the inside of the vest.
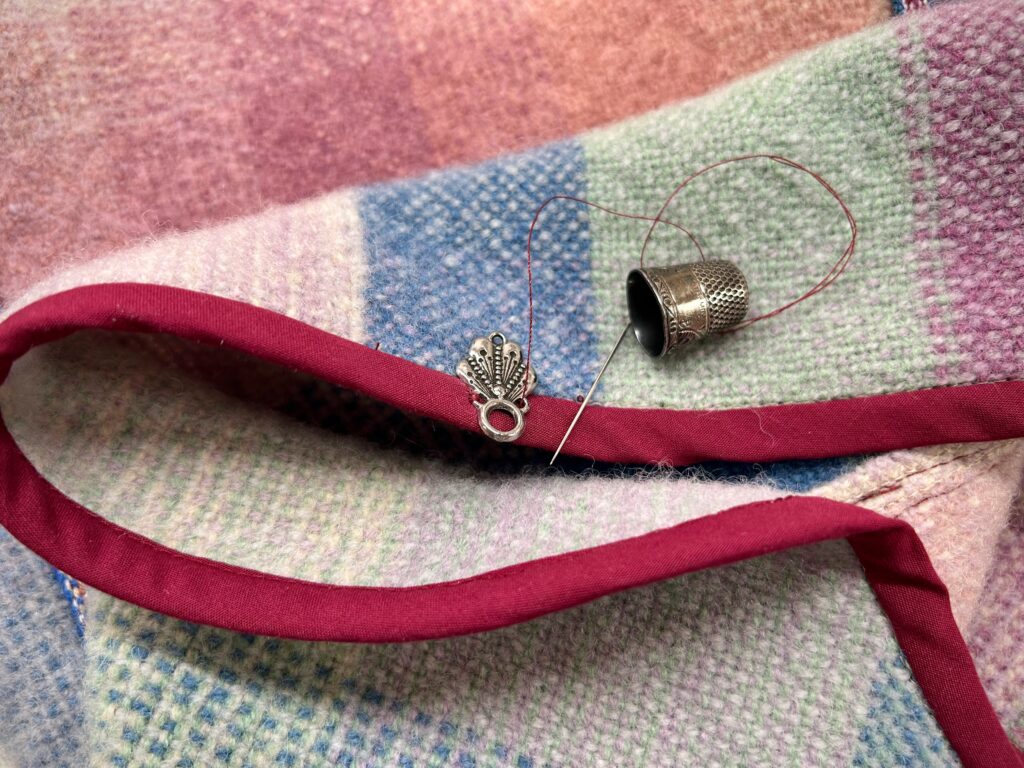
I found this two-part metal closure in my box of sewing odds and ends. It’s perfect for this vest. The thimble is one my grandmother used in her many hand-sewing projects.
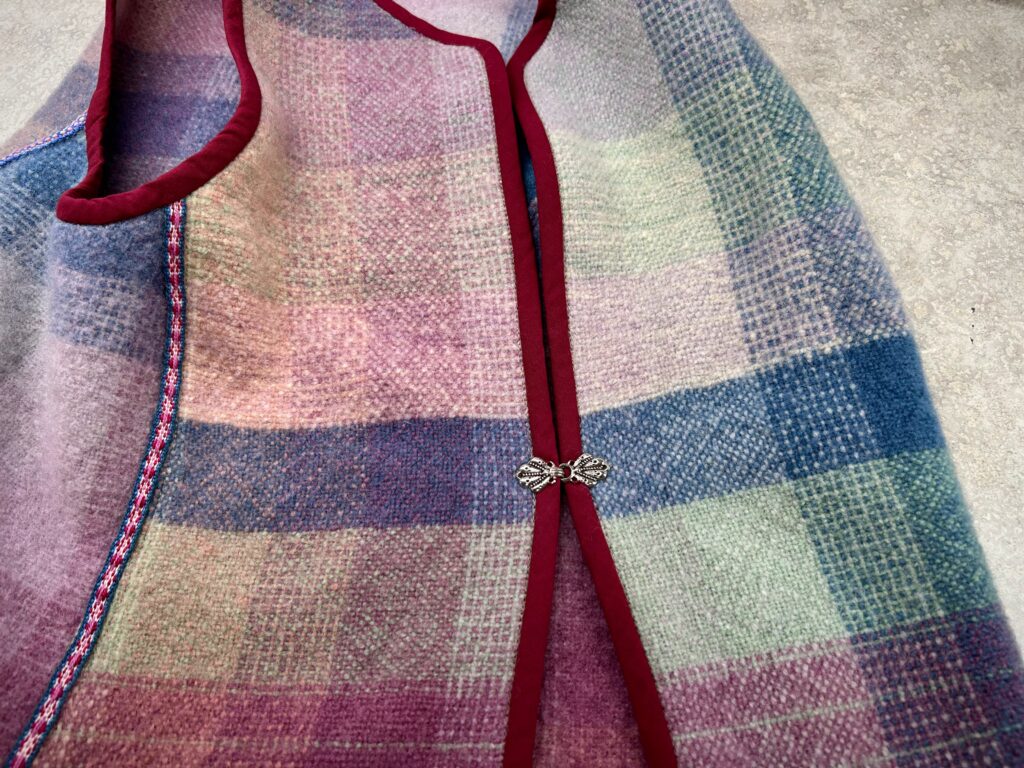
Simple closure for a simple vest.
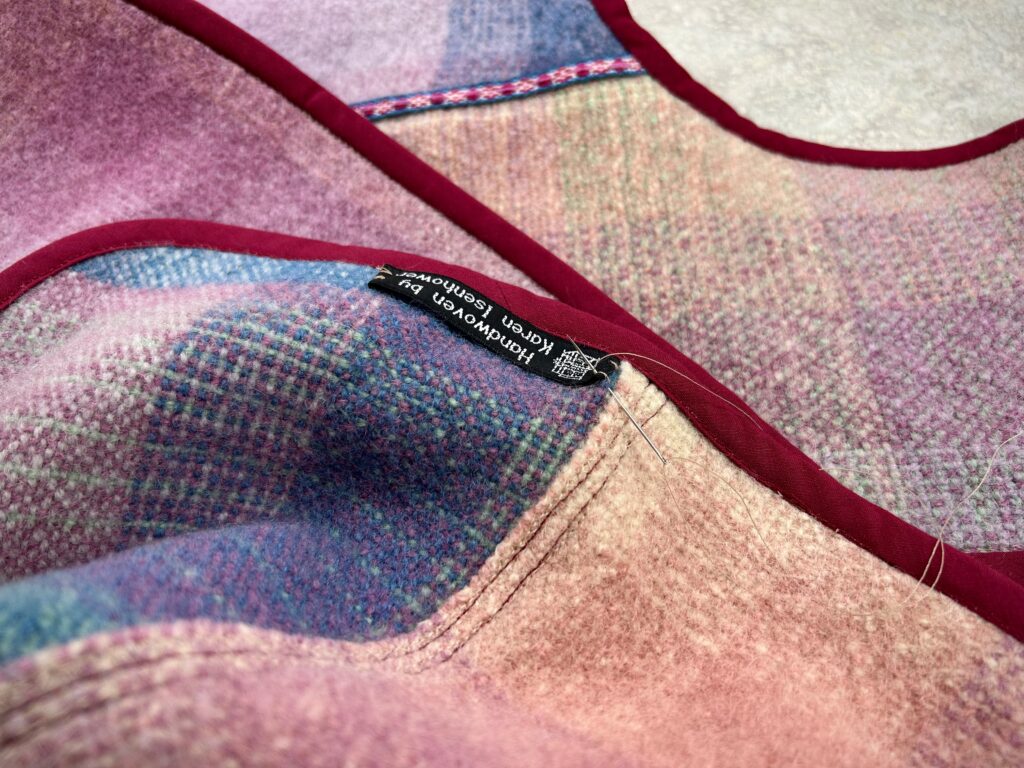
Sewing my handwoven label on the lower edge of the inside is the finishing touch.
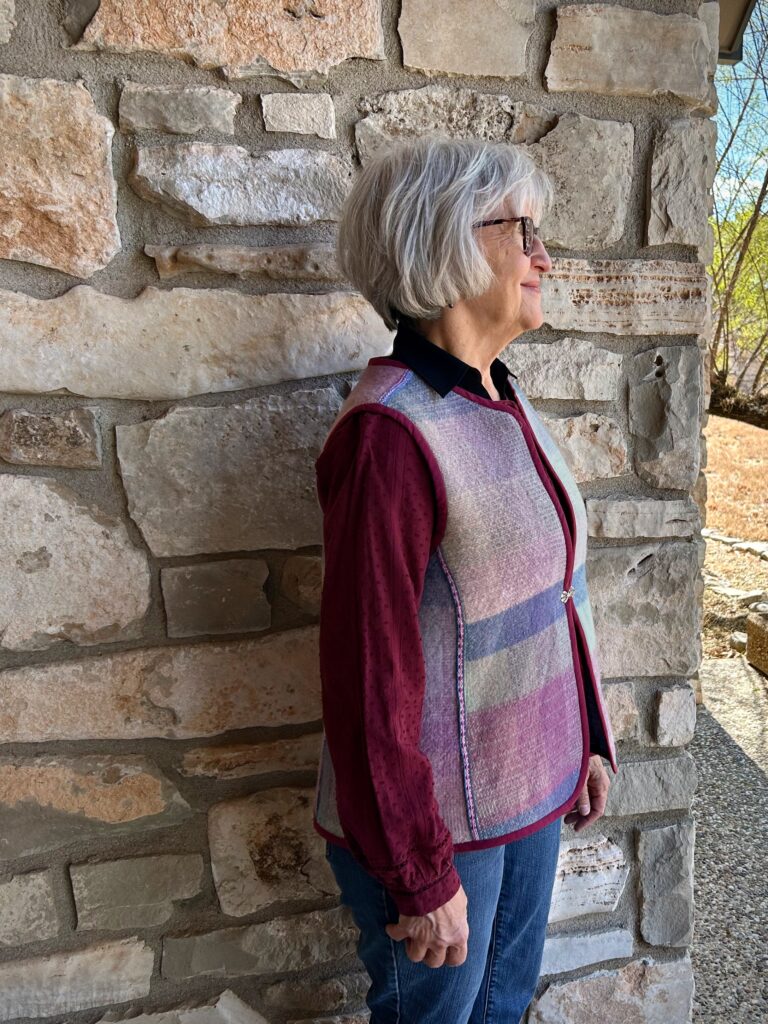
Rigid heddle blanket, now a wearable vest!

When I think about how the Lord allowed me to discover the joy of weaving on a simple little frame loom… And how He has allowed me to enjoy growing in these skills, and how I get to have the pleasure of weaving on a not-so-simple large drawloom… It reminds me of Psalm 16:11 “You reveal the path of life to me; in Your presence is abundant joy; at Your right hand are eternal pleasures.”
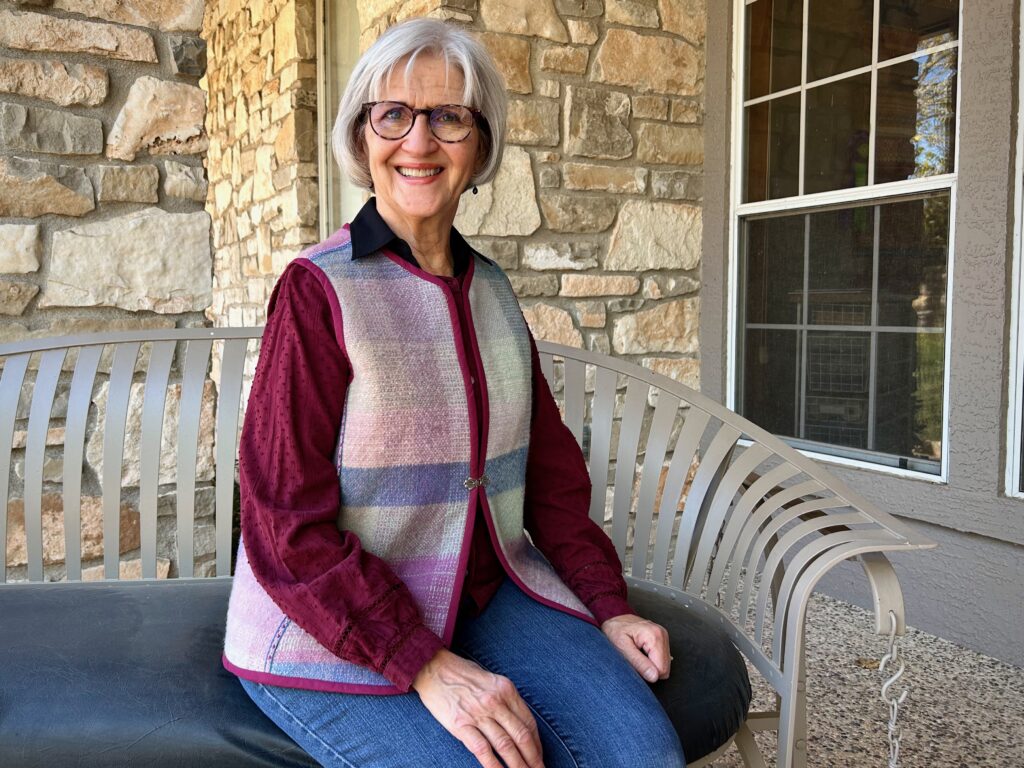
Happy to wear a remnant of my rigid heddle loom days!

Thanksgiving: Giving thanks to the Lord for allowing us to know the joy of walking in His path of life.

Happy Thanks Giving, Karen

Daily Tapestry Weaving

I planned a small tapestry project to take with me on our travels to Grand Canyon North Rim last month. I was rushed in the planning of the cartoon and in the selection of the yarn colors. Sitting by our travel trailer at the campground, with the rim of Grand Canyon in view, I had an inspiring environment for weaving.

After returning home, I could see changes I’d like to make in the cartoon, and some adjustments needed in the hues and values of my yarn selection. The cartoon is a photo of a Grand Canyon North Rim sunset from our visit there two years ago. I reworked the cartoon in Photoshop and edited my yarn selection. Then I undid everything that I had already woven. I’m starting over and it is looking better already!

Every evening, now, I bring my Freja Tapestry Frame to our small breakfast table in the kitchen and weave for a little while. Steve made a holder for me to hang the tapestry frame on a wall in the study. I take a picture every morning. I will end up with a series of photos that show how the tapestry grows, row by row, over time. This daily tapestry weaving gives me a constant reminder of how beautifully creative the Creator of our universe is, and how His planning is never rushed, nor His selection of colors short sighted. His work is perfect from the start.

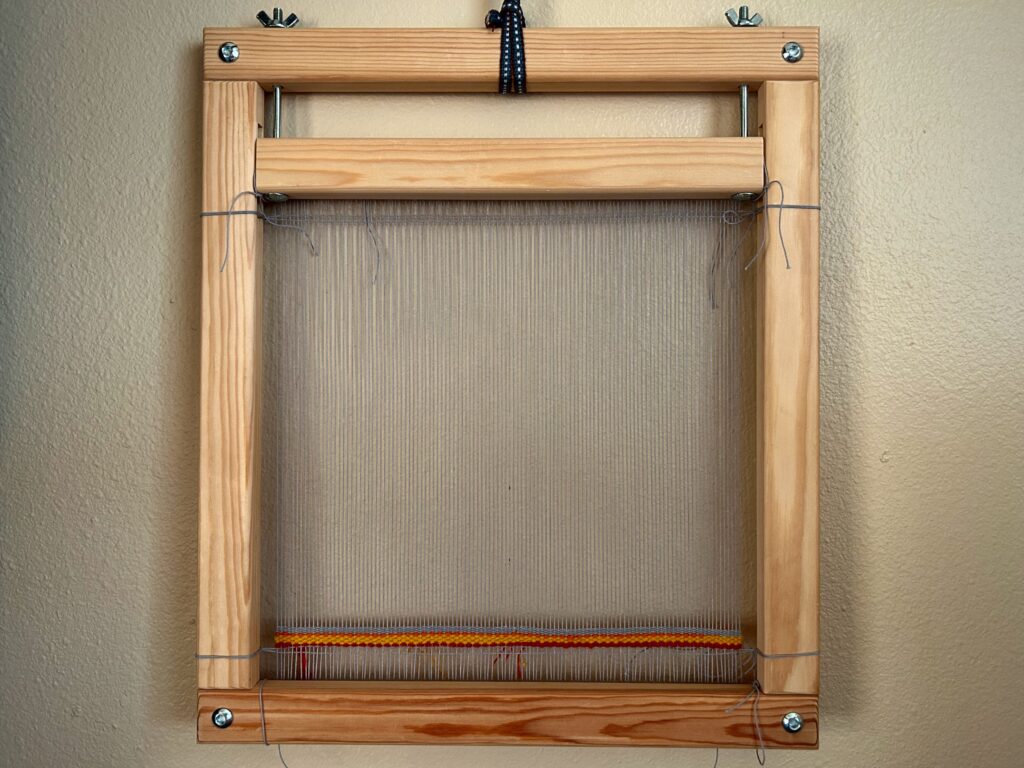
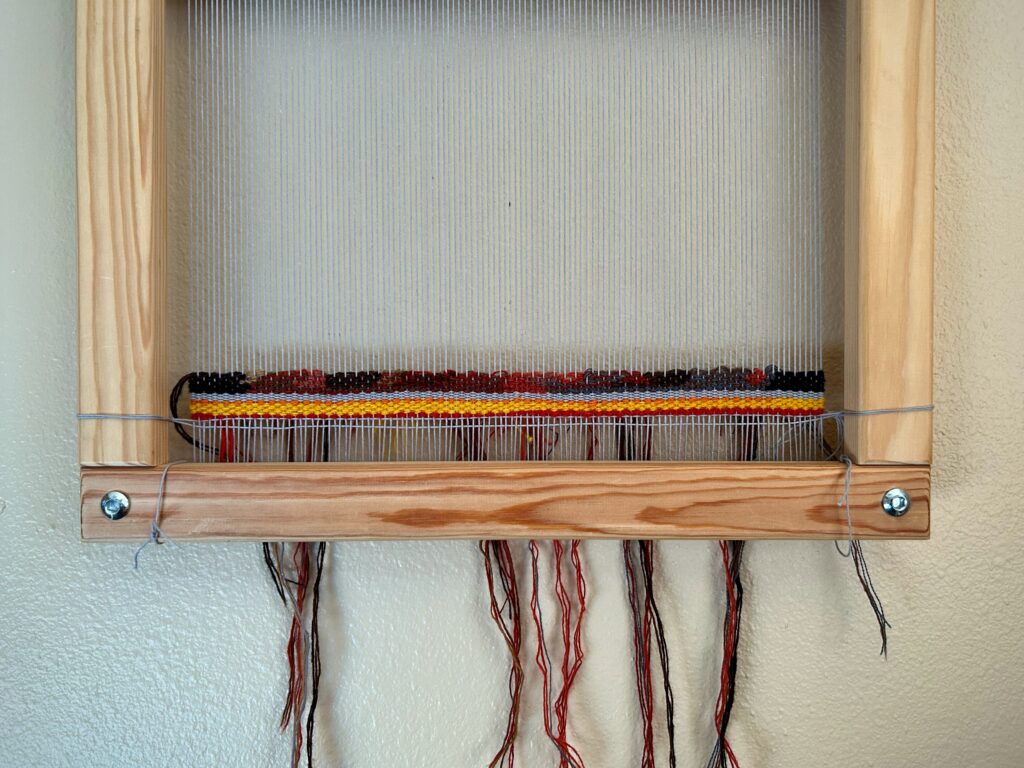
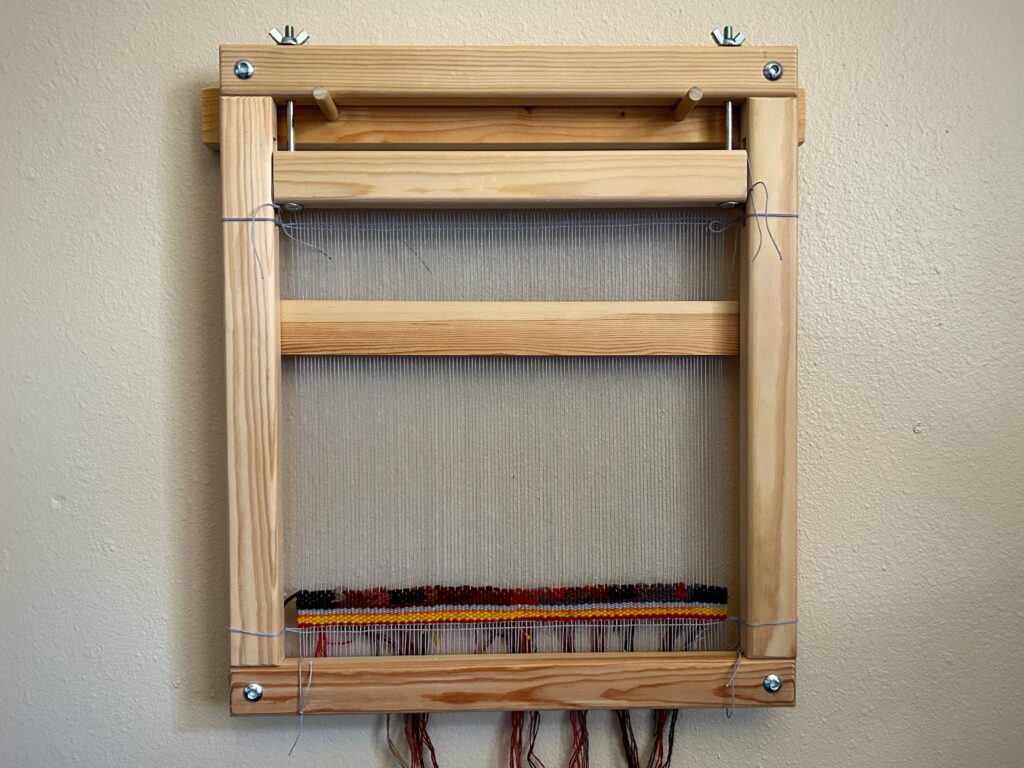
First, we found a place to hang this Freja Tapestry frame on the wall. Bright yarn is the scrap yarn for beginning to space the warp. Six rows of 12/6 cotton warp thread finish the job of spreading the warp evenly. I also added two quick rows at the top to help keep uniform spacing from bottom to top of the warp.
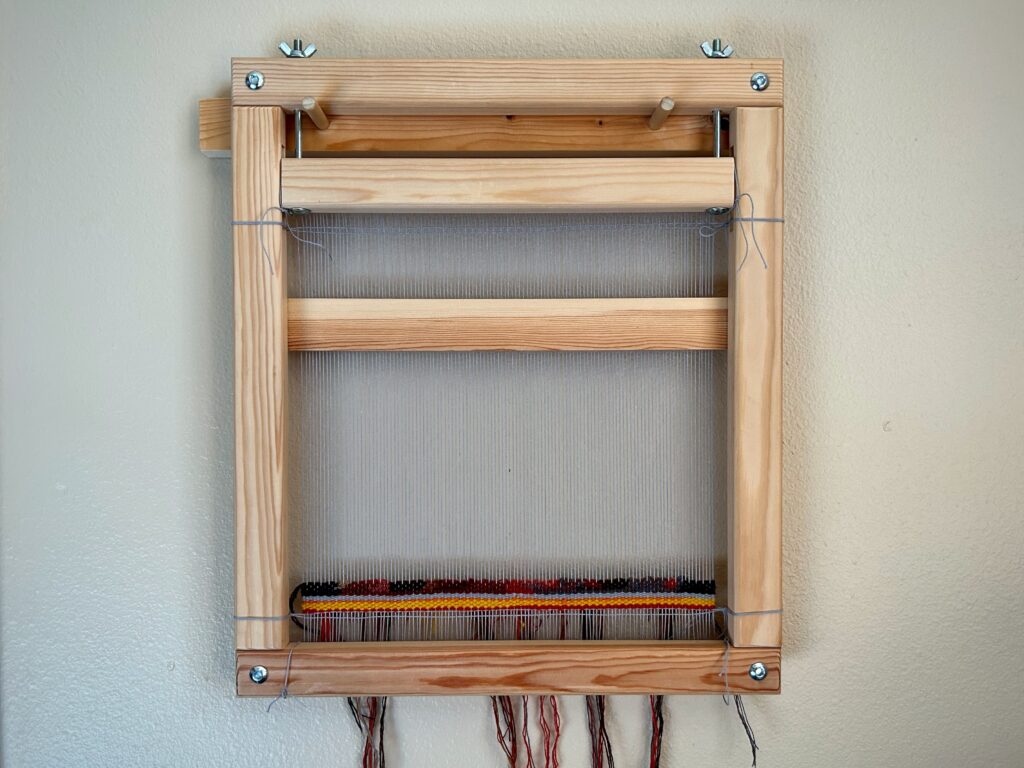
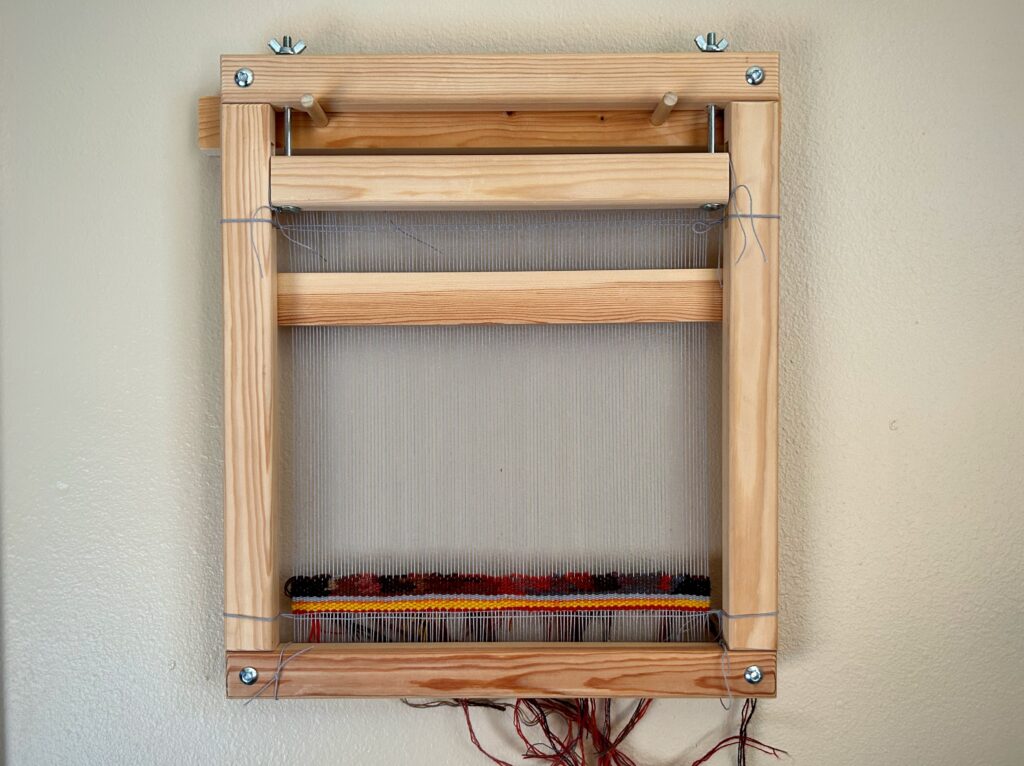
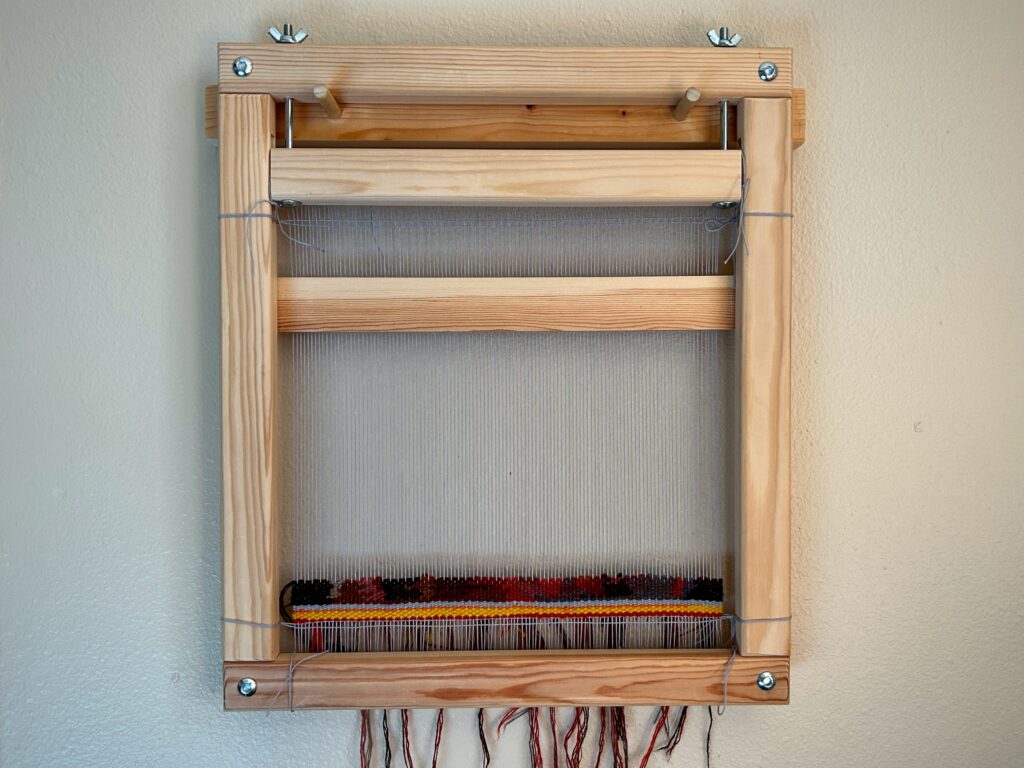
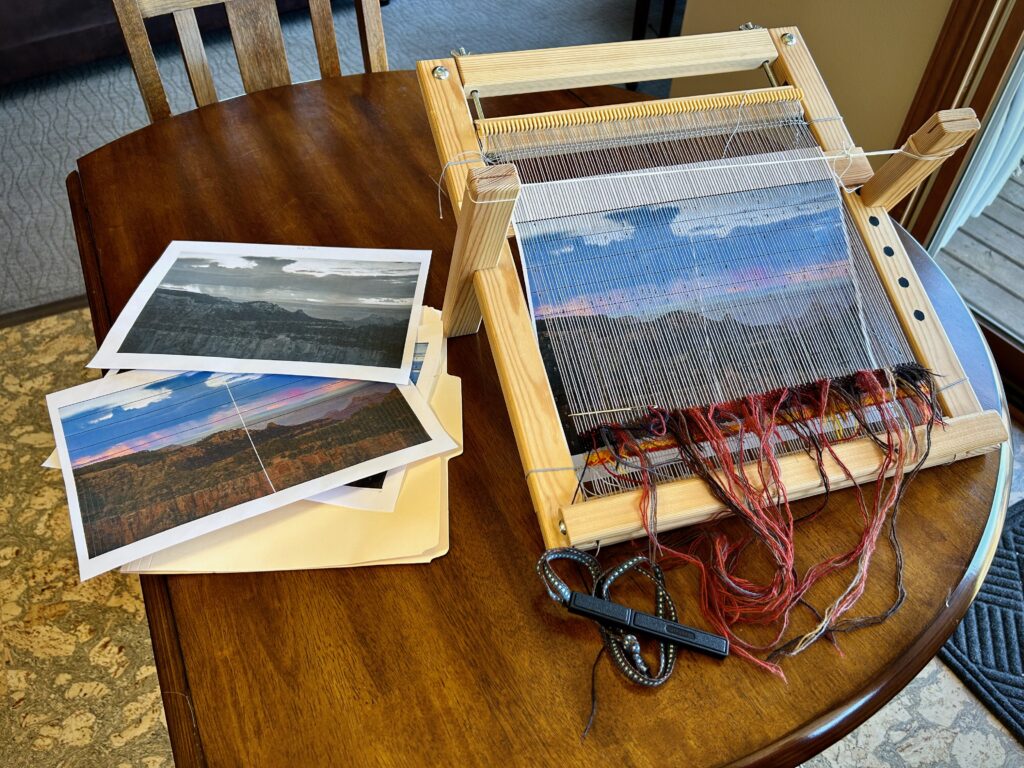
Steve’s simple mounting rack is just right for holding the tapestry frame. I can view the right (or wrong) side of the tapestry and watch it grow day by day. I completed these six rows in the first couple days back home.
Detail view of the right side of the first six rows. This tapestry is being woven from the back.
Adding rows two at a time.
So far, this is simply colors and shapes.
Sitting down in the evening and completing one pass (two rows) is a satisfying way to wind down for the day.
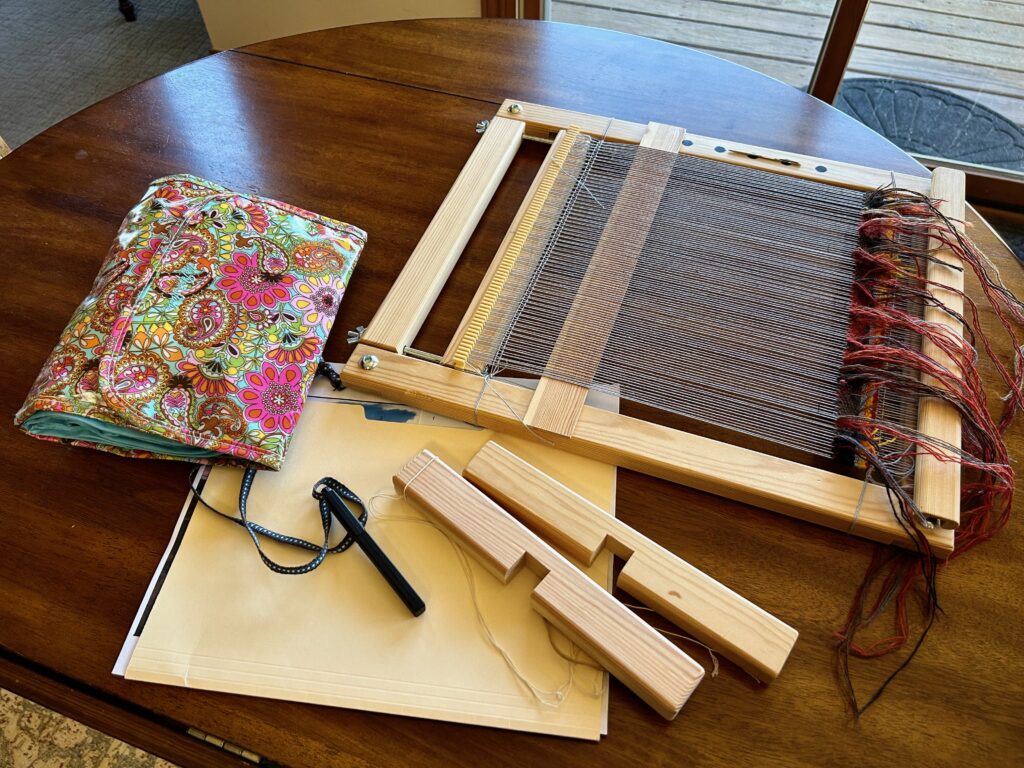
Pouch with yarn, Gingher snips on a handwoven band to wear around my neck, legs to hold the tapestry frame at a comfortable angle on the table, folder with tapestry cartoon and a few go-by’s. And, the Freja Tapestry frame, with slat that holds the cartoon, and tapestry needle held by earth magnets that Steve inlayed into the face of the right side of the frame, and a wood cover that slips over the bottom teeth on the frame that keeps anything from snagging on the teeth.
This is my simple setup. Most evenings I take my place here at our small breakfast table and set up my tapestry frame. I have a black-and-white, and a full-color go by. I refer to these constantly as color reference and value reference.
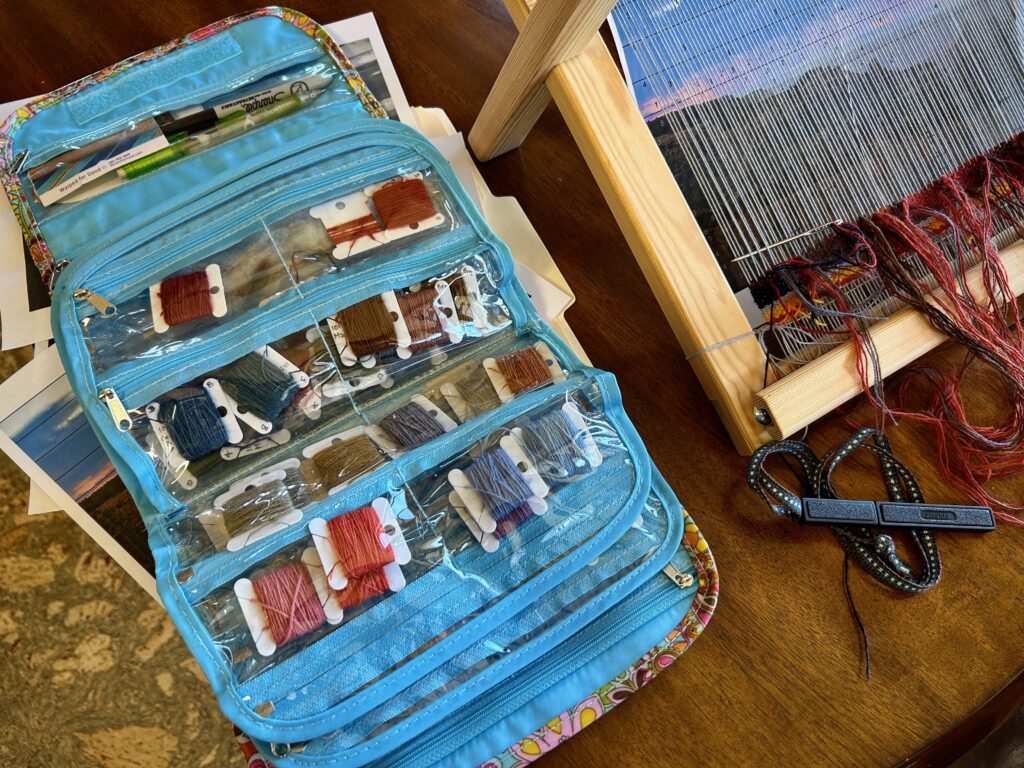
This is my “crayon box” of colors, carefully selected by value and hue. Most of the weft yarn is 6/1 Fårö wool, with a few colors of 20/2 Mora wool added in. I have the yarn sorted by value. There are five sleeves in the pouch, so 1, 2, 3, 4, 5 – for a five-point value scale. The yarn is wound on floss bobbins left over from my counted cross-stitch days. This makes the whole project very travel friendly.

May the colors of creation bring you joy.

Happy Weaving, Karen
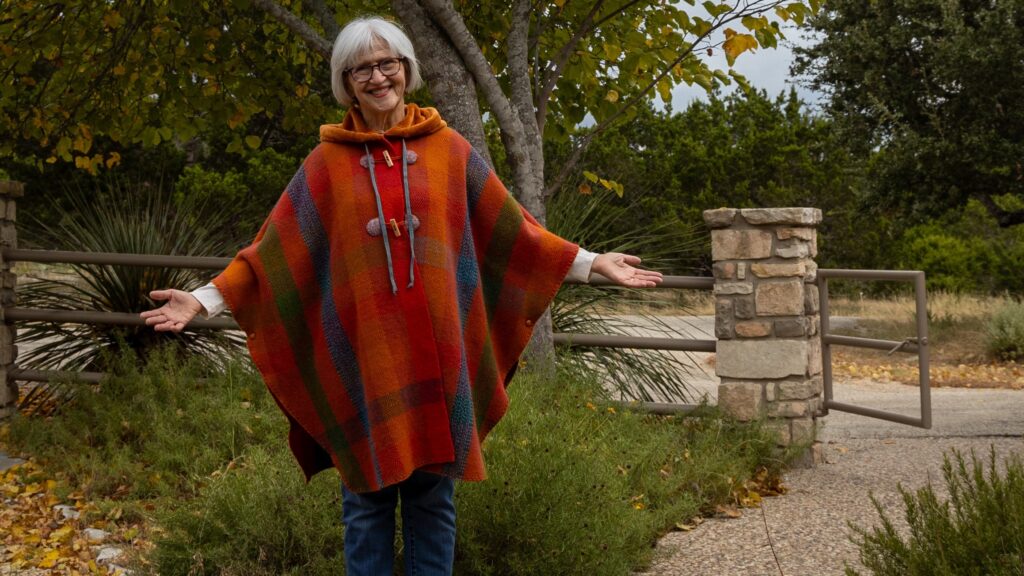
Handwoven Cape in Grand Canyon Colors

Steve and I plan to return to the North Rim of the Grand Canyon this autumn. When we were there two years ago we were amazed at the rich colors everywhere. Those colors are the inspiration for this wool goose-eye twill cape. It was a joy to weave these colors on my Glimåkra Julia loom, using four shafts. The process video slideshow below will show you the project from start to finish, with a few Grand Canyon views thrown in. I made a prototype cape from dark gray felt before settling on the pattern details for my handwoven material. You will see the felt cape at the end of the film. Enjoy!

My book House of Prayer: The Compelling Argument for Unified Prayer is now available on Amazon.

Sunset brings a hush over those who witness it. Colors, textures, and a dramatic ending to the day.
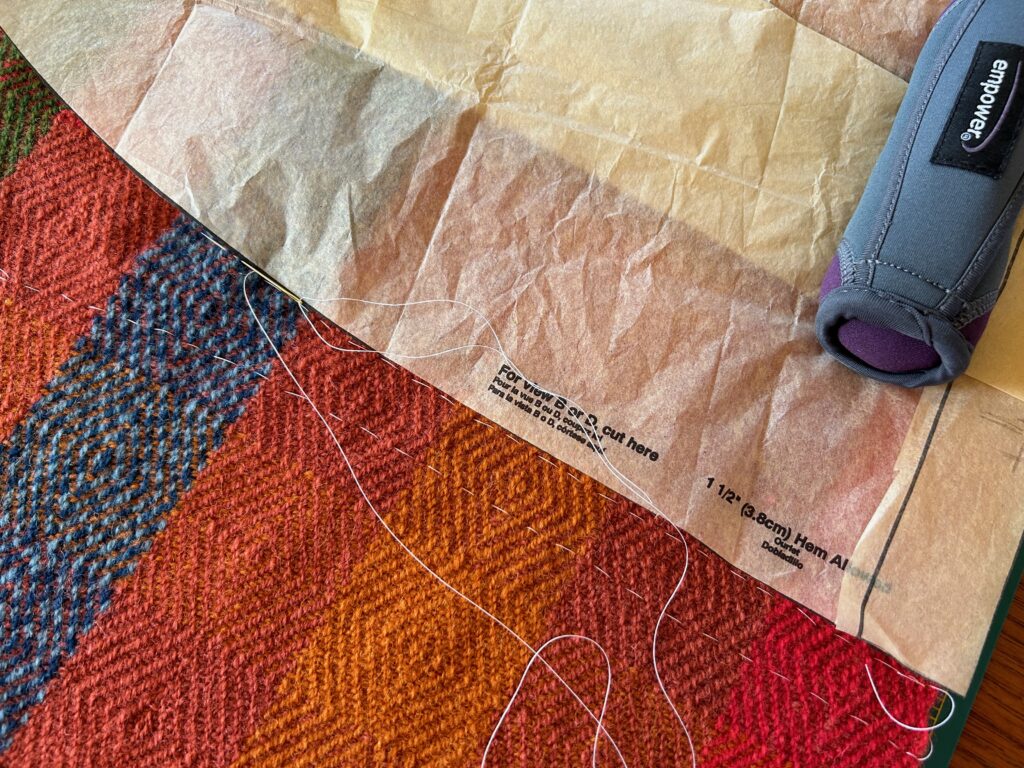
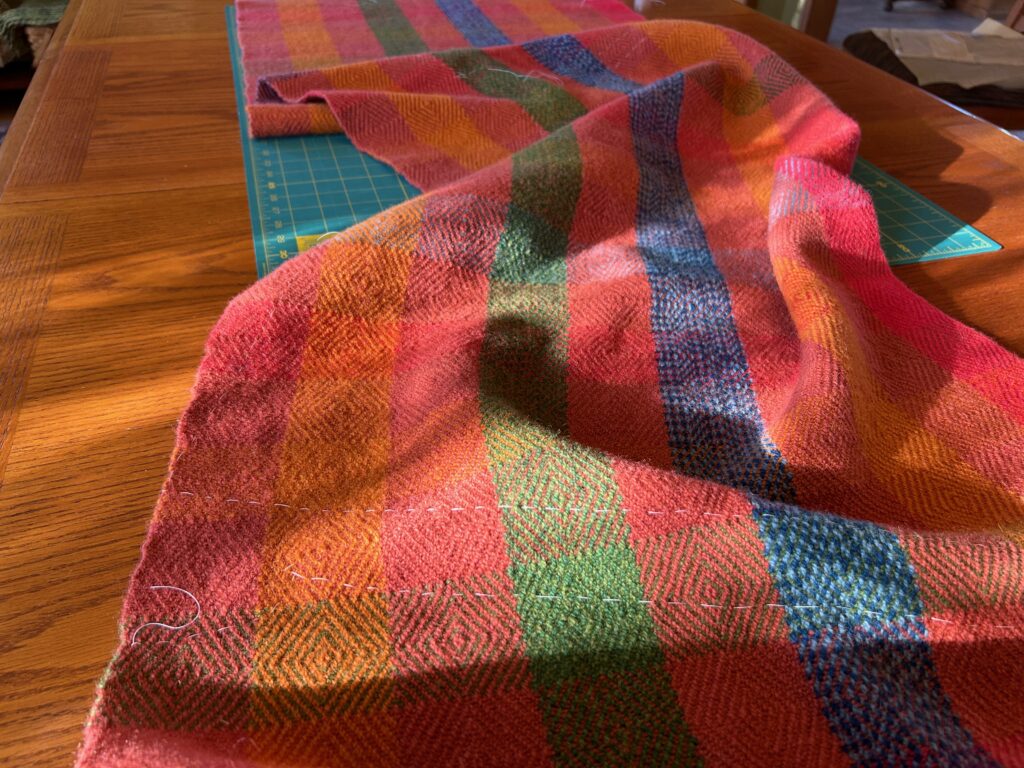
Hand-stitched lines follow the edges of the pattern pieces. This alleviates the difficulty of putting chalk or other marks on this fabric.
All the pieces are outlined with thread. I was able to match stripes in the front and on one side by carefully laying out the pattern pieces.
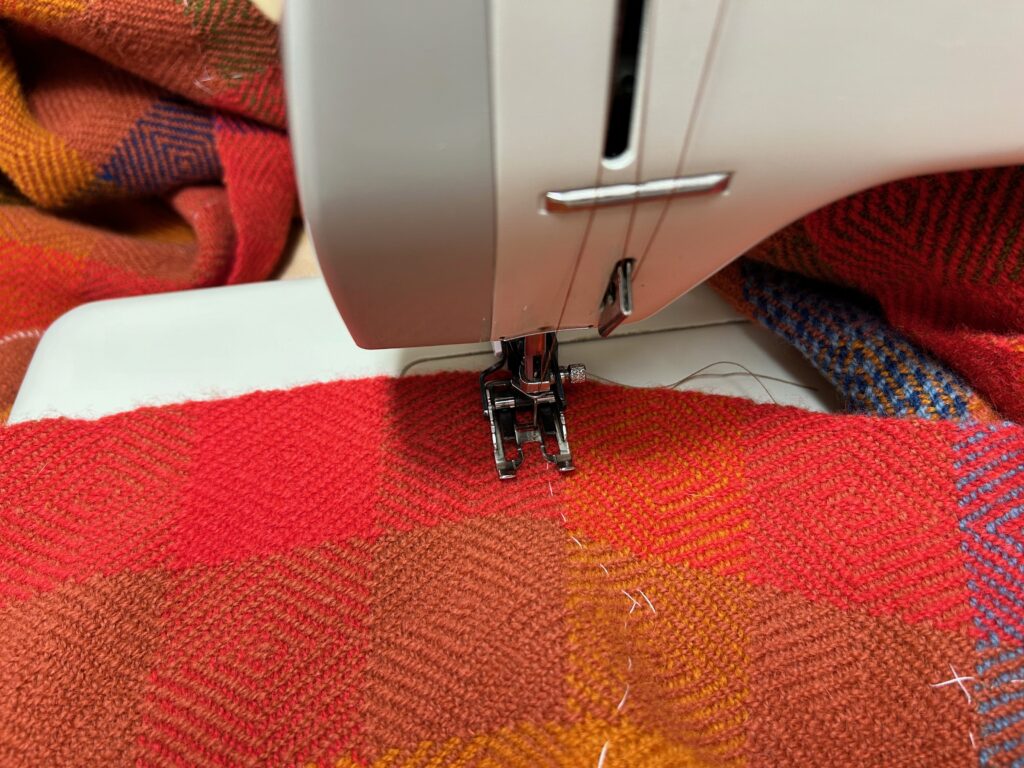
Machine zigzag stitches inside the thread outlines. After this, I can cut the pieces along the outline, knowing the edges are secure.
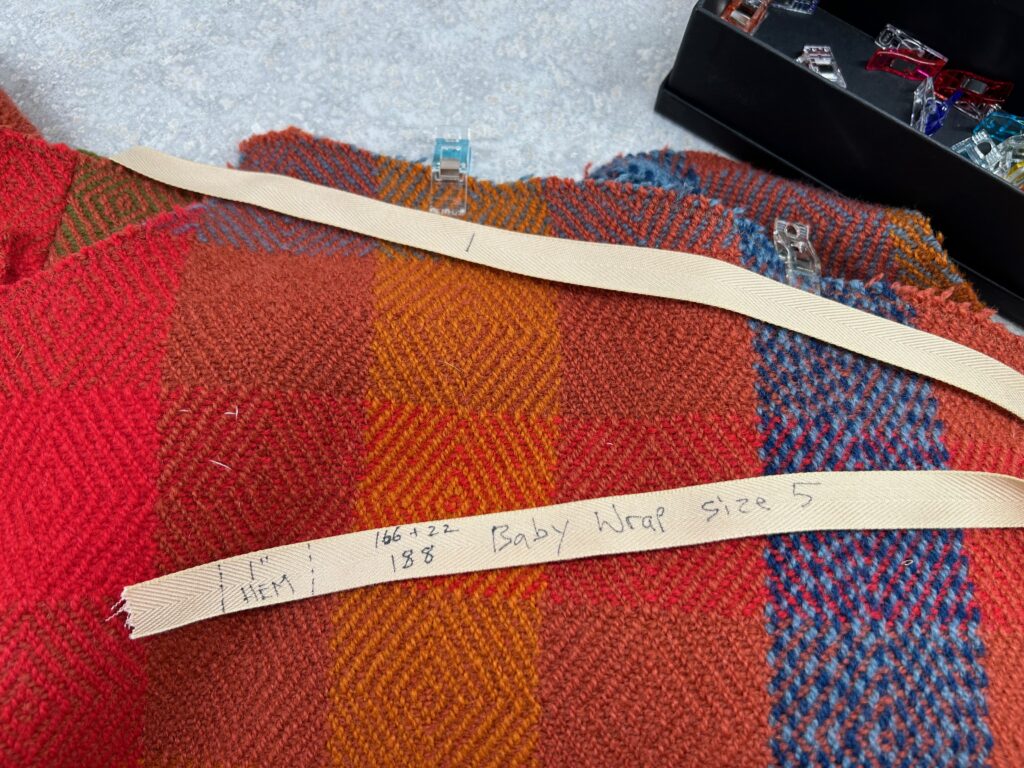
I saved this measuring ribbon for the babywrap I wove when my daughter was pregnant. The baby for whom I wove the wrap just turned 8 years old. I found the ribbon when I was looking for some twill tape to sew into the shoulder seams for stability. Perfect! Now I have some of this memorable twill tape sewn into my cape!
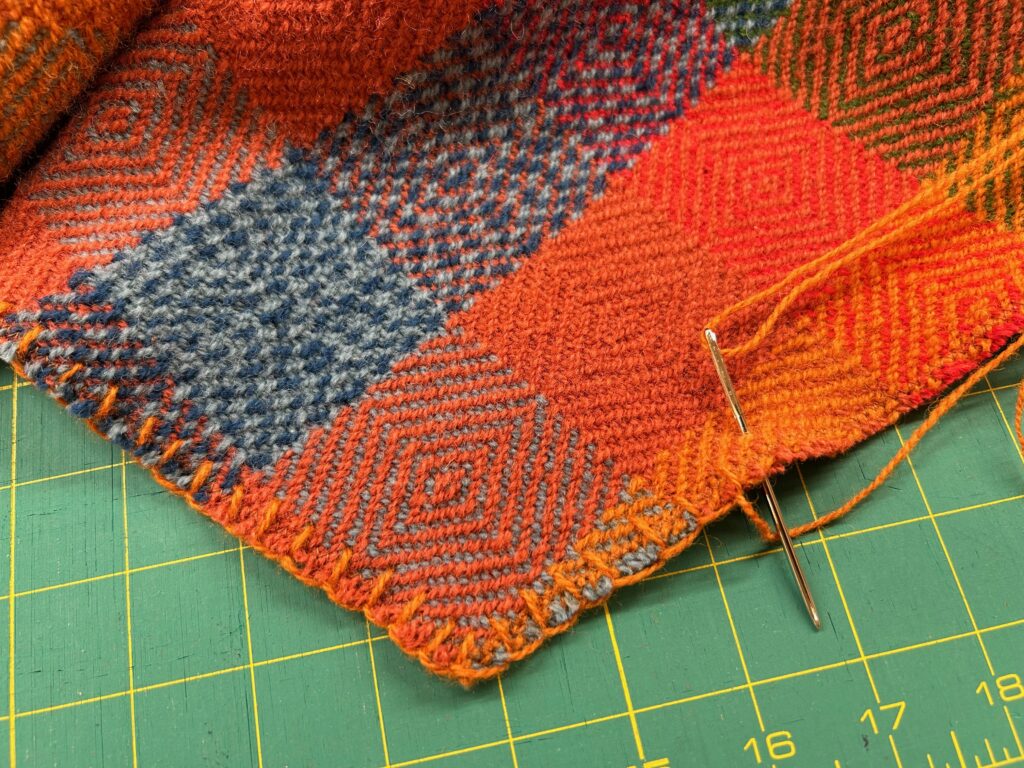
Blanket stitch around all the edges helps hide the zigzag stitching, as well as provide a decorative edge that gives the fabric a finished look.
Ready for autumn. And ready for the fun of wearing this Grand Canyon cape at the Grand Canyon!

May you honor the Grand Weaver who designed the Grand Canyon in all its colors and gave it to us to enjoy.

Happy Weaving, Karen
Seasonal Weaving

The last few months have been a season for me to put my focus on writing a book about prayer. This has been a season of less weaving than usual. Still, I find a way to get to the looms–a little here, a little there. It adds up. The nice thing about handweaving is that you have something to show for your efforts. Every little weft thread counts. Every day is a gift from the Lord, and every season is an opportunity to acknowledge Him. Thank you, Lord, for every season!

Here’s what I’ve been up to in this weaving season:

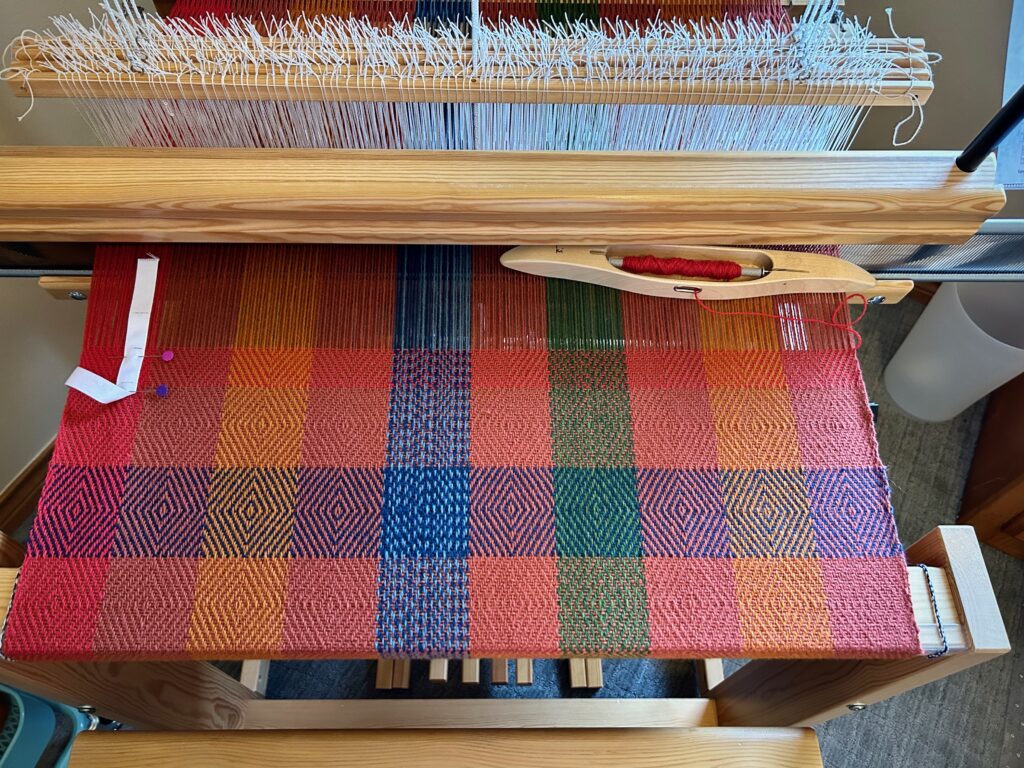
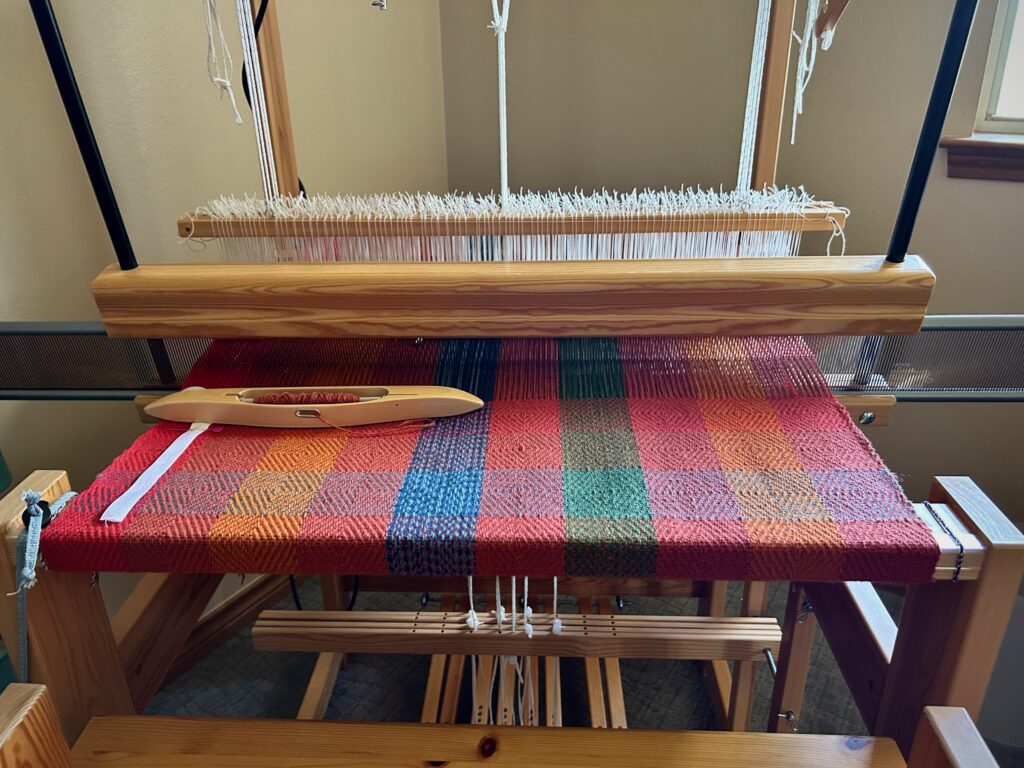
Eight different weft colors for this goose-eye twill. 7/2 Brage Wool.
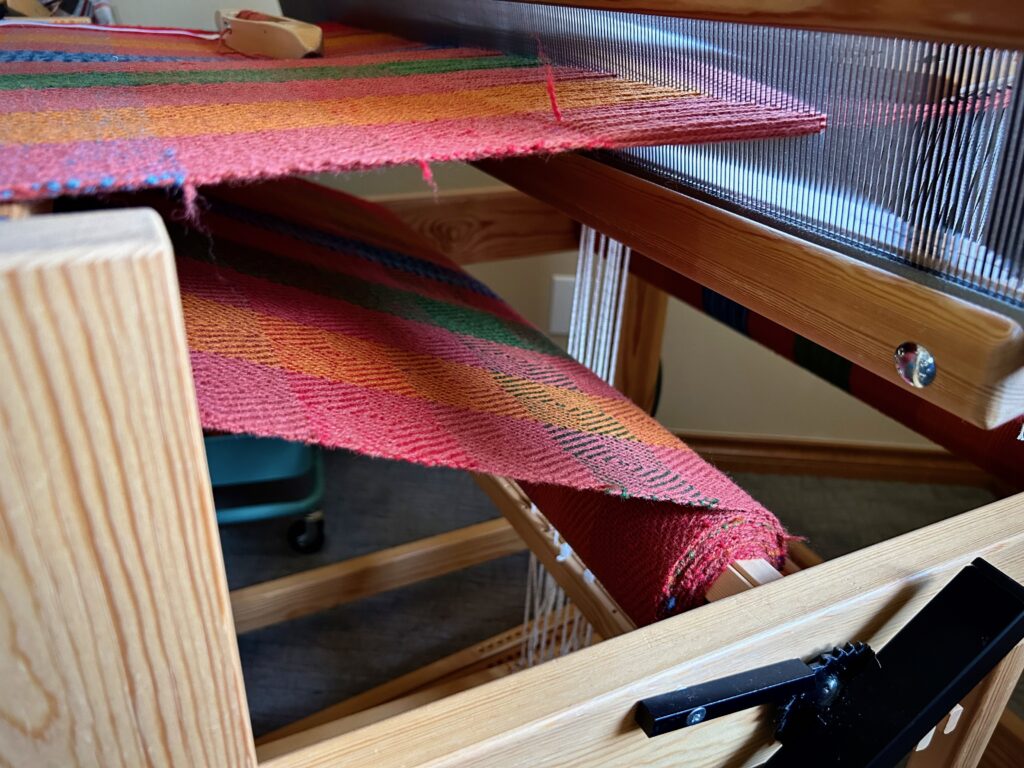
Cloth beam filling up.
Standing back and enjoying the colors.
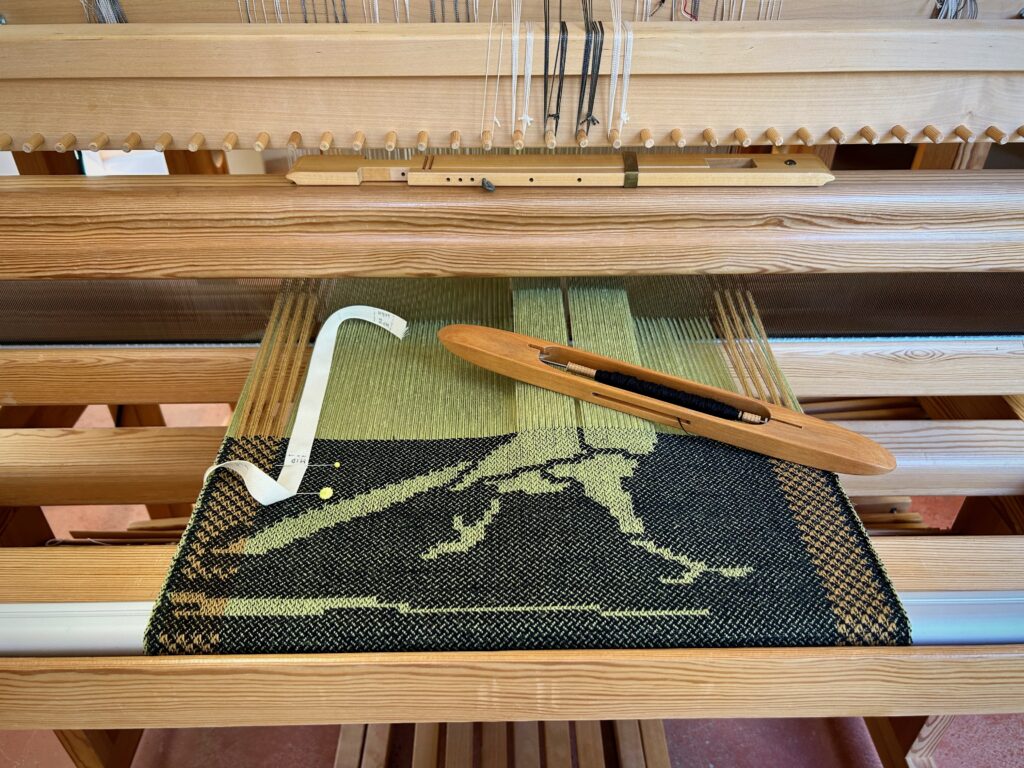
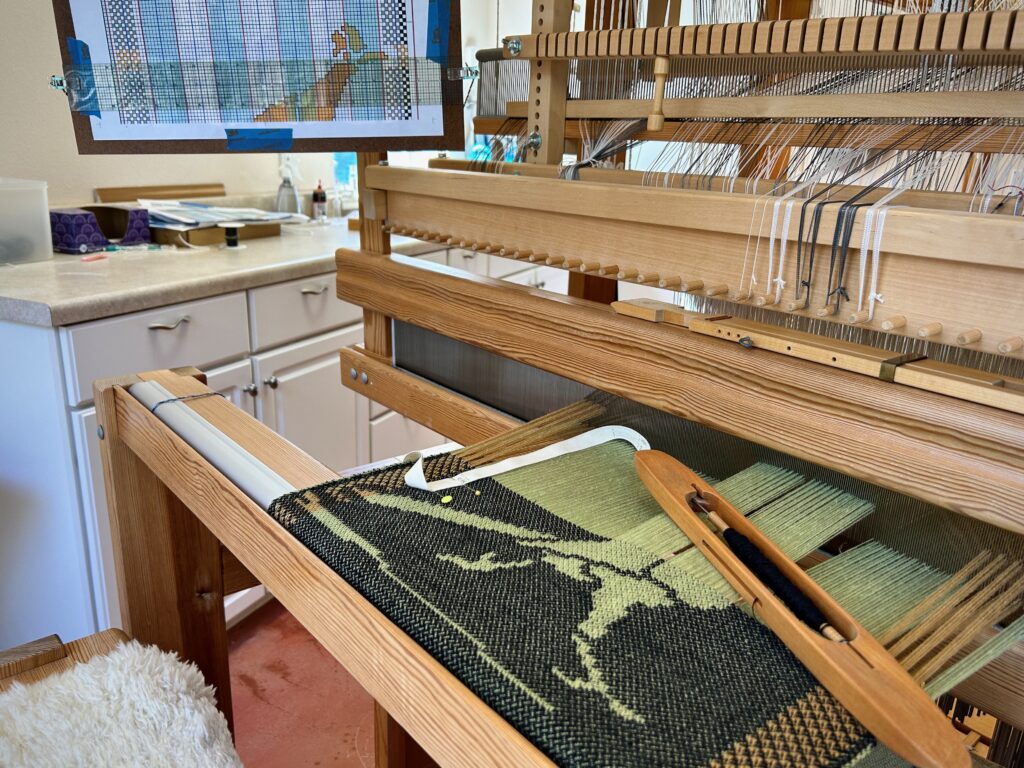
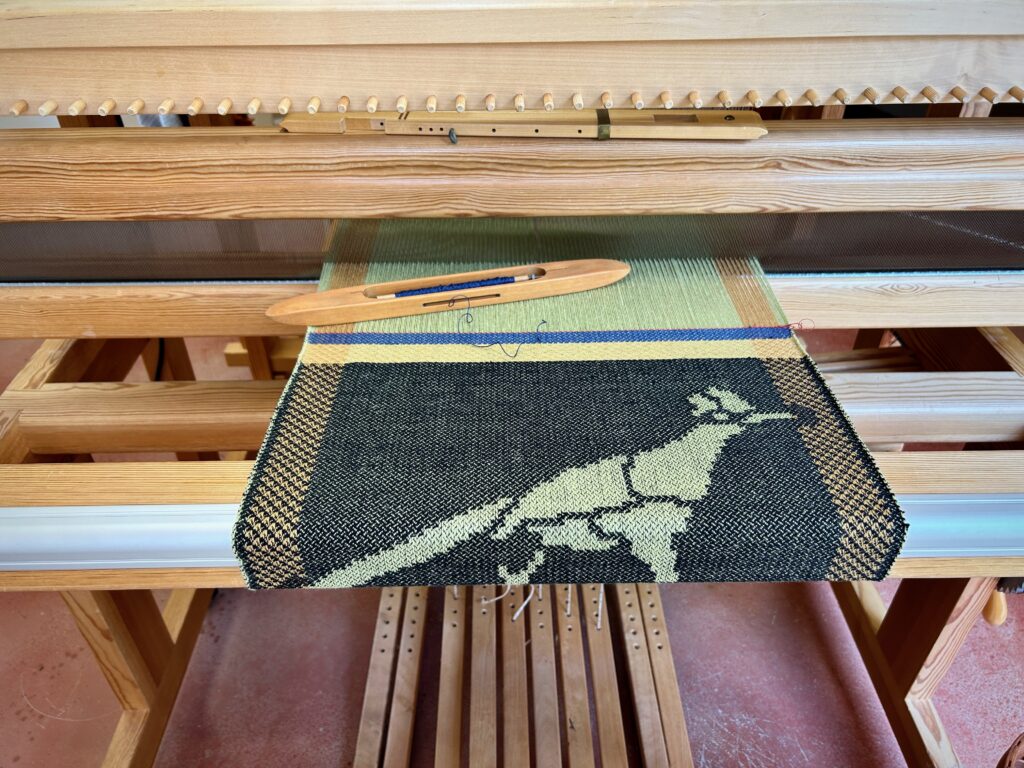
Roadrunner on the drawloom. Cottolin and linen. Six ground shafts.
Beginning the top half of the roadrunner pattern. Chart hangs for handy reference as I move up the chart, row by row.
Roadrunner complete. Next chart to design is the Texas Longhorn. And three more critters after that.
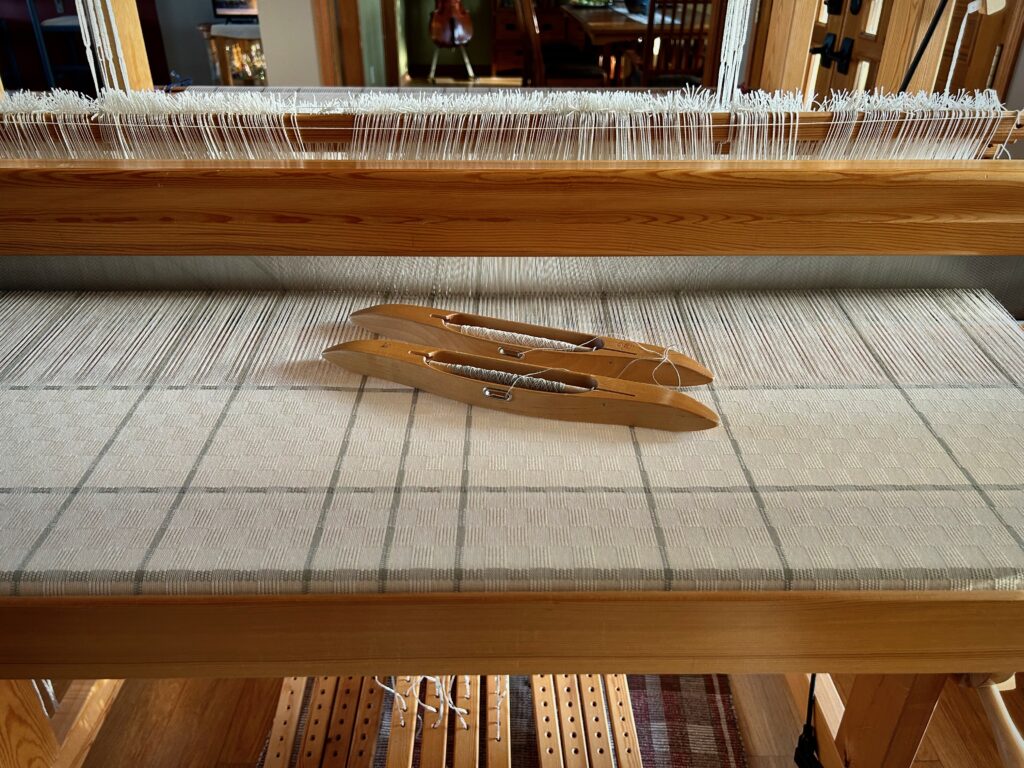
Curtain fabric, 24/2 cotton M’s and O’s.
Cloth beam filling up.
Take a step back and enjoy the process.

Happy Weaving, Karen
Two Pictorial Tapestries Finished

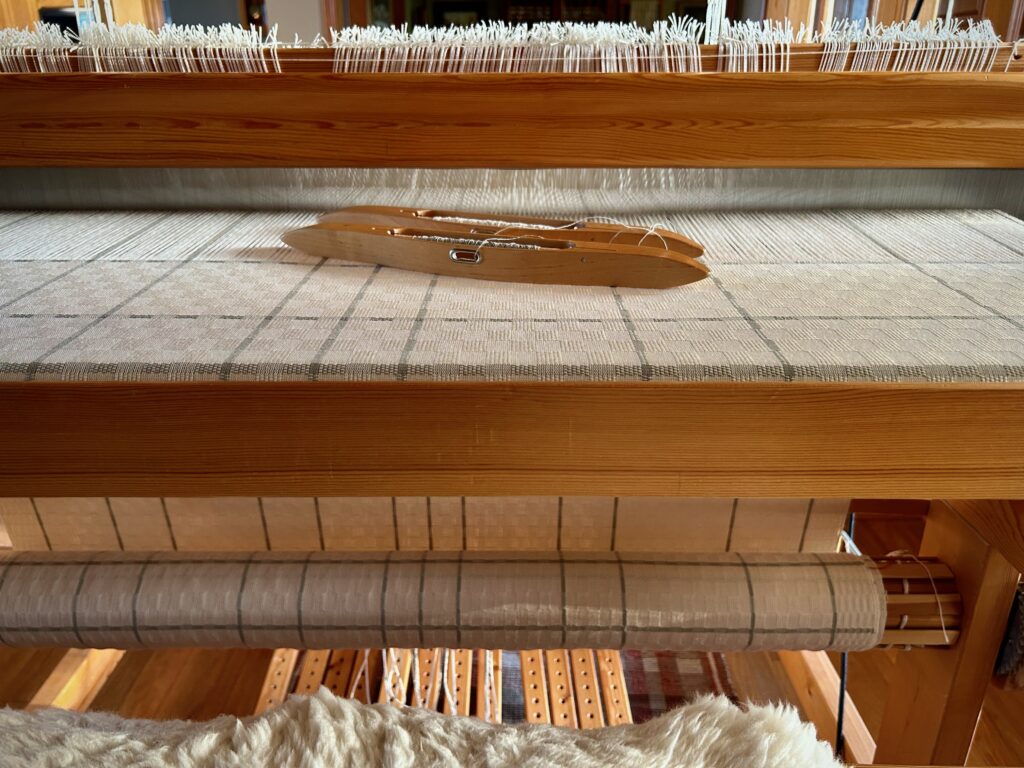
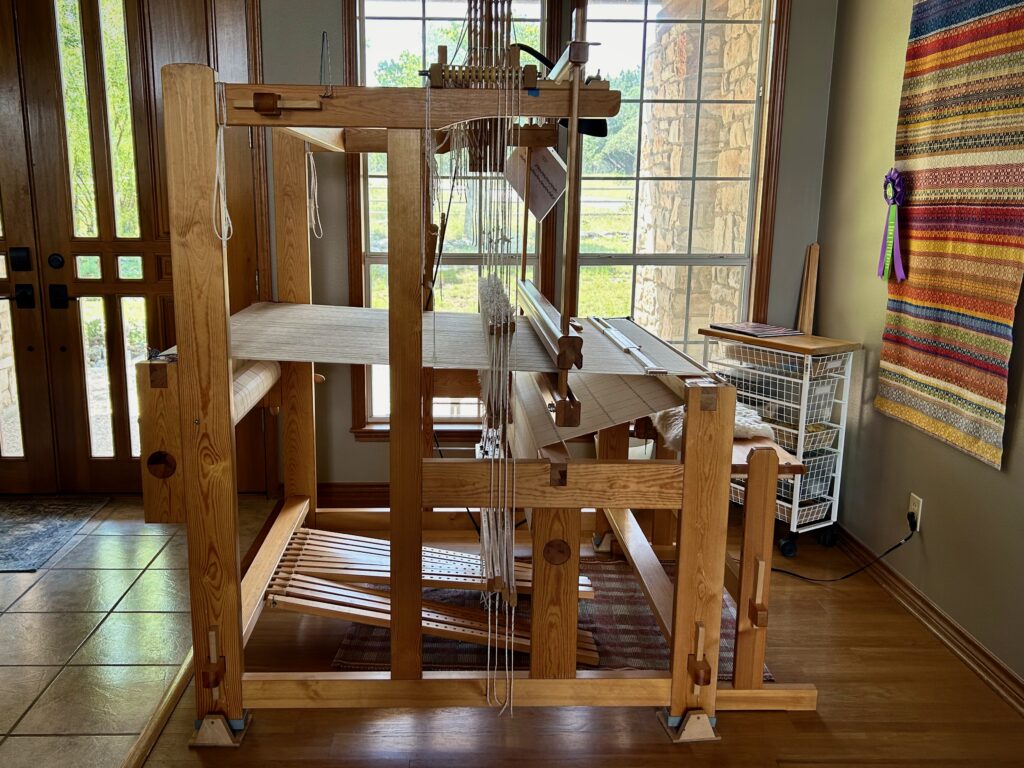
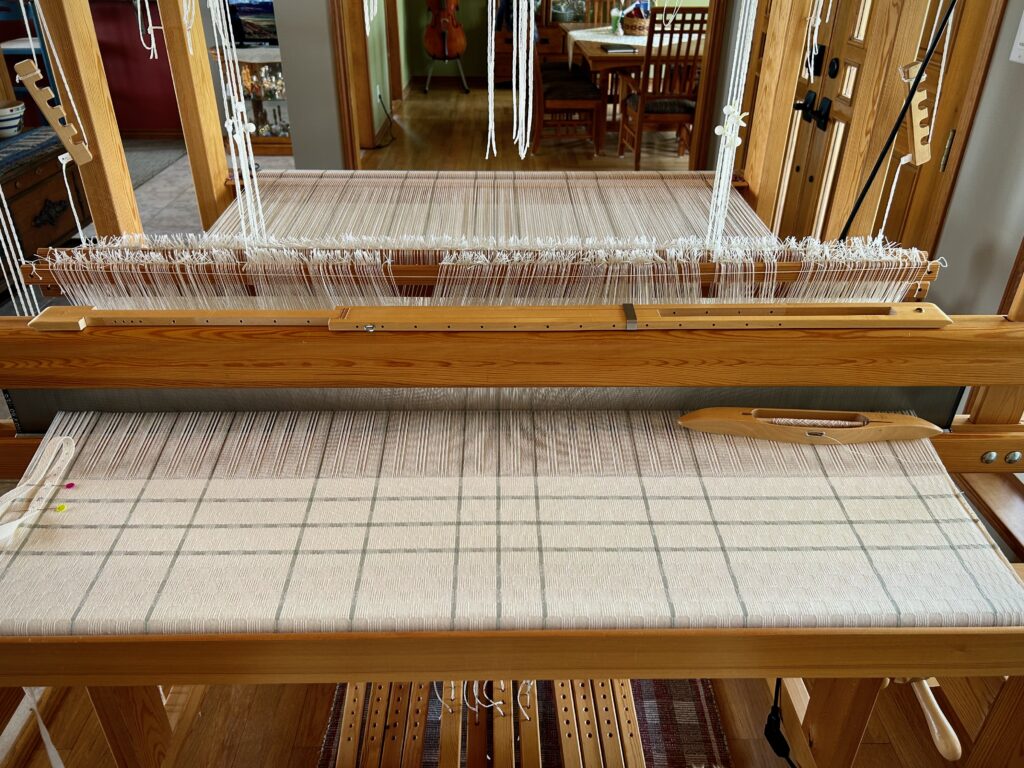
The Glimåkra Standard is where I am most comfortable, even though the reach of the full width is stretching me. The curtains for the bathroom are progressing. No new news, just continuation of adding cloth to the cloth beam.

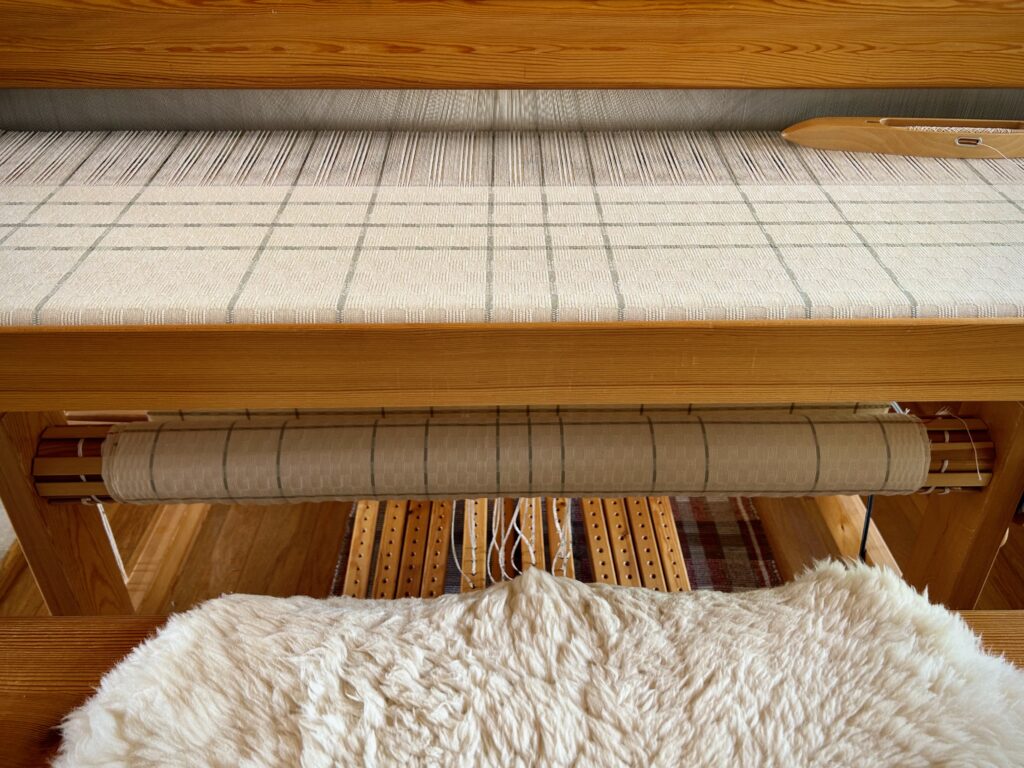
Still weaving this M’s and O’s curtain yardage. Looking forward to the day the curtains will hang in our remodeled bathroom.
Fabric is adding up on the cloth beam.

The Glimåkra Ideal is patiently waiting for a new tapestry warp. I have a bit more design work to do on the cartoon, and then I’ll be winding the warp with the 16/2 linen I have set aside just for this project. I’m eager to show the new tapestry idea to you! Soon!!

I am finishing up the next critter napkin design for the drawloom. This one is a roadrunner, and it is just…about…ready…to weave.

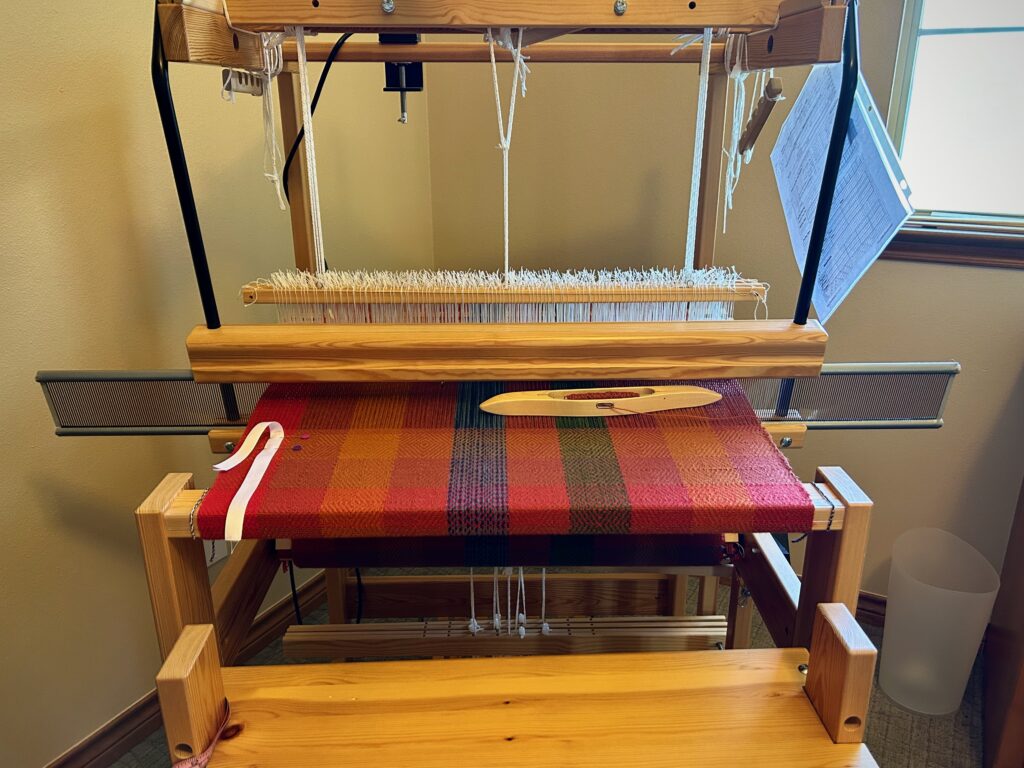
The Glimåkra Julia is getting filled up on the cloth beam, too. This wool goose-eye fabric is going to be fun to sew into a winter cape when it comes off the loom!

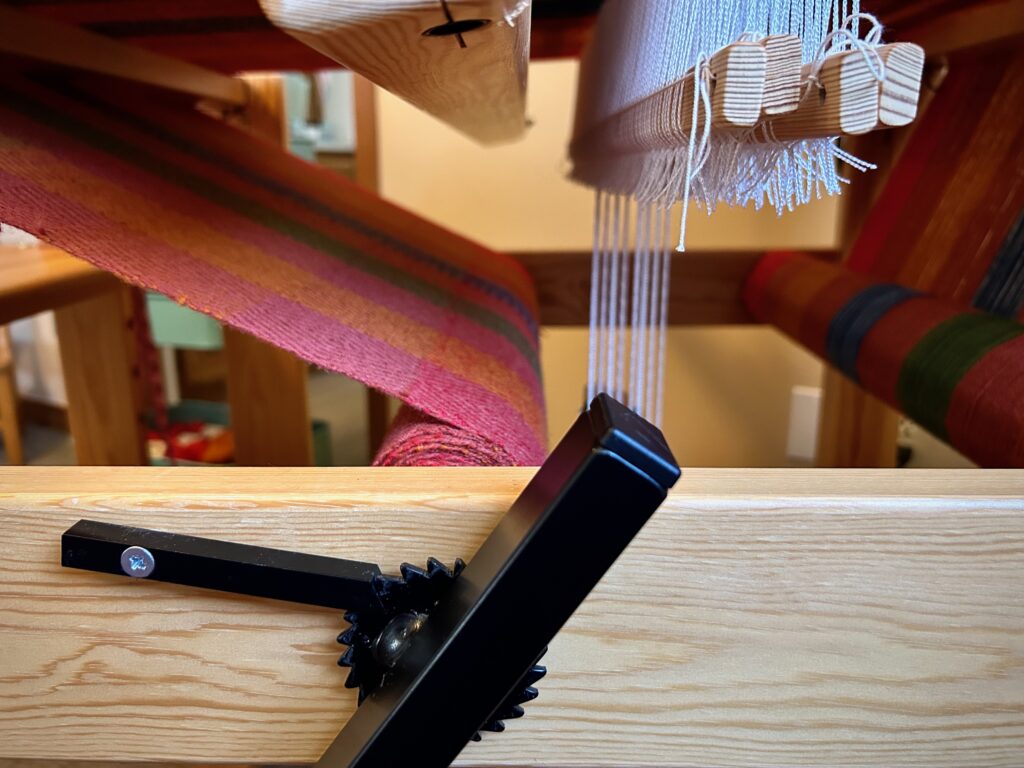
I like to check on the cloth beam to see how it is filling up. You can see there is still more warp on the warp beam.
Julia with four shafts. Ribbon pinned on the side has marks that help me keep the diamond pattern square.

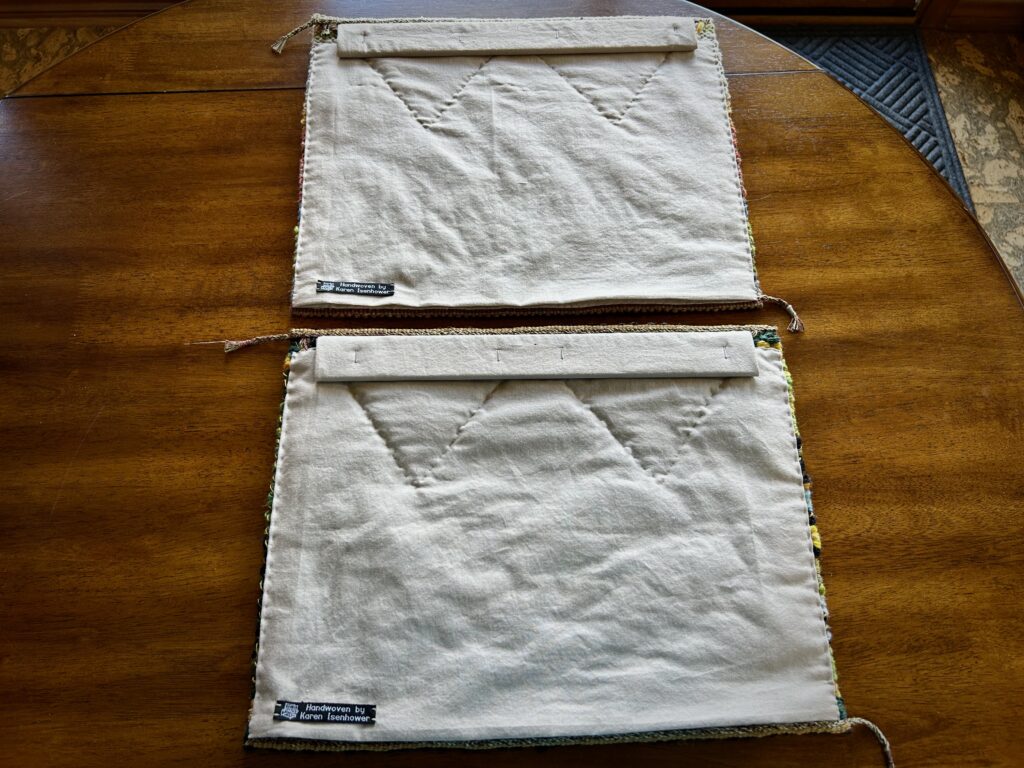
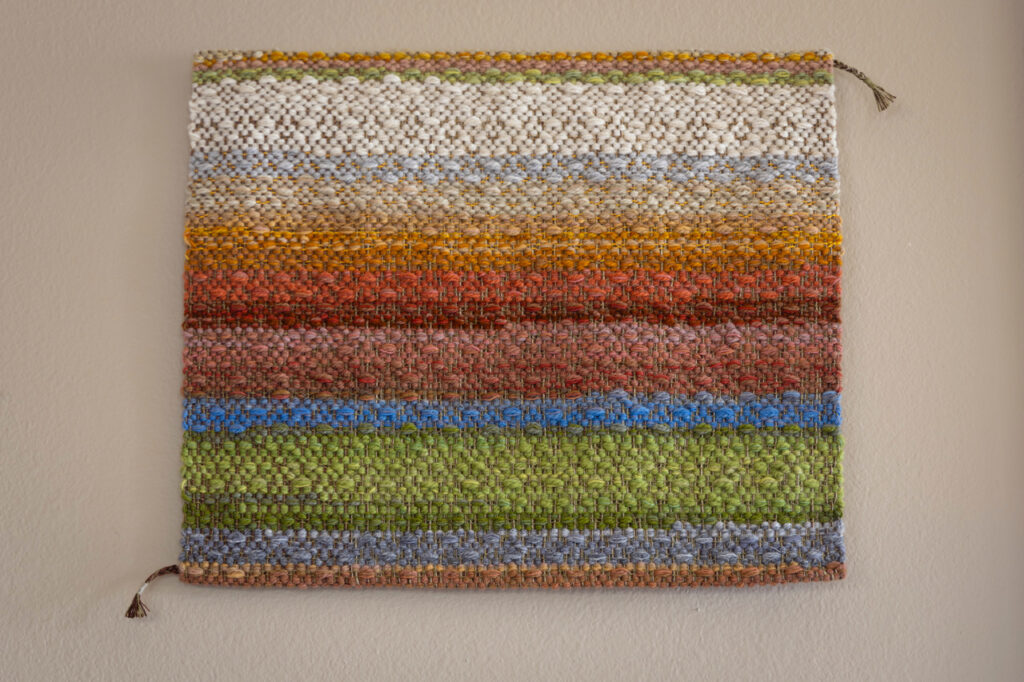
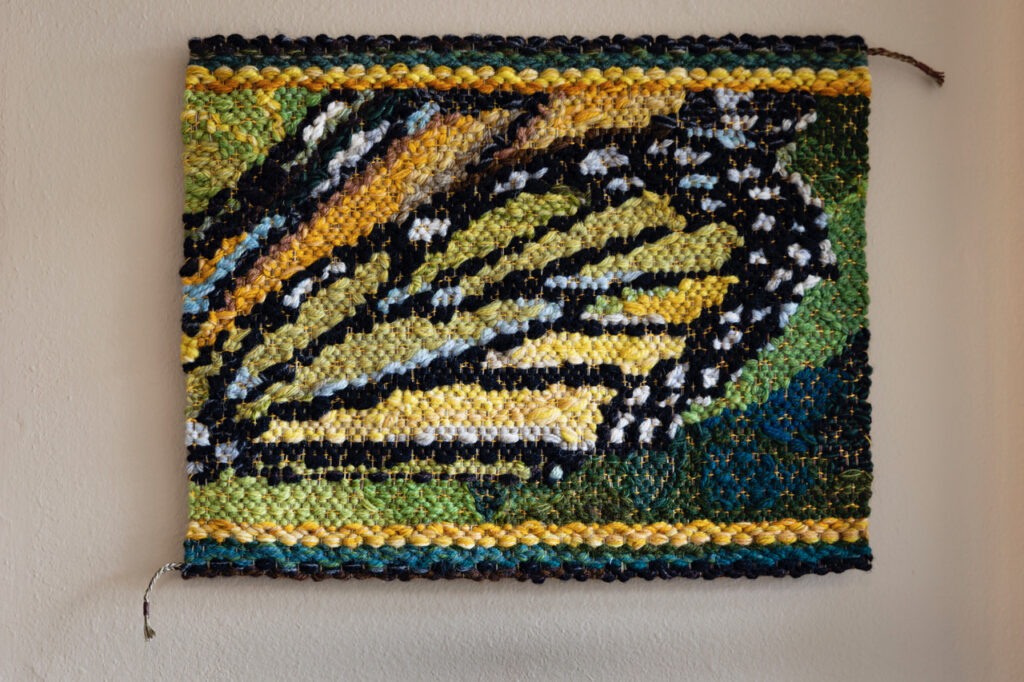
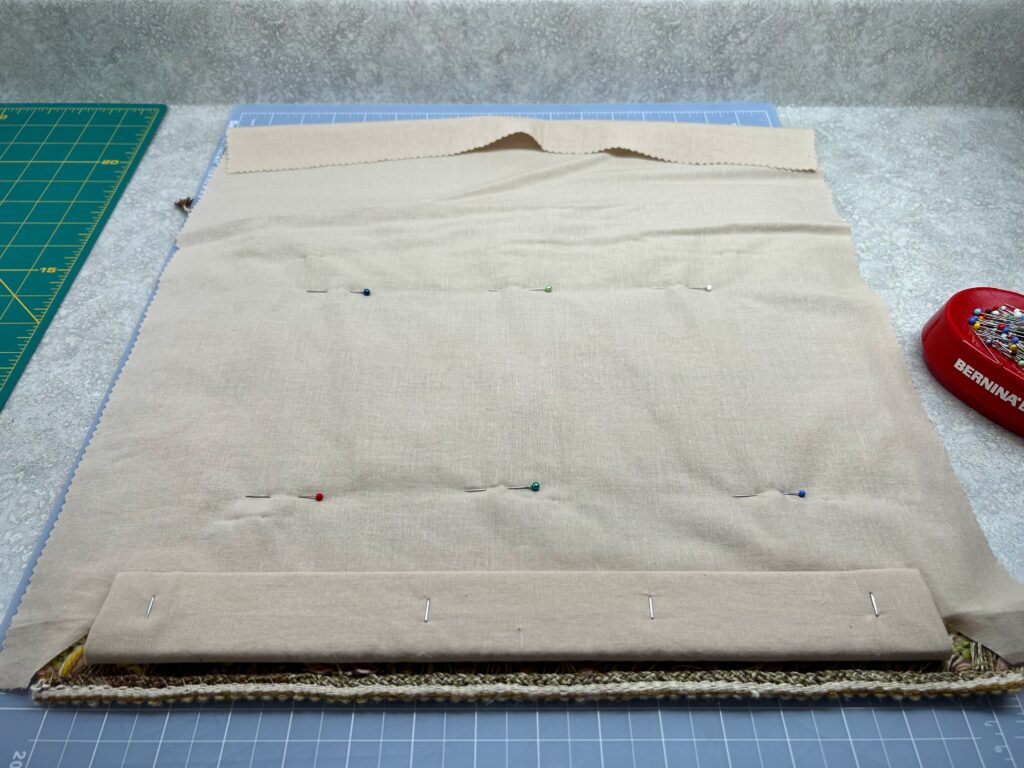
And finally. Drumroll. After a year of sitting on the sidelines after having been cut from the loom, two small tapestries are now hanging on our walls. I did the finishing work of adding a slat for hanging, stitching a backing in place, including some zigzag quilting stitches for support, and stitching up the sides and the hem.

Beginning to mount the tapestry by adding a wood slat at the top.
Backing is added to the back of the tapestries. Zigzag stitching at the top helps secure the tapestry so it will not sag. One small nail will hold the tapestry to the wall.
Heaven and Earth
Intricately Created: Delicate Wing of a Monarch Butterfly.

It is good to finish, even if you do it a year later. Now I am really ready to start the next tapestry.

Happy Weaving, Karen