My Mistake that Made Rug Warp Snap

Draw-in can wreck your weaving. Avoid it at all costs. Did you know that draw-in can cause even 12/6 cotton rug warp to break? First, two ends on the right, and then, an inch later, two more in the middle. I had ten broken warp ends in all. Strong, sturdy, Swedish rug warp! I was weaving miniature rugs. Between the absence of a temple, and my failure to place in enough weft, the drawn-in warp ends could not stand the abrasion they got from the reed. What started out as a bright idea ended up a “learning experience.”

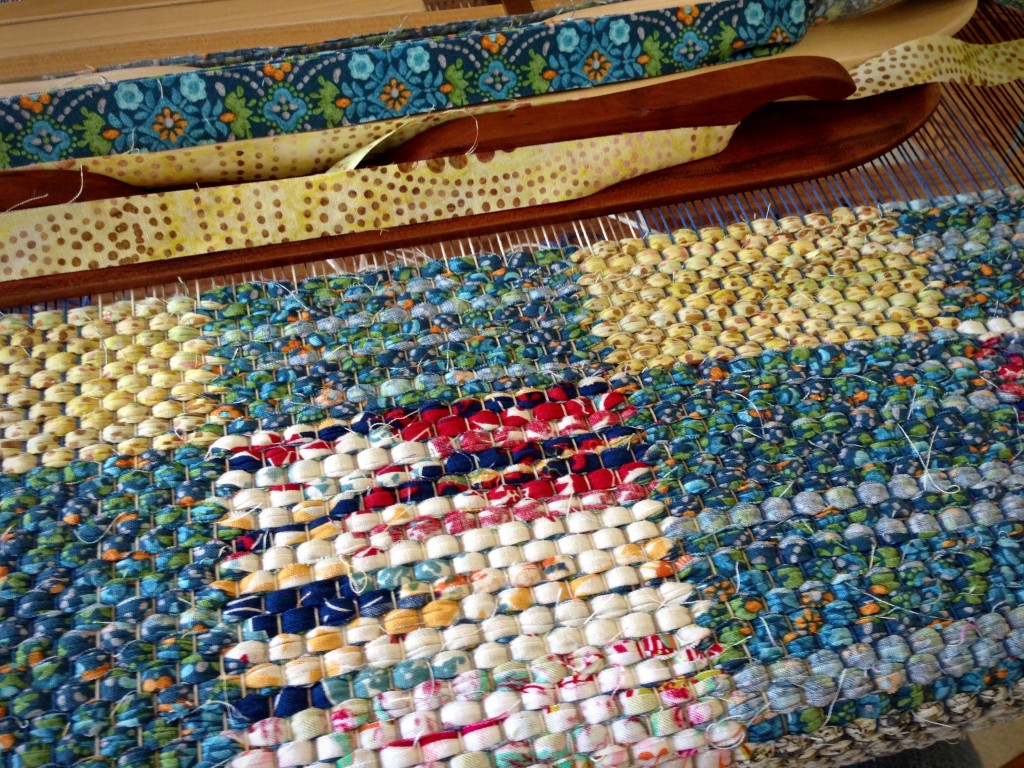
Miniature rag rugs, side by side.
Double binding warp is divided into four sections to weave individual mini rag rugs.
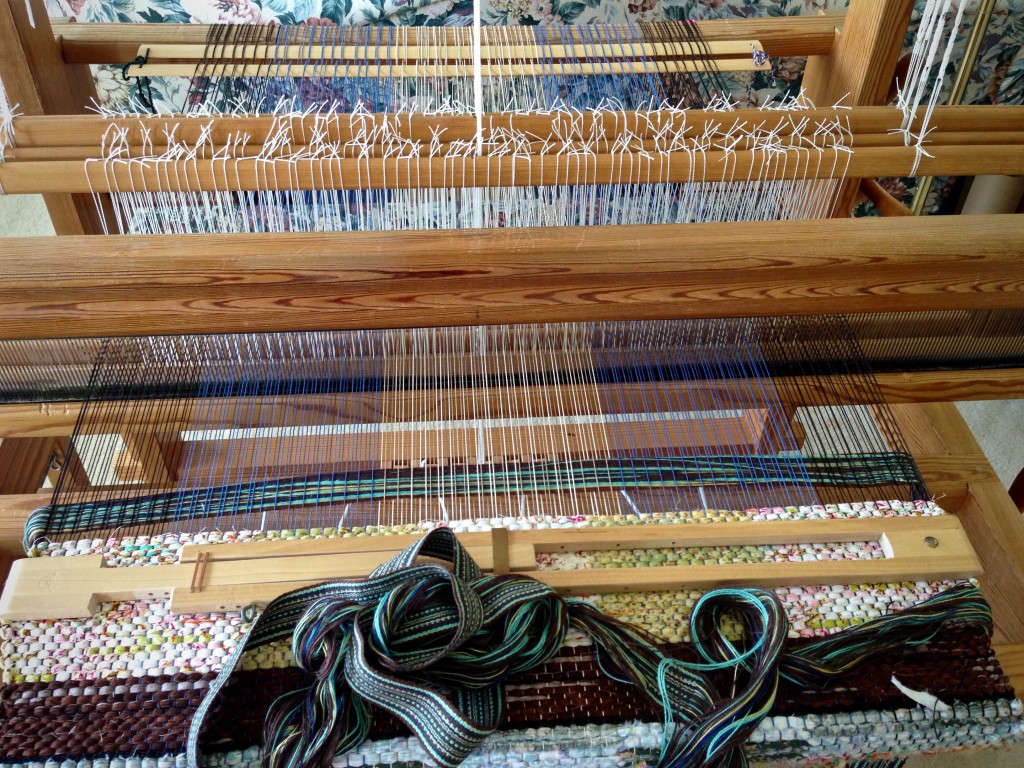
Four mini rag rugs on the loom. Draw in was a problem.
Draw-in happened gradually, and didn’t seem to pose a problem until near the end. Then warp ends started snapping.
Finishing miniature rag rugs.
Mini rag rugs off the loom. After making all repairs and finishing the ends, they will be hemmed and ready for use as mug rugs and hot pads.

Words reveal a person’s core. When abrasive thoughts continue time and again, words eventually break loose from the tongue. The warp end breaks, and the stability of the rug is compromised. It may seem like the warp end is the problem, but the problem is the abrasion that led up to the breakage. Fortunately, broken warp ends can be fixed, with time and effort. But learning to eliminate the abrasion in the first place is the tactic I want to employ.

May you strengthen your core.

Your friend,
Karen

Does Your Weaving Show Your Very Own Style?

Have you developed a style all your own? I can identify some tapestry artists by their work, even before I see their name on the piece. One friend of mine weaves gorgeous silk scarves, and another one makes handtowels with exquisite color. Their woven items consistently showcase their individual style. In our little weaving group we even say, “It looks like you.”

Double binding rag rug on the loom. Karen Isenhower
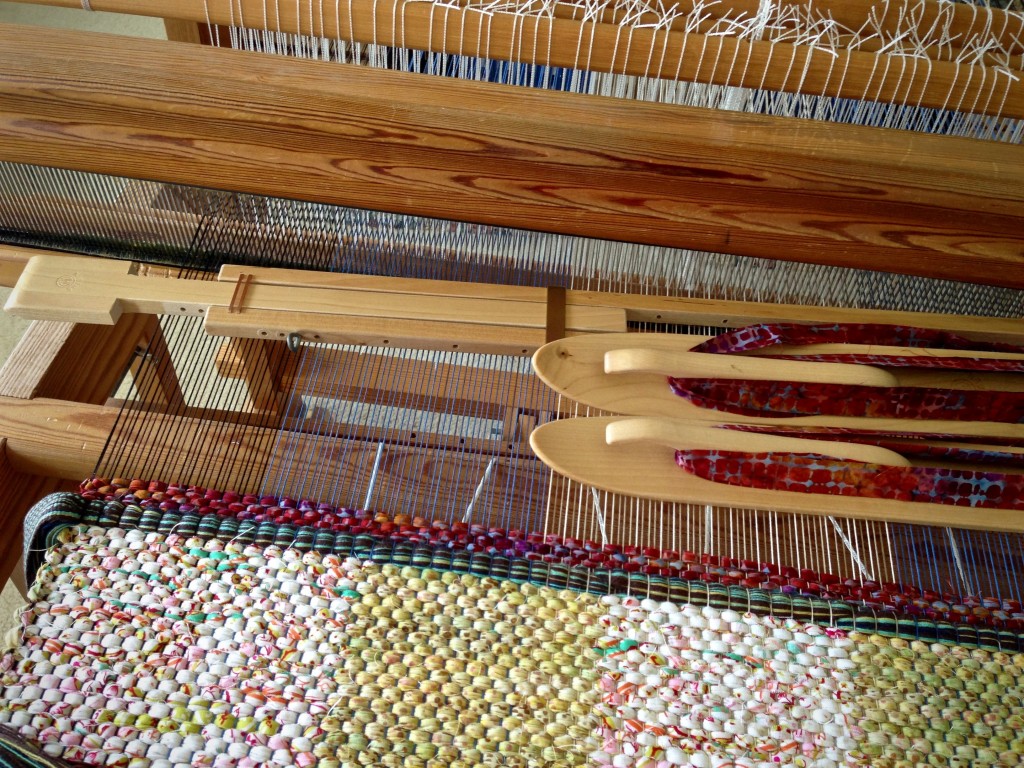
Rag rug on the loom is almost complete. Moving the temple frequently helps produce tight selvedges, which, in turn, help ensure a finished rug that lays completely flat.

For most, personal style happens over time, by repetition of favored designs or techniques, until particular skills become second nature for the artist. One day they wake up and realize they have developed their very own style. In other cases, the unique style is clearly intentional, and artistically so. Either way, it’s admirable. Eventually, someone may see a rug I’ve woven and say, “That looks like Karen!

Everything we see that is glorious is a window into the glory of God. Look through the window. The whole earth is filled with the glory of God. If our small artistic attempts are reflected in what we make, is it inconceivable that the wonders in our universe have the Creator’s signature? Everything glorious puts the Grand Weaver’s personal touch on display.

May you find your personal style.

Happy weaving,
Karen

Double Binding Fun

Do people know how much fun it is to weave rag rugs? Next week I’ll be in Arkansas teaching what I love. This ten-yard warp is giving me ample rehearsal time for explaining double binding techniques. Mostly, though, I want to introduce students to the thrill of rag rug weaving!

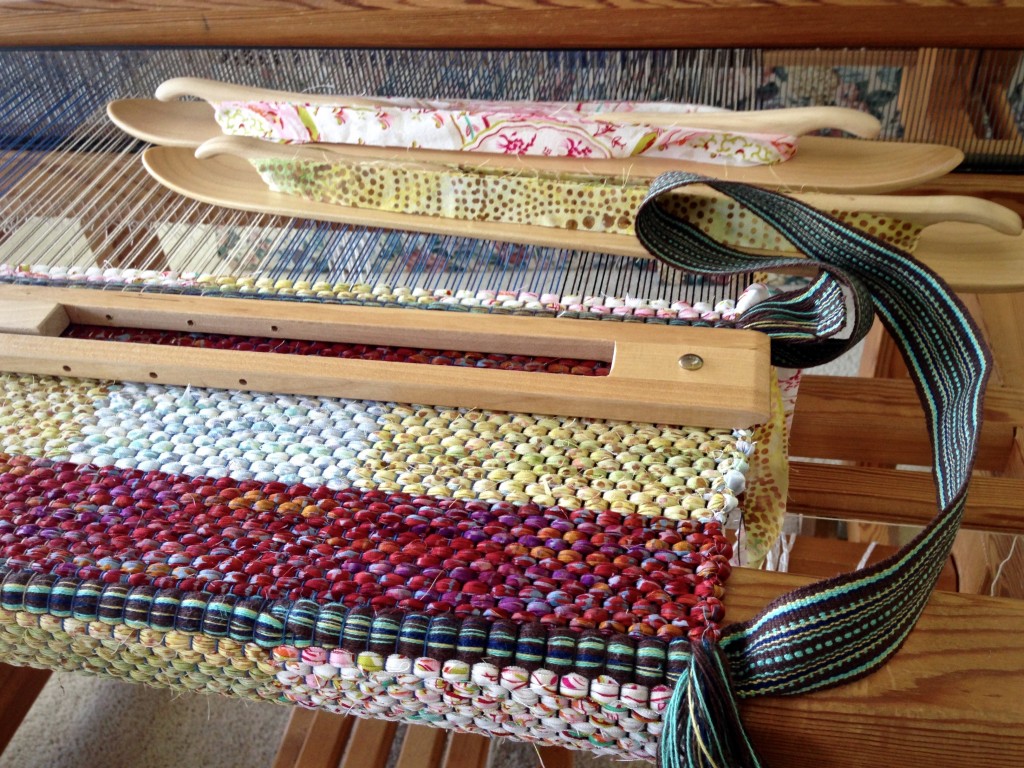
Two ski shuttles for weaving double binding rag rugs.
Double binding uses two ski shuttles, because the structure has two layers woven together. Each side of the rag rug is the reverse of the other side.

I am puzzled by weavers who are not fond of weaving rag rugs. “It’s too slow,” I’ve been told. “It doesn’t interest me.” And what about weavers who have never attempted to weave a rag rug? “What?!” I want to say, “You have a weaving loom, and you’ve never tried weaving a rag rug?” That tells you more about me than it does about them. People are drawn to what they know and love, and they see that thing differently than someone who is not drawn to it.

The goodness of God is like that for me. I’m drawn to it. God is good. One famous saying of Jesus is that the pure in heart will see God. That motivates me to examine my own heart. I can’t think of anything better than seeing the goodness of God.

May you be drawn to good things.

(There is one opening left in my double binding rag rug workshop next week at Red Scottie Fibers in Eureka Springs, Arkansas. It’s not too late to sign up! If you’re interested, let me know.)

Warped for Good,
Karen

Quiet Friday: Weave a Bag with Handles

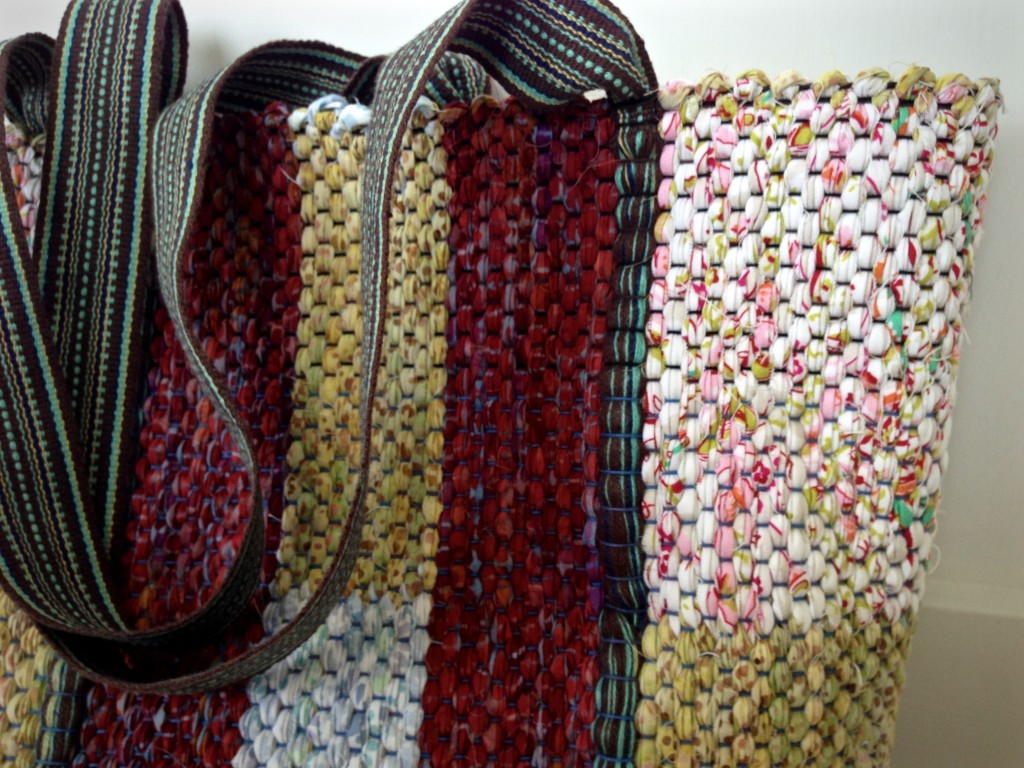
Voila! A rag-weave bag with the handles woven in. First, the handle straps were woven on my band loom. And then, I wove the straps into the rag-weave bag on my floor loom. Lastly, I cut the weaving from the loom and sewed the bag together. This is a warp for double binding rag rugs. I take advantage of this double cloth structure to make handles that are extremely secure. The pictures show how it all comes together. (Quiet Friday: Rag Rug Bag shows my first attempt at this feat. Be sure to read the comments. My amazing readers helped me develop the idea for this workable solution.)

As a bonus, at the end of this post you will see a new video that demonstrates my method of cutting fabric strips for weaving rag rugs.

1. Weave bag handles. (First seen on Is My Weft Showing?)

Unwoven warp (length equal to the rag rug warp width on the loom, plus 2″/5cm) comes before and after each of two bag handles, which are woven to desired length. Unwoven warp is held together at the beginning, and in between the two handles, and at the end, with 1″/2.5cm of woven band.
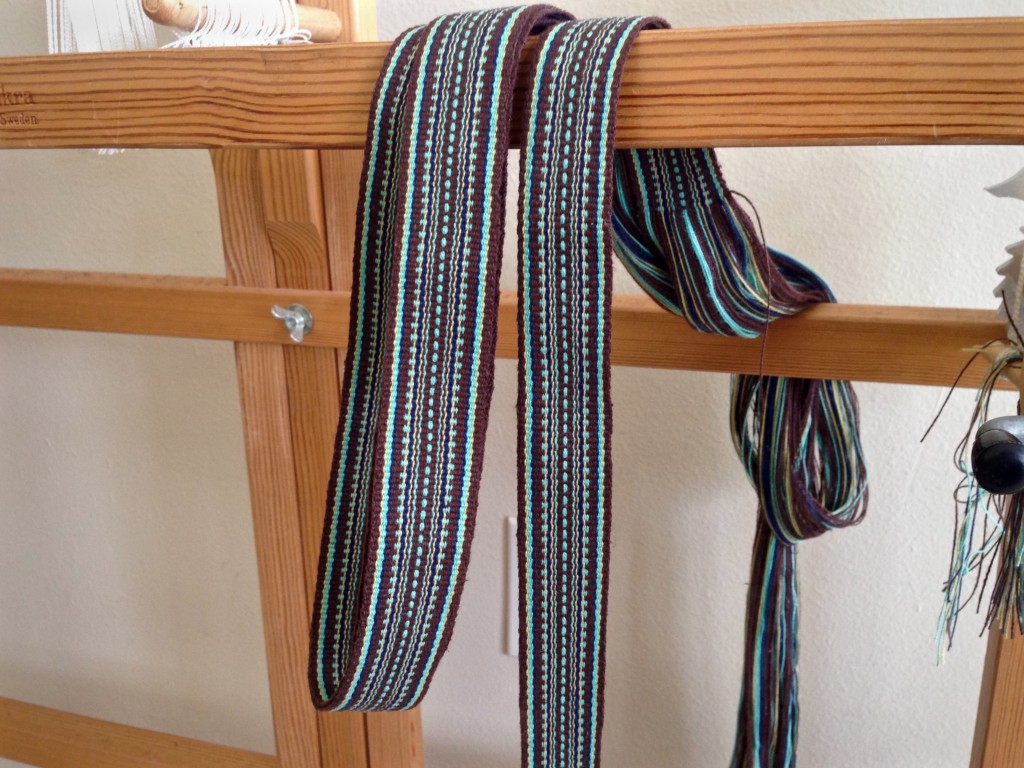
Bag handle woven on band loom. Karen Isenhower

2. Insert unwoven band warp for one handle.

Weave approximately 1/3 of the bag.

Cut the two handle straps apart in the middle of the 1″/2.5cm woven section that separates the two lengths of unwoven band warp. Entering from the right-hand side, insert one unwoven band warp, used here as weft, into the first shed of the double binding weave, with 1/2″/1cm of the band-woven handle strap reaching into the shed. Tap the weft in with the beater, but do not beat it in firmly, yet.
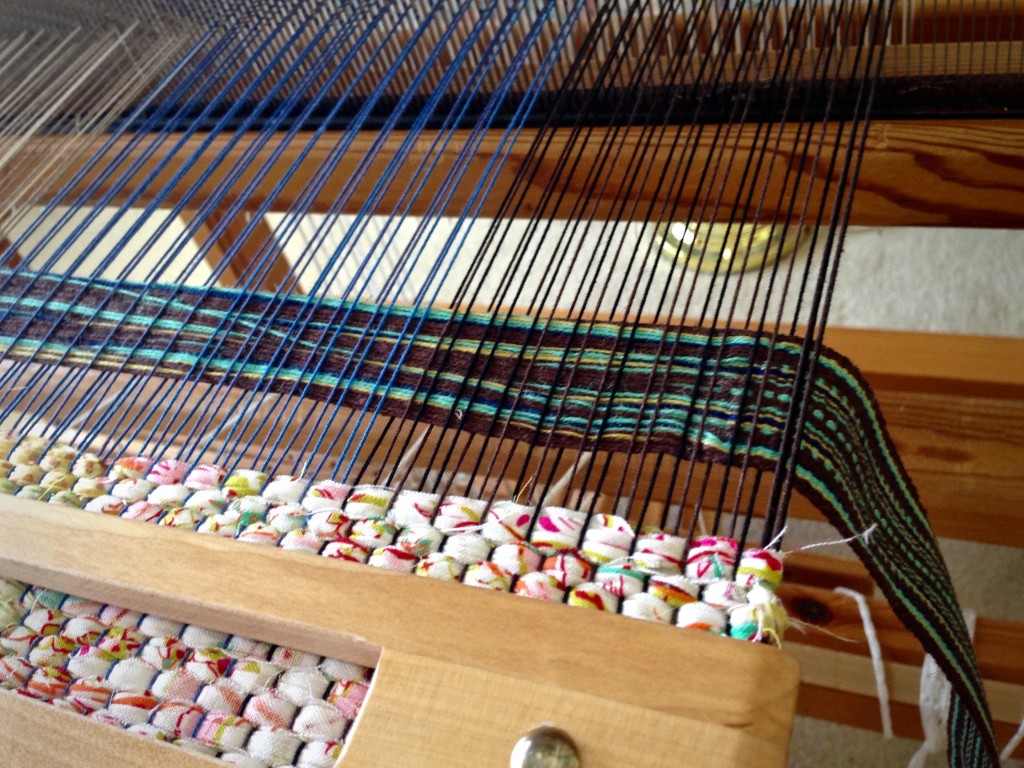
Steps for weaving handle into rag weave bag.

Weave handle into rag weave bag. How to.

3. Insert unwoven band warp for the second handle.

Entering from the left-hand side, insert the unwoven band warp, used as weft, from the second handle strap into the second shed of the double binding weave, with 1/2″/1cm of the band-woven handle strap reaching into the shed. Beat firmly, packing in both layers of weft together.
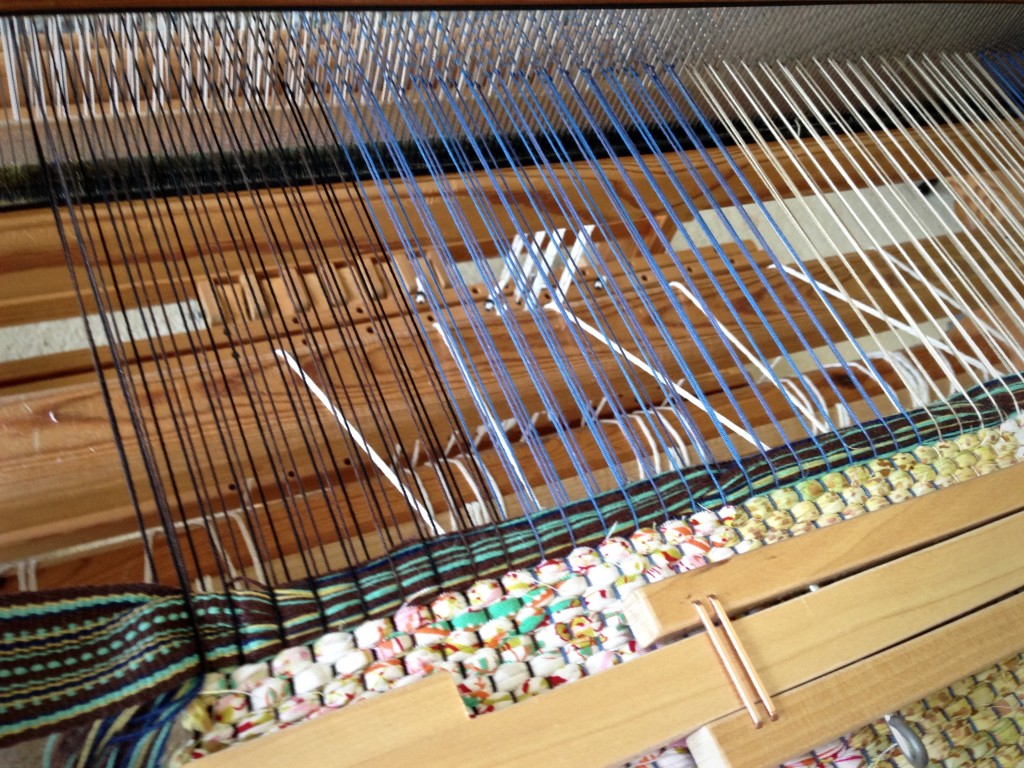
Weave handle into rag weave bag on the loom.

4. Weave the center 1/3 of the bag.

Step-by-step weaving handle into bag.

5. Insert remaining unwoven warp of first handle.

Repeat Step 2 with the unwoven band warp attached to the handle on the right-hand side. Make sure the handle strap is not twisted.
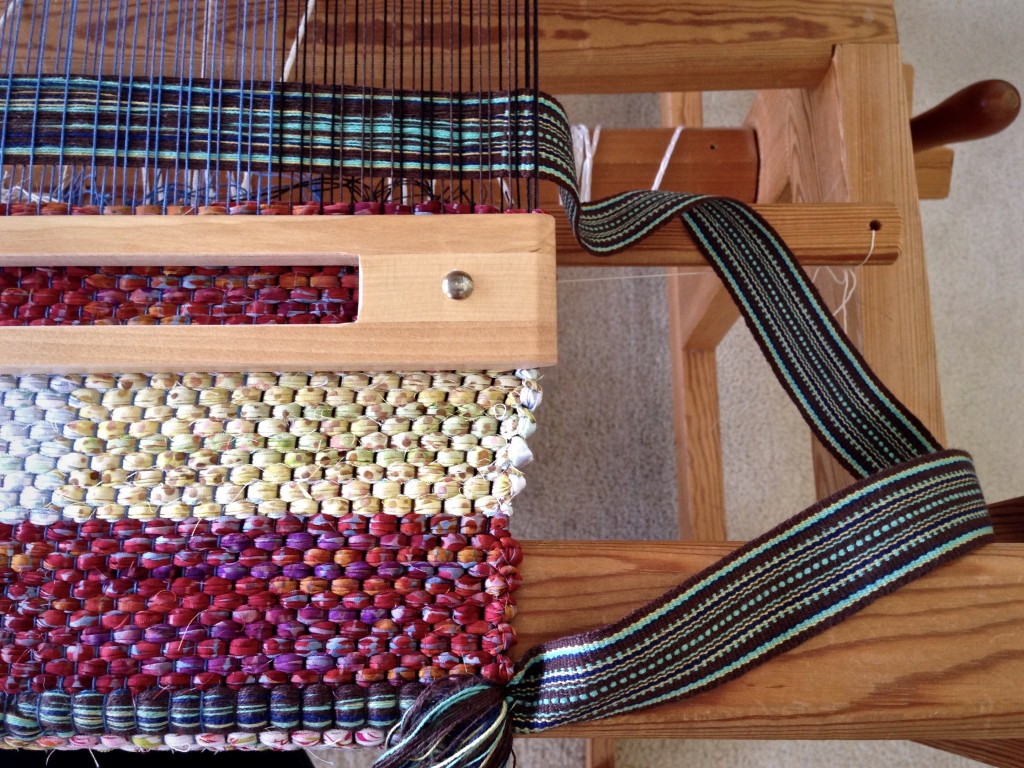
Inserting bag handles during weaving. Tutorial.

6. Insert remaining unwoven warp of second handle.

Repeat Step 3 with the unwoven band warp attached to the handle on the left-hand side. Make sure the handle strap is not twisted.
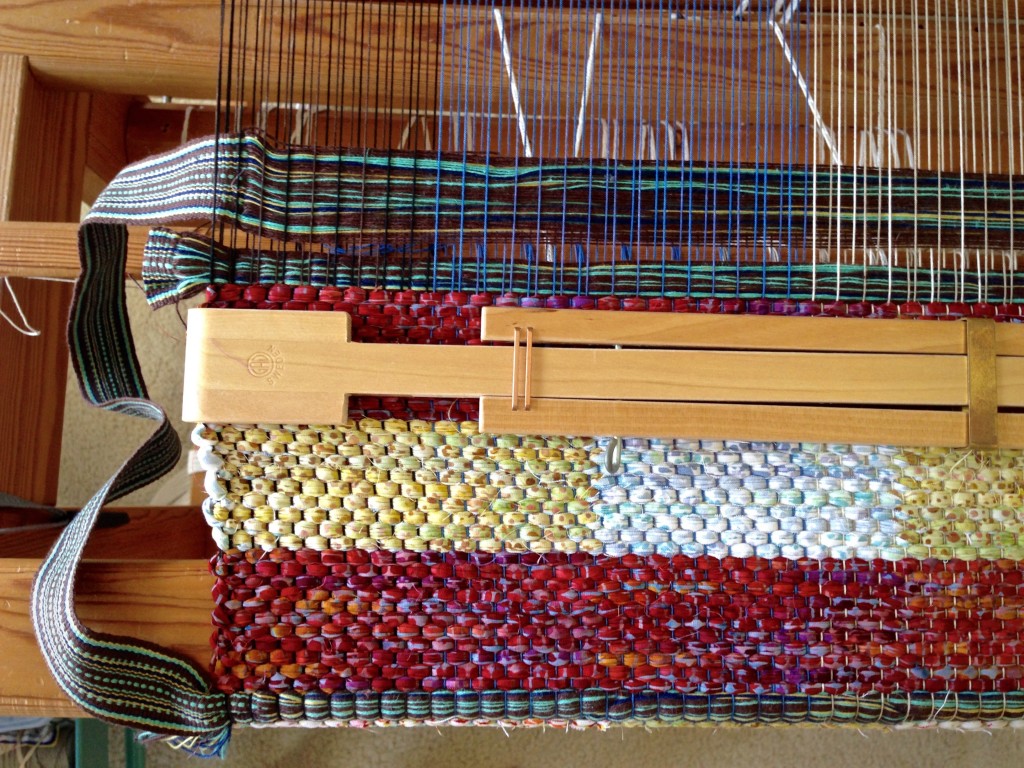
How to insert bag handles into the weaving.

7. Weave the final 1/3 of the bag.

Double binding rag rug bag.

8. Finishing work.

Cut rag-weave bag from the loom. Remove header and knot the ends. Press. (For more about finishing the ends, see Quiet Friday: Rag Rug Finishing and Wear and Tear Rag Rugs)
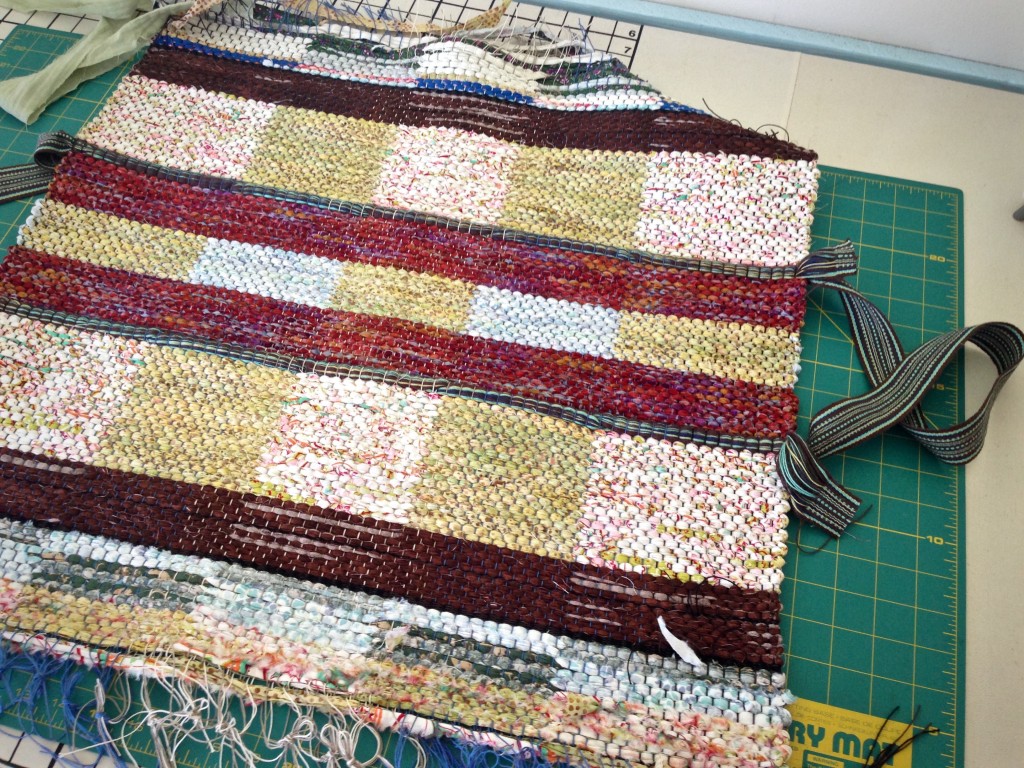
Finishing ends to make bag.

9. Stitch the bag.

Fold the bag, right sides together. Stitch side seams. Turn right side out. For whimsical detail, form box corners on the outside, and stitch in place by hand with warp thread. (You could form box corners on the inside just as well, stitching flattened corners by machine or by hand.)
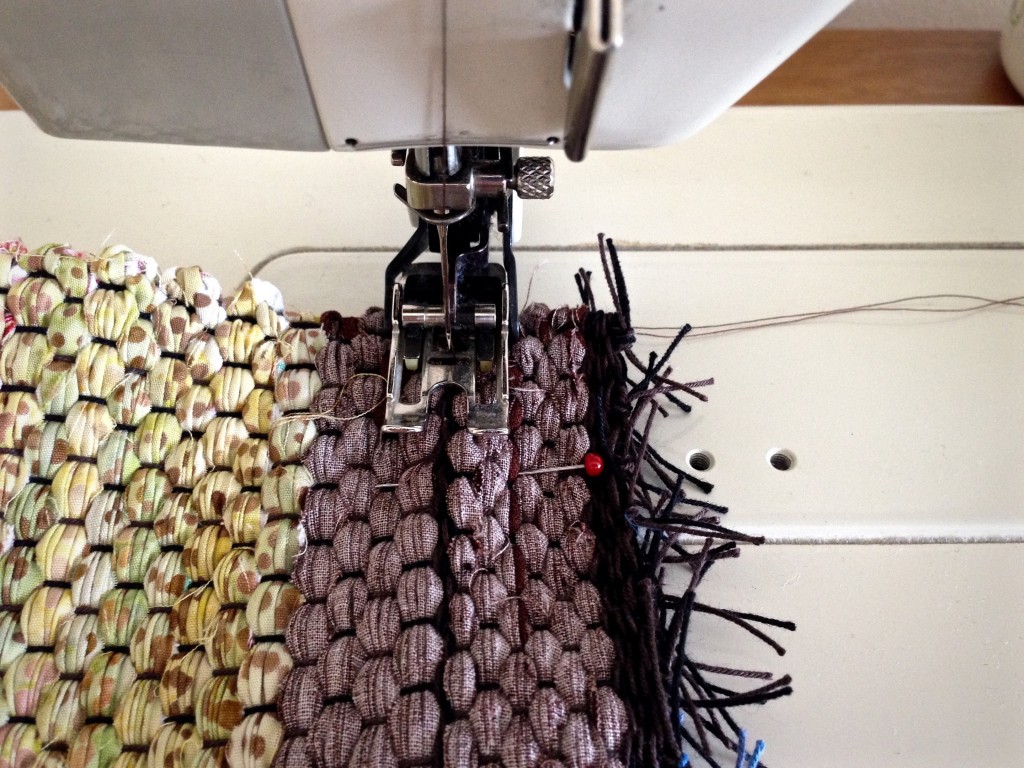
Creating a rag rug bag.

10. Take your bag with you wherever you go.
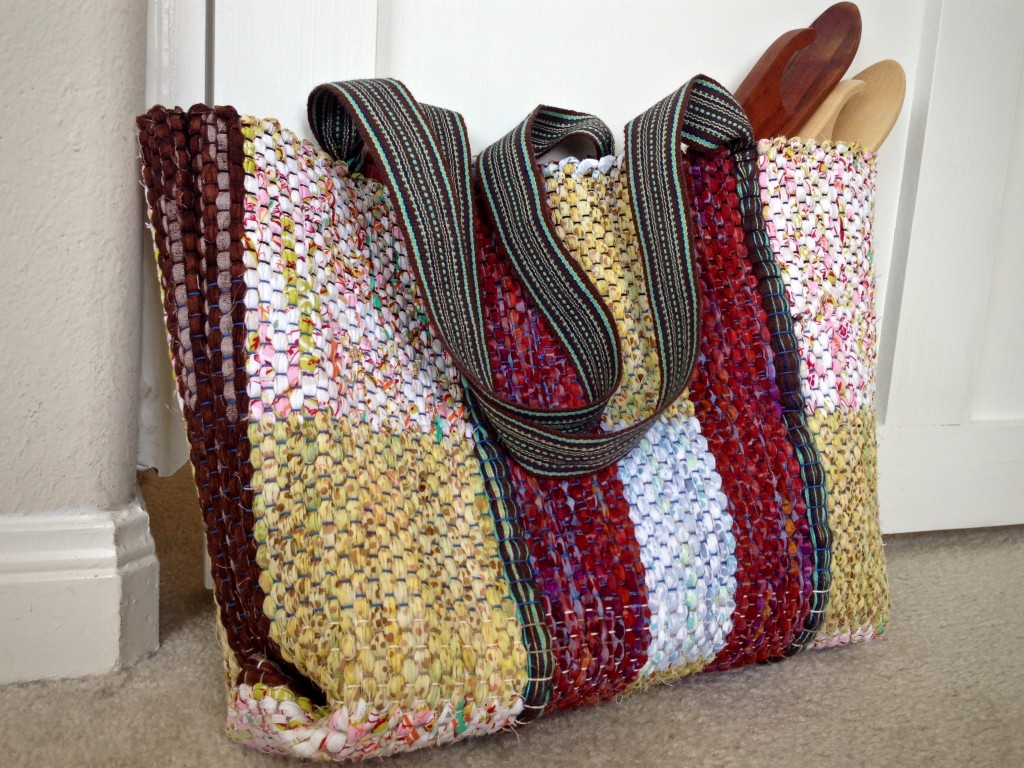
Rag rug bag with woven handles. Karen Isenhower

Rag rug bag detail. Karen Isenhower

May your ideas turn into fruitful efforts.

Happy weaving,
Karen

Weaving Southwest Habitat Class

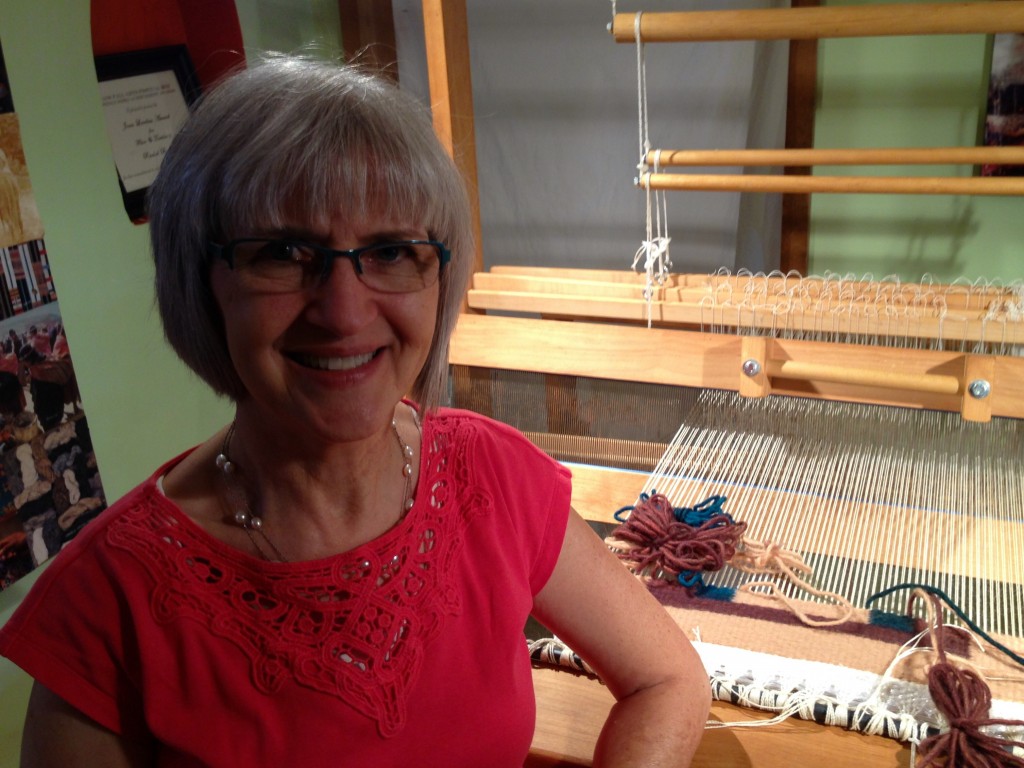
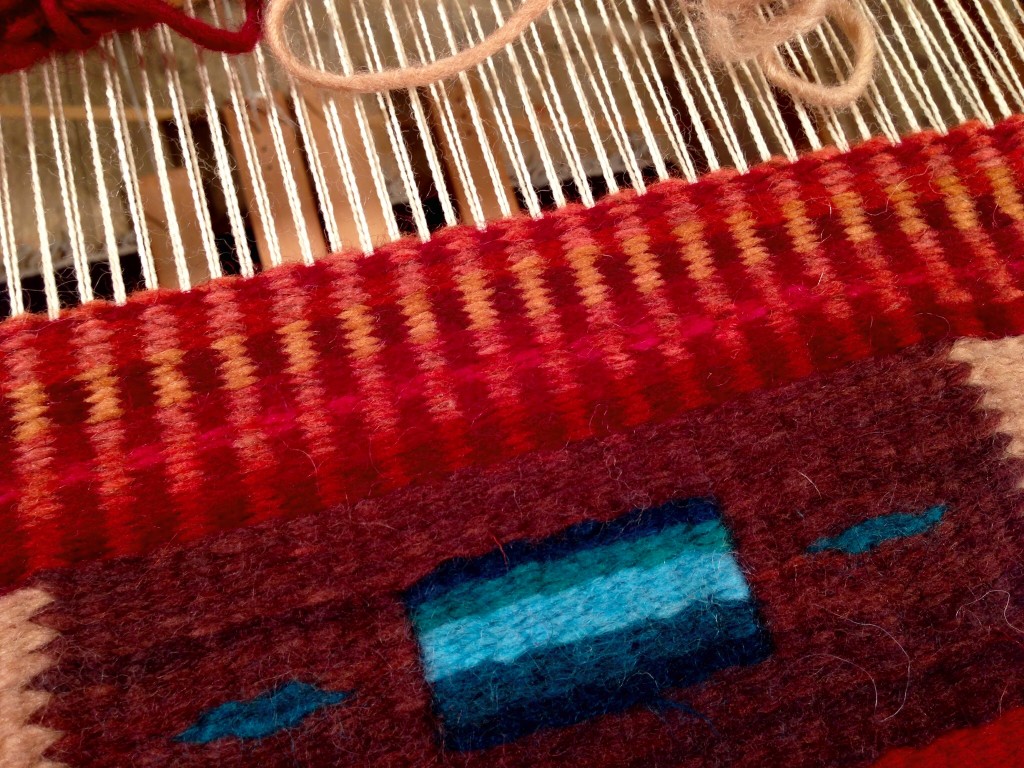
I just spent three days at Weaving Southwest in Arroyo Seco, New Mexico, studying tapestry techniques with Teresa Loveless. It was a great experience! “Habitat, a Study in Verticals” is a fun and informative class, with exceptional personal attention given to each student. The looms are Rio Grande walking looms that were designed by Teresa’s grandmother, Rachel Brown. You weave standing up!

Spectacular rainbow near Arroyo Seco, New Mexico.
This stunning double rainbow over the mountains greeted us on our first evening in Arroyo Seco. Images like this inspire countless artisans in New Mexico.

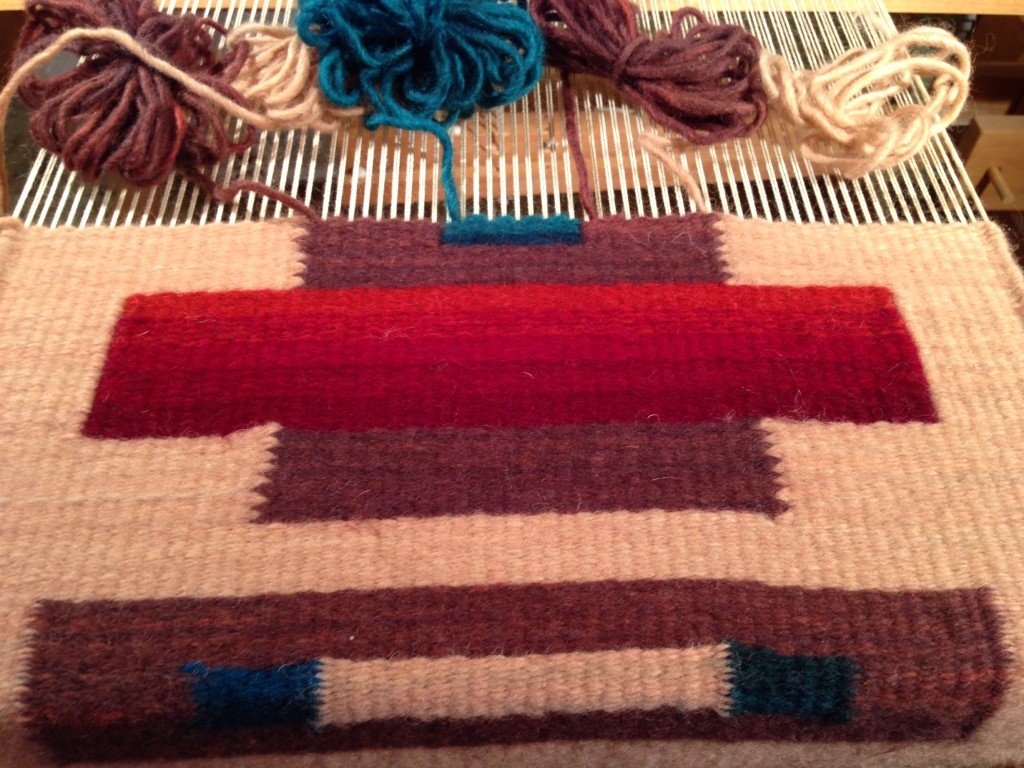
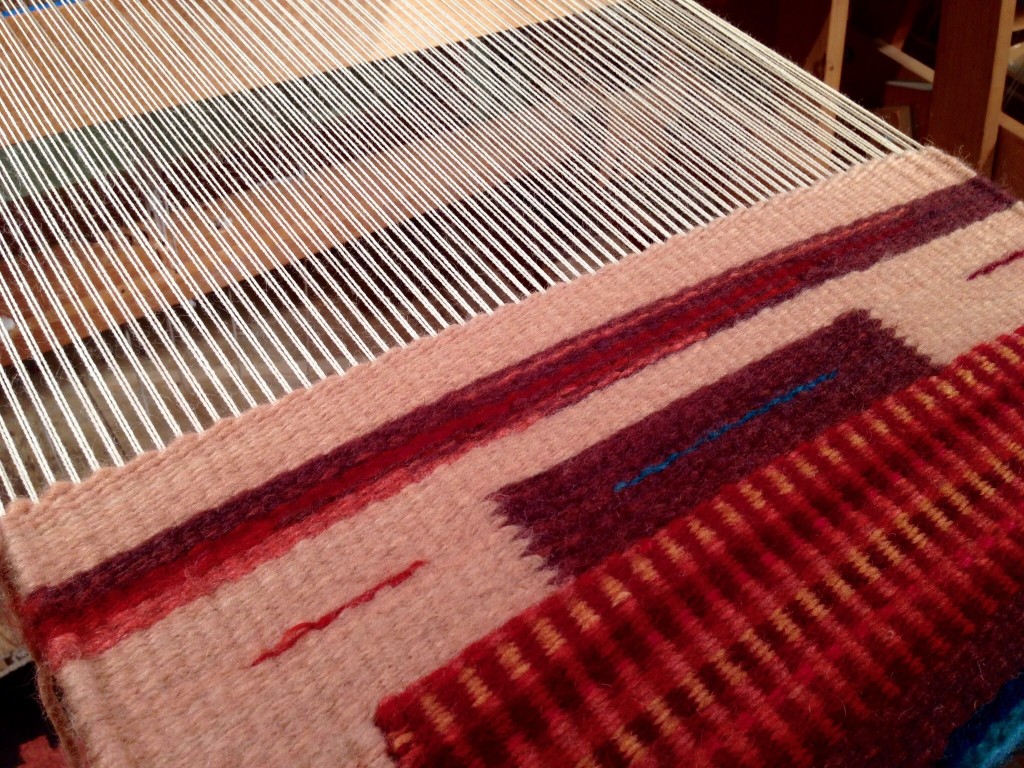
The emphasis for this class is vertical joins in weft-faced plain weave tapestry. Teresa uses memorable words and phrases that help students remember techniques. Just ask me about threads kissing! Besides the vertical joins, we also practiced other tapestry and shuttle techniques, including pick and pick, color gradation, and hatching. Finishing techniques, like sewing in loose threads, stitching slits, braiding fringe, and blocking the finished piece were covered at the end of the last day.

Rio Grande walking loom at Weaving Southwest.
Standing in front of the Rio Grande walking loom I used at Weaving Southwest, after weaving the first portion of my design.
Weaving Southwest class.
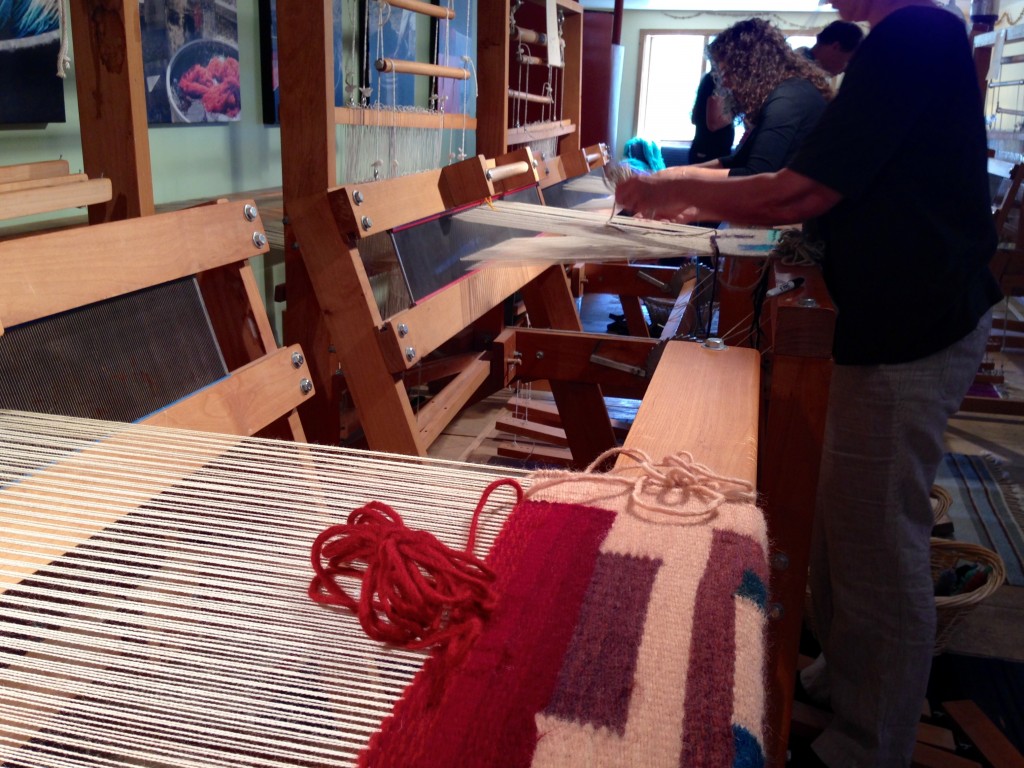
Five students in the class each have a loom.

We had a fabulous selection of Weaving Southwest’s own rug wool in rich, fabulous colors. To take advantage of the hand-dyed wool’s unique features, I chose background colors that had an almost variegated appearance.

Color gradations in tapestry class at Weaving Southwest.
Color gradation with three shades of red, using “wavy lines.”
Tapestry class at Weaving Southwest.
Pick and pick, creating vertical stripes of color, is one of my favorite techniques. Maybe I will make an entire wool rug using pick and pick.
Tapestry class at Weaving Southwest
Just enough time to add some hatching at the end portion of my piece. Fun!

I will show you my finished piece in an upcoming post. And I will share a personal conversation I had with Teresa, talking about her big dreams.

May you learn something beautiful.

Happy Weaving,
Karen