Tools Day: Electric Bobbin Winder

Every time I use my bobbin winder I am reminded of how fortunate I am. It’s electric. No one has an electric bobbin winder quite like mine, because no one else has my Steve to invent things like he does. He watched me using my nifty hand-turn Swedish bobbin winder many times. Steve decided he could make something better. A motor and an on-off light switch, with a variable-speed foot pedal. It’s perfect! I love it. But mostly, I love Steve.
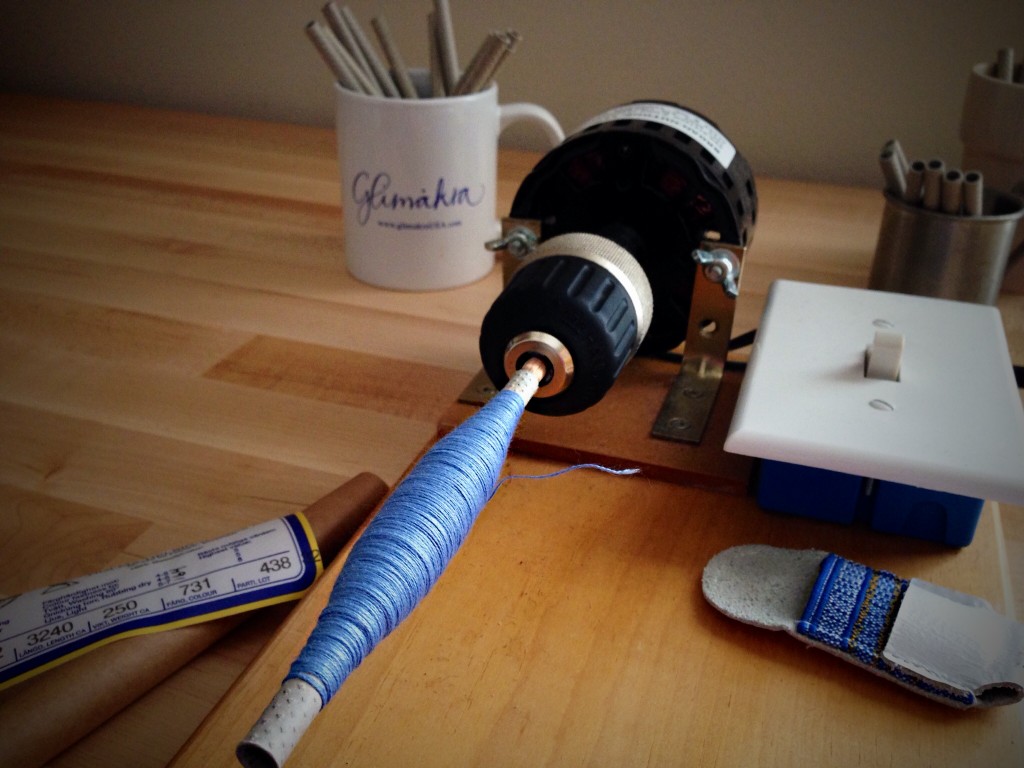
Home built electric bobbin winder. Works like a charm.
Electric bobbin winder holds any length of quill. The quill fits tightly onto a tapered dowel that extends from the bobbin winder.

The leather quilting thimble keeps me from burning or cutting my thumb as the thread speeds by while I guide it onto the fast spinning quill on the bobbin winder.

I am on my very last tube of this shade of light blue. Will there be enough on this quill to finish the last blue section of the last of four towels in this color scheme, plus enough for the light blue hem?? Somehow, I think a tightly- and perfectly-shaped quill will be able to weave just a little bit further… (You can see the beginning of this set of four towels HERE.)
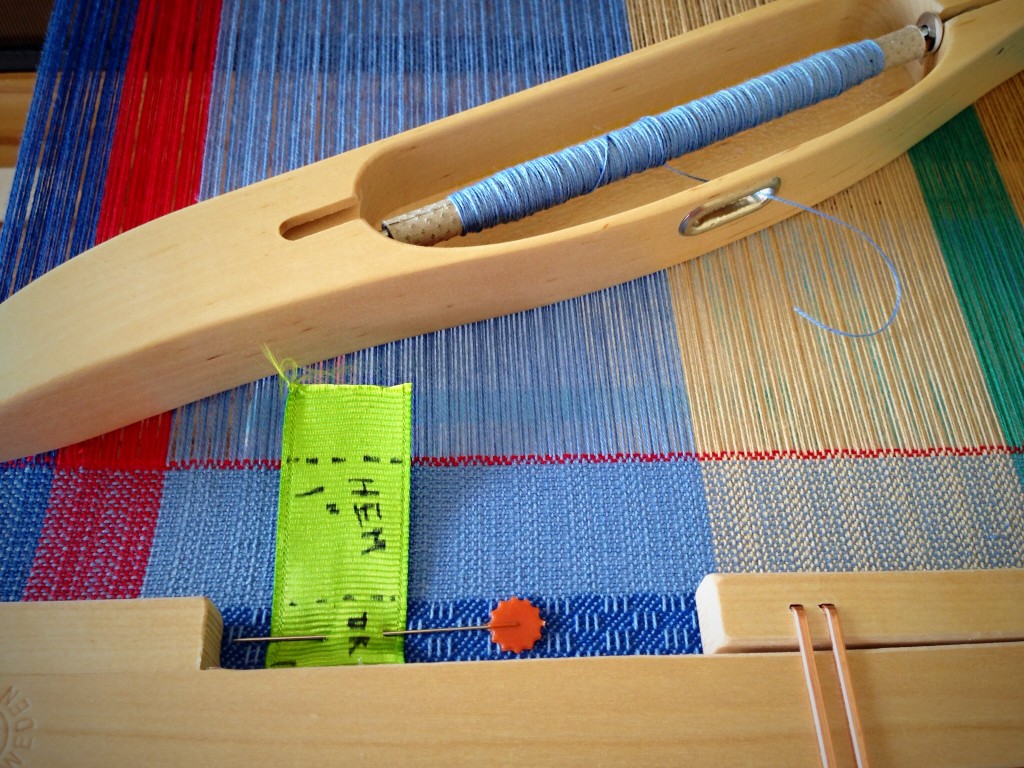
Just enough light blue to finish the hem!
Small amount of light blue left on the quill. Maybe I can use the remainder for a couple of small stripes on another towel.

Yes! Finished the hem with a little bit of light blue left to spare. This is a good day!

To request Steve’s parts and source list for the electric bobbin winder, click HERE to send me an email.

May you always have just enough of what you need.

Joyfully,
Karen

Tools Day: Temple Technique

What is the secret weapon for improving selvedges, preventing draw-in, and getting a more even beat, leading to better quality handwoven fabric? Use of a temple (also known as a stretcher), of course! The temple is a tool that simply holds the woven cloth on the loom at the proper width. I almost always use a temple when I weave because I like the consistency that it brings to my weaving. It may seem counterintuitive to stop frequently to re-set the temple, but I have found that moving the temple becomes part of the rhythm of weaving. The cloth develops inch by inch, and the temple is in sync with that.

How to set a temple:

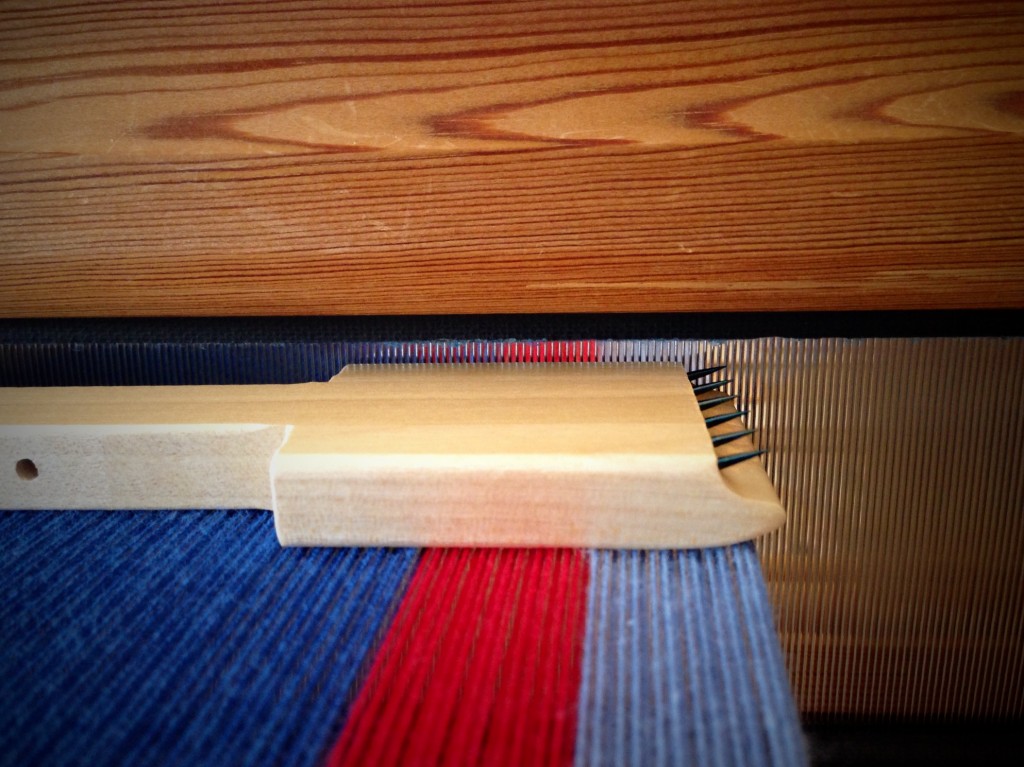
1. Place the temple upside down on the warp next to the reed. Remove the pin. Expand the temple to the width of the warp, with the center of the teeth aligned with the outside warp thread on each side.

Proper placement of a temple. How-to pics.

2. Put the pin in aligned holes to hold the width of the temple.

Determining the proper width of a temple for weaving.

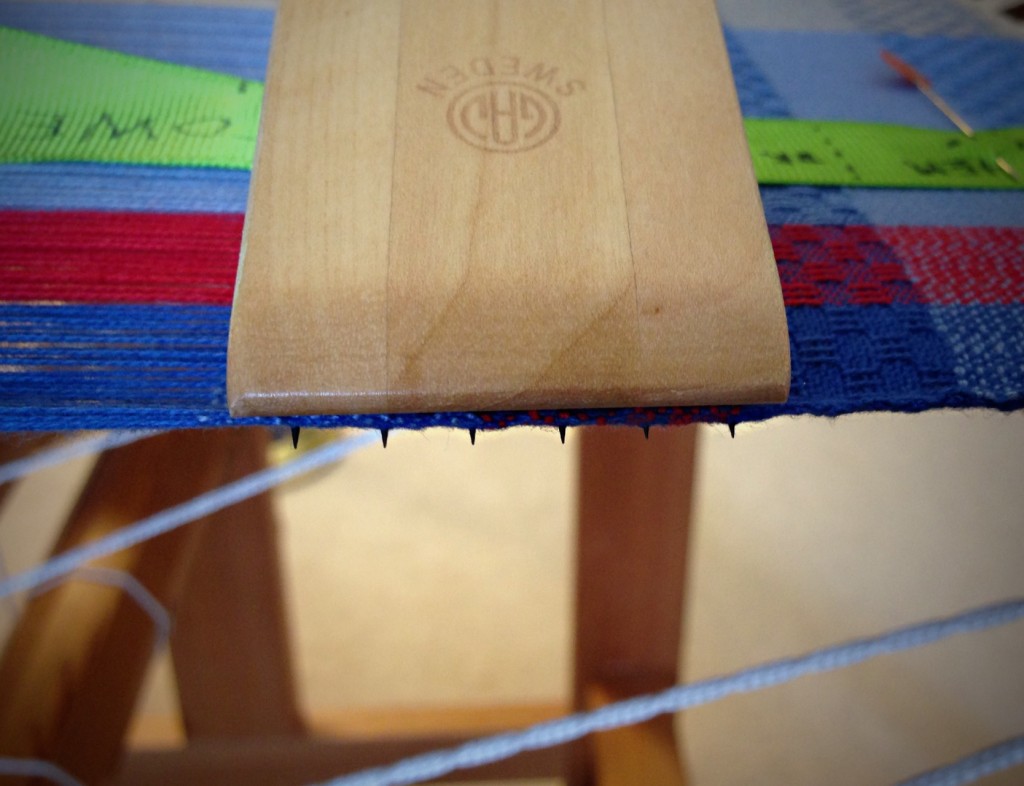
3. Turn the temple right side up, with the pin facing toward you, and the metal slider on the right half of the temple. Place the temple near the fell of the weaving; set the teeth on the left side of the temple into the warp threads near the selvedge.

Setting the teeth of temple into the cloth selvedge. How-to pics.

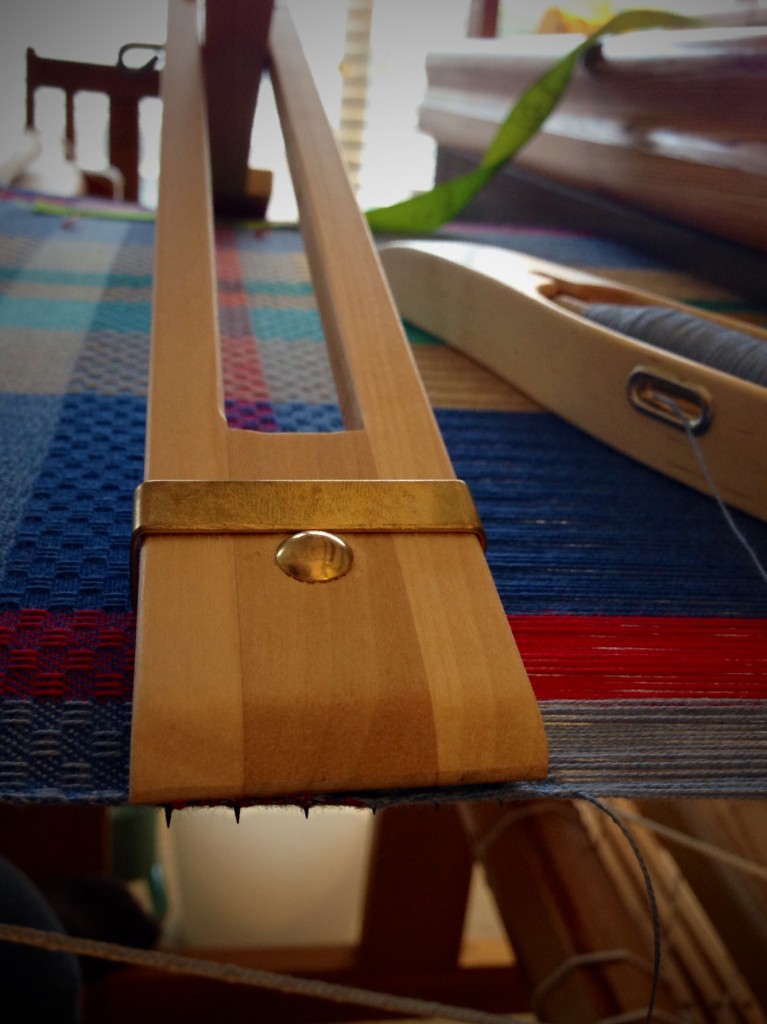
4. Keeping the left teeth in the cloth, set the temple teeth on the right into the threads near the selvedge on the right side of the cloth.

Setting the temple. Pics with explanation.

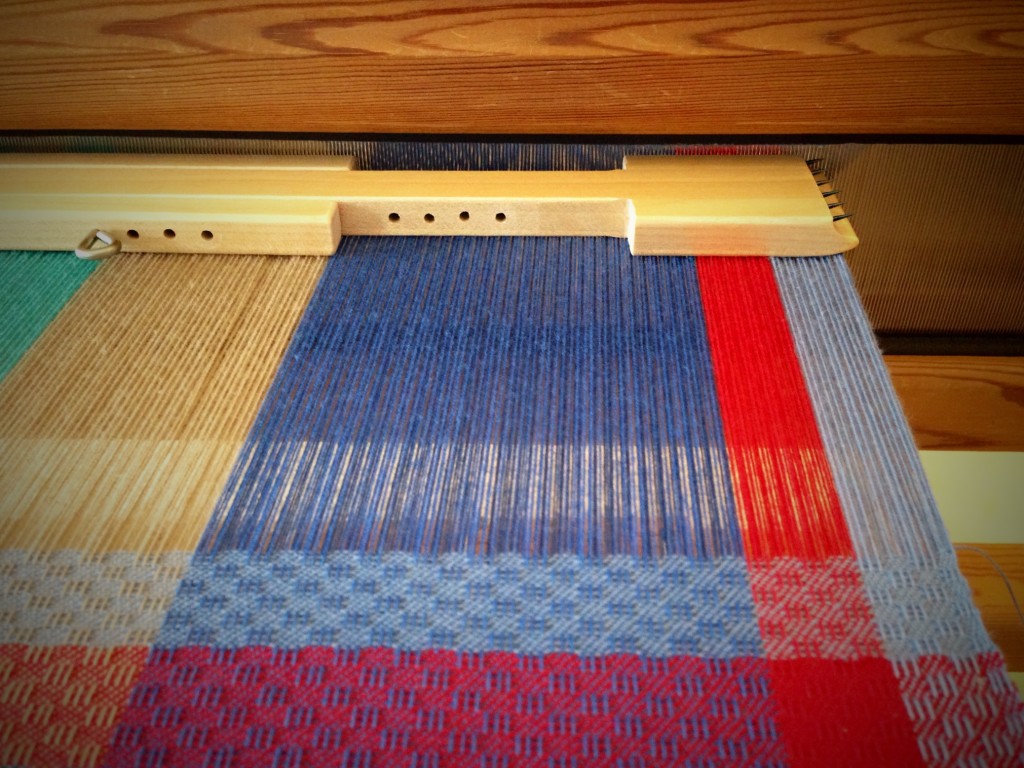
5. Press down the center of the temple. Move the metal slider toward the center to secure the temple, keeping it flat.

Temple in place for weaving consistency.

6. Weave. The reed should not touch the temple when you beat. After weaving an inch (or two, or three, depending on what is being woven), release temple by moving the metal slider. Remove temple. Repeat steps 3 through 6 until weaving is complete.

Small pin holes from temple teeth will disappear with wet-finishing.
Two small pin holes from the temple teeth can be seen near the left selvedge of the cloth. These holes will disappear when the cloth is wet finished.

(Compare this three-shaft twill fabric to my first attempt HERE with threading errors.)

May you find the tools that enhance the quality of your work.

Happy Weaving,
Karen

Tools Day: Weaving Rag Rugs

Handwoven rag rugs hold a fascinating appeal for many people. Does it have to do with the secure feeling of being home? After all, rag rugs are to be walked on at home, are they not? You don’t expect them at work, in the marketplace, or in palaces. A walked-on rag rug says, “Home, sweet home.”

Besides a sturdy floor loom (mine is a Glimakra countermarch loom), only a few good tools are needed to weave a rag rug. There are many different ways to prepare and weave fabric strips to make rugs, but I would like to show you how I do it with the tools that serve me well.

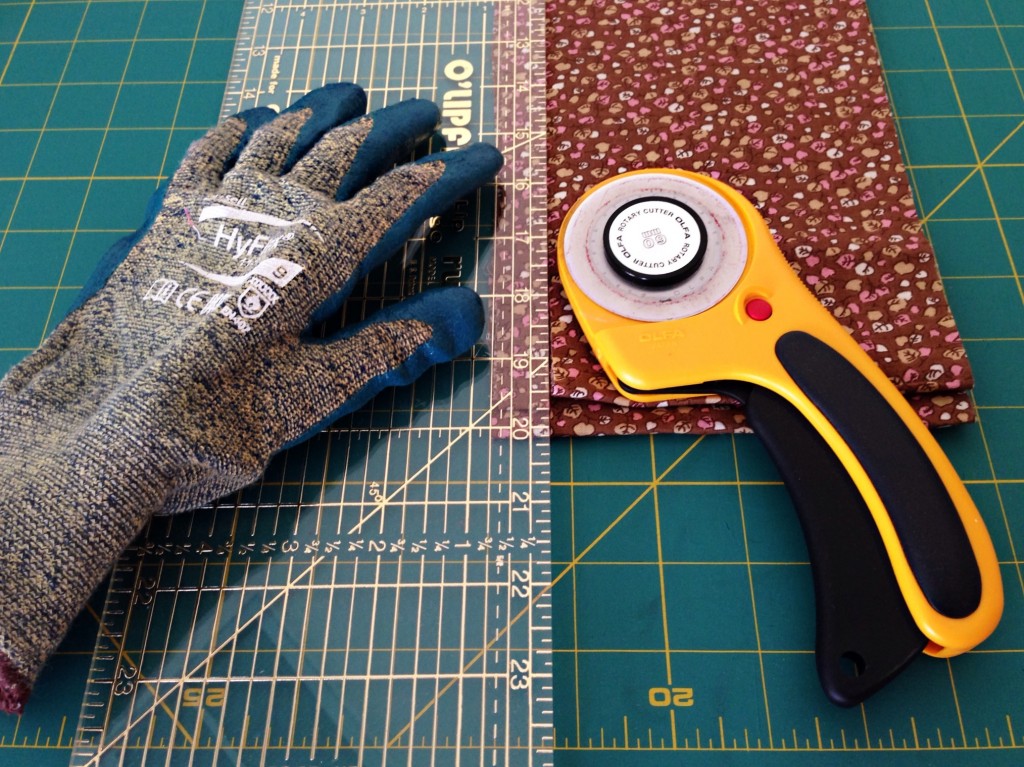
For cutting fabric strips:

  • Olfa Cutting Mat (24 x 36 inch) – Large enough to cut long strips.
  • Olfa Lip Edge Ruler (24 inch) – Essential for consistency and ease of measuring. The lip of the ruler catches the edge of the mat and keeps the ruler from shifting as you cut.
  • Olfa Deluxe Rotary Cutter (60 mm) – The 60 mm blade easily cuts through several layers of fabric (much better than a 45 mm blade). My other brand rotary cutter did not hold up to extensive use.
  • Ansell HyFlex Kevlar Cut Resistant Glove – My woodcarving husband suggested this for me. The cutter blade is dangerously sharp, so the protective glove is a wise idea.
Tools for cutting fabric into strips for rag rugs.
Pre-washed cotton fabric, cut into 3/4-inch (2 cm) strips, to use as weft in rag rugs.

For weaving rag rugs:

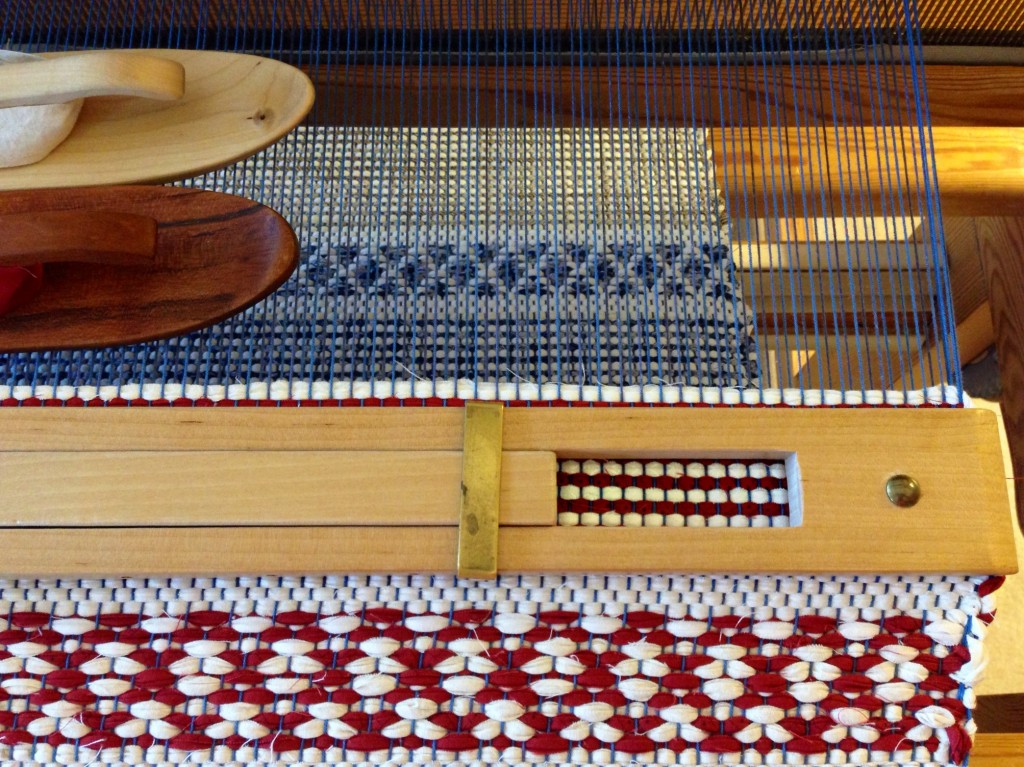
  • Temple – This tool stretches the weaving to the width that is consistent with the width of the warp as it comes through the reed. I wouldn’t attempt to weave a rug without this tool.
Temple in use while weaving rag rug.
Sharp teeth at ends of the temple grip the selvedges to keep the weaving at a constant width.
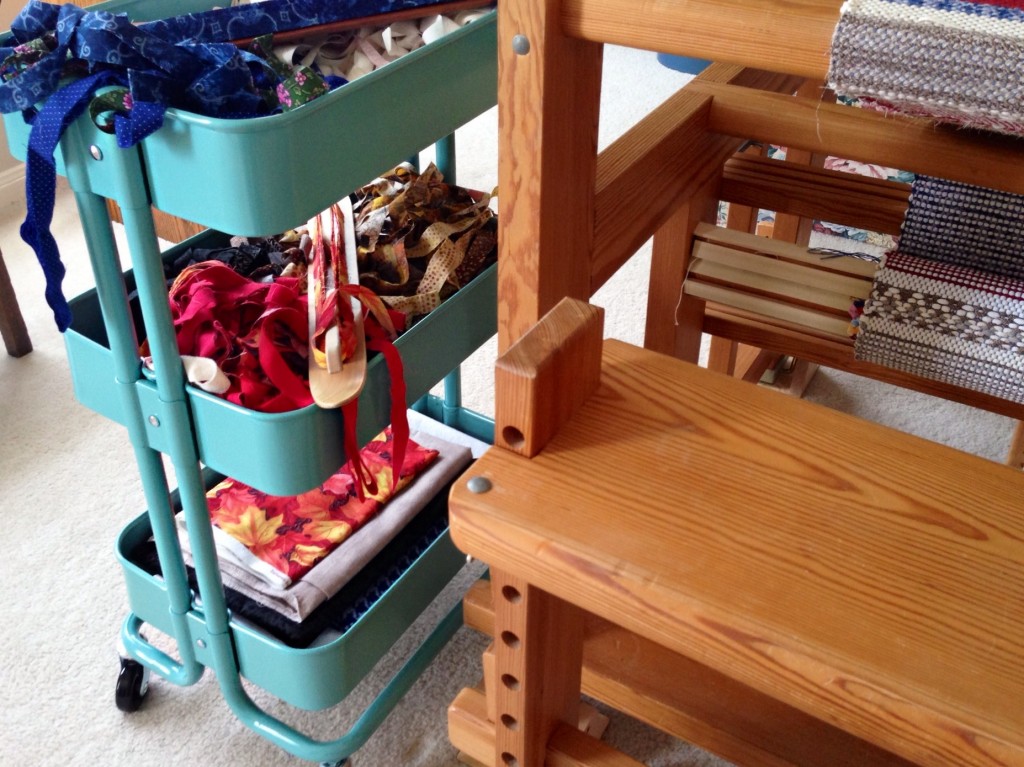
  • Turquoise Cart from Ikea – Not particularly essential (a chair with a box would do), but entirely useful. Why not have a pleasant and organized way to keep the fabric strips, shuttles, and supplies close at hand?
Ikea cart beside the loom while weaving rag rugs.
A place for everything, and everything in its place. This turquoise cart from Ikea is perfect for keeping all the fabric strips in order as I weave.
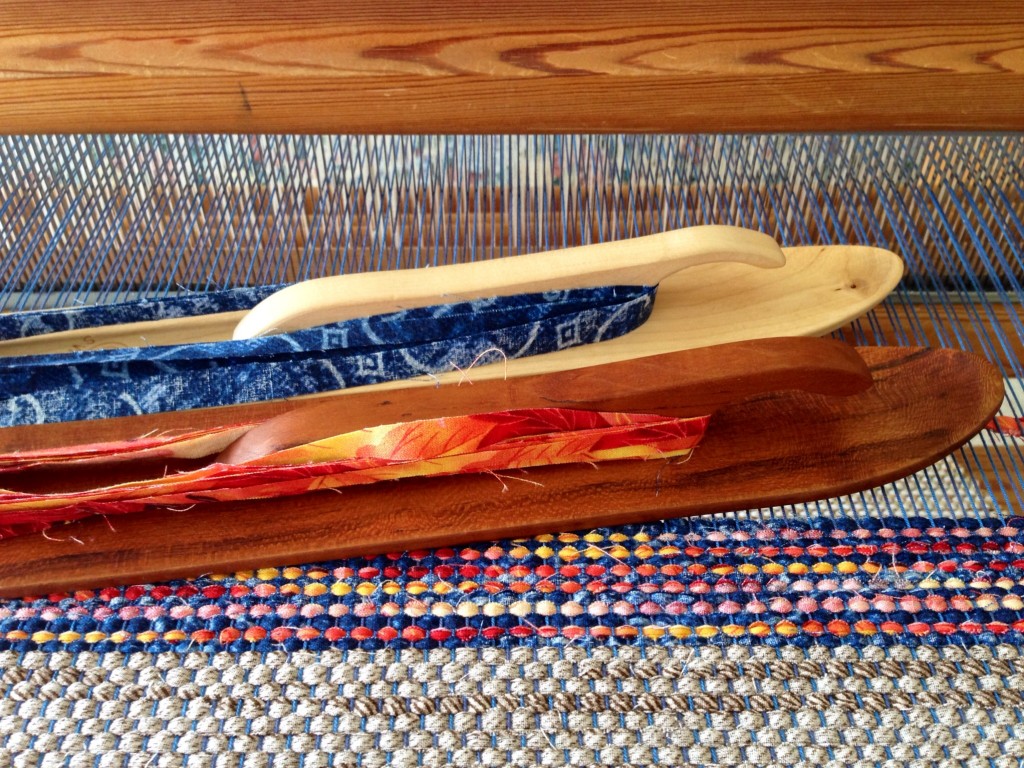
  • Ski Shuttles – My favorite ski shuttle, of course, is the beautiful cherrywood shuttle that Steve made for me–a delight to see and to touch. This type of shuttle is perfect for the way I weave rag rugs. A five-yard strip of fabric, cut with tapered ends, is easily wound on the shuttle. When the shuttle is empty, I wind on another fabric strip. I overlap the tapered fabric ends in the shed. There is no ripping, sewing, folding, or pressing. Simple, seamless, secure.
Weaving rag rugs with handmade cherry ski shuttle.
Handmade cherrywood ski shuttle glides through the shed with ease.

May you rest in the comfort of your home, sweet home.

Happily Weaving,
Karen

Tools Day: Scissors

Whatever you do, choose good tools. Scissors are probably the most frequently used small tools in my weaving room and sewing space, so it makes sense to use quality scissors. I started with Gingher many years ago, and have never been disappointed in their performance, so there are several in my collection.

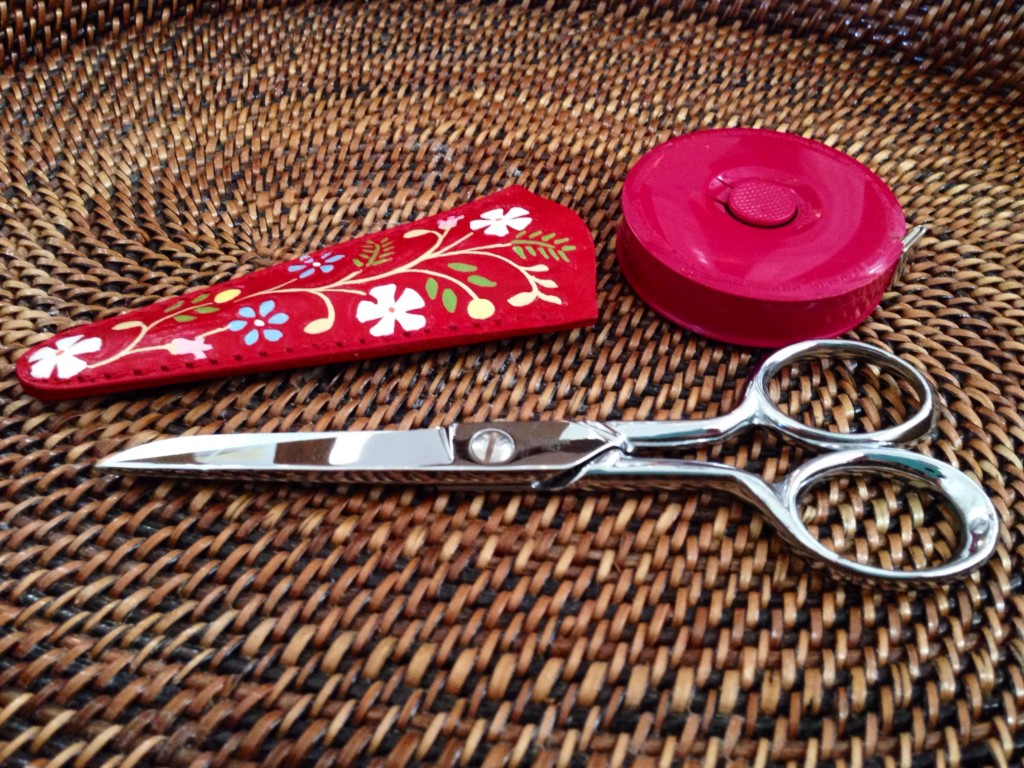
Painted leather sheath for scissors, from the Philippines.
Painted red leather sheath, found on one of my trips to the Philippines, protects this pair of five-inch Gingher Sewing Scissors. These scissors live in a holder on the table where I wind all my quills.

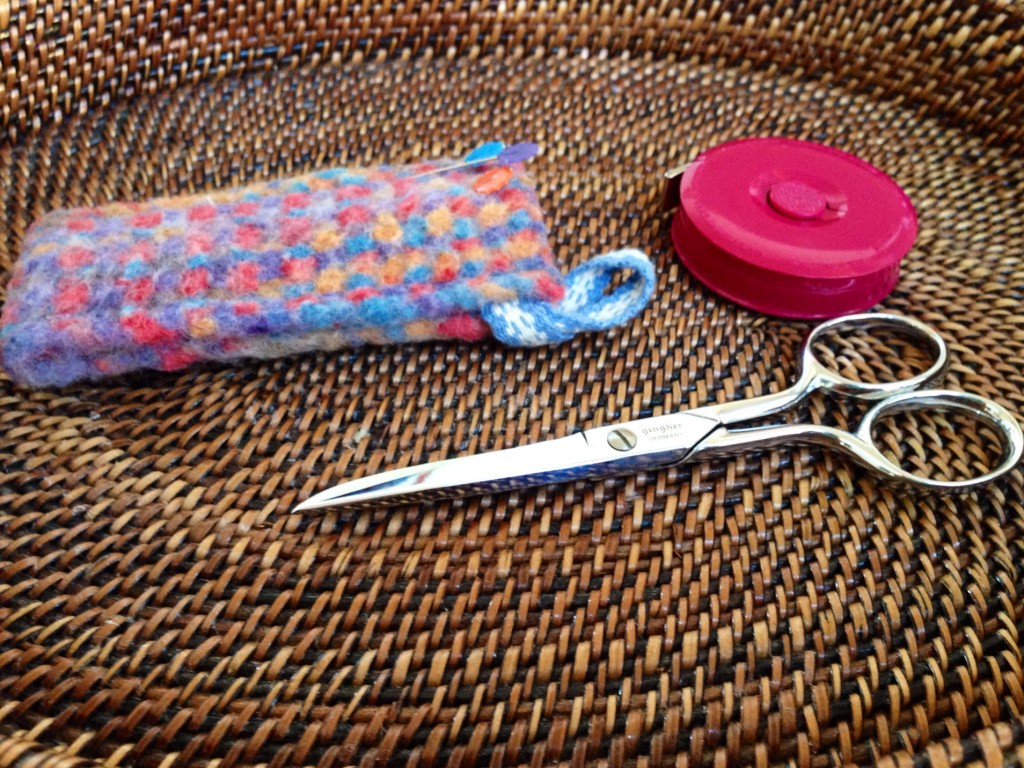
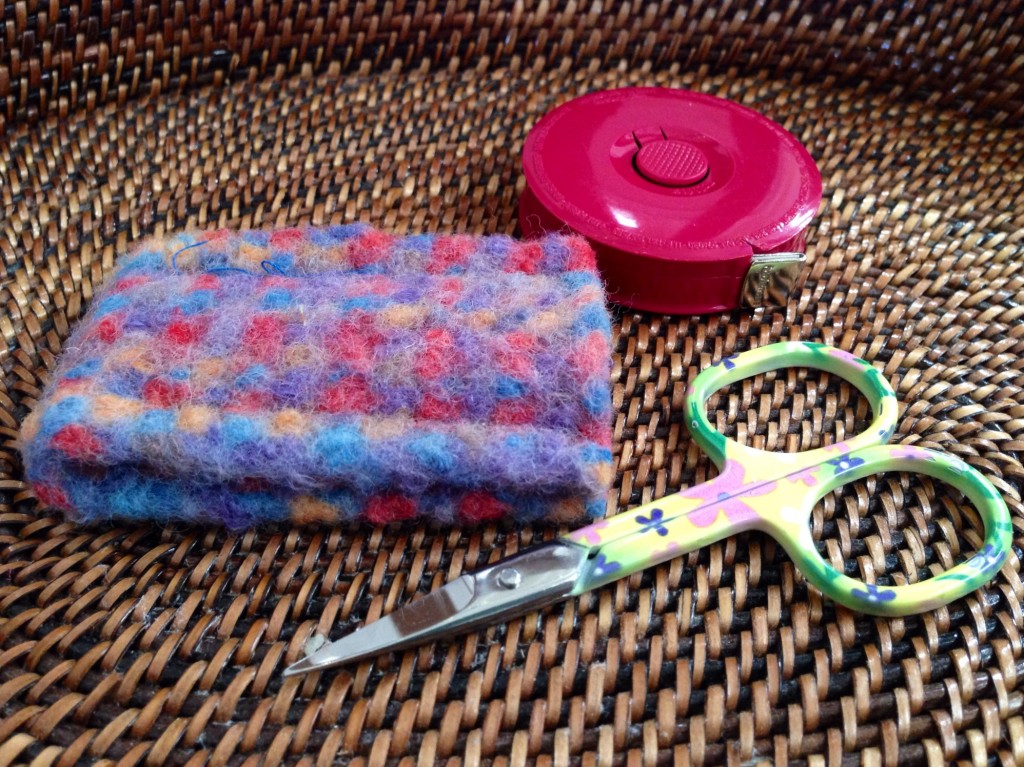
I have a variety of scissors, and each has their own special place to call home. A few sit in custom felt sheaths. To make the sheaths, I wove a variegated wool band on my inkle loom, which I then machine washed and dried vigorously to cause the wool to felt. I then cut and stitched each little sheath to size.

Small scissors in inkle loom woven felt sheath.
Five-inch Gingher Sewing Scissors that live in the loom bench basket by my Glimakra Standard. I clip threads as I go, so these must be in easy reach. The felt sheath doubles as a pin cushion.

And, as your mother always told you, never ever use the fabric scissors to cut paper. There are paper scissors for that.

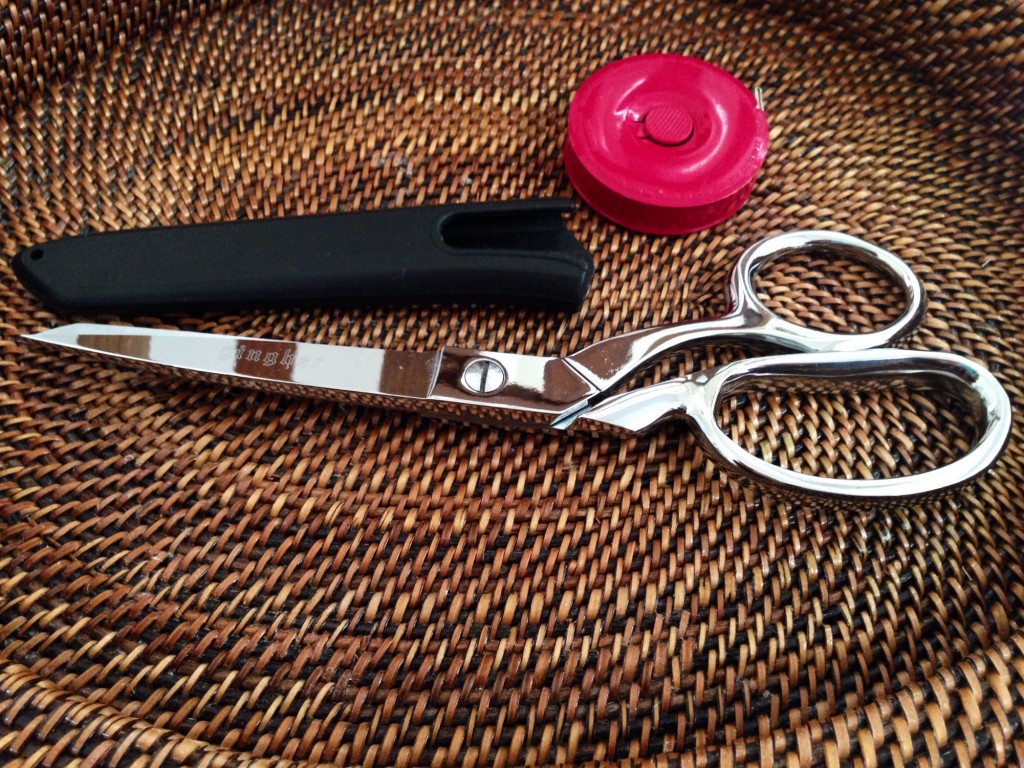
Gingher Dressmaker's Shears
Eight-inch Gingher Dressmaker’s Shears for cutting fabric, and only fabric. Cutting the warp off the loom counts as cutting fabric.
Small pretty scissors and inkle-woven felt sheath.
Pretty little scissors that live on my sewing/cutting table. These are used for clipping sewing threads and for some finishing work.
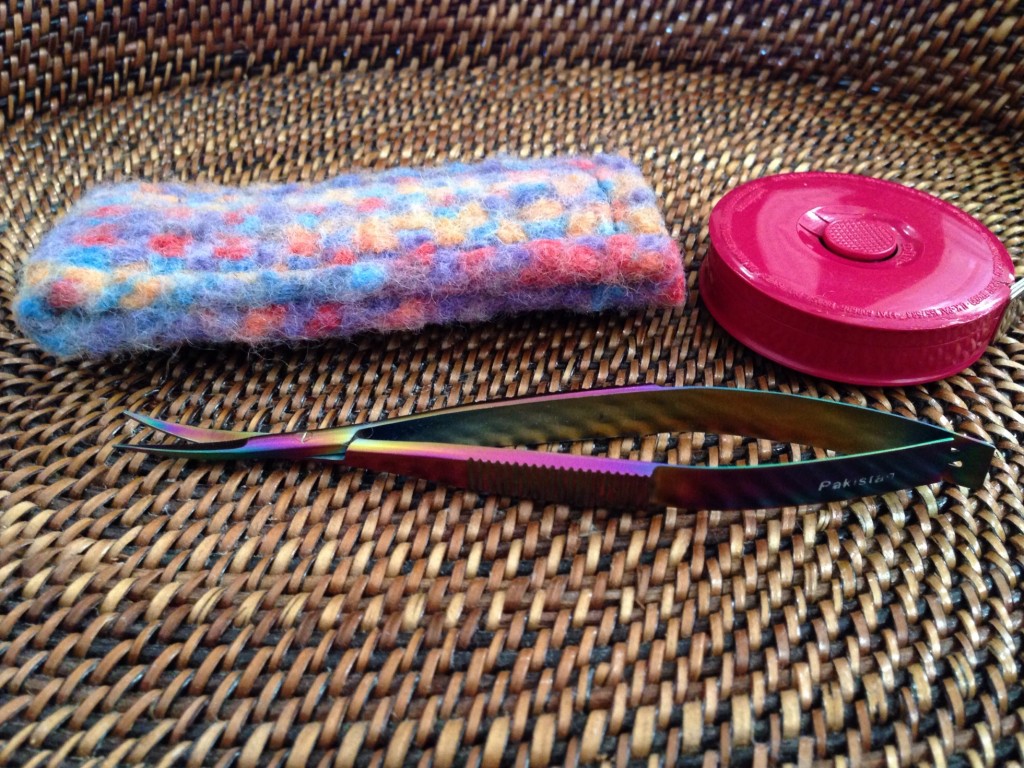
Famore Rainbow Colored Snips. Great for snipping threads as I sew!
Famore 4.5″ Rainbow Colored Snips also live on my sewing/cutting table. They come with me to the sewing machine for quick and easy snipping of threads.
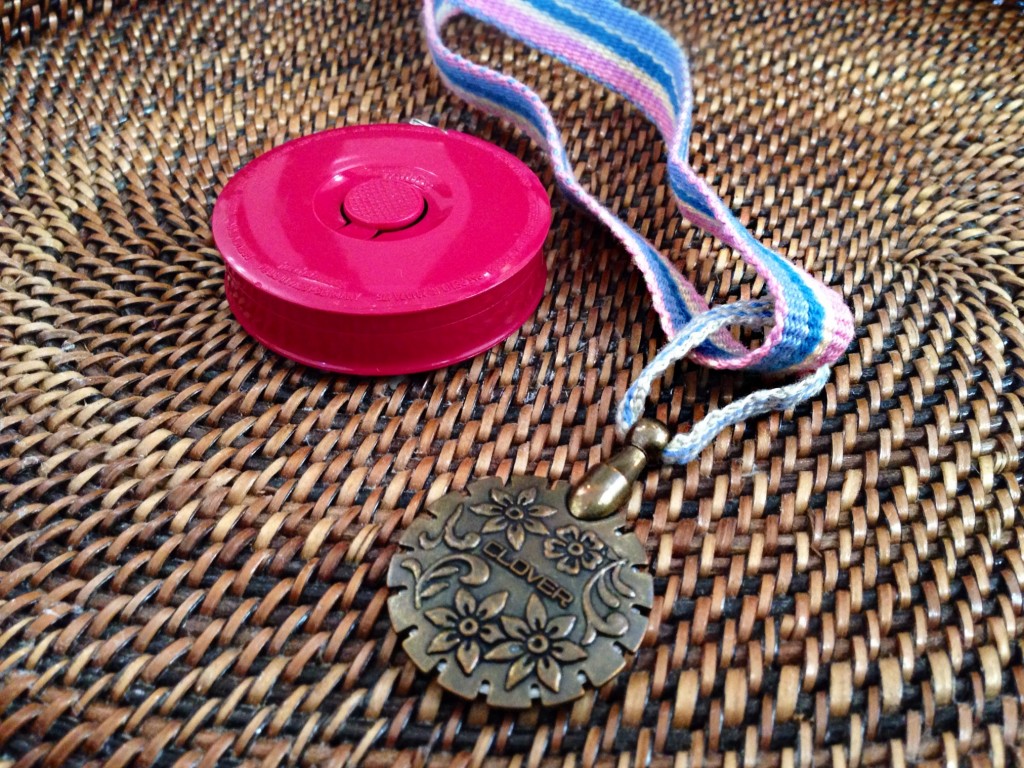
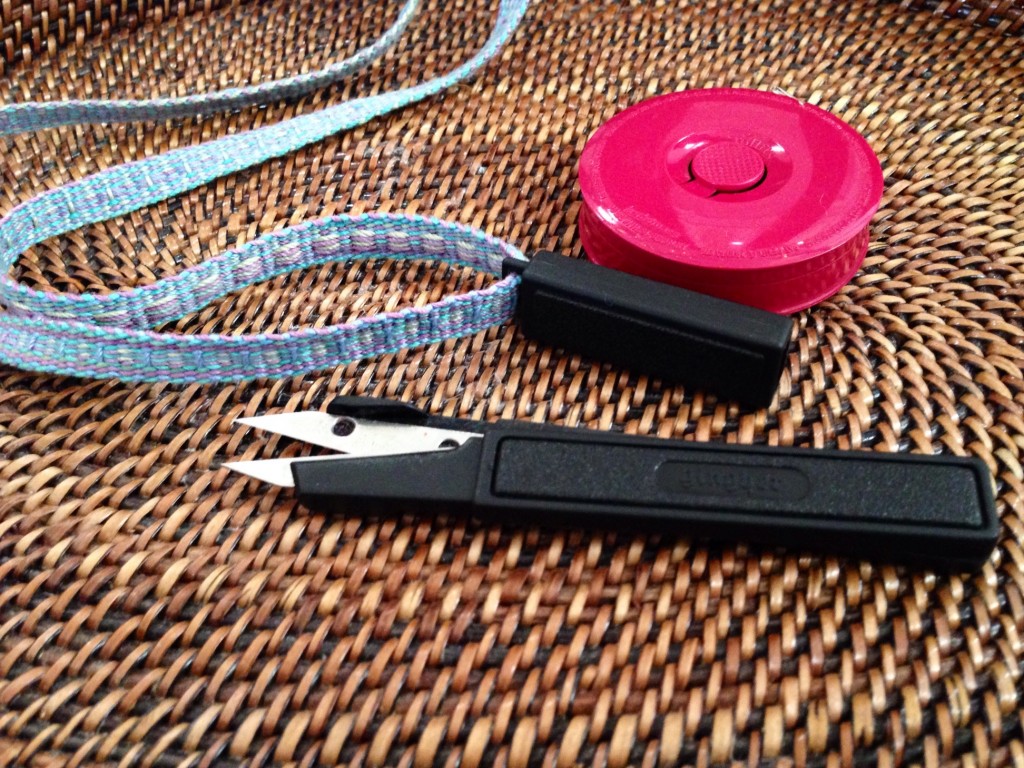
Clover thread cutter, with handwoven band for hanging around neck.
Travel thread cutter lives in the bag with my travel tapestry loom. The handwoven band, worn around my neck, keeps the Clover cutter at my fingertips.
Gingher Thread Snips, with handwoven inkle band for neck strap.
Gingher Thread Snip is the most recent addition to my cutting collection. It lives on my Glimakra Ideal loom, hanging on the corner of the front beam. While weaving, I wear the inkle-woven band around my neck, so the snips are always at hand.
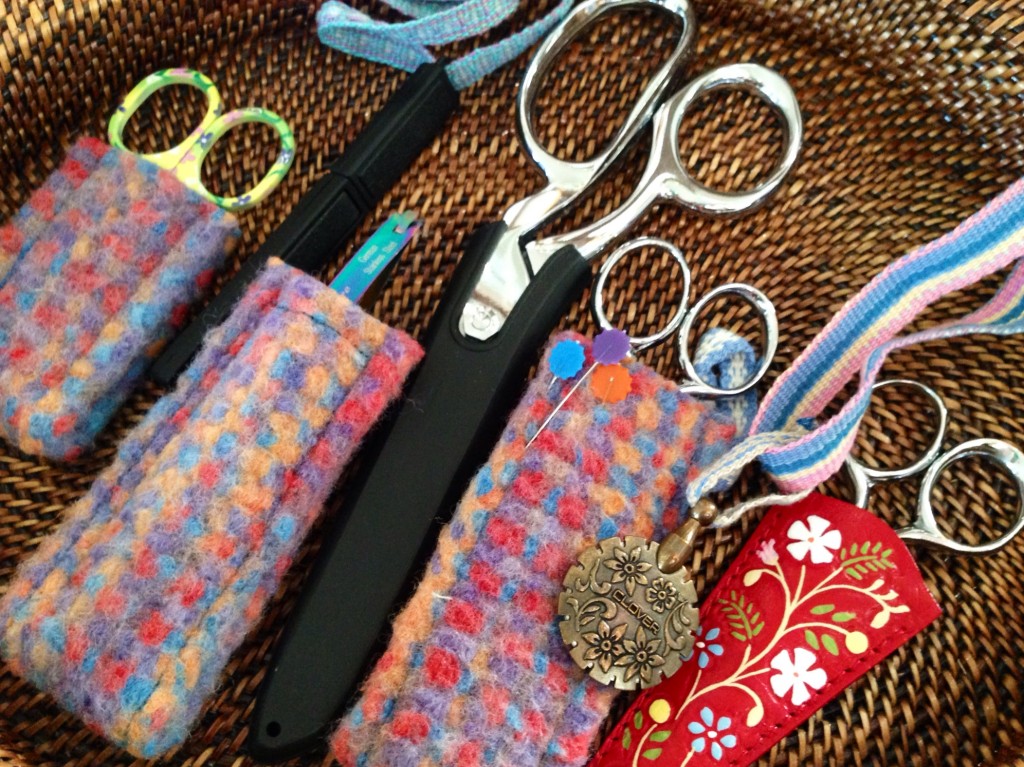
Collection of scissors and their sheaths.
It must be bedtime for the scissors, snippers, and cutters!

May your tools serve you well.

On the cutting edge,
Karen

Tools Day: These 6 Apps Are Great for Weavers!

I love mixing new technology with the old, passed-down tradition of handweaving. My iPhone has become a regular accessory in my daily routines. Since my iPhone is usually in my back pocket, the ease of using apps as weaving tools makes a lot of sense. (These apps are useful, even if you are not a weaver.)

Here are my favorite apps for weaving and how I use them:

Things gives me a simple way to organize my daily activities and responsibilities. I especially like the way I can break down a weaving project into parts or steps.

Things - iPhone App useful for weavers

Kitchen Calculator makes conversions between metric and imperial units super easy. I use it to convert weight units and length units of thread and yarn.

Kitchen Calculator app - useful for weavers

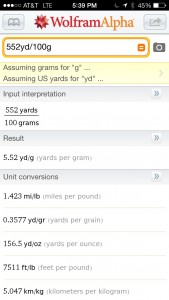
WolframAlpha is my go-to app for more complicated calculations, such as when I want to convert two numbers in an equation. Some websites list yarn in grams/yards, which makes no sense to me. This app does the heavy-lifting math so my brain can save itself for more creative work.

WolframAlpha app - useful for weavers

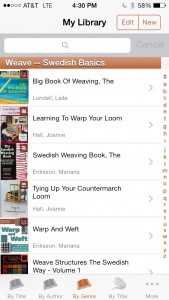
My Library keeps a list of all the books in my weaving library. This certainly helps keep me from duplicating purchases. The books are organized by category in the app, so I have them arranged the same way on my bookshelf, making it easy to find a particular book.

My Library - app that keeps a list of my weaving books

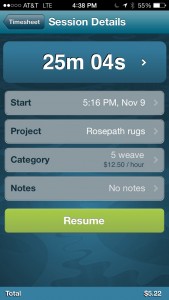
OfficeTime – Time and Expense Tracking makes it easy to track the time for every phase of a weaving project. I can also set a dollar amount per hour, so I can see the cost of labor at a glance.

OfficeTime - iPhone app useful for weavers wanting to track time and expenses

Google Translate helps me make sense of my stack of Swedish weaving books. I type Swedish words and it translates back to me in English. Usually the translation is not quite right, but close enough that I can understand what it means.

Google Translate - iPhone app useful for understanding Swedish weaving books.

Have you found apps that are useful for weaving? Please tell about them in the comments!

May you reach a new level of efficiency that makes room for even more creativity.

Thankful,
Karen