Can You Count? 1984 Warp Ends

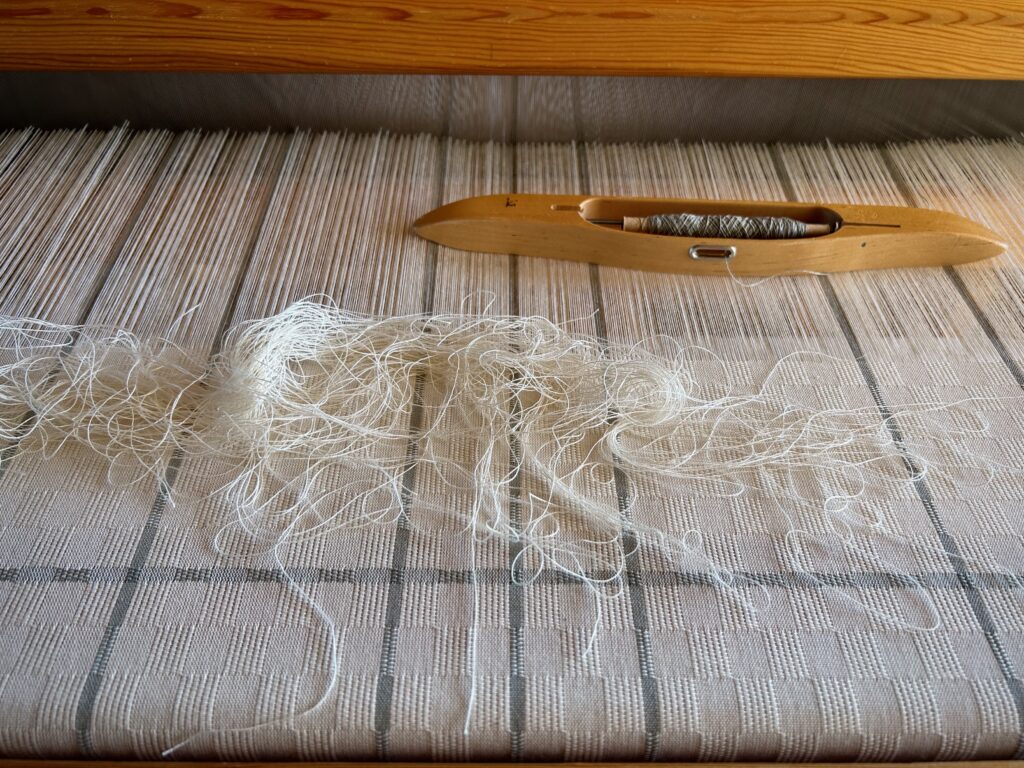
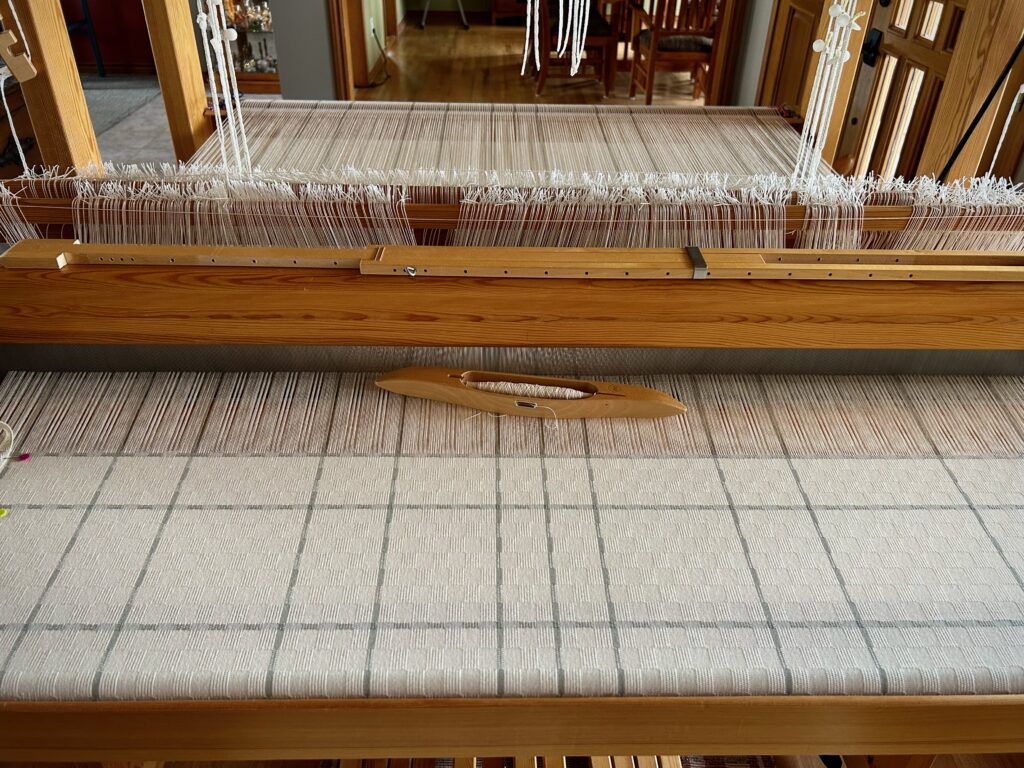
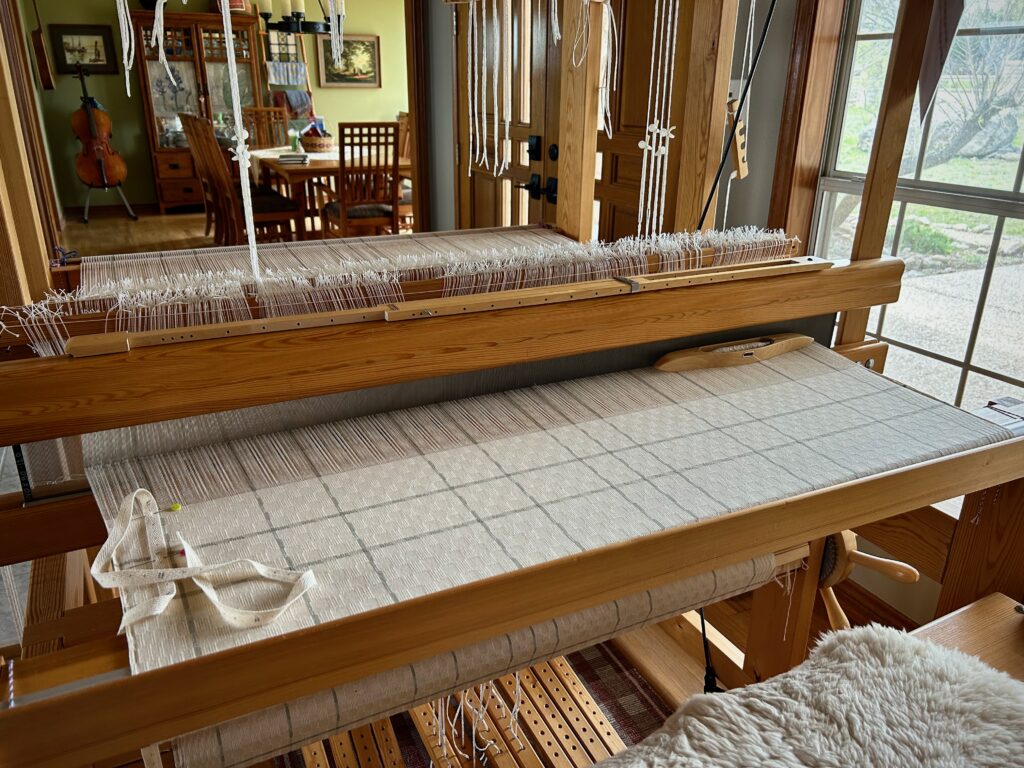
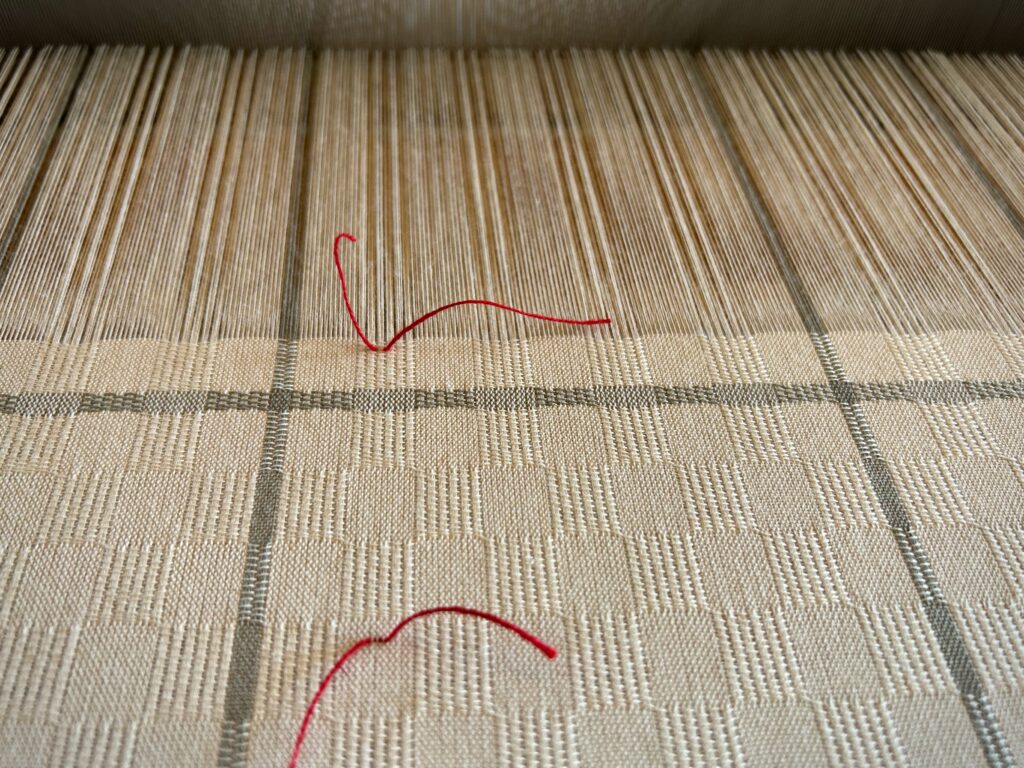
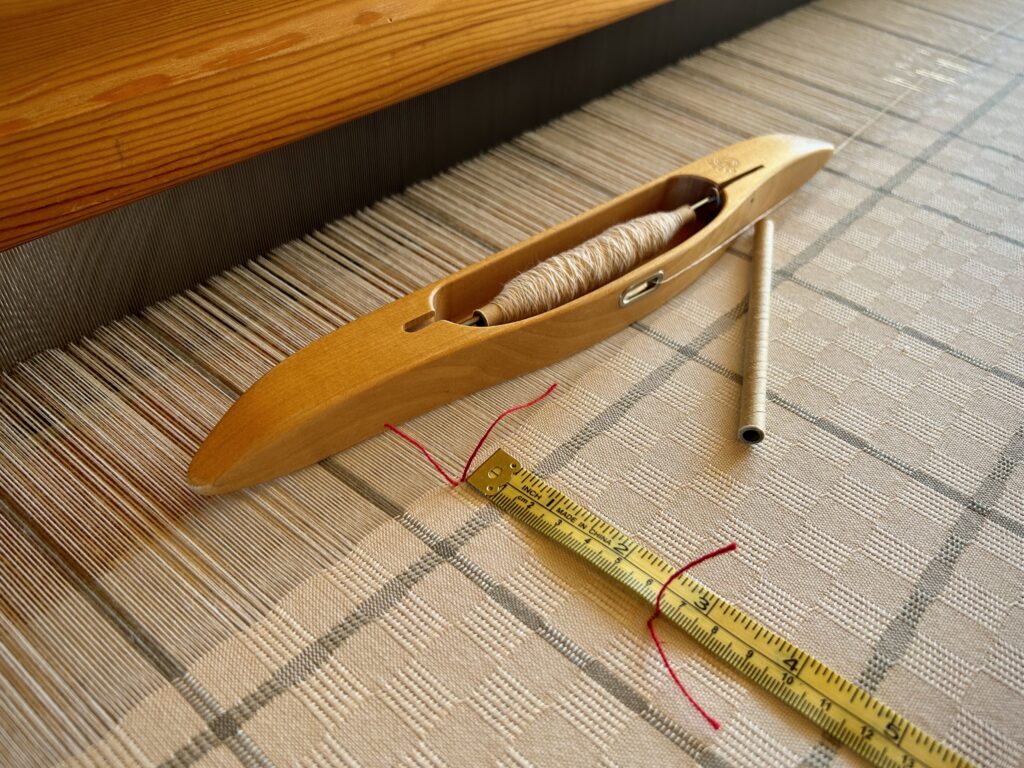
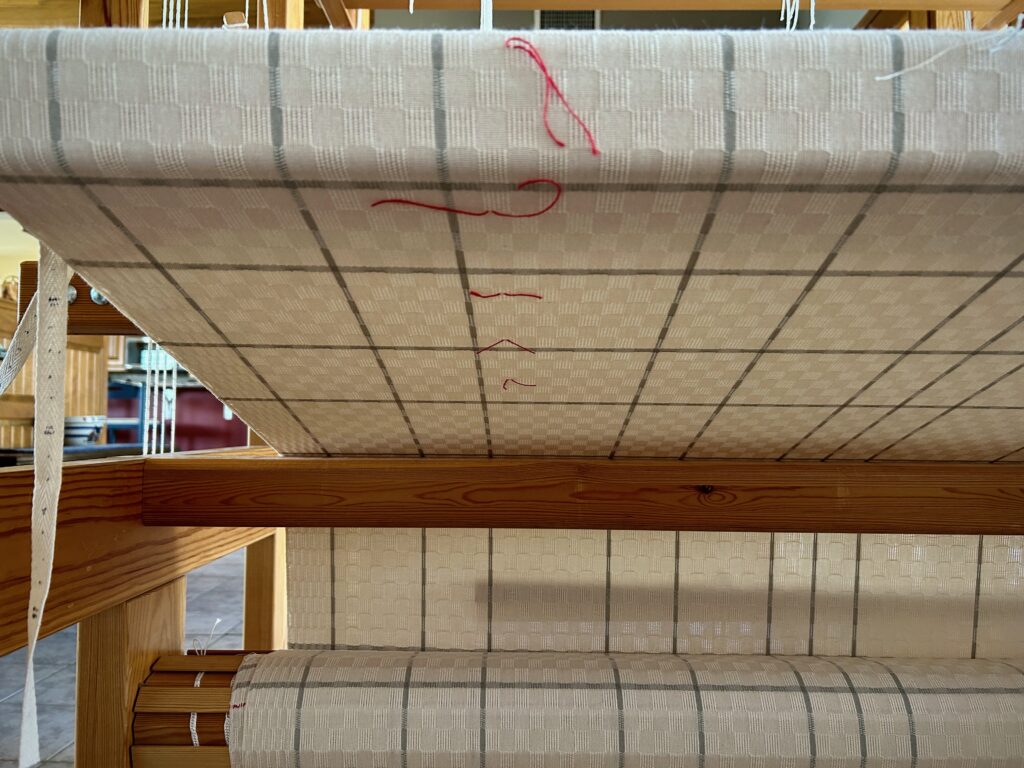
If at first you don’t succeed, count, count again! 1984–I’m not talking about the year, nor the book title. I’m talking about the number of 24/2 cotton ends in this 8.5-meter warp. I made it excruciatingly challenging for myself by putting in narrow stripes of 8 ends that are irregularly spaced. It will all be worth it if these curtains come out as I envision them. Time will tell.

After beaming the warp I count all the ends into threading groups. This step is usually straightforward and quick. This time, however (because of my uneven spacing of stripes and because of the fineness of the ends), I miscount the ends once or twice, or three times… I am determined to get all the threads into threading groups before moving on, so I keep at it until all the numbers line up as they should. Whew! Finally!

Counting (and re-counting and re-counting) ends into threading groups.
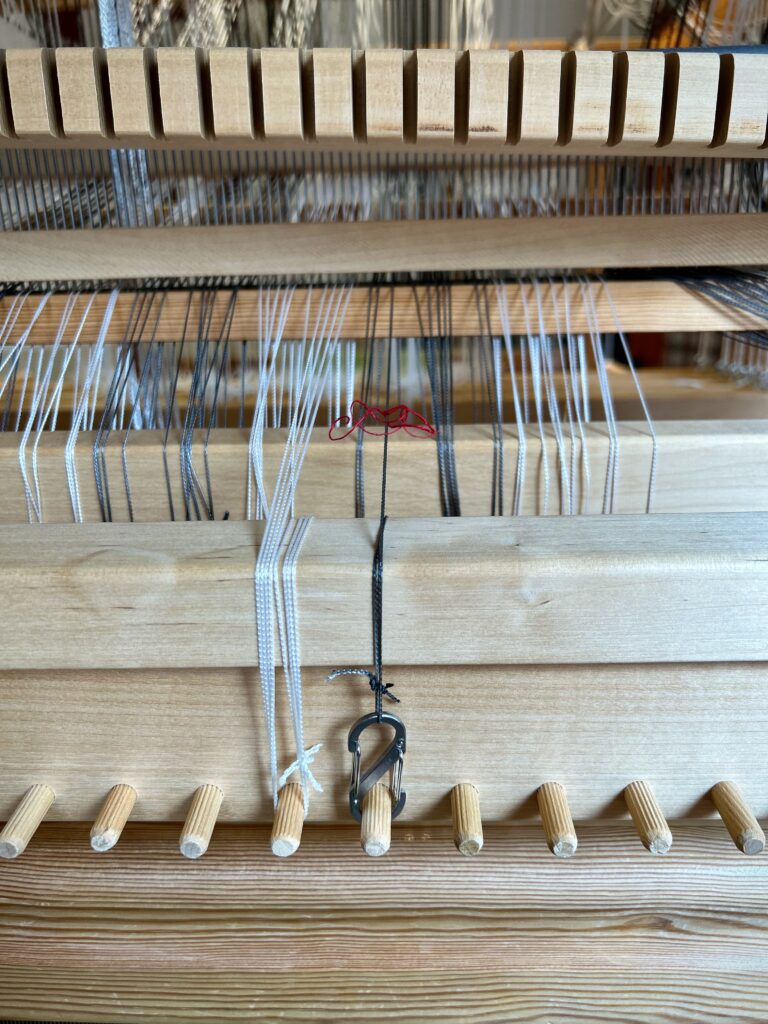
Threading four shafts in M’s and O’s is refreshingly easy after all the challenges of beaming the warp and counting ends.
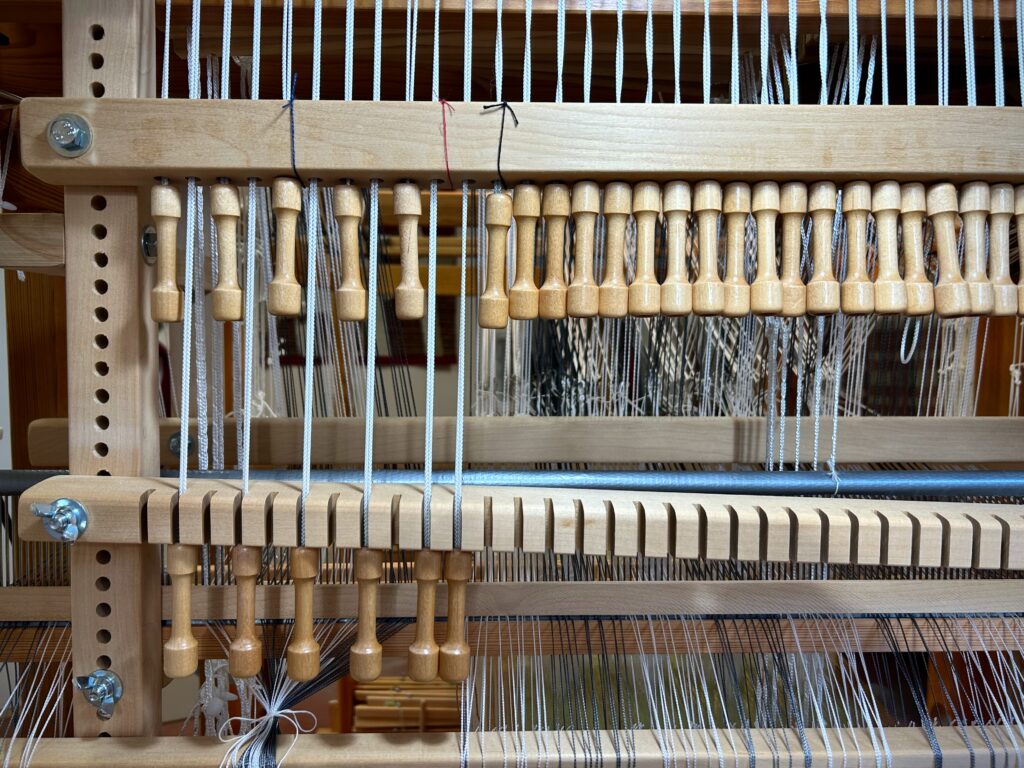
System of heddles holding warp ends never ceases to amaze and enchant me.
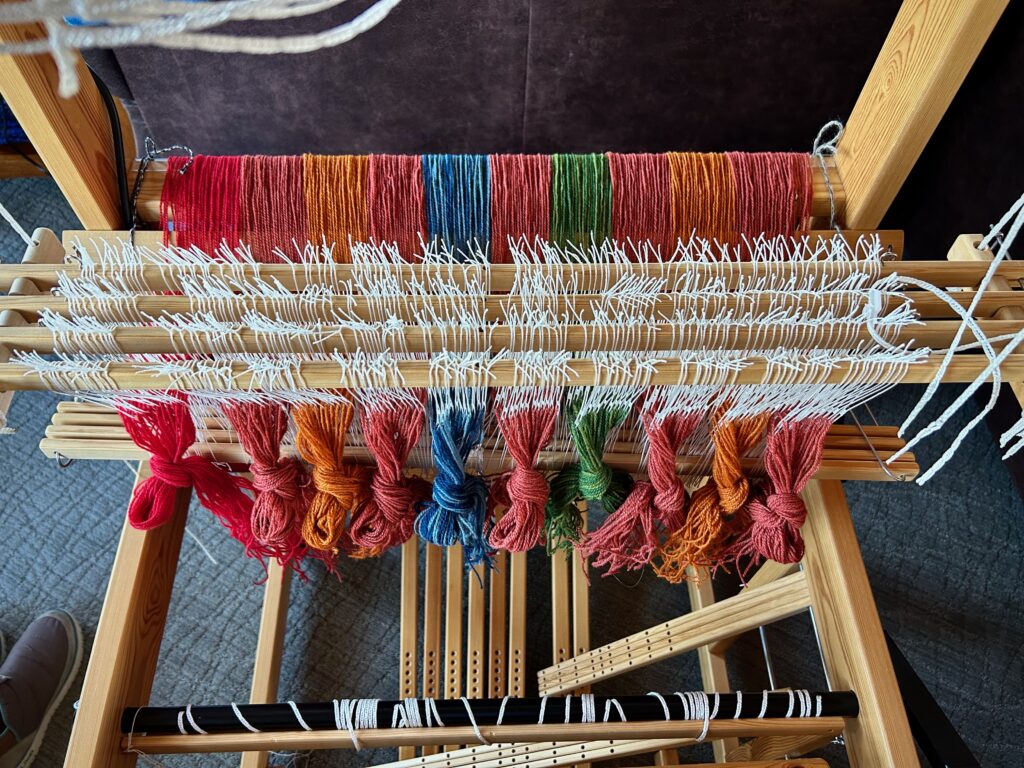
Bring on the heddles! Two batches of 100 heddles are on each pair of shaft bars, just waiting to be called into action. There are more 100’s in a box beside the loom, which I will add as needed.

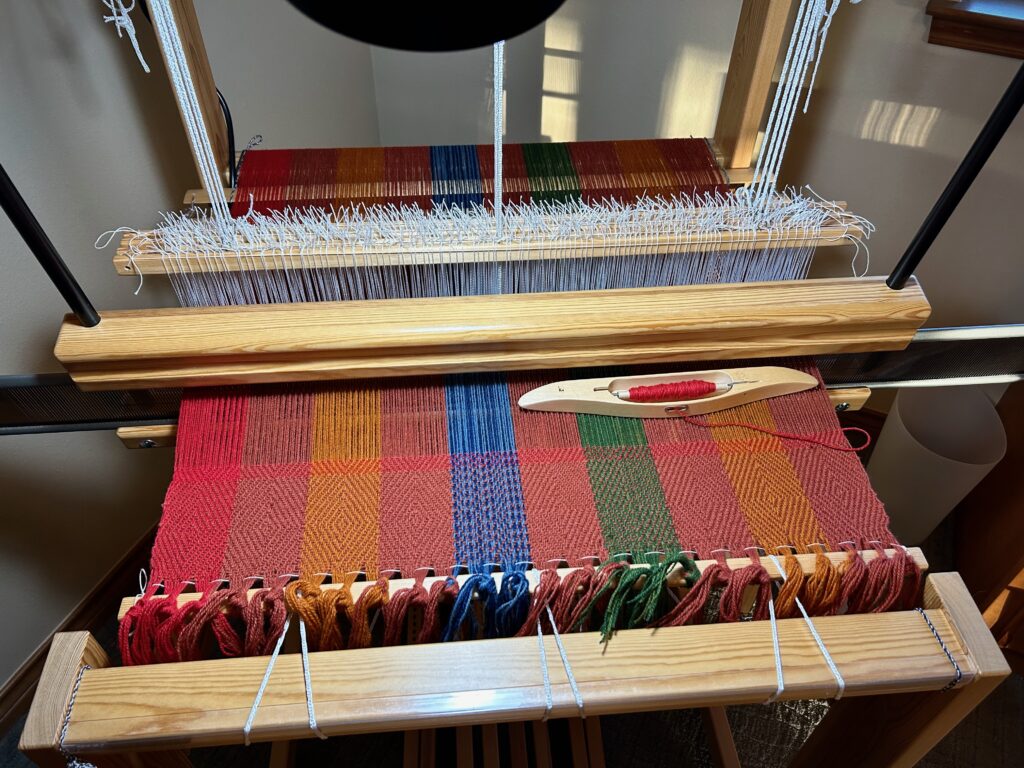
Now we are at the fun part. This is smooth sailing and I am caught up in the breeze of it, relaxing into the hours of calmly threading heddles. Before we know it, the shuttle will be flying in here! And I’ll have new curtains in the bathroom. I’m excited about that!

May you press through to the fun part.

For as long as it takes,

Karen

Dressing the Standard Looks Like a Mess

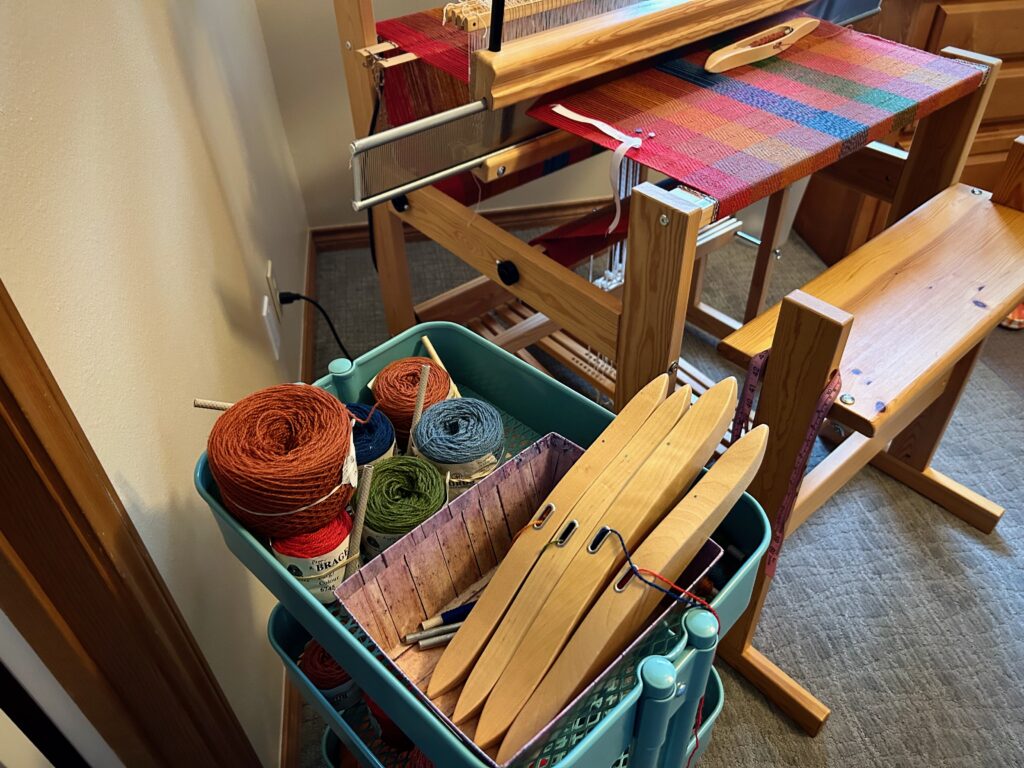
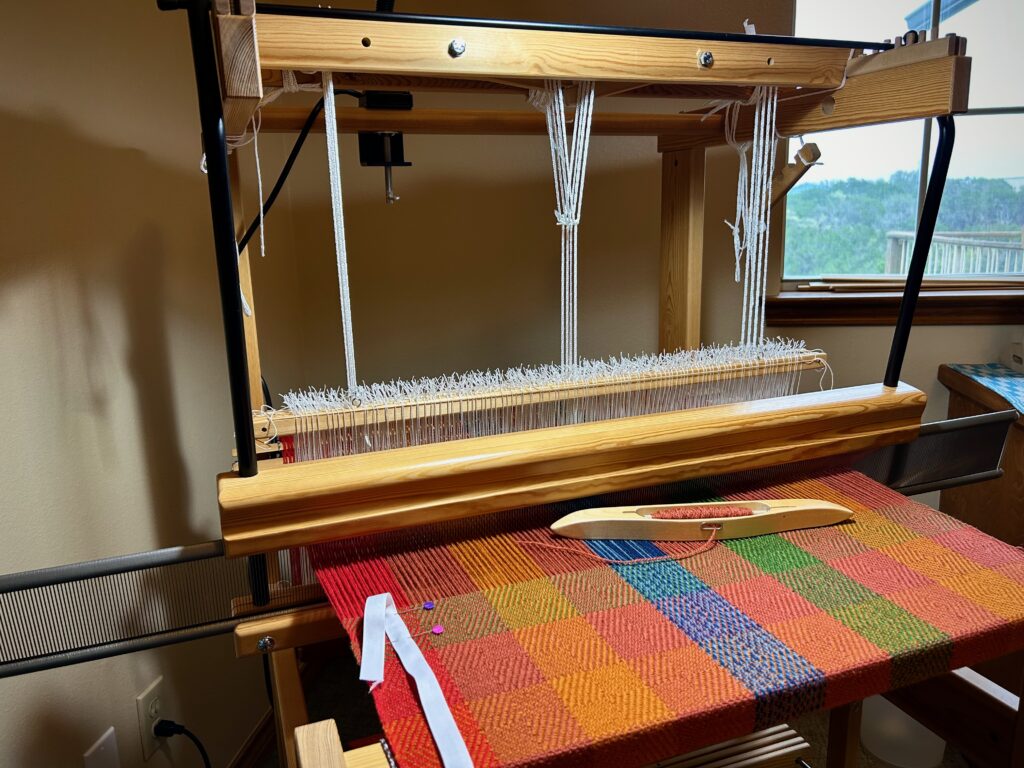
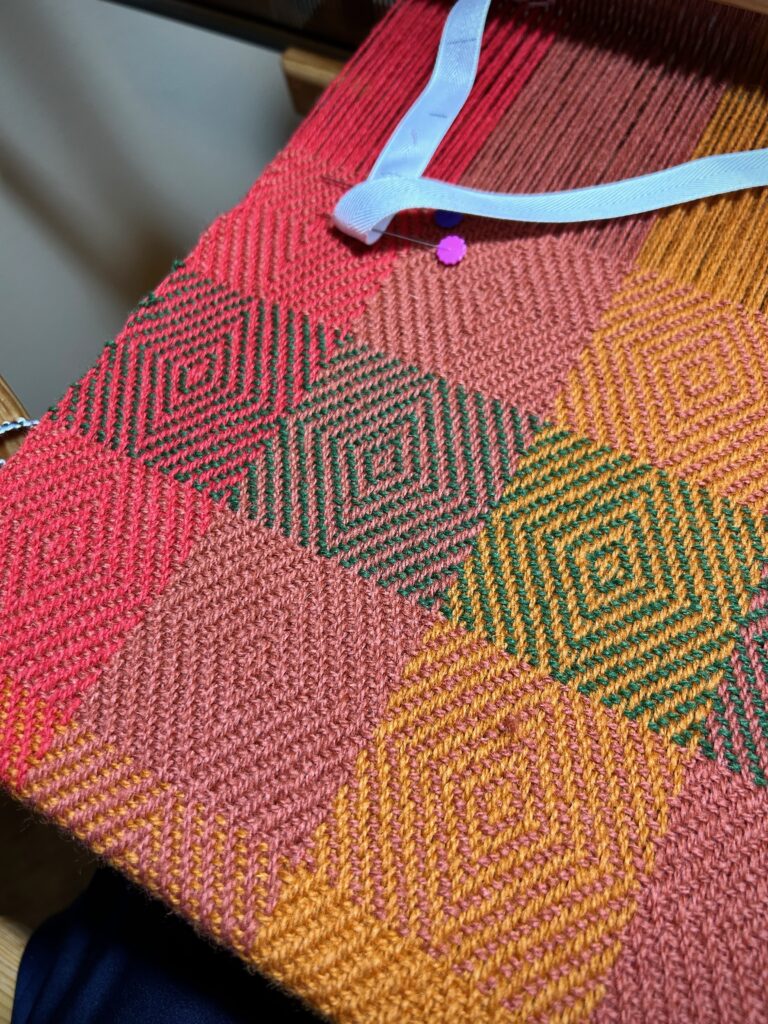
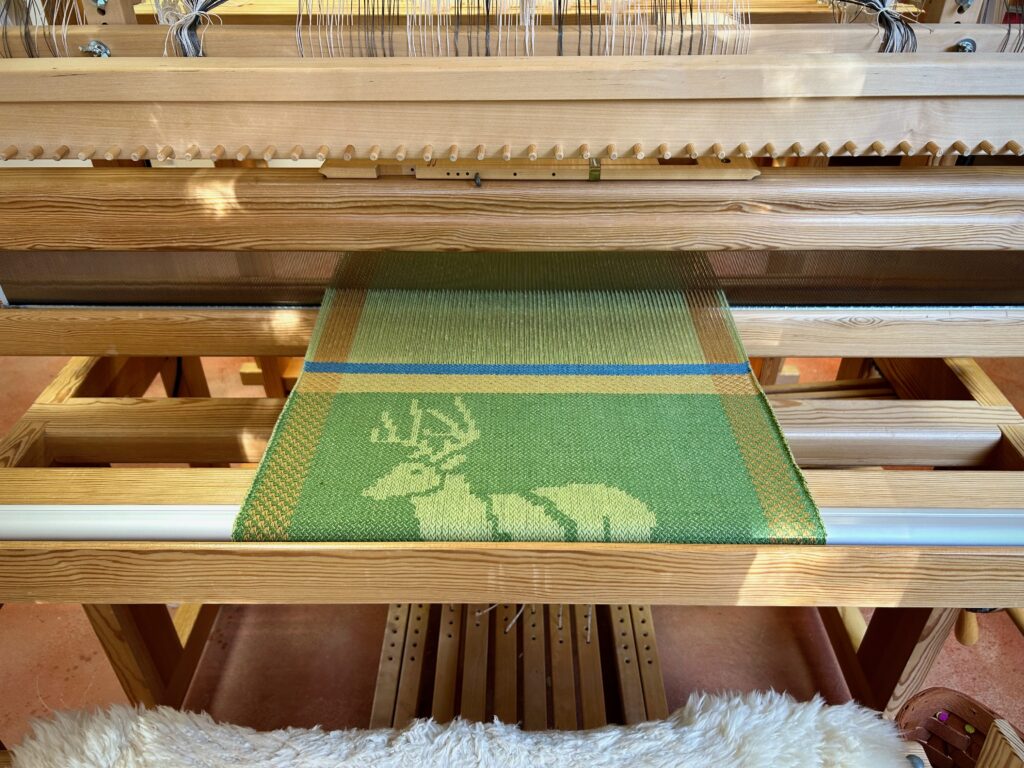
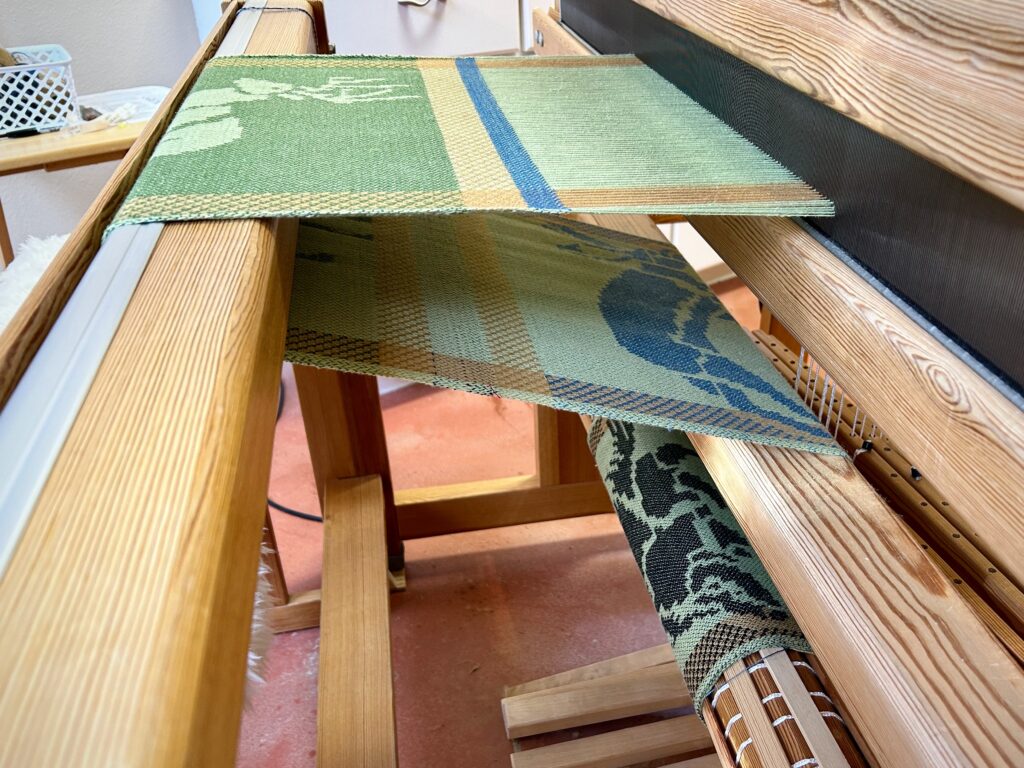
It is my husband’s idea for me to make handwoven curtains for the windows in our newly renovated master bathroom. Now that I have had time to think about it, I think it’s a great idea. Fortunately, the yellow rug warp on the GlimĂ„kra Standard is still sitting on the loom bench, so I am putting it aside temporarily in order to put this bathroom-curtains warp on the loom.

Winding a warp of 24/2 unbleached cotton.
Looks like a mess. Pre-sley the reed to spread the warp. Two sets of lease sticks. Narrow gray stripes of 16/2 cotton are inserted between the unbleached ends. Somehow, it all works out…
All the end loops are on the back tie-on bar, and ends from two lease sticks have been transferred to one set of lease sticks. Ready to beam the warp!
Just about set to beam.
My usual two-pound weights are just right for most of the warp bouts, but I need a one-pound weight (large coffee mug) for one smaller bout, and two 1/2-pound weights (tube of thread in a small bag) for the small bouts of gray warp ends. Whew! Is it all going to work??
Now…everything is ready!
It’s working. Just look at that beautiful warp!

I have 1,984 ends to thread and sley. Then, I will be weaving almost full width! It’s exciting!

May you gain order out of a mess.

Happy Weaving,

Karen

Handwoven Placemats on the Table!

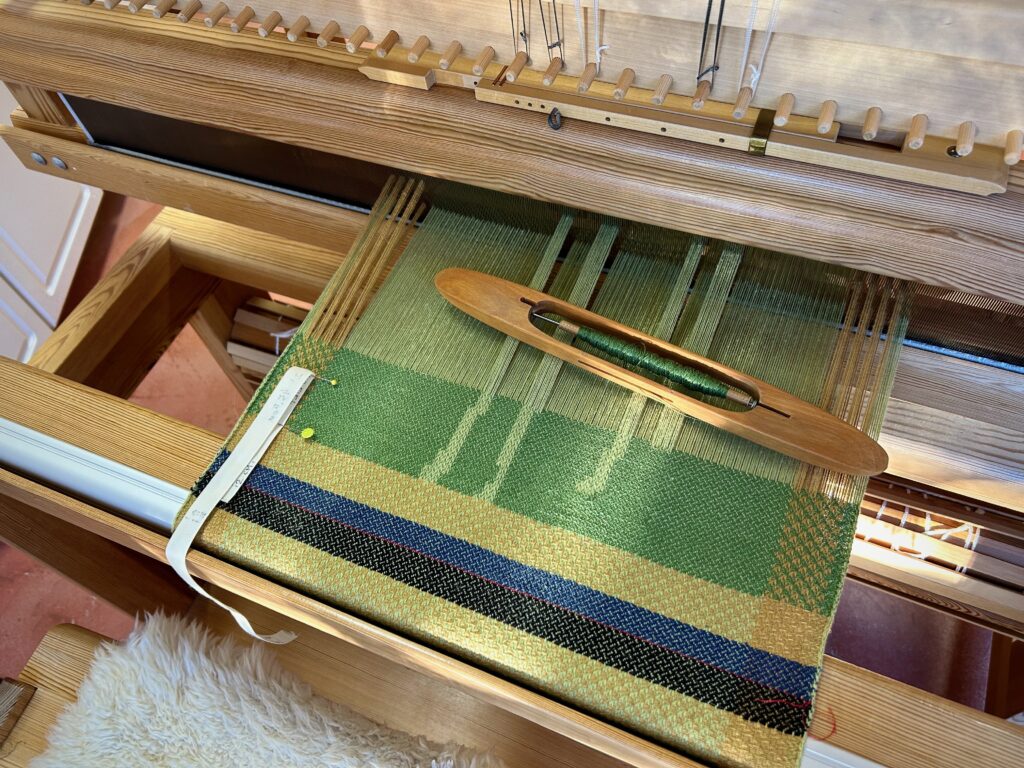
Twelve green placemats are on the dining room table. Green 22/2 cottolin warp and 8/1 tow linen weft in four colors done in a two-block broken twill, woven on the Julia with eight shafts. I am deeply satisfied with the results. Now, all I need to do is to invite everyone over for a big family meal!

End of warp. Cutting off process begins.
Fabric unrolls from the cloth beam. Warping slats go every which way onto the treadles.
When I first unroll the cloth from a project that has been on the loom for a while, it is almost always “Love at first sight.” Then, I begin to question myself and wonder if the whole thing is a big mistake. The final stage is the most realistic and I am deeply satisfied with the results (usually).
Into the washing machine. The placemats have been cut apart, edges secured with the serger, and serger tails threaded back in. I carefully monitor the washing machine and remove the cloth before it hits a full spin cycle. Then, into the dryer it goes, just until damp, and then I press them till dry. This is a long time at the ironing board.
Twelve placemats ready to go! Machine hemmed and pressed.
The four linen weft colors give the placemats a softly graded look. Each one has the same two-block pattern, but each one is different because of the variance of the weft colors. Blue, green, teal, black.
Setting the table in the dining room.
Let’s eat!

I am lining things up to start my next big project that will grace our home. I’ll let you know as soon as I start winding the warp!

May you finish what you’ve started, no matter how long it takes.

Happy Weaving,

Karen

Look at that Cloth Beam!

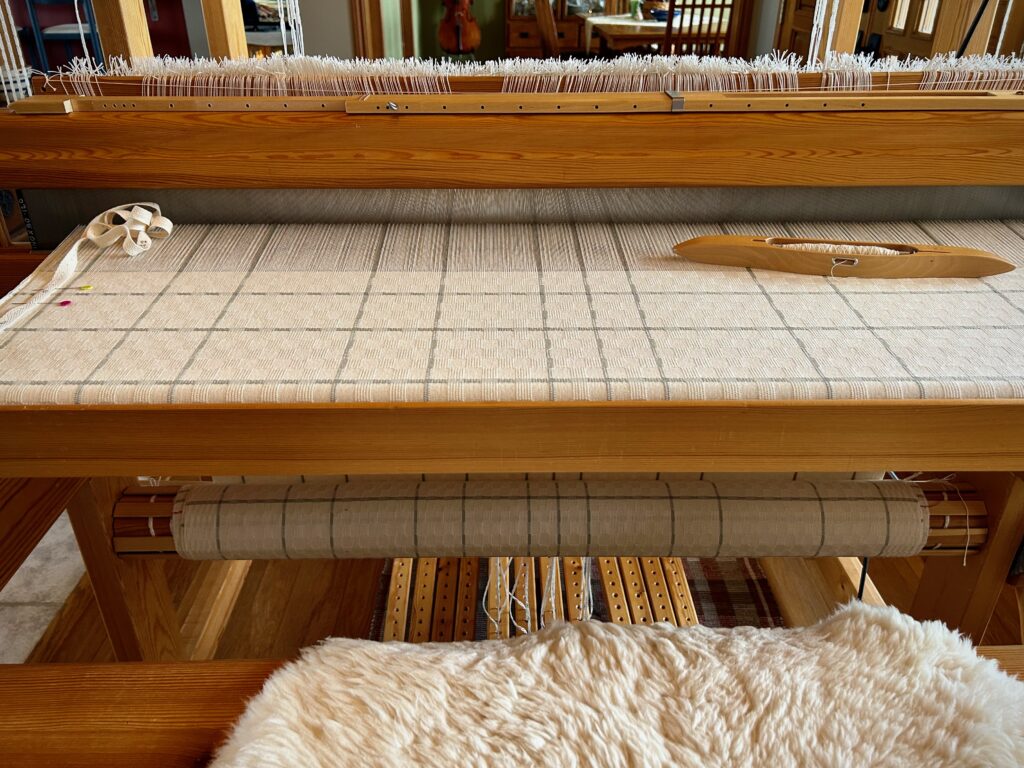
There is nothing quite as satisfying as seeing a cloth beam filled up with cloth. There are eleven placemats rolled up on there, plus one more stretching from the breast beam on down. All that’s left to do is cut them off, wash, hem, and press. We’ll have new placemats on our dining room table in no time. Yippee!

Twelve placemats are woven. Now it’s time for some pattern play at the end of the warp.
Empty quills at the end of a weaving project are such a happy sight! This is another reason I enjoy playtime at the end of every warp–I can use up thread on the quills.
Look at that cloth beam! Woo Hoo, cutting off will be fun. And hemming all those placemats…I don’t mind.

May your efforts bring satisfying results.

Happy Weaving,

Karen

Drawloom Porcupine in Four Hours

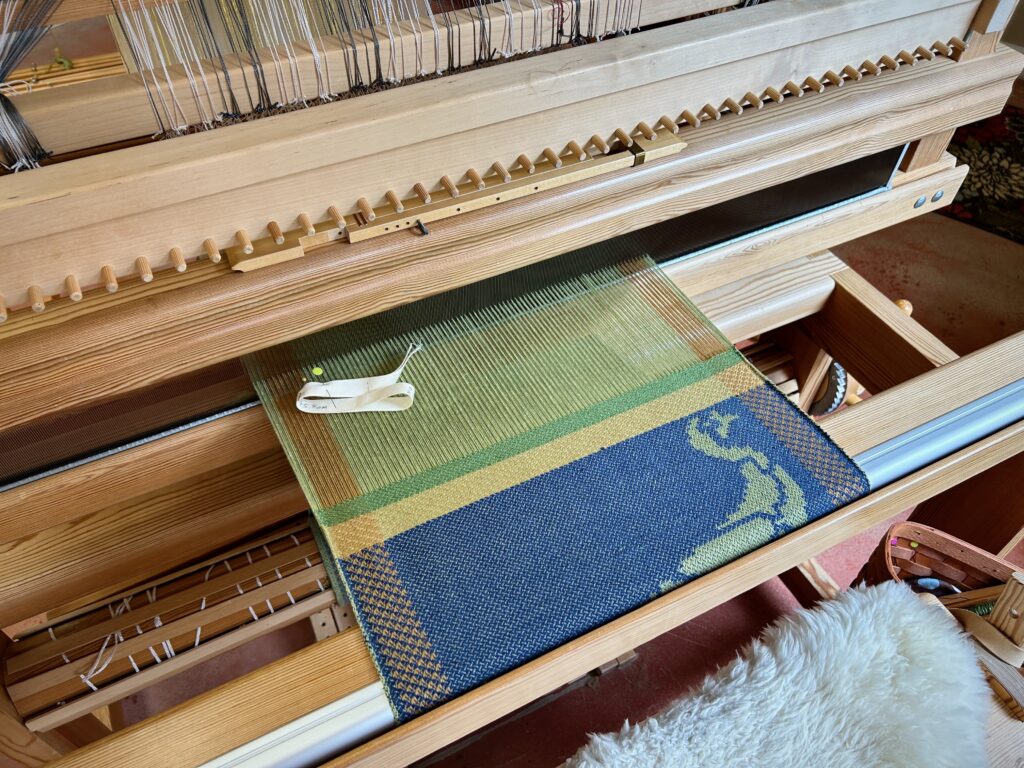
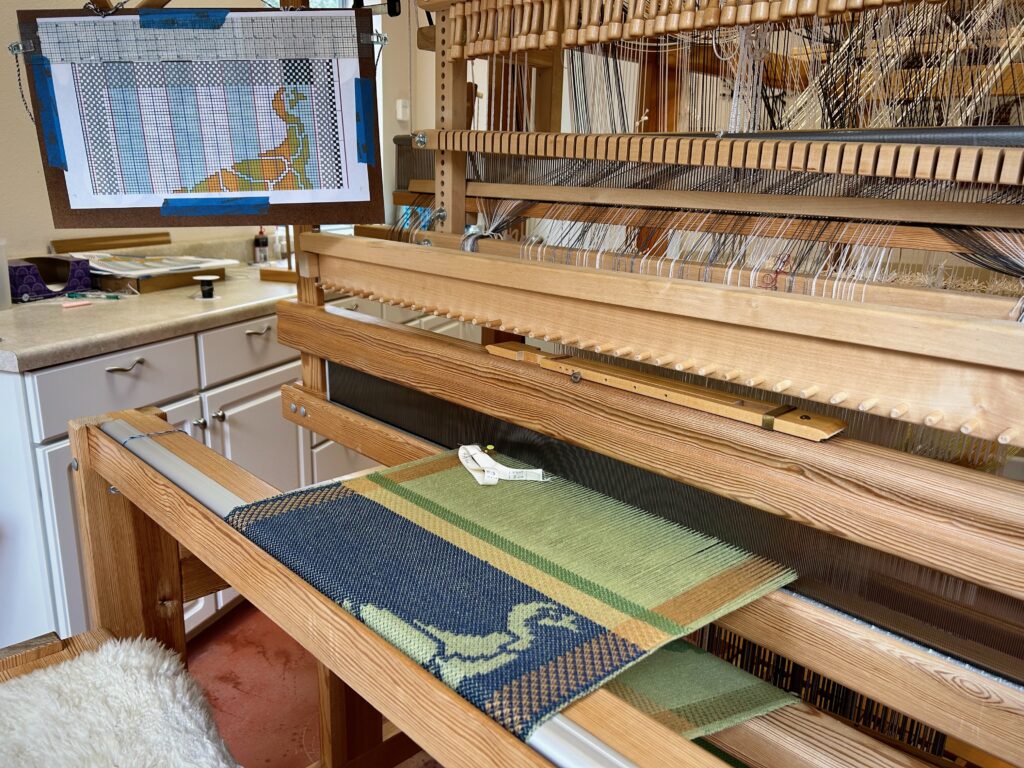
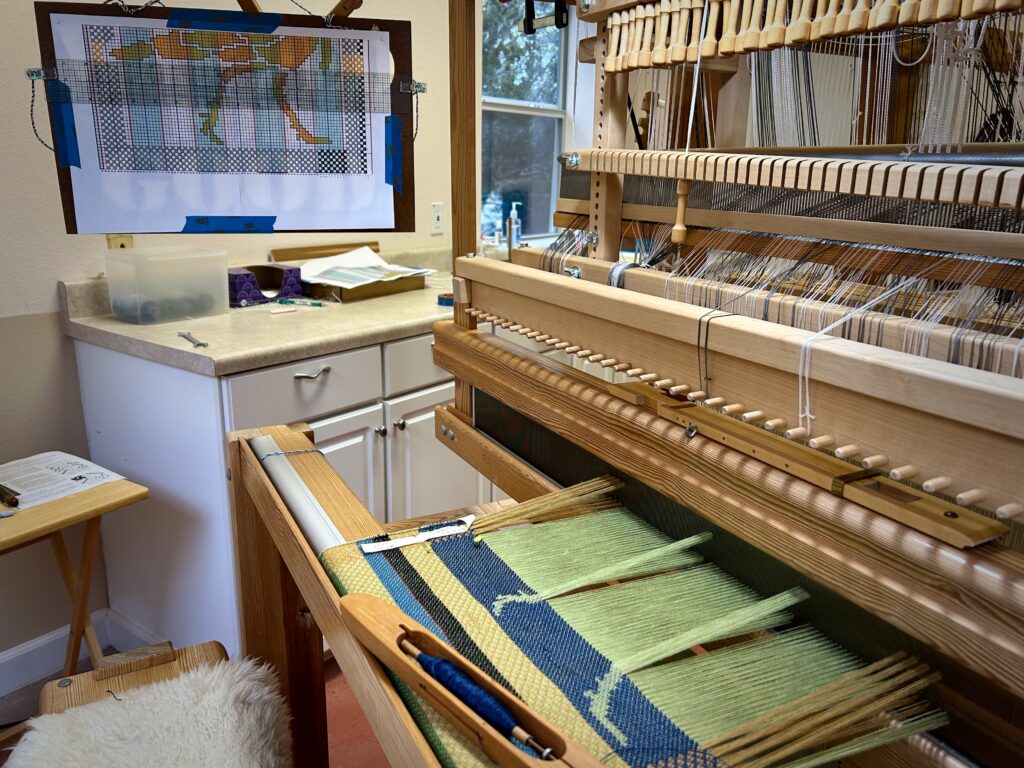
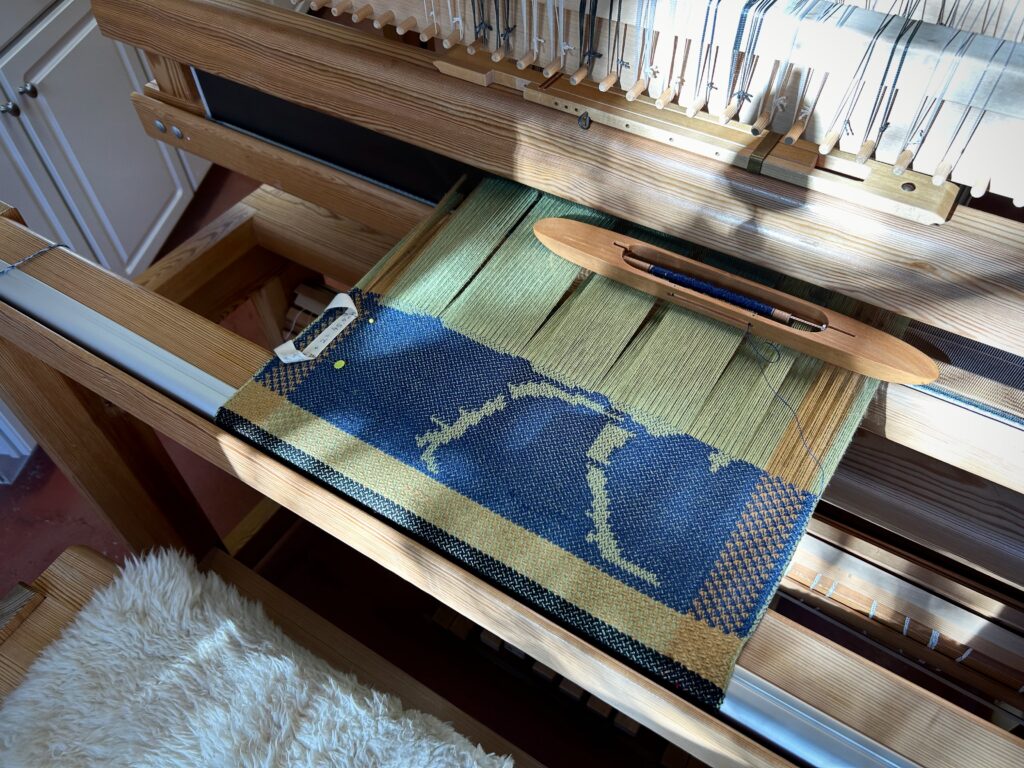
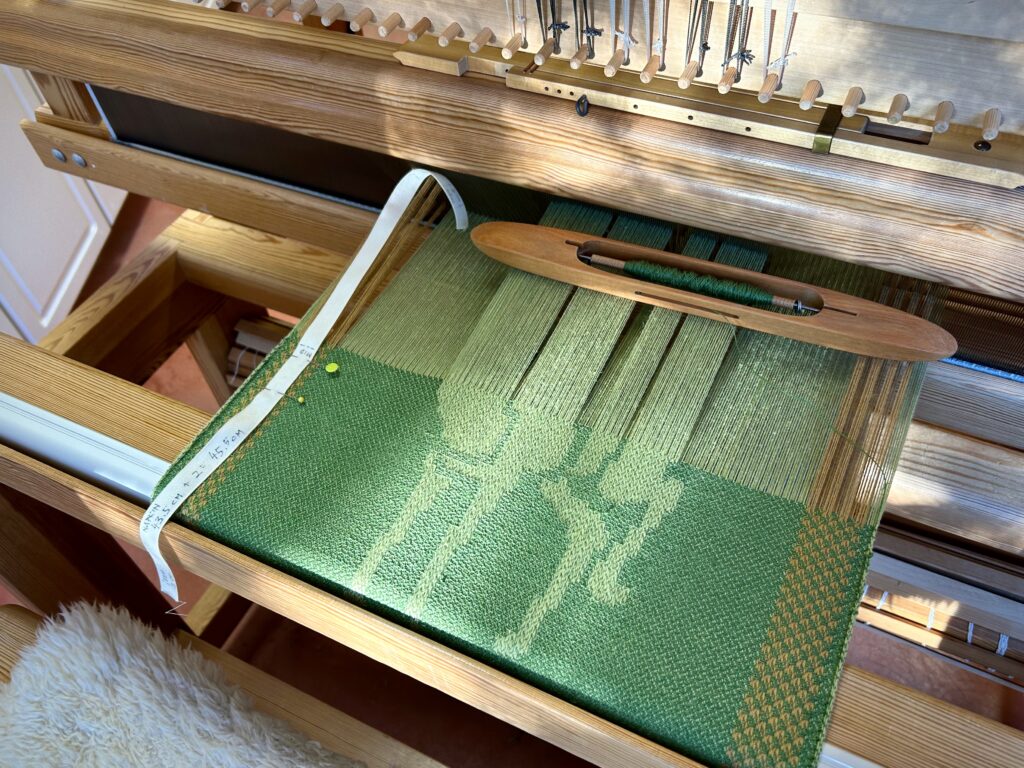
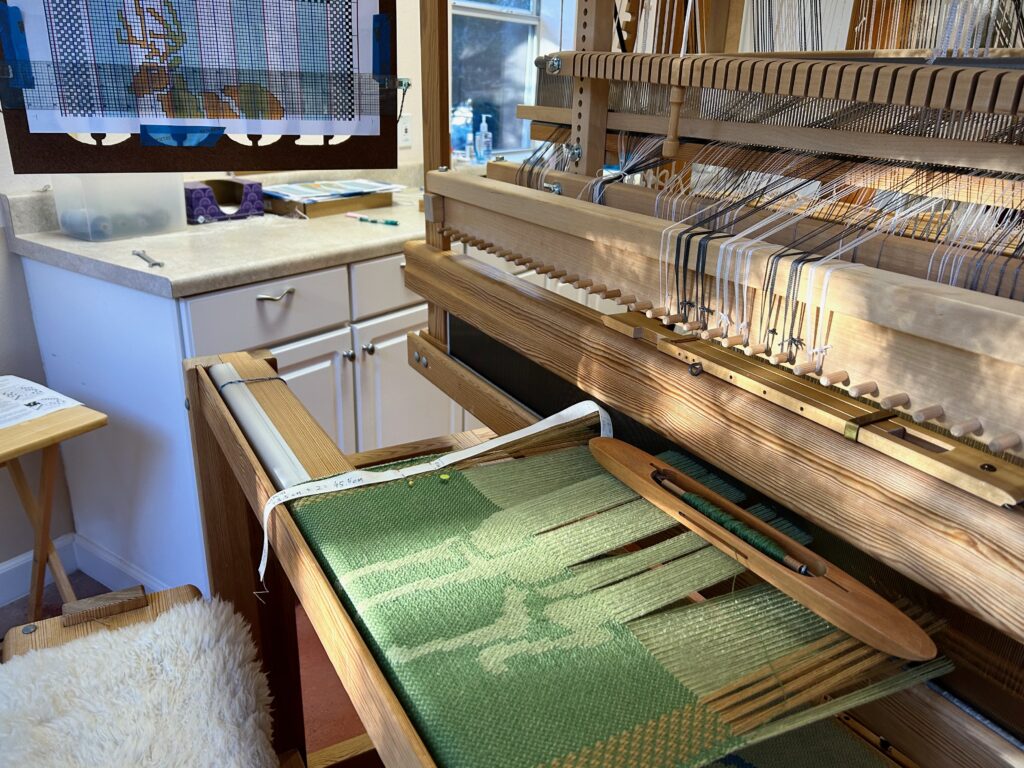
After only four hours at the drawloom I have a porcupine! That’s an hour a day, four days in a row.
I enjoy the design-making process. It is rewarding to work out the details on the computer. The next reward is to see the printed version ready to take to the drawloom. When I first see the feet of the critter woven on the loom, I do a happy dance. And now that the porcupine is moving on around the breast beam, this feeling of accomplishment is the greatest reward. Nine more critter napkins to go, with many more rewards. Jackrabbit is next!

Day 1: Teal hem, gold border, black background, and porcupine feet! Happy Dance!
Day 2: Porcupine snout and tail reach into border areas. I use single units in irregular border areas like these, instead of the simpler pattern shafts that I use for the rest of the border areas.
Day 3: Second half of the porcupine is mostly the quills on its back. This is easy single-unit draw cords in combination with simple pattern shaft draw handles for the side borders. (Only 2 draw handles are needed for the side borders.)
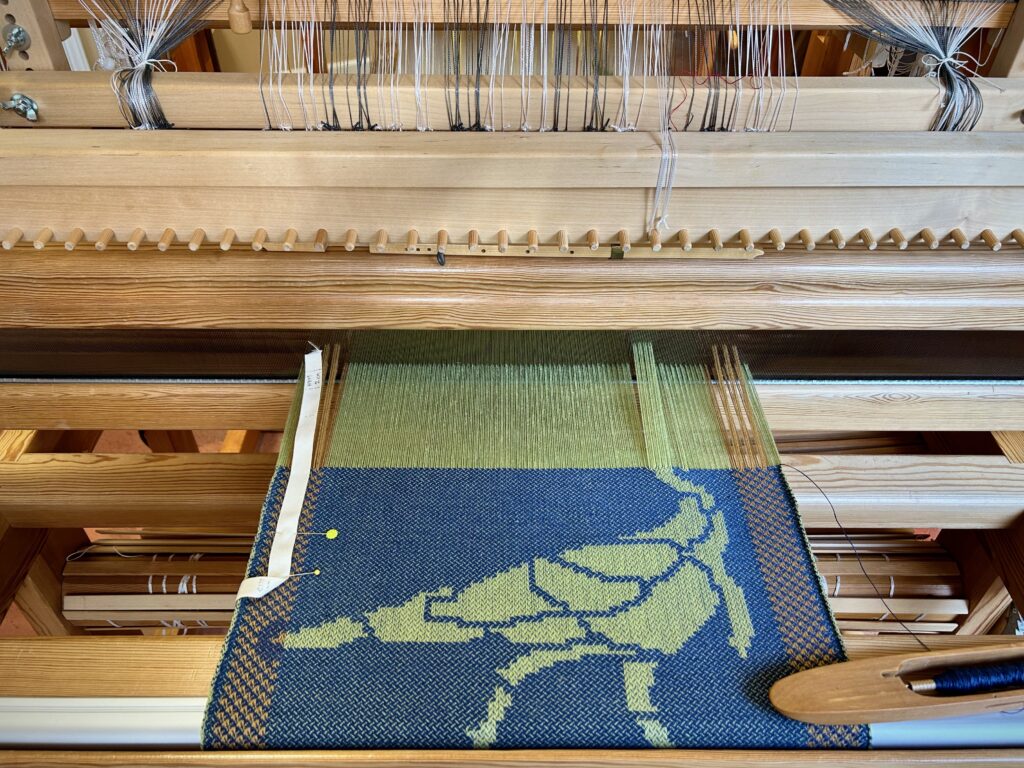
Day 4: Finish up the top of the porcupine, the black background, the gold border, and then a blue hem area (not shown). Now I’m hopping off to design the jackrabbit.

Look for daily rewards. What rewards are you seeing lately?

May you be richly rewarded every day.

Happy weaving,
Karen