Bold Hemstitching

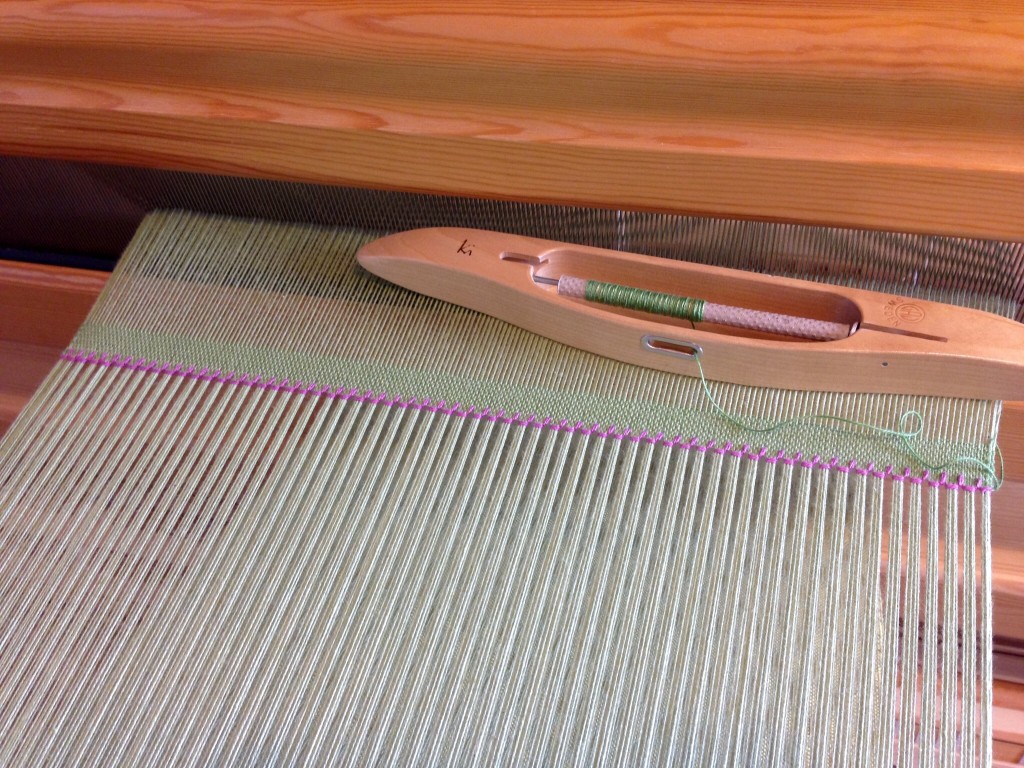
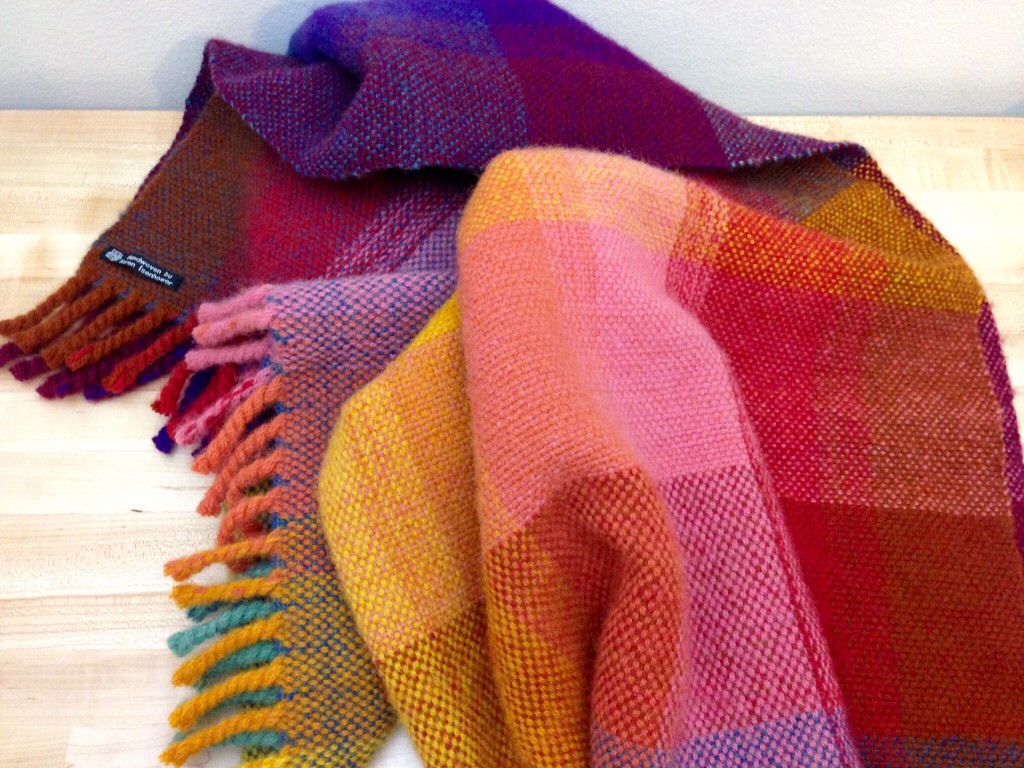
An embroidered trim is what I have in mind for this scarf. Hemstitching is just that. Instead of the usual single strand, I am using two strands of the 8/2 cotton weft in a contrasting color to accentuate the embroidered look. The hemstitching marks the beginning and the end. You can make hemstitching barely noticeable if you want, or you can make it so bold it can’t be missed, like I am doing with this one.

Hemstitching, with Contrasting Color:

Preliminary

  • Weave an inch/2.5 cm or more of fabric for a header.
  • Thread a blunt tapestry needle with a single or doubled strand of weft thread four times the weaving width.
  • Starting an inch/2.5 cm away from the right-hand selvedge, weave the needle over and under, next to the first weft thread in the weaving, going toward the selvedge.

Begin contrast hemstitching.

  • Pull the stitching thread almost all the way, leaving the end woven into the selvedge. Capture the woven end within the first several stitches of the hemstitching.

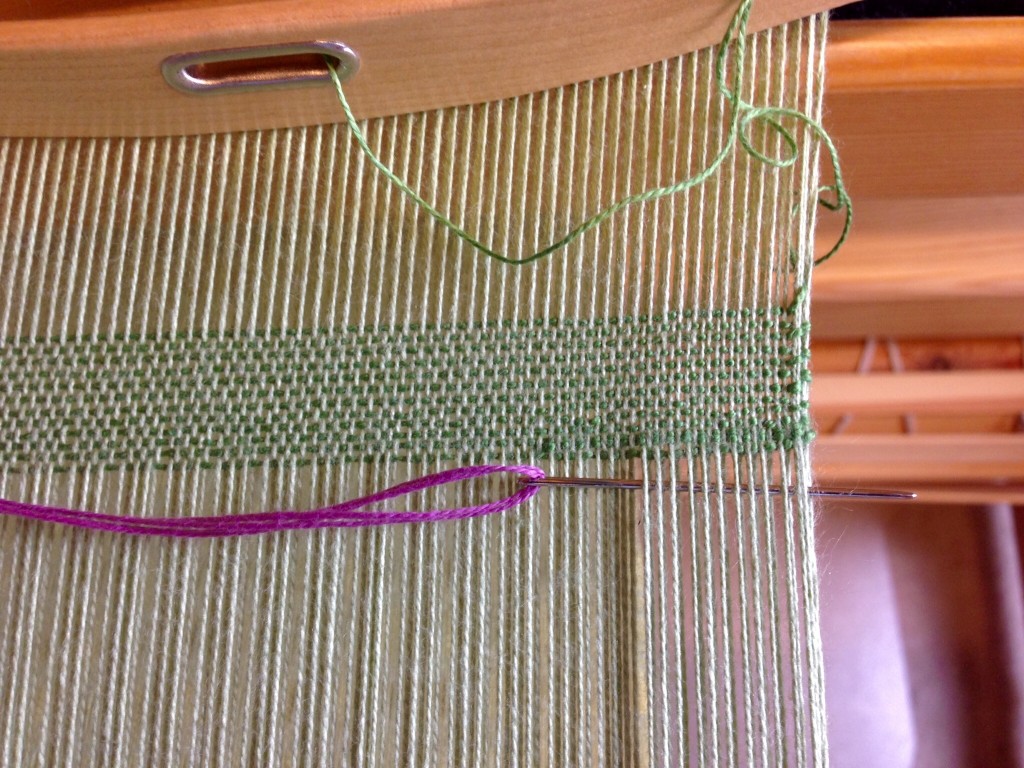
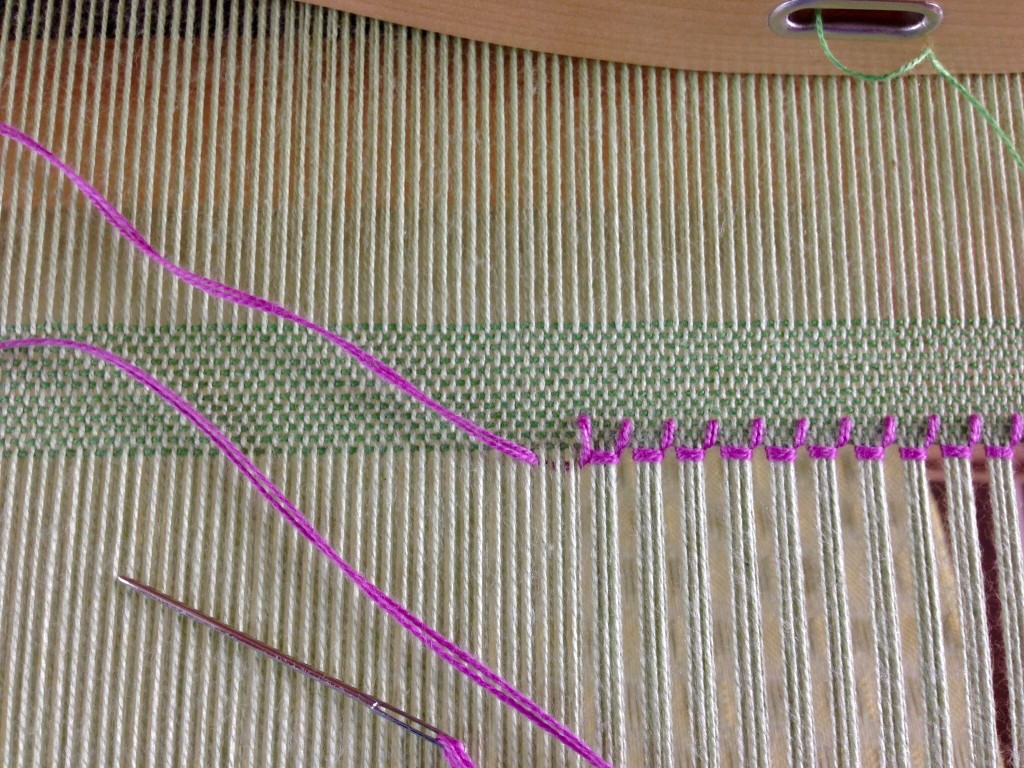
Thread secured at beginning of hemstitching. Hemstitching how-to.

First step of hemstitching. Tutorial.

Step 1

  • From right to left, take the needle under several warp ends. In this example, the needle goes under six ends.

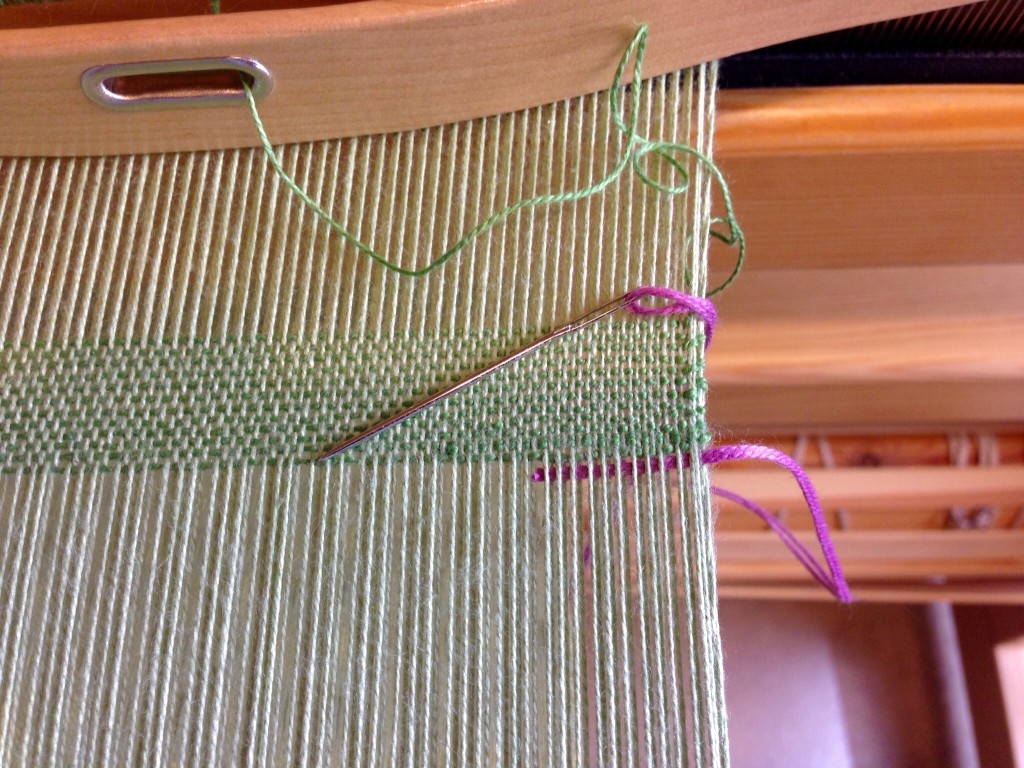
Hemstitching in four easy steps!

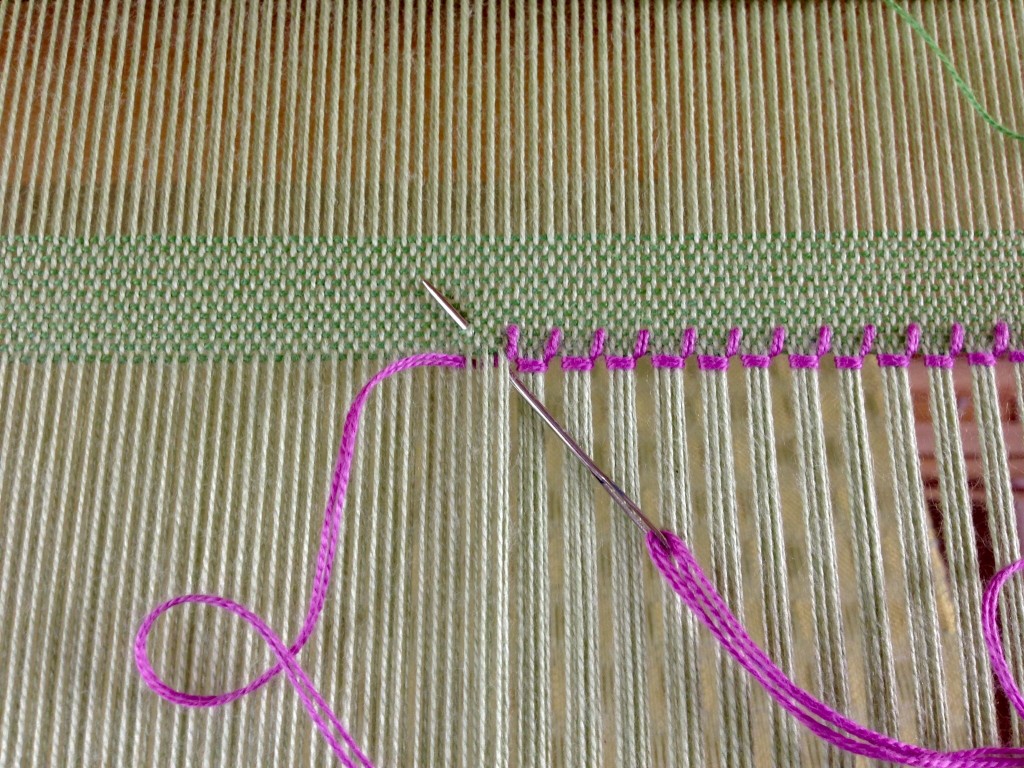
Step 2

  • Pull the thread all the way through, keeping it taut at the woven edge.

Hemstitching step two.

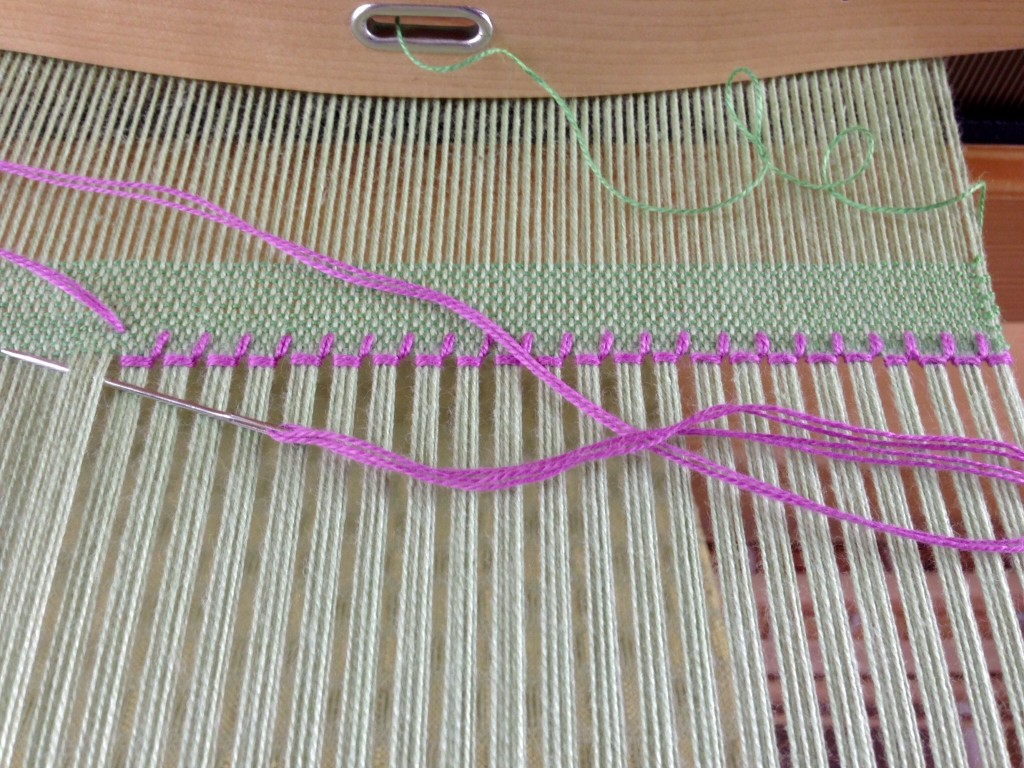
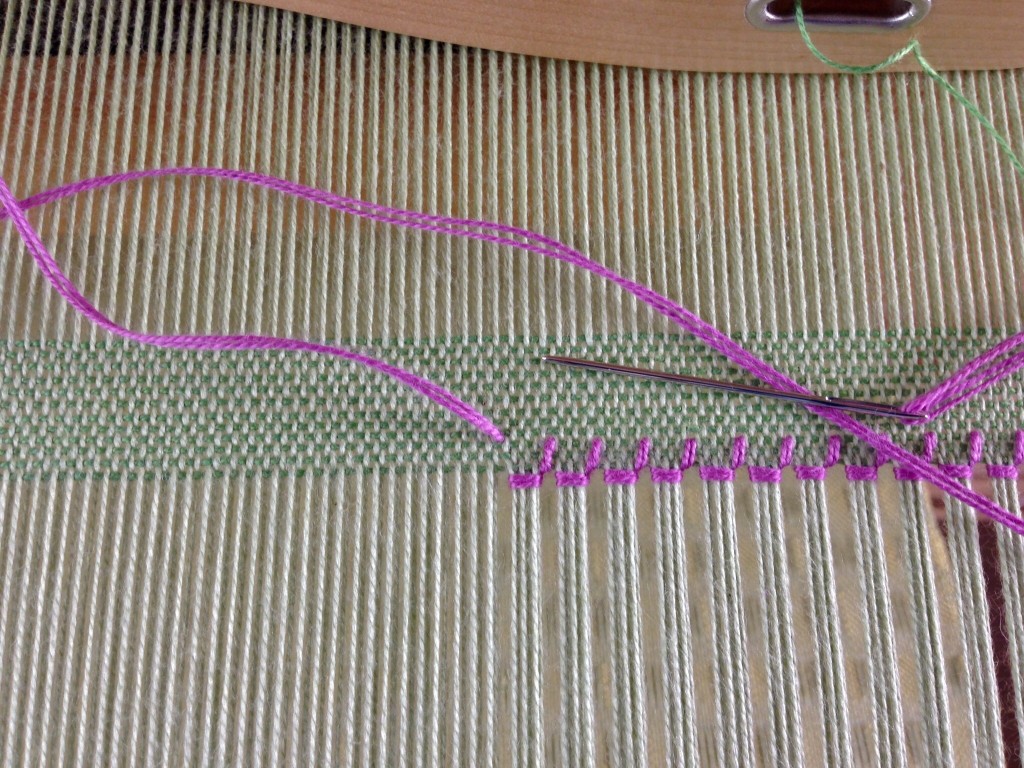
Step 3

  • Take the needle back over the same (six) warp ends, and go under the same (six) warp ends, bringing the point of the needle back up between wefts, two or more rows away from the woven edge. In this example, the needle comes up between the third and fourth rows of weft.

Hemstitching in 4 easy steps. How-to with pics.

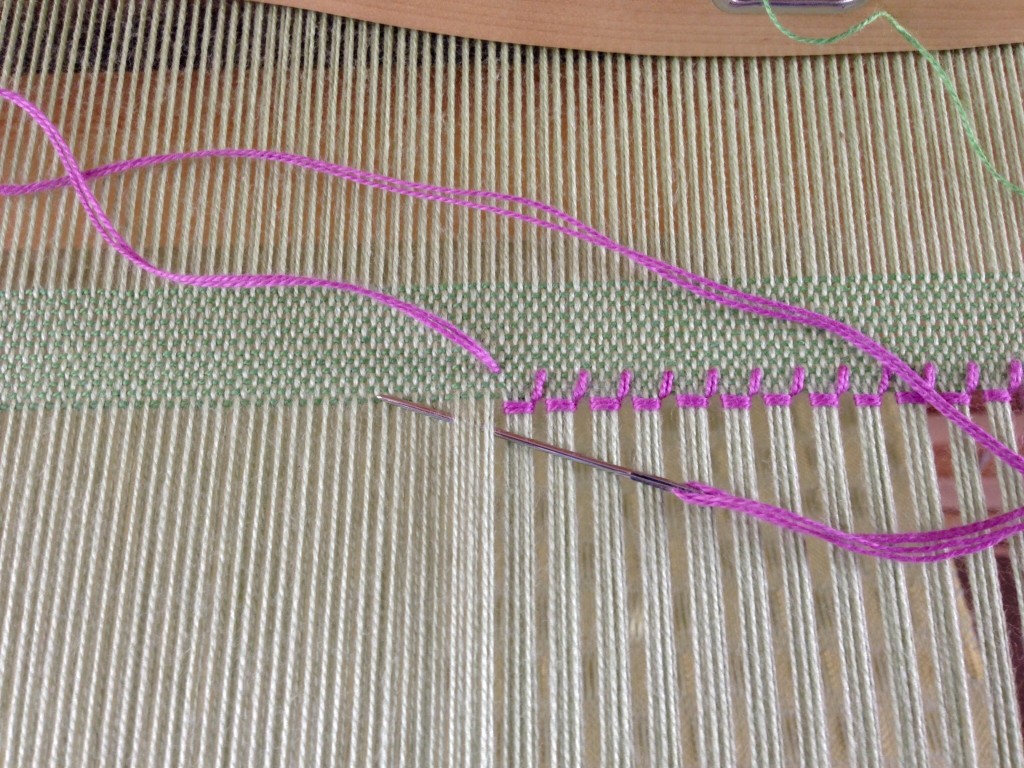
Step 4

  • Pull the thread all the way through, keeping it taut at the woven edge.

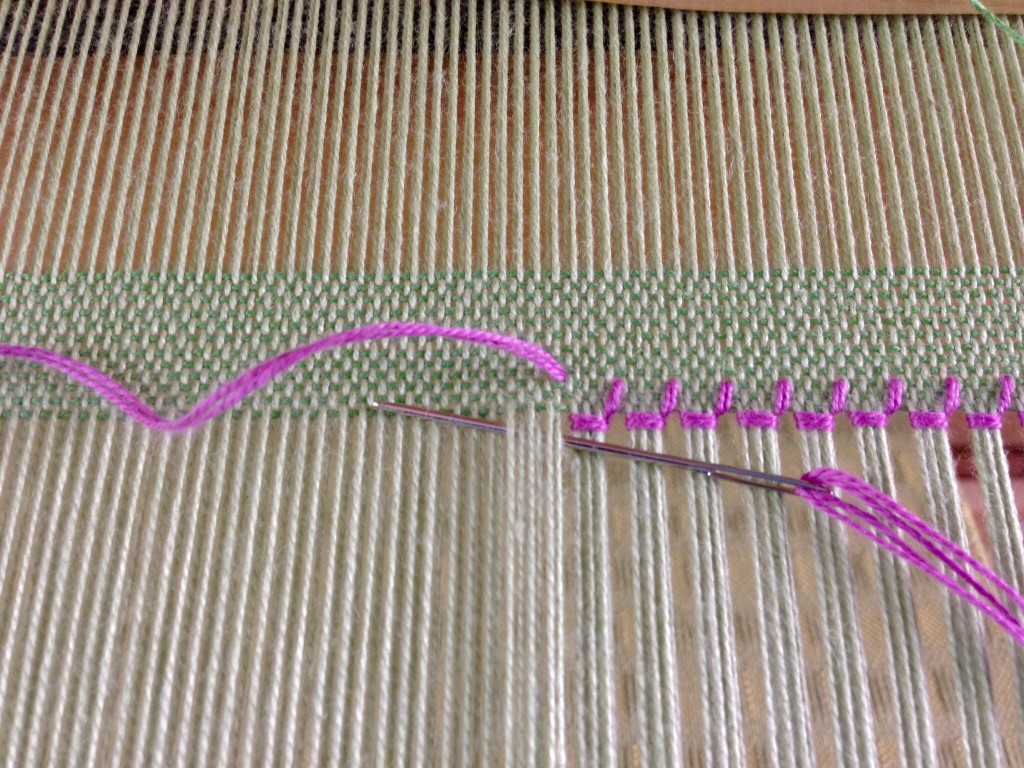
Hemstitching instructions.

Finishing

  • Repeat Steps 1 – 4 across the entire width.
  • Finish by needle weaving the stitching thread back into the selvedge for an inch/2.5 cm. Trim off the remaining stitching thread end.

Continue hemstitching, back to step one.

Hemstitching as embroidery.  How-to with pics.

Hemstitching at the end of the woven fabric:

Starting on the right-hand side, secure the end of the stitching thread as before, and follow Steps 1 – 4 for hemstitching across the width. The only difference is that the needle comes toward you under the cloth in Step 3, instead of away from you.
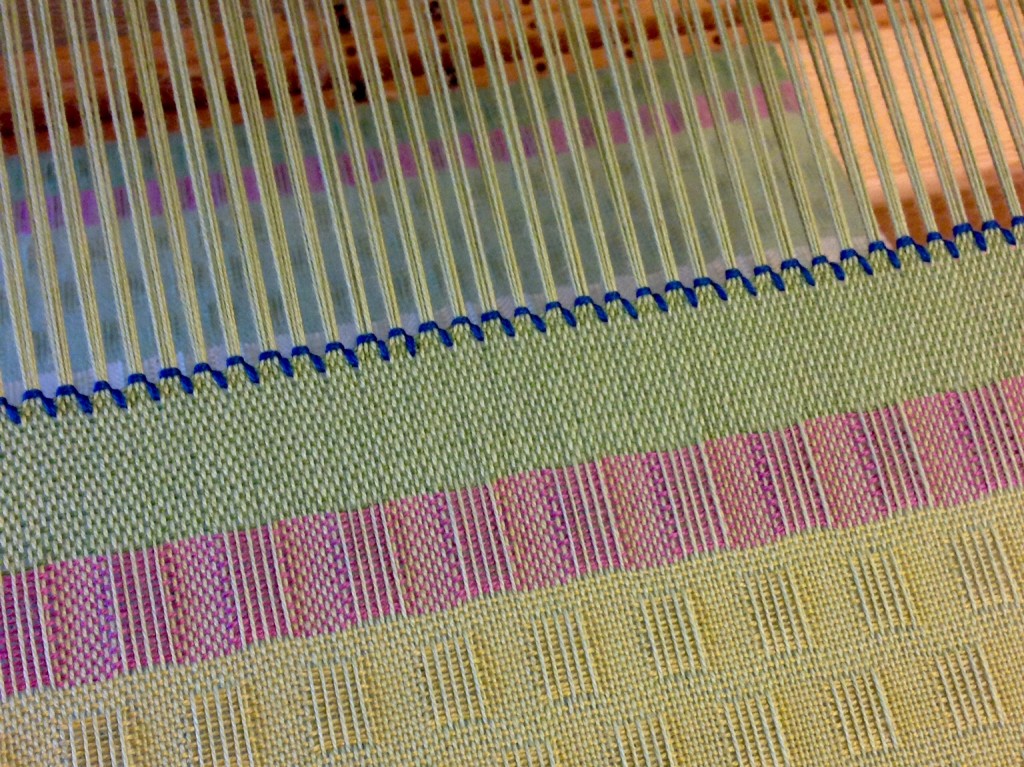
Bold hemstitching at end of cotton lace weave scarf. Karen Isenhower
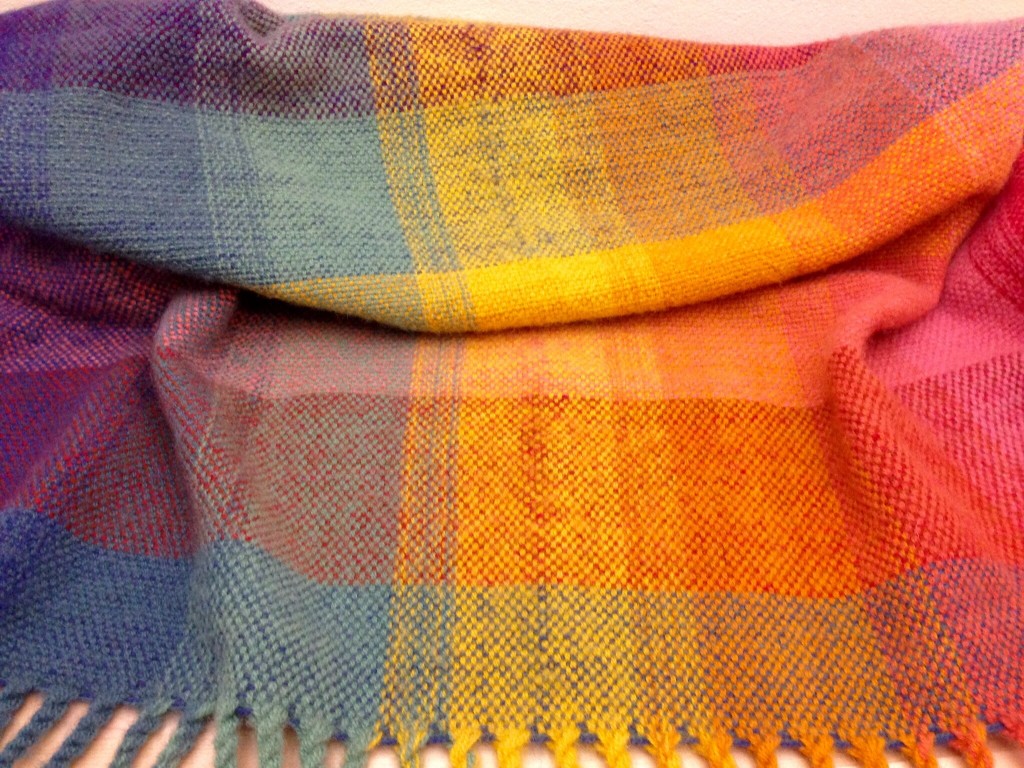
Cotton lace-weave scarf in springtime colors. Bold hemstitching at the end.

Everything that has a beginning has an end. Since the beginning of time, and through the ages, our Maker has been unfolding His mystery of life and love. There will come a day, though, when the mystery is finished. Certainly, there will be bold hemstitching at the end of the cloth as the Maker, the Grand Weaver himself, brings time as we know it to a close.

May your days begin and end with an embroidered edging of love.

By hand,
Karen

Tools Day: Temples

Draw-in happens. It is a natural part of weaving. Sending a weft thread across the warp, weaving over and under, naturally pulls the warp threads closer together–this is draw-in. But excessive draw-in ruins selvedges, causes warp ends to fray and/or break, and wastes time because it creates problems. The width across the fell line needs to be the same as the width of the warp in the reed. If the cloth is narrower at the fell line, there is abrasion on the outer warp ends from the reed, as the beater comes to the cloth.

Two things work together to help prevent excessive draw-in:

1) Angling the weft. Placing the weft across the warp at an angle adds extra length to the weft, which helps to accommodate for the natural draw-in.

2) Using a temple (stretcher). The purpose of a temple is to maintain consistency in the width of the cloth. It does this by “stretching” the cloth out, holding it in place with little spikes on each end of the tool. Moving the temple frequently uses the tool to its best advantage. I move mine about every inch of weaving. For more instruction on how to set a temple, please see one of my most popular posts, Tools Day: Temple Technique.

I weave with a temple more often than not. The temple must be set properly, to the precise width, so I have several sizes in my growing collection of temples. Sometimes it works to combine two different sizes to get the measurement that is needed.

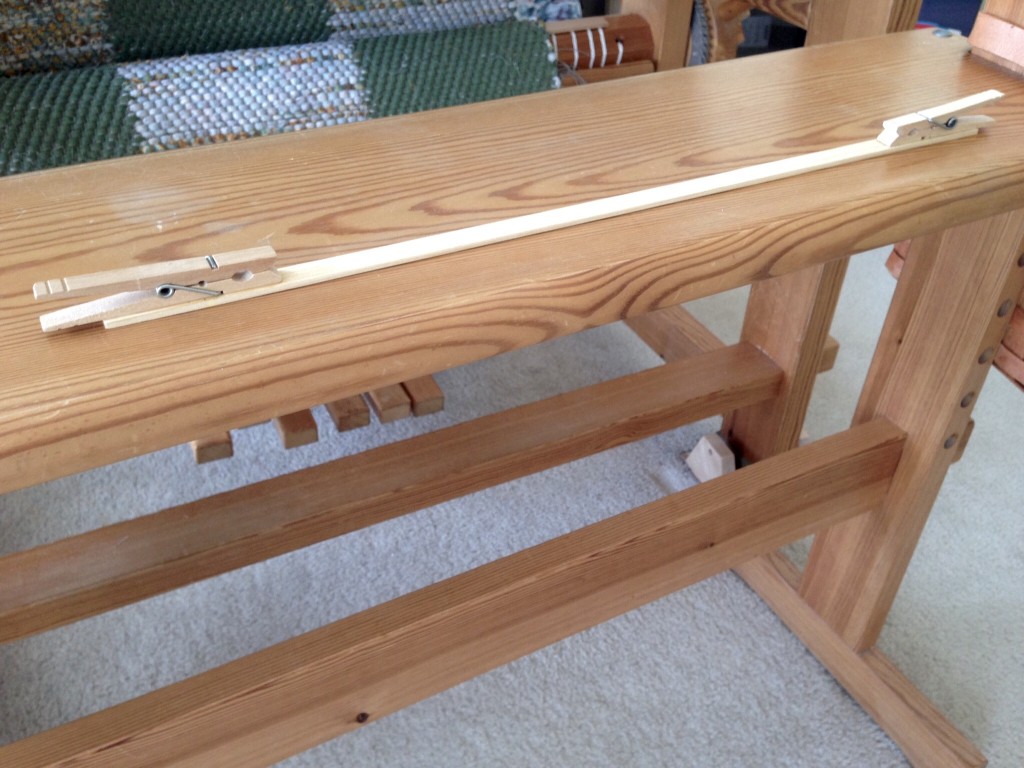
My first temple was a make-do tool that I used with my rigid heddle loom on lightweight weaving. It is not adjustable, so it only works with one specific warp width.

Make-do temple for a rigid heddle loom.
Slat with clothes pins glued on the ends makes a simple lightweight temple for a rigid heddle loom.

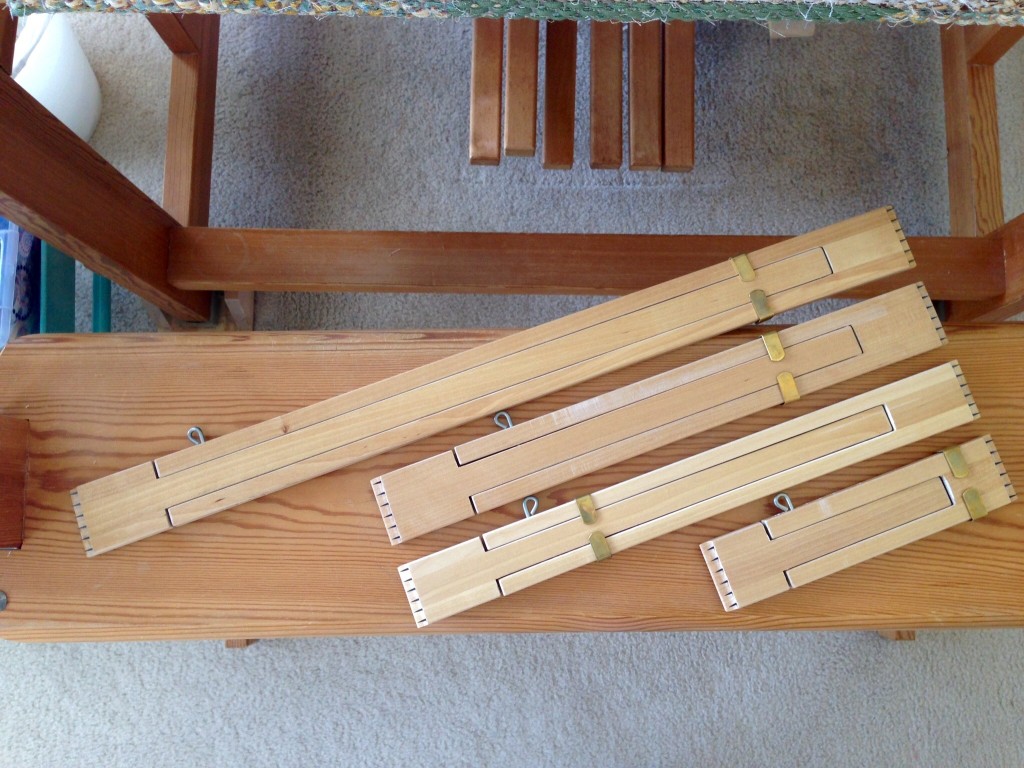
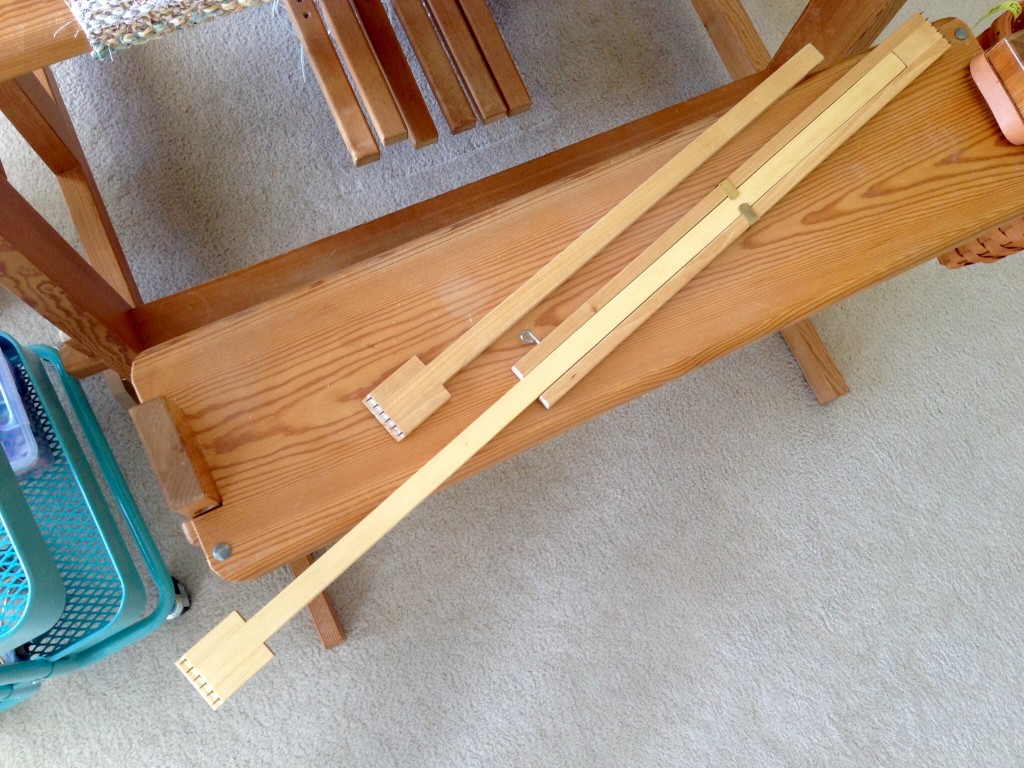
My wooden temples are from Glimåkra. They serve me well, and are the ones I use most often. Since they are adjustable, they cover a wide range of possible widths.

Wooden temples (Glimakra) for weaving.
Wooden temples (mine are Glimåkra) work well for any type of weaving.
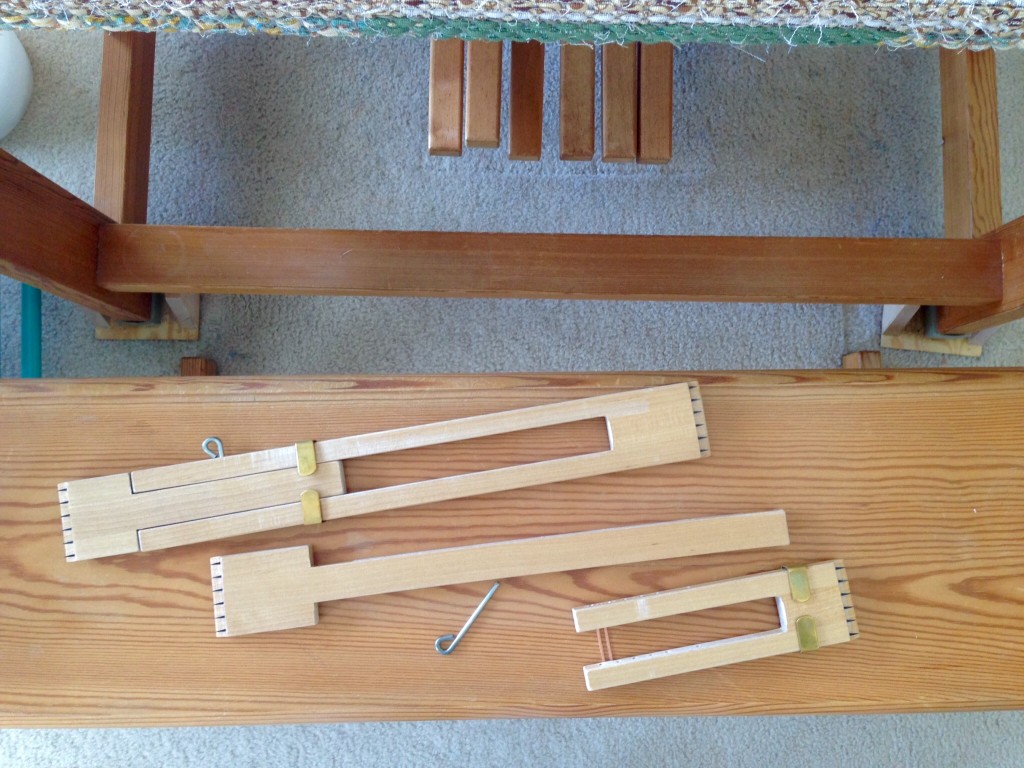
Switching parts to two sizes of temples. Info about temples on the blog.
Switching parts on two different sizes of temples can increase the range of possible sizes. And, yes, some of my temples have an extra hole, added by my husband, to increase the range of the temples’ adjustability.
Tips for using a temple!
Perfect width of temple for this cotton lace-weave scarf found with combination of two different sizes.
Handmade extension for temple. Temple tips...
Steve made an extension for my longest temple when I needed a really l-o-o-o-o-ng temple. He used finishing nails for the little spikes. It’s perfect!

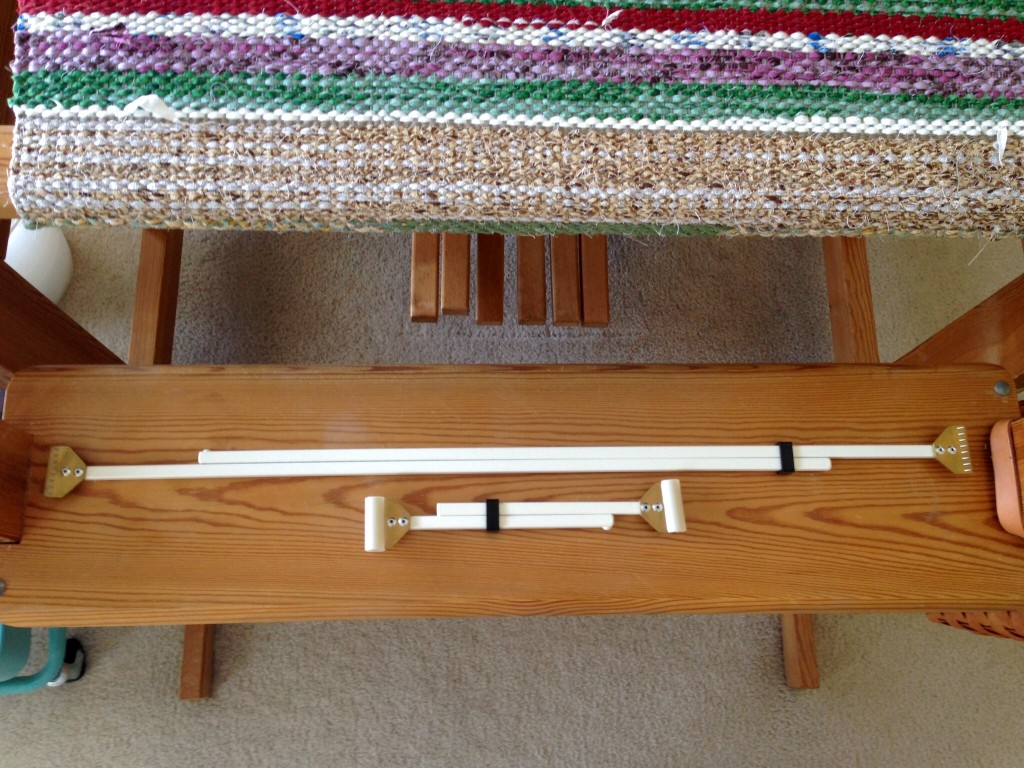
The metal temples are heavier, with thicker teeth, and work well for coarser weaving, especially rugs.

Metal temples for weaving, especially rag rugs.
Metal temples work well for weaving rugs. Like the wooden temples, these also have interchangeable parts, which can extend the range of possible widths.
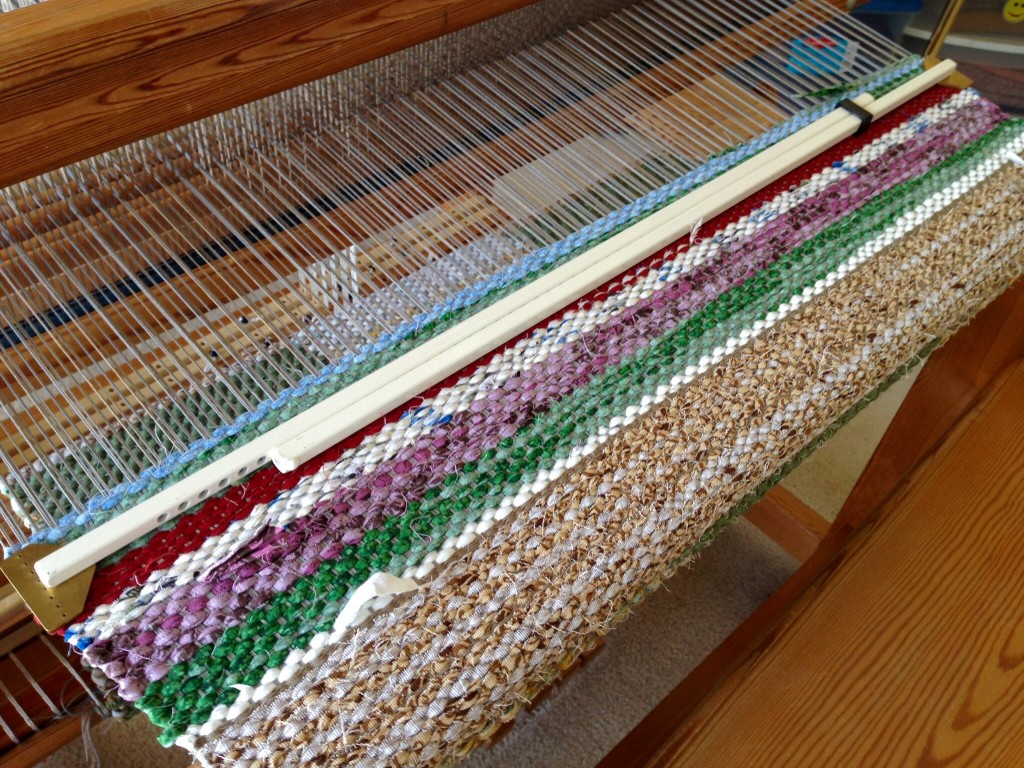
Temple in place in scrap weft between rag rugs. Temple tips.
Temple is set in the scrap weft between rag rugs. Ready for the start of another rag rug!

May your selvedges shine, and your broken ends be few.

Happy Weaving,
Karen

Quiet Friday: Little Tapestry Diary

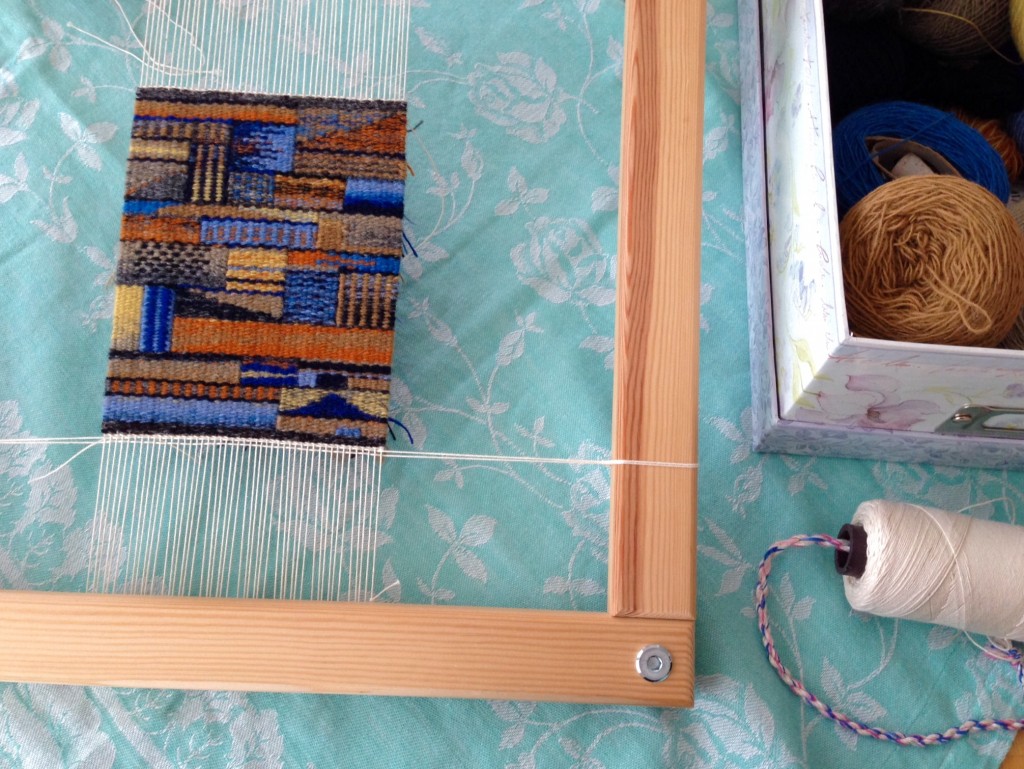
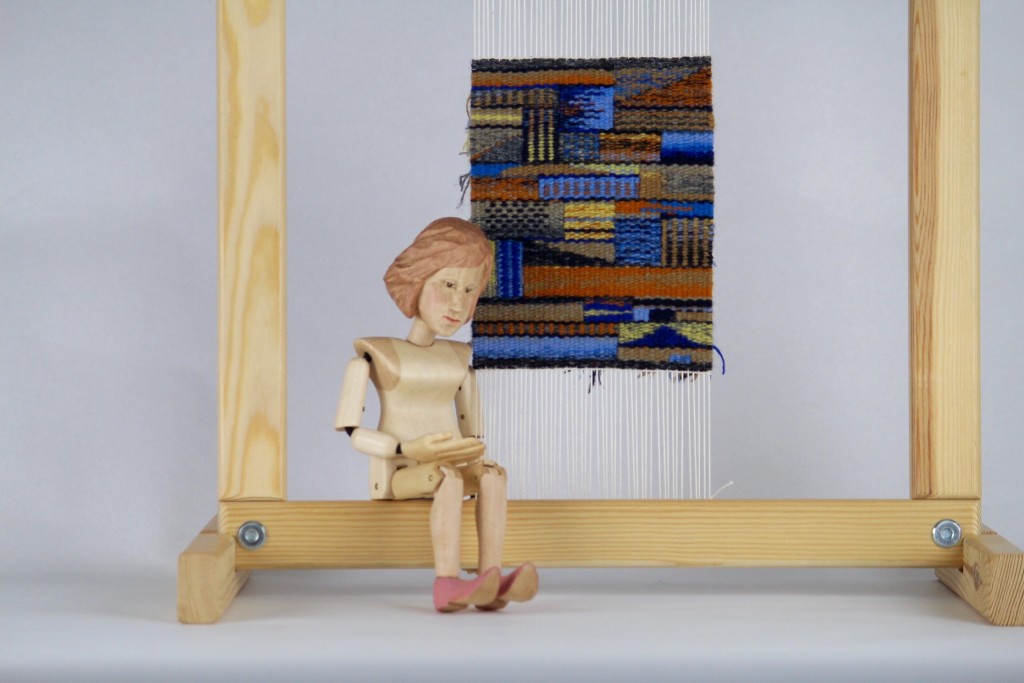
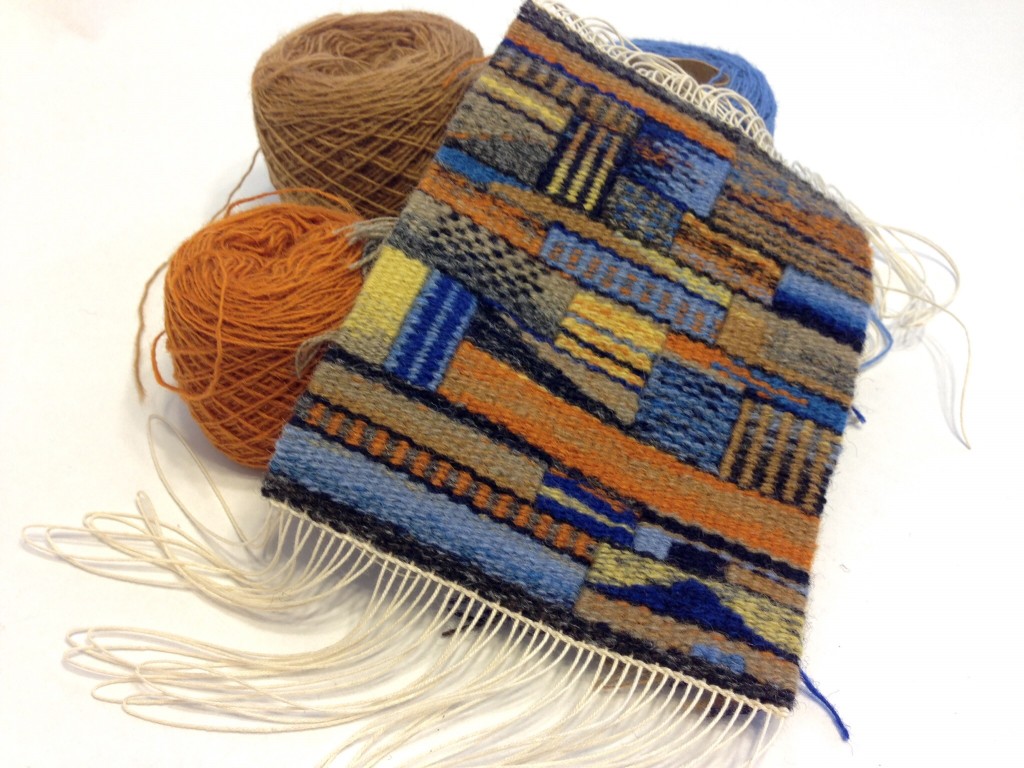
Do you want to develop a good habit? Do that good thing every day for a month, …or so they say. It may be true, because I think my tapestry dabbling is turning into a habit. It seems perfectly natural, now, to end my day enjoying some peace and quiet with my little tapestry frame and a cup of tea. For the month of January, I completed a rectangular or square shape each day. February has no rectangles, only triangles and shapes with slanted sides. January 2015 is finished, and February is almost over. A tapestry dabbling diary is a simple way to mark the passage of time while letting ideas and images escape to become visible.

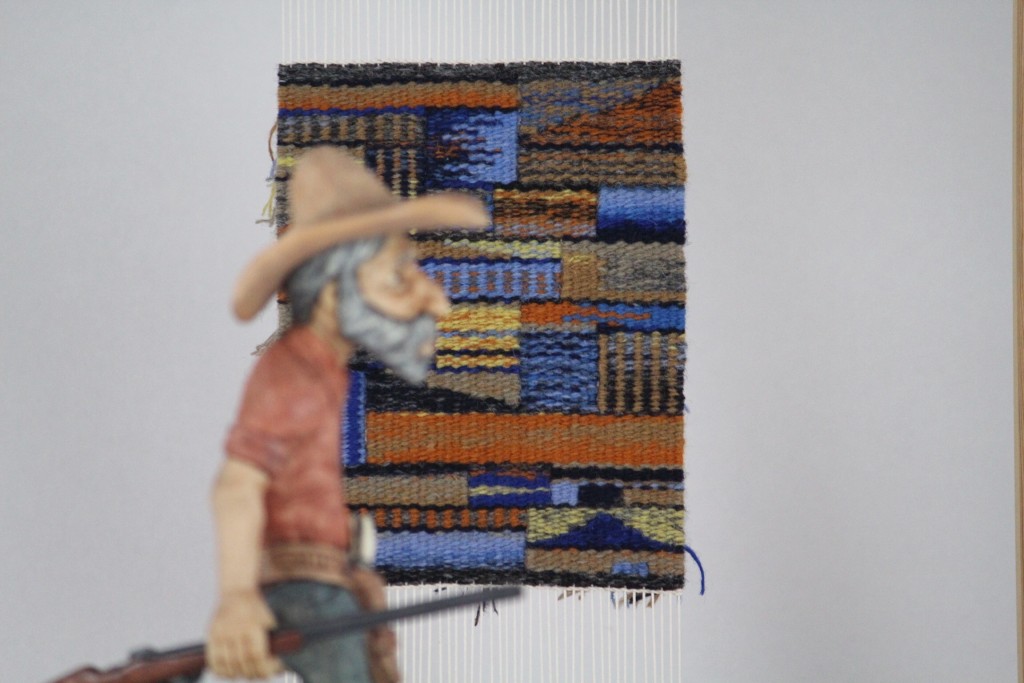
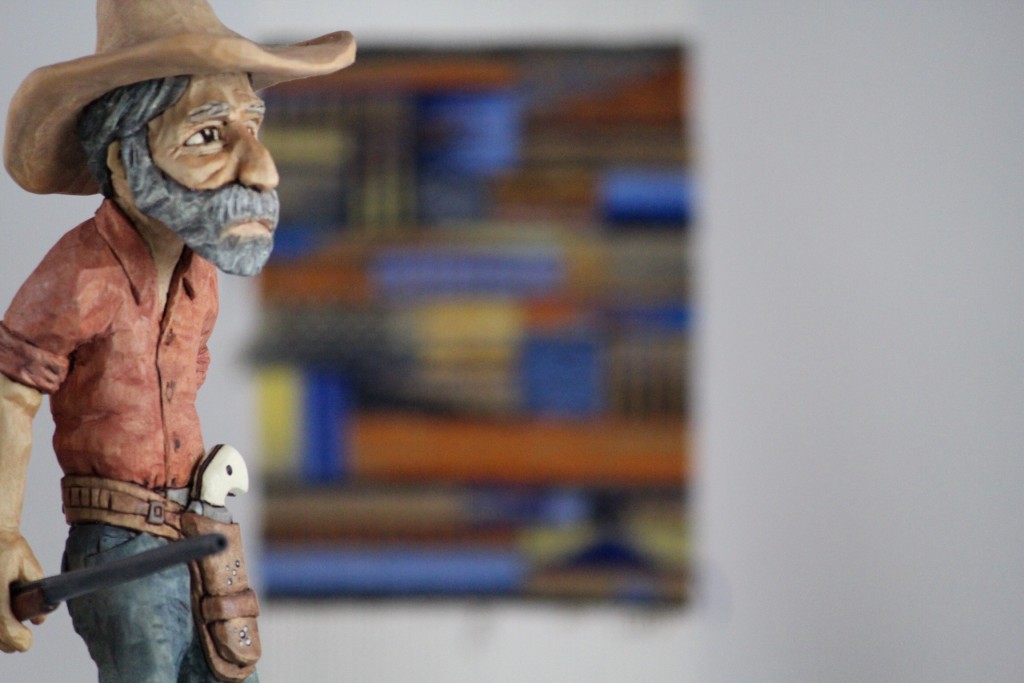
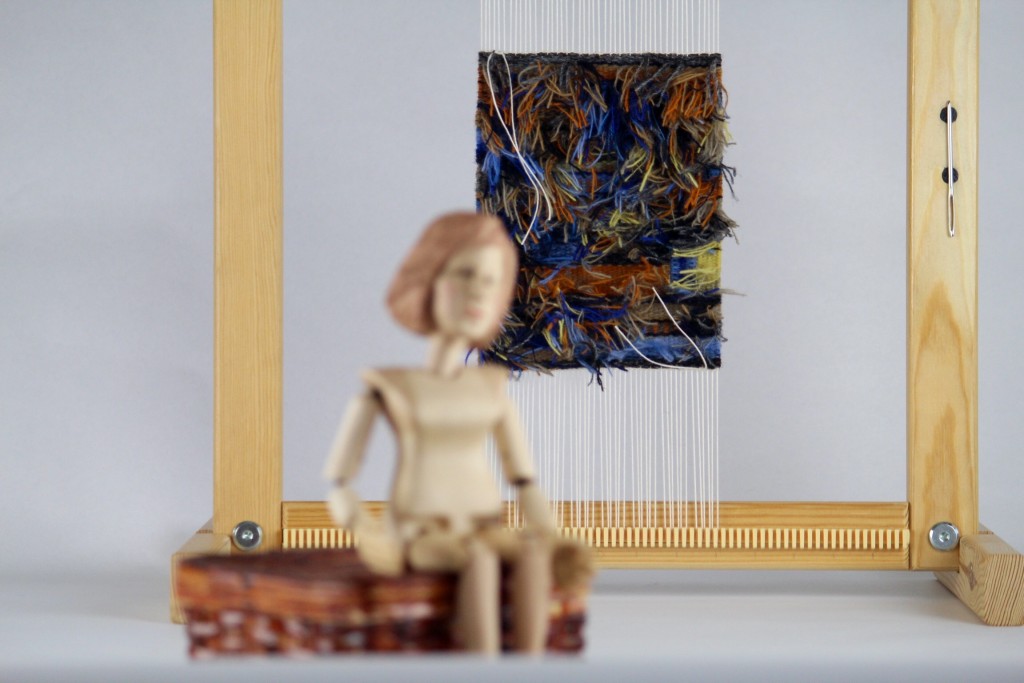
Some of the photos include Steve’s amazing woodcarving handiwork. And be sure to check out the video at the end showing how I create a finished edging for this little January tapestry diary.

Preparing warp for tapestry diary on a frame loom.
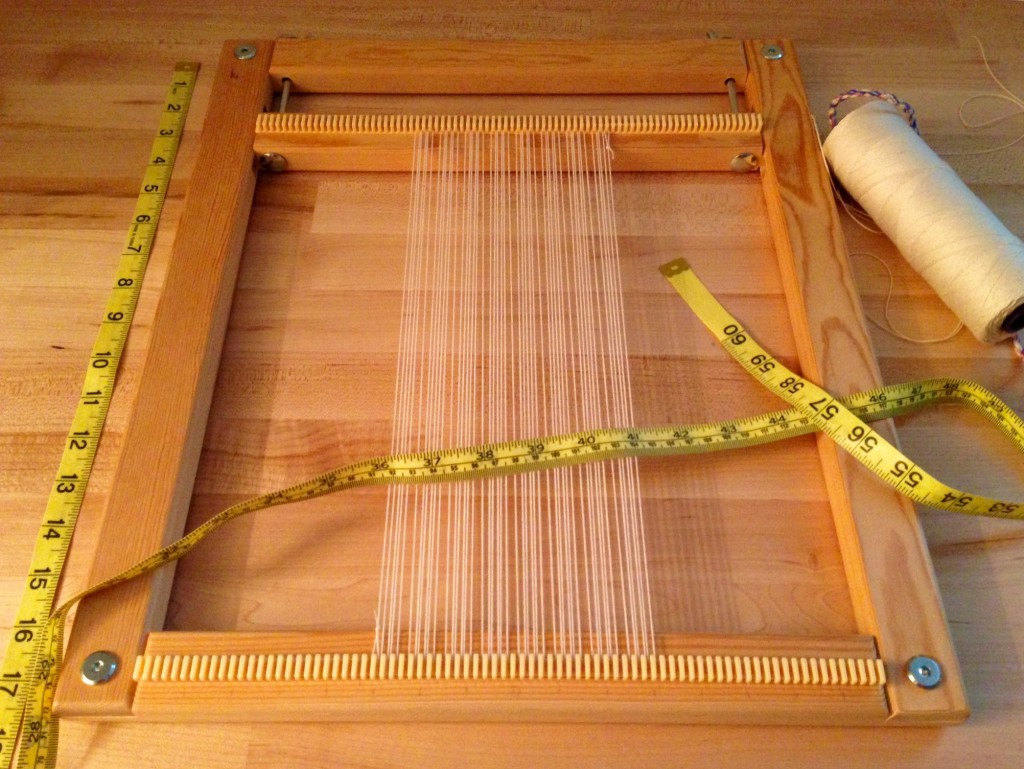
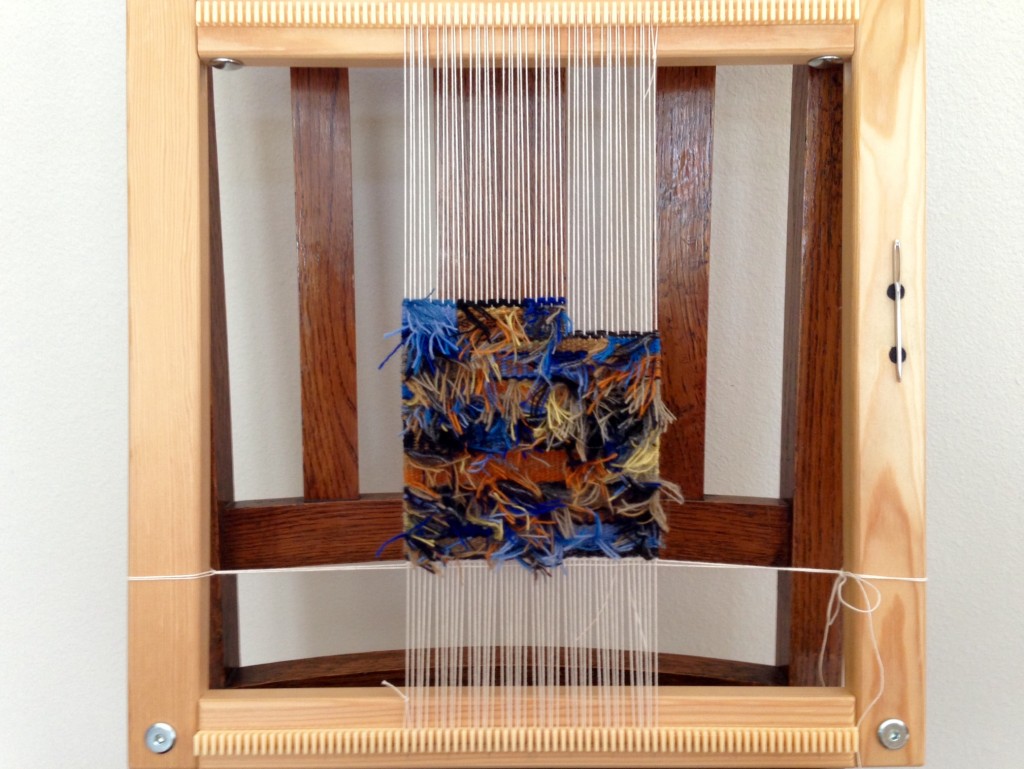
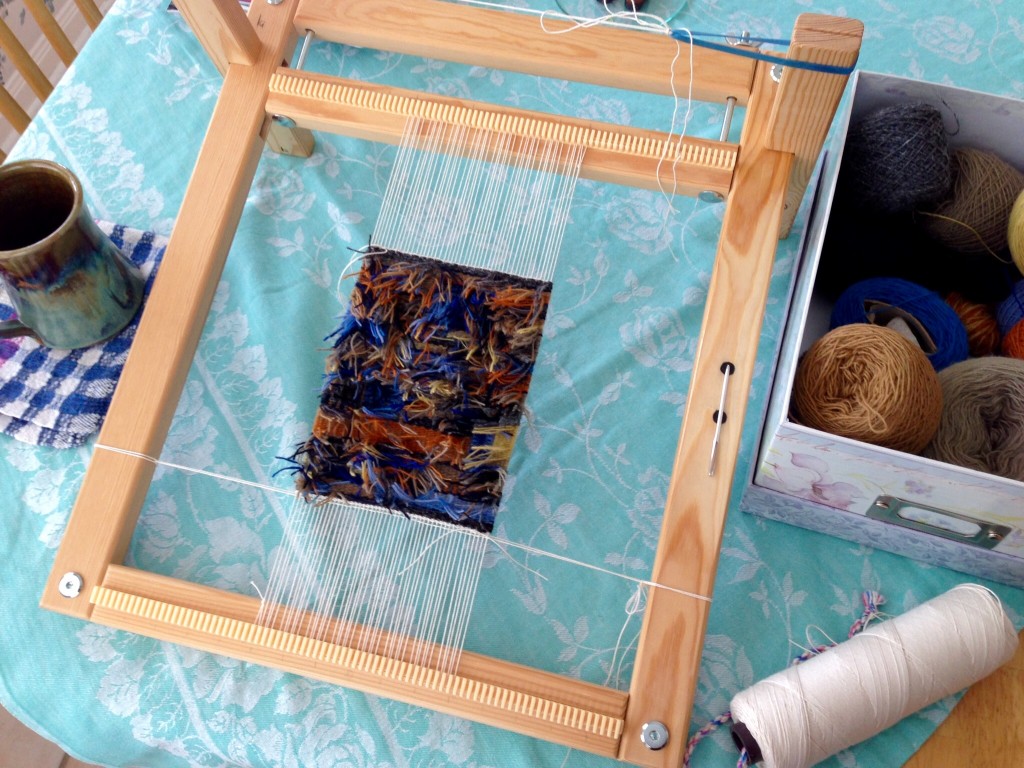
Empty warp ready for January 1st. Blank slate for collecting ideas. (This is the Freja Tapestry Frame by Glimåkra, lap size. Following pictures show the two magnets Steve added for holding my tapestry needle.)

Tapestry woven from the back.

Tapestry diary progress.

Tapestry diary for January is ending. More pics.

January tapestry diary. Pics and video.

Woodcarving and tapestry. The Isenhower's.
Amos is heading somewhere, and will not be deterred.
Woodcarving and weaving. The Isenhower's.
It is possible to be so focused on where you are going that you do not even see the “masterpiece” in the room?

Woodcarving and tapestry.

Hand-carved marionette and tapestry. The Isenhower's.

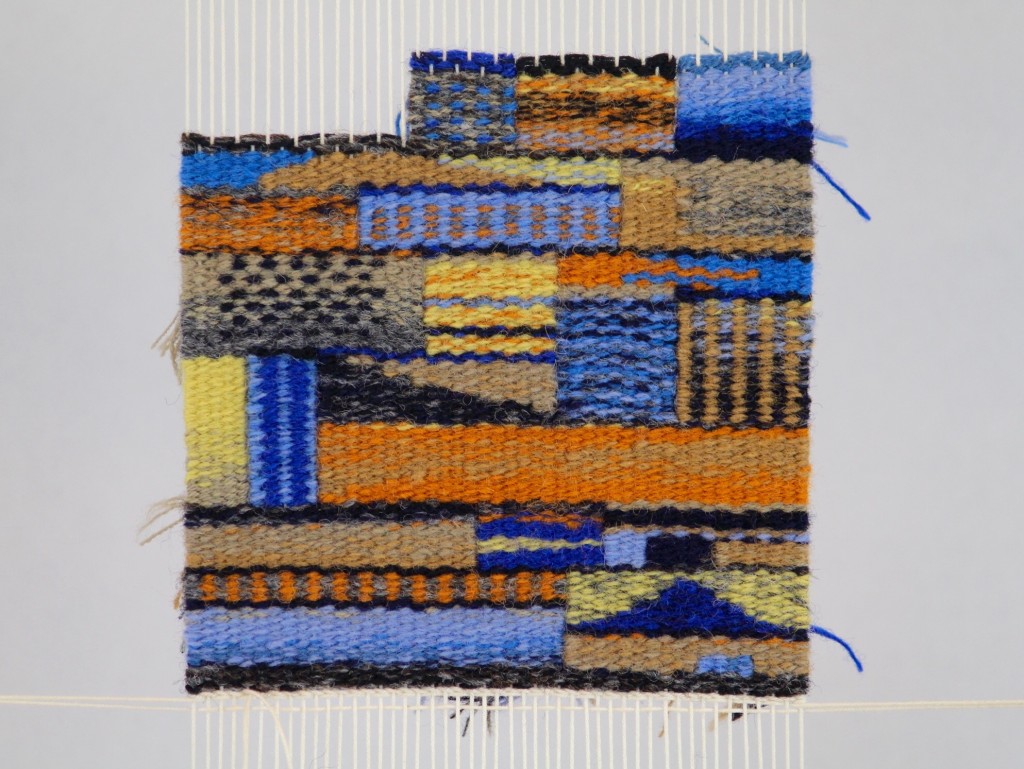
January tapestry diary off the loom. Karen Isenhower

May you measure time with the good habits you develop.

Happy Tapestry Weaving,
Karen

Wool Double-Width Blankets Finished

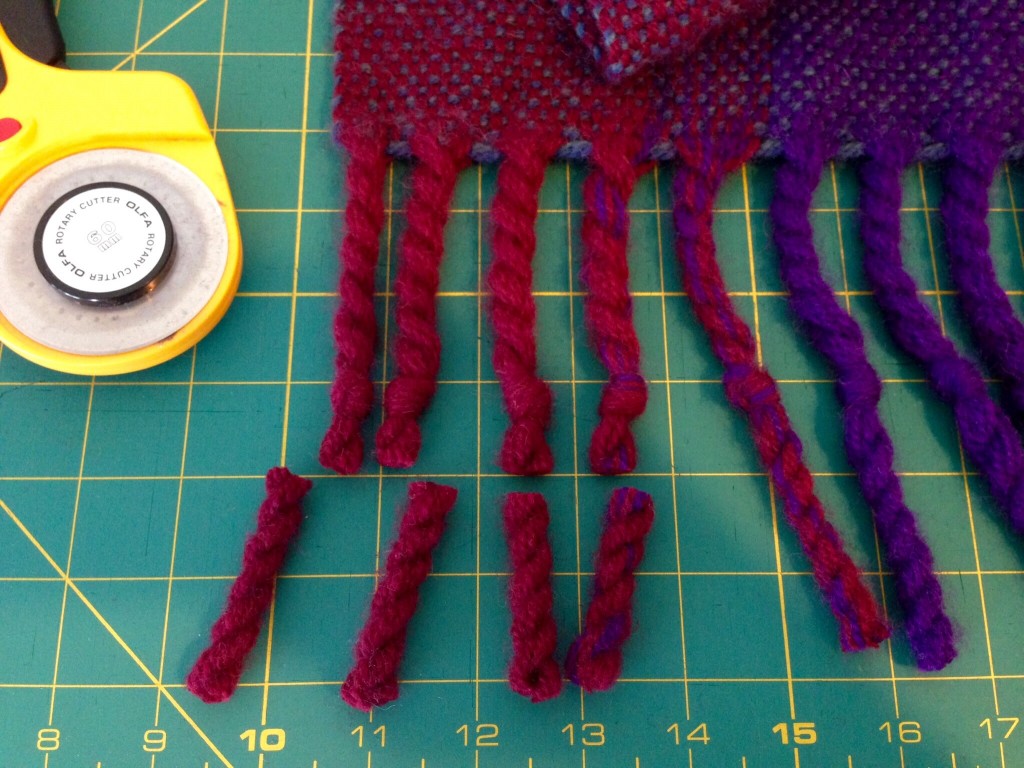
The wool double-width blankets came out even better than I had hoped. It still seems magical to simply weave, and end up with cloth two times the woven width. What did I enjoy most about this project? First of all, the colors. It is so much fun to mess with colors. Secondly, the fringe. I love how the fringe turned out. Those chubby twists are my favorite part of the finished blankets. Knotted, or not. The first blanket has knotted fringe. Watch the Wool Blanket Final Finishing video below to see what happens with the fringe on the second blanket.

Finishing fringe on wool blanket. Video with more info.
Fringes on the first blanket are finished with knots before the excess is cut away.
Detail of fold of double-width blanket.
Detail of opened and finished fold on double-width blanket.
Finished wool double-width blanket. Karen Isenhower
Finished wool double-width blanket. Final finishing complete.

In this final episode in the Wool Blanket Finishing series, I show you how I brush the blanket and finish the fringe.

In case you missed any of the previous videos in this series:

1. Colorful Cozy Blanket and a Video

2. Quiet Friday: Wool Blanket Finishing

3. Wool Blanket Gets Wet

May your work come back to you as rewards.

Love,
Karen

Quiet Friday: Wool Blanket Finishing

As wonderful as it is to weave two wool double width blankets, the truth is, they are not finished until they are finished. The thrill of completion comes when you finally sew your “Handwoven by” label on the woven accomplishment. But, for me, just as great is the joy of sharing what I made, and how I made it, with friends like you.

I have divided the finishing process for this blanket into four segments. Steve and I created little videos to take you along with me through each step.

Very end of the warp.
Woven as far as possible, and then cut off. Careful planning is needed to be able to weave the header following the 25cm of warp that is kept empty for twisting the fringes.
  • The next video segment covers everything that happens before wet finishing.
Woven wool blanket ready for wet finishing.
Woven blanket ready for wet finishing.

Please return next week to continue the Wool Blanket Finishing video series with me. The two remaining segments are about wet finishing and final finishing.

May you enjoy the thrill of completion.

Happy weaving,
Karen