Discovery Towels Workshop in Eureka Springs

Seven enthusiastic weavers came to the Discovery Towels Workshop I presented a few days ago. We had three wonderful days together. Thick and thin threads can do spectacular things when you combine them in the warp and weft. And Eureka Springs, Arkansas is the ideal setting for such a weaving adventure! This is a unique, quaint little town like none other. The Victorian-style homes, and the twisting, winding roads that follow the hillside contours make you feel like you are in a storybook village. We happened to be there at the same time as the annual Volkswagen Festival and Parade, which defies description. You just have to experience it for yourself.

Eureka Springs, Arkansas

Debbie Davis of Red Scottie Fibers, our gracious and knowledgeable host, provided the perfect setting in The Shoppes at Fleece ‘N Flax. Her classroom space is full of Glimåkra countermarch and counterbalance looms. What could be better?!
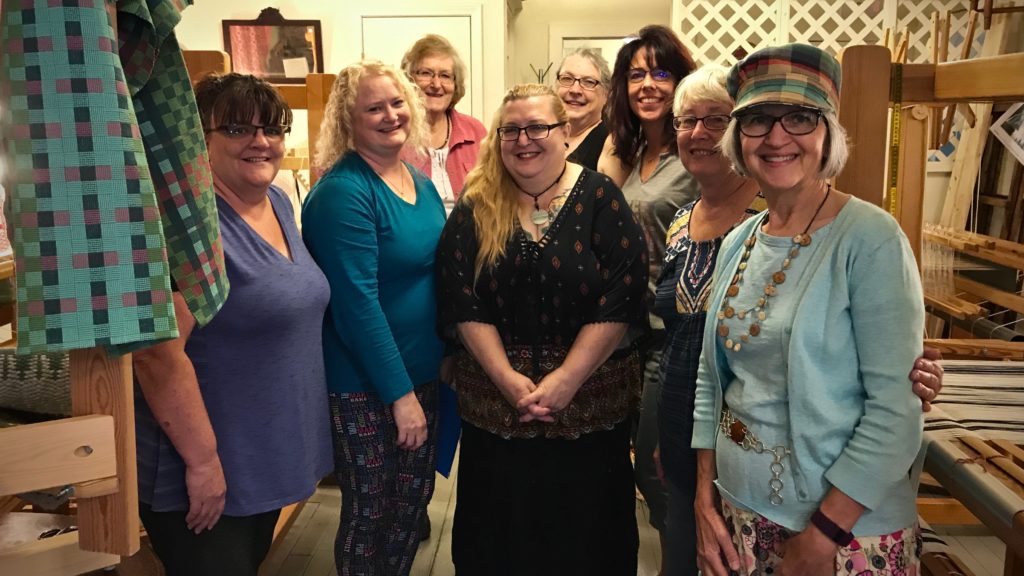
Weaving workshop with Karen Isenhower.
Discovery weavers!

You will be amazed when you see the beautiful towels that these seasoned and not-yet seasoned weavers produced! It was a joy to have some time with these enthusiastic discoverers.

May you enjoy the thrill of discovery.

~~On a personal note, regarding hurricane Harvey, Steve and I tried to drive home to Houston on Sunday, after our stay in Arkansas. We were unable to return all the way home because of flooded roads and highways, so we diverted our route to drive out to our place in Texas hill country. So far, our Houston home has not flooded, but our loved city is suffering greatly. Please keep these brave people, including many of our dear friends, in your prayers.~~

Yours,
Karen

Quiet Friday: Small Tapestry Bridge

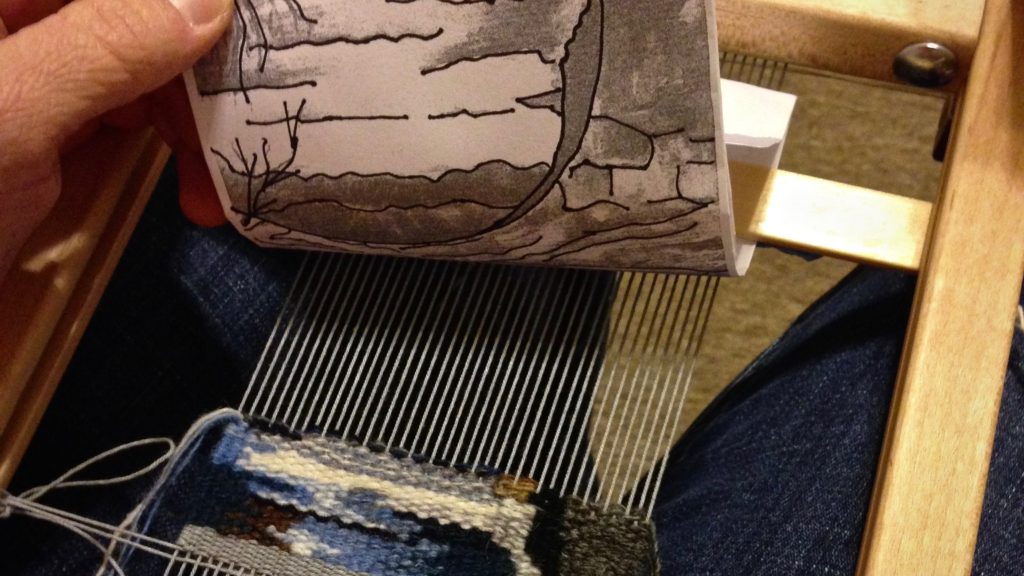
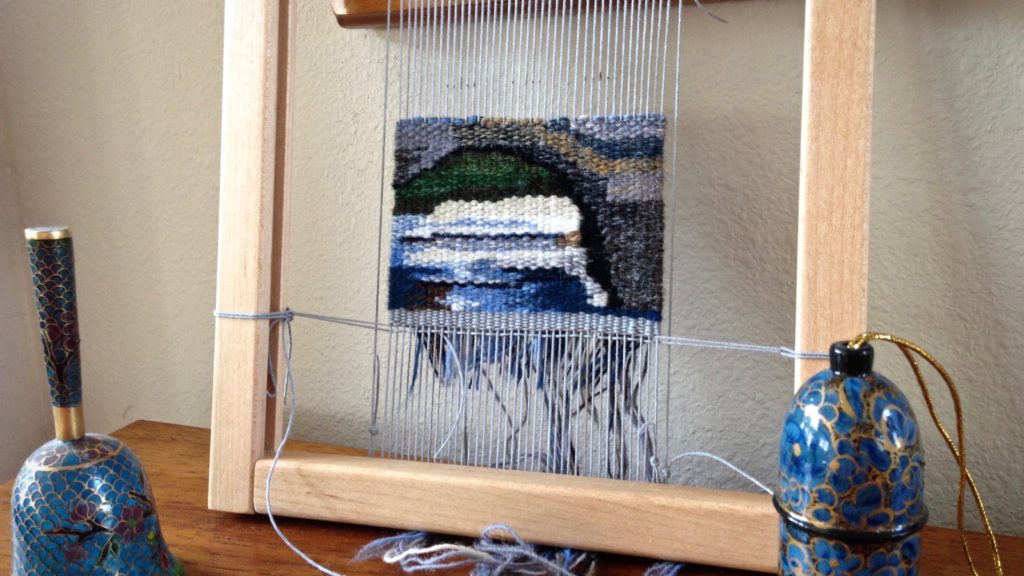
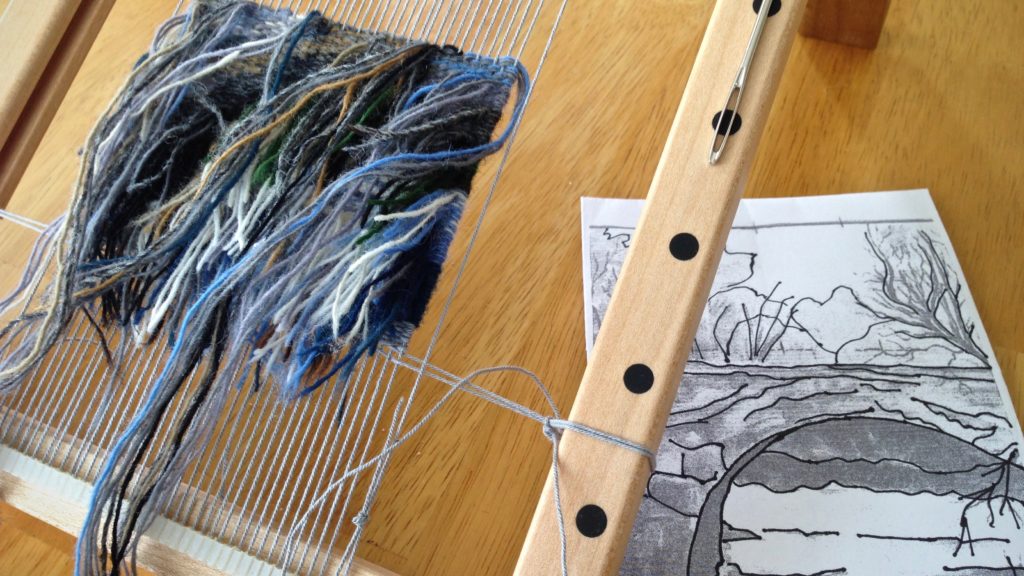
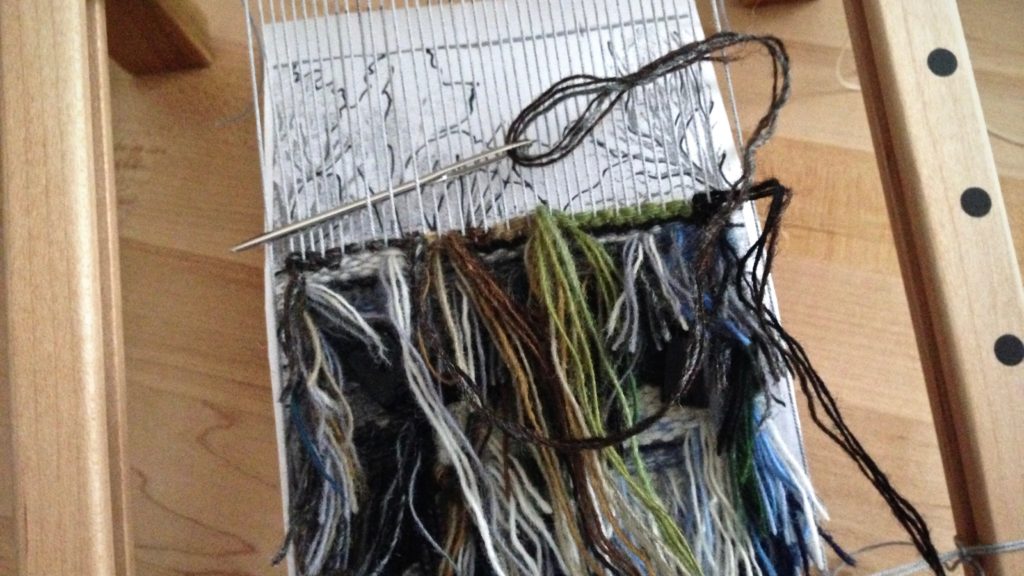
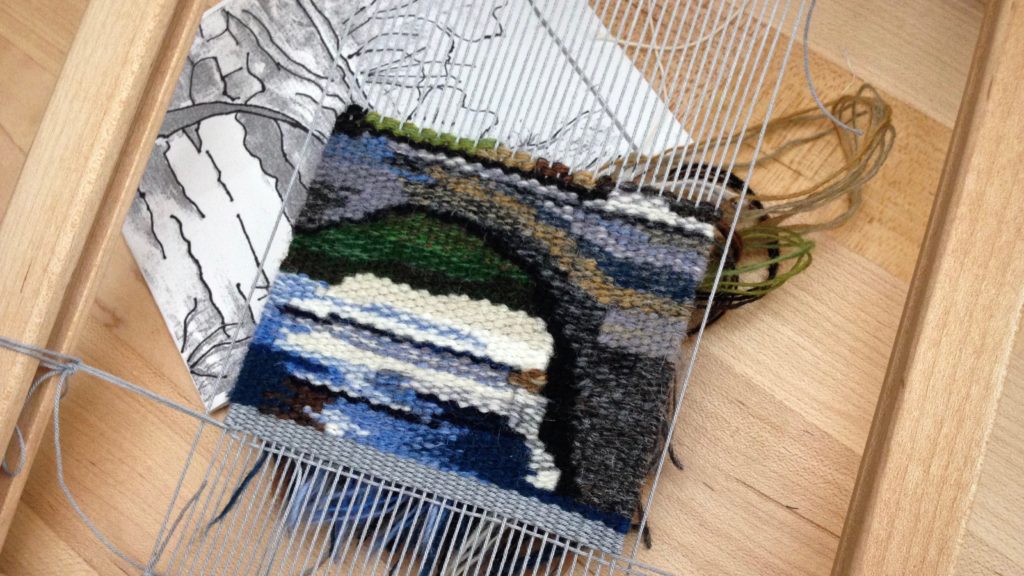
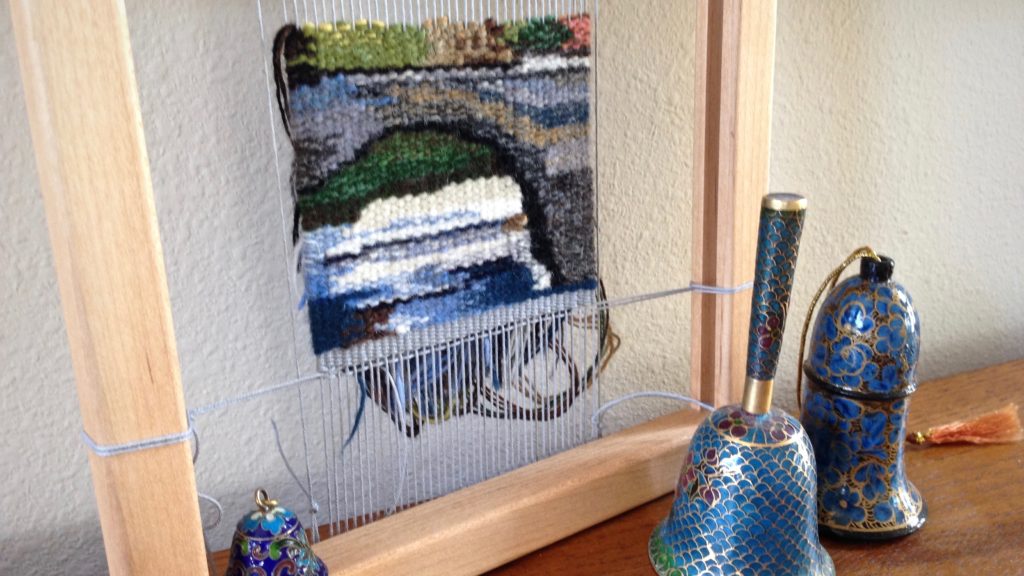
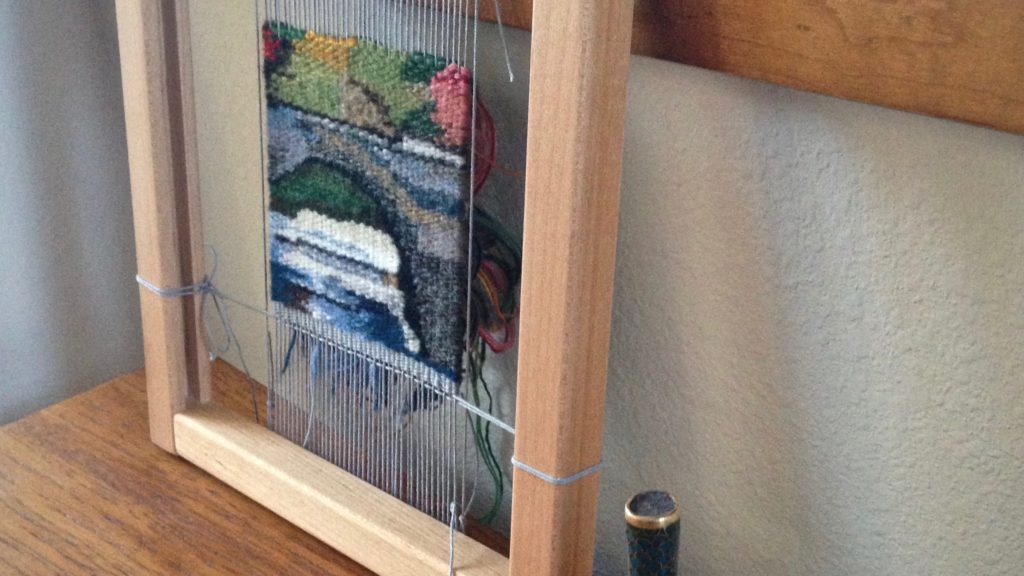
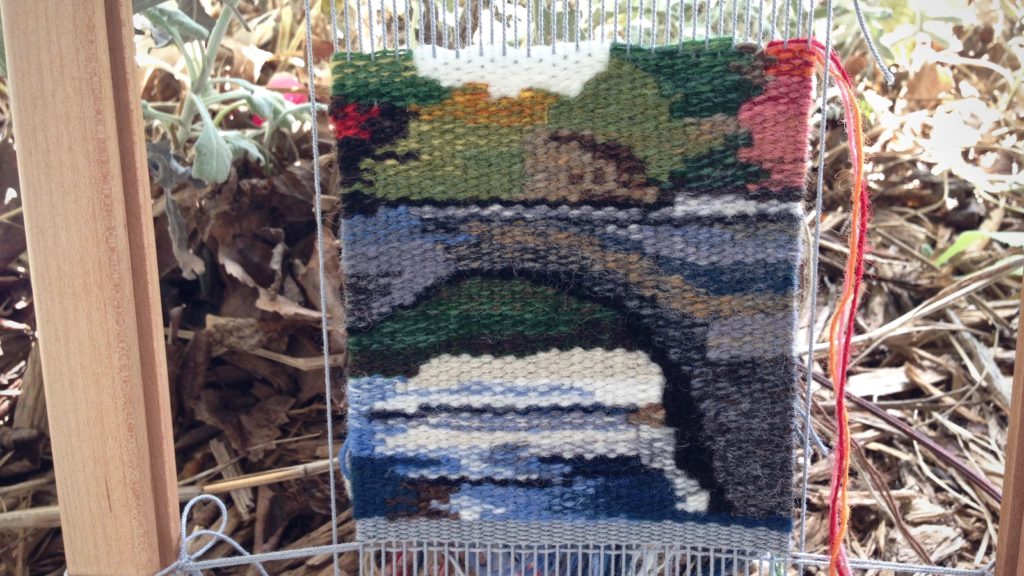
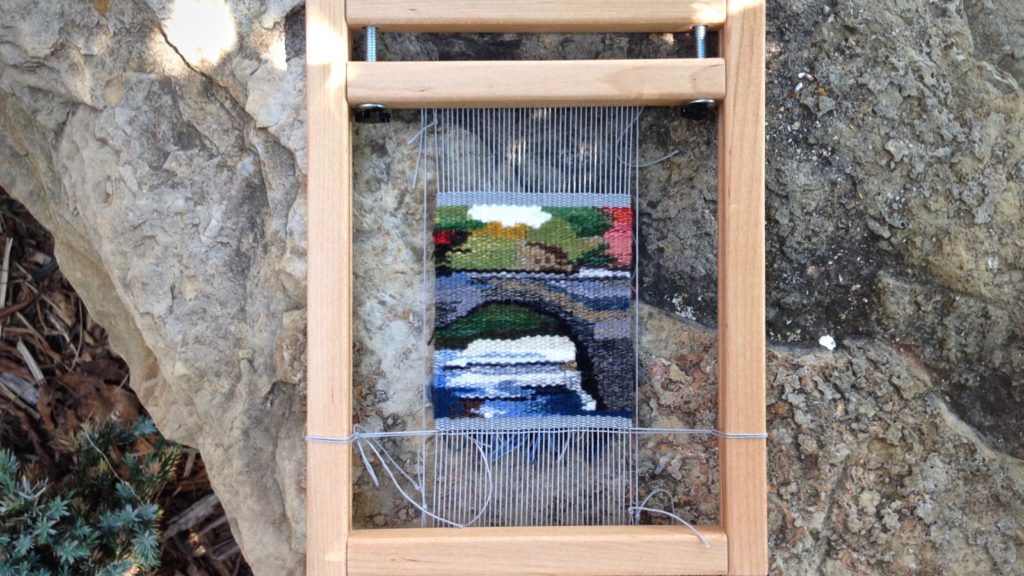
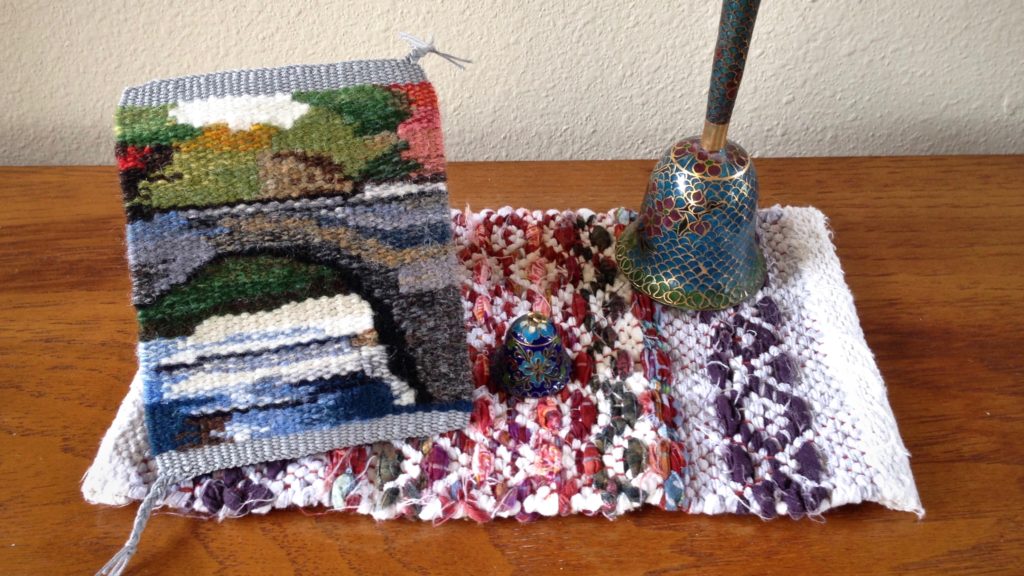
The unfinished small tapestry went in my travel bag this week. Travel tapestry is perfect for those waiting times at the airport; and gives me something interesting to do in flight. Best of all, while visiting my mom, she and I sat side-by-side one afternoon “doing art.” Mom used Staedtler coloring pencils to color detailed flower designs in a fancy coloring book; and I used Fårö wool to weave colors in the tapestry. What a sweet setting in which to finish this tapestry bridge!

Planning small tapestry.

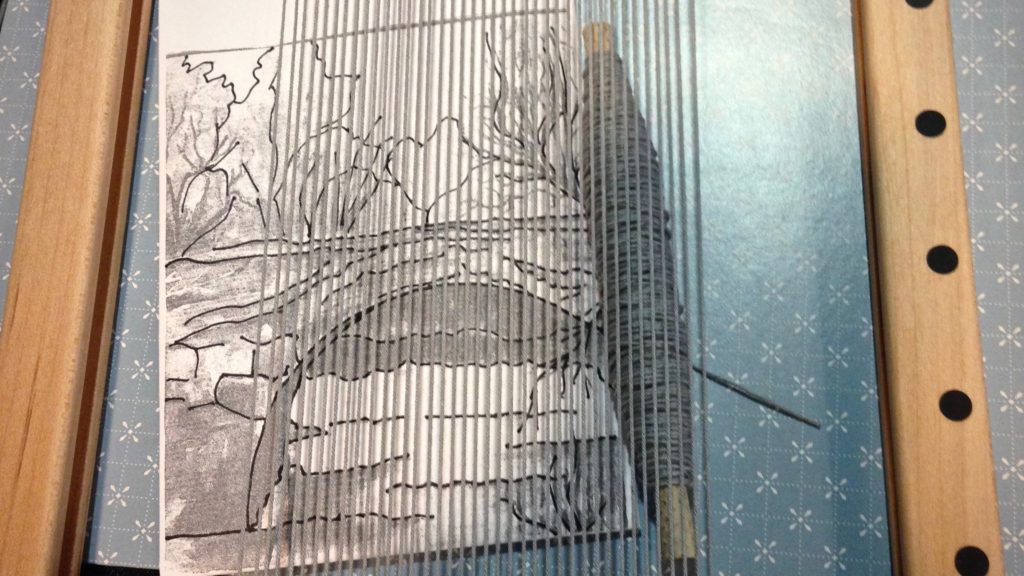
Under the cartoon of small tapestry.

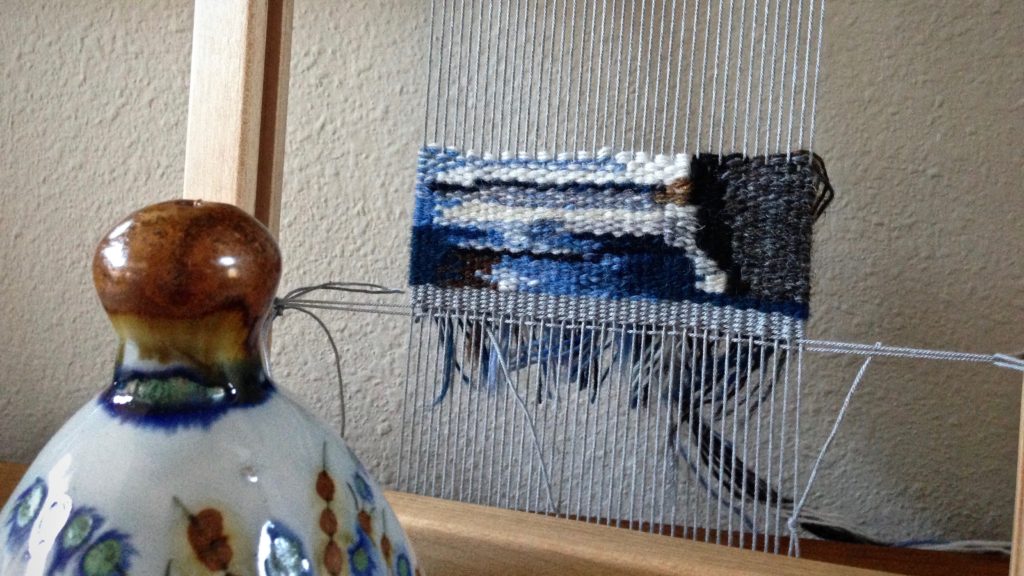
Beginning of small tapestry.

Tapestry while traveling.

Bridge takes shape in small tapestry.

Small tapestry - weaving from the back.

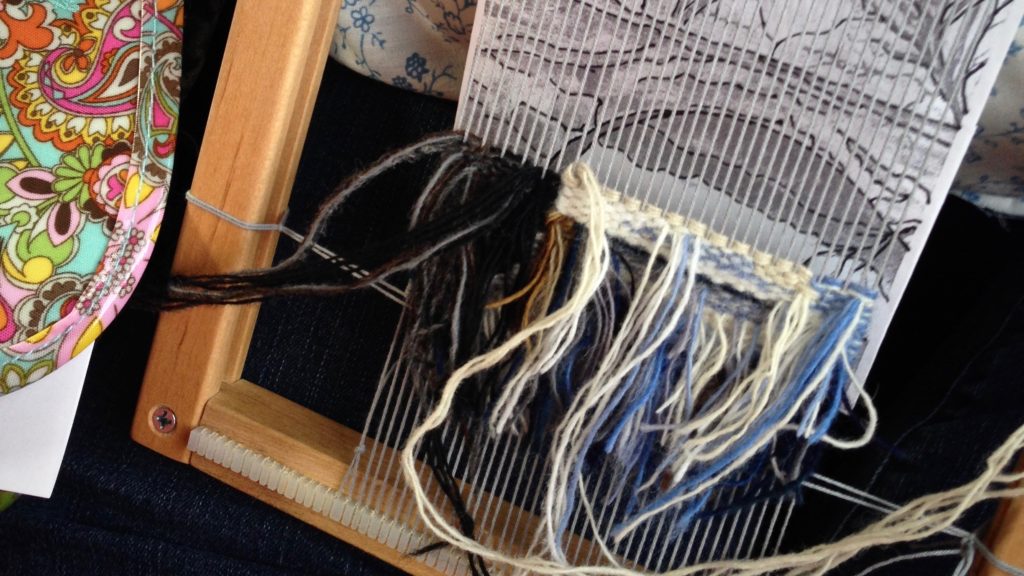
Weaving from the back. Small Tapestry.

Progress on small tapestry Bridge scene.

Small tapestry - Bridge scene, nearing completion.

Building a bridge. Small tapestry.

Small tapestry - bridge nearing completion.

Small tapestry Bridge, finishing touches.

Bridge small tapestry.

May all your travels be pleasant.

Happy weaving,
Karen
What Our World Needs

I would rather not stop in the middle, but that’s how it goes sometimes. Now, I am picking up where I left off at the halfway point on the towel. After a week away, I am happy to be back at my weaving loom. Project planning, loom dressing, and weaving. It’s a satisfying perpetual cycle.

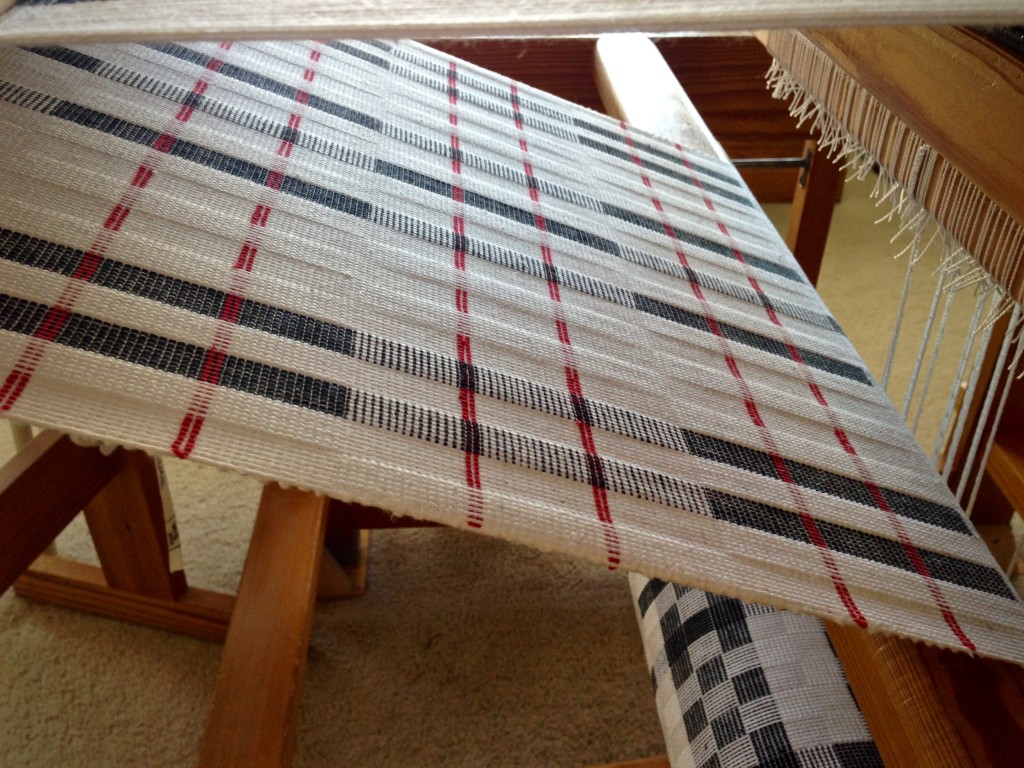
Cottolin and cotton for a pretty and thirsty modern towel.
Long pattern blocks create ribs across the width of the towel.

With Thanksgiving and Christmas quickly approaching, I am prepared to face continued interruptions. But I will keep coming back to my looms, sneaking in as much weaving time as possible. It’s no secret that I love to weave.

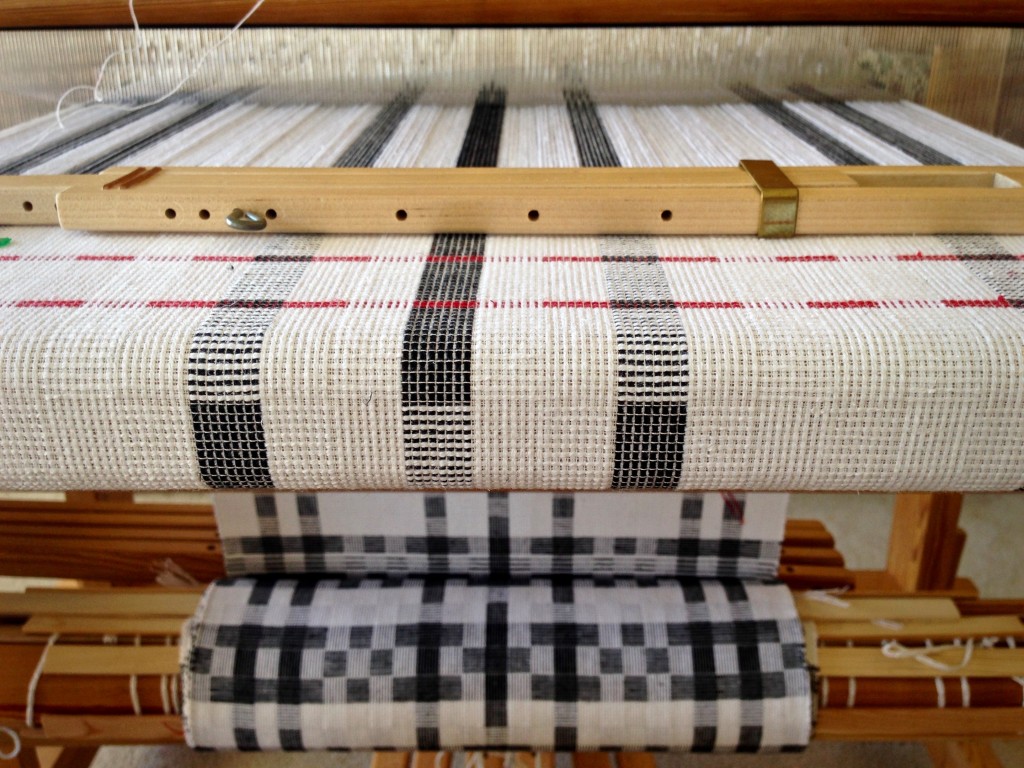
Thick and thin cottolin hand towels on the loom with interesting patterns.
As towel four rolls up on the cloth beam, towel five nears completion.

I feel the same way about praying. It is something I keep coming back to. For someone who loves to pray, prayer itself provides a welcome respite in troubled times. God responds to our heartfelt prayers. He hears and heals. Our world needs that now, more than ever. Perpetual prayer to our Prince of Peace.

May you keep coming back to what you love.

With Christmas in mind,
Karen
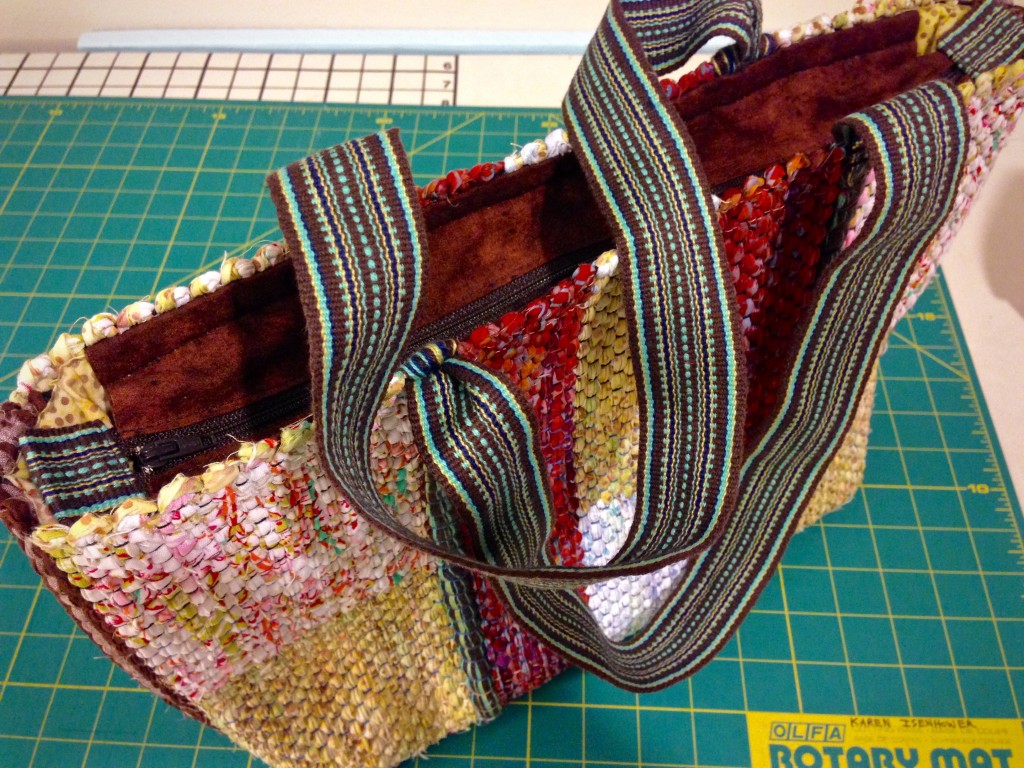
Quiet Friday: Custom Lining for a Handwoven Bag

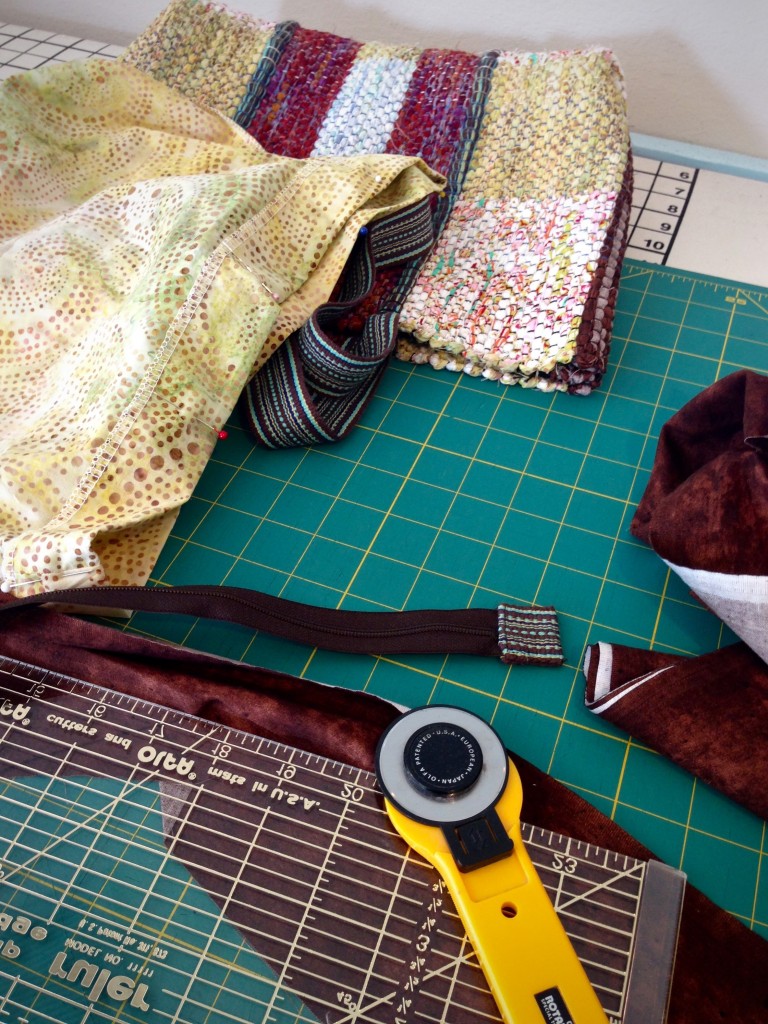
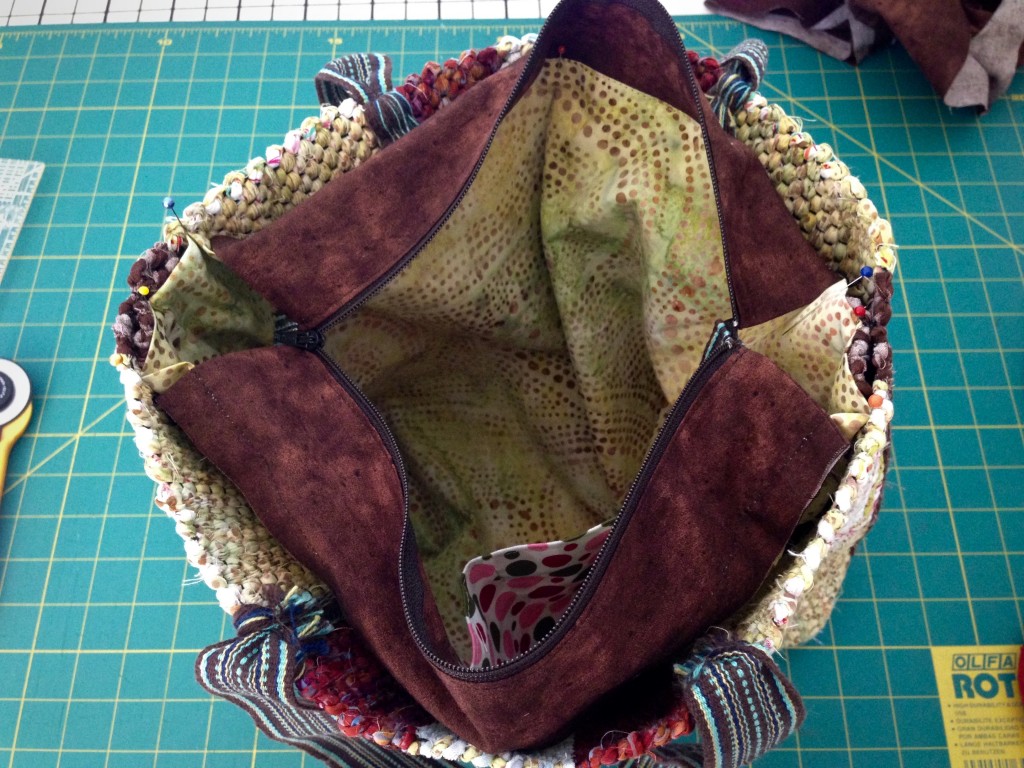
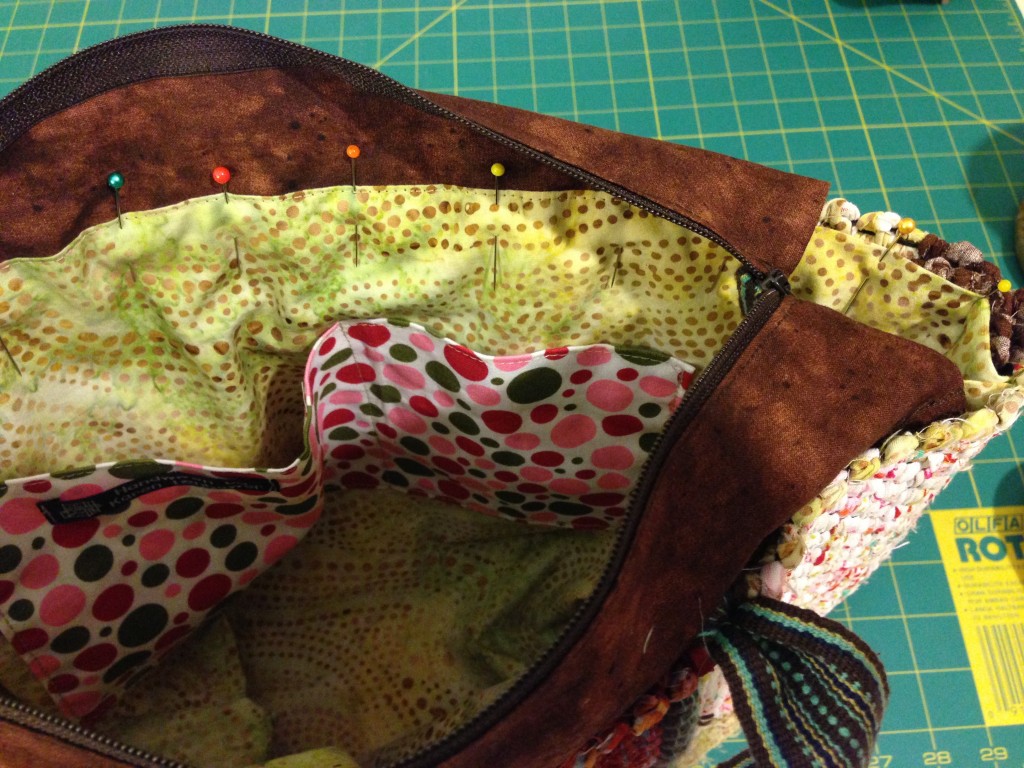
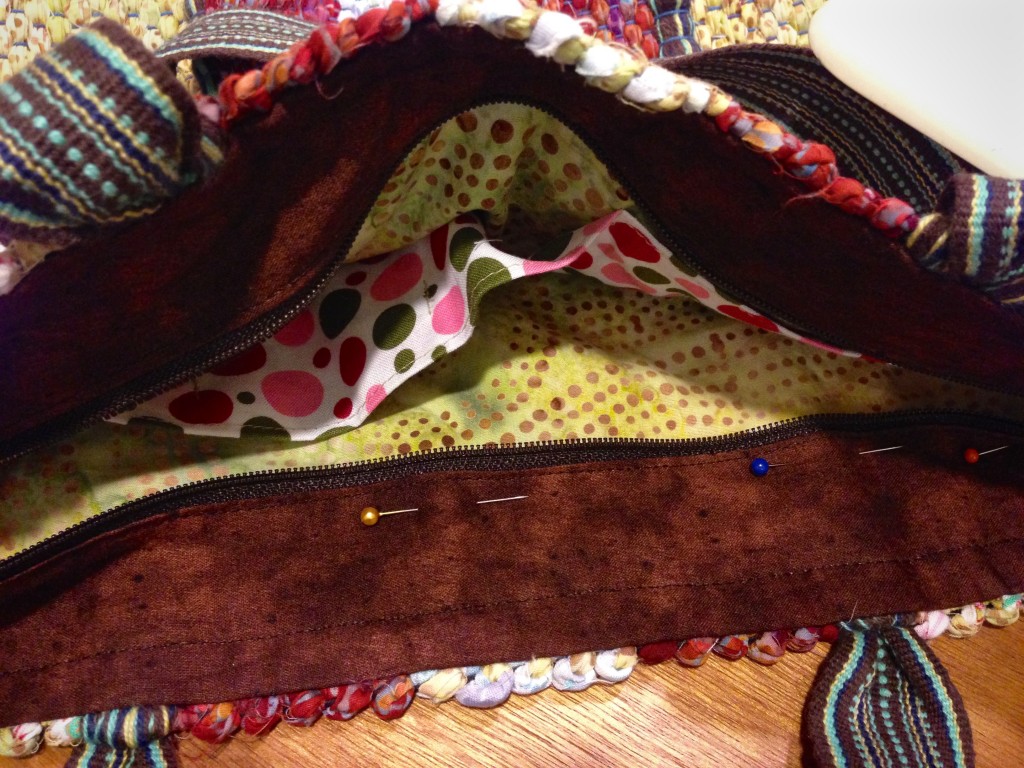
Every good bag deserves a good lining, with pockets inside and a zipper on top. This handwoven rag rug bag is no exception. The lining fabric is some of the same fabric that is woven in the bag. The polka dot pocket fabric is a cheery piece from a visit to The Philippines. The completed zippered tote is a perfect fit for my small tapestry frame, and goes with me when I travel. Quiet Friday: Weave a Bag with Handles shows how I made the bag.

How to add zippered lining to a bag.

How to Add a Custom Zippered Lining to a Bag

Tools

  • Sewing machine
  • Zipper foot
  • Walking foot (recommended, but not required)
  • Steam iron
  • Straight pins
  • Tool for pushing out corners
  • Needle and sewing thread
  • Disappearing ink fabric marker
  • Fabric scissors

Supplies

  • Fabric for lining. Lay bag on top of folded lining fabric, with bottom of bag aligned with the fold of the lining fabric. Cut the folded fabric a generous 1 1/2″ wider and 1 1/2″ taller than the bag.
  • Fabric for pocket. Mark two pieces of fabric (or use a folded piece of fabric) the desired pocket size. Add 1/4″ seam allowance. Cut along the marked lines. Stitch, right sides together, leaving an opening for turning. Turn right side out, pushing out corners. Press. Topstitch all four sides.
  • Fabric for zipper insert pieces. Cut two pieces of fabric 4 1/2″ wide by the length of the zipper plus 1″.
  • Tabs for ends of zipper tape. Cut from handwoven band or piece of fabric with sides folded under.
  • Zipper. Regular, non-separating zipper, as long as, or longer than, bag opening

Steps

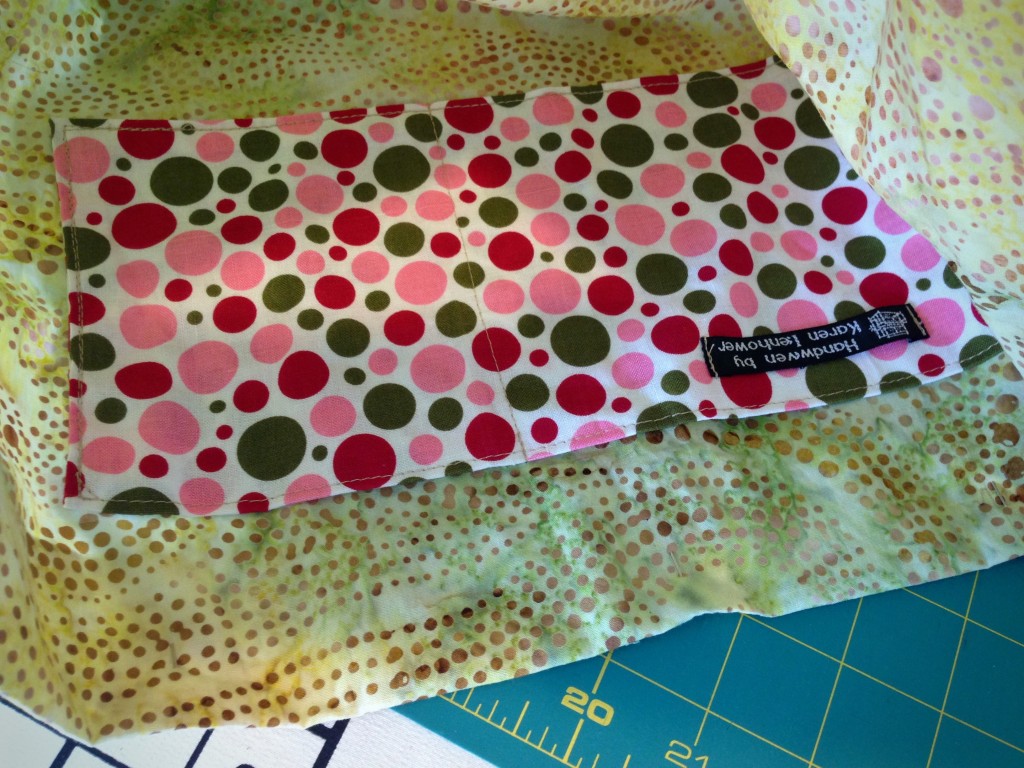
  1. Sew bottom three sides of pocket onto lining fabric. Stitch a dividing line on pocket.Adding pocket to lining for bag.
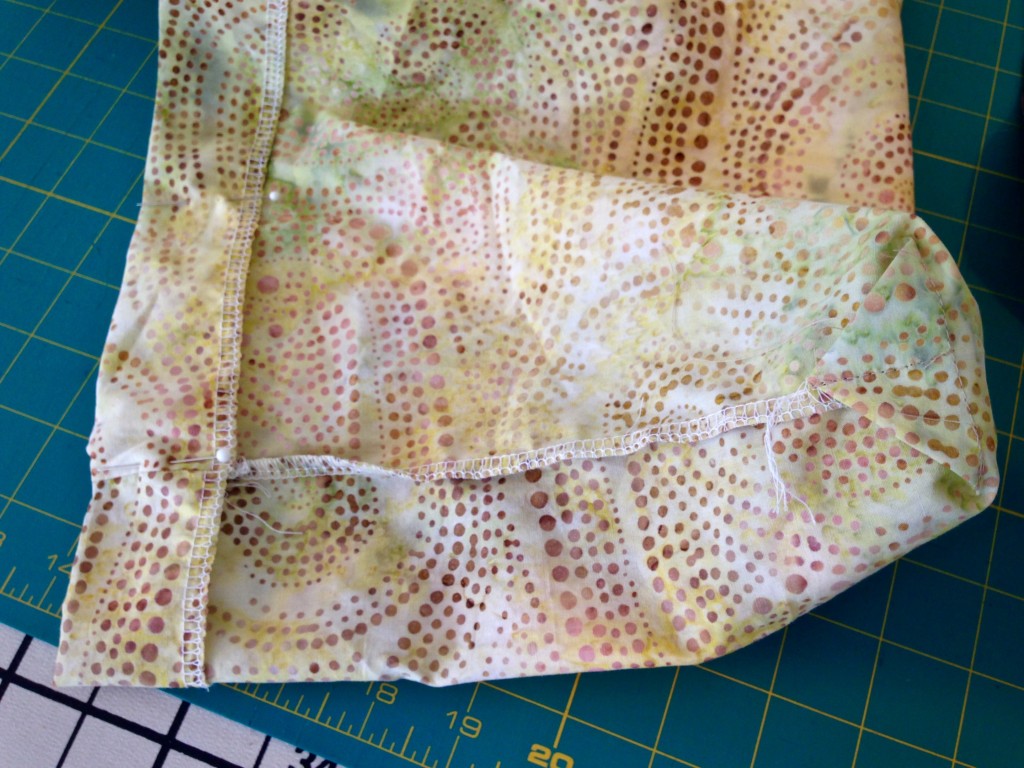
  2. Stitch sides of lining, right sides together. Fold and stitch box corners.Box corners on lining for a bag.
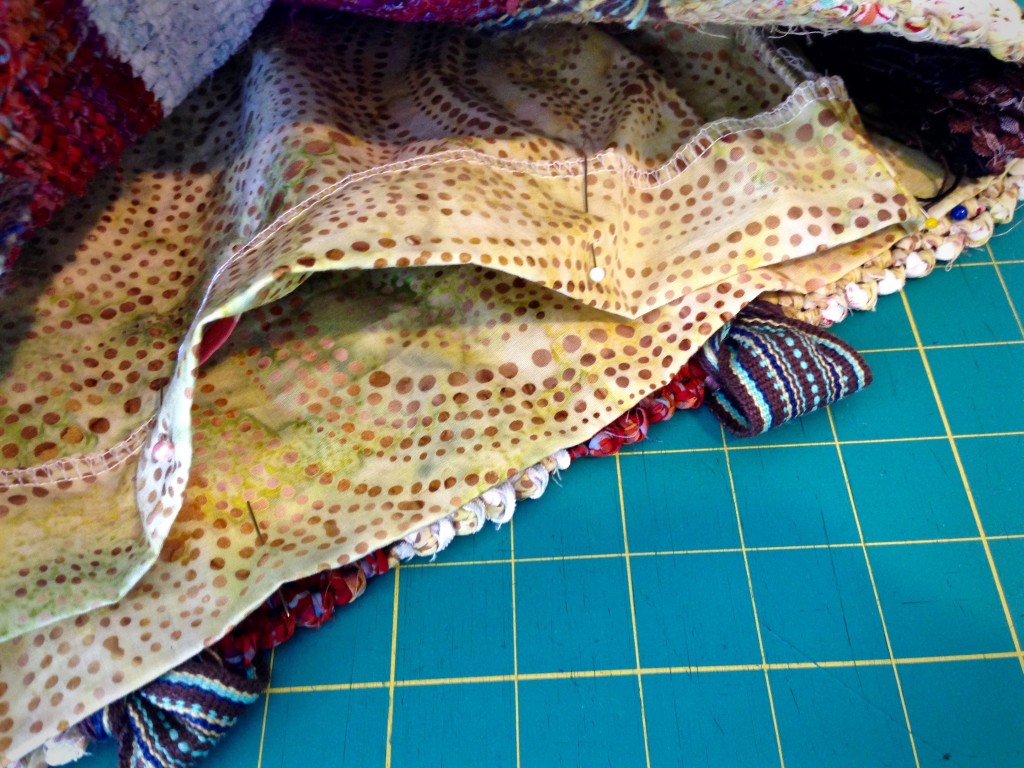
  3. With lining seated in bag, fold down top edge of lining, so that folded edge fits just inside top edge of bag. Pin folded edge of lining and remove from bag. Set aside. Fitting lining for a handwoven bag.
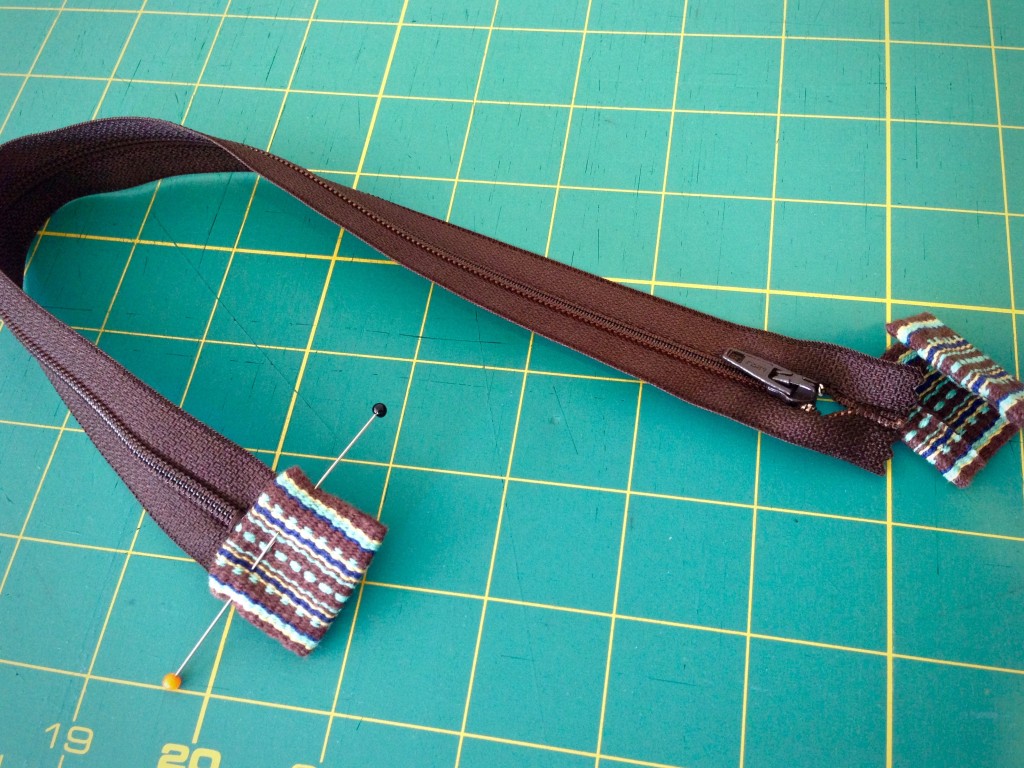
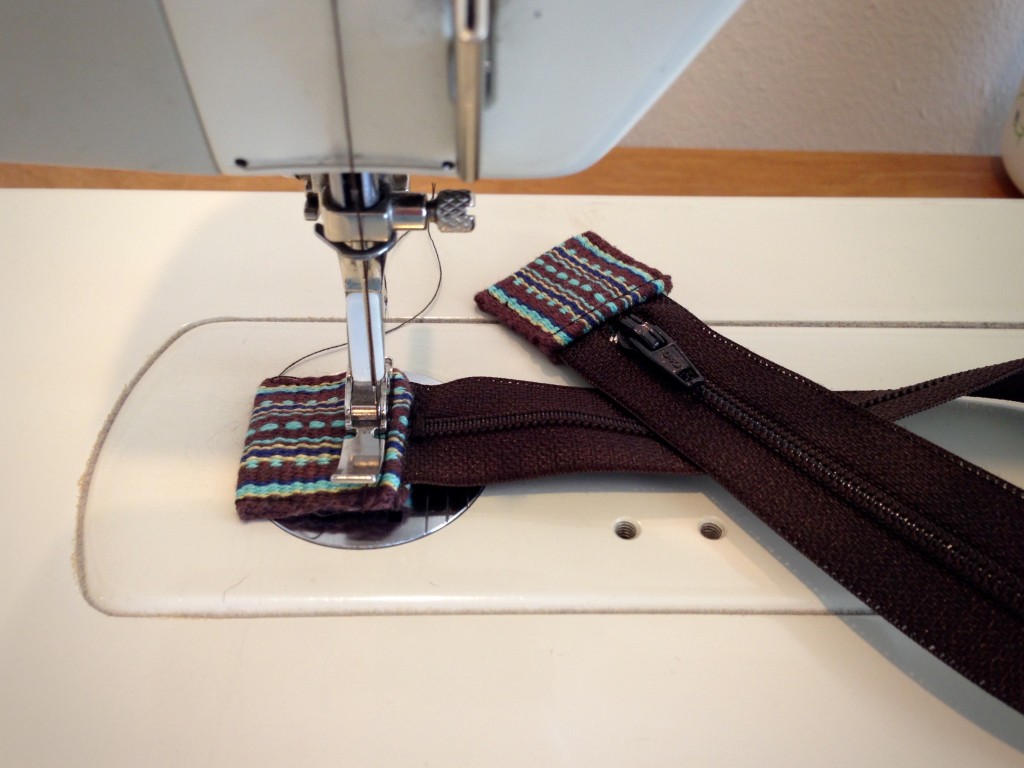
  4. Bar tack top ends of zipper tape together. Bar tack over end of desired zipper length. Cut off excess. Cut a tab from a woven band, or from fabric with sides folded in, to fold over each end of zipper tape. Use zipper foot to stitch tabs over zipper tape ends. Preparing zipper to add to bag.
    Handwoven tabs for ends of zipper tape.
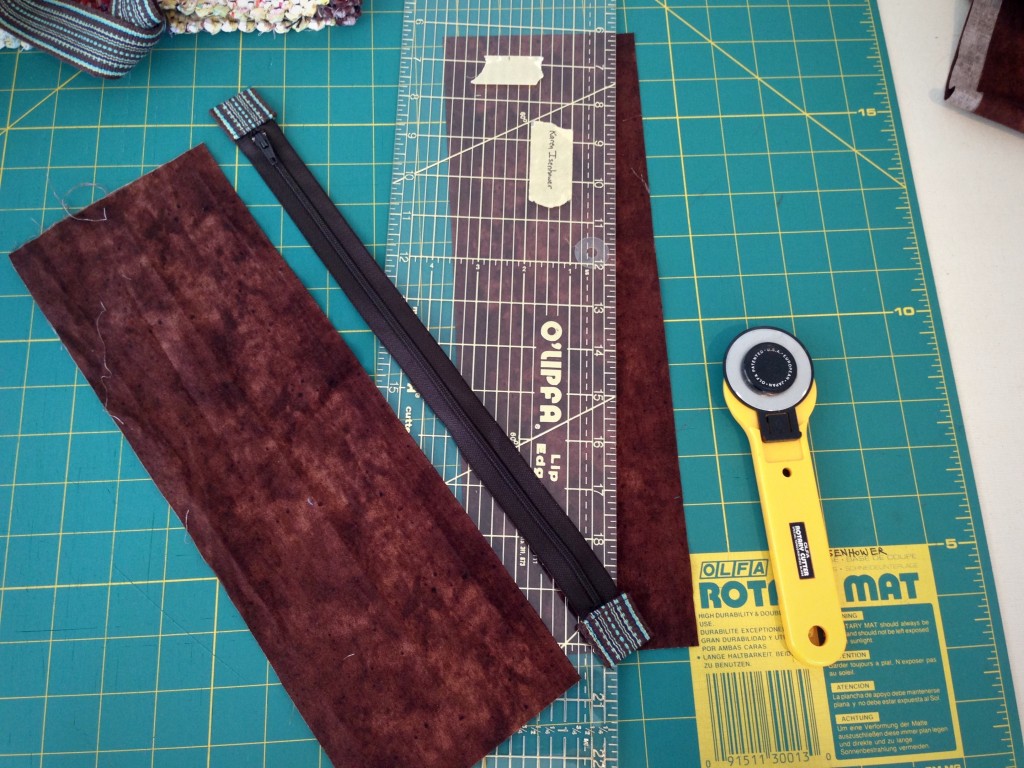
  5. For zipper insert, cut two pieces of complementary fabric 4 1/2″ wide by the length of the zipper, plus 1″. Making zipper insert for top of bag. Tutorial with pics.
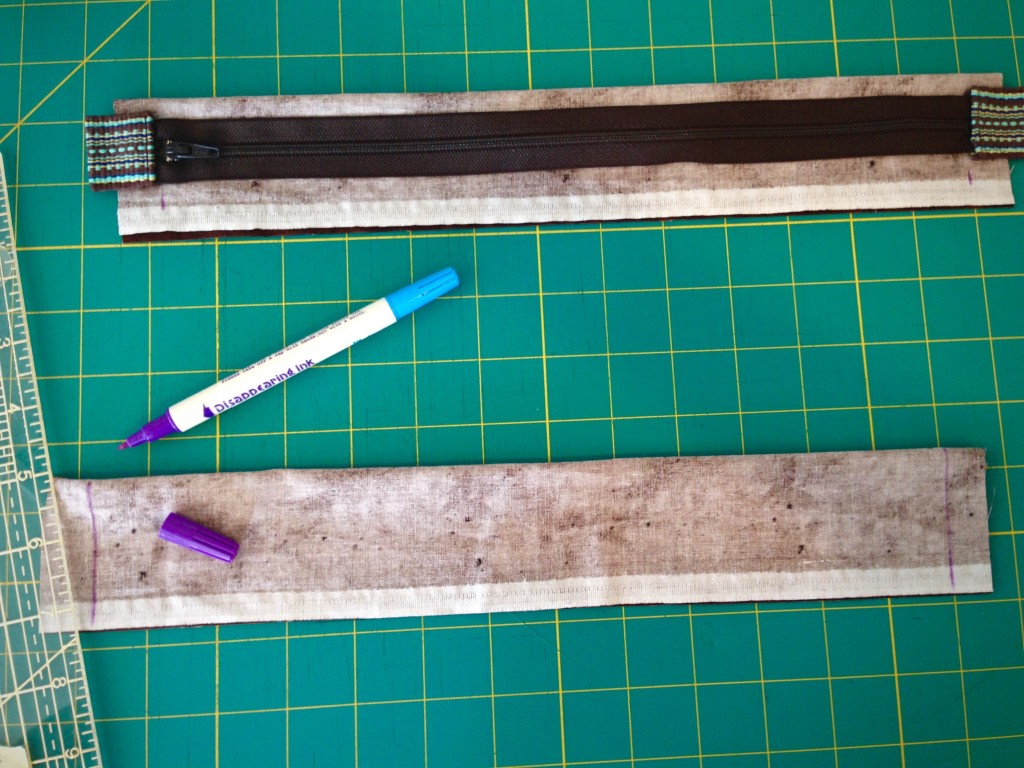
  6. Fold each zipper insert piece lengthwise in half, right sides together. Draw stitching line that matches length of zipper. Zipper insert for top of bag. Tutorial.
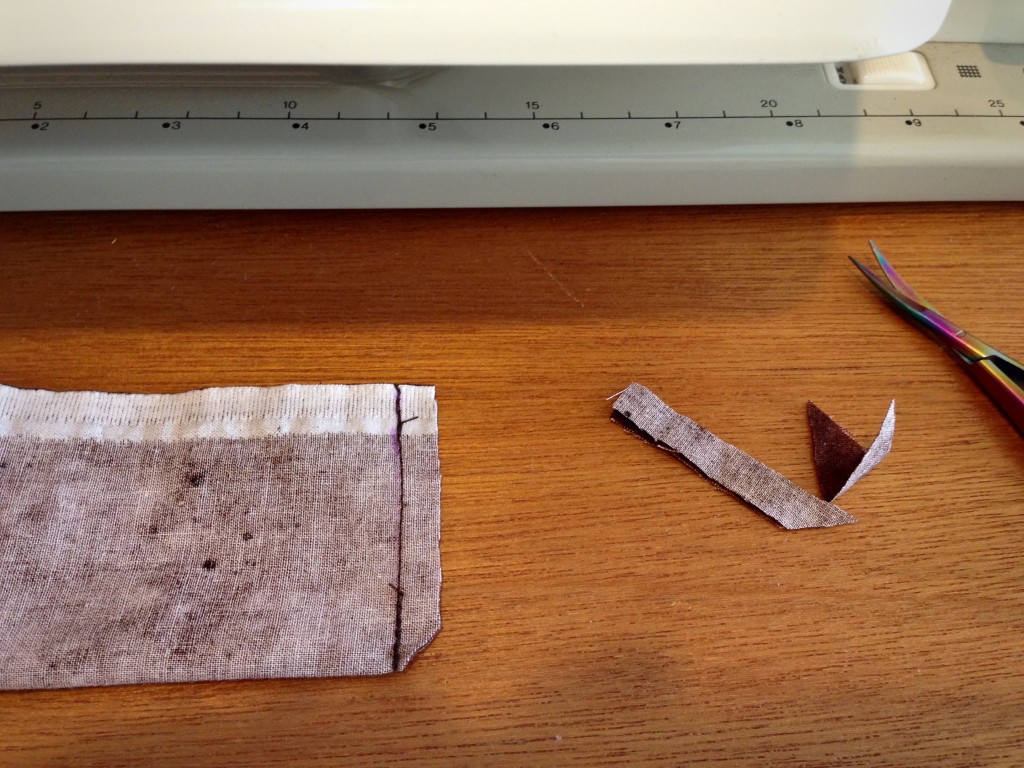
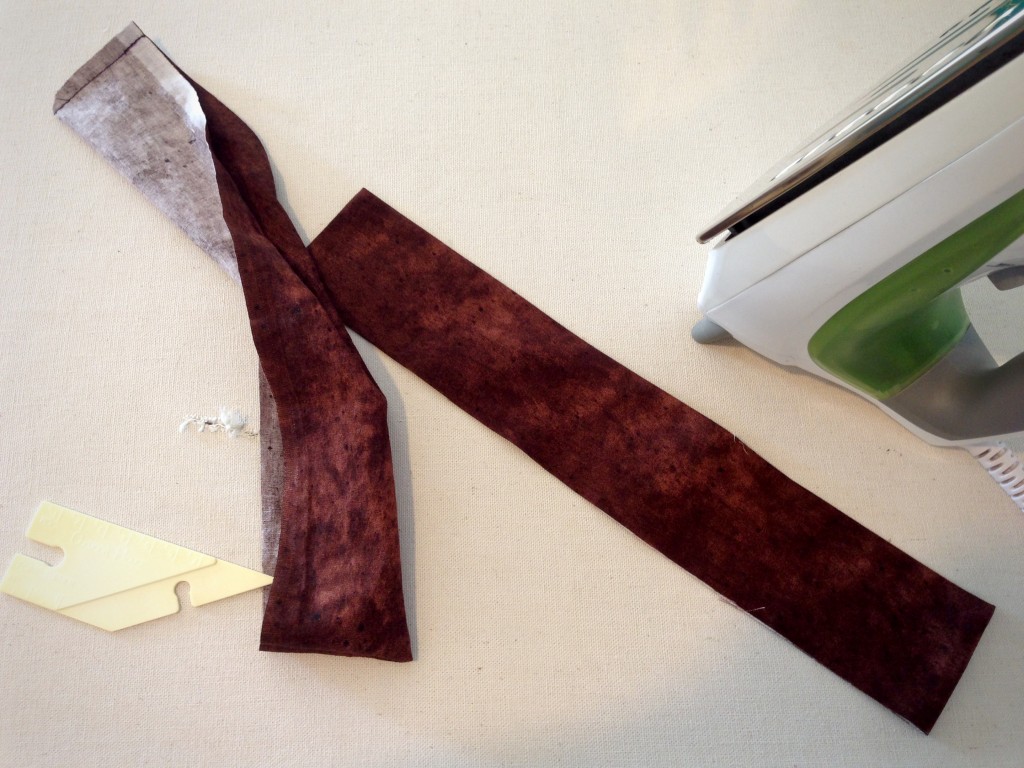
  7. Stitch both short ends of zipper insert pieces. Clip corners and trim seams. Making zipper insert for top of bag.
  8. Turn zipper insert pieces right side out. Push corners out. Press. Making zipper insert for top of bag.
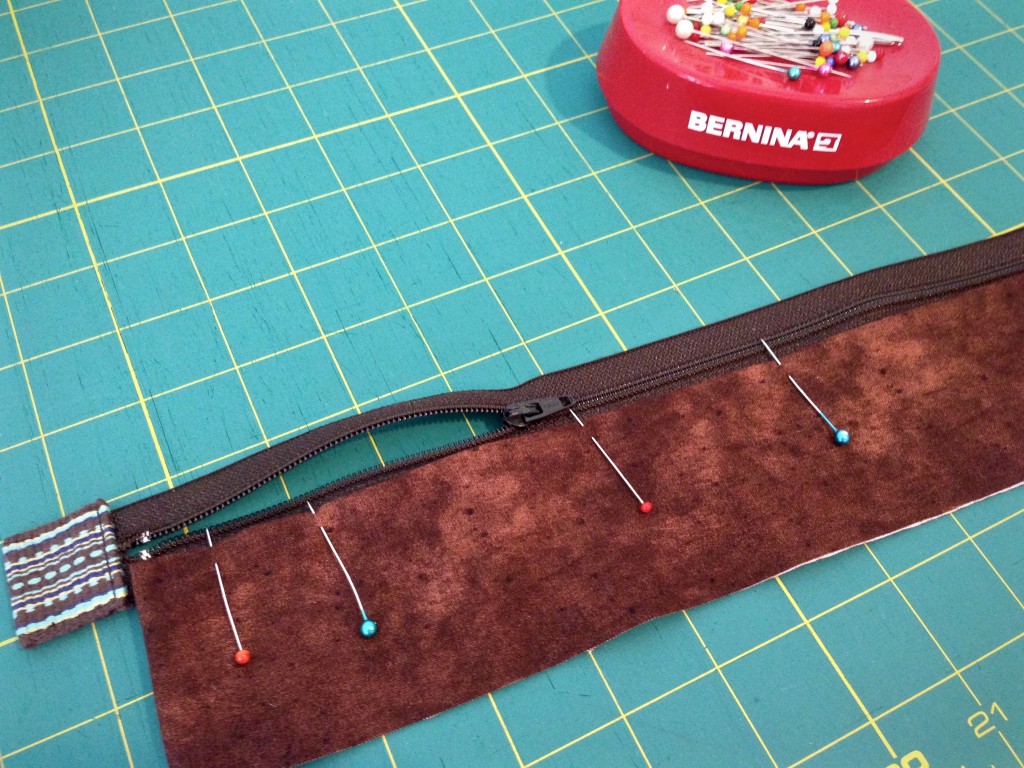
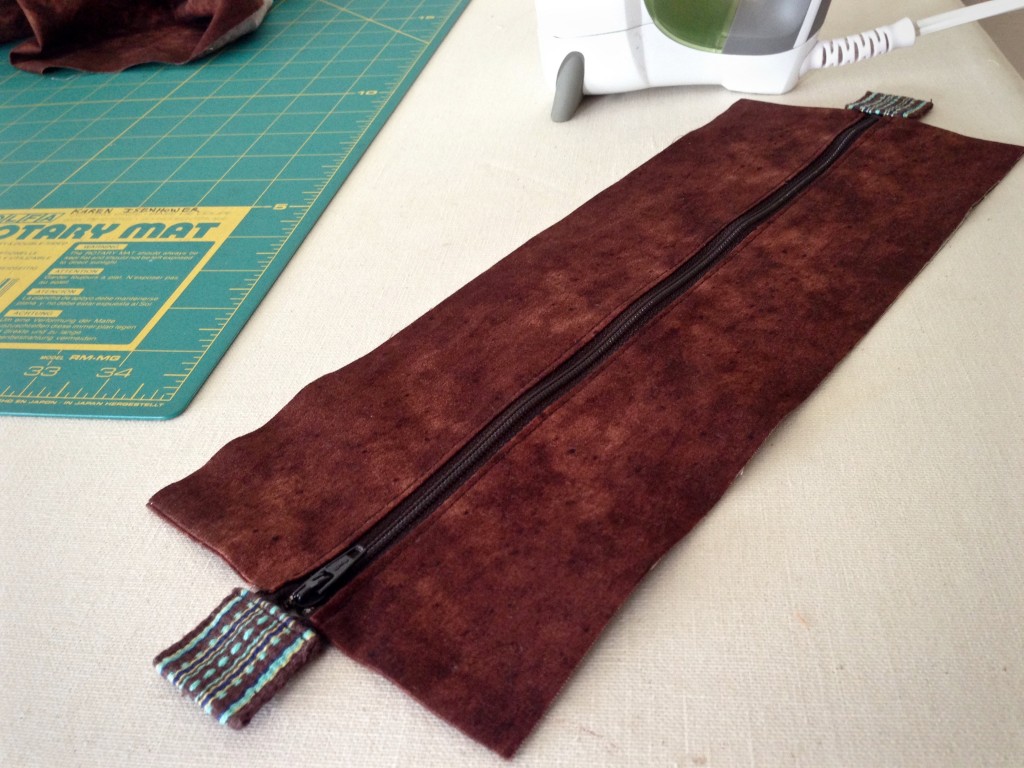
  9. Pin folded edge of zipper insert fabric to right side of zipper tape, centered lengthwise, 1/8″ away from zipper teeth. Open zipper partway. With zipper foot, starting at top end of zipper, topstitch close to folded edge. After stitching a third of the way, with needle down, close zipper, and then continue topstitching to bottom of zipper. Repeat for other side of zipper insert. Press. Making zippered lining for handwoven bag. Tutorial.
    Adding zippered top to handwoven bag.
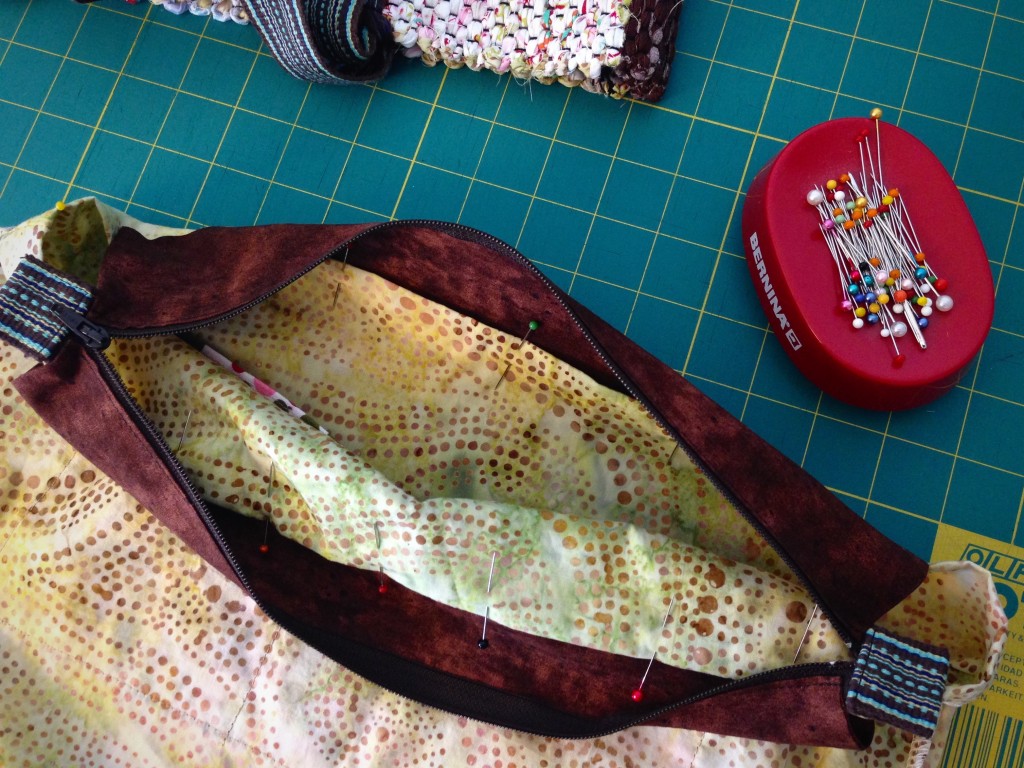
  10. With zipper opened, and zipper tab down (picture shows zipper tab up, after having pinned both sides), center and pin one side of zipper insert under one side of folded top edge of lining, so that lining overlaps insert 1/2″. Repeat with other side of zipper insert and lining. Making zippered lining for handwoven bag. How to pics.
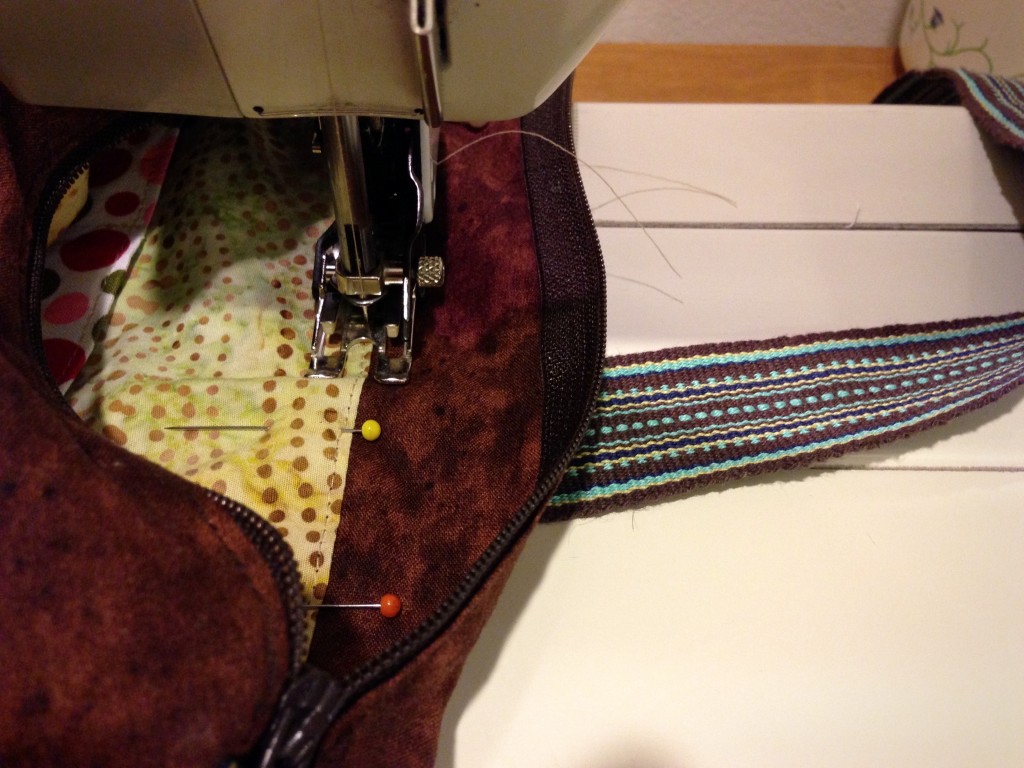
  11. Insert lining into bag, matching side seams and mid points on bag and lining, with top folded edge of lining 1/4″ below top edge of bag. (Edge of zipper insert is sandwiched between lining fold and bag.) Make sure bag handles are up and out of the way of stitching. From inside of bag, use walking foot to stitch 1/8″ from lining fold, all the way around top of lining, keeping zipper insert up and out of the way of stitching. (Walking foot helps ensure even feed of fabric layers.) Adding zippered lining to handwoven bag. Instructions.
    Pinning lining into handmade bag. Instructions.
    Sewing lining into Handmade bag. How to.
  12. Fold zipper inserts down into bag. Press. Stitch across zipper inserts 1/2″ below top of lining on inside of bag. Press again.Last step of tutorial for inserting lining in bag.

Give your new bag a special purpose.

Handwoven bag with custom lining. Karen Isenhower
May your lining on the inside be as attractive as your handbag on the outside.

Happy Creating,
Karen
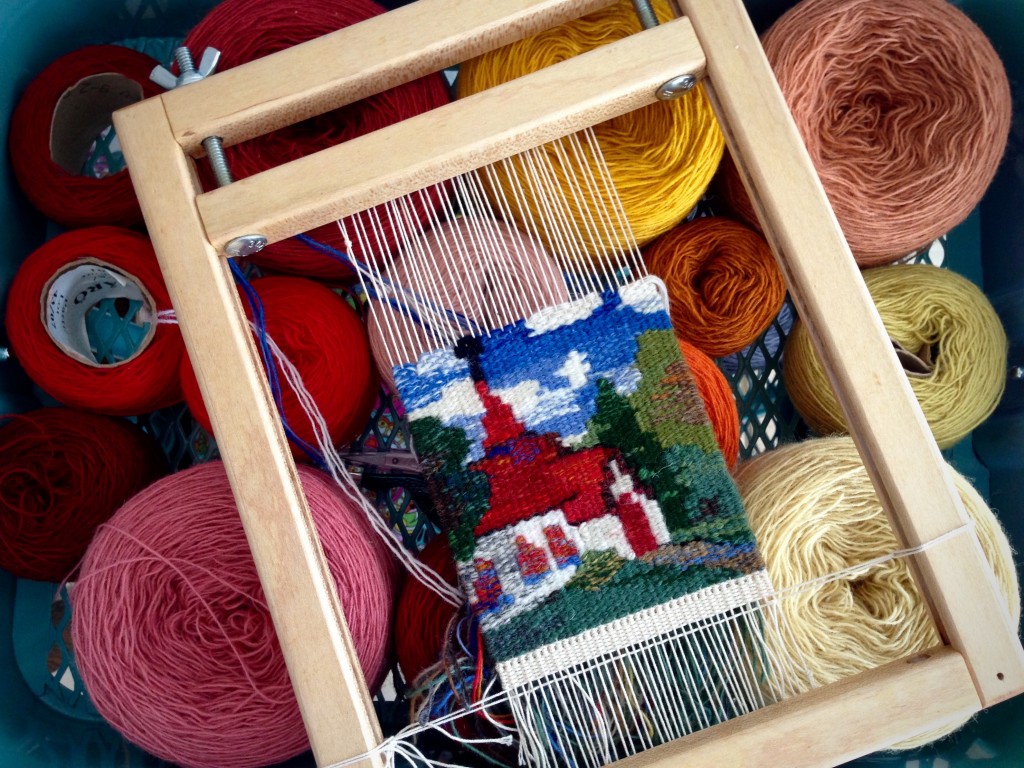
Little Chapel Tapestry

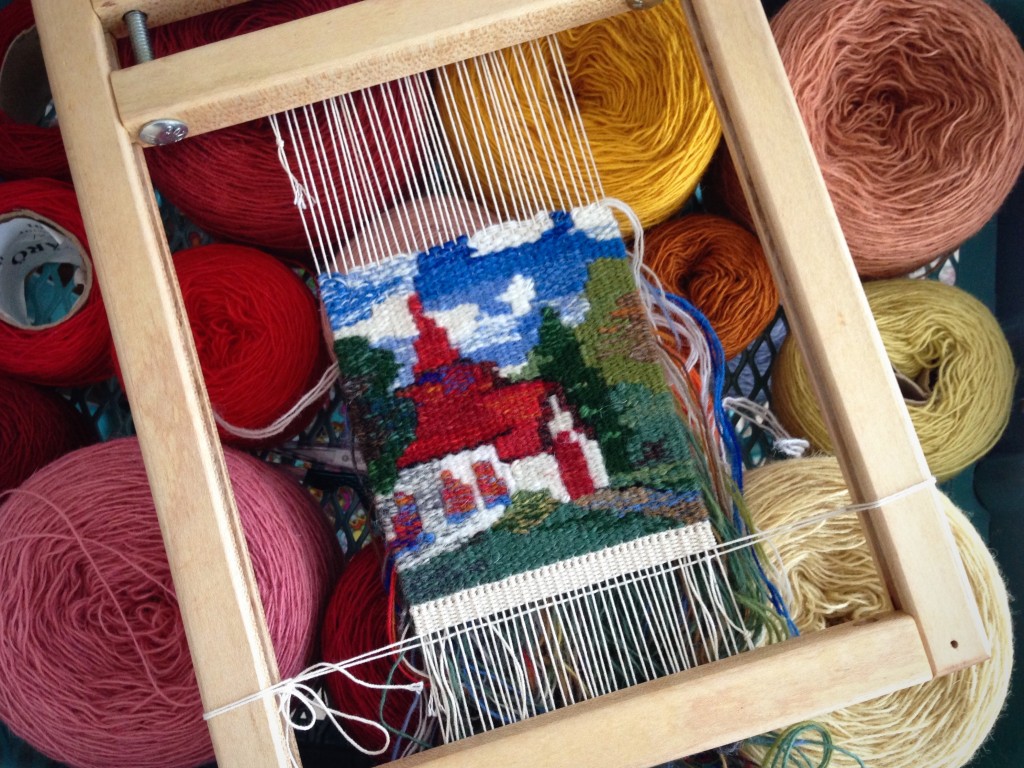
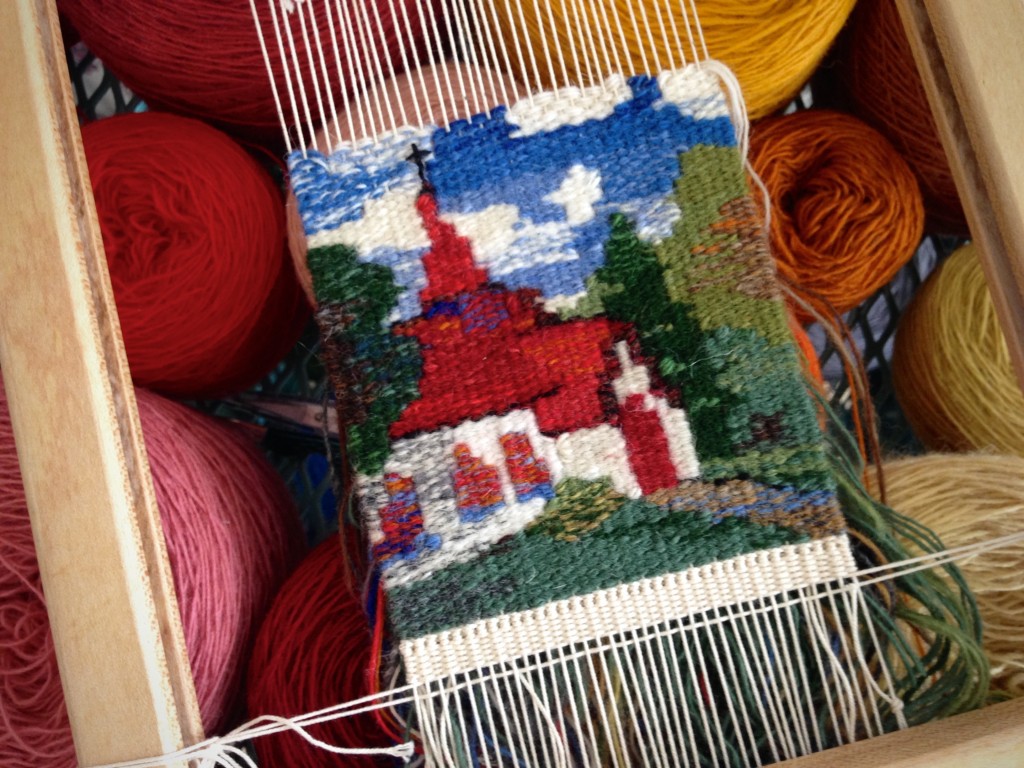
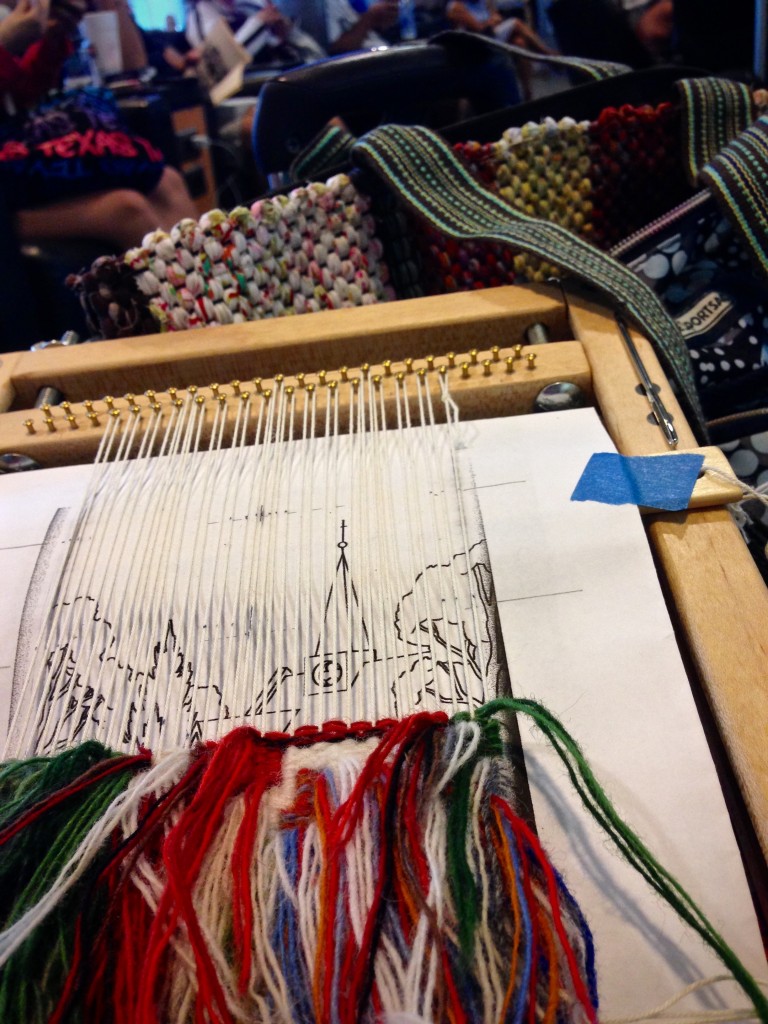
This little chapel tapestry is growing line by line. I am weaving from the back, left to right, a single line at a time, following a cartoon. I create shades of color by blending three strands of soft Fåro wool in seemingly thousands of combinations.

Weaving small tapestry while traveling.
Weaving small chapel while waiting for my delayed flight at the airport. Chapel steeple in cartoon presents a challenge.

I knew all along that the slim spire of the steeple would be a challenge. Will I have to leave off the uppermost thin line and cross? Honestly, leave the cross off the chapel? I don’t think so. Maybe wrap around a single warp end with half-hitches, and weave the short horizontal line over just three warps… Hmm, that doesn’t work–too robust for this little chapel spire.

First steeple cross attempt fails.
First attempt to weave the steeple cross. Bulky and distracting.

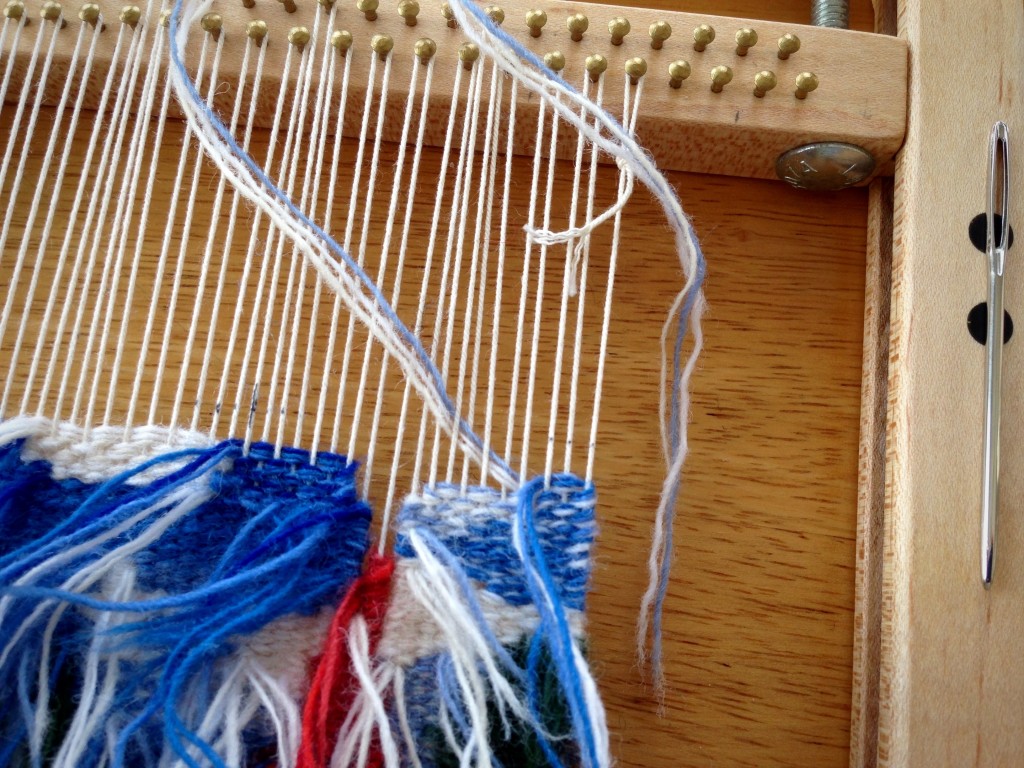
Take it out.

Working on the steeple cross.
Black yarn that formed the cross is removed, leaving a gap.

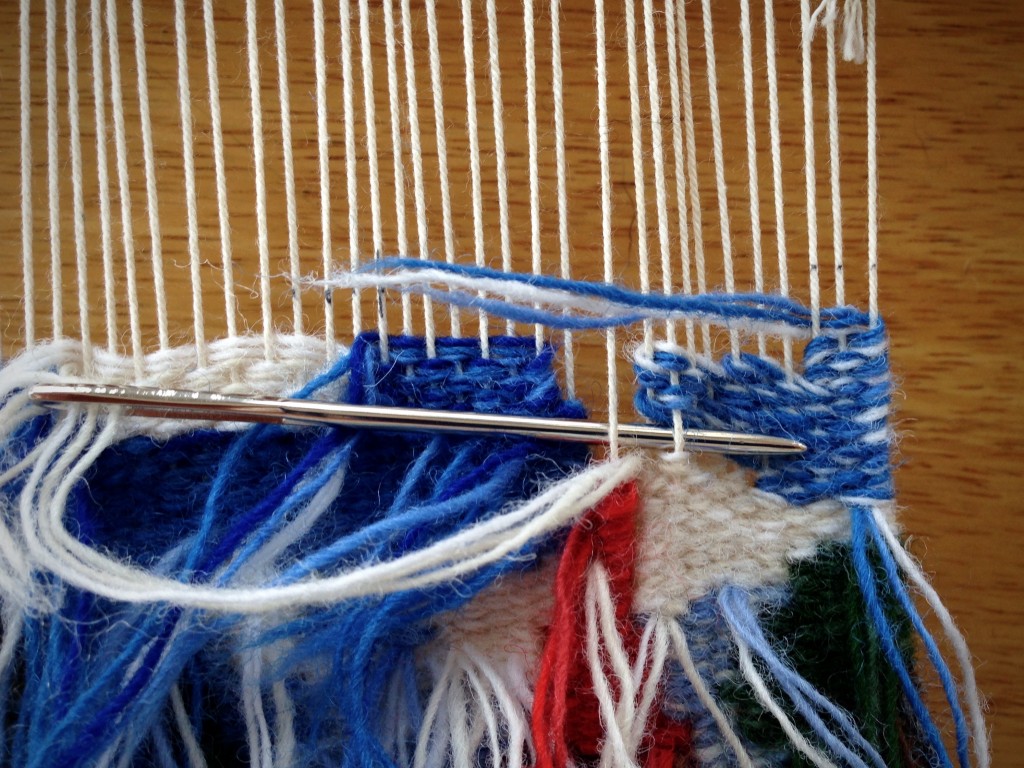
Weave through the empty spaces.

Undoing part of the tapestry.
Some of the sky is removed in order to sufficiently weave over the gap.
Weaving small tapestry from the back.
Closing the gap by weaving existing threads across, and weaving removed threads back in.

Study the scene…

Adding a cross to the small chapel steeple.
Chapel steeple without a cross.

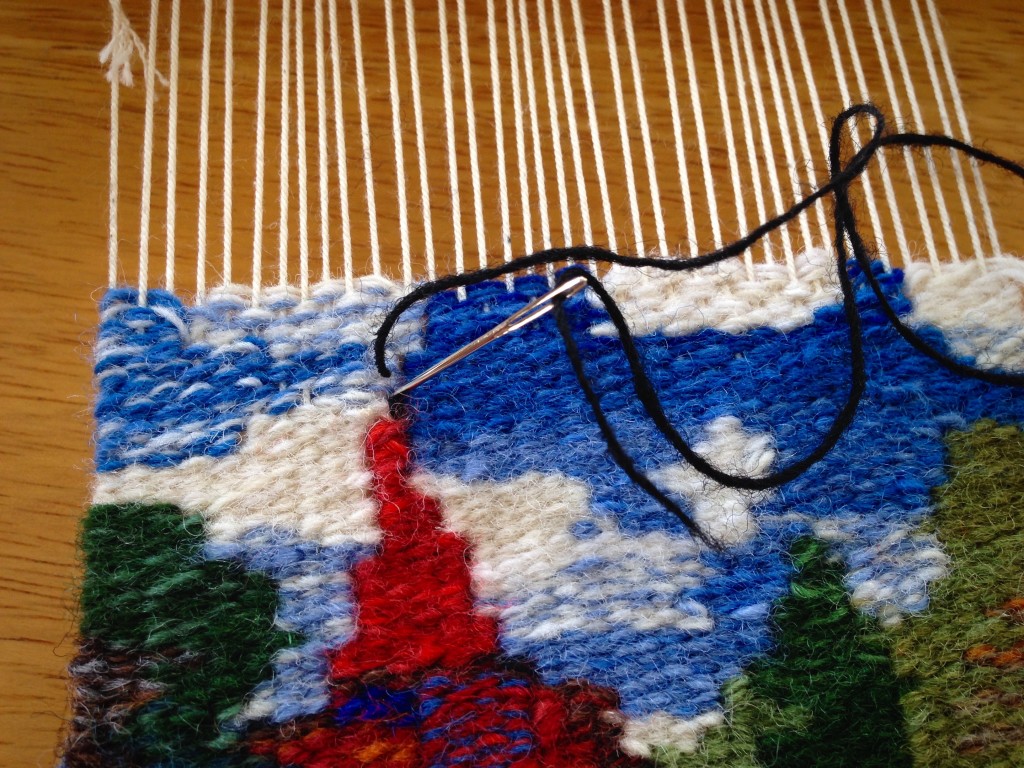
Aha! …Embroider a single-thread cross.

Embroidery on a small tapestry.
Single strand of Fåro wool is used to backstitch a cross on the steeple top.

Yes, that works.

Small tapestry chapel. Karen Isenhower
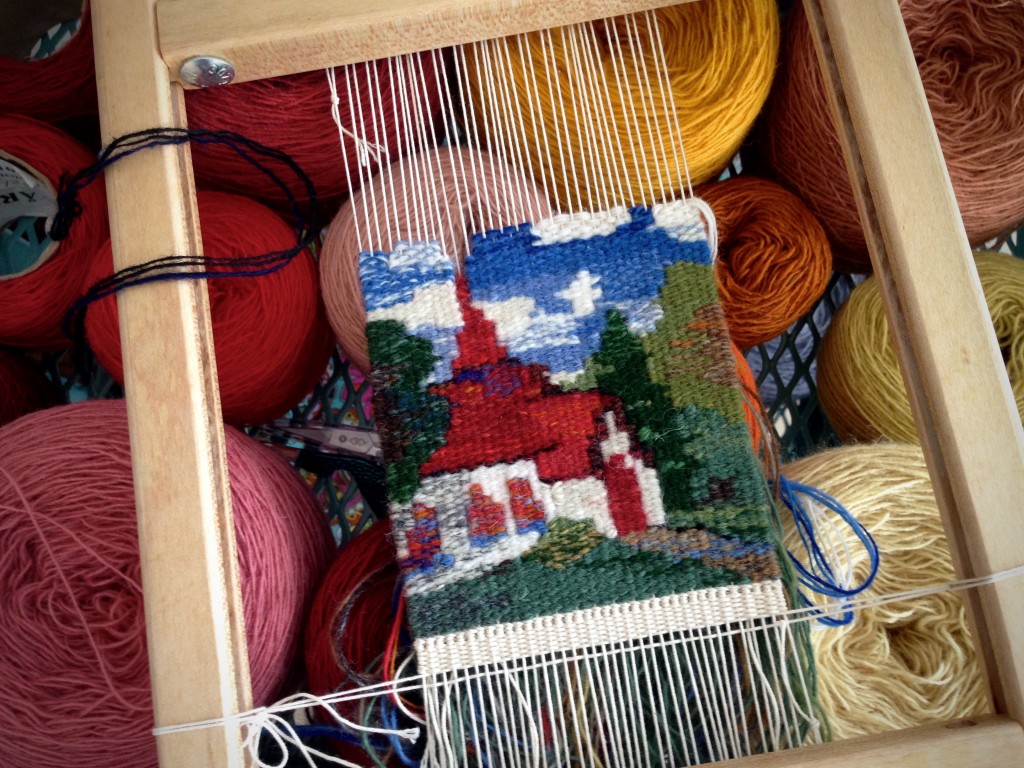
Elevated cross on the chapel’s steeple gives meaning to the woven scene.
Keep your eyes on the destination. If a cross is needed on the tip of the spire, keep trying until you find a way. With your heart set on the destination, the Lord gives strength for the journey. Don’t give up when things are not working out. Take a step back to view the whole scene, and you will see how the cross completes the picture.
May you have strength for the journey.

With love,
Karen