I have three short sample pieces from rug warps, where I had experimented with colors and design. I am making these samples useful by turning them into pillow covers. To complete them, I made pillow inserts to fit inside.
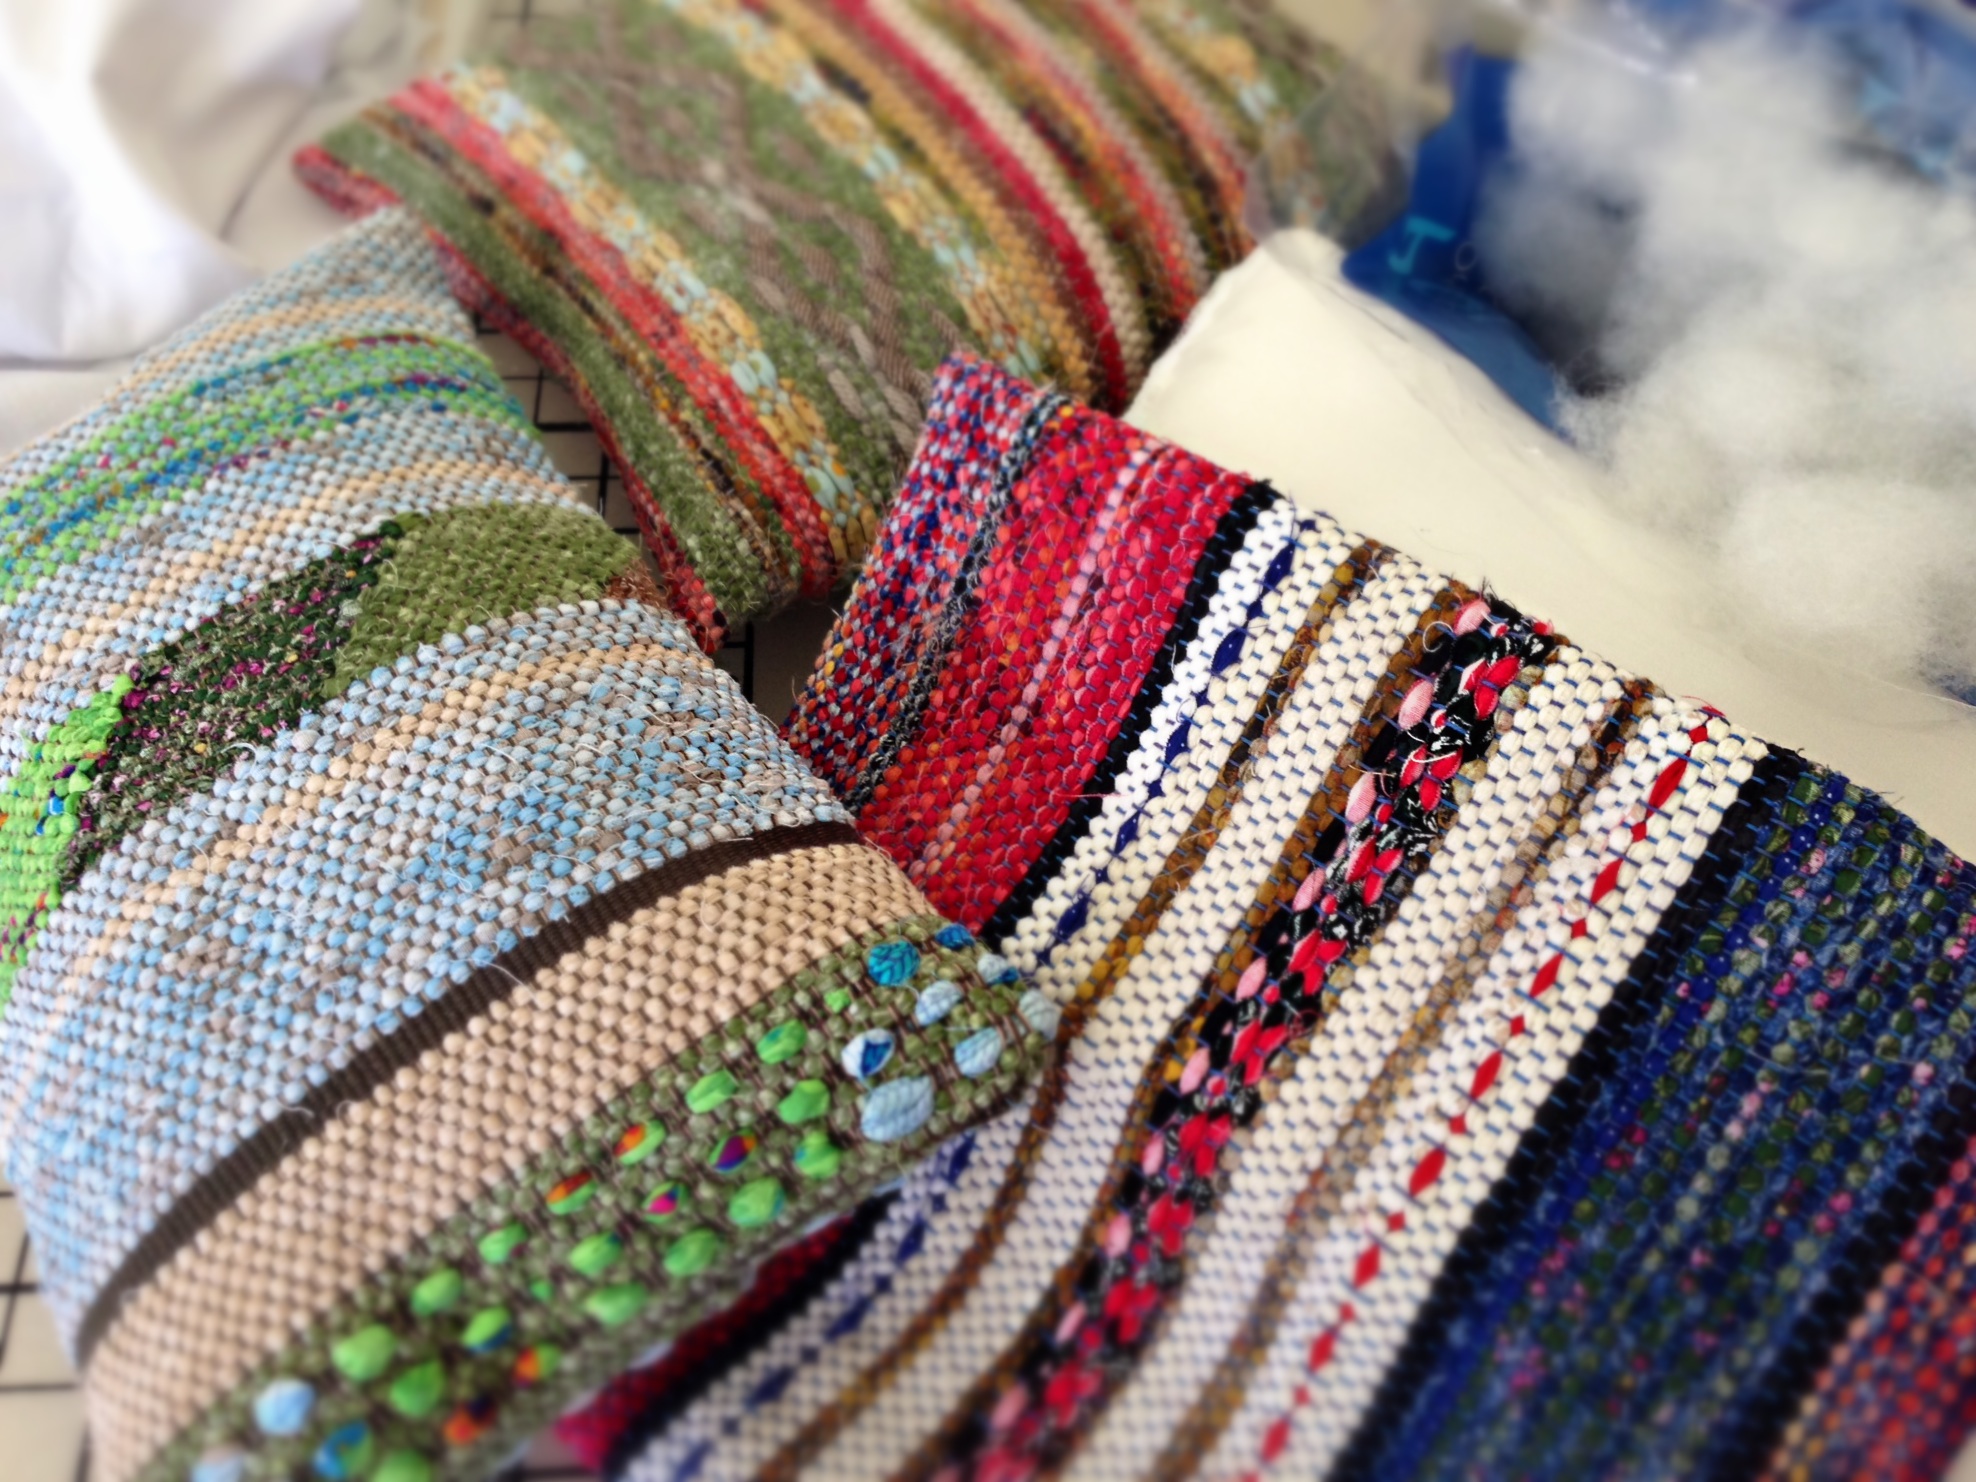
To get the most loft out of the polyester fiberfill, I run my fingers through clumps of it, pulling and easing it apart. I stuff these airy clouds into the pillow insert forms that I have sewn and then serge the edge of the insert closed. The durable and hearty rag rug pillow covers are pretty, but they are flimsy and floppy until the cloud-soft pillow forms are placed inside.
Like the pillow covers, your strongest asset is invisible. When we adorn our inner person with gentleness and a quiet spirit it brings clarity and courage to our outward demeanor. You would not fill the pillow cover with rocks, would you? Having cloud-soft humility instead of hard-headed stubbornness enables us to face any difficulty without becoming fearful or resentful. The beauty of your unique design is put in its best light by the loft of the pillow inside.
May you respond to difficulty with a gentle and quiet spirit.
(These three pillows are the newest additions to the Warped for Good Etsy Shop!)
Quietly,
Karen