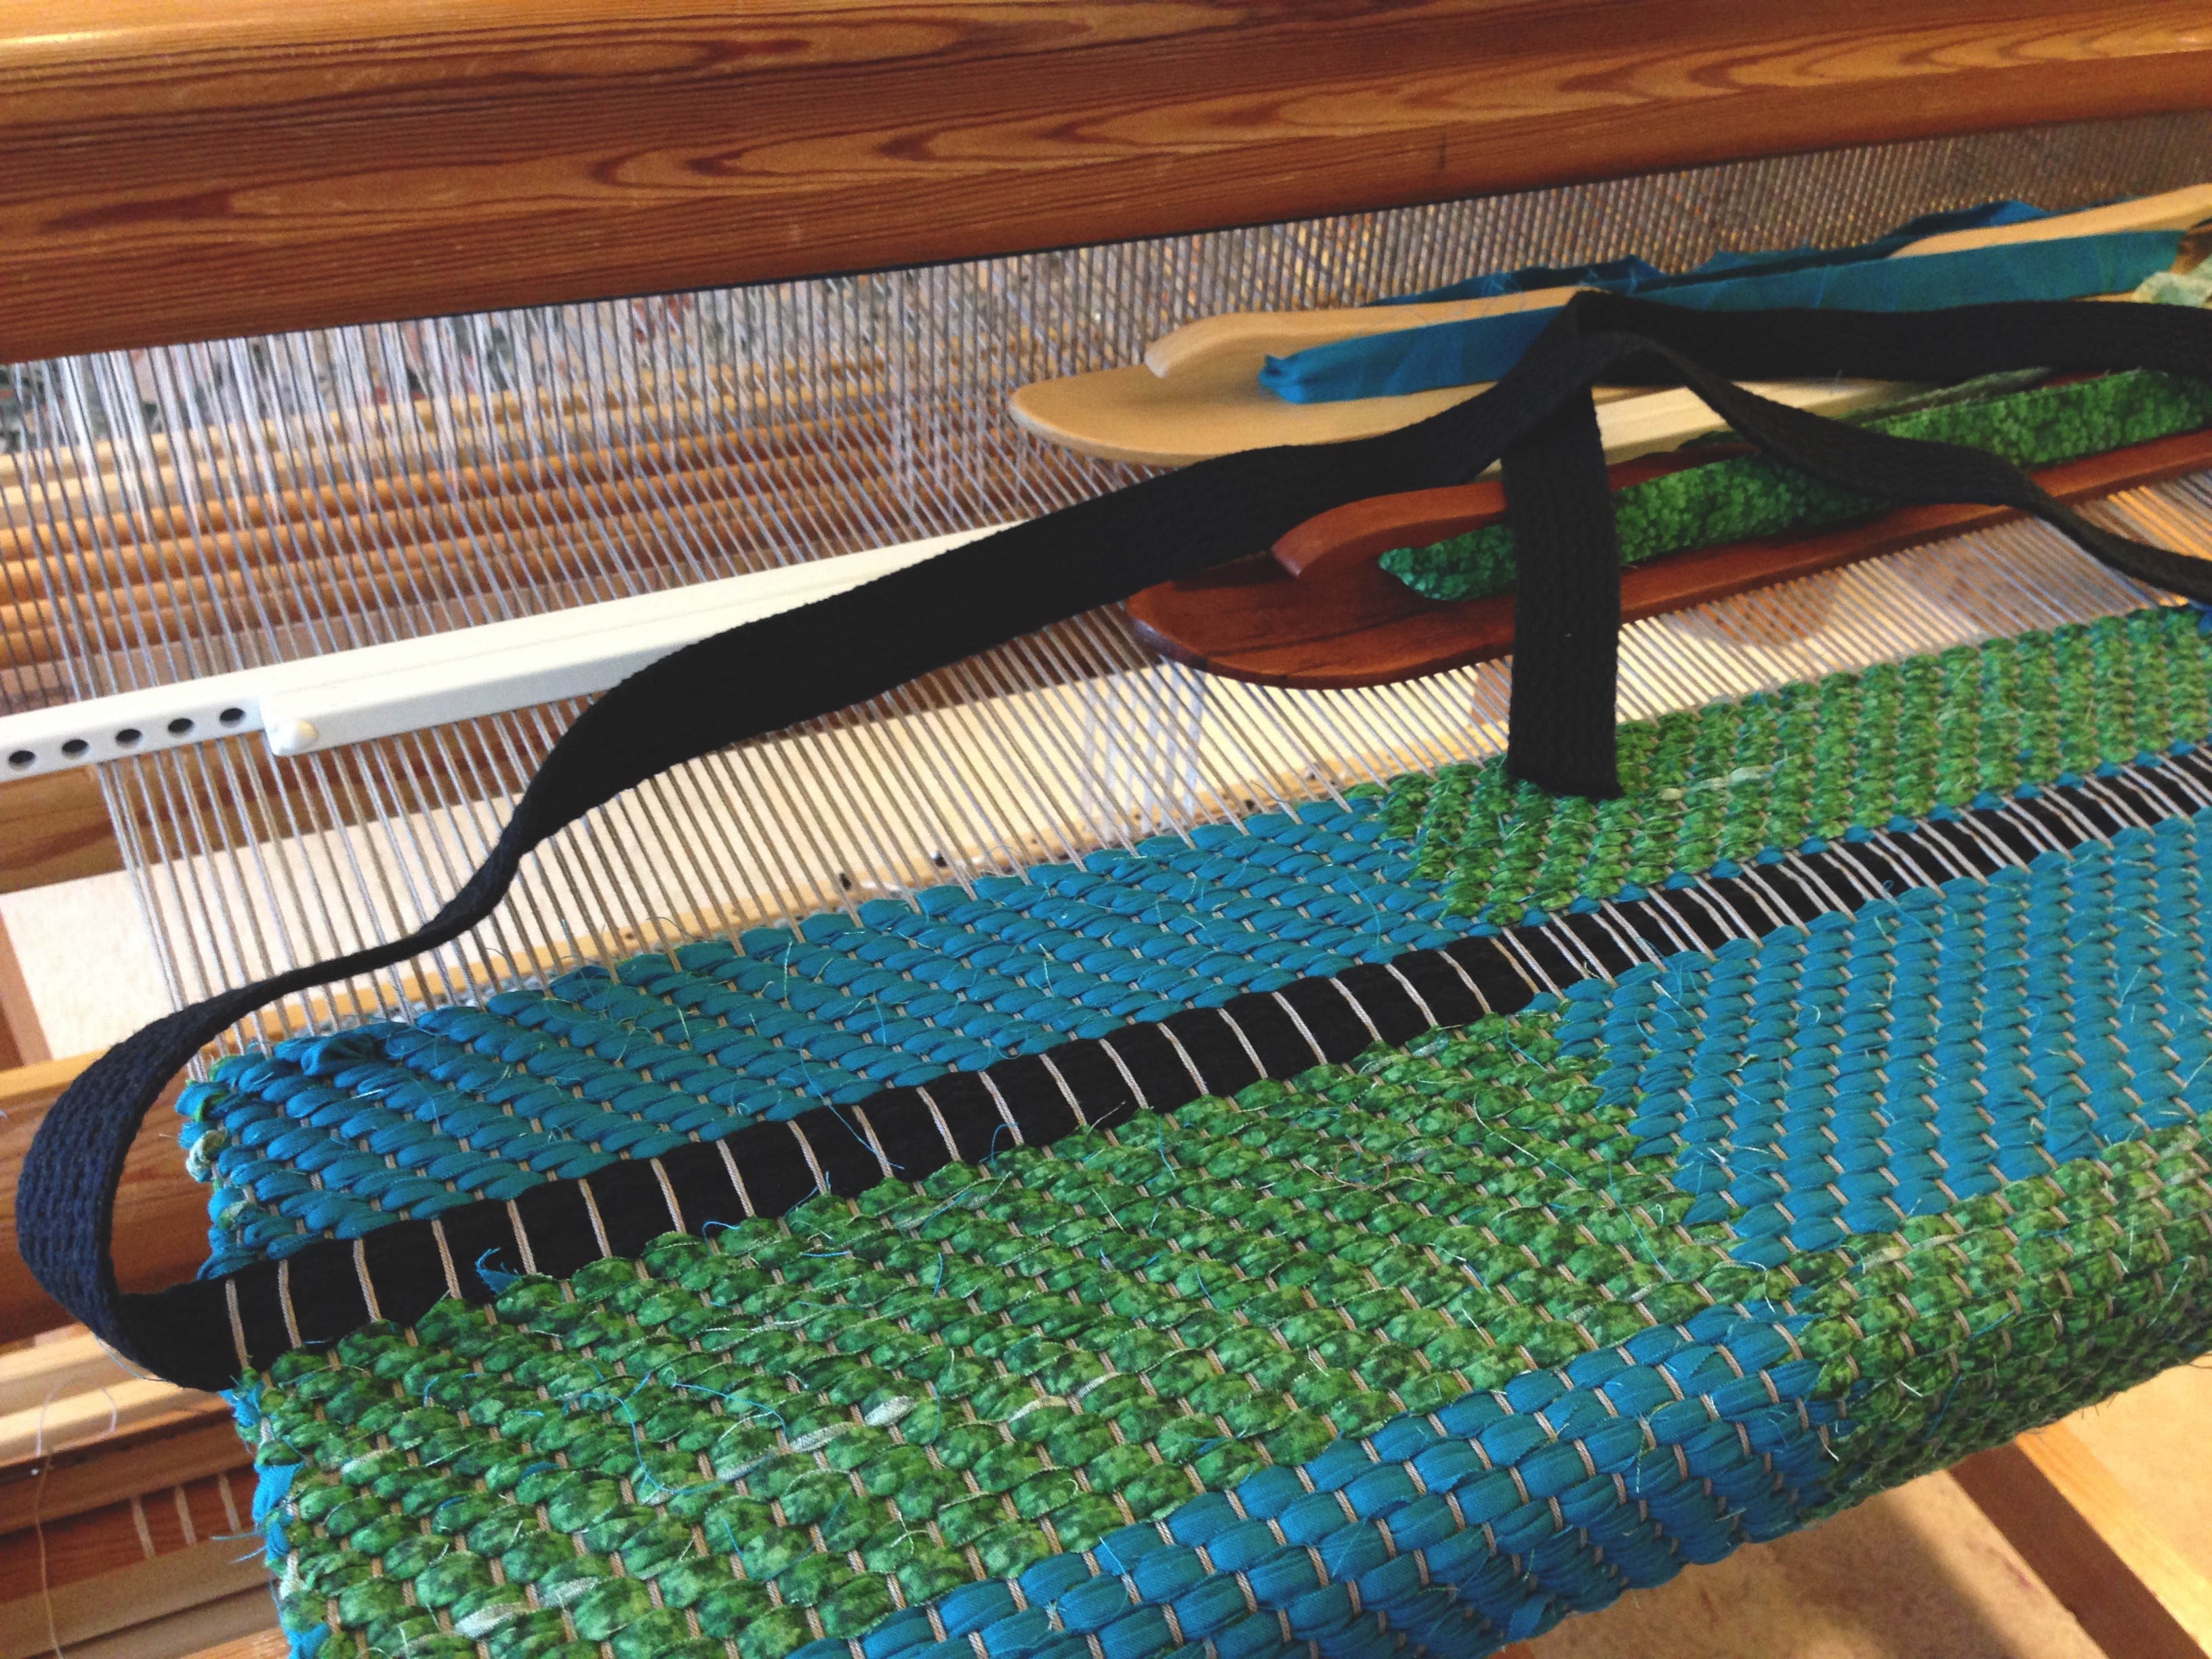
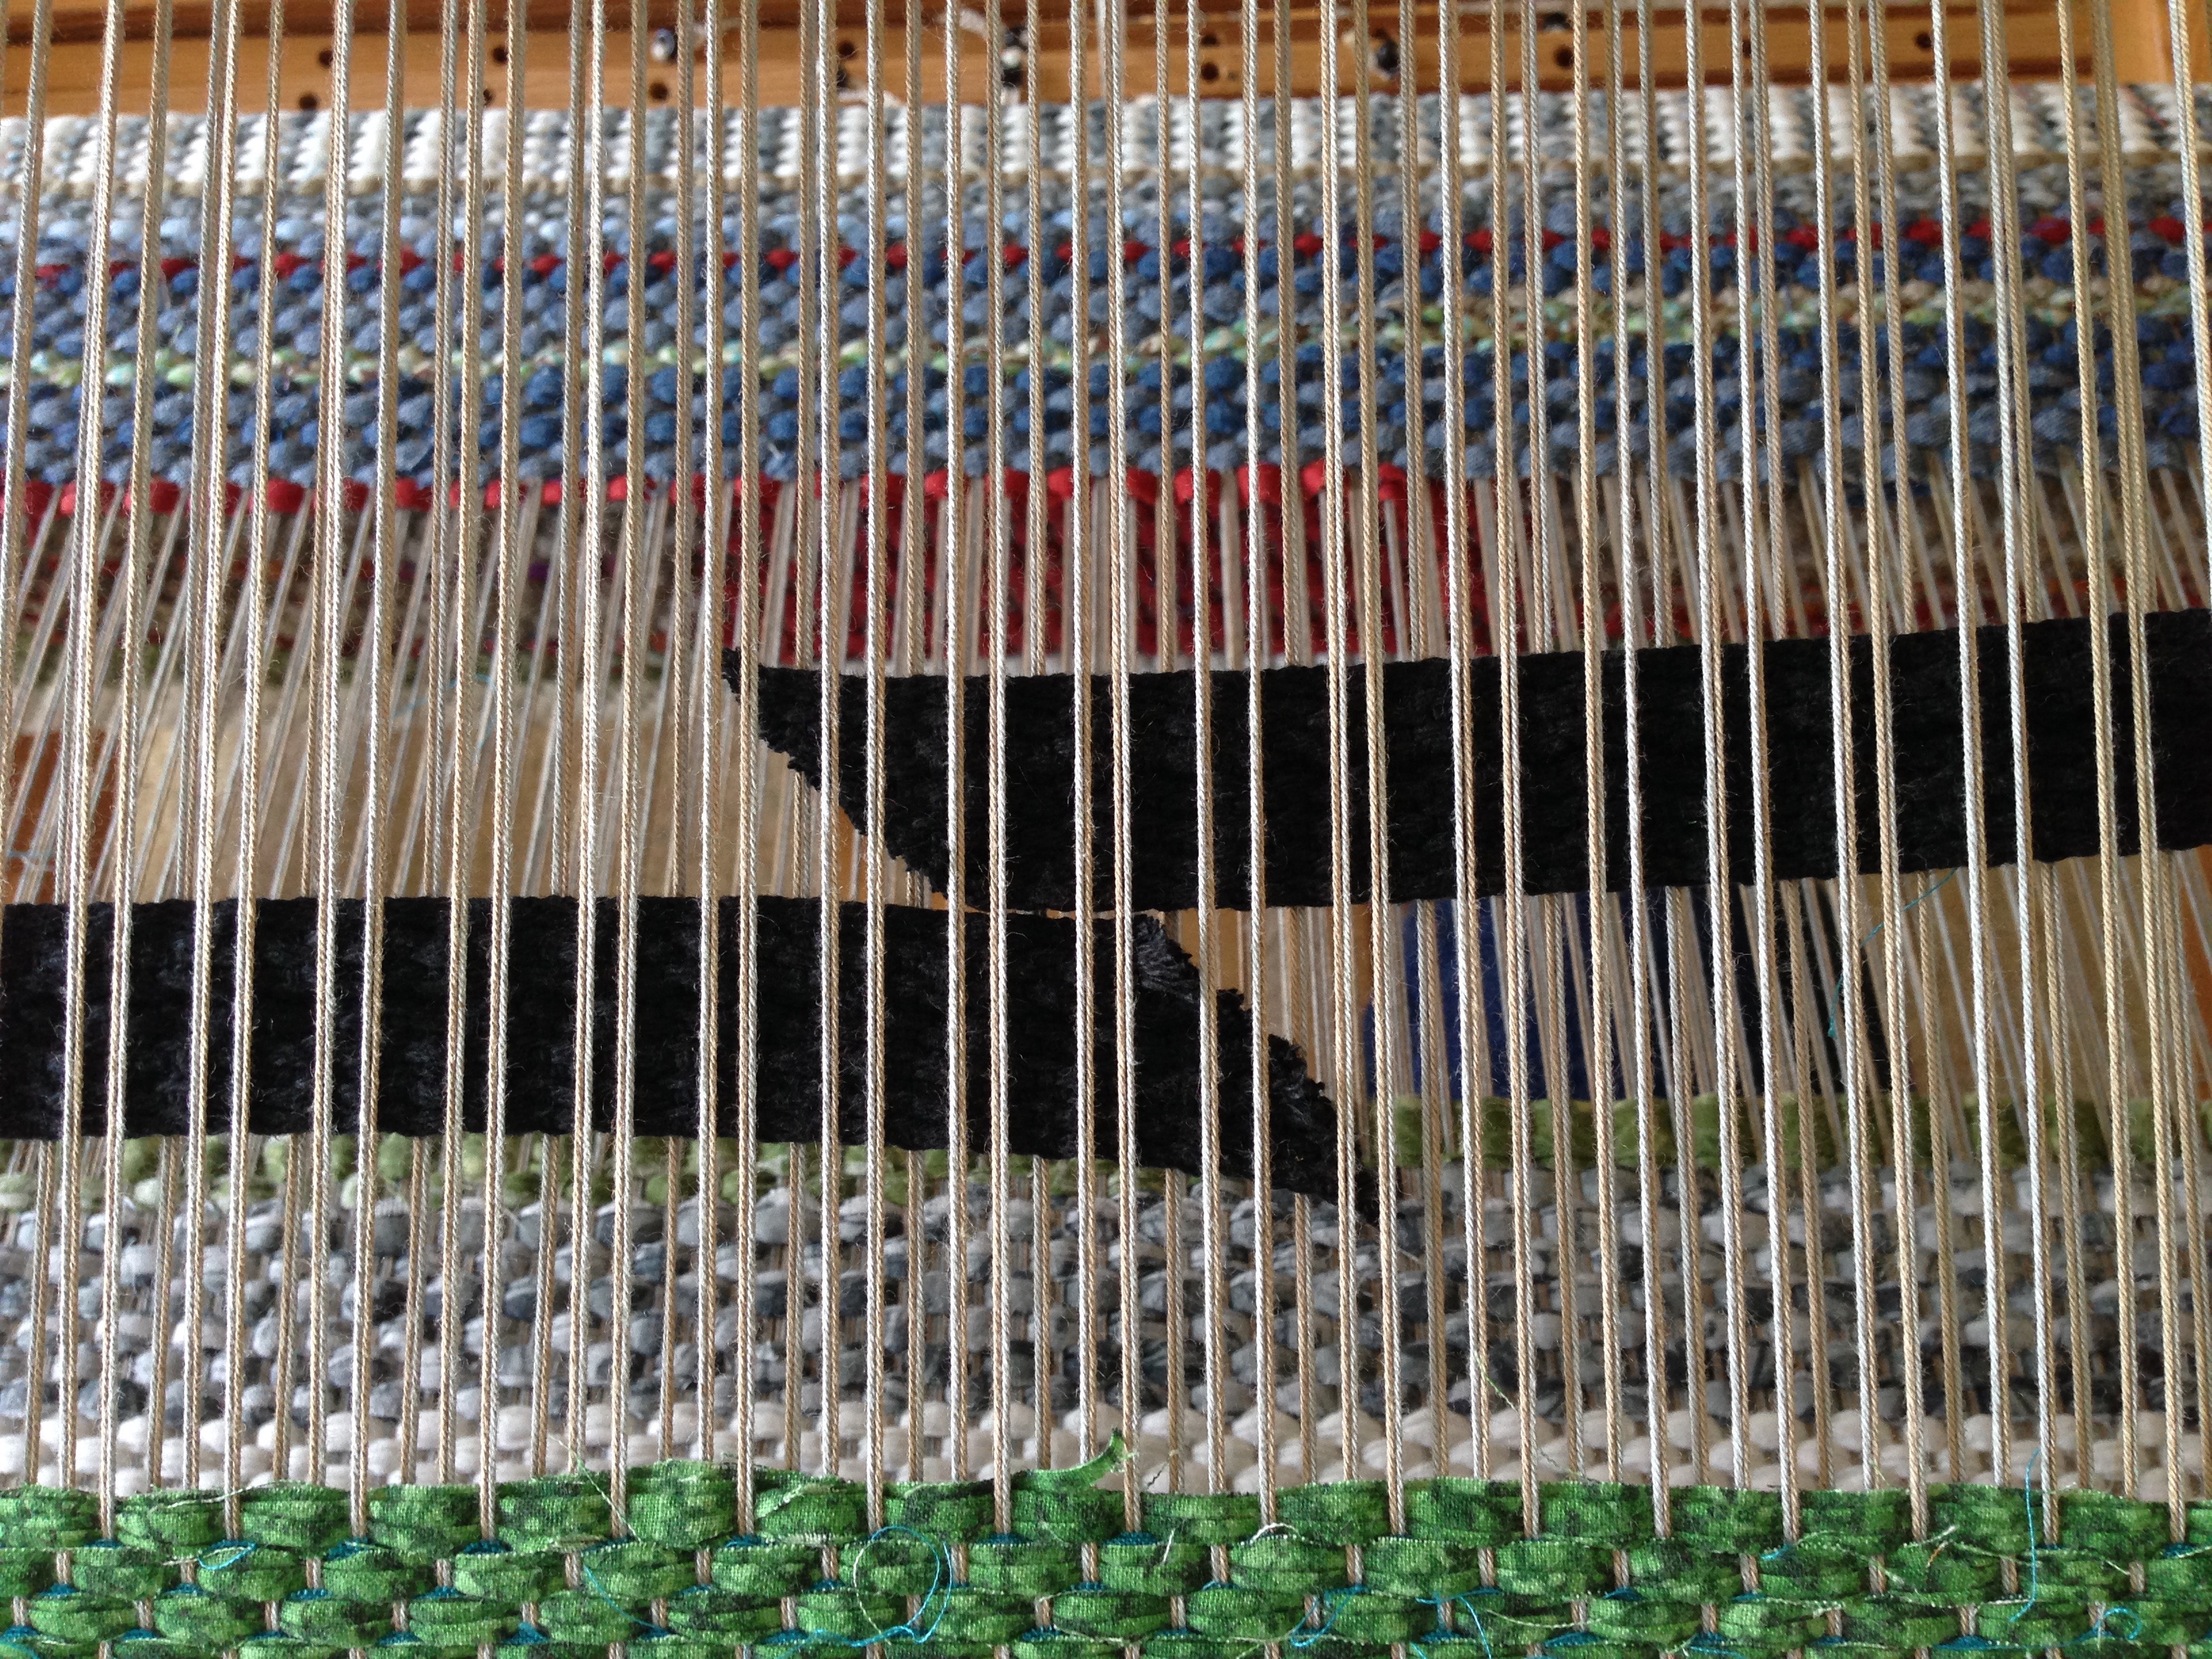
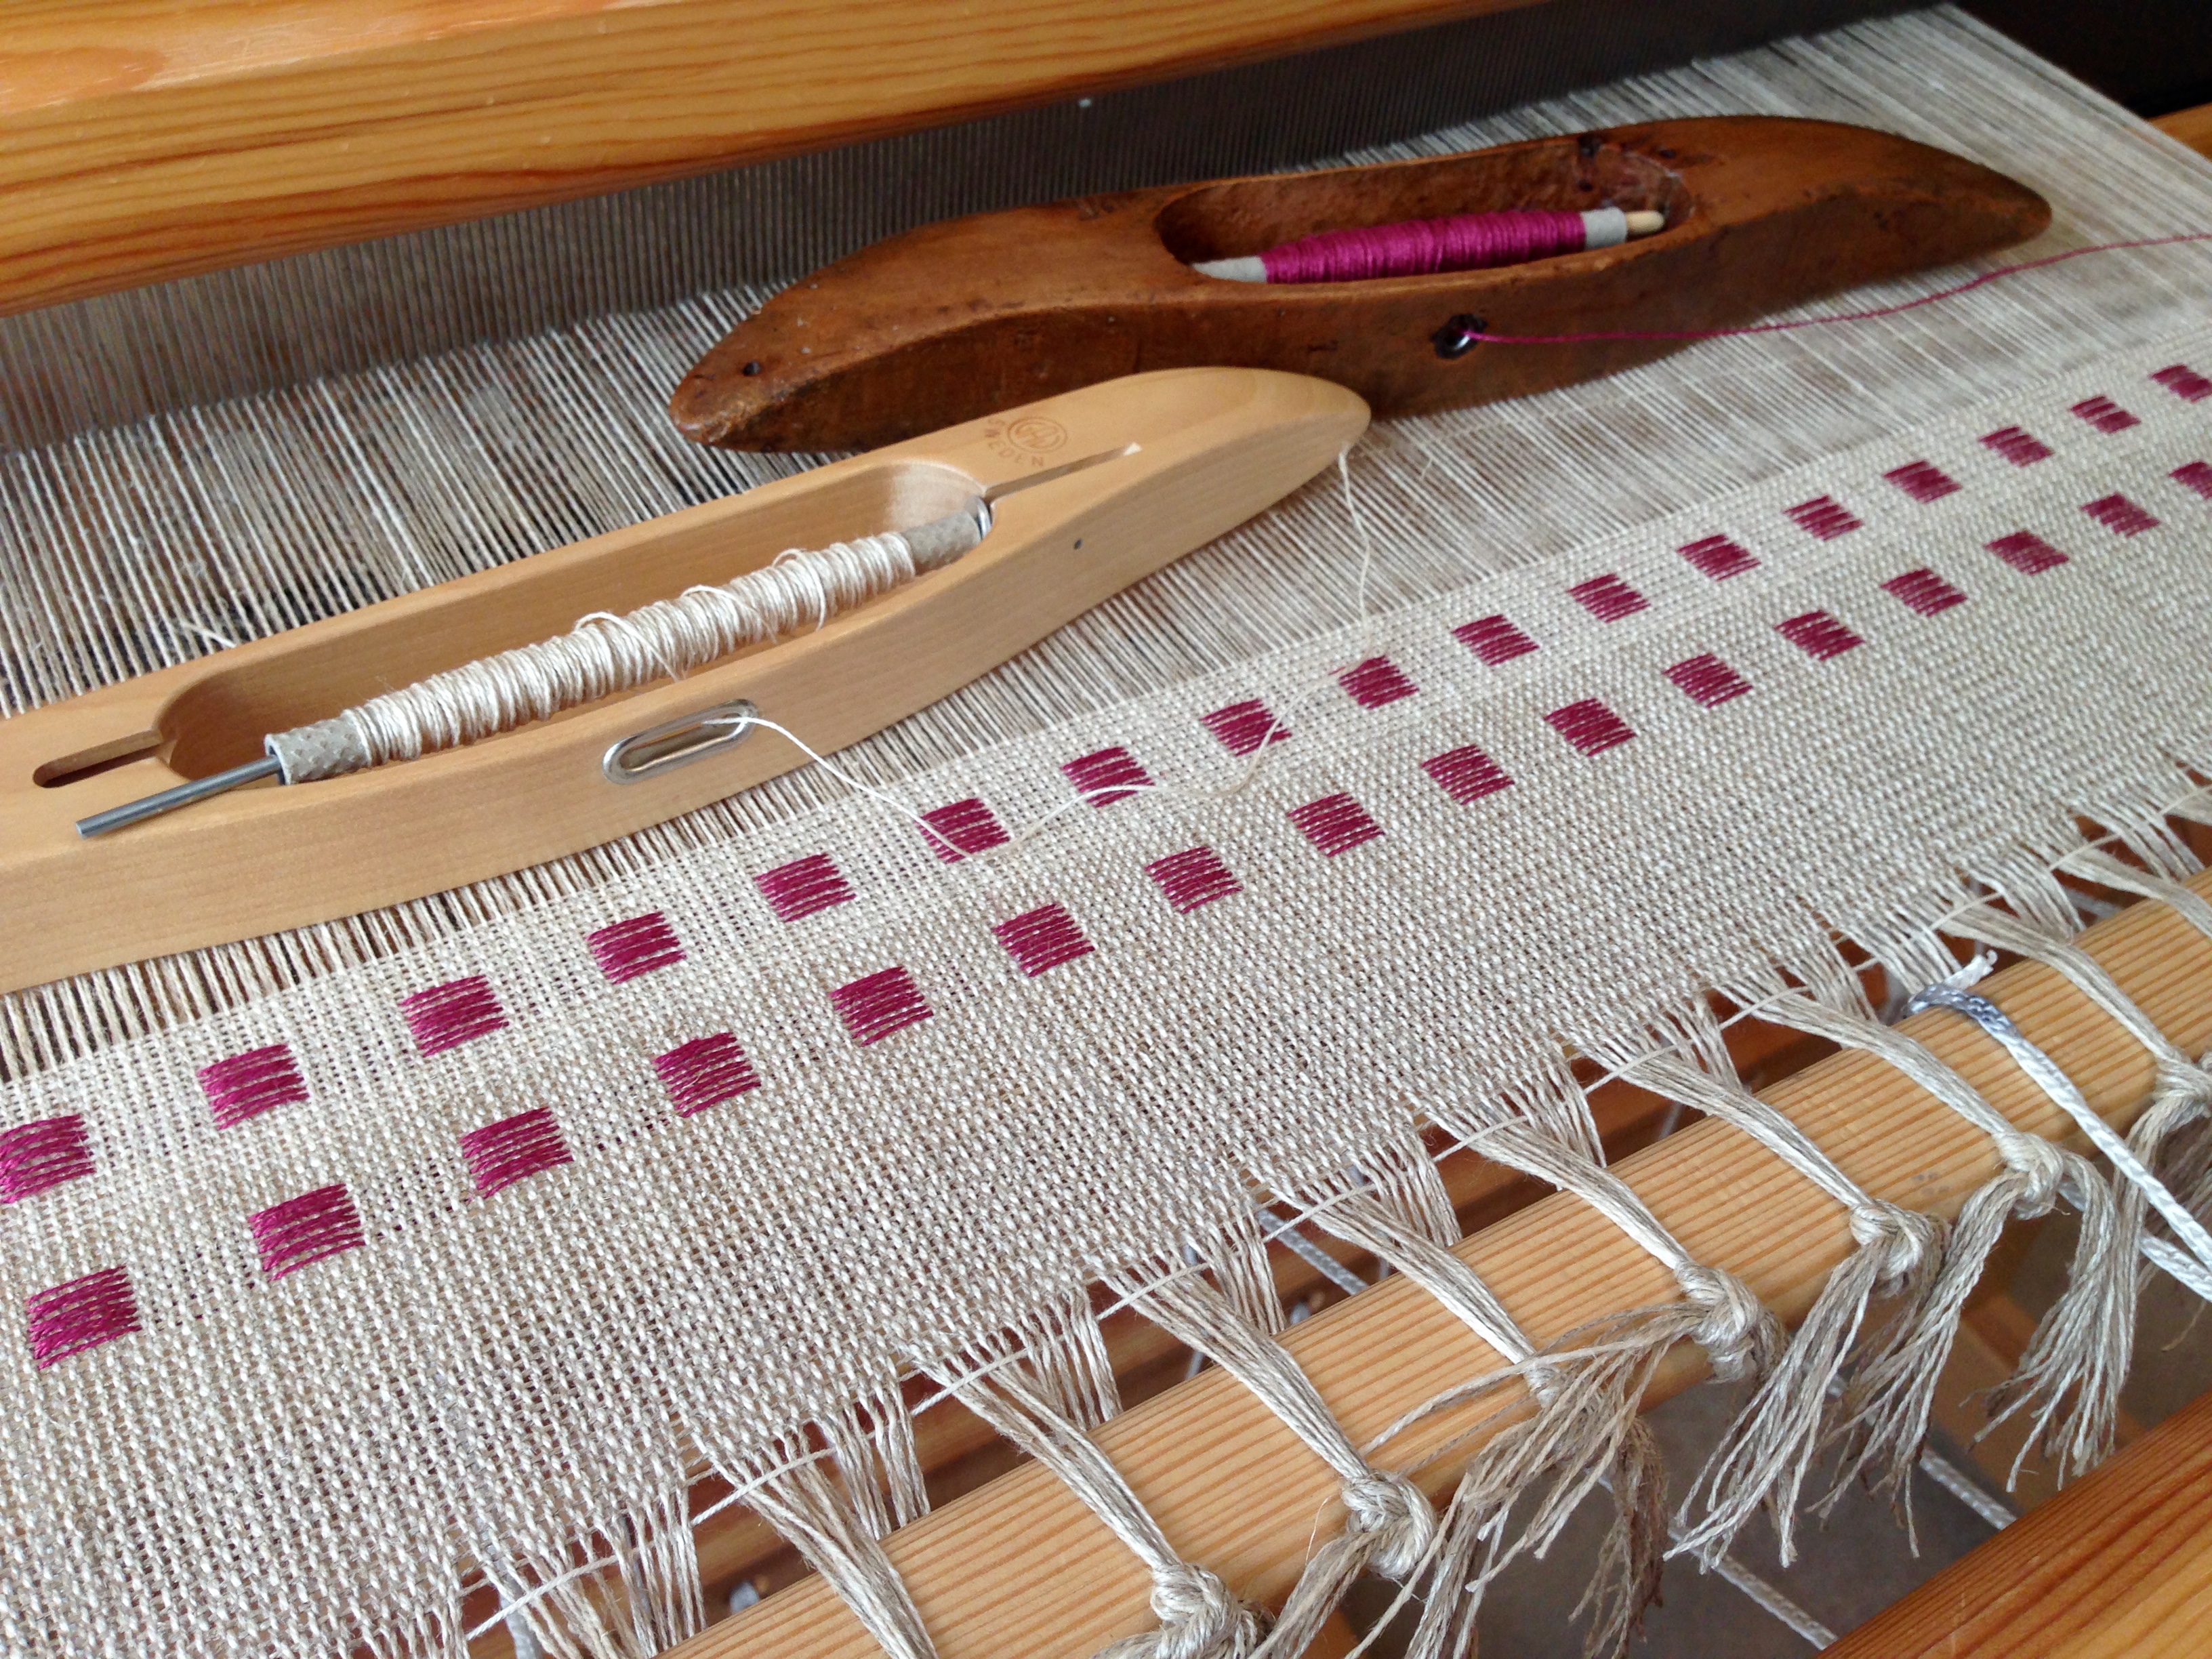
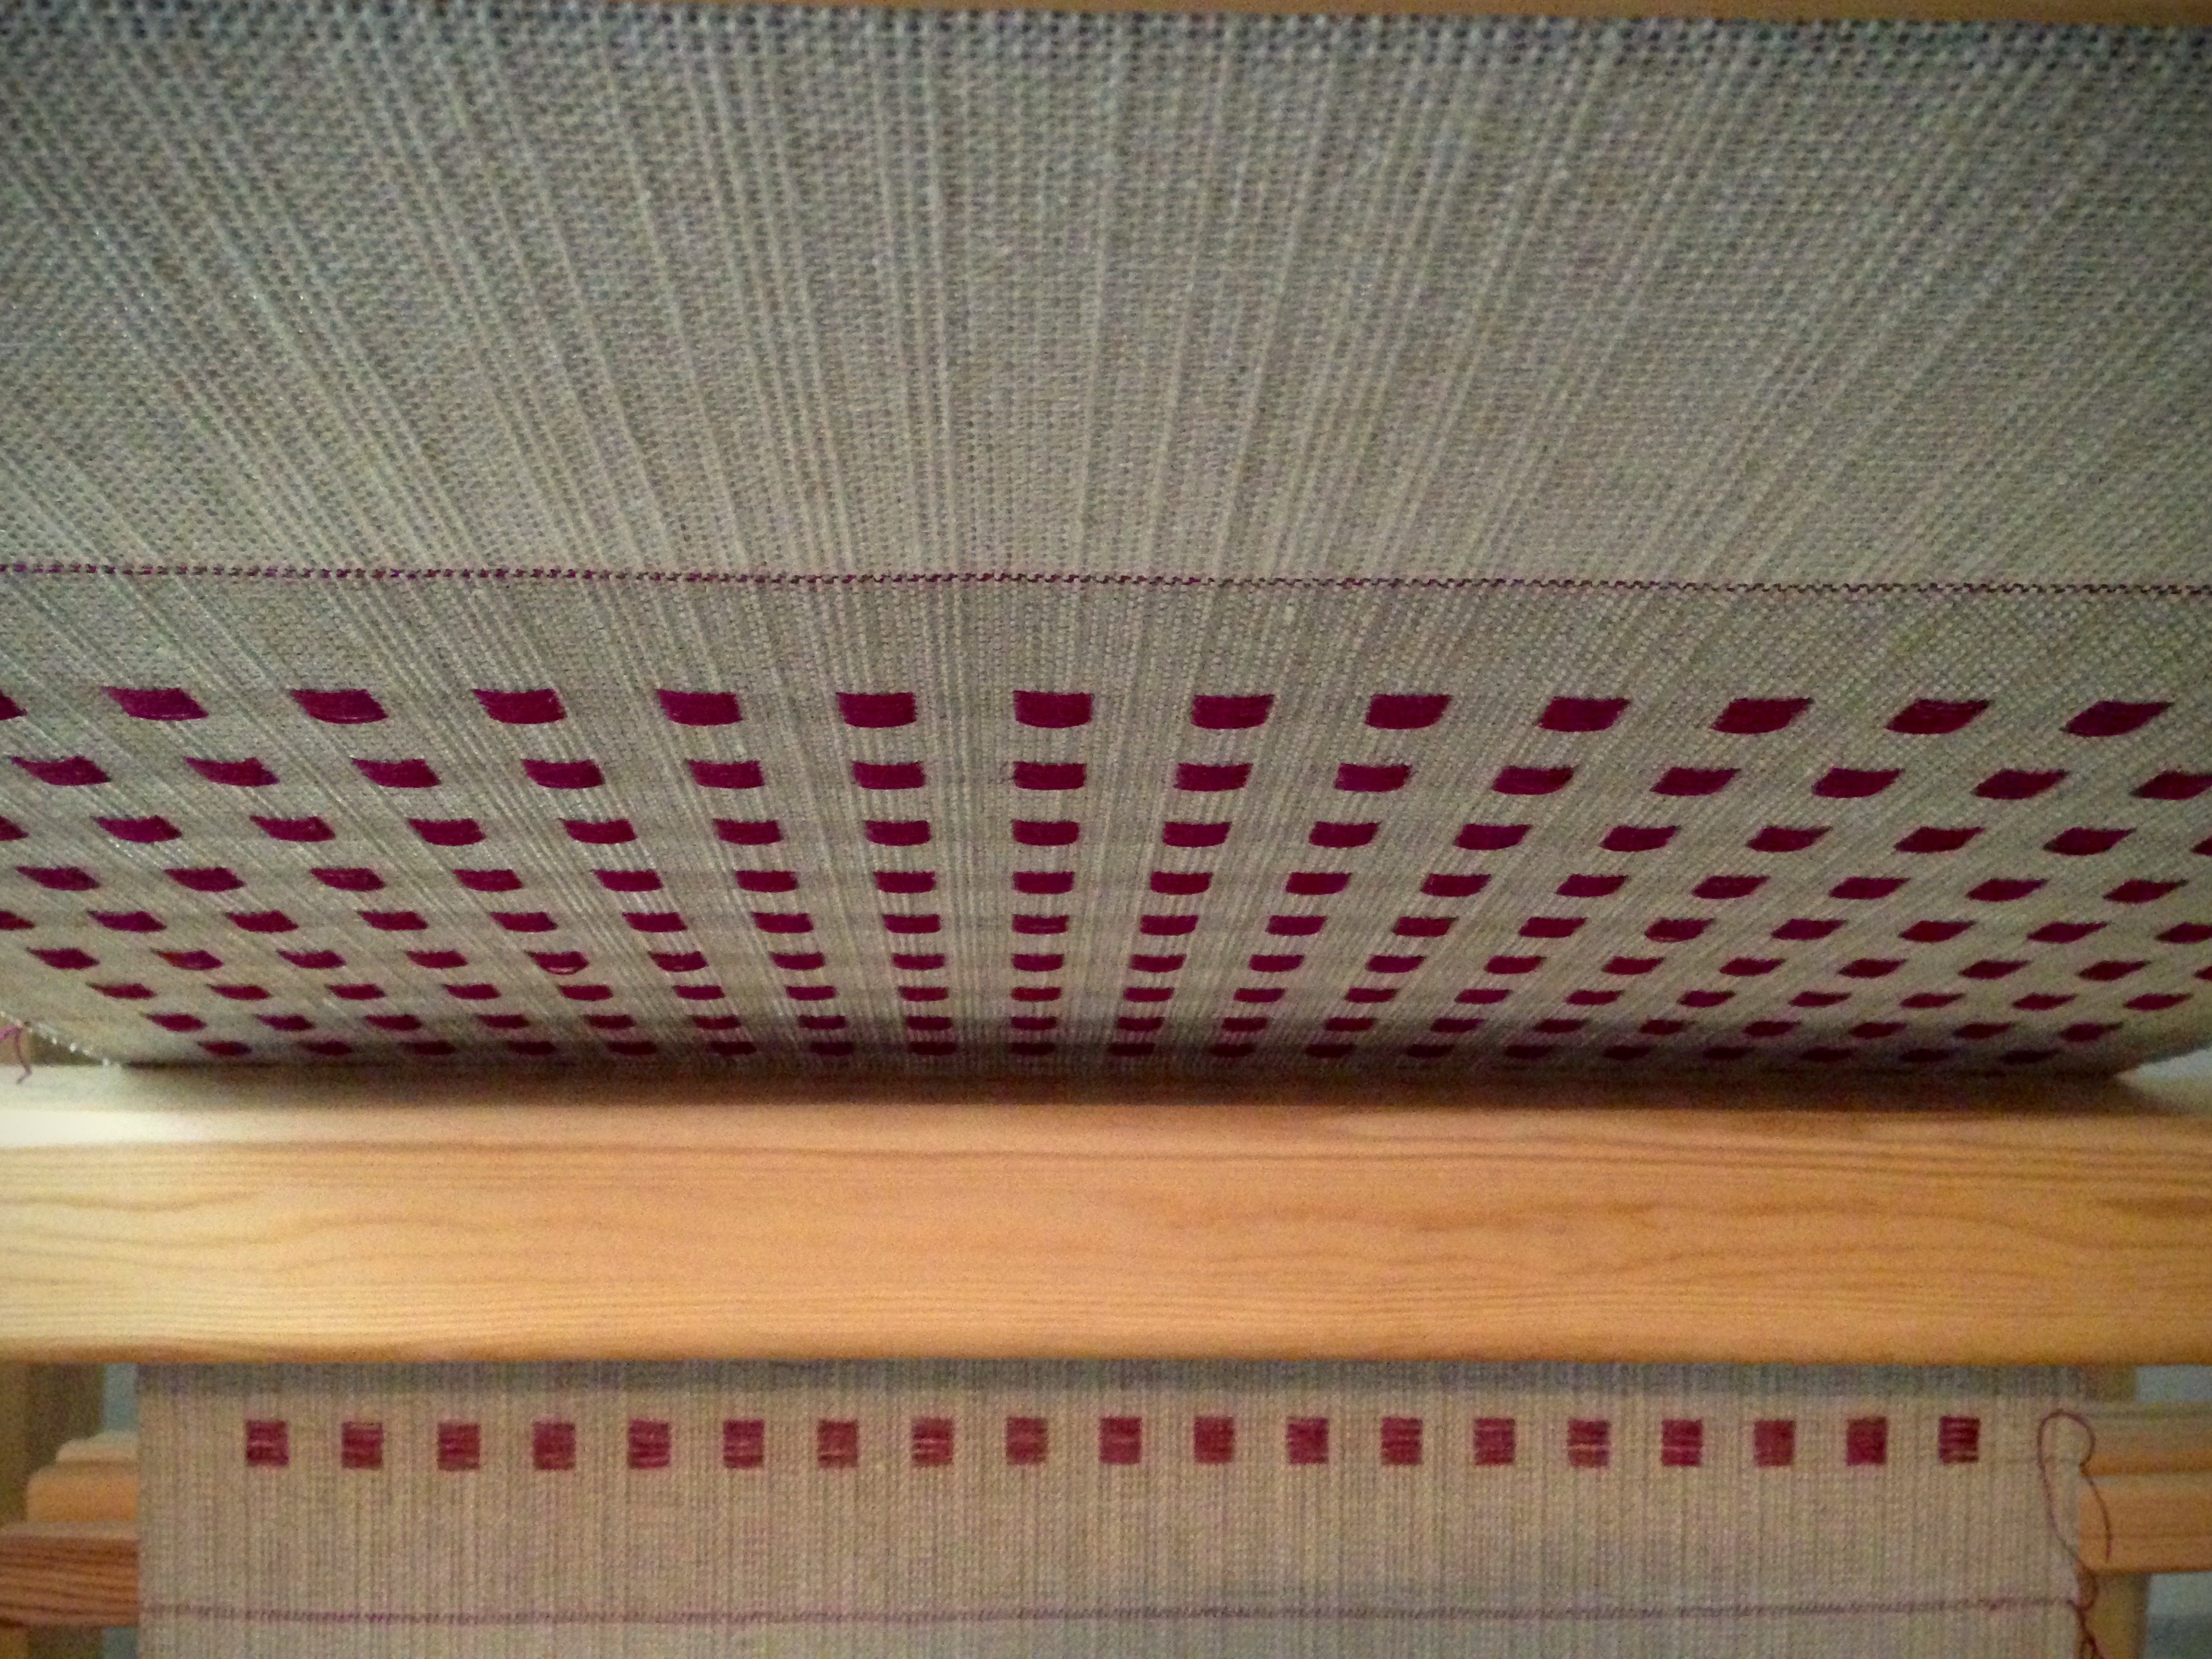
Linen Is Special

Linen is special. This is nothing new. Even in biblical history, linen is mentioned as fabric for sacred purposes. But weaving with linen requires attentiveness. The inelasticity of linen means extra care is needed in every stage of dressing the loom and weaving. Of first importance is an even warp tension.

Getting ready to weave with linen. Tying on.
Tying on linen in small 1-inch/2.5 cm increments is one thing that helps contribute to an even warp tension.

This method of tying on* is perfect for weaving rag rugs. The 12/6 cotton rug warp stays snugly in place. Not so with linen. The even warp tension that I have been so careful to maintain can be lost in a moment. The sneaky linen is smooth and slick enough to tie on easily, and then loosen up just as easily. So I take the double precaution of tying an additional overhand knot, AND moistening that knot with a dab of water which helps the linen grip itself. I never have to worry about these knots slipping loose.

Beginning dice weave in linen.
Additional overhand knot, with a dab of water, secures the tie-on threads. I am using sample space to try weft colors and work on getting optimum weft density.

What do you worry about? I have bigger things I worry about, too. But my heavenly Father assures me that He has secured all the knots that concern me. “Don’t worry,” he tells me. “Your Father knows your needs.” Be attentive to keep first things first. Put yourself in the Father’s care, and find that he takes care of you. Special you.

May you forget your worries.

With you,
Karen

* I learned this method of tying on from Becky Ashenden. You can see it fully explained by Becky, with pictures, in Dress Your Loom the Vävstuga Way: A Benchside Photo-guide.

Something Old in a New Way

This rug is using up bits and pieces. Normally, I begin with a few choice fabrics in five-yard lengths to create a specific rag rug design. Not this time. With the exception of the grey print, there is not enough of any one color to suit me. Some favorite prints are here, but in very small amounts. Other fabrics have been around too long; it’s time to use them up. And some, like the denim, are in short lengths, which means annoyingly frequent joins. My task is to take these misfits and make something worthwhile.

Double binding rag rug on the loom.
Double binding rag rug that is using up fabric stash pieces. Wide white stripes across the width in regular intervals give definition to the uneven assortment of fabric scraps.

Even though I can’t guarantee the results with this mishmash, I am taking the dive. It is good to try something new, or do something old in a new way. Take fabric that is leftover, outdated, or unsuitable for anything else, and turn it into an artisan rag rug. Can I take ordinary and turn it into extraordinary? It is worth a try.

Do what you know, and take it further than you think you can. Go where you don’t usually go. Step out a little deeper to practice what you already know. Let the struggle push you to find new horizons. You could end up with a charming rag rug.

May this be your day to go a little deeper.

Happy Weaving,
Karen

Tools Day: Sley the Reed

I am dressing the big loom with linen. This flaxen thread brings a worthwhile challenge I find hard to resist. Beaming the warp was slow and deliberate. It pays to be attentive to everything at this stage. Threading for this dice weave could not be simpler; it was finished before I knew it. Now, it is time to sley the reed.

Tools:

  • Reed     I am using a 12-dent reed for this project.
  • Texsolv cord for hanging the reed in front of the shafts
  • Tape measure     I remove the metal ends.
  • Reed hook     Mine is from Vävstuga.
  • Bench, set at comfortable height for threading and sleying     With my Glimåkra Standard, I get to put the bench “in” the loom. It’s like going into my own little playhouse.
  • Good lighting     I use a small Ott Lite Task Lamp when natural light in the room is dim.
Everything is ready for sleying the reed.
Reed is positioned right in front of the threaded heddles. Shafts and reed hang at optimum height for visibility and ease of hand mobility.
Sleying the reed.
Left hand index finger separates the end(s) to be sleyed.
Sleying the reed.
And the right hand holds the reed hook under the reed to pull the end(s) through the dent. (These two pictures show why a third hand would be nice. Normally, I sley the reed with two hands, so a third hand would be useful for taking a picture.)
  1. Form two loops of Texsolv cord that hang down from the top of the loom, one on the right and one on the left, to hold the reed for sleying.     My Texsolv loops hang from the countermarch frame.
  2. Adjust the length of the Texsolv loops so that the reed will fall just below the eyes of the heddles.
  3. Rest the reed horizontally in the Texsolv holders.
  4. Use the tape measure to find the center of the reed.     I mark the center of my reeds permanently by tying a small piece of 12/6 cotton seine twine at the center.
  5. Find your weaving width measurement on the tape measure. Fold that measurement in half and place the folded tape measure at the center point on the reed, to the right, to find the starting dent for sleying the reed. Place one end of the tape measure in that starting-point dent to keep your place.     Some people use the reed hook as a place holder, but when I pick up the reed hook to sley the first dent, I invariably loose my place.
  6. Pull ends through the reed with the reed hook, referring to your draft for the correct number of ends per dent, starting at the dent on the right hand side that has the place holder in it. Good lighting helps to prevent errors.     This is especially true with finer dents and darker threads.
  7. After sleying each group of warp ends, visually examine the sleyed dents to look for missed dents or extra ends in dents.
  8. Tie the sleyed group of ends into a slip knot.
  9. Finish sleying all the ends; and smile, knowing you are a step closer to weaving fabric.

May all your looms be dressed.

Happy Dressing,
Karen

Wear and Tear Rag Rugs

If the ends are not secured first, before hemming, the rug will unravel. Therefore, I end the weaving with ten rows of rug warp, and then three inches/eight cm of a scrap fabric header. When I cut the rug from the loom I leave four inches/ten cm of warp for tying knots.

Information for hemming rag rugs.
Walking weights hold the rug in place while I carefully remove the header and tie knots.

The header is removed little by little as I make my way across the rug, tying pairs of warp ends into square knots, and cinching them up to the edge of the rug. I trim the ends to 1/2 inch/1 cm. Next, I fold and steam press the hem. With a blunt tapestry needle and a length of warp yarn 1 1/2 times the width of the rug, I stitch the hem closed by catching the warp threads. The warp ends are fully secured and closed up in the hem. This rug will endure through years and years of wear and tear.

Tips for hand hemming rag rugs.
First I stitch the side of the hem closed, and then I stitch the hem, catching the warp ends with a blunt tapestry needle. This creates a nearly invisible hem seam, making the rug completely reversible.

Guard what you believe. It is what you believe that determines what you think, from which your behavior is formed. When beliefs are convictions, rather than mere philosophical ideas, they are firmly knotted in place, hemmed in by wisdom and truth. Nothing will unravel this cloth.

May your convictions stand the test of time.

Happy Finishing,
Karen

Cutting Off and Tying Back On

Efficiency isn’t always faster. I cut these two rugs off even though there is still warp on the loom, because an empty cloth beam enables me to get optimum warp tension for the next rug. It does take additional time and effort to tie back on, but I get better results in the long run. So I call it efficient.

Two double binding twill rag rugs just off the loom. Karen Isenhower
Just off the loom, two double binding twill rag rugs. Next step is finishing the ends, and then hemming.

Listening is like that. Most of us think we are too busy to learn new things. But listening well increases our learning capacity. It does take effort, but it is the kind of effort that brings rewards. Good listening habits increase learning efficiency.

How do you hear? Since listening is key to learning and growing, consider these four ways of listening.

  1. Casual listening. In one ear and out the other.
  2. Convenient listening. Interested only as long as it is easy.
  3. Distracted listening. Divided attention.
  4. “Receiving” listening. Fully engaged attention, with fertile soil for seeds of learning to grow.

“Receiving” listening takes effort and attentiveness, but is the most efficient kind of listening because it produces the best results. None of the effort is wasted, and little by little you see the seeds of learning begin to grow into fruit to share with others.

I would love to have you join me in Eureka Springs, Arkansas, August 27-29, 2015. I will be at Red Scottie Fibers at the Shoppes at Fleece ‘N Flax to teach a Double Binding (Dubbelbindning) Rag Rug Workshop. I will take you through the steps to design and weave one of these beautiful rag rugs of your own. Small class size; few openings left. Contact me if you would like more information.

May you hear and be heard.

Listening,
Karen